Brookhaven Hospital
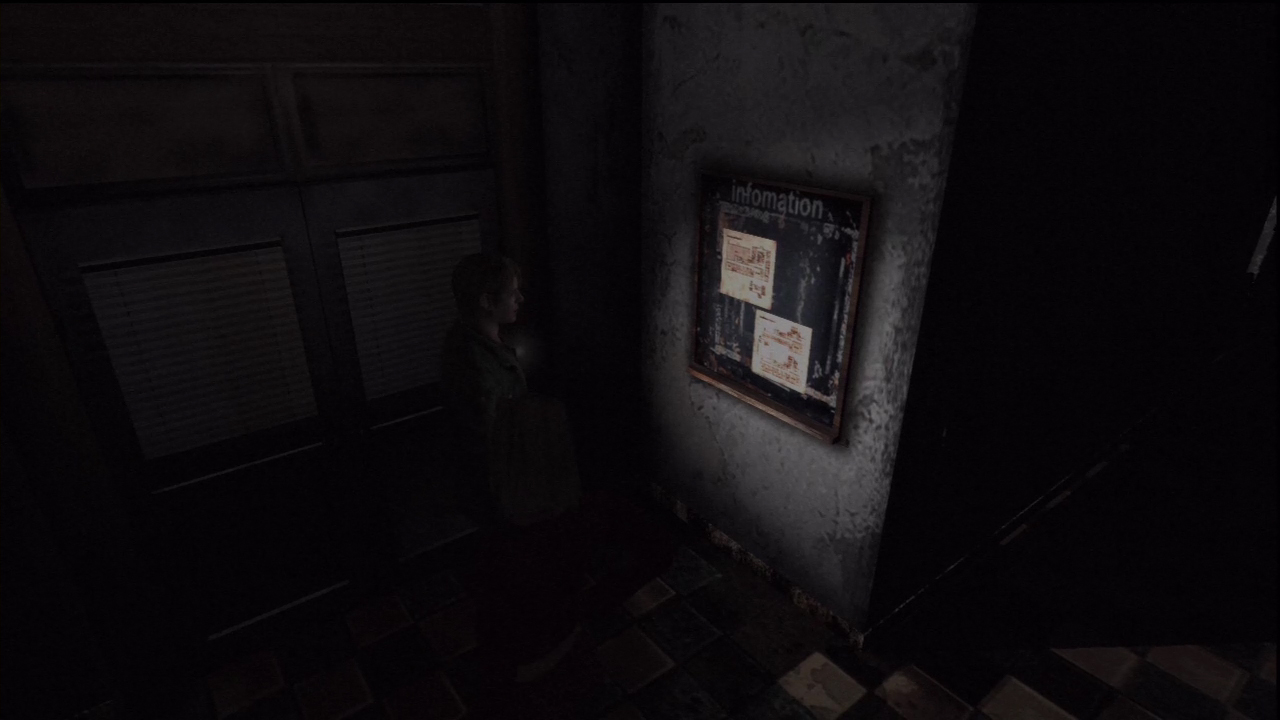
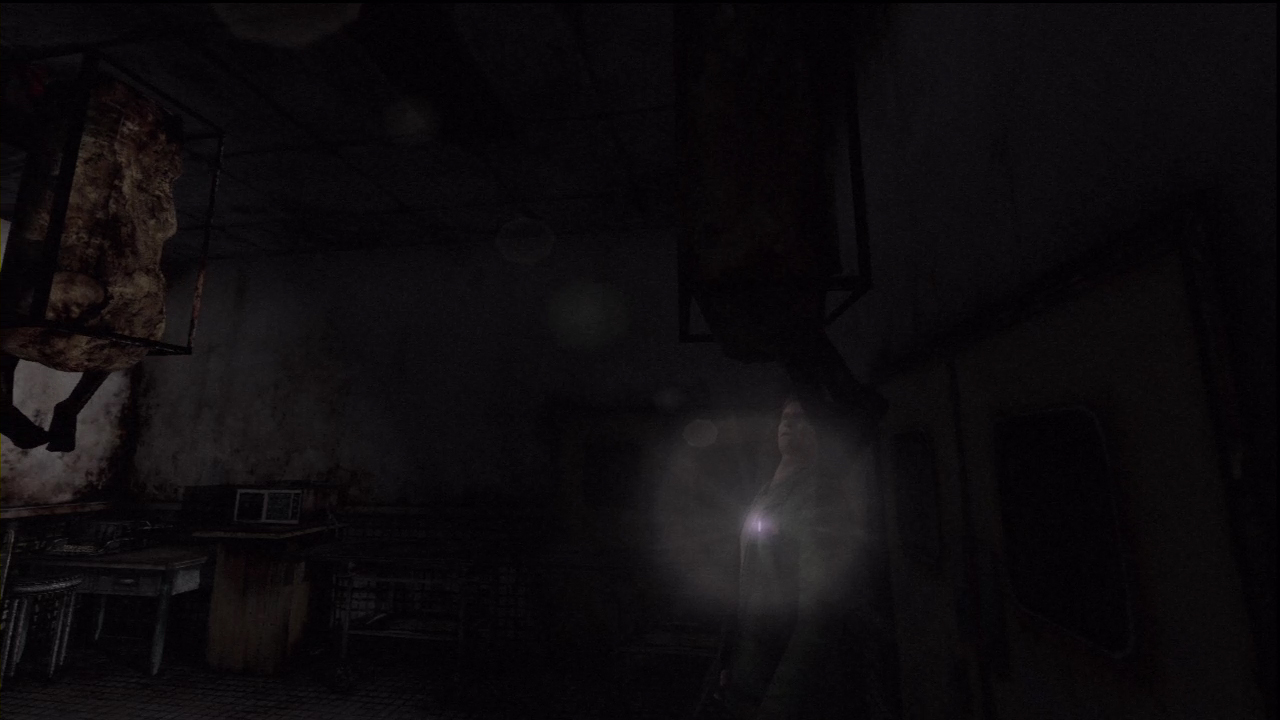
Now that you’re in Brookhaven, you’ll face a new enemy — the Nurse. Look directly to your left to find the Map of the hospital.
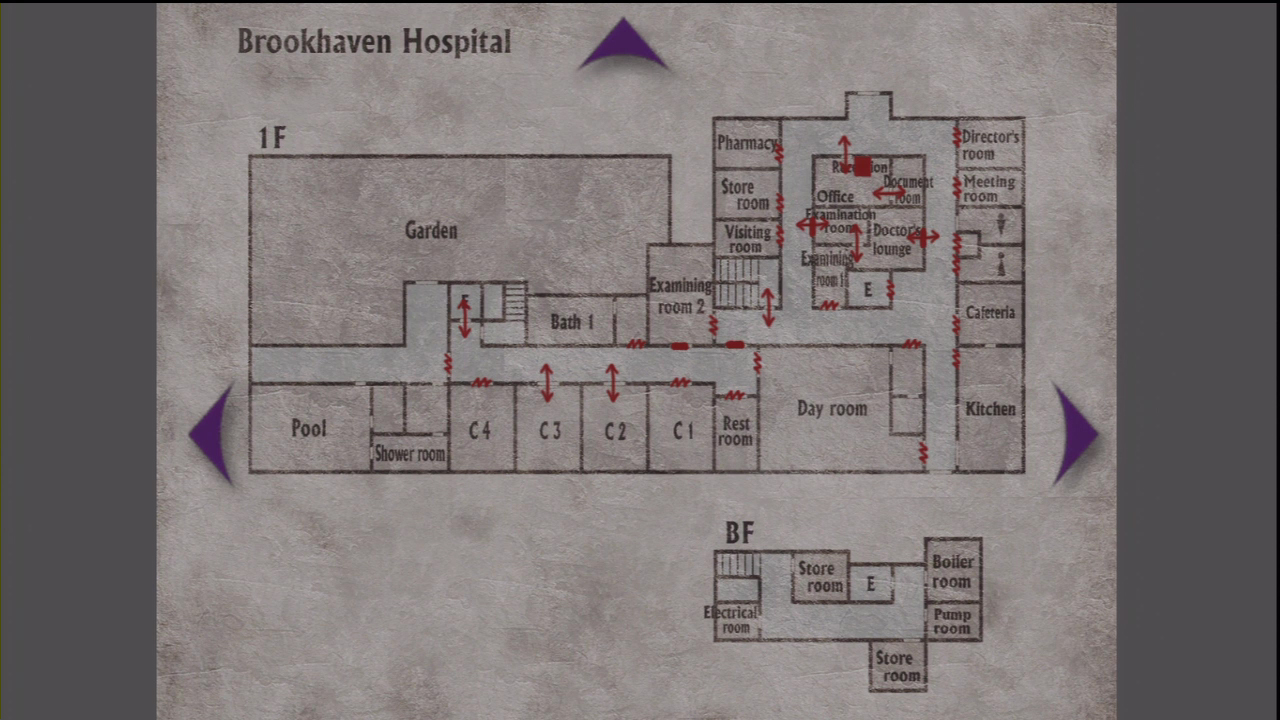
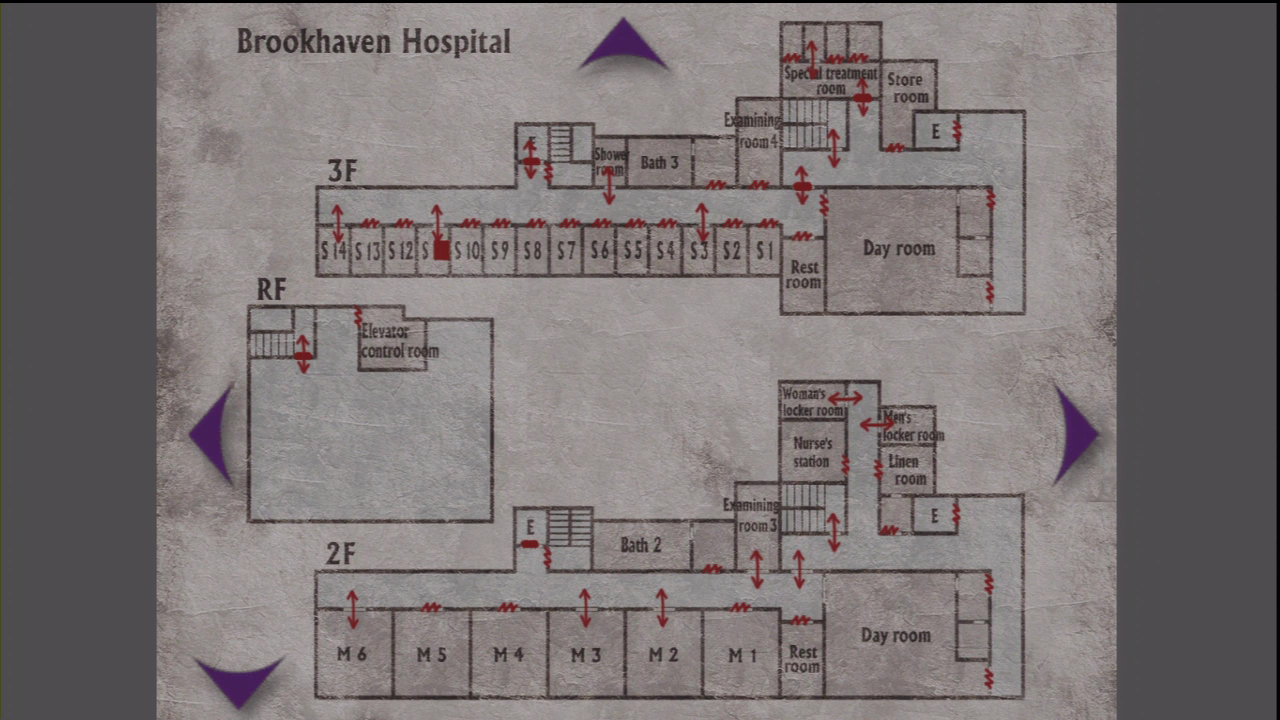
Here’s a complete map of the entire area:
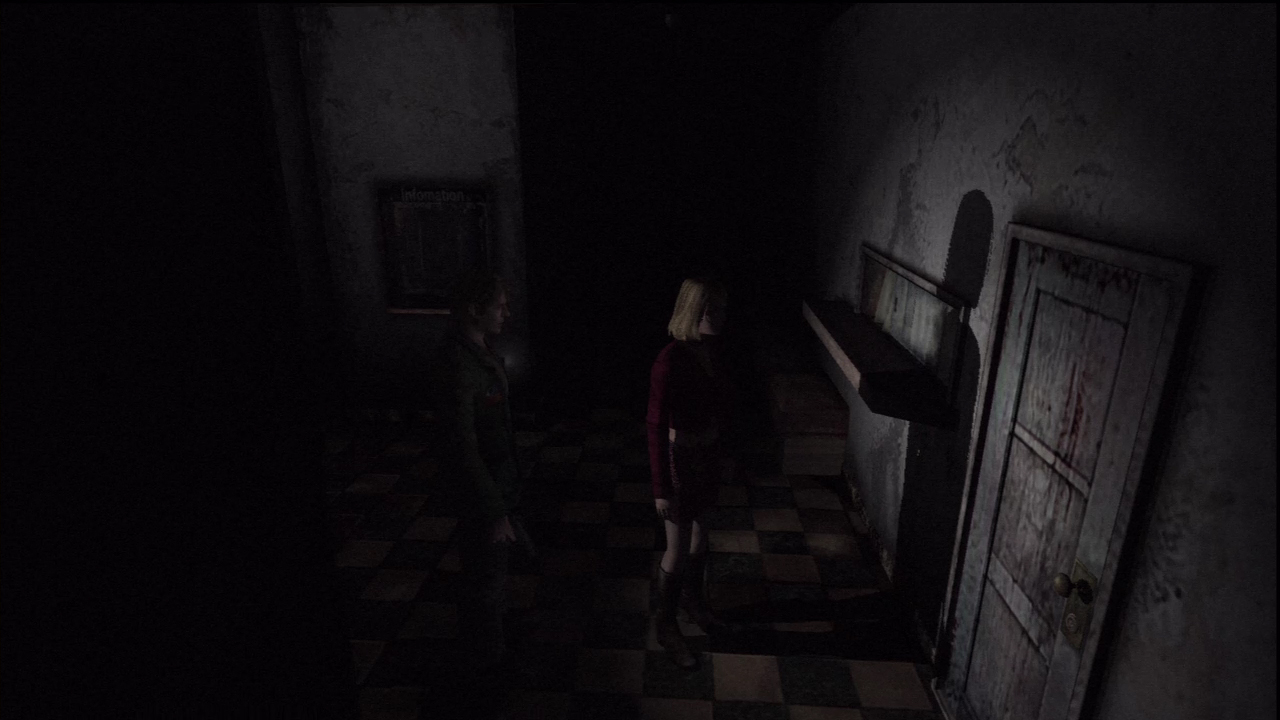
Walk forward and enter the door straight ahead.
Ground Floor (1F)
Reception Office
The first door in the hospital leads to the Reception Office. Inside is the Save Square, save if you wish. Walk towards the door to the left to find a Health Drink on the table. Enter the door to find the Document Room.
Document Room
Inside the Document room is a desk next to Maria. Investigate it to find the Purple Bull Key underneath a note.
Nothing else can be done on this floor at this point, so head up to the second floor via the stairway.
Second Floor
The second floor hall contains a Nurse or two and a Mannequin. Fight or run. Head North to find two unlocked doors.
Men’s Locker Room
Inside the Men’s Locker Room is a bloody doctor’s coat. Investigate it to find the Examination Room Key.
Women’s Locker Room
Inside the Woman’s Locker Room is a teddy bear on a table. Investigate it to get the Bent Needle. The locker next to the bear will hold the super powered Shotgun.
Head back into the hall and go through the door opposite from the stairwell. This is the door to the patient’s wing.
Patient’s Wing (2F)
Right when you enter the hall way, you’ll find a box of Handgun Bullets on a barrel.
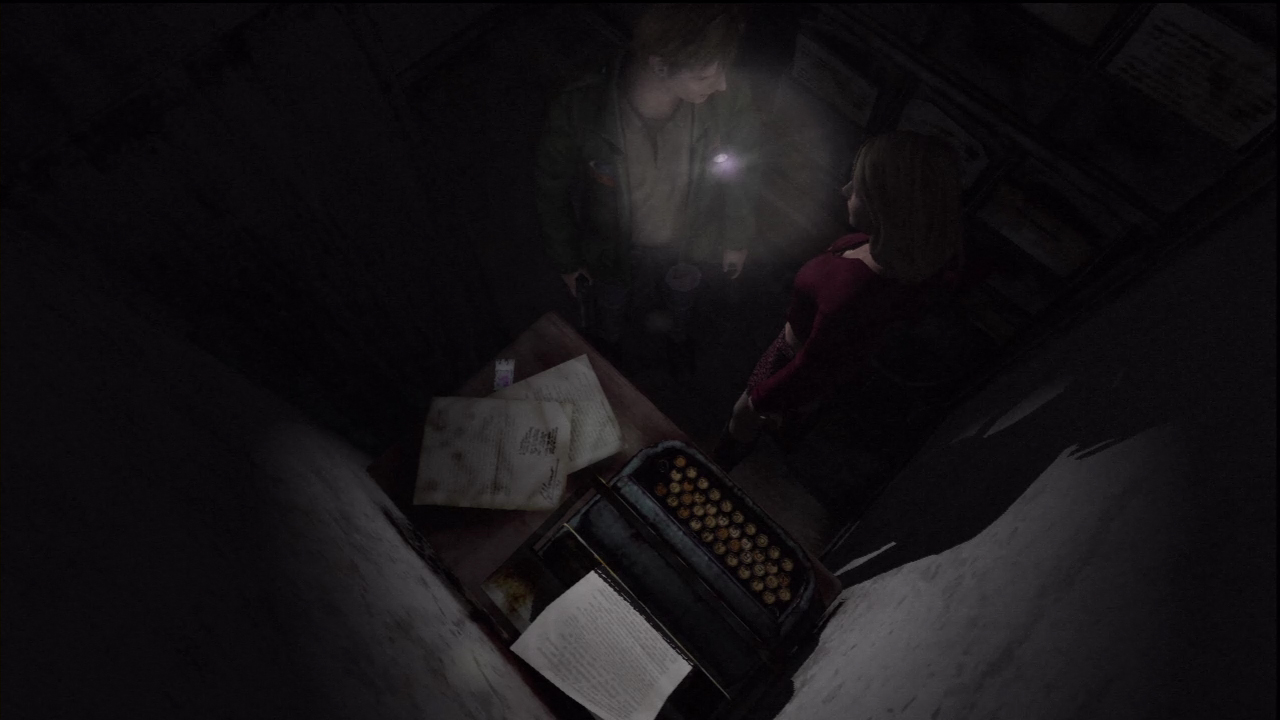
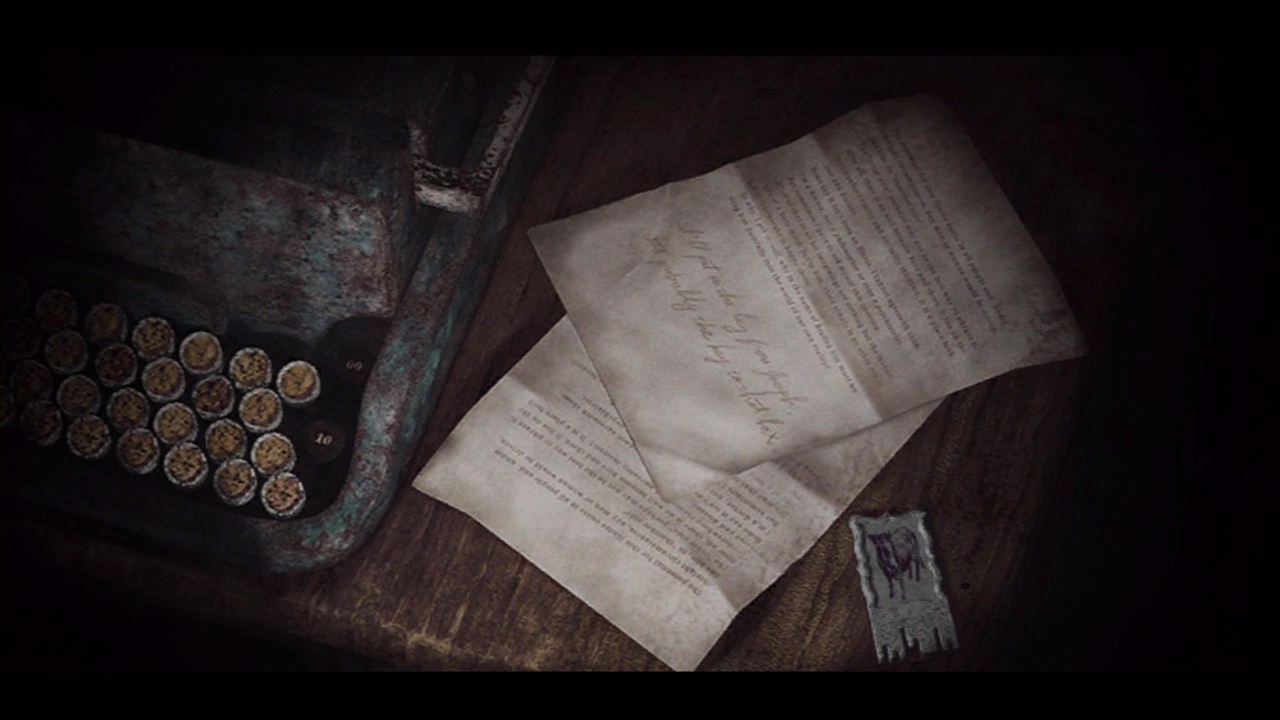
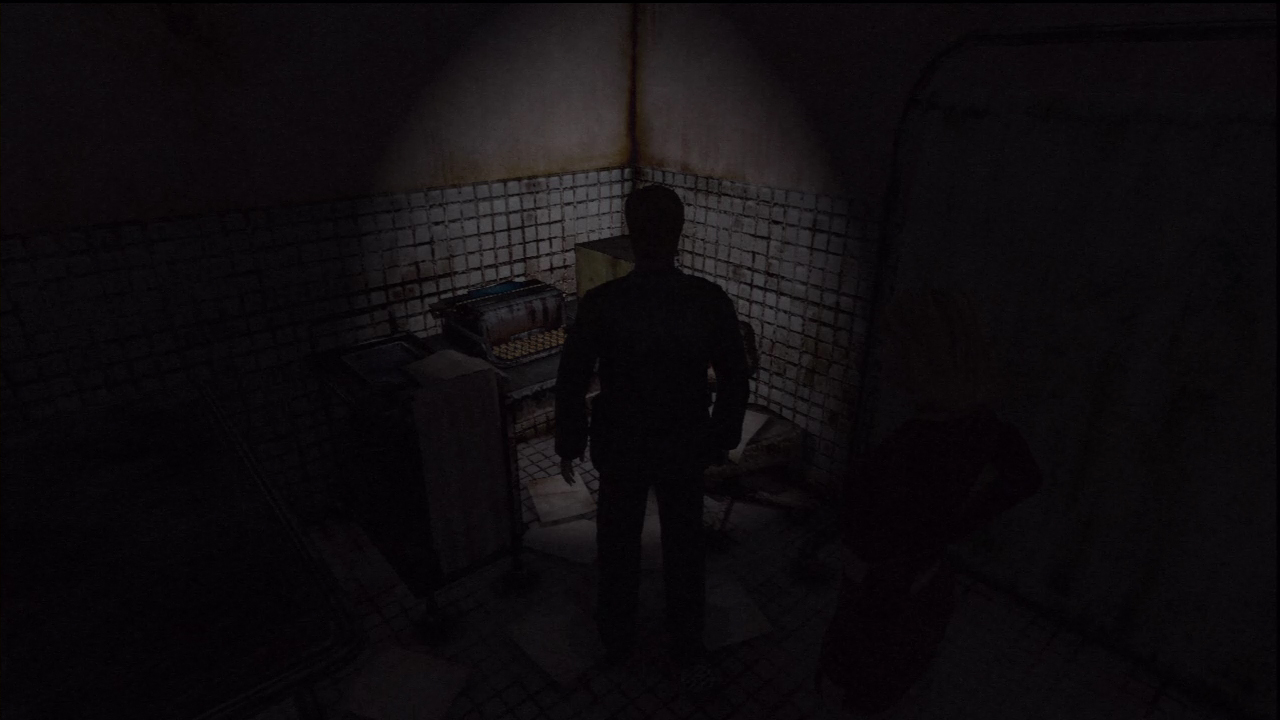
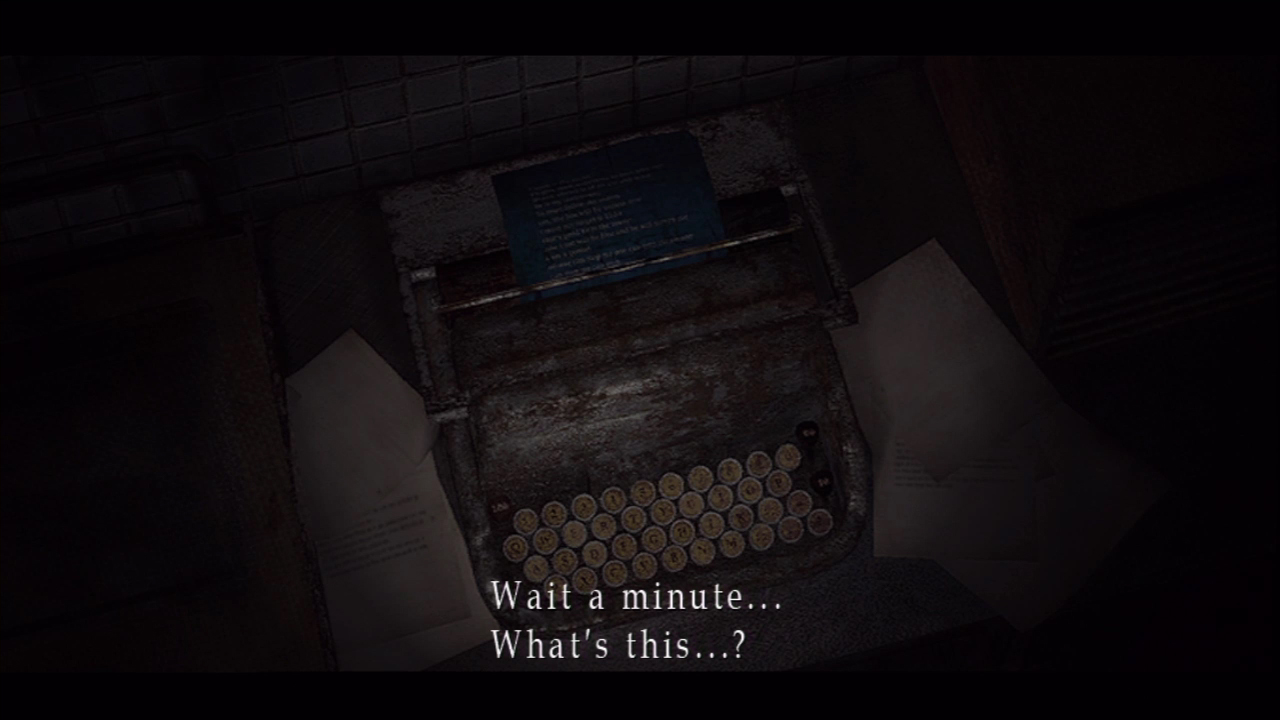
Examining Room 3
Inside Examining Room 3 is a First-Aid Kit on a bed. Walk to the back of the room and investigate the typewriter. The typewriter will yield a note with the combination for the Box Puzzle.
M2
M2 is a small room with a box of Handgun Bullets on a night stand. Inside the drawer is the Lapis Eye Key.
M3
M3 contains a Nurse guarding a box of Handgun Bullets and a Health Drink.
M6
M6 contains a Nurse guarding a box of Shotgun Shells and a Health Drink.
Now that the Second floor has been fully explored, take the stairway back down to the First Floor.
First Floor
Examination Room & Doctor’s Lounge
Head to the Examination Room near the Reception Office first. It was locked before, but now we have the Examination Room Key to open it up. Go through the door inside the Examination Room to enter the Doctor’s Lounge.
The Doctor’s Lounge has a box of Shotgun Shells in the sink. Investigate the white board on the other end of the room to find a memo to the Door Code. Easy and Normal Riddle Difficulty will have the code to the door. Hard Difficulty will have a riddle to the code. If you can’t figure it out, see the Riddle and Puzzle Solutions page. If you forget the code or riddle, view it in the memos at the menu screen.
This code opens up the door to the Patient’s Wing on the third floor. Head up there next.
Third Floor
The Third Floor has a few Nurses walking around. Head East to the Elevator to find a First-Aid Kit on the floor. Walk to the Patient’s Wing and enter the code you found in the Doctor’s Lounge.
S3
Enter S3 to start a cut scene. Maria will rest on the bed while you go search for Laura. Check the nightstand beside Maria before leaving to find the Roof Key.
S11
S11 contains a Save Square on the wall and a Health Drink on the bed.
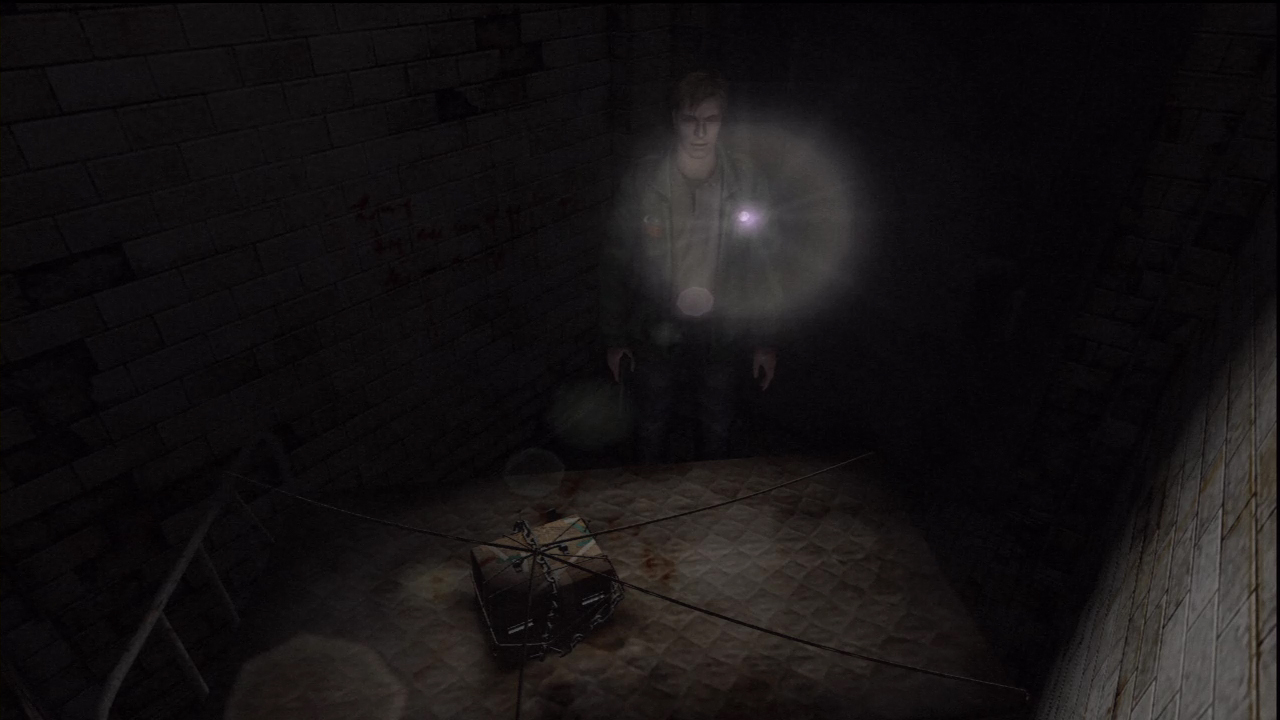
S14
S14 has a mysterious box tied down onto a bed with a note written on the wall in blood. There are many locks on it that we can’t open just yet. Leave it there for now.

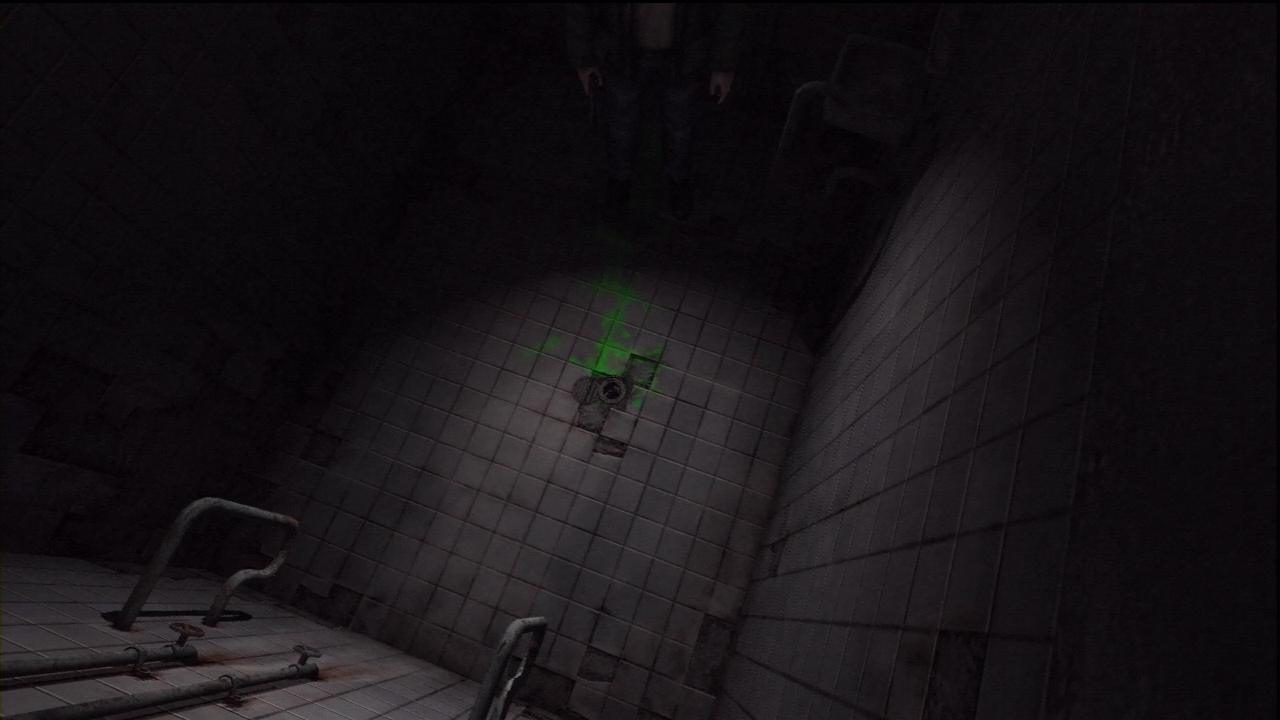
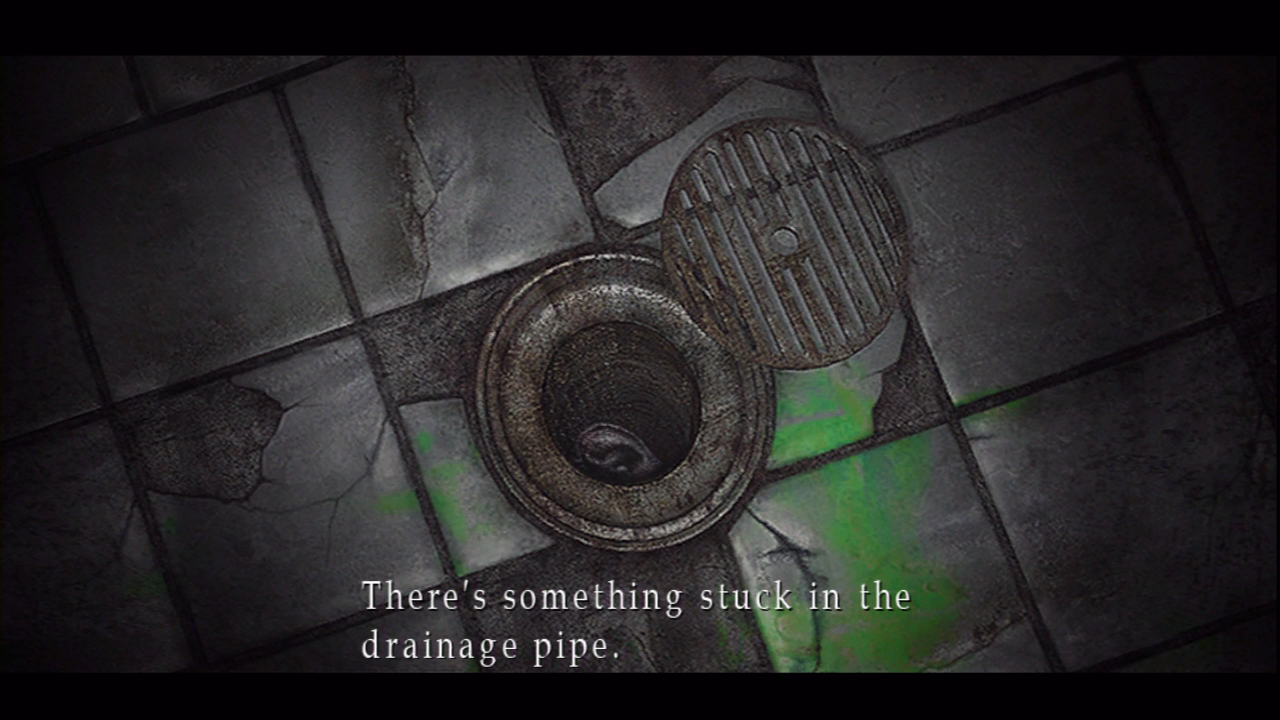
Shower Room
Inside the shower room is a drain with something stuck in it. You can’t get it out just yet, but remember the room.
The third floor is clear for now, so lets head to the roof.
Roof
IN WATER ENDING TIP: There is a diary in the corner of the roof. Read it to help get the In Water ending
Try to open the door that leads to the stairway. You should notice it’s now locked. Walk to the other door to start a cut scene which takes you back down to the third floor.
Third Floor
Special Treatment Room
After the scene, check your health right away, you may barely have any left.
Investigate the four padded cells in this area, only one will open. In the unlocked padded cell, you will discover blood written on the wall. Investigate the blood to a combination for one of the locks on the box in room S14. The combination will be in your memos.
You now have enough information and keys to unlock the box in S14.
S14
Return to S14 to unlock the box. If you forgot the codes, check your memos for the “Imprint on Carbon Paper” and the “Tern tern tern the number” memos. Use the Lapis Eye Key first, the “Imprint on Carbon Paper” code second, the “Tern tern tern the number” code third, and the Purple Bull Key fourth.
If you’re having trouble, see the Riddle and Puzzle Solutions page.
Inside the box is a Piece of Hair. Next, head back to the Shower Room.
Shower Room
Now that we have the necessary items, Combine the Piece of Hair with the Bent Needle to retrieve the Elevator Key from the drain.
If you tried to use the elevator in the third floor Patient’s Wing, you’d see there is a lock on the door. Use the Elevator Key and go down to the first floor.
First Floor
Since you took the elevator down, you’ll now have access to the patient wing.
C3
C3 is a small room with a box of Handgun Bullets and a box of Shotgun Shells on each side of the room.
C2
Enter C2 with full health and a shotgun ready! If you like, you can head to the reception area to save your game.
Walk to the back of the room to start a cut scene, leading to a boss battle.
Boss Battle: Flesh Lips
Try to stay away from Flesh Lips as much as possible. Two hits can easily kill you at full health. They attack by grabbing your head and pulling up upward. When this happens, press the investigate and run buttons as fast as you can to escape.
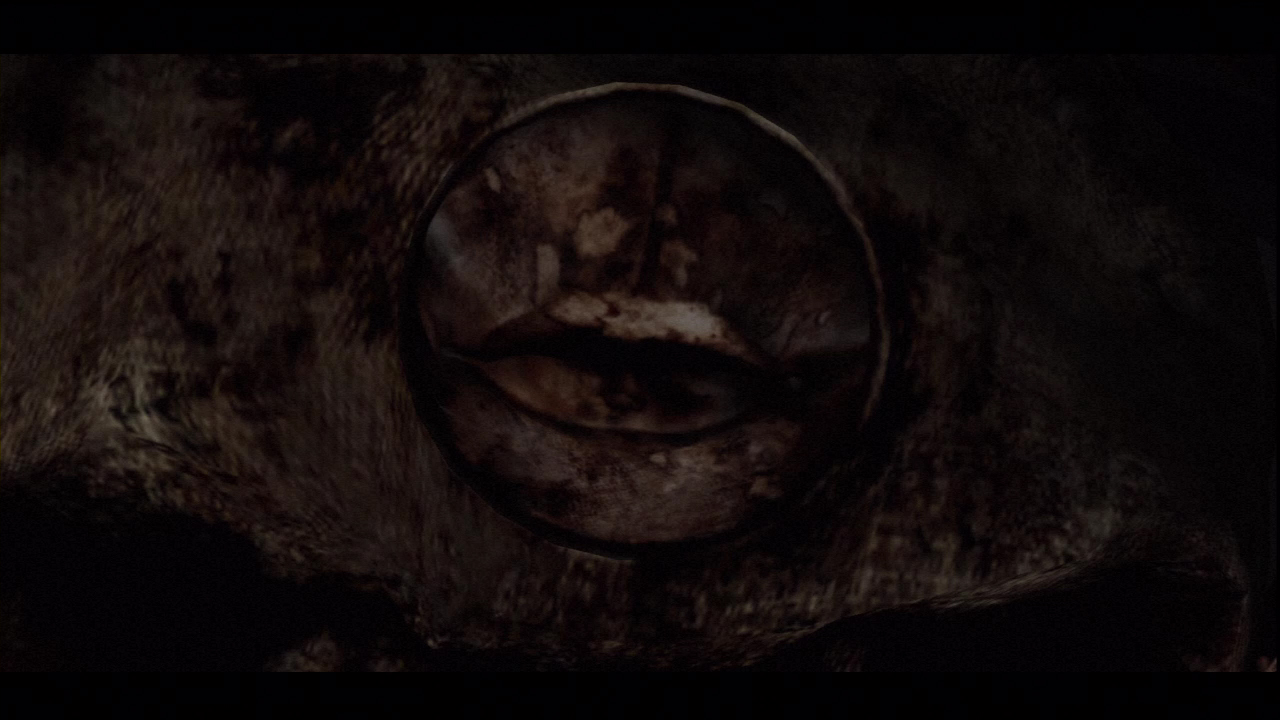
After killing the first two, a third will fall from the ceiling. Using a Shotgun or Handgun will be your best bet to defeat Flesh Lips. Five shotgun shells a piece will be enough to take down these guys on Normal.
Defeat Flesh Lips to unlock the achievement / trophy Where’s that Letter!?
Garden
After the fight, you’ll be in the garden of the hospital.
If you are trying for the UFO Ending, this is the first place you must use the Blue Gem. Go to your items and press use to activate a short scene.
Take the only door available back into the Hospital’s First Floor, which is now switched to the otherworld.