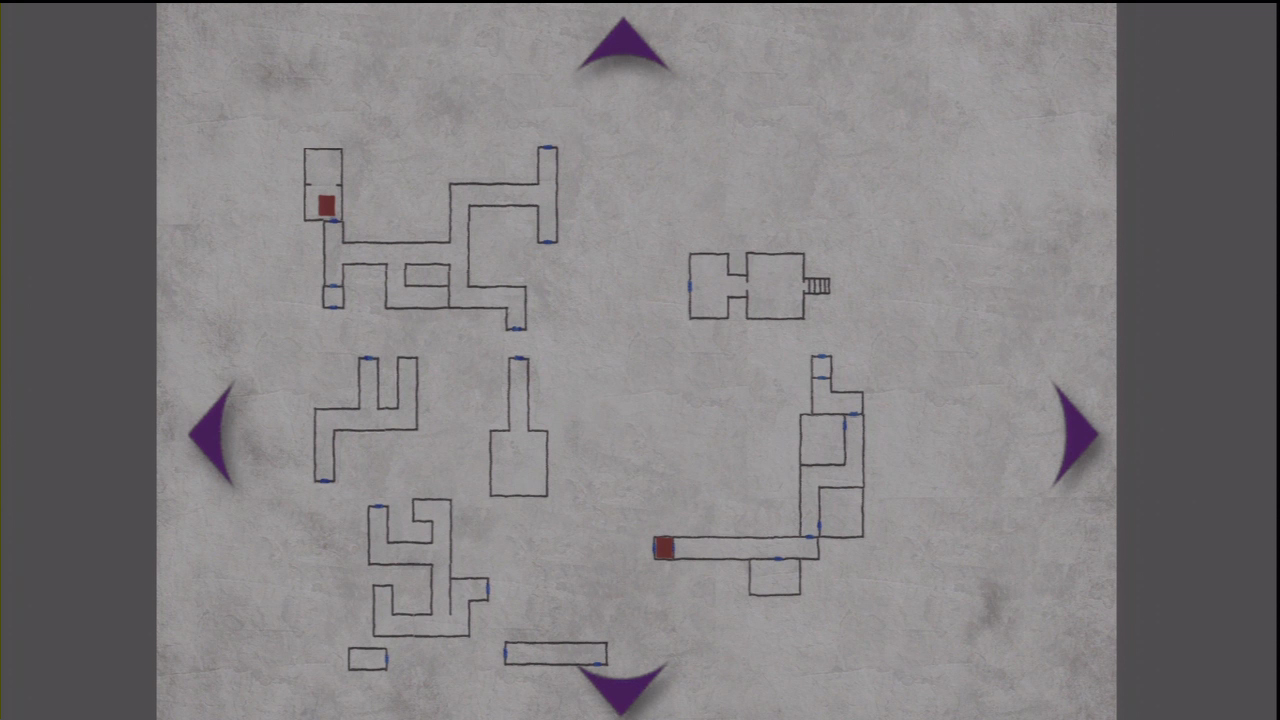
The Labyrinth
There is no map to find for this segment of the game, but if you have your flashlight turned on, James will draw one as you go. Here’s the full drawn out map:

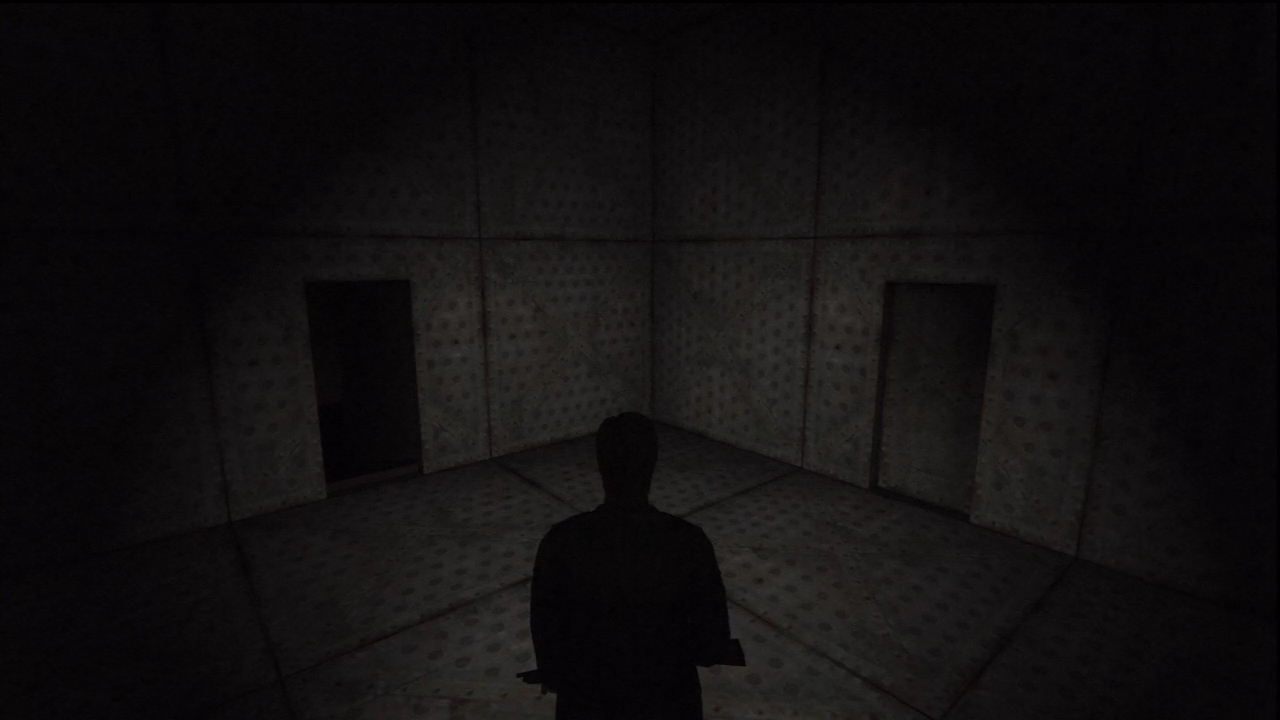
Entrance Hall
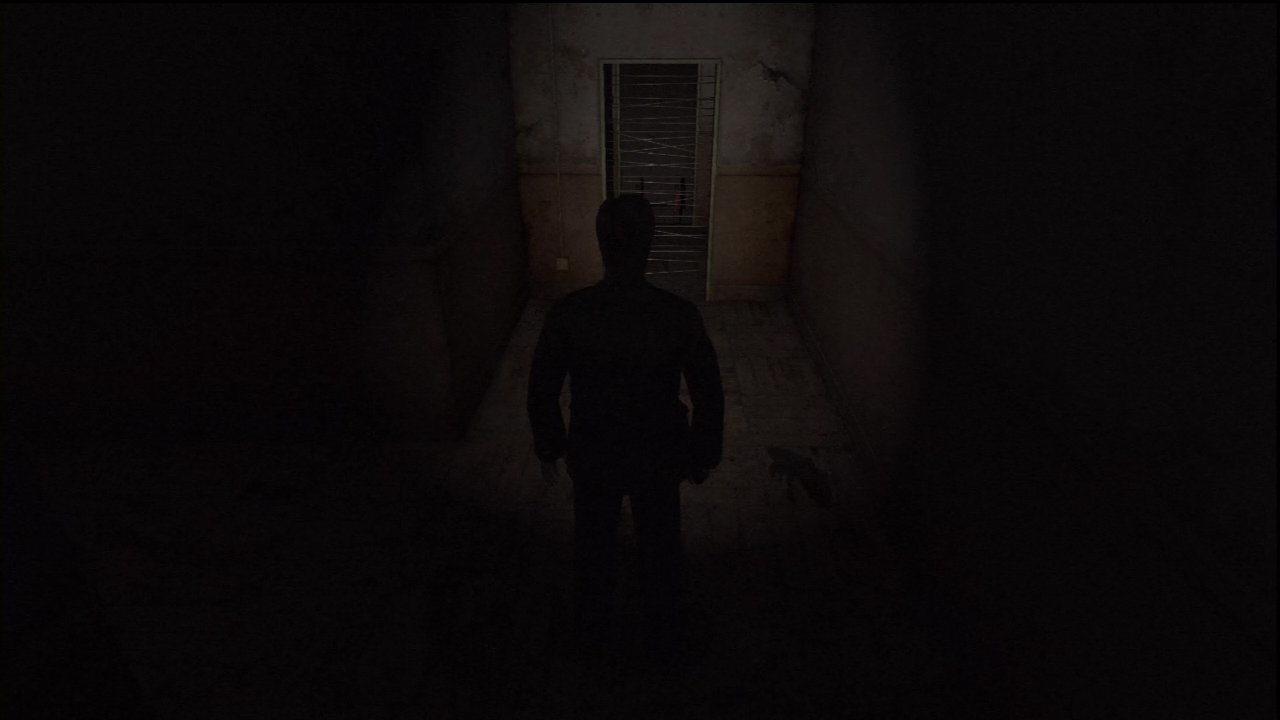
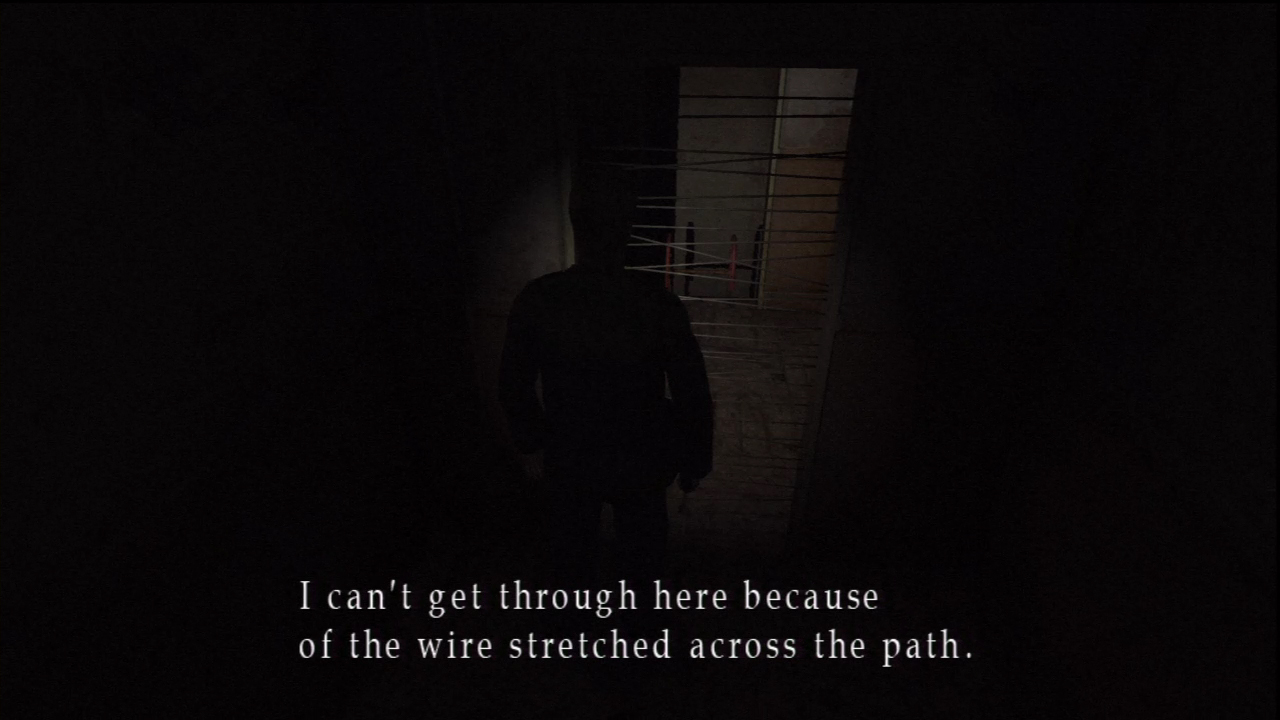
When you first enter the Labyrinth, you’ll notice a door with wires strewn out across it. You can’t do anything about it just yet, but you will come back to it. Remember where it is!
Walk left into the maze and you’ll find a few Straight Jackets in this area. It’s possible to run from them, but it may be quicker to fight them. Your Shotgun may even hit a few of them at once. Ignore the path that branches off to the South, as it goes nowhere. Follow this hall until the end where you have a choice of turning either left (North) or right (South).
Go left first to get an awesome new weapon. Follow the path until you come to another T junction. It doesn’t matter which way you go here, as both directions lead you to ladders which drop you into the same hallway.
Octagon Basement
You are now in a circular hallway (O.K., it’s technically octagonal). Be warned that Pyramid Head roams this hall, but don’t panic. If you happen to see him, just turn and run the other direction and you should be fine. Also, try not to linger on the grated floors. Underneath are a few Closers that can injure you.
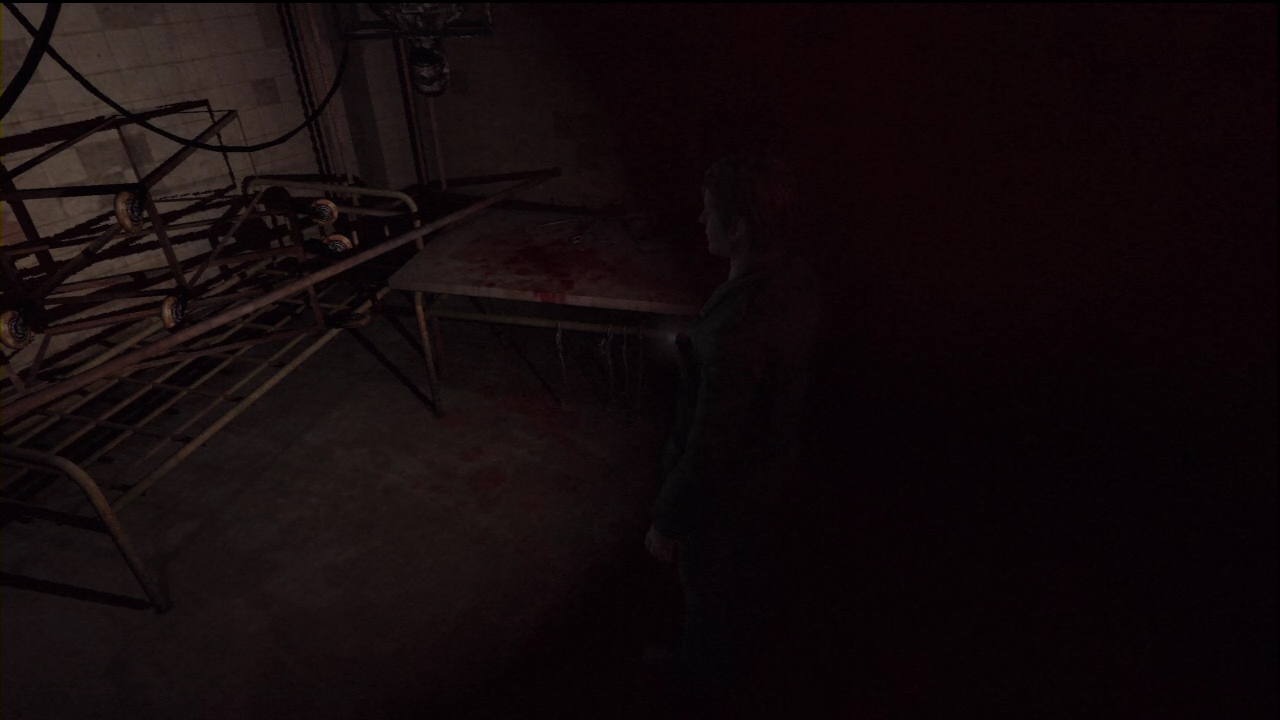
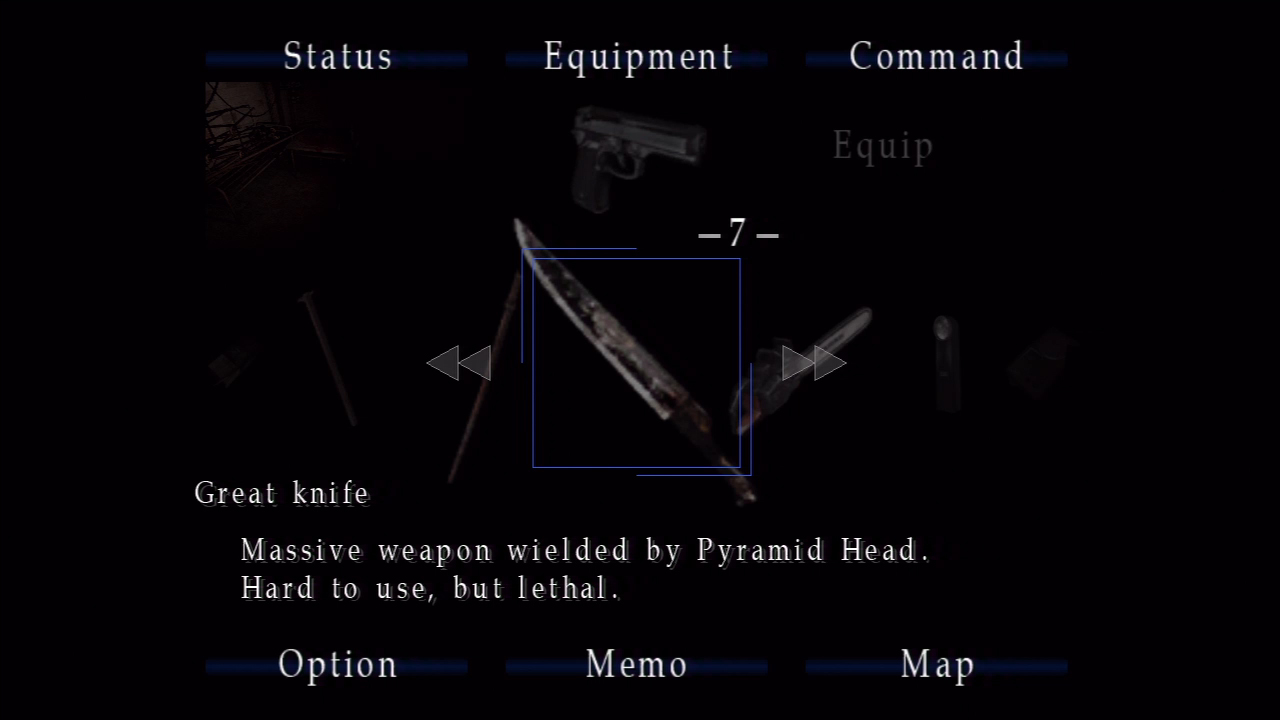
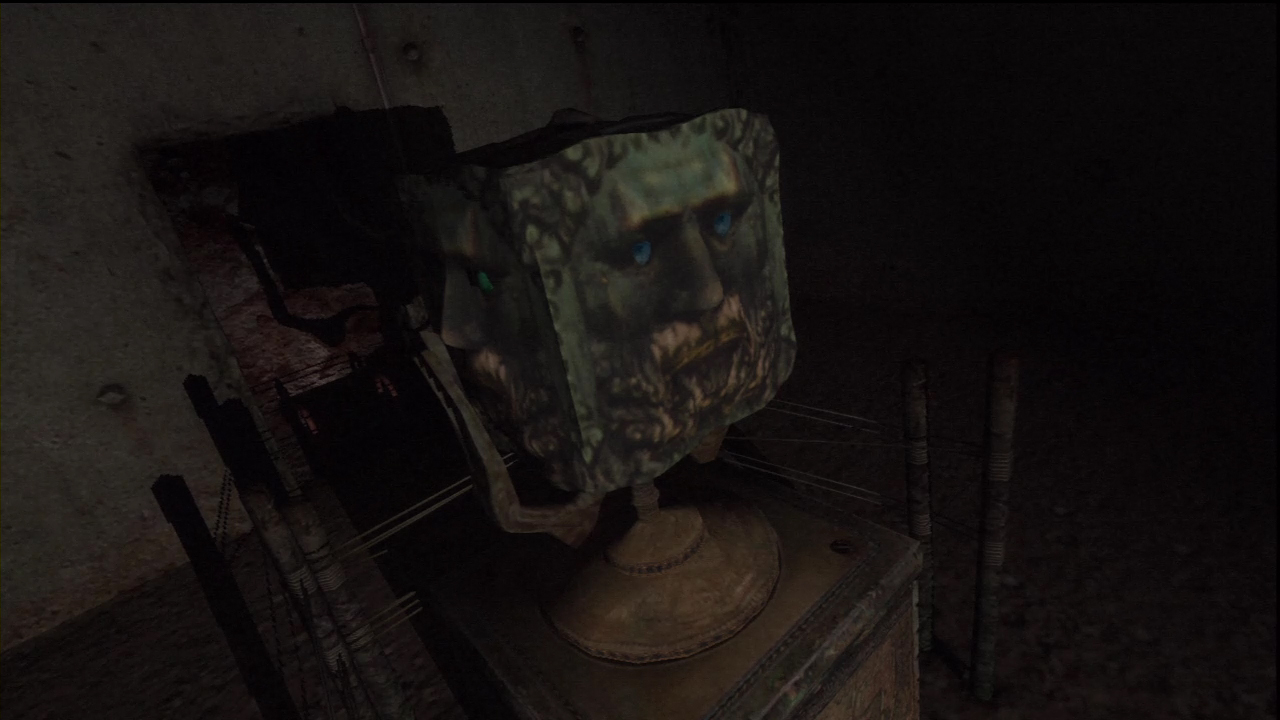
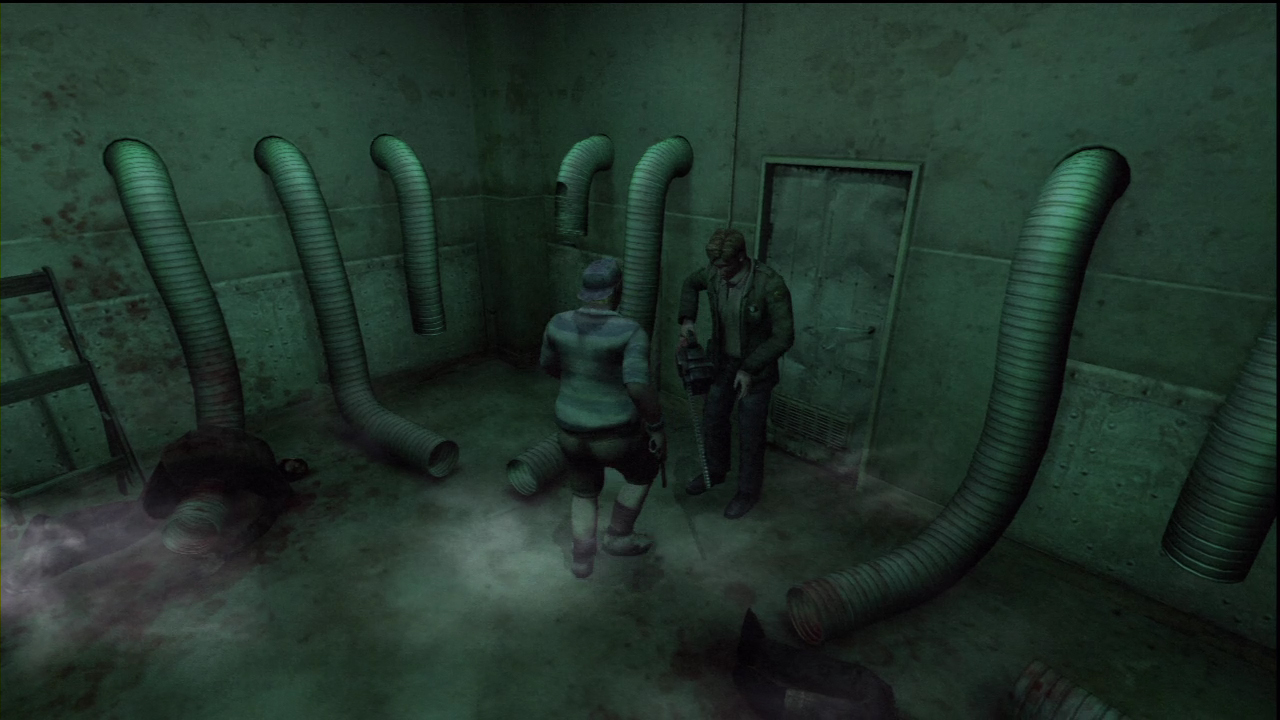
On the west side of this octagon there is a short passage which leads to a room in the center. Head there to find two boxes of Shotgun Shells and Pyramid Head’s old weapon the Great Knife. It is very slow and clunky, but also extremely powerful.
Now that you have your new toy, head back upstairs via either of the ladders. Head back to the first intersection in the entrance hall and take the path that you skipped (South).
Entrance Hall / Tunnels
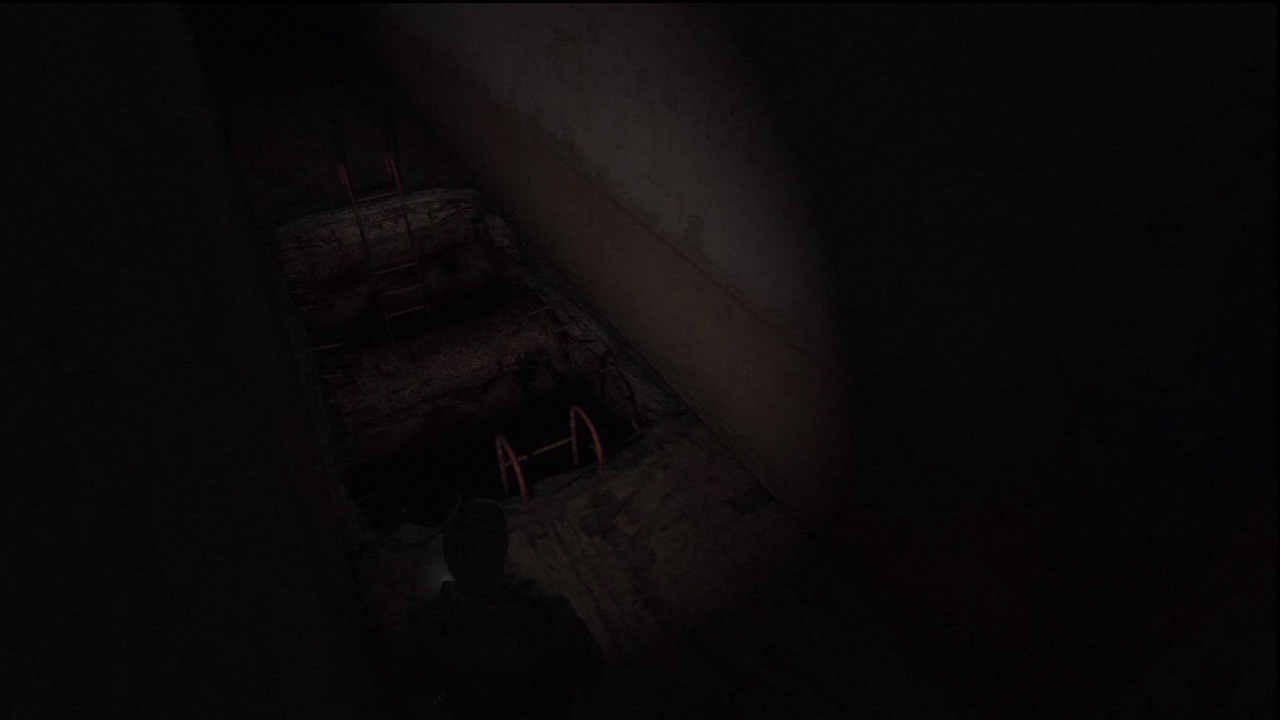
Follow the hall until it ends in a drop off with a ladder. Climb down into a small, watery tunnel.
This short stretch of tunnel has a Straight Jacket or two wandering around. Do with them as you see fit, and make your way to the other end of the hall where you’ll find another ladder. Climb up and you’ll be in the room with a Rotating Head puzzle.
Rotating Room
These two rooms are part of one puzzle. The first room contains a square rotating head. The second room is a square room with doors on each of its sides. Rotate the cube head to rotate the room. The objective is to get one door near the puzzle and one door at the opposite end of the room.
Solution
- Easy and Normal Riddle Difficulty: UP, UP, and LEFT.
- Hard Riddle Difficulty: DOWN and LEFT.
- Extra Riddle Difficulty: LEFT, LEFT, UP, LEFT
Once you have solved the Rotating Head puzzle, go through the new opening in the wall and a cut scene will play. After the cut scene, head back out past the Rotating Head puzzle. You may hear a weird noise. The circuit breaker is broken with something sticking out. Investigate it to obtain a pair of Wire Cutters.
Now that we have the wire cutters, we can cut the wires at the beginning of the Labyrinth.
Halls and Tunnels
Walk back to the entrance of the Labyrinth and cut the wires blocking the door. At the other end is a ladder which goes into another tunnel. Look out for any Straight Jackets that are walking around.
The next few tunnels and halls may seem difficult to navigate. Just look at the already completed maps to see where you go. Using them with this written guide will make things much easier.
In this tunnel, take the first path to your right (South). The ladder at the end of the tunnel (East) leads to a pointless dead end, so avoid that area.
Climb up the ladder, walk forward and make a right at the junction. If you take a left, you’ll reach a dead end with a Straight Jacket. Follow this hall to yet another ladder leading down. From the bottom of this ladder, go forward and then head either direction, as both paths will end at the same destination. Climb the ladder in the North Eastern region of this tunnel.
To get to the next ladder, follow the hall and take a right at the first intersection, then a left at the next. There’s nothing else here other than a Straight Jacket or two, so it’s not really worth searching.
From the bottom of this ladder, take the first left (south) you come to. The other path will lead to a dead end and a Straight Jacket. Climb up the ladder to another hall.
At the top of the ladder, you’ll be greeted by a Straight Jacket or two. Don’t miss the box of Handgun Bullets near the ladder either. Walk to the other end of the hall and take the next ladder down.
There are two paths you can take in this area. One path will have two boxes of Handgun Bullets, but you’ll also have to deal with Pyramid Head and a Straight Jacket wandering around. He’s really quite easy to avoid, though, so don’t let that deter you. Take the first right and follow it until it opens up into a room. Look for the ladder on the West wall, which leads up to a dead end containing the aforementioned bullets. Whether you choose to gather them or not, your main objective is to climb the ladder at the end of the short hall that heads East from where you first entered this area.
You will emerge in front of a door with a Save Square. Look on the ground to find a newspaper article with blood covering some of the words. If you’ve played the game before, this article may make more sense now.
Walk into the next hall way to start a boss battle…
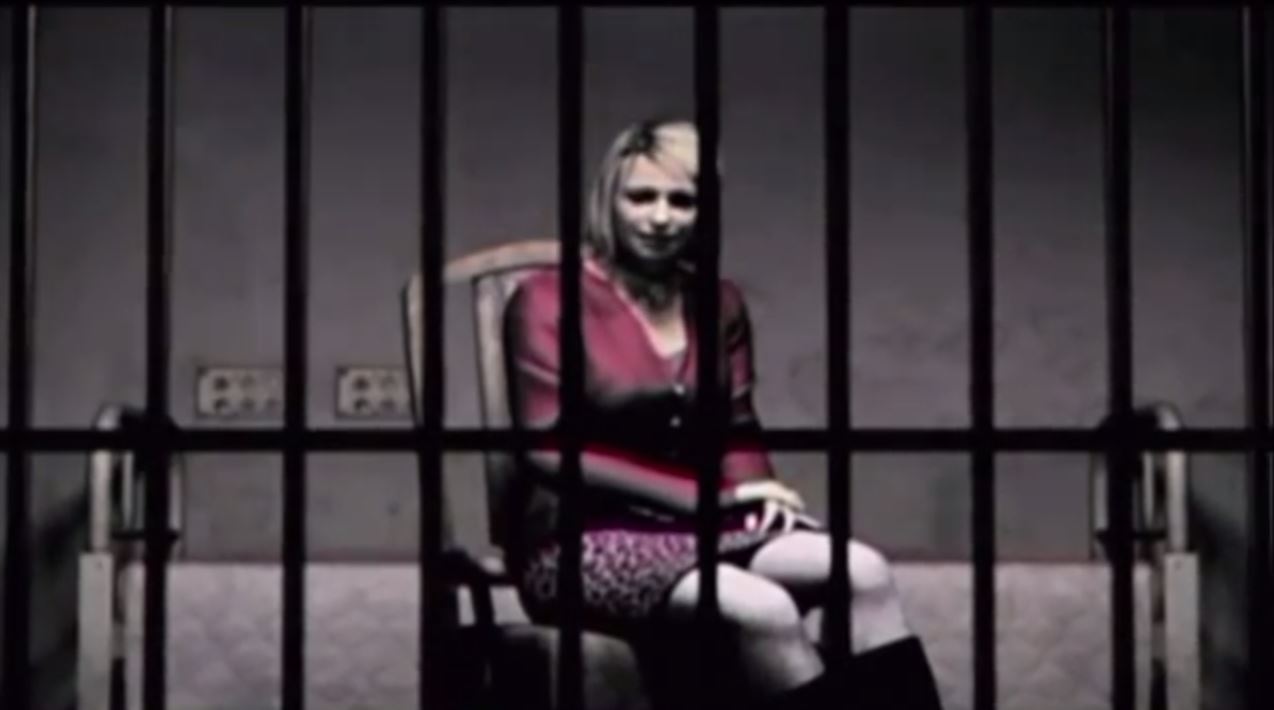
Boss Battle – Abstract Daddy
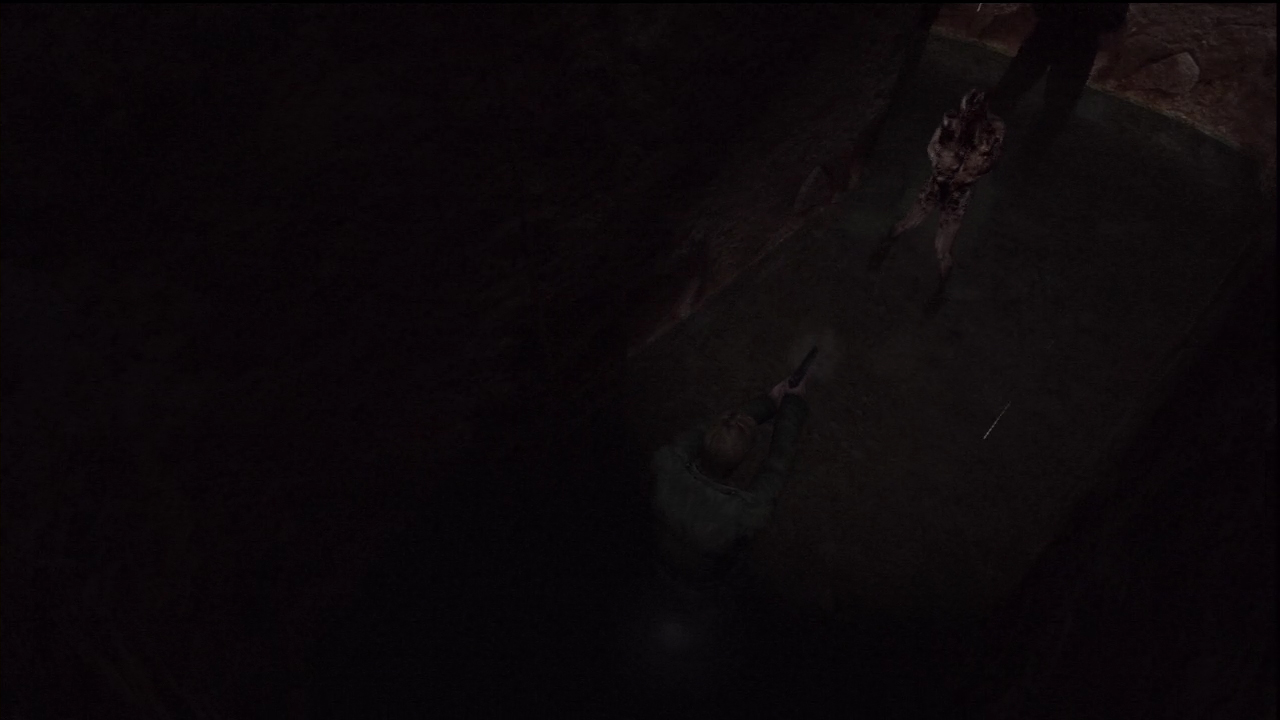
Abstract Daddy will only have one attack. This attack reaches up towards your head to do damage — almost like a hug from a four legged creature. When he does this, press the investigate and run buttons to get out quickly and run to the other side of the room.
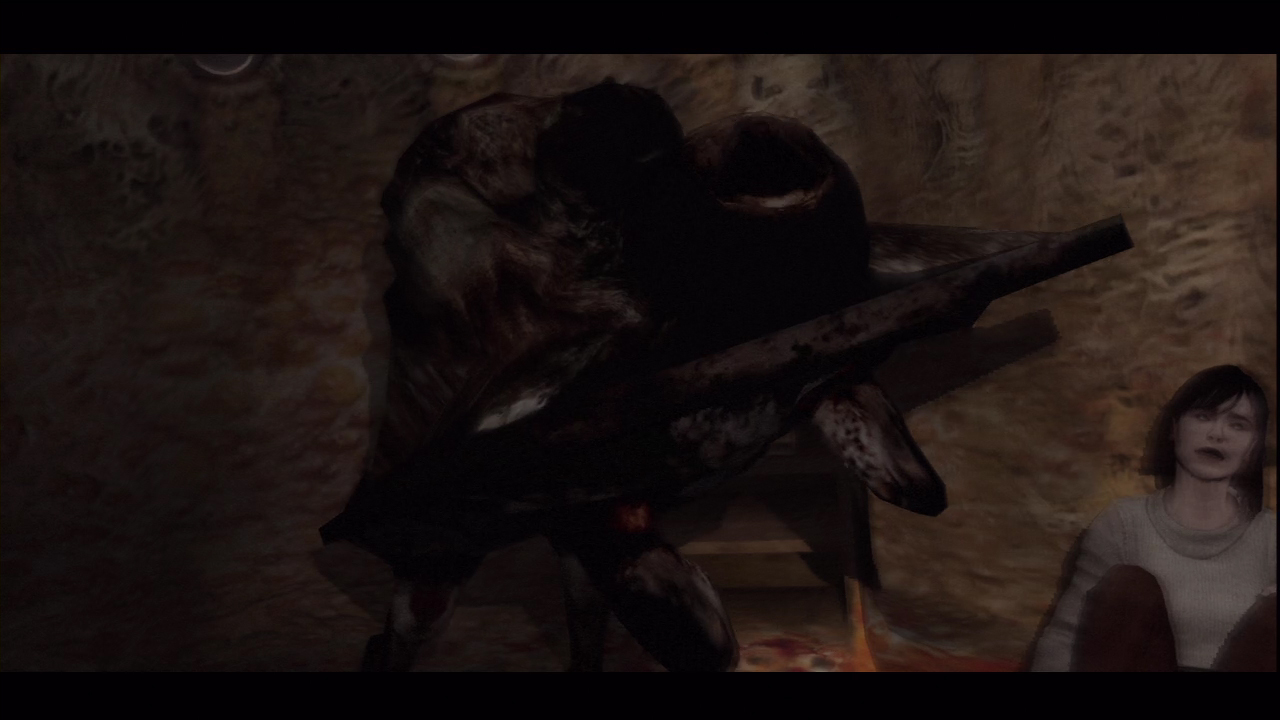
When you face him, it will be in a very small room with no where to go. If he gets close, you can try to run to the other side of the small room. Although, that will only be about five steps. Use the Hunting Rifle or Shotgun to make quick work of him. In other playthroughs, you can use the strong attack of the Chainsaw to take him down and attack as he gets up.
Defeat him to earn the Childhood Trauma achievement / trophy.
Hanged Man Puzzle
After you have defeated the boss, leave the room and continue into the next hall way.
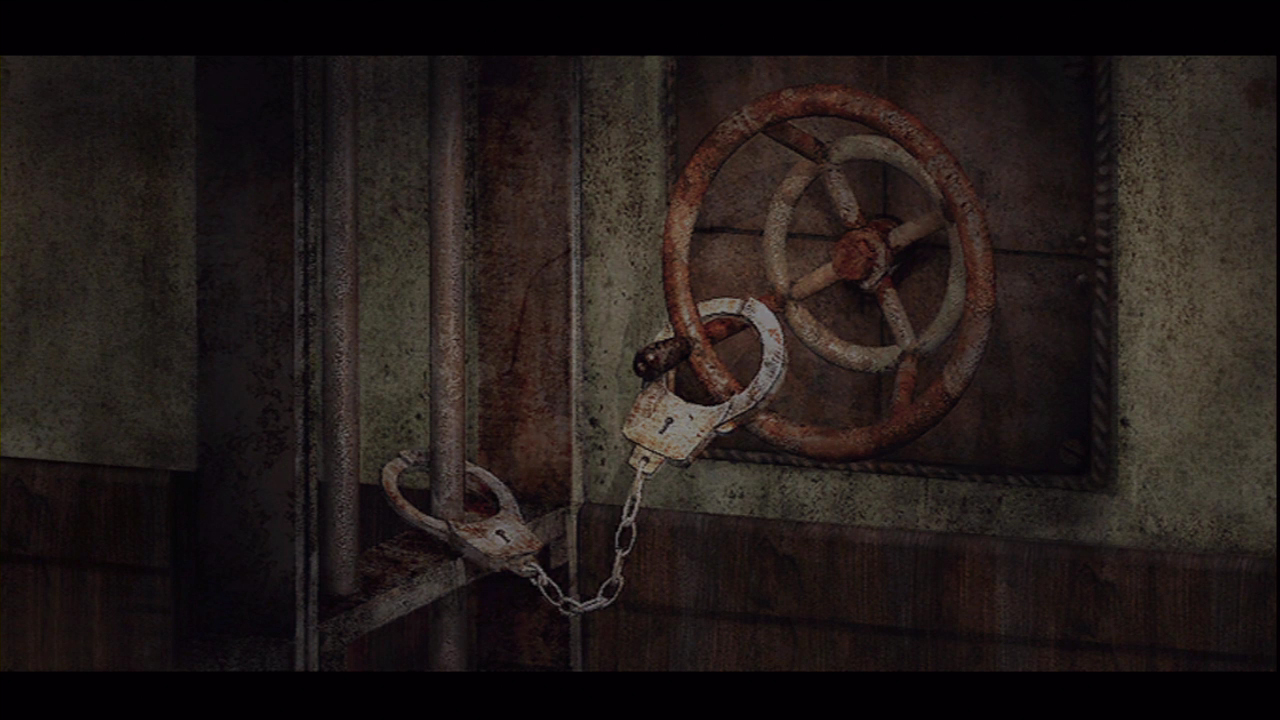
This hall way will have three doors. The last door will lead to steel bars with a pair of handcuffs chained to a water valve. We’ll need the key. To get the key, we’ll need to solve another puzzle.

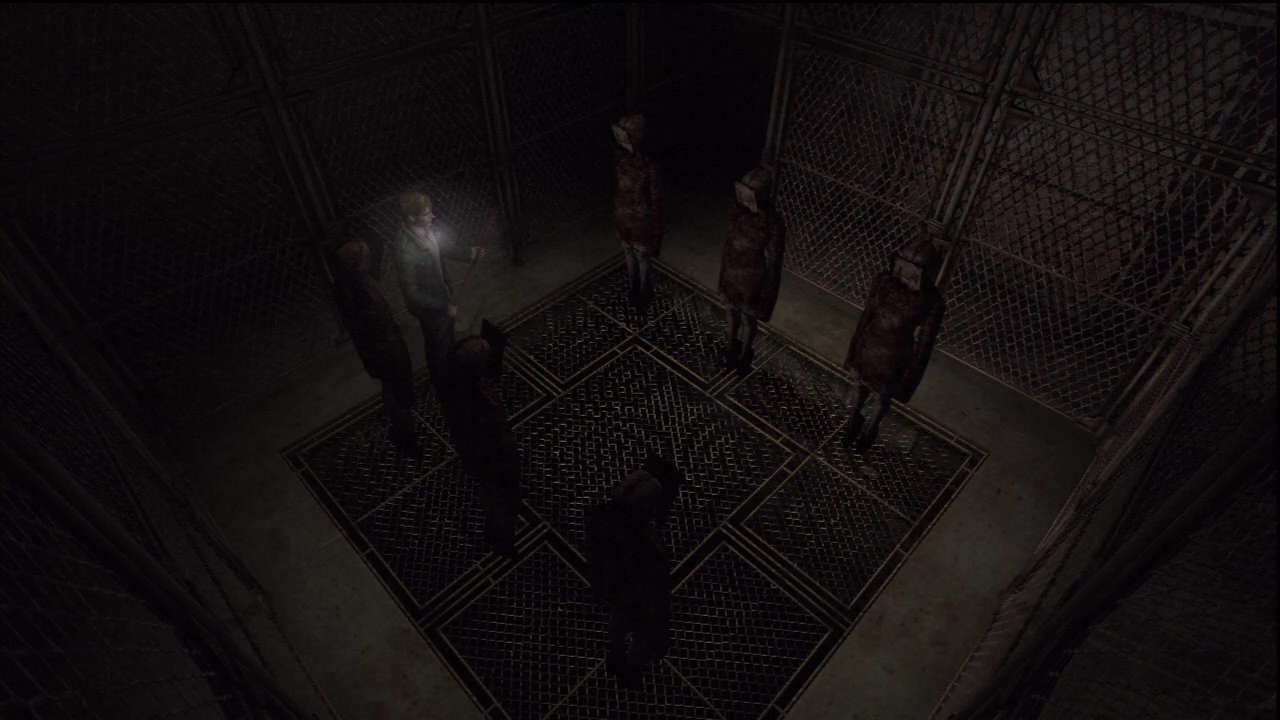
Return to the hall way and enter the door next to the last door. Inside are six nooses and two memos on the wall. One of the memos will have the riddle needed to solve the puzzle. The riddle and answers will change depending on the Riddle Difficulty.
Go to the other room to see six fake bodies in the same position as the nooses. Investigate each face to see what their crimes were. You need to figure out which one of these men was innocent. When you figure it out, pull the noose that’s in the same position as the innocent man’s body.
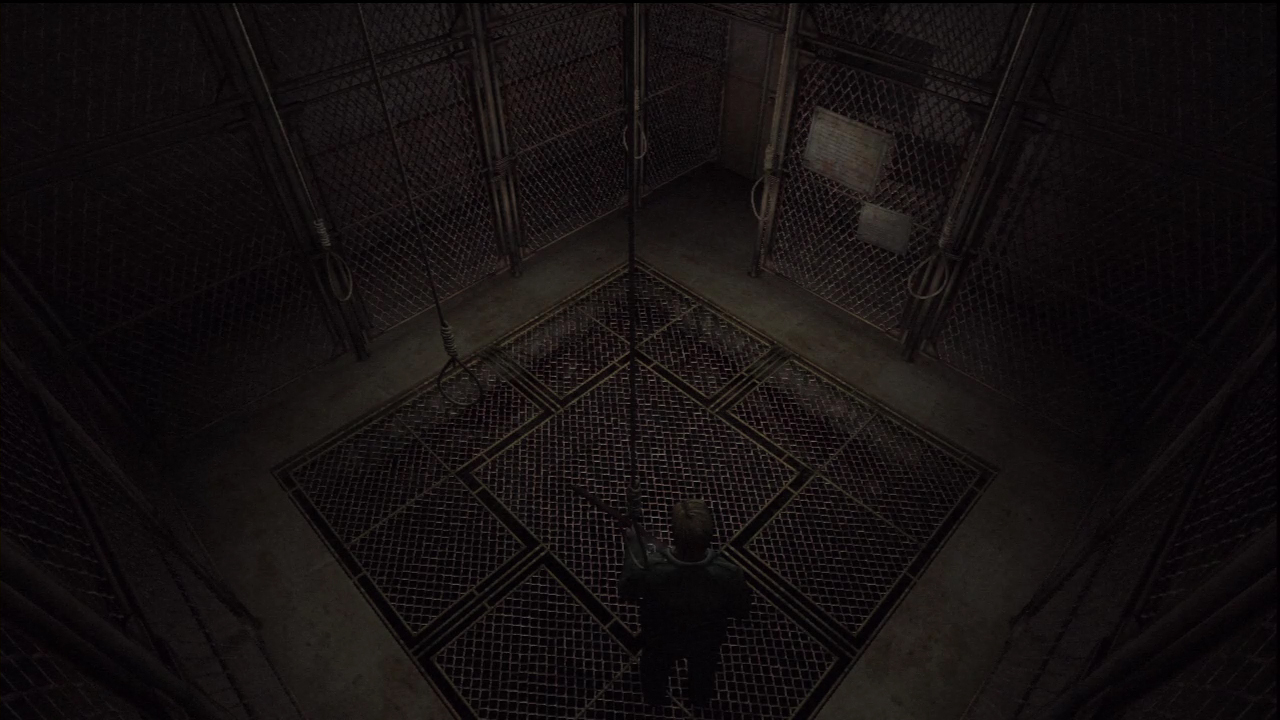
Return to the first room to find the Key of the Persecuted where the innocent man’s body once hung.
If you’re having trouble with this puzzle, see the Riddle and Puzzle Solutions page.
Take the key and unlock the handcuffs at the end of the hall.
Walk down the ladder into another watery tunnel. Enter the door at the end for a short cut scene. After the scene, return to the tunnel and investigate the gated door that was locked, it should now be open. Climb the ladder up to another hall. Grab the First-Aid Kit on the ground and enter the Graveyard.
Catacomb
The Graveyard has a few good items around. You can find an Ampoule and three boxes of Shotgun Shells.
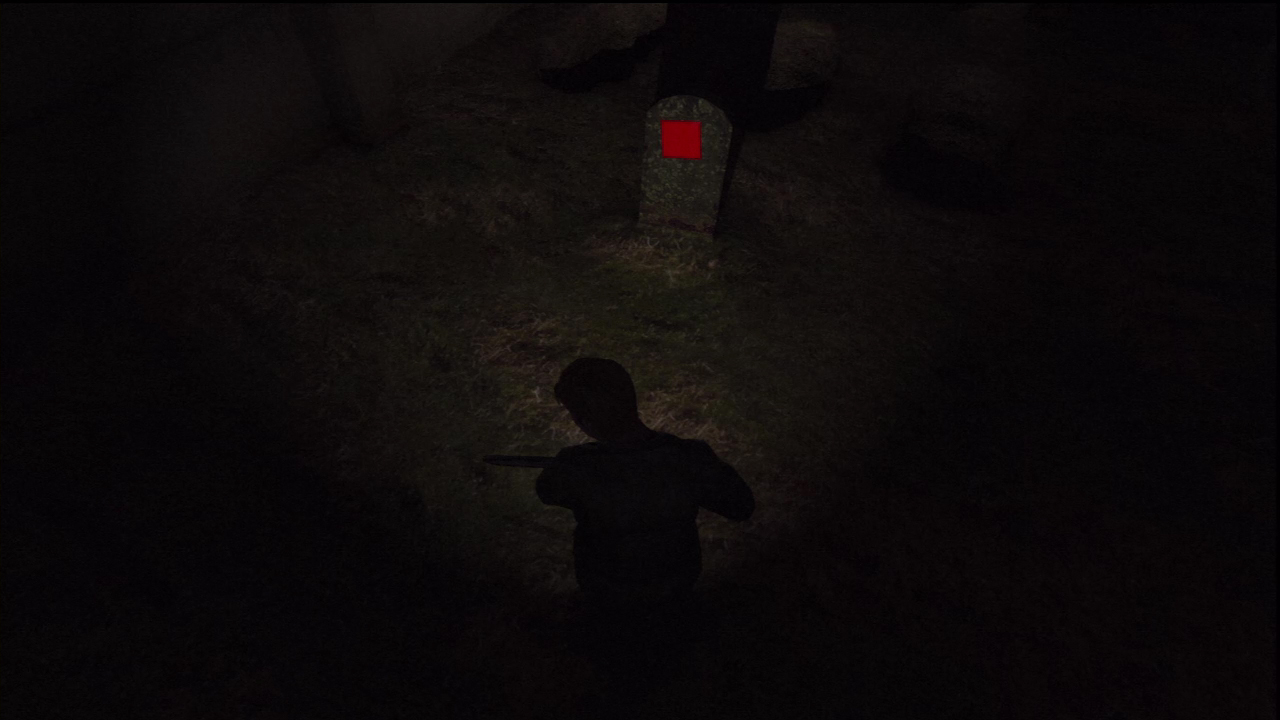

Investigate the Tombstones to learn the names of the main characters. One of the tombstones also has a Save Square.
Two of the three graves are shallow. The third, James’ grave, is a deep hole. Investigate it and jump in. You’ll wind up inside of a hall. Walk down the stairs and follow the hall until you reach a door. Enter it to start a cut scene and a boss battle.
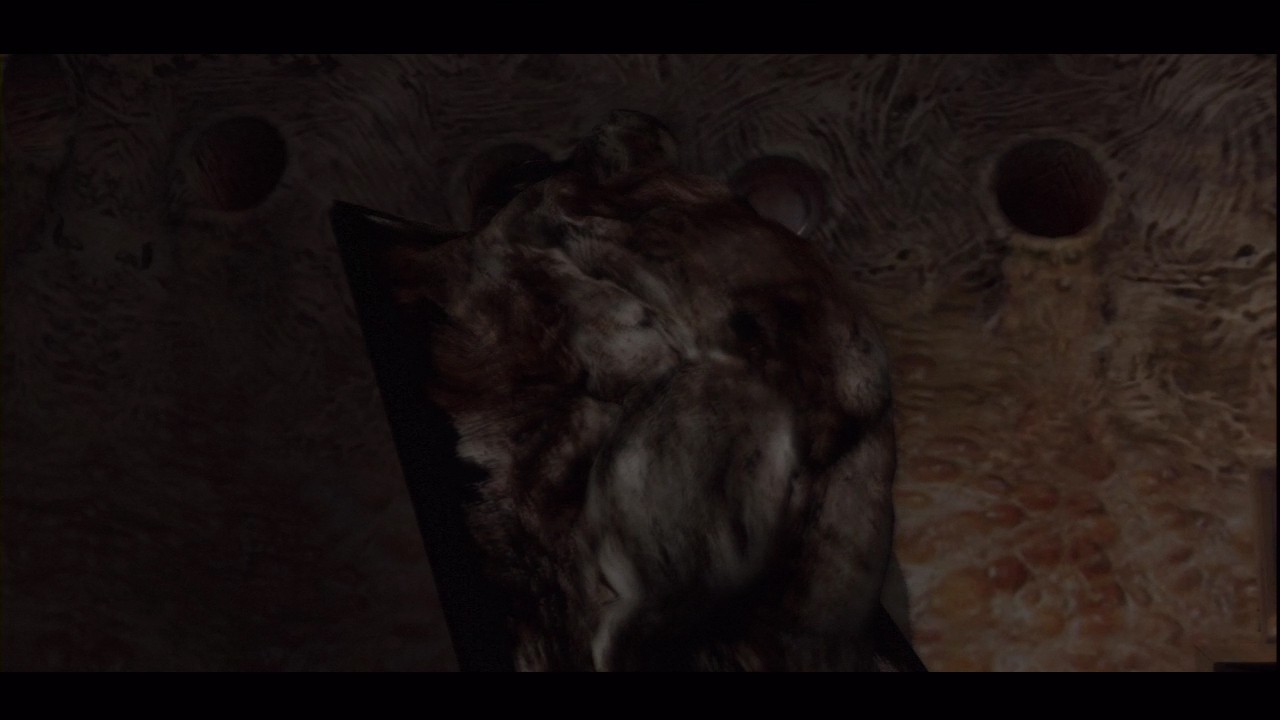
Boss Battle – Eddie Dombrowski
The fight will start in a small room. Eddie will mostly run up to you and punch you. This attack doesn’t cause much damage, but it will stop you from attacking. Since he has to come up close for the attack, you can hit him back with a melee attack if you don’t want to use any bullets. Damage him enough and he might start shooting at you. There’s no where to run, so take him out quickly. Before entering the next area, pick up the Rifle and Shotgun Shells on the floor in this area.
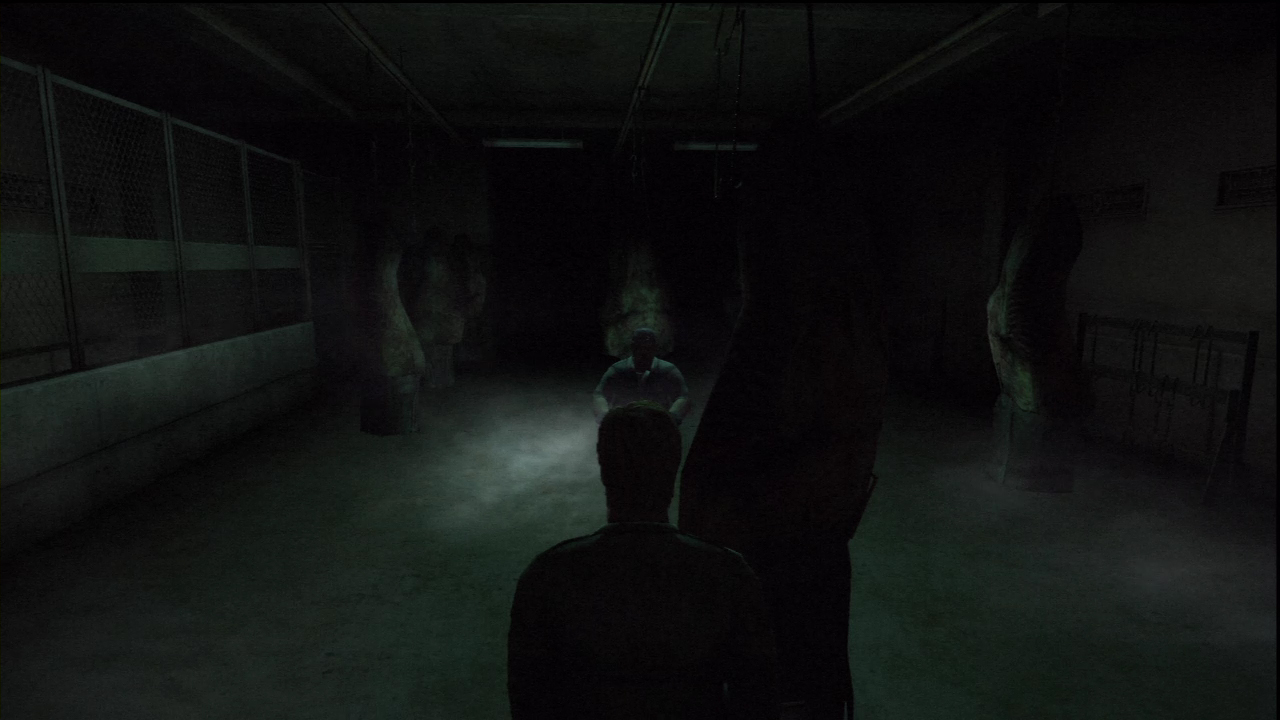
The second room will be much bigger with big meat carcasses hanging from the room. Use these for cover, if you can, when Eddie starts firing. Eddie will slowly raise his gun before he fires. Use that opportunity to fire back at him with your Hunting Rifle. He may run up to you every now and then for a punch, but the gun he has does much more damage. Take him out quickly and walk out the back doors to the shipping dock near Toluca Lake.