
Twisting Bridge
Score Challenges:
Score 190,000 Points
Score 210,000 Points
Score 250,000 Points
-Award:Submachine Gun
Reward Challenges:
Collect 10 red skulls
-Award:Serpent Drum
Navigate the Twisting bridge in 6:00 or less
-Award:Mask of Itzli
Bomb the rolling fire (3)
-Award:Health Powerup
Knock the shield off a shield demon
-Award:Ammo Powerup
For this level you have a map again. It seems pretty straight forward on the map. First things to do is gather up all the gems around you. Next head down the stairs to the right. At the end you’ll find a few more gems and a red skull. When you grab it a few enemies will jump over to you so look out. One is a giant enemy. Now head back to the area that you started off on and take the left path.
On the left path you’ll find a few more gems and a dead end with more enemies. Take them out and go back to the main area. Next take the main path straight forward. Walk down the steps and you’ll fight more enemies at the bottom. One giant one will spawn behind you on the steps you just walked down. Once they’re all dead go left to grab some gems. Next go right and find the gold ring. Use your grapple hook to lower yourself to a red skull.
Now take the main path to find a contraption in the middle of a 4 way intersection.
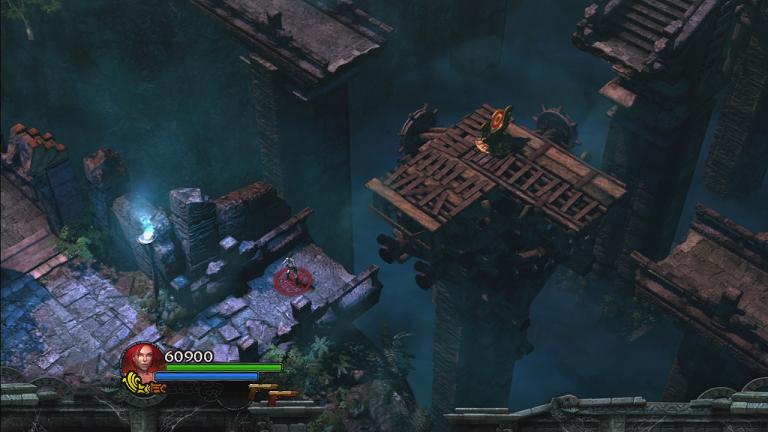
Shoot the target in the middle to make it change direction. Jump on the platform and shoot the target again. Take the bridge to the left which leads to a challenge tomb. Inside the challenge tomb is a red skull. This one is a bit tricky. Go to the right and grapple hook across the gap. Pick up the red skull on the way across. On the other side grab the ball from the left area and put it on the pressure plate; a platform will rise. Jump on the platform and onto the area where there’s a target. Drop a bomb on the target and head back to the ball. Roll the ball back to the area where you picked up the ball and detonated the bomb. Roll the ball outside of that area and onto the first pressure pad at the start. This will unlock the relic at the back. Use your grapple hook to swing back and pick it up. Both doors will unlock and you’ll have a new relic, The golden knife of itzli. Now head back to the platform.
While on the platform you’ll need to shoot the target two separate times to lead you to the bridge on the right. Jump over to that side and walk to the grassy area. A few enemies will come at you again. Nothing big. You’ll also find a new weapon, the high power single shot rifle. Walk up the steps next to you and step on a pressure plate to the left to open up the crypt. Enter the crypt and you’ll find a few Urns and TNT boxes. This is where you’ll encounter shield demons. There’s a challenge to knock off their shields. To do this you must get them right in front of a TNT box with their shields in front of them. Shoot the TNT box and their shield should fly off. Many other enemies will come at you including skeleton demons. Before you could kill them with a poison pod. Since there are none here you have to kill them and explode bombs where their bodies lie before they rise again. The urns contain health and ammo packs if you need them. When you’re done pull the gold handle on the left top corner of the room to activate some steps. Climb up the steps and head to the ledge on the left side to get a few gems and an ammo power up:
Next you need to hit the target to bring up more platforms to a gold handle. Pull out the handle, run down, and run inside the door that just opened next to the ledge. Walk through the bridges and up steps fighting a few enemies. It’s pretty straight forwards. Jump a few gaps to reach a pressure plate. Step on a plate for a gate to open in front of you and the bridge to move behind you. Walk down to face more enemies including a shield demon. Take them out with some TNT help up the steps. When they’re taken care of pull the gold handle and enter the crypt.
Inside the crypt are a few platforms. When you get to a particular one, enemies will surround you. Take them out and then shoot the target to your right. This will activate a platform to get some gems around the target and a red skull to the left of it. Now jump on the platform to the left of the main platform and shoot at a target far off in the distance:
It will activate two more platforms. Jump to the platform on the left and shoot the same target you shot to get here. The platform behind you will fall down and another will rise. Watch out because enemies may jump to you including skeleton demons. After this you’ll want to jump to the new platform, shoot the target, and jump to the next platform that comes up before the platform you’re on falls. Reach the next safe area and you’ll get a checkpoint with a few enemies around you. Take them out and grab the red skull to your top/left. Jump to the next platform to your right (if you’re looking at the skull) and shoot the same target. Jump from platform to platform until you reach some stairs up and out of this area!
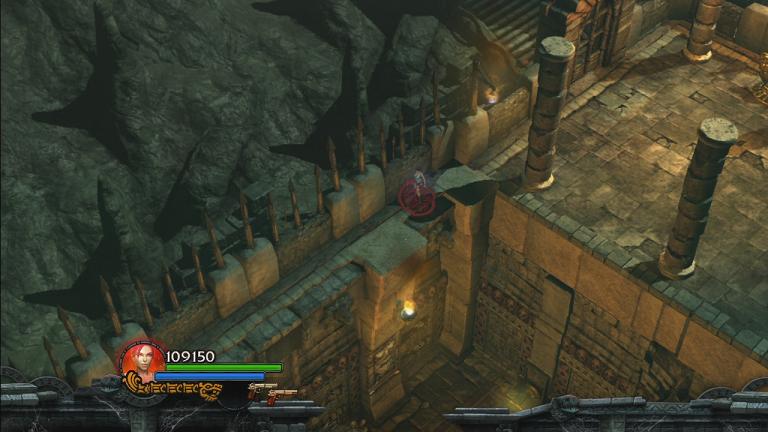
You should be outside again. Head down the stairs and a few enemies will pop up. To your left will be a challenge tomb with a red skull on top of it. Inside the challenge tomb are some devices that smash you from both sides like on an earlier level. Stay close to the ones opening up because some will close back up on you if you’re too far away. When those open back up the ones that just opened up will close again. Just look for the shaky ones. Head as close to the newly opened ones as possible because lots will close again and you can get lucky and not get smashed between some if you’re close enough to the ones that are opening. At the end you get a few gems and a gold lizard. Exit the tomb and try for the red skull. It’s not too difficulty, just plant a spear and climb up top like before.
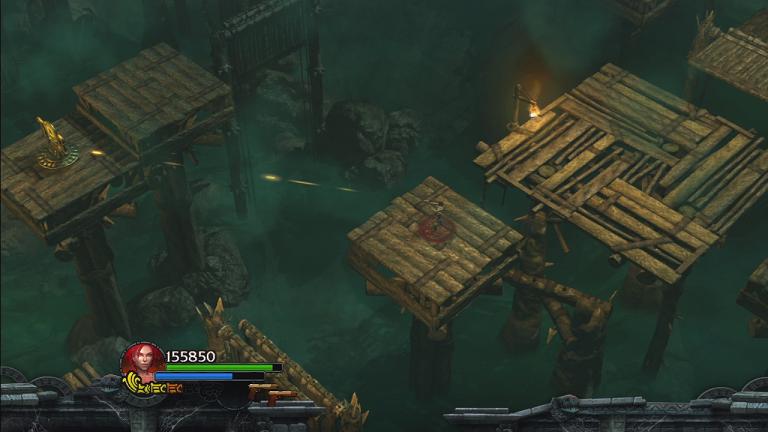
Next you’ll want to run across the gaped bridge until you hit the pressure plate at the end creating a bridge to exit the level. Keep moving forward to the next tomb. Inside this tomb you’ll find the same setup like before. Jump from platform to platform to get gems. There are two red skulls visible next to a target. Jump to the target’s platform, shoot it, and grab the red skull to the right. Now shoot the target again to bring up the old platforms. Head to the platform on the top left. Shoot the target and jump to the next platform with the red skull to your left before your platform falls. Then shoot the target to go back. Next you’ll want to do the same to this platform:
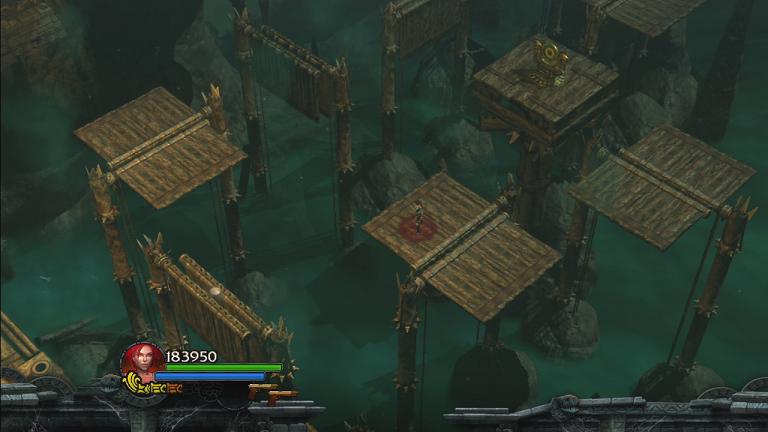
Shoot the target and jump left. Shoot the urns in your way to jump to the biggest platform and then blindly shoot for the target to reach a health upgrade to your right. Lastly you need to jump down to the ground on the left. You’ll fight a ton of enemies again unless you run up the stairs, but you may want the extra points.
Now head back to the main bridge from the start of the level. Jump across the bridge gaps and you’ll fight many enemies on the sides and enemies who jump onto your bridge. Before you reach the end you’ll have to get the last red skull. It will be about two platforms before the end on this section of the bridge:
You must jump to the left platform off your main bridge. Then continue on. When you reach the end you’ll have to climb some stairs with flaming and steel balls rolling down at you while the stairs blow up behind you. You can plant some bombs and set them off for the flaming balls to get a challenge. Just watch out because they can kill you! Climb the stairs and reach the top to complete the level.