[toc]
Administration Block
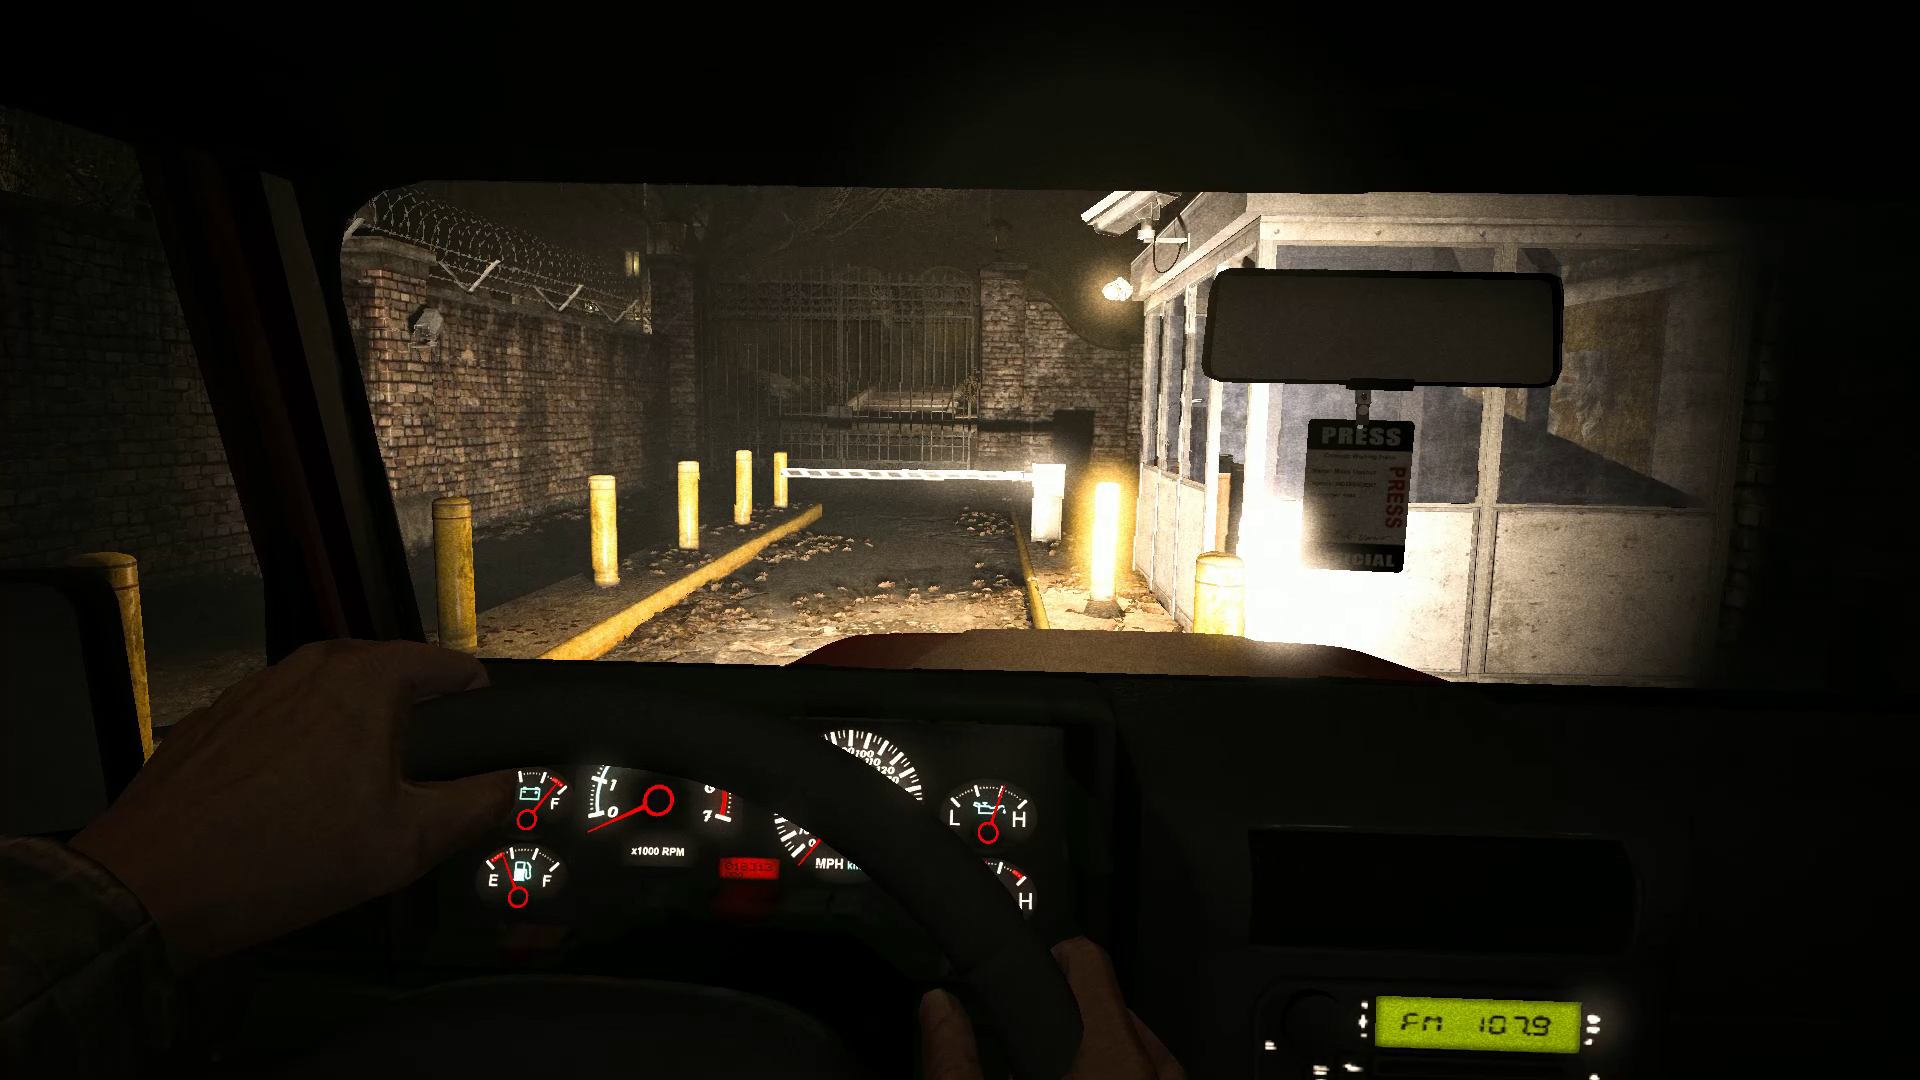
The game starts you off inside of your vehicle. When you come to a stop, you will automatically pick up the very first Document entitled “The Whistleblower,” along with your camcorder and some batteries.

Investigate Mount Massive Asylum
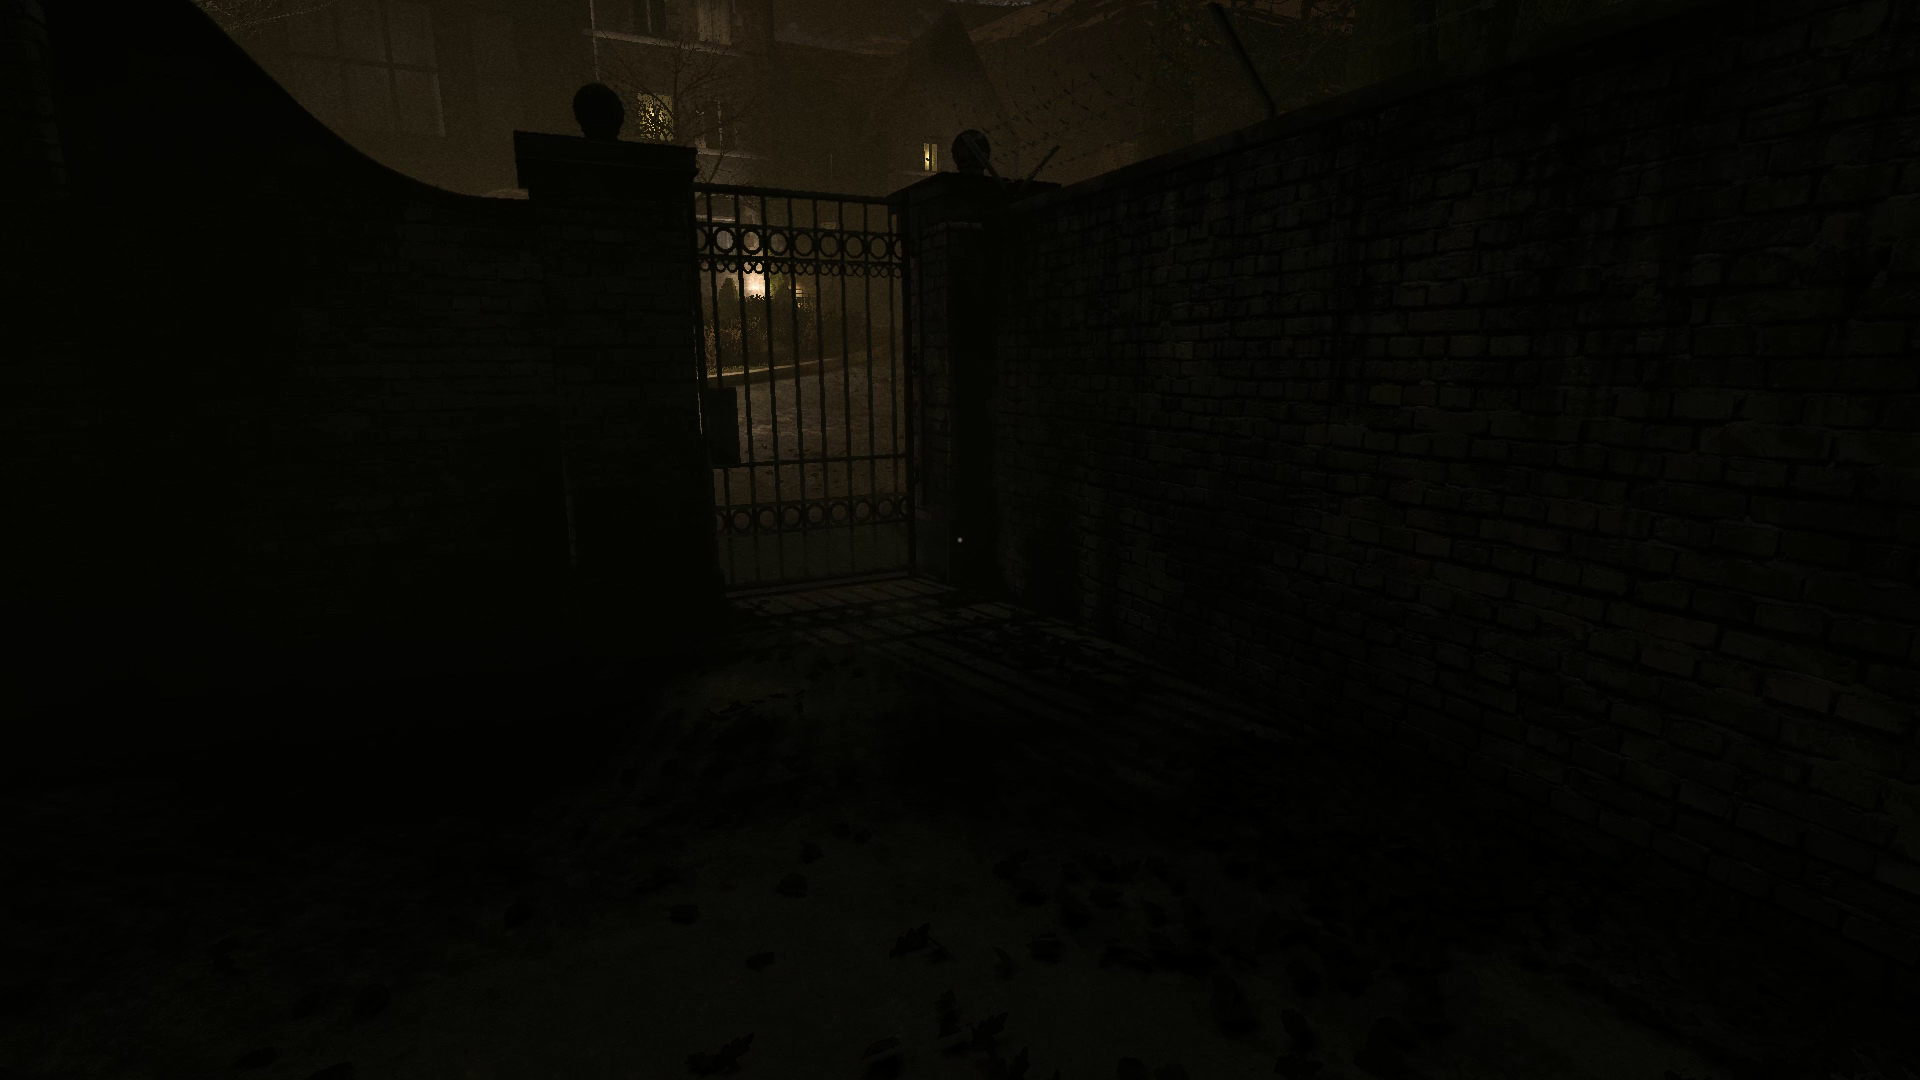
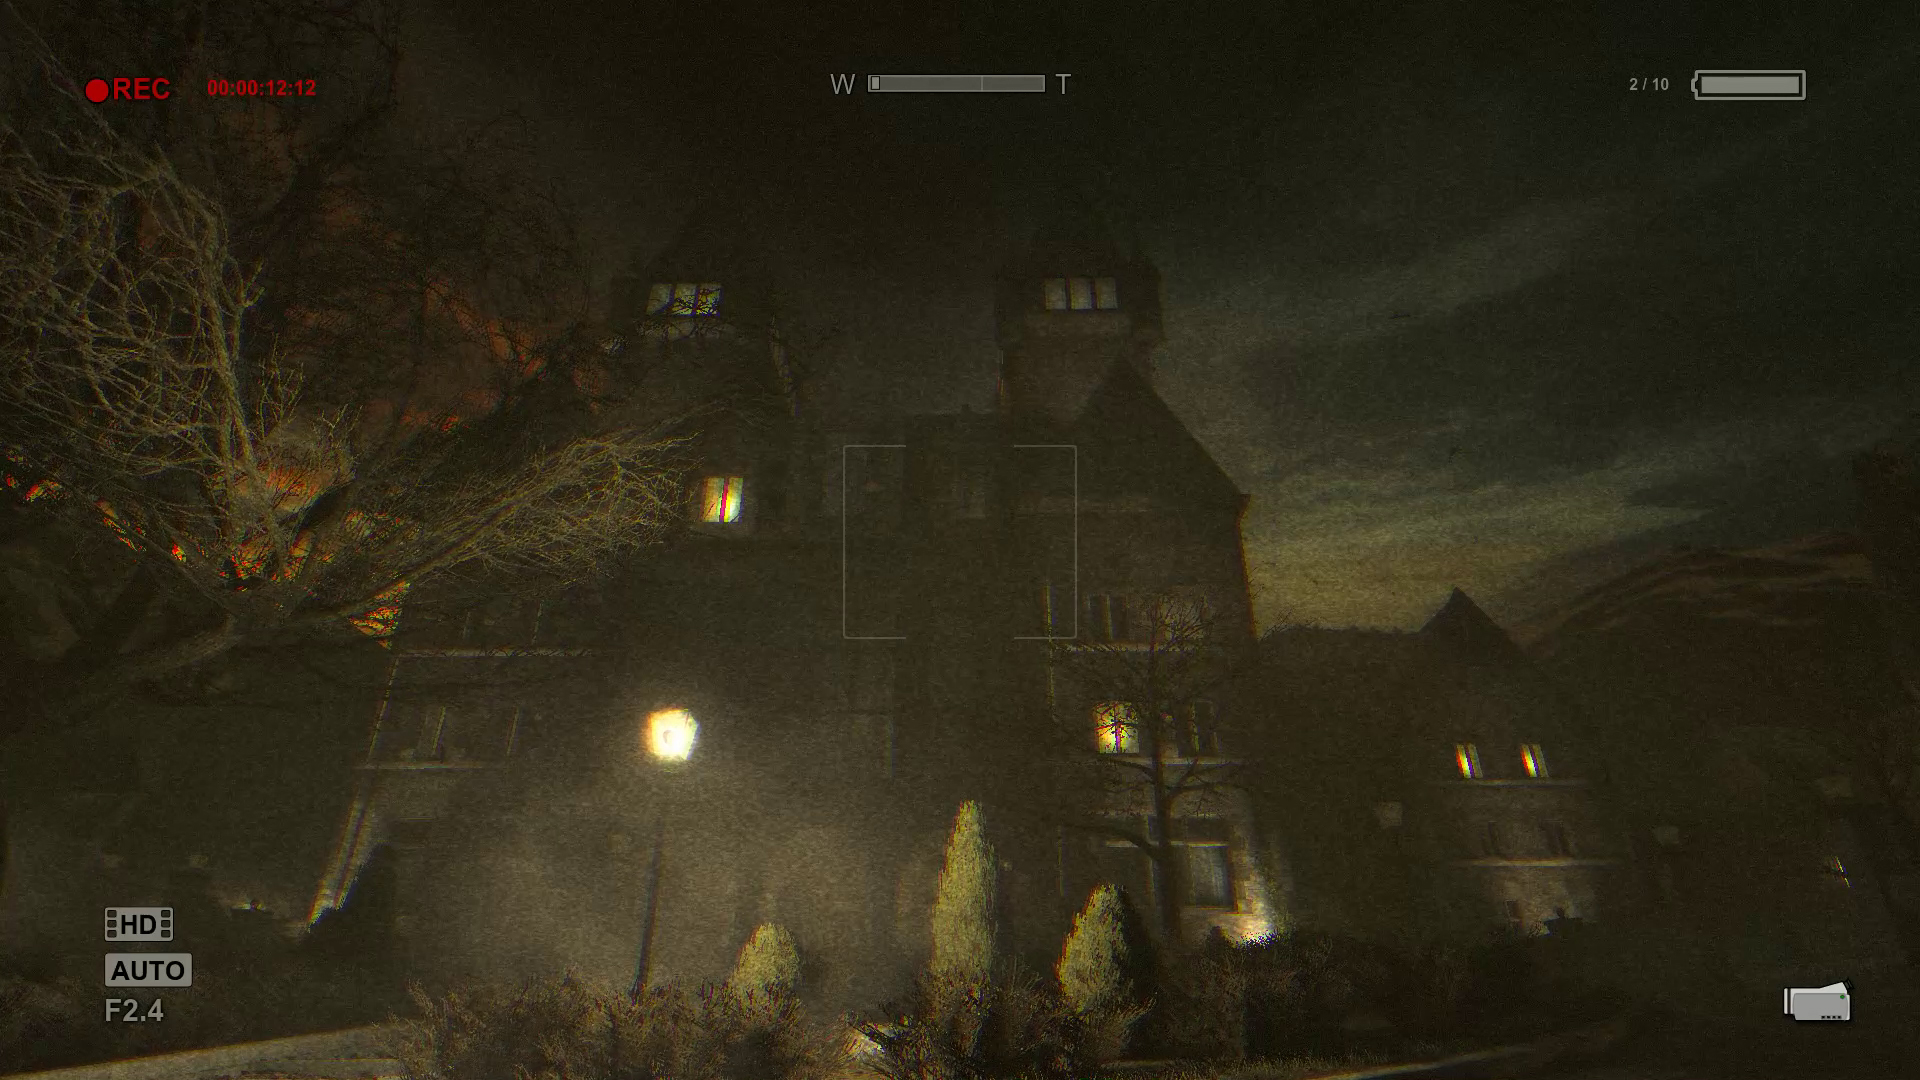
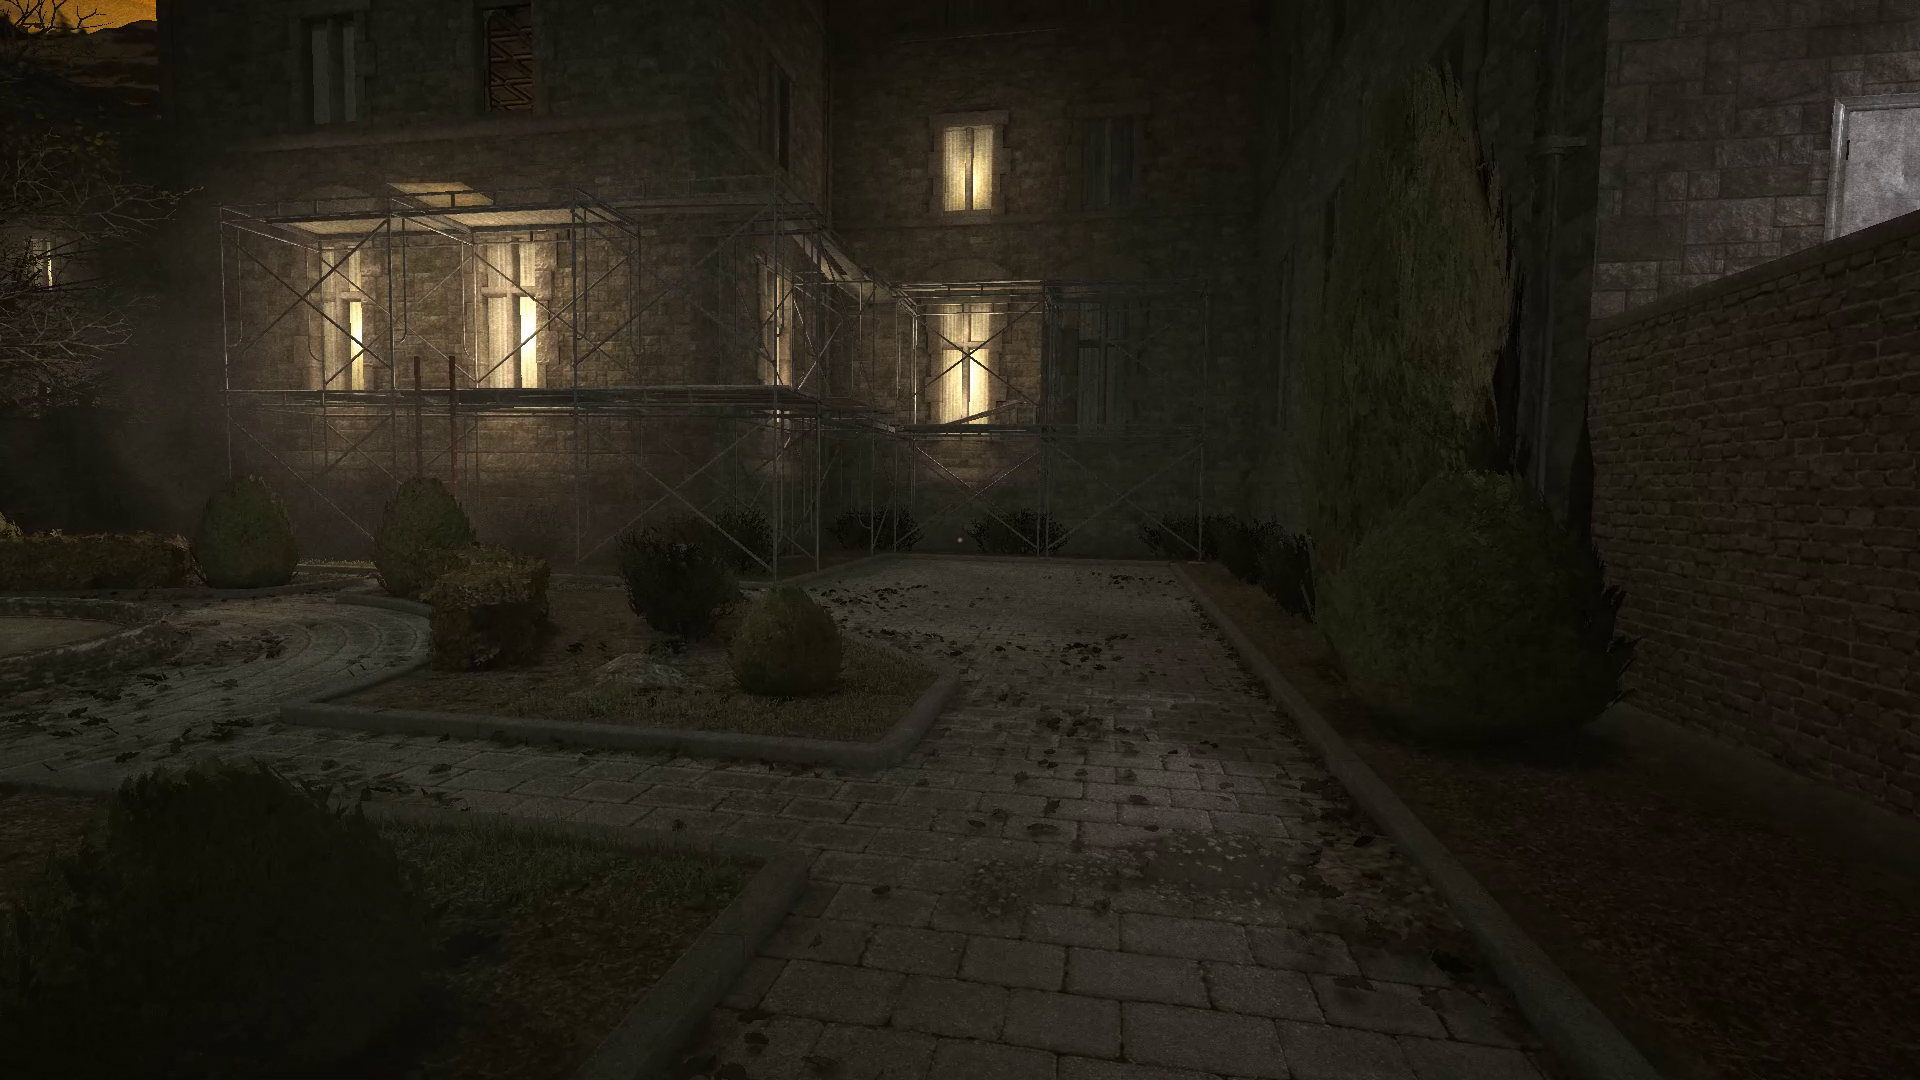
Your first objective is to investigate Mount Massive Asylum. Walk through the small gate door to the right of the large road gate to reach the front of the asylum. Use your camcorder while looking at the asylum to obtain the first Note entitled “Mount Massive Asylum.”
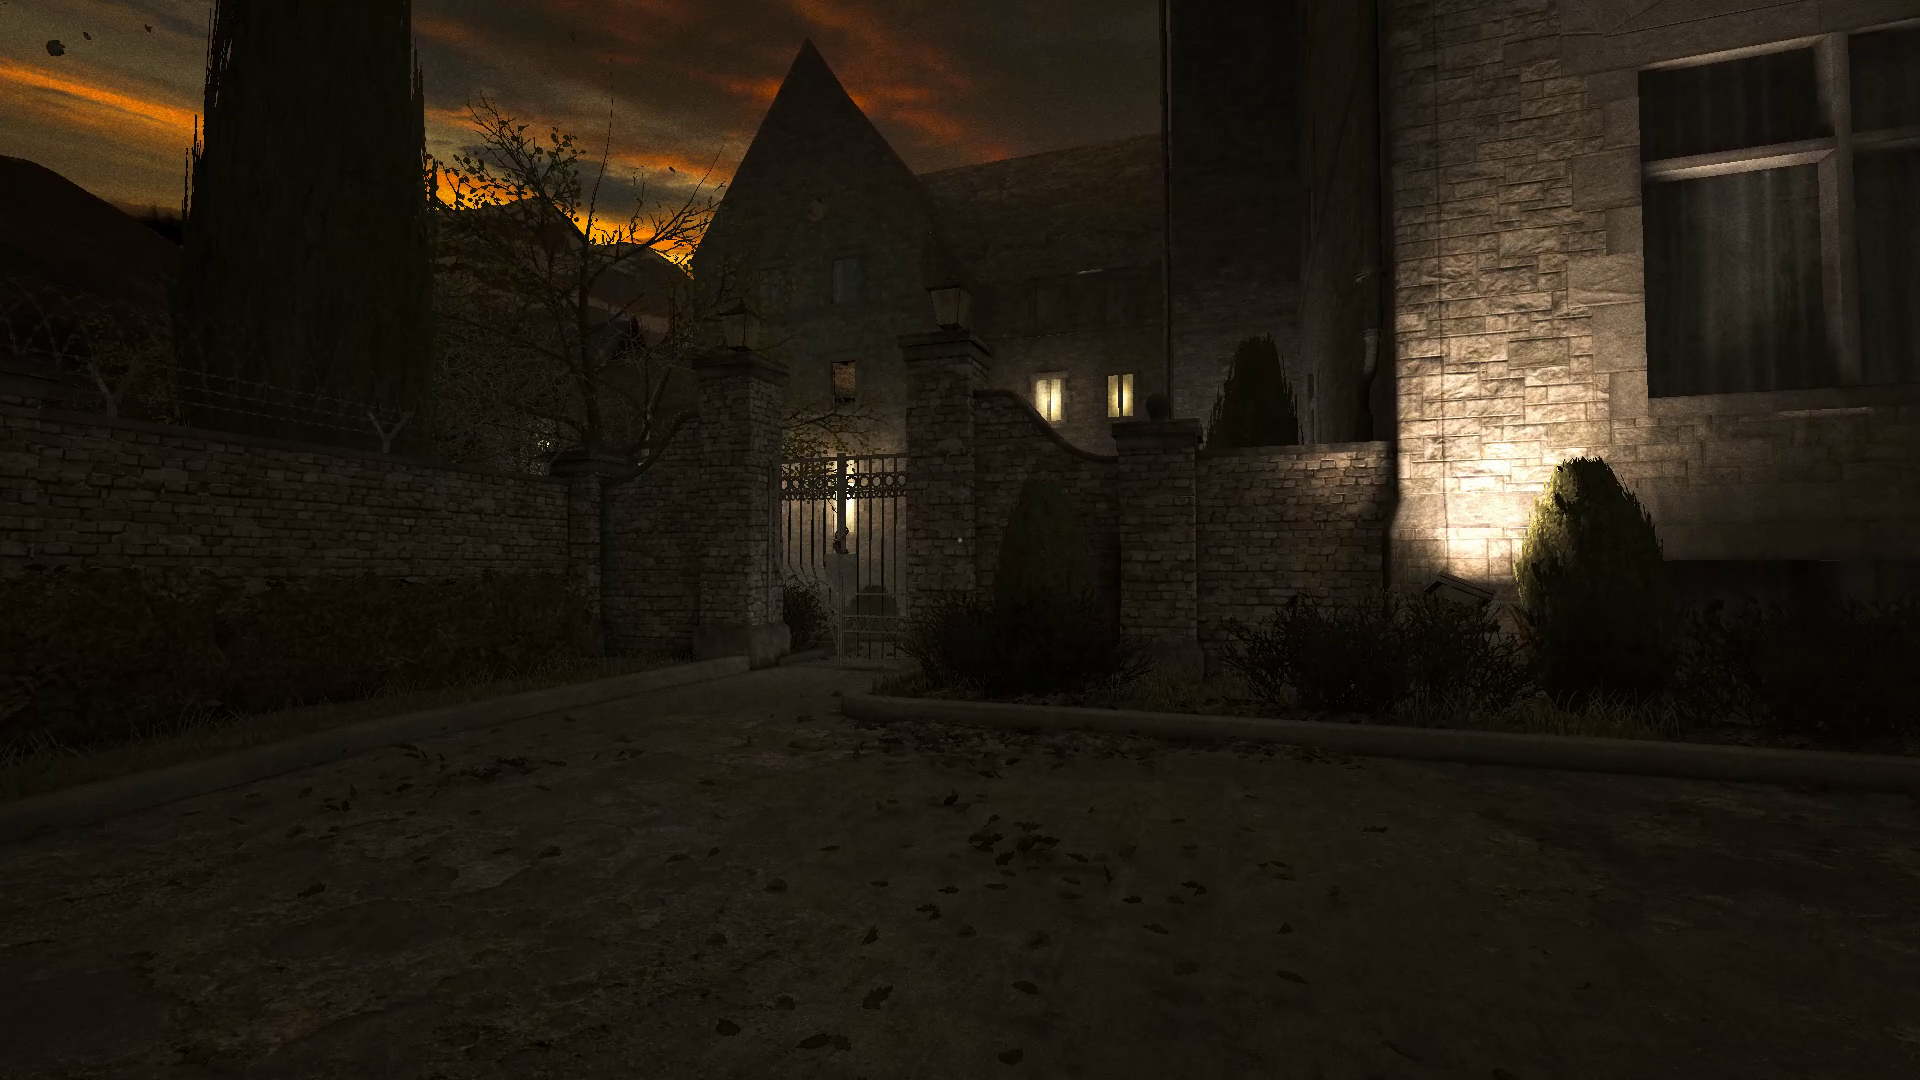
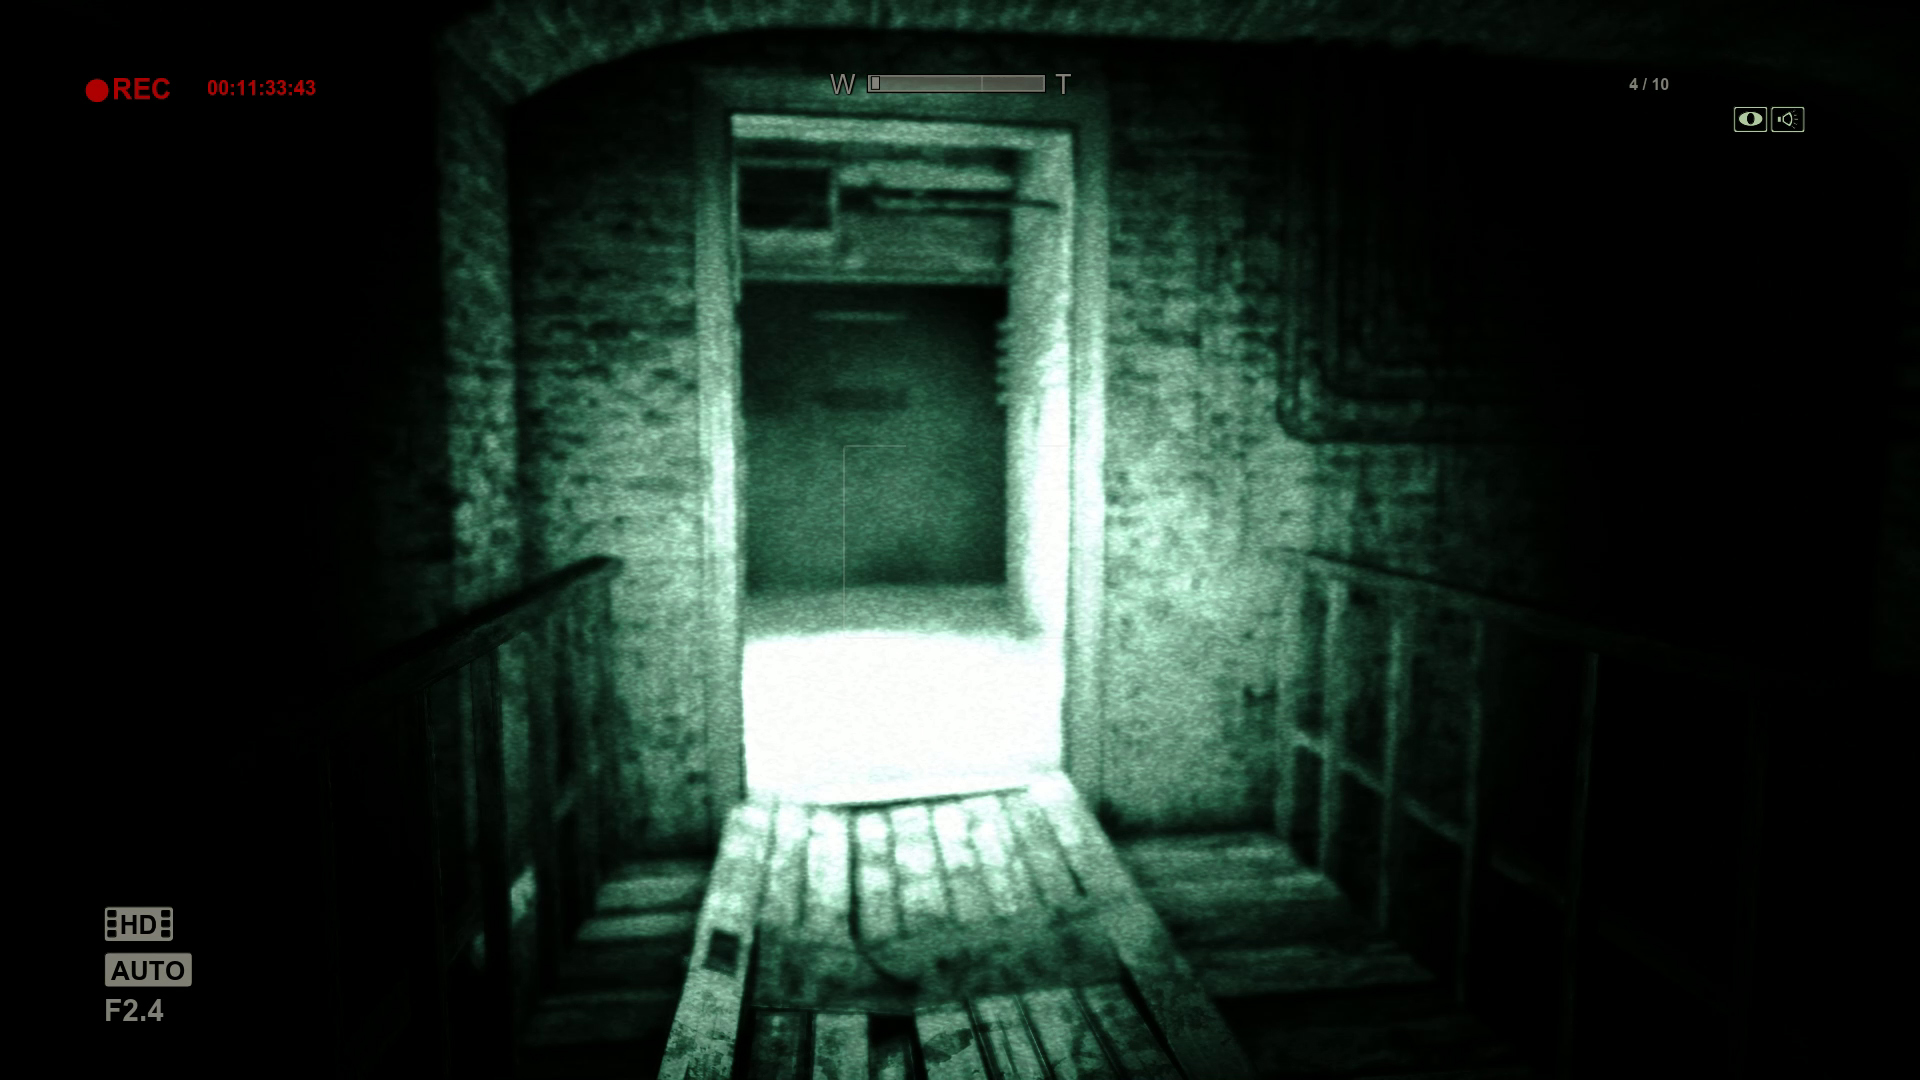
The front door to the asylum is locked, so you’ll need to go through a hole in the gate door to the left of the main door. Climb up the scaffold on the side of the building to reach the inside through an open window.
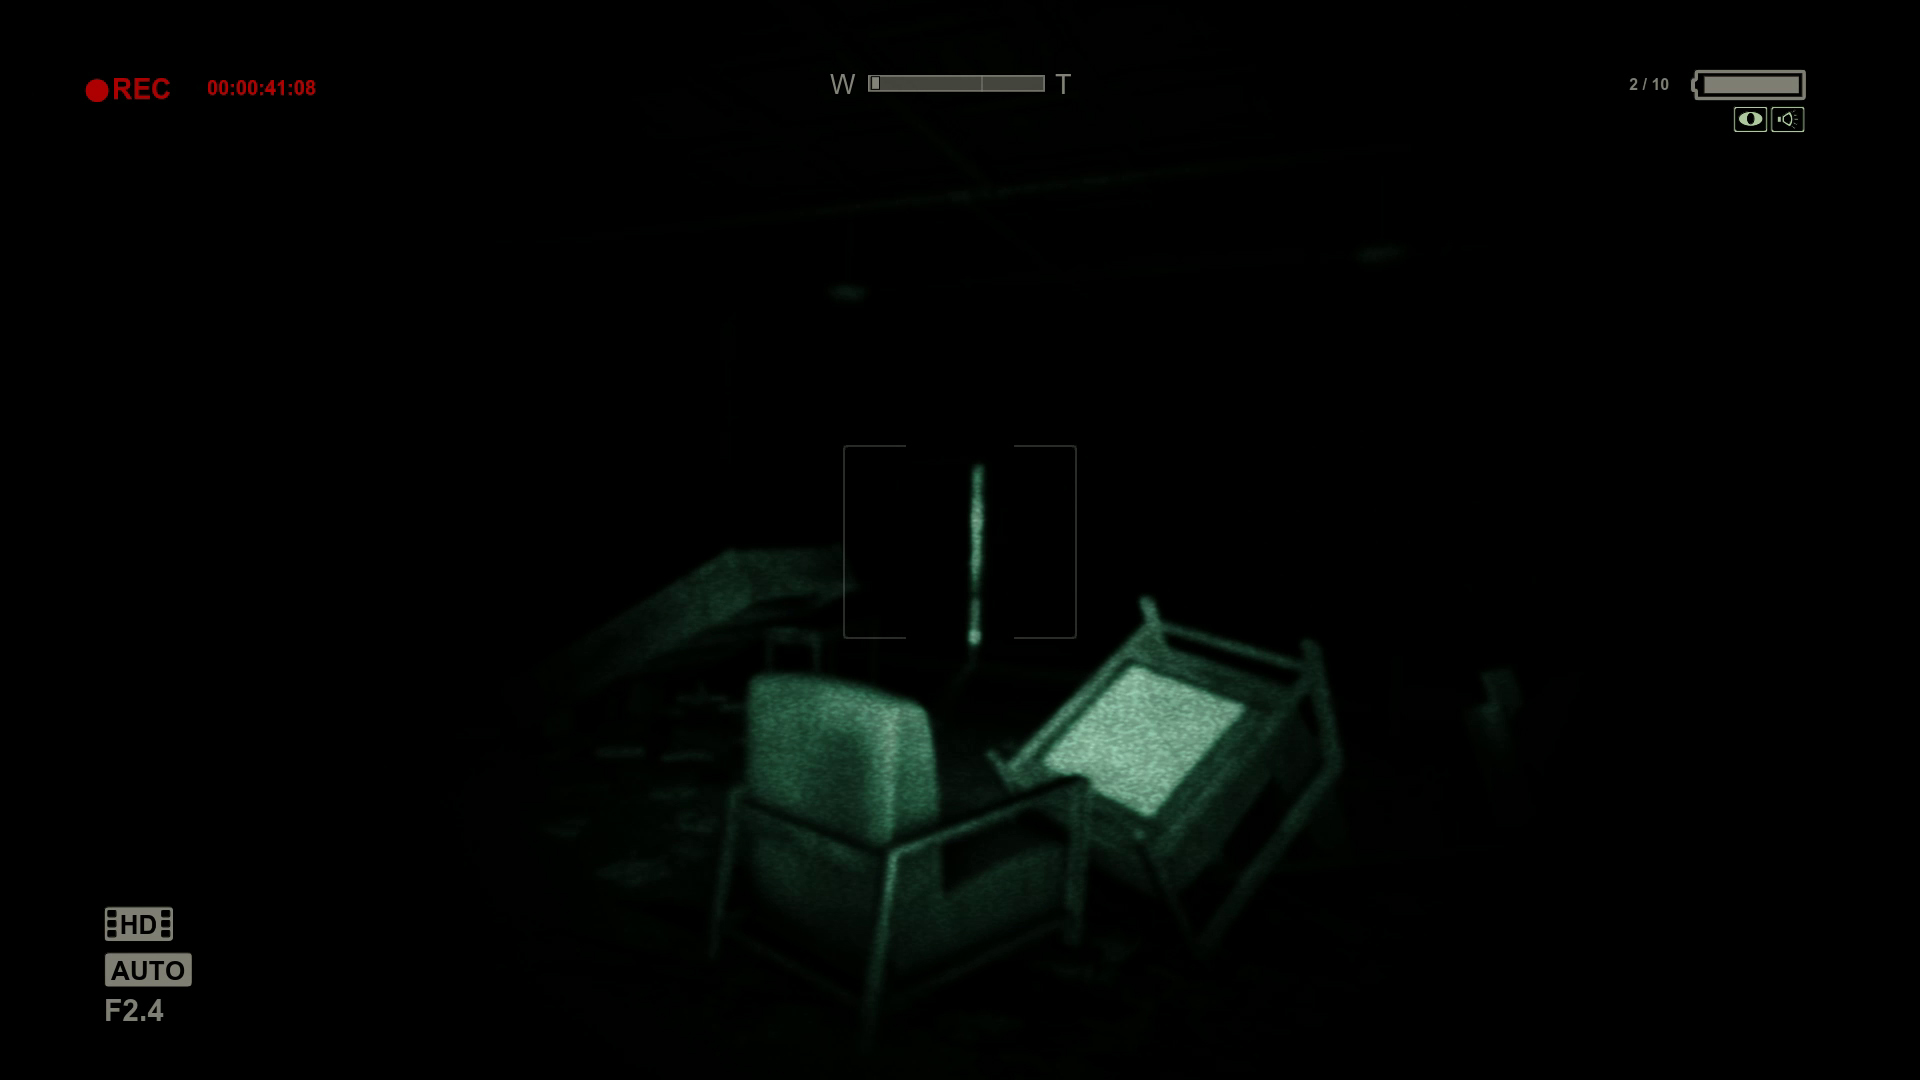
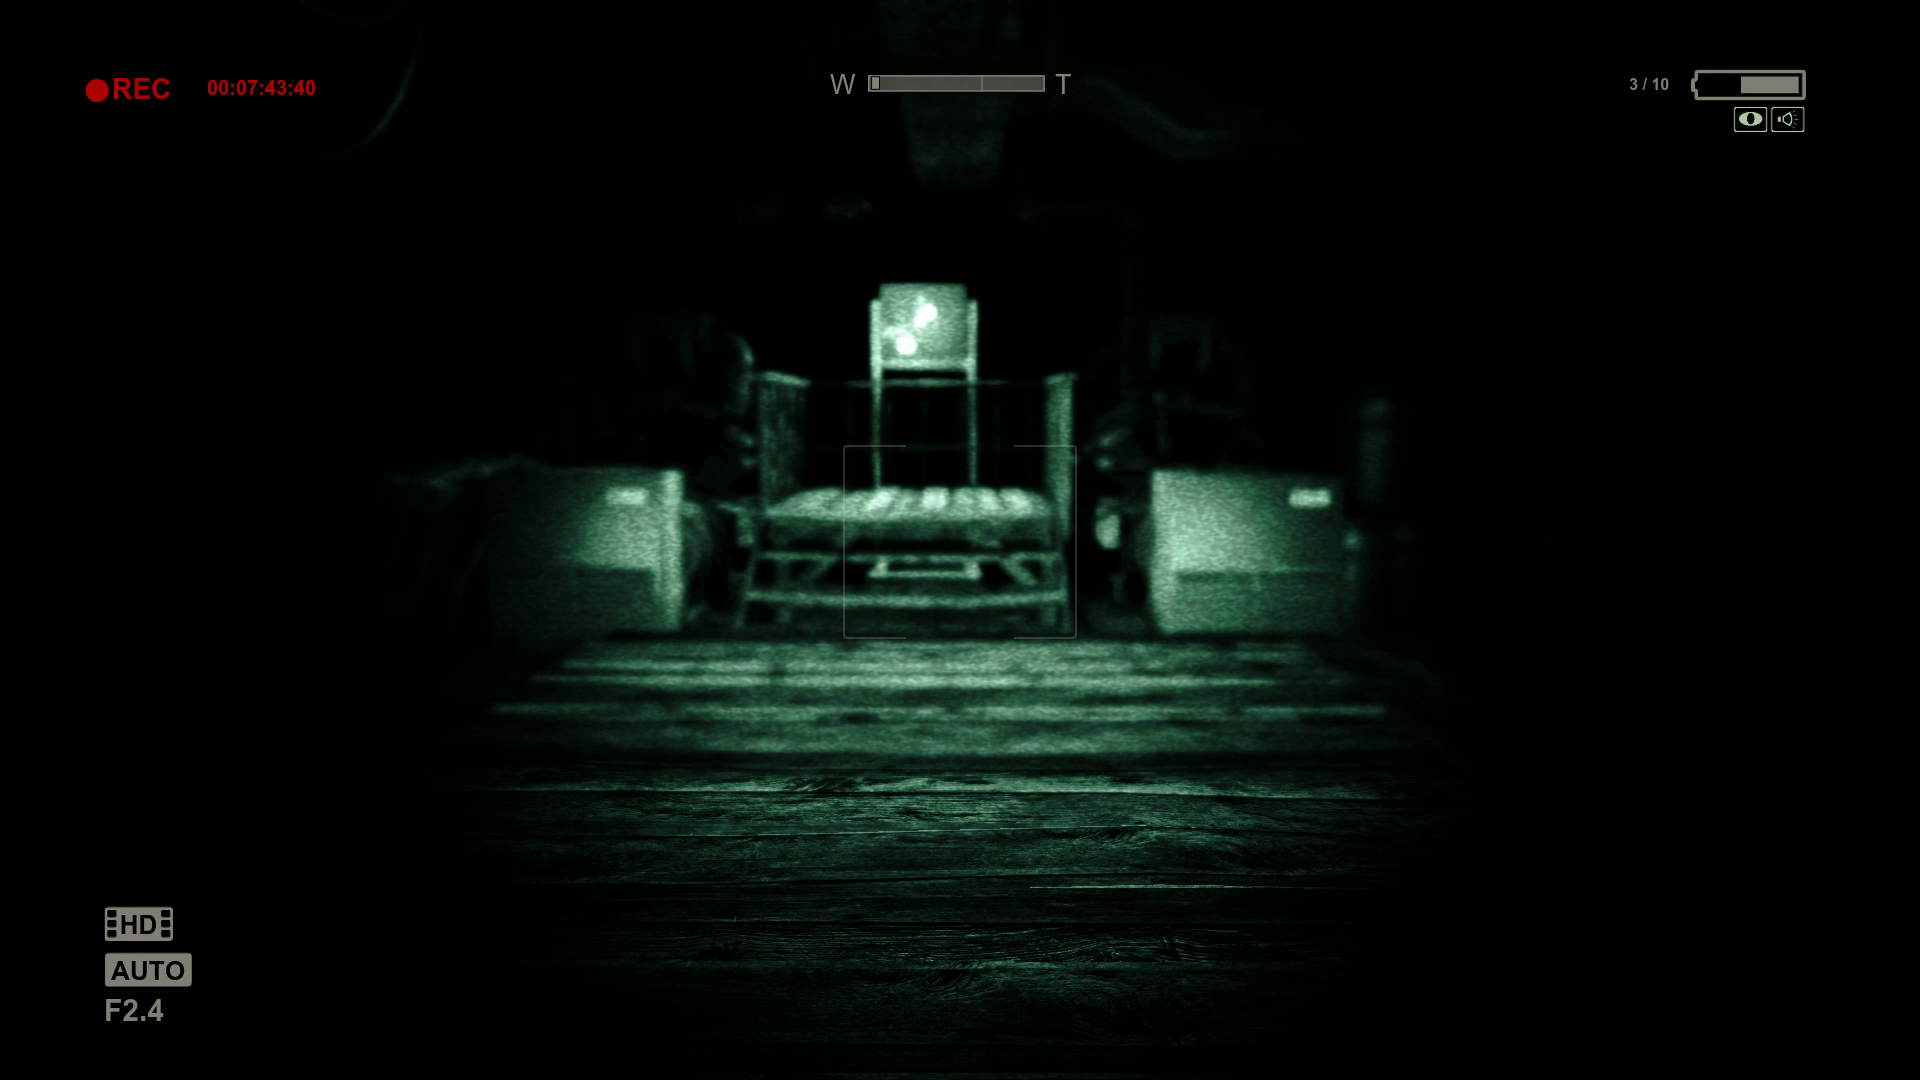
Once inside, the room’s light will flicker off. Use your camera’s night vision to navigate through these dark areas. Head through the room across the hall and walk out the other door.
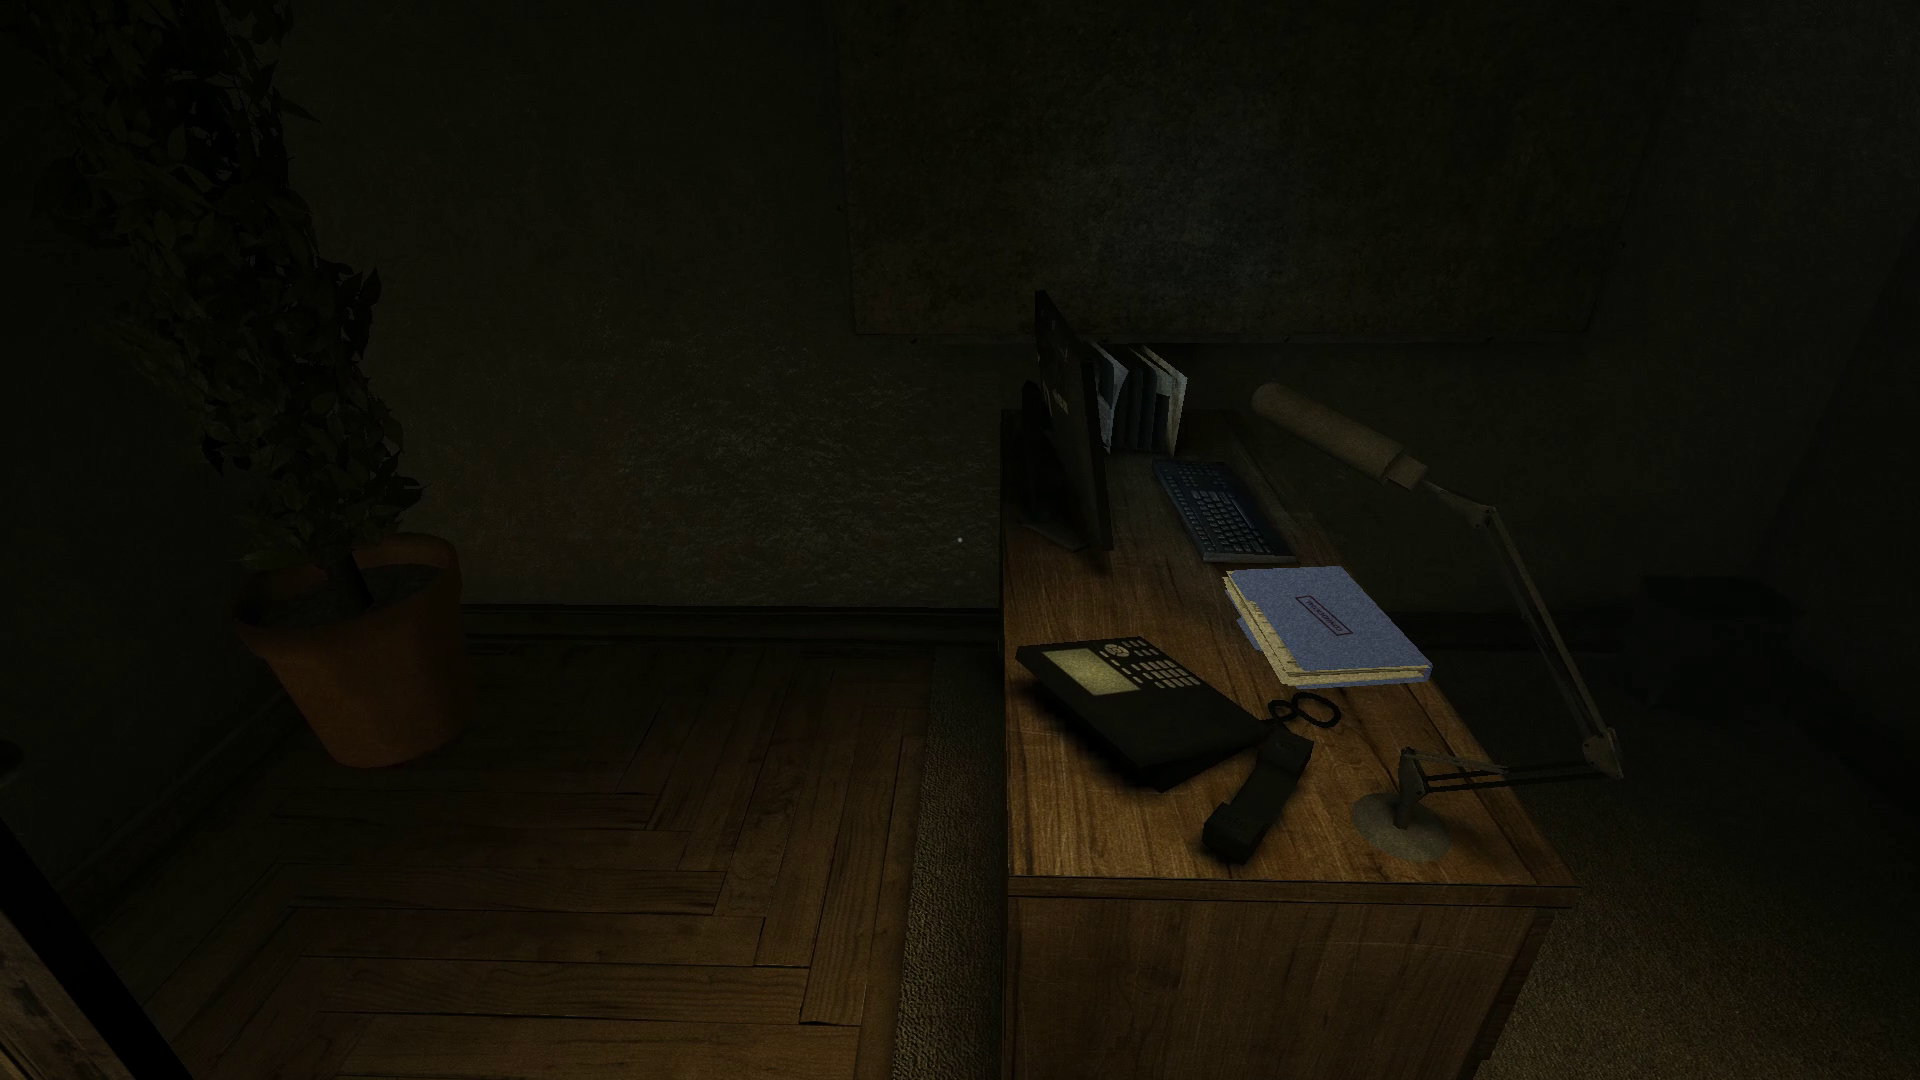
The other side of the hall has two rooms nearby. The first room should have a battery inside, and the second room will have a Document sitting on the desk. This Document is entitled “Project Walrider Patient Status Report for William Hope.”
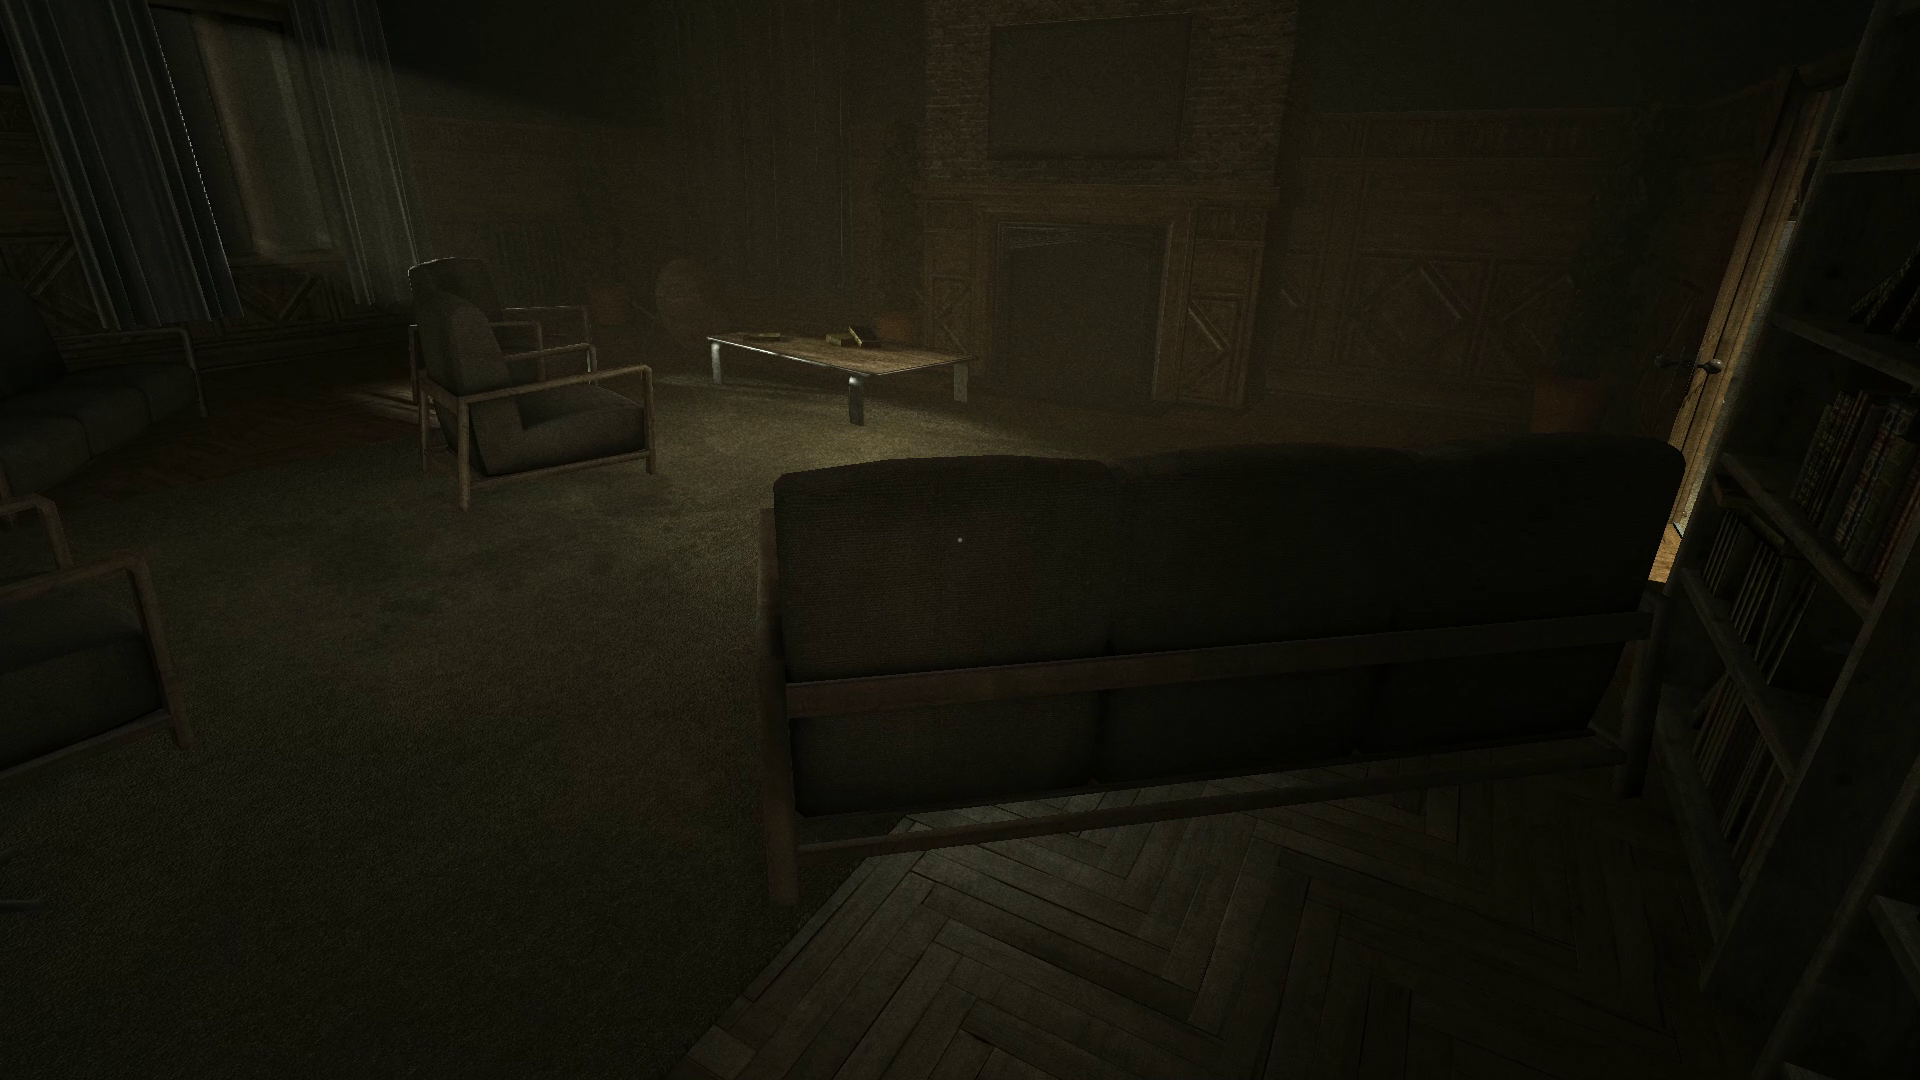
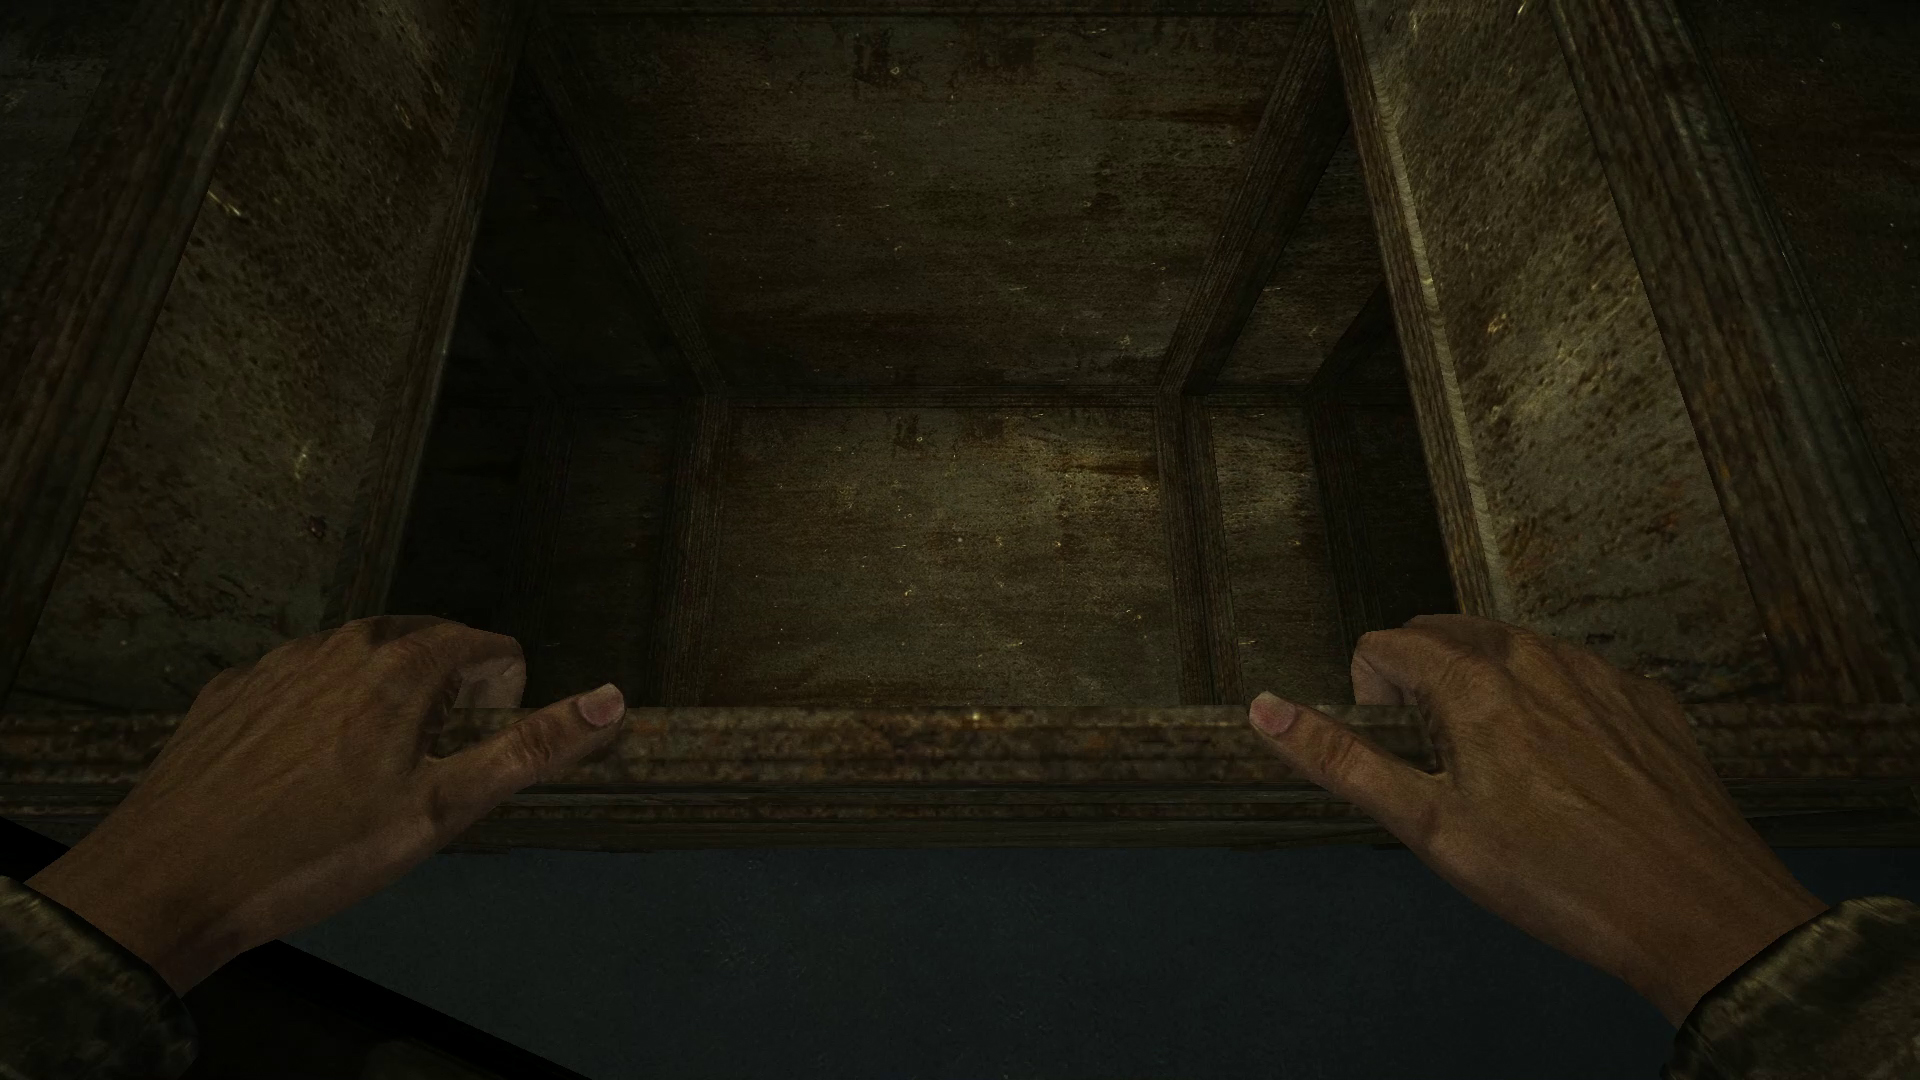
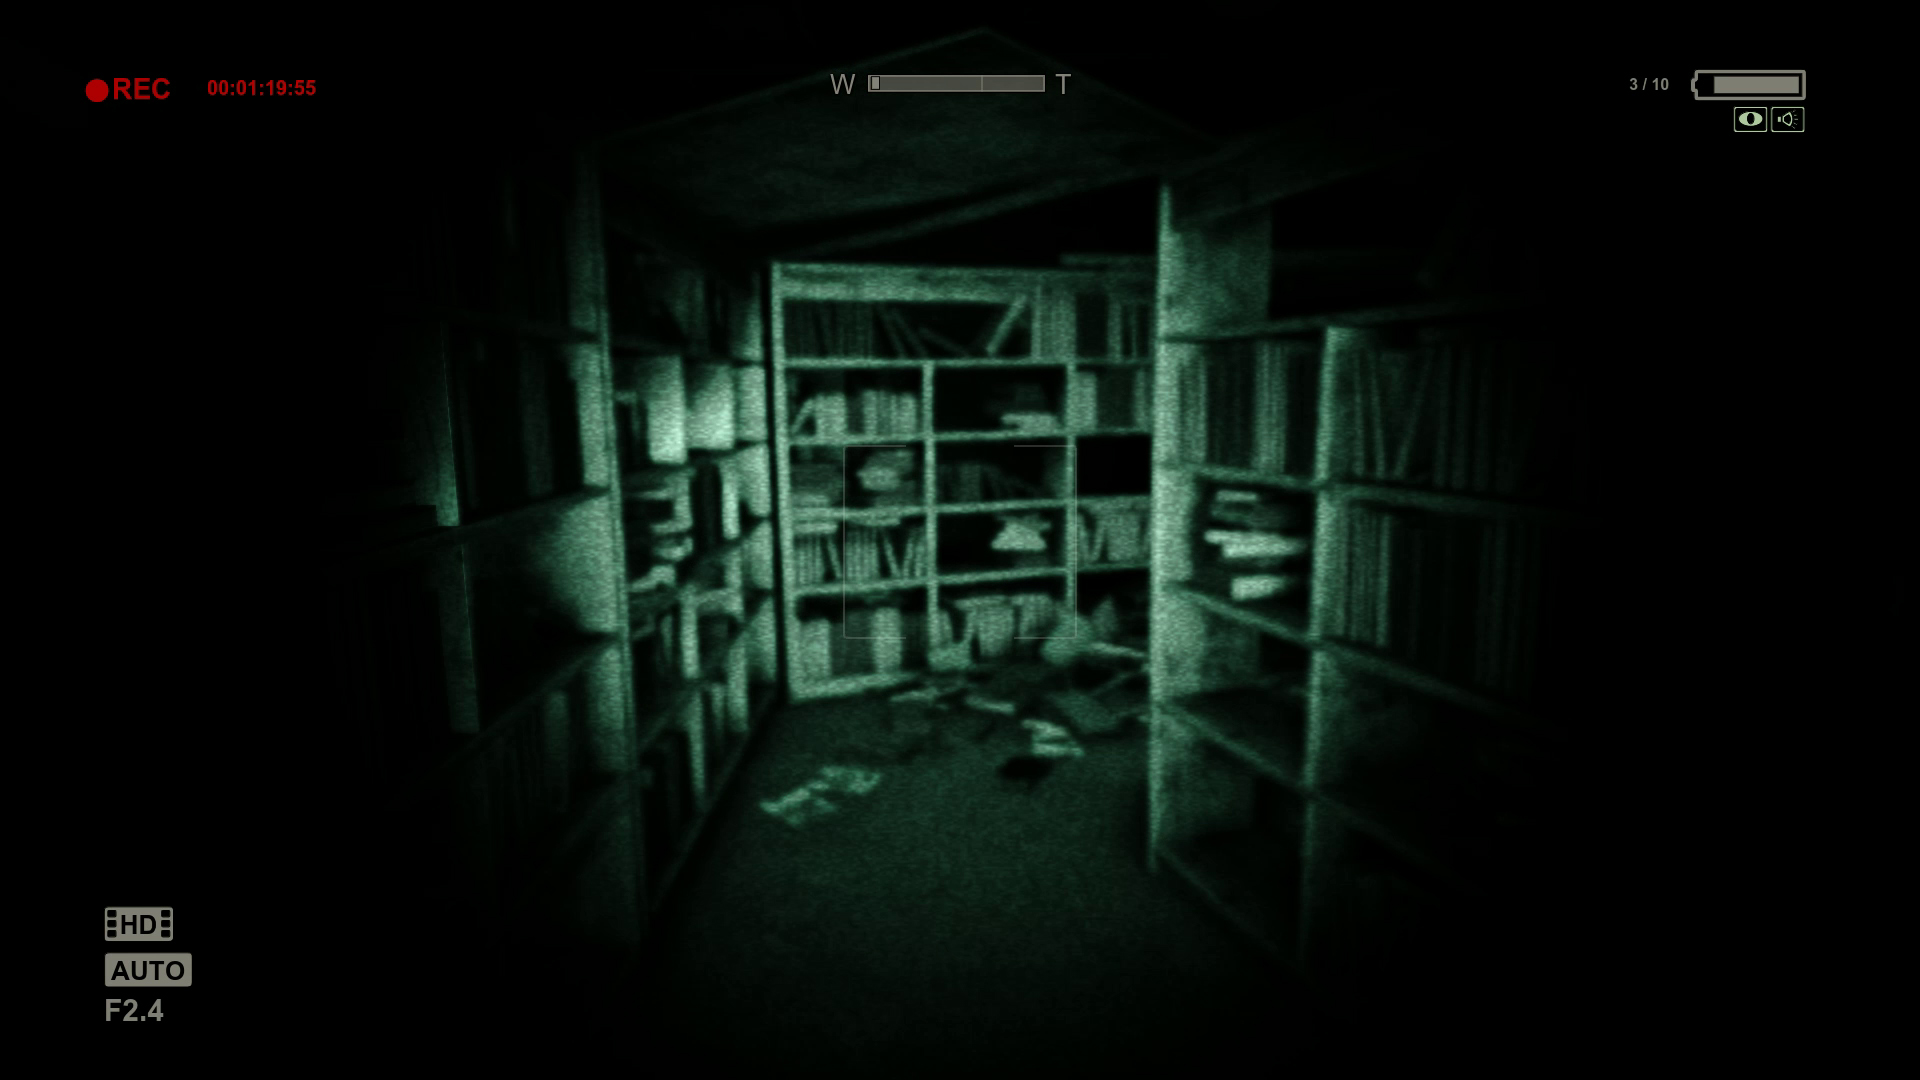
Continue down the hall and enter the open ventilation duct in the next room. Follow it until you exit out on the other side. Enter the Library nearby until you reach a dying soldier. He will give you your next objective, along with the next Note if you are recording him. The note is entitled “I’m Inside.”

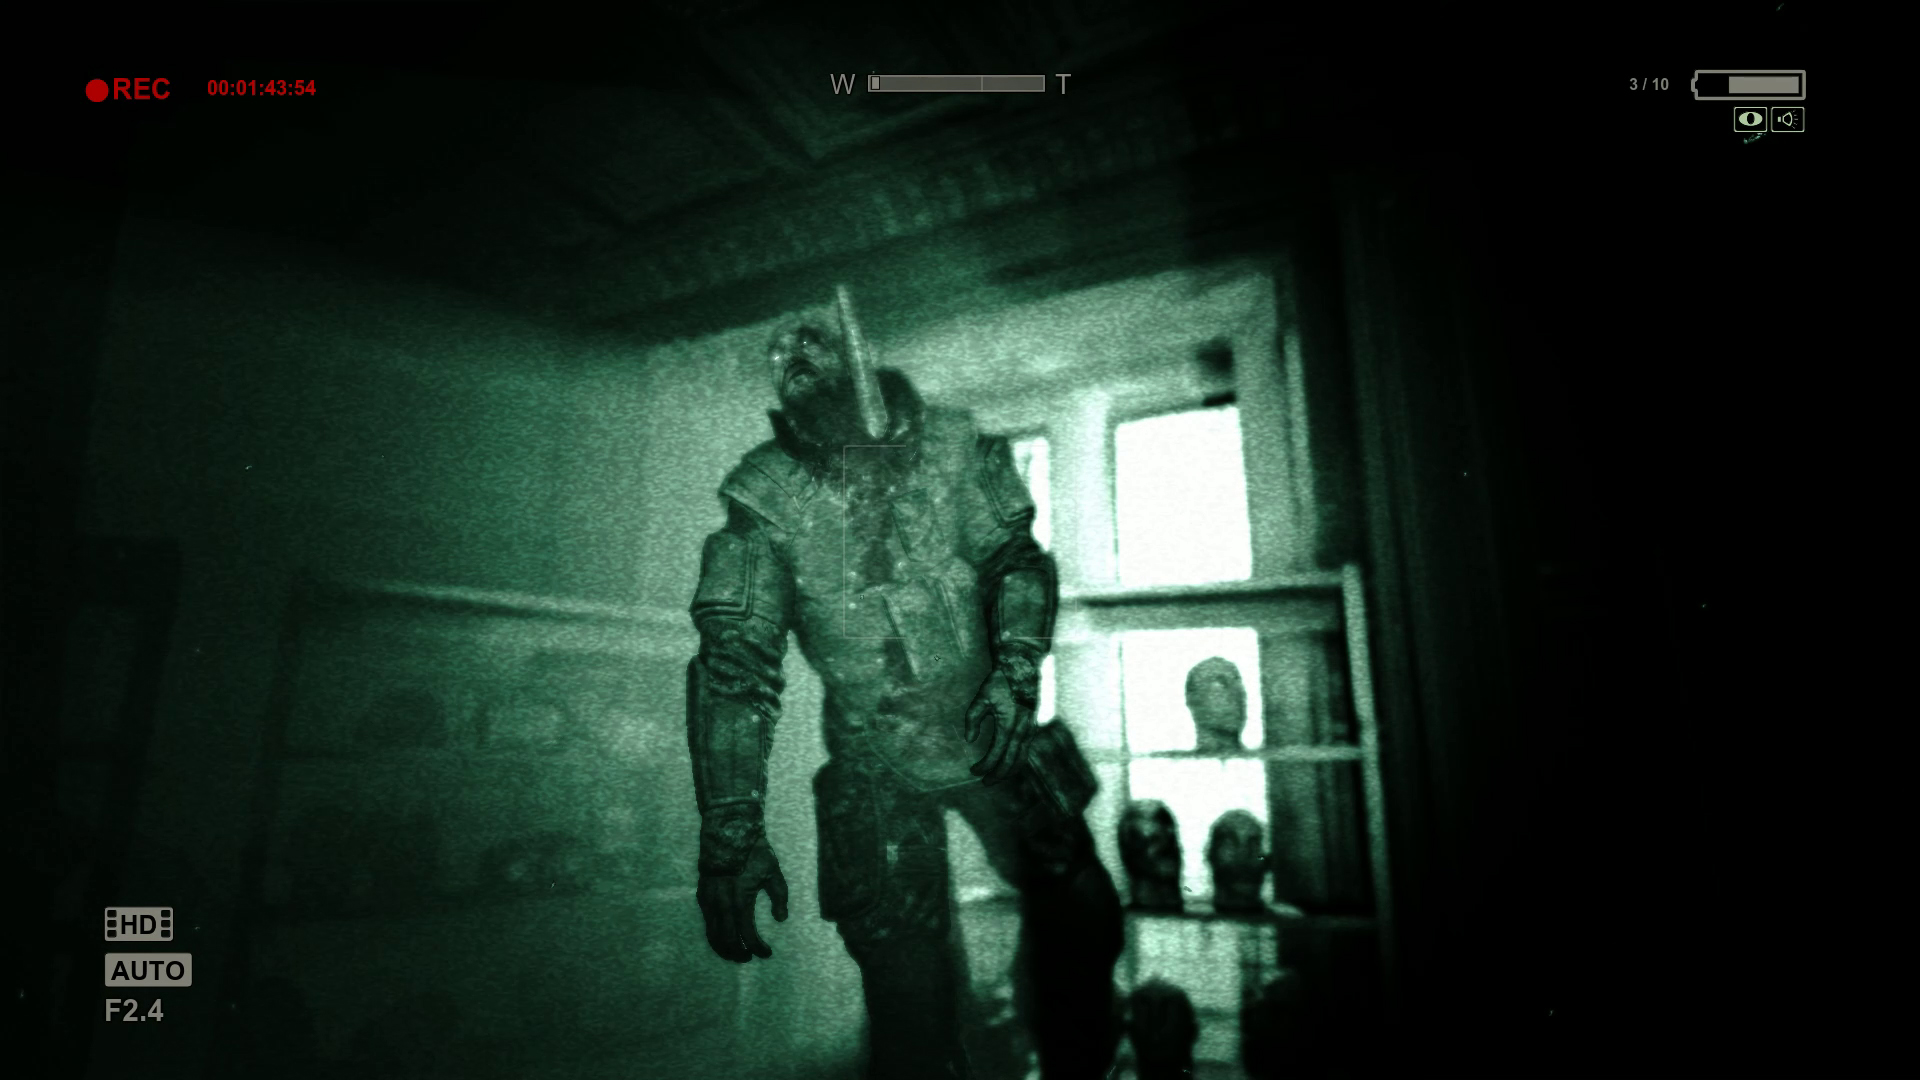
Exit out through the next door. You should see a large variant walking down the hall. Let him pass before running ahead and squeezing through the bookshelves at the other end. A short cut scene will play out.
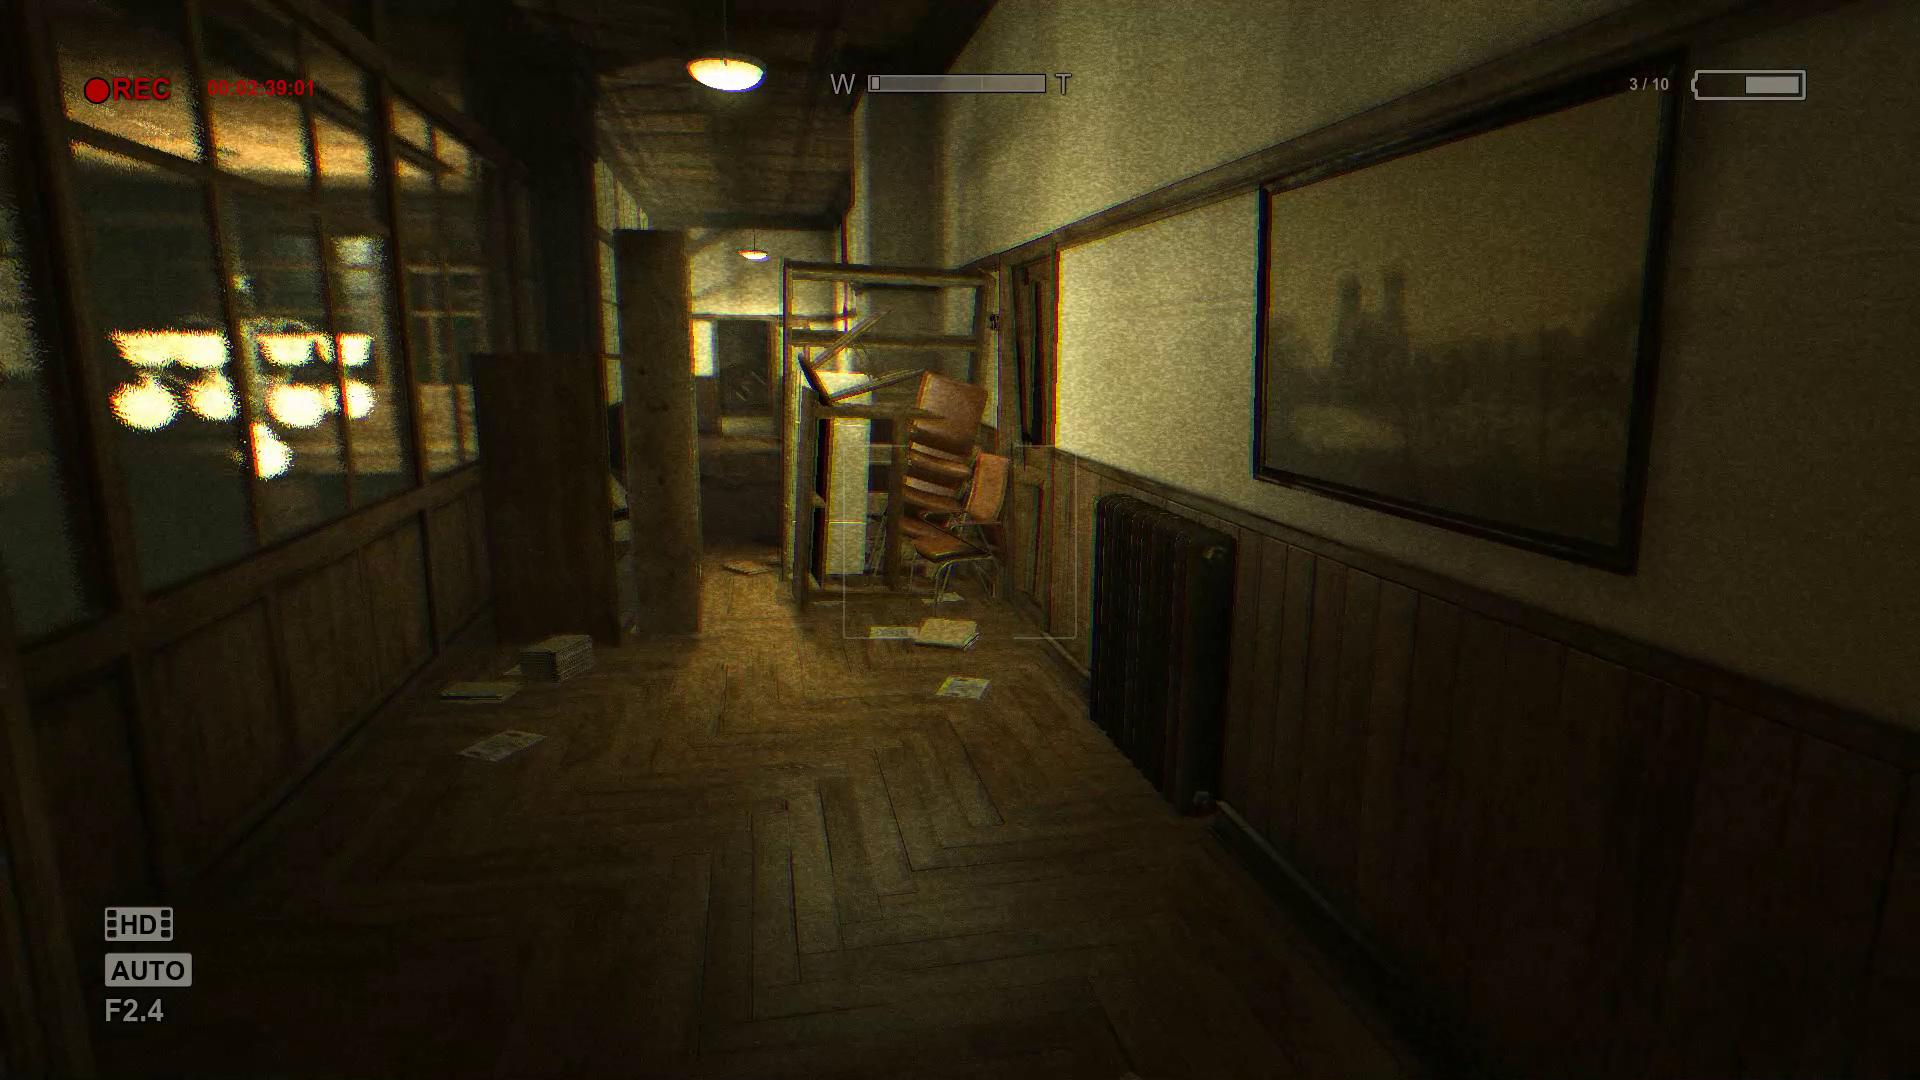

Escape the Asylum. Access Security Control to unlock the main doors.
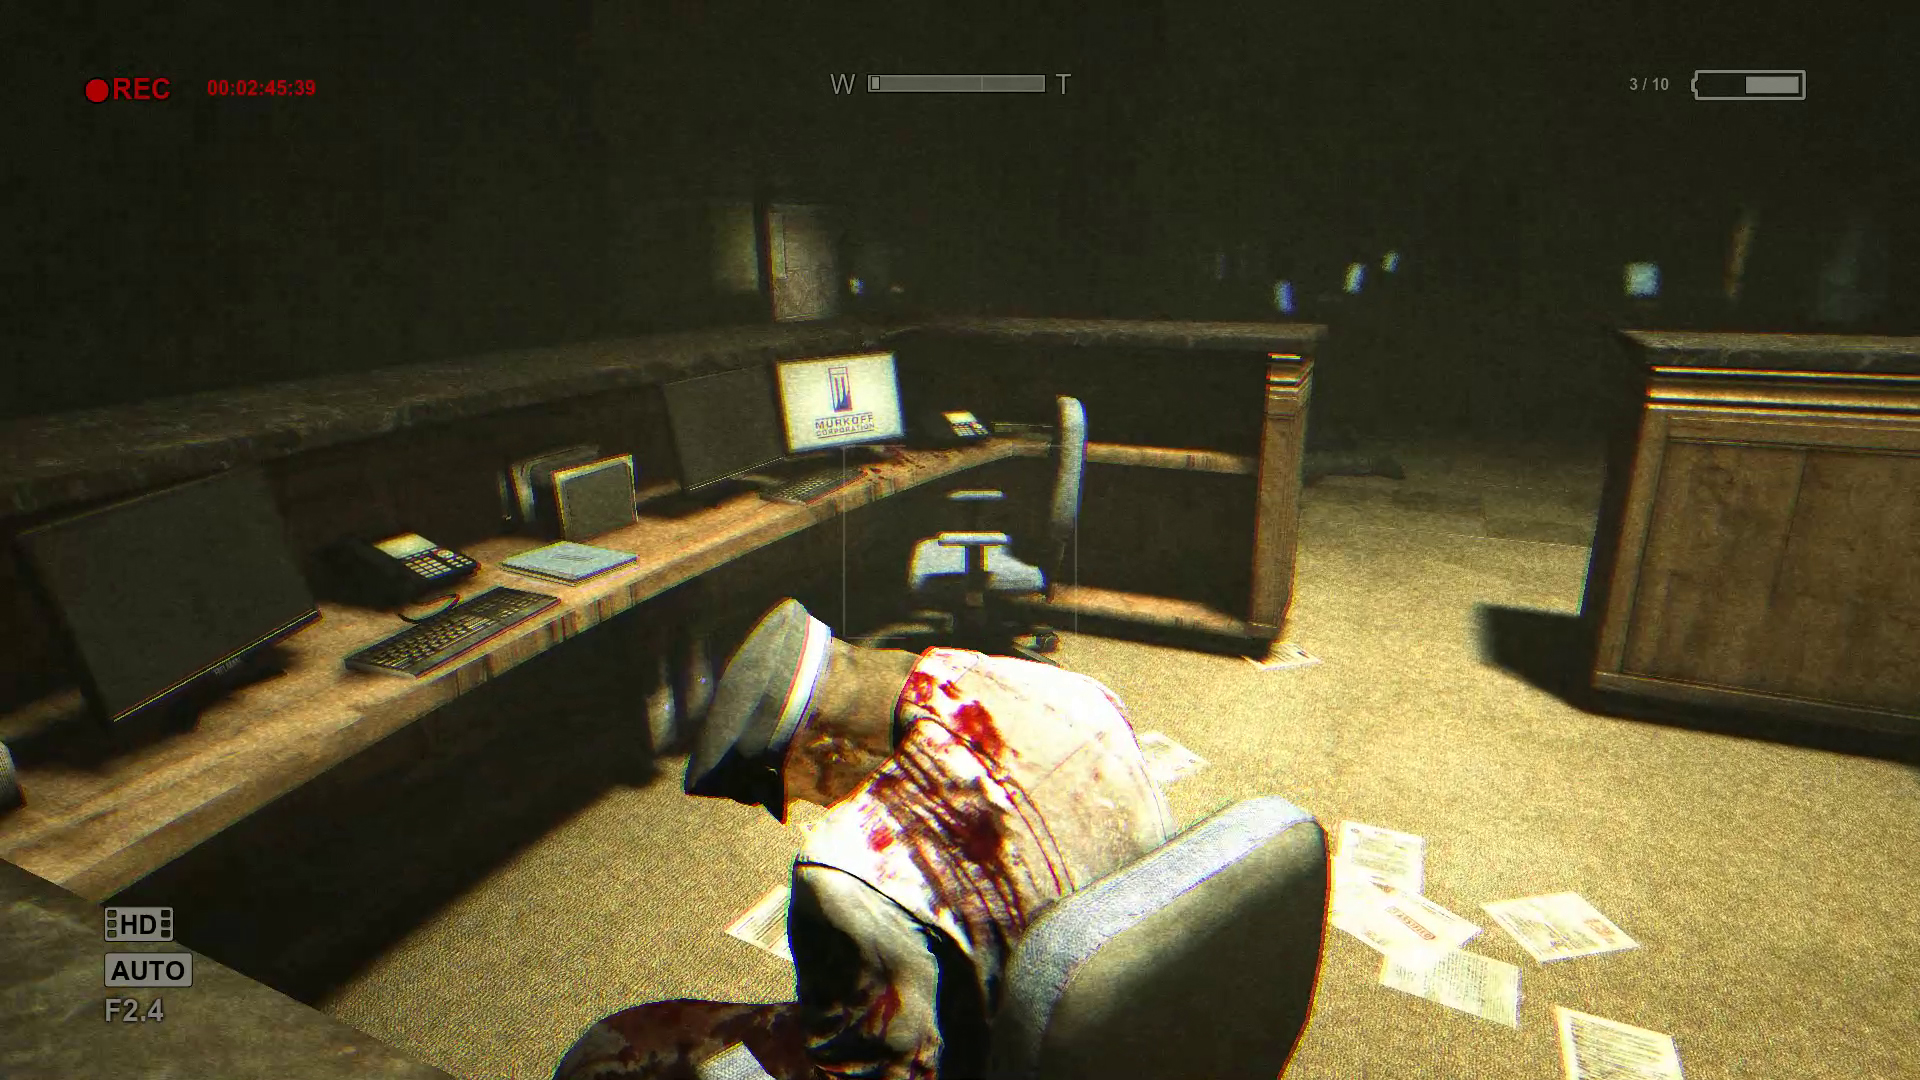
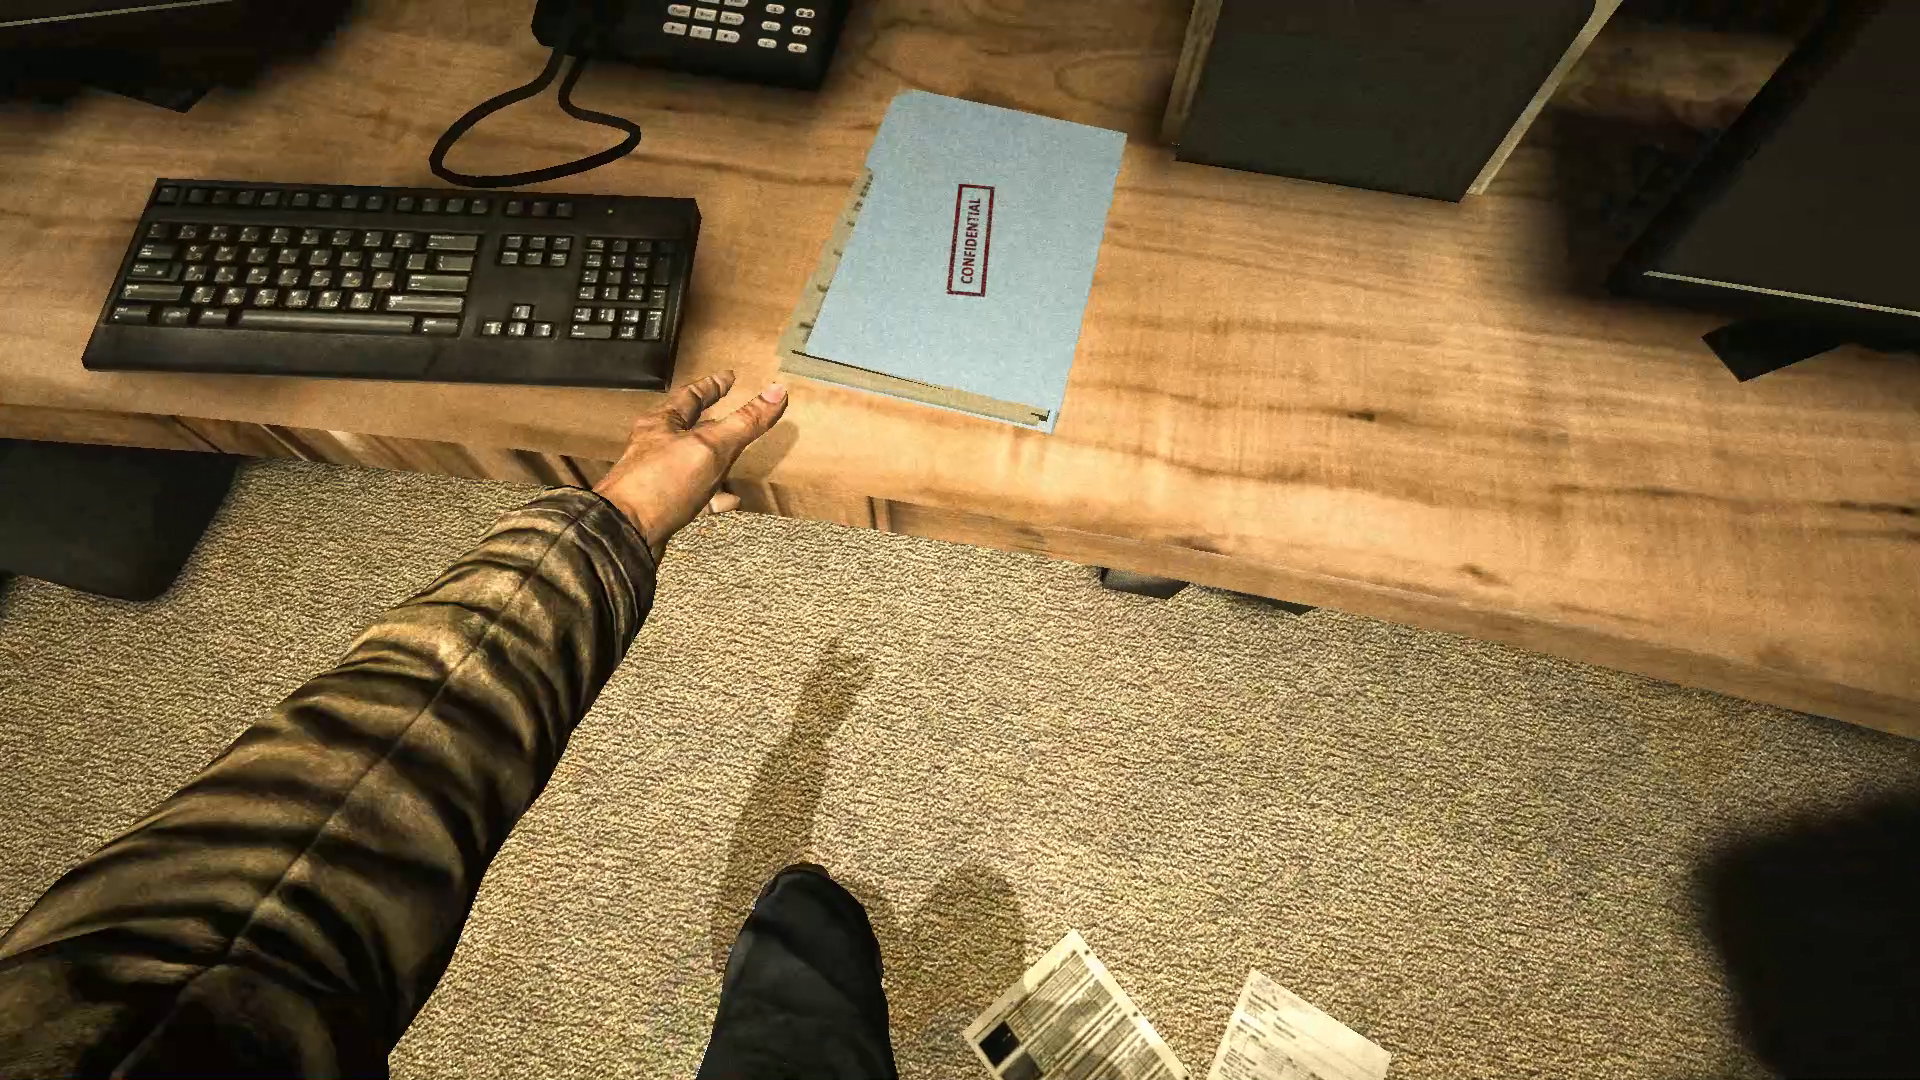
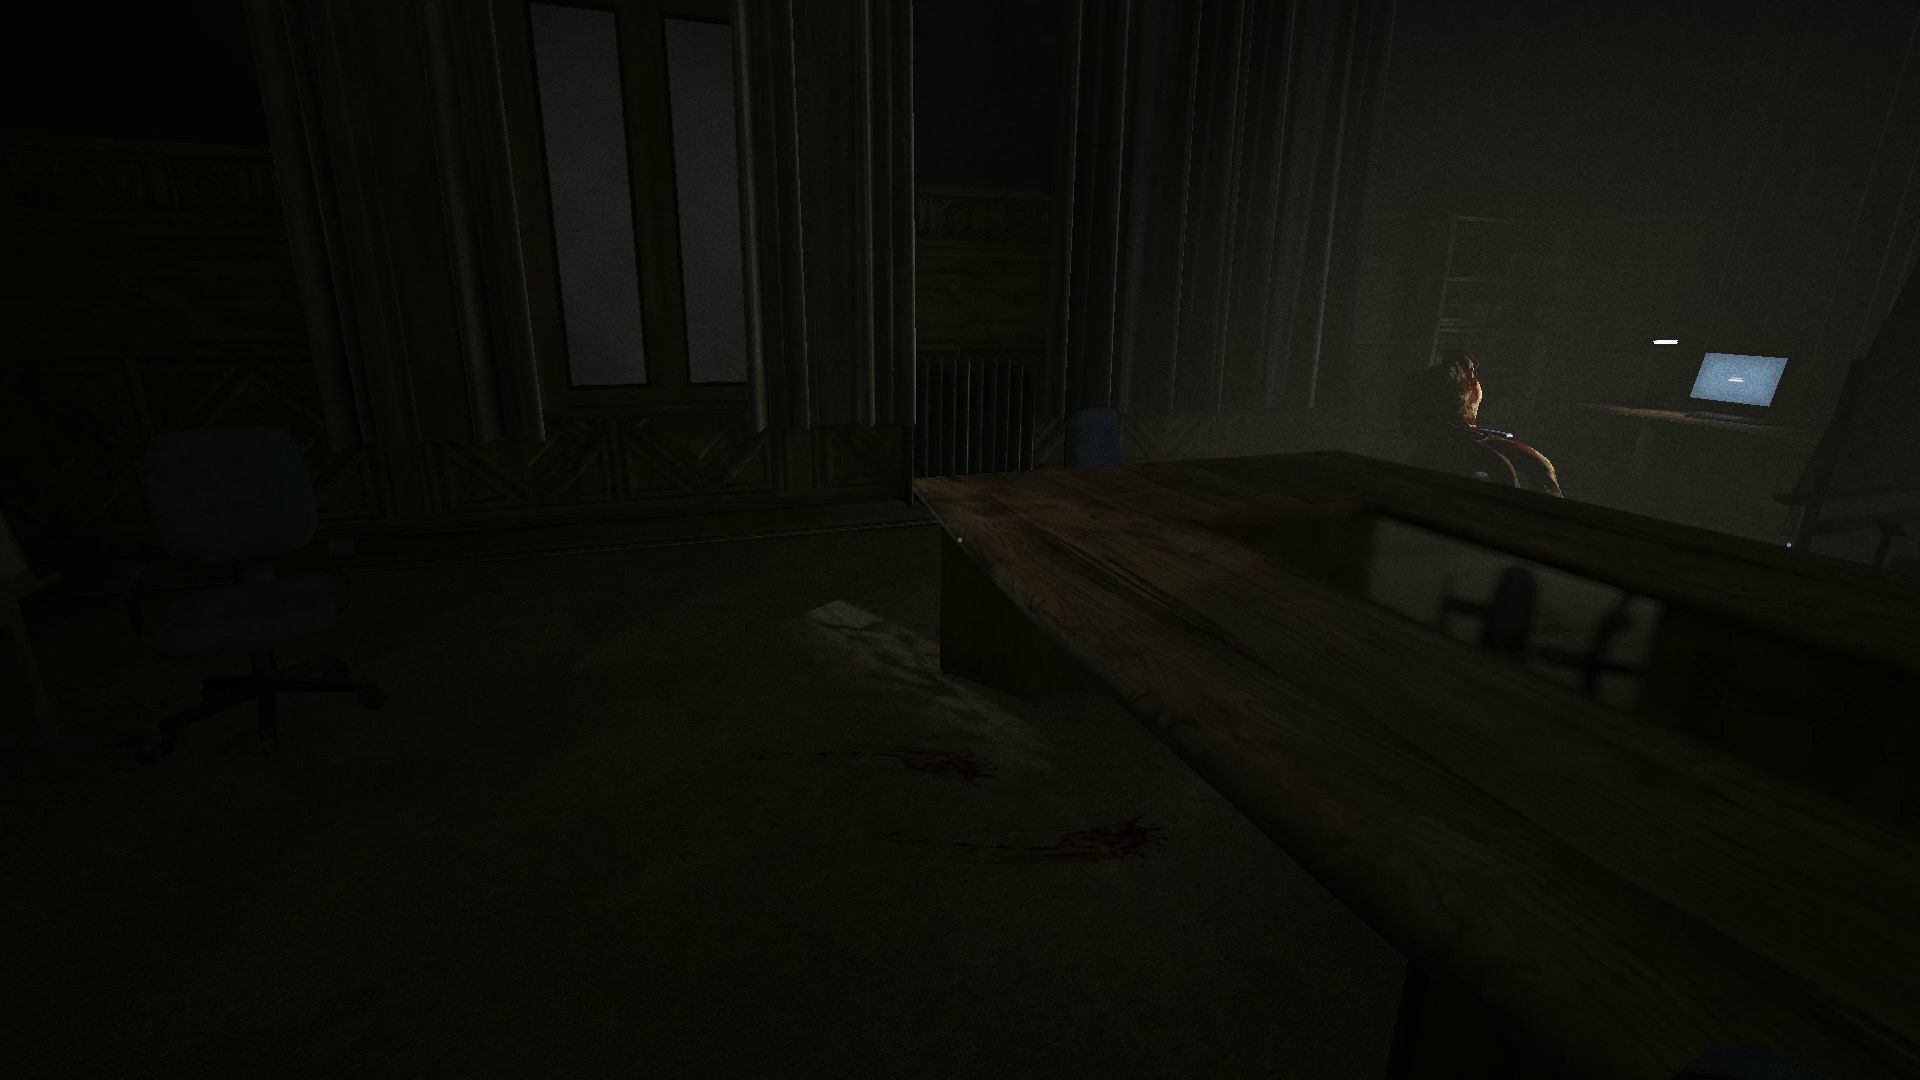
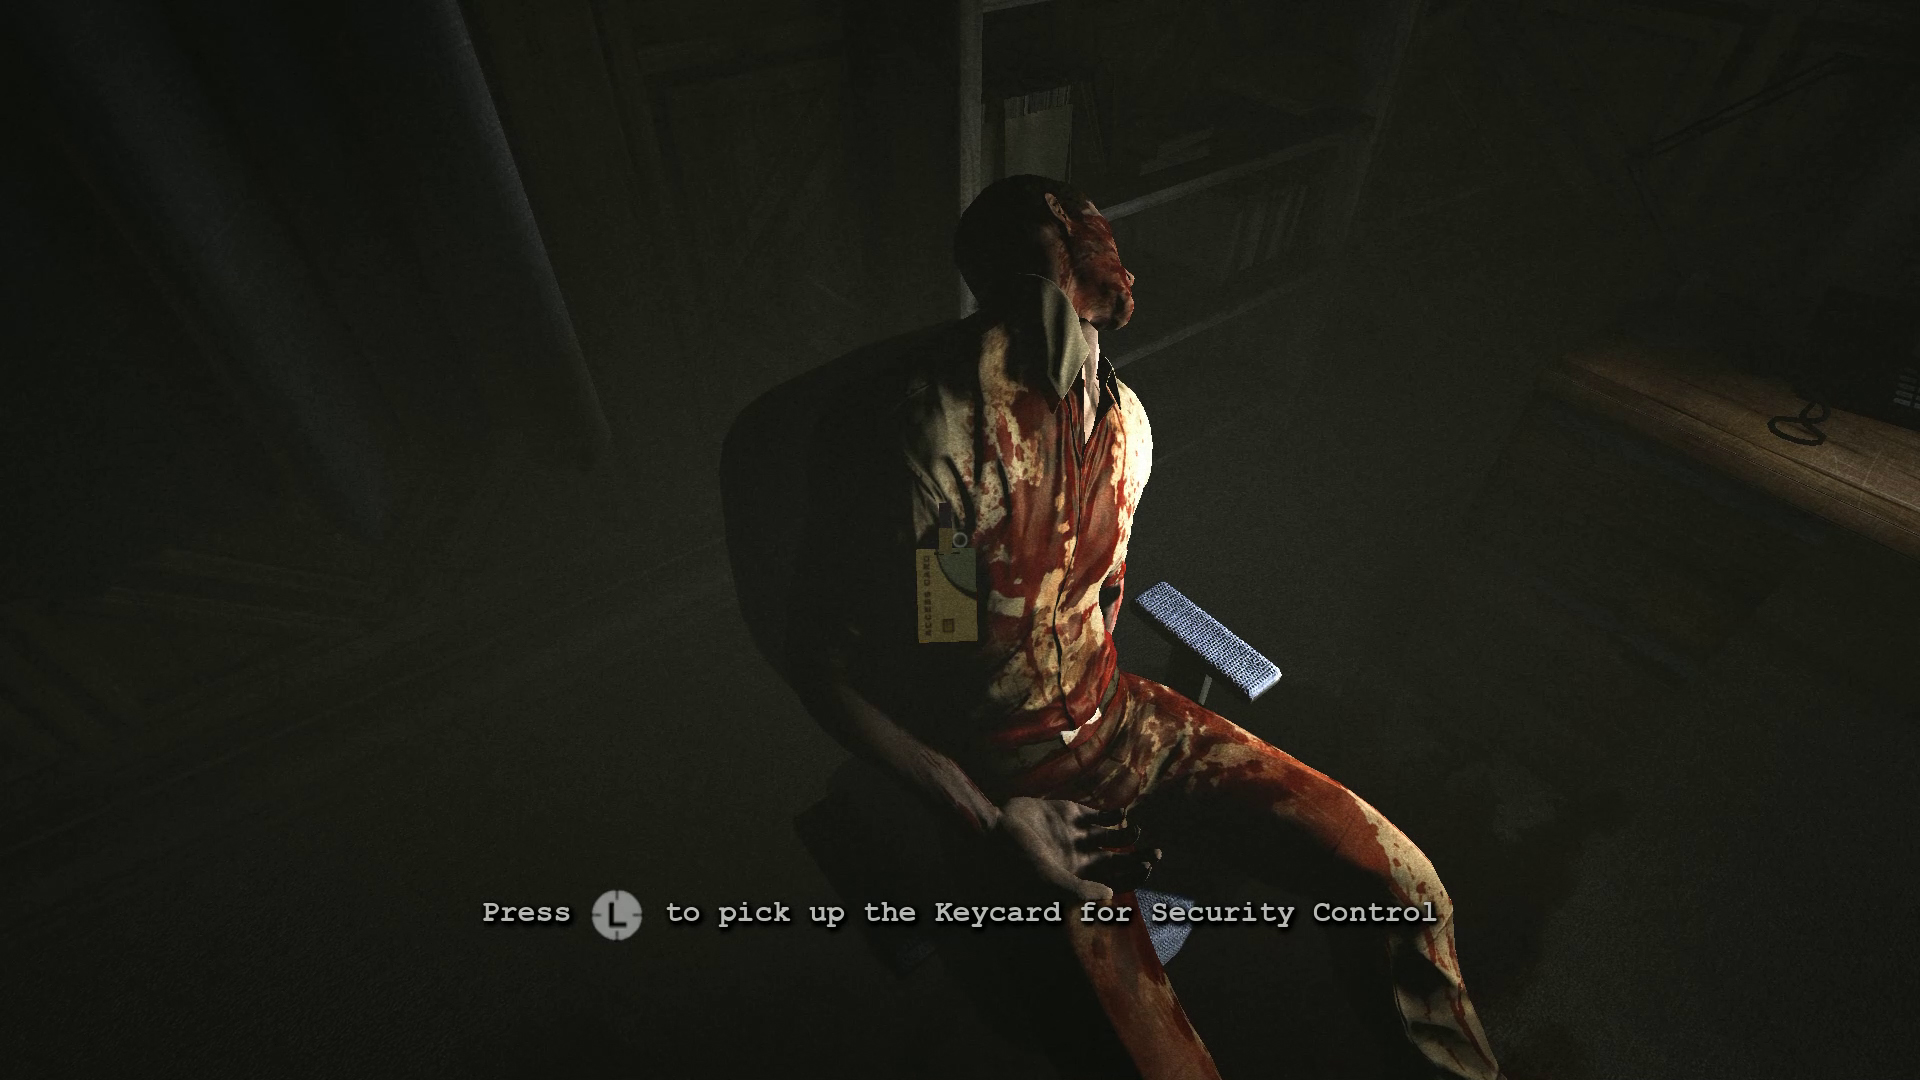
After the cut scene, you will get a new objective. Look near the dead security guard sitting behind a desk to find another Document. This one is entitled “Warrant for Seizure.”
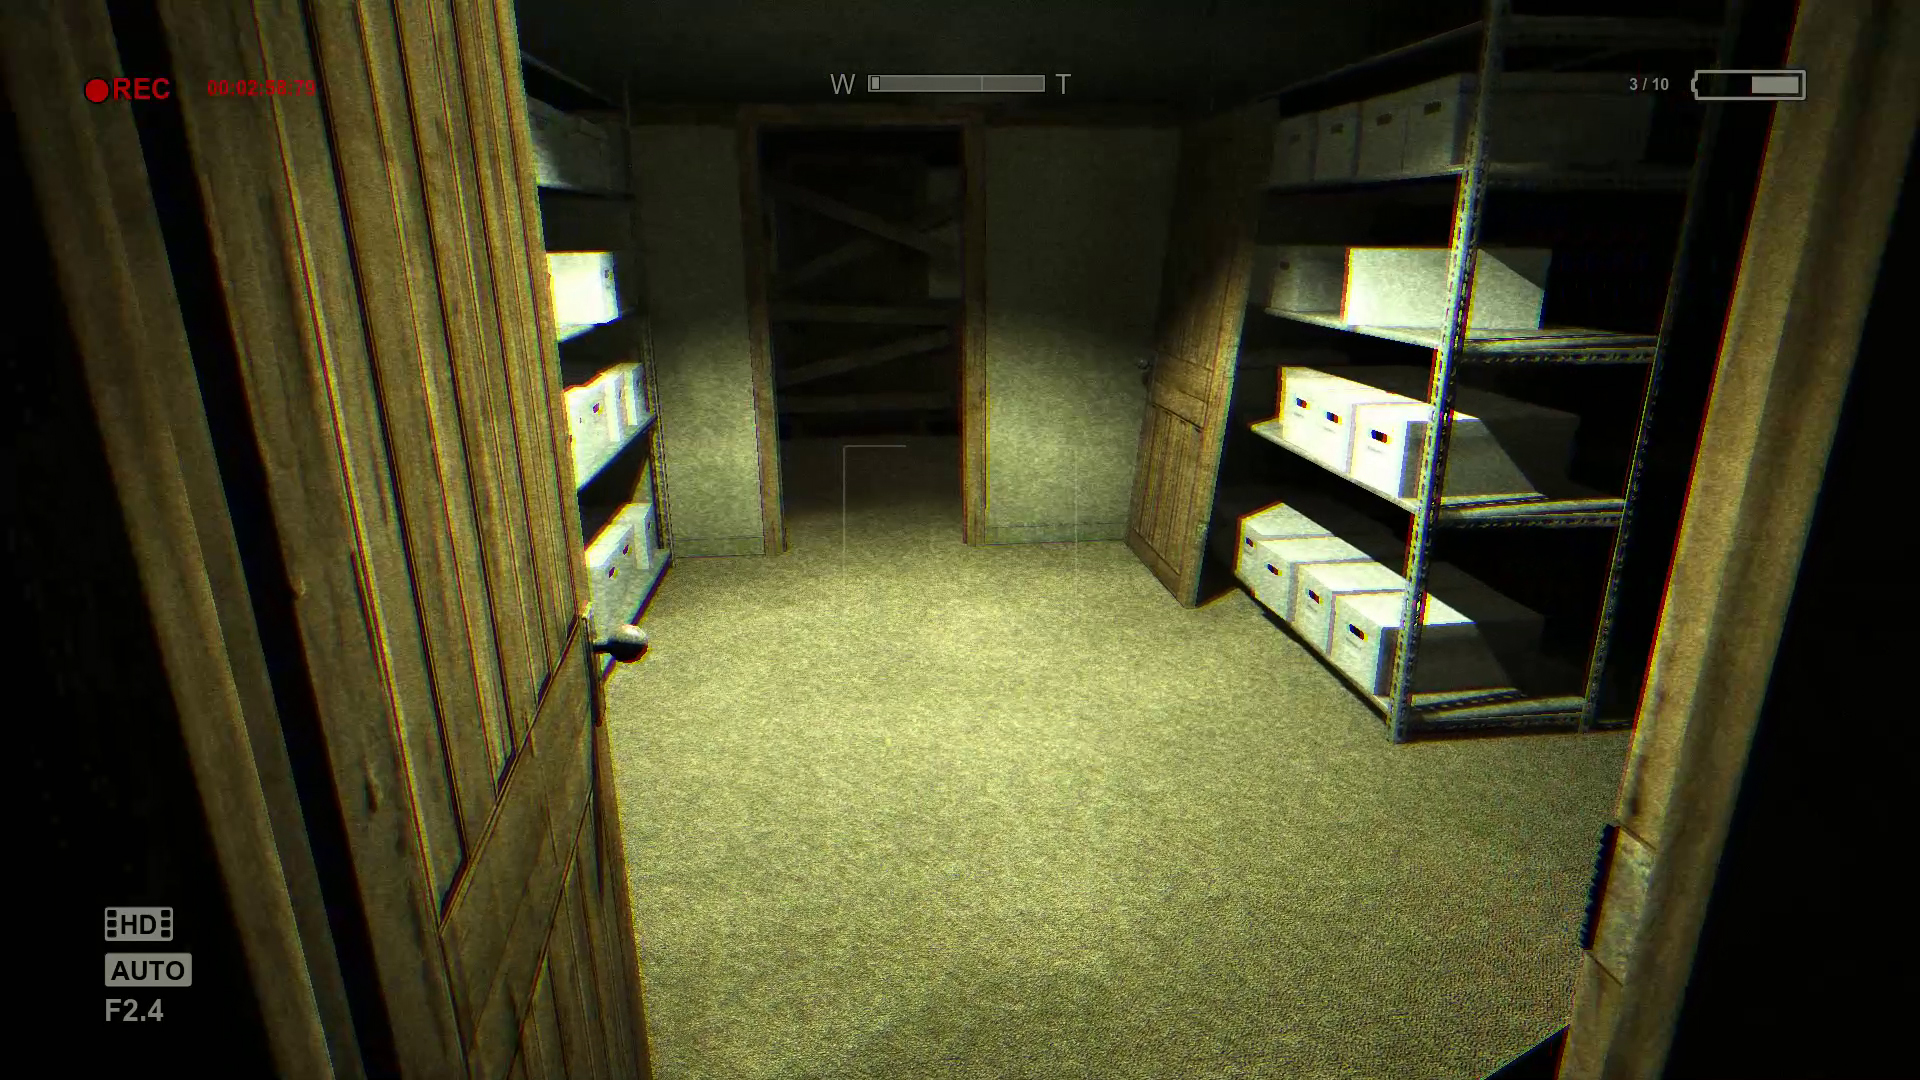
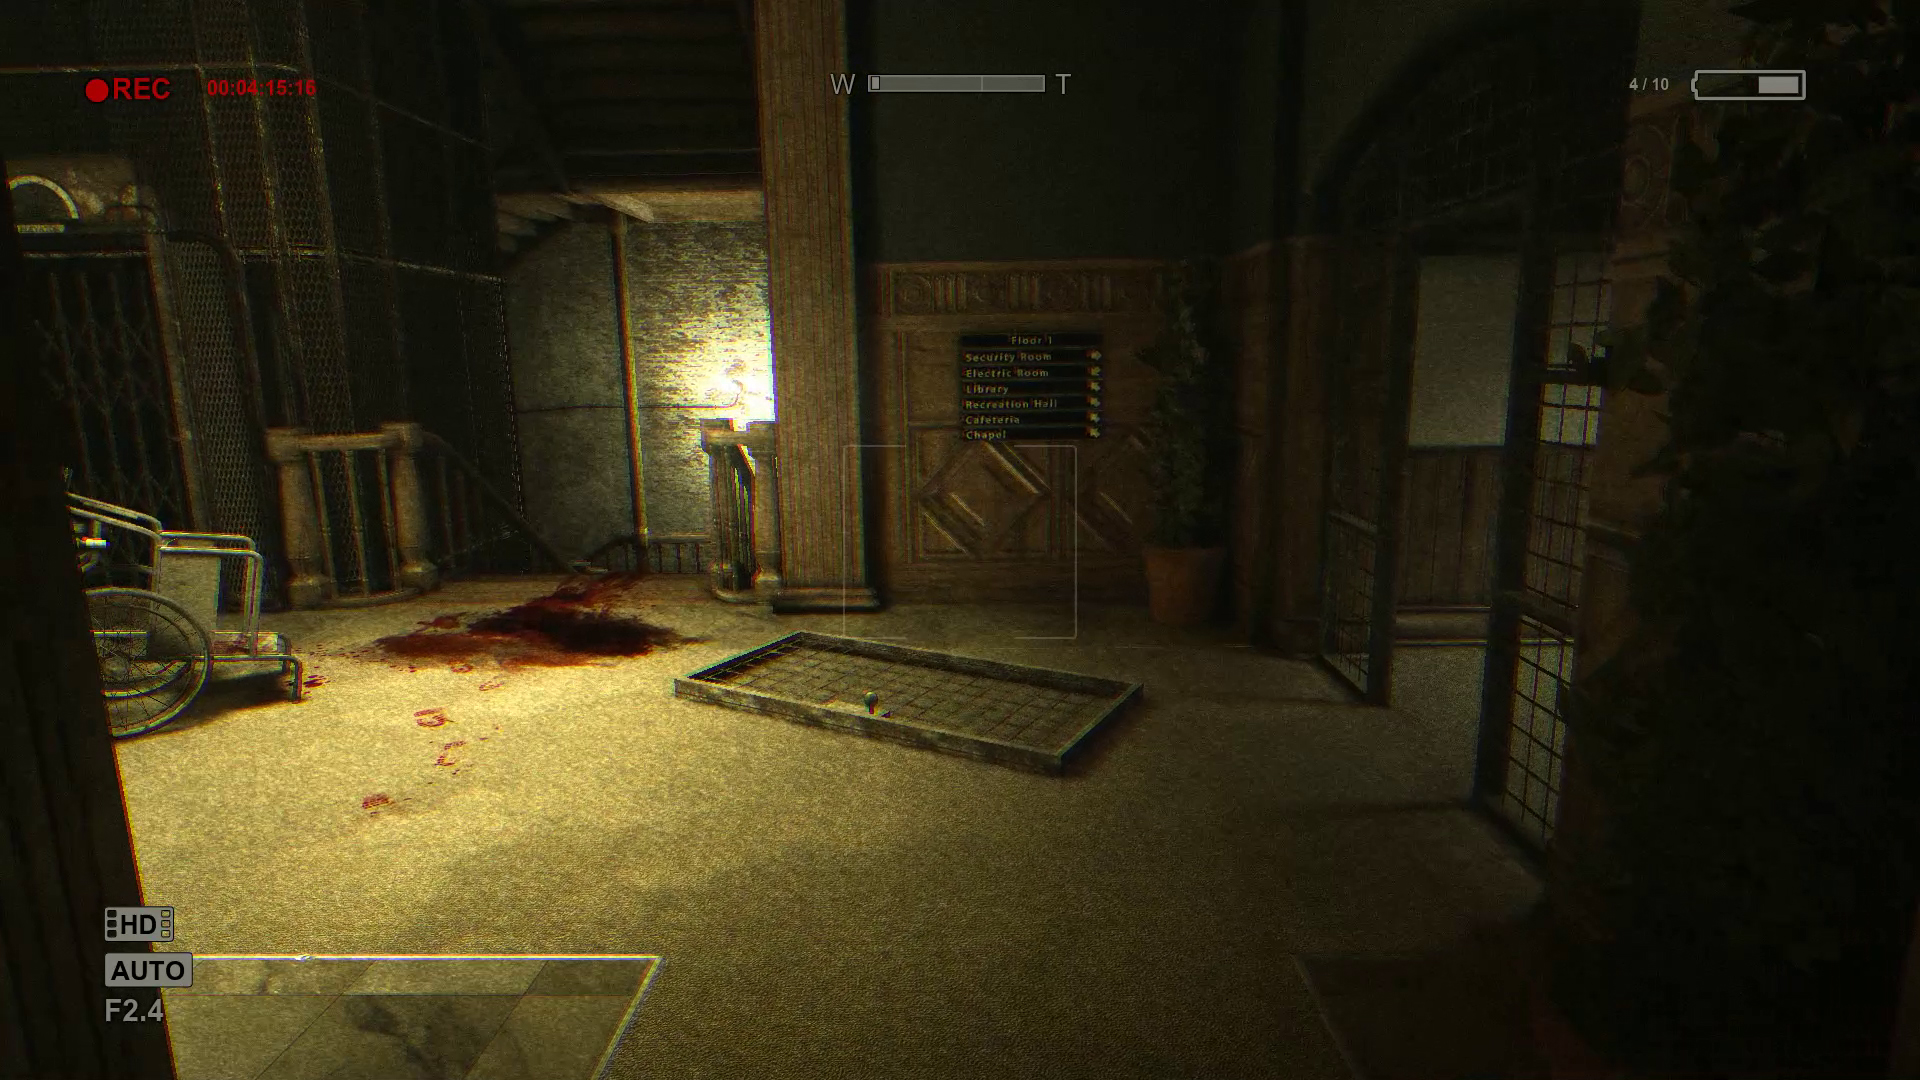
Head through the open door at the far right end of the room. A number of desks are lined up in this area. Go through the door at the other side of the room and search the shelves on the right to find a Document entitled “Project Walrider Patient Status Report for Chris Walker.”
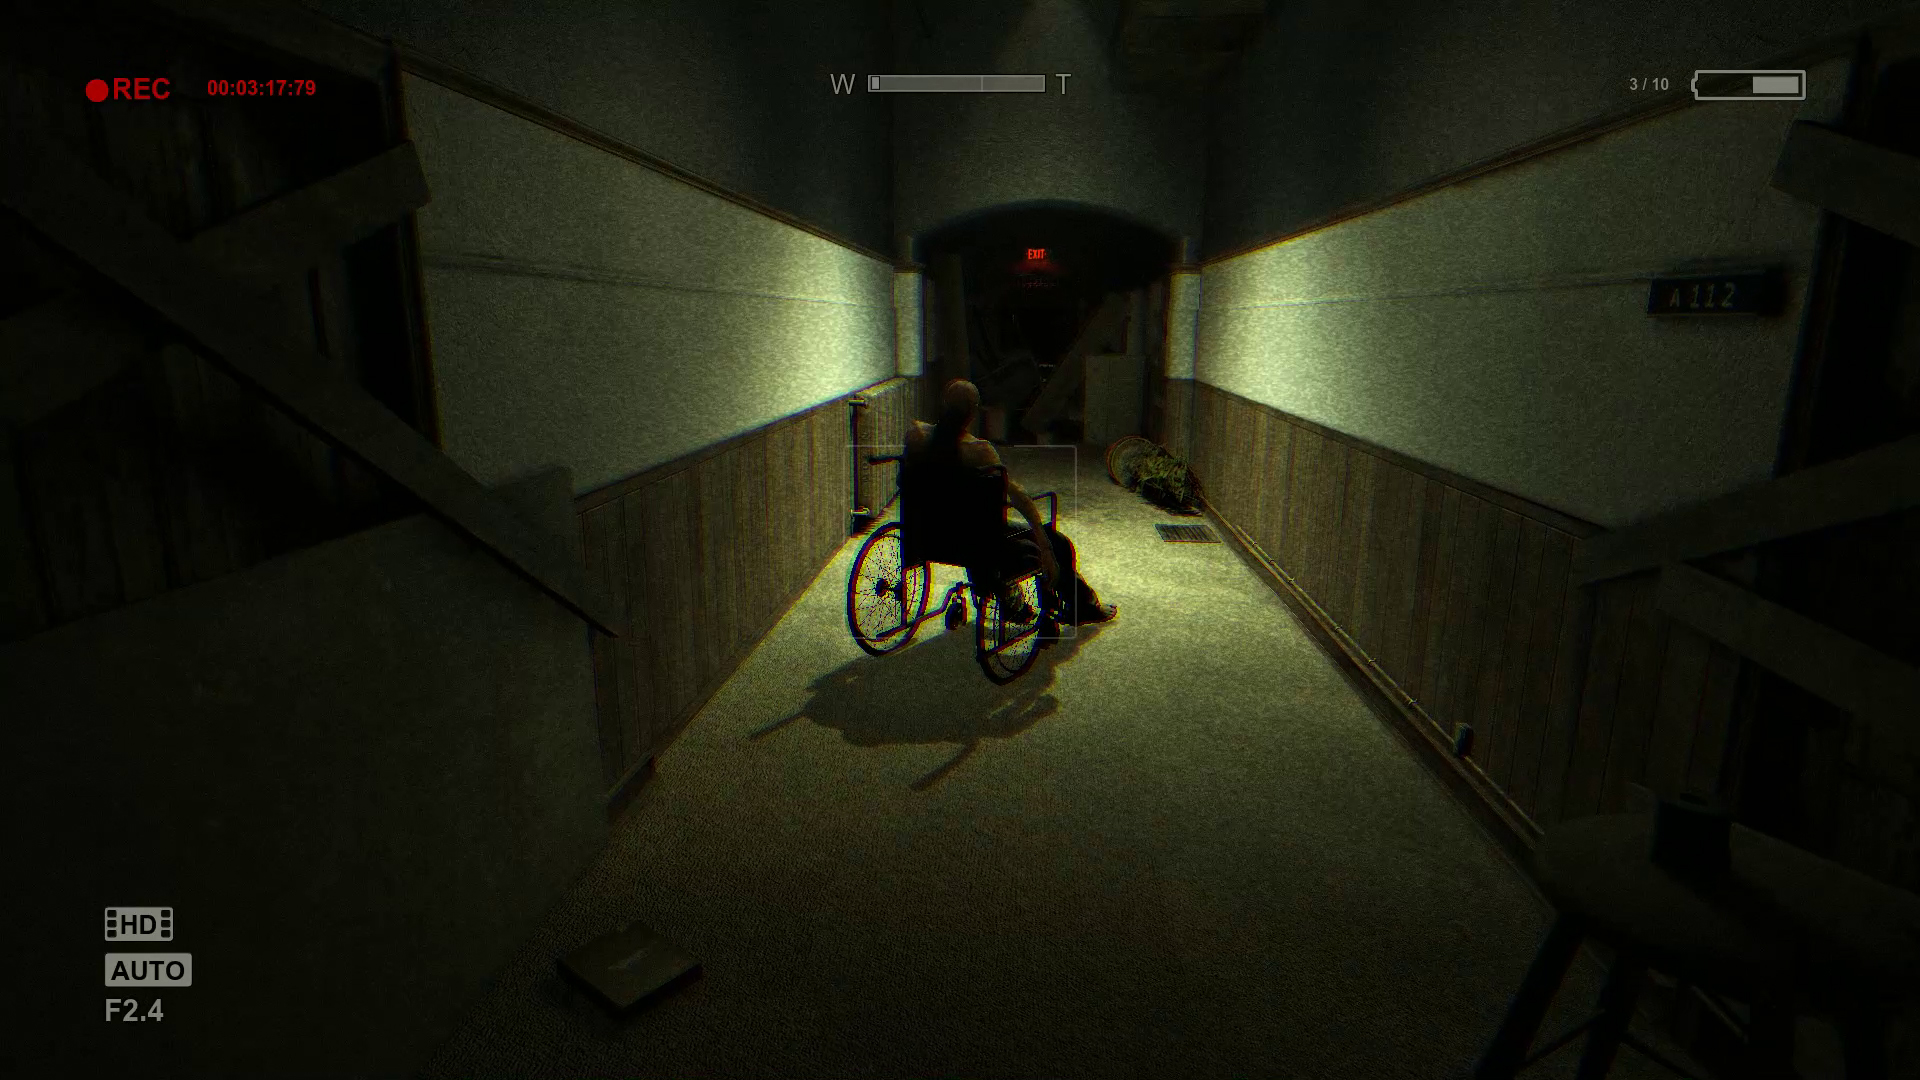
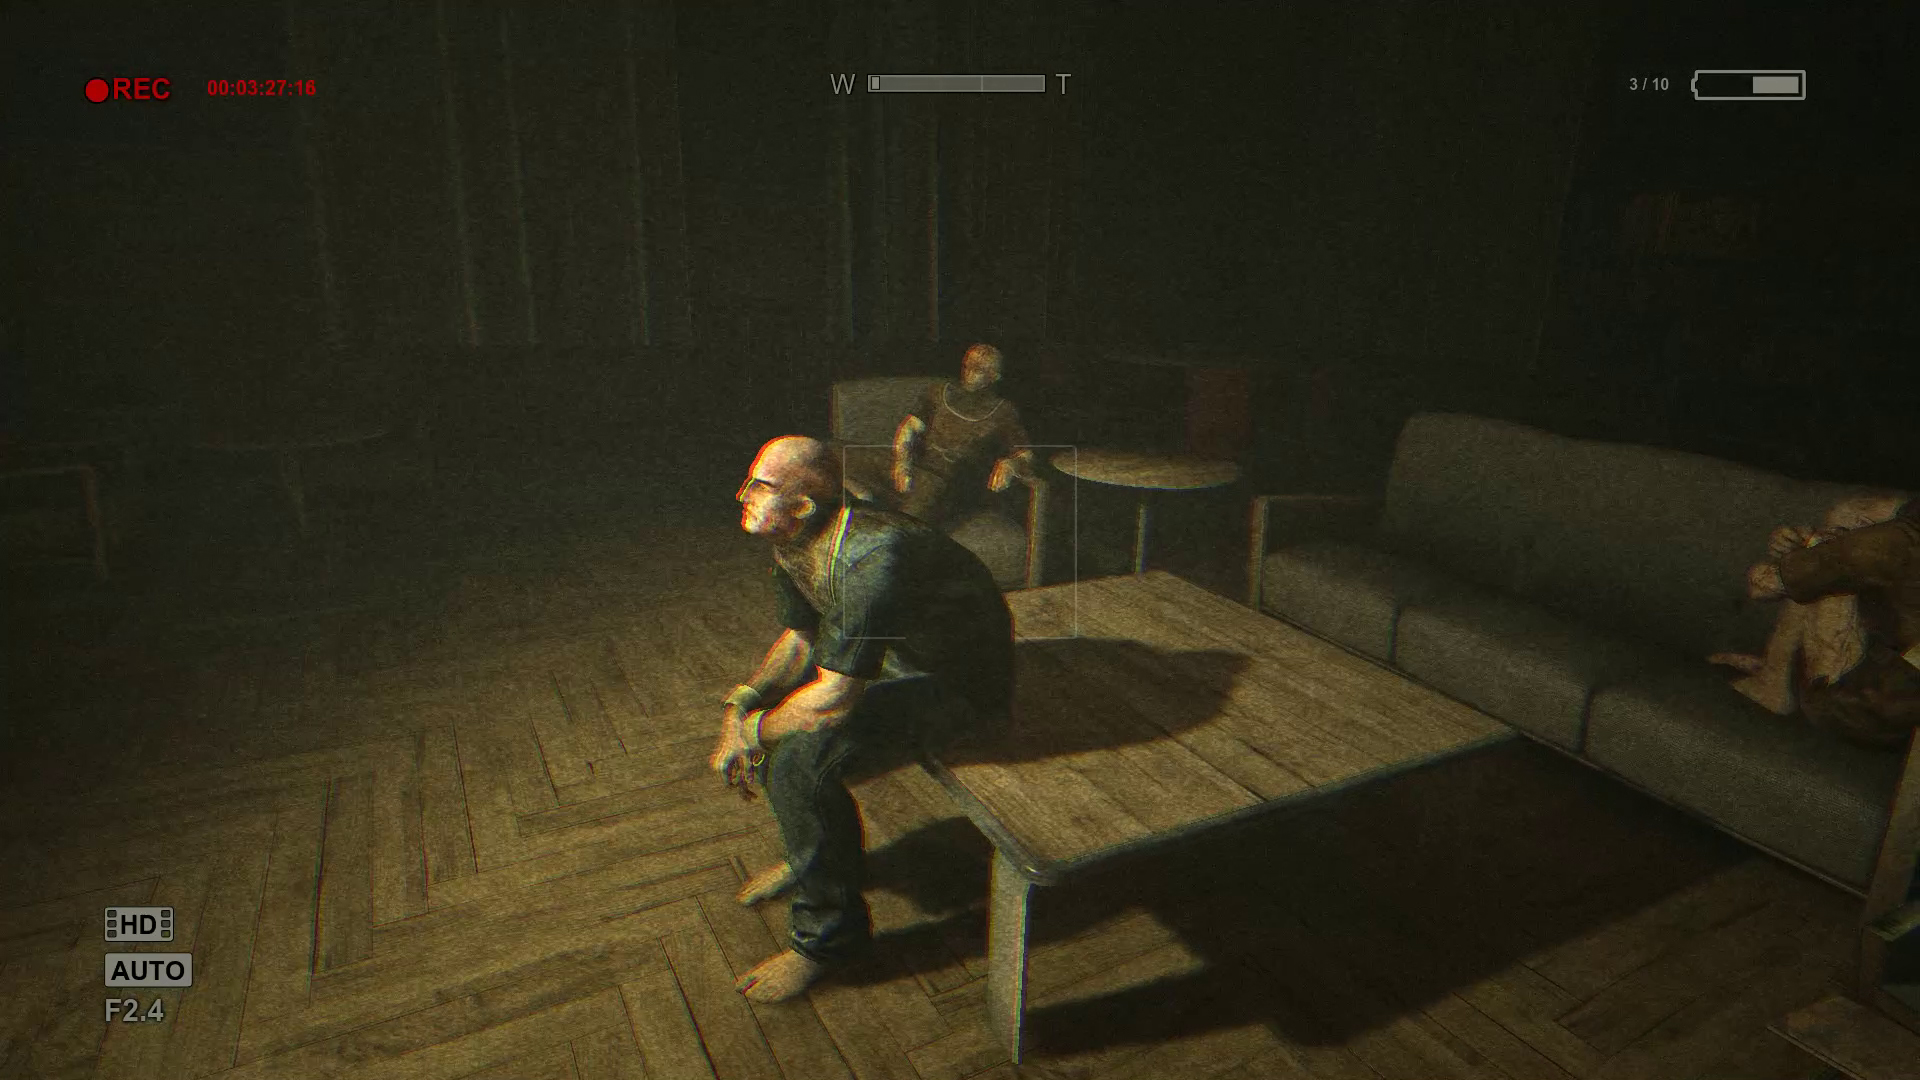
Walk through the door and down the hall passed a man in a wheel chair. The next room will have three patients looking at a broken TV. Record these three men to get a Note entitled “Broken Men and Dead Television.”
Crouch underneath the boarded door on the other end and enter the room across the hall. At the back of the room is a dead man with the security control keycard. Pick it up and return to the room you started this objective in.
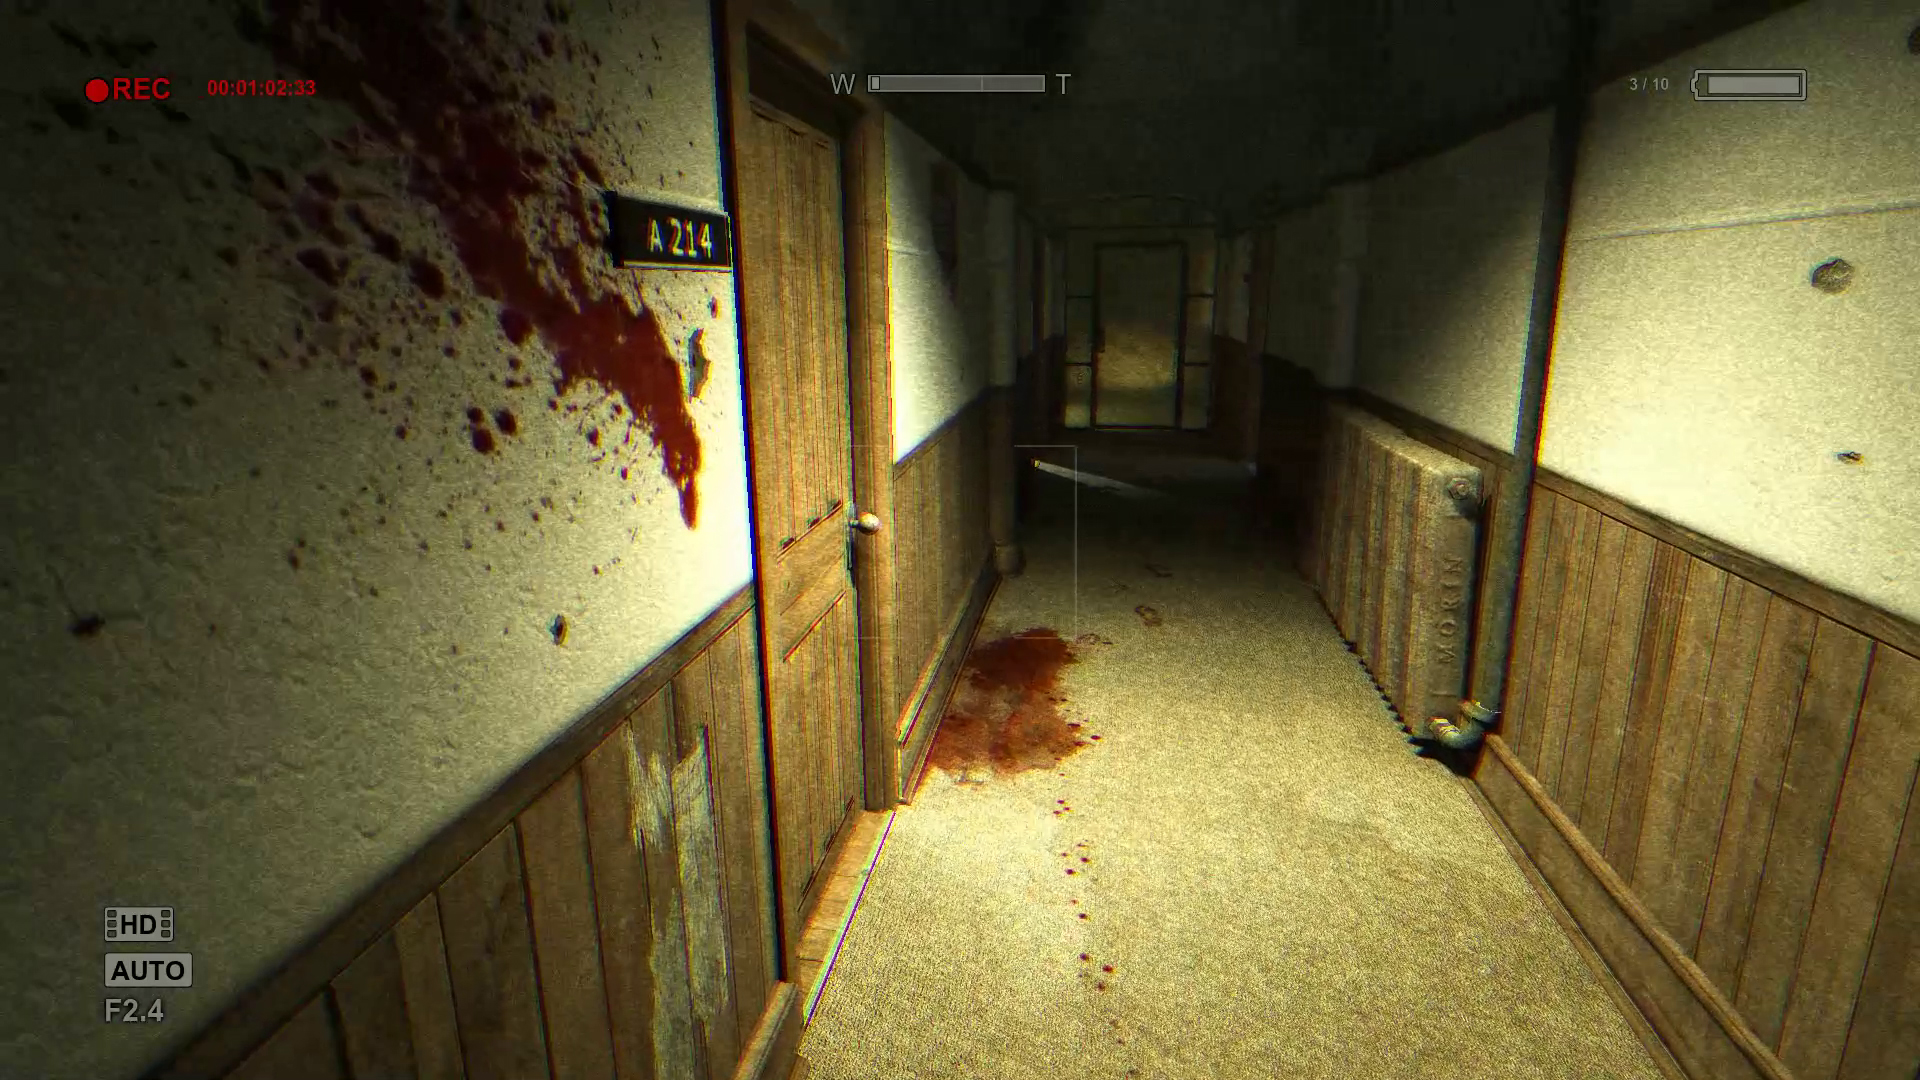
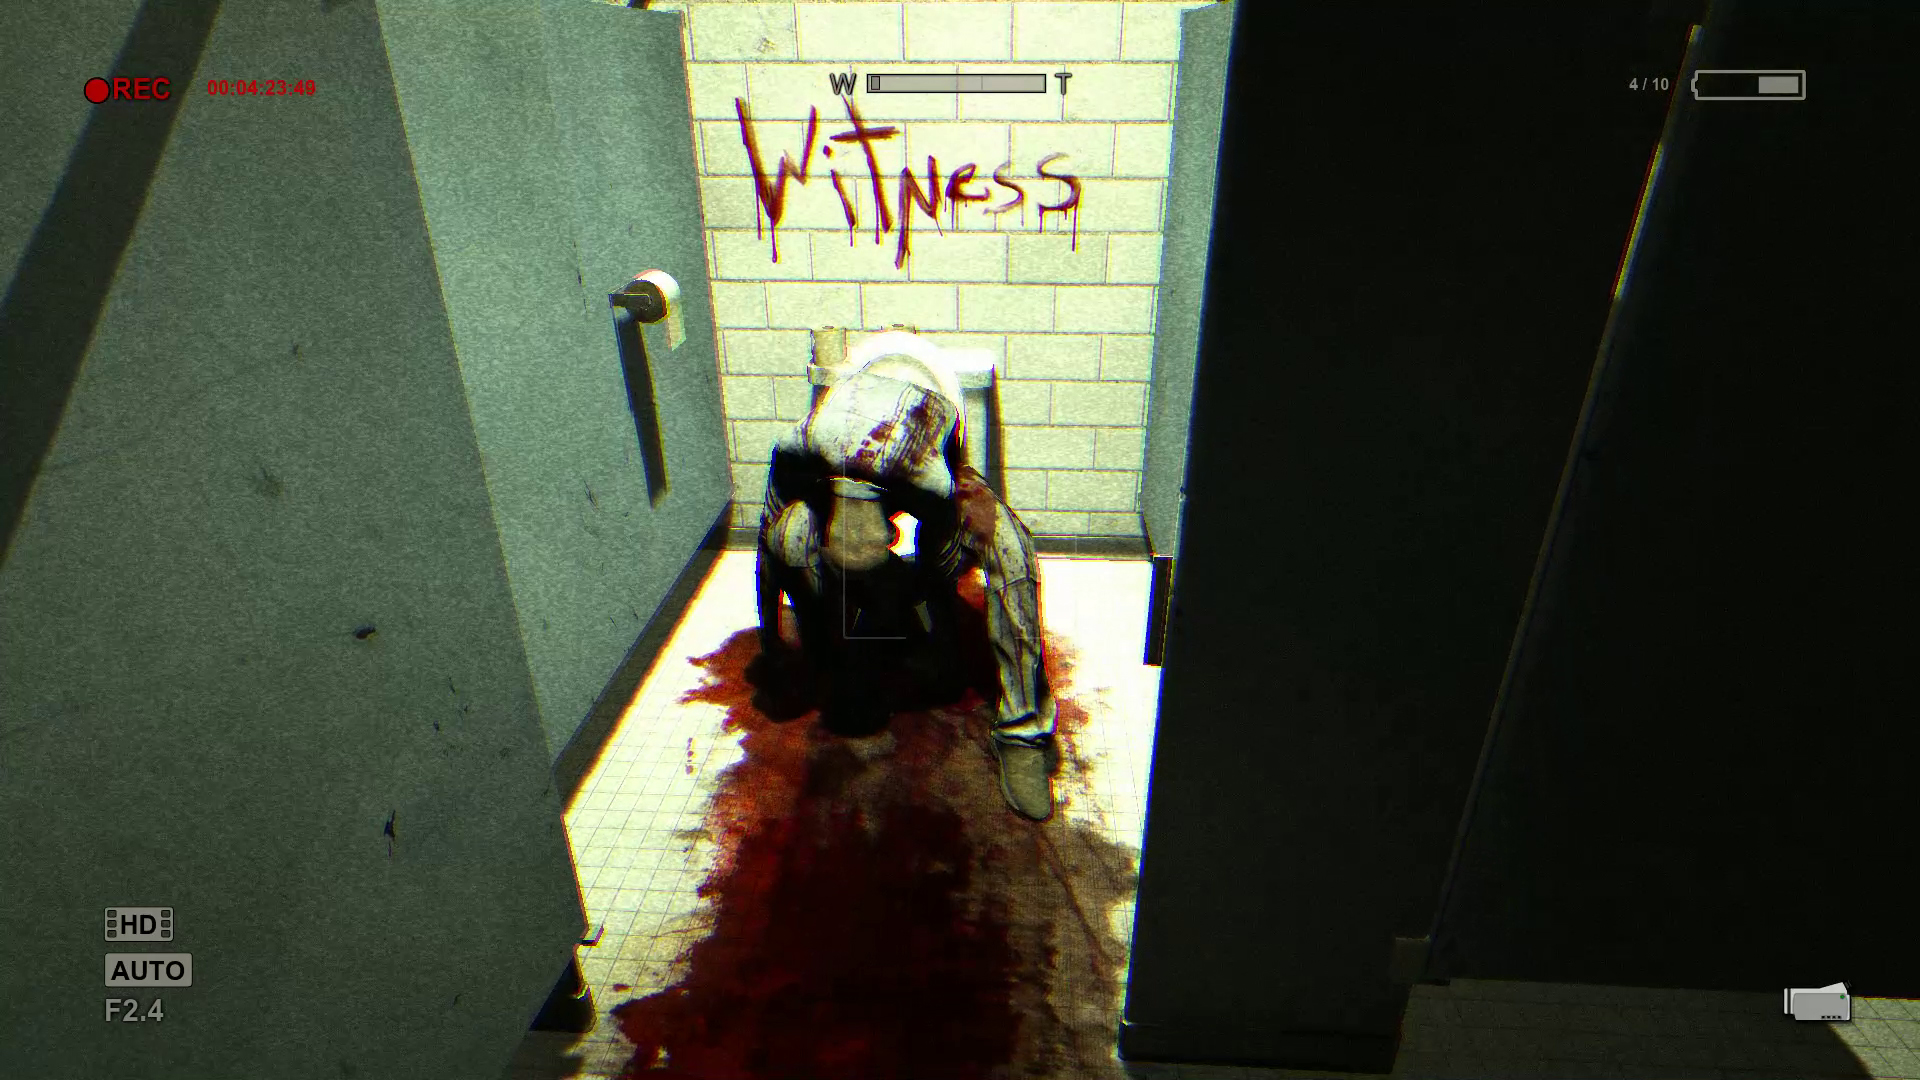
From the main room go to the stairs at the far end, but do not go down just yet. First, you must go down the hall on the right. The first door on the left is a bathroom. Open a stall to find a message written in blood. Record this to get a Note entitled “The Witness.”
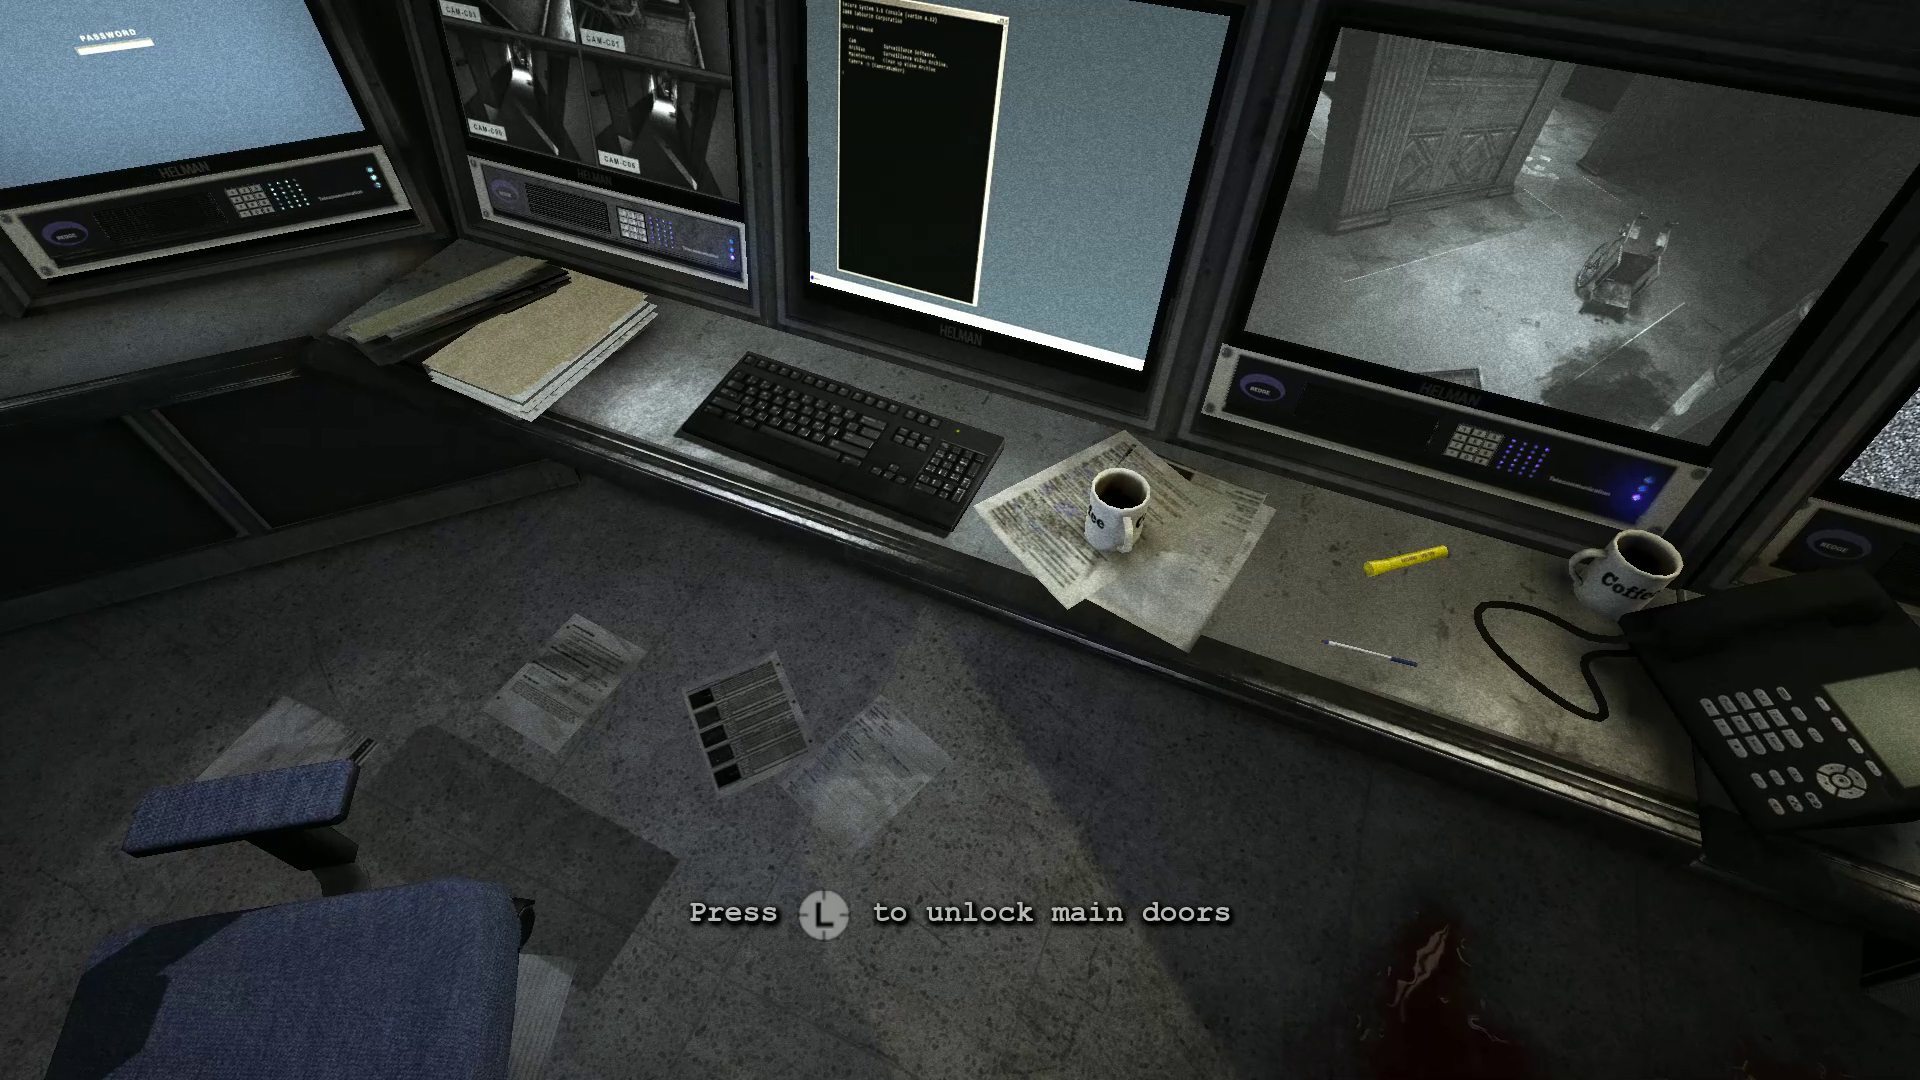
Across the hall may be a battery on a bloody desk. Grab it, exit out and head to the security room further down the hall. With the keycard in hand, you’ll be able to open it without any trouble. Use the keyboard near the monitors to unlock the main door. A short scene will play out.

Restart the generator in the basement.
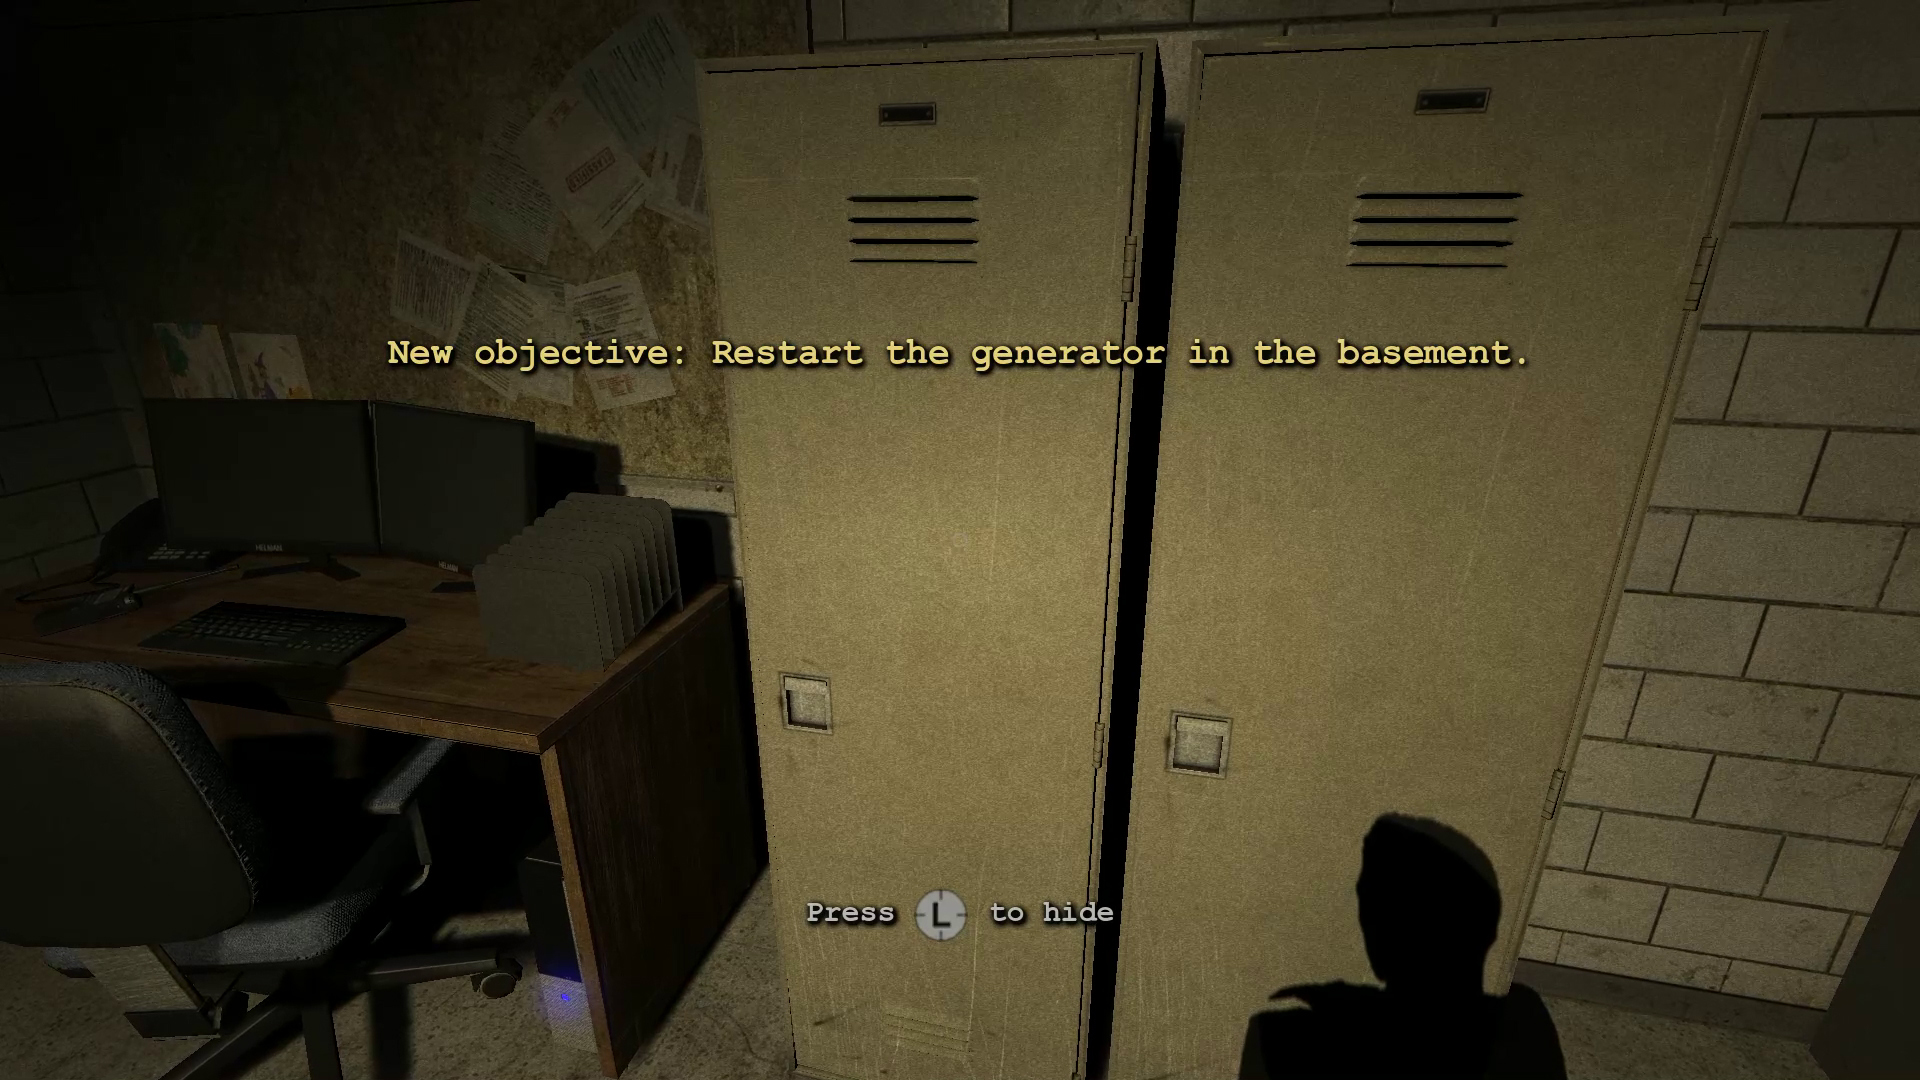
The power is out, which means a new objective is now active. Before you exit out of the room, enter the nearby locker and hold up your camcorder. A Variant will pop in through the door, and you’ll get the “Big Fucking Guy” Note.
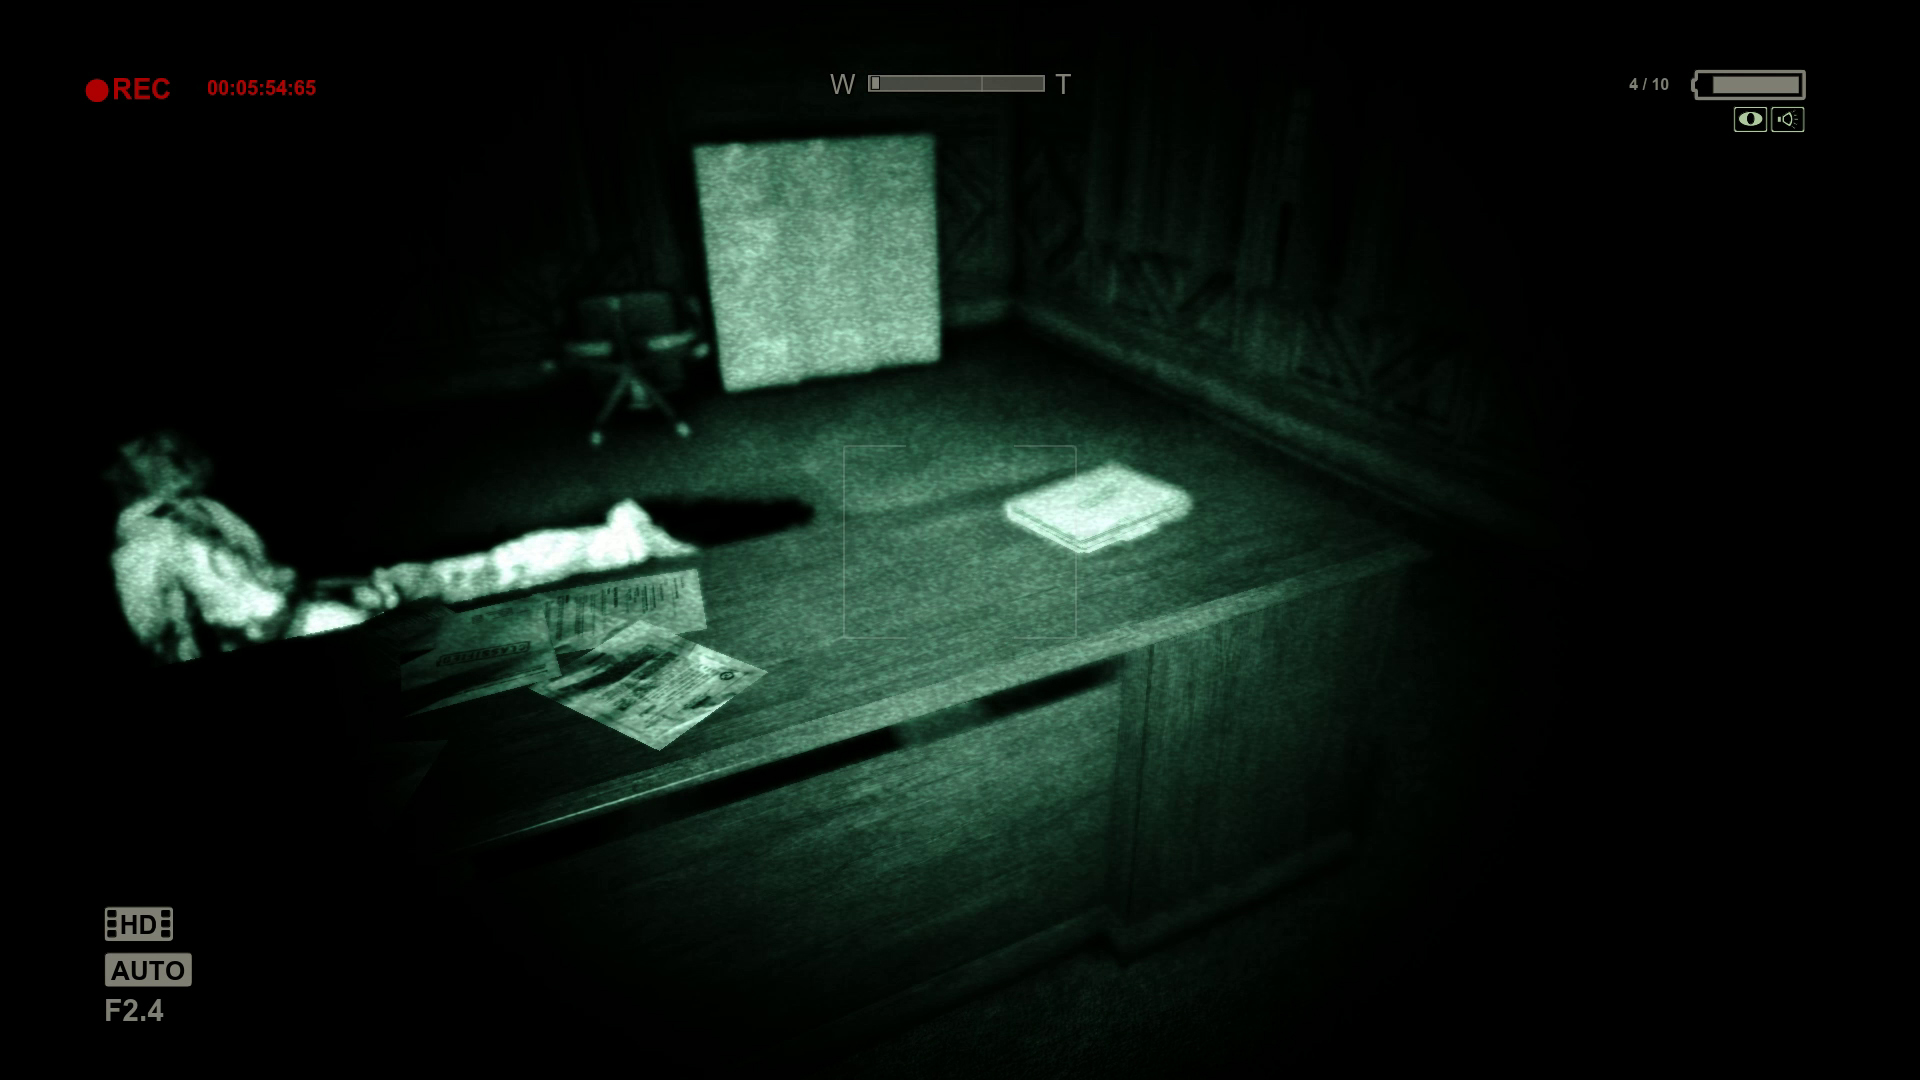
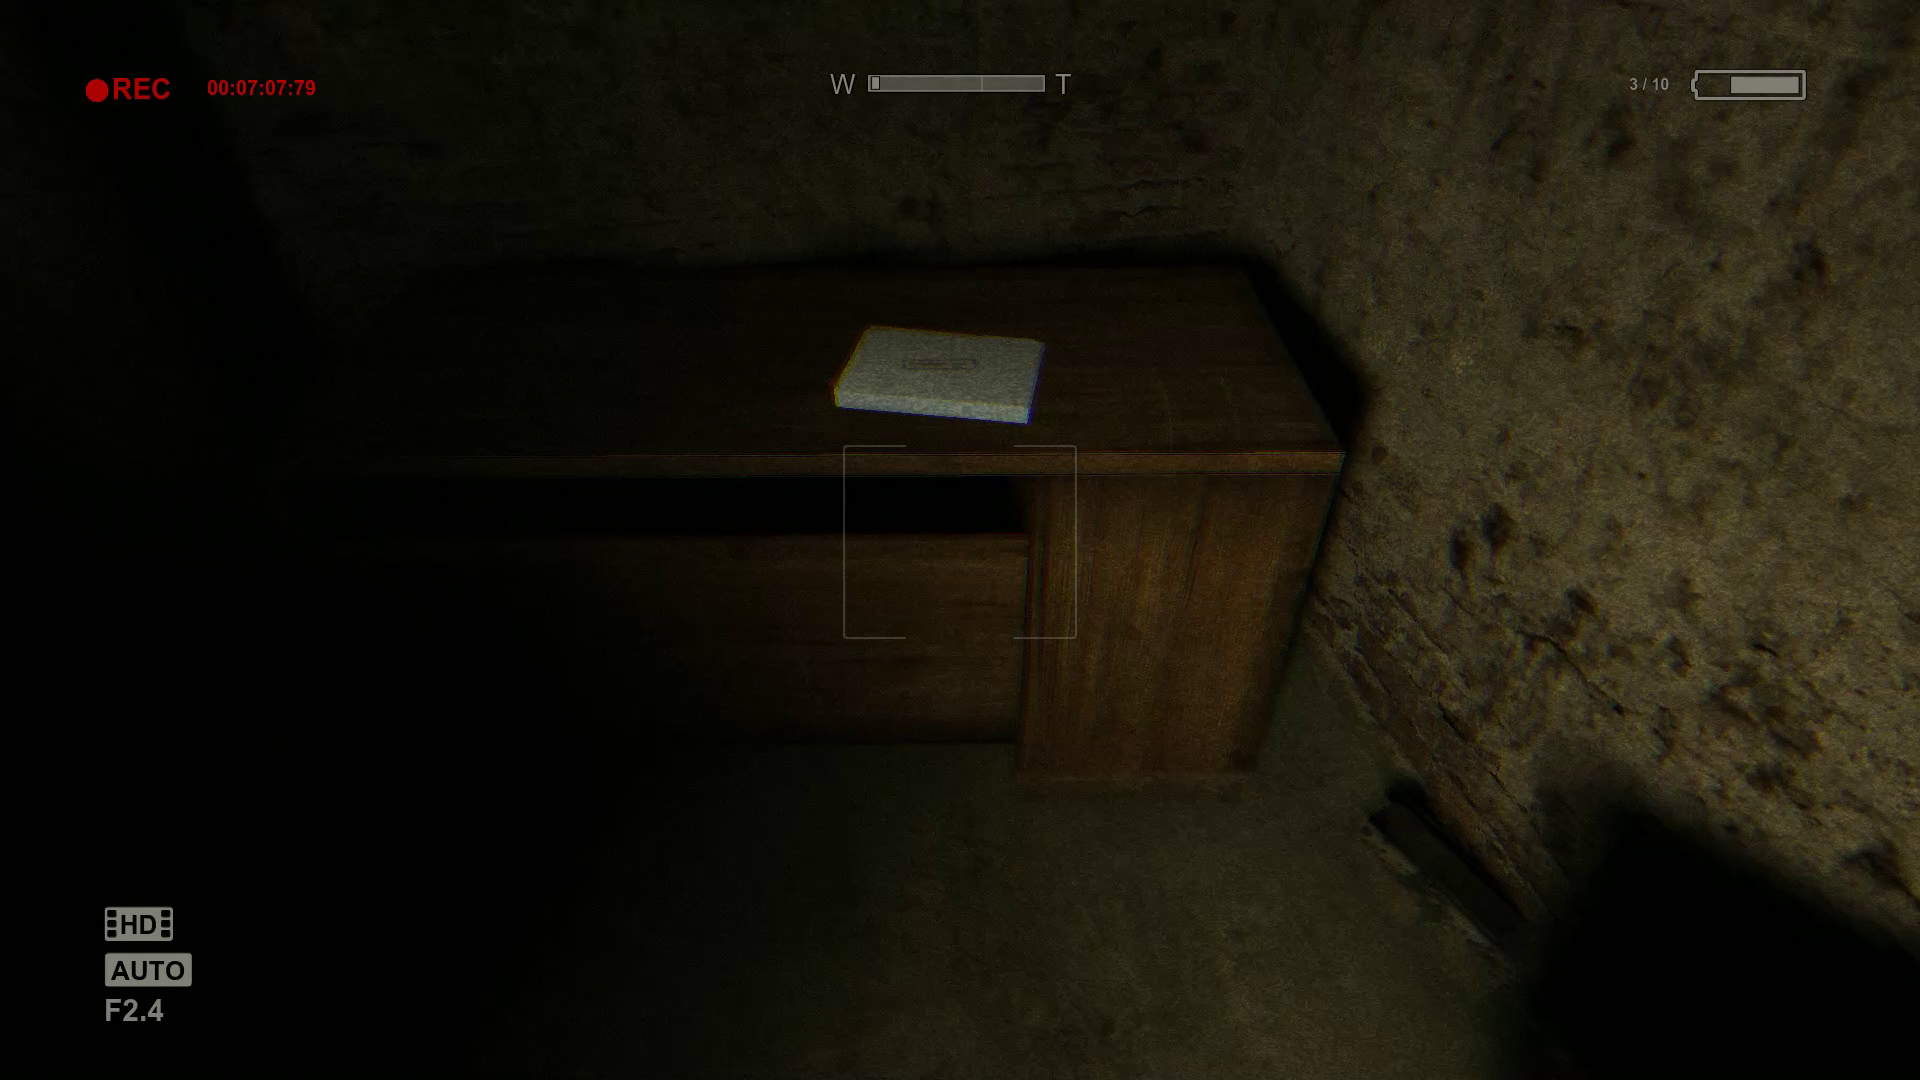
After the big guy leaves, get out of the locker and continue down the hall to the left. The next room on the left will hold a Document entitled “Project Walrider Profitability Report” on the desk.
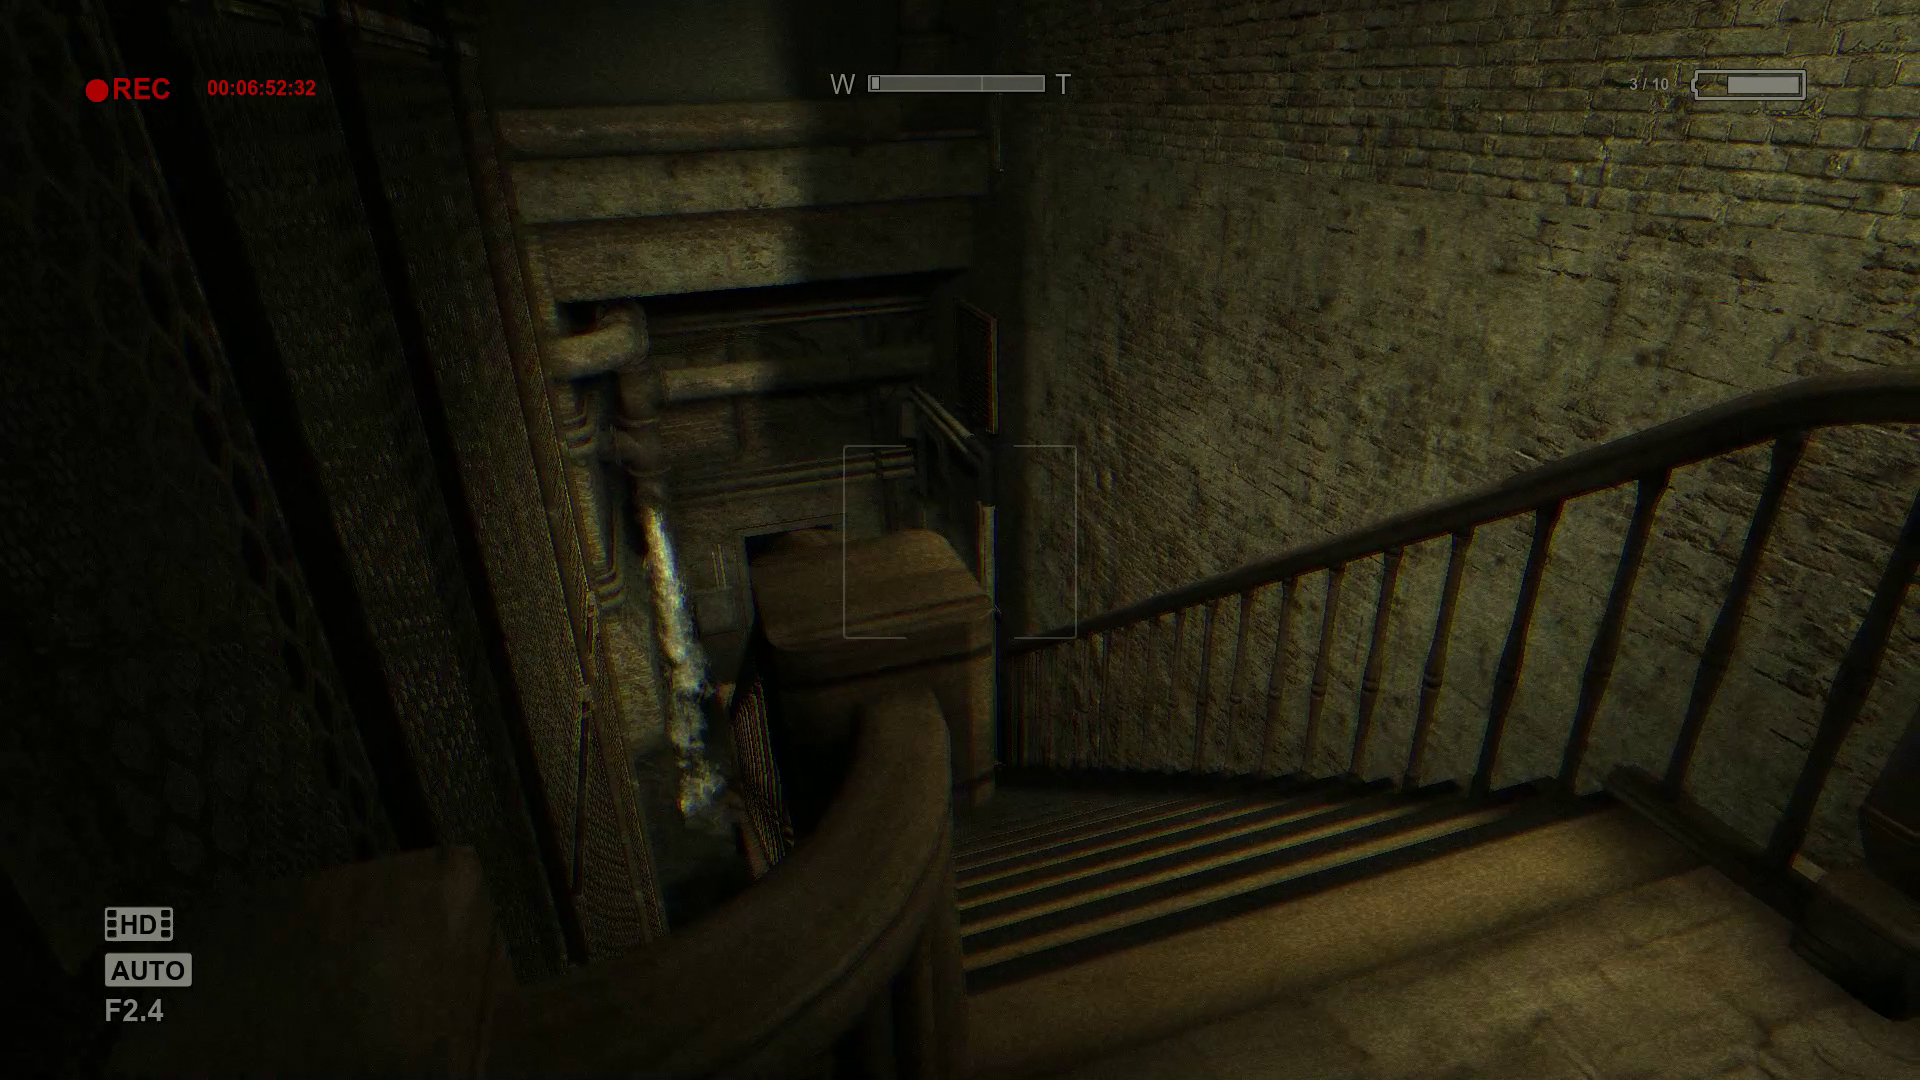
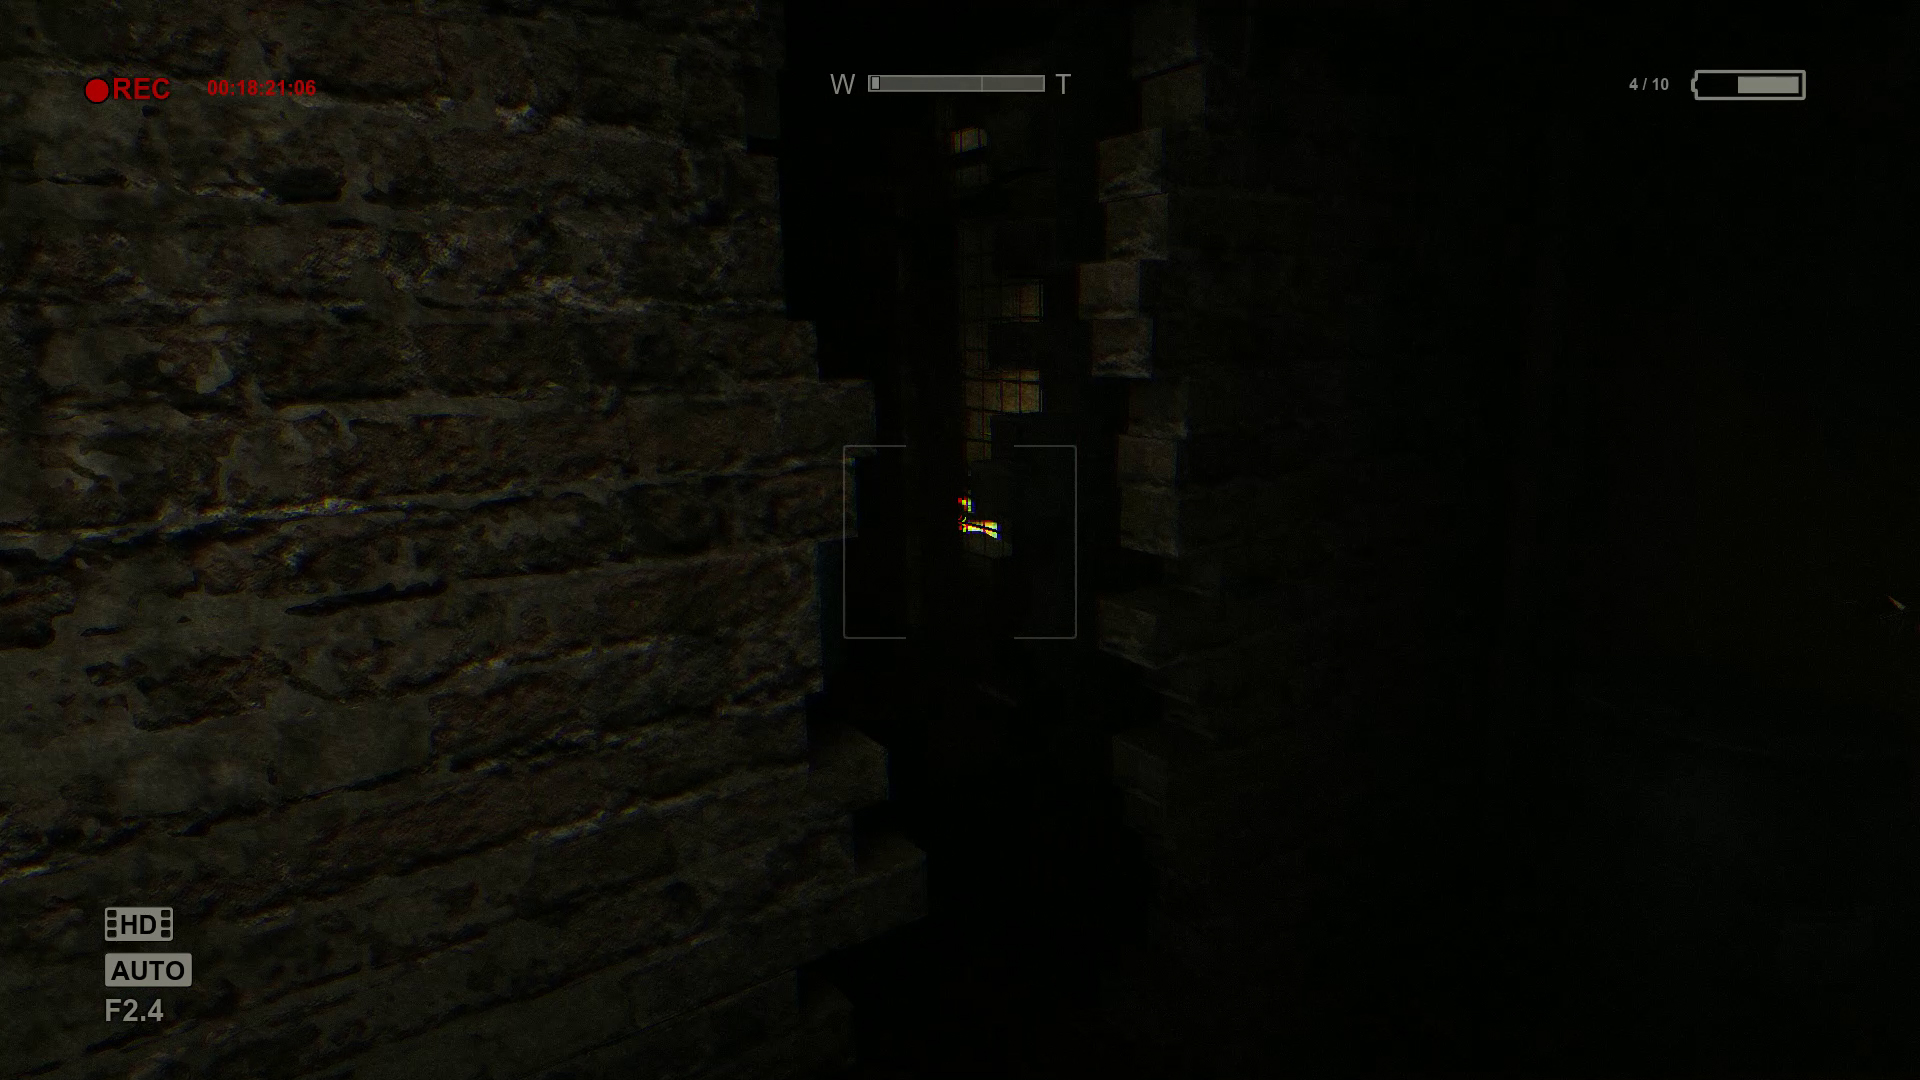
Reach the end of the hall near the main room, head downstairs to the basement, and squeeze through the small opening in the brick wall. Immediately to your right is a Document on a desk entitled “MKULTRA CIA Hypnotic Homicide.” Remember how you came down here, you may forget when you’re trying to go back up.
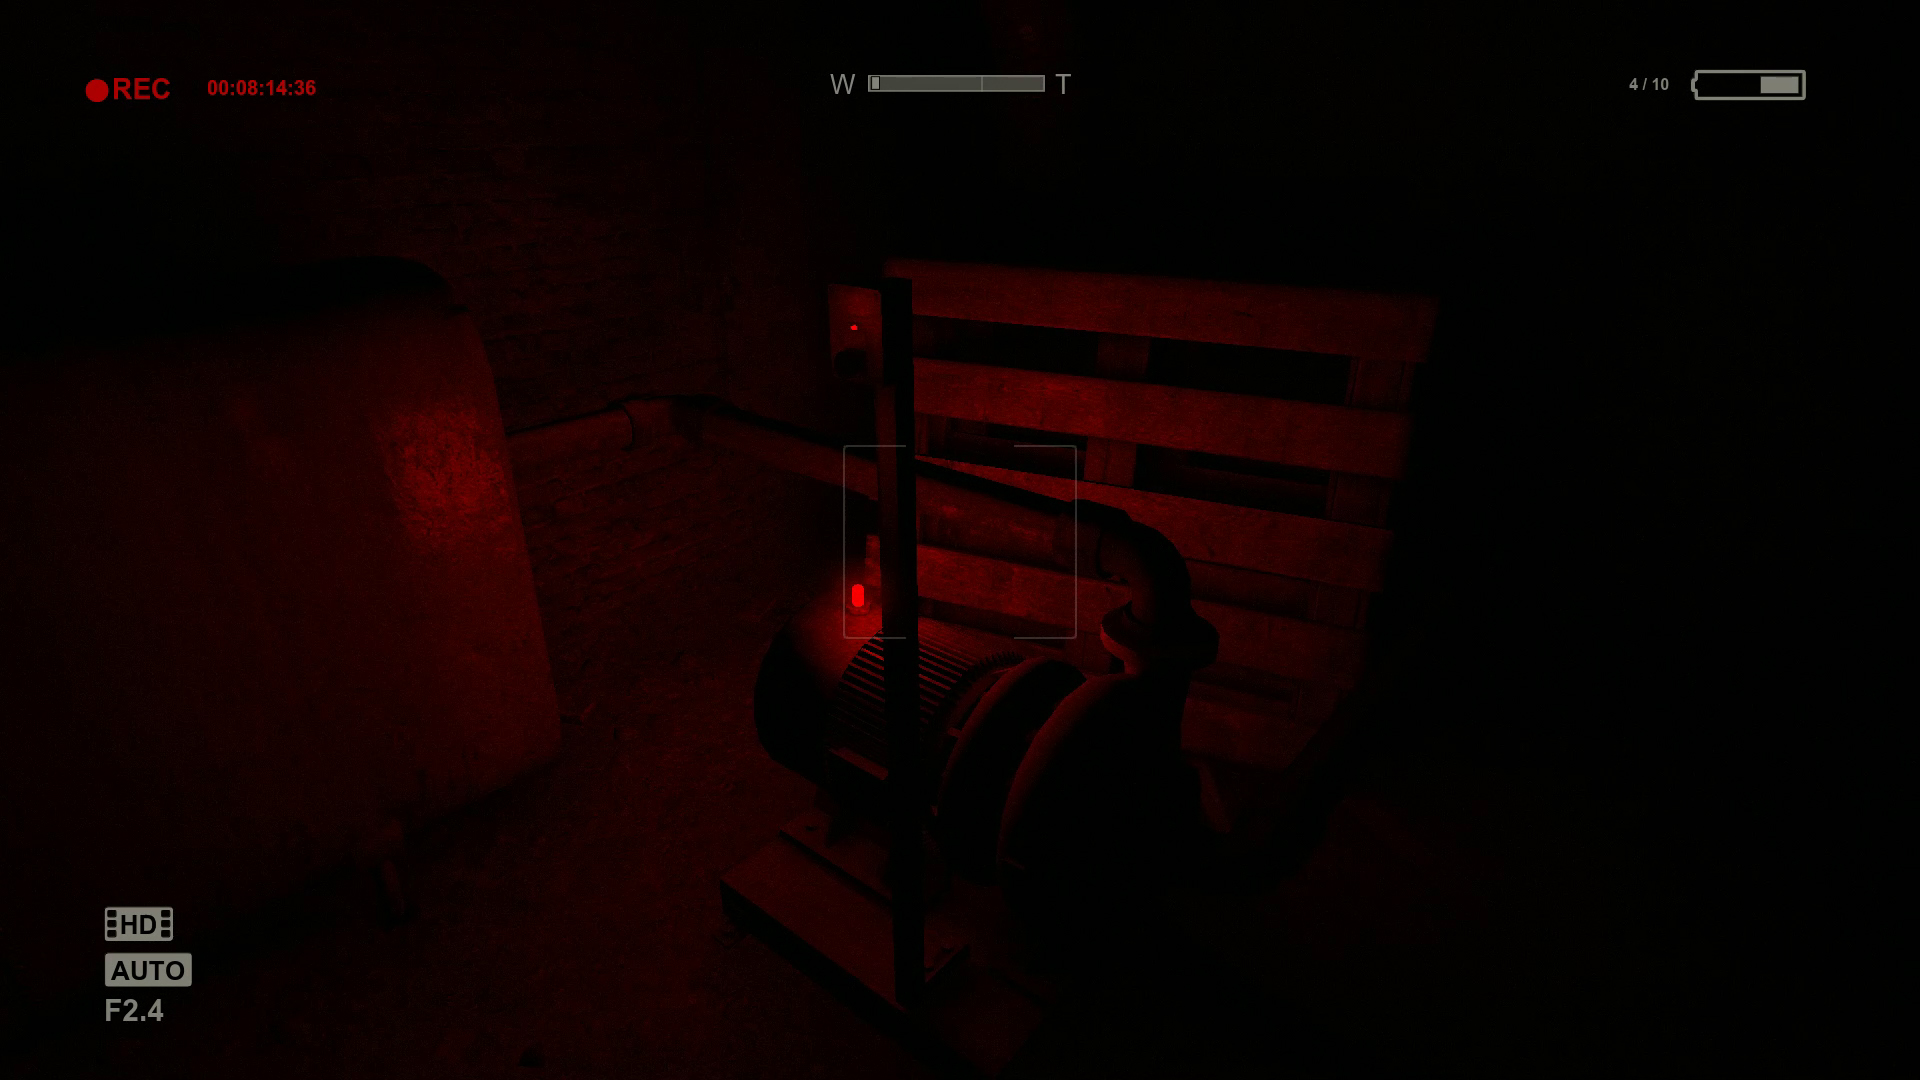
Down the hall is the generator room. Before you can turn the power back on, you must turn on two gas pumps and the main breaker. The two gas pumps are in two smaller pump rooms behind the generator’s control panel. The second you turn on one, a Variant will bust through a door to the left of the generator’s control panel. It’s best to turn on one gas pump, run to the other room, turn on the other gas pump, and then quickly hide in a locker or under a bed within that second room. You may want to scout out the rooms before you turn on either pump, and pick up any batteries you may find.
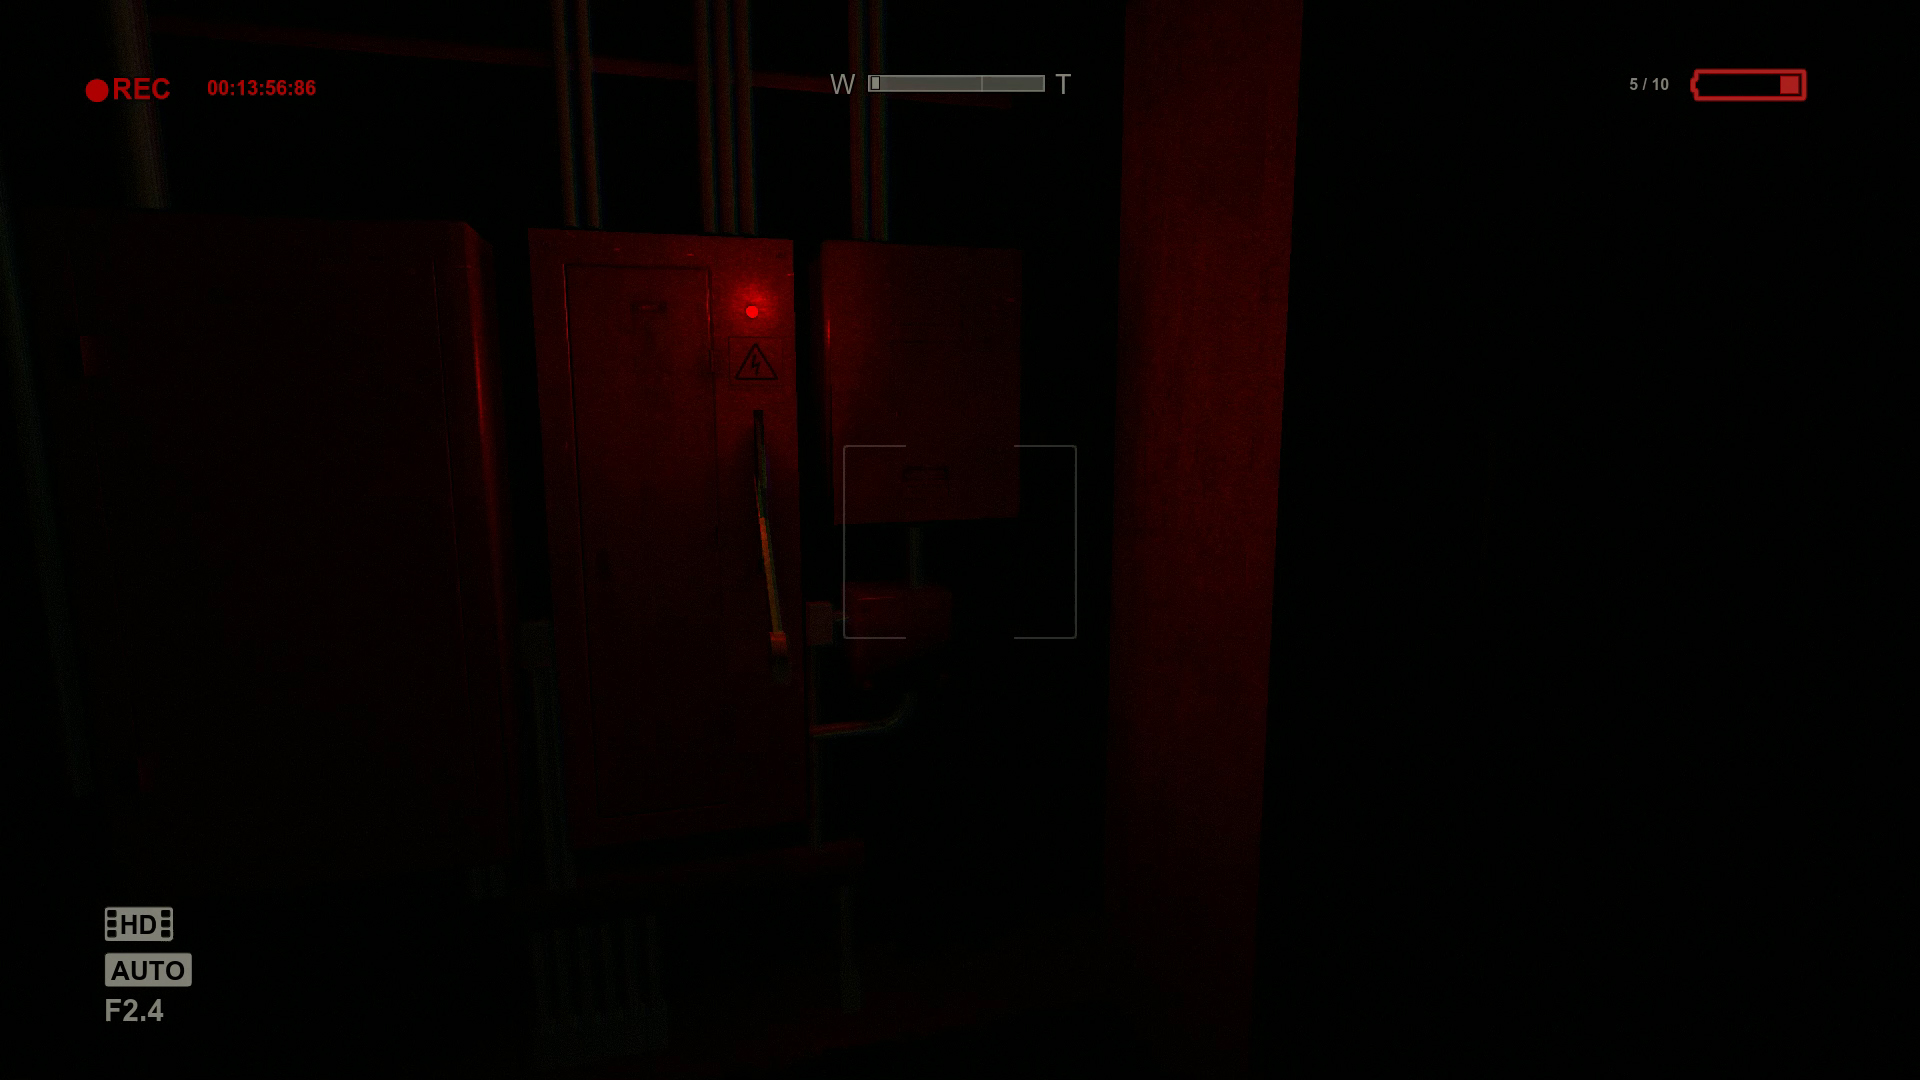
The Variant will be walking around the generator room, the two small pump rooms, and the breaker room from now on. Try to sneak past him and go through the newly opened door. Follow the hall to reach the breaker room. The majority of the hall is one way, but you will reach a small fork towards the end. The left path leads to a dead end, and the right path leads to the main breaker. Just like the gas pumps, the Variant should come after you once you turn on the main breaker. Interact with it and hide in one of the lockers.
With the three sub-objectives completed, return to the generator and turn it on. It’d be in your best interested to quickly turn it on and return up stairs. Just remember to run down the hall opposite the generator control panel and squeeze through the gap in the brick wall to reach the steps back up.
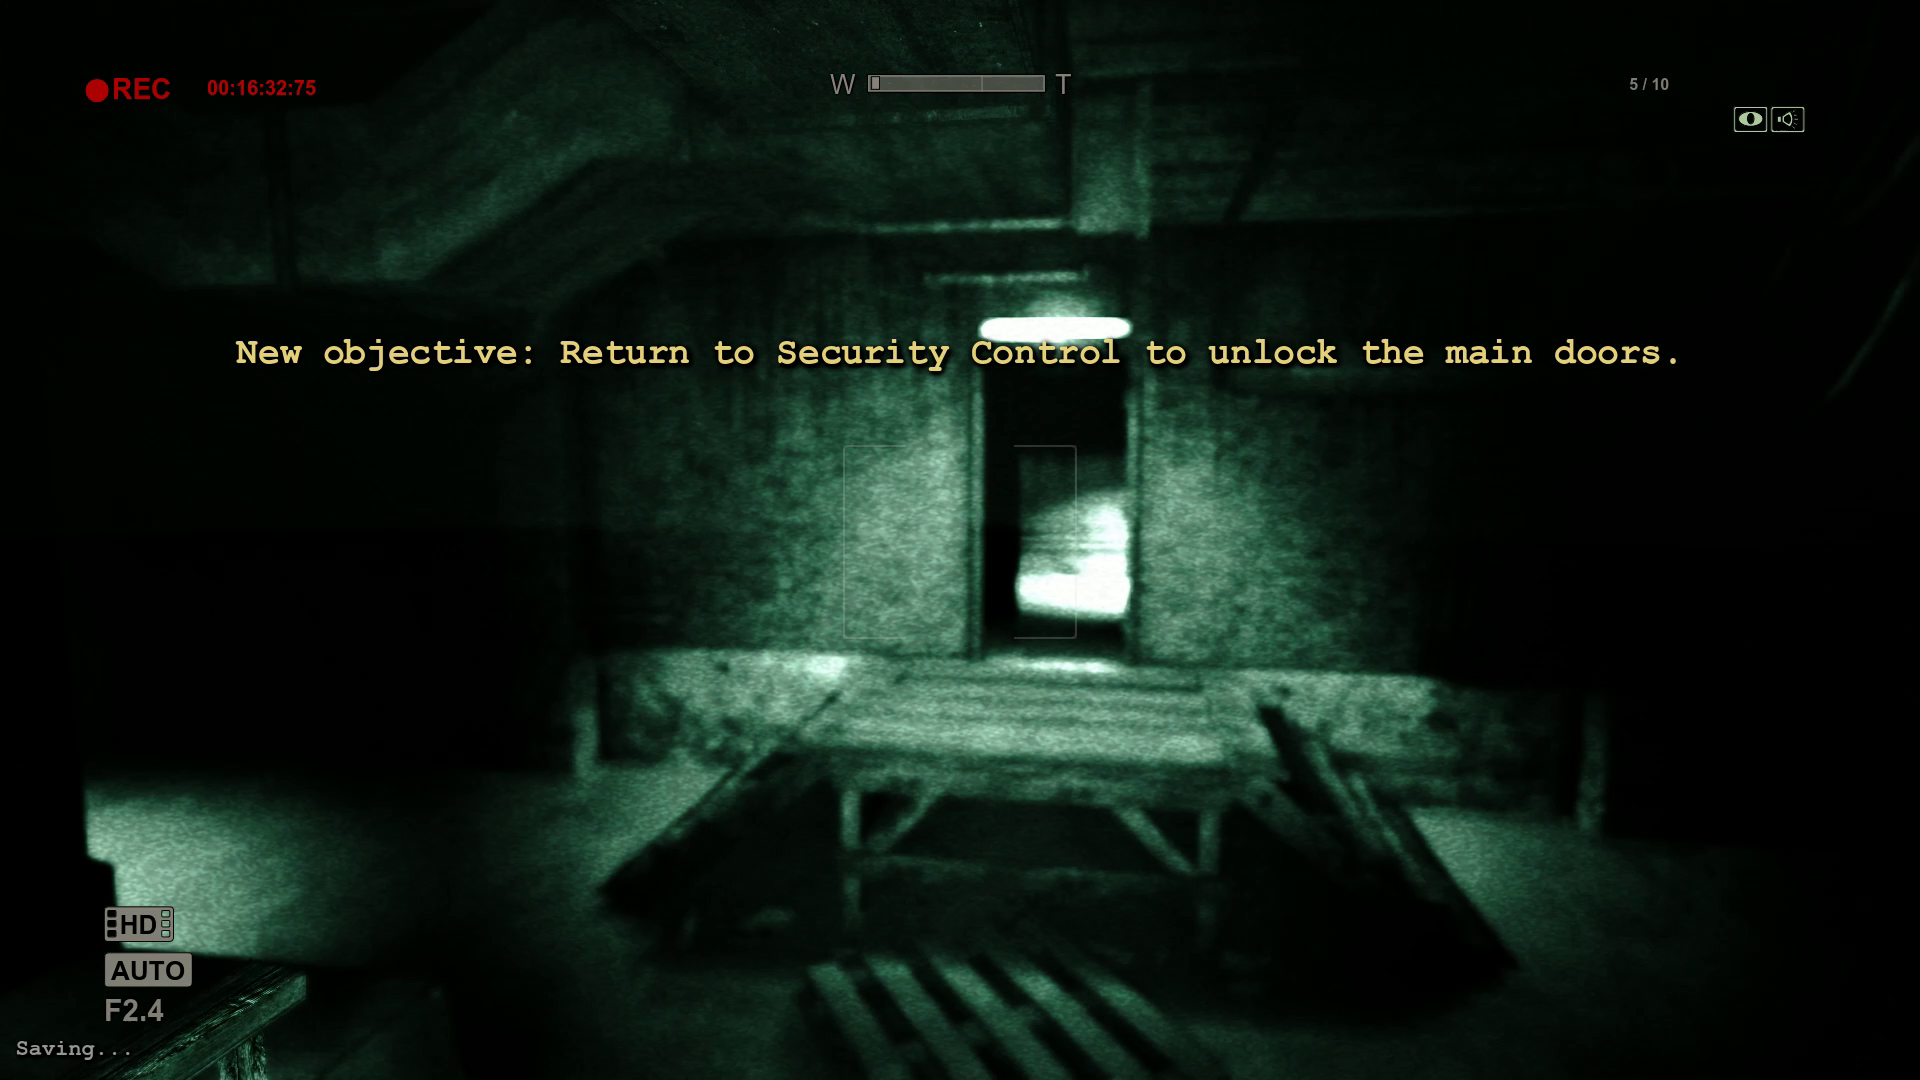
Return to Security Control to unlock the main doors.
Head back up stairs as fast as possible to get away from the dangerous variant around the basement area. Take the hall on the left and interact with the security controls again. This will initiate a short cut scene the ends this first chapter.