[toc]
Female Ward
This part of the game starts immediately upon entering the Female Ward from the Courtyard. Father Martin is a short distance away. After speaking to him, you will get a new objective.
Use the upper floors to reach Father Martin.
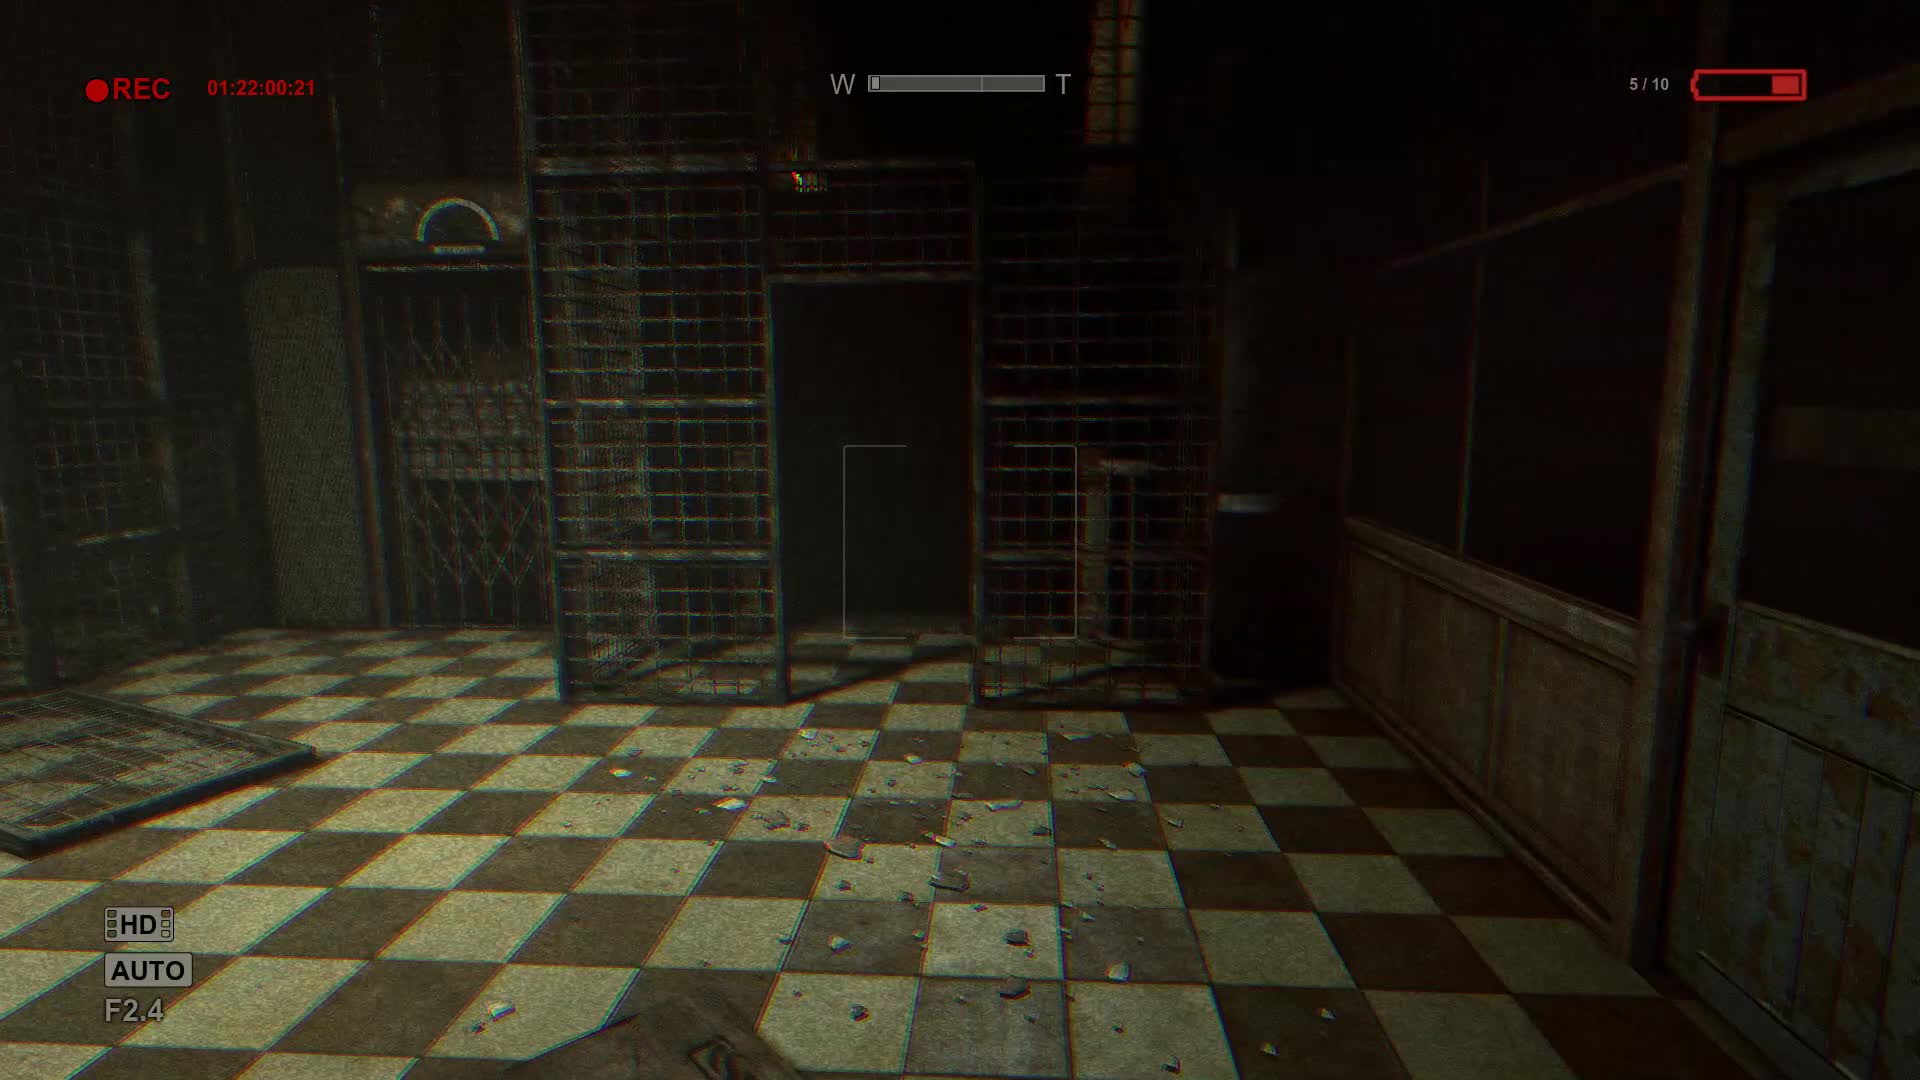
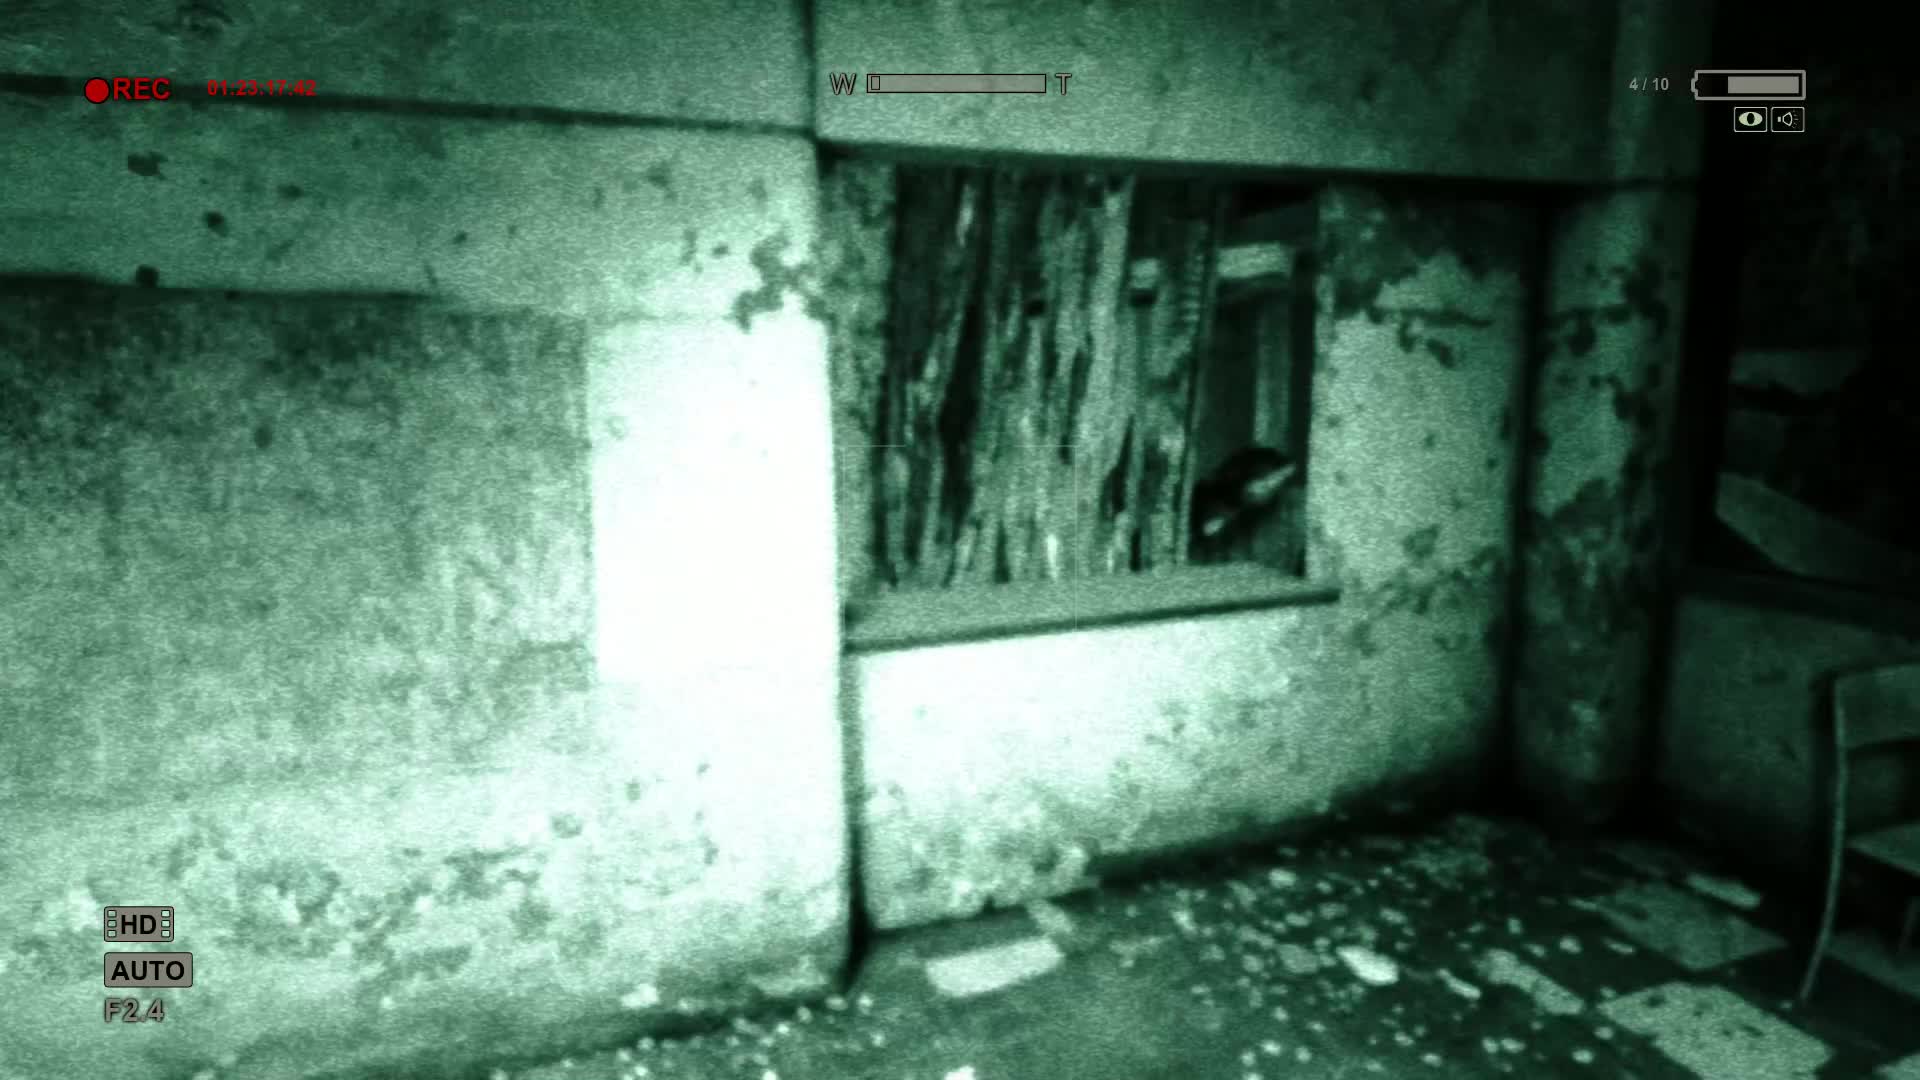
To the left is a winding hallway. Follow the path through some obstacles and jump through a window into a small room that’s making a lot of noise. Record the machine that’s making all this noise to get a Note entitled “The Sound In The Machine.”
Exit out of this room into the next set of halls, then take a right until you reach a staircase. Underneath this staircase is a Document on a desk entitled “Warlriders and Nightmares.”
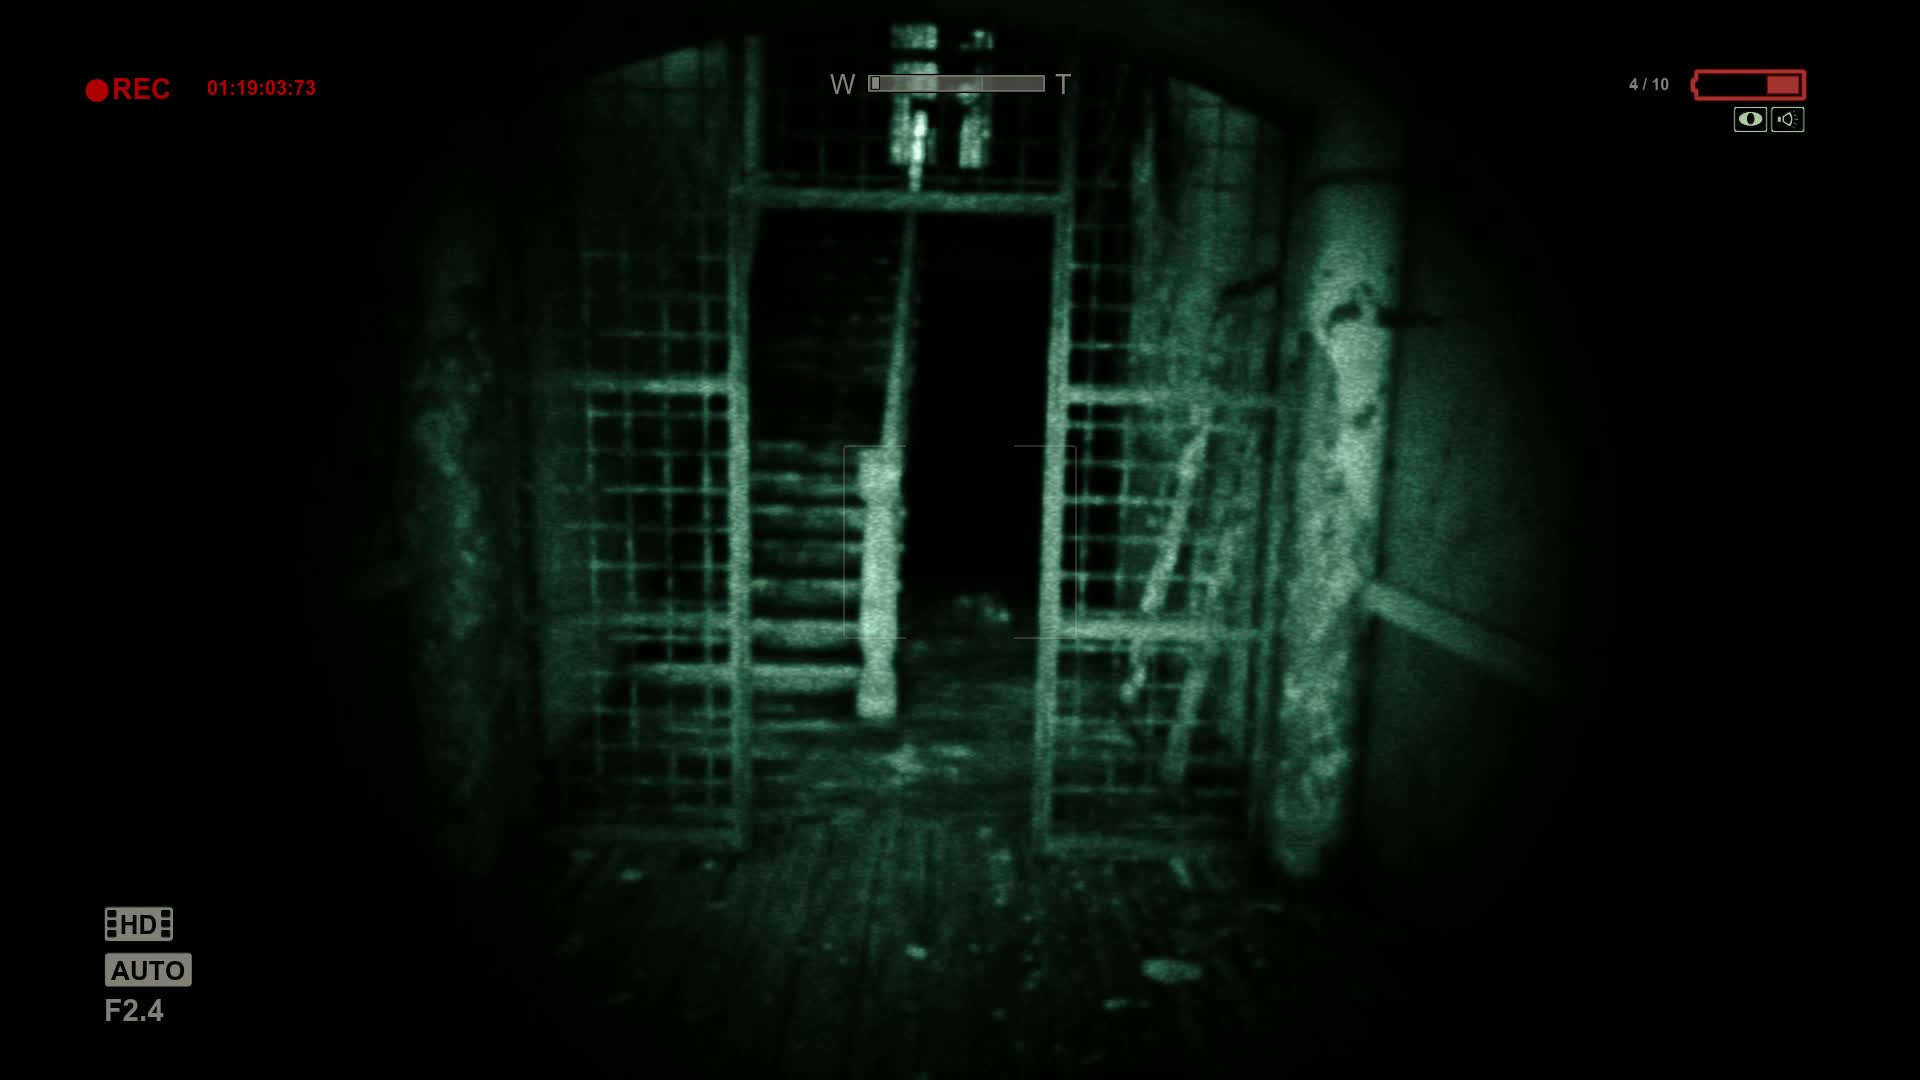
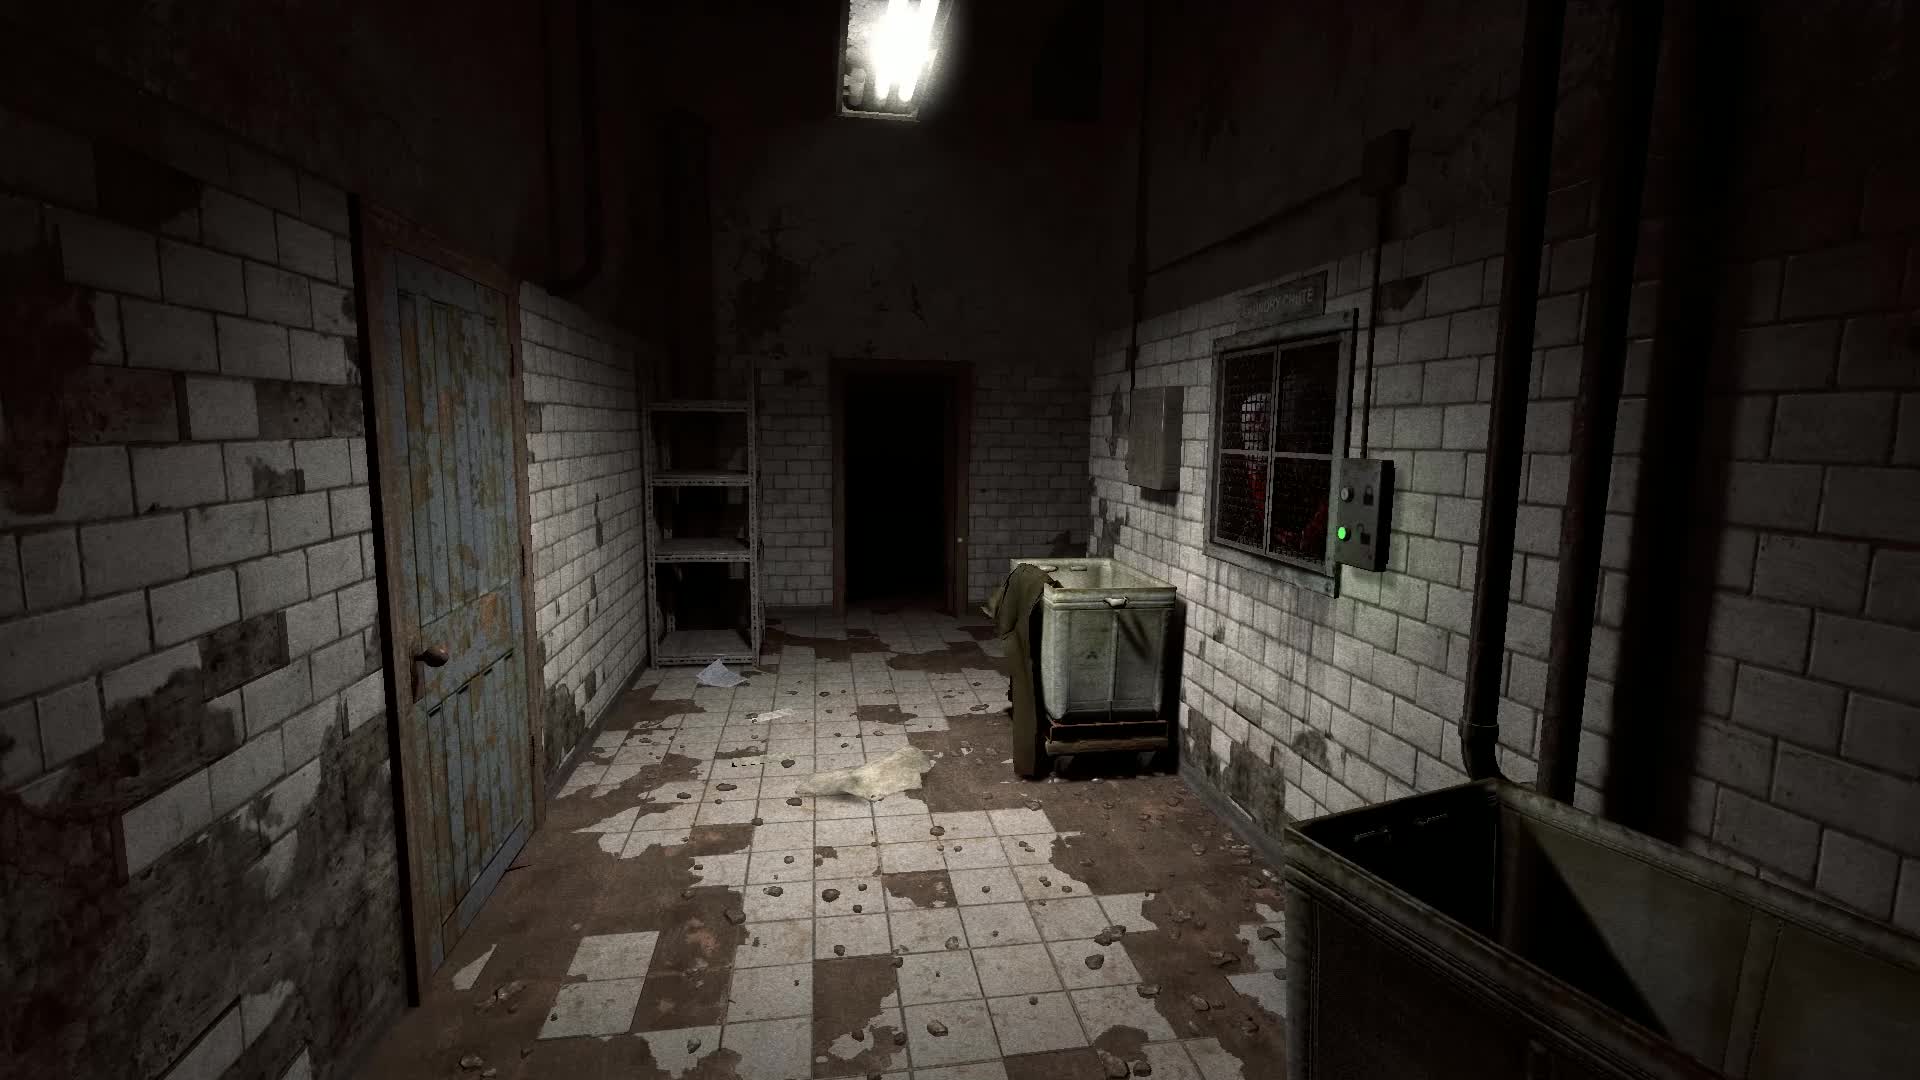
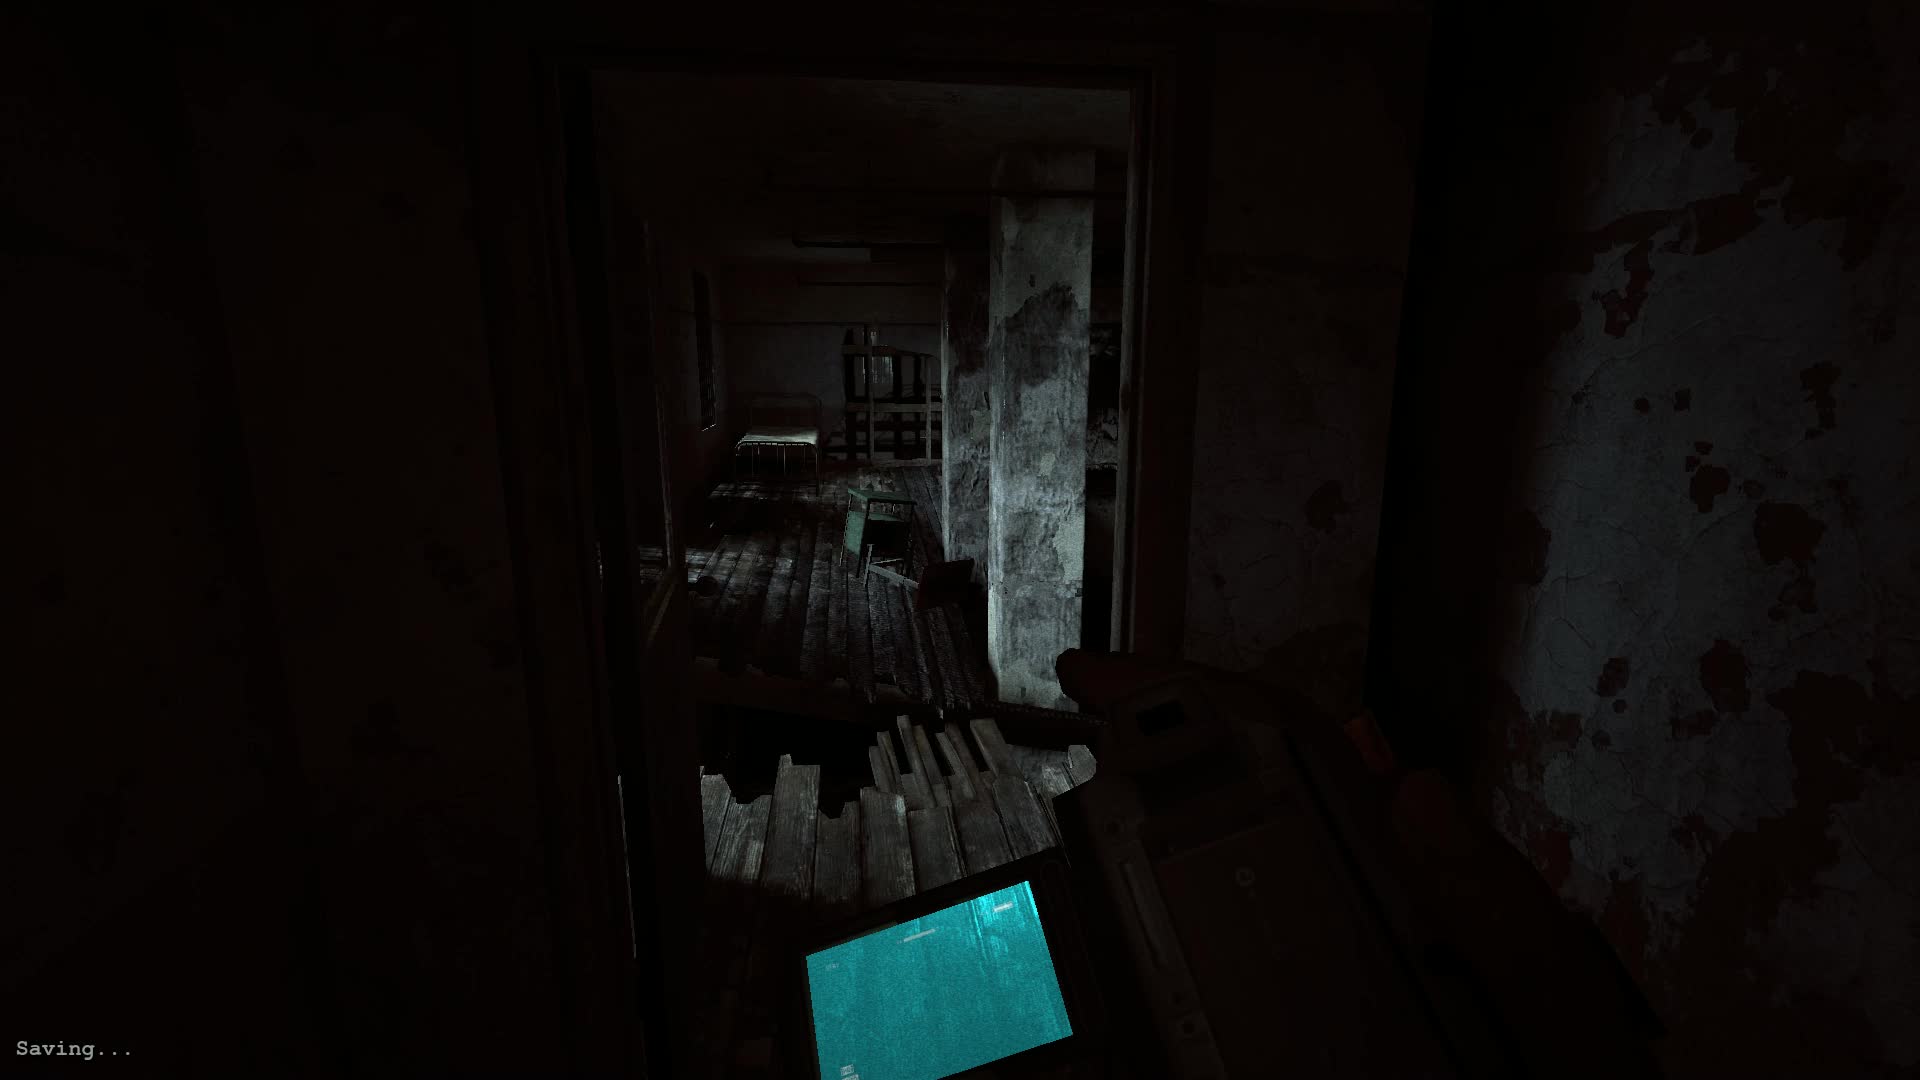
You can search the area for some batteries if necessary. When ready, walk all the way to the other end of the hall. Take a left into the room with the elevator and stairs wrapping around the shaft. Record the small area underneath the elevator to get the Note entitled “No Safe Place.”
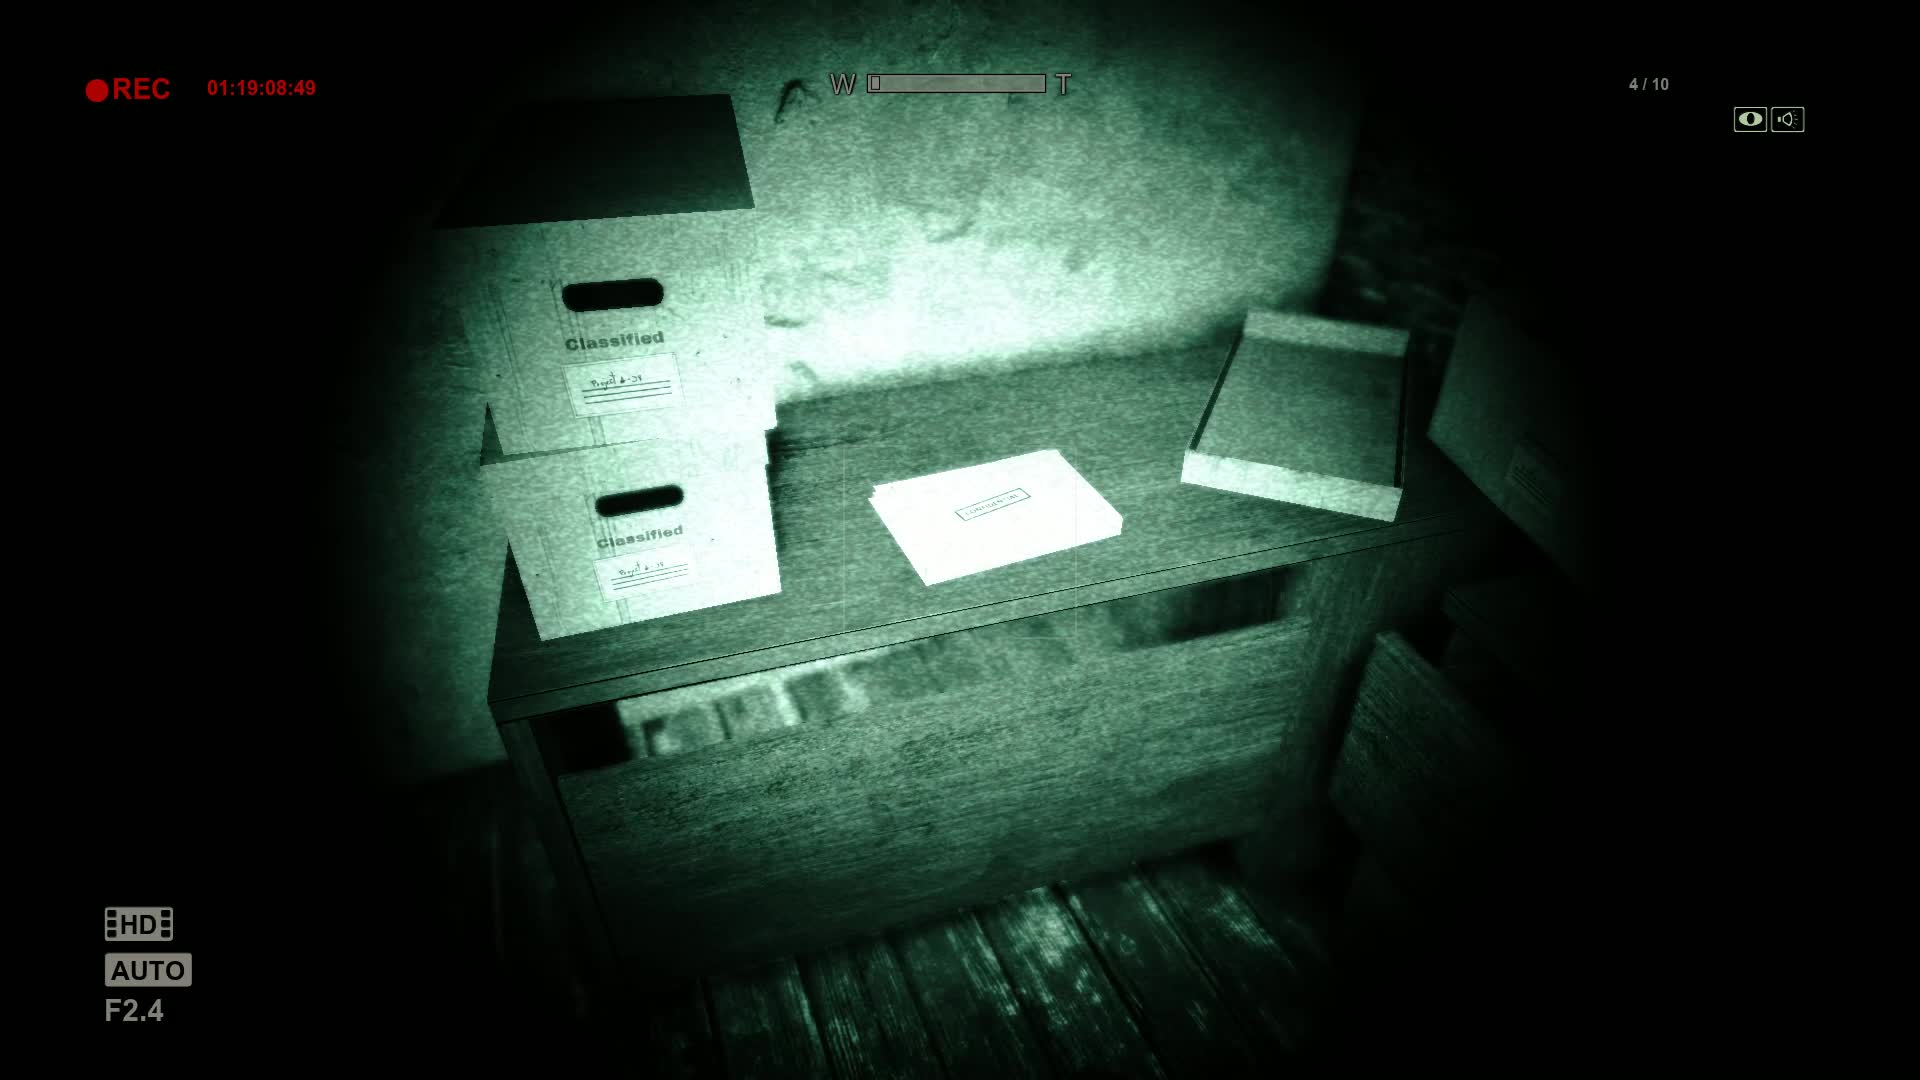
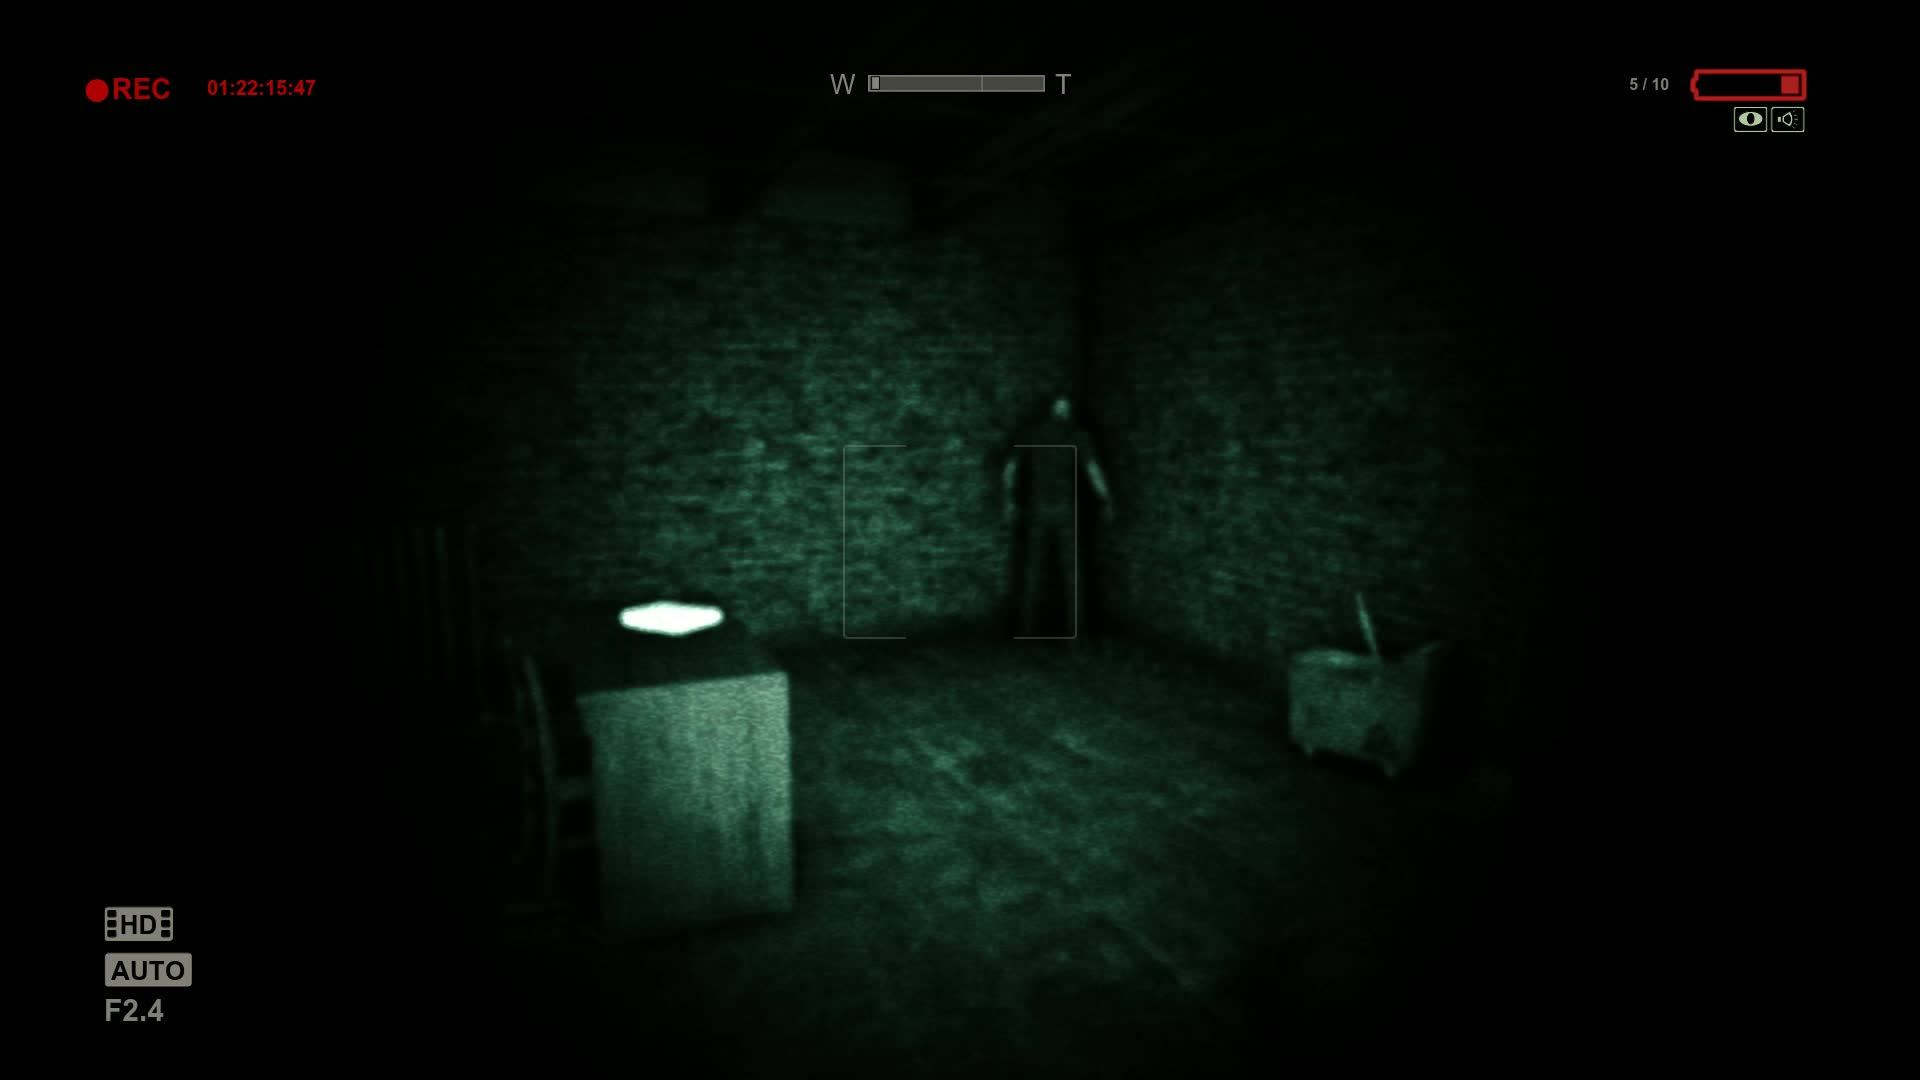
Walk down the set of stairs to the right of the elevator shaft. Down here is a Document entitled “Project Paperclip Excerpt.” An inmate is in the corner right next to the document. If you stay away from him, he will not attack.
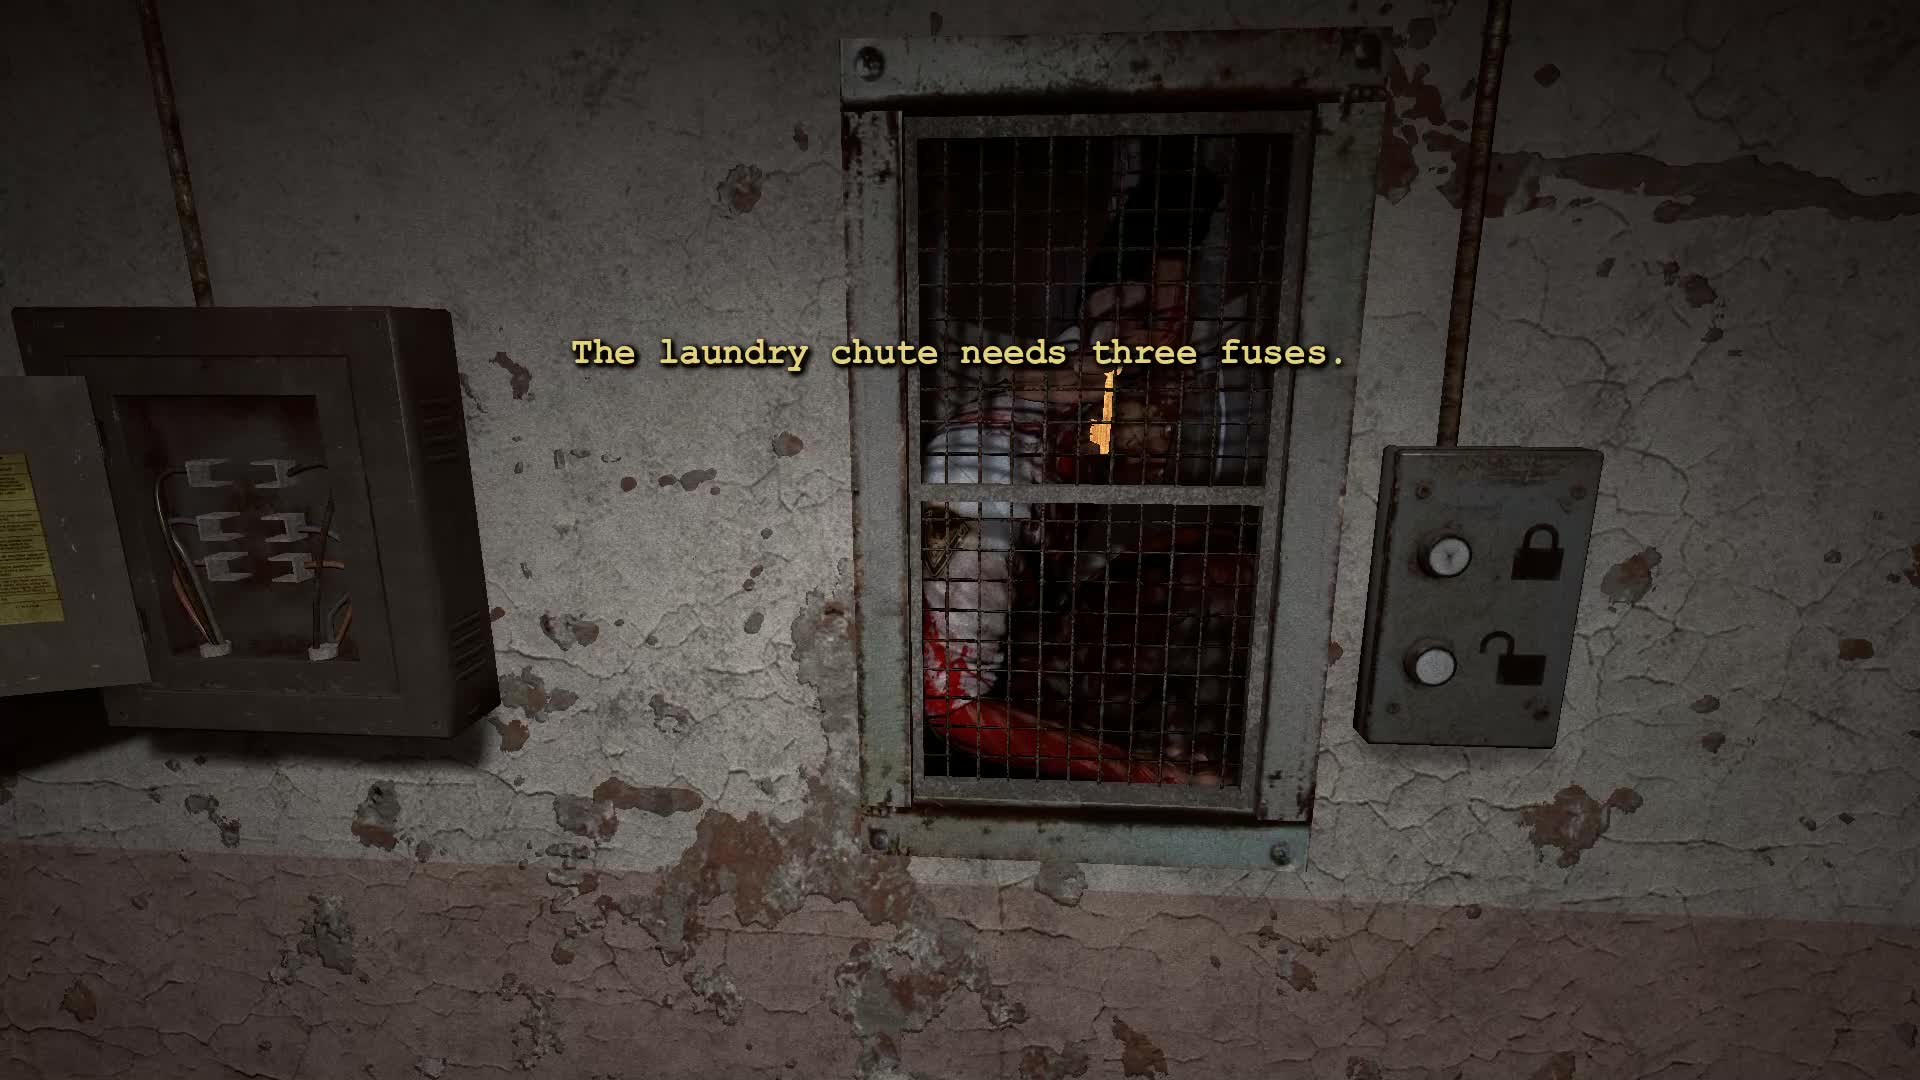
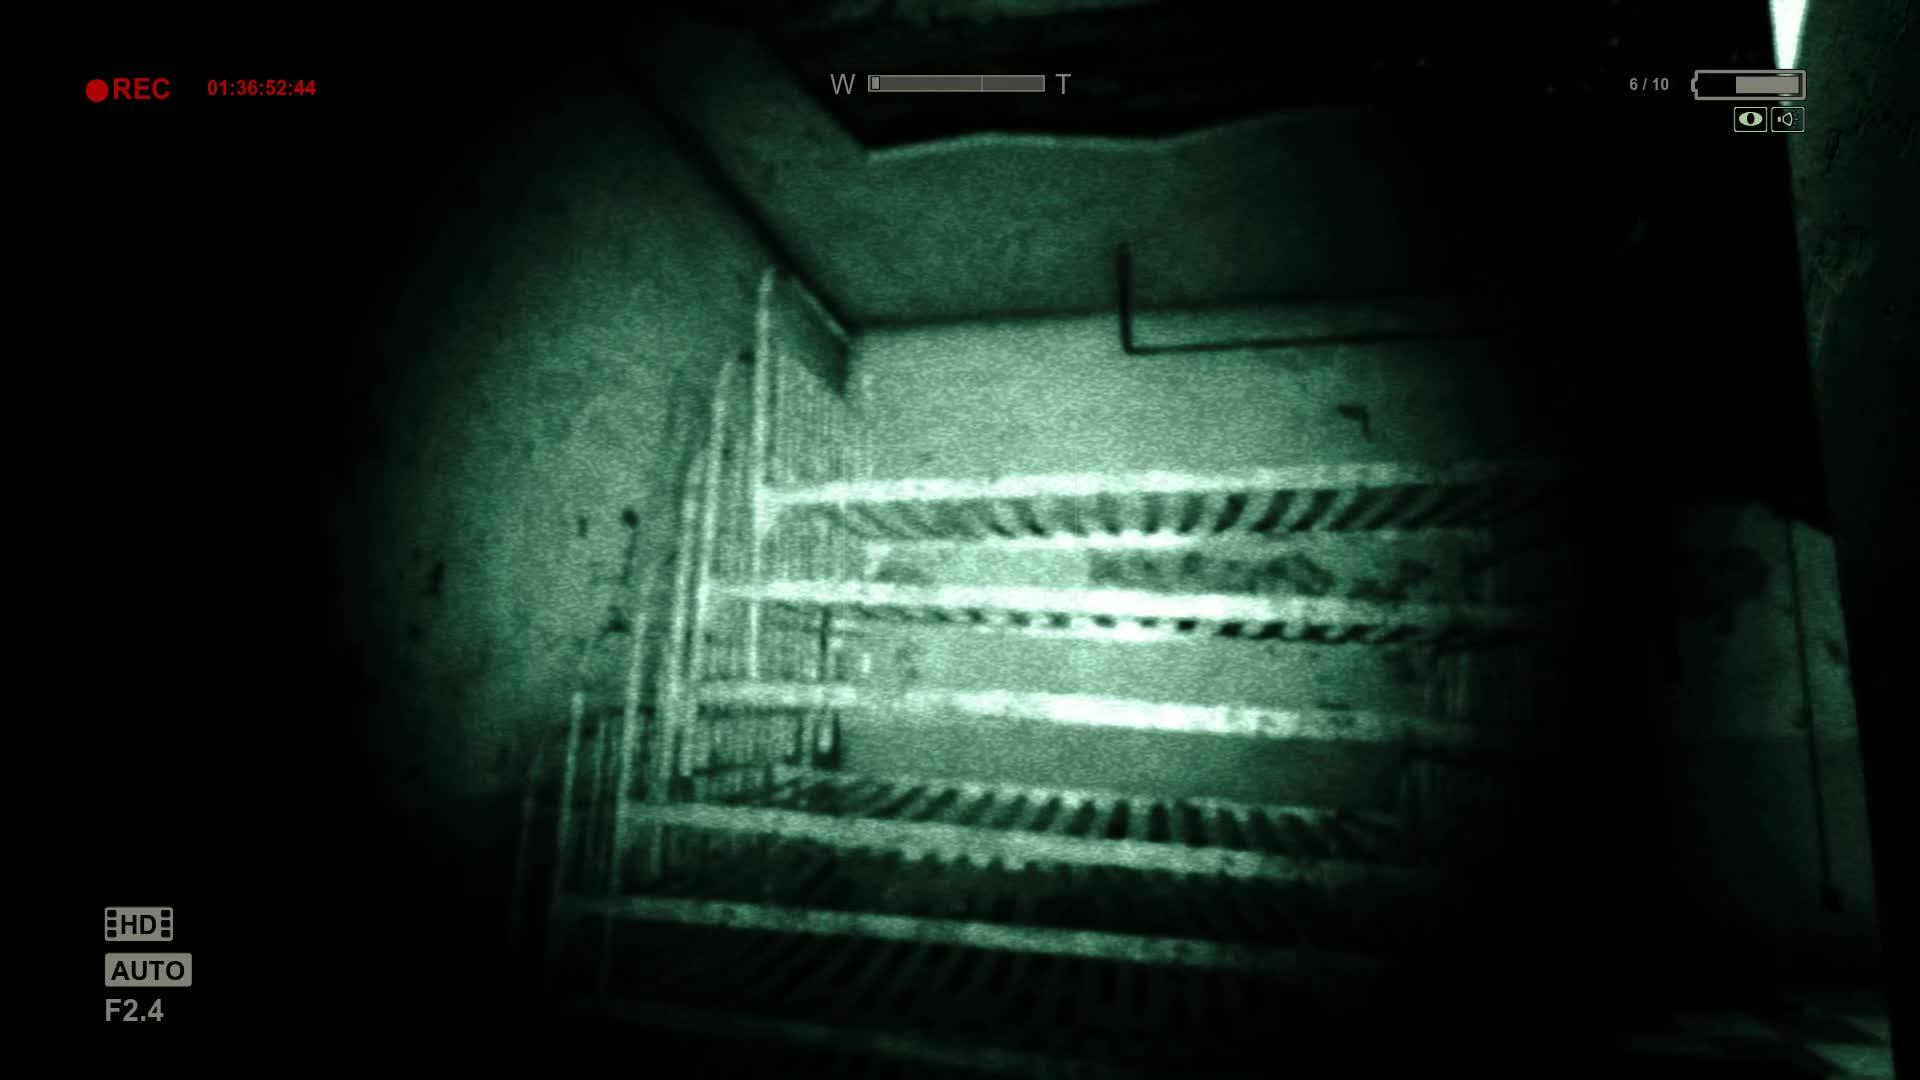
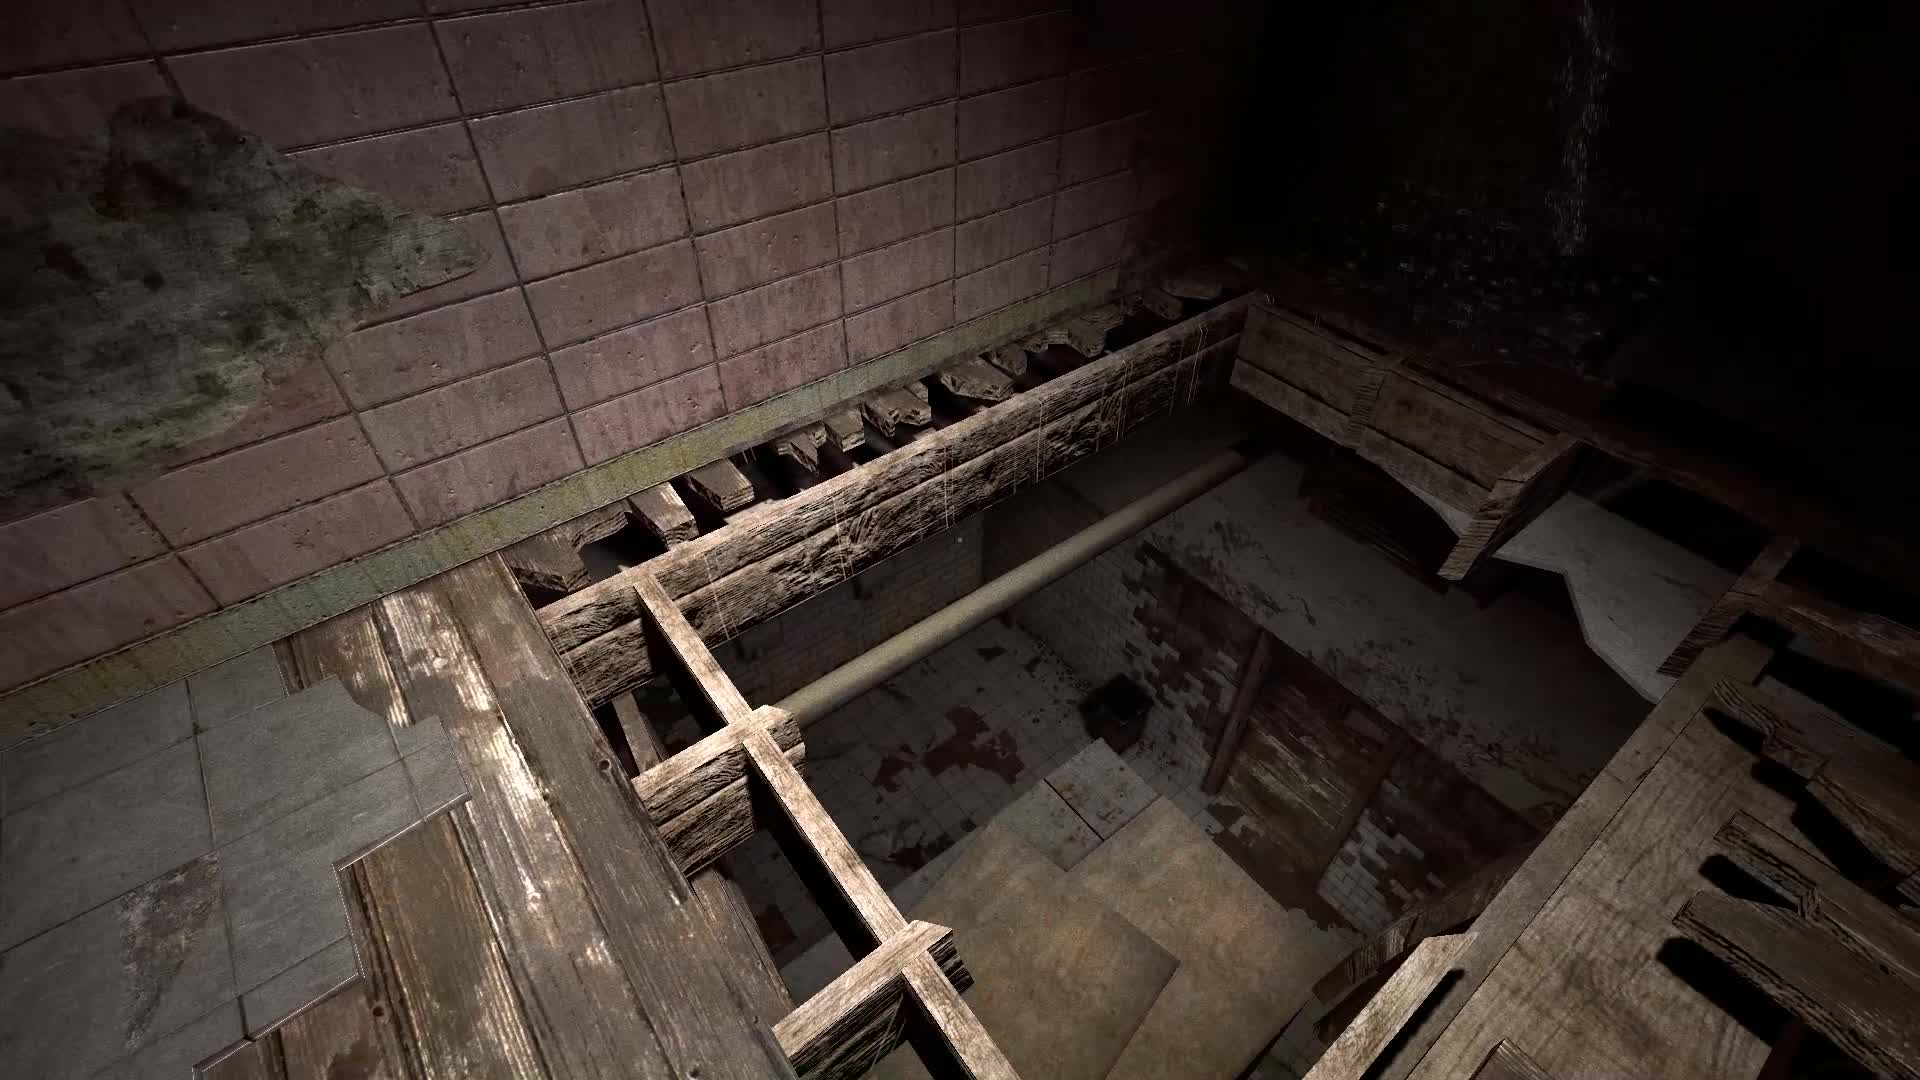
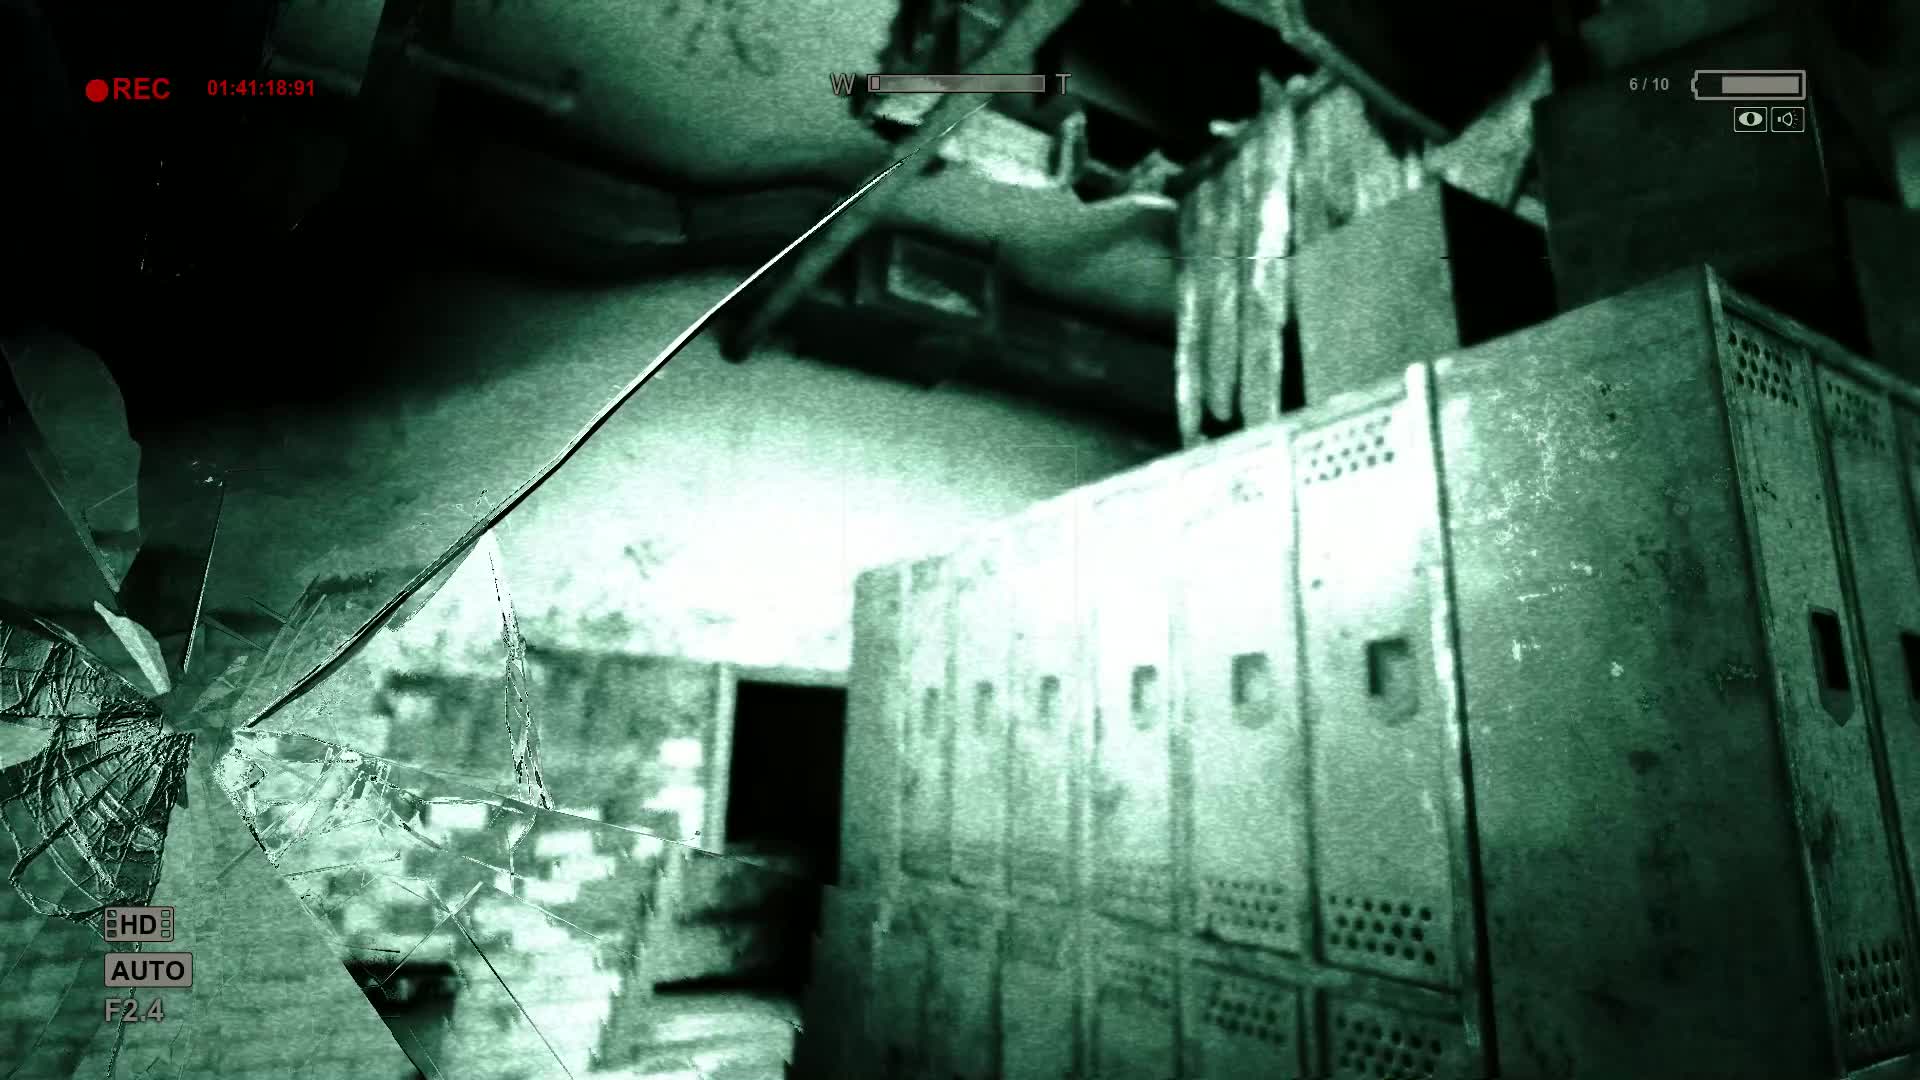
Climb up the stairs to the left of the elevator shaft and jump across the gap to the next floor. Take a left and follow the hall to a laundry chute with a dead body and key inside. To open the chute, you must find three fuses around this area. You may want to take note of the lockers around here, along with any other hiding places. There are two inmates that will chase you around this area. Each of the three rooms that hold fuses also have heavy crates that can be used to barricade the door.
Jump out the window directly to the right of the laundry chute. Follow the short hall to a room containing a crucified man. The first fuse is on a small table to the left of this man.
Return to the laundry chute and follow the other hallway towards the next two rooms. Walk out the door near the laundry chute to reach this hallway. When you reach the T section, go right first and pick up one of the fuses in the room at the end. The room on the left side has another inmate that can hurt you, but he should leave you alone if you keep your distance. You can also find some batteries within the room and halls.

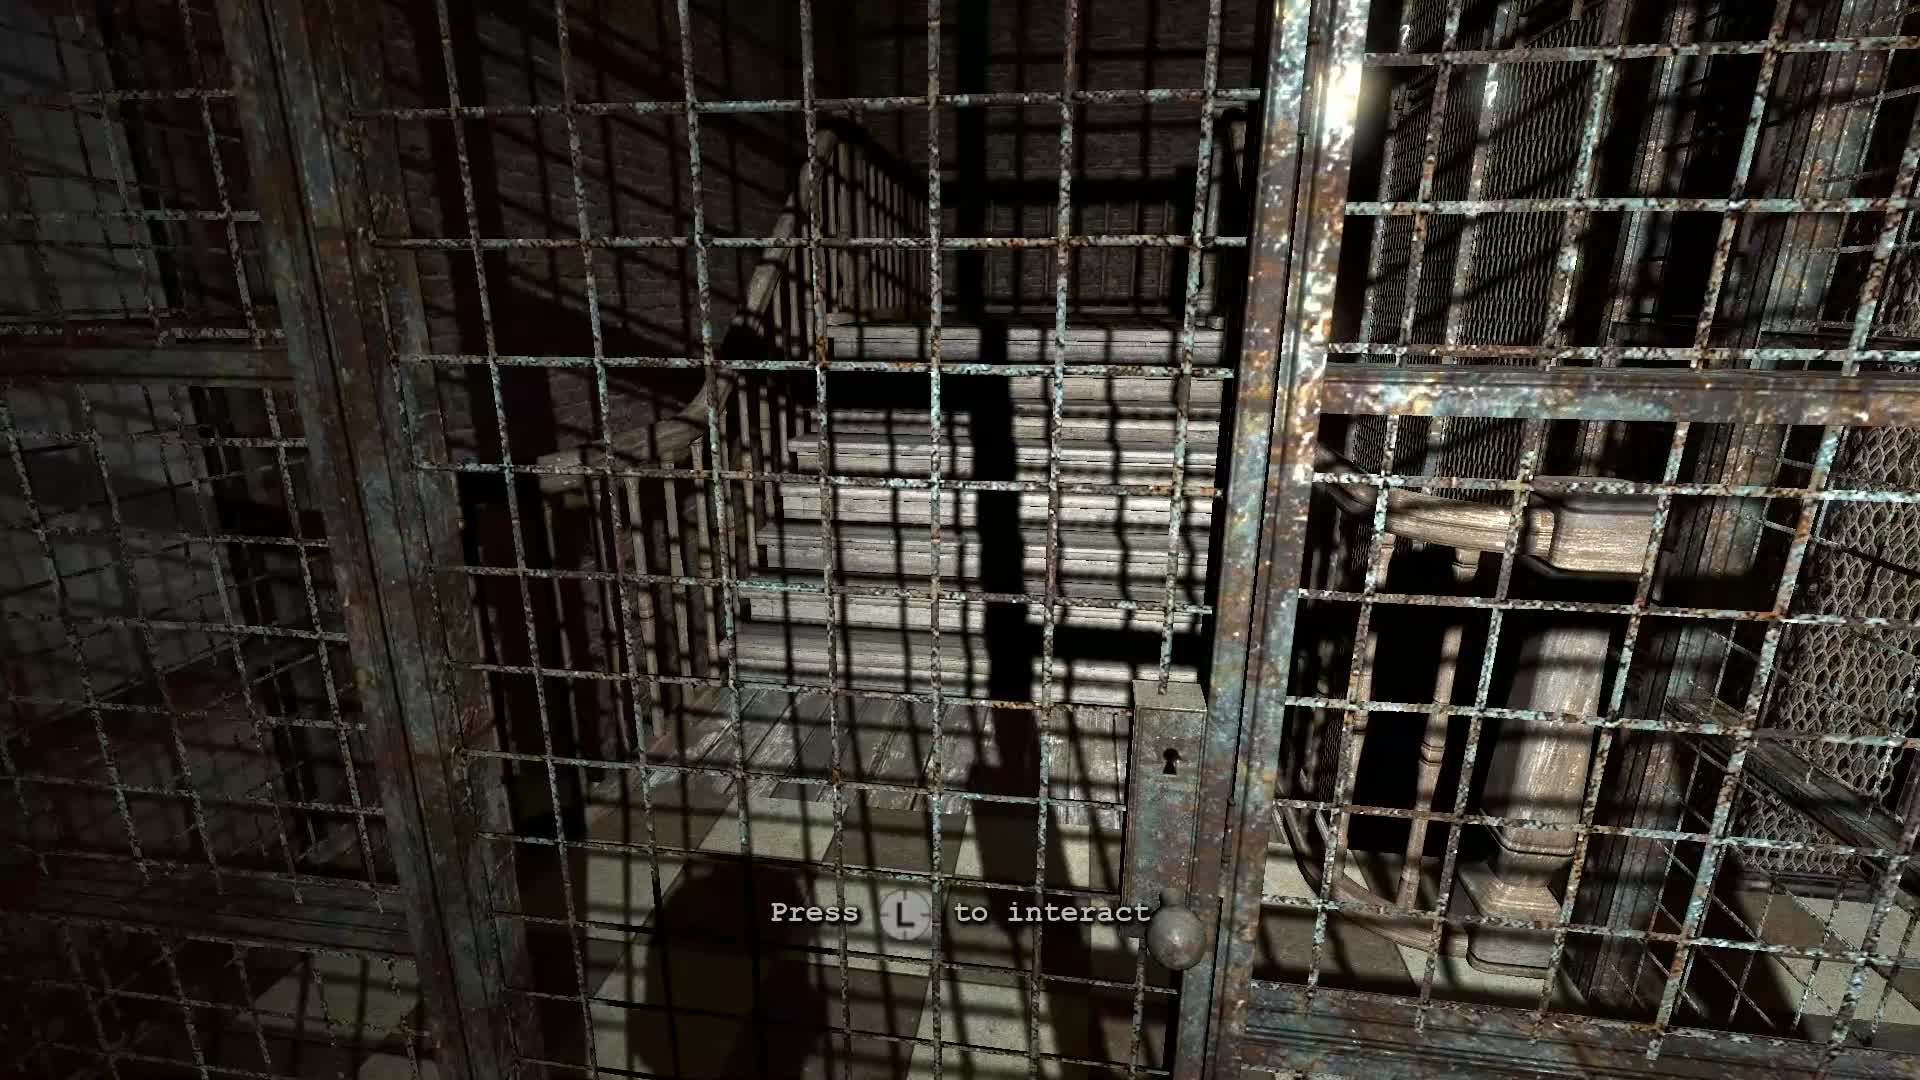
With all three fuses in hand, return to the laundry chute and interact with the fuse board. Place all three fuses inside and press the button to open the chute. The dead body and key will drop a floor to the laundry room. That is your next destination. Jump back out the window to the left of the laundry chute and follow the path back down. Follow the laundry room signs if you get lost. Interact with the chute in the laundry room and grab the key.
This key gives you access to the third floor. Climb back up the stairs to the second floor and use the key to open the gate to the third floor. Jump up the gap to the third floor to get a new objective.
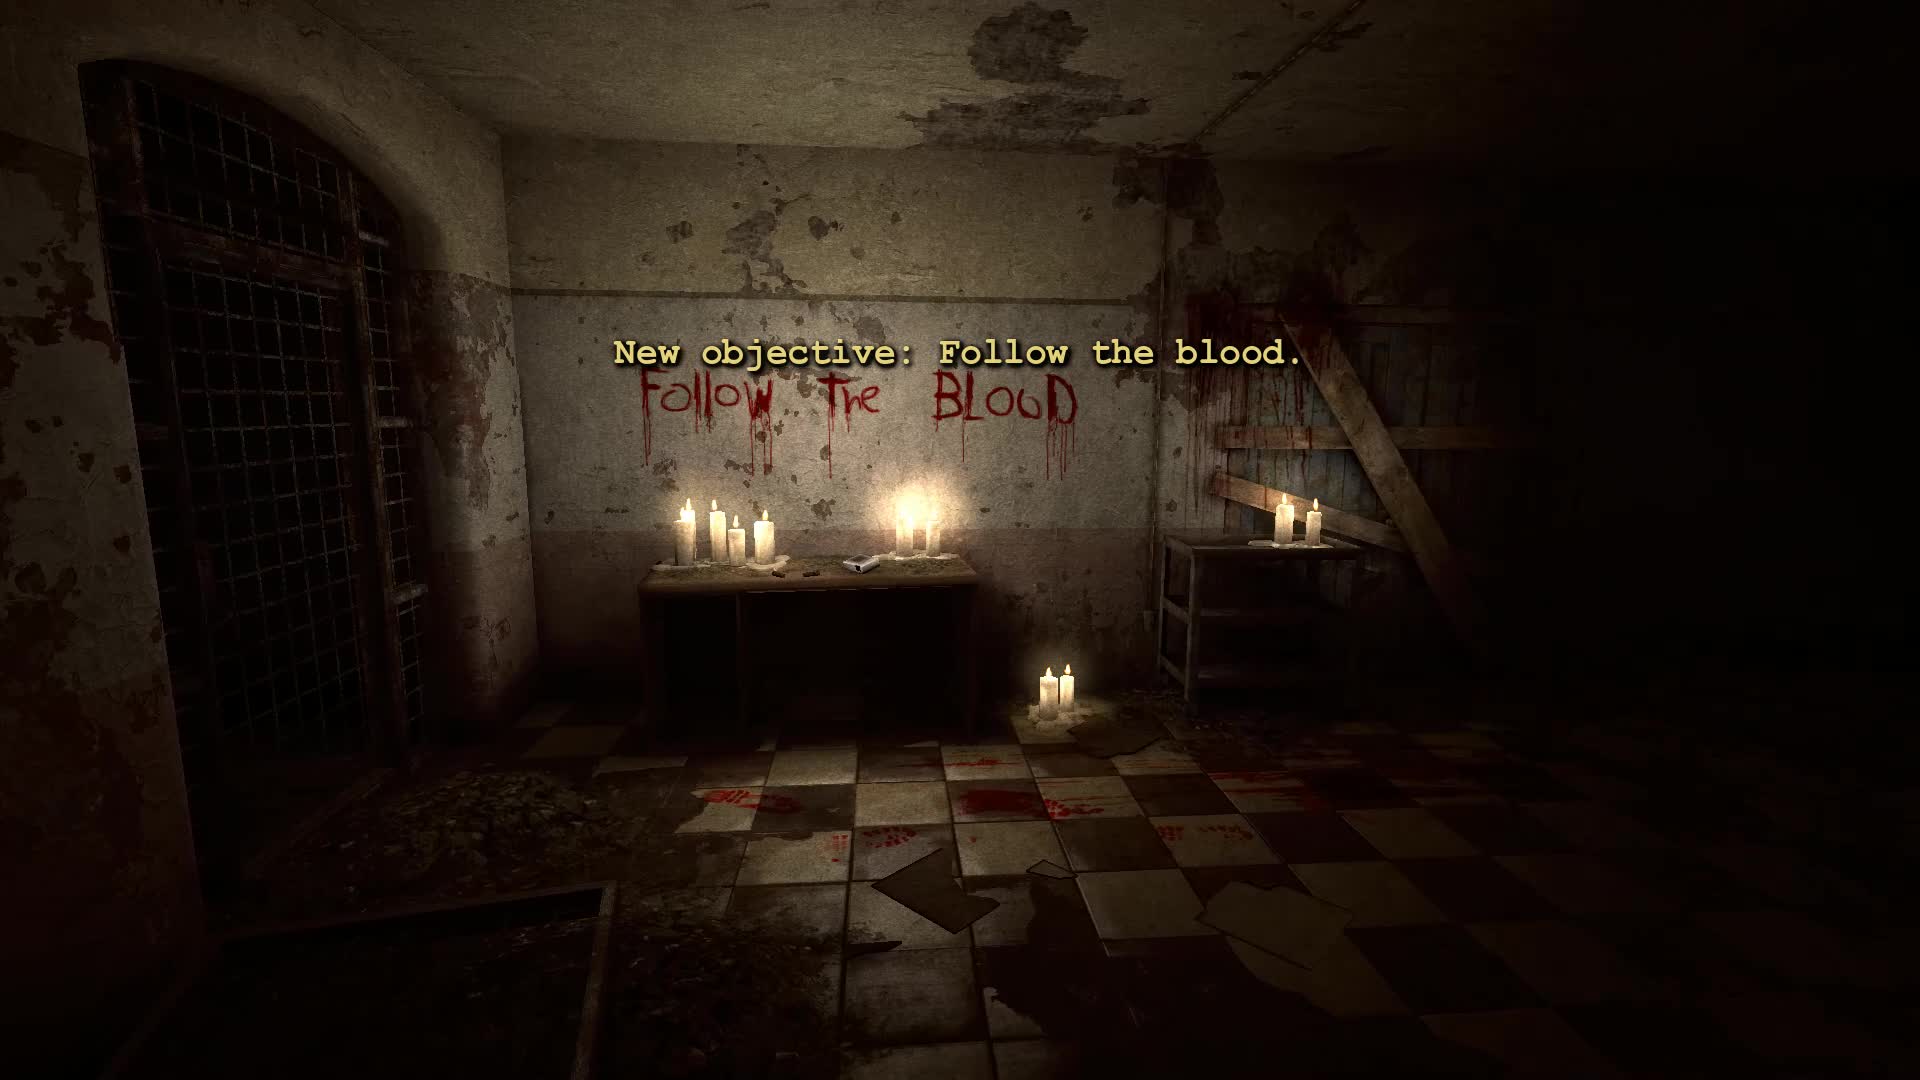
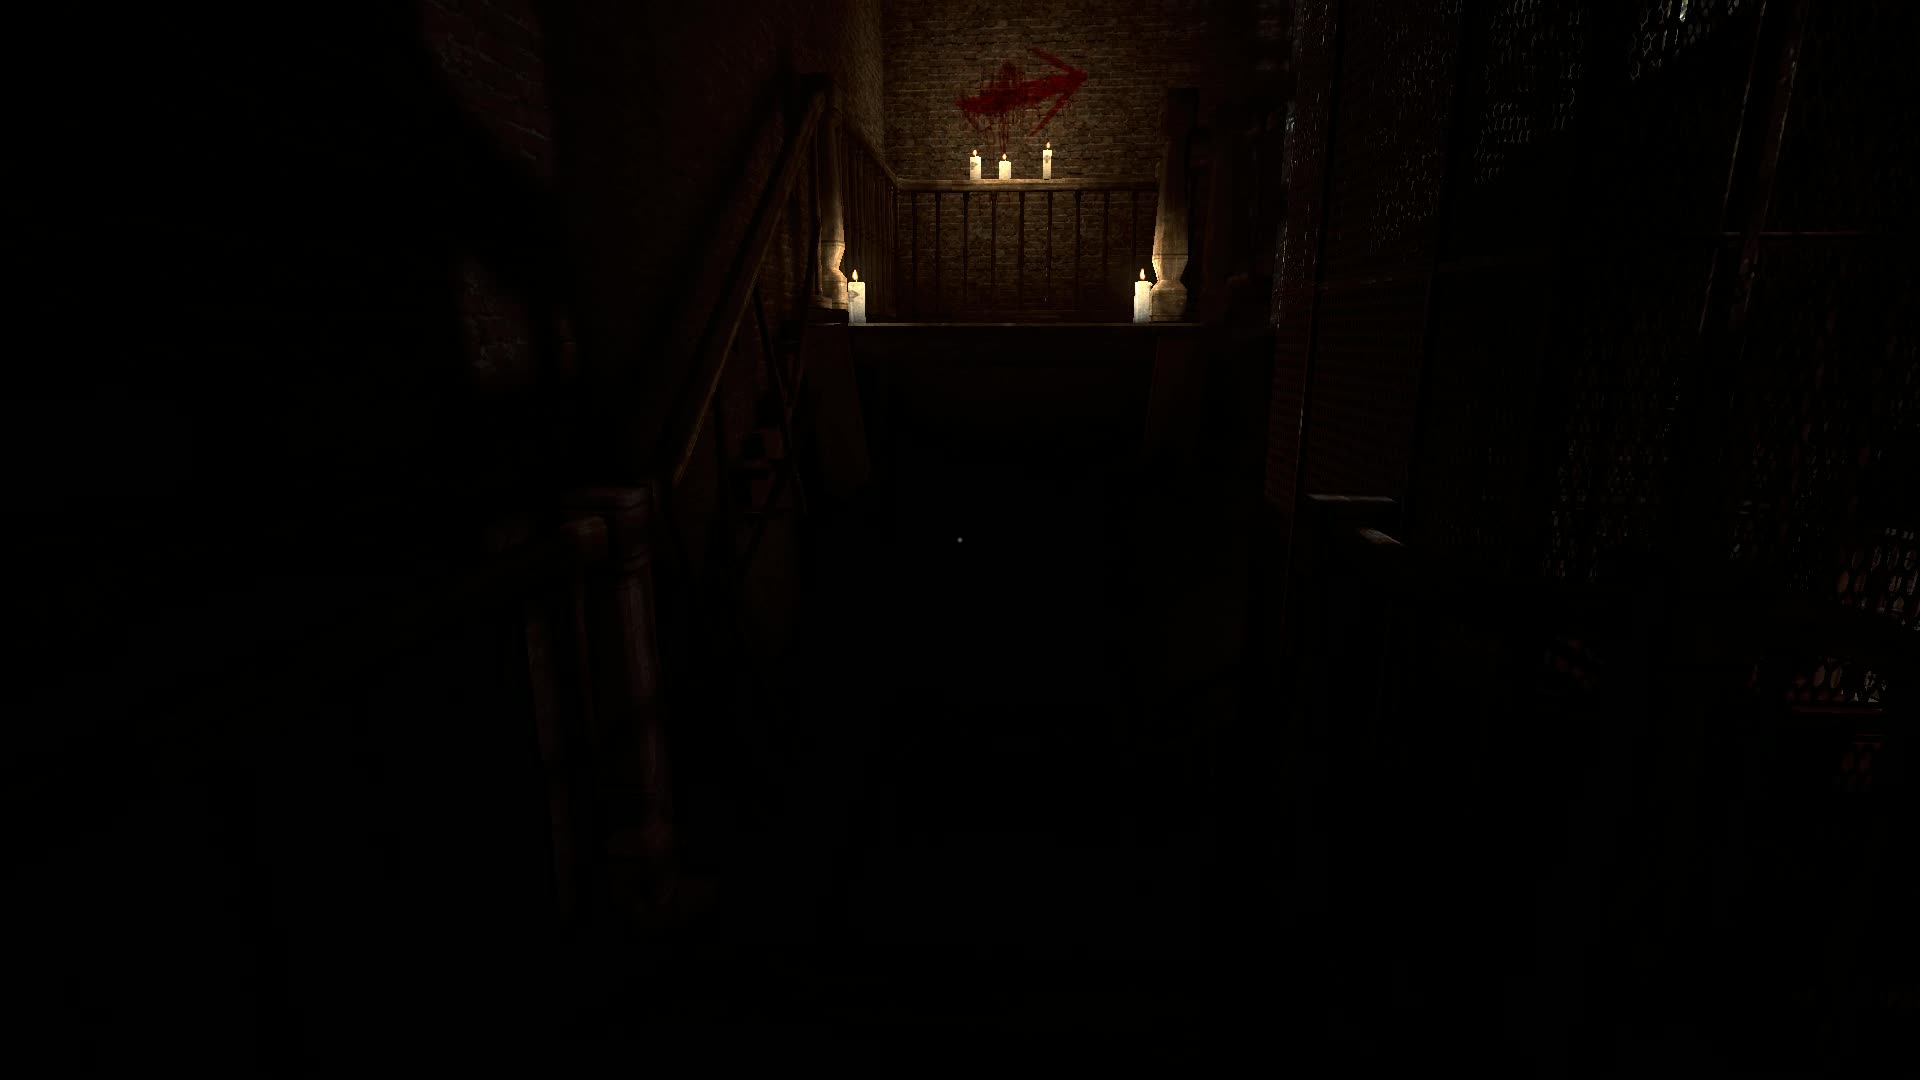
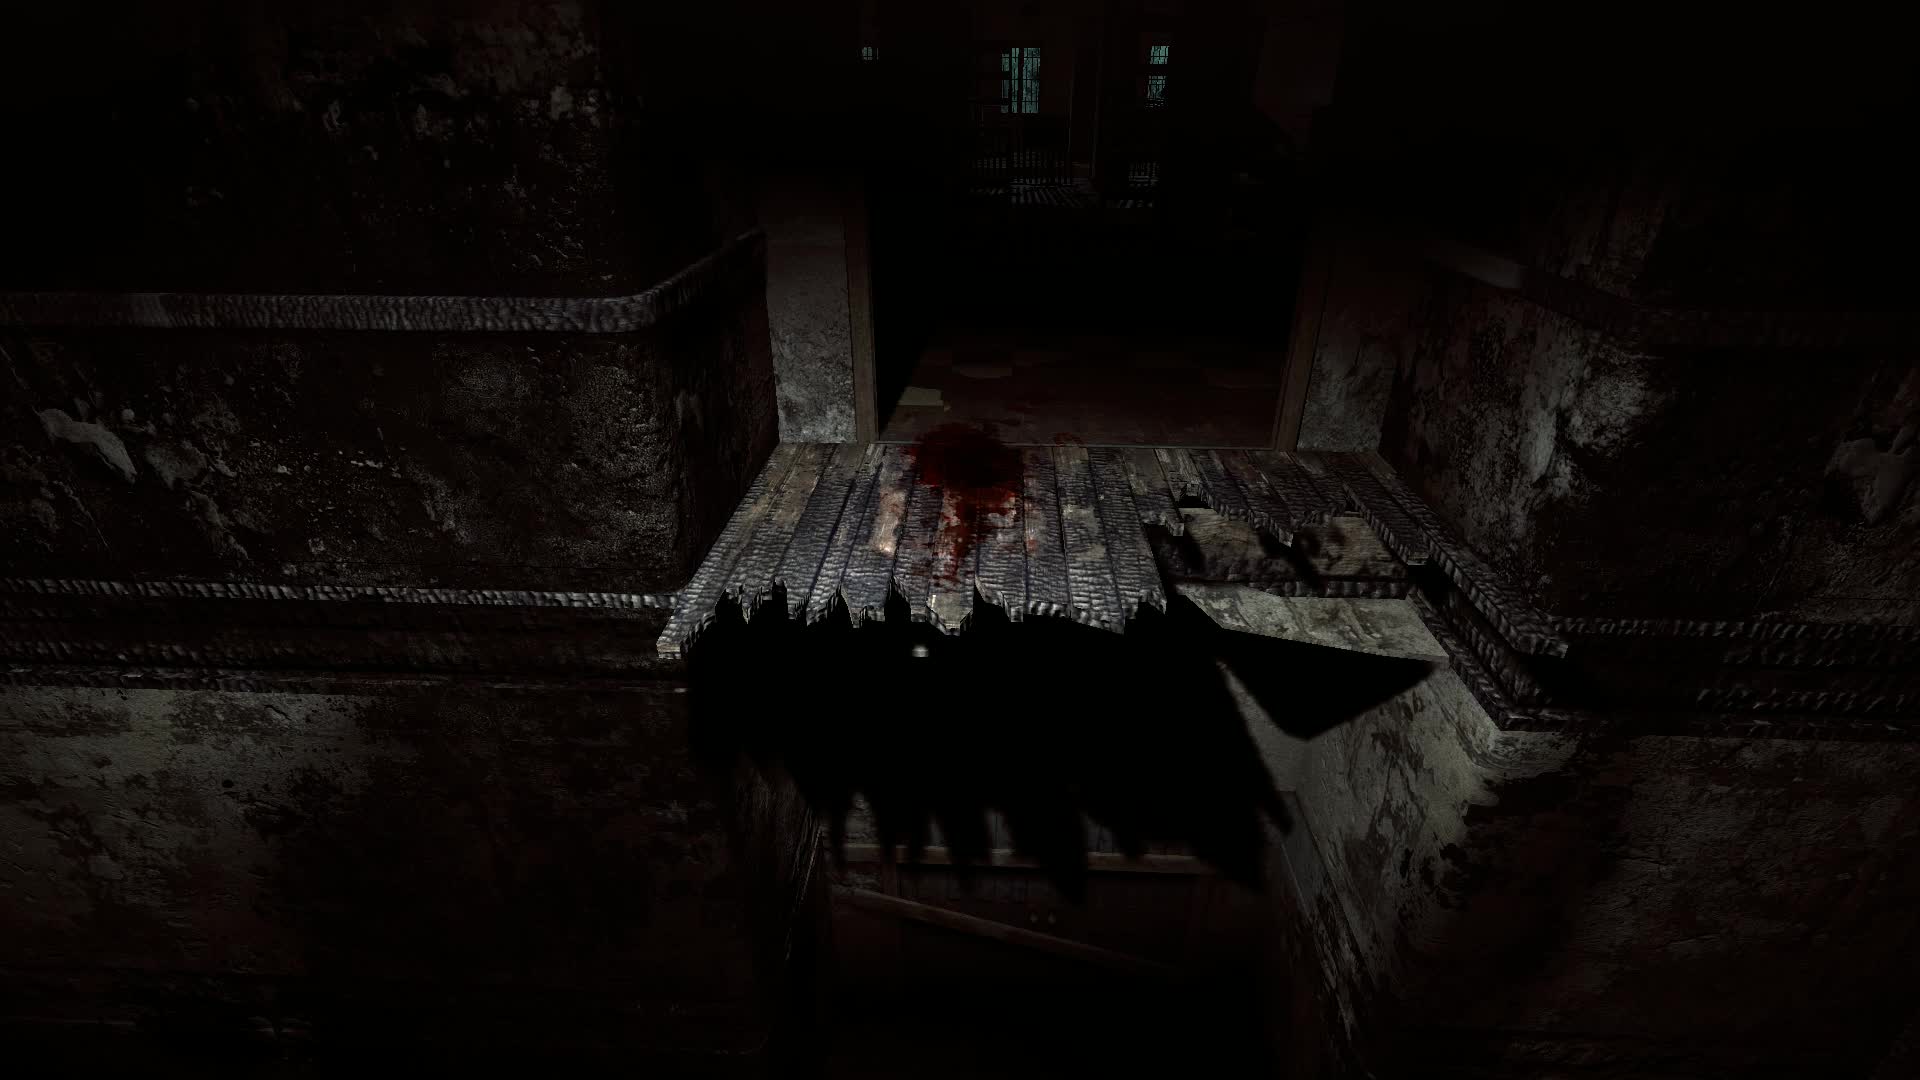
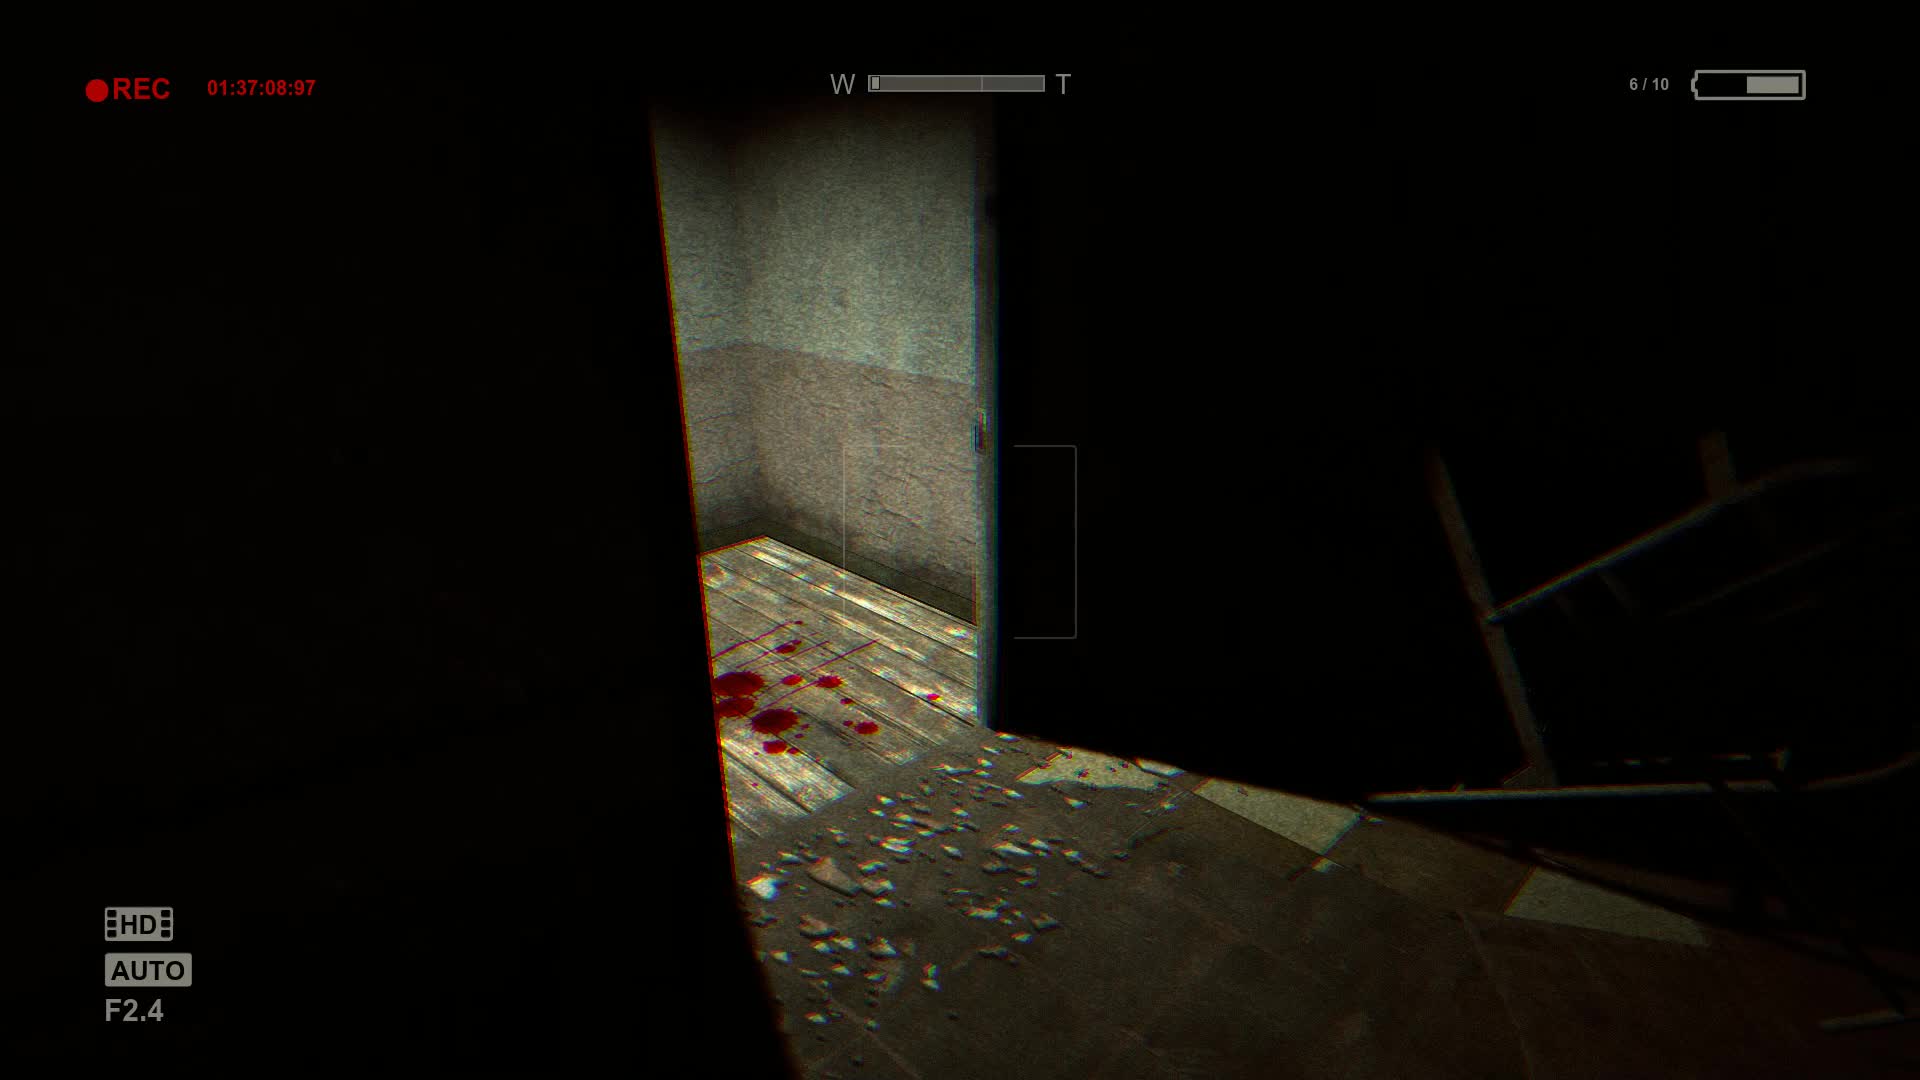
Follow the blood.
Two batteries will be sitting directly below the “follow the blood” sign. Follow the blood to a small ledge you can shimmy across. When you reach the end, jump across the gap to the next room.
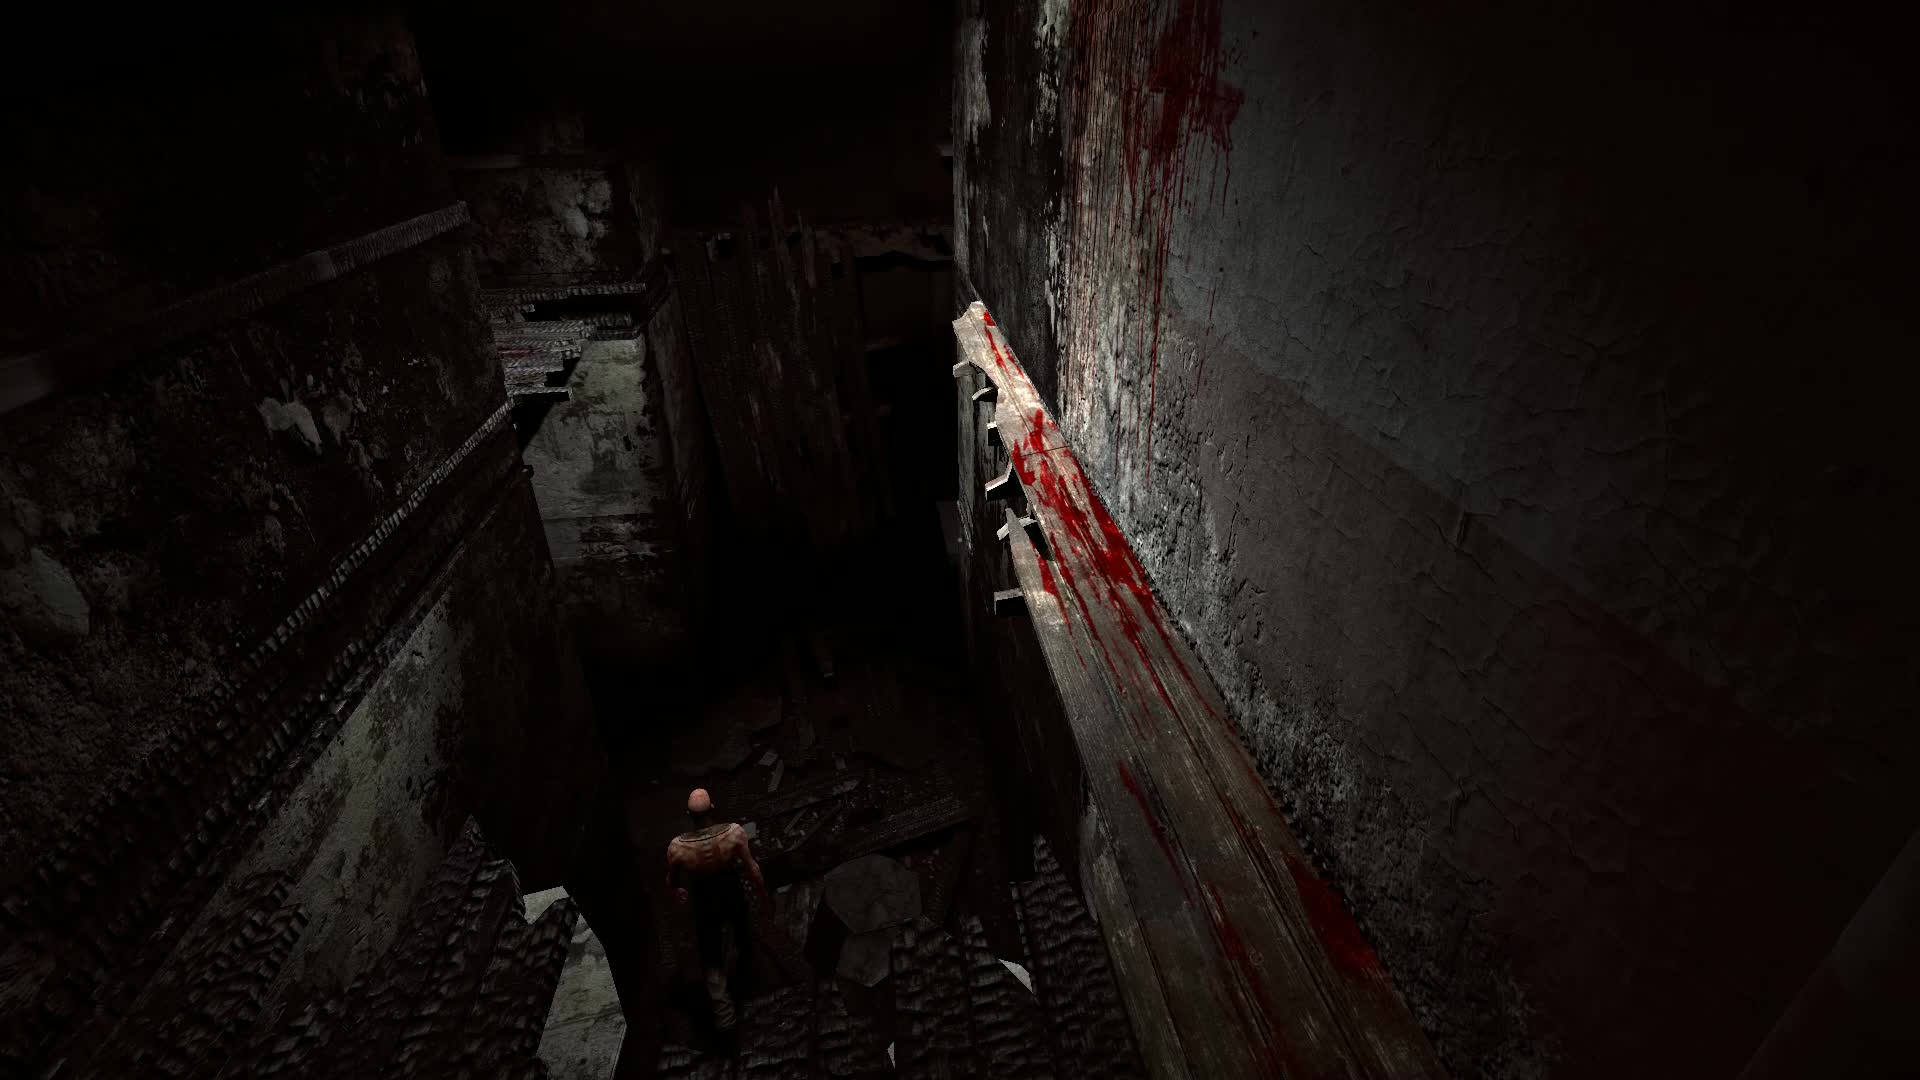
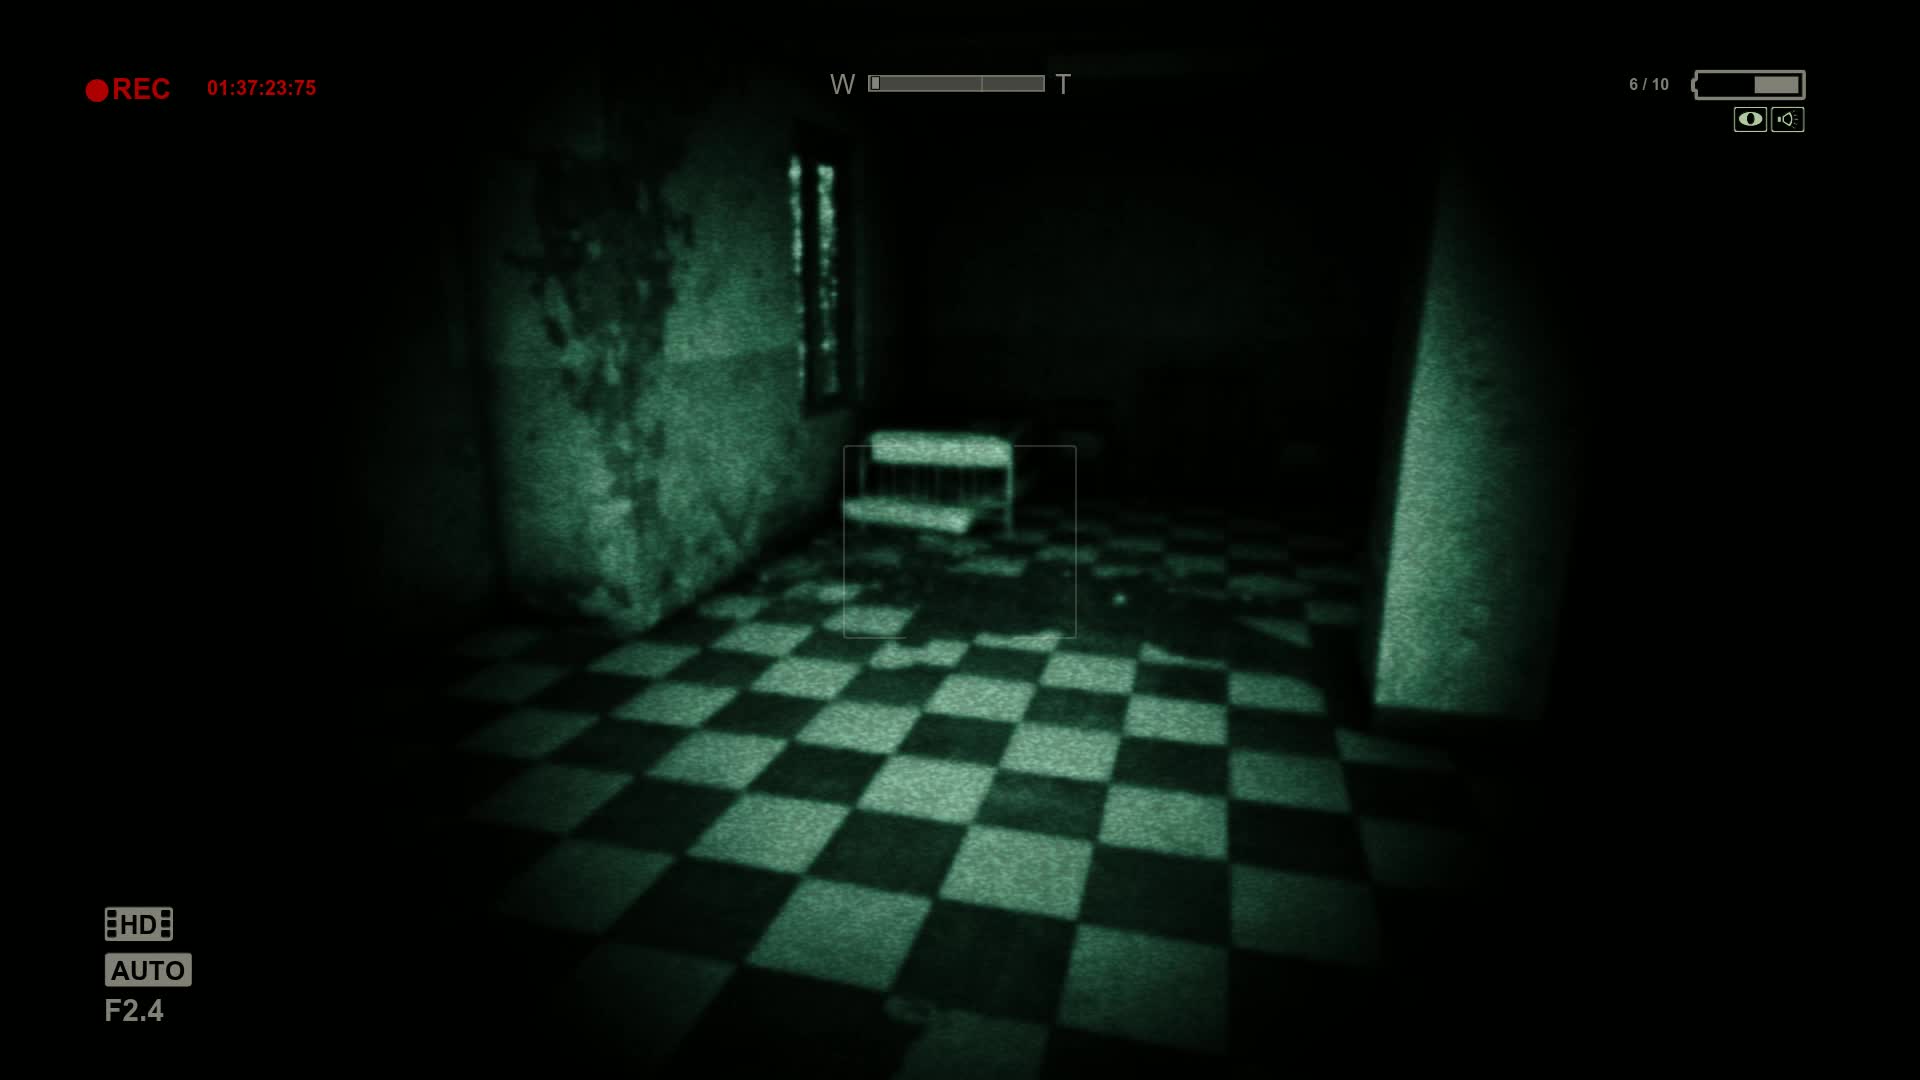
When you walk on a certain part of the floor in the next room, you will fall down another level. The walrider will make another quick appearance down here. Follow it to a set of stacked bed frames. Climb up these bed frames to get back up a level.
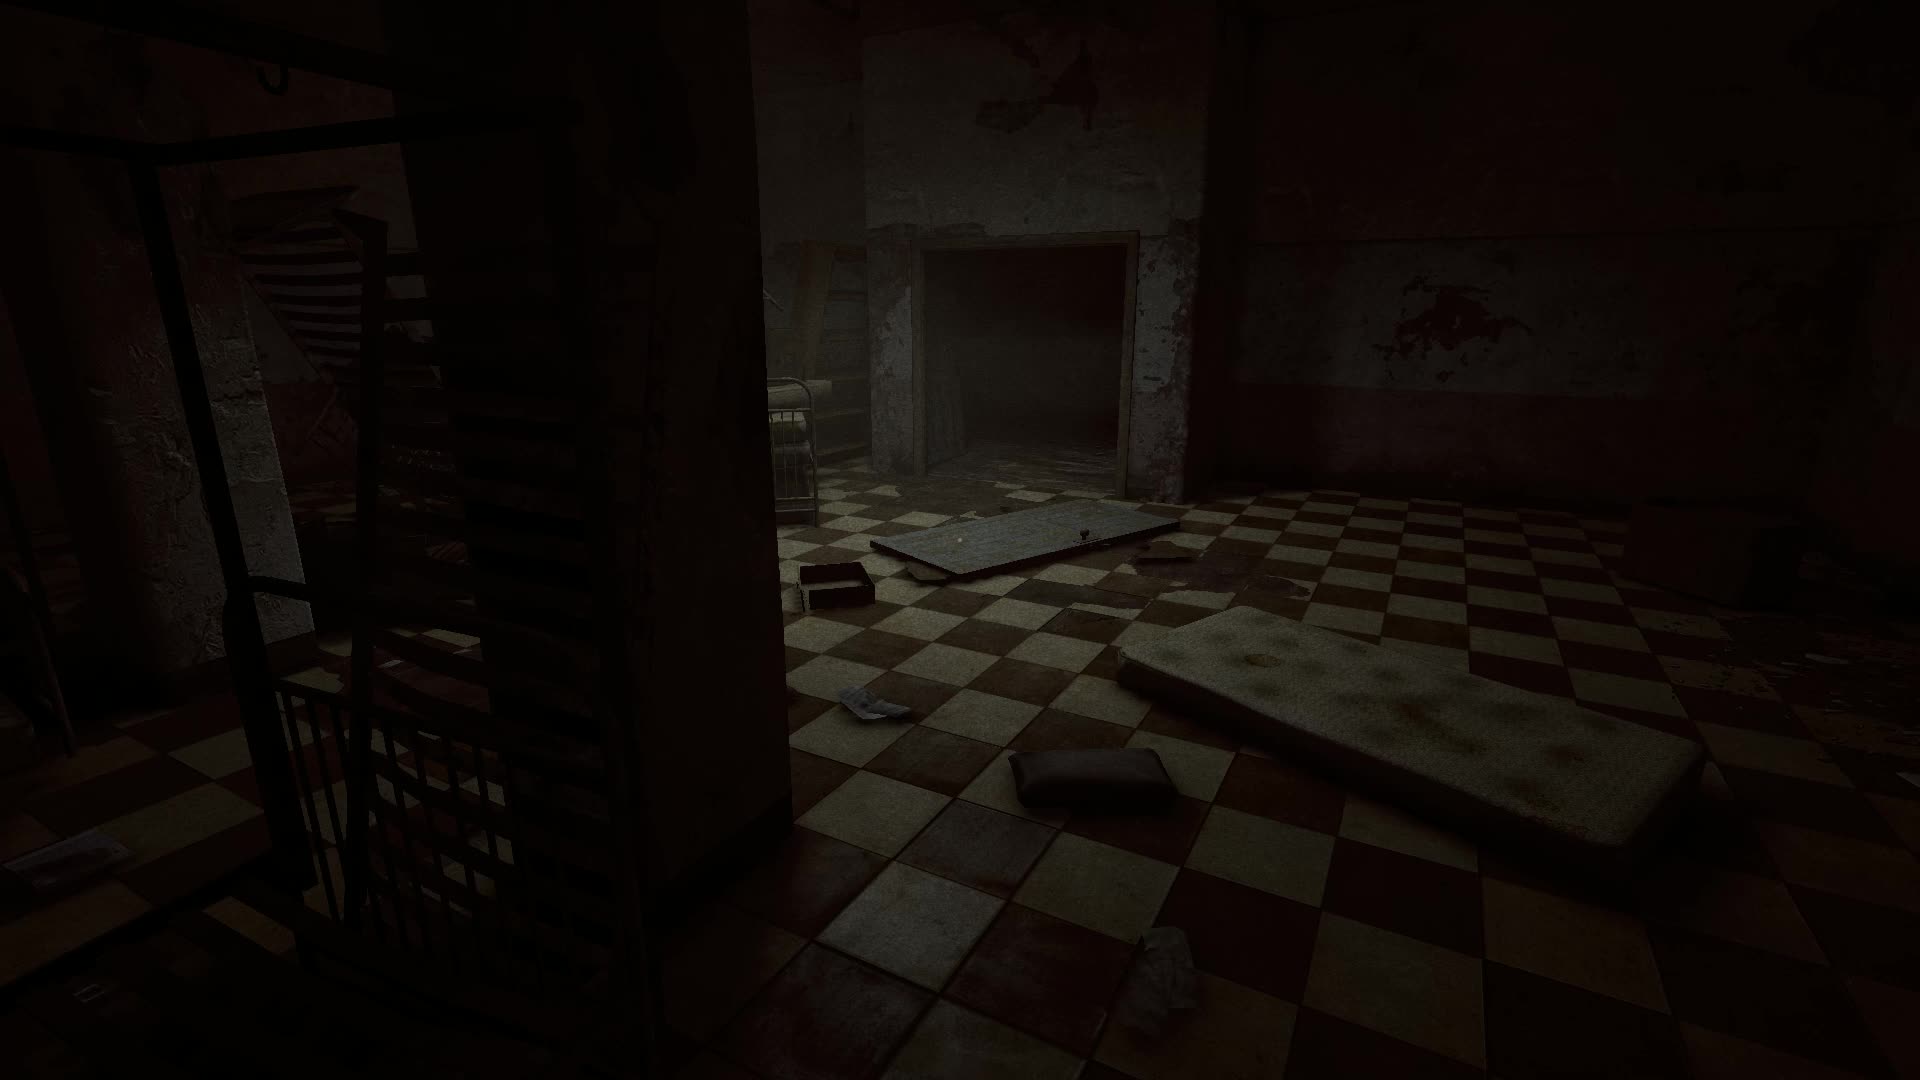
Again, follow the blood to the next room. At the back end of this room is a Document entitled “You Promised Me A Rose Garden.” It will be sitting on a bed.

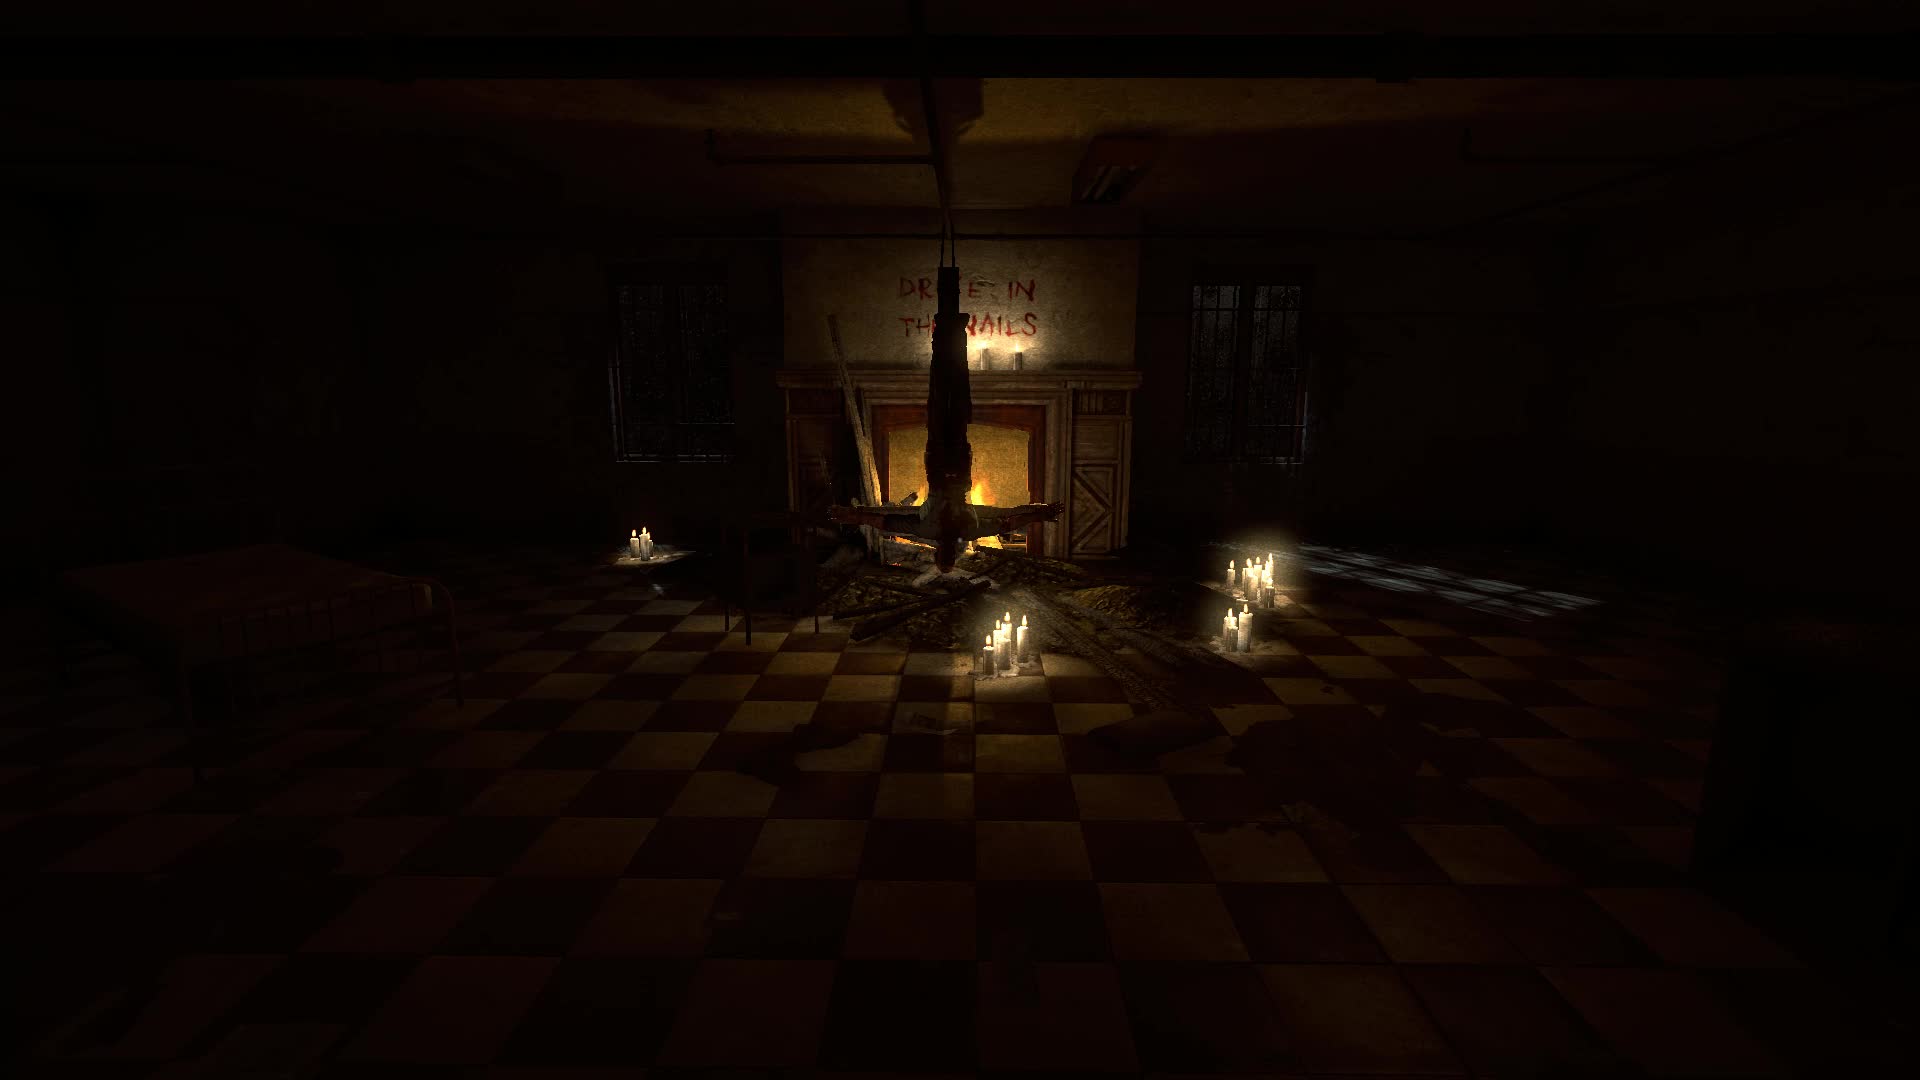
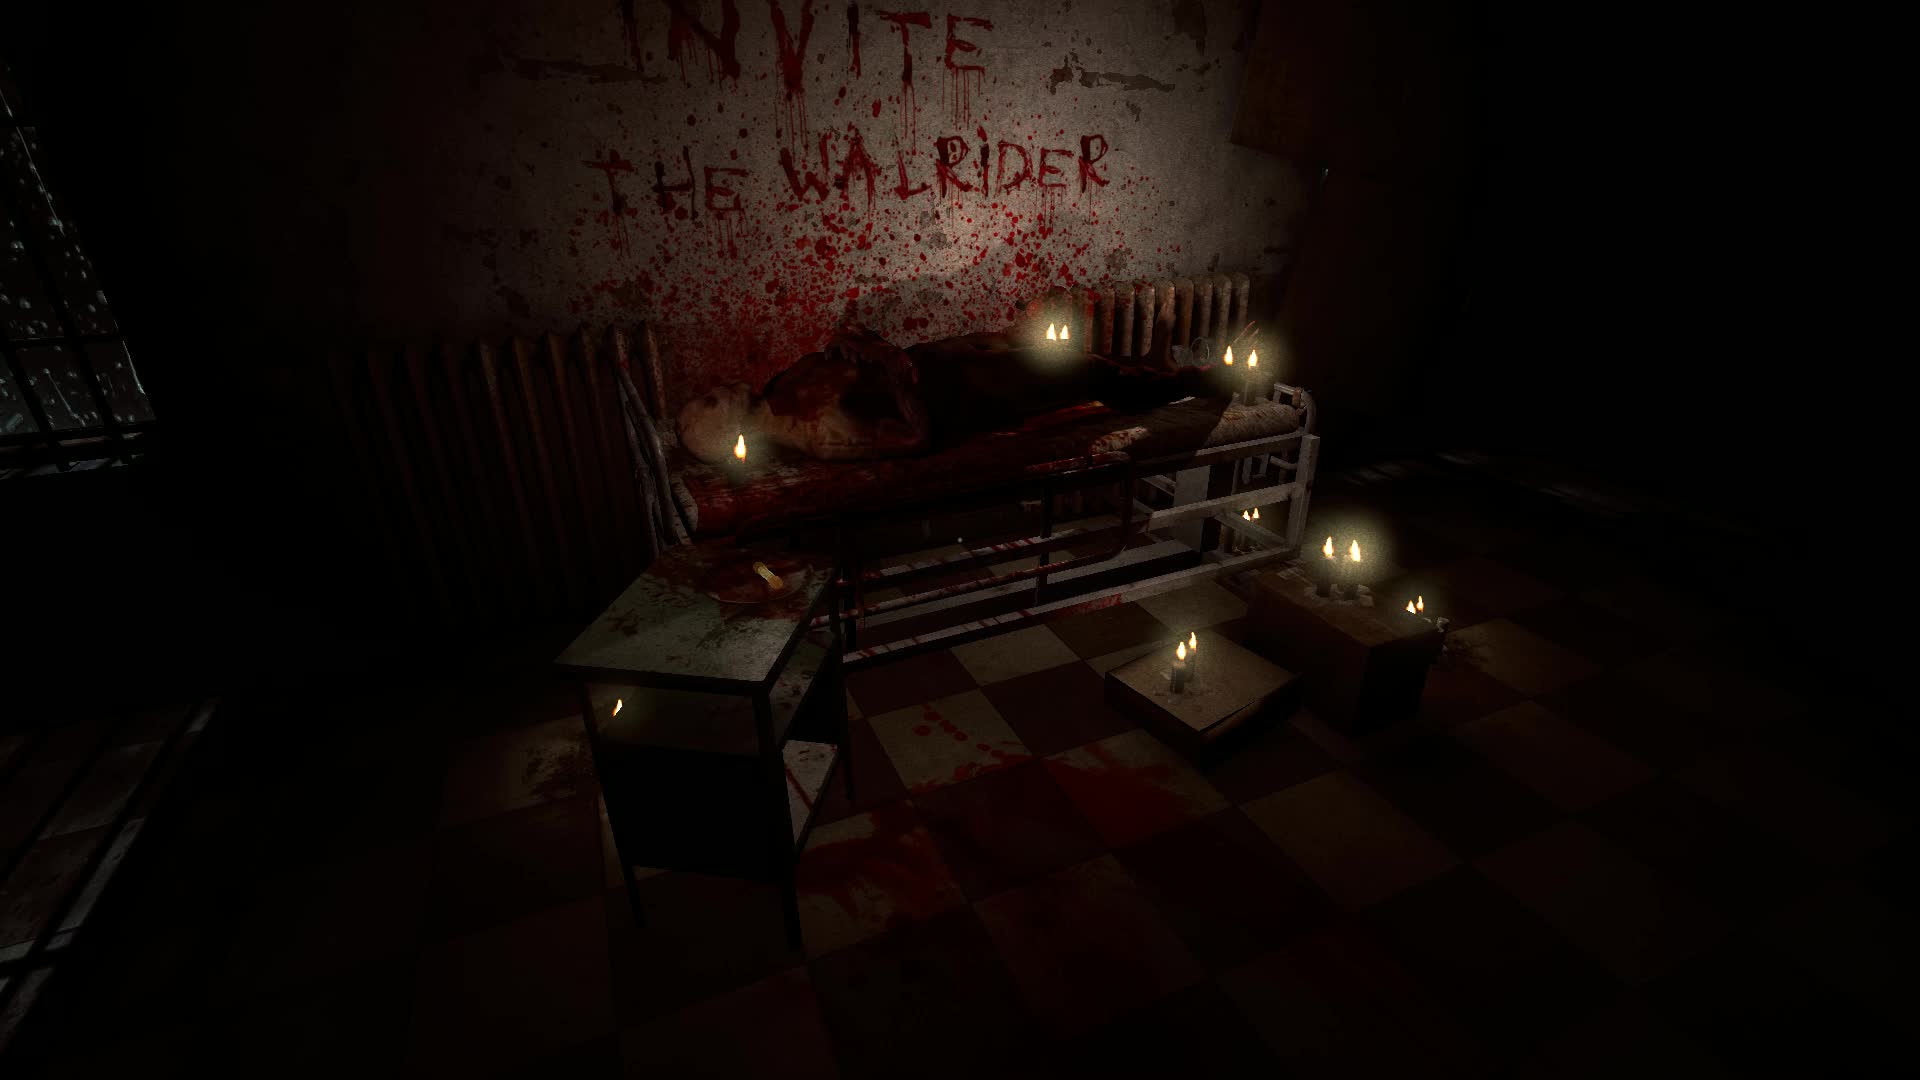
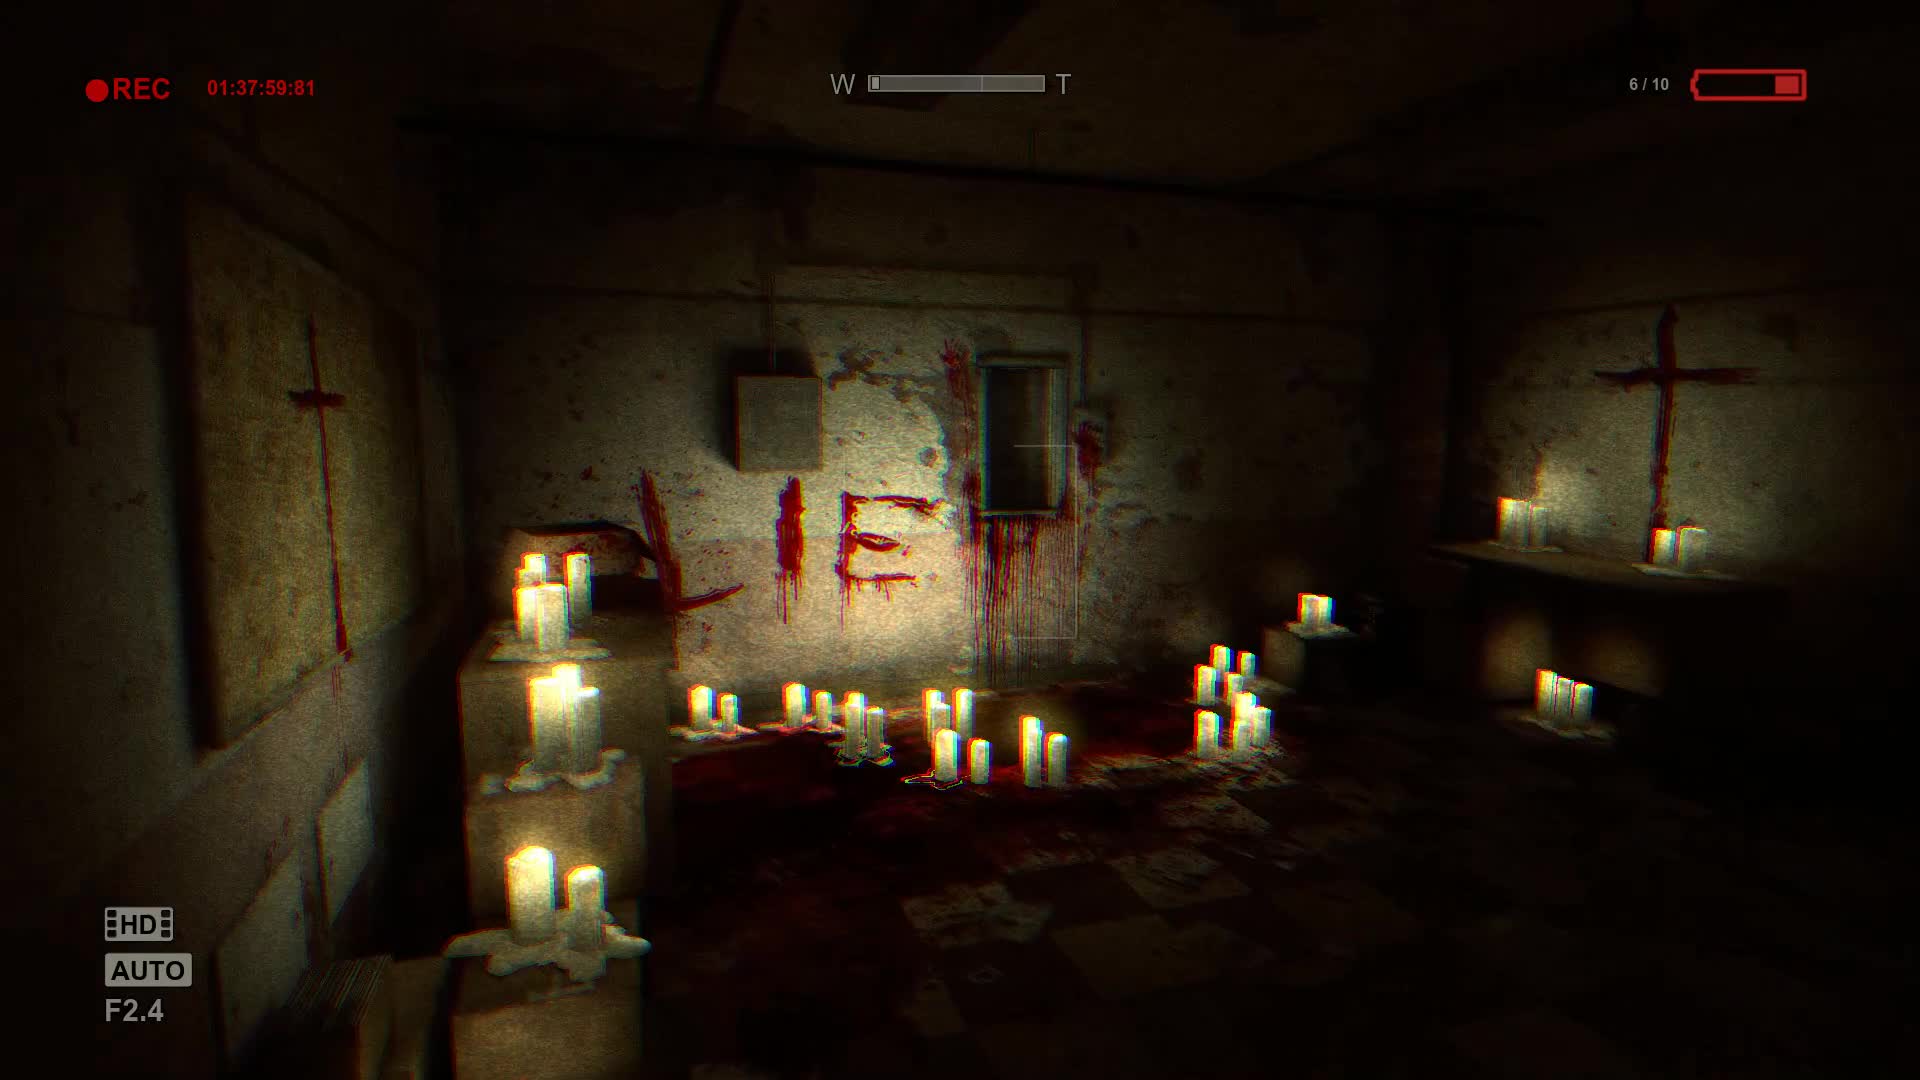
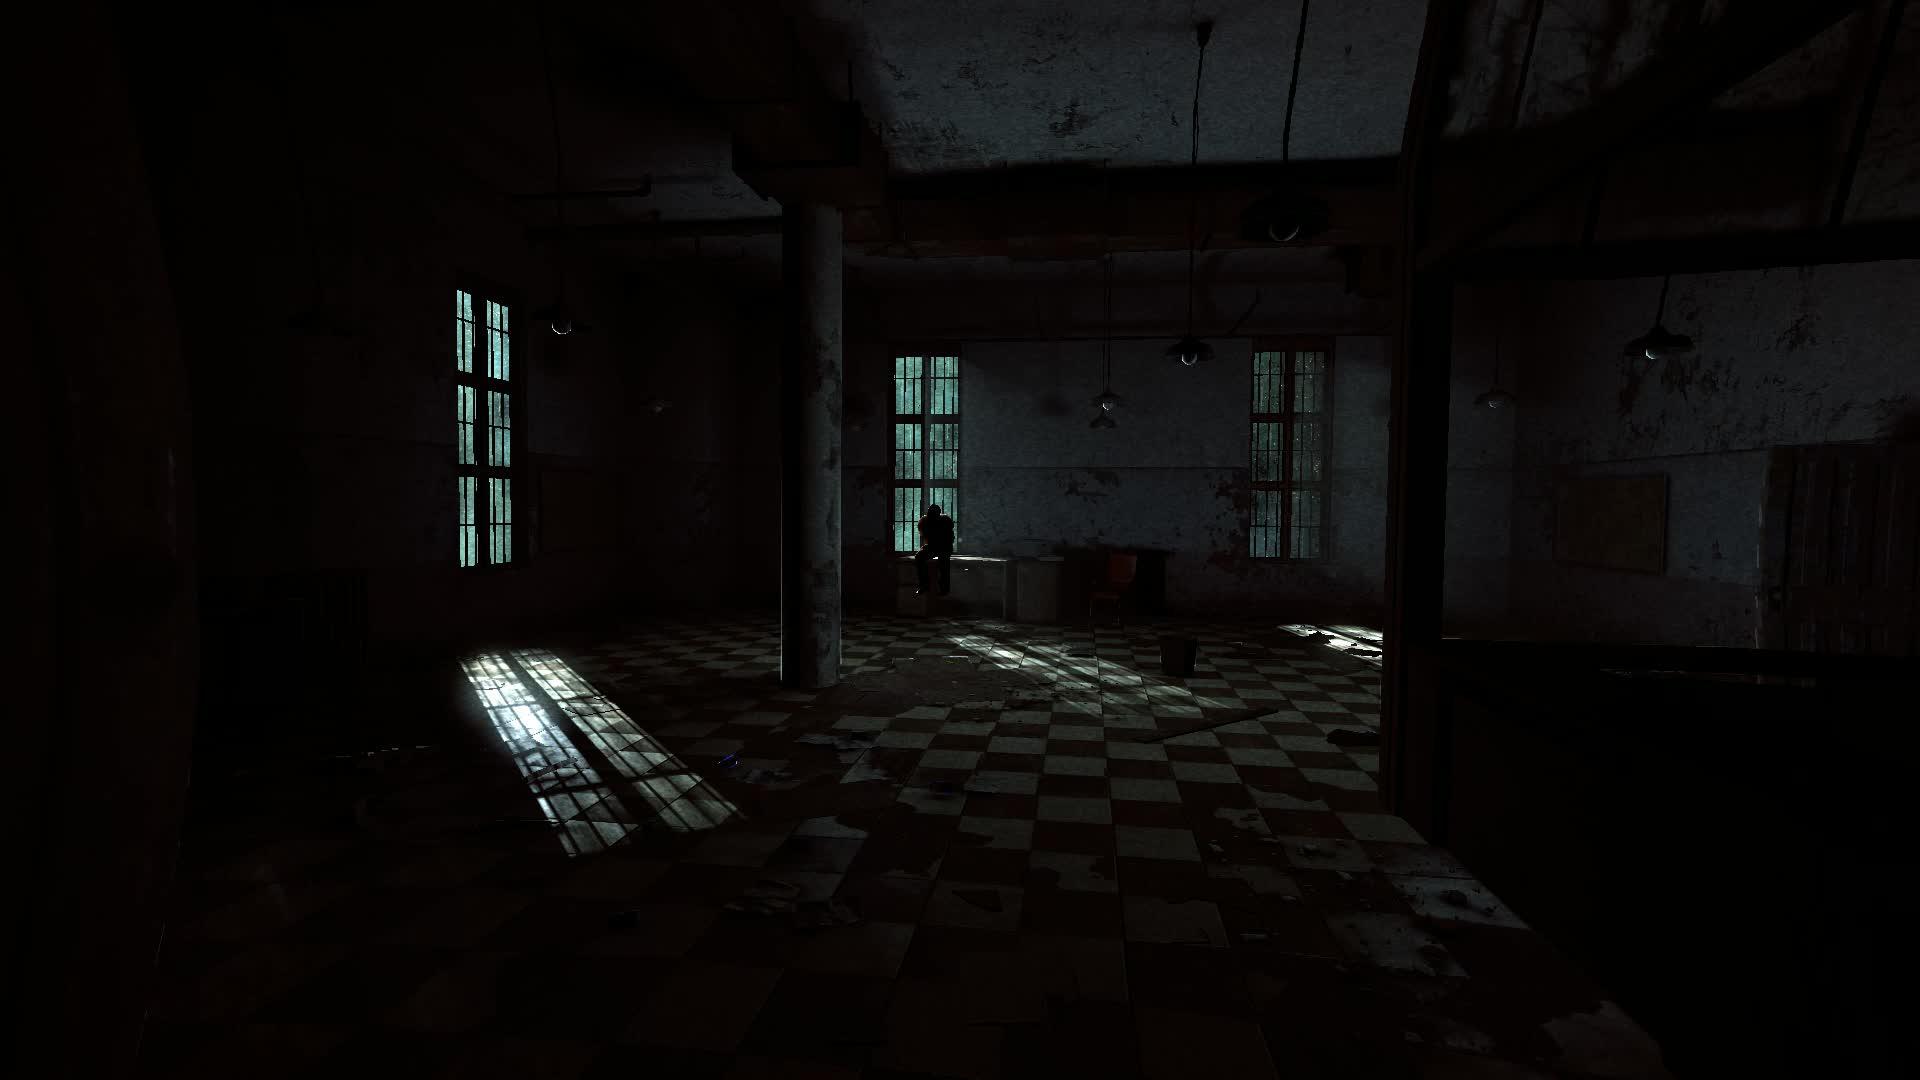
Exit out of the room from the main door. The walrider will pass by yet again. Follow it down the hall until you see a room with a large number of candles. Record this room to get a Note entitled “Lies.”
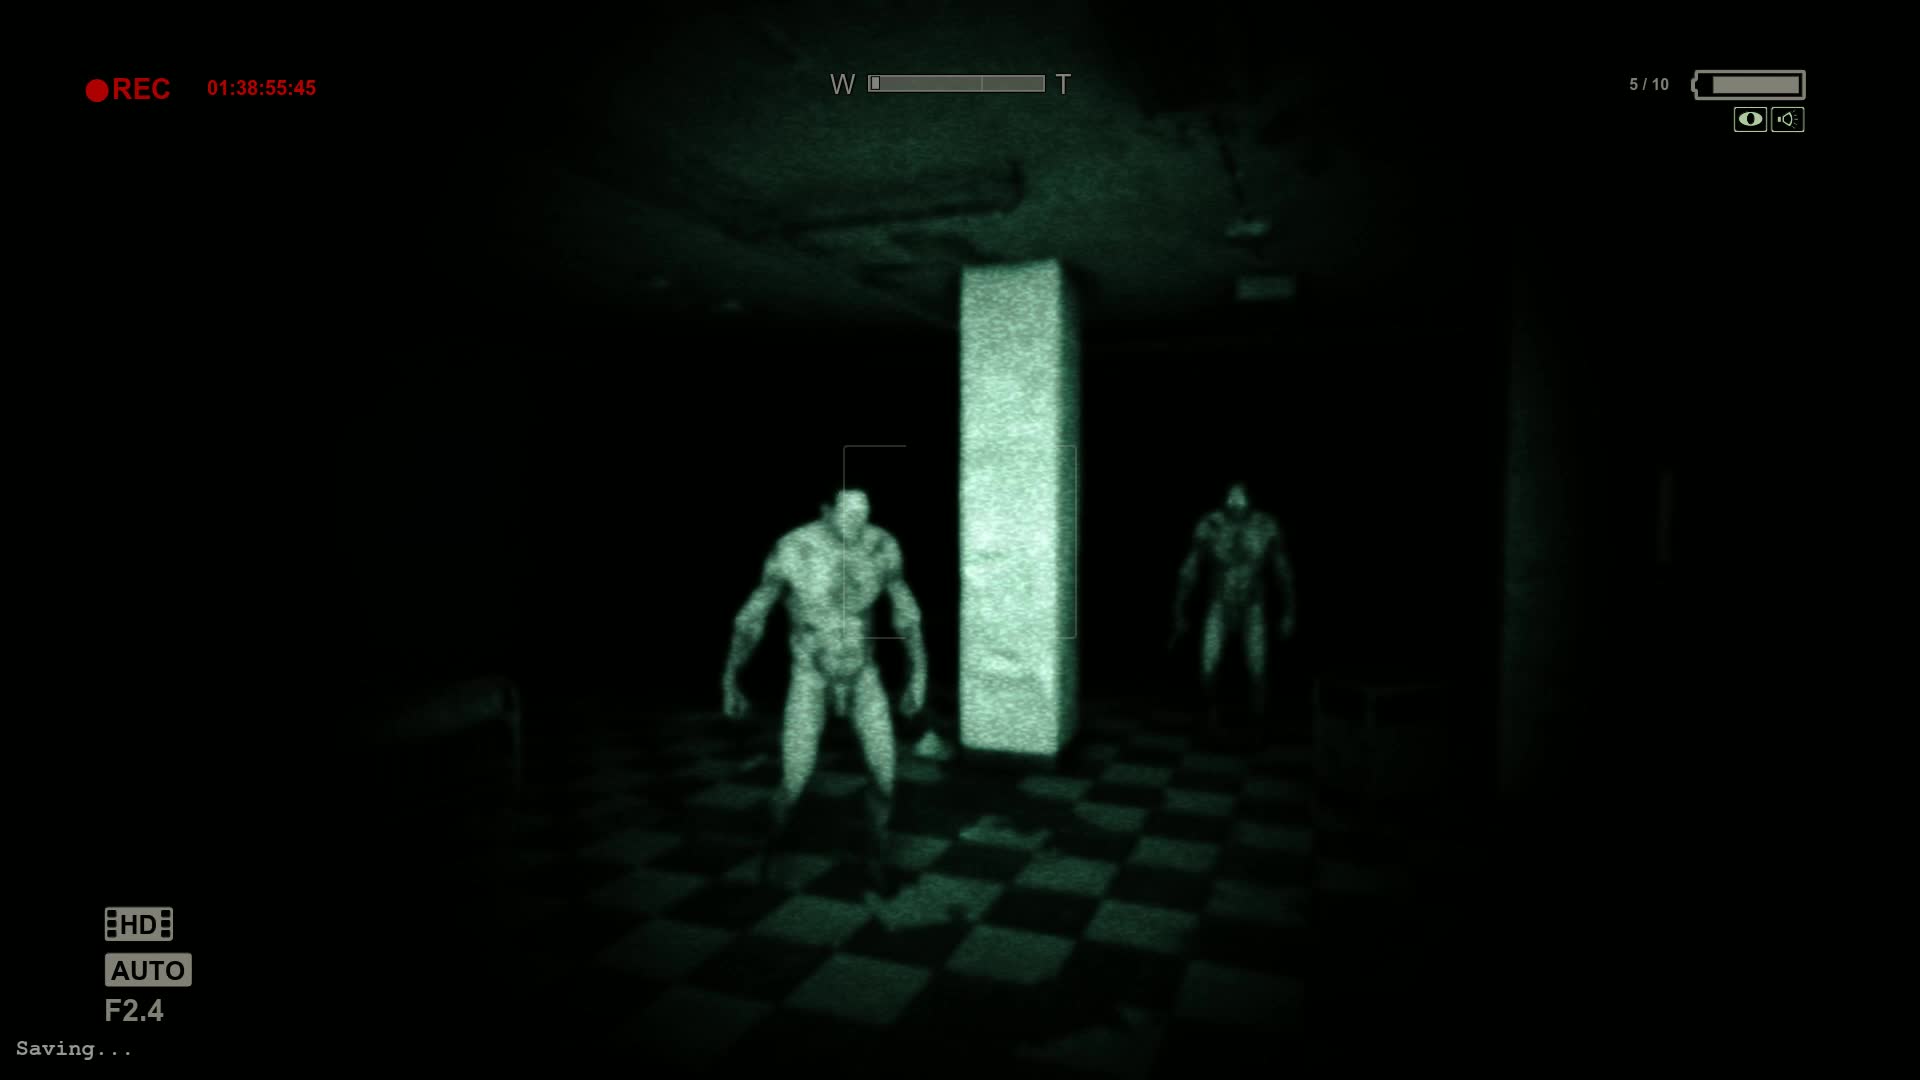
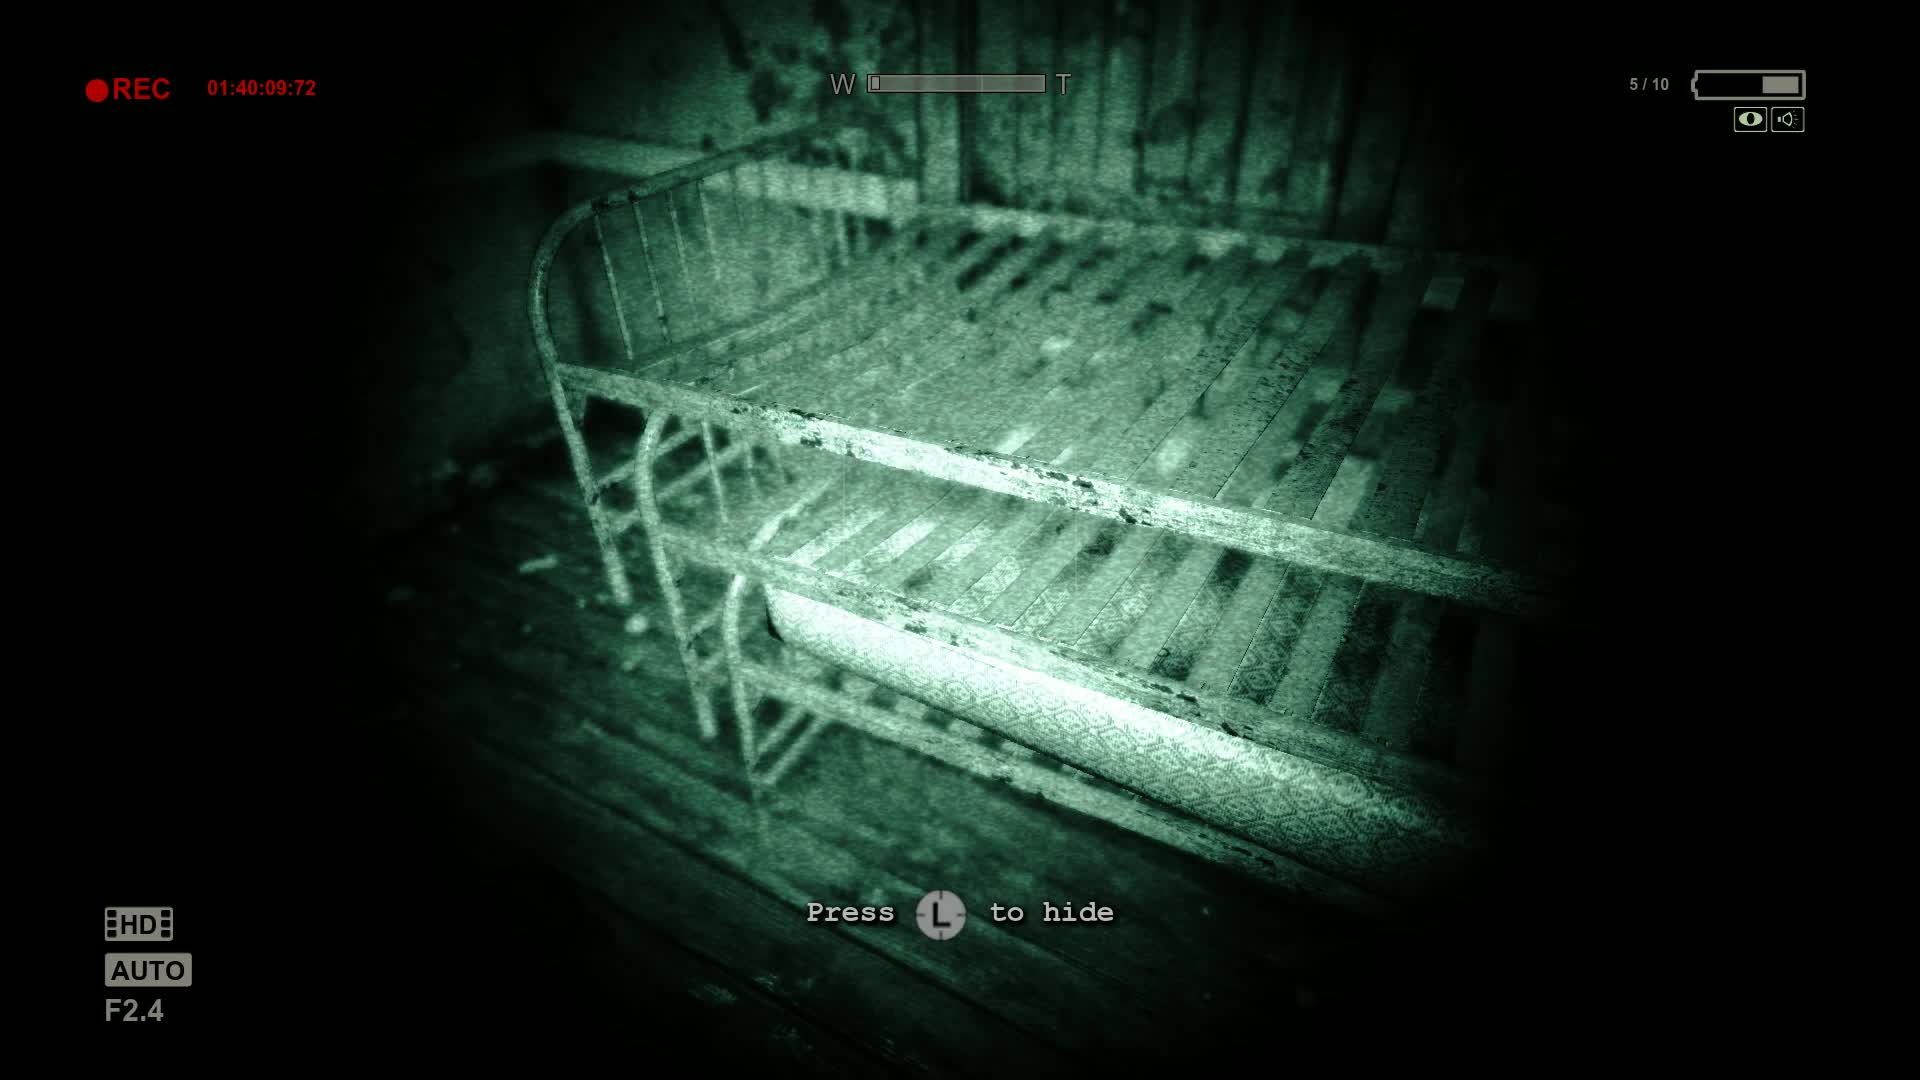
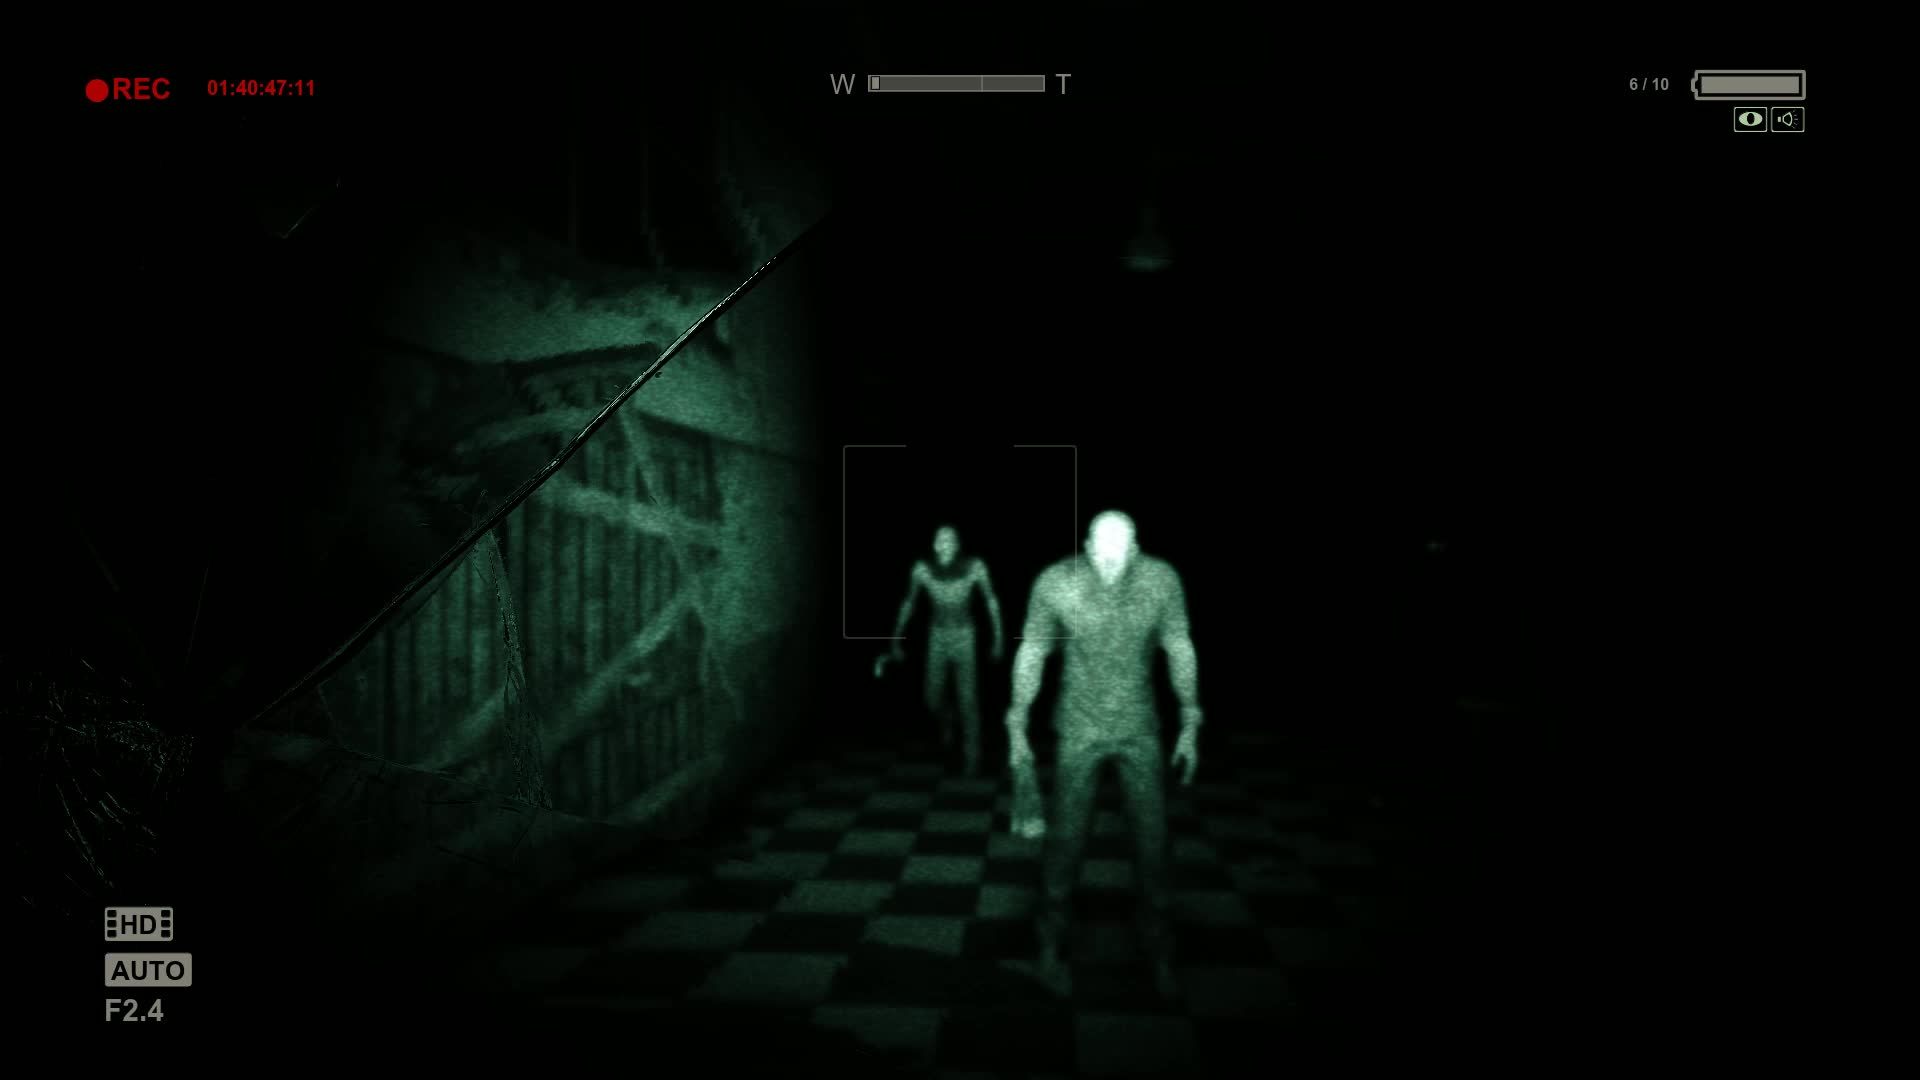
Follow the hall until you reach a door on the right side. When you get near it, it will slam shut. Open it to meet face to face with the brothers again. You will need to go through this door to continue on, so try not to go too far away. Lead them out and hide under the nearest bed frame. After they pass by, run into the room they left and take the door at the back.
Jump across the first gap and shimmy along the ledge. The final gap will activate a short scene after you leap across. A new objective will become available.
You need your camcorder to navigate the darkness.
Your camera will be gone, which means you can’t navigate through dark halls behind you. Jump down a level and enter the door on the left. Follow the winding path around the small room to the front door. The easiest way to your camcorder is to look for any light sources in the darkness. On a side note: Remember where you’re going because you will need to back track after you obtain your camera!

Follow the light source from the hall to the locker room. A huge hole in the floor is behind the bathroom stalls. Jump down to the locker room below and exit out into the halls.
Follow the halls towards the cafeteria, then take a right towards kitchen. A faint glow can be seen in the back – that’s your camcorder! Jump through the window and pick it up to get your next objective.
Find a way to the third floor.
With the camcorder in hand, you’ll quickly notice a number of inmates nearby. Run as fast as you can back to the area where you first lost your camcorder. Run through the halls, up the lockers, and back up to the wooden floor that collapsed.
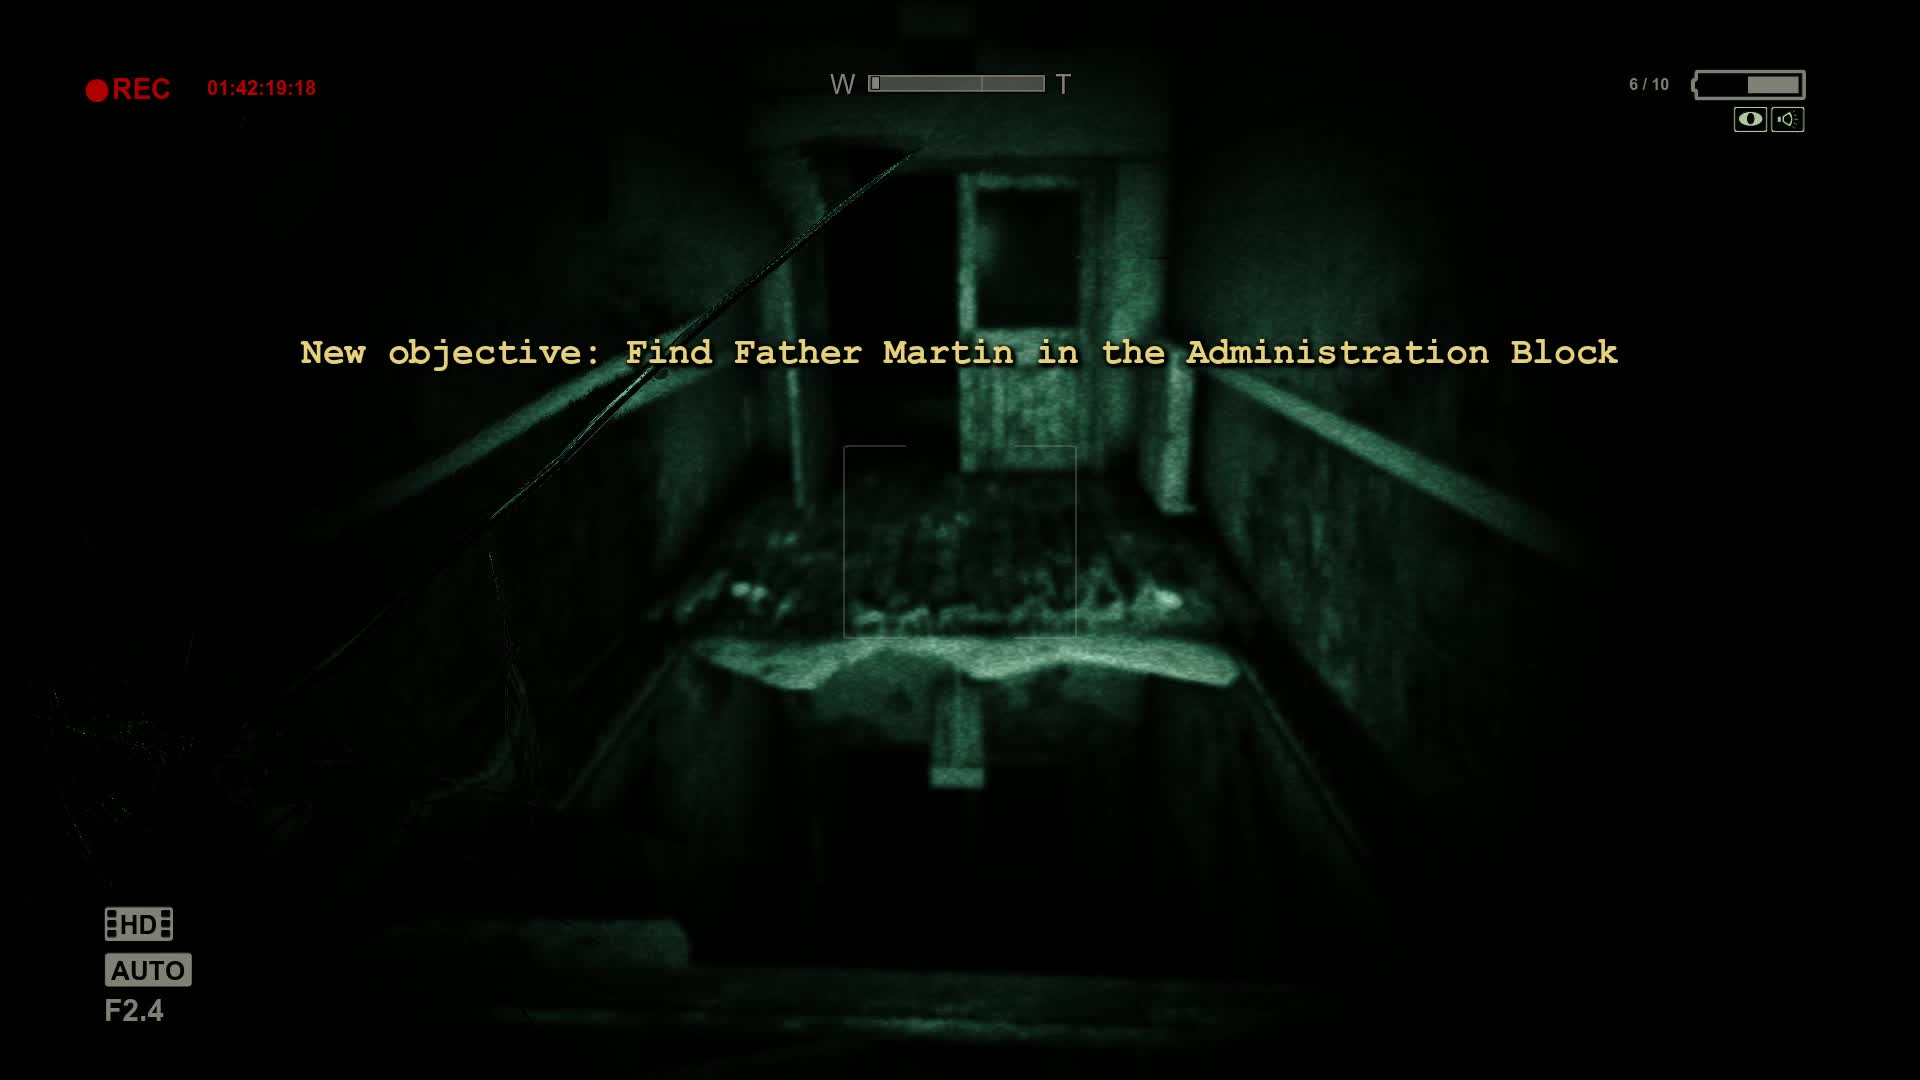
Find Father Martin in the Administration Block.
A new objective will appear after taking a few steps into the darkness. Jump across the gap to reach a crumbling room, then jump across a larger gap to reach the Administration Block.