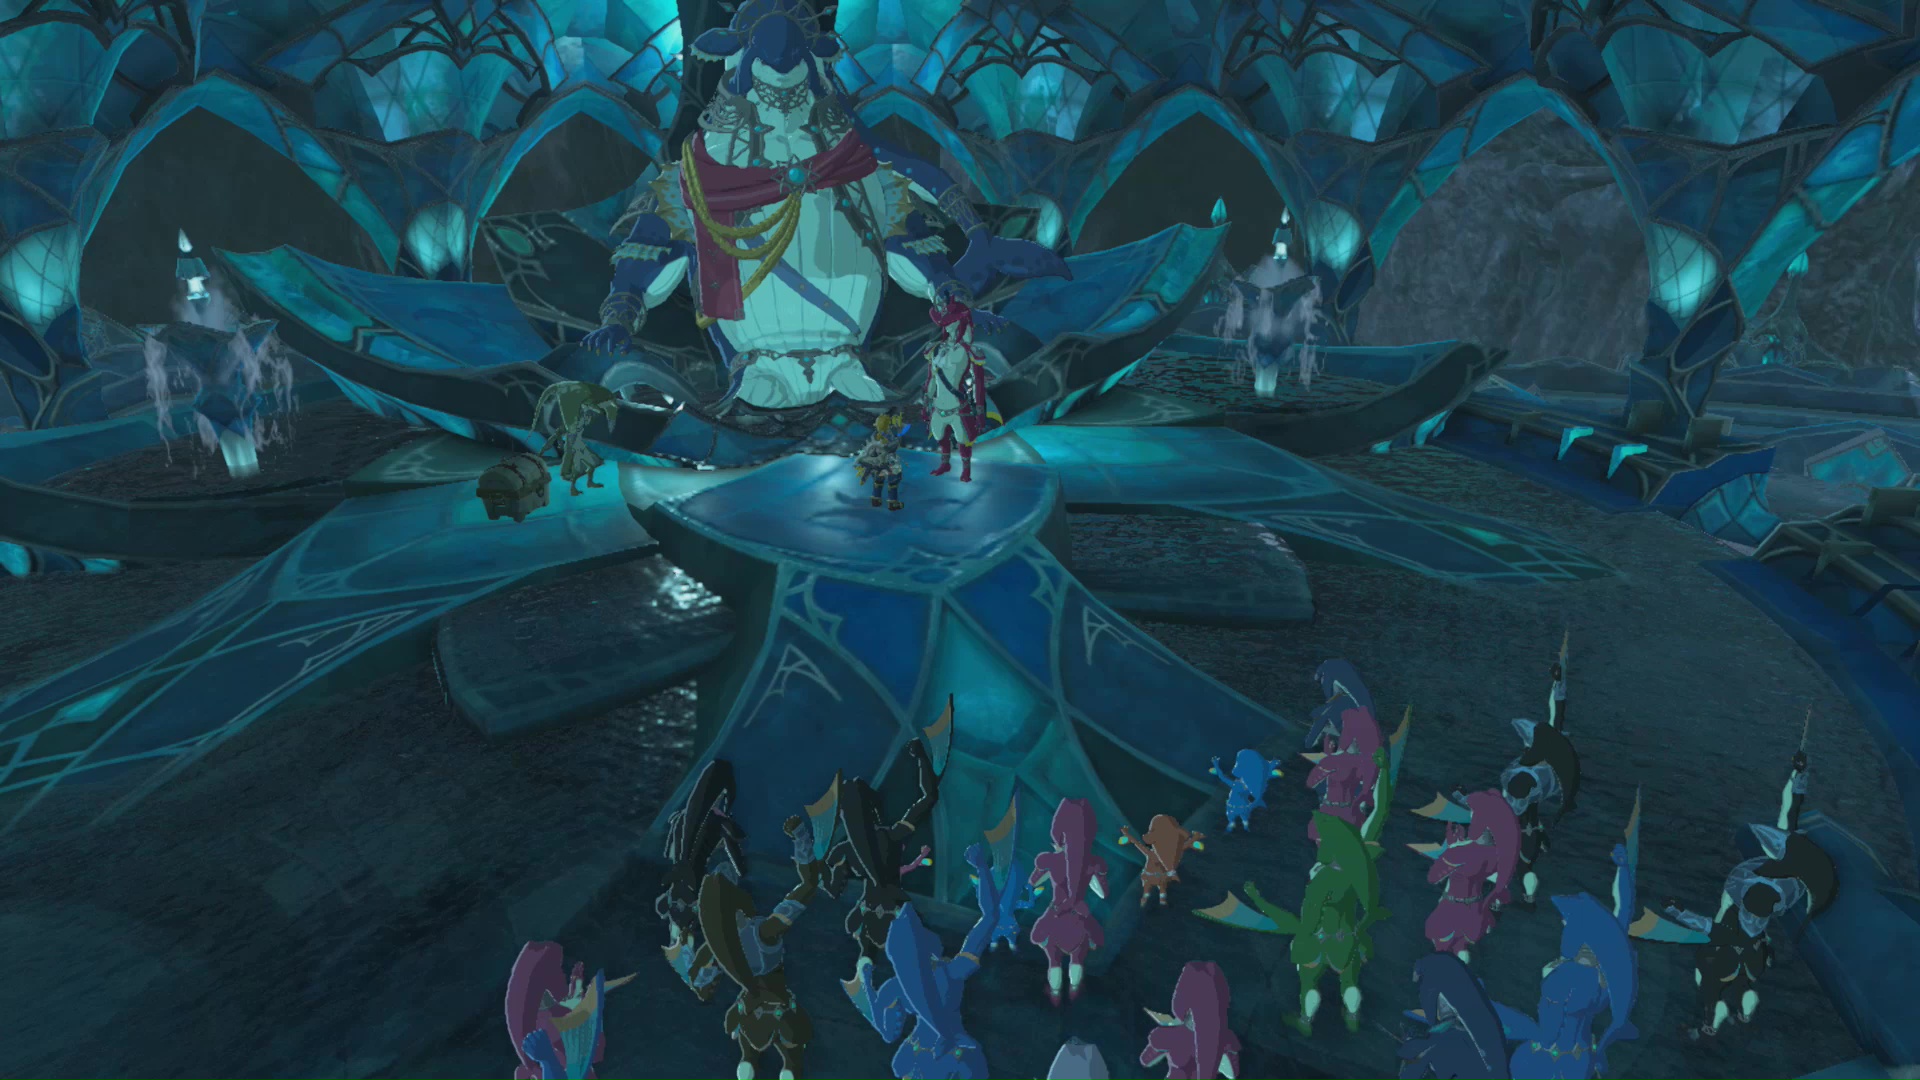
Divine Beast Vah Ruta is located in a spring within Zora’s Domain. To enter this machine, you must speak with King Dorephan at Zora’s Domain, then meet up with Prince Sidon at East Reservoir Lake. Make sure you have plenty of Shock Arrows and healing items. The Zora Armor should also be equipped.
Reaching Vah Ruta
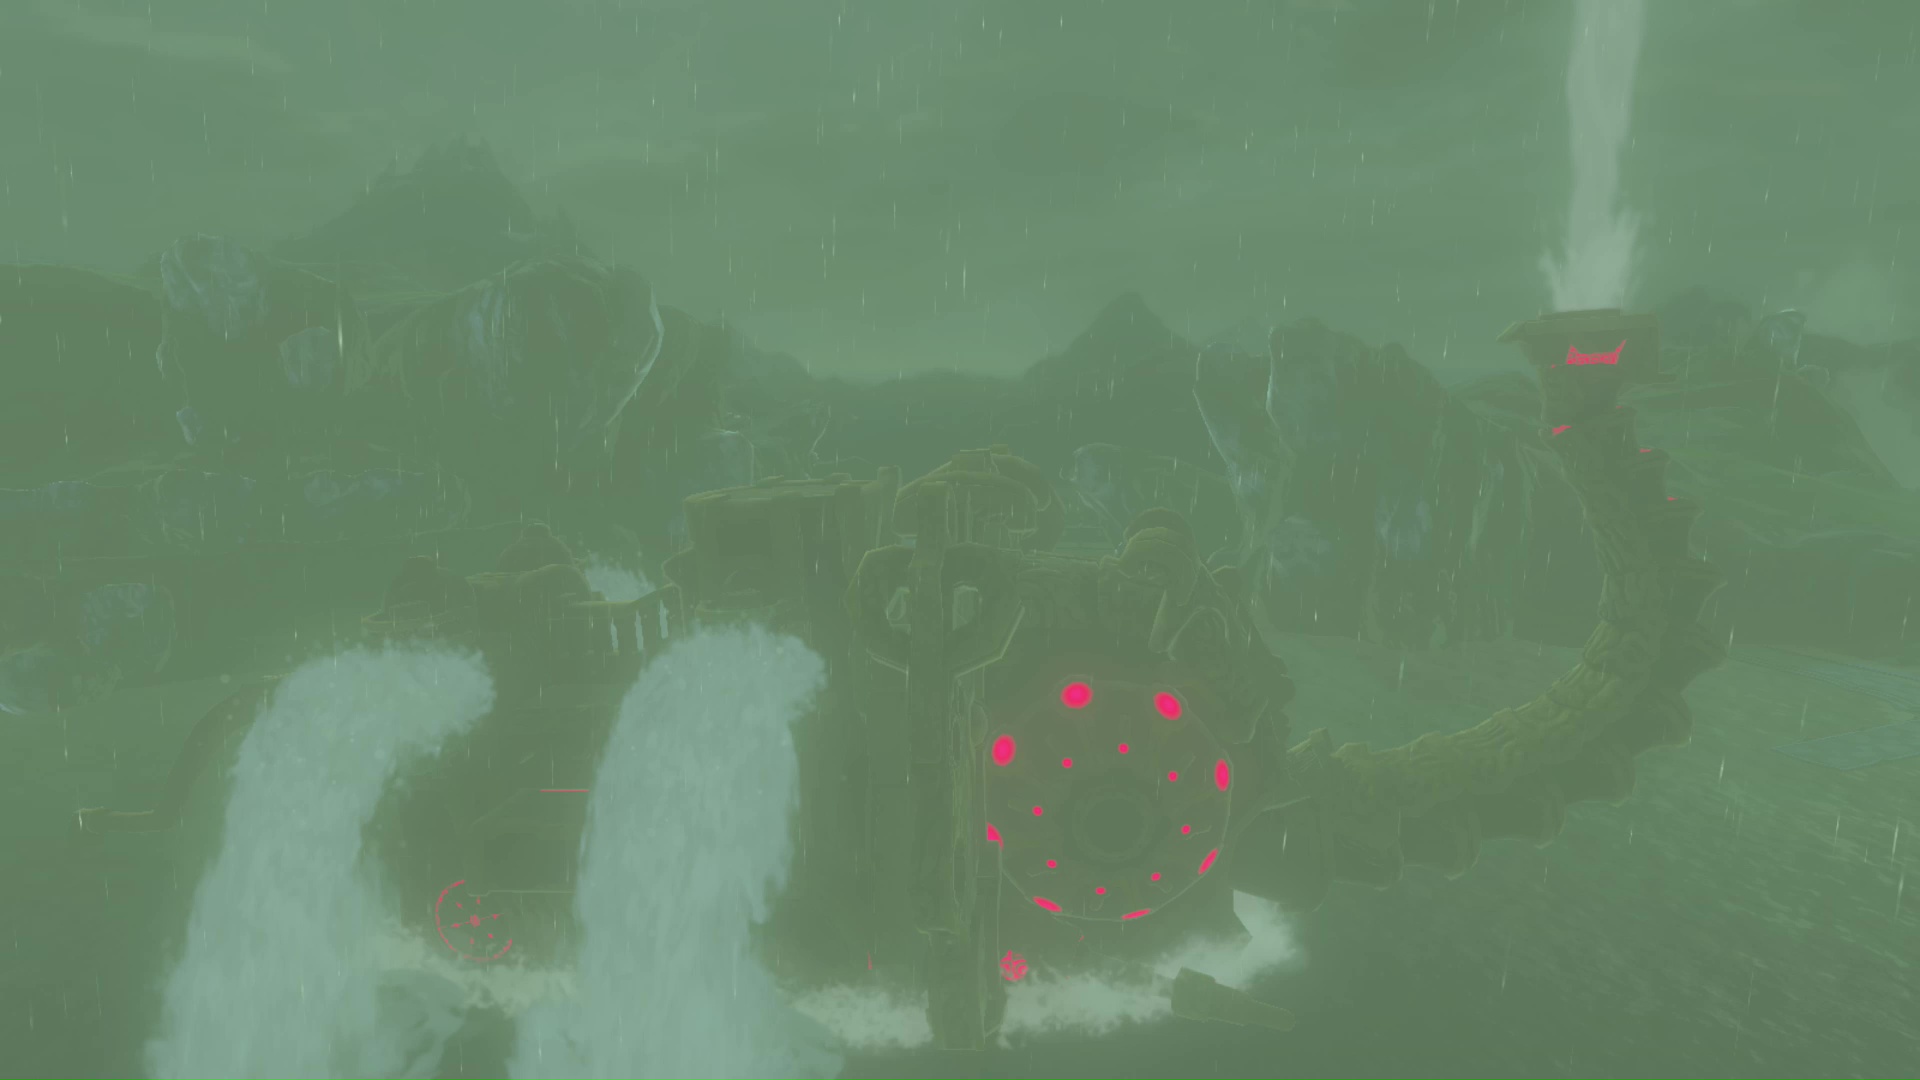
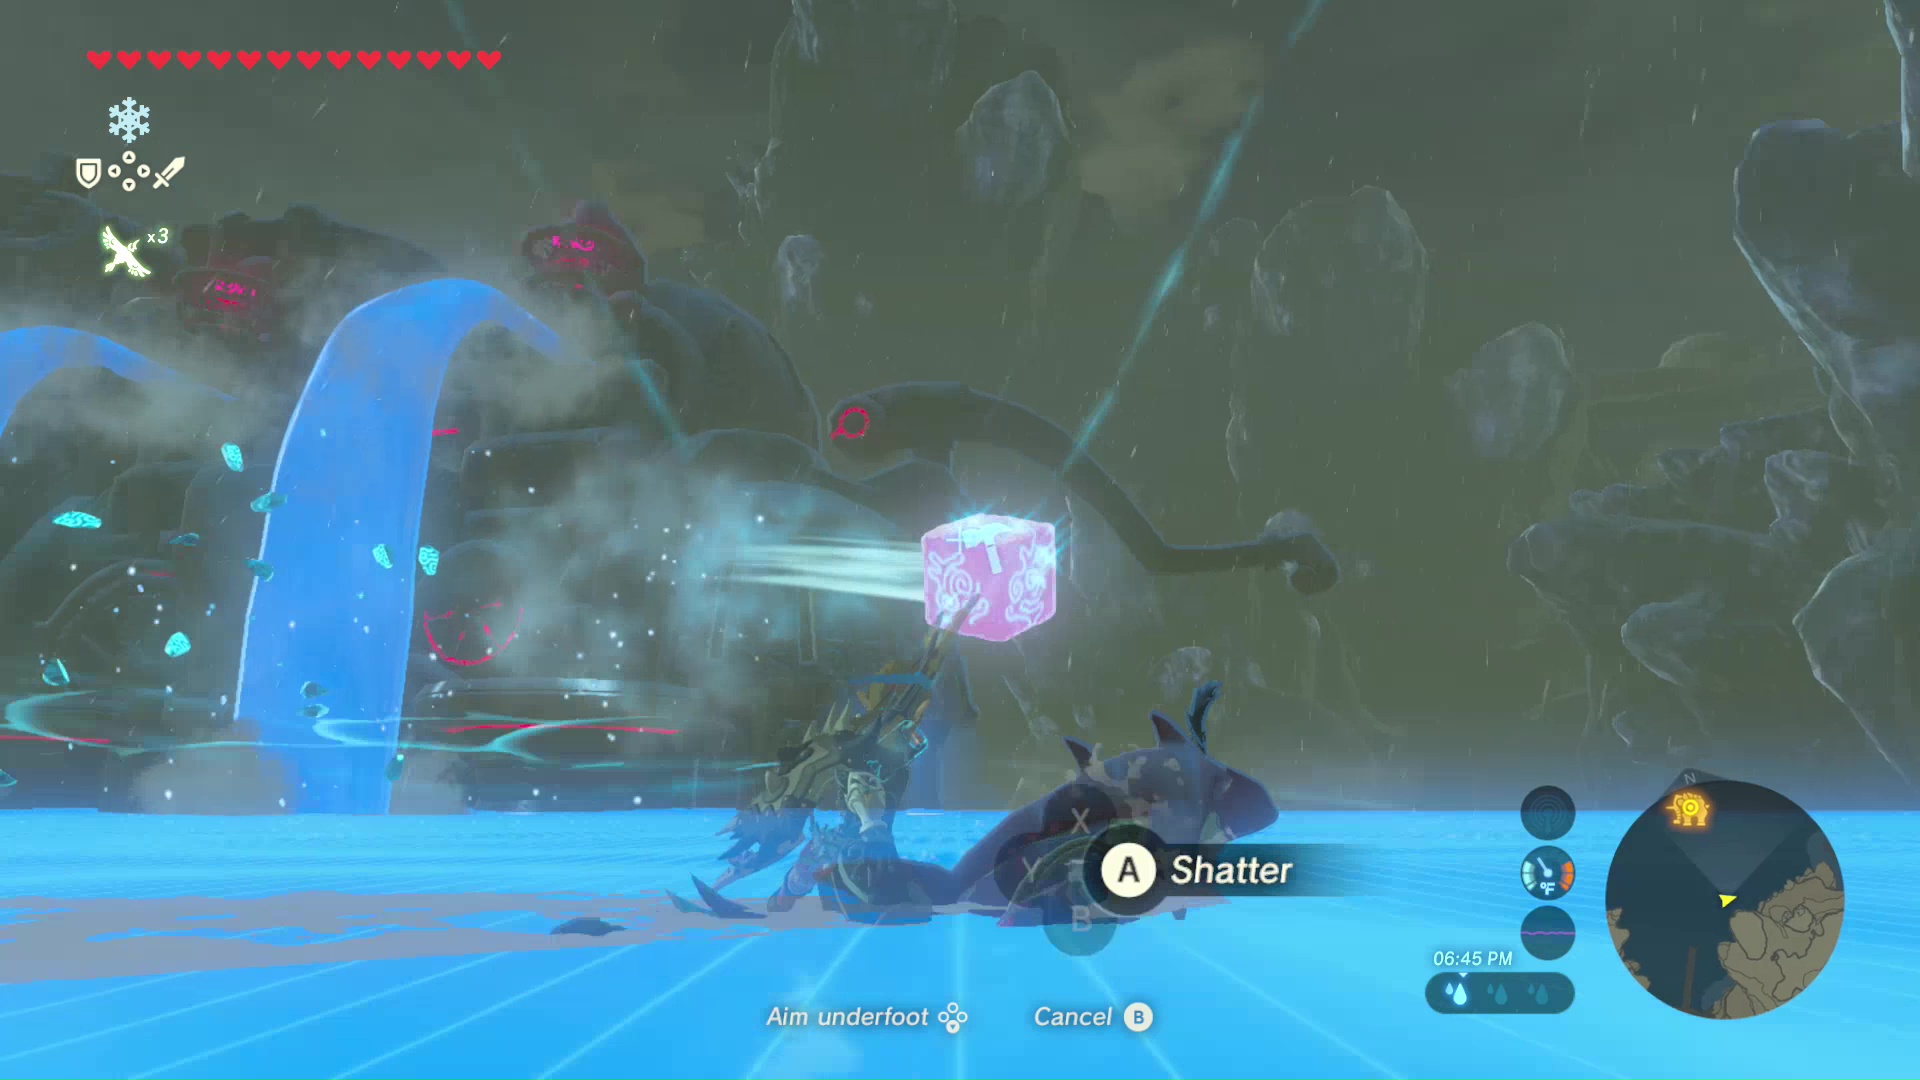
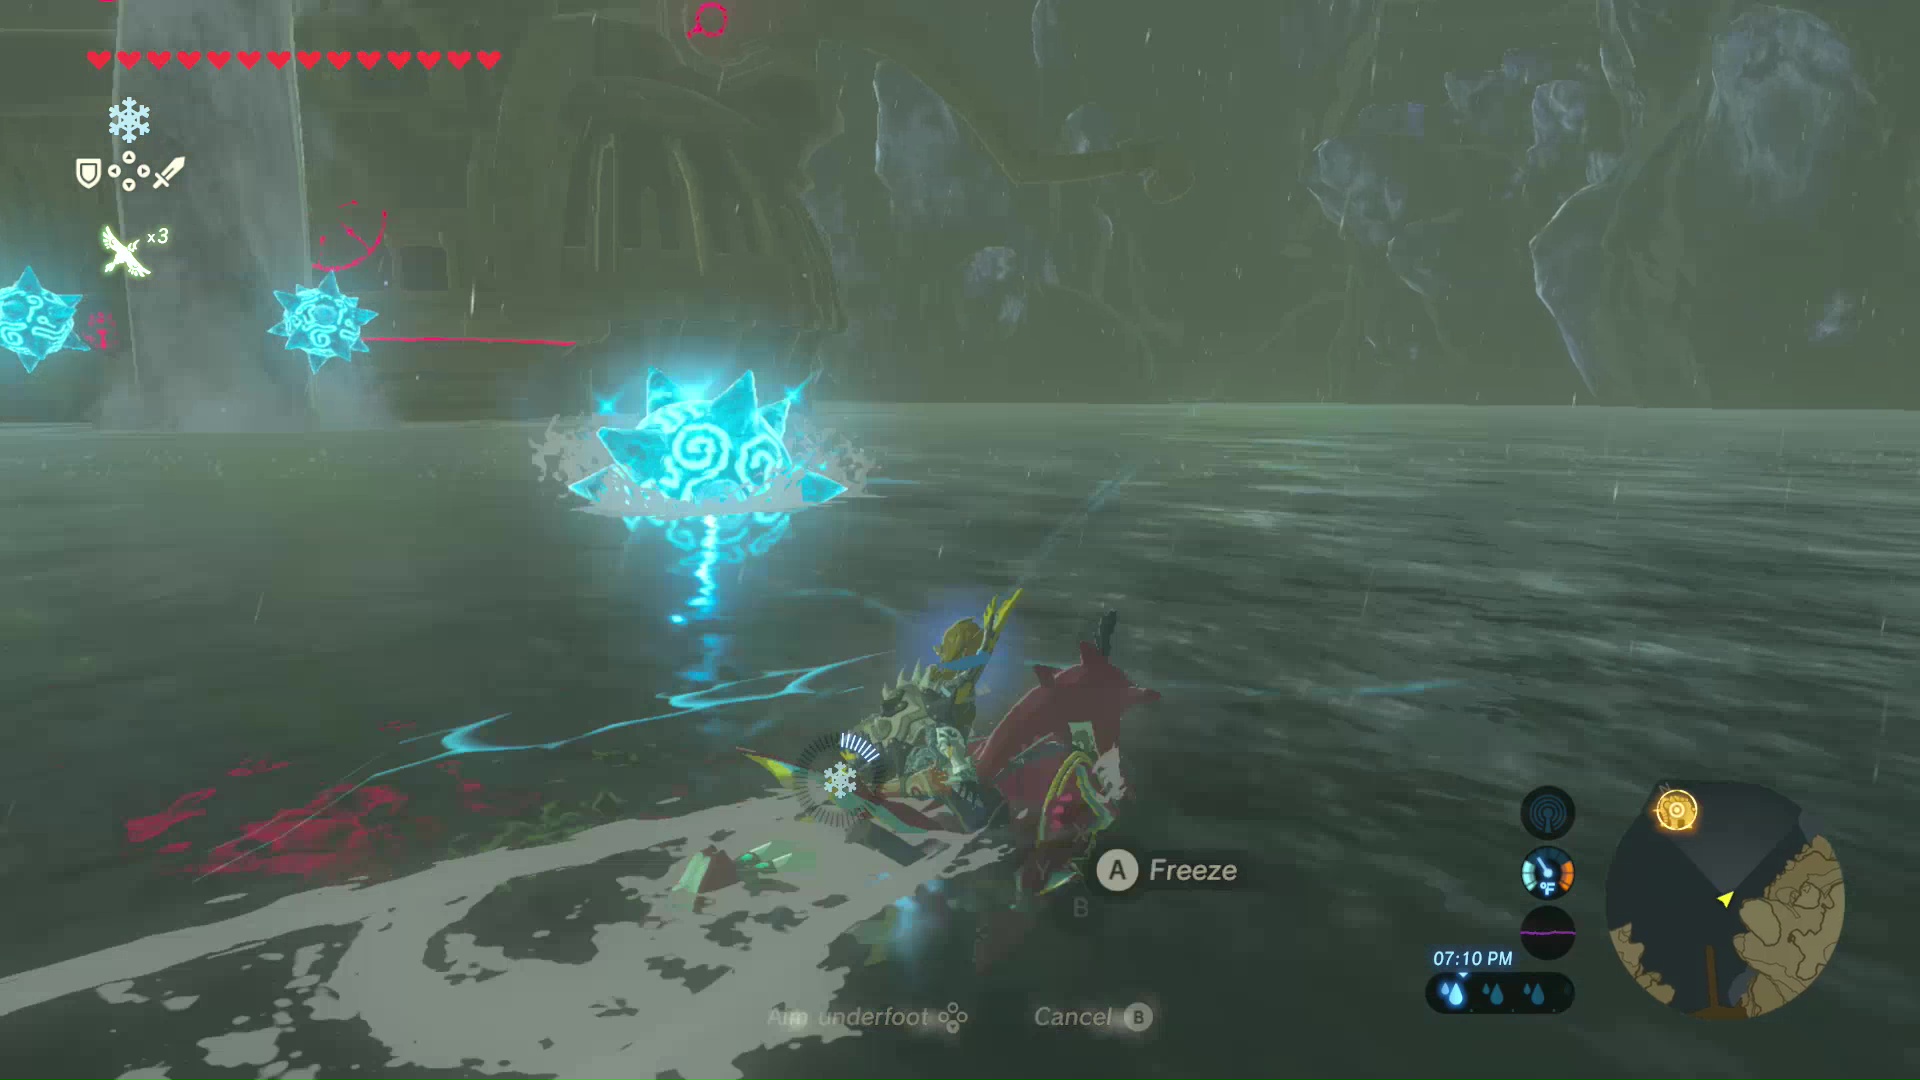
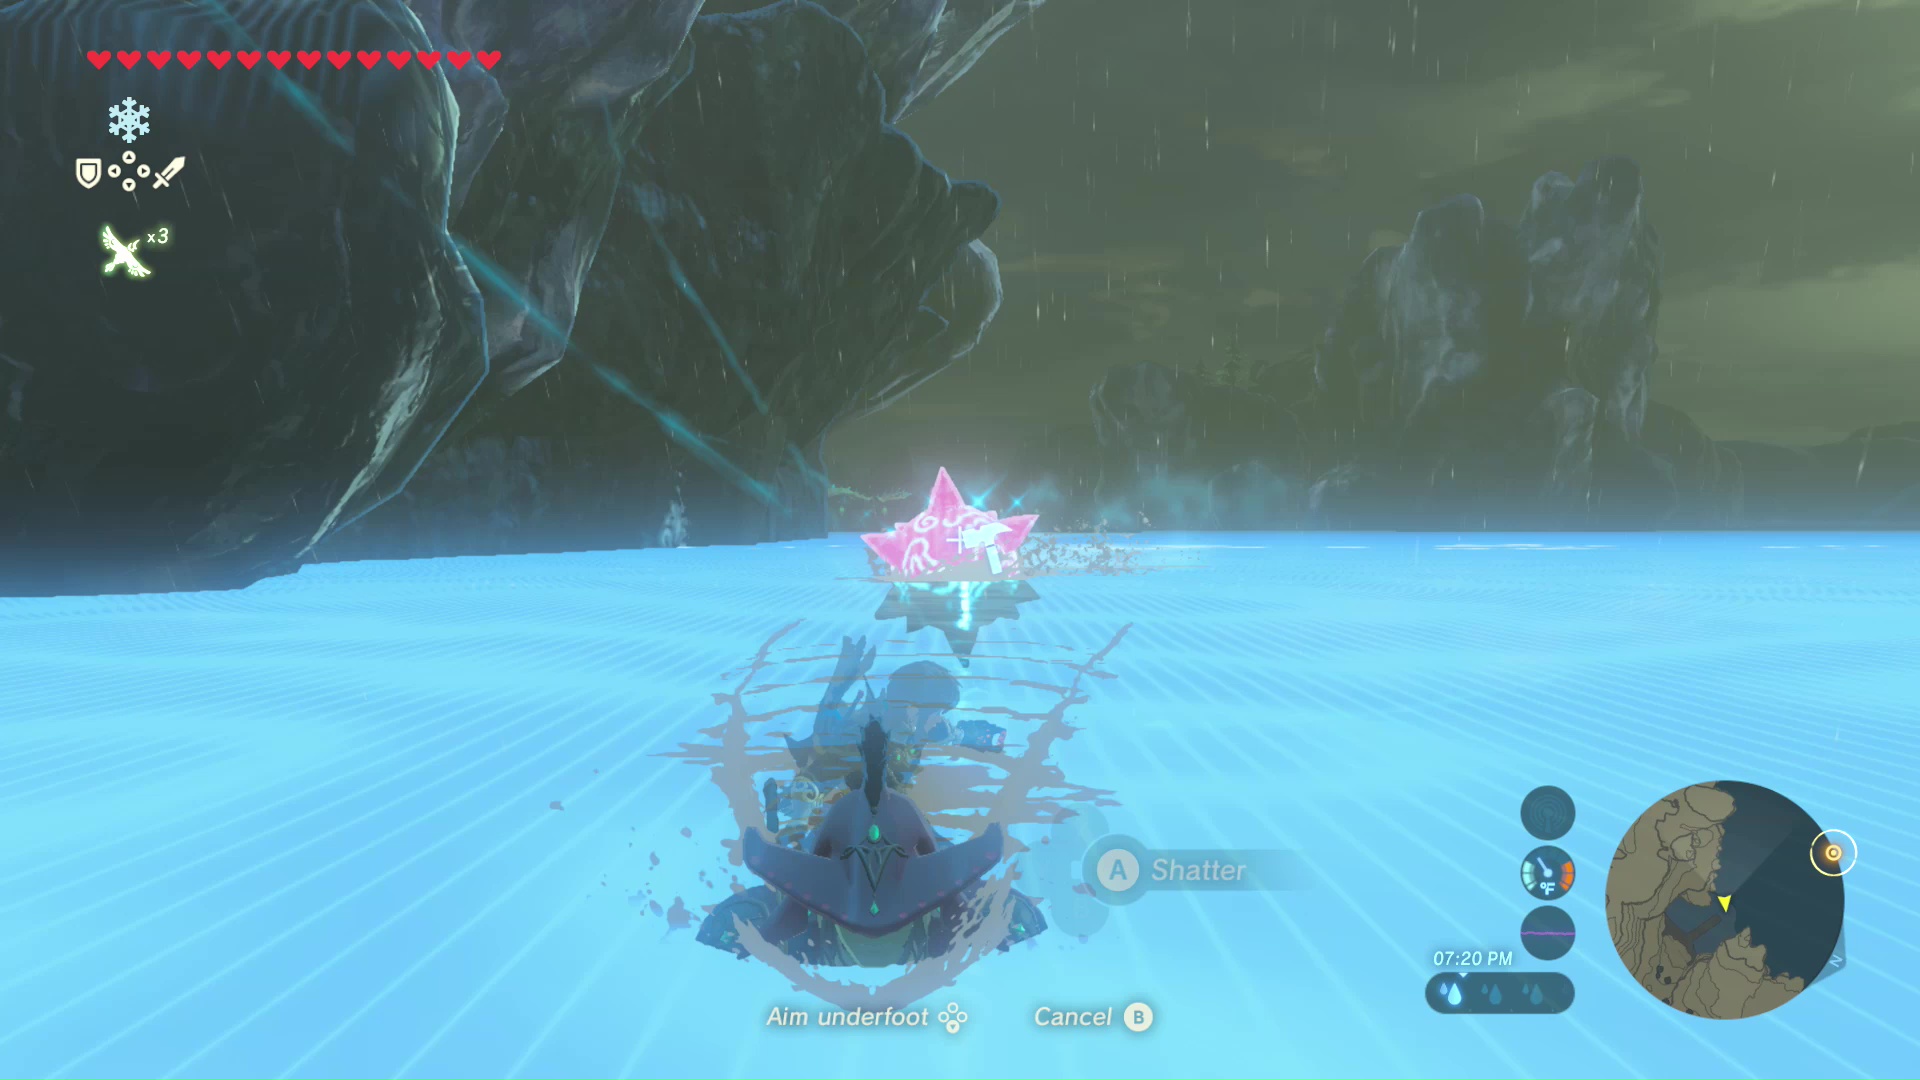
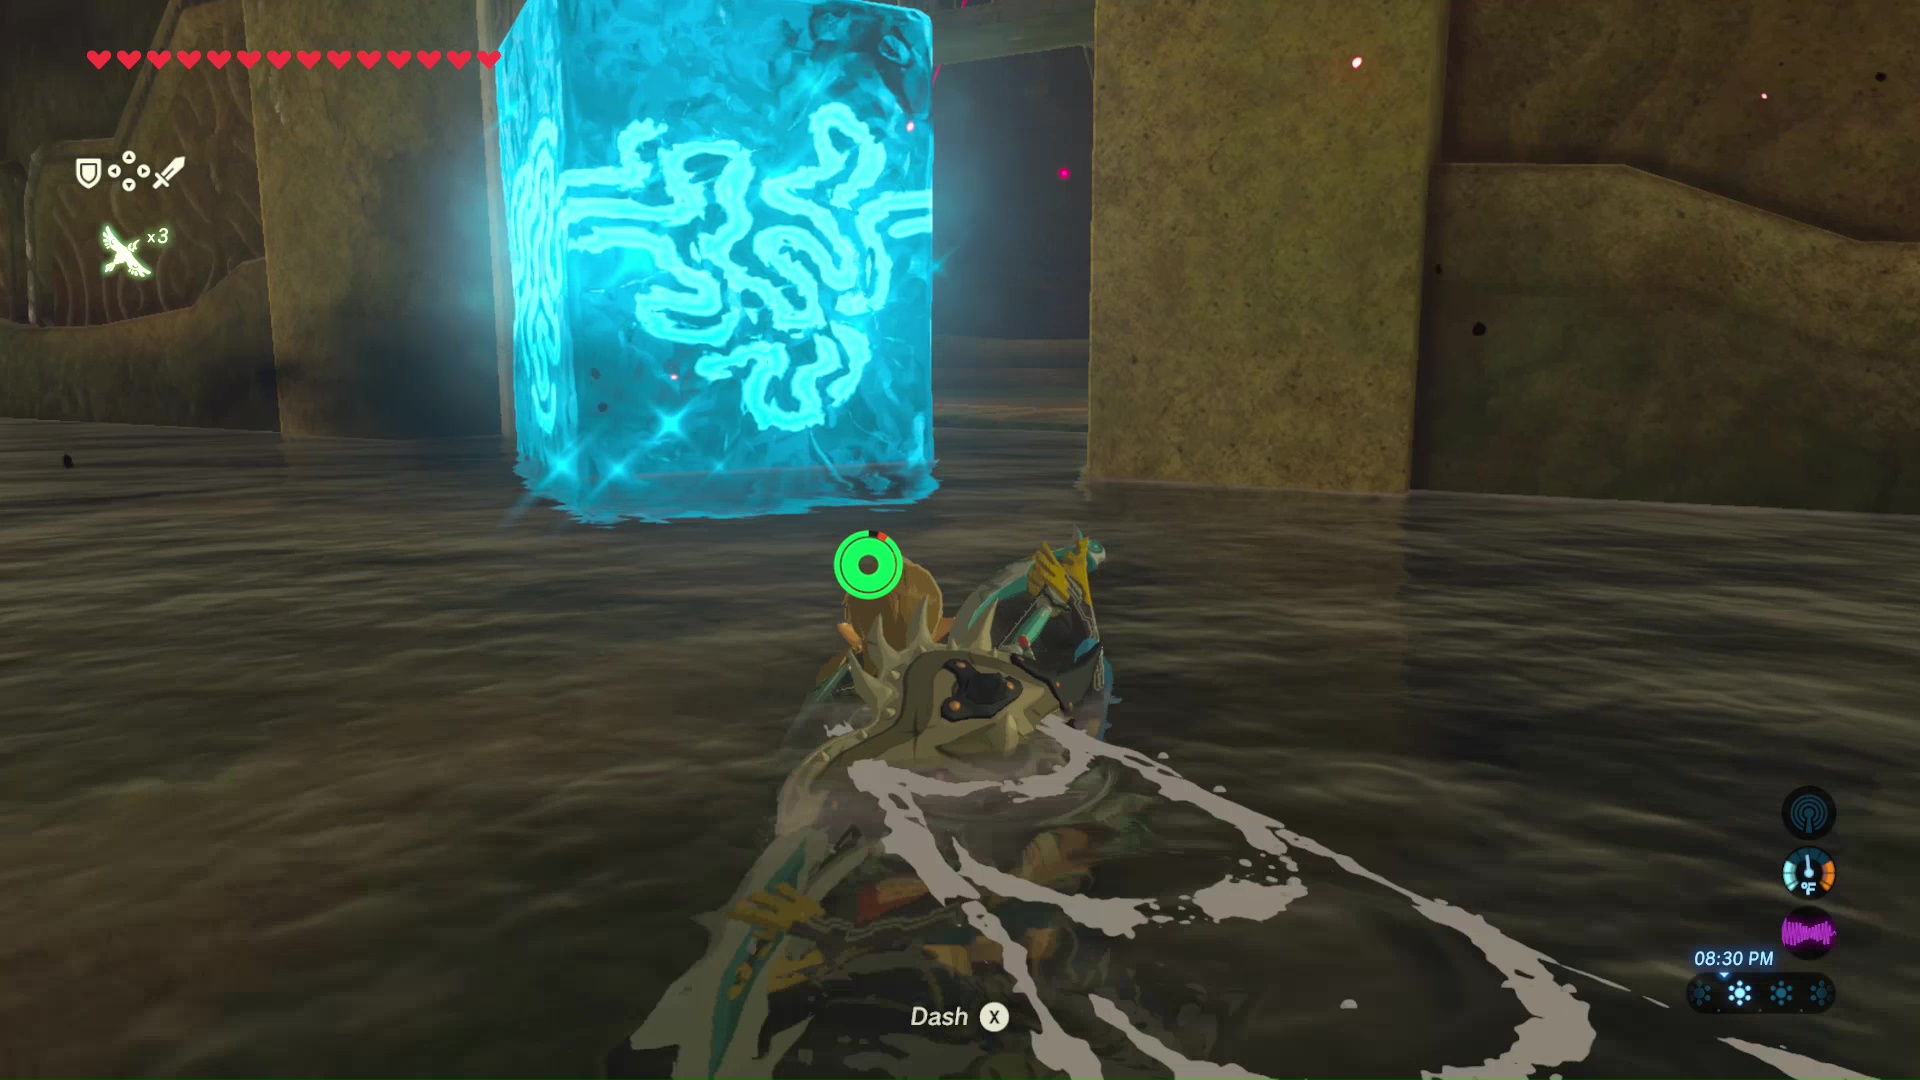
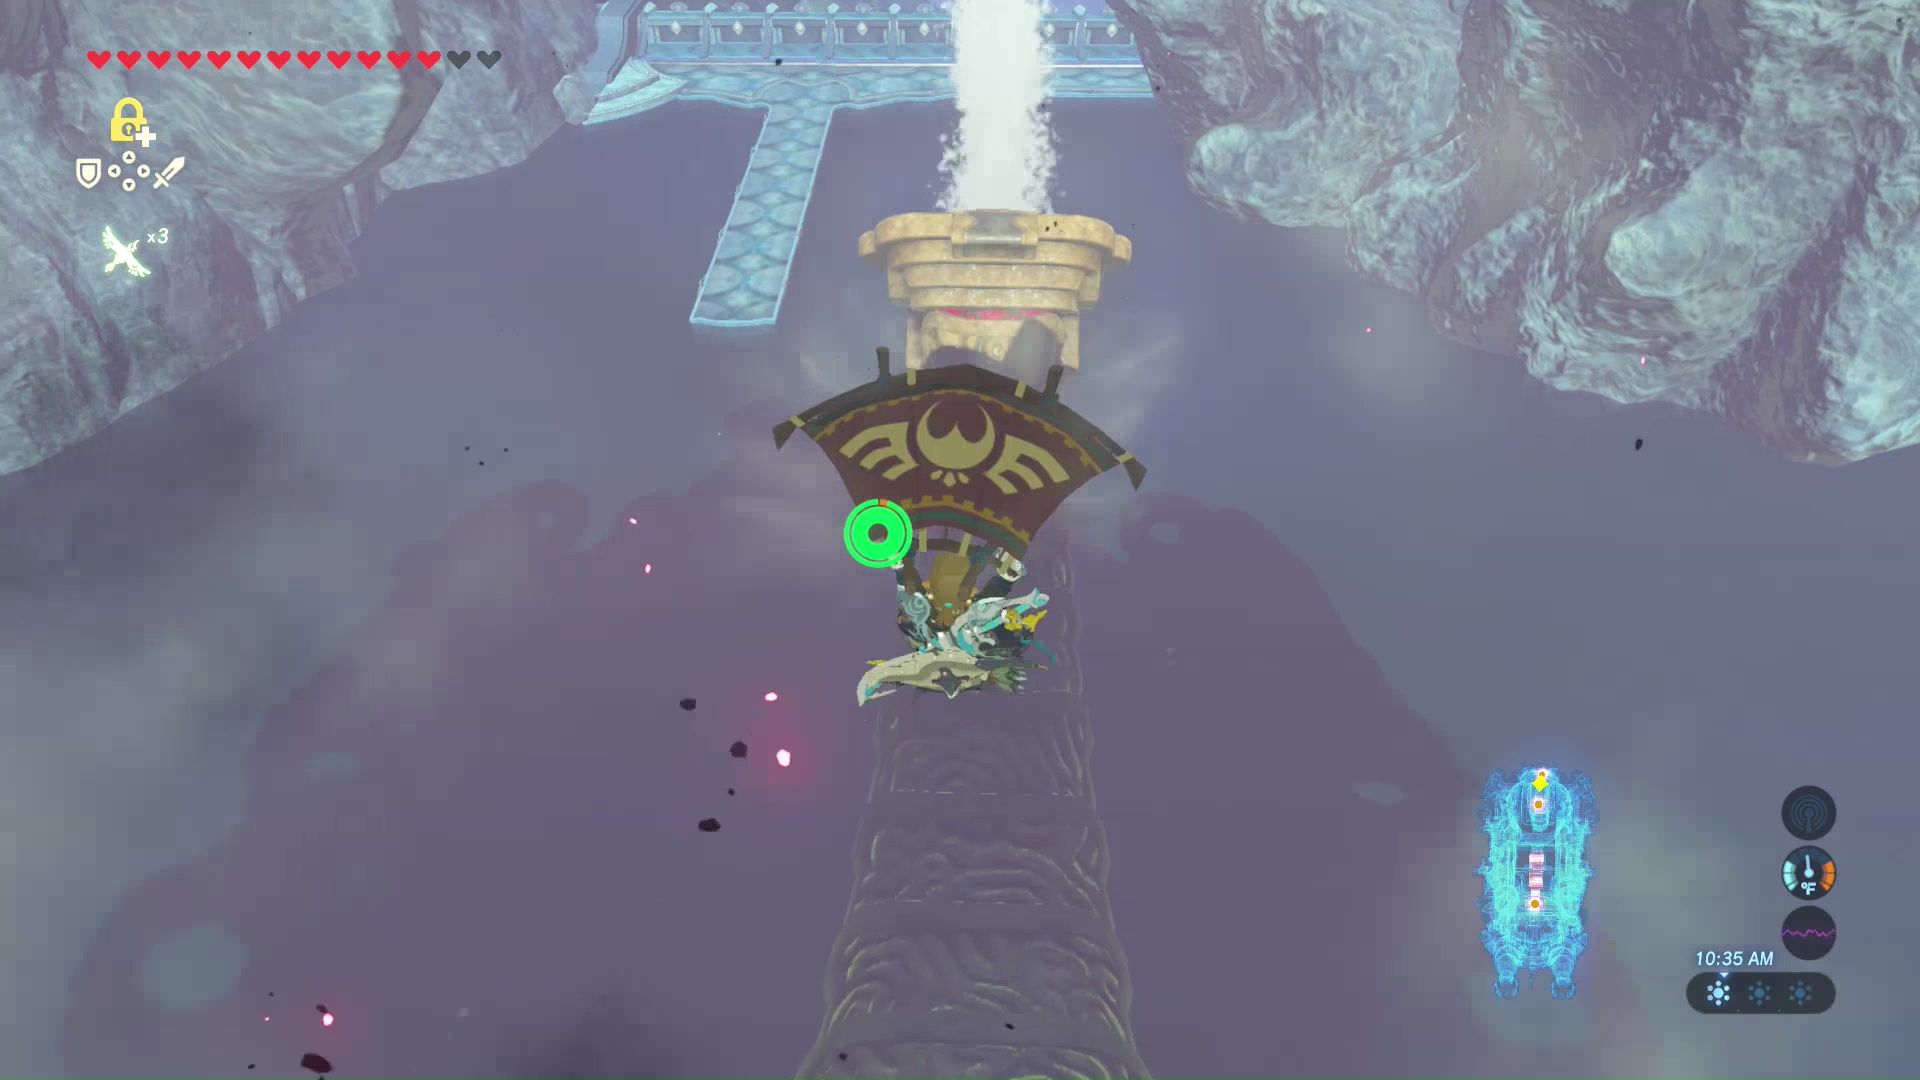
Prince Sidon will ferry you across the lake towards Vah Ruta. As you two get close, the Divine Beast will send out blocks of ice. Use the Cryonis Rune to shatter any ice cubes that are sent your way.
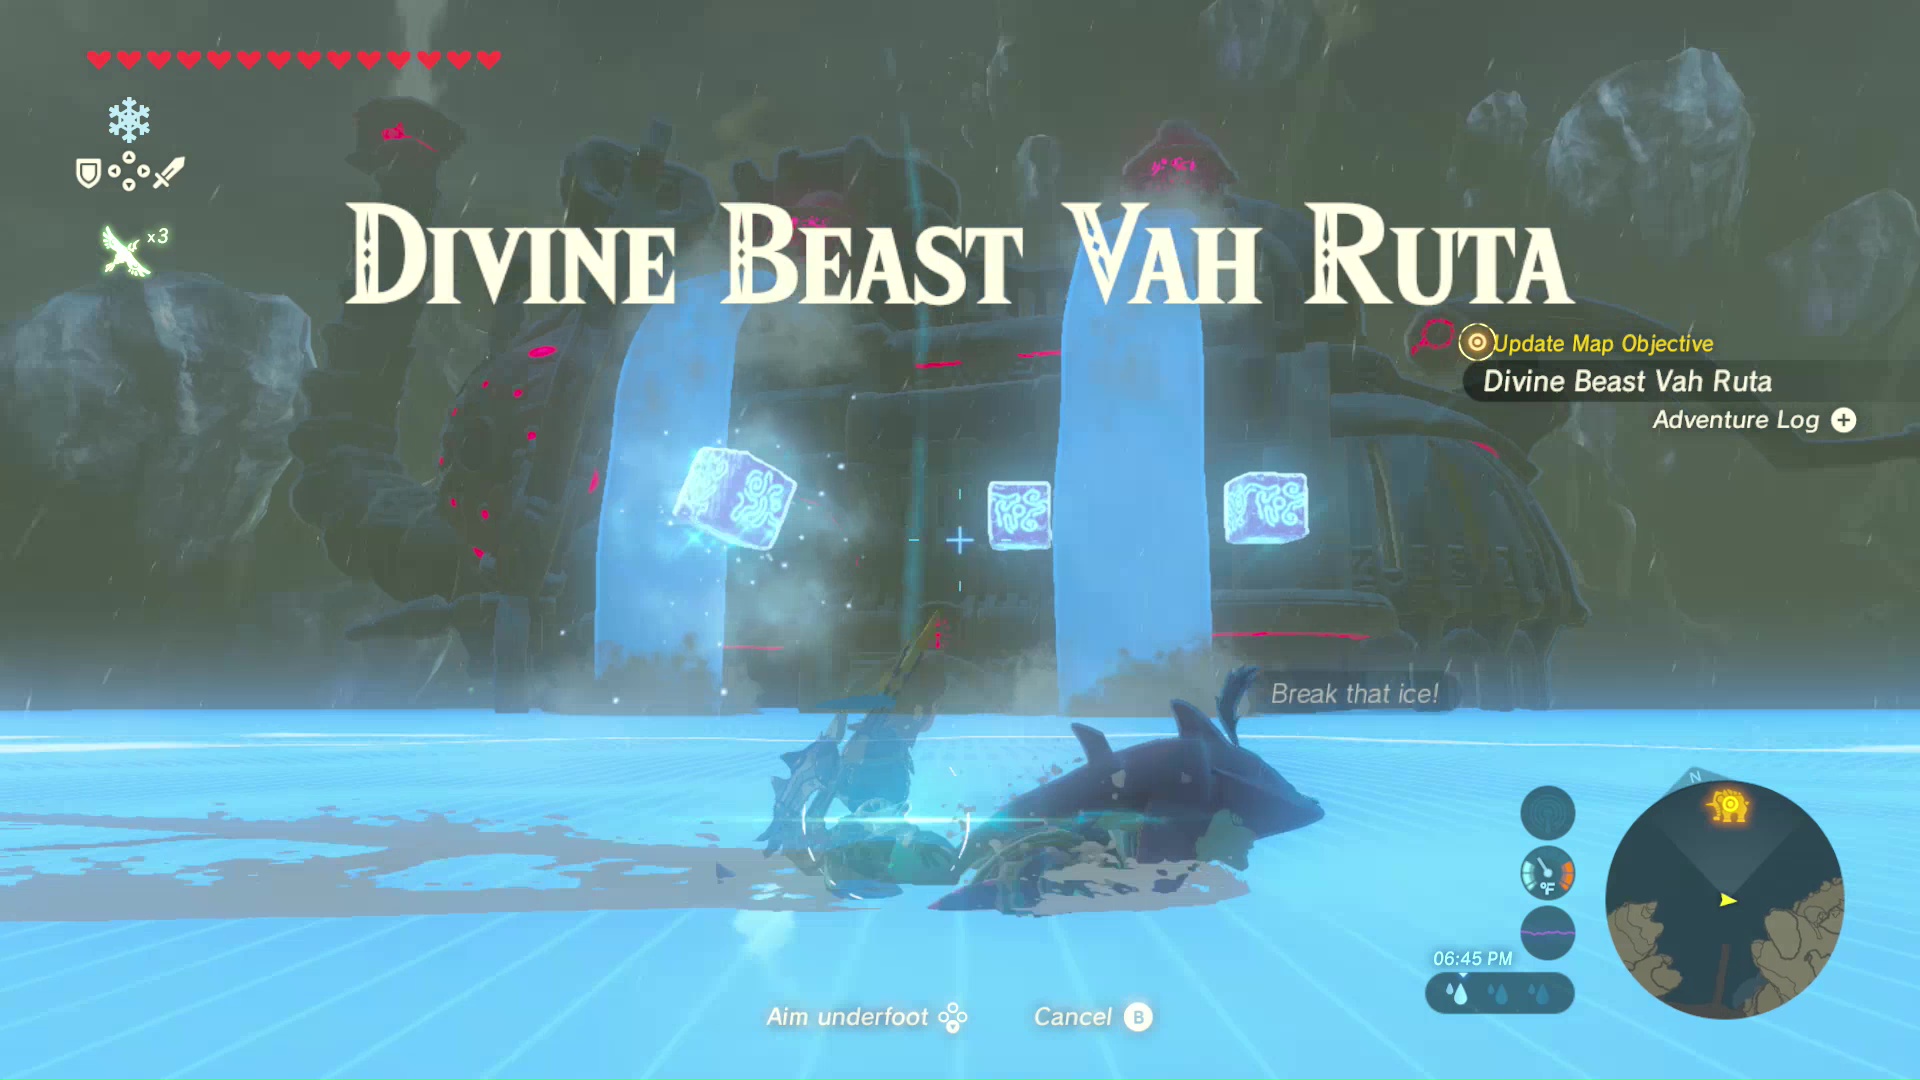
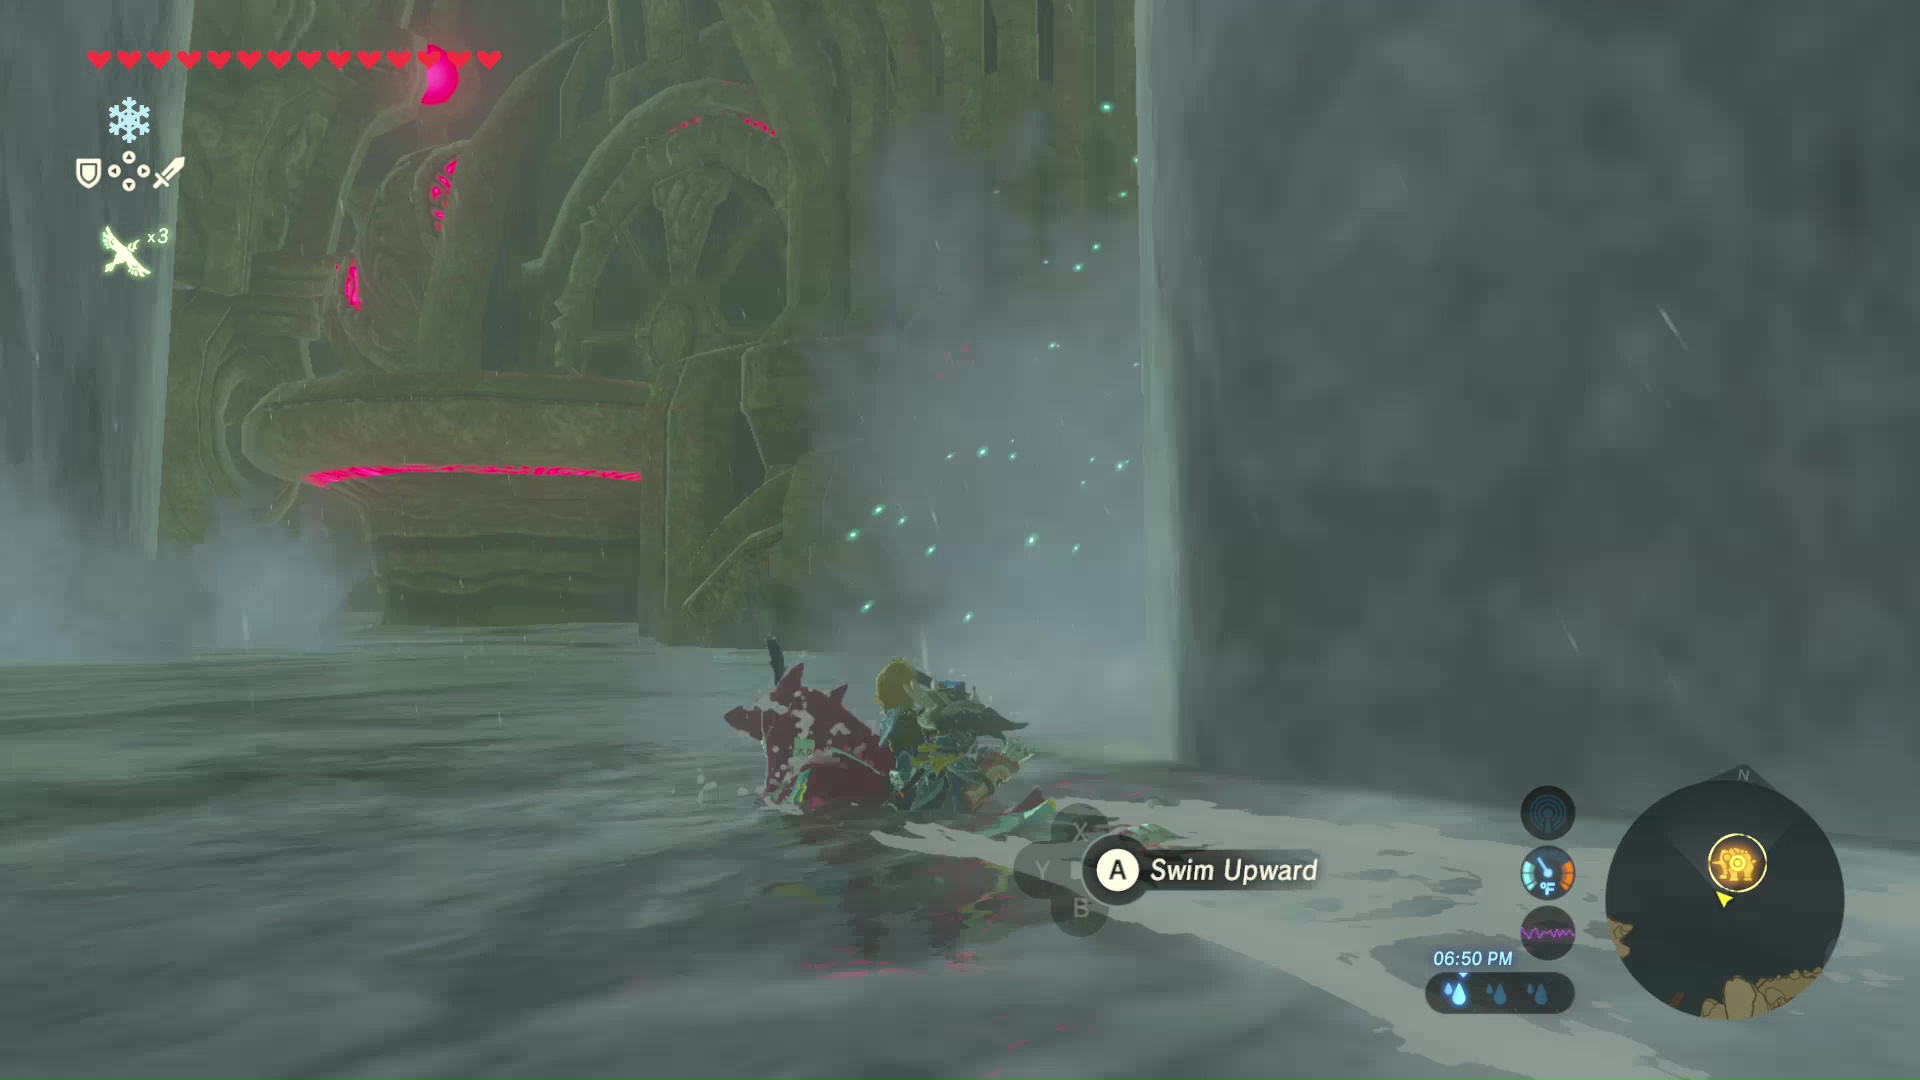
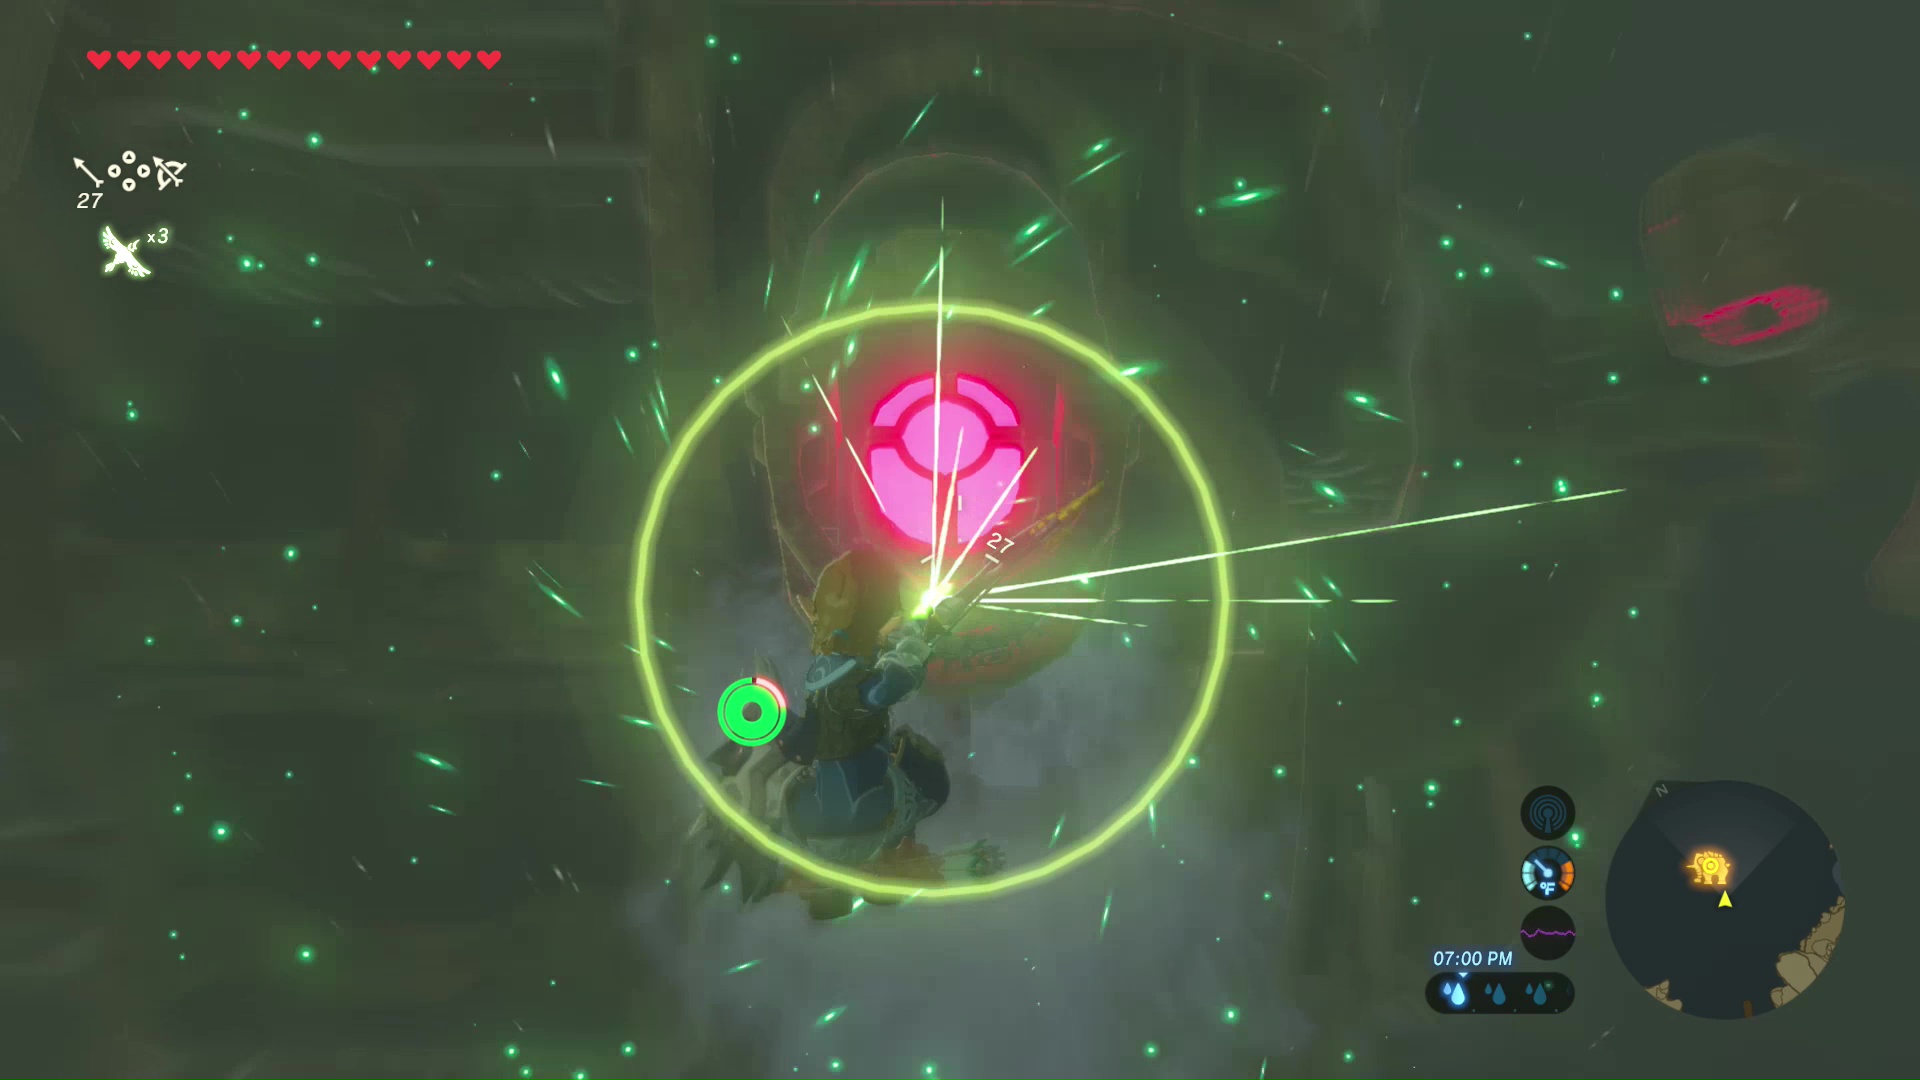
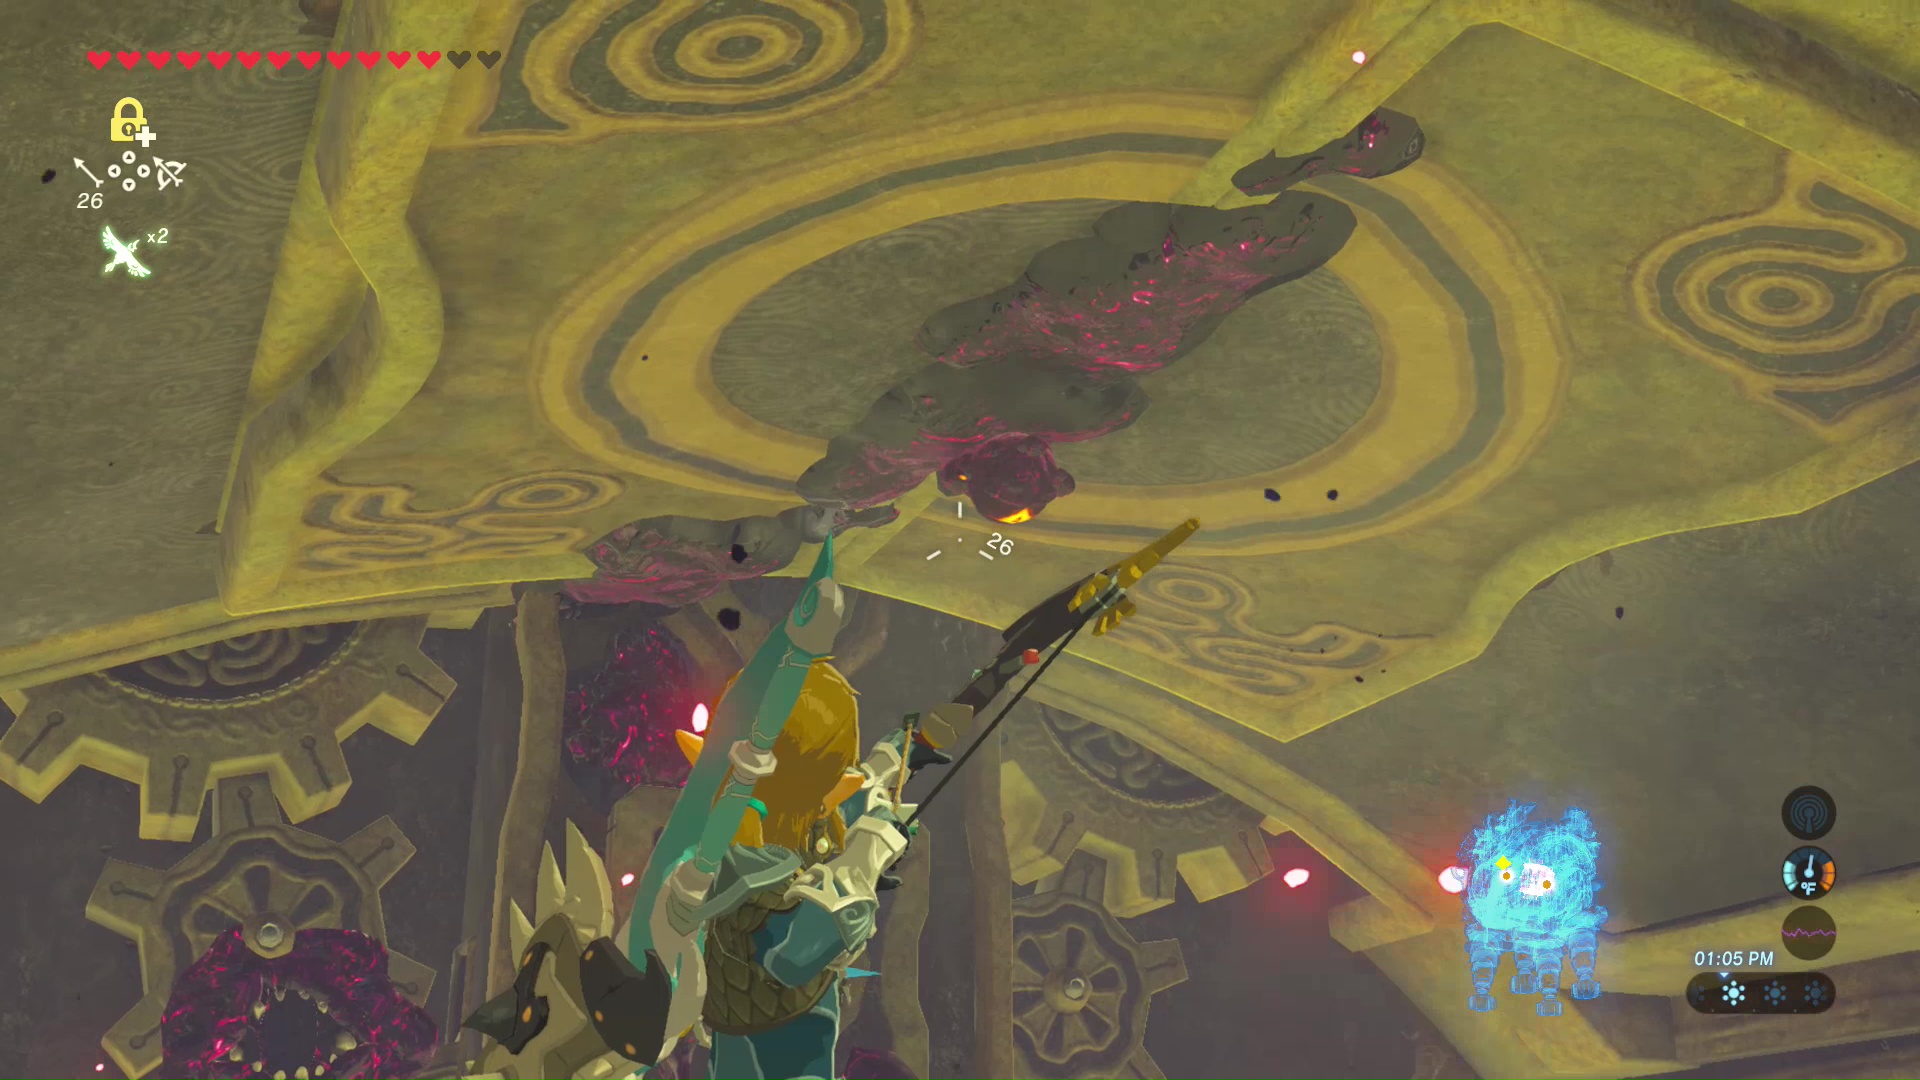
The next part requires you to equip Zora Armor and Shock Arrows. Prince Sidon will swim close to the water pouring out from Vah Ruta’s sides. Swim up the waterfall by pressing the A Button at the base. When you reach the top of the waterfall, quickly locate four red spots on the back of Vah Ruta. Shoot the two spots closest to you with a Shock Arrow.
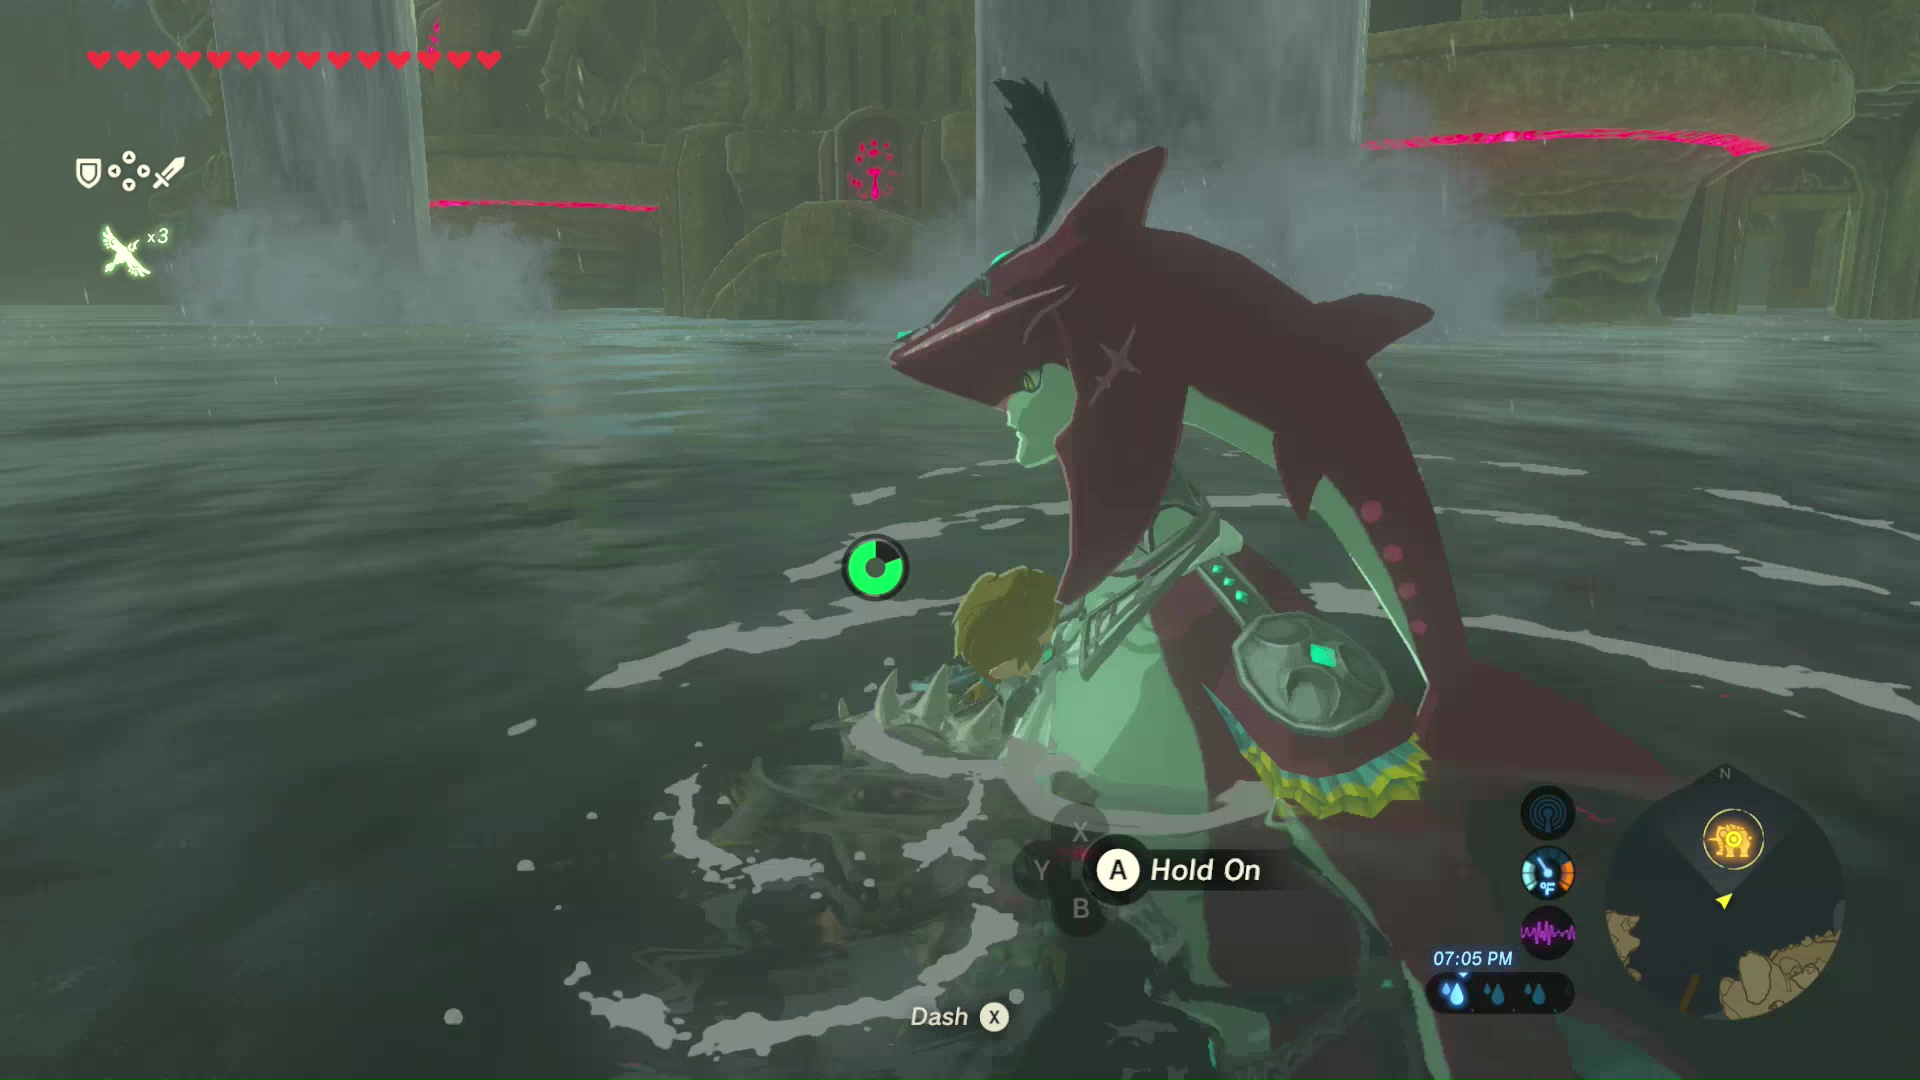
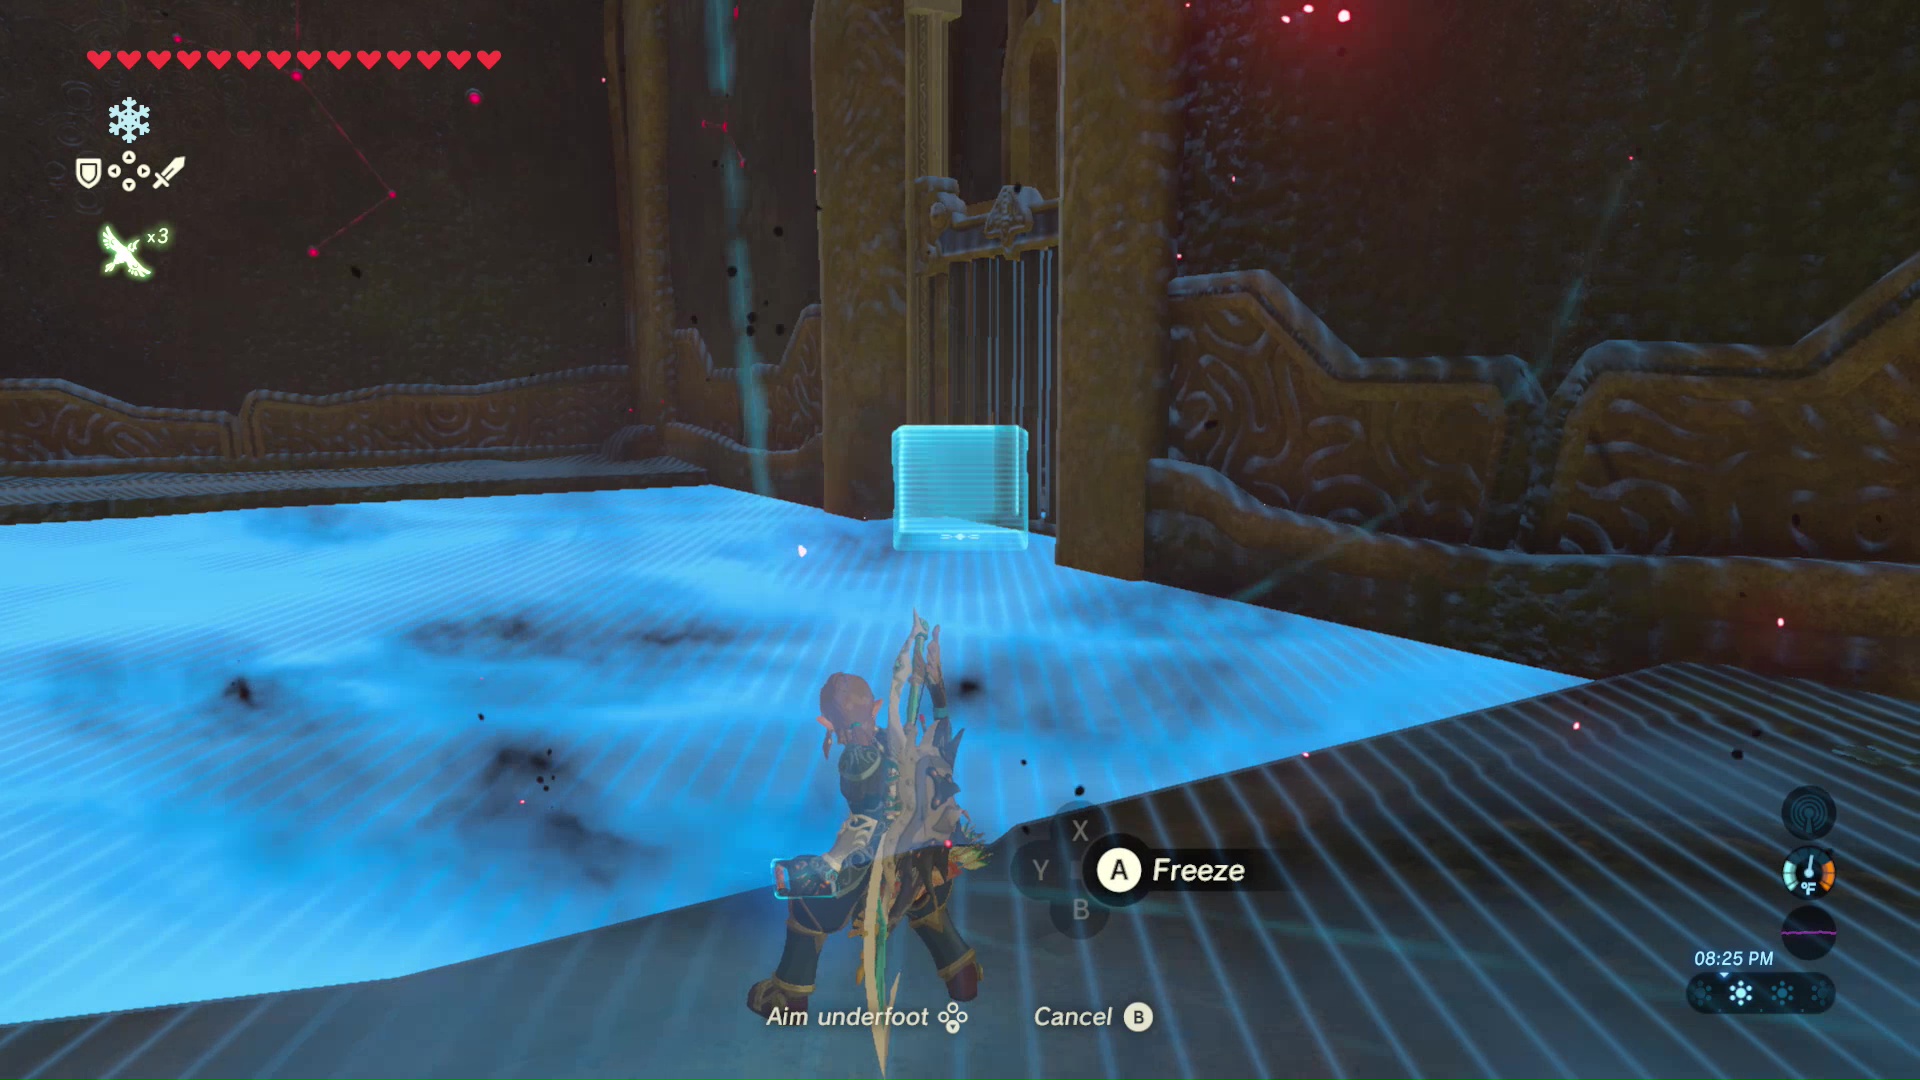
When you fall back into the lake, Prince Sidon will swim to you. Press the A Button to ride on Sidon’s back. Spiky ice balls will shoot out of Vah Ruta this time and follow you through the water. Use the Cryonis Rune once again to shatter all three before they reach you.
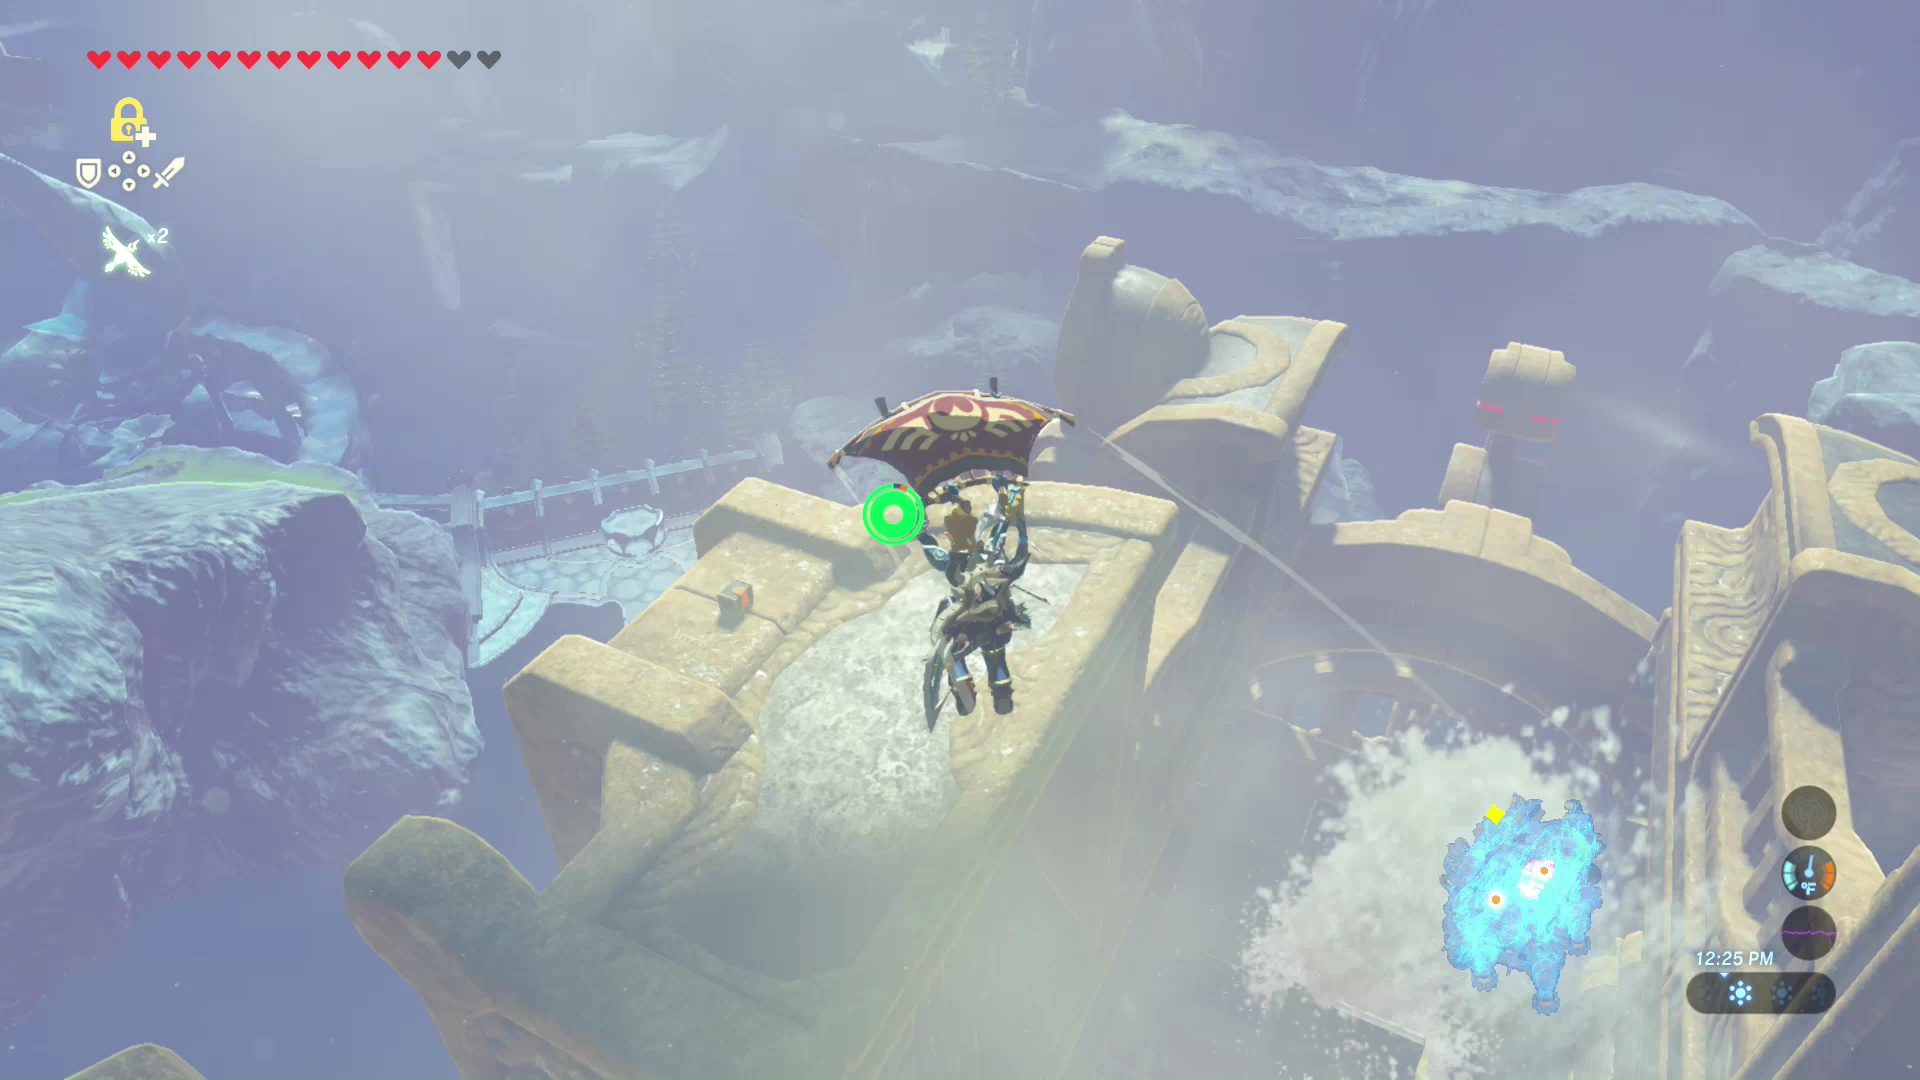
Swim up one of the waterfalls on the other side of Vah Ruta and shoot the remaining two red spots with shock arrows. This will disable the Divine Beast, allowing you to enter.
Divine Beast Vah Ruta
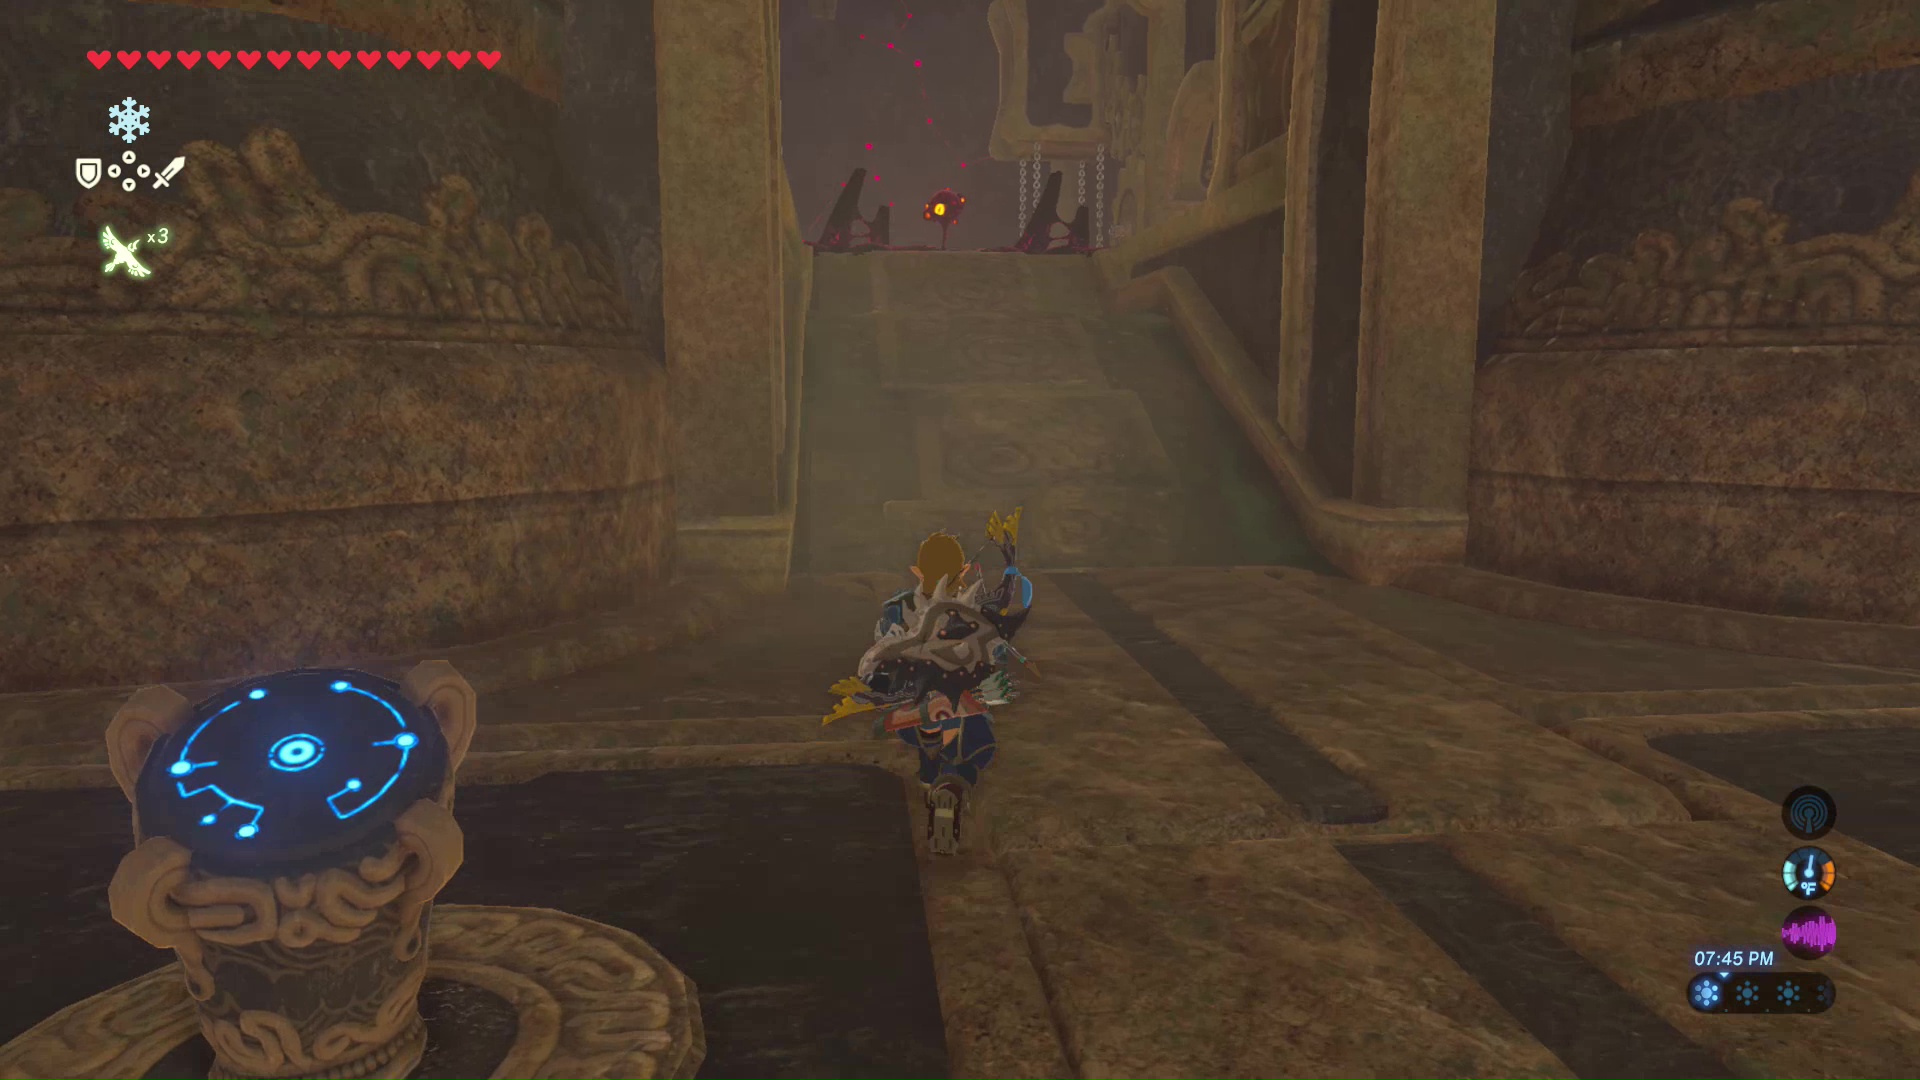
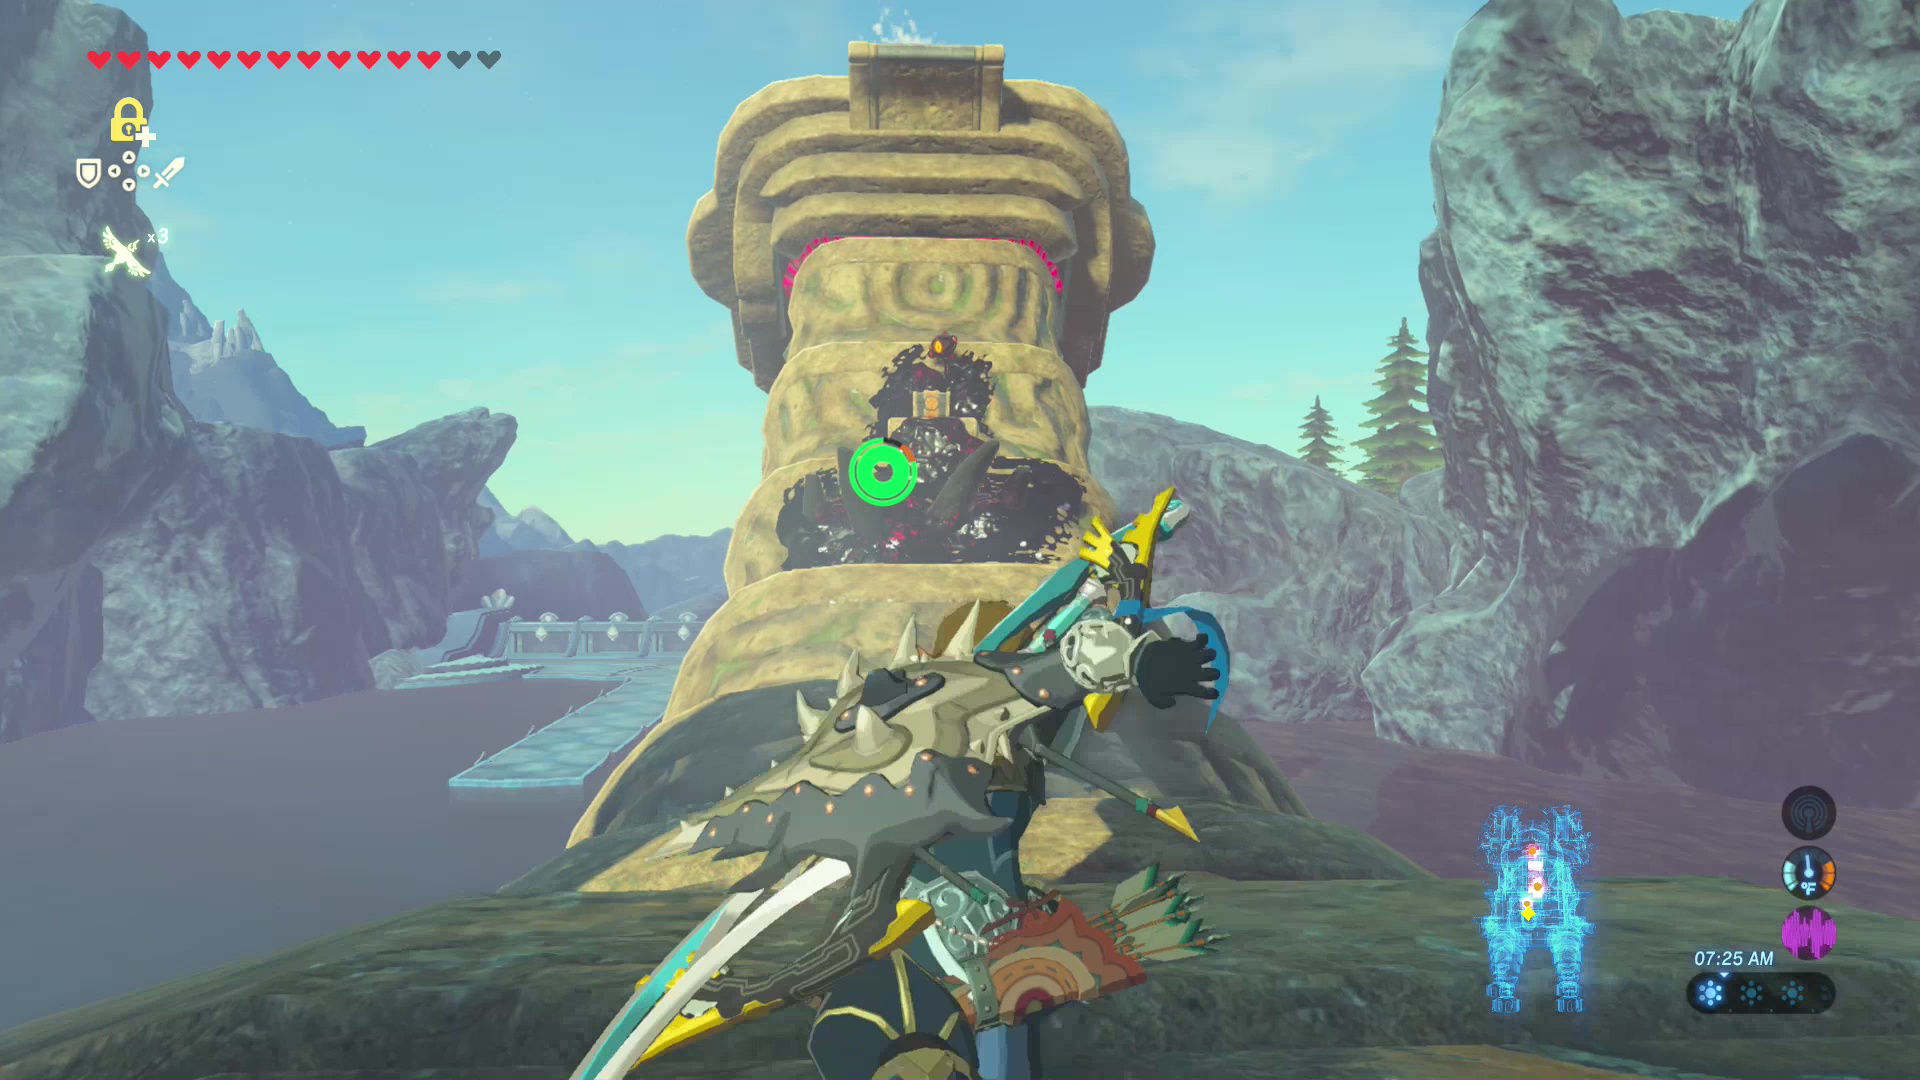
The travel gate will be registered to your Sheikah Slate as you enter Vah Ruta. The first objective is to reach the Guidance Stone to add a map with control features for the Divine Beast. Walk up the ramp and shoot the red eyeball with an arrow. This will clear the path and allow you to go forward. Ahead is a Guardian Scout that can also be taken down easily with a single arrow shot to its eye.
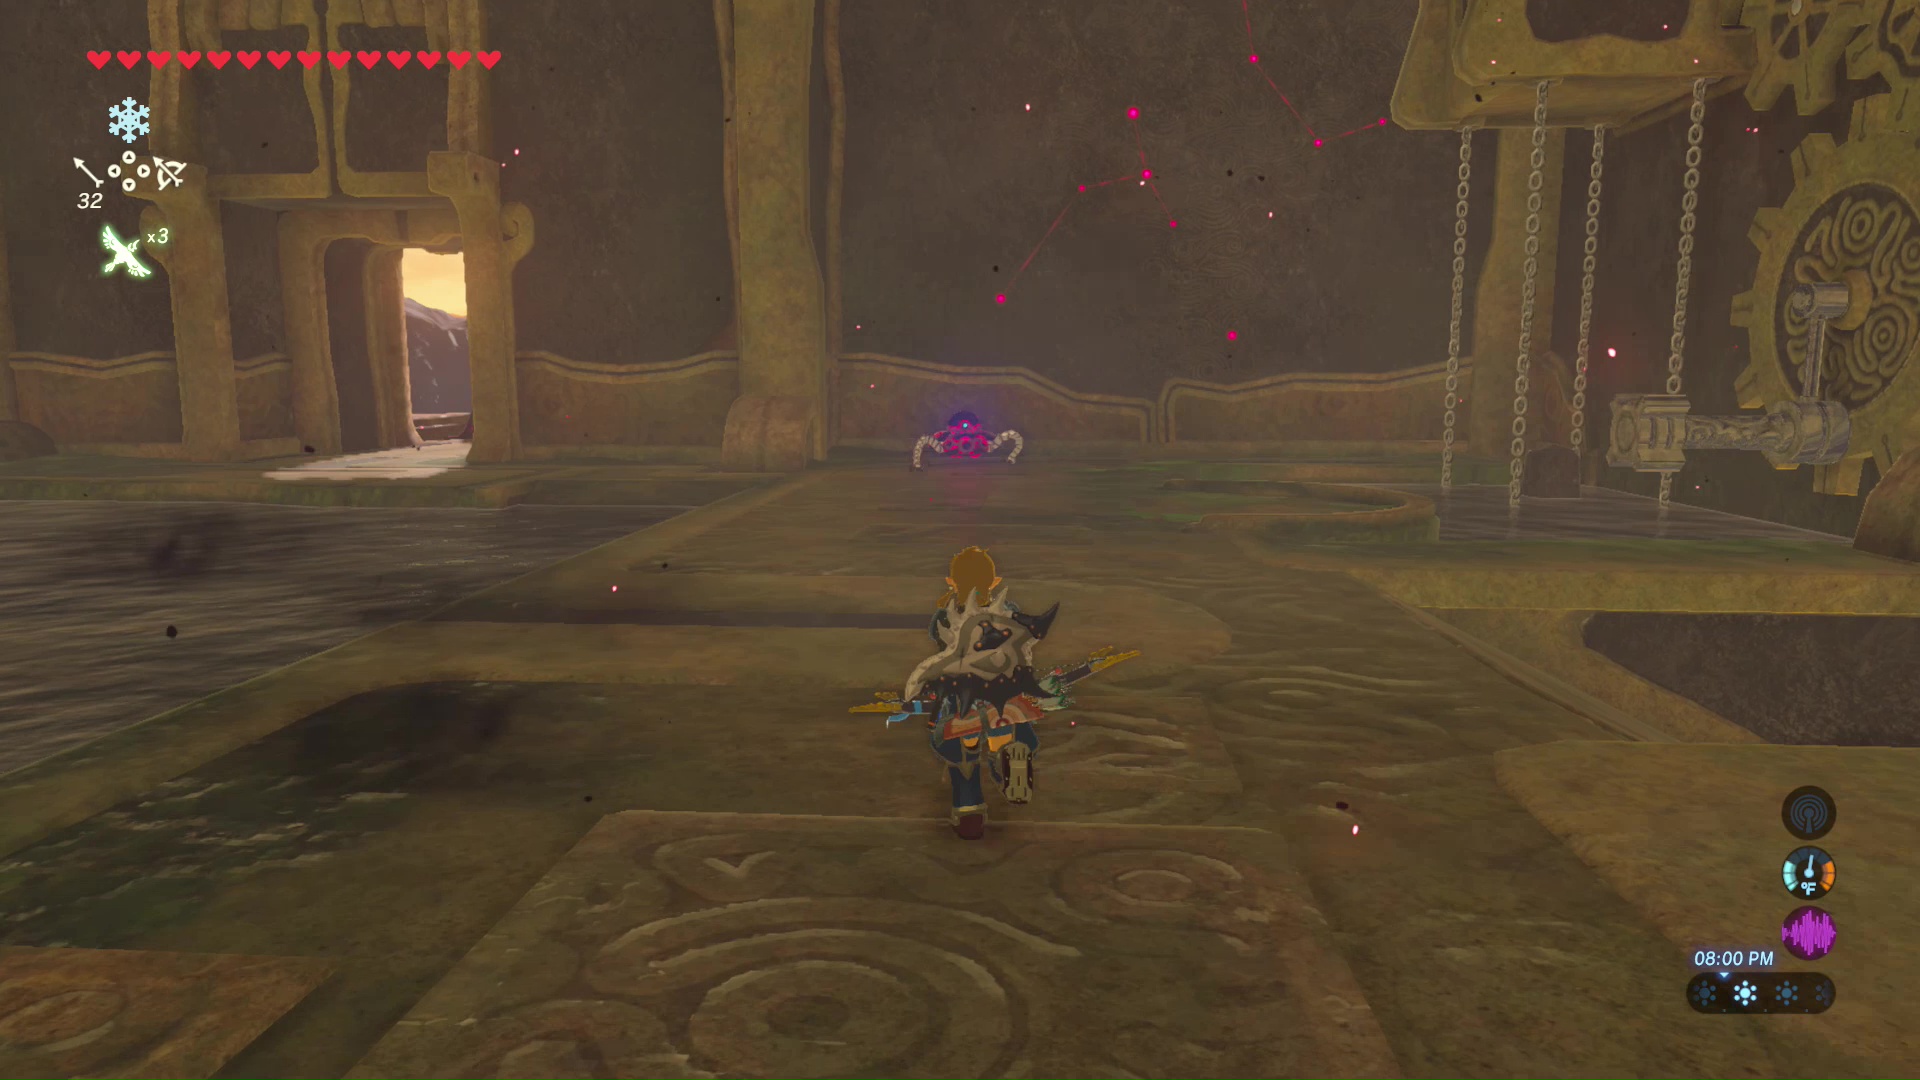
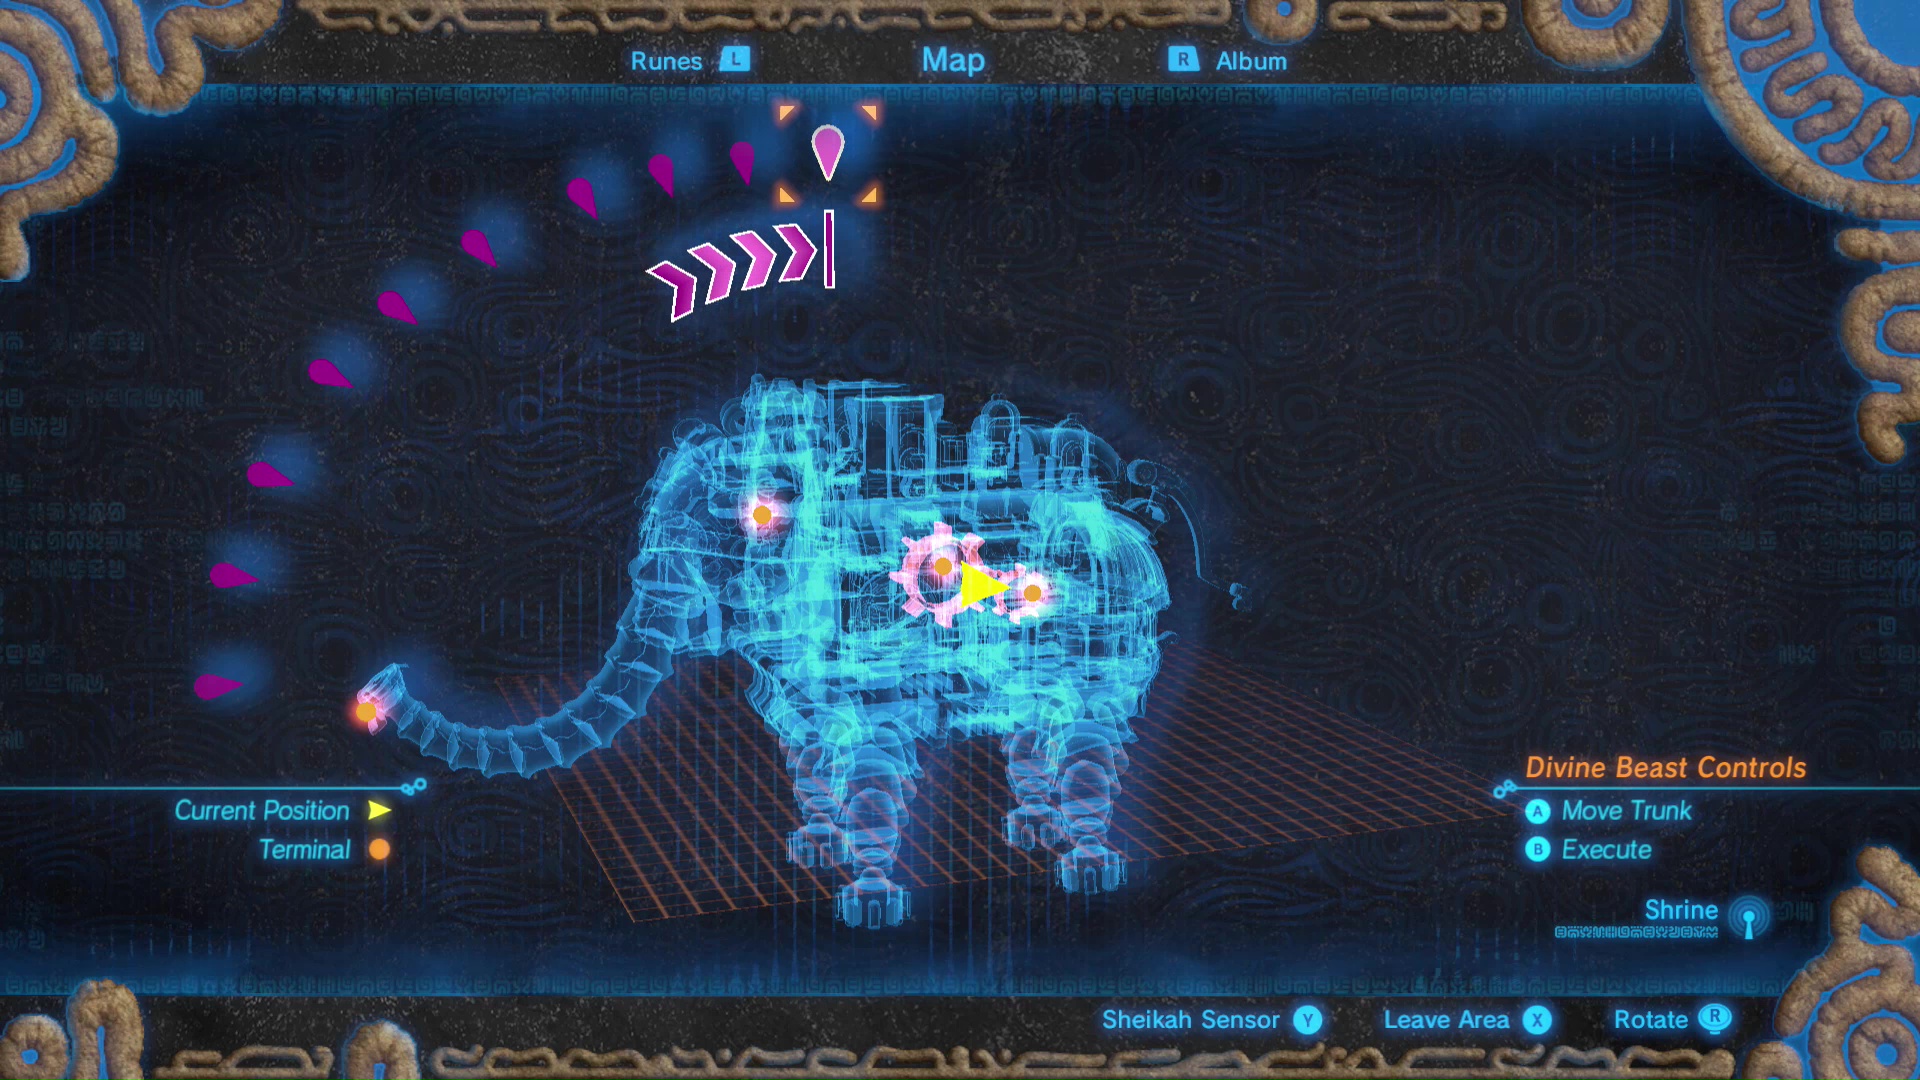
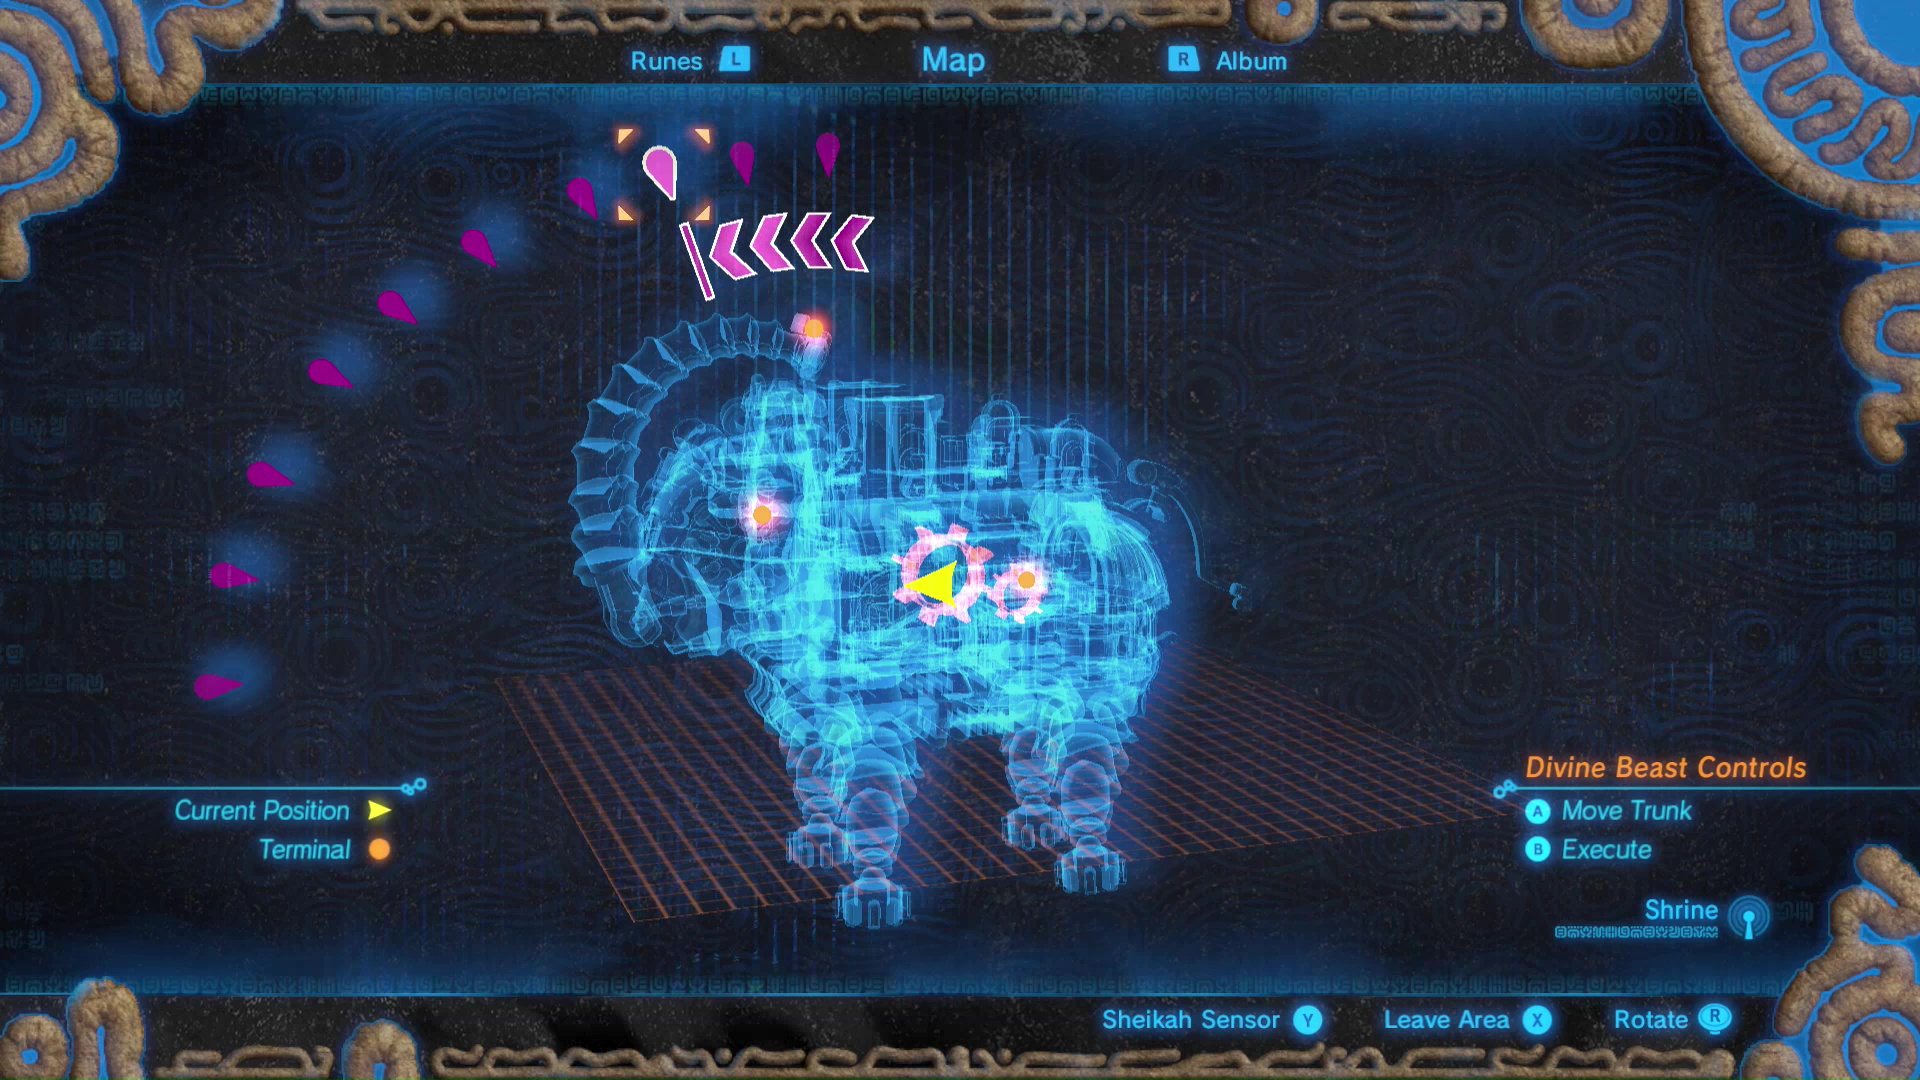
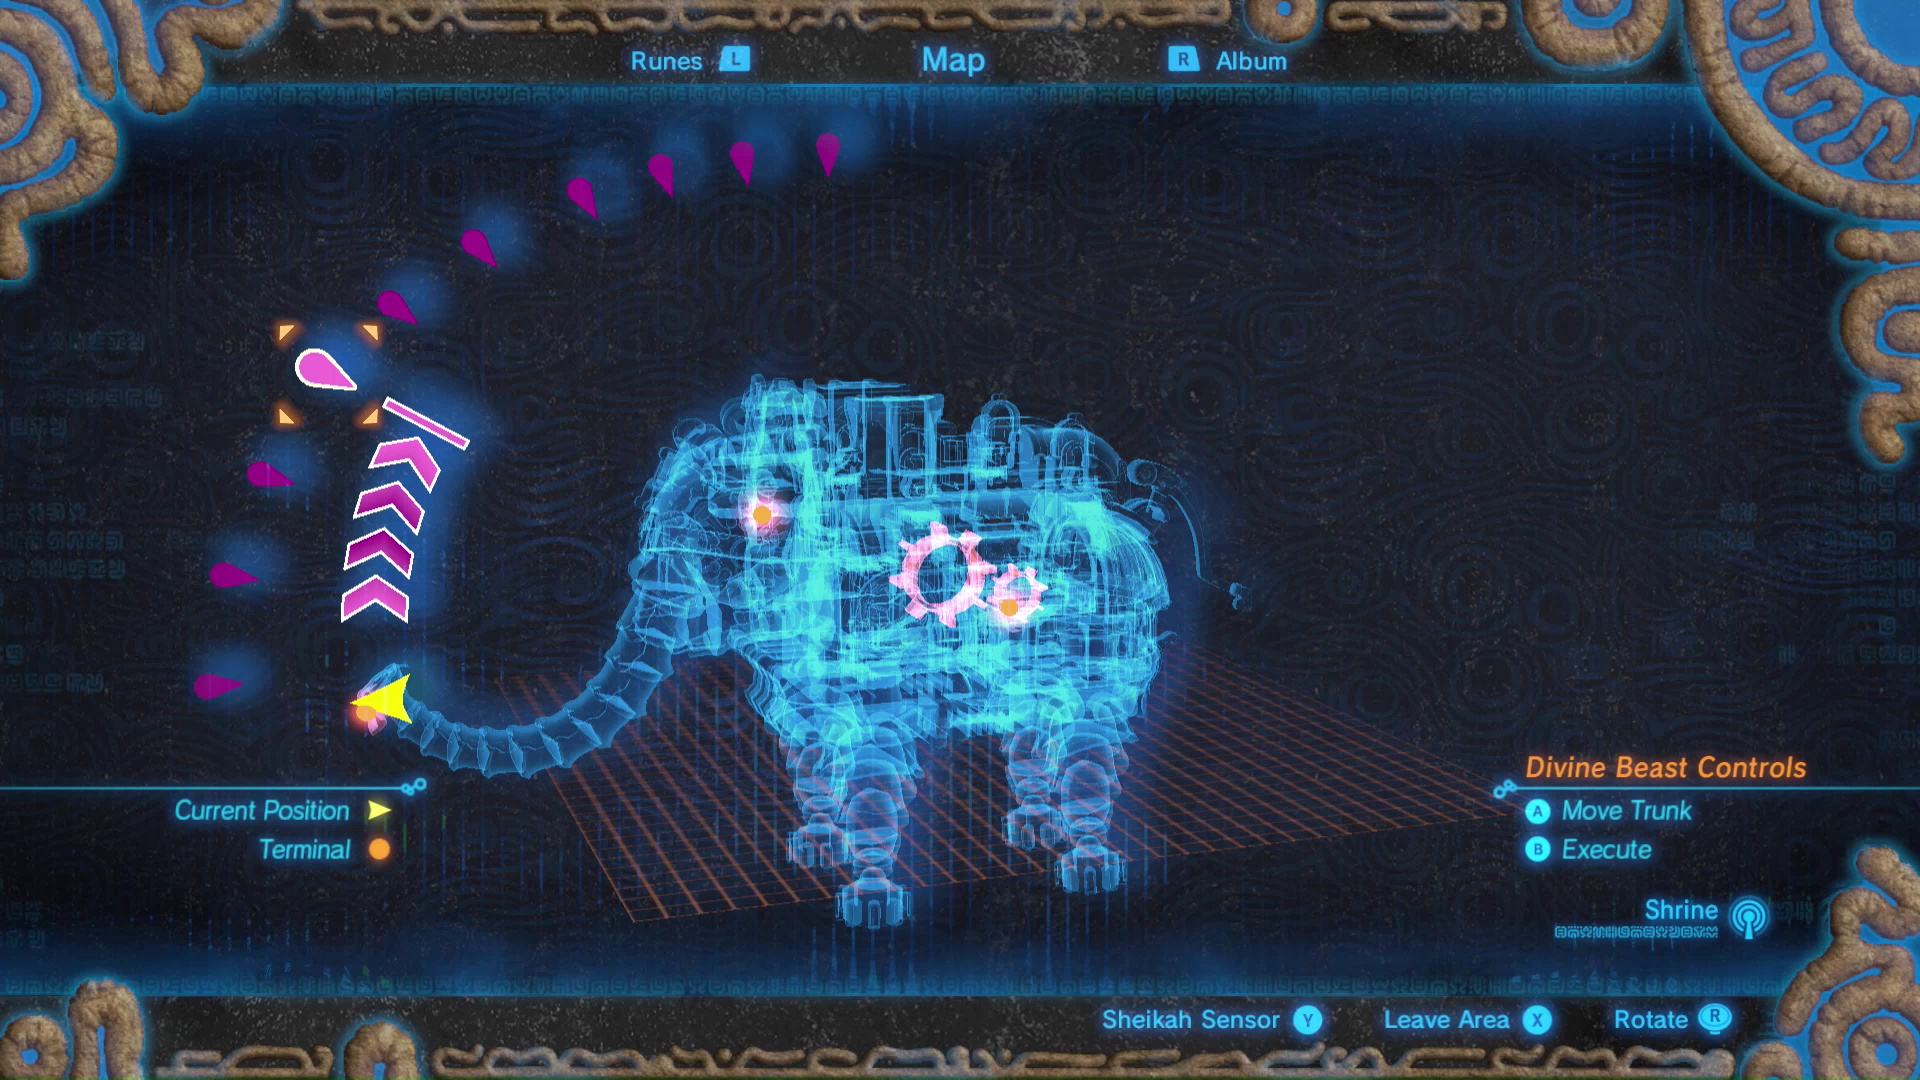
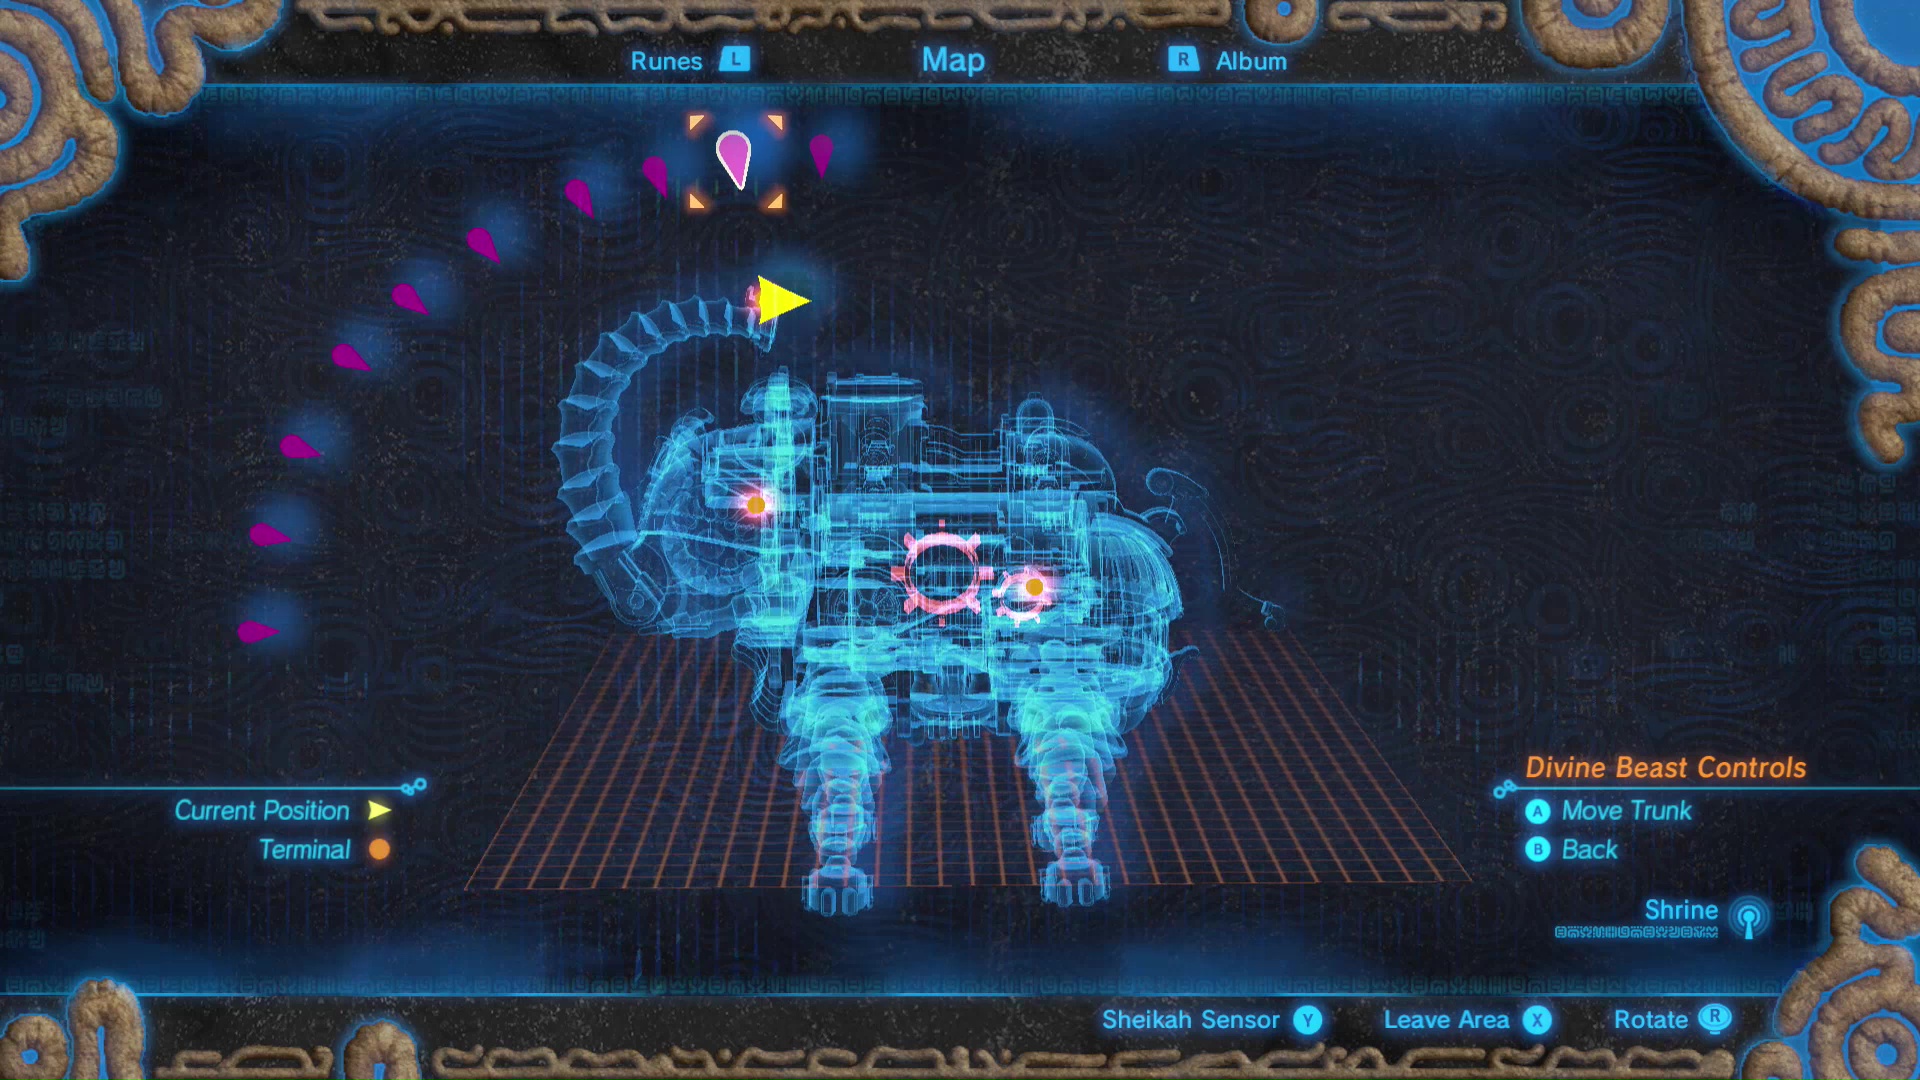
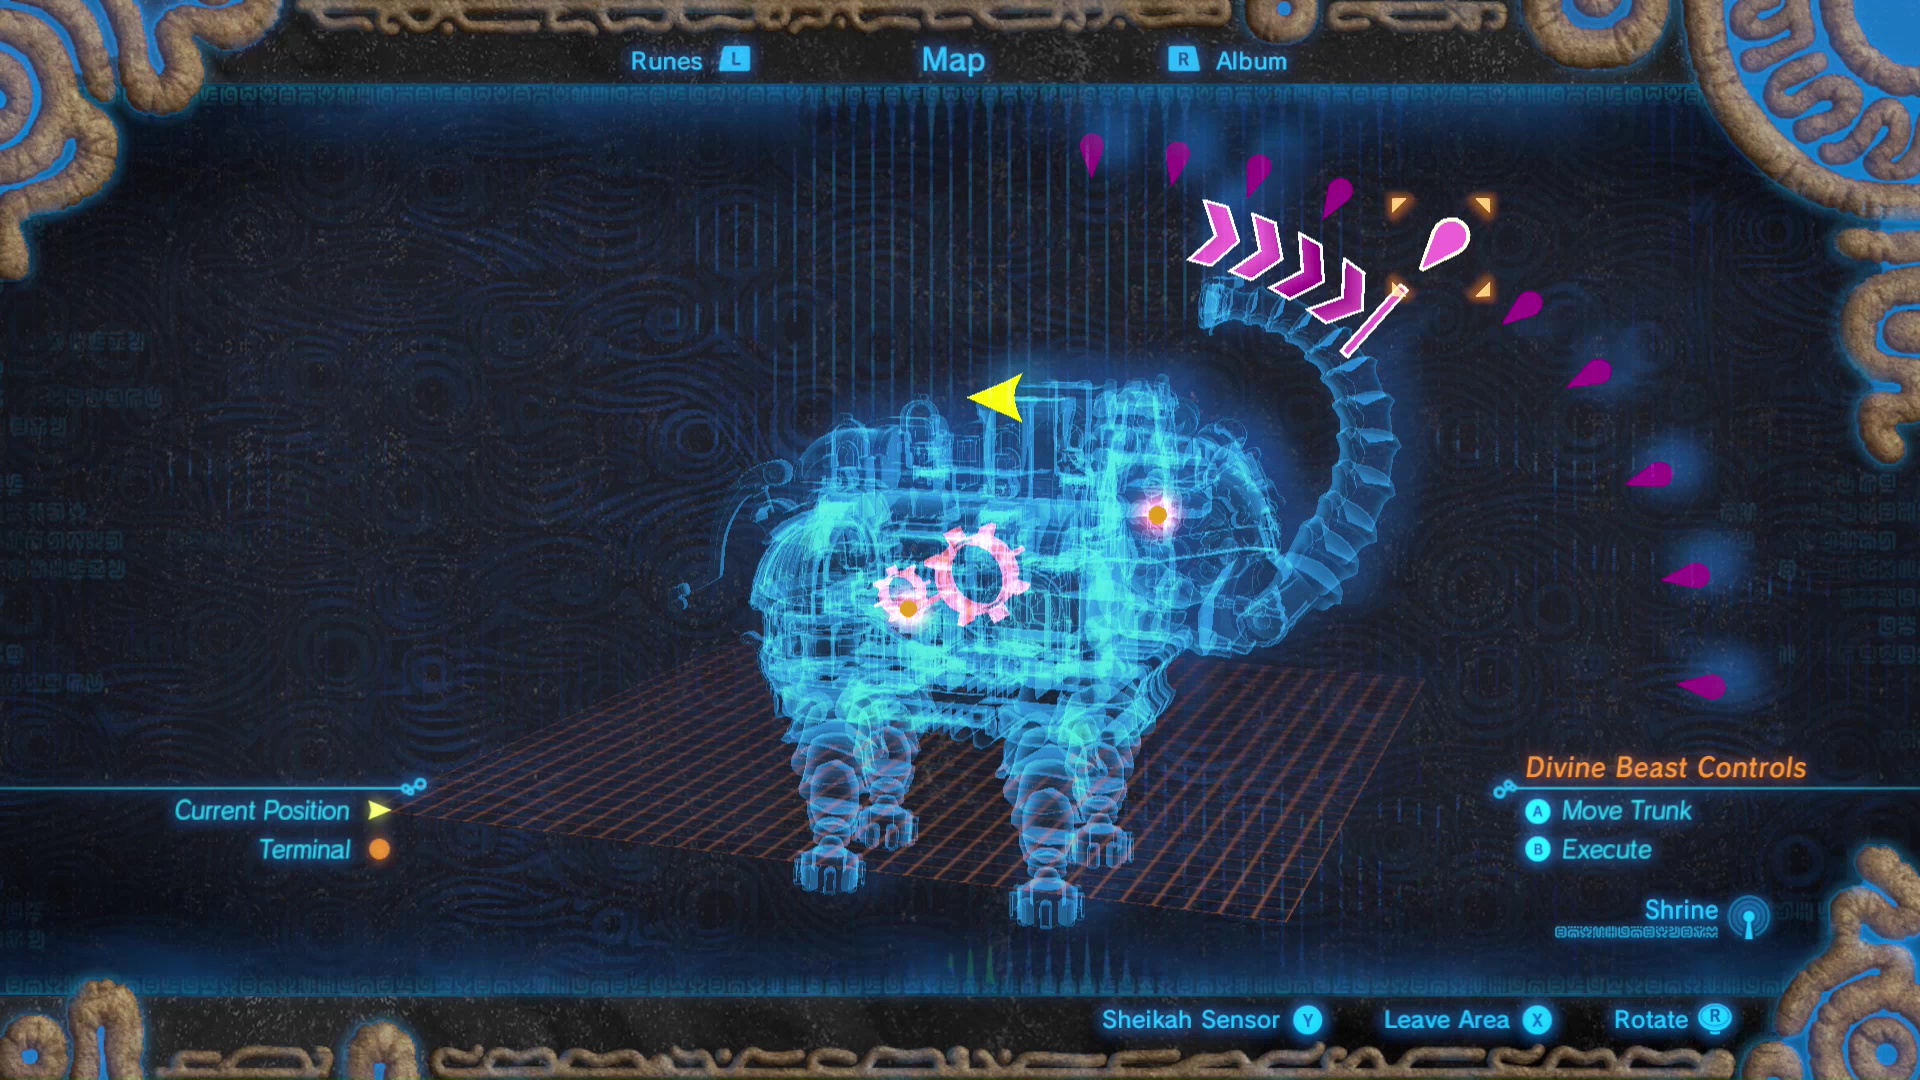
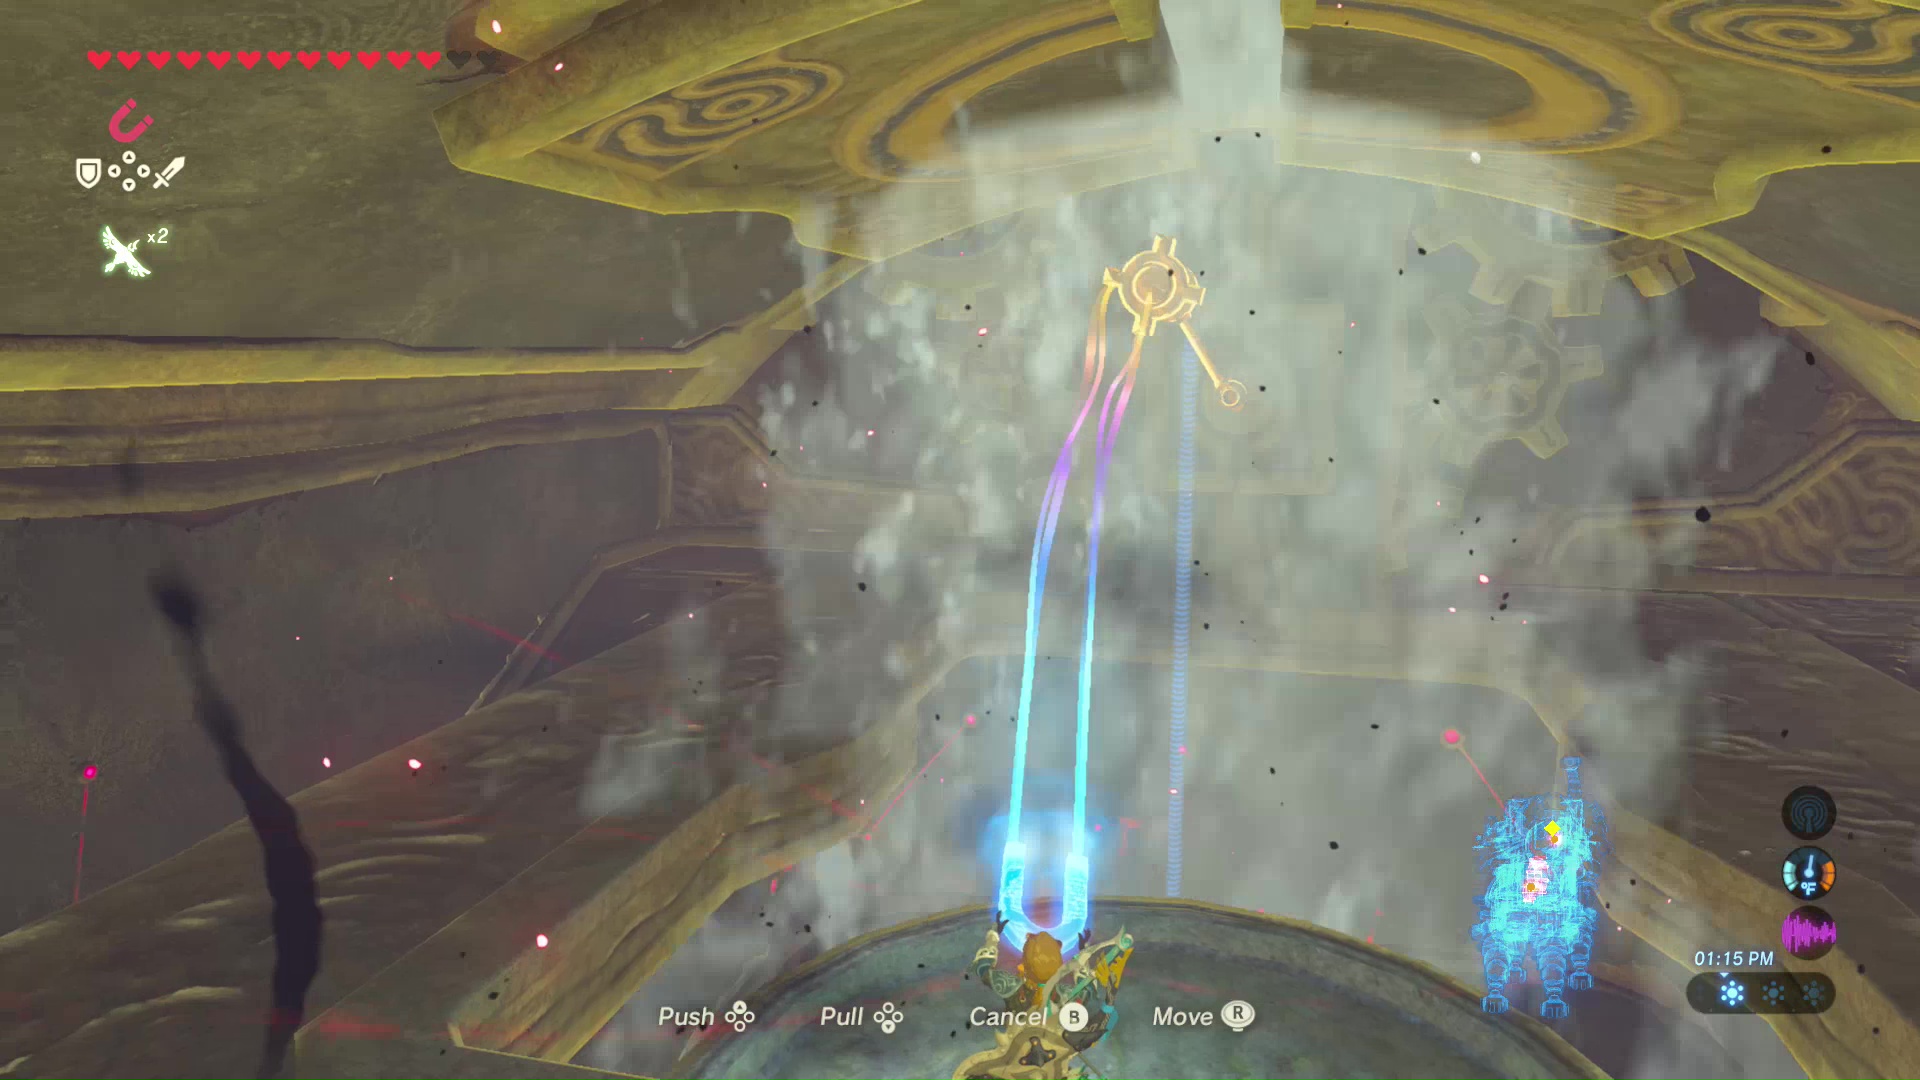
The Guidance Stone is through the stone gate to the left of the Guardian Scout. Shoot the eyeball hiding beneath the water’s surface to take out all the calamity spikes holding the gate shut. Use the Cryonis Rune beneath the gate on the water’s surface to lift the gate upward. This will allow you to pass and interact with the Guidance Stone. Your Sheikah Slate will now have a map of Vah Ruta with controls for the trunk. Select the pink dots to move the trunk upward or downward.
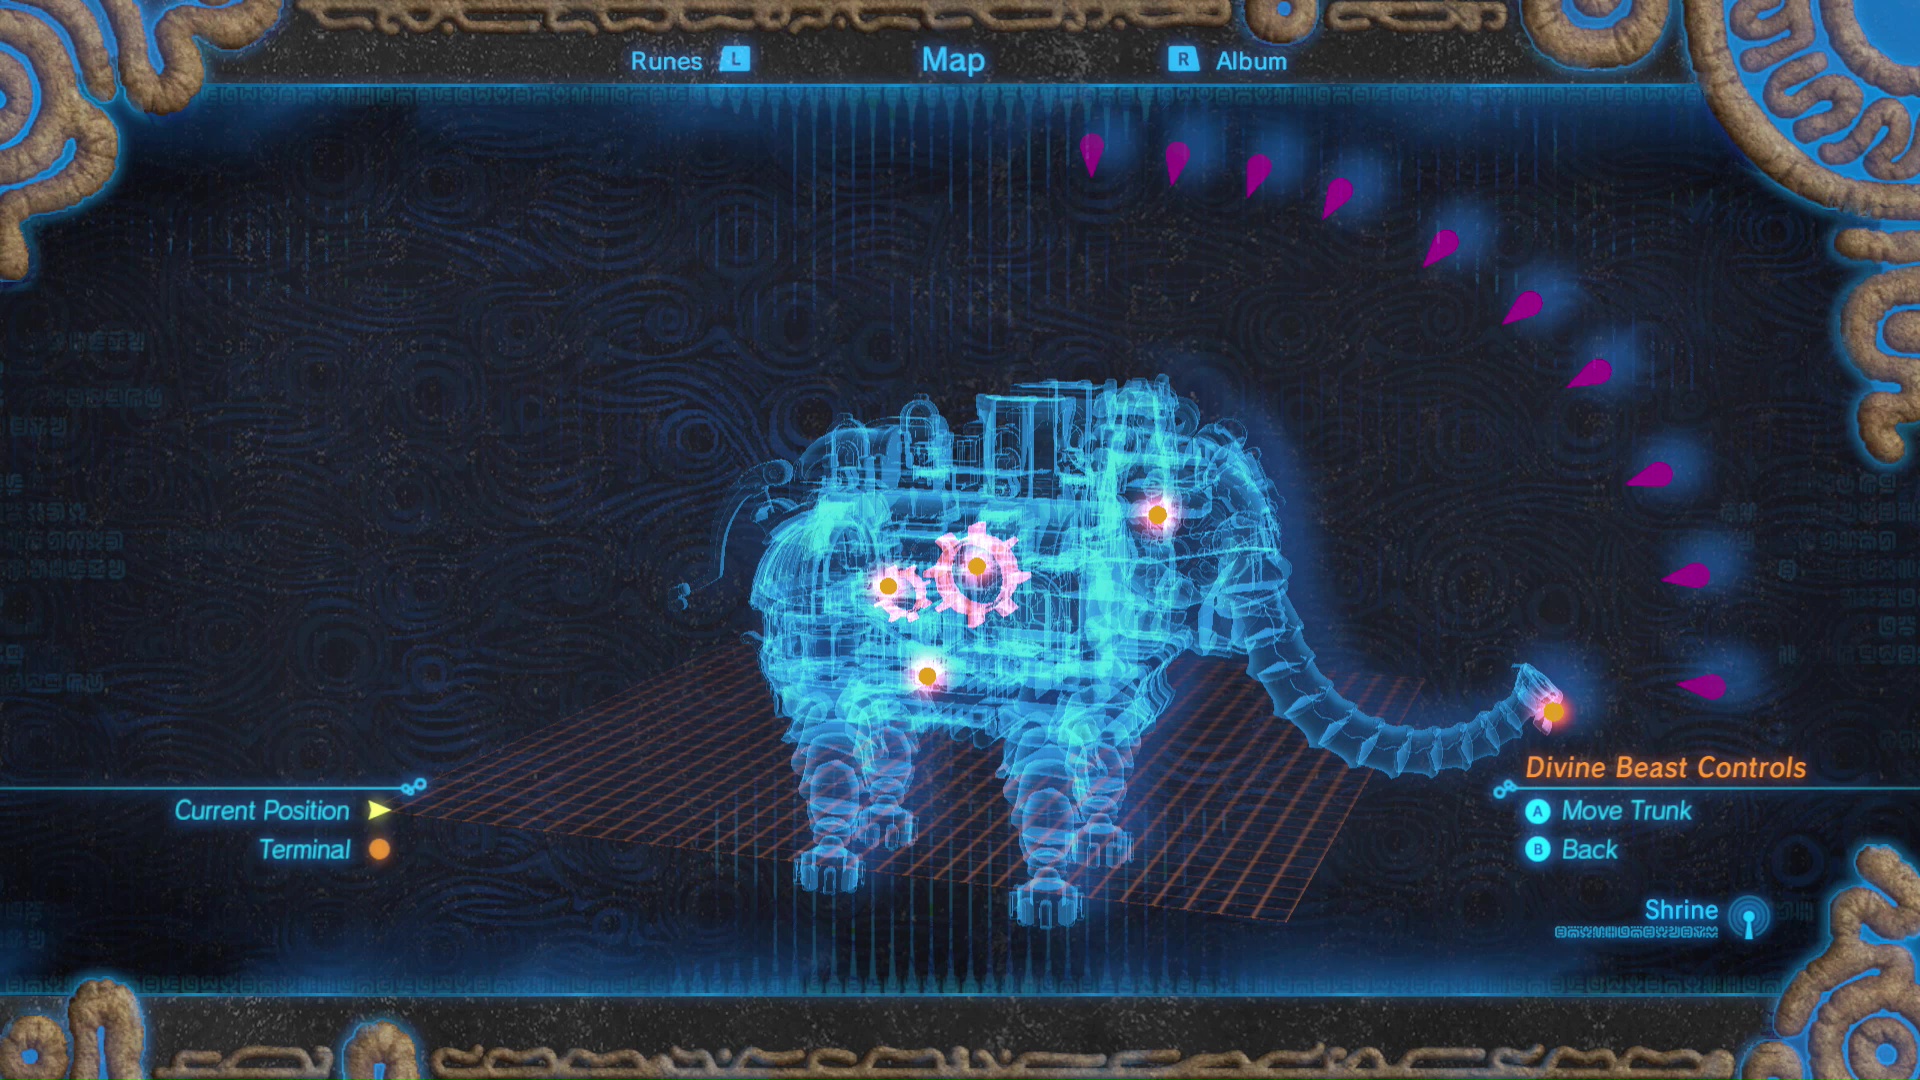
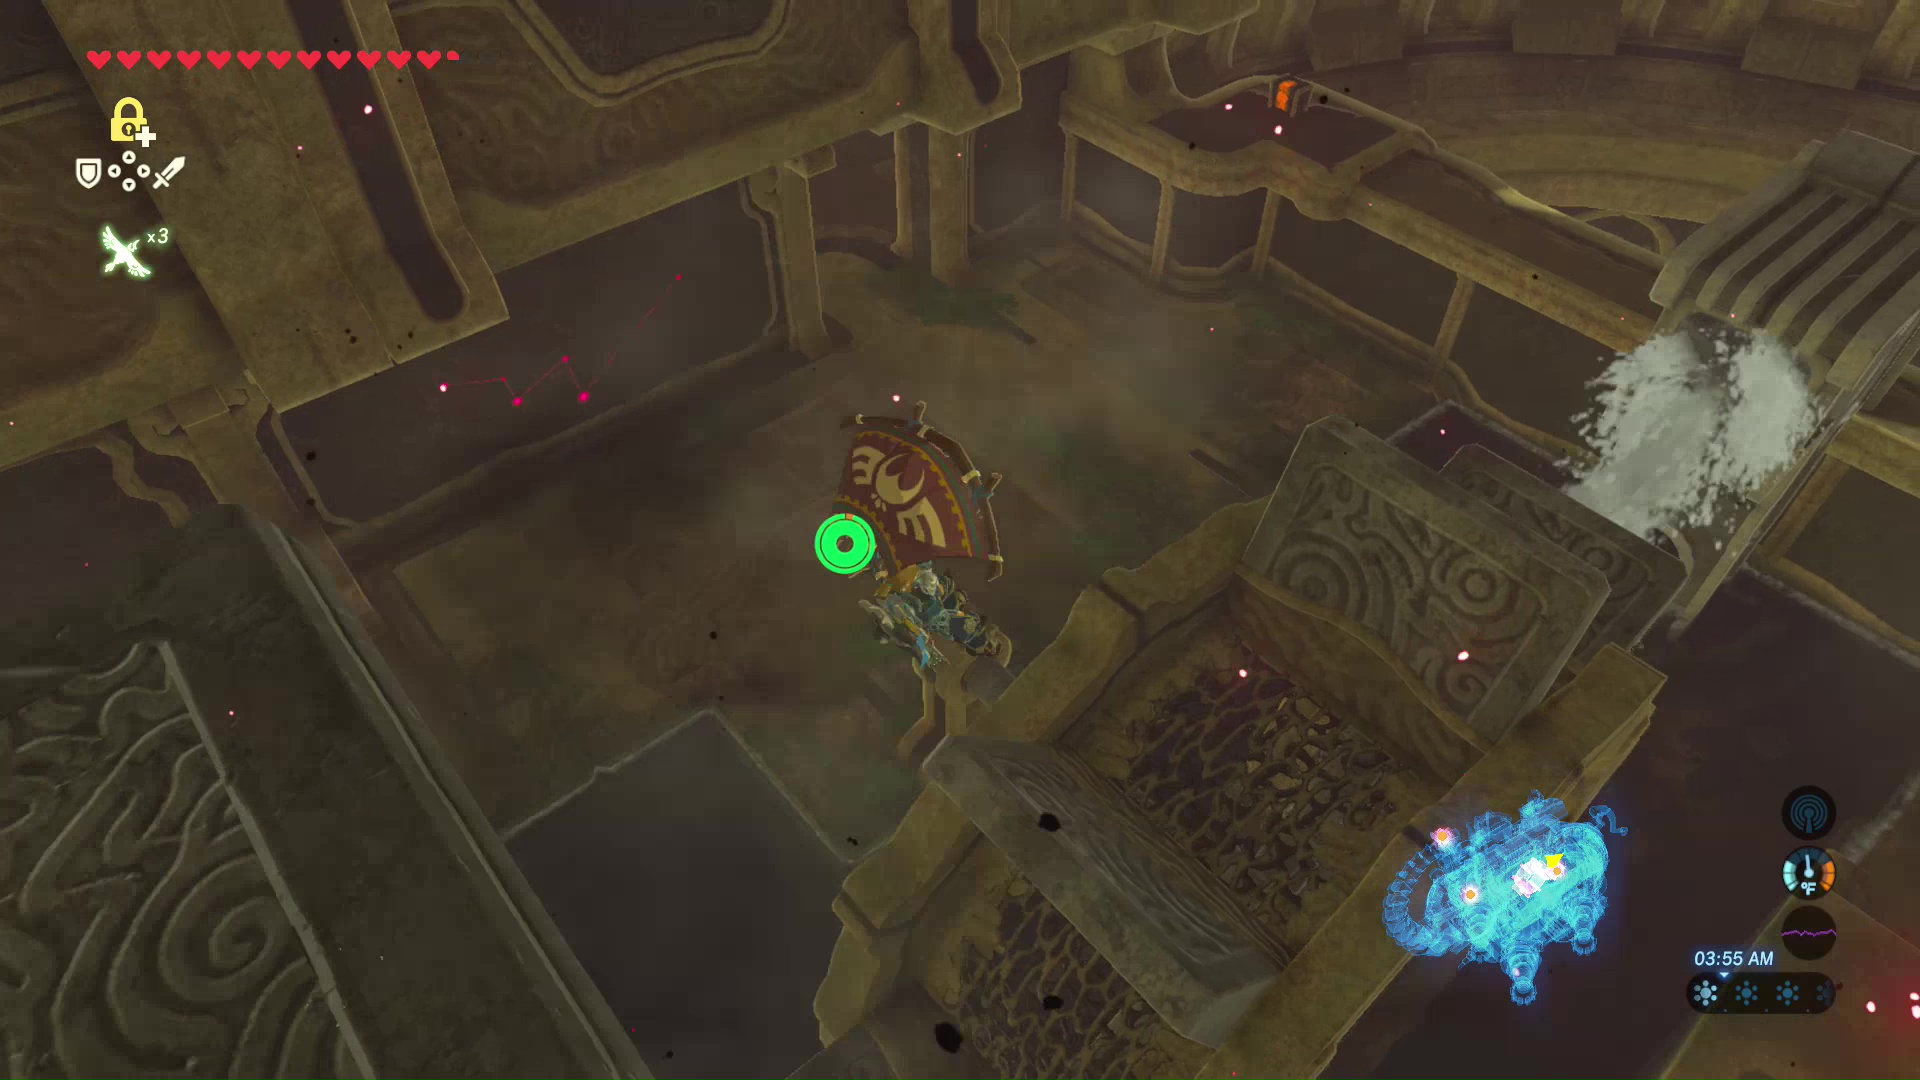
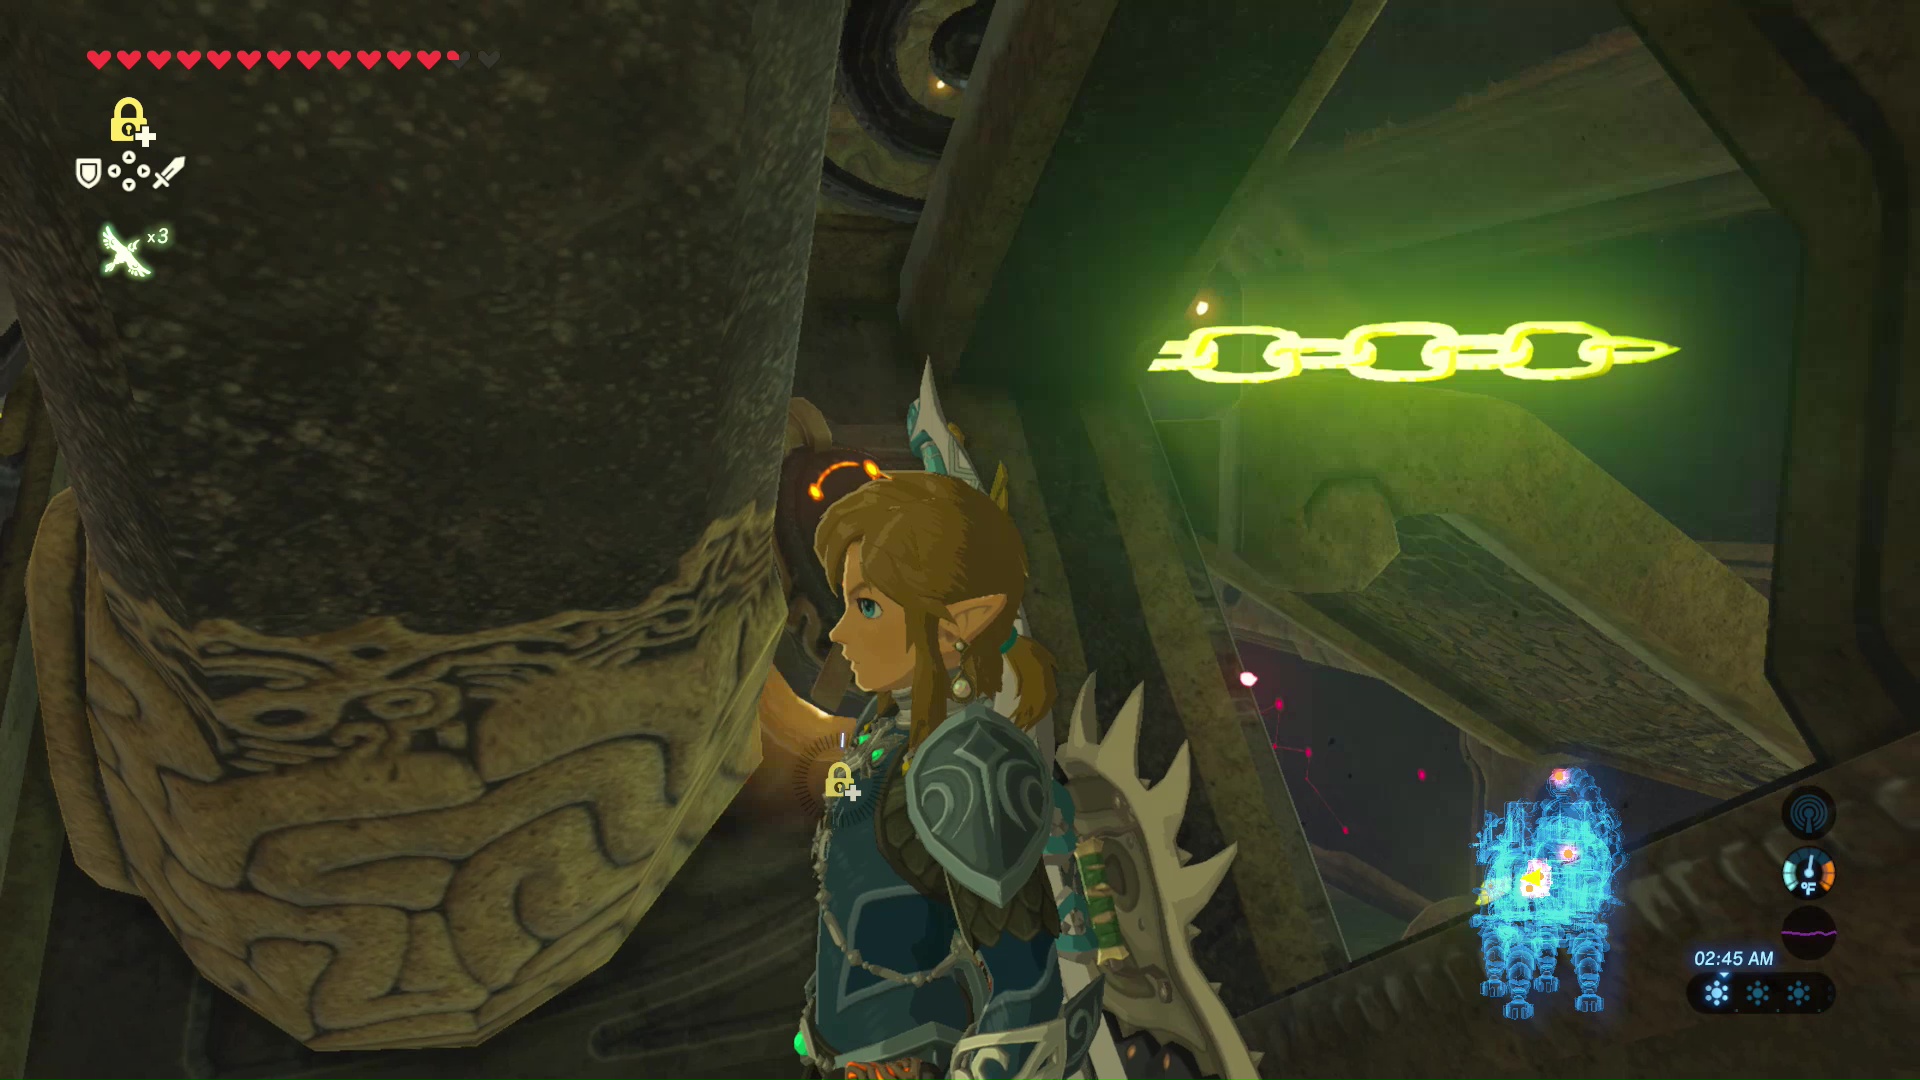
The next objective is to activate six terminals throughout Vah Ruta. They are the glowing objective markers on the map.
Terminal 1 Entrance
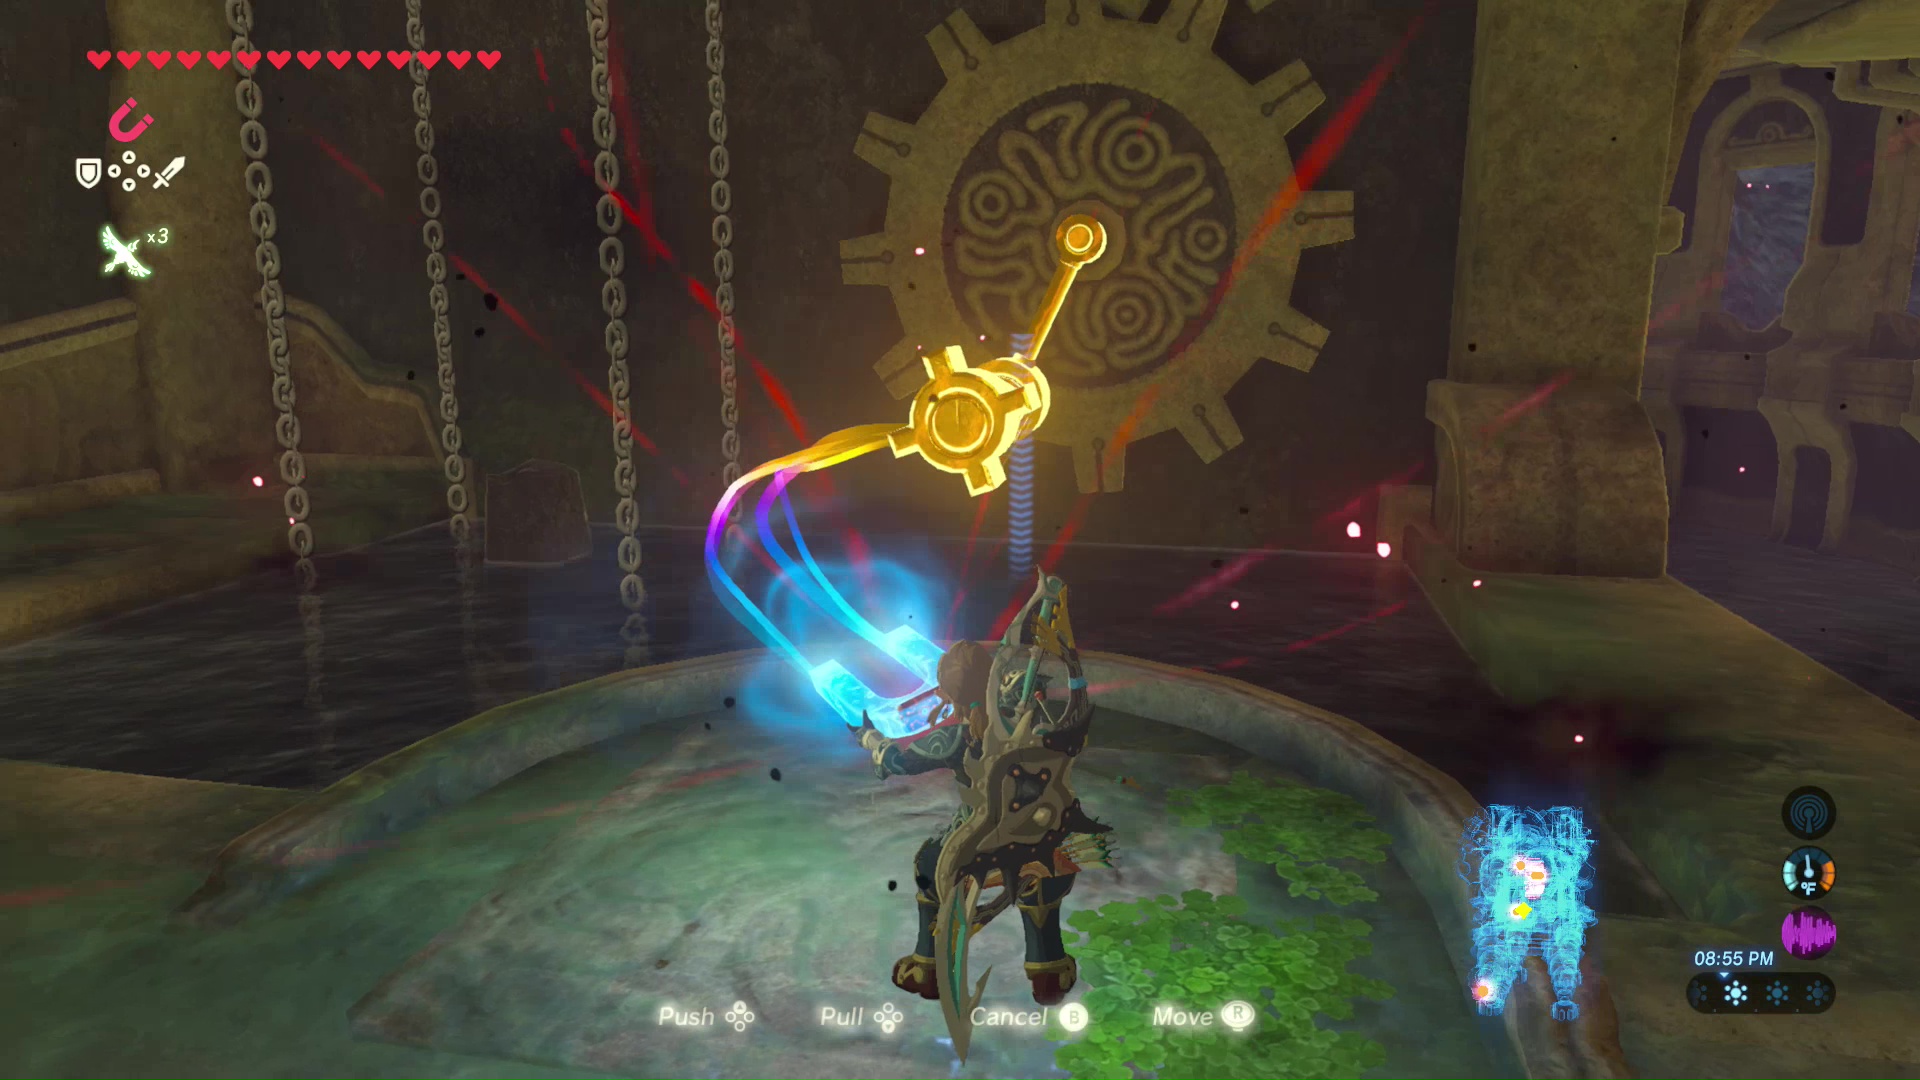
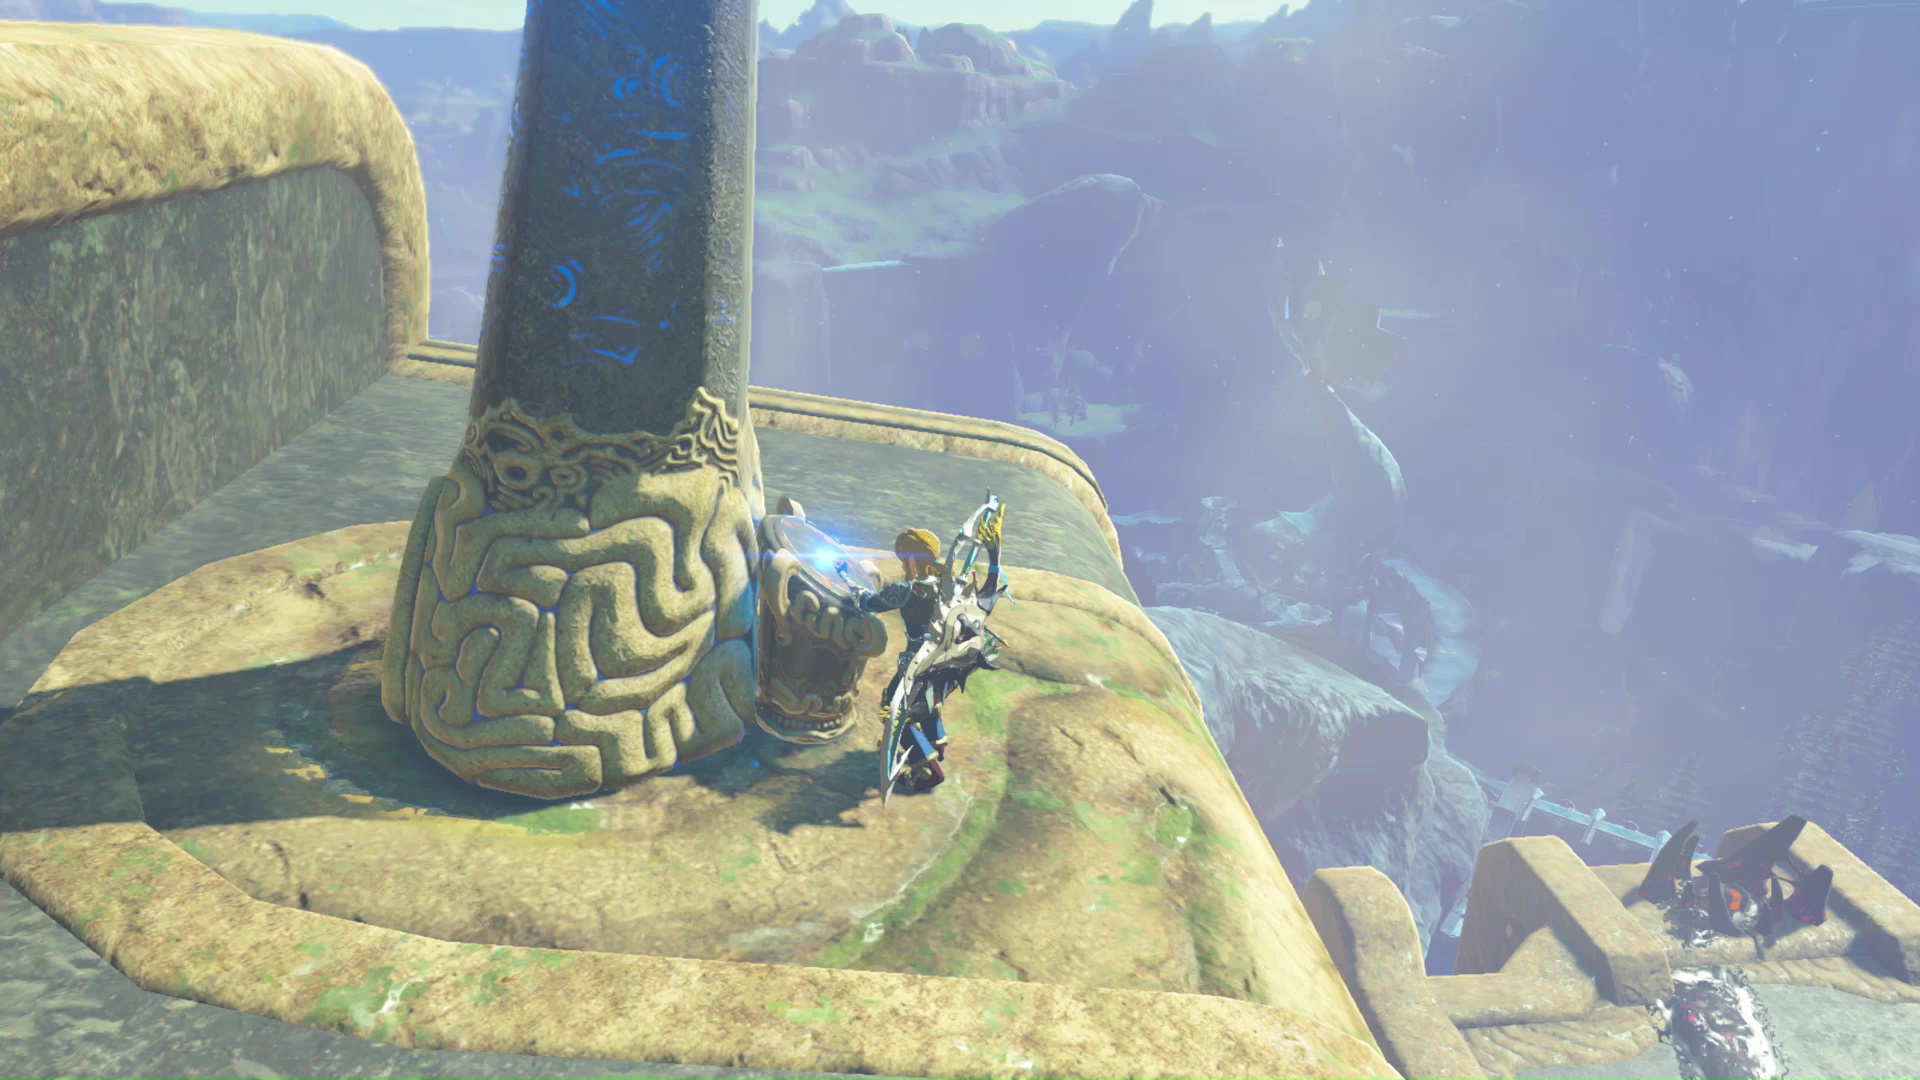
The first terminal will be directly behind you. Turn around and use the Magnesis Rune to turn a large gear on the wall. This will raise a terminal from beneath the water’s surface. Interact with the terminal before moving on.
Terminal 2 Small Waterwheel
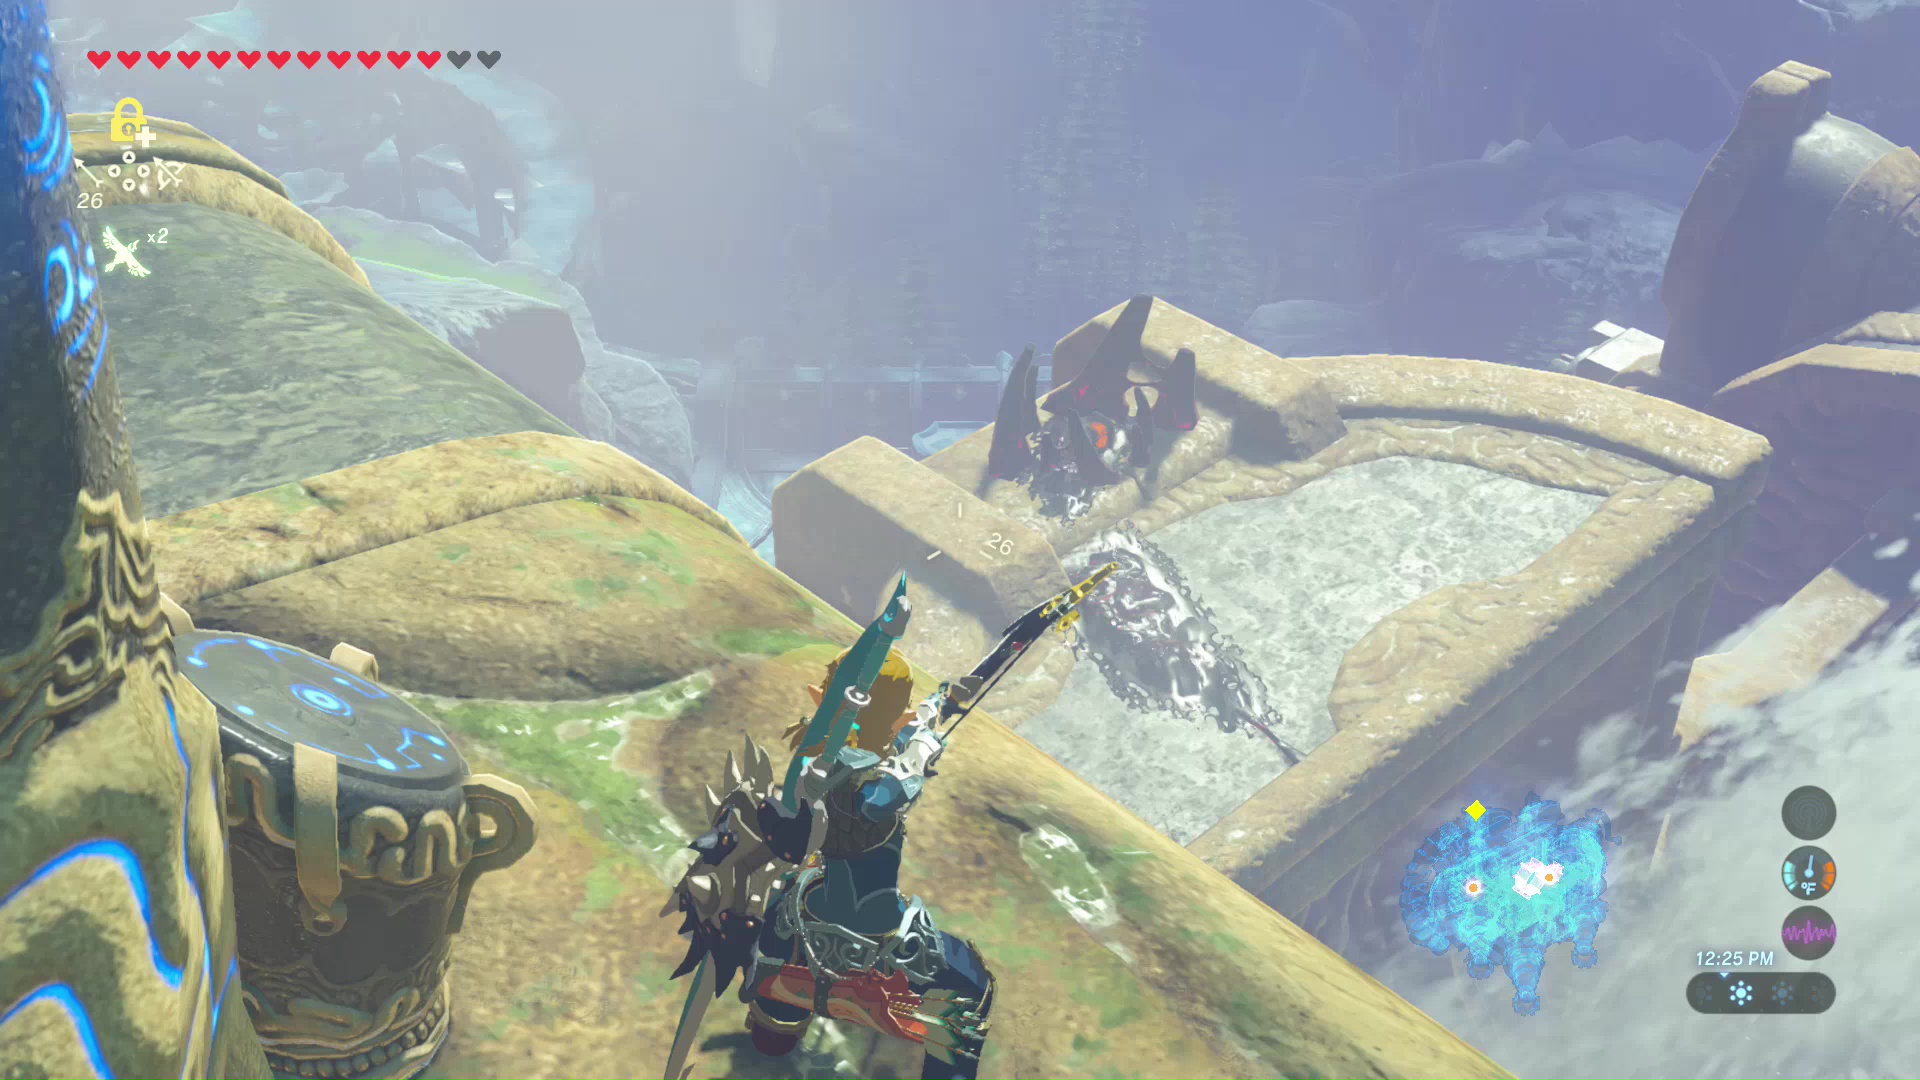
Exit this main room and walk up the ramp along the right side of Vah Ruta. A Guardian Scout will be waiting for you at the top, so be prepared to fight.

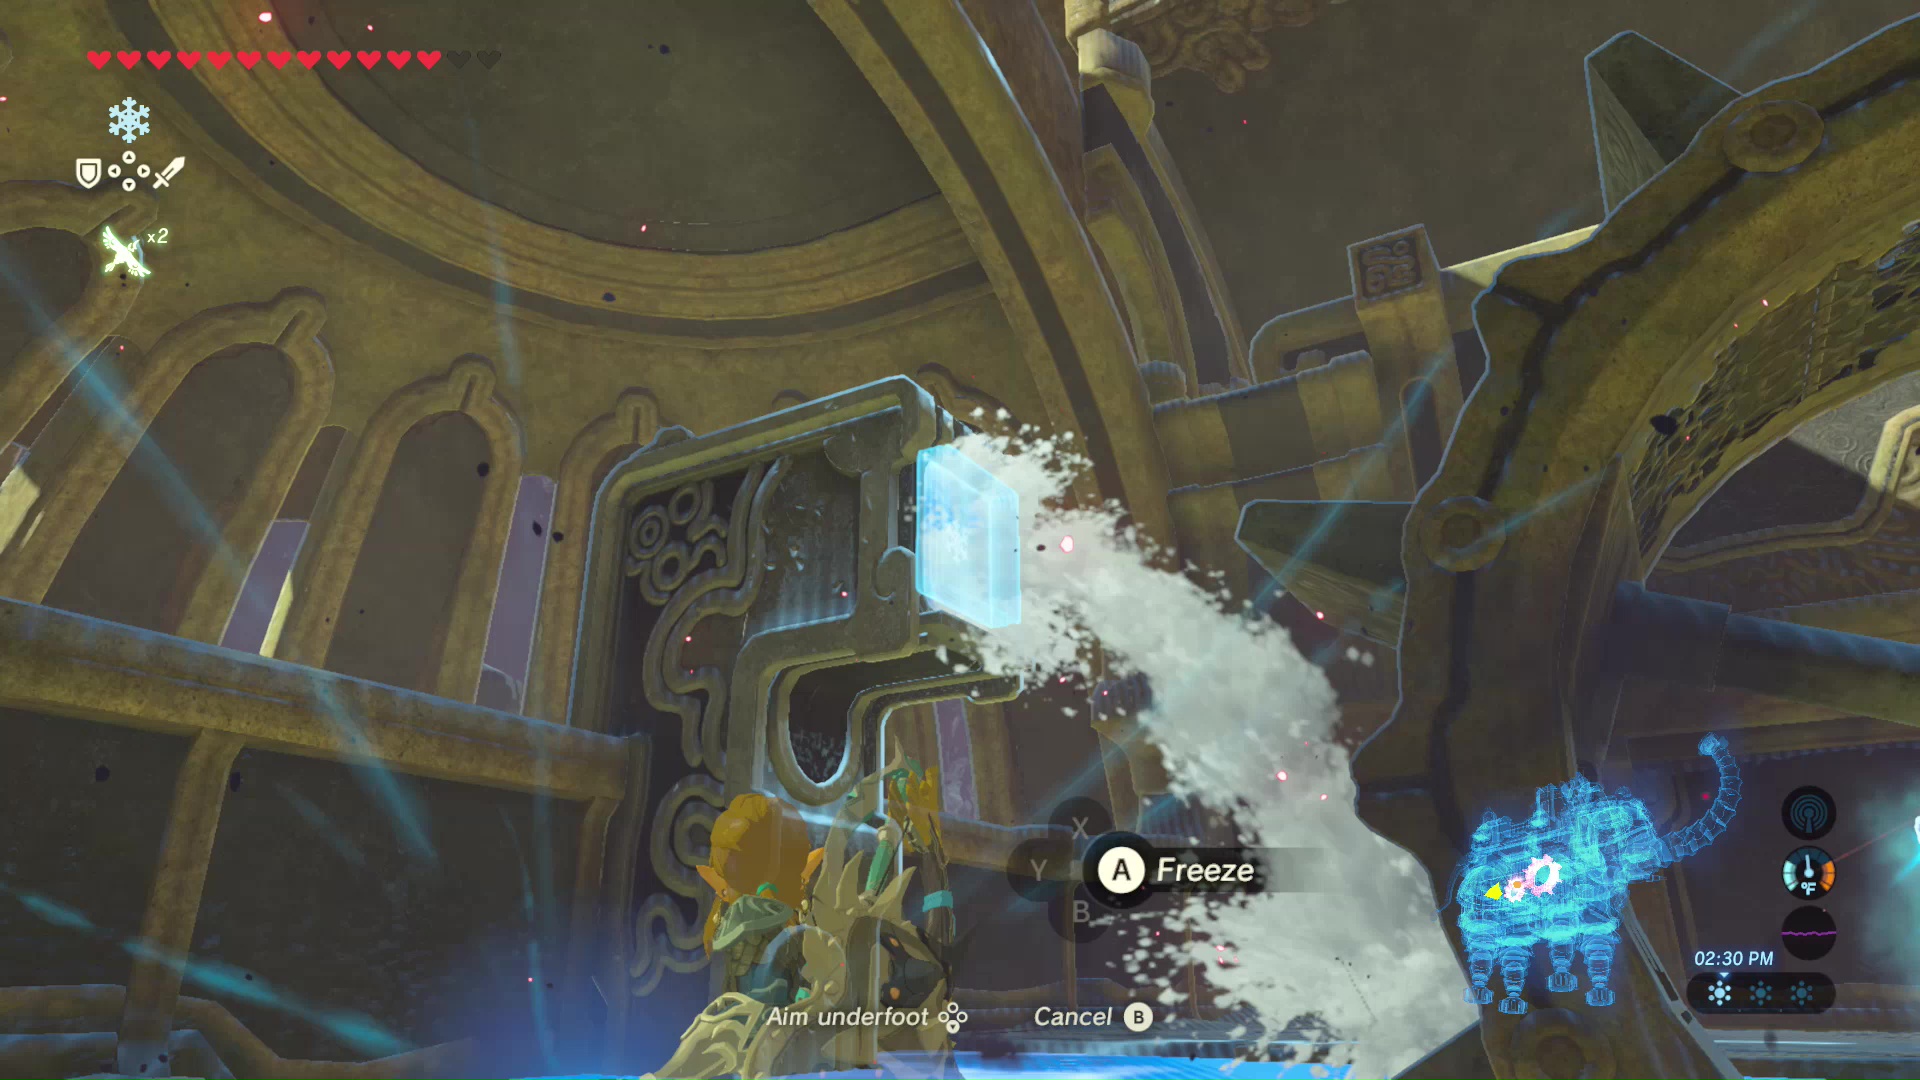
Inside the room are two water wheels. The small water wheel will spin towards a treasure chest on a ledge containing 100 Rupees. Climb on the water wheel and glide towards this ledge to claim the chest. Inside this smaller water wheel is the next terminal. To access it, you will need to use your Cryonis Rune to freeze the water coming out of a spout and hitting the wheel. Make sure it is done when the terminal is at the bottom of the wheel. Interact with the second terminal, and then break the ice block with your Cryonis Rune to cause the small water wheel to spin again.
Terminal 3 Large Waterwheel
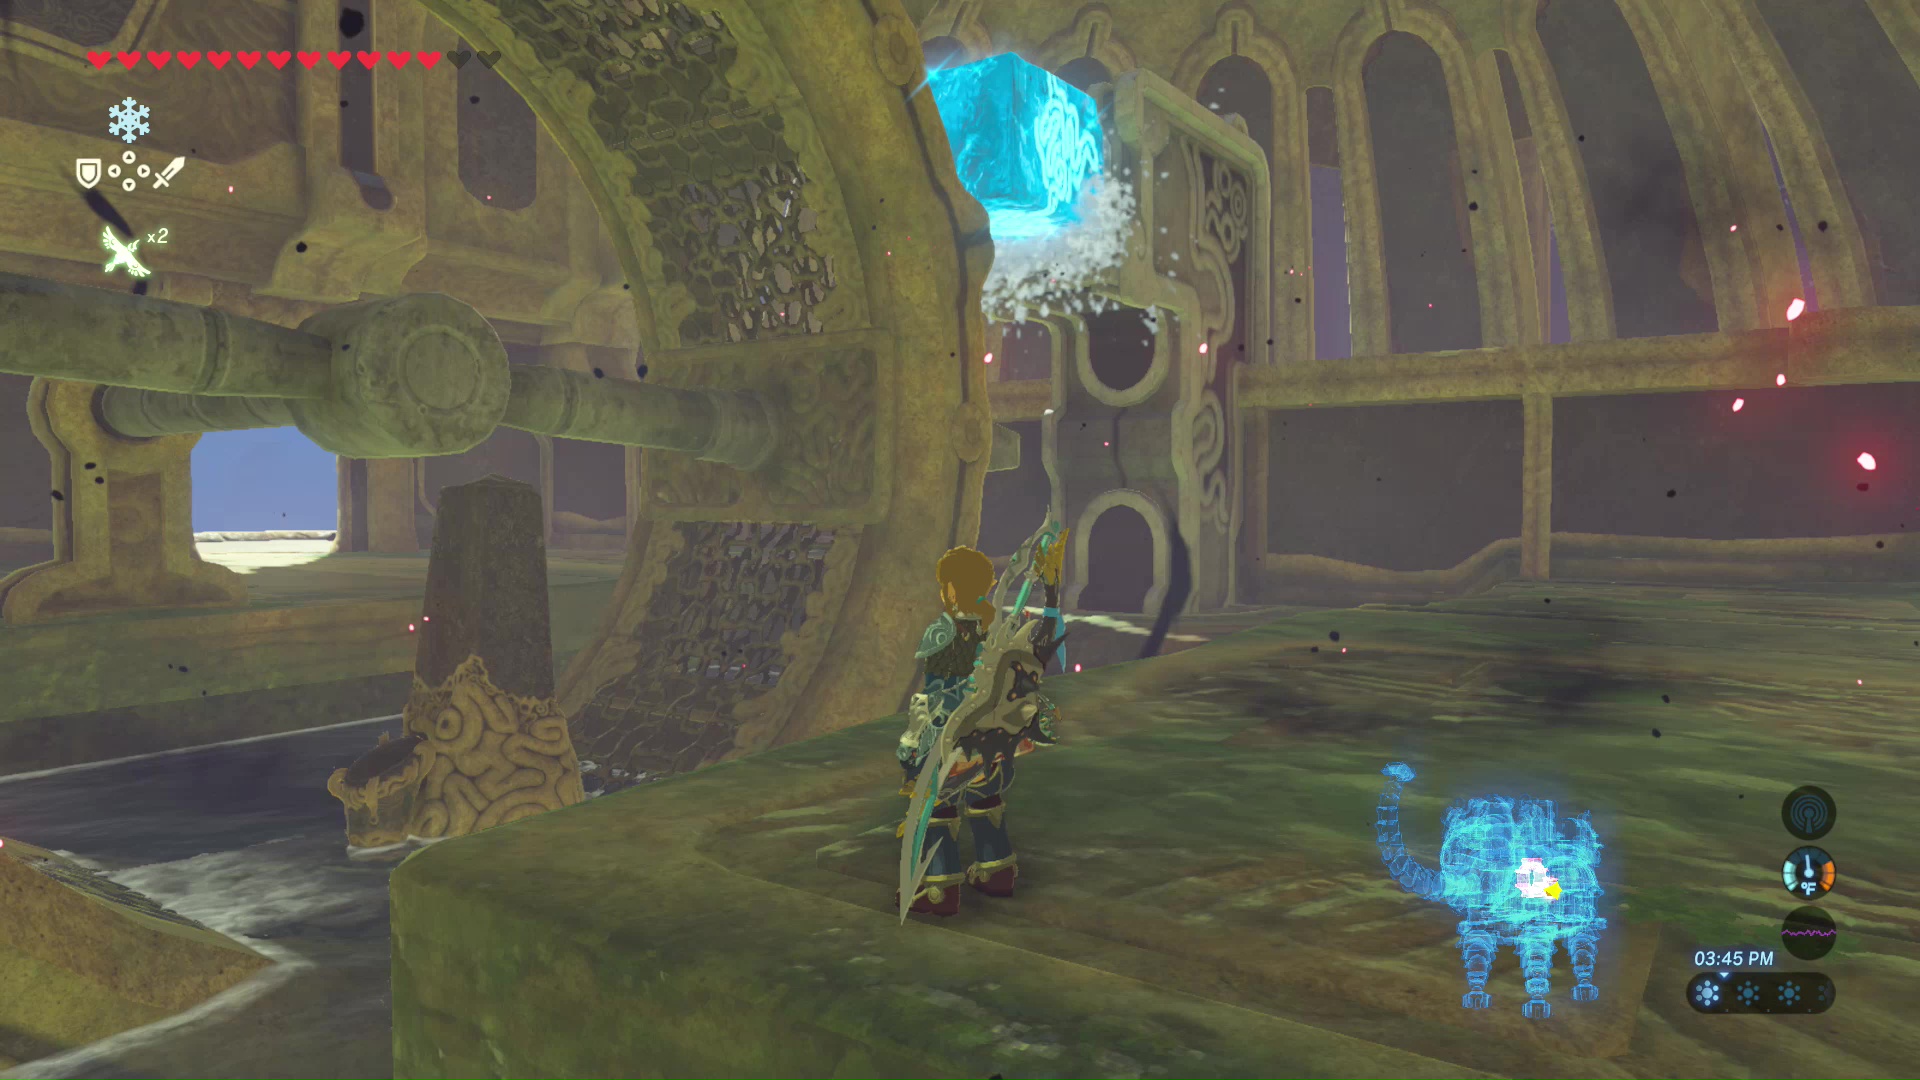
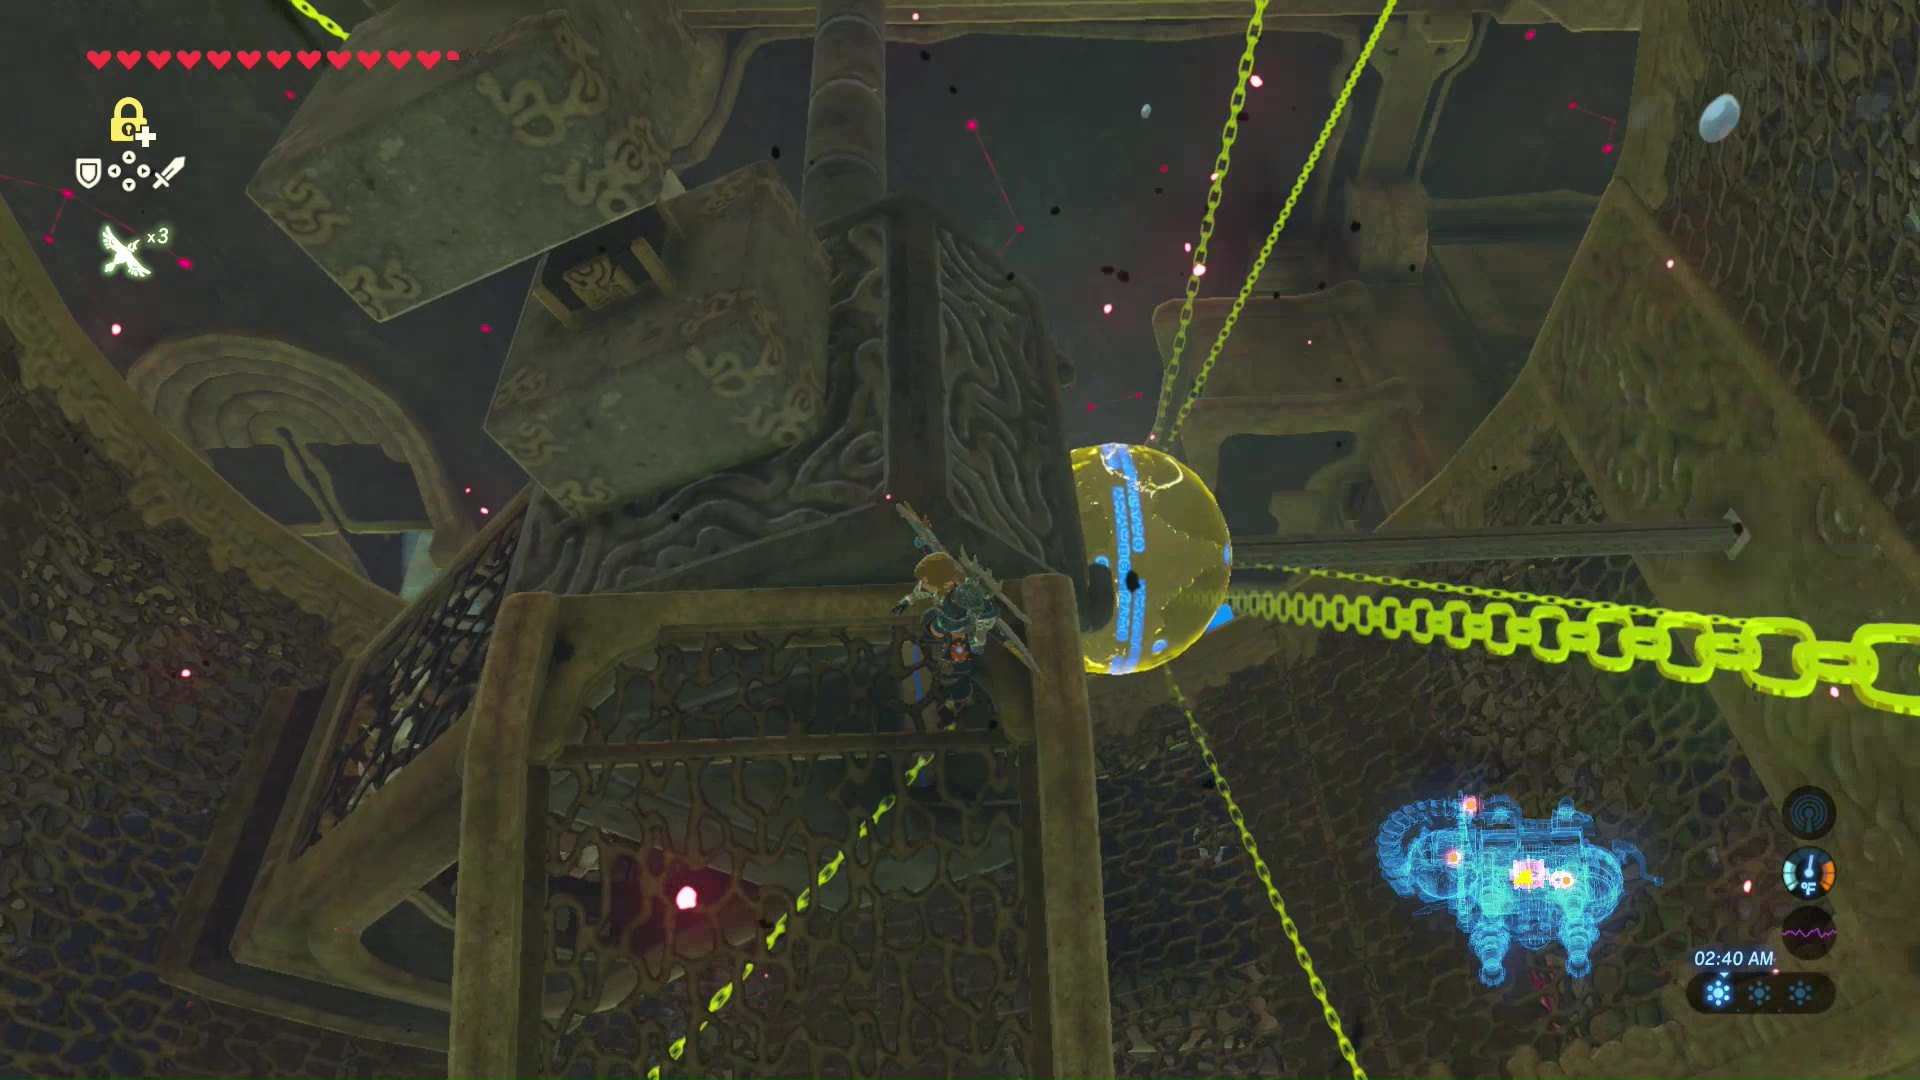
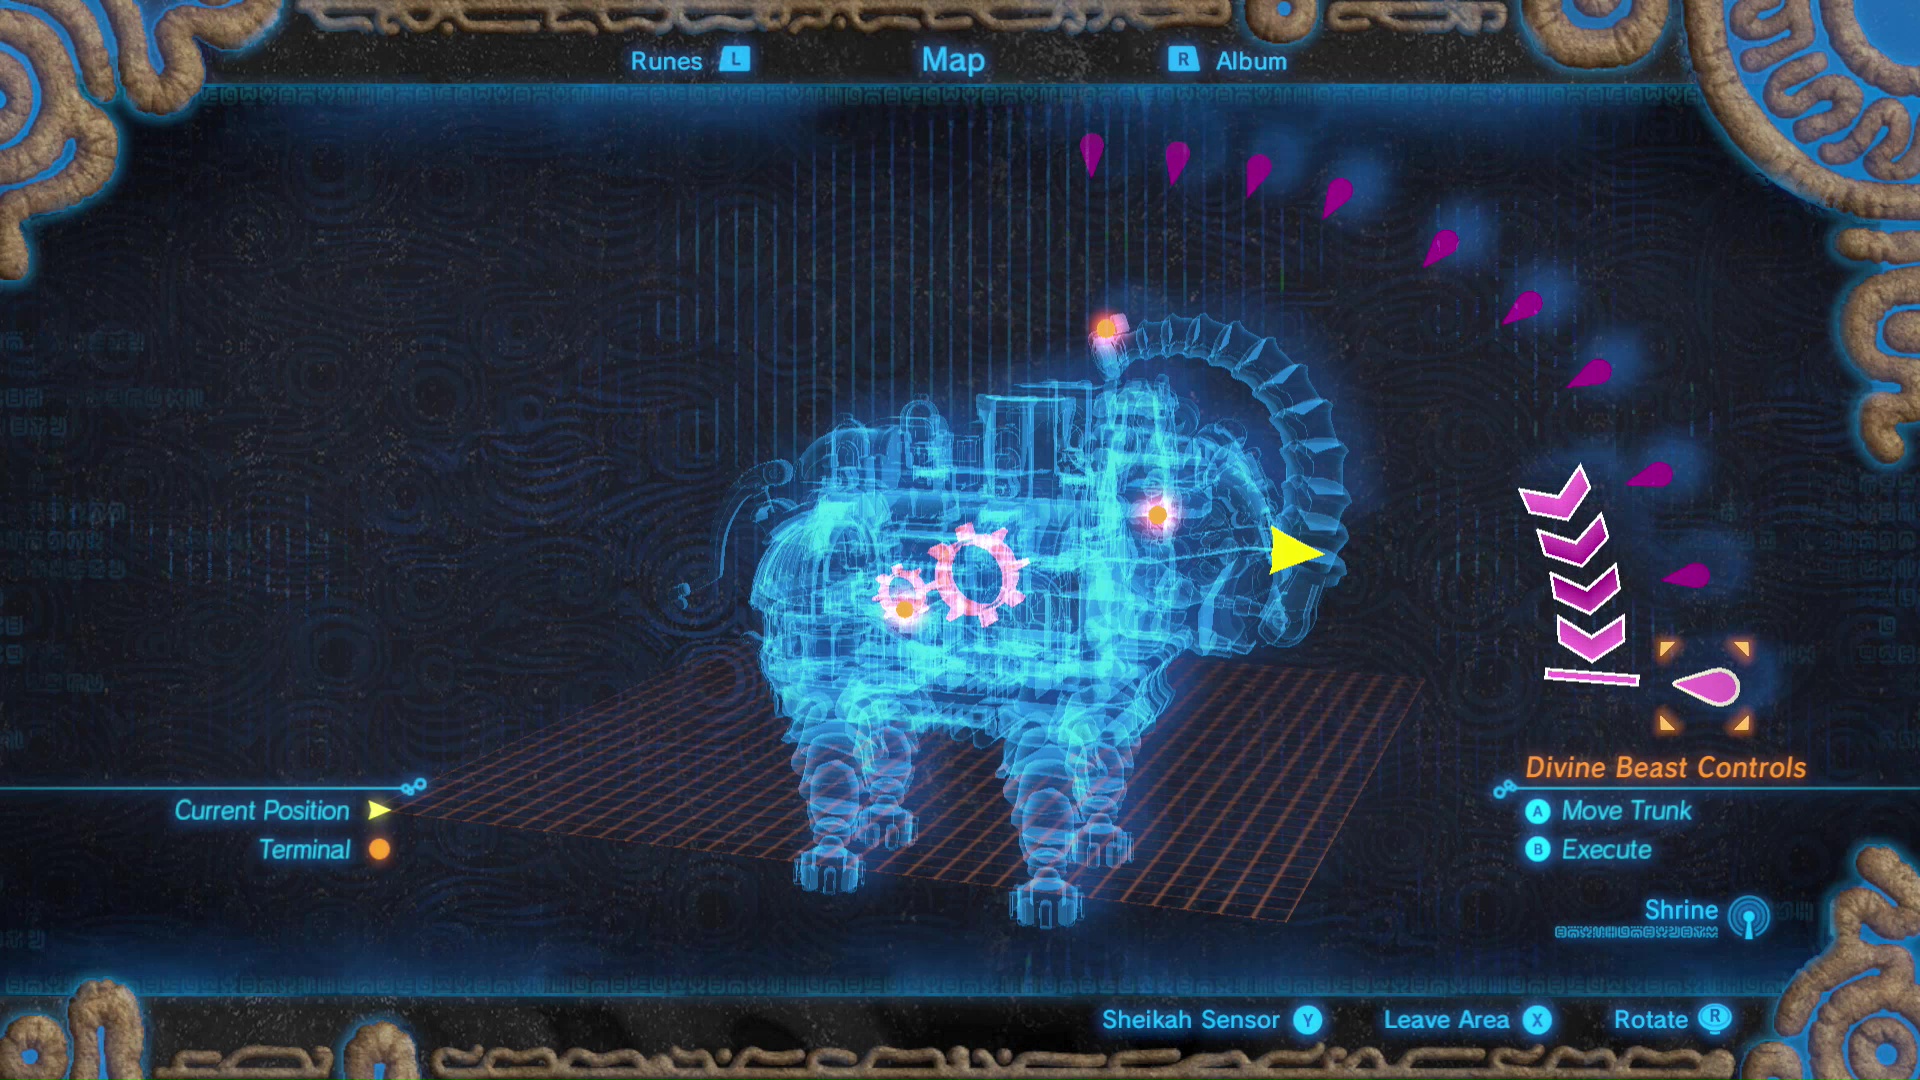
The large water wheel can spin by moving the trunk of Vah Ruta upward. Select one of the top dots to cause the wheel to spin. Ascend up the side of Vah Ruta to reach the center of the large water wheel. Some floating monsters will fight you along the way. Use your bow and arrow to shoot the eyeball up the wall to clear the path.

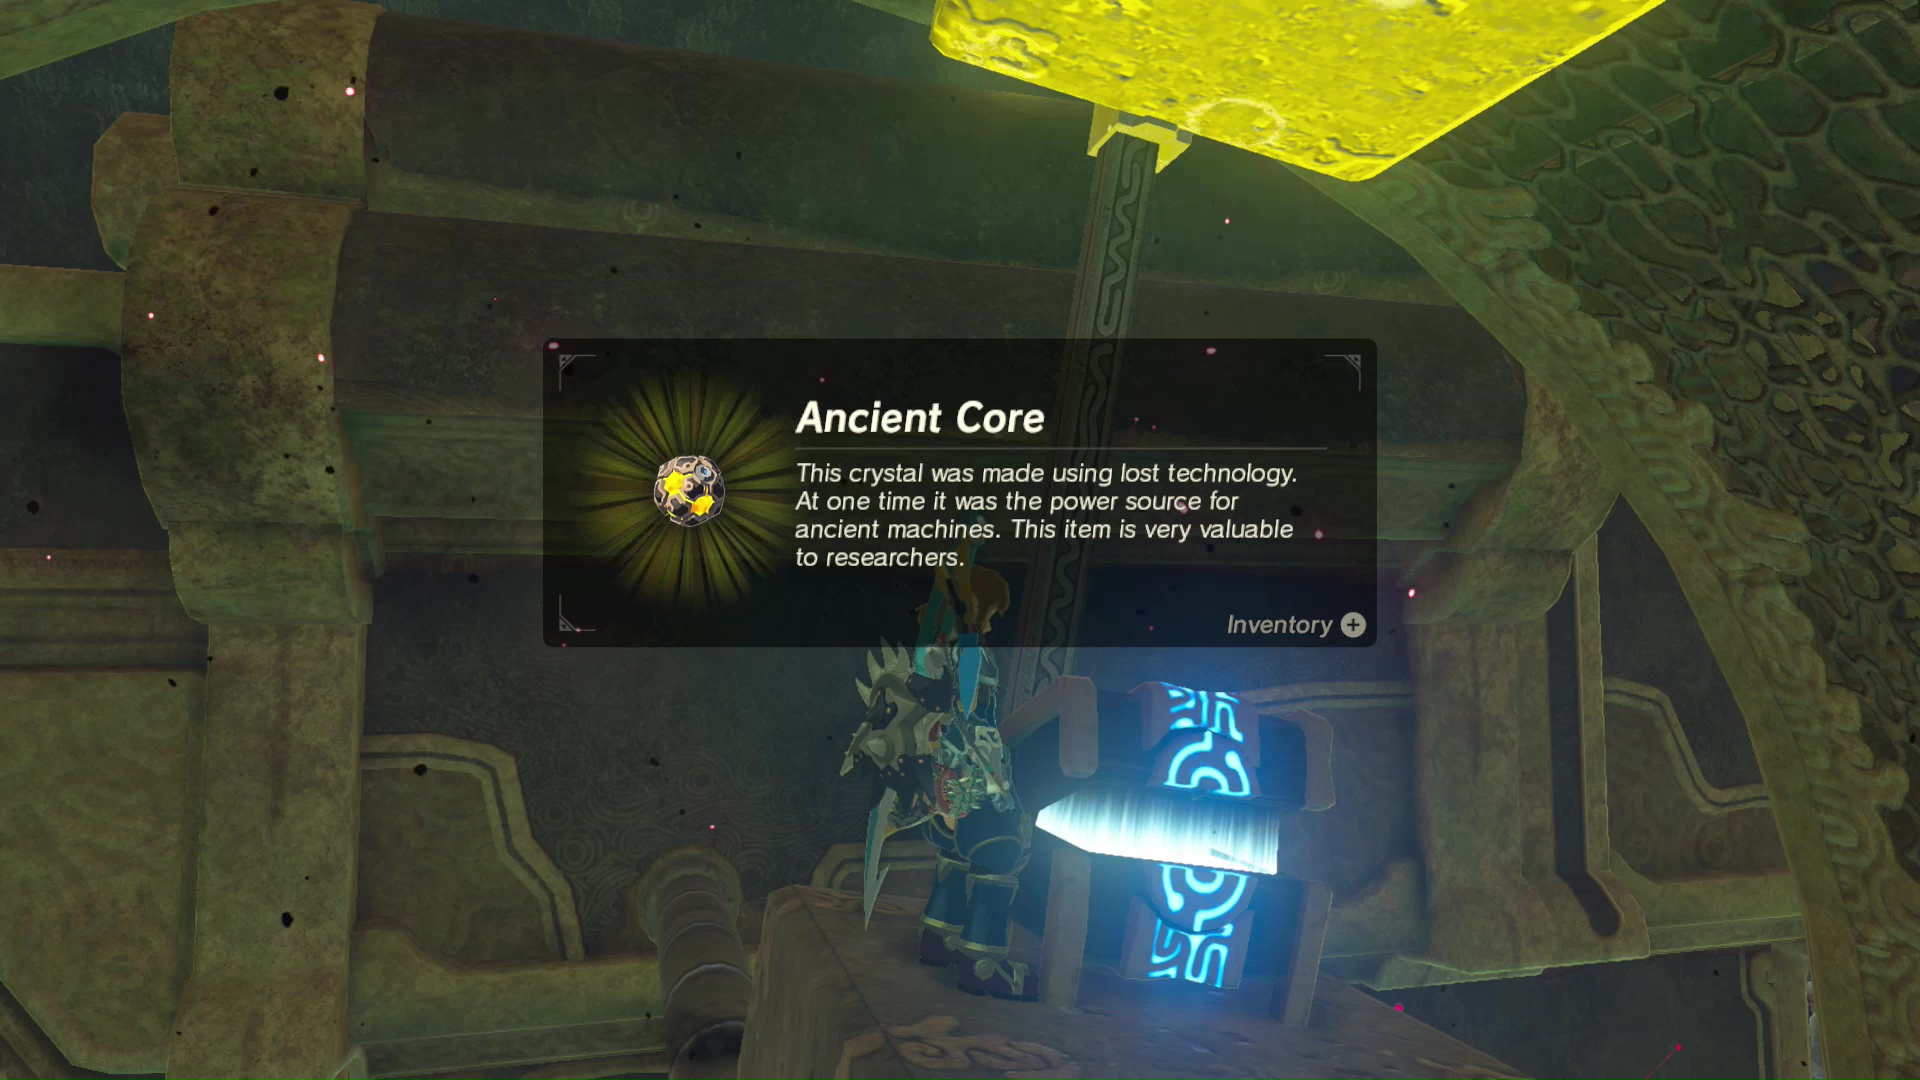
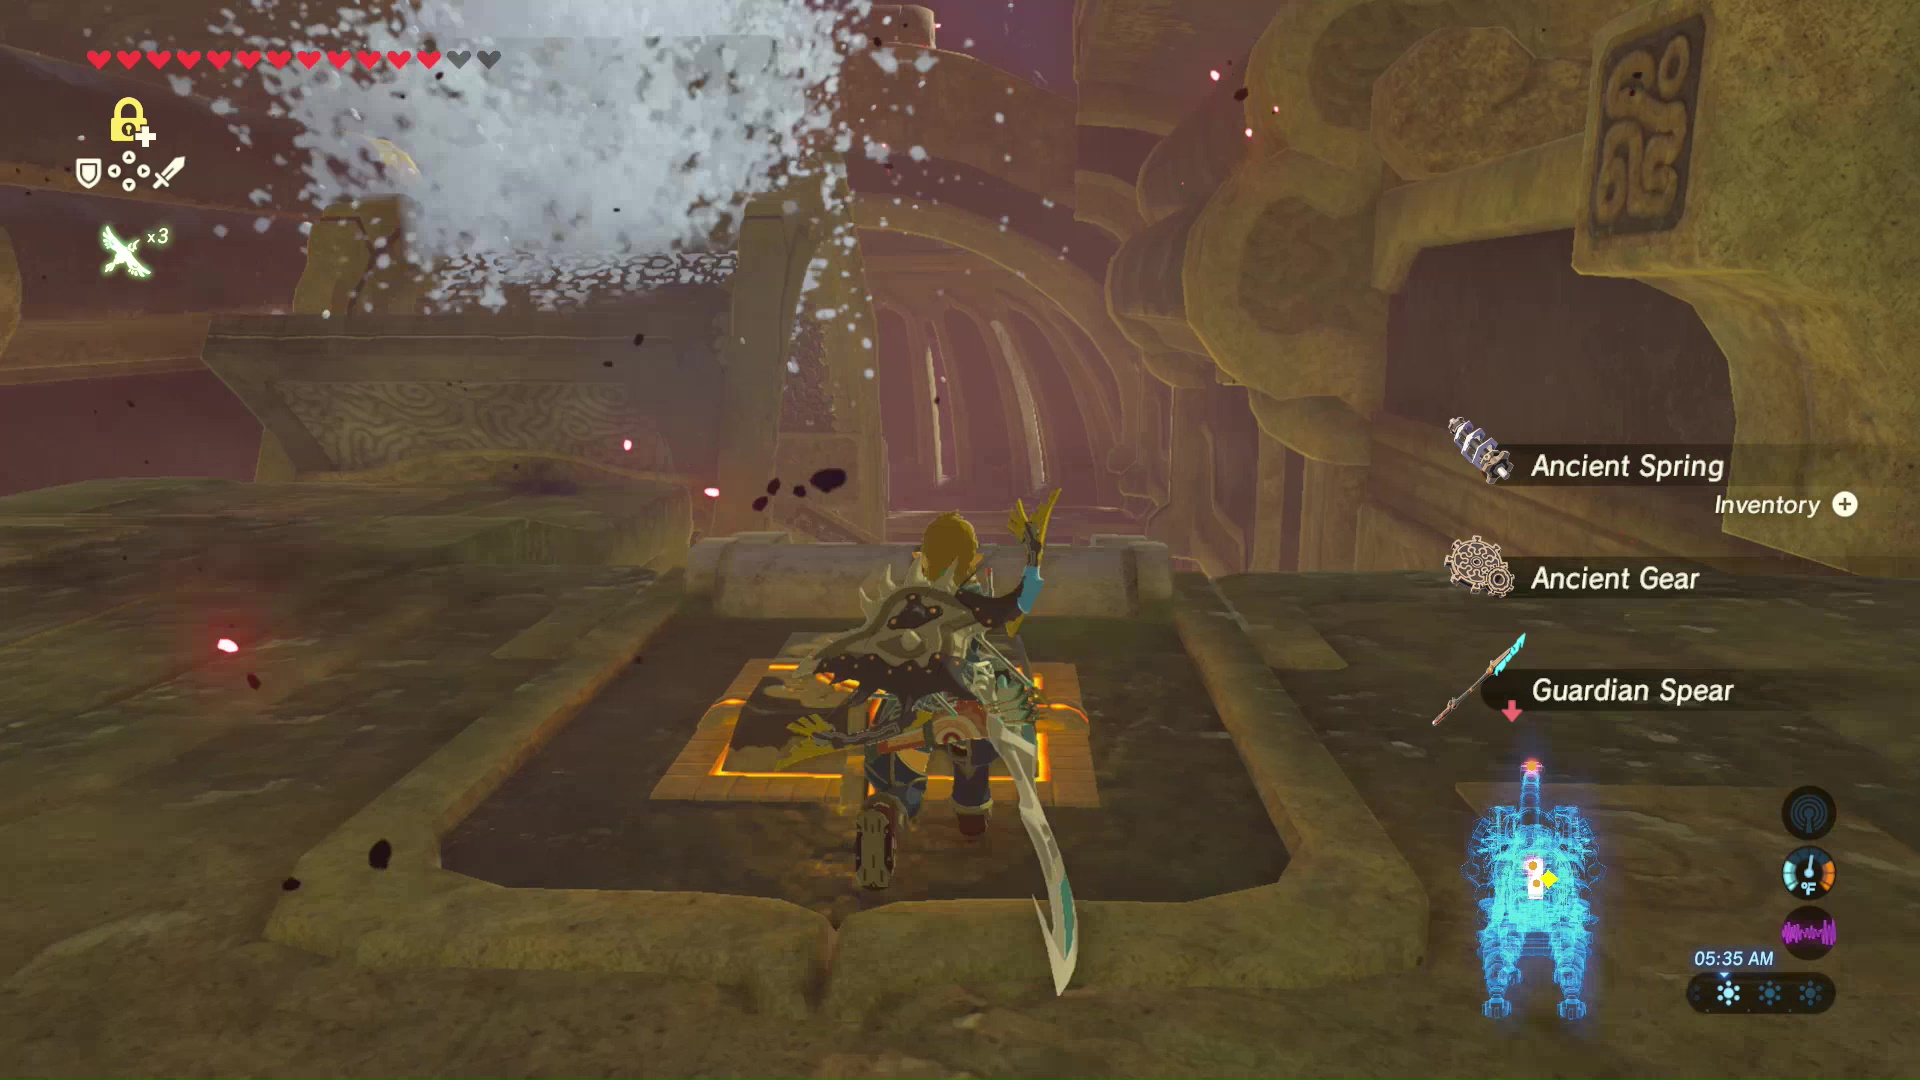
Interact with Vah Ruta’s trunk again to place it all the way at the top. This will move the large water wheel and cause the inside pieces to move. The Stasis Rune can be used here to stop the stone blocks from keeping a treasure chest closed, but you have to time it just right so one stone block is not keeping the chest shut. Inside the chest is another Ancient Core.
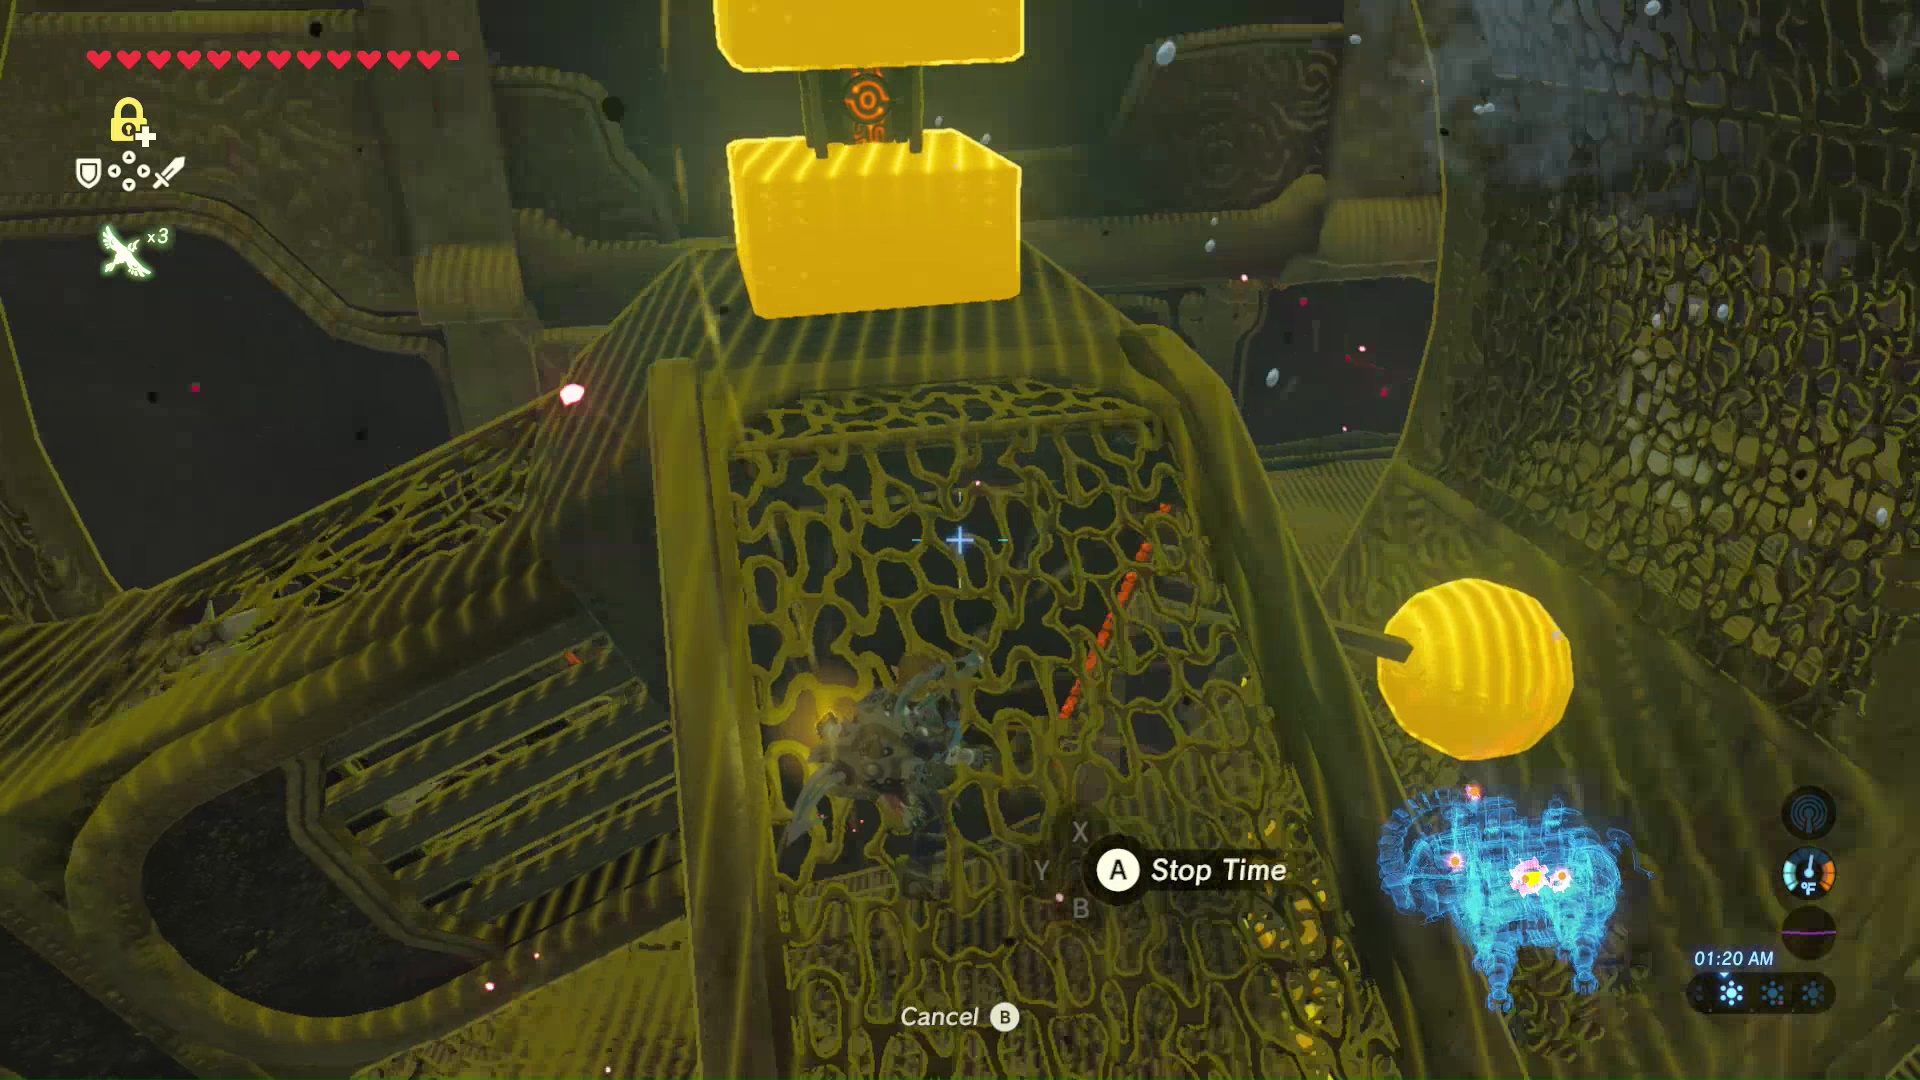
Return to the main platform and wait for the wheel to spin again. Use the Stasis Rune on the ball just before it moves downward to keep a gate open within the wheel. This open gate will allow you to jump in and access the third terminal. You will need to jump in before the terminal becomes completely level because the Stasis Rune has a short timer which will cause the gate to close again.
Terminal 4 Trunk
Return to the small water wheel and use it to jump on the outside of the large water wheel. Make sure the trunk is three drops from the top of Vah Ruta, this should spin the large water wheel counter to the small water wheel, allowing you to ascend to another level of the Divine Beast.
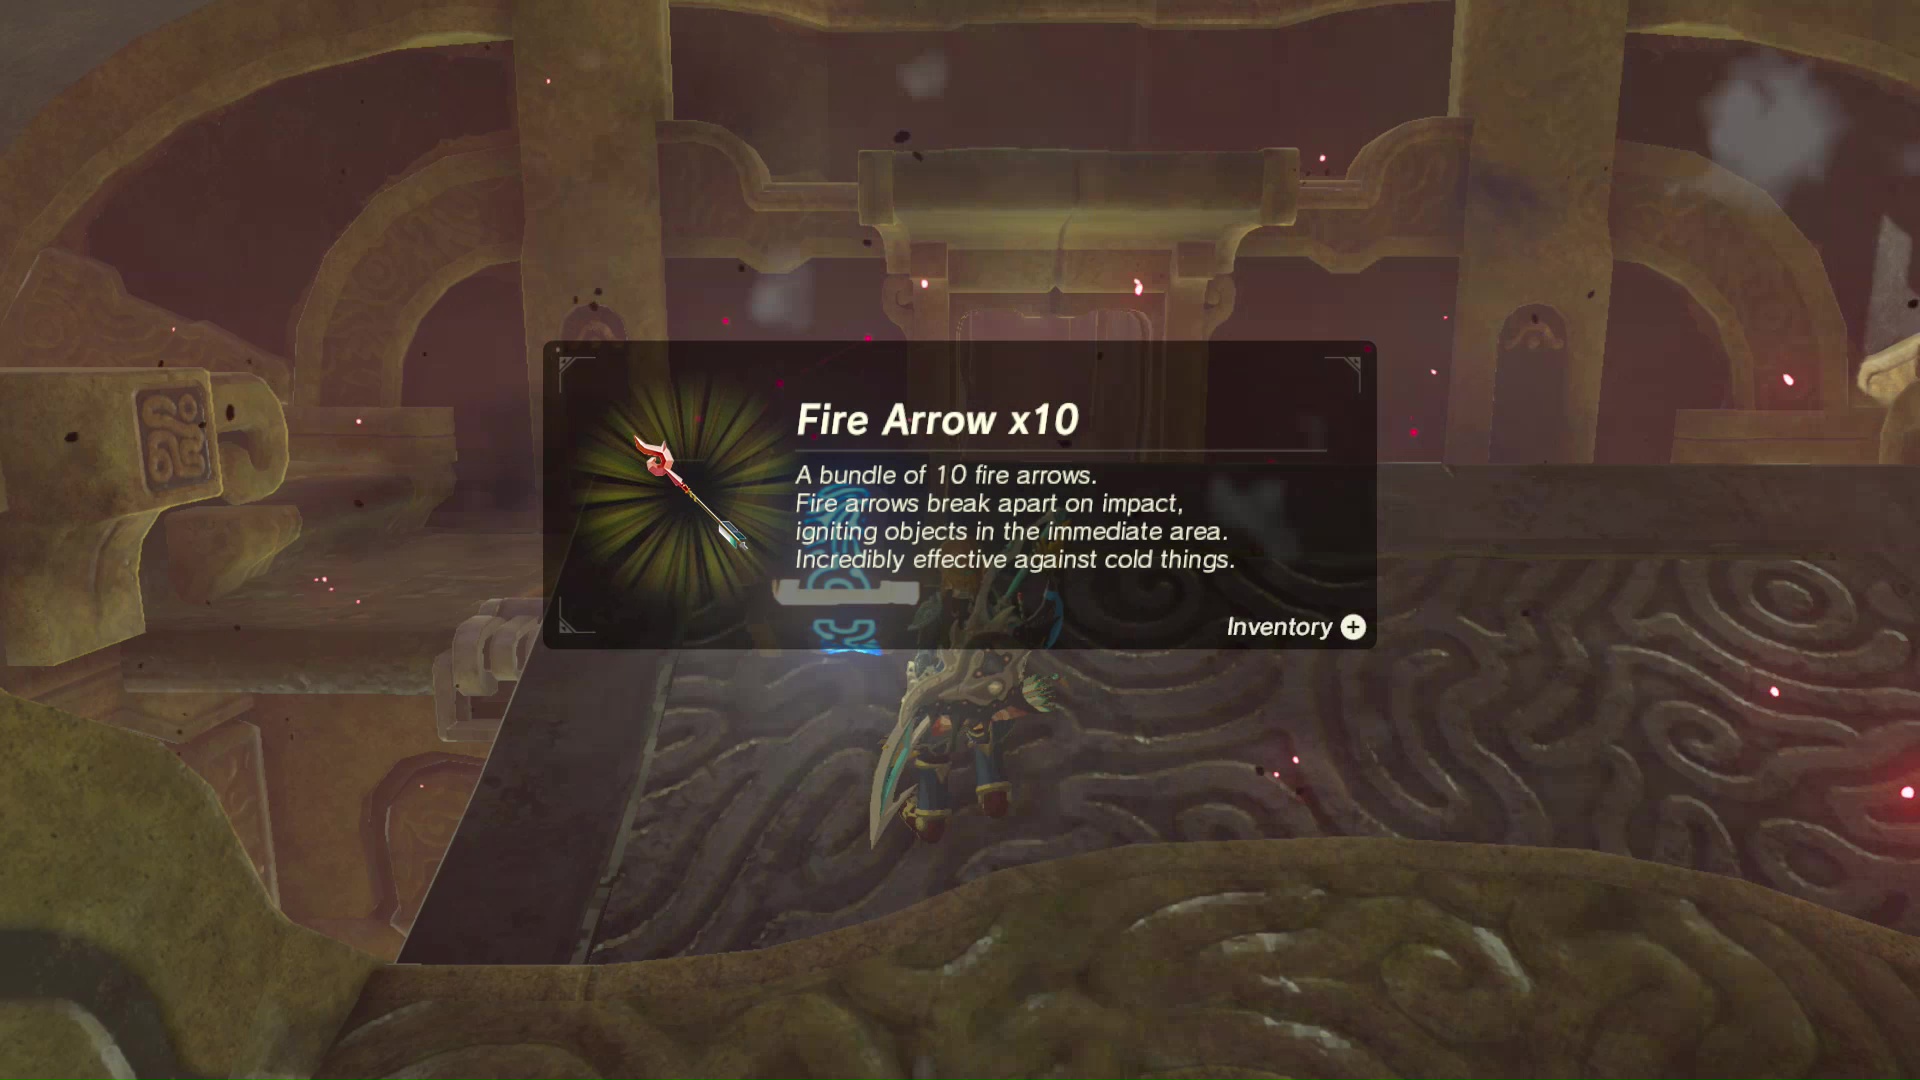
Two treasure chests are also on the outside of the large water wheel. One contains Fire Arrows x10 while the other contains an Ancient Core. Shoot the eyeball to remove the calamity stuff around the chest with the ancient core to gain access.
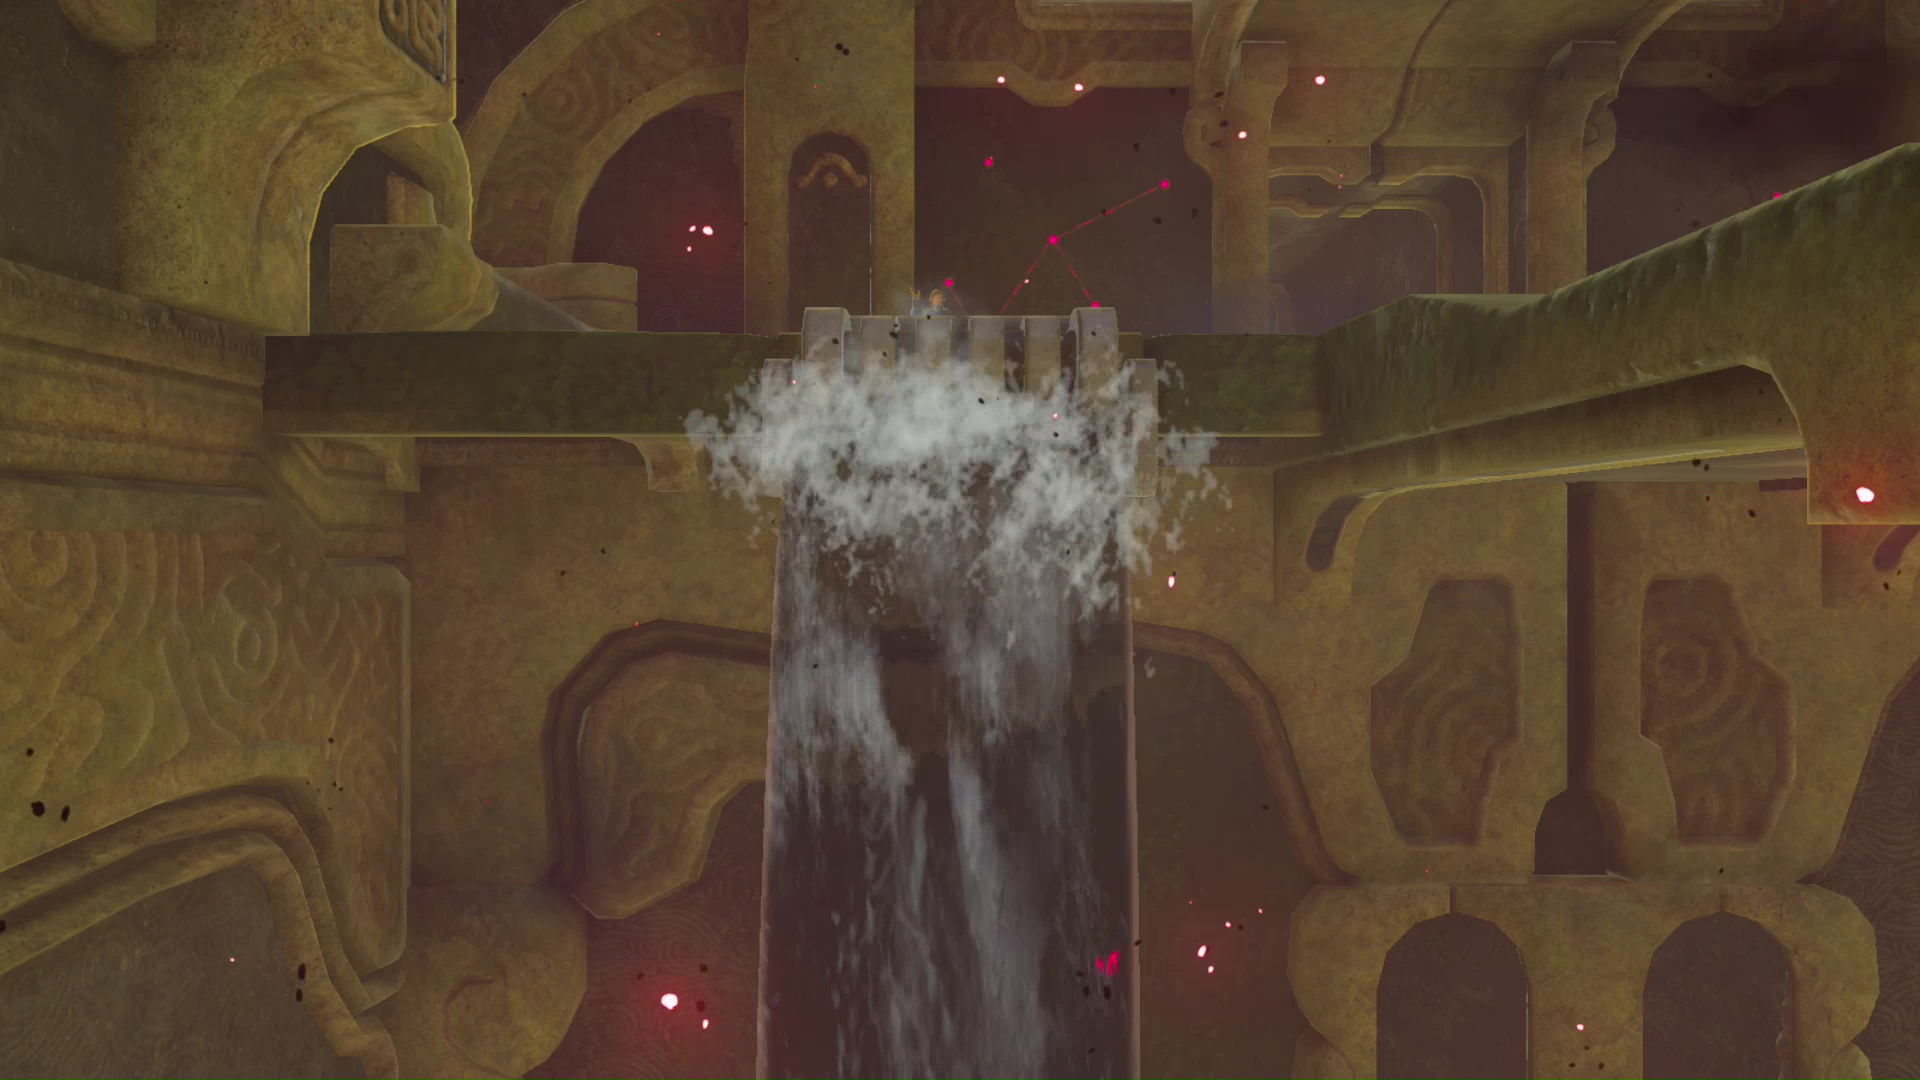
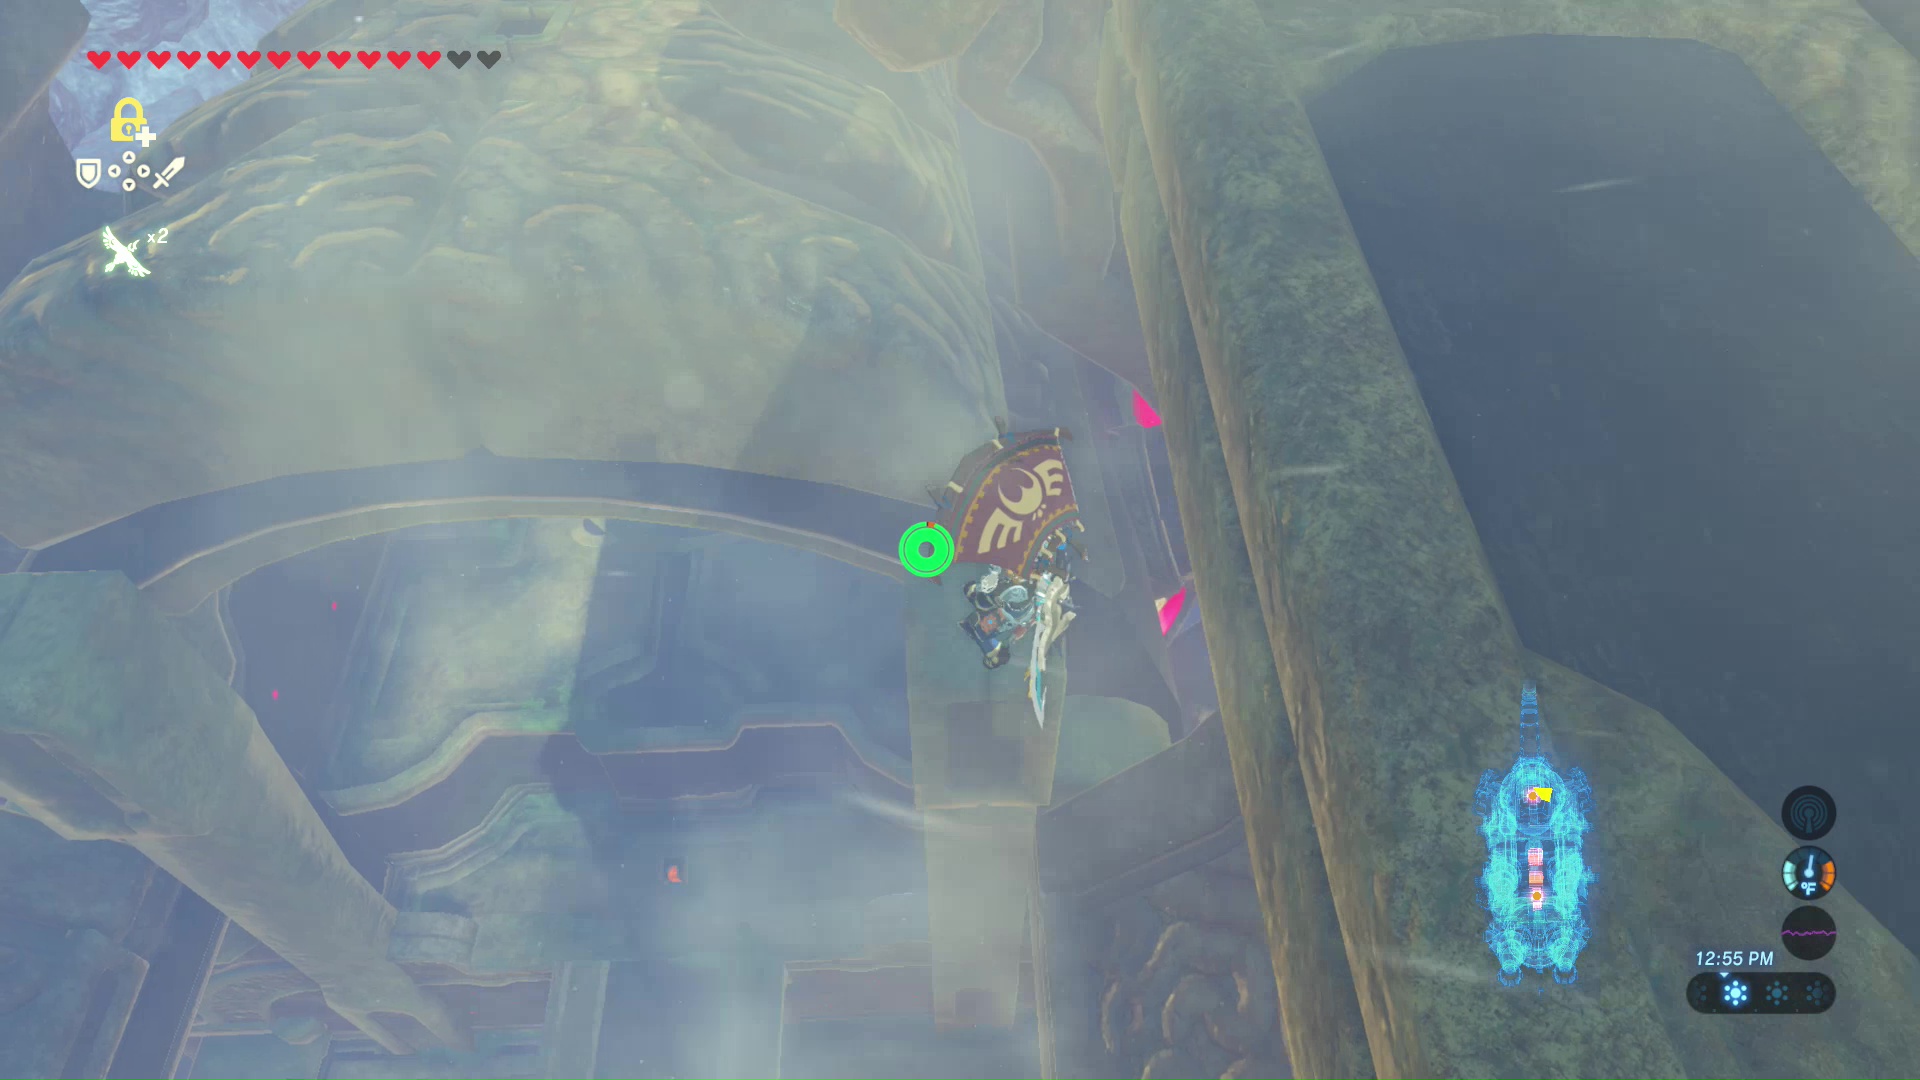
A save point is at the top of the platform, as is a Guardian Scout. Take it out with melee weapons or an arrow to the eye. Nearby is a large, glowing button. Step on it to activate a waterfall below. This will allow you to quickly ascend to the top using the Zora Armor.
Walk up the ramp toward the outside of Vah Ruta. Interact with the trunk to move it downward, giving you access to he fourth terminal. Another calamity eyeball will block your way. Shoot it to clear the path and gain access to a treasure chest containing an Ancient Shaft. Return to the doorway that lead to the outside of Vah Ruta. Make sure the trunk is up enough to allow you to reach the exit/entry platform.
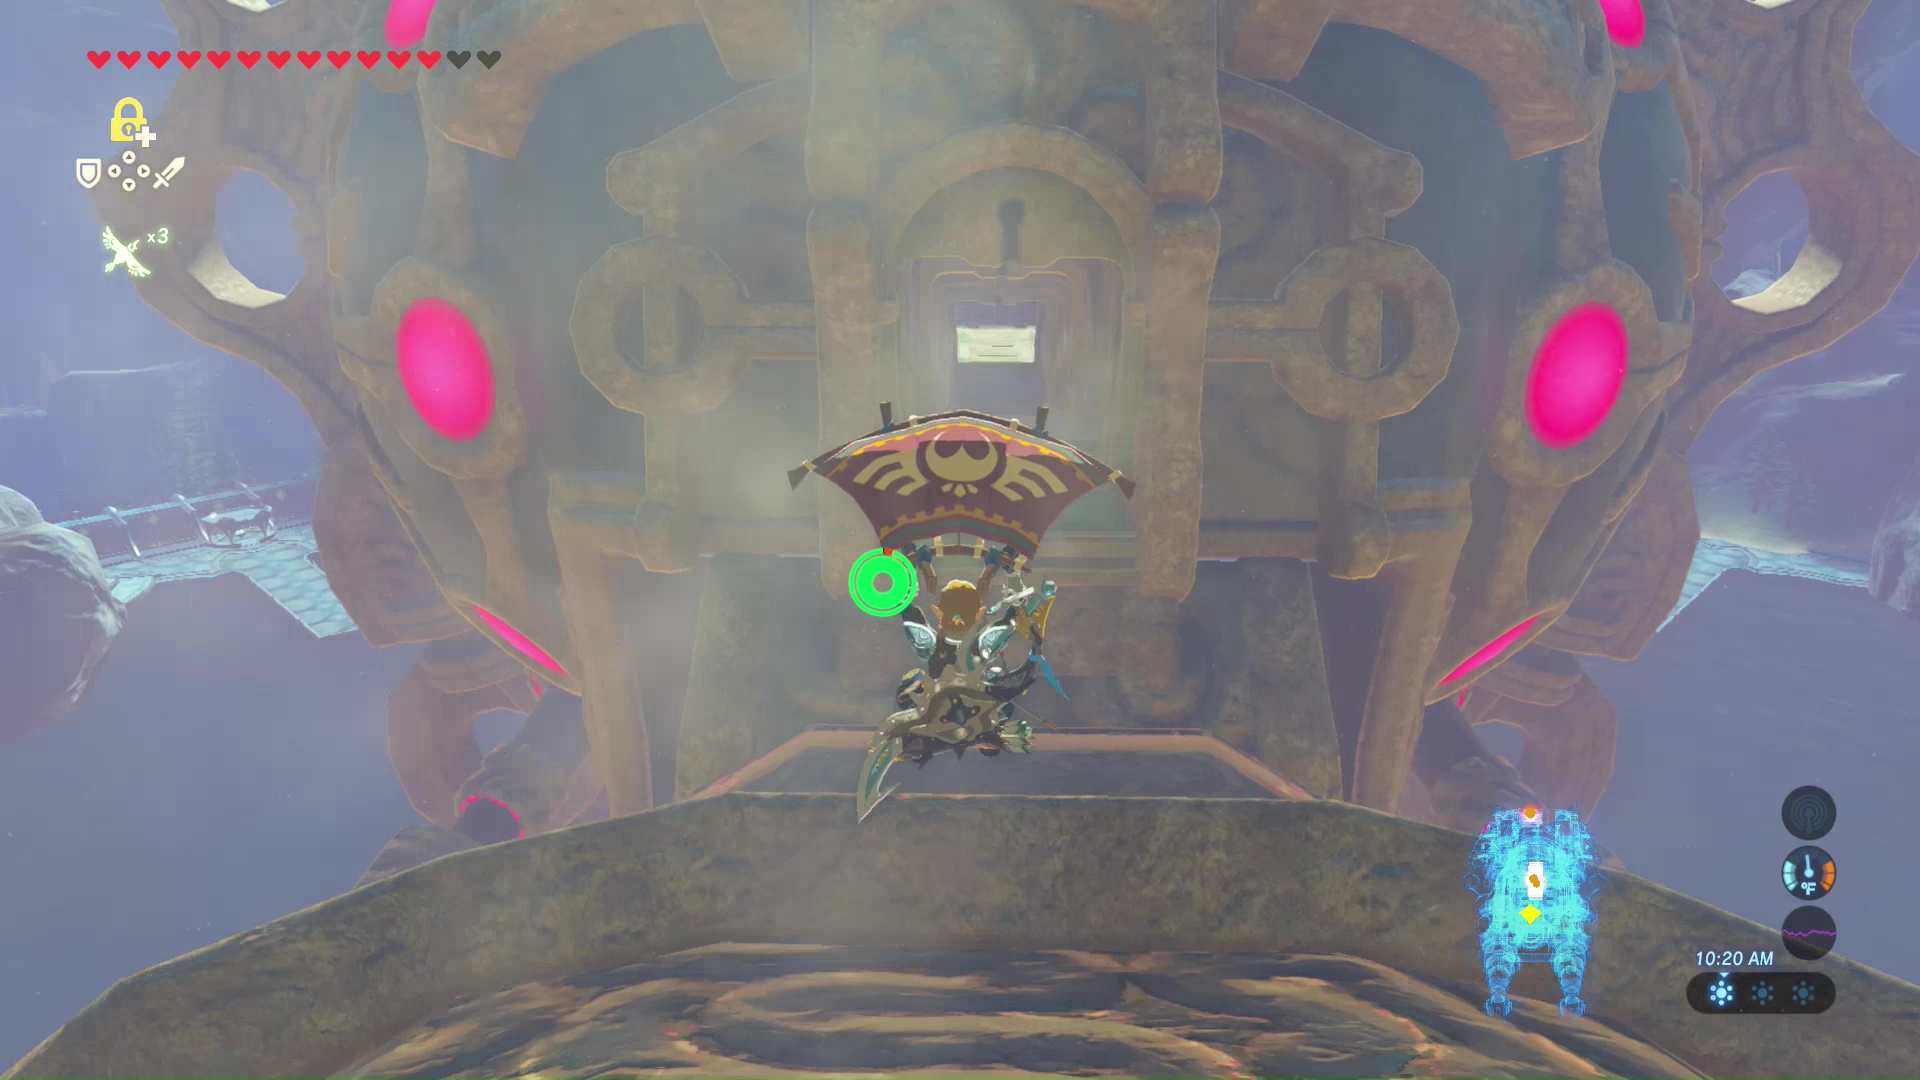
Once at the door, move the trunk all the way down. Glide from the door to the tip of the trunk, then move the trunk upward to find the next terminal near the side of the water spout. Try to time the trunk’s movement with your gliding to interact with the fifth terminal. One dot from the top should be enough to level out the trunk.

Terminal 6 Head
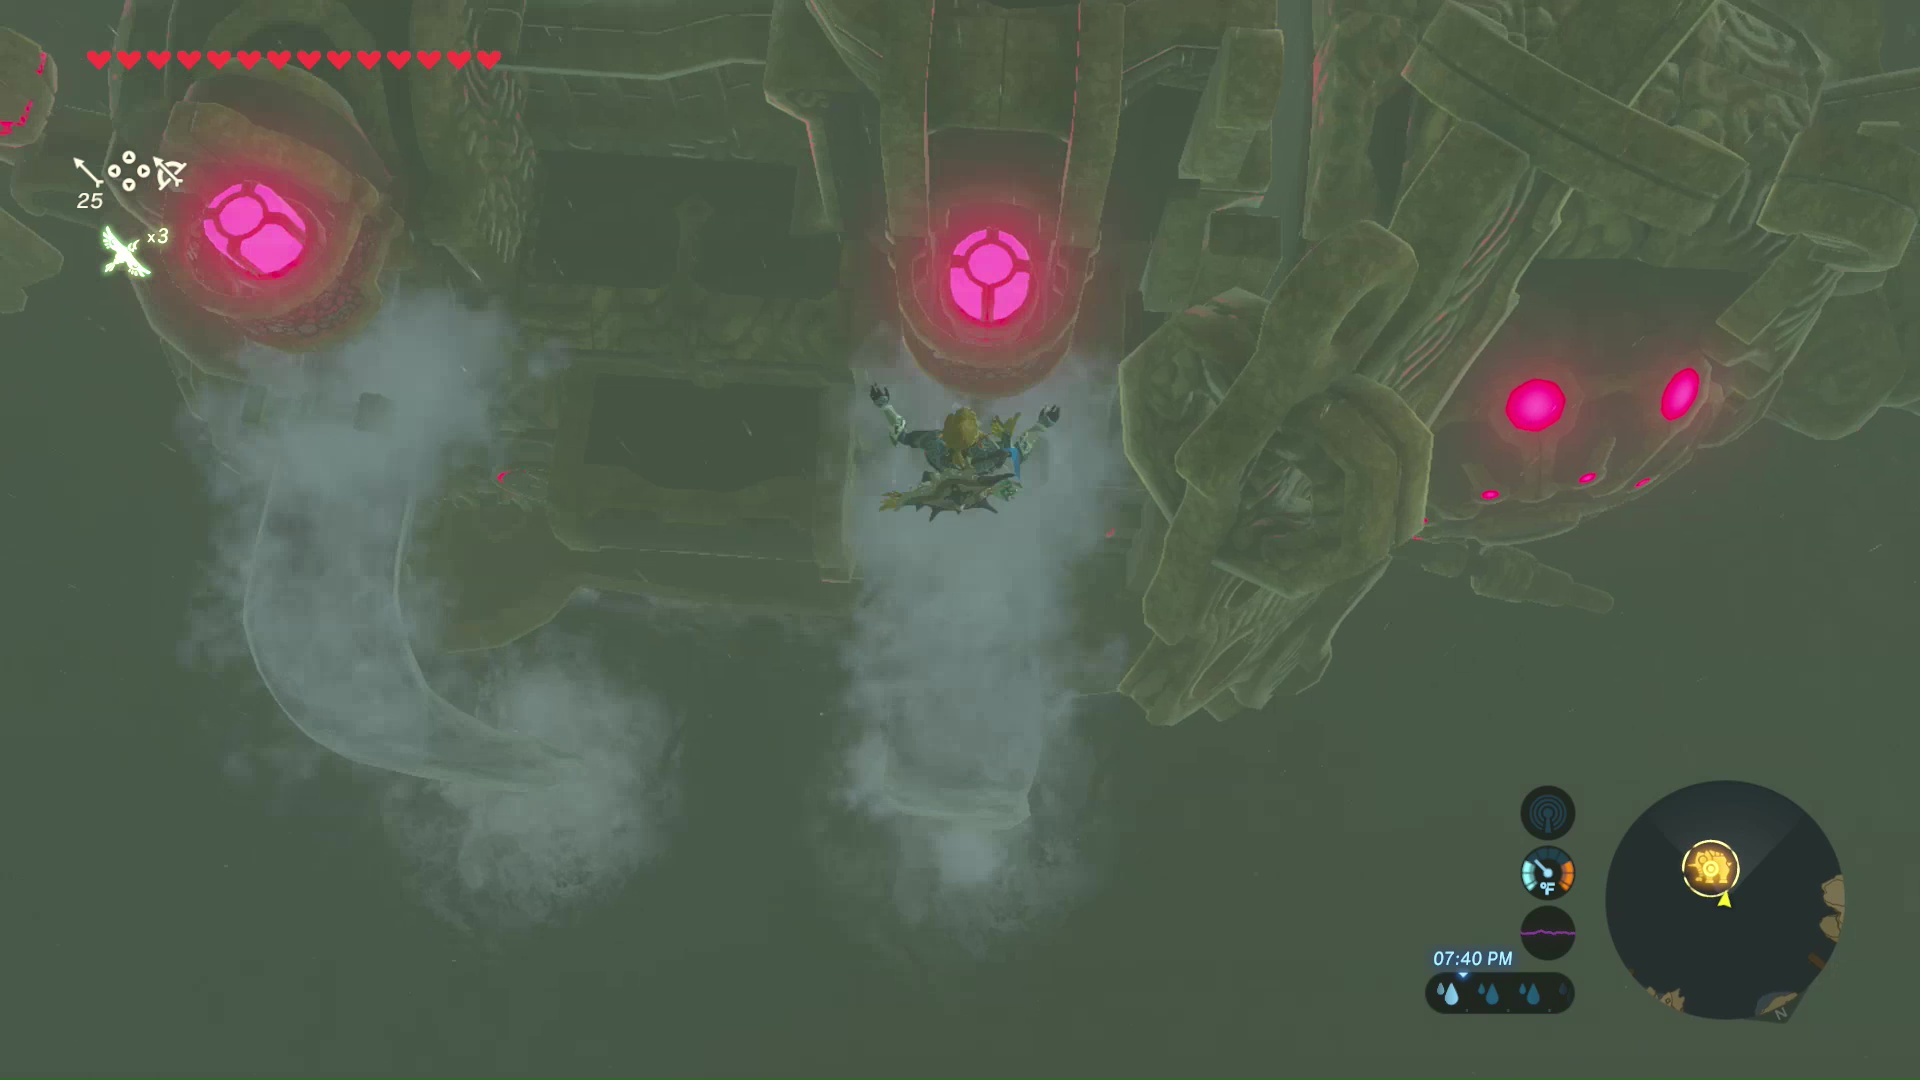
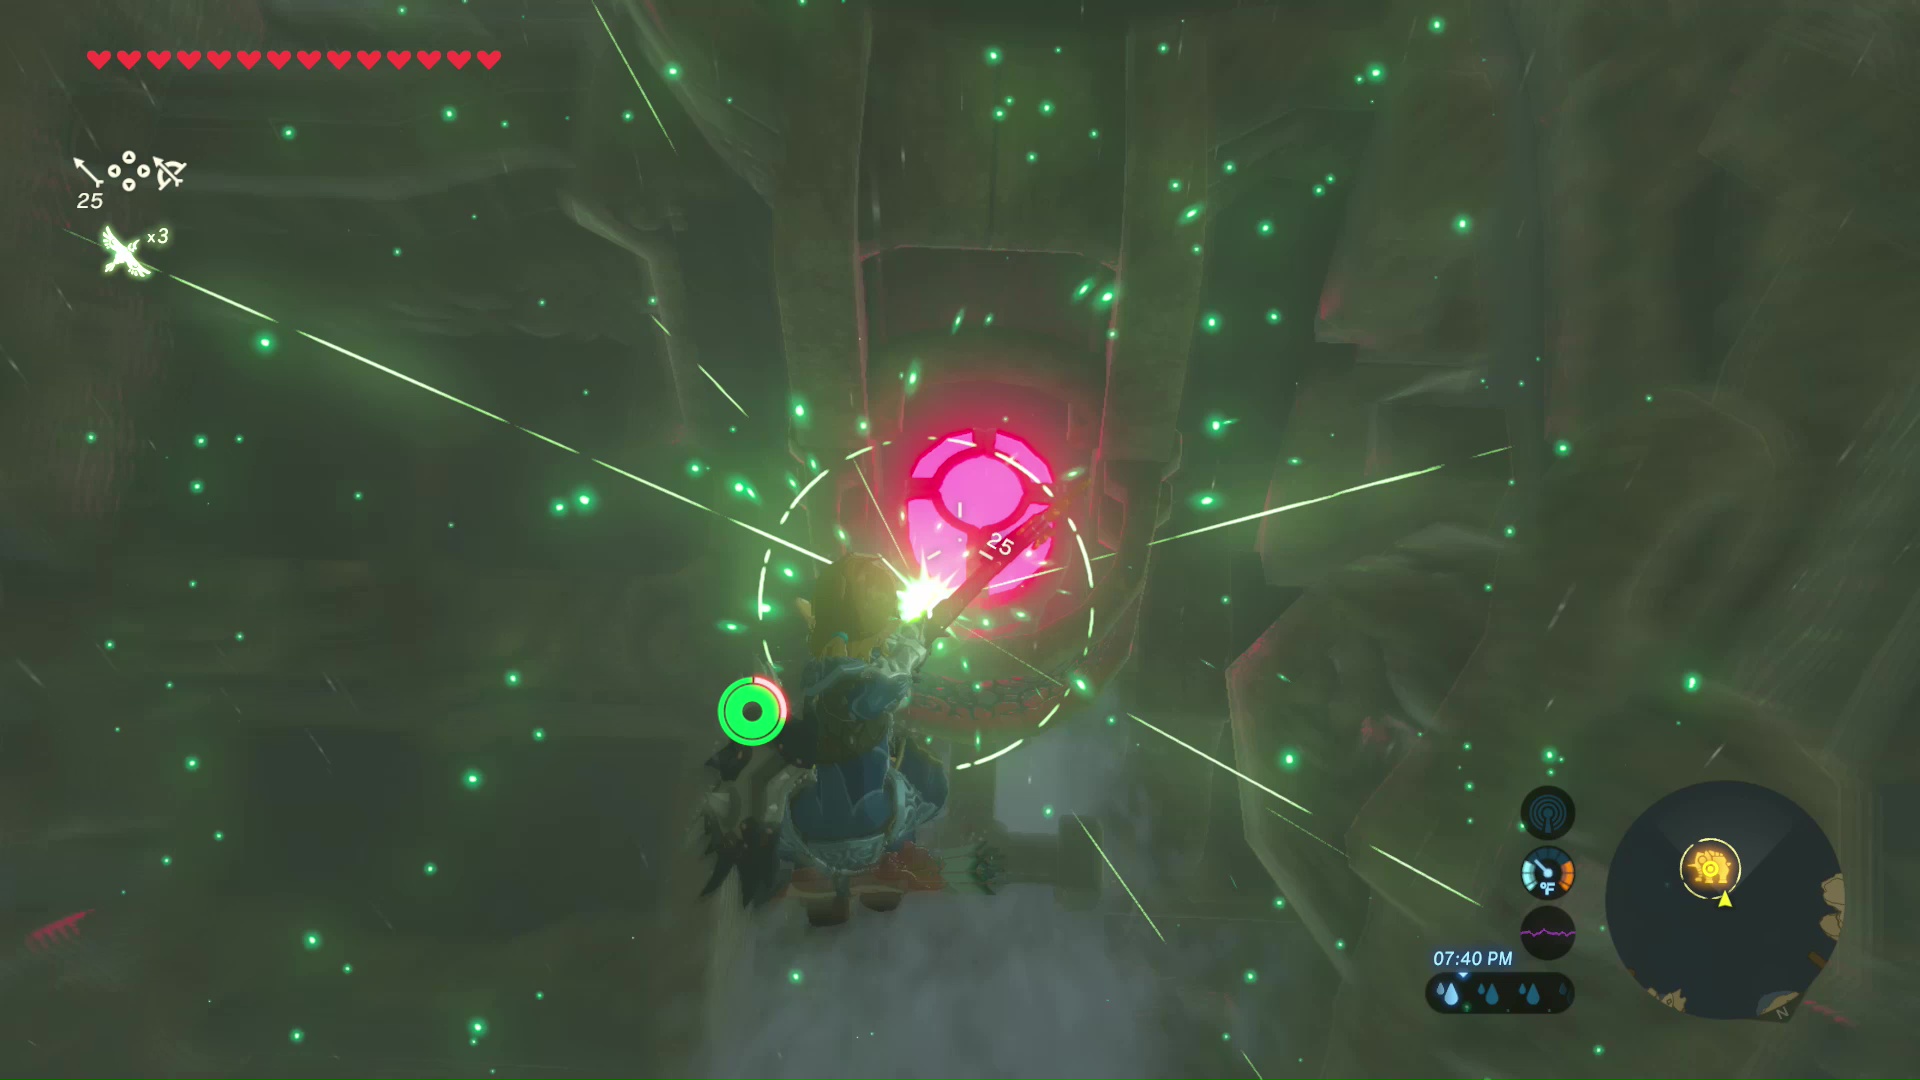
Turn around and shoot the calamity eyeballs at the top of Vah Ruta. One will be holding a treasure chest containing Ice Arrows x10.
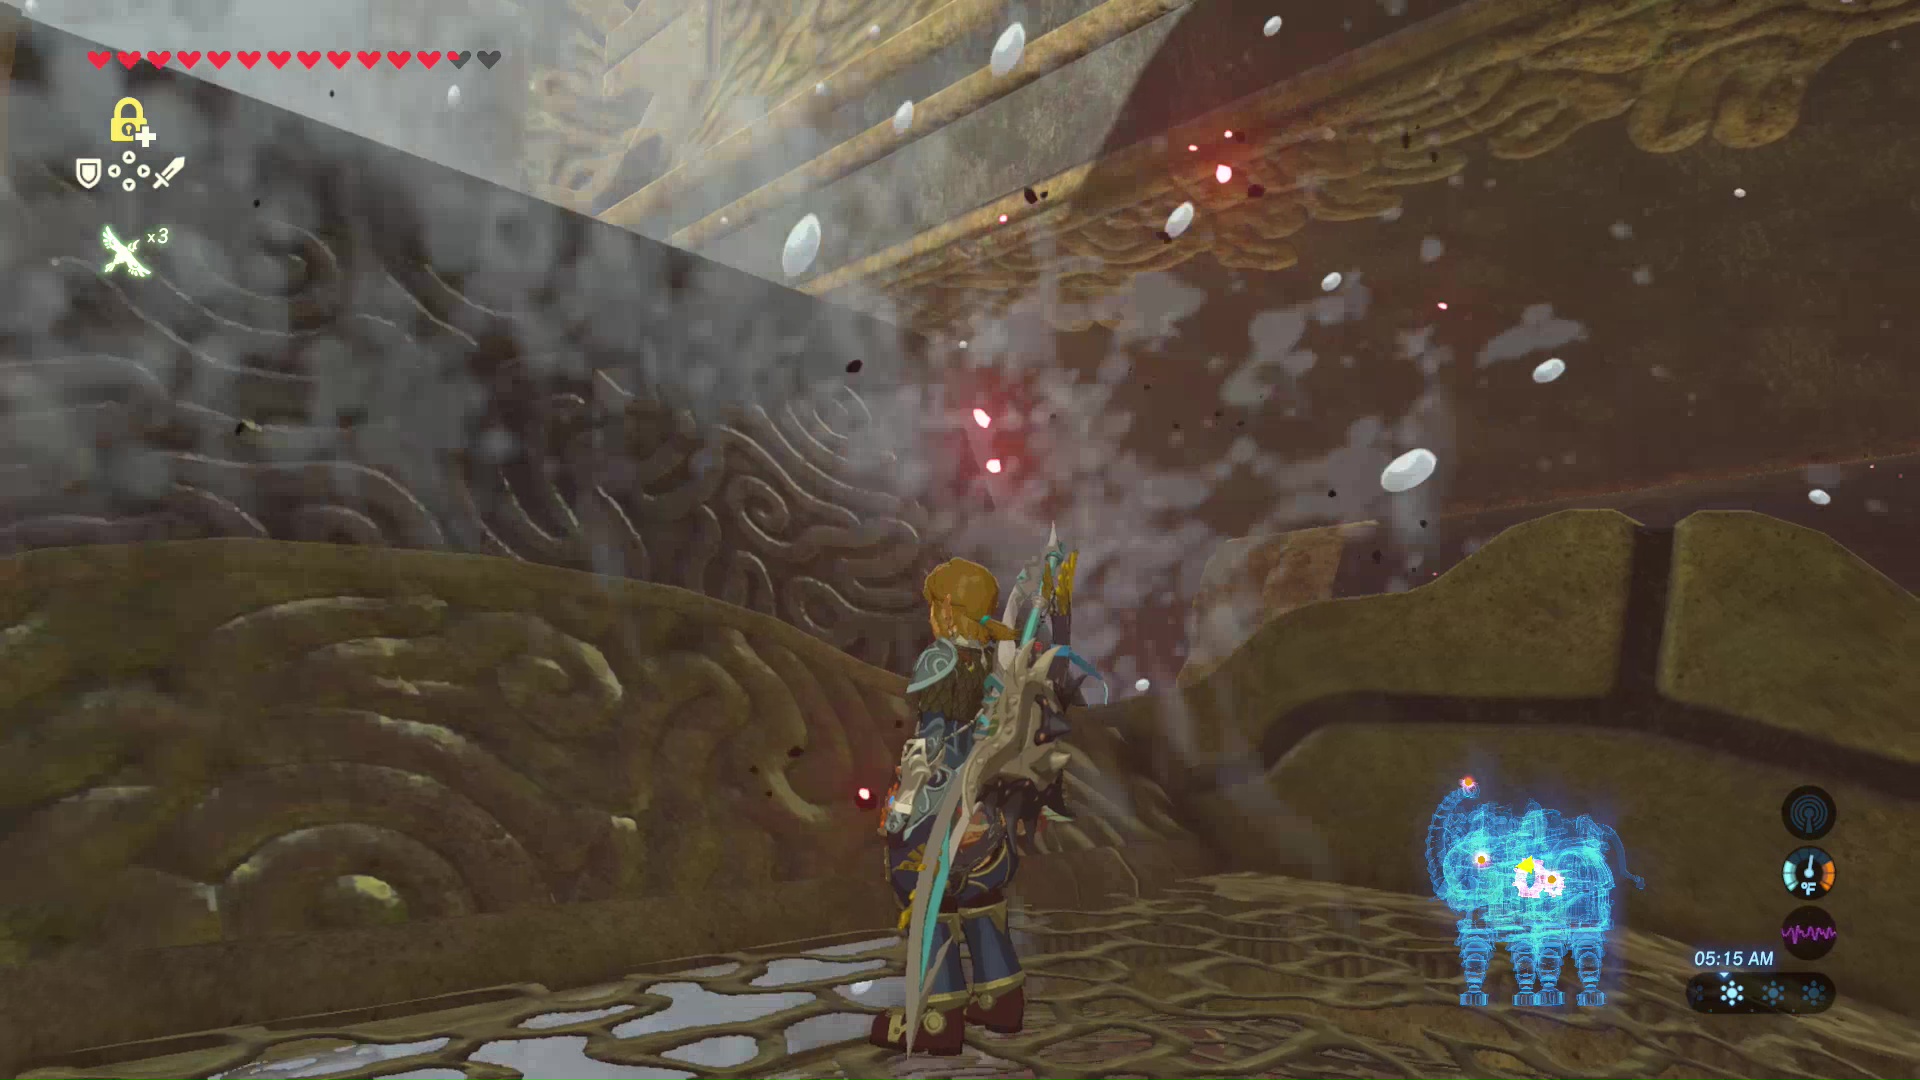
Move the trunk downward and glide down the center of Vah Ruta towards the next terminal. This terminal will be surrounded by flames.
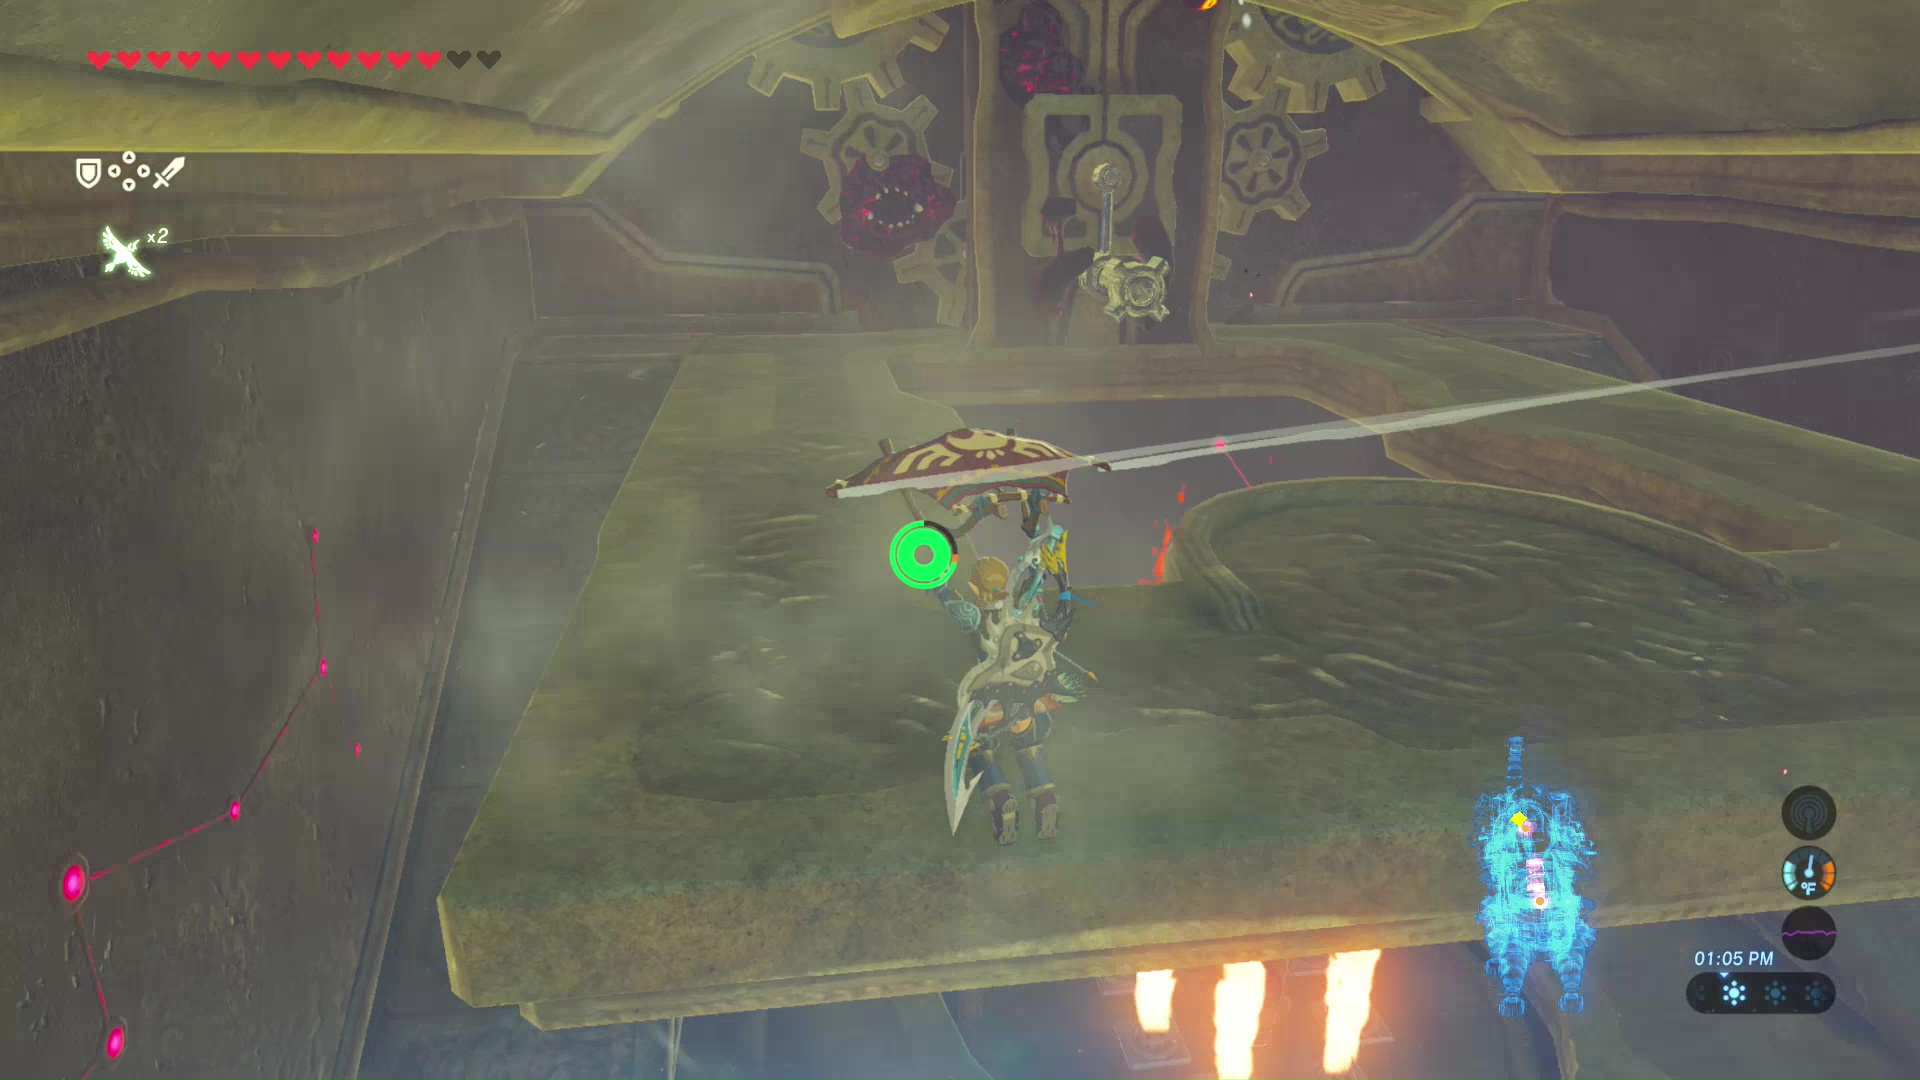
First, shoot the calamity eye on the ceiling to prevent monsters from spawning. Next, use the Magnesis Rune to spin a large gear on the wall, opening the roof and extinguishing the flames with a waterfall and allowing you to interact with the sixth terminal.
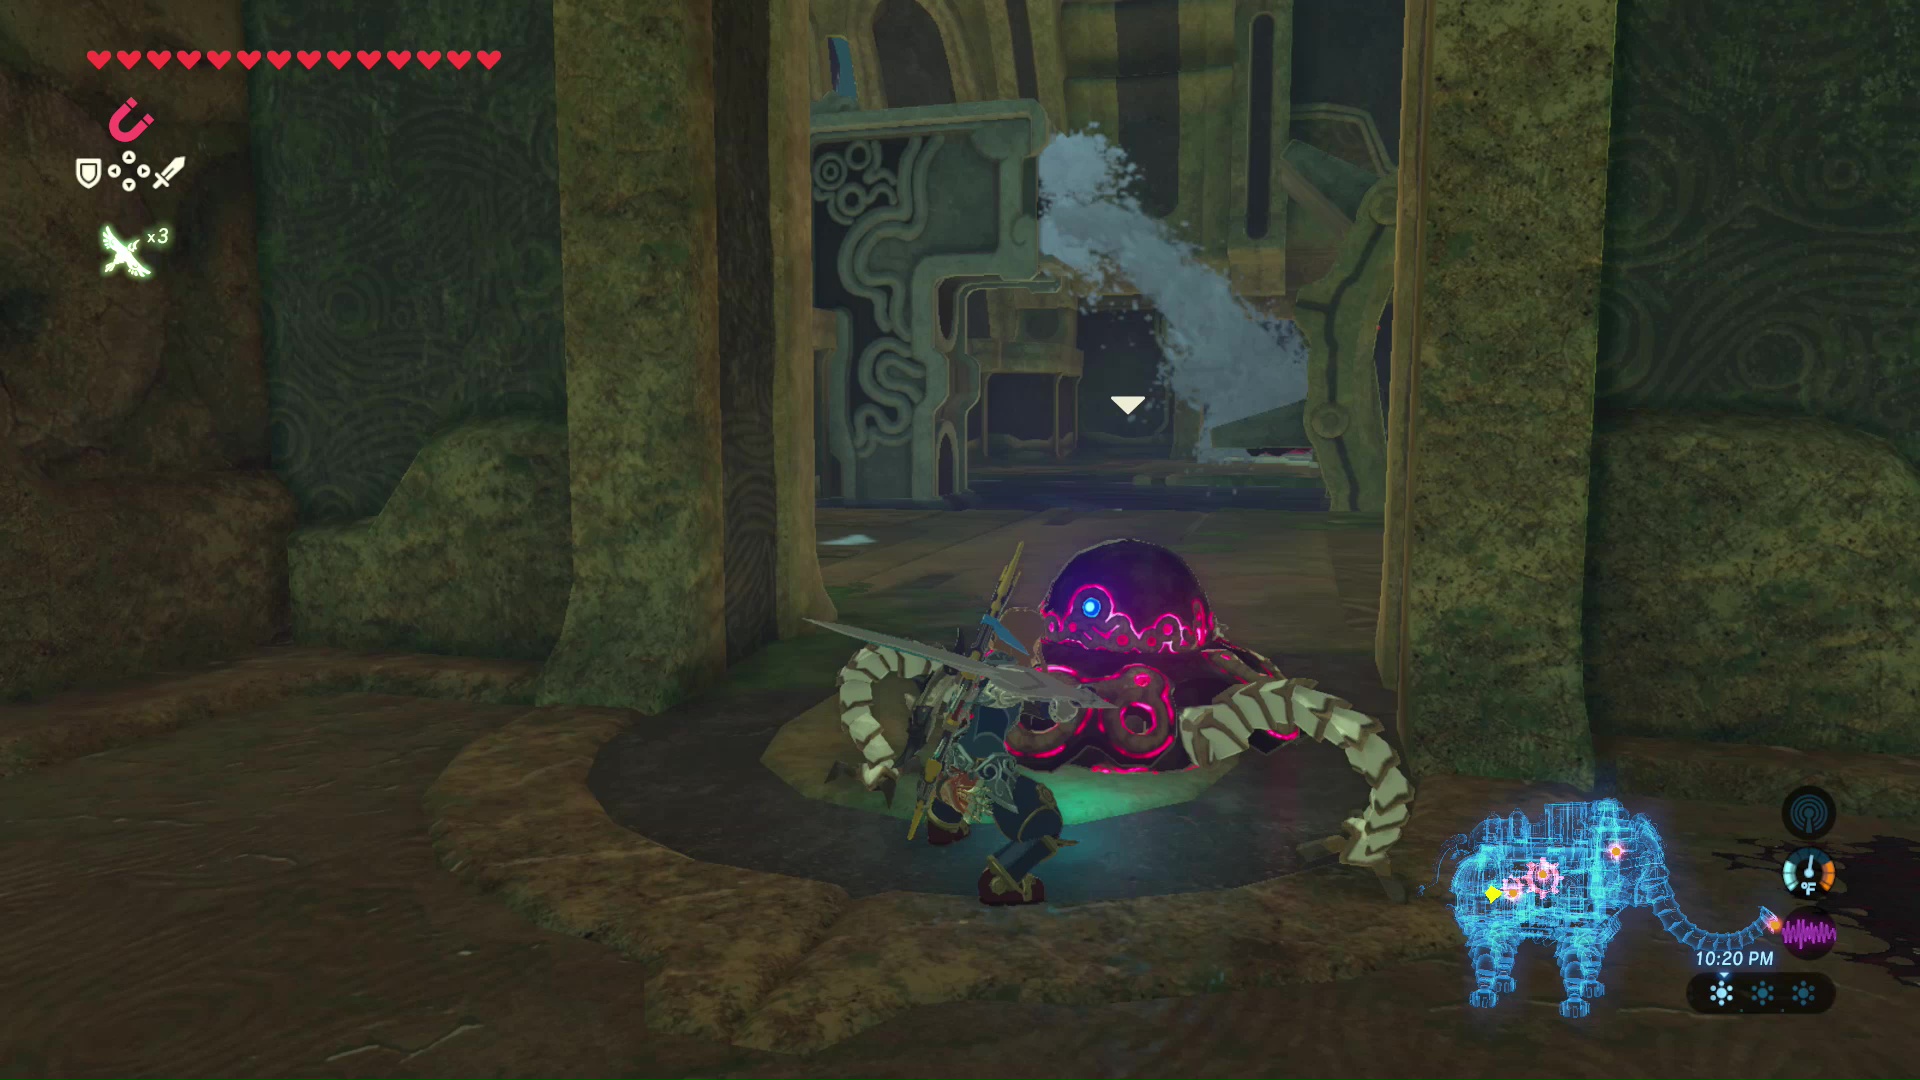
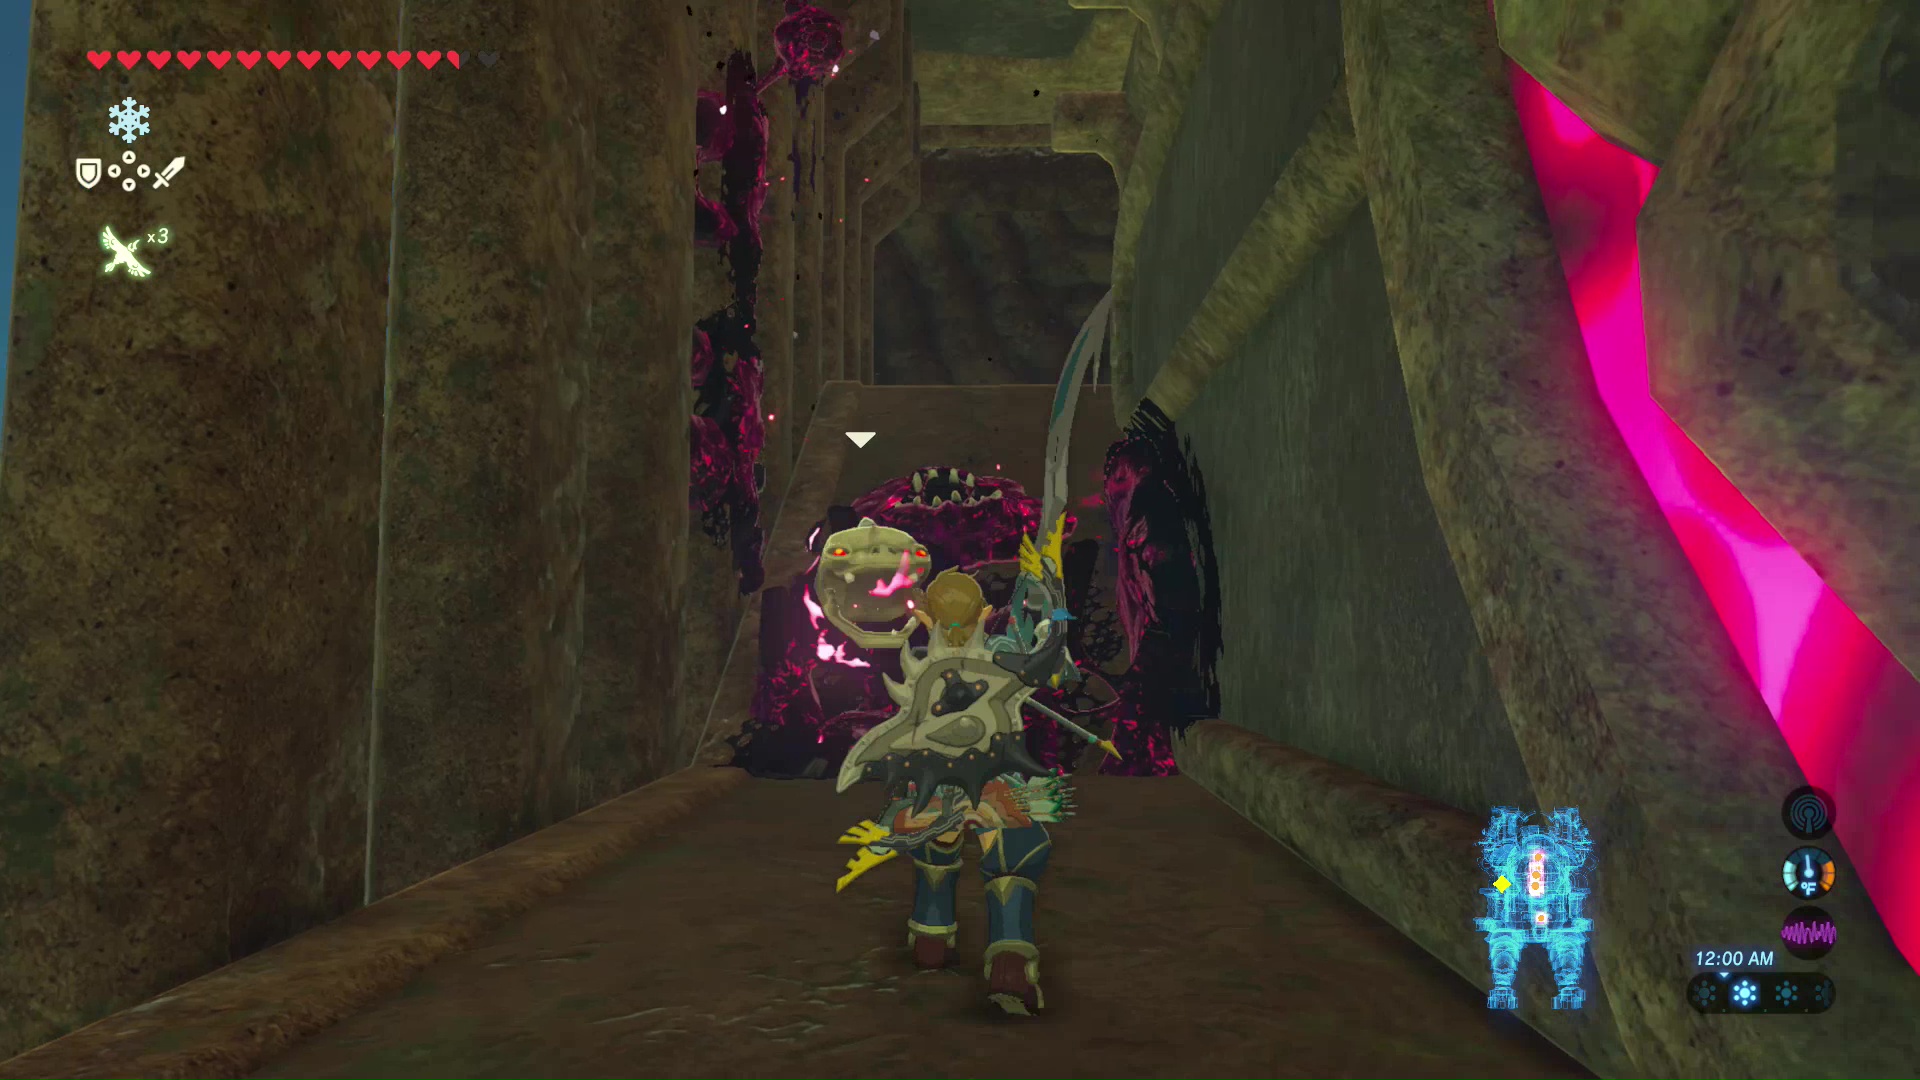
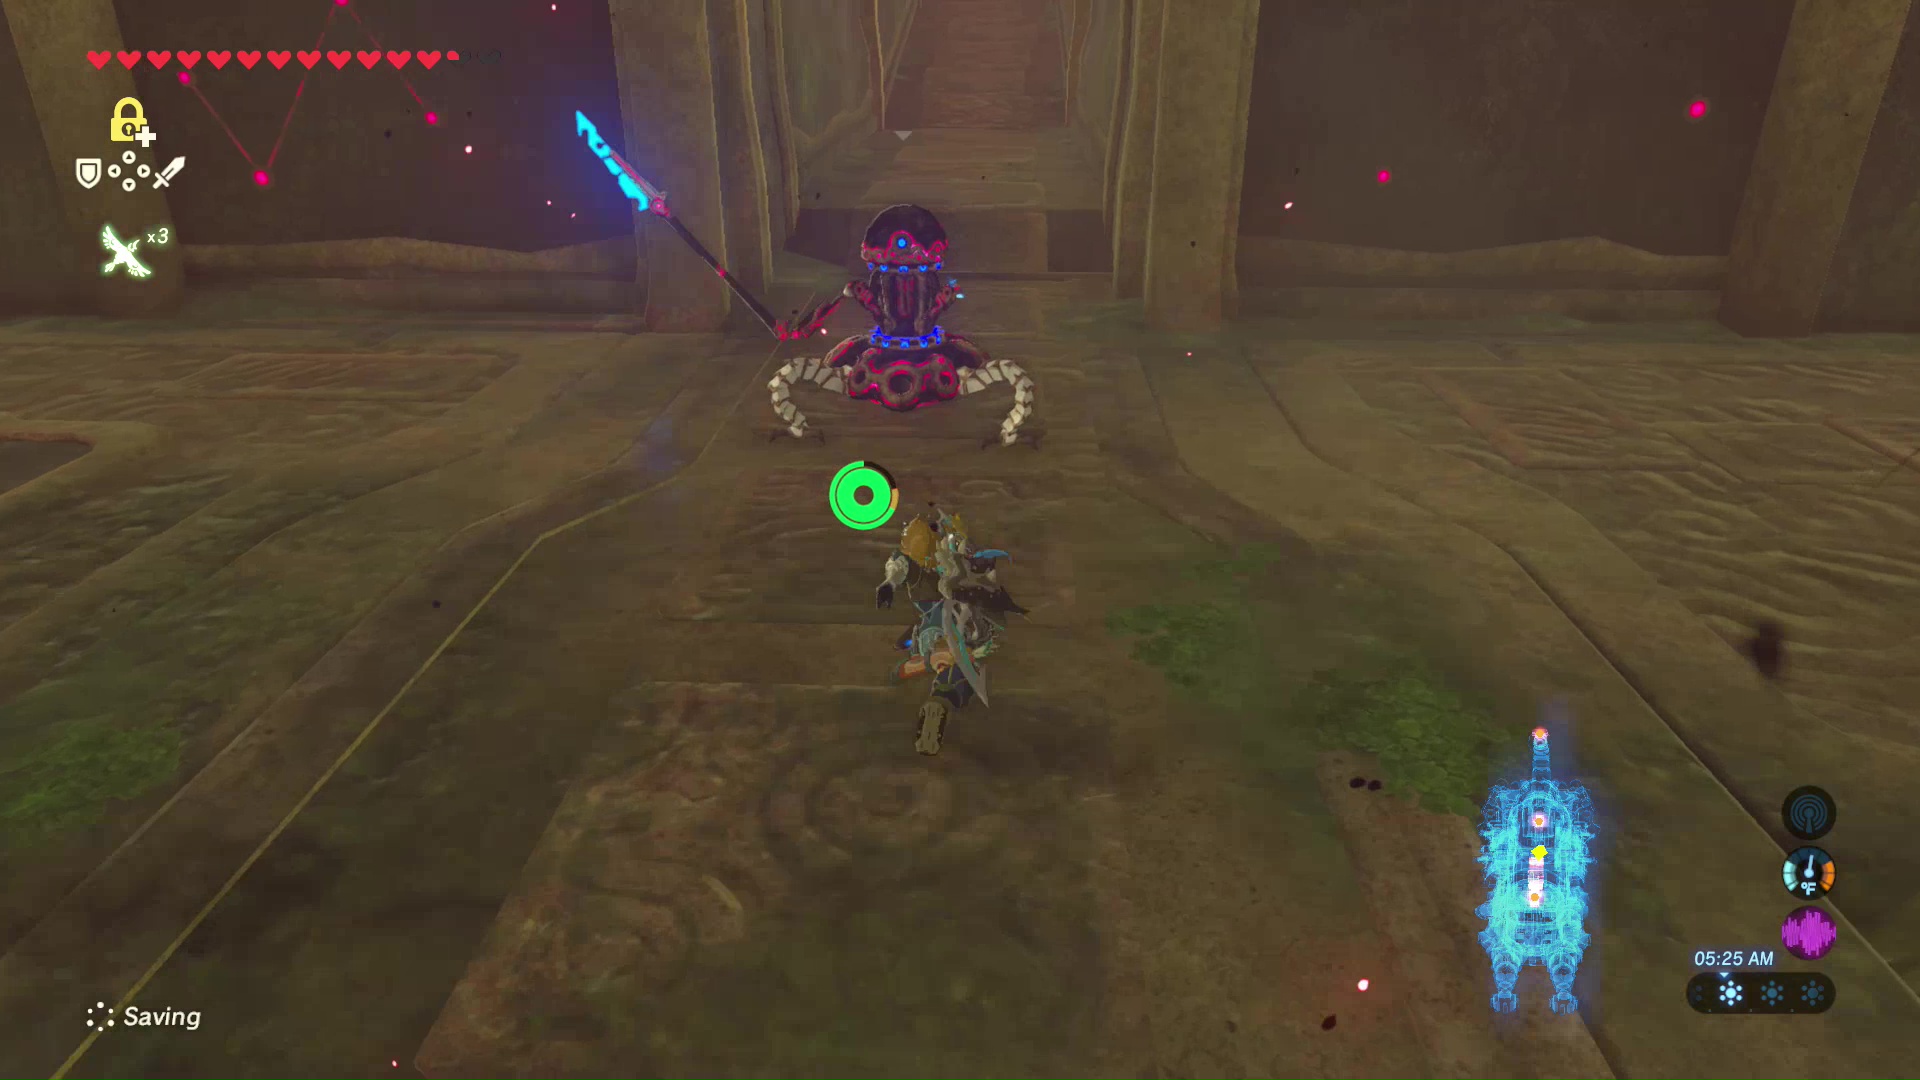
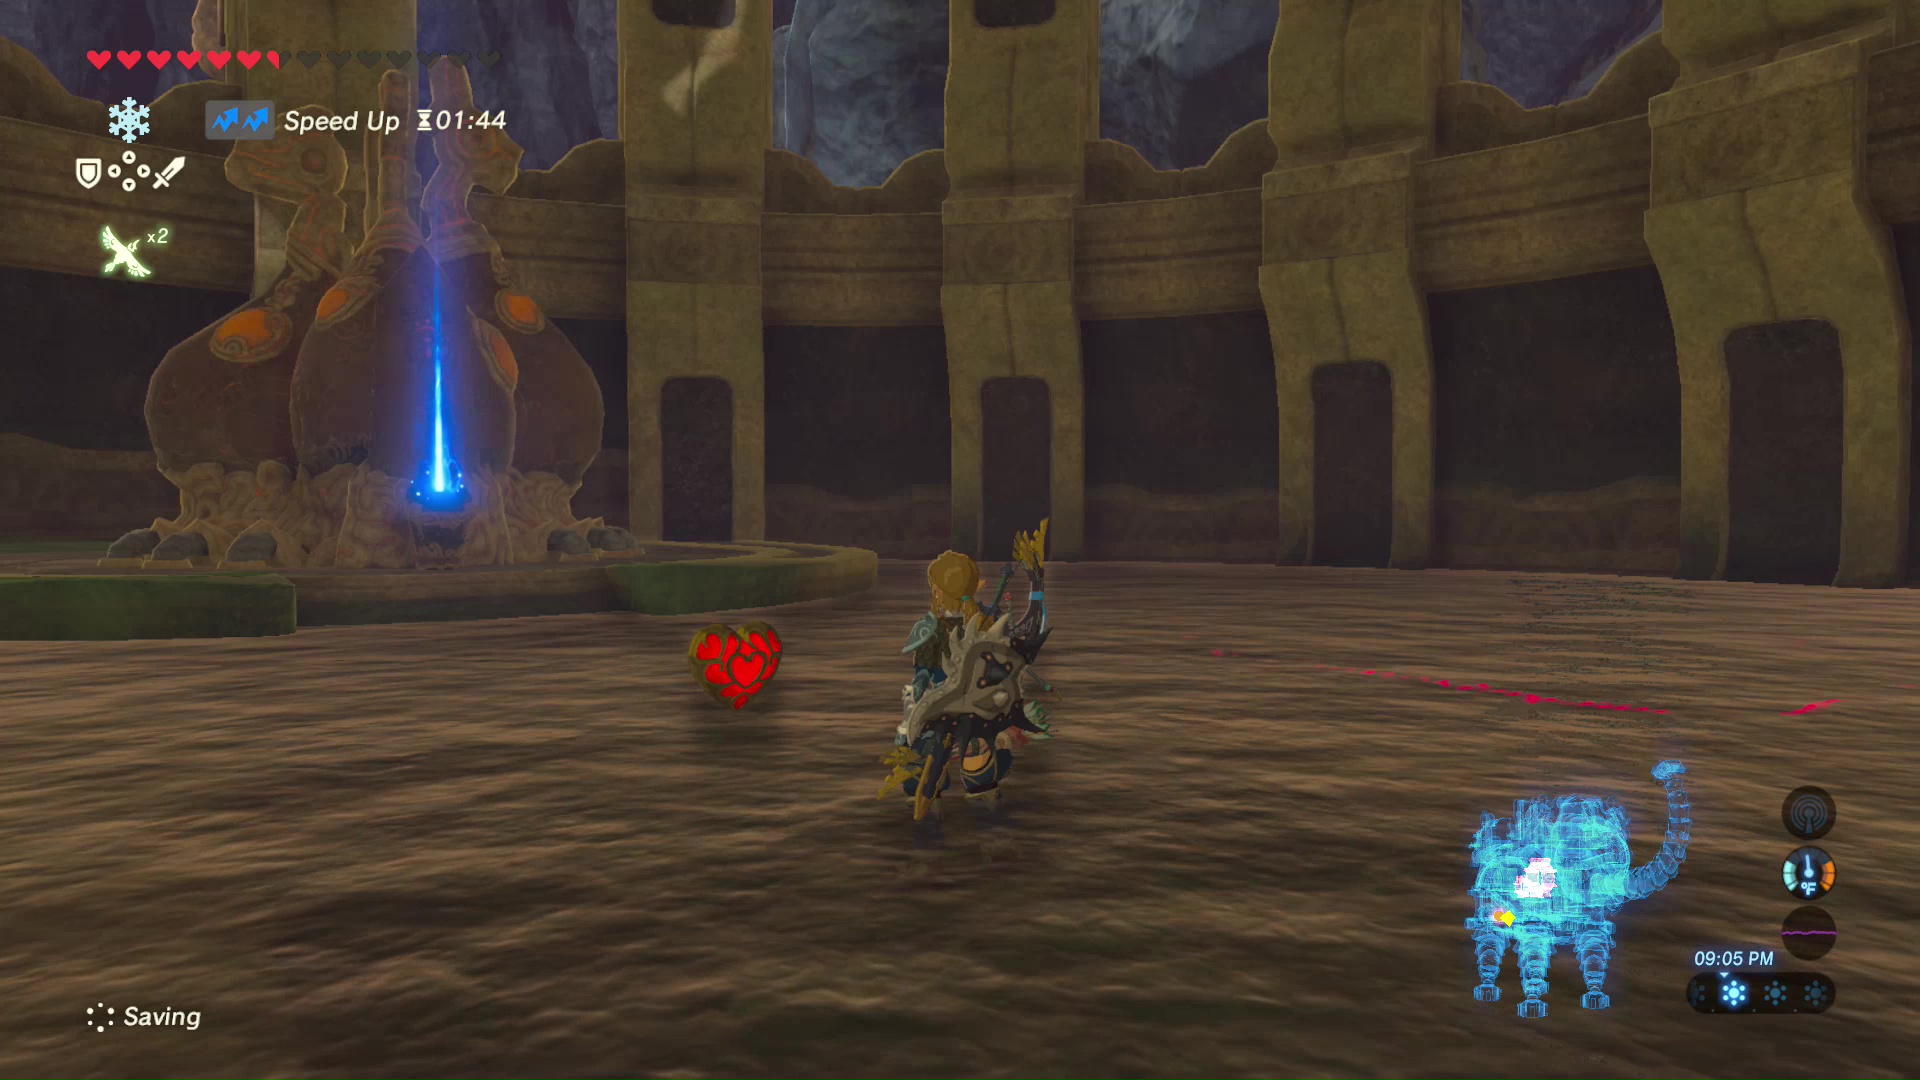
Turn around and jump down to a platform below. A treasure chest containing a Royal Halberd can be found here. Return to the main room and interact with the final terminal to bring forth Waterblight Ganon. Make sure you are fully healed and prepared for a fight!
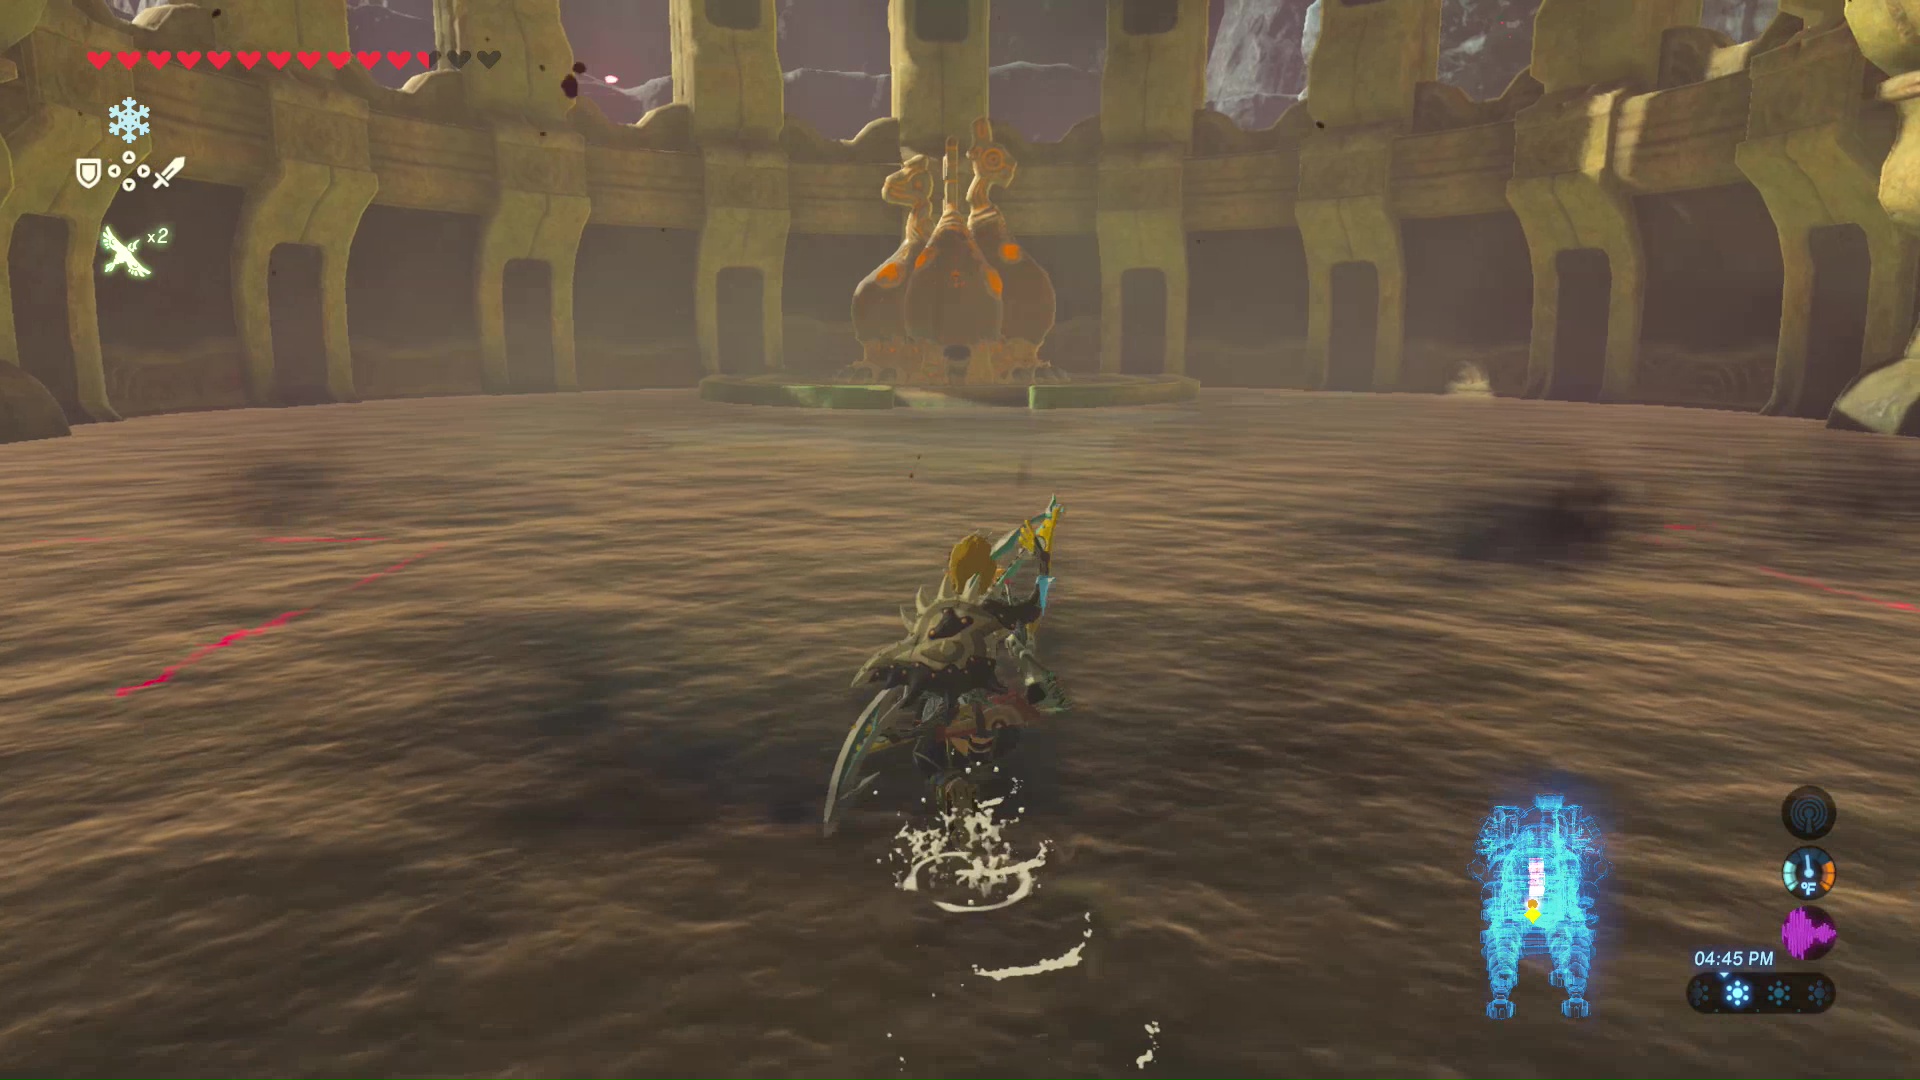
Boss Battle: Waterblight Ganon
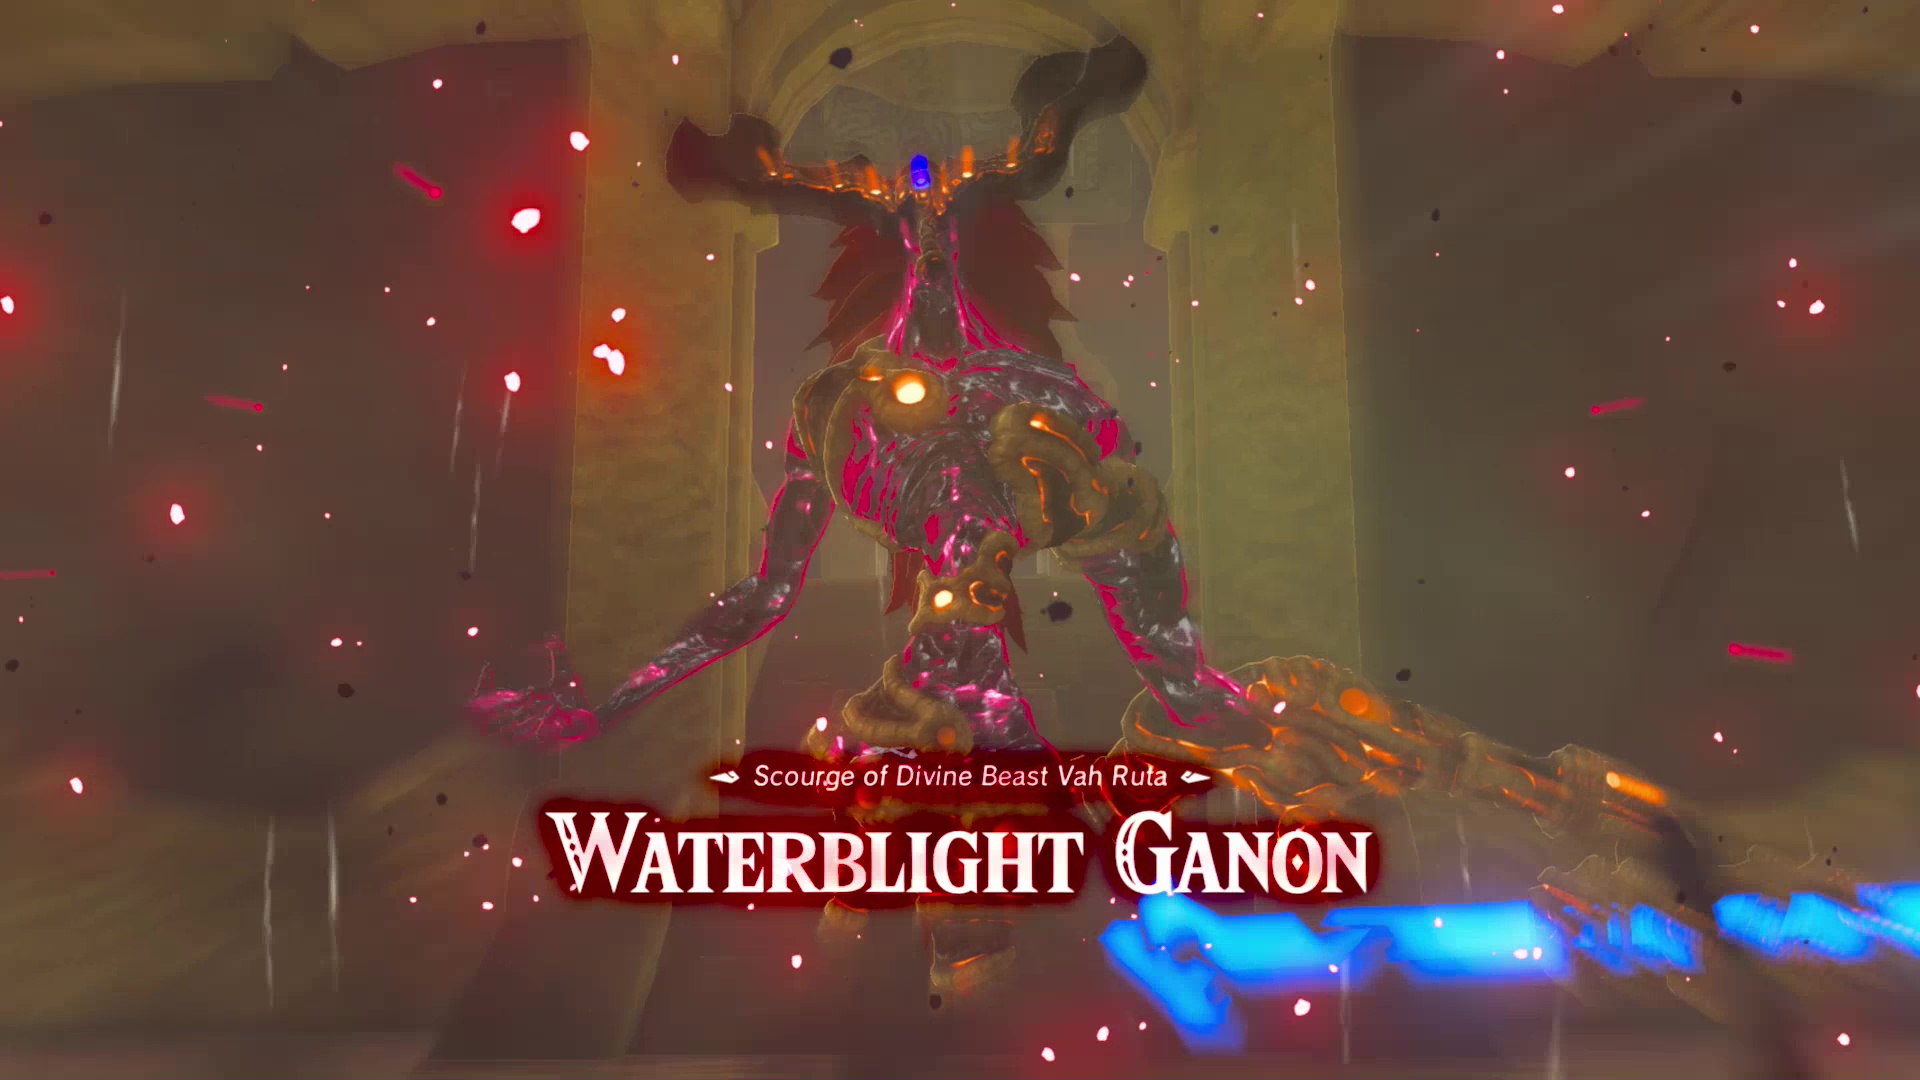
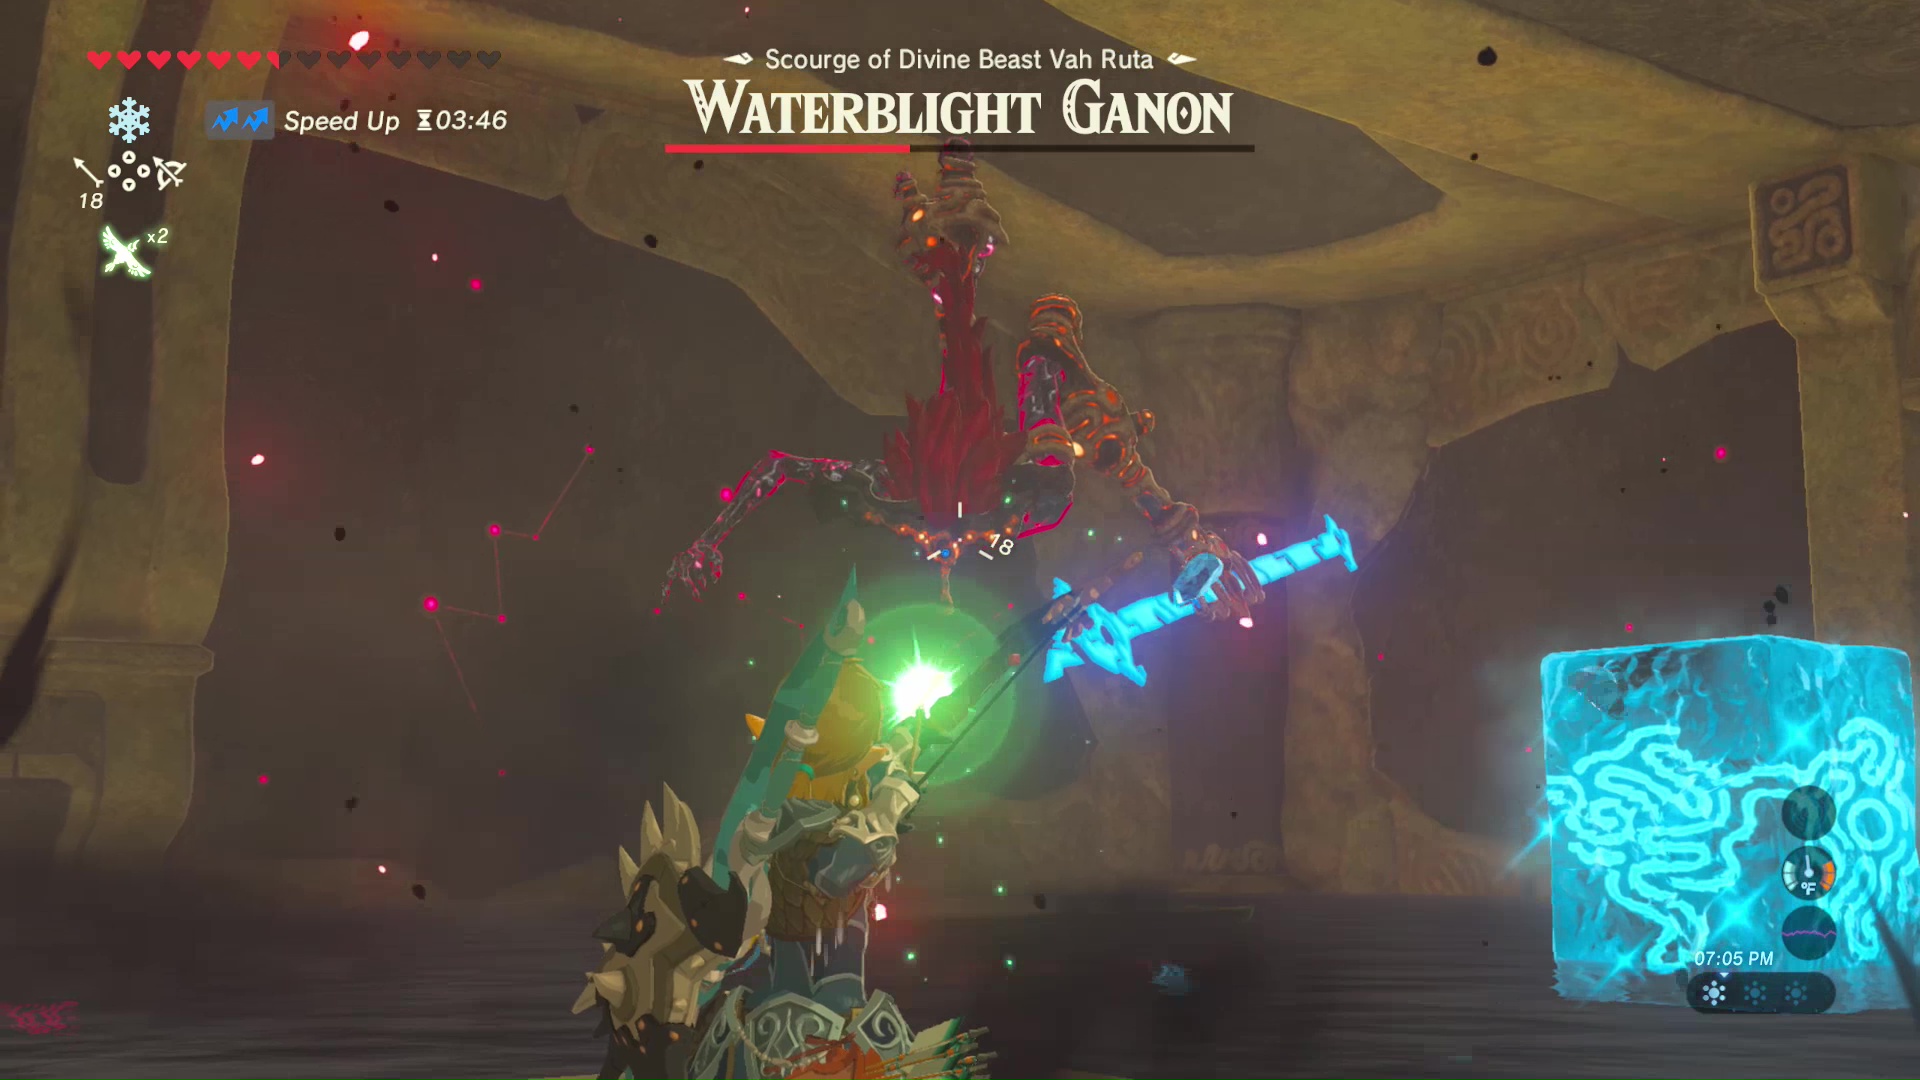
Meeting Waterblight Ganon head on will cause him to attack with a large spear. The best option is to use the Shock Arrows gathered before starting this quest. They will cause major damage and paralyze him for a short time. While down, use the Stasis Rune to freeze Waterblight Ganon in place, allowing you to score a few more hits.
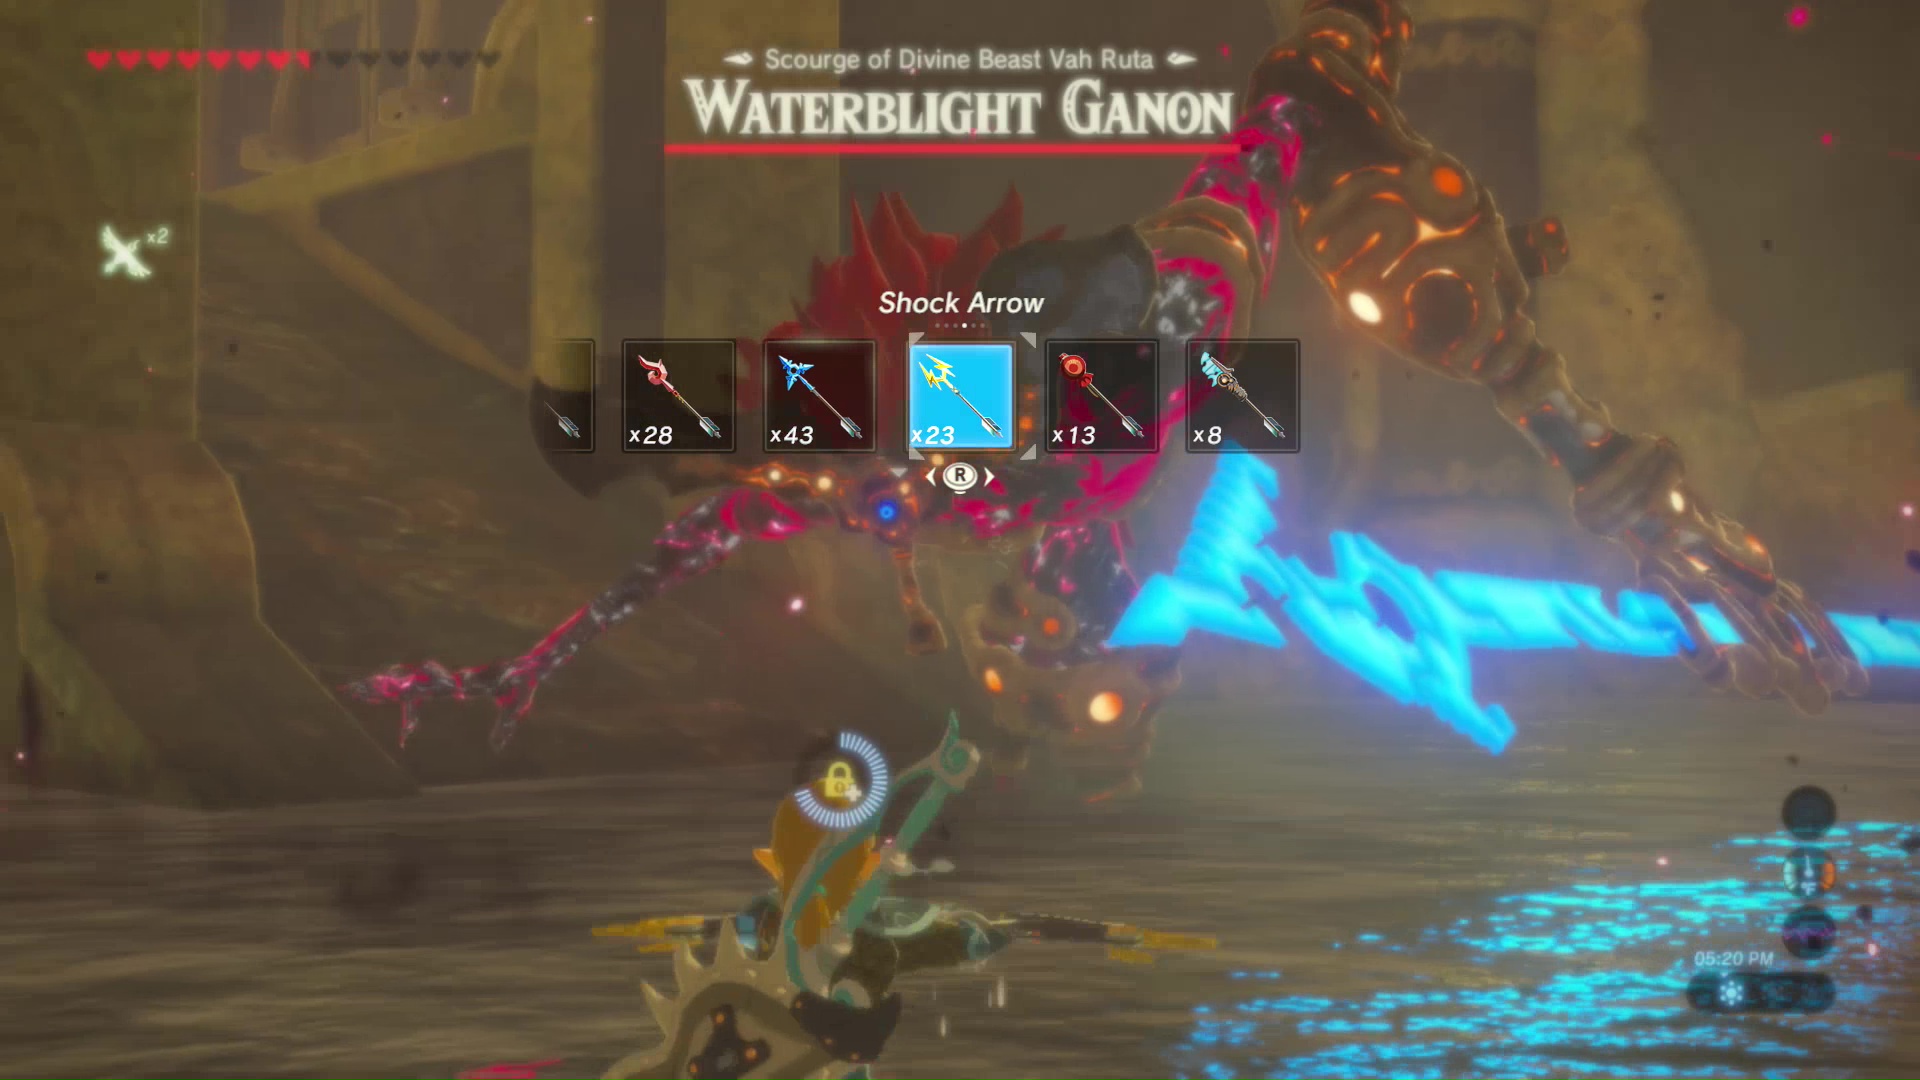
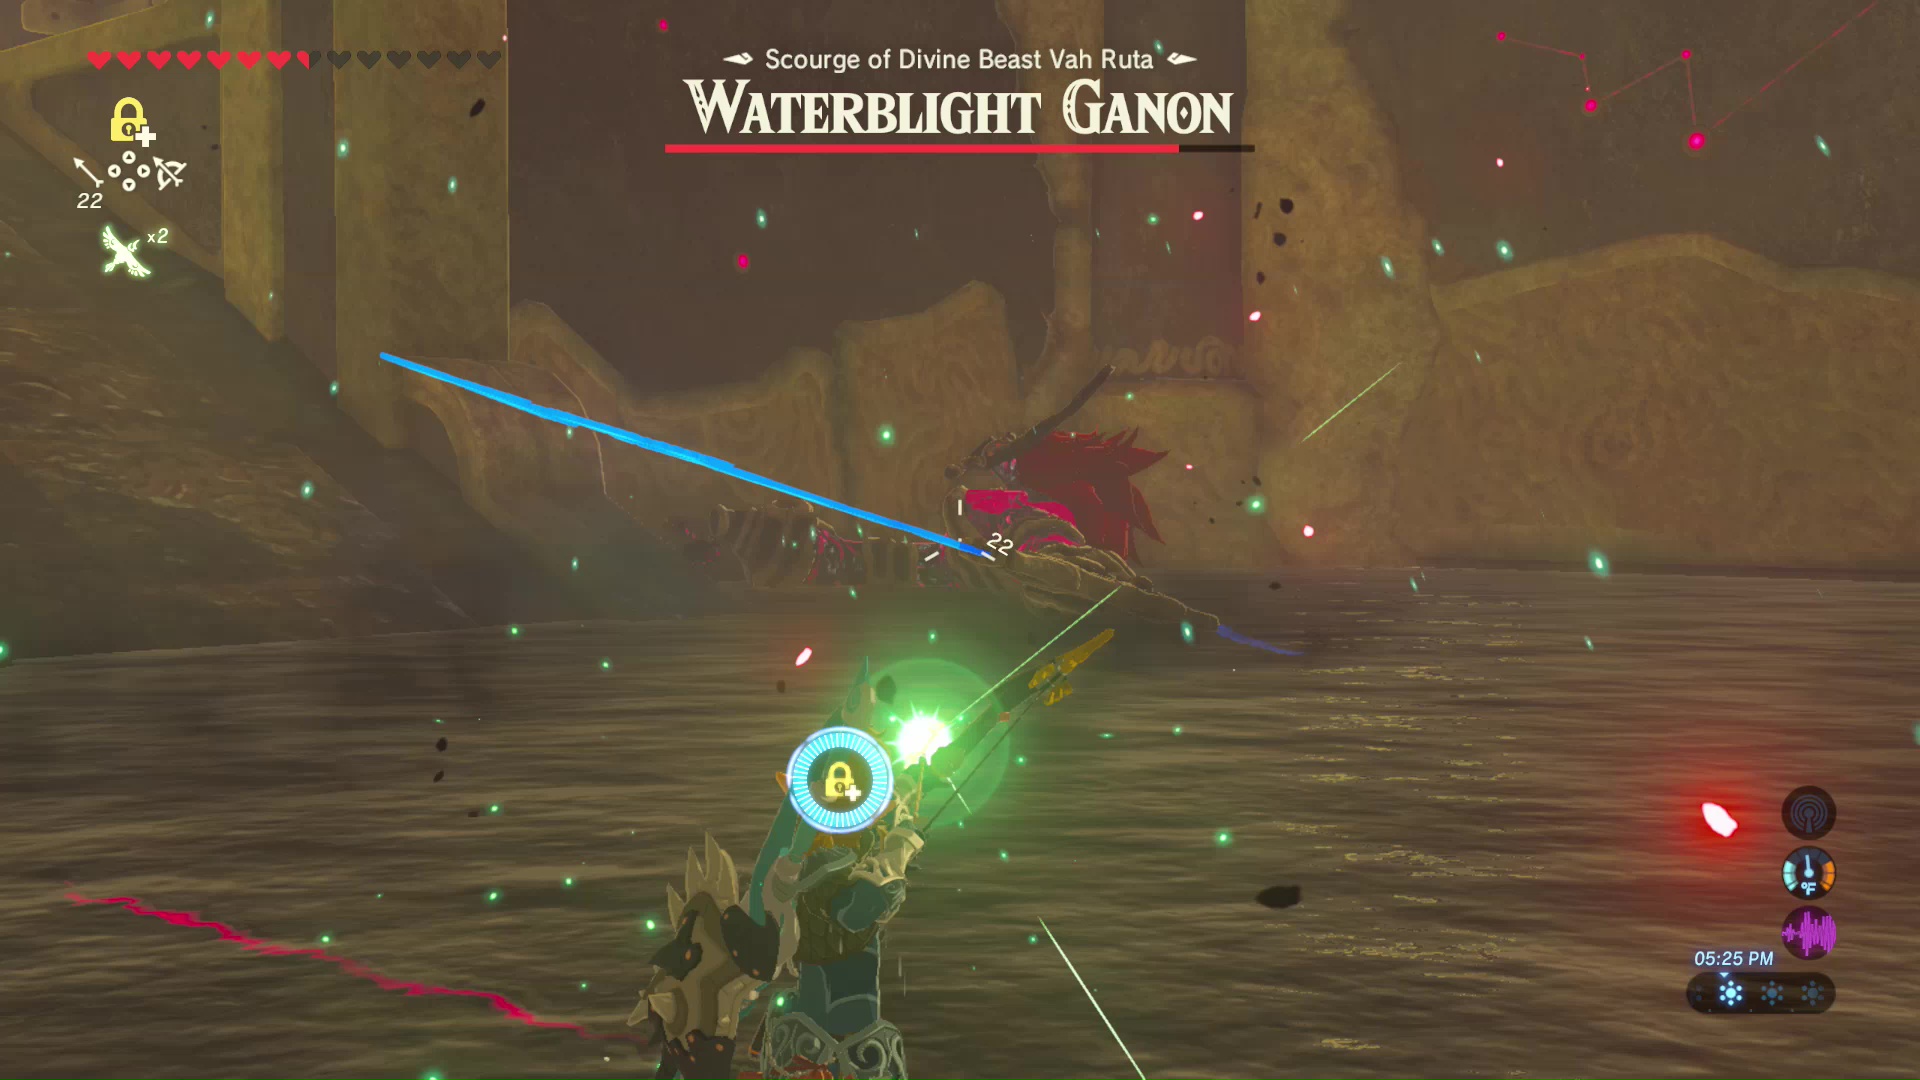
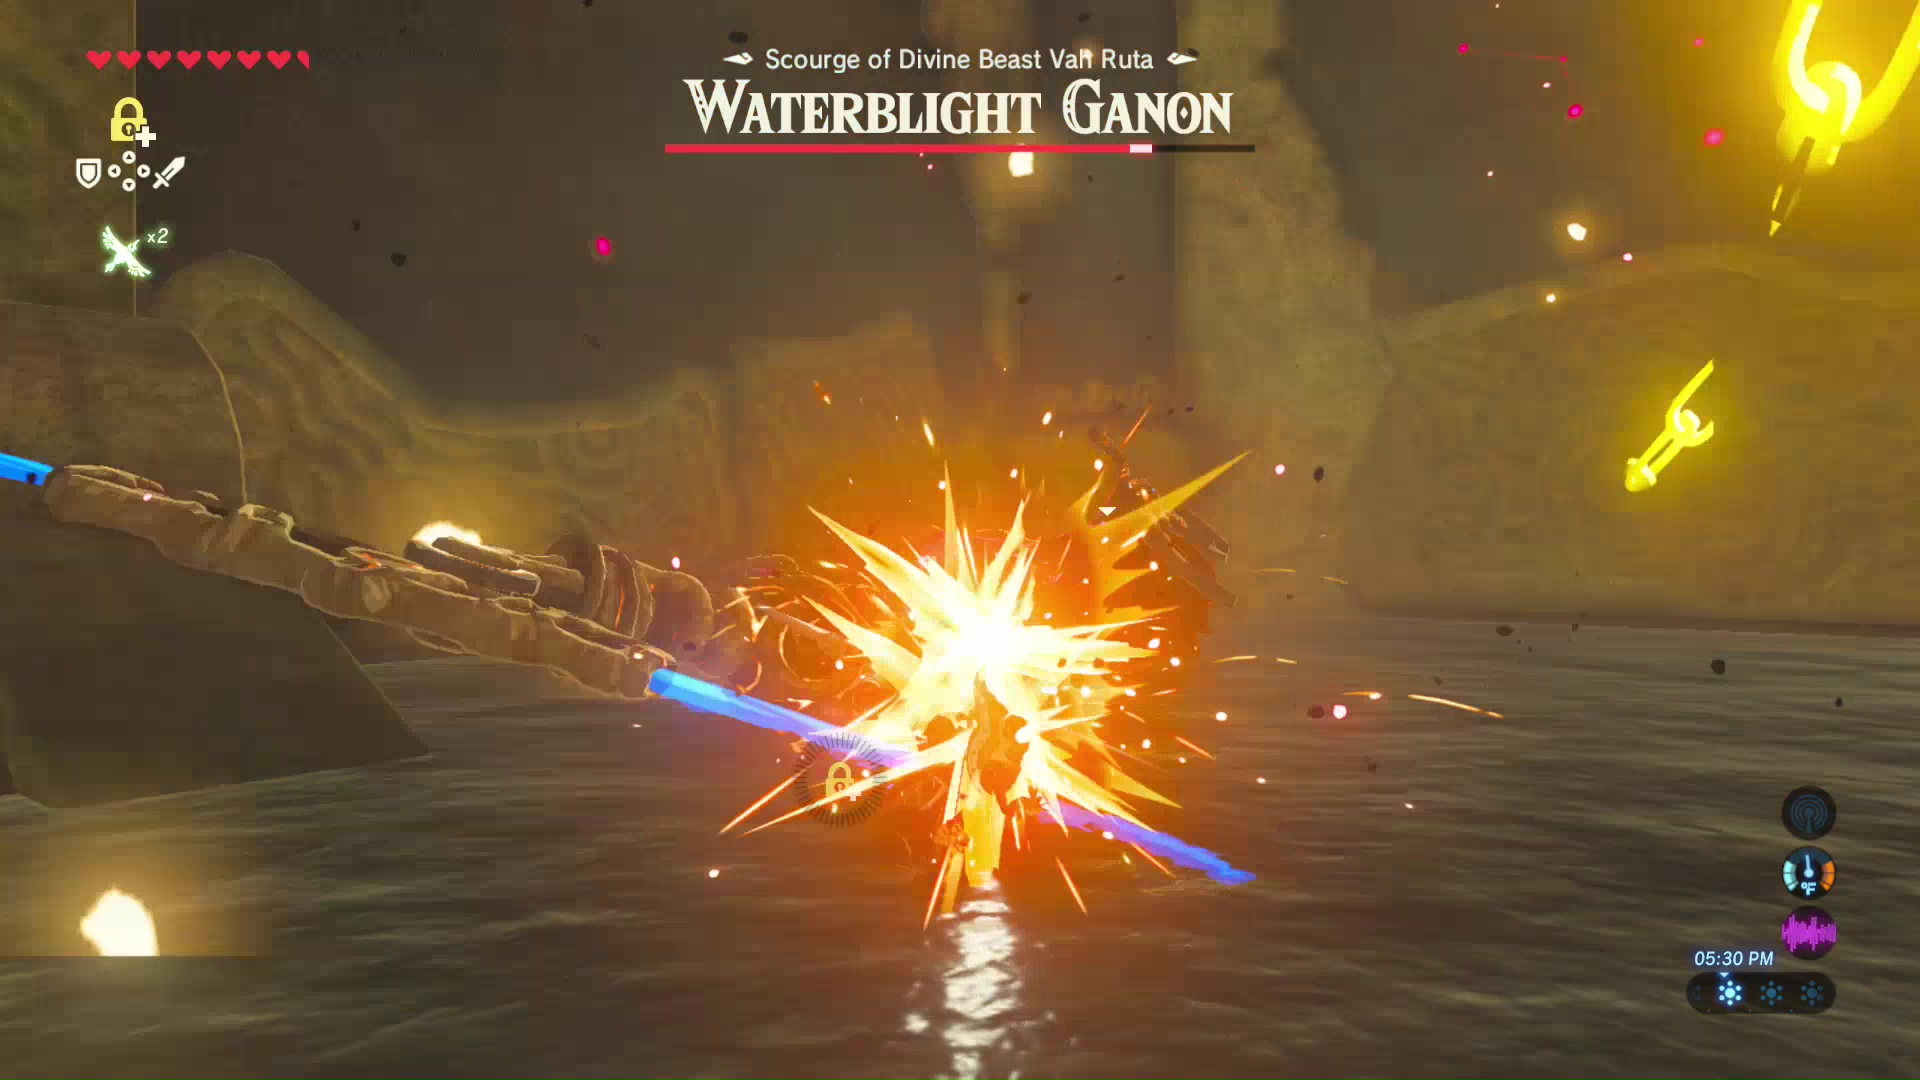
After losing some HP, Waterblight Ganon will teleport back and attack long range with his weapon. Attempt to dodge his attacks and use more Shock Arrows.
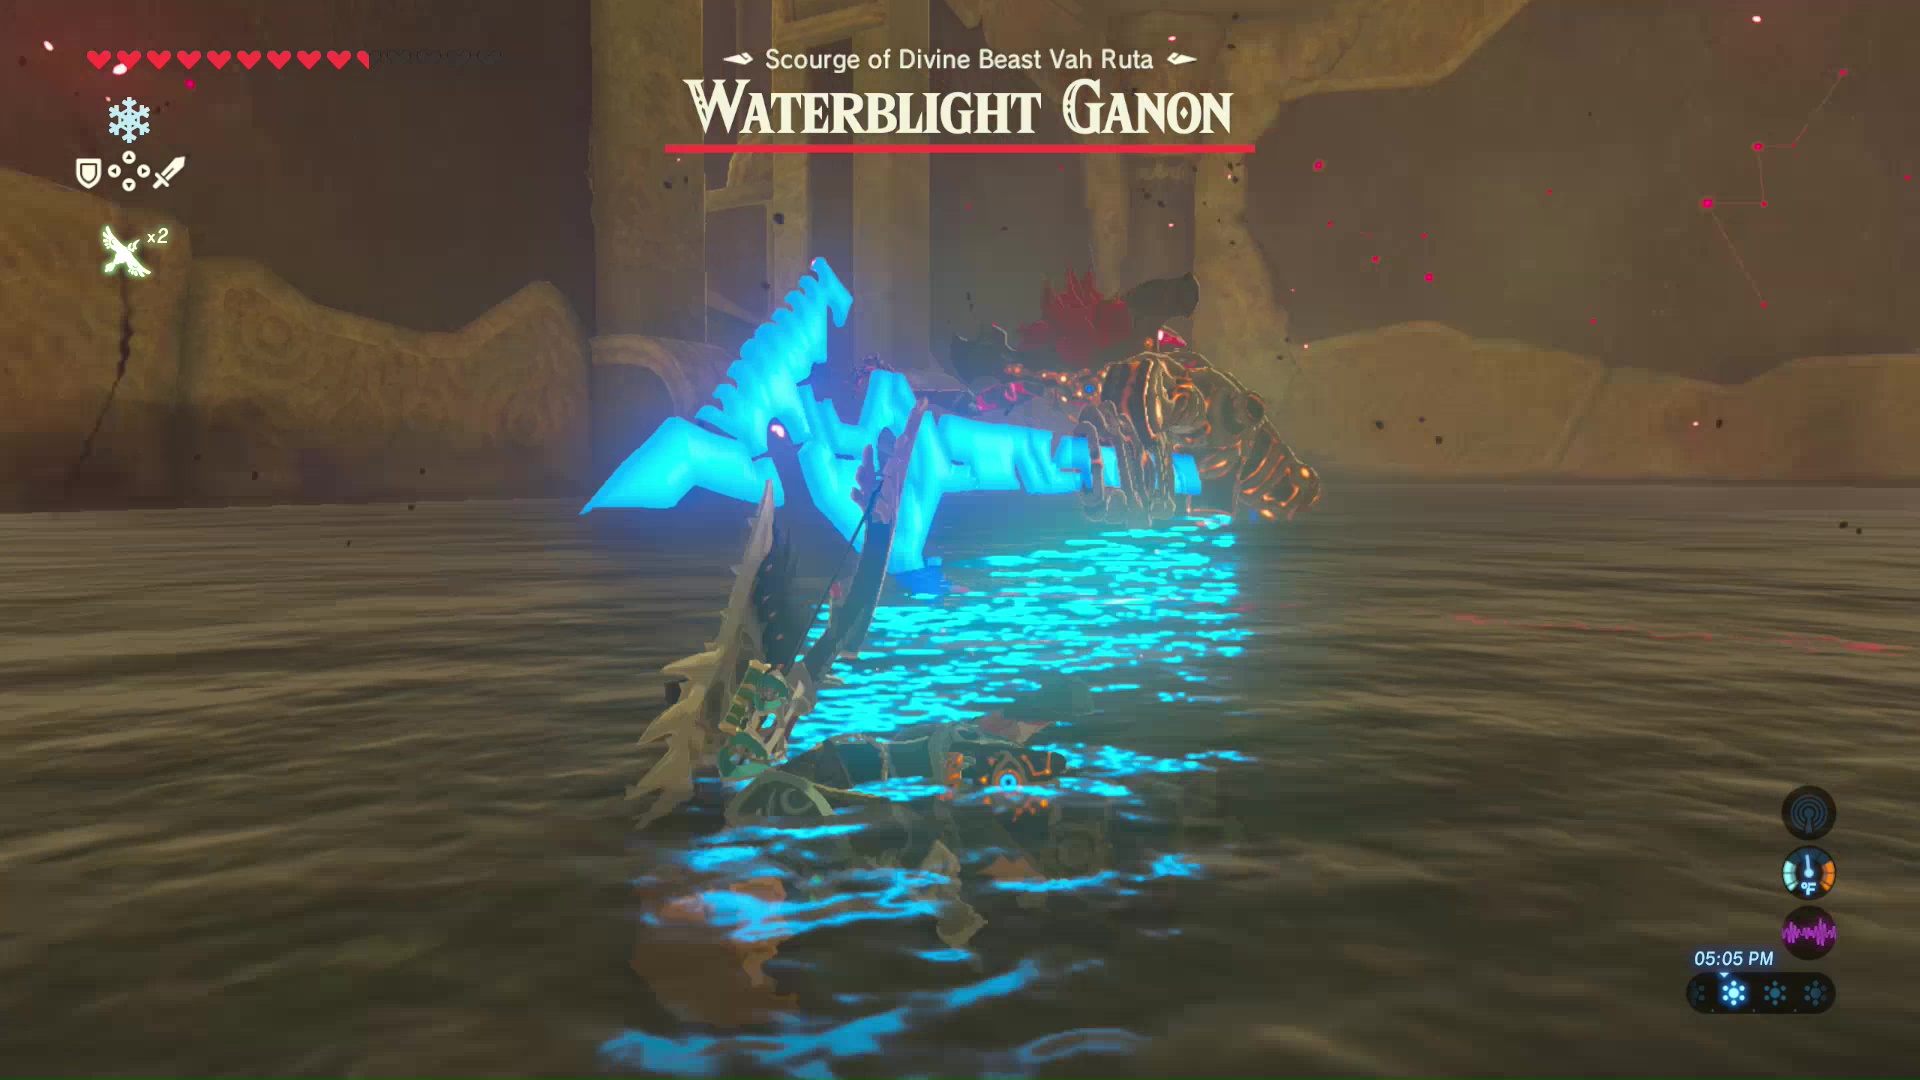
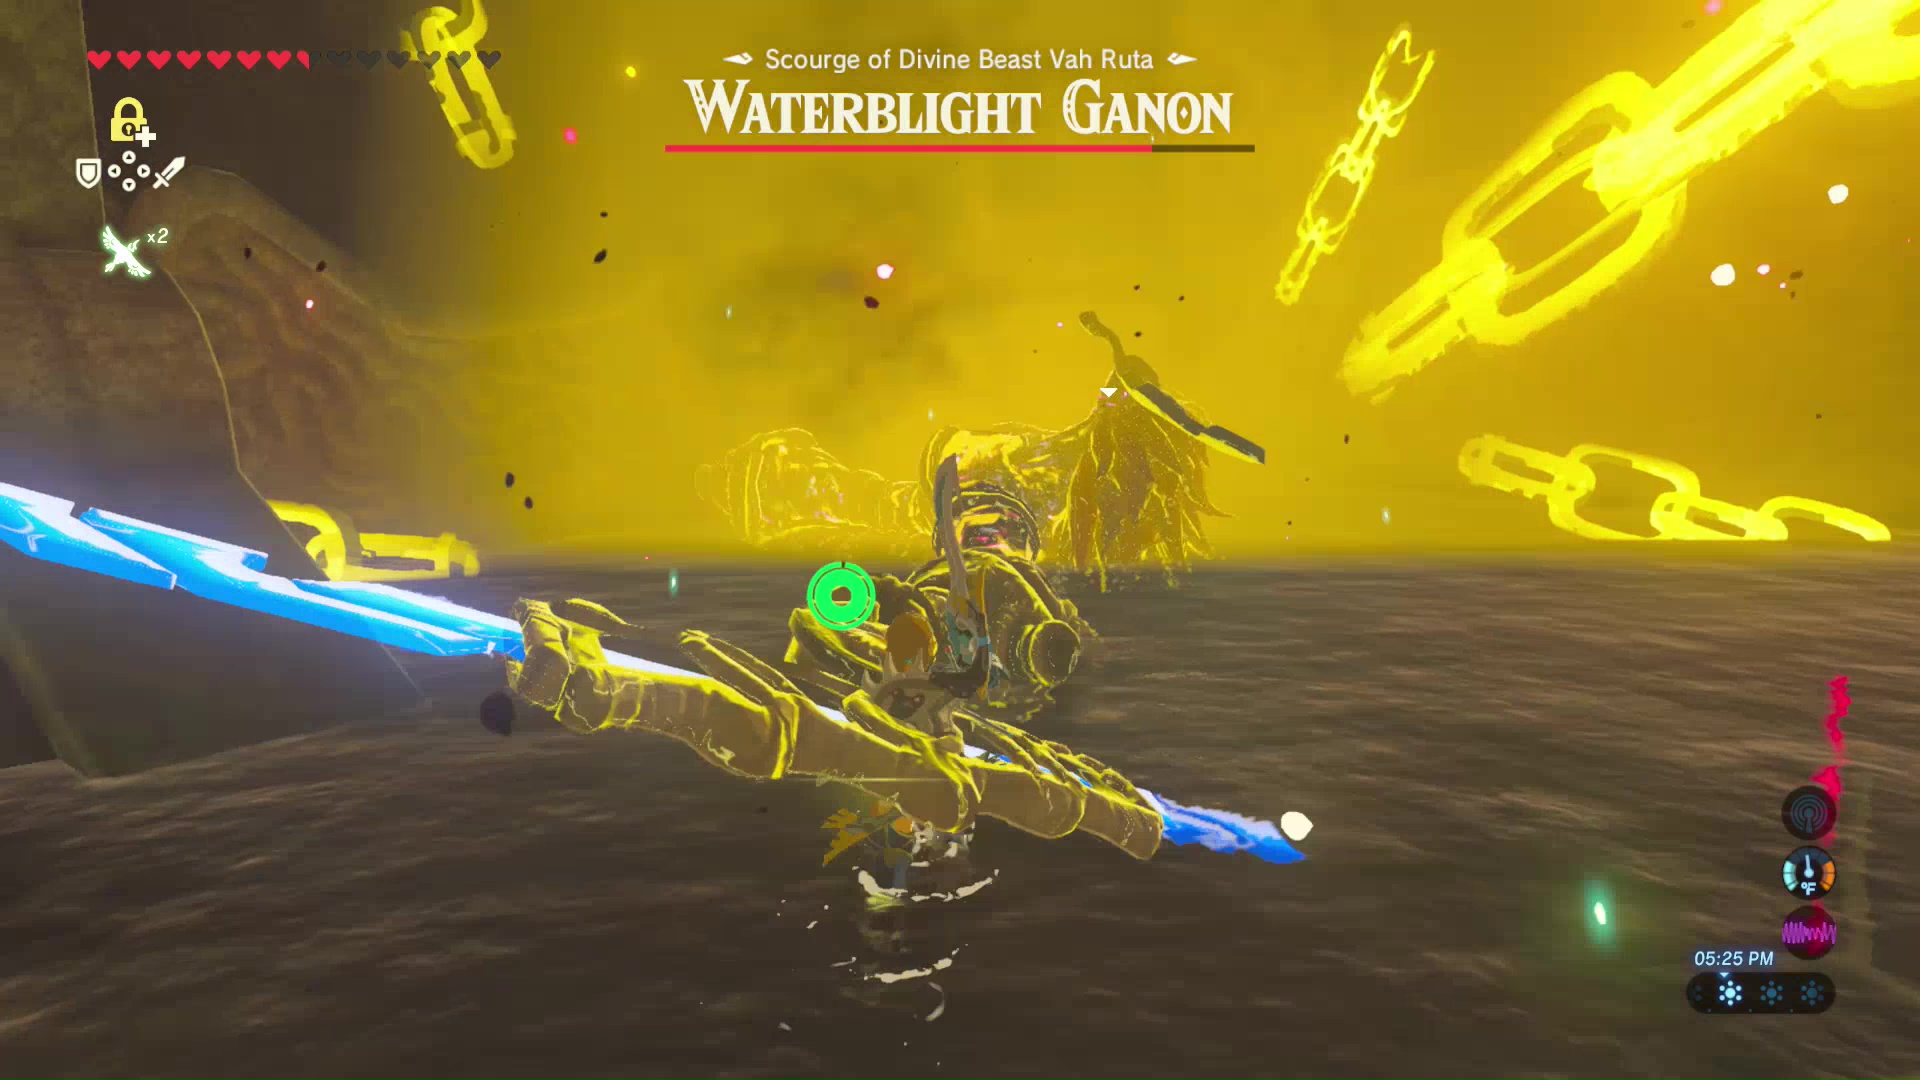
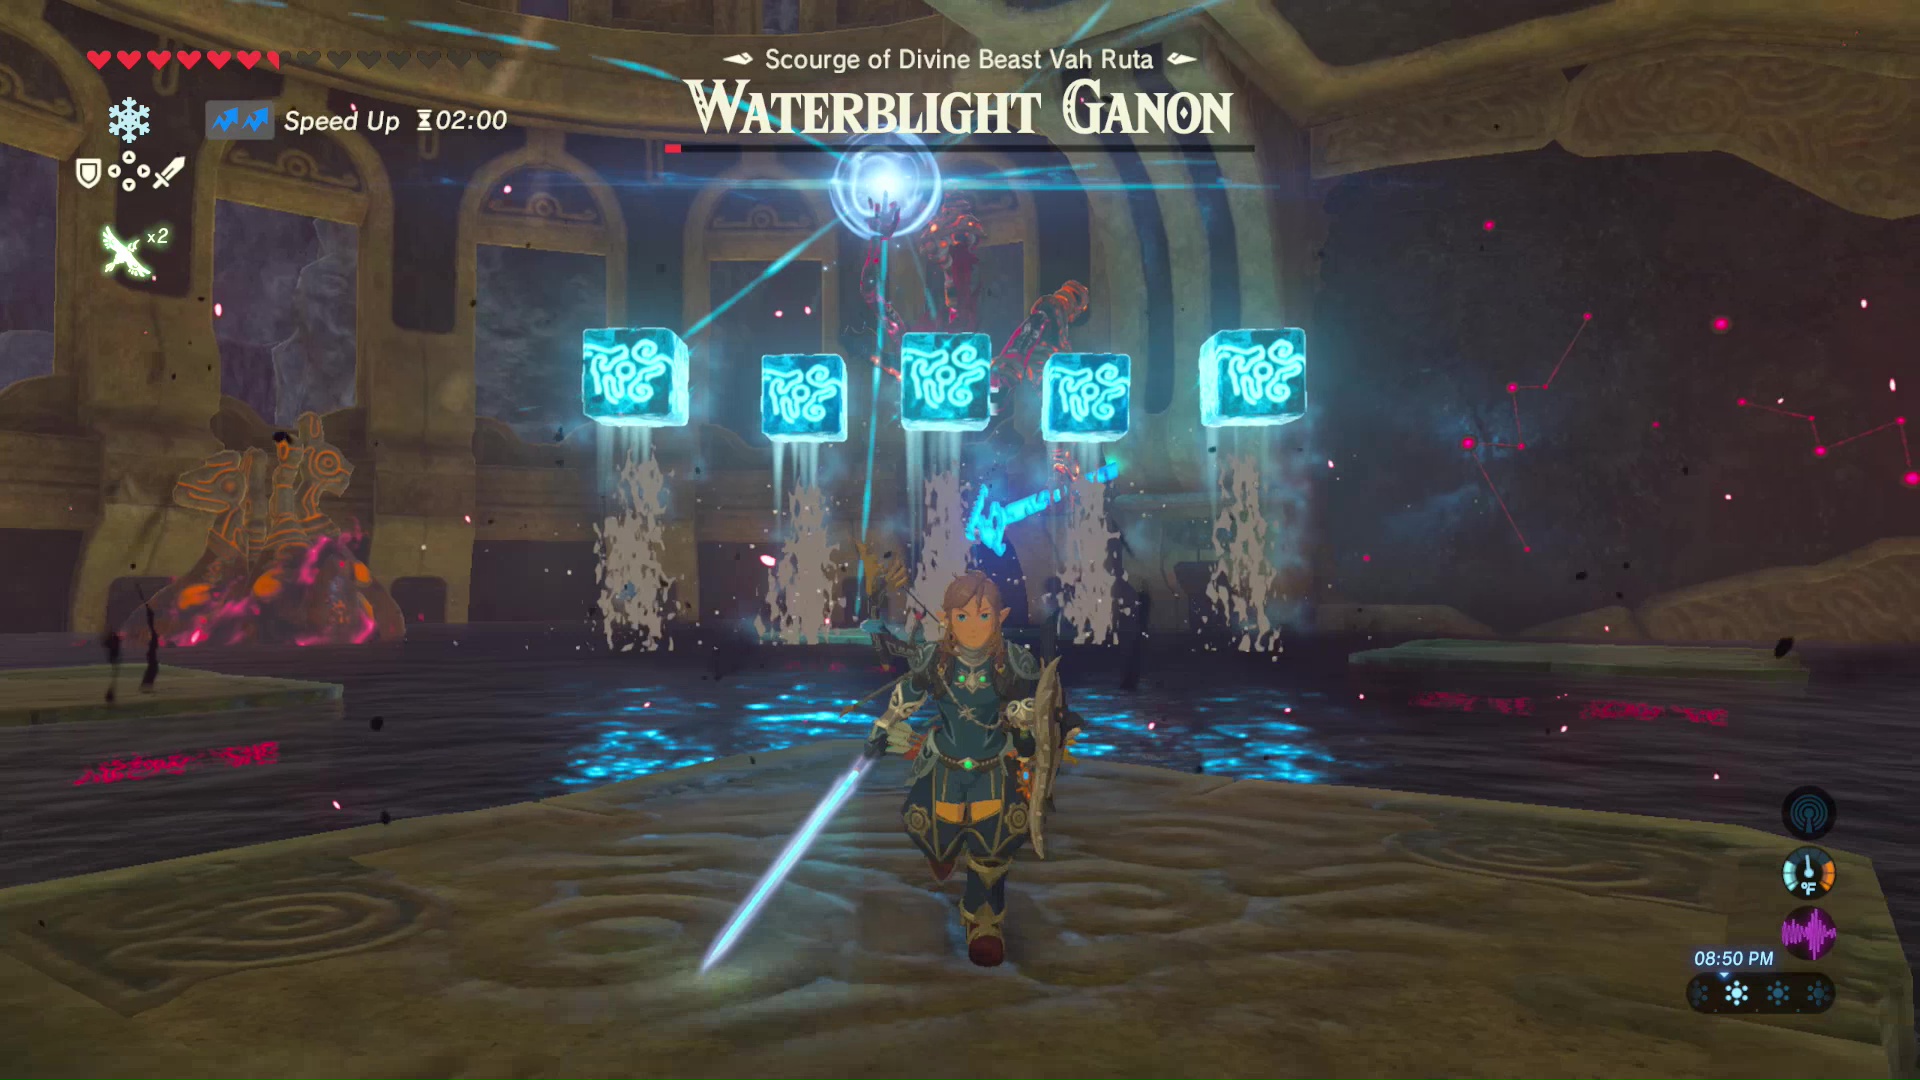
Once Waterblight Ganon’s HP reaches 50%, he will raise four platforms and sink the floor. The Cryonis Rune can be used on the water to create additional platforms for further attack. Waterblight Ganon will begin attacking by sending ice blocks towards you. These can be smashed mid-air by using the Cryonis Rune on them.
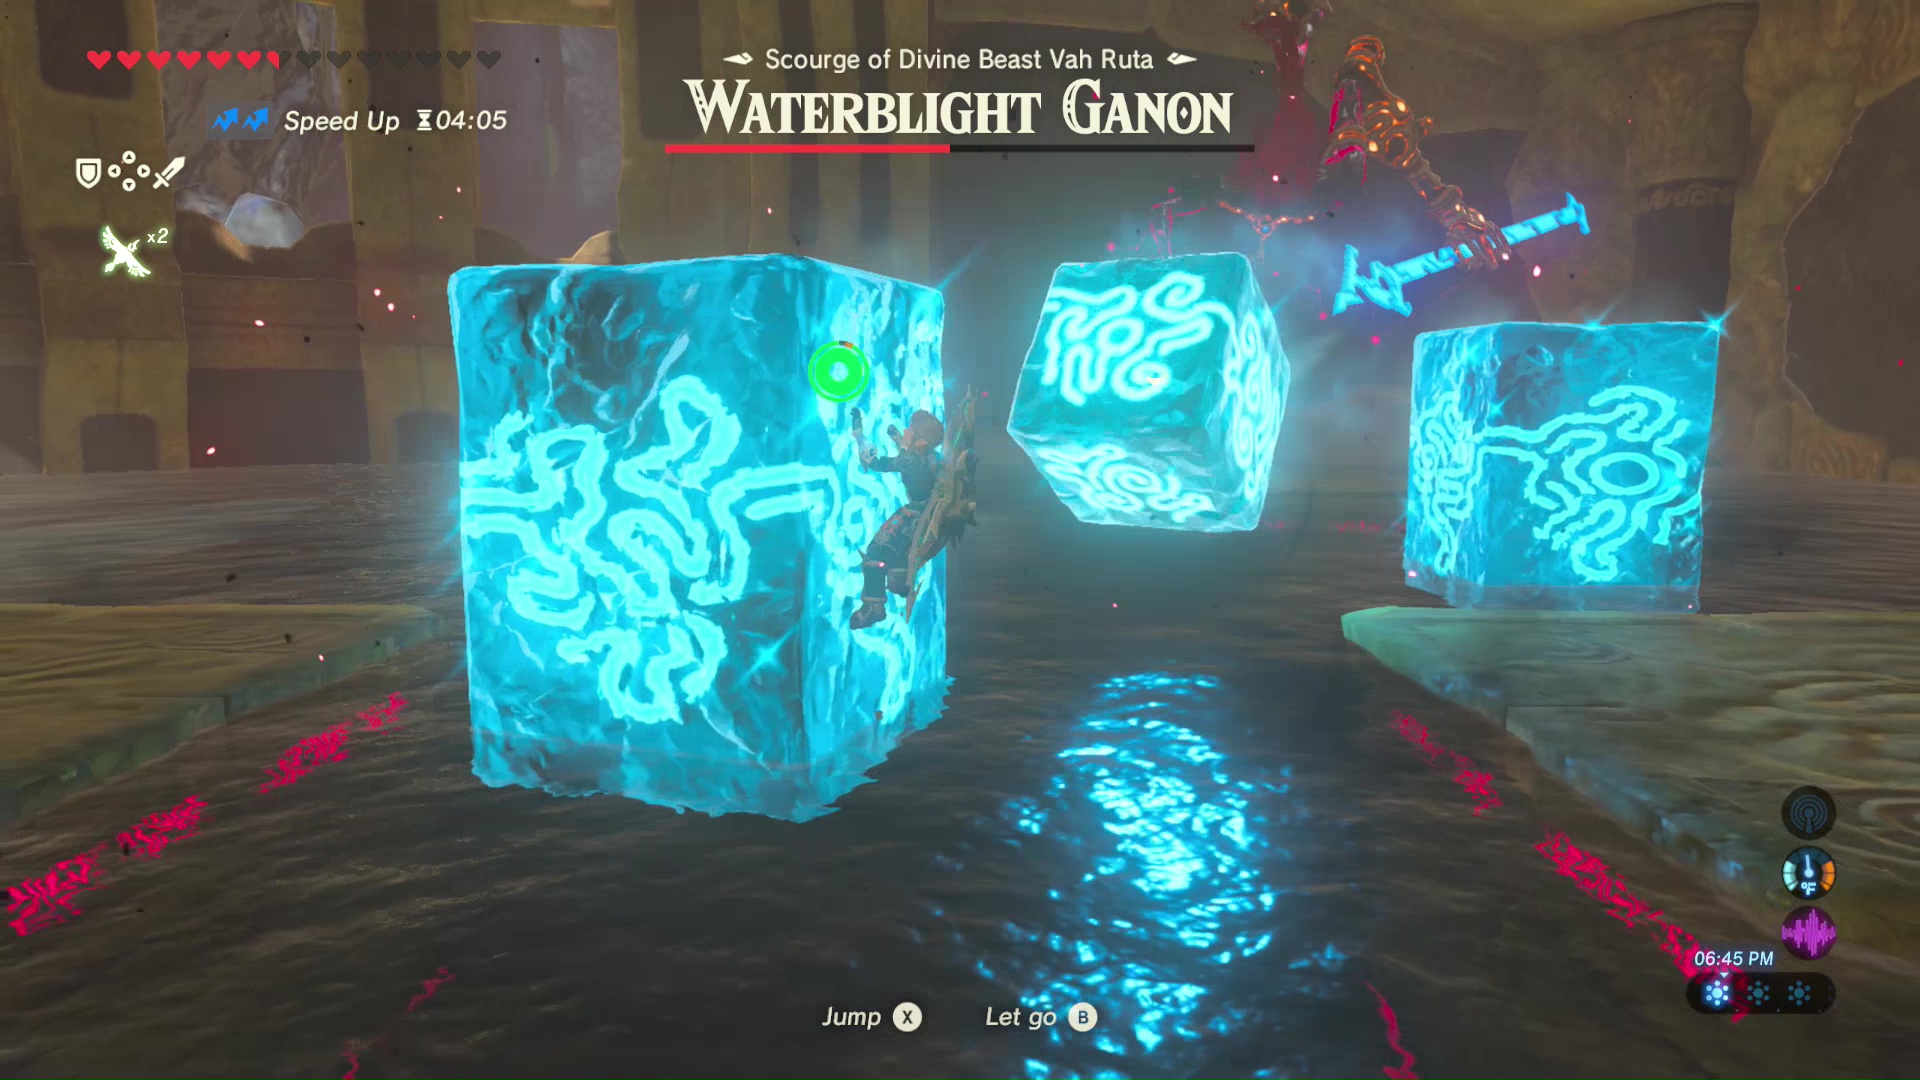
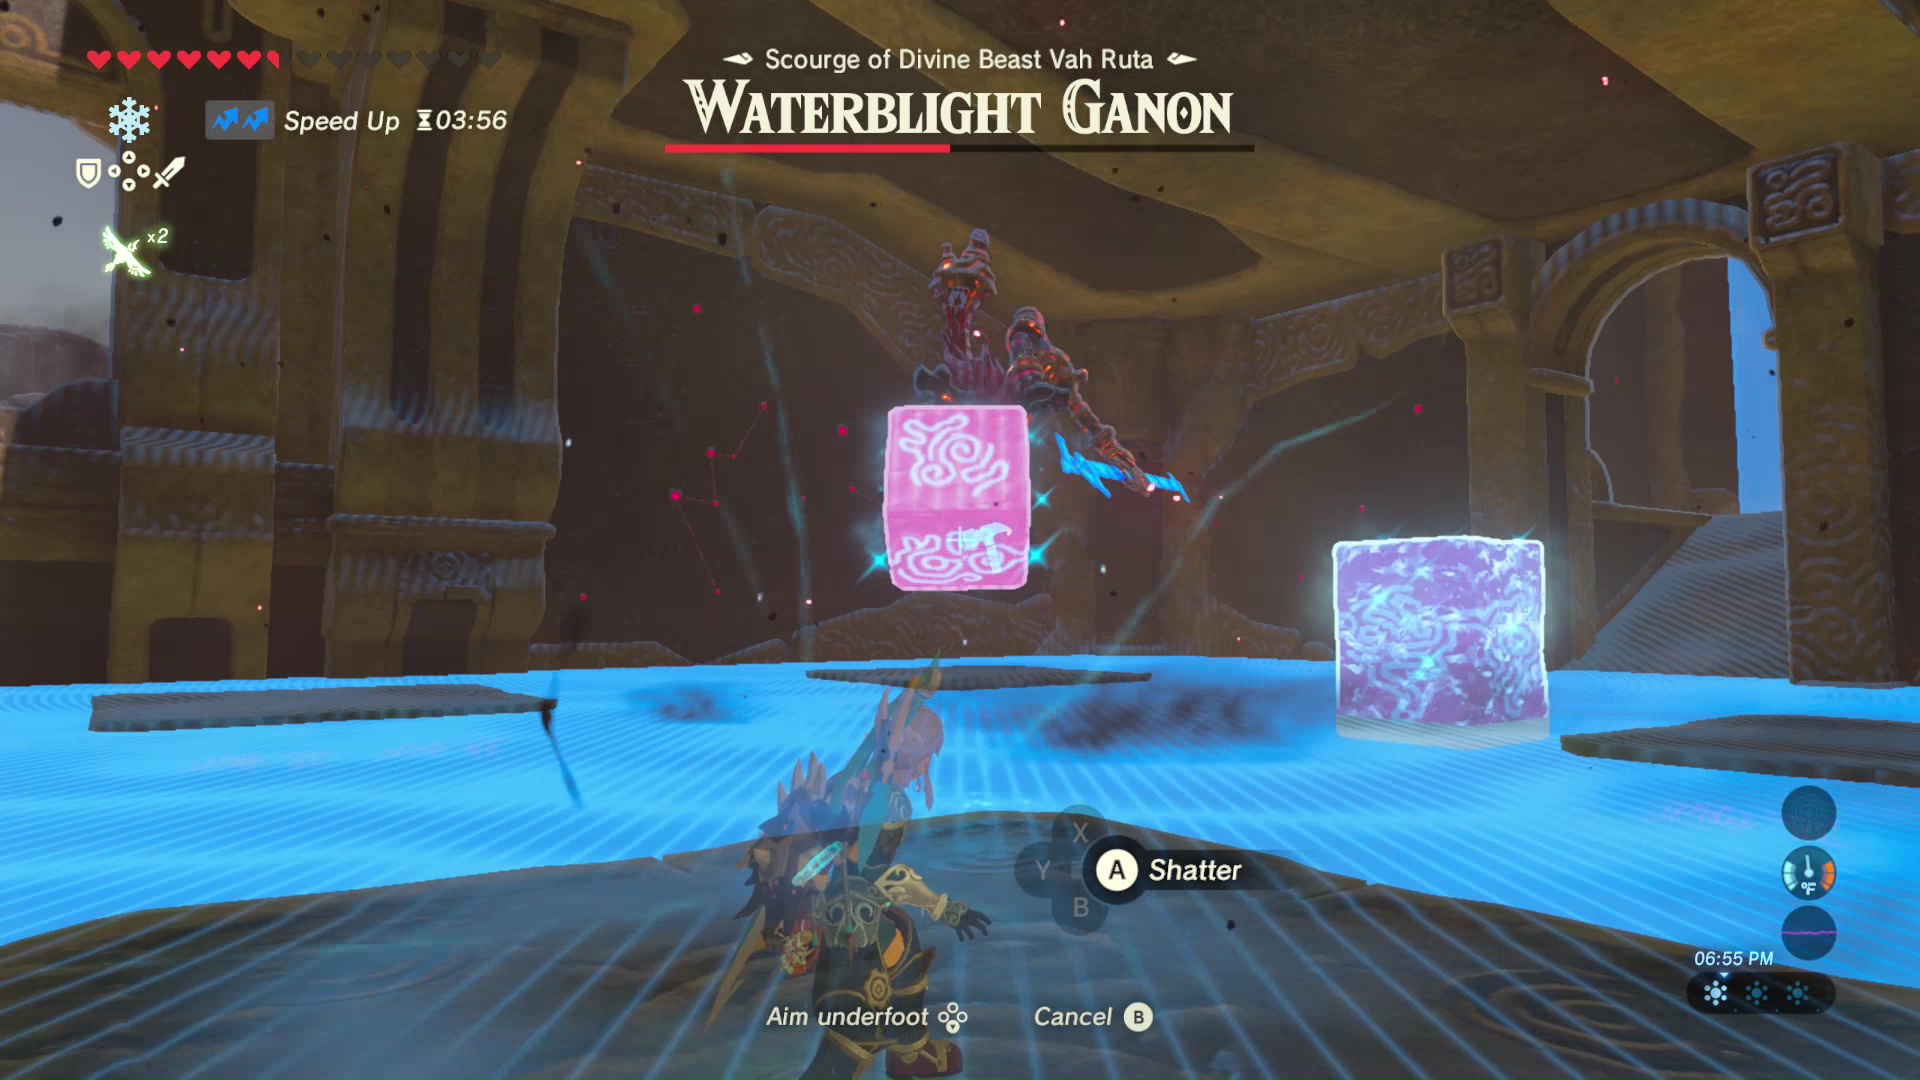
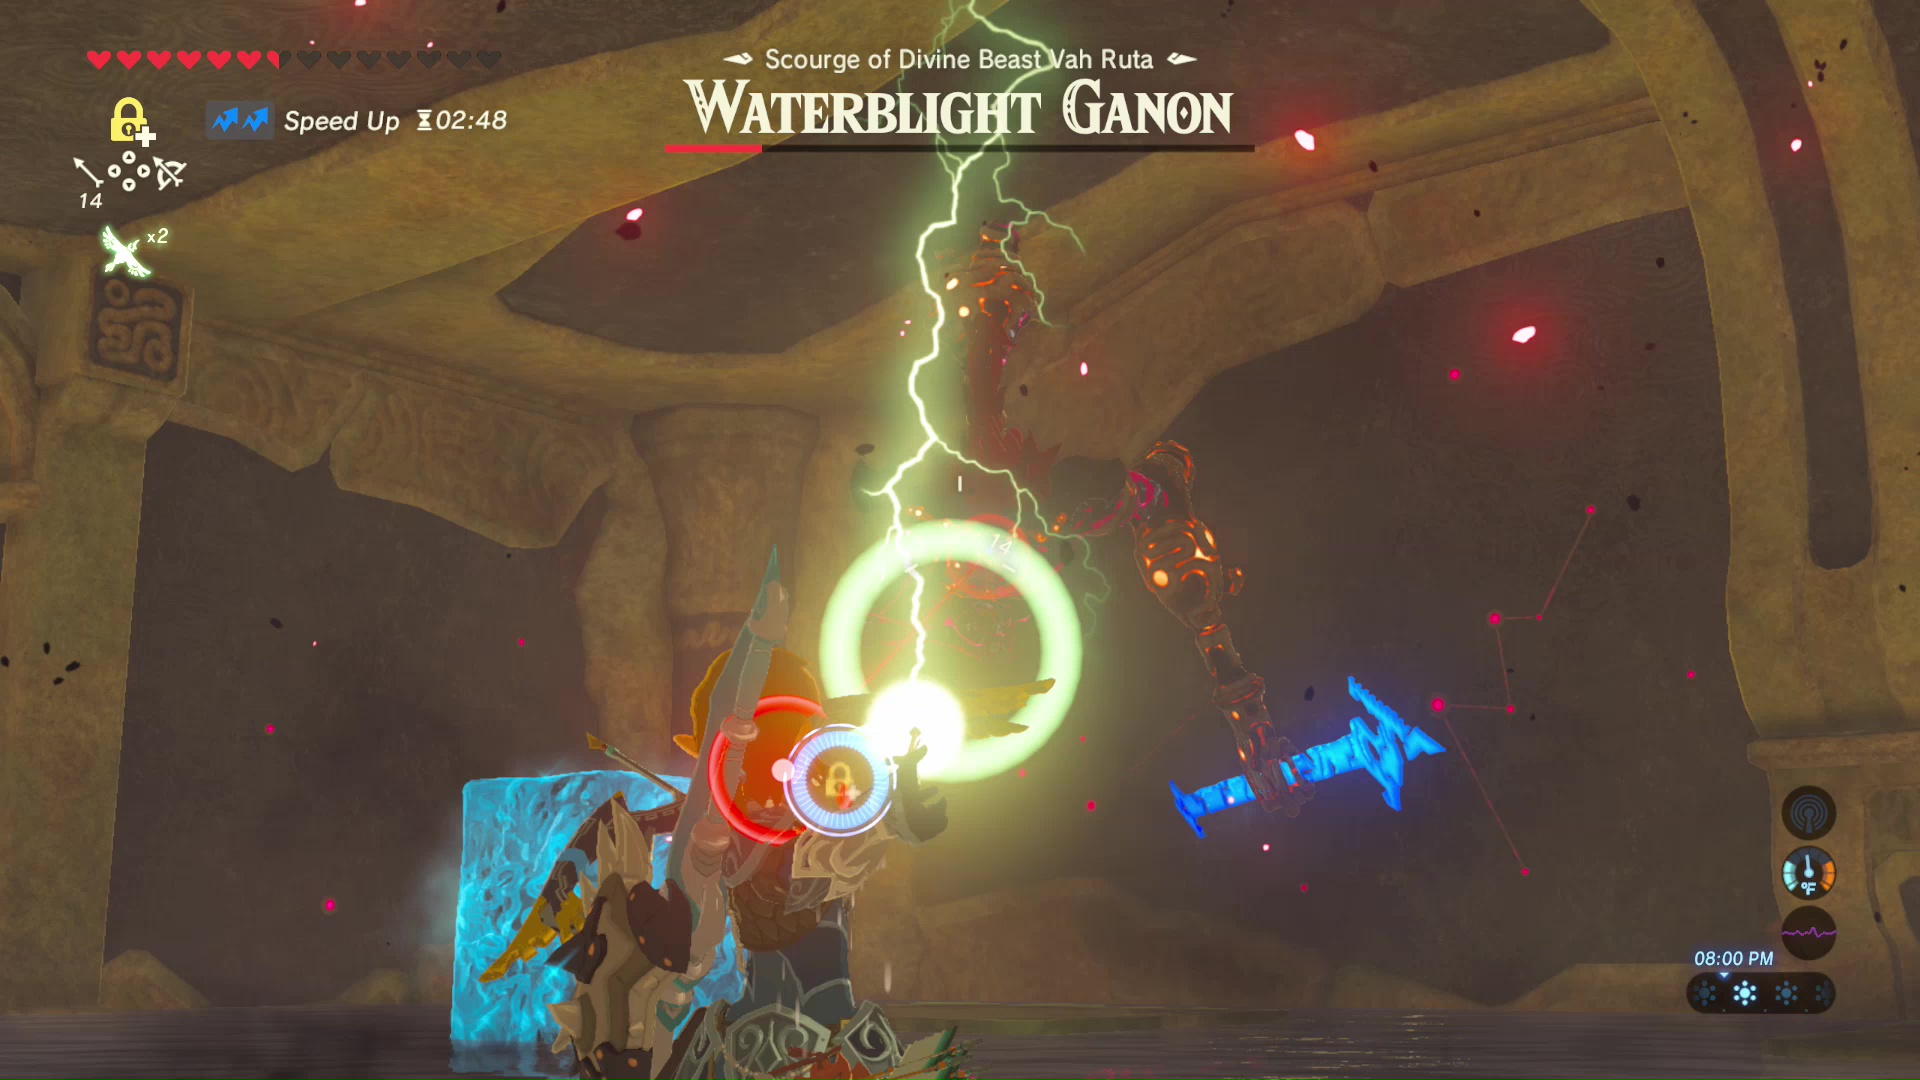
As Waterblight Ganon’s HP is reduced further, he will attack with numerous ice blocks and even a laser attack from his eye similar to the Guardians around Hyrule. Continue using the Cryonis Rune to break the ice blocks, the Stasis Rune to freeze the monster, and Shock Arrows to deal major damage.
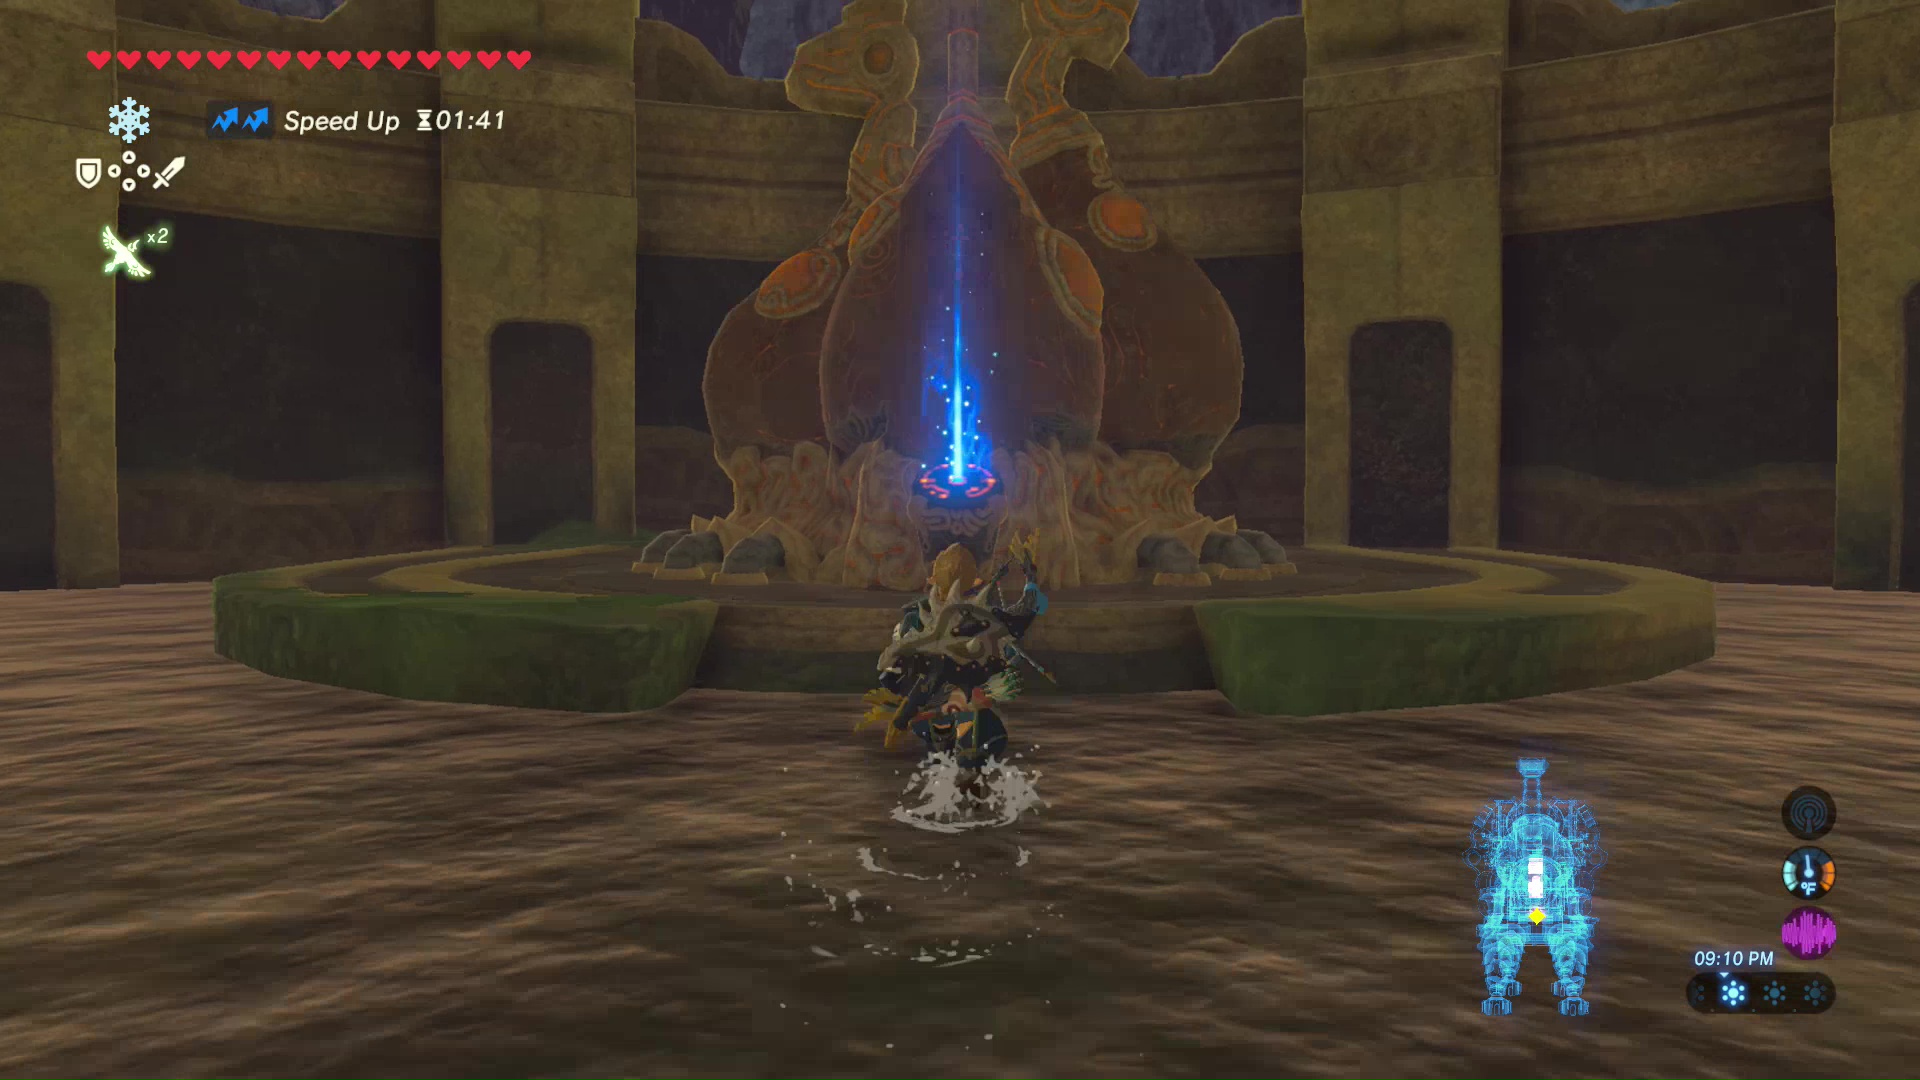
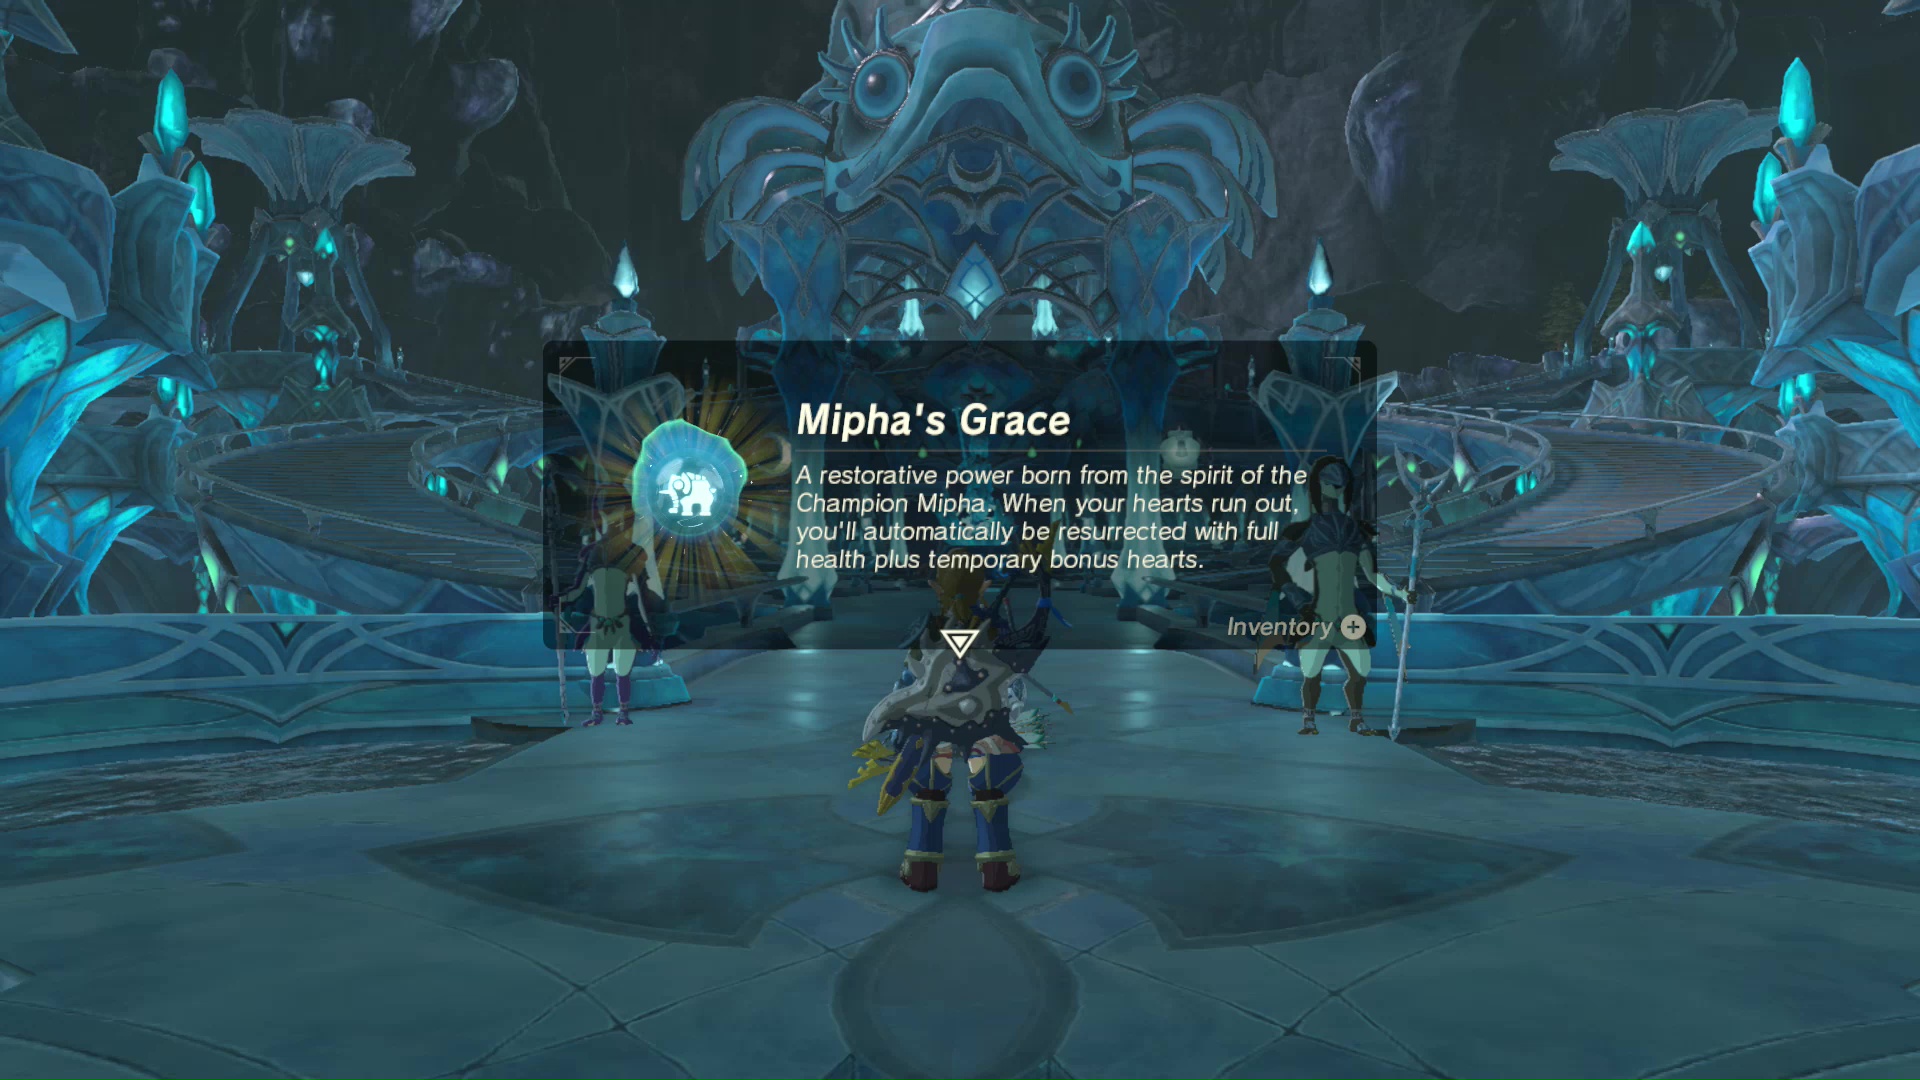
Defeat Waterblight Ganon to clear Vah Ruta and earn a Heart Container. Interact with the Main Control Unit in the back to exit Vah Ruta and receive Mipha’s Grace, a Champion Power that revives you once a day if ever killed in battle.
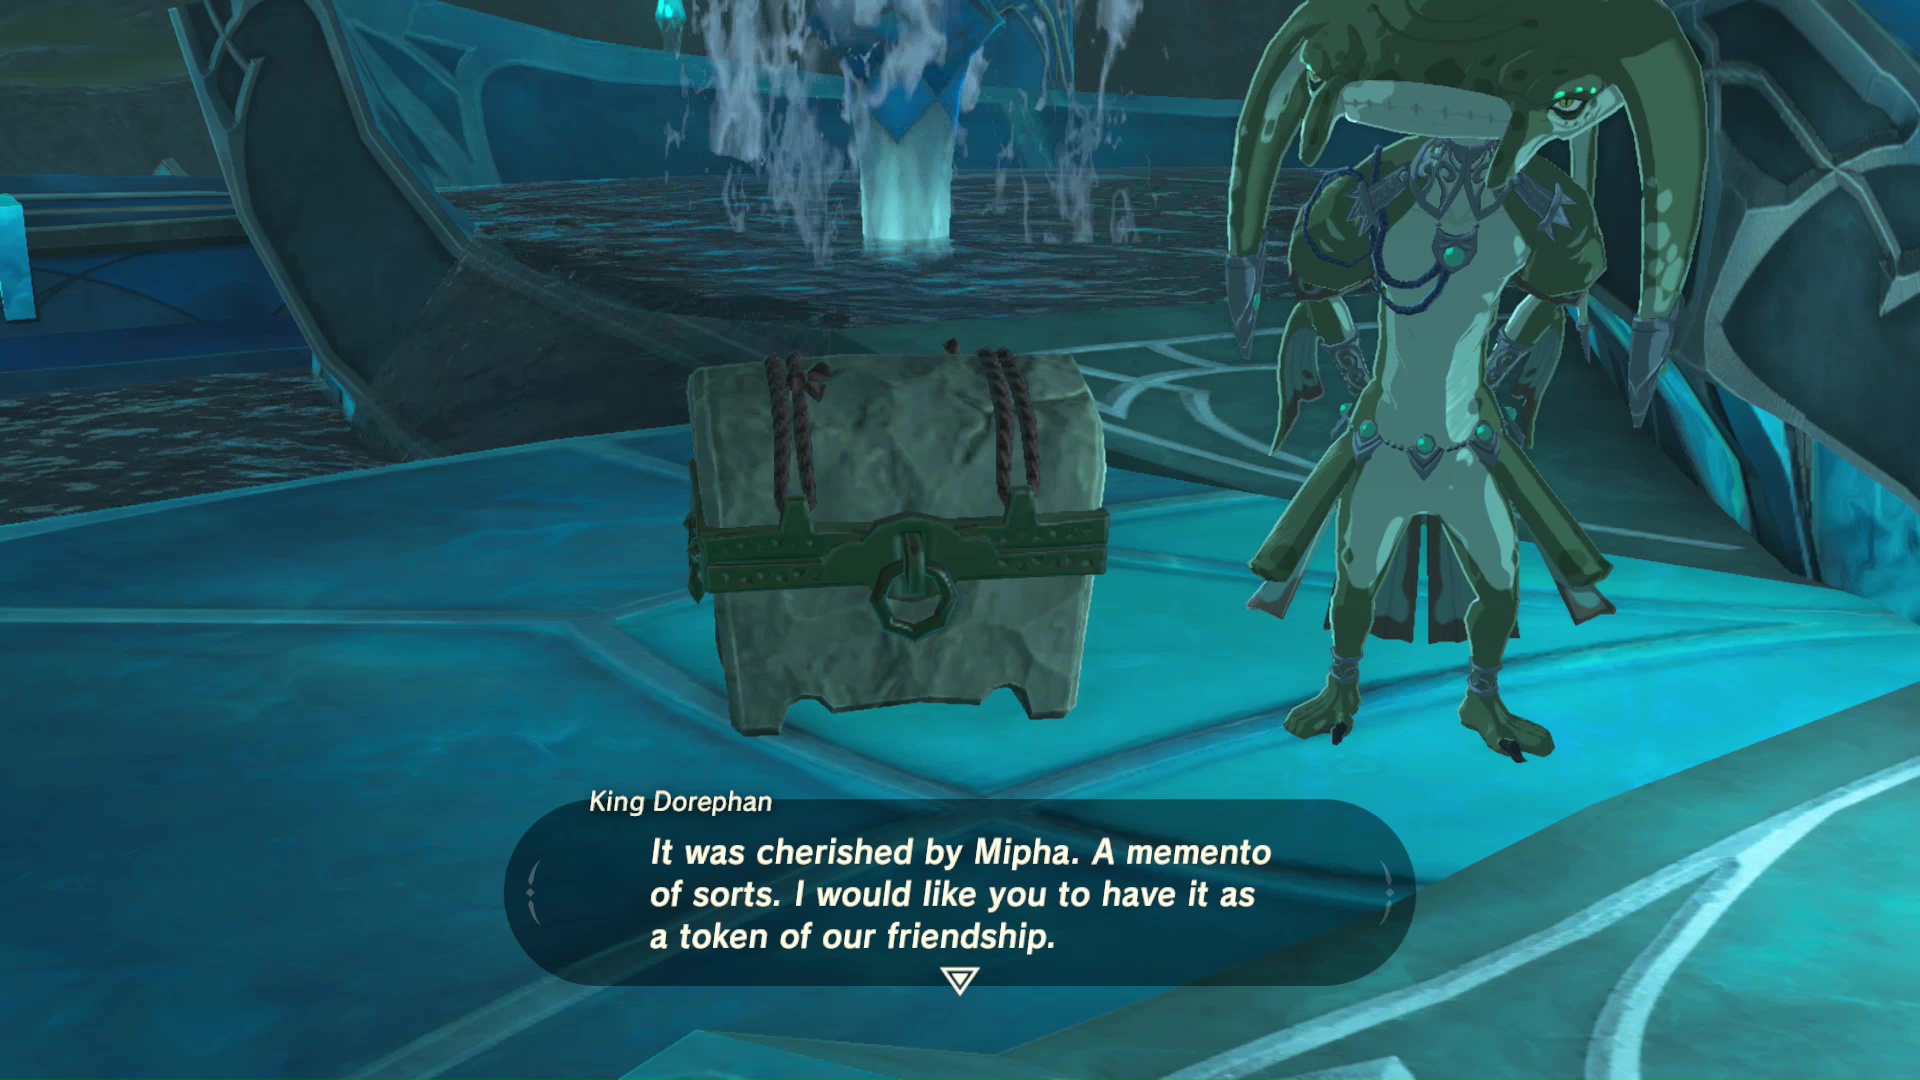
You will return to Zora’s Domain. Speak with King Dorephan to end the quest and receive a treasure chest containing the Lightscale Trident.