Divine Beast Vah Rudania is located on Death Mountain. You can enter the machine by speaking with Yunobo at Eldin Bridge, but only after rescuing him at the Abandoned North Mine.
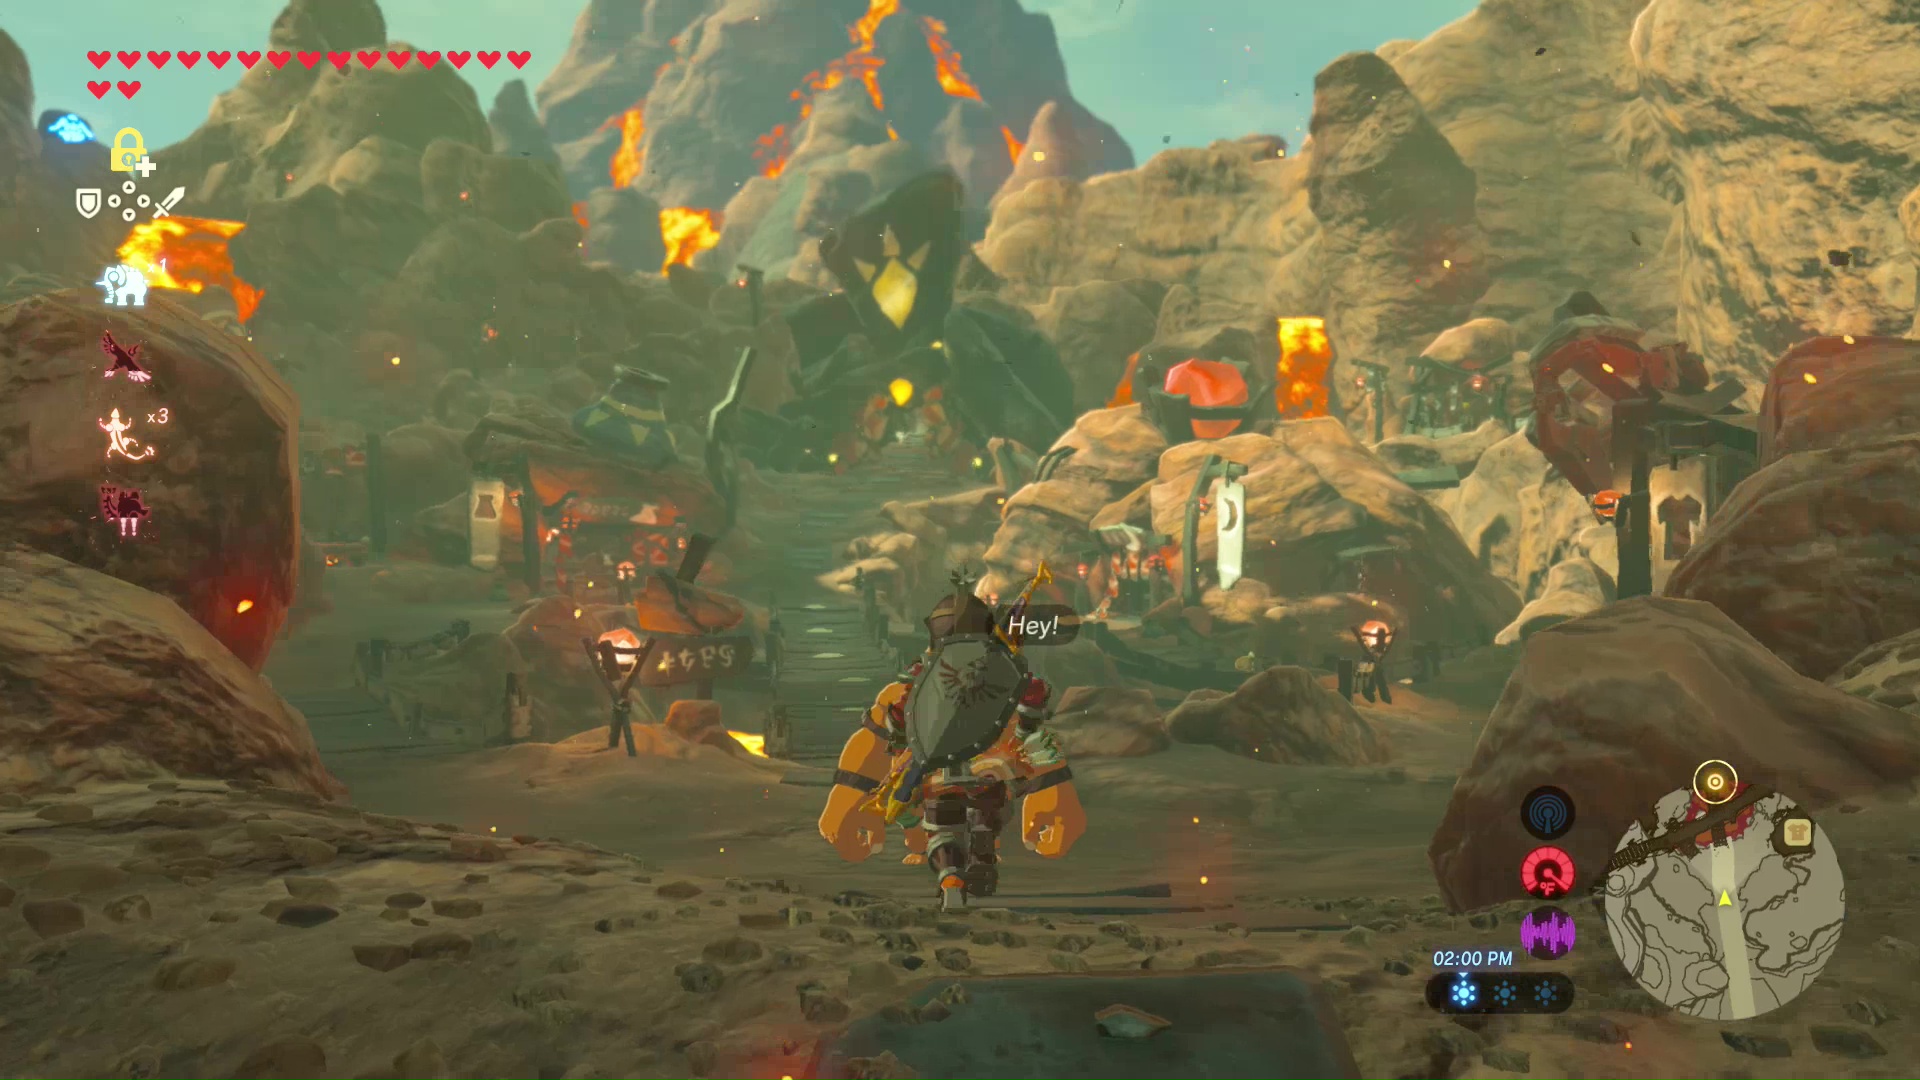
Eldin Bridge
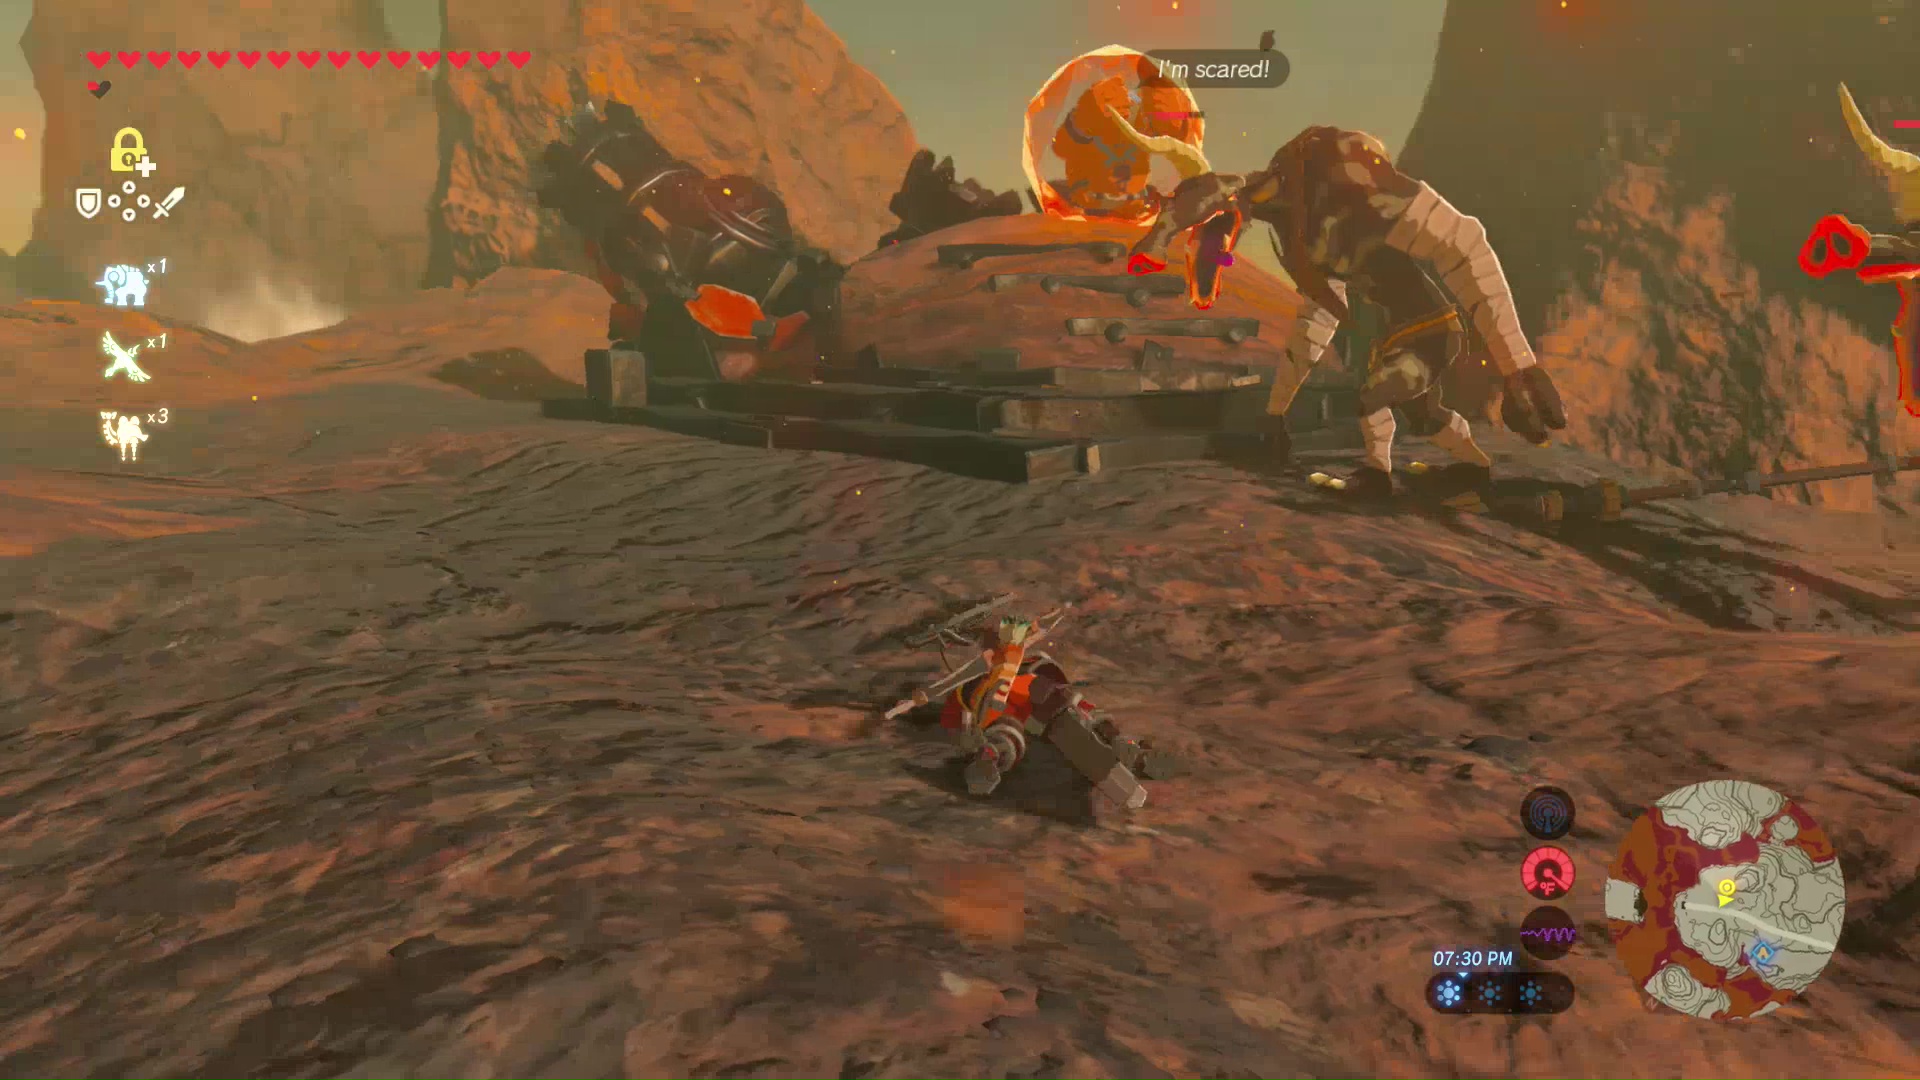
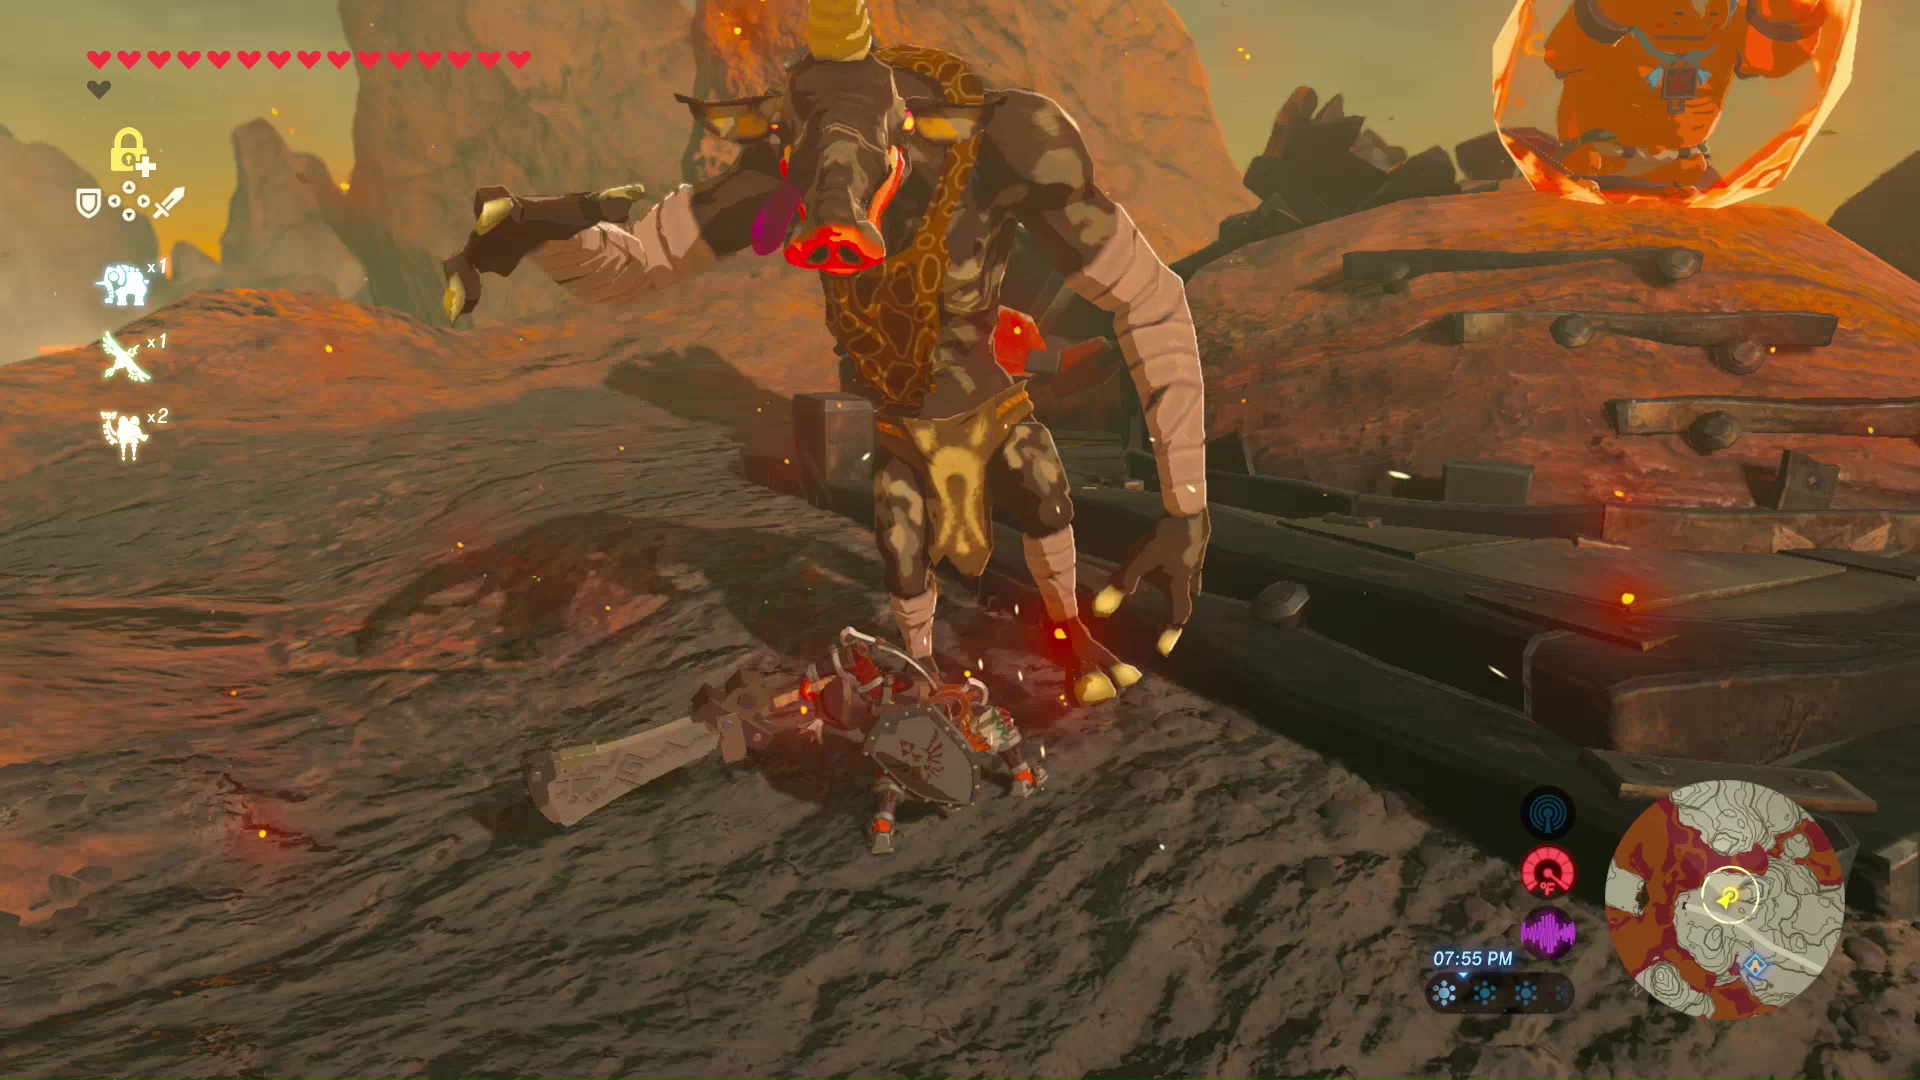
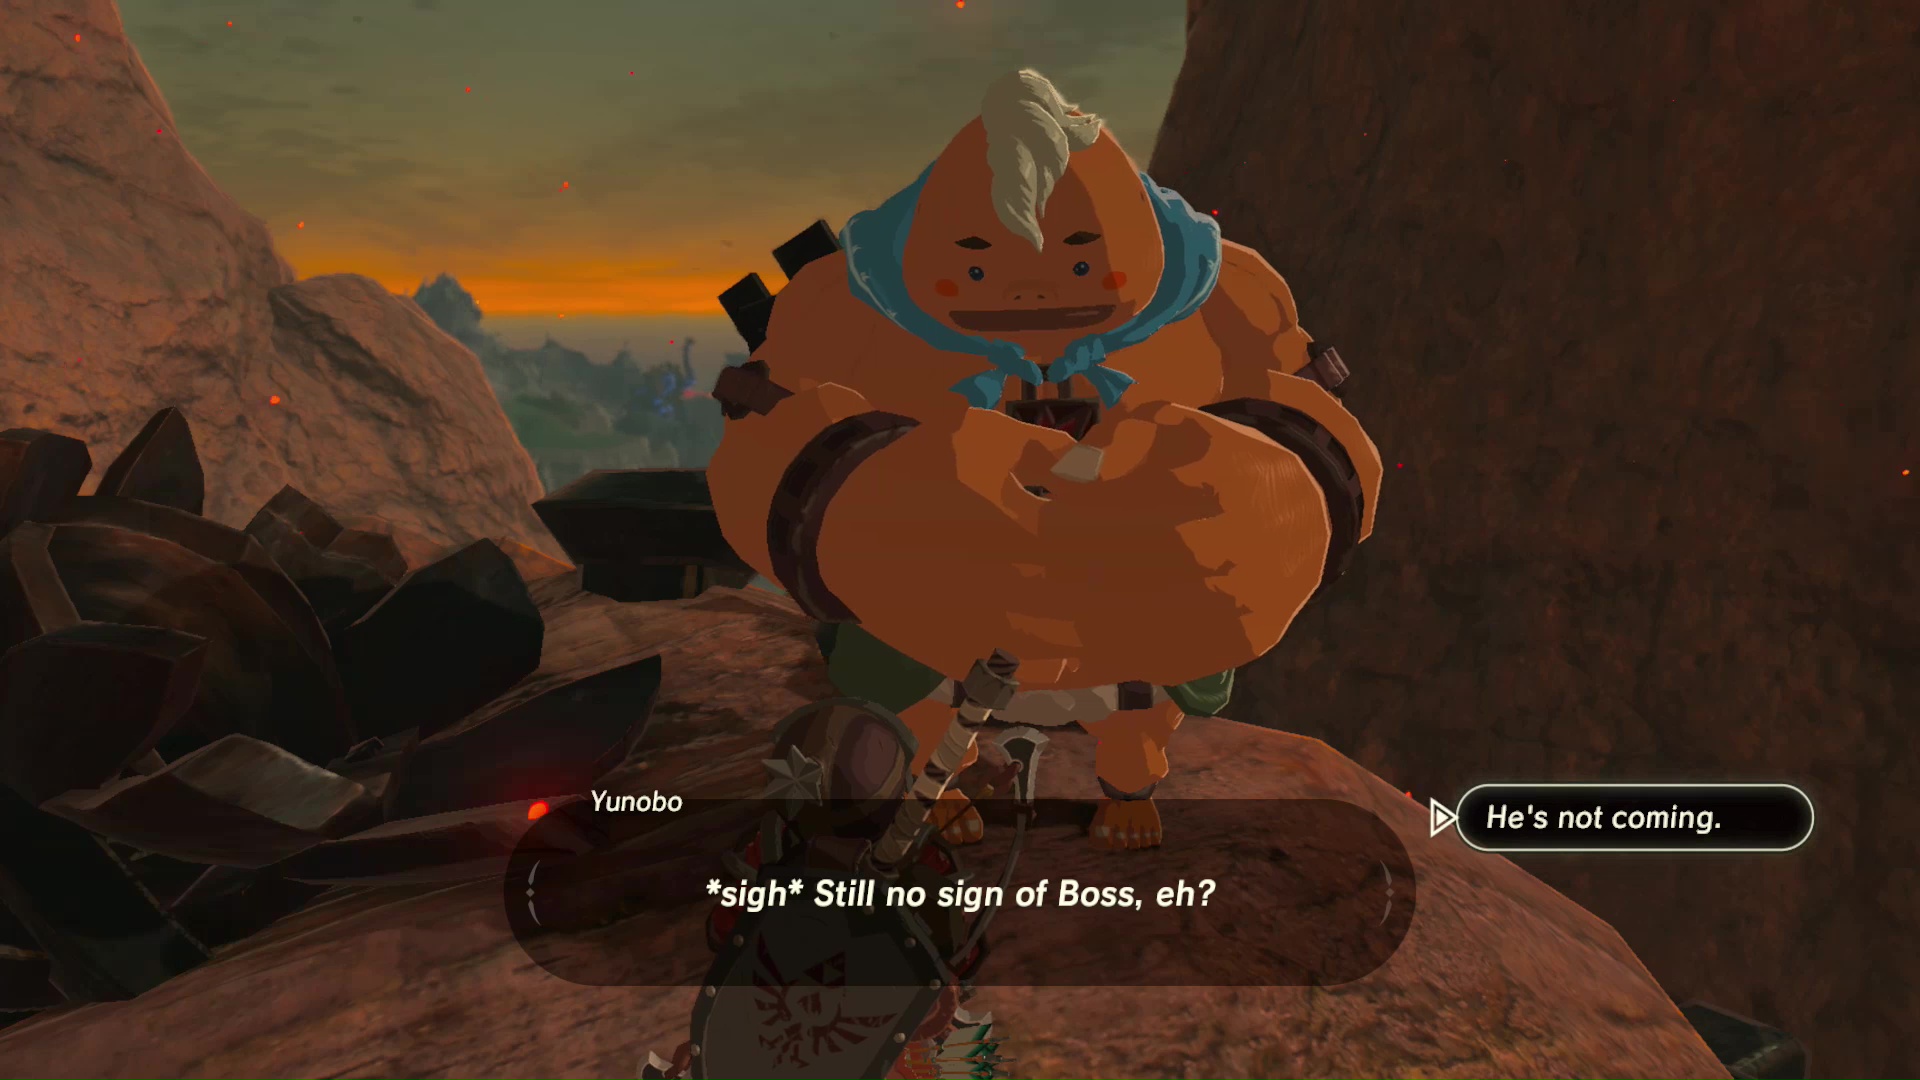
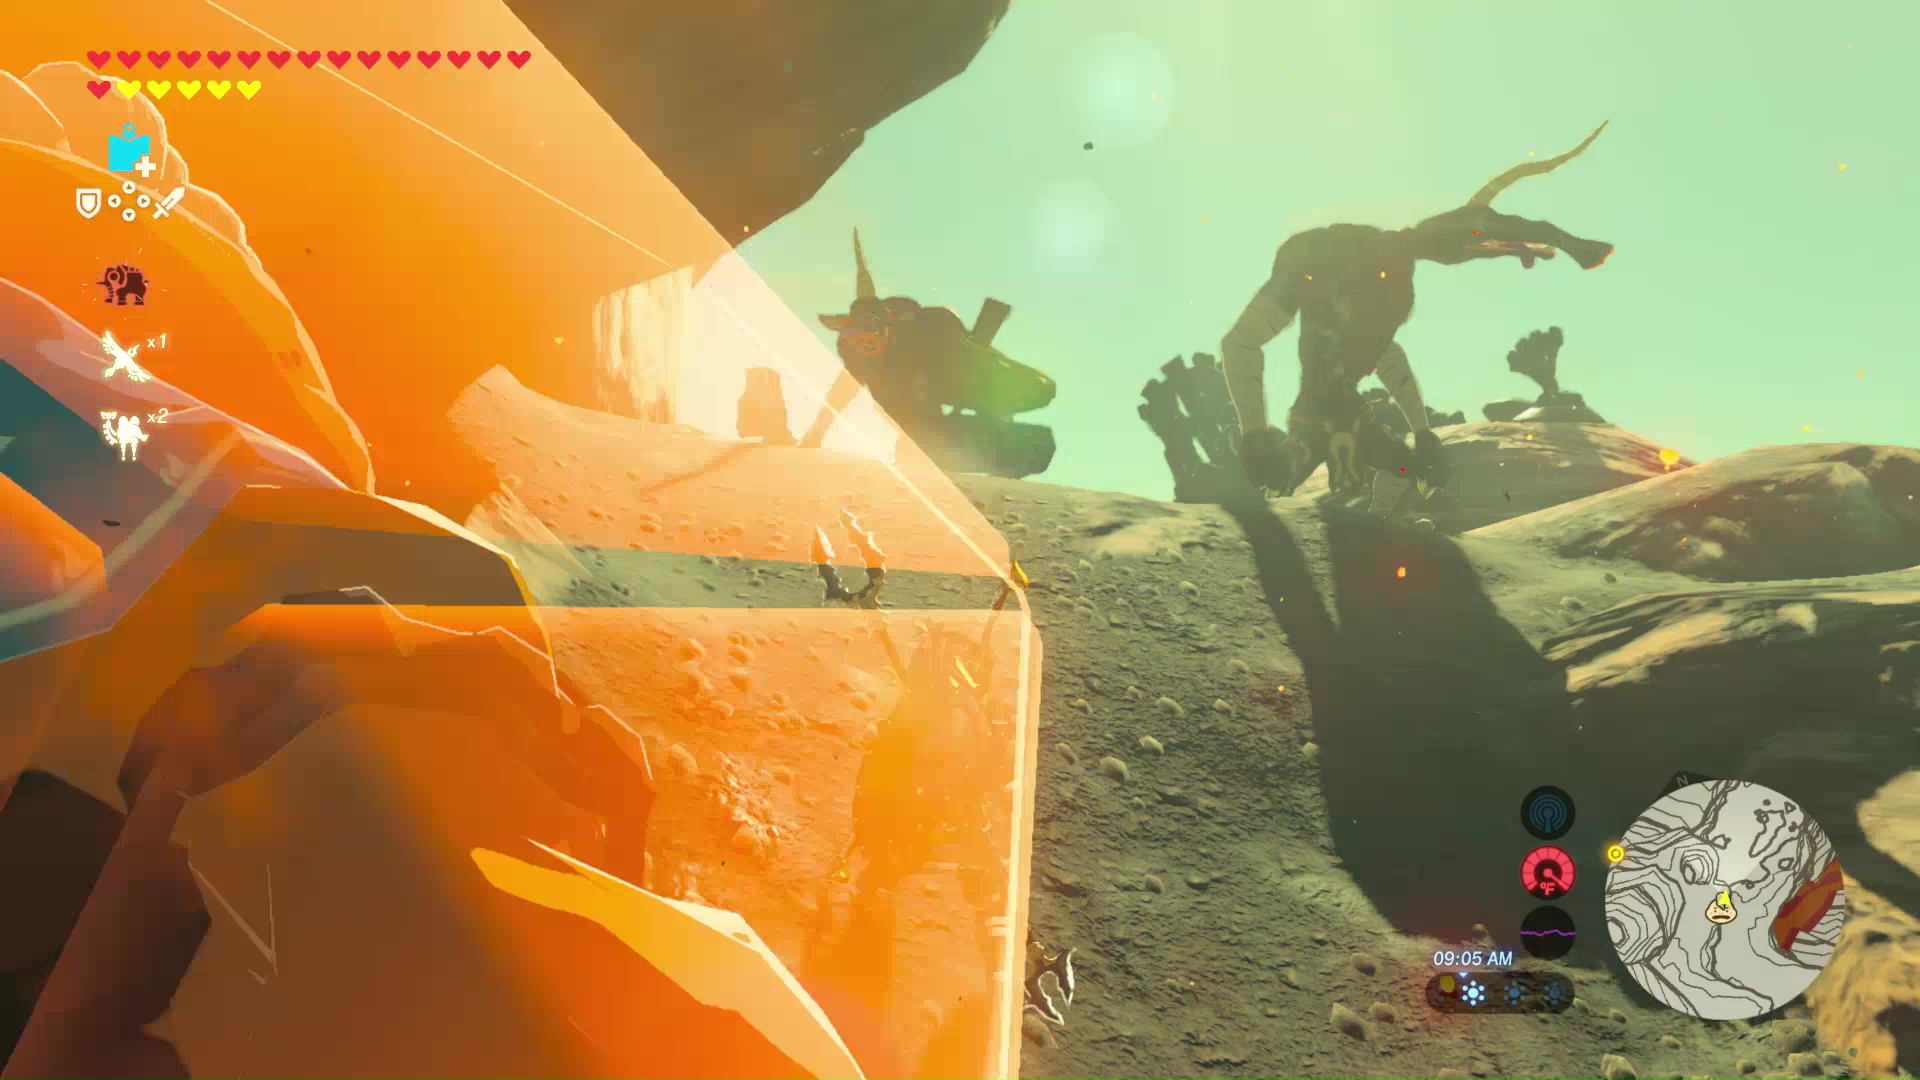
Travel to the marker on your map to find Yunobo. He will be surrounded by some large monsters. Fight them and rescue Yunobo once again. Tell Yunobo that the boss won’t be coming, but you will help instead. He will ask you to lower the bridge using the cannon.
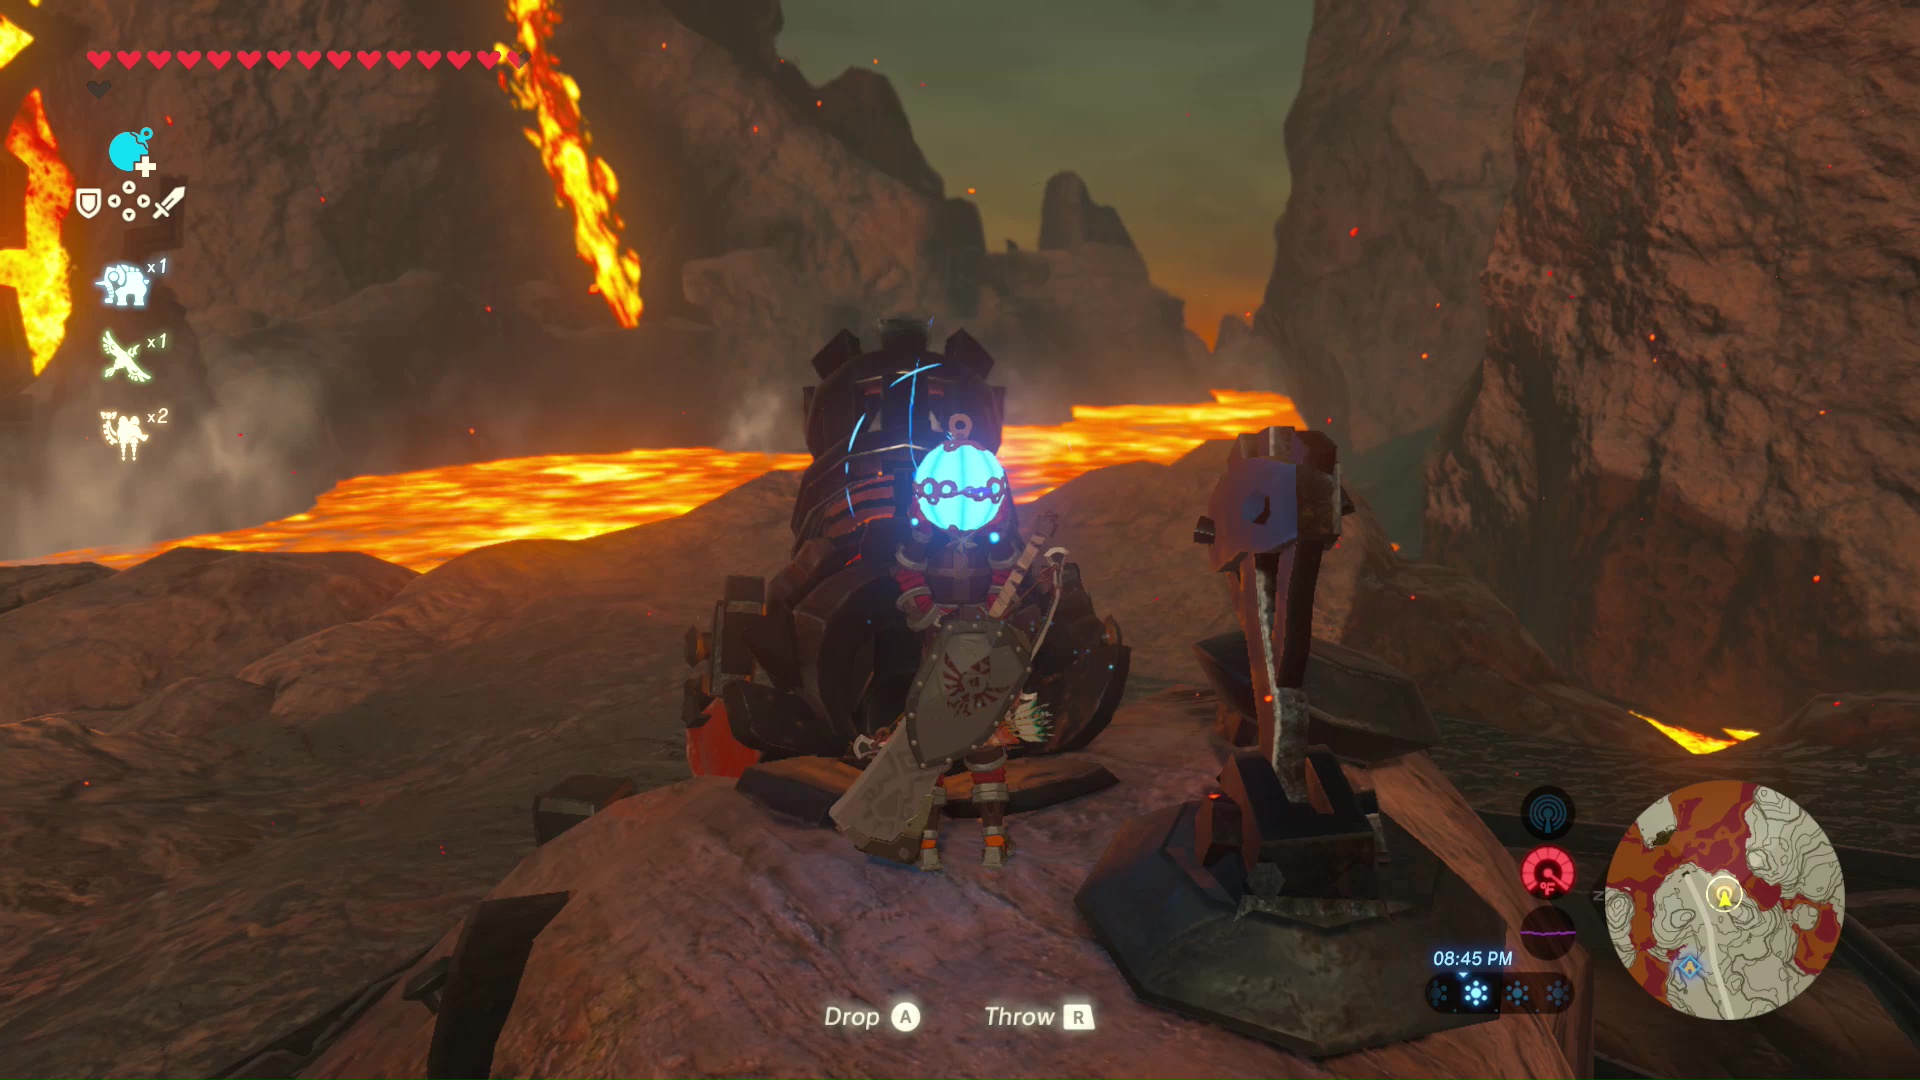
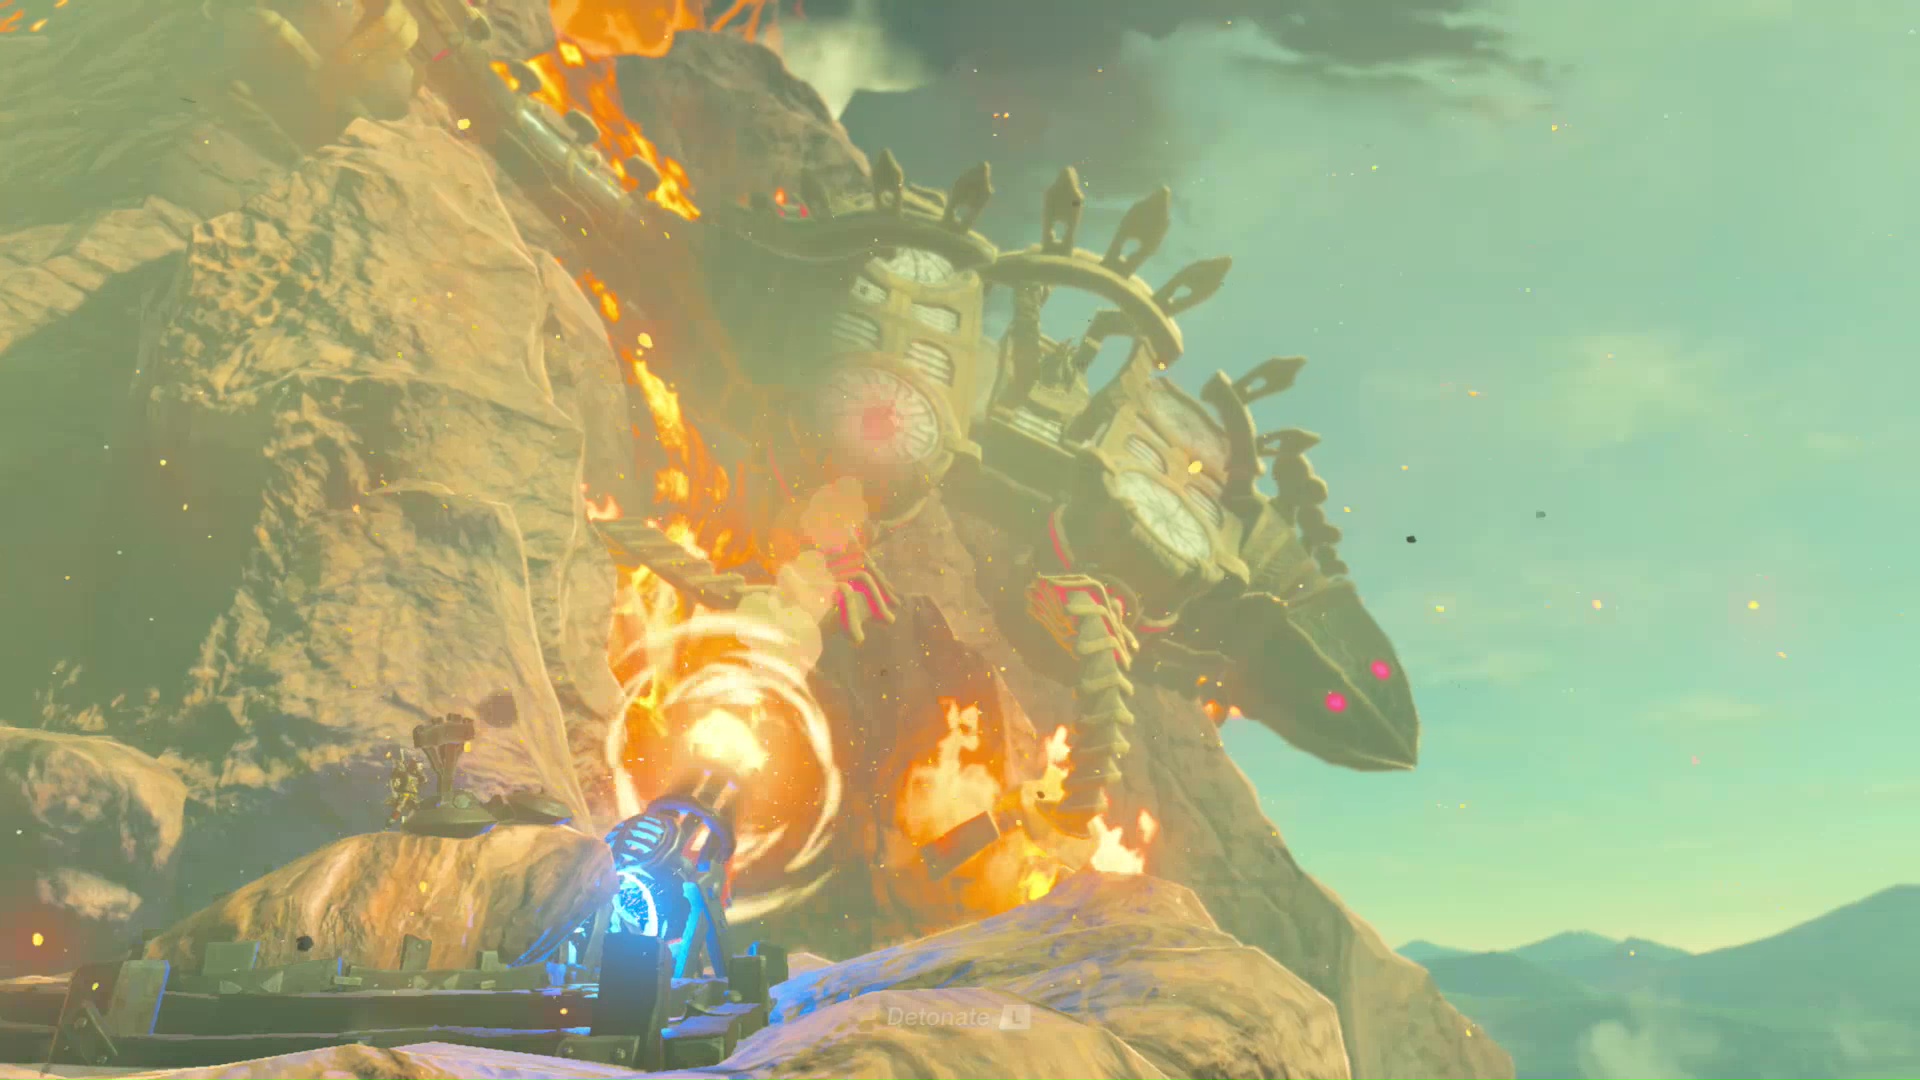
Yunobo will jump in the cannon. Hit the stick shift with a melee weapon to turn the cannon towards the bridge, then drop a Remote Bomb Rune behind Yunobo. Detonate the bomb to send him towards the bridge.
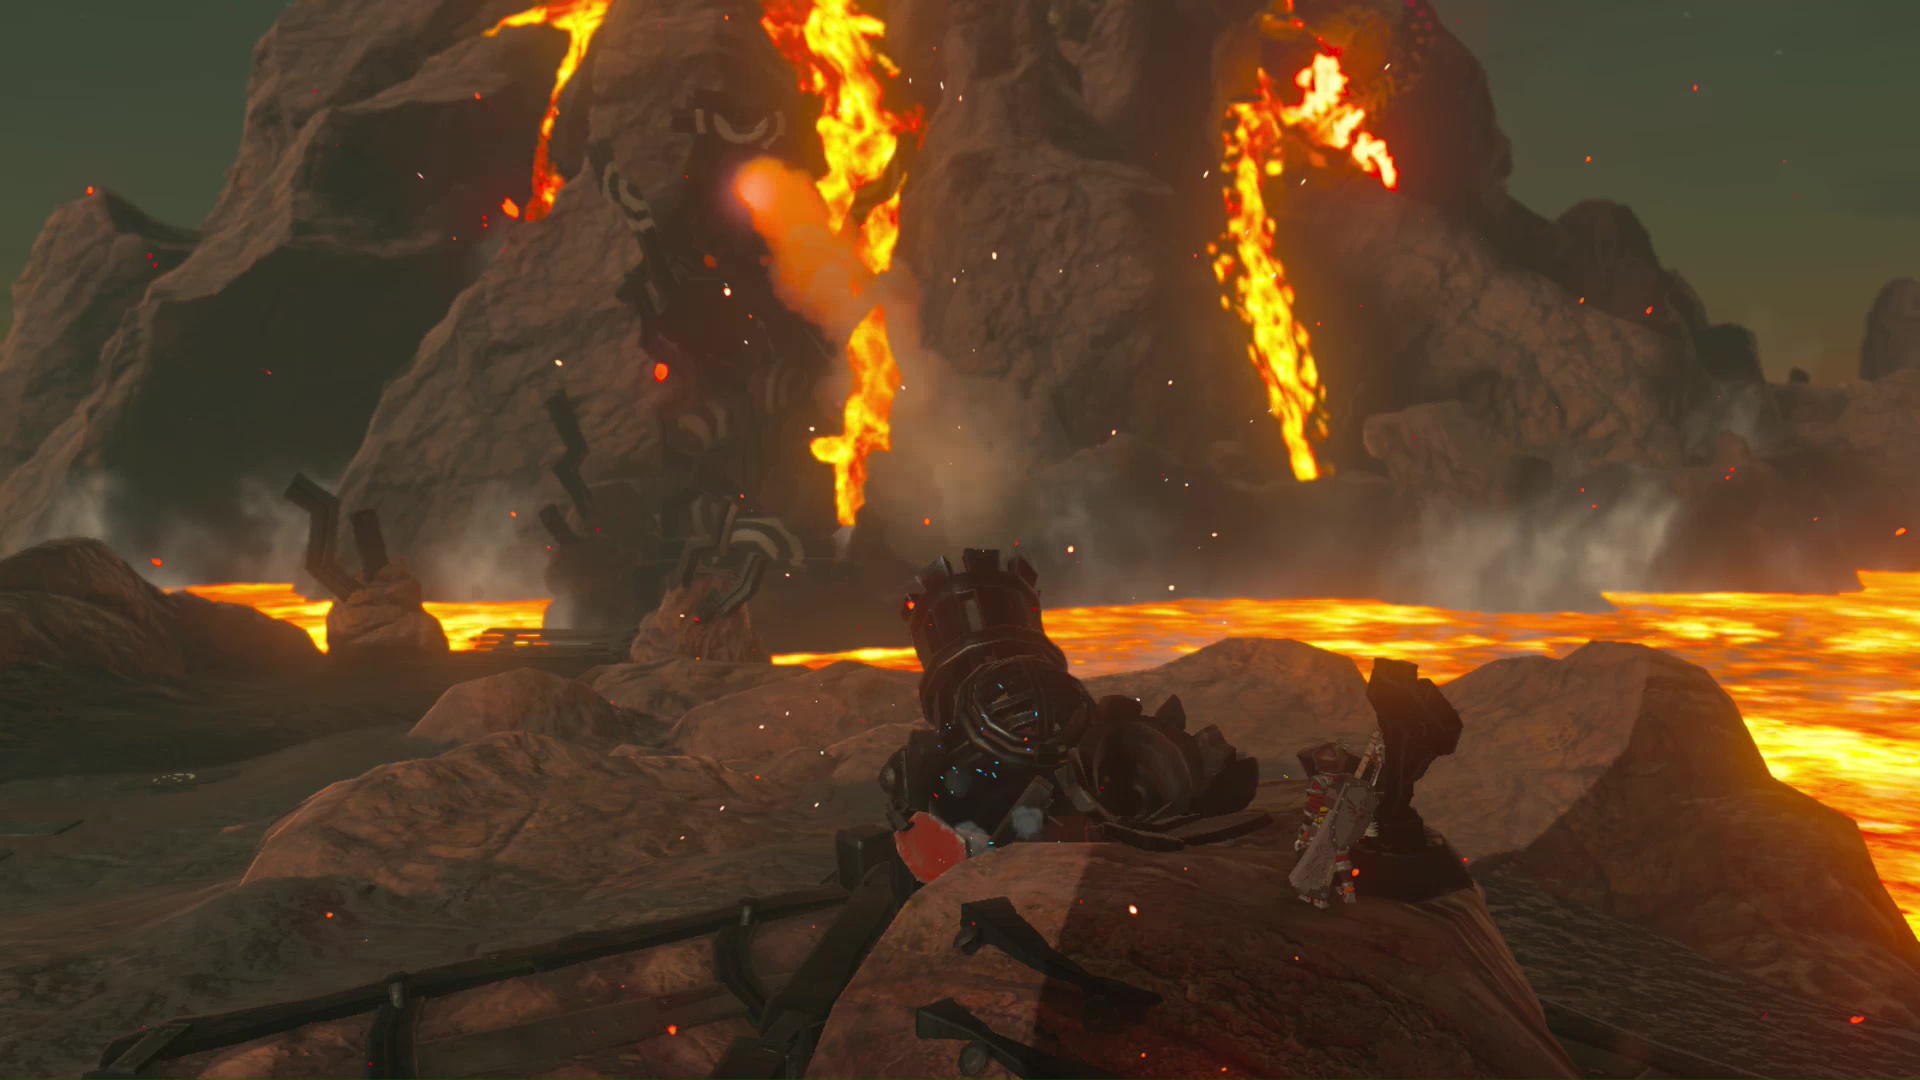
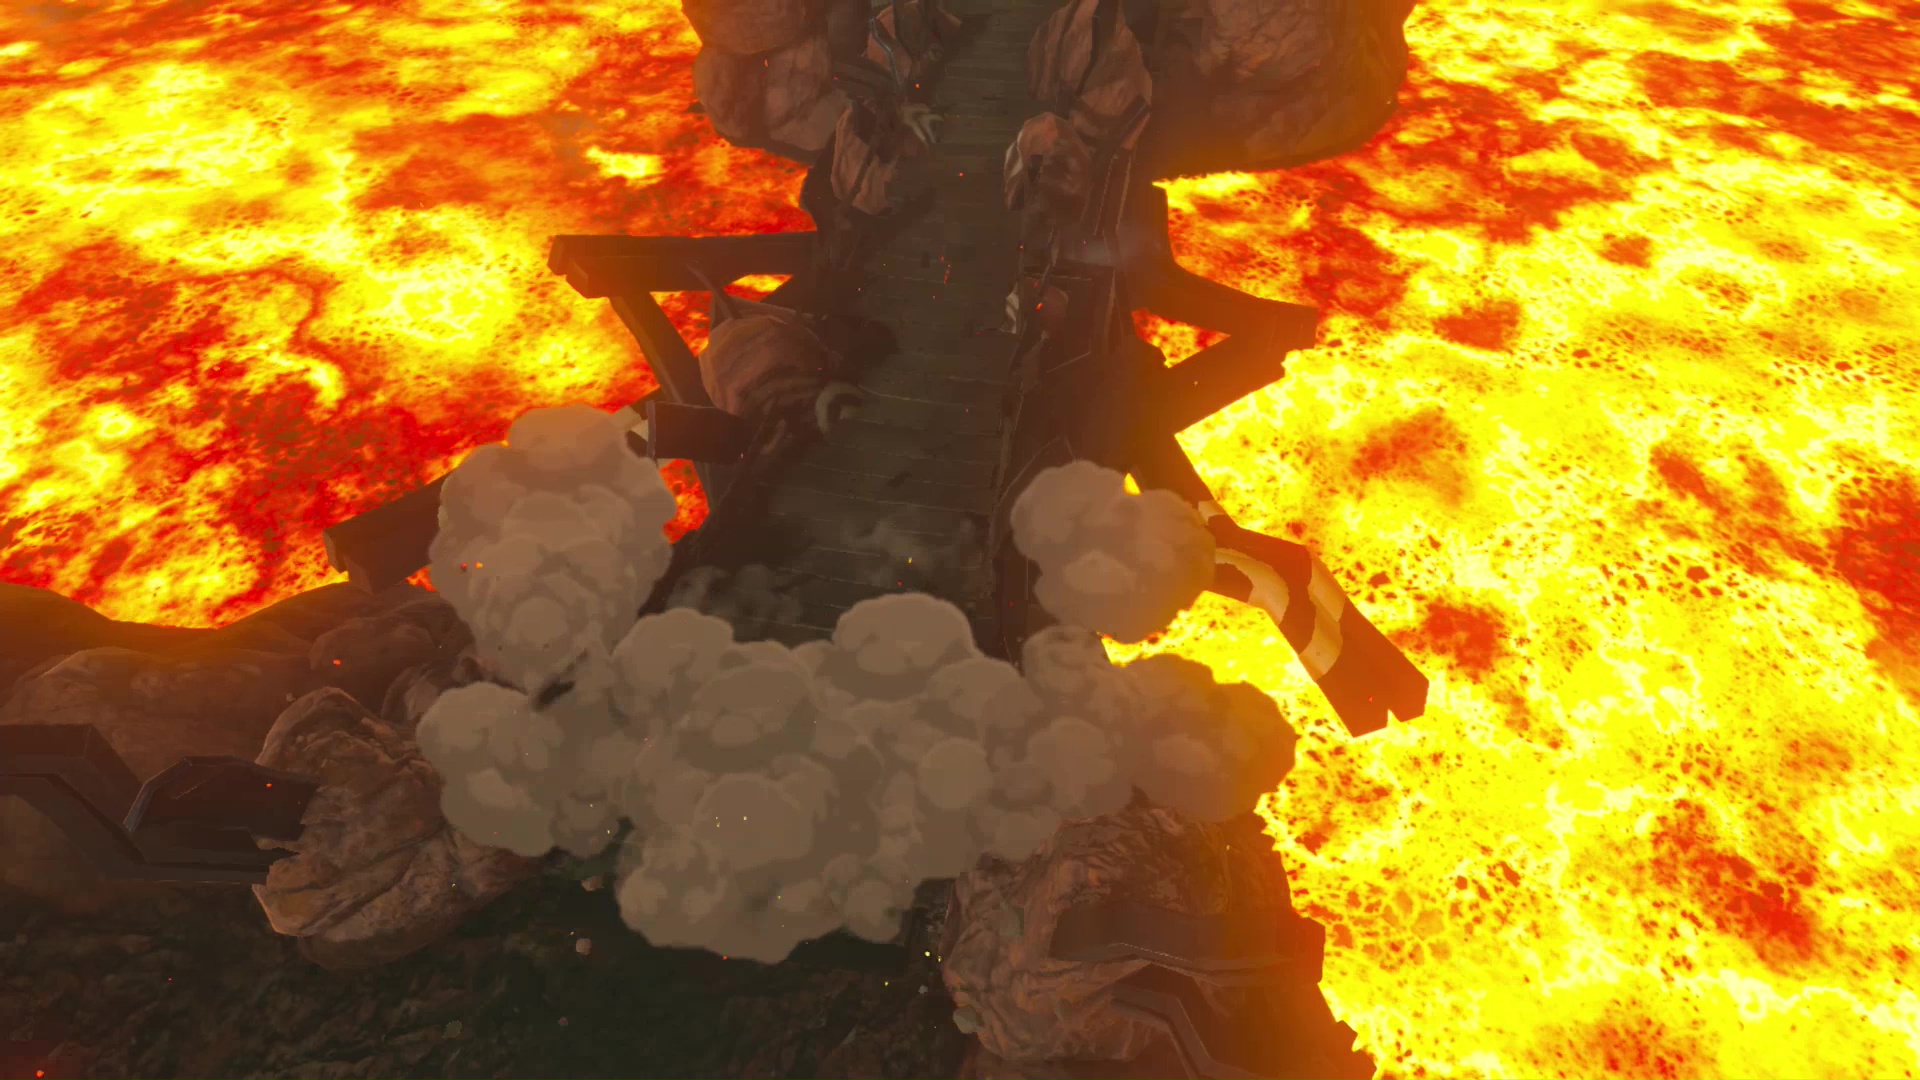
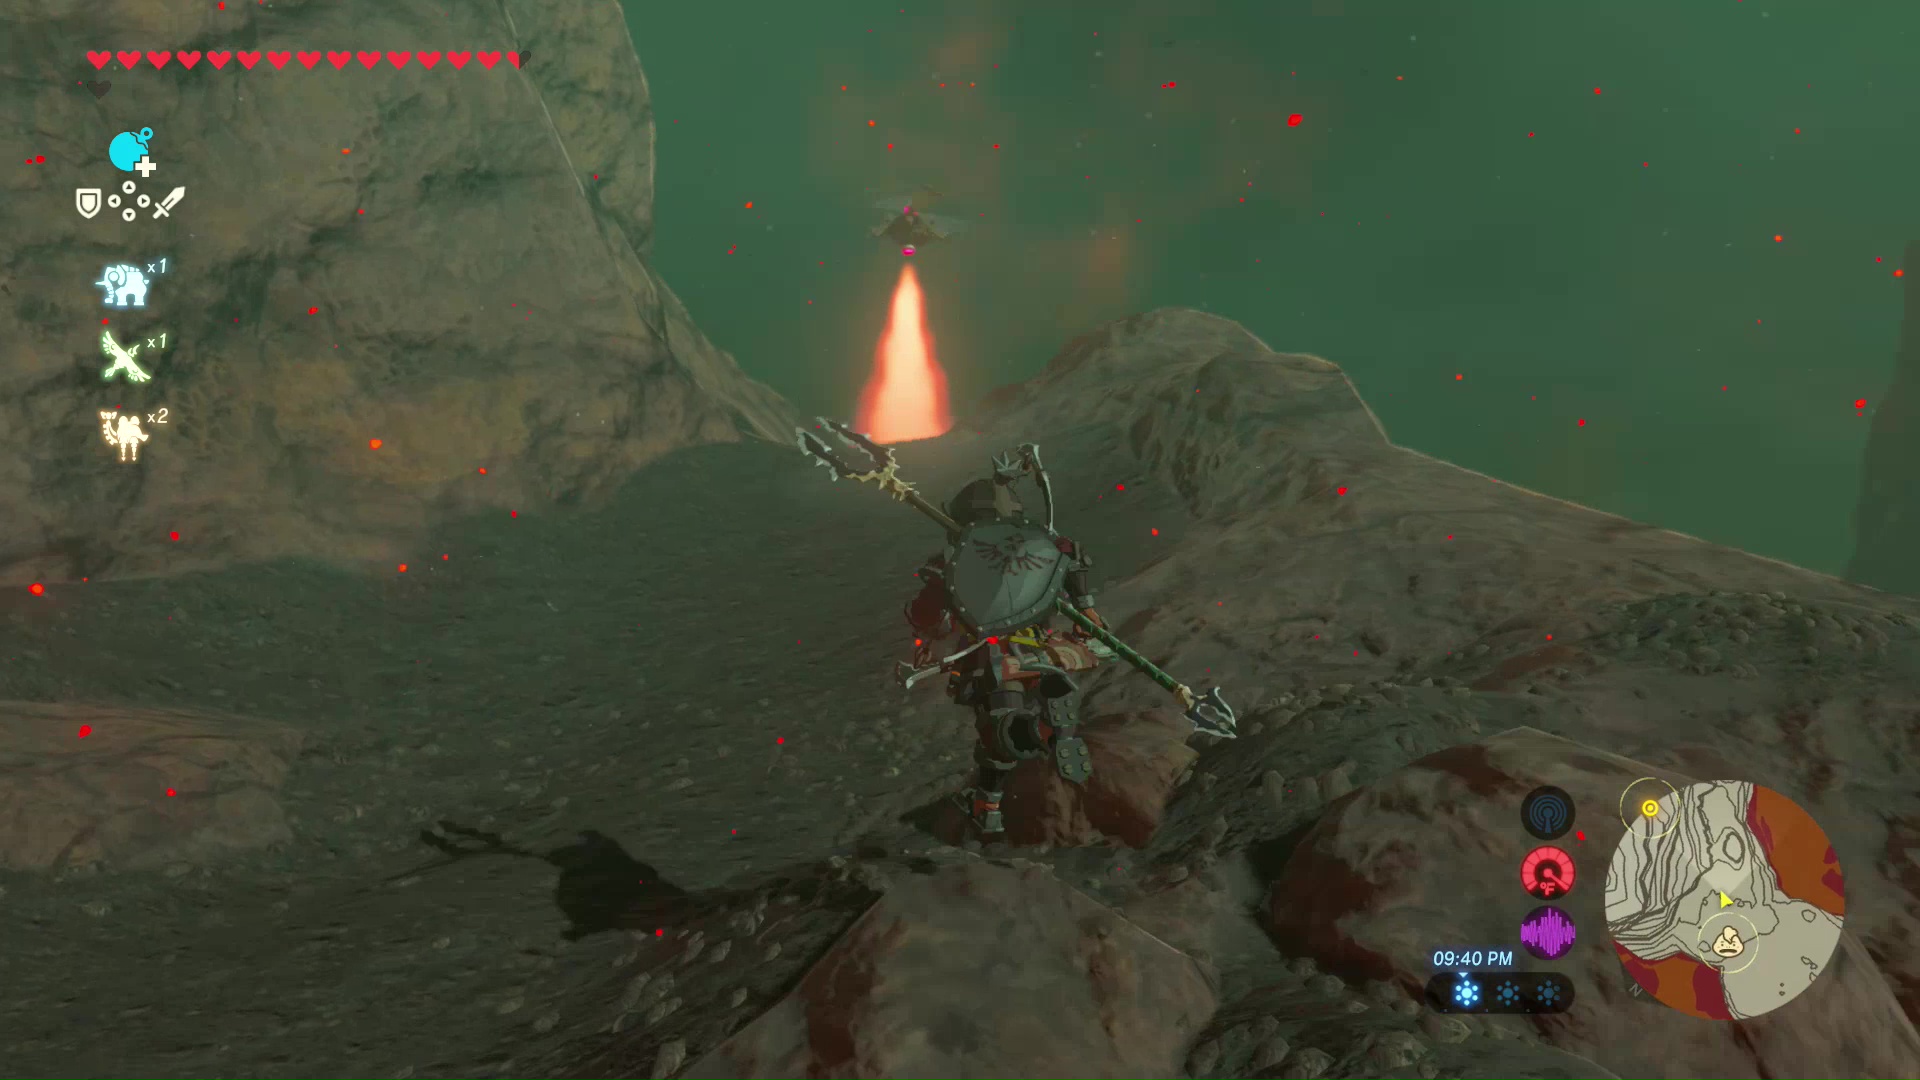
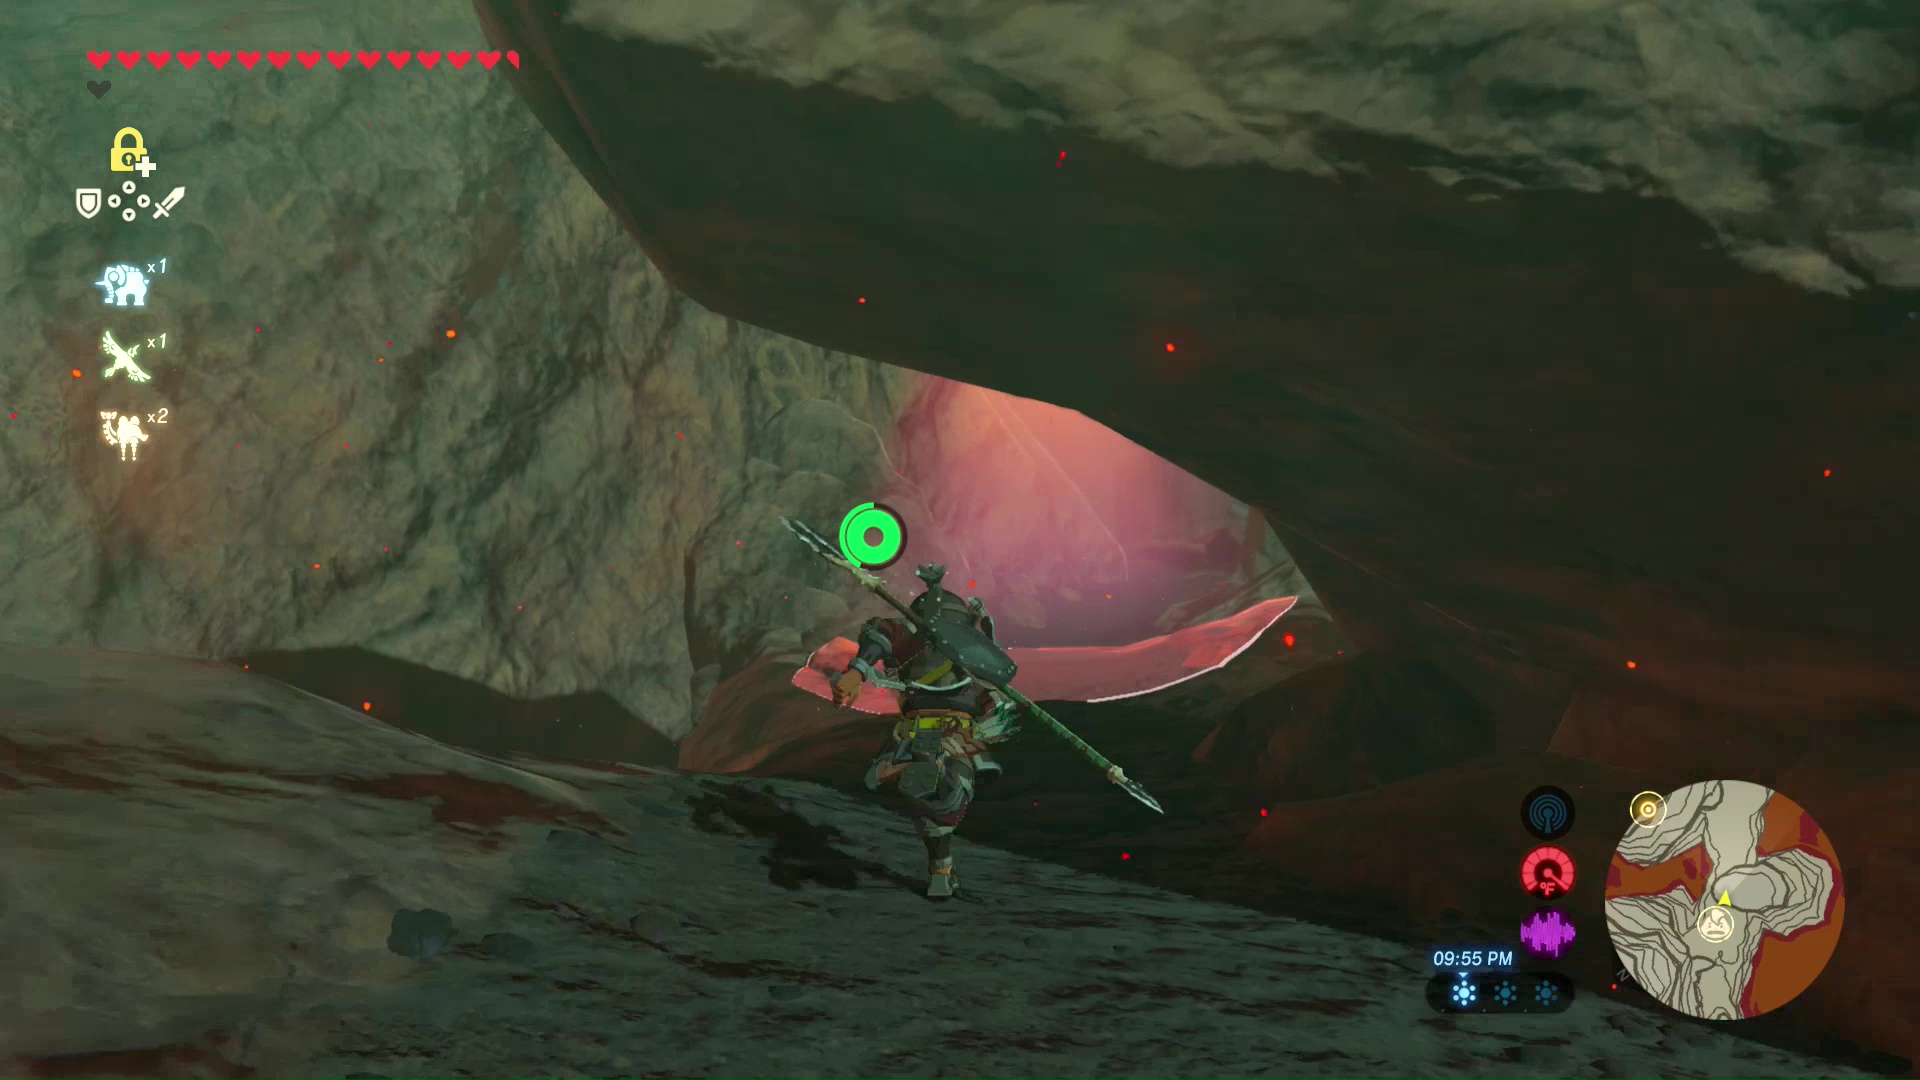
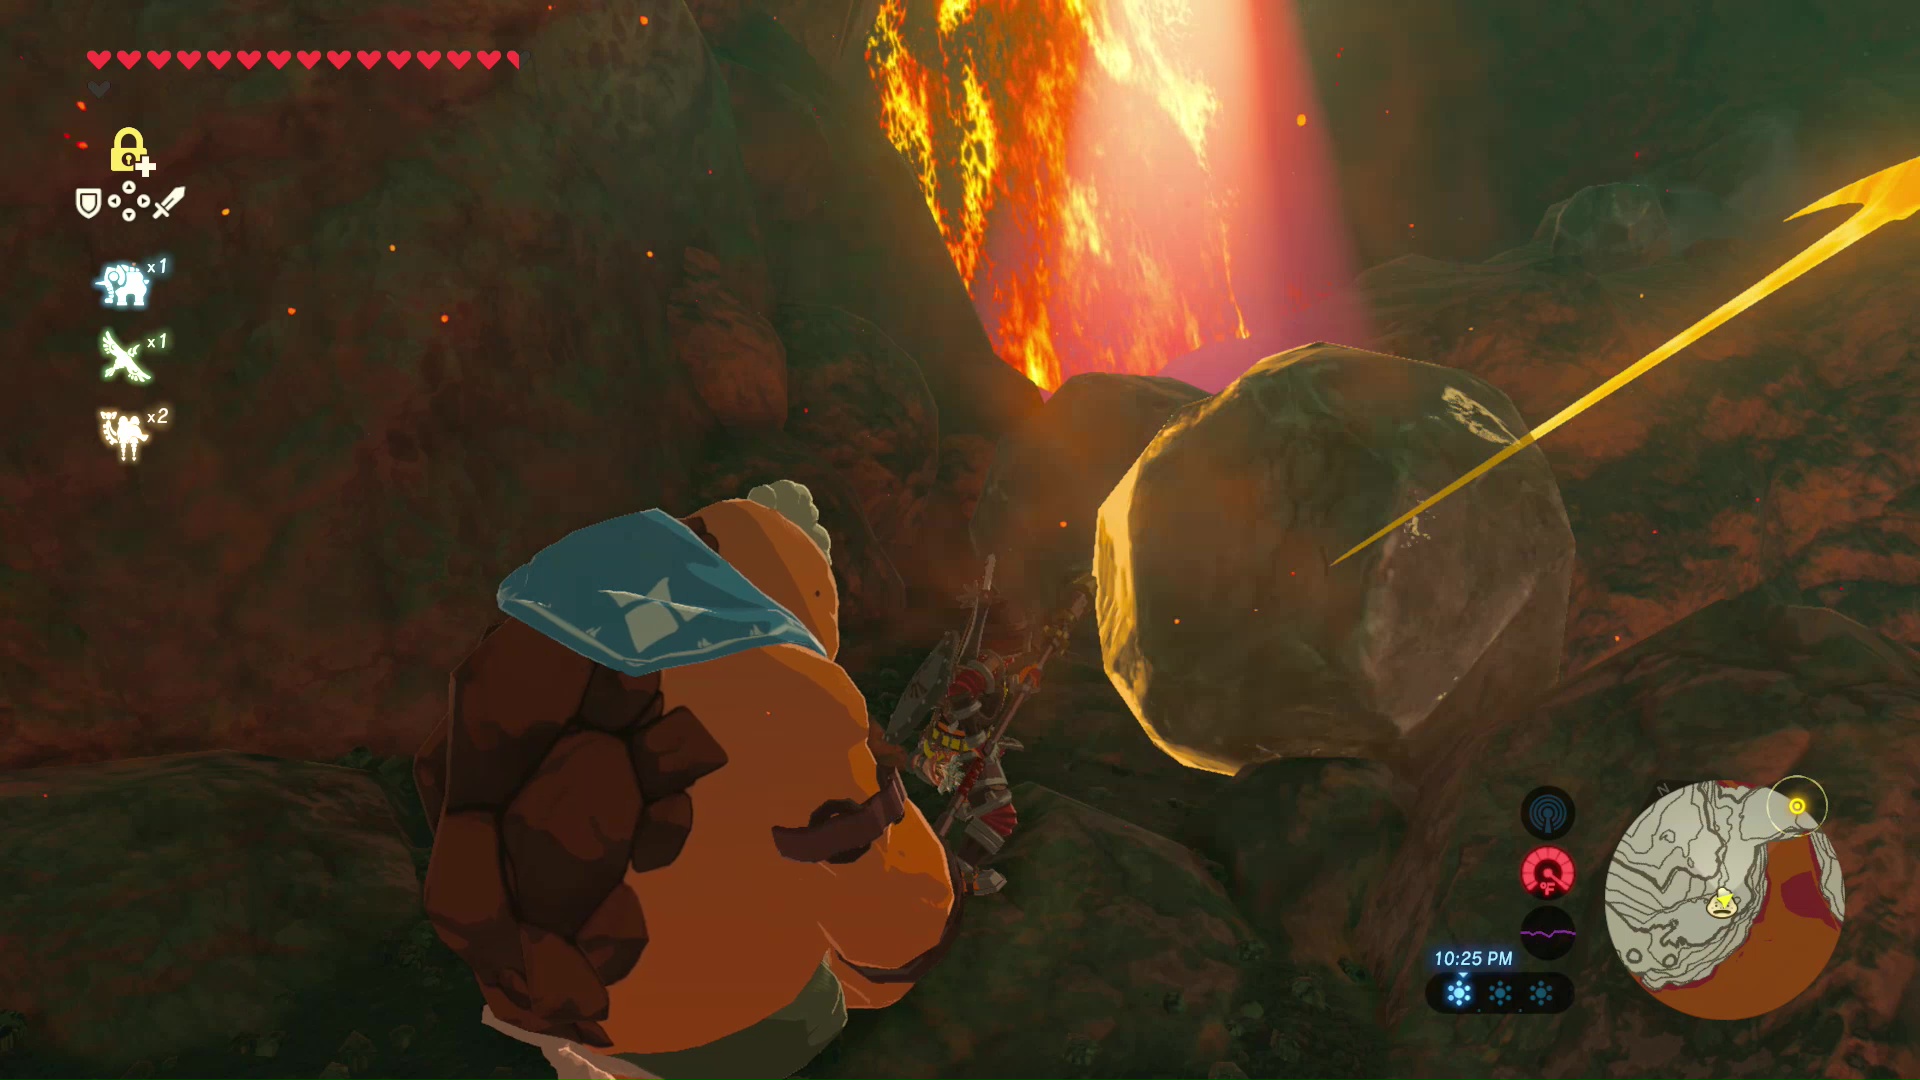
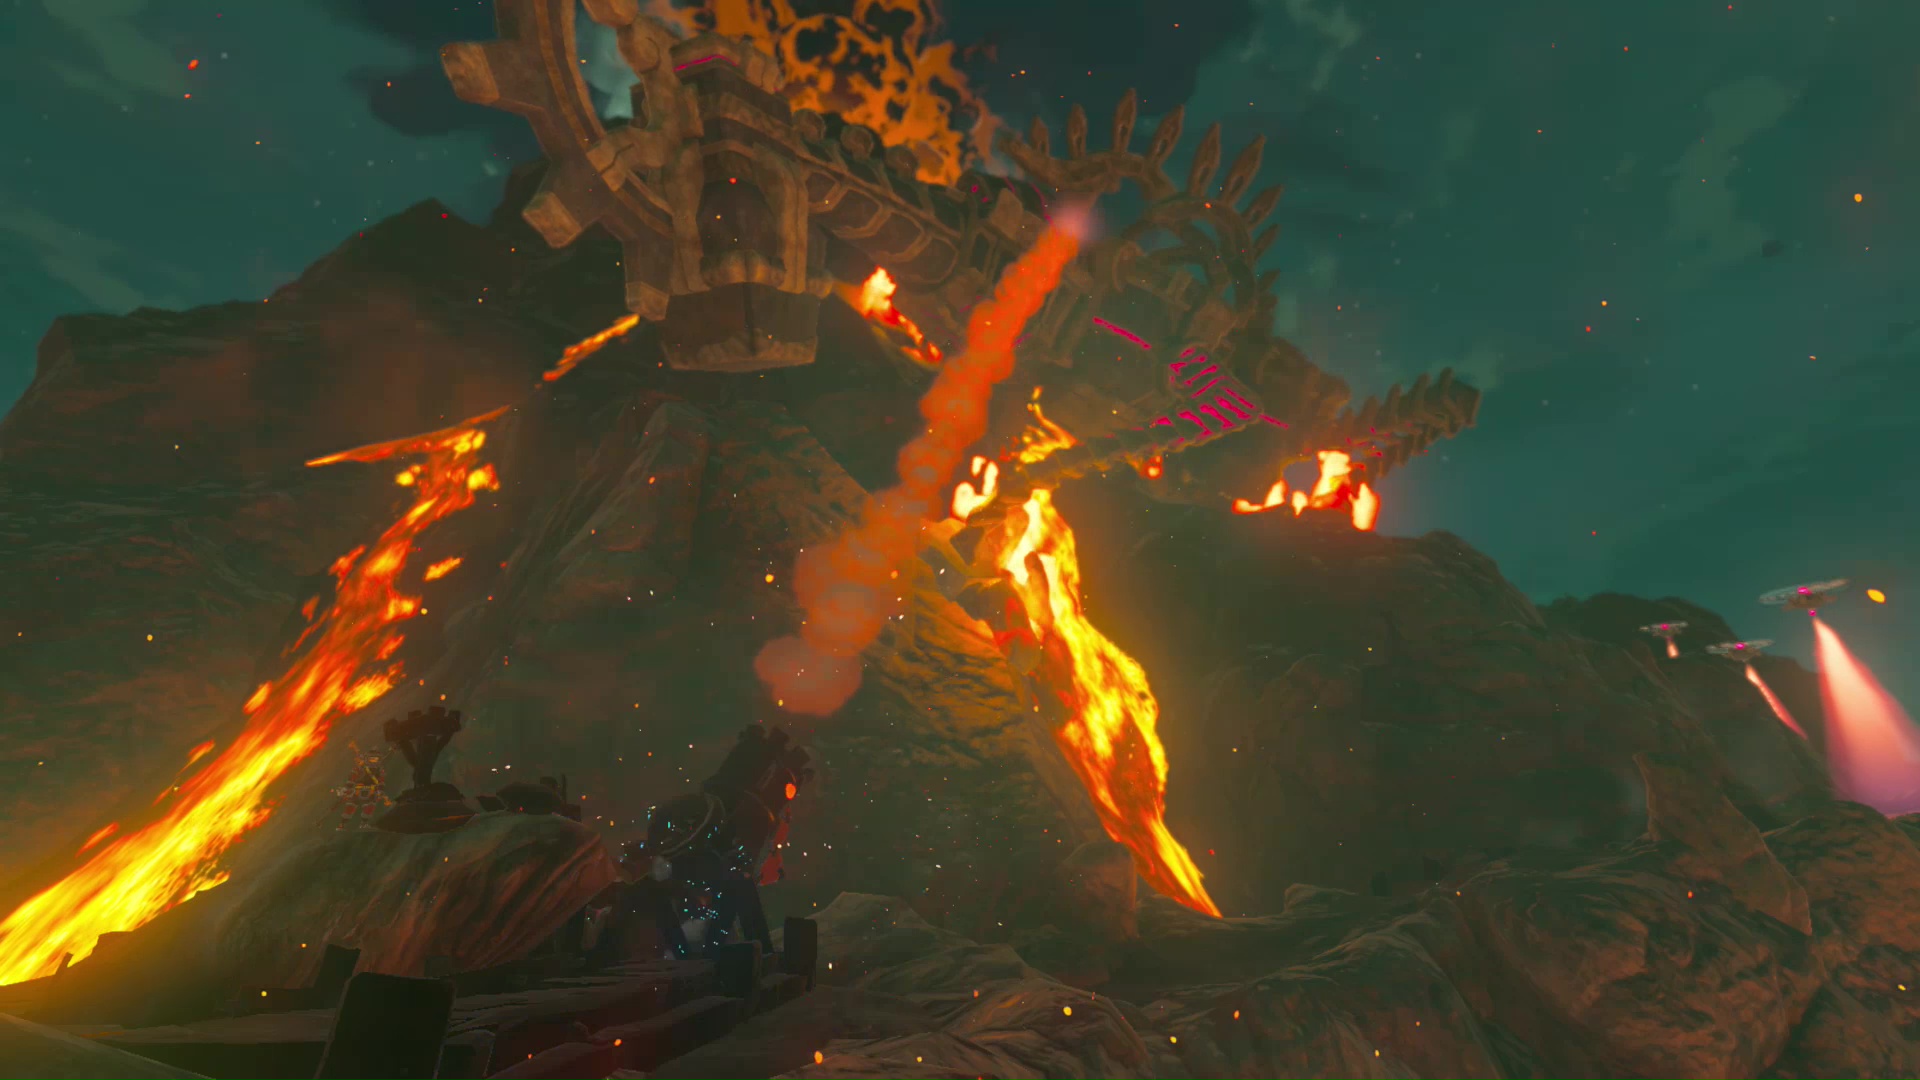
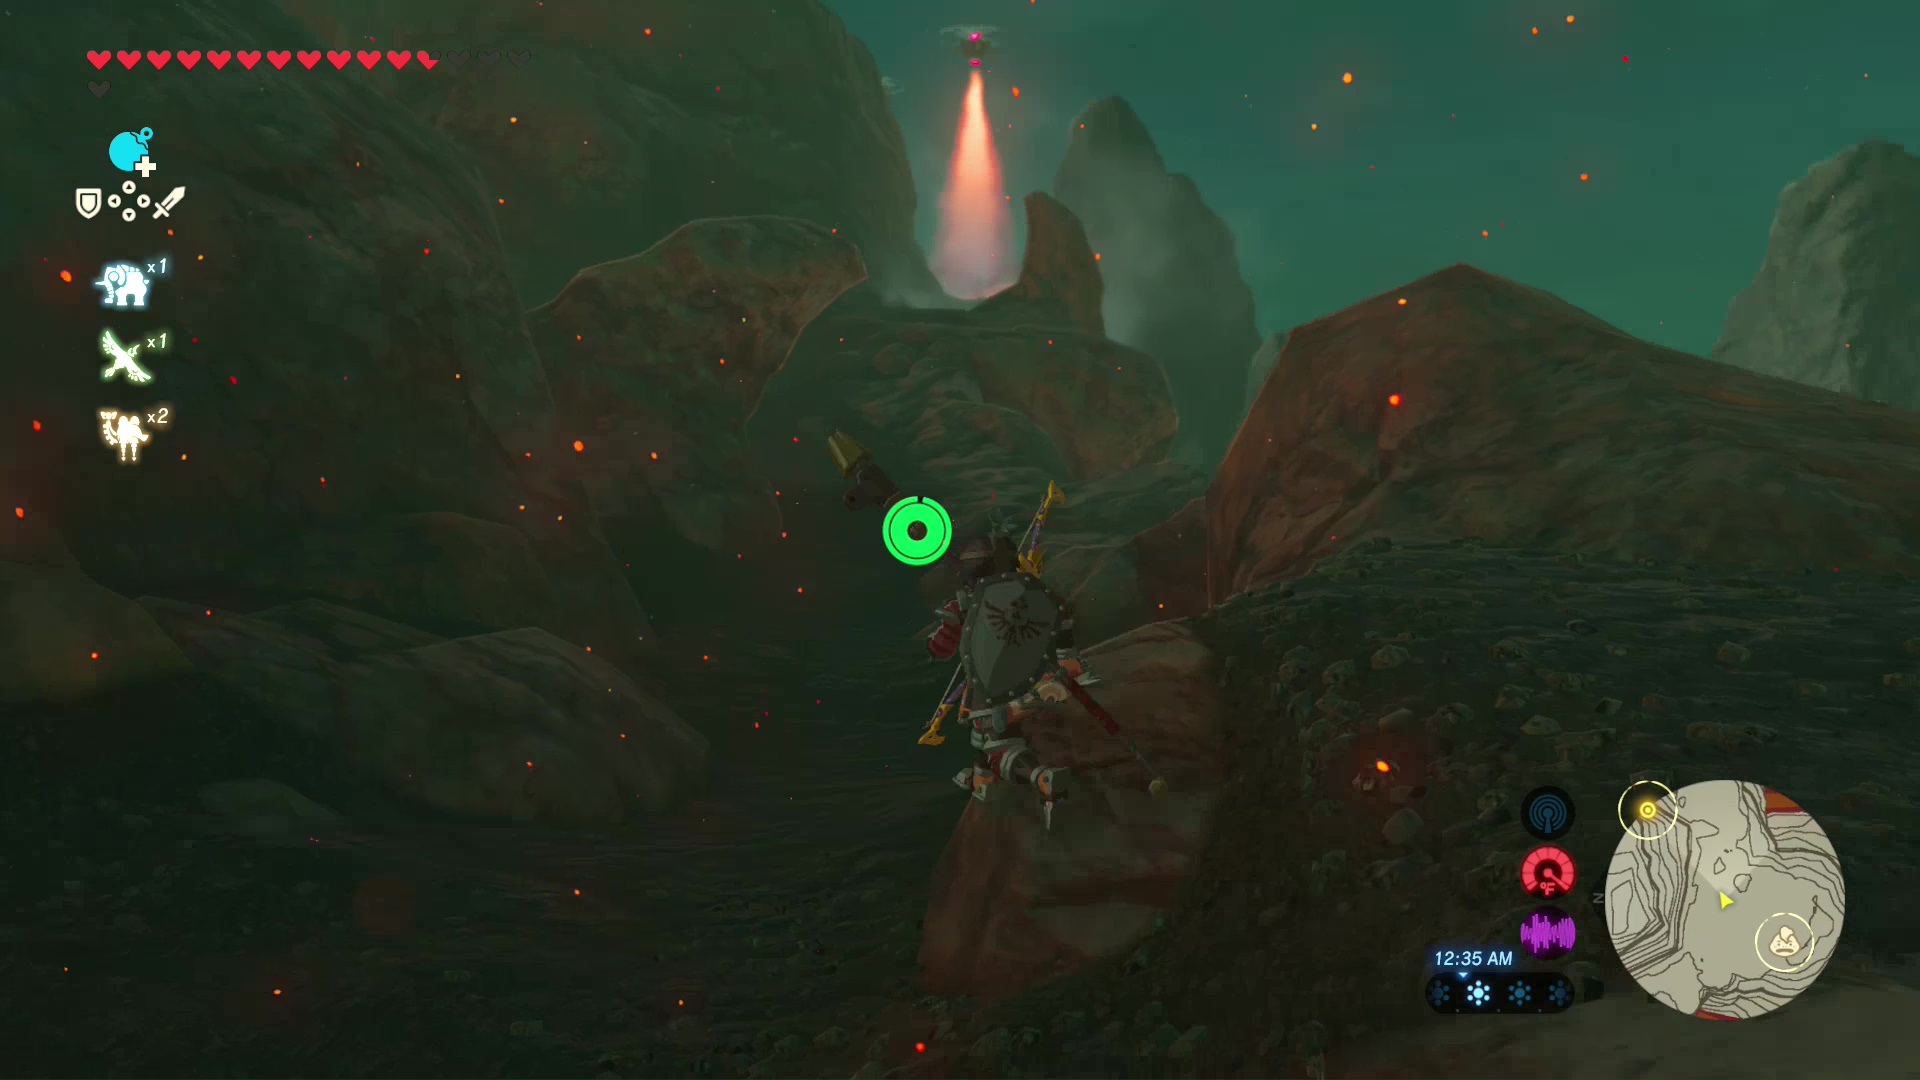
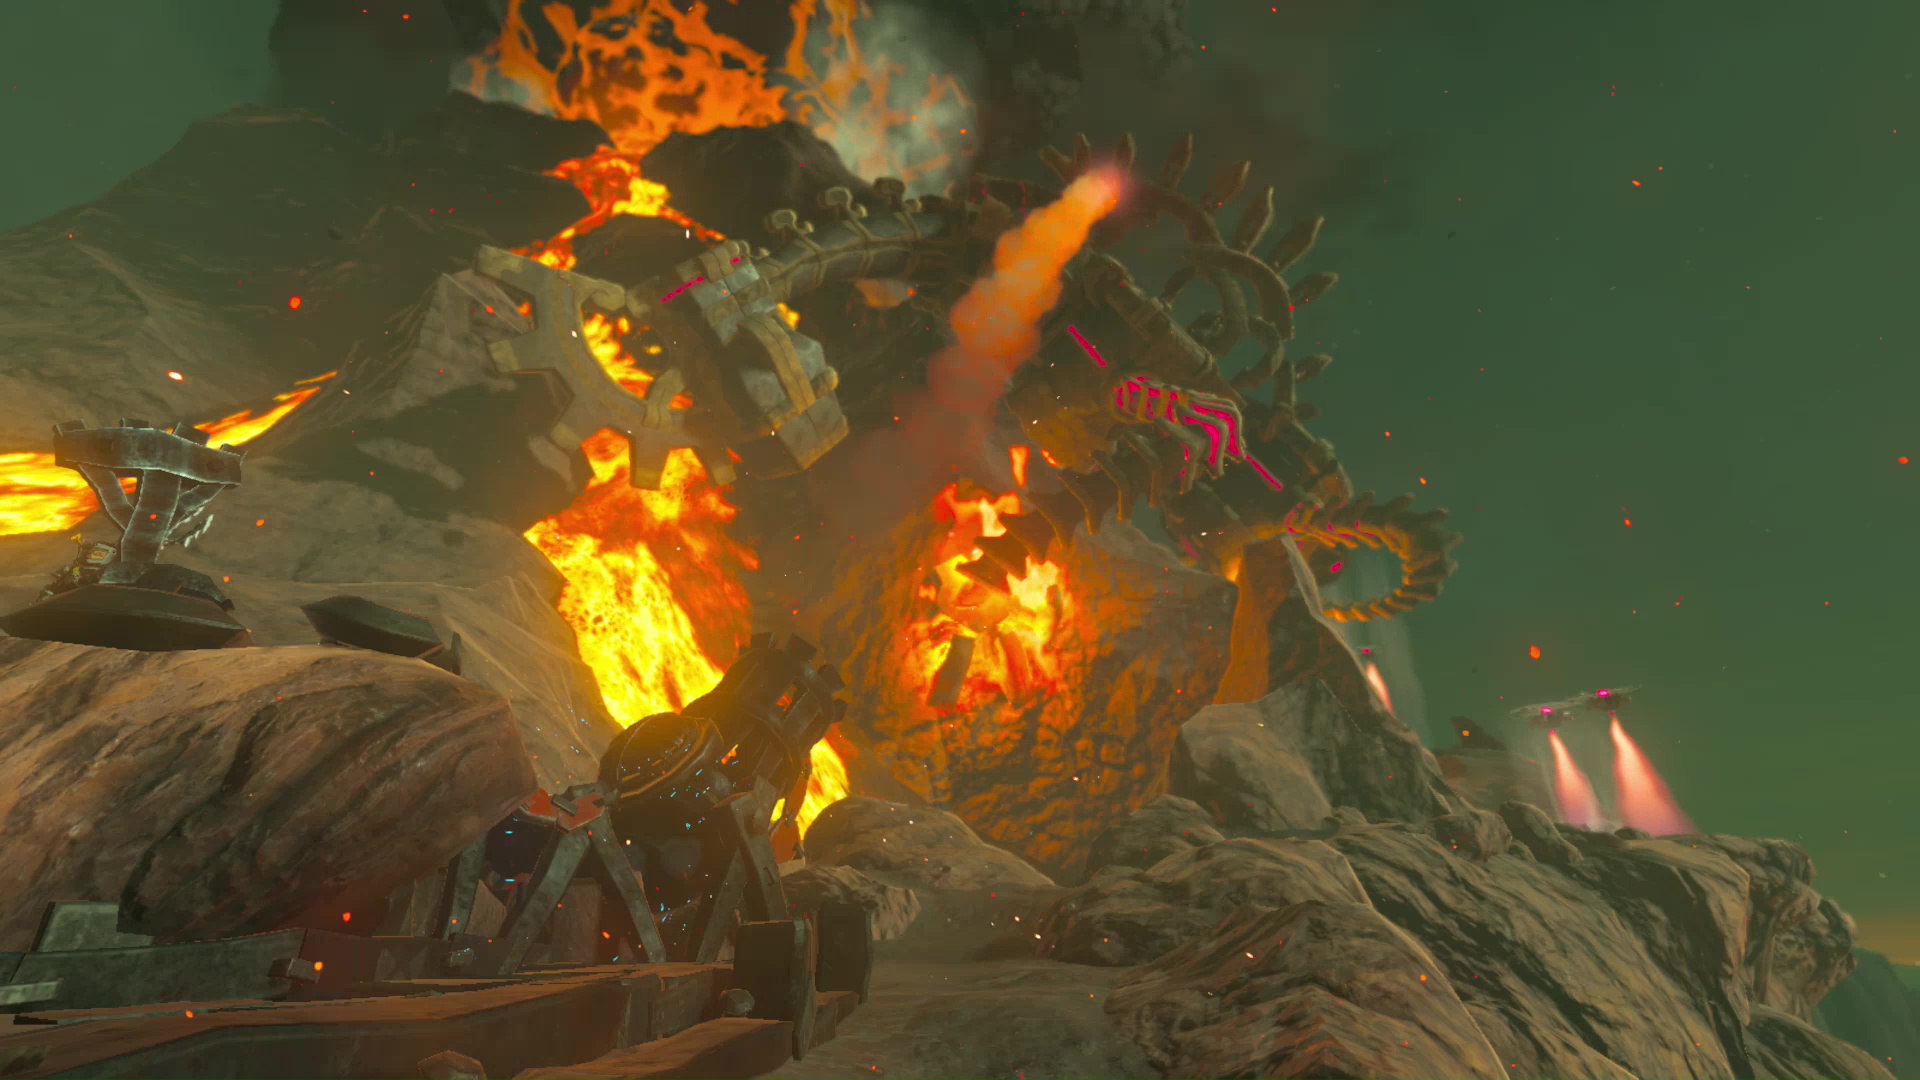
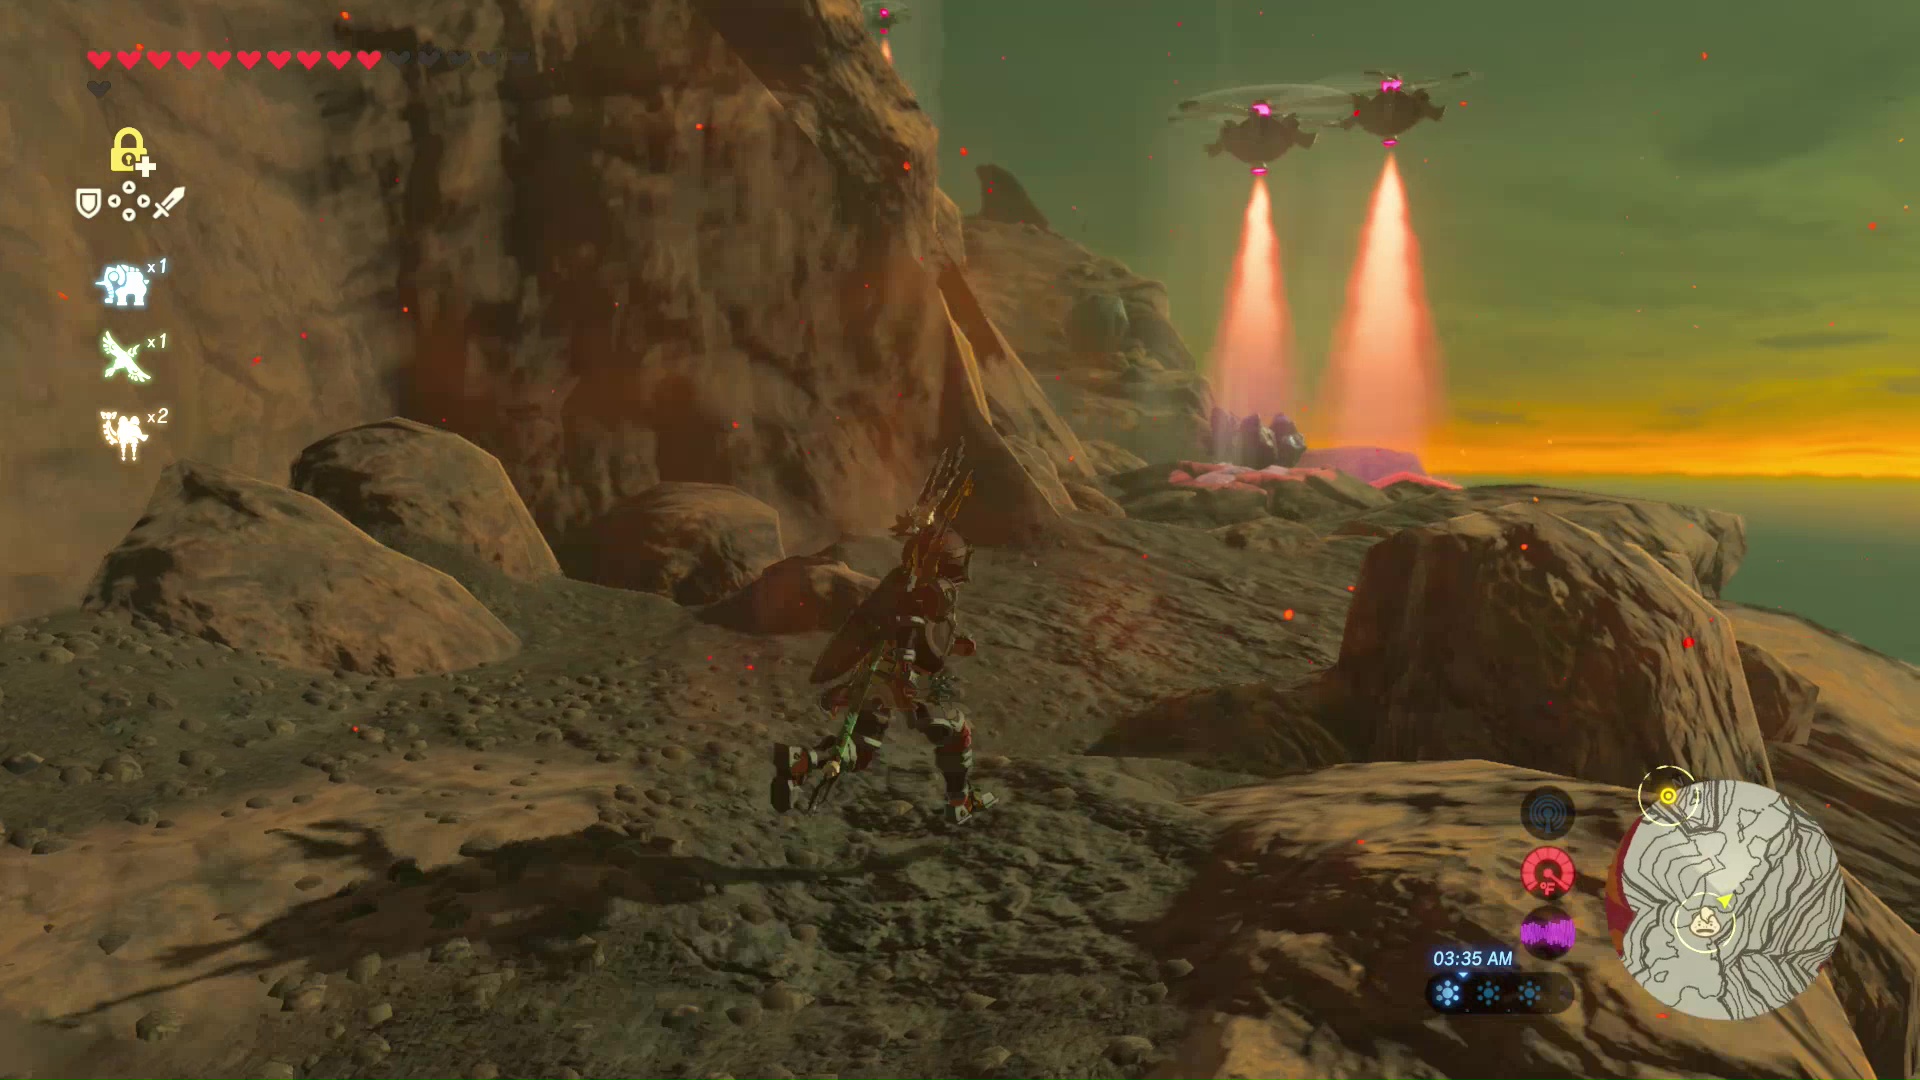
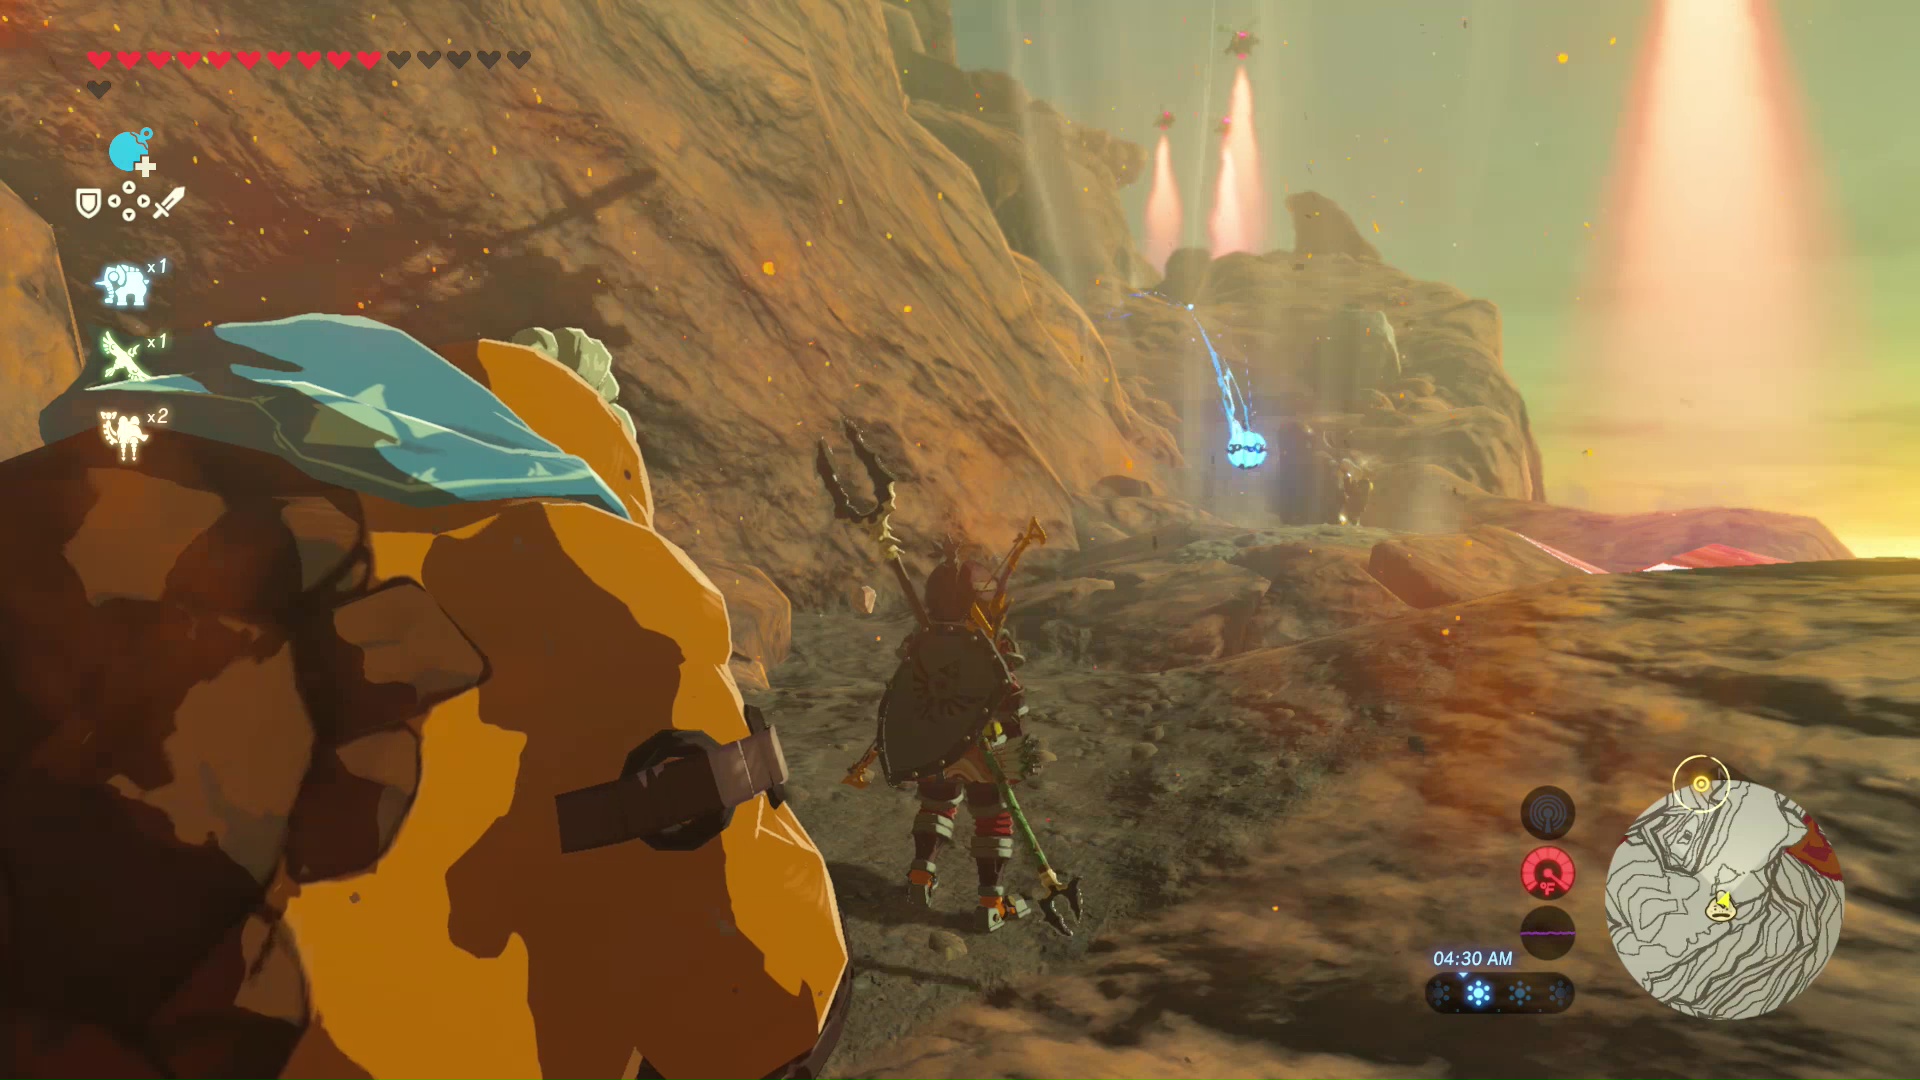
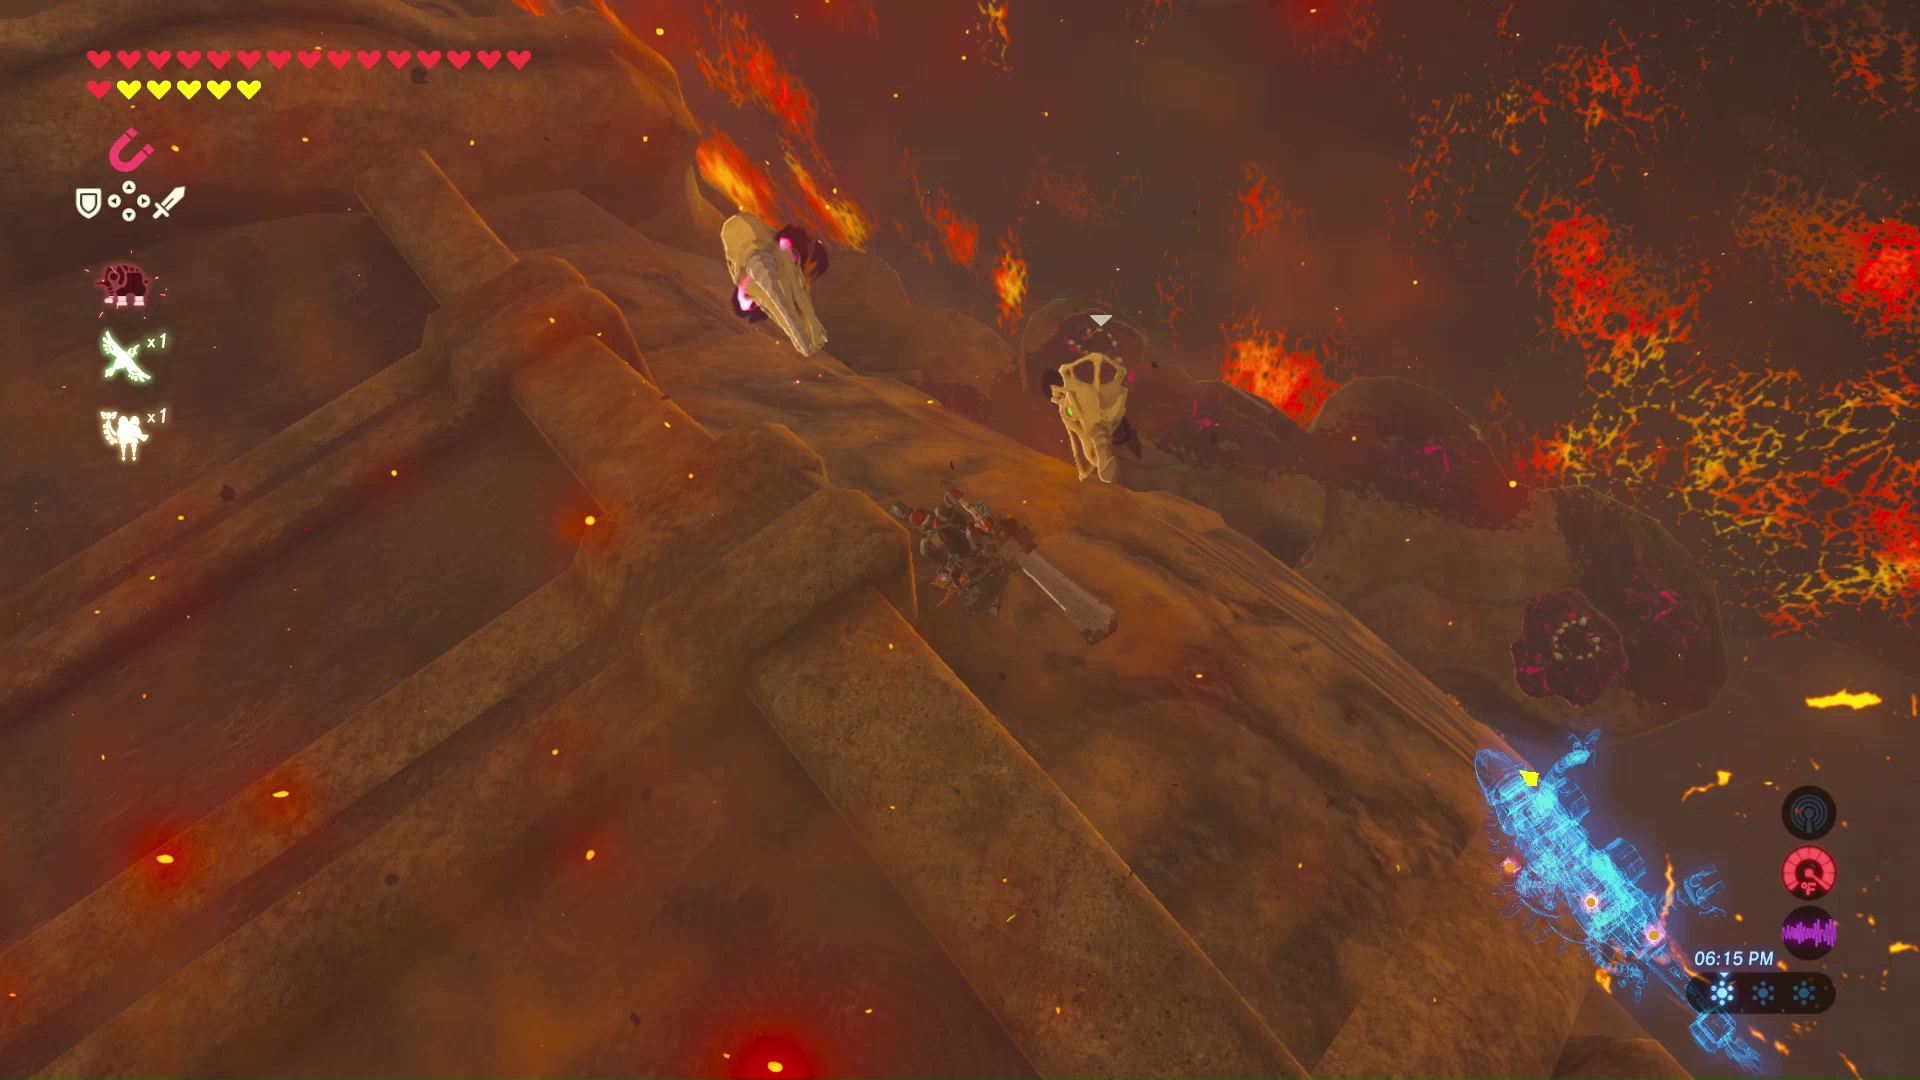
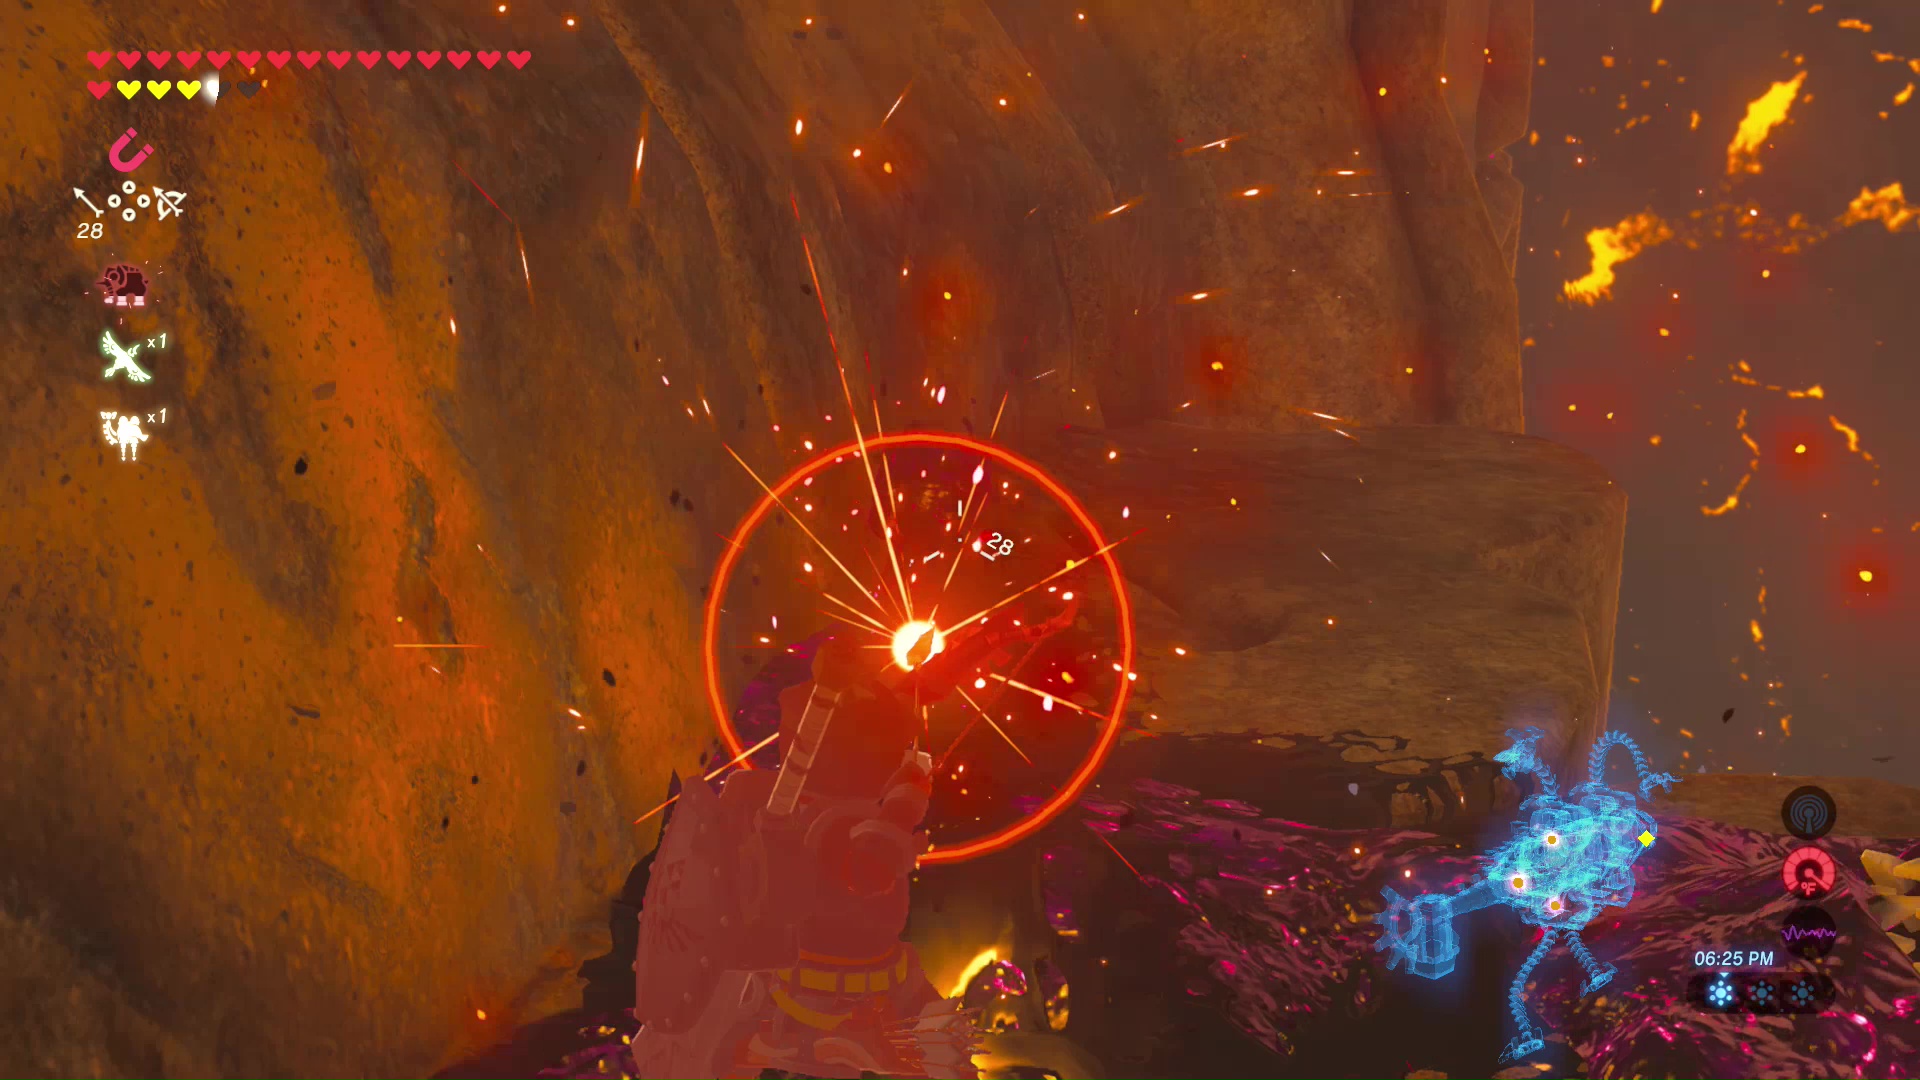
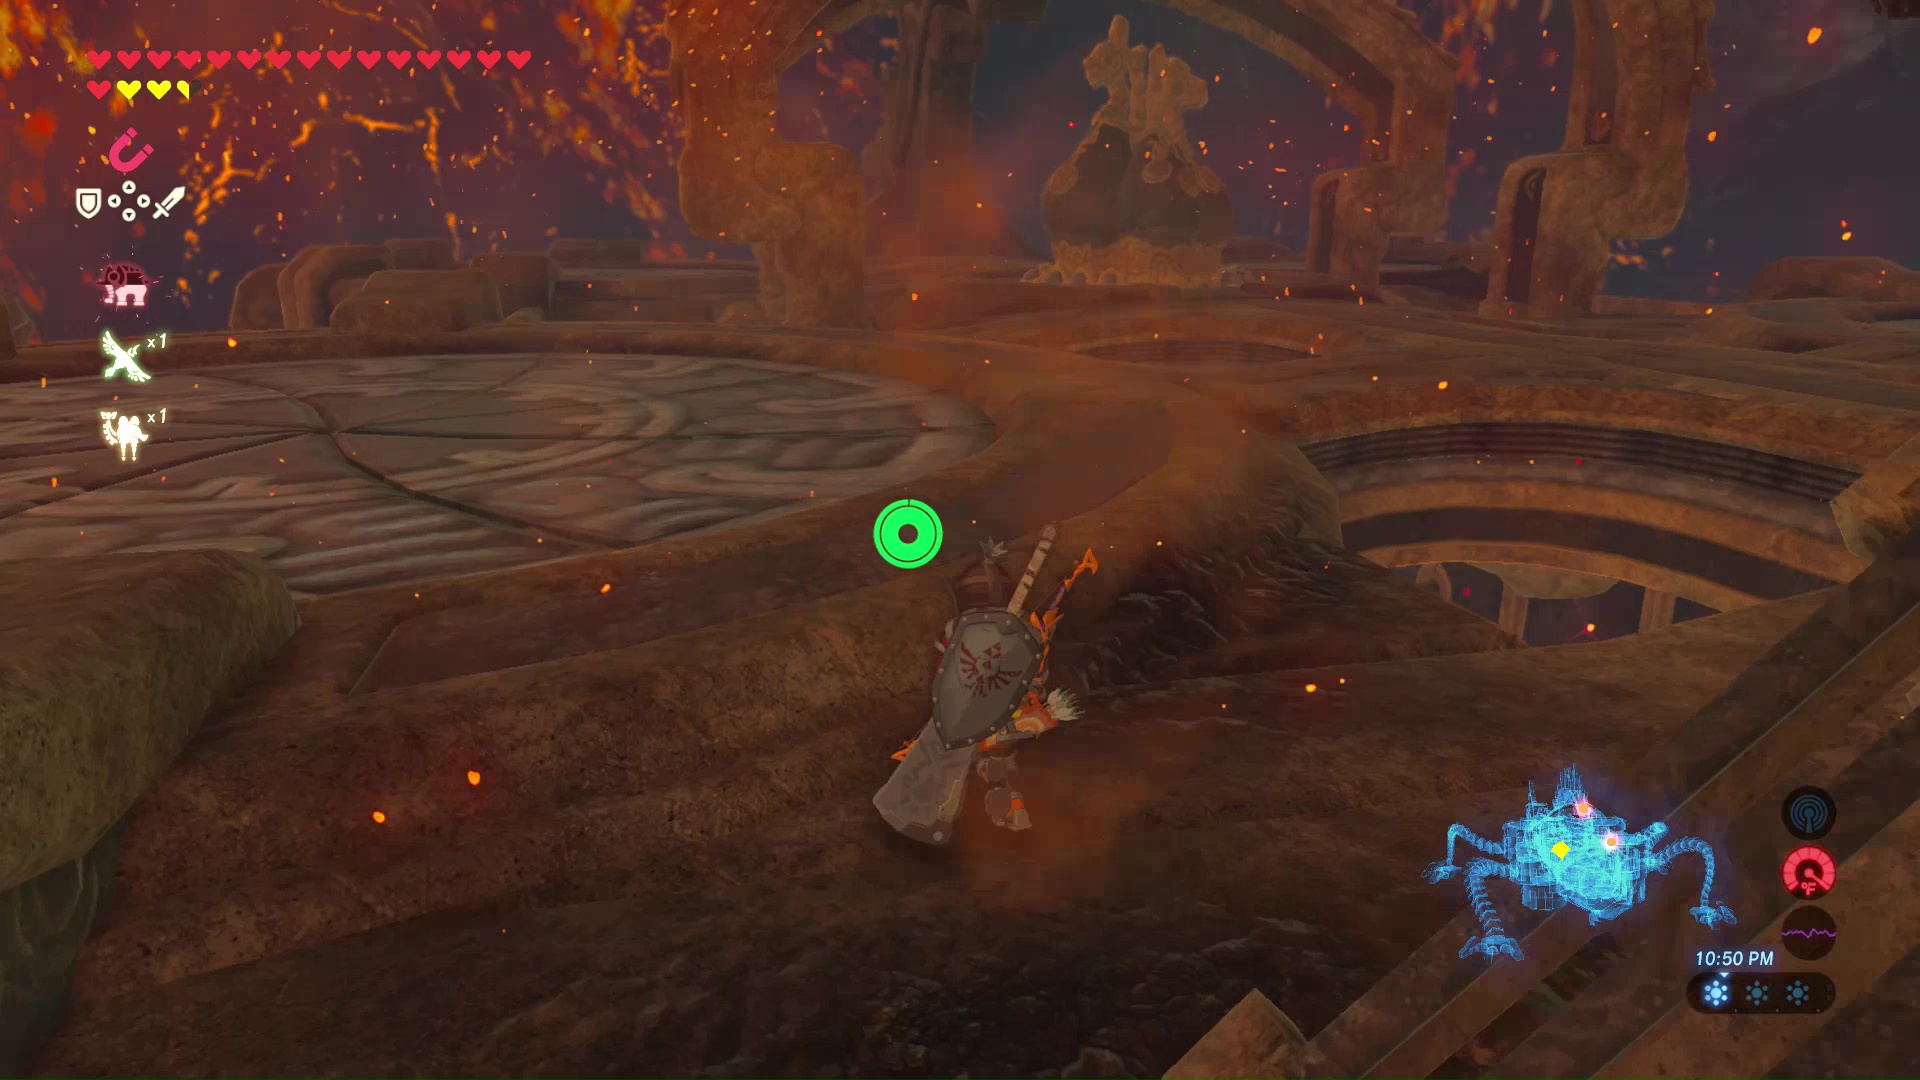
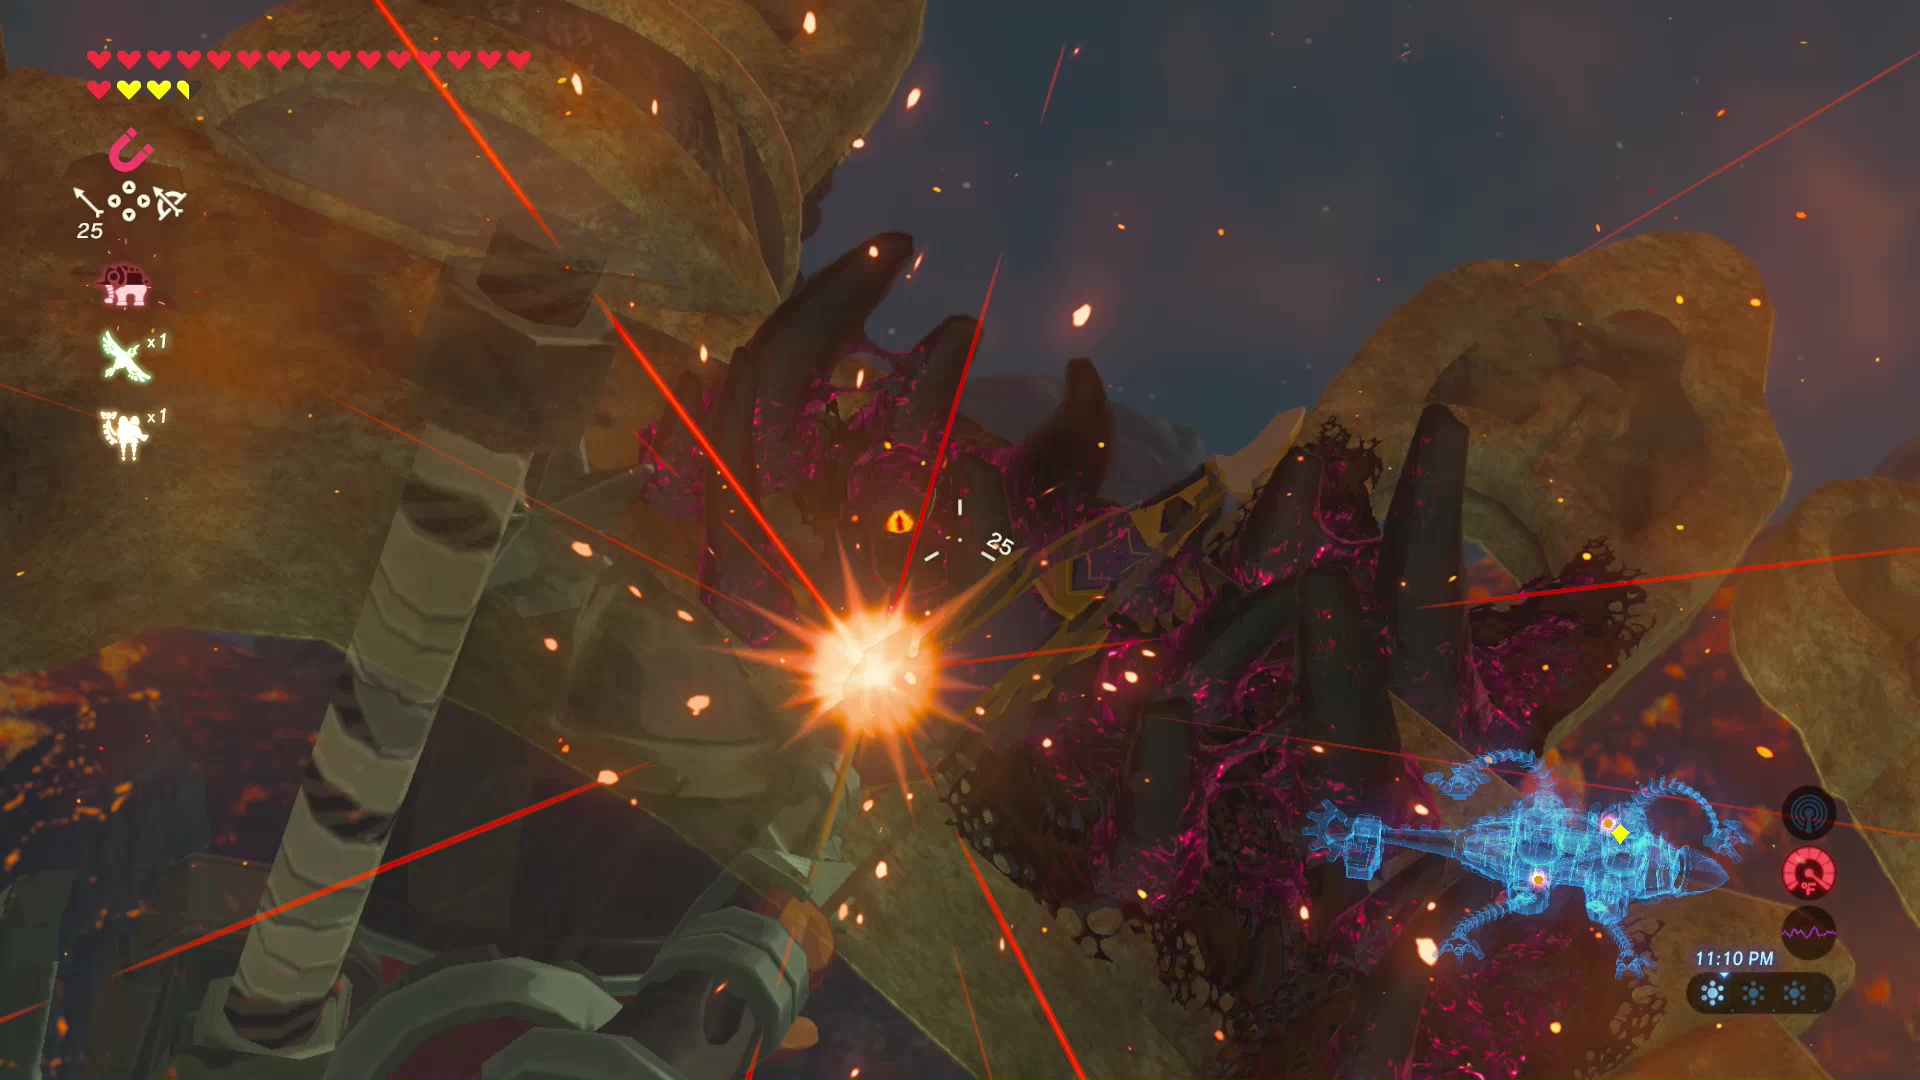
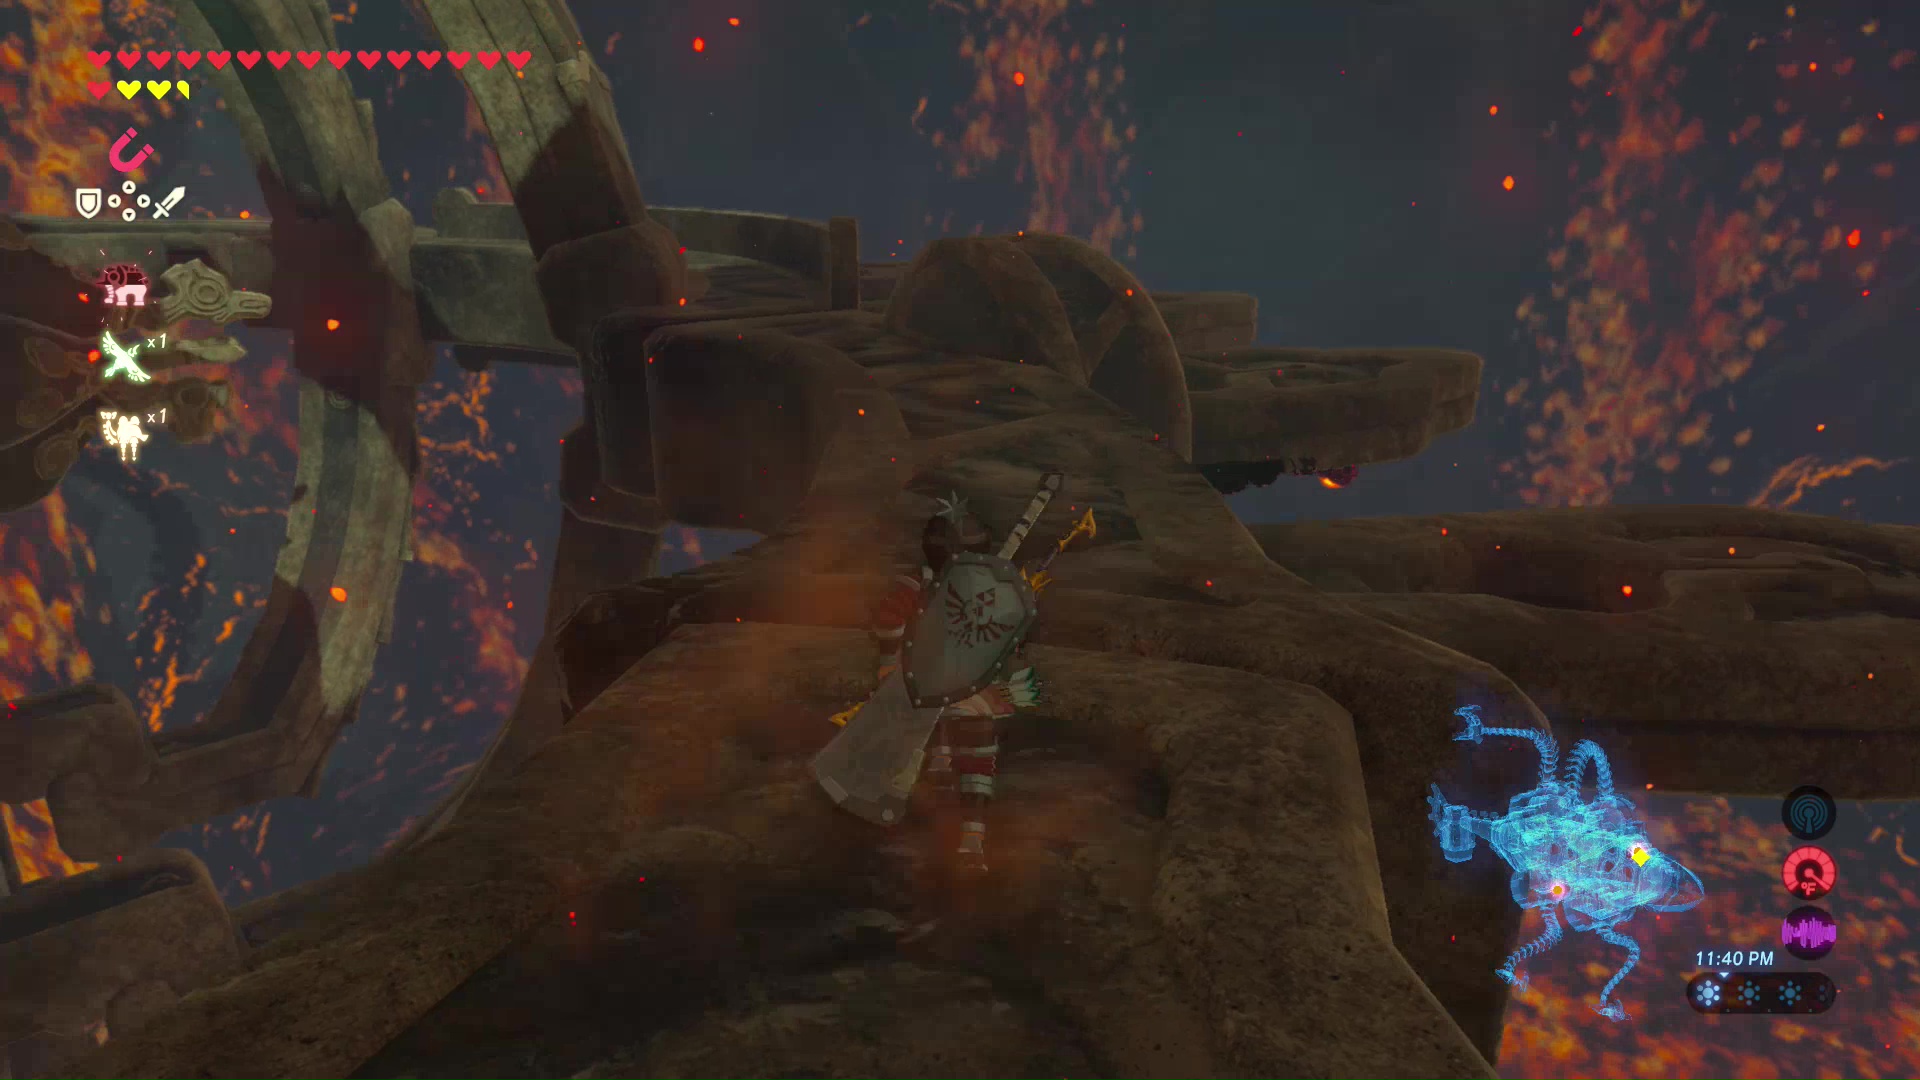
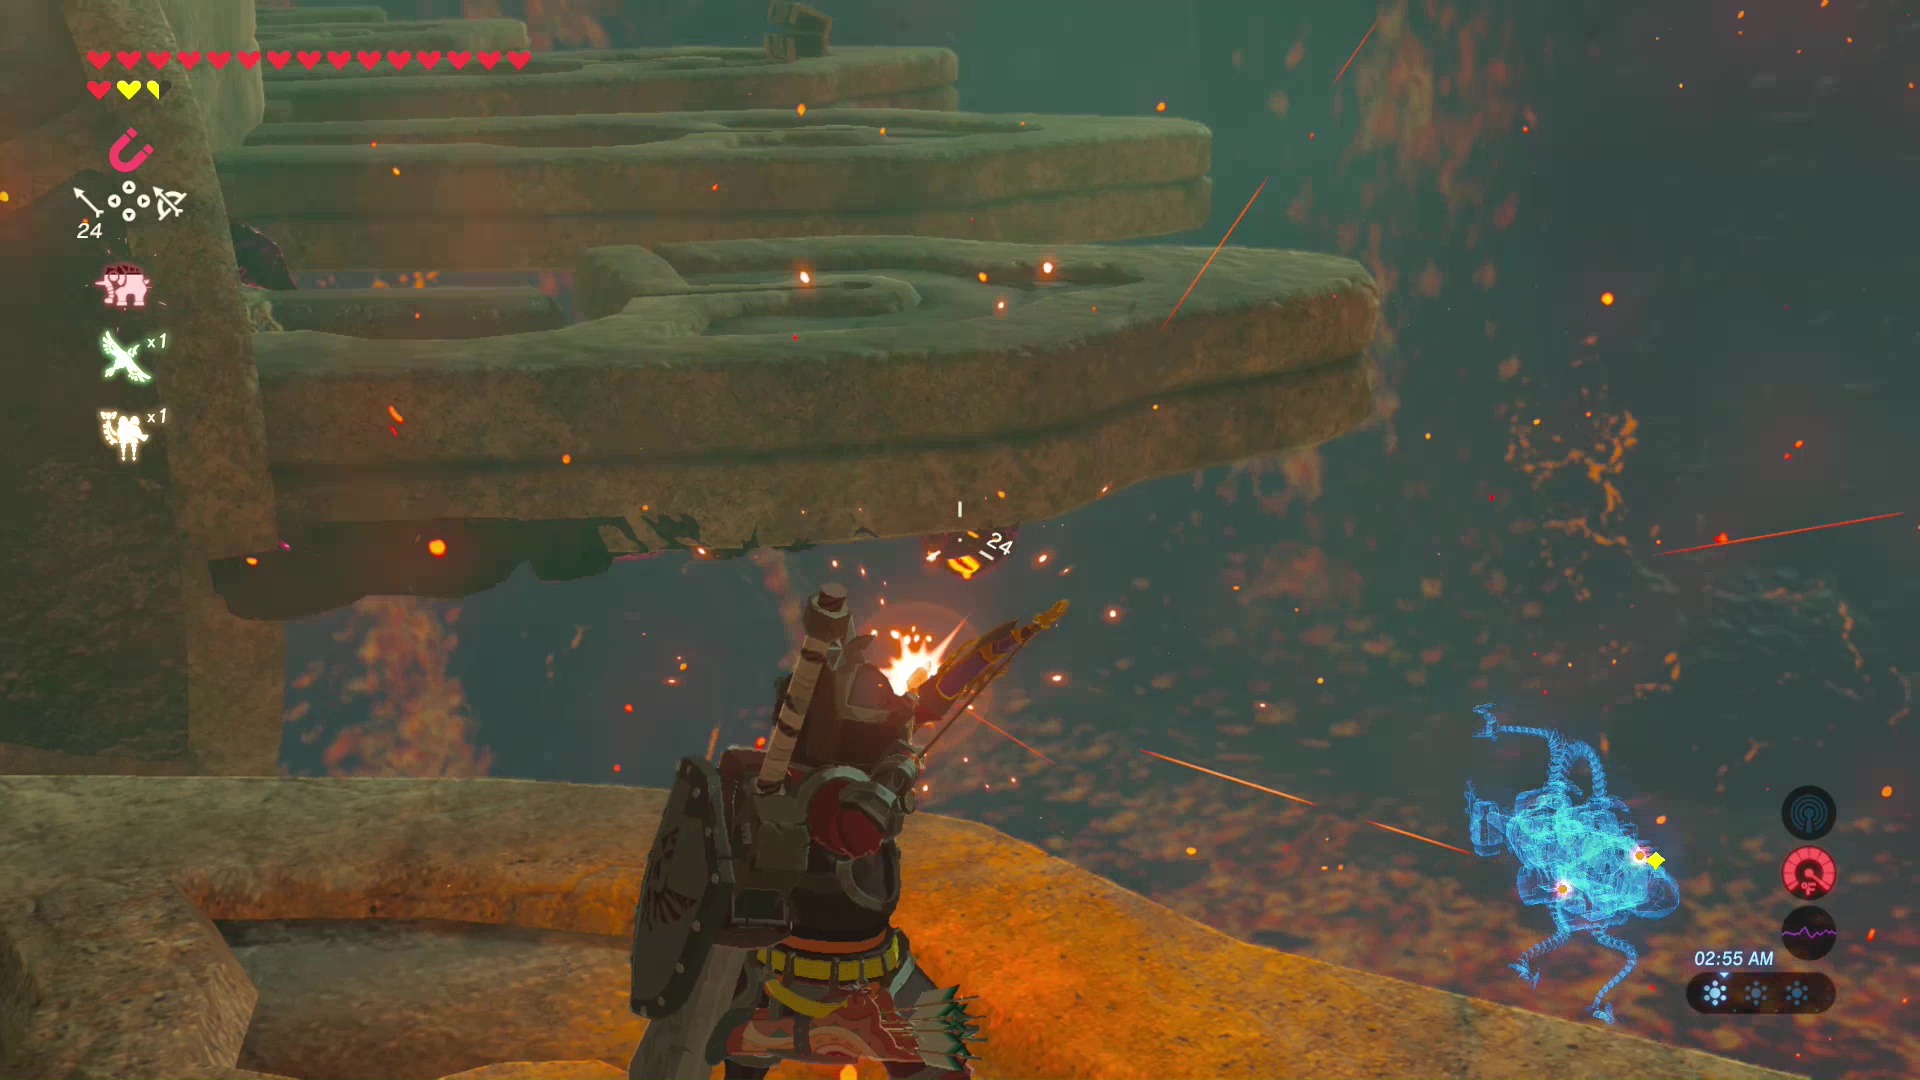
Cross the bridge and Yunobo will tell you about the area up ahead. Sentries will be flying around Death Mountain with big, red spotlights. Avoid the spotlights or else the sentry will notify the Divine Beast, and Vah Rudania will send magma bombs down on the both of you. Find any small cave or alcove to hide under. Both Link and Yunobo can be caught in the spotlights. Whistle to call Yunobo or have him freeze in place to avoid the sentry spotlights. The sentries can also be frozen by the Stasis Rune and destroyed with an arrow to the spotlight’s eye.
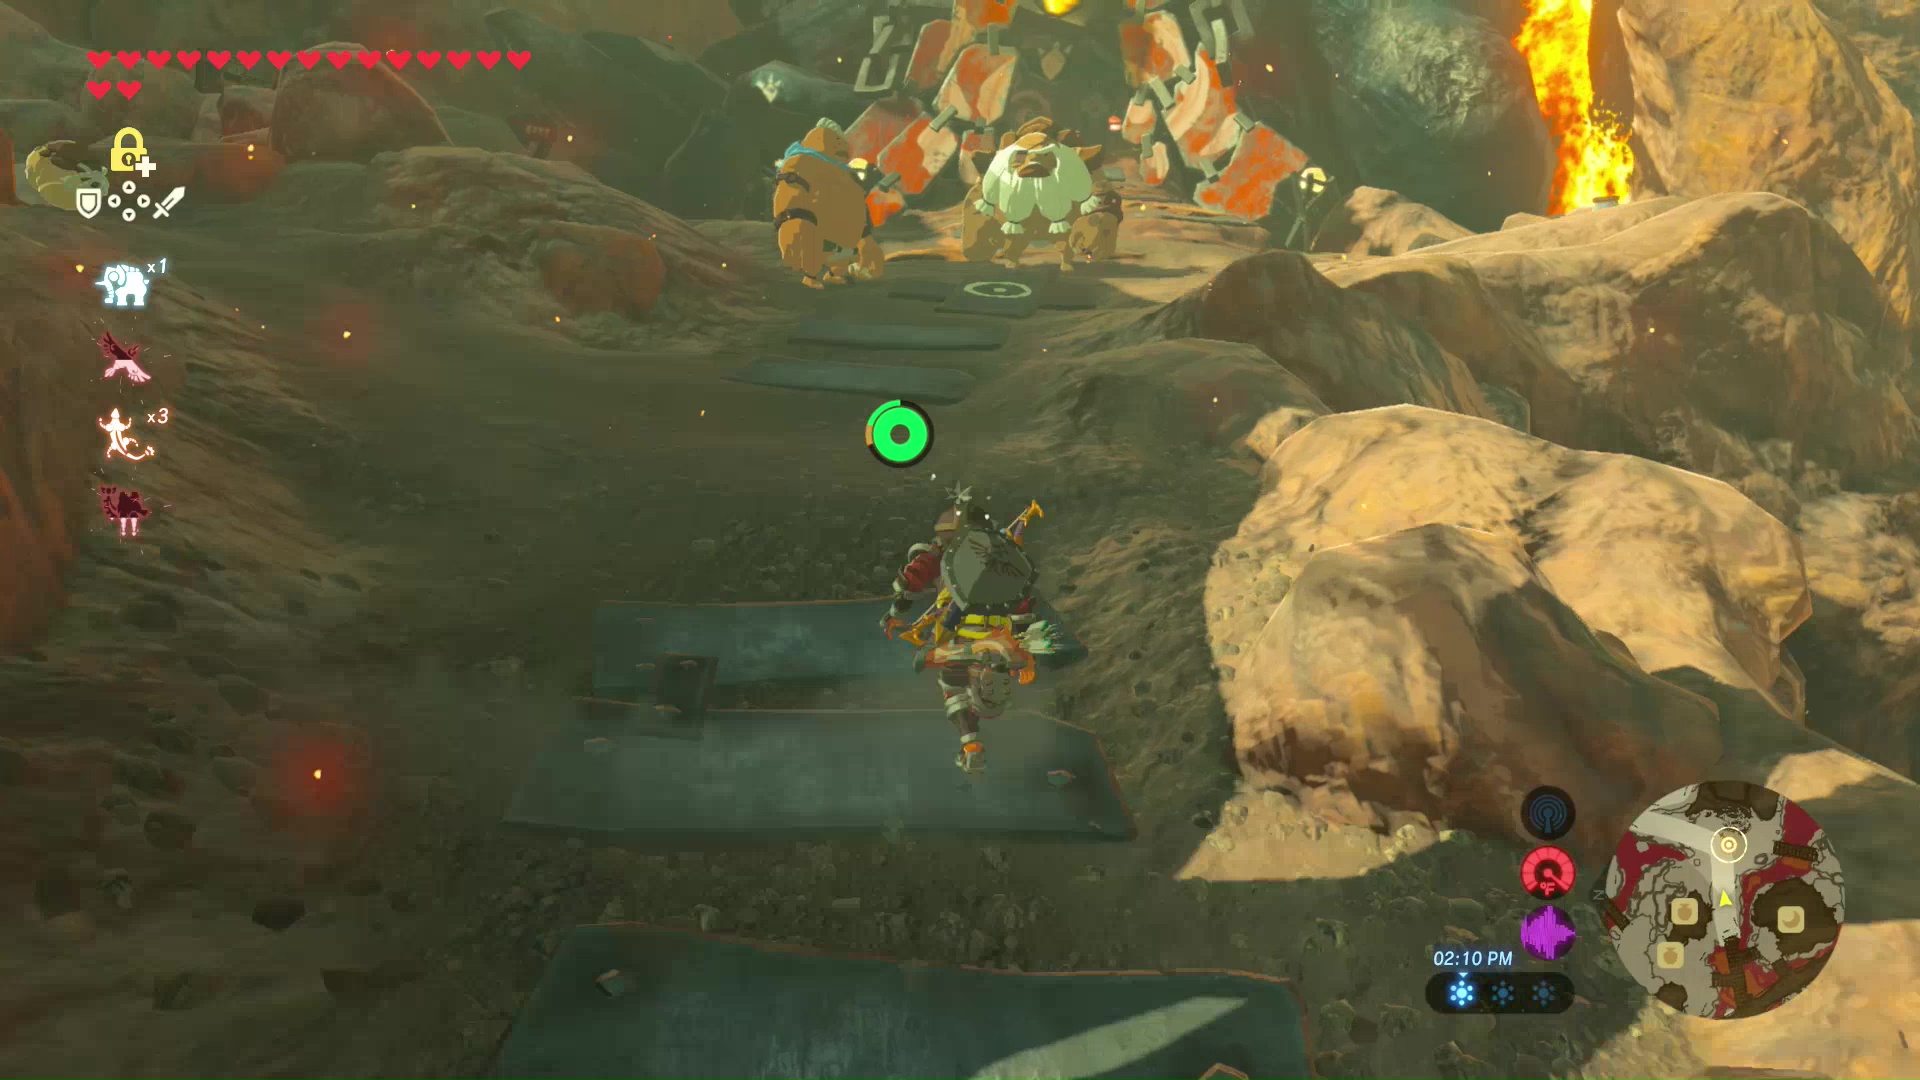
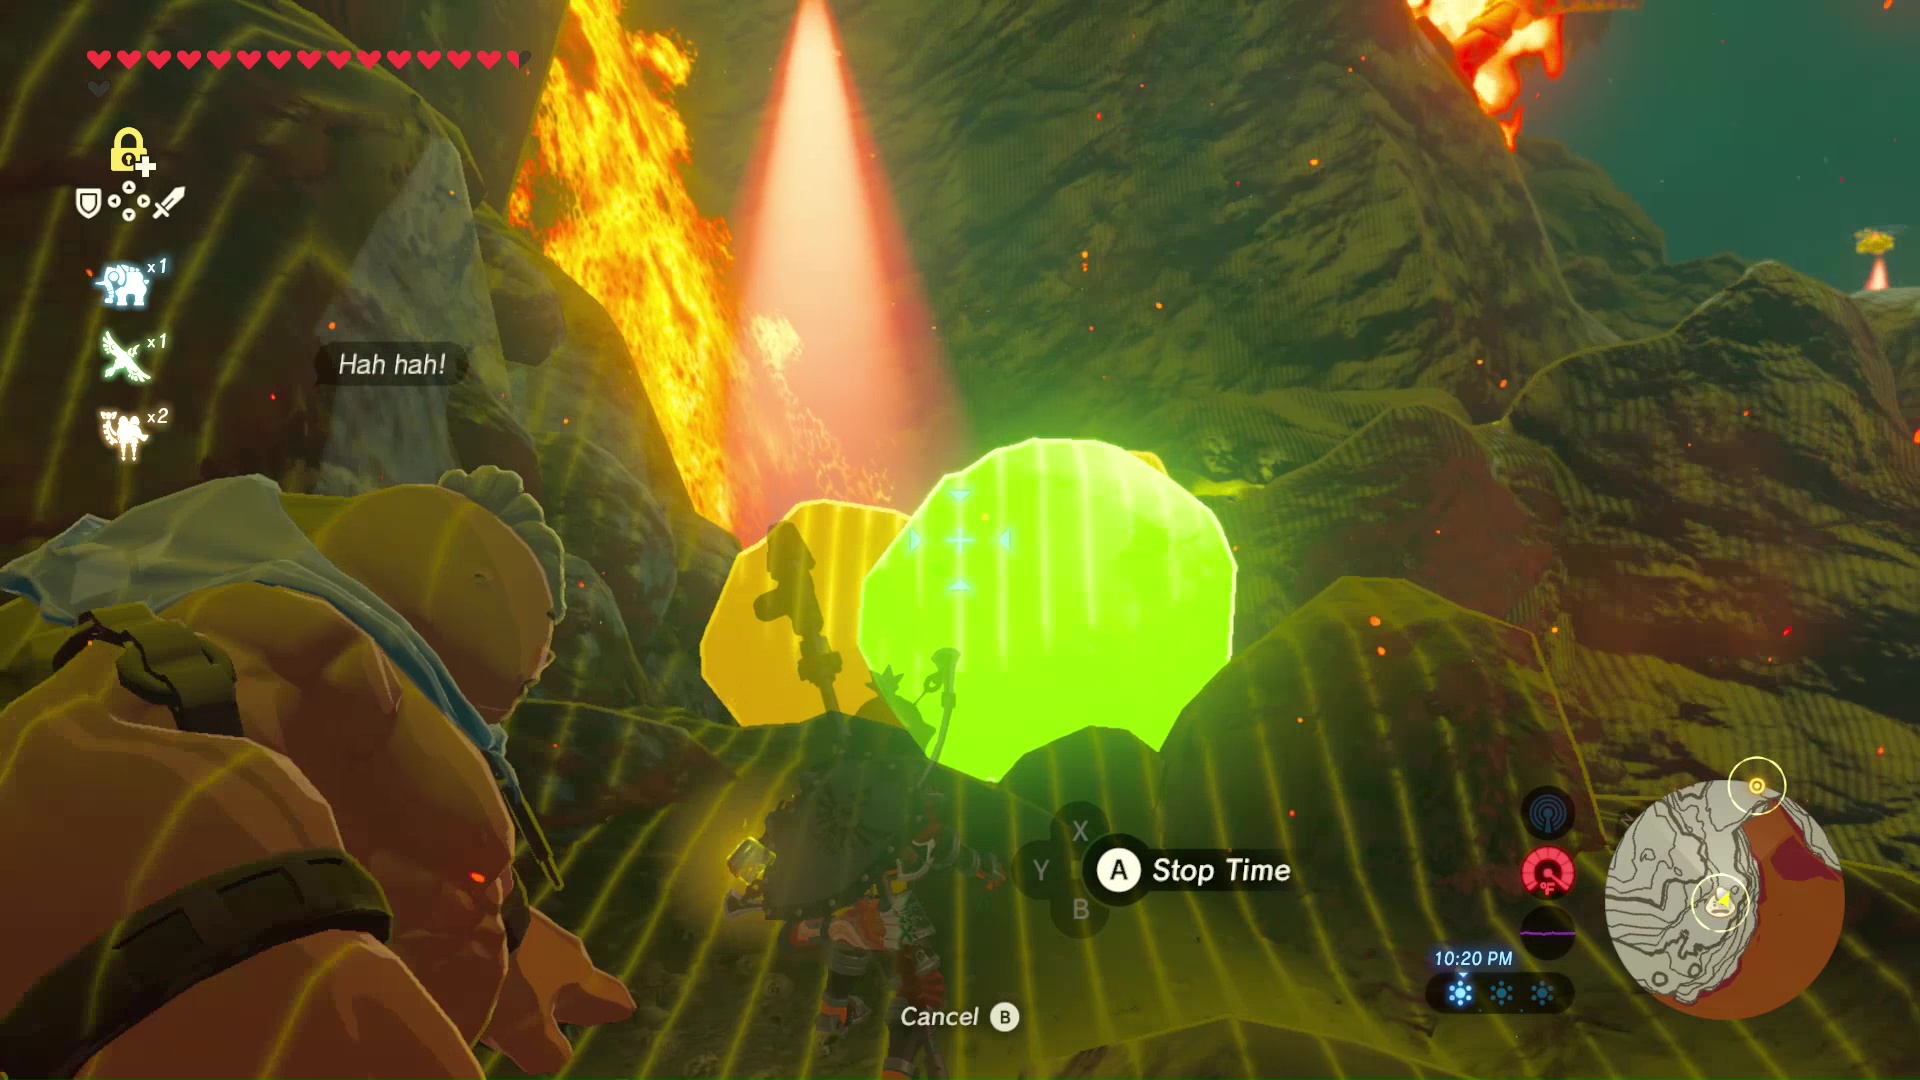
Around the path are several large boulders. Use the Stasis Rune to freeze them, then melee attack them to send the boulders flying.
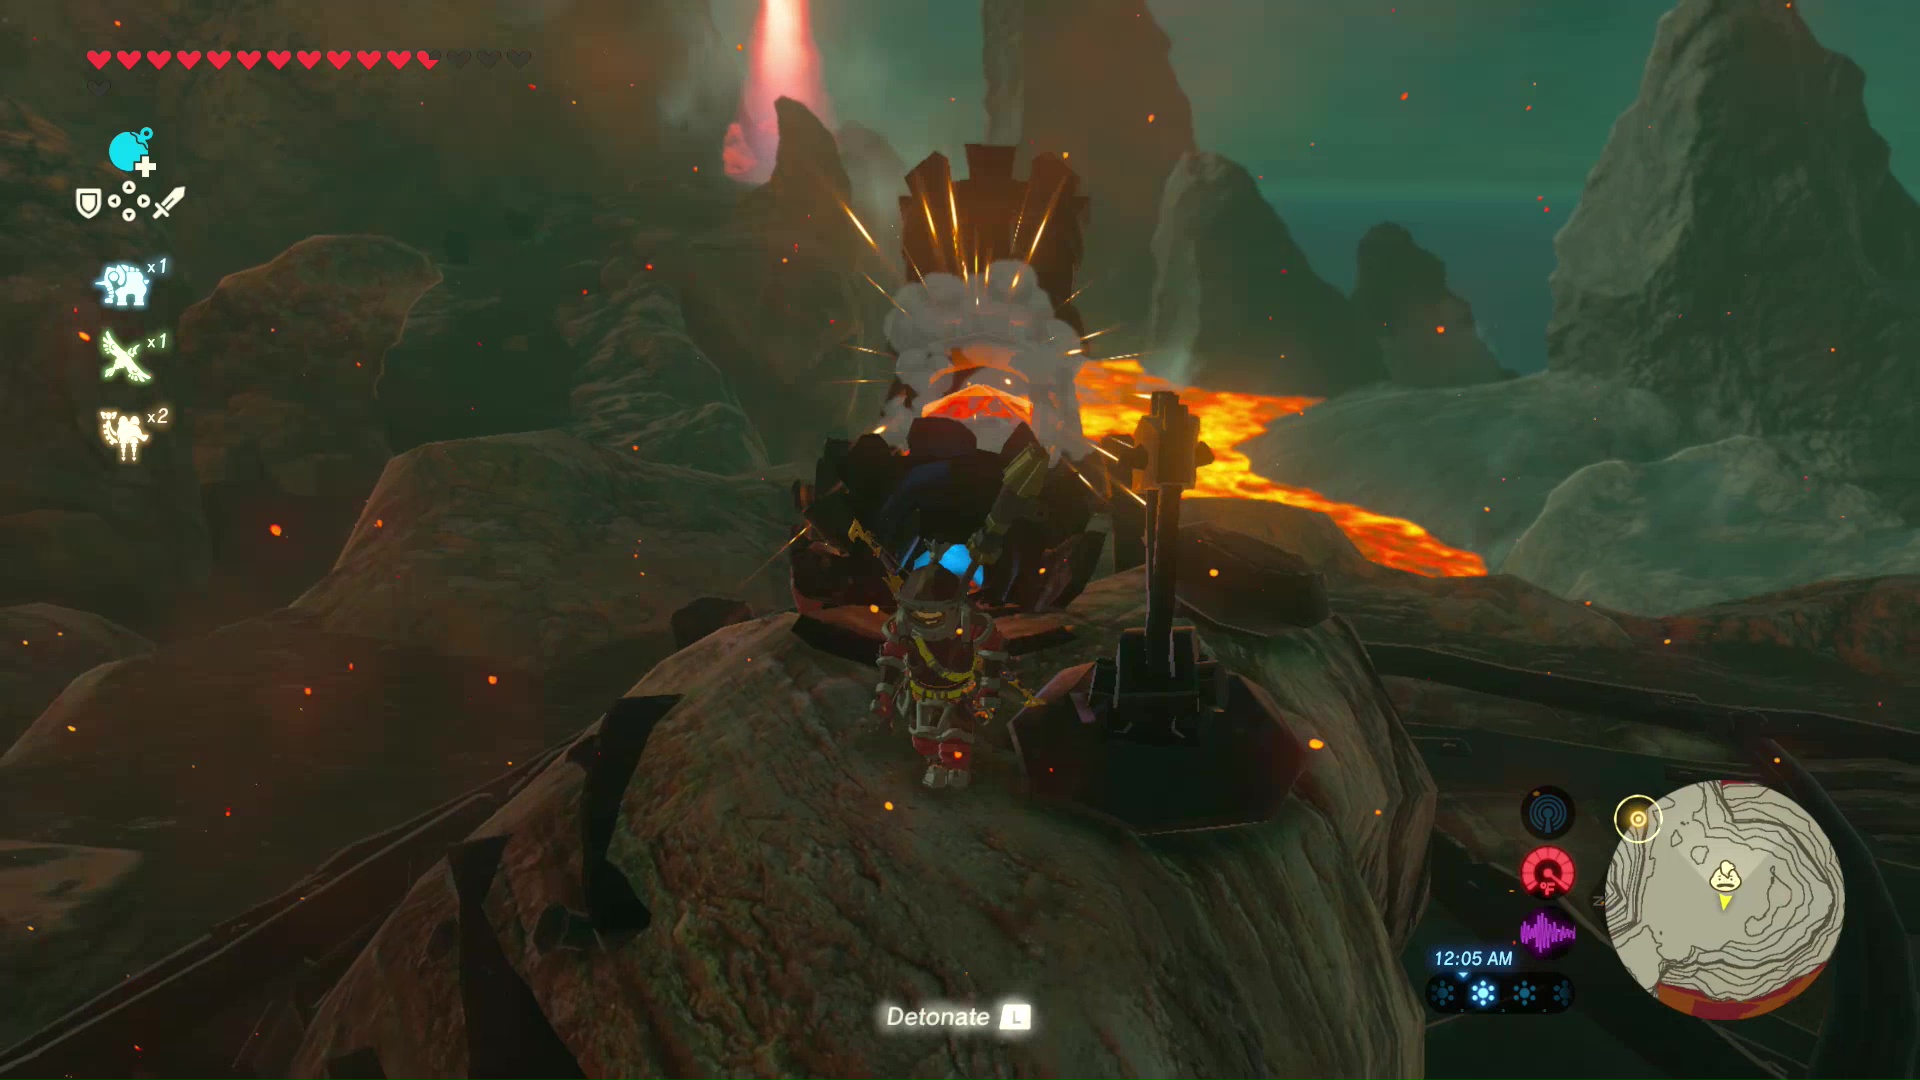
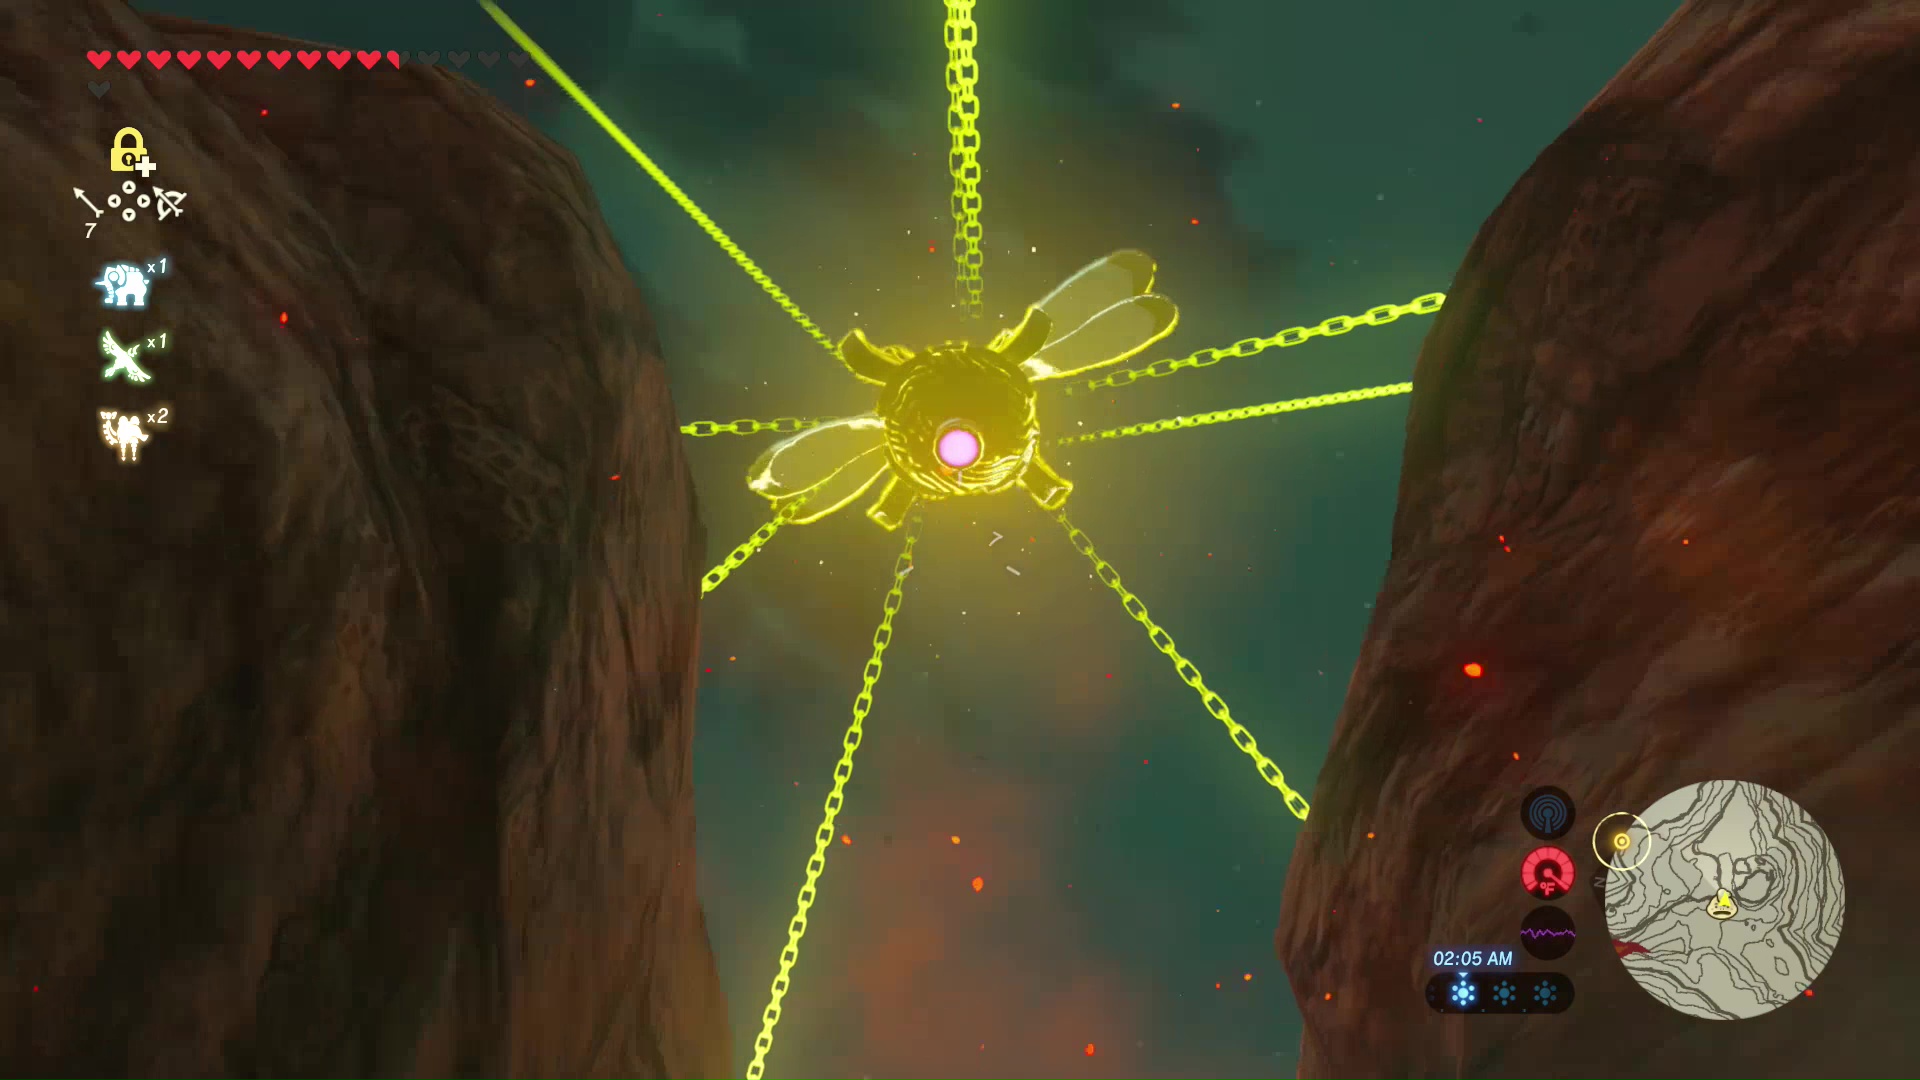
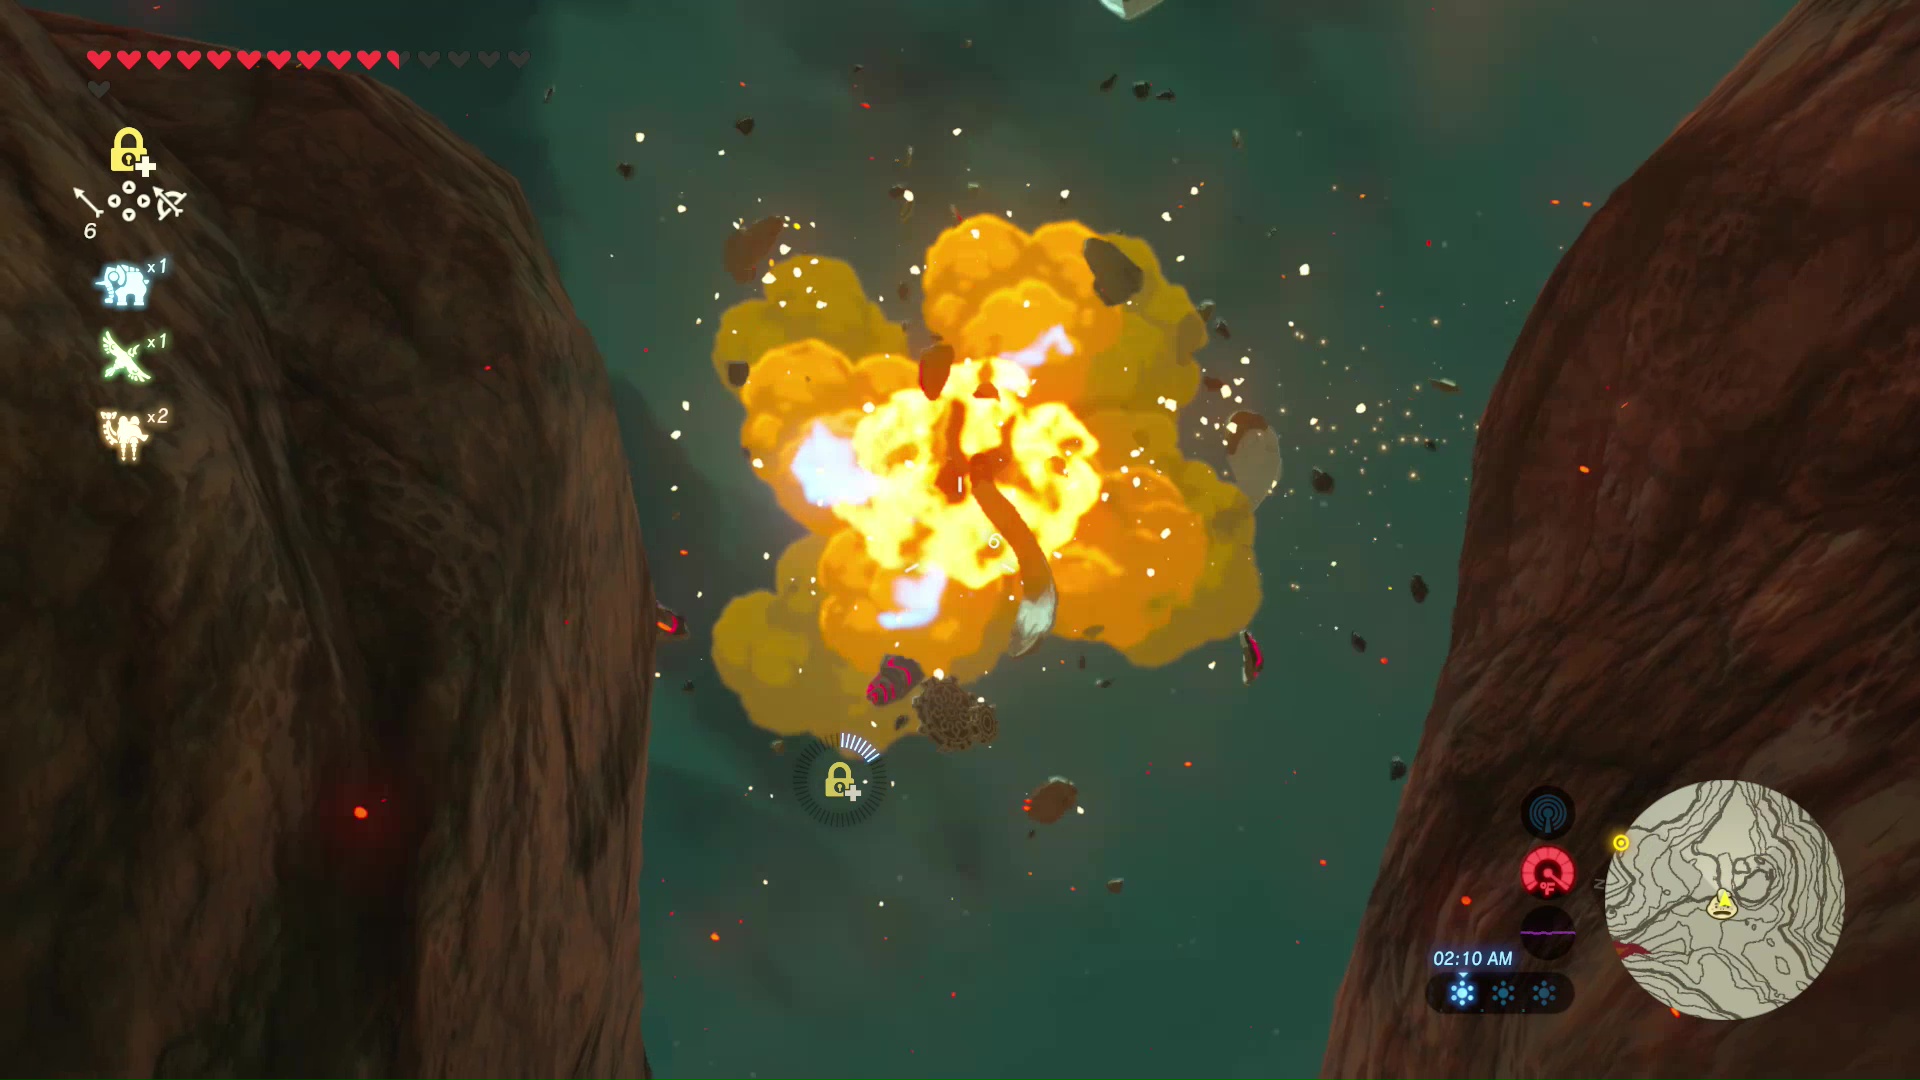
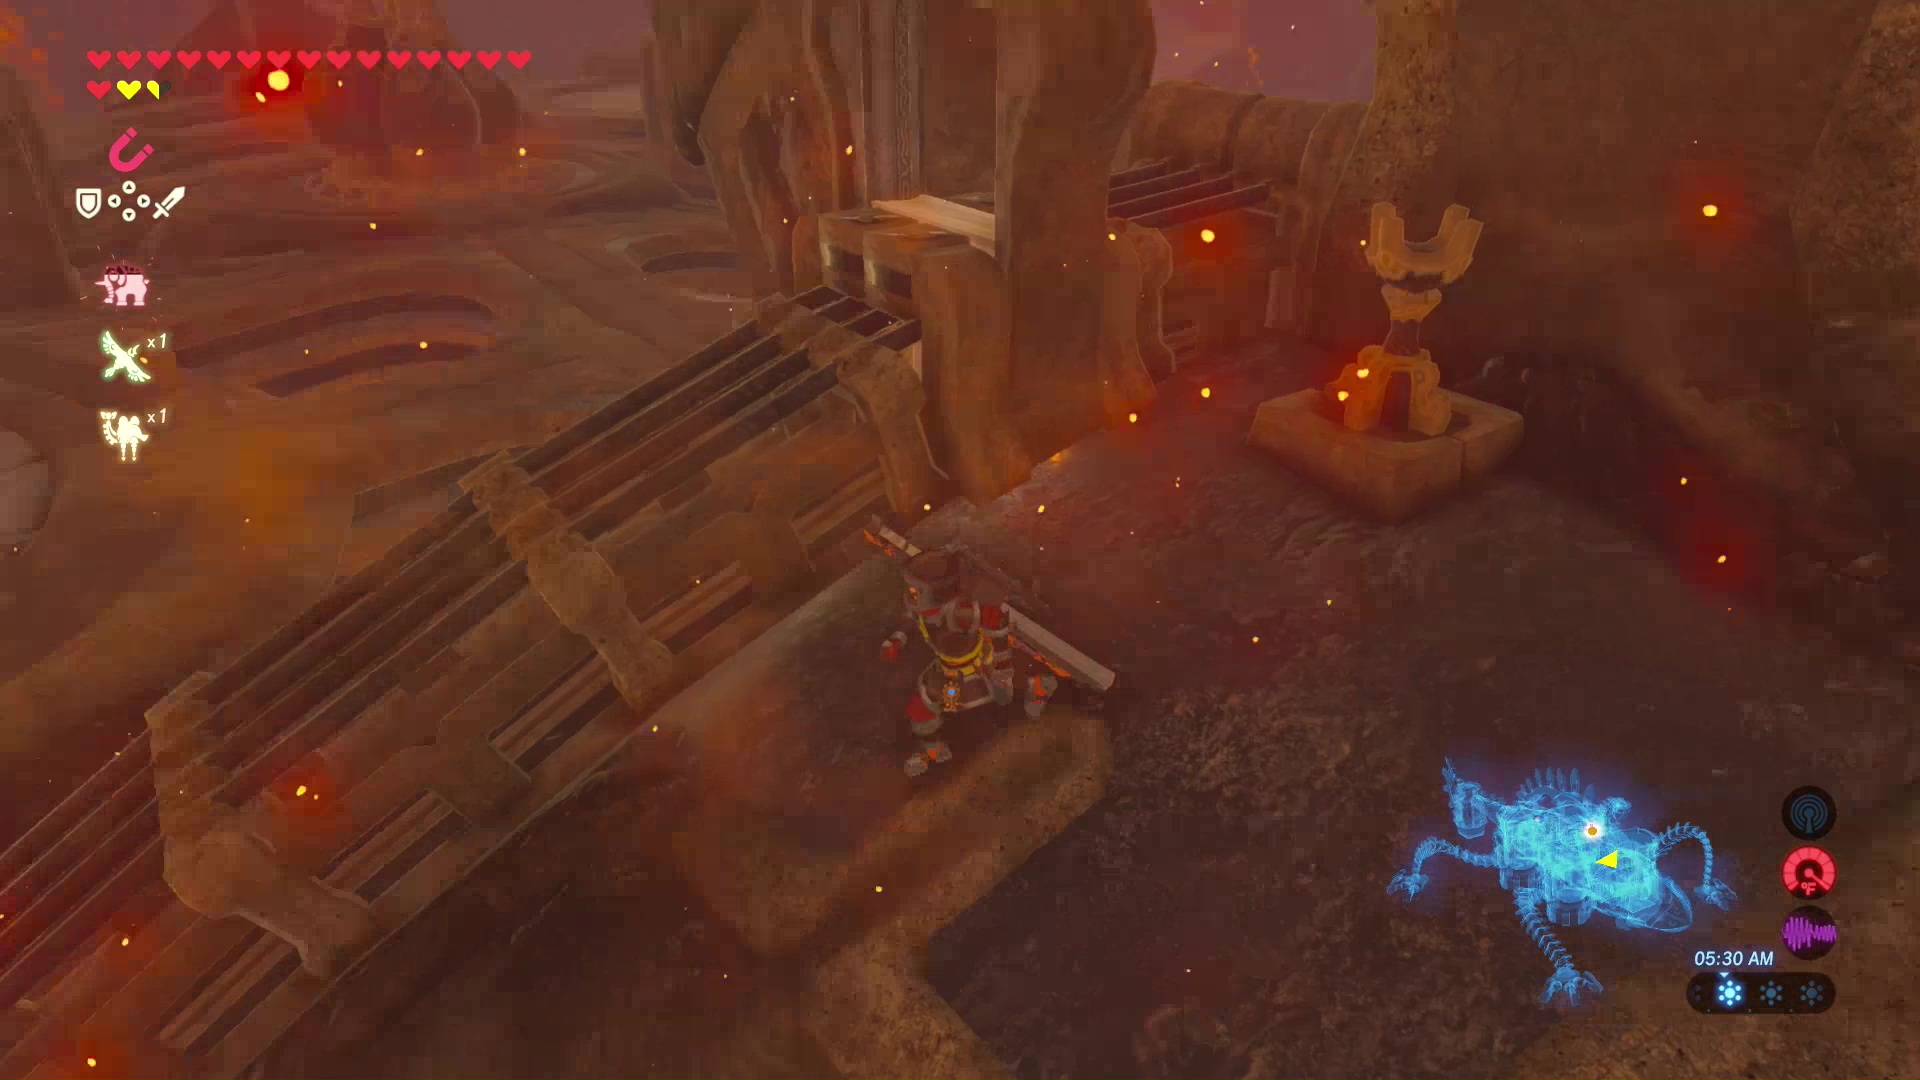
Up ahead is another cannon. Shift the cannon by melee attacking the stick shift, then use your Remote Bomb Rune to send Yunobo flying into Vah Rudania.
Follow the road ahead where two more sentries will be waiting. These can be frozen with the Stasis Rune and destroyed with a bow and arrow. Alternatively, you can follow the sentries as they move back and forth, then hide in the alcoves along the rock wall.
Continue destroying the sentries and walk up the mountain trail to another cannon. Melee the stick shift, and use the Remote Bomb Rune to send Yunobo into Vah Rudania a second time.
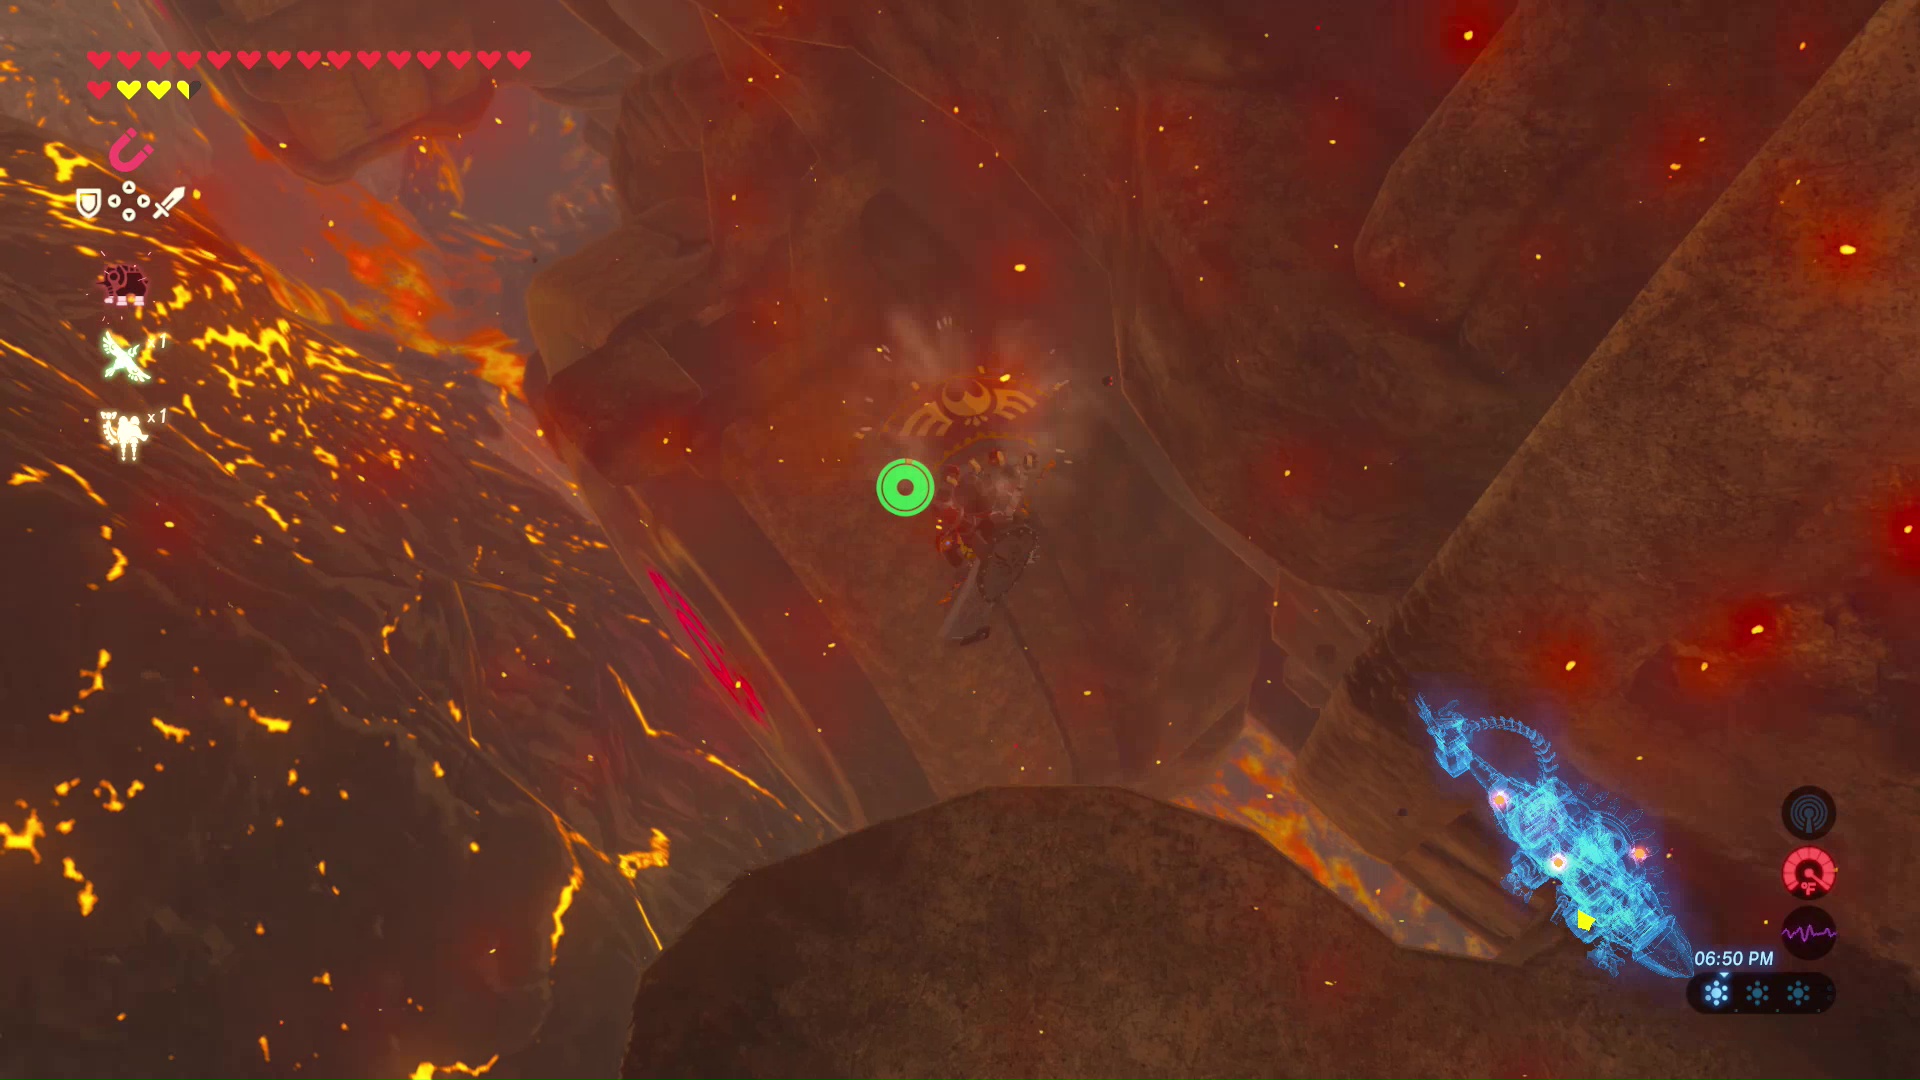
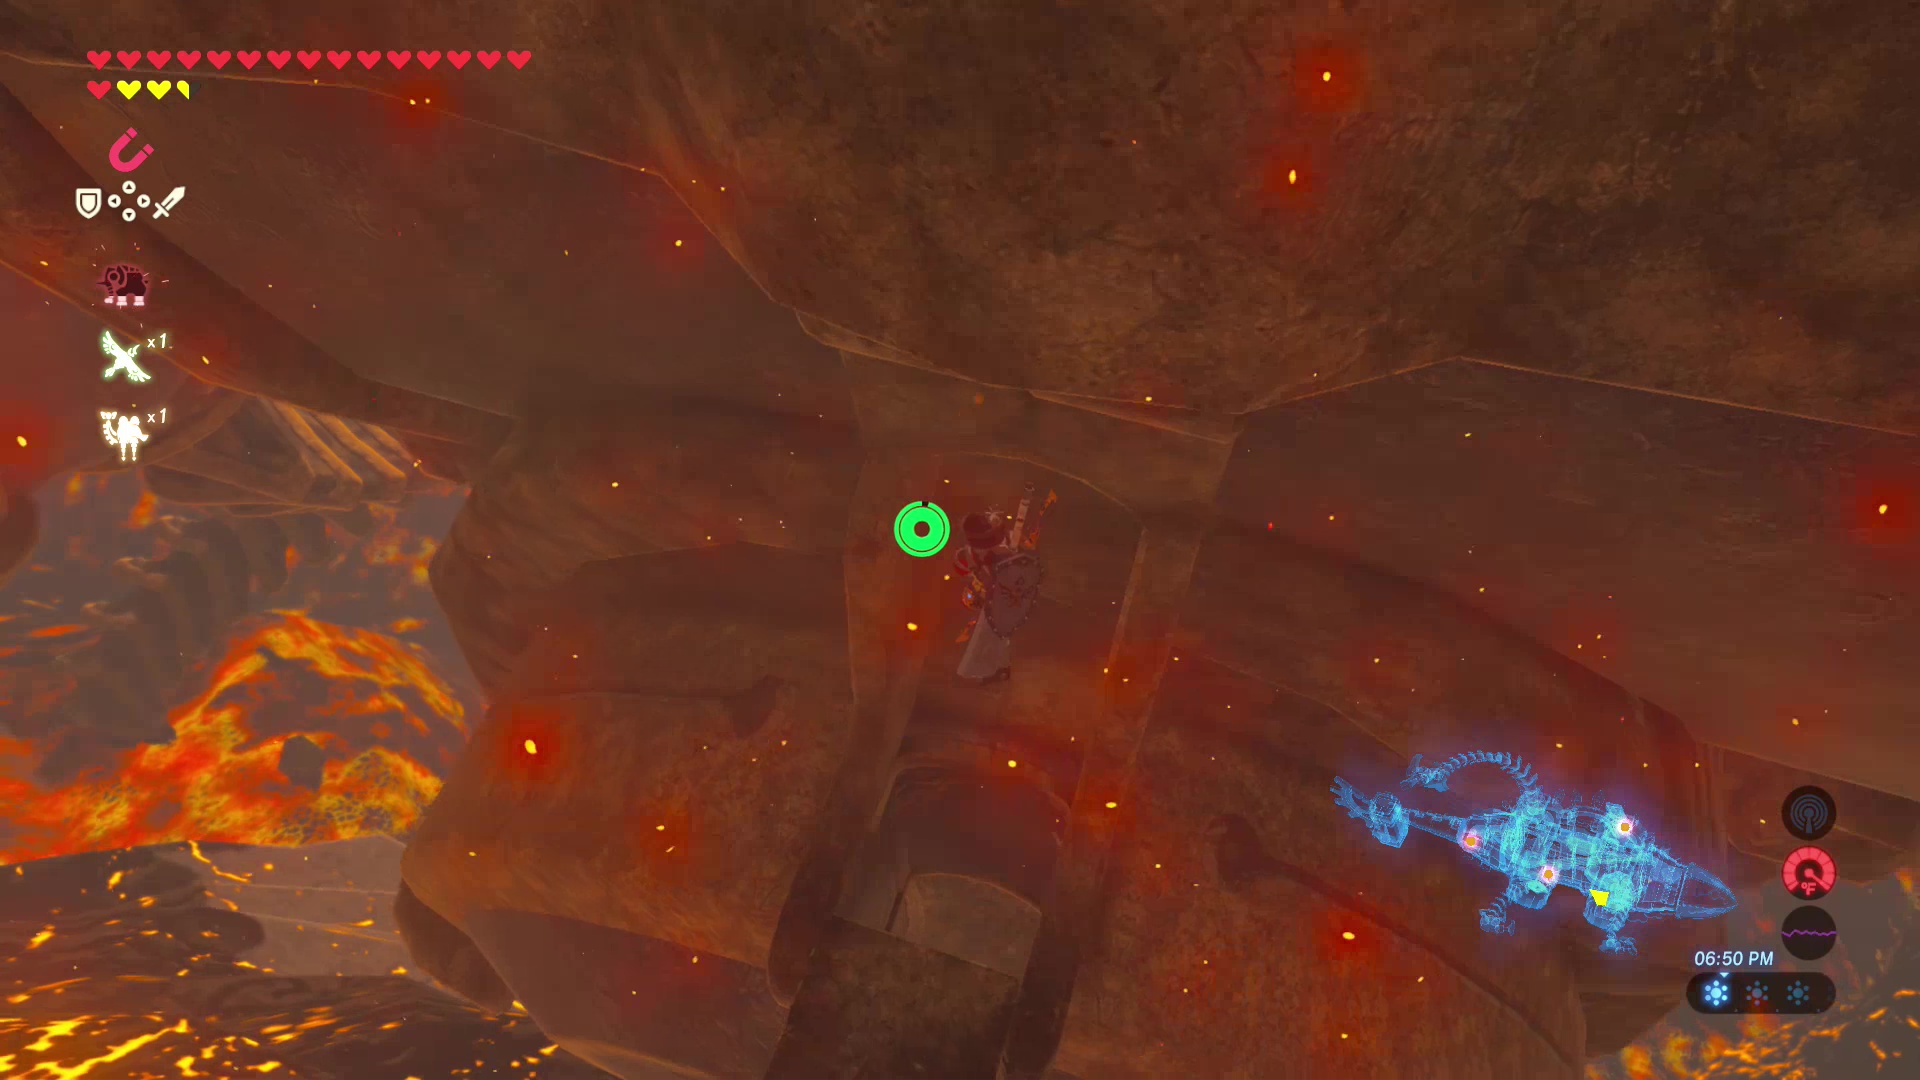
Several sentries are up the road. Destroy them with a bow and arrow or throw a Remote Bomb Rune on the air vents to send an explosive flying.
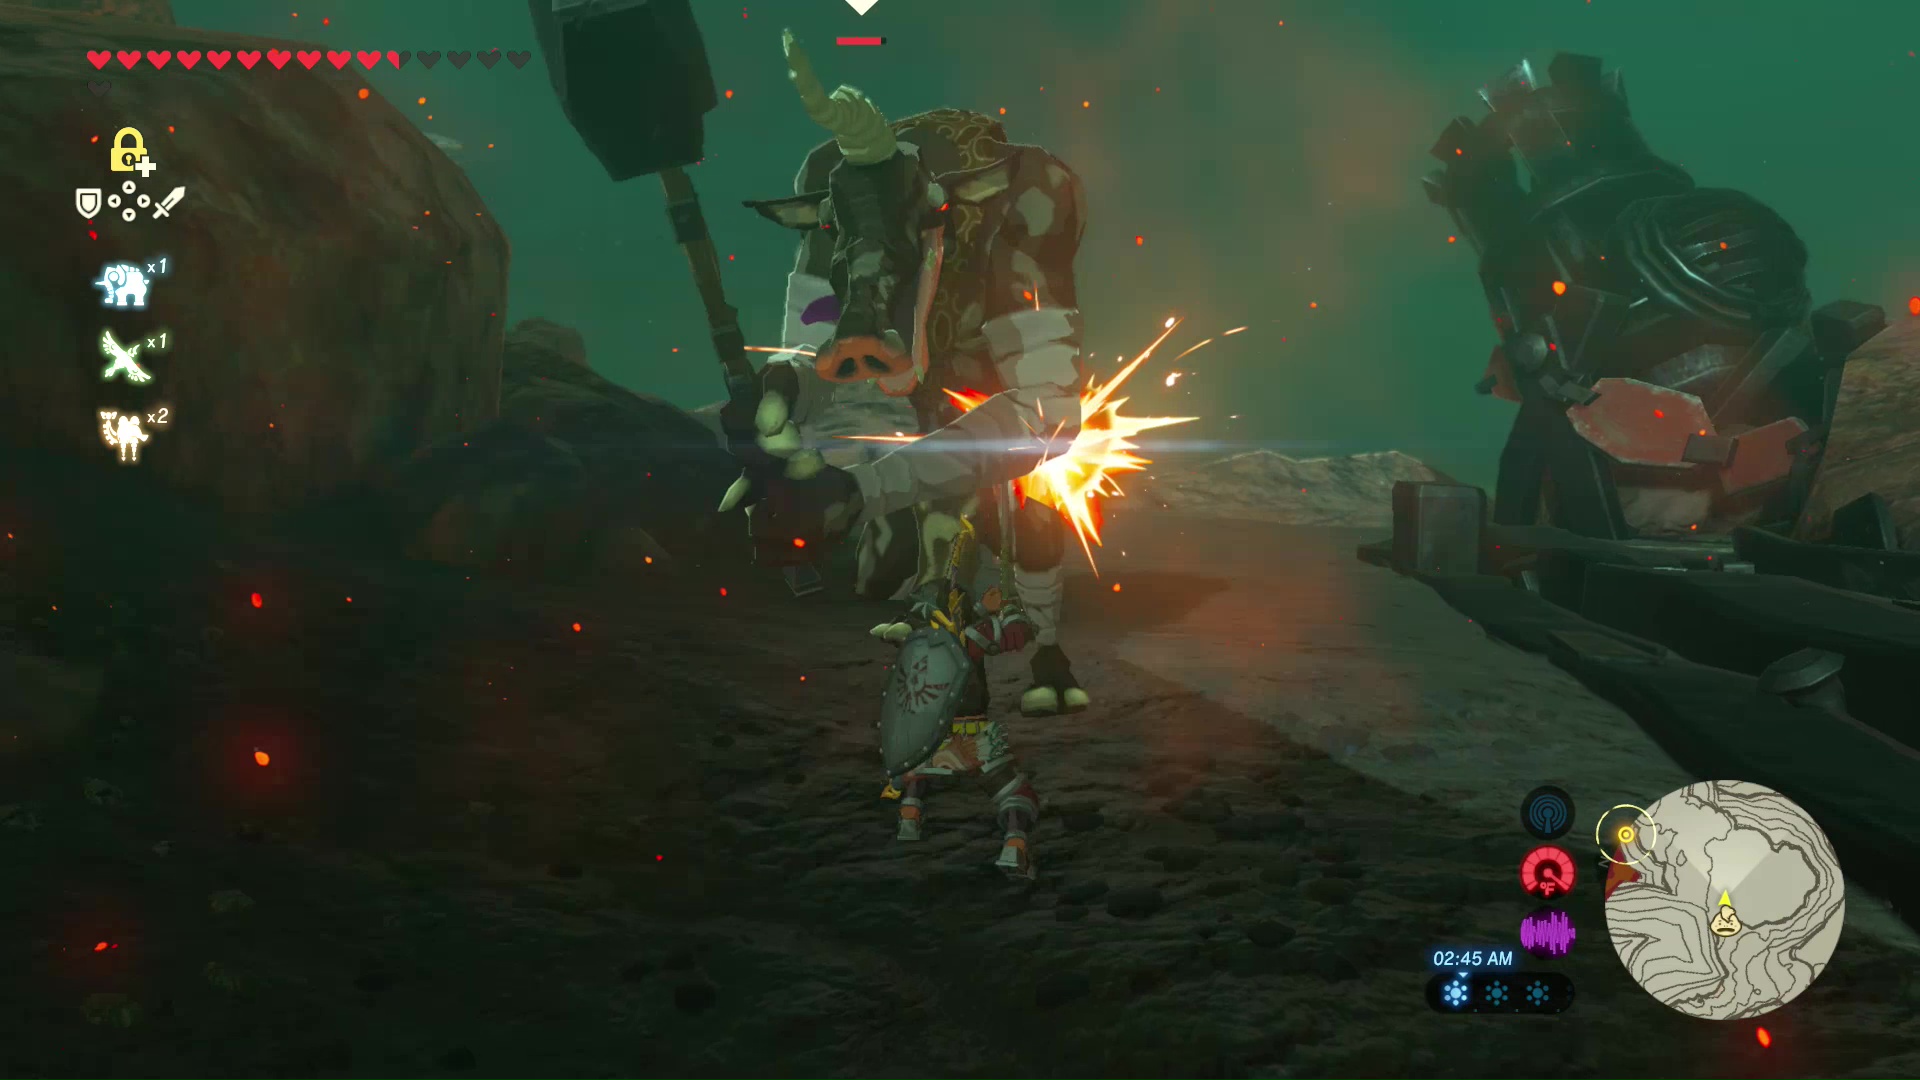
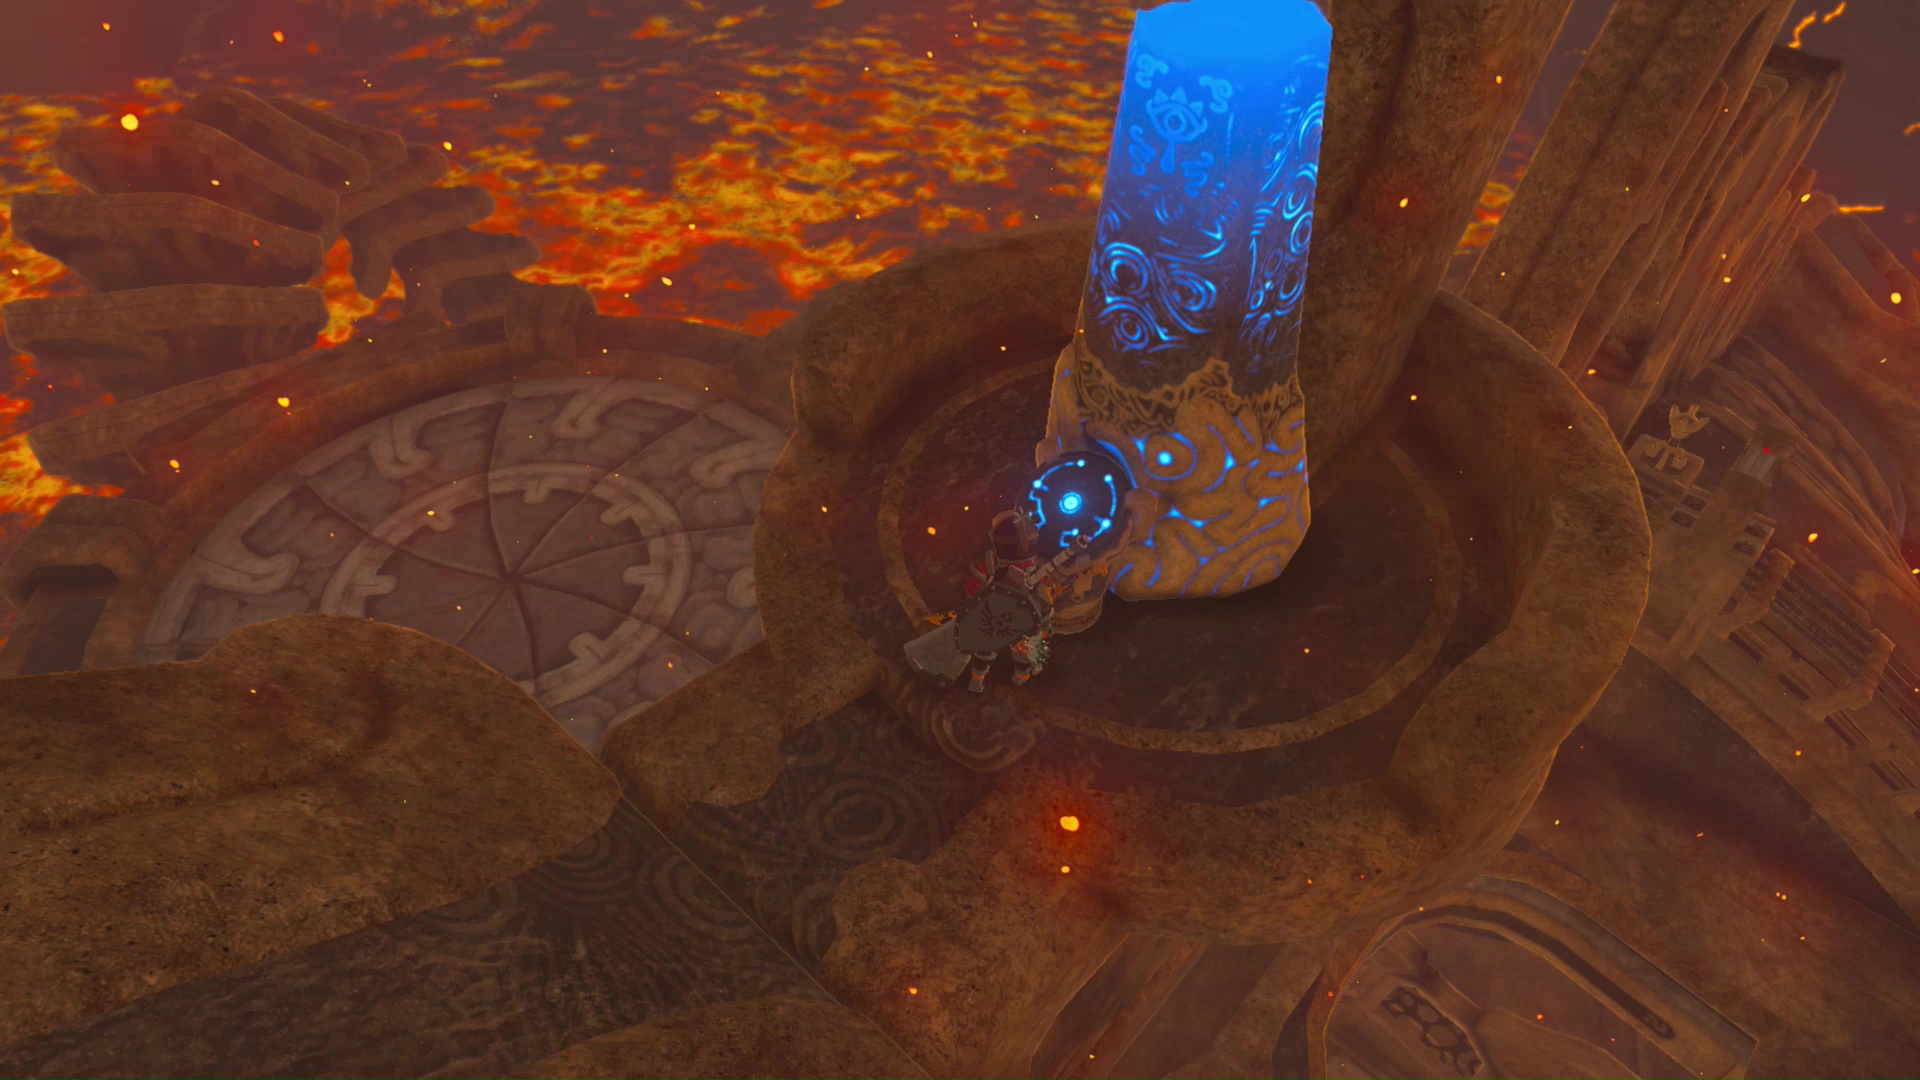
At the top of the path are two Moblins. Defeat them to gain access to the cannon. Melee the stick shift to spin the cannon, then drop a Remote Bomb Rune inside to send Yunobo flying into Vah Rudania a third and final time. This will disable Vah Rudania, and allow you to enter the Divine Beast.
Divine Beast Vah Rudania
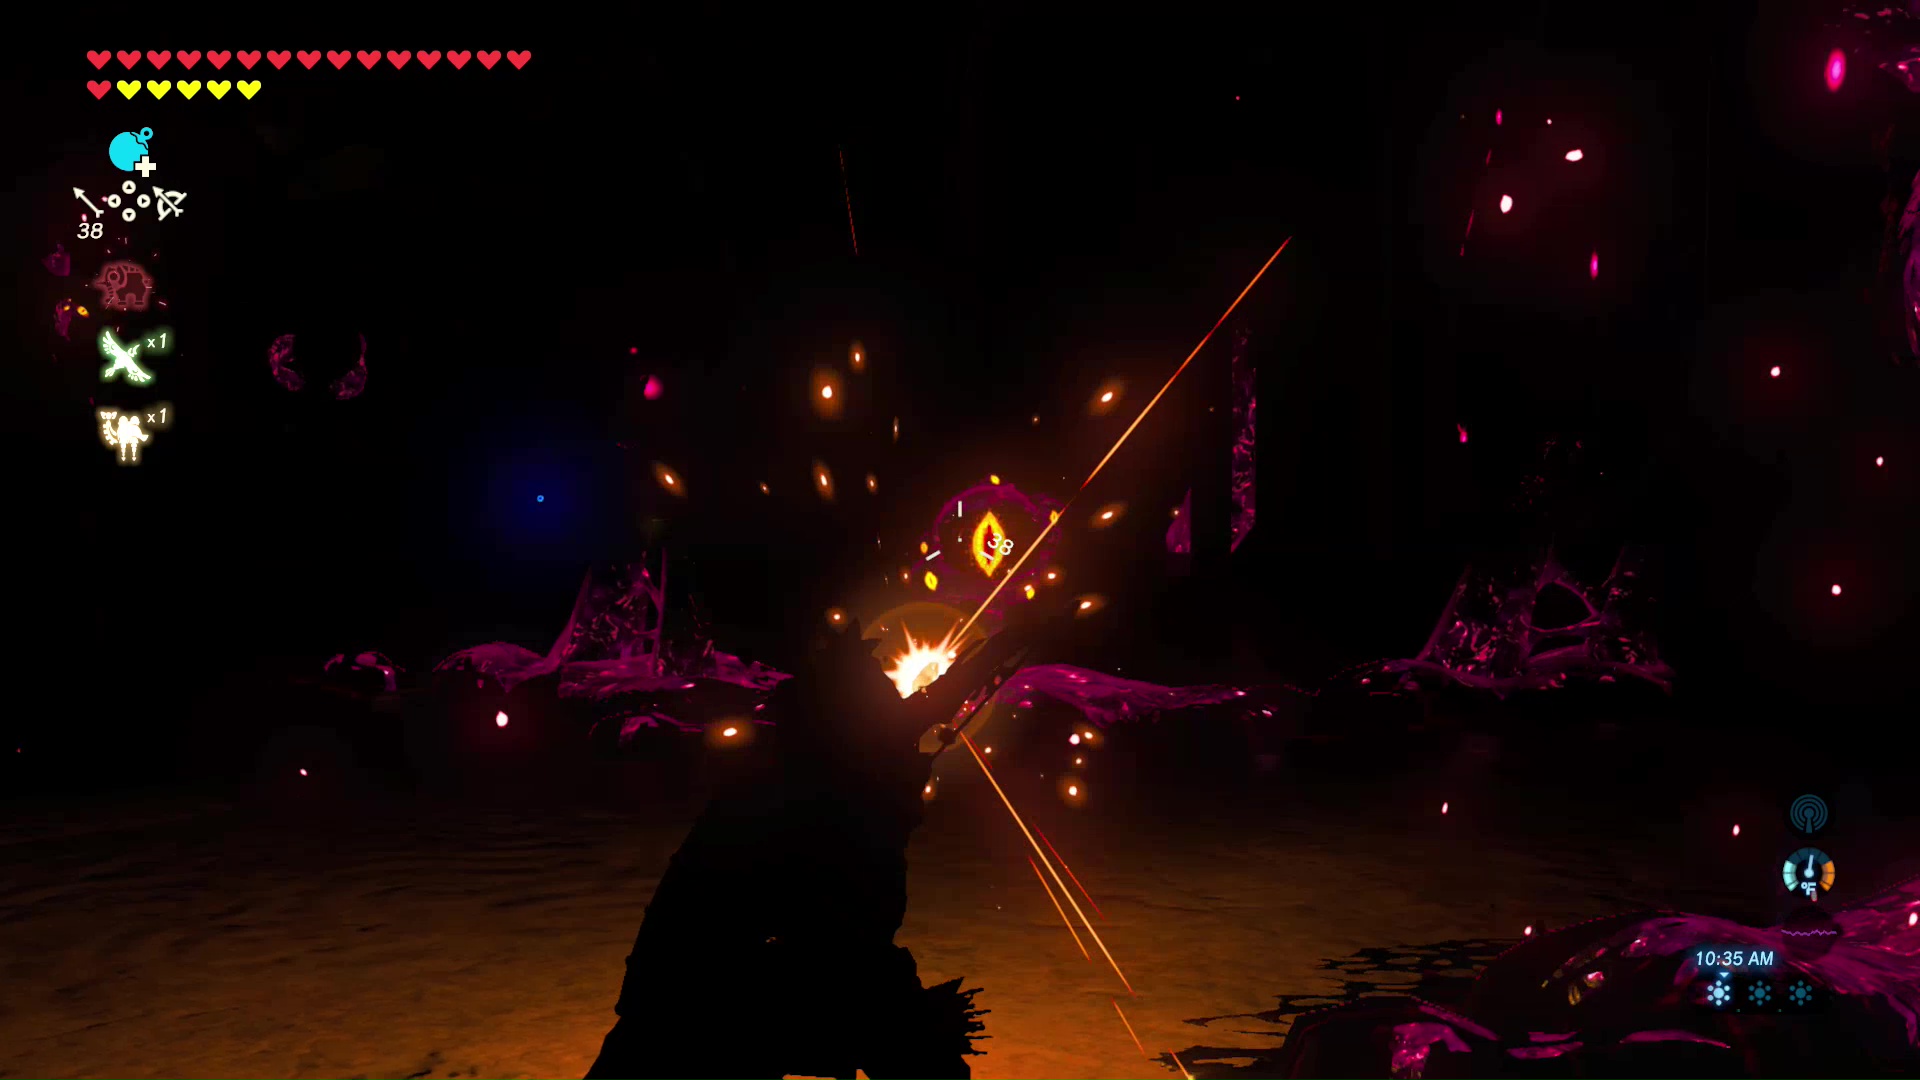
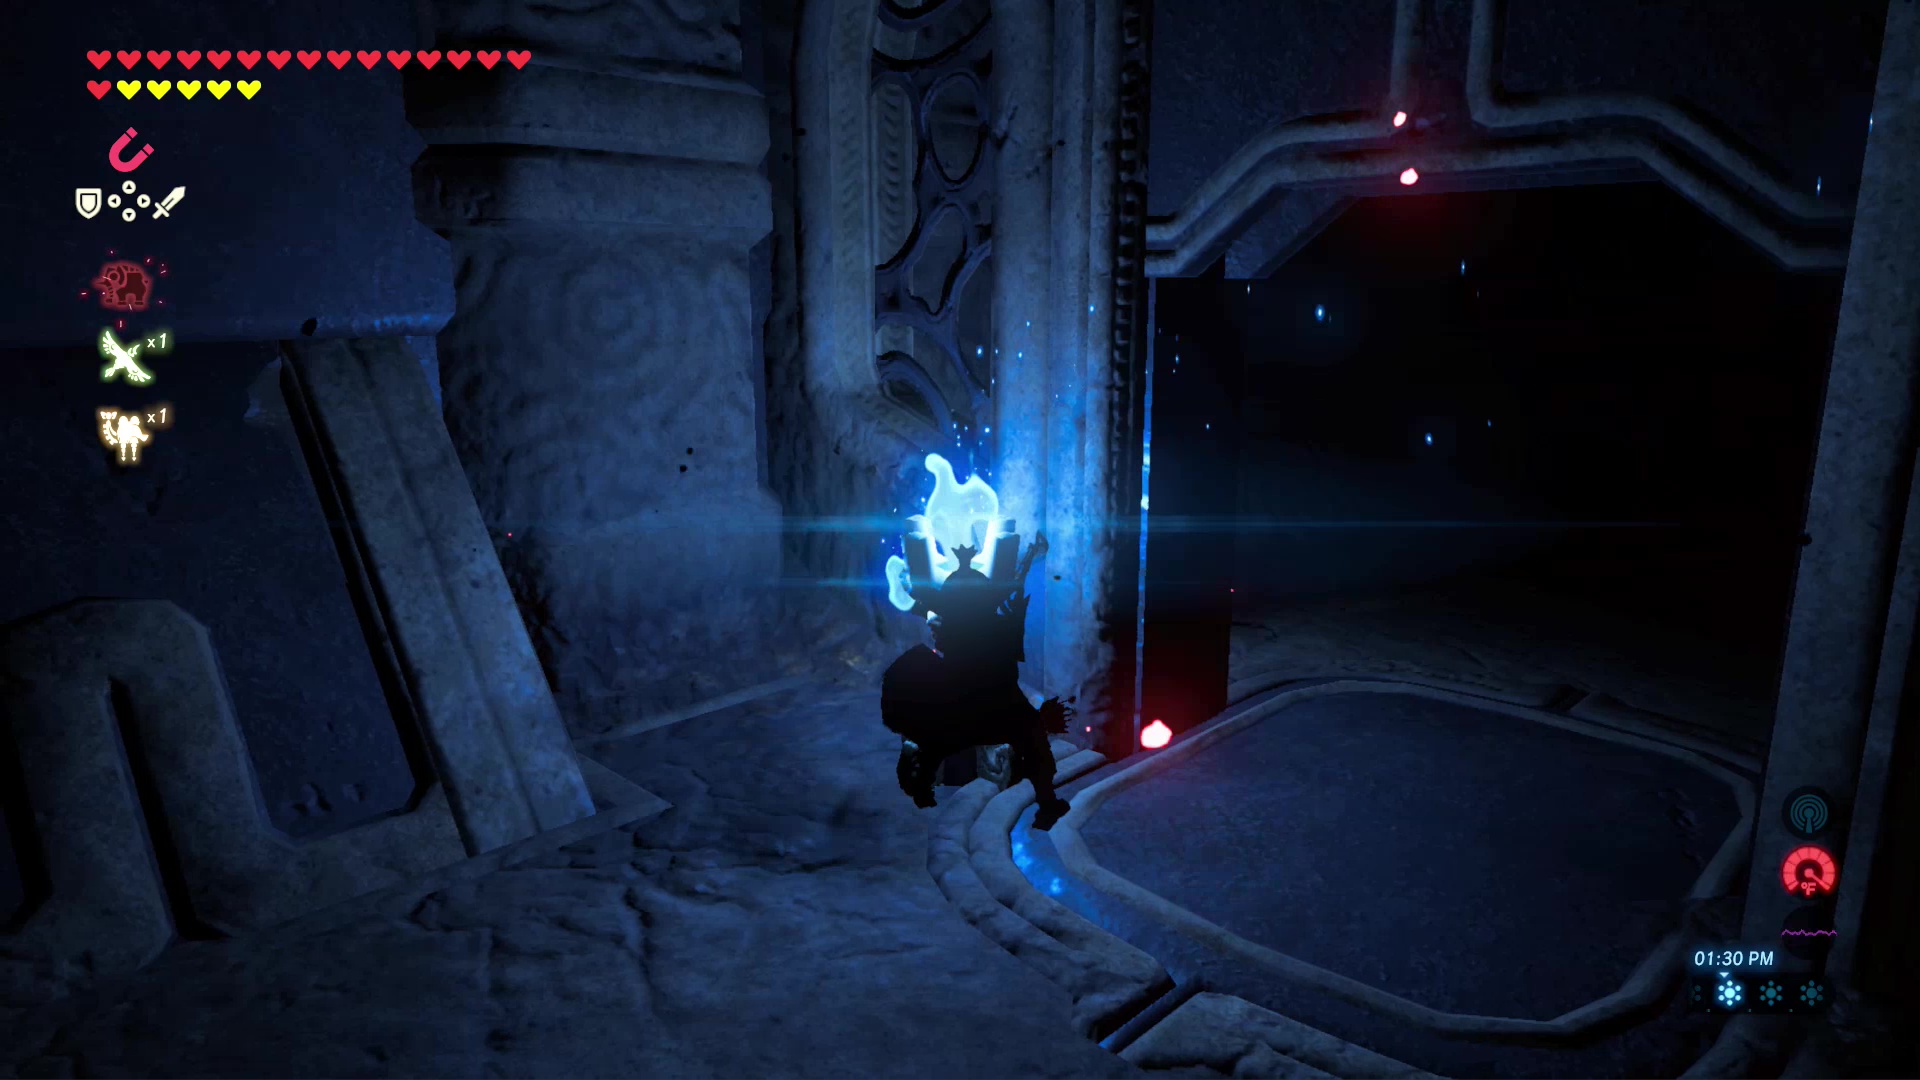
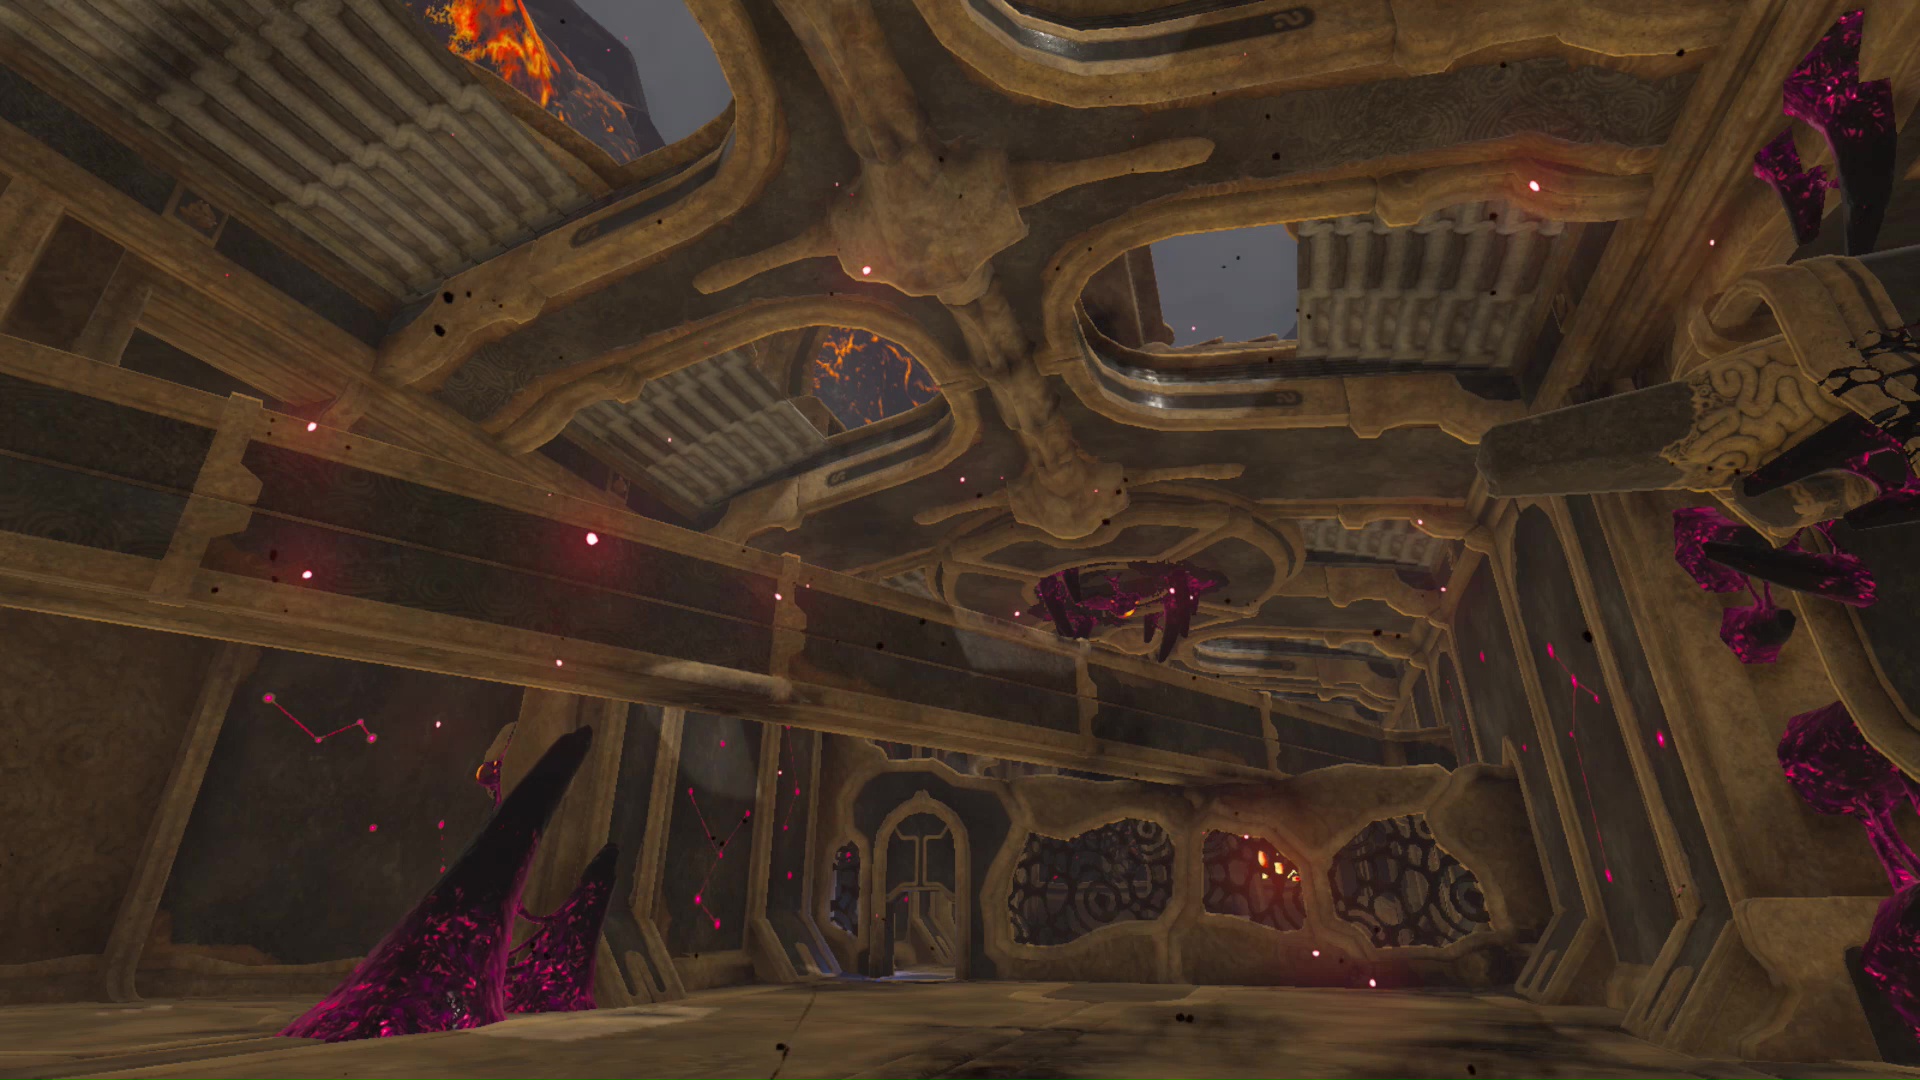
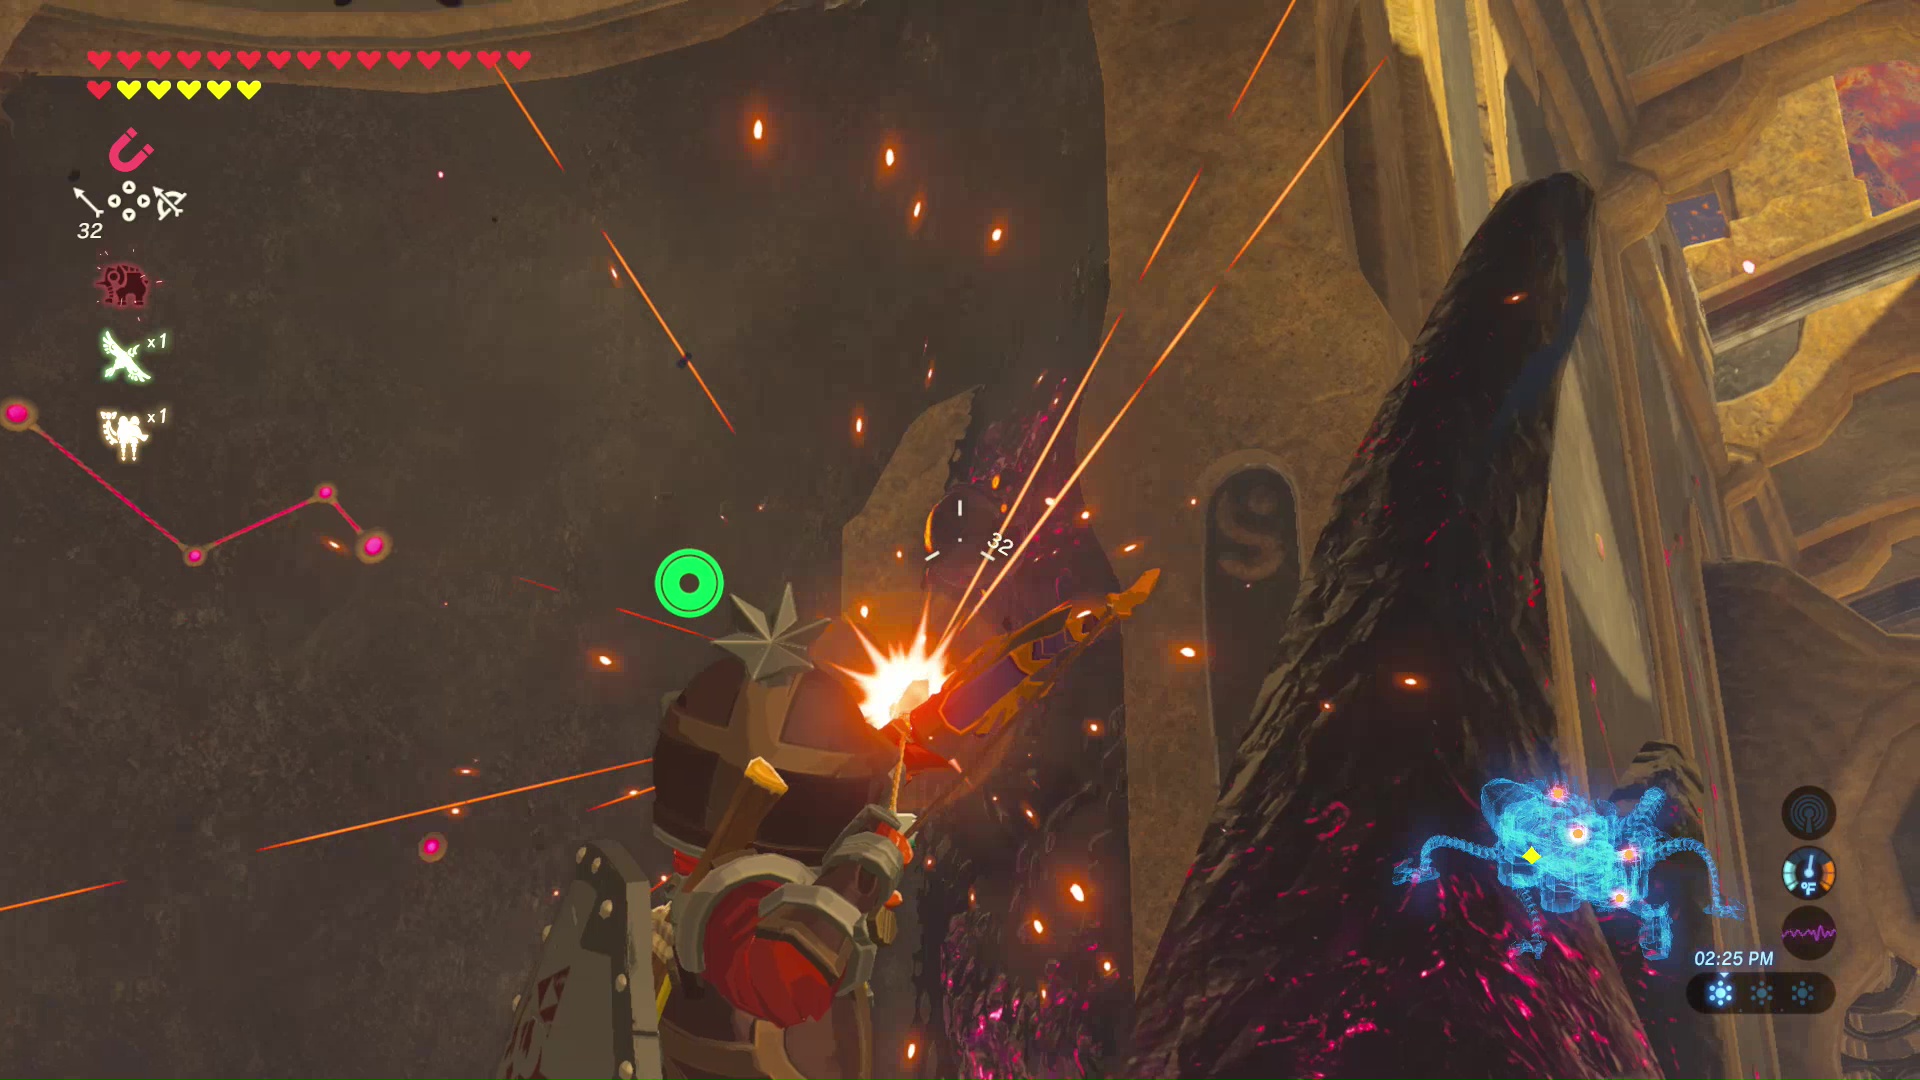
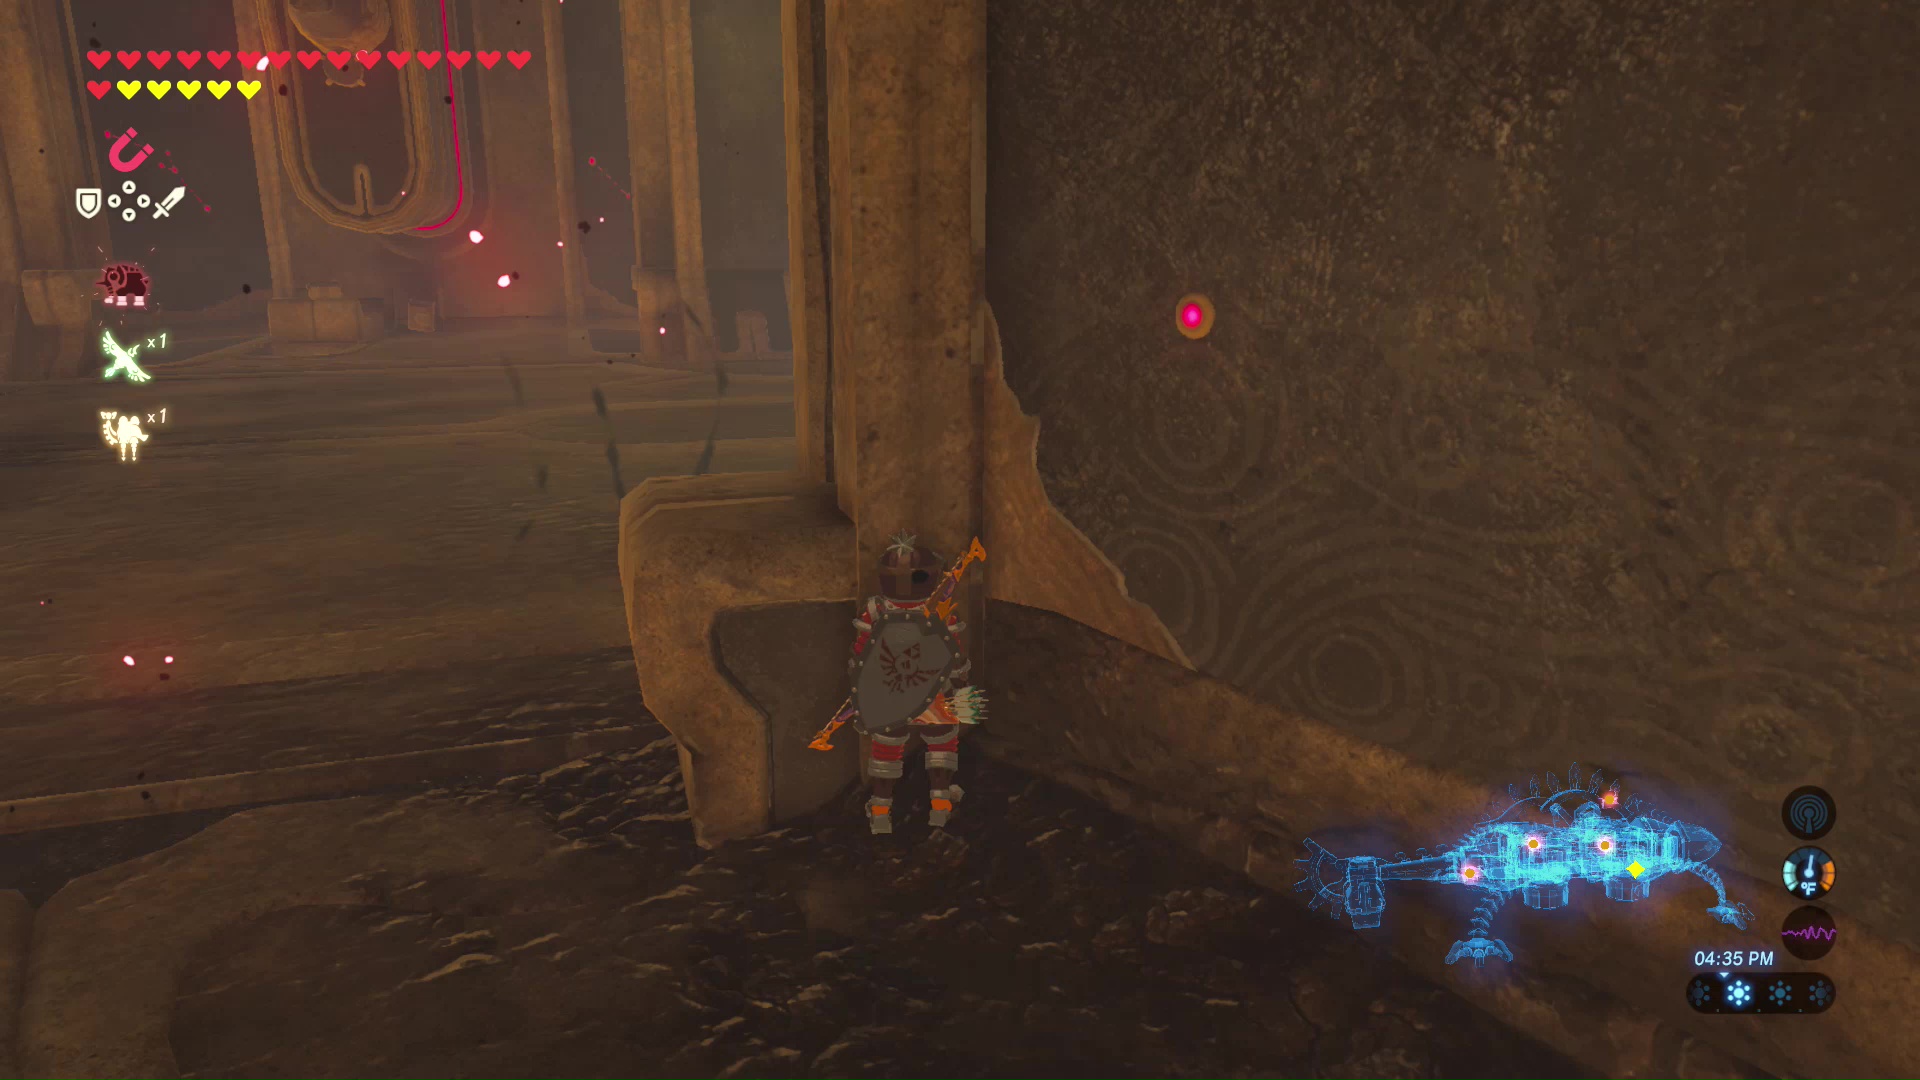
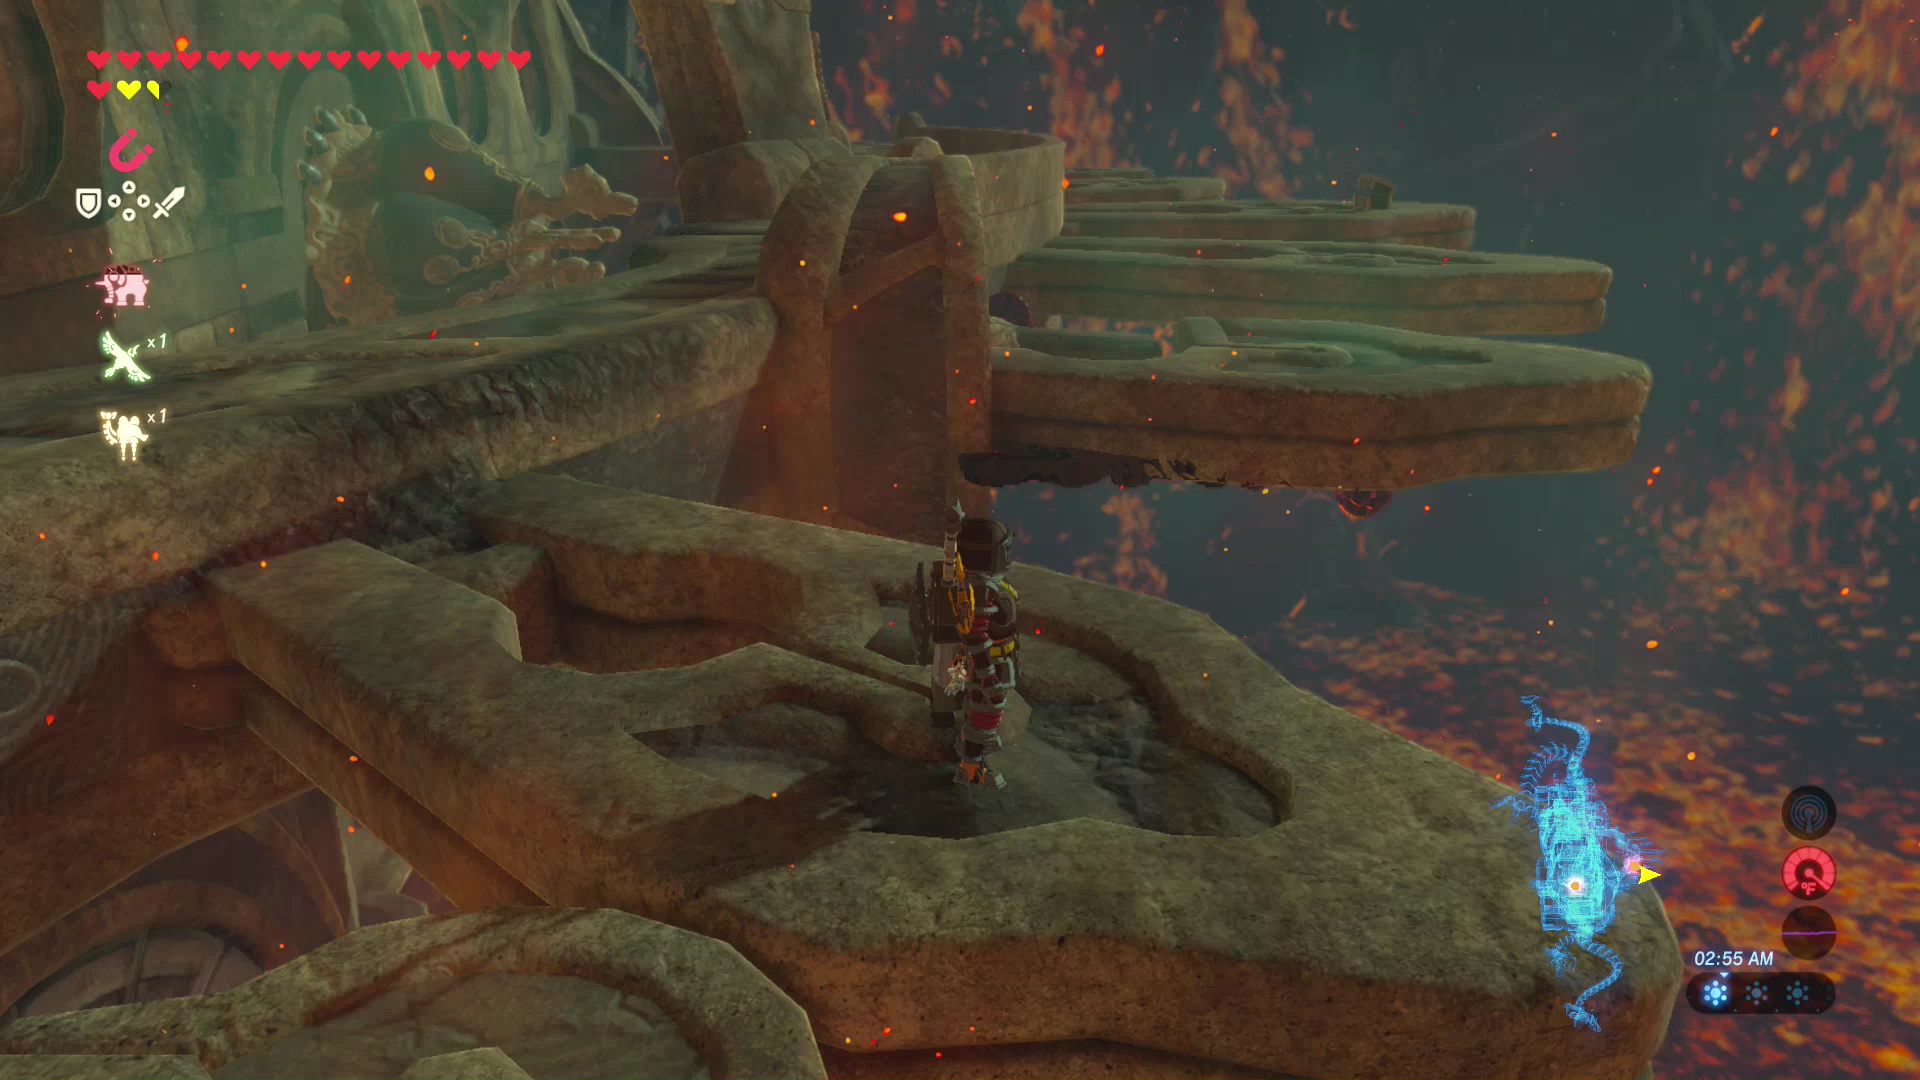
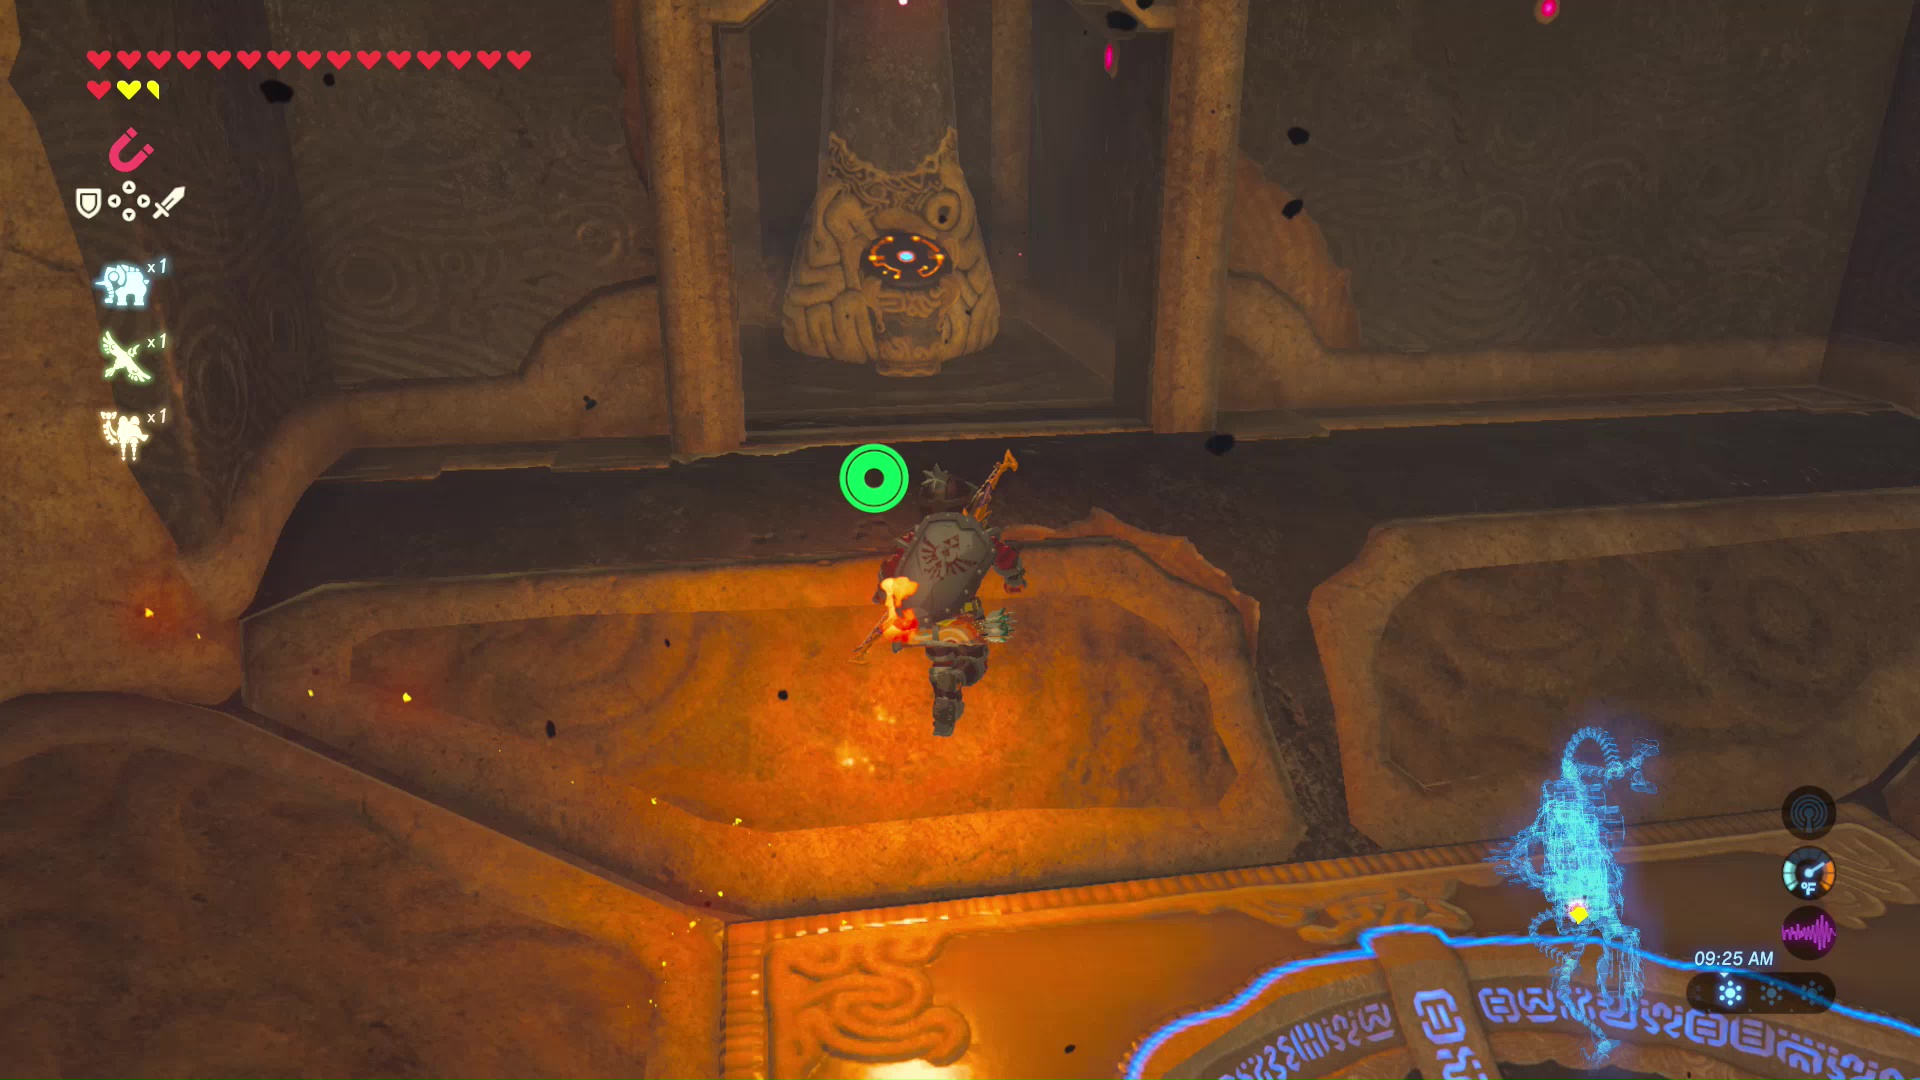
Walk down the ramp to enter the Divine Beast. A calamity eyeball will be near the bottom. Shoot it with an arrow to reveal a treasure chest containing a Dragonbone Boko Club. This or any other wooden melee weapon can be used to carry the blue flames from torches to other parts of the puzzle.
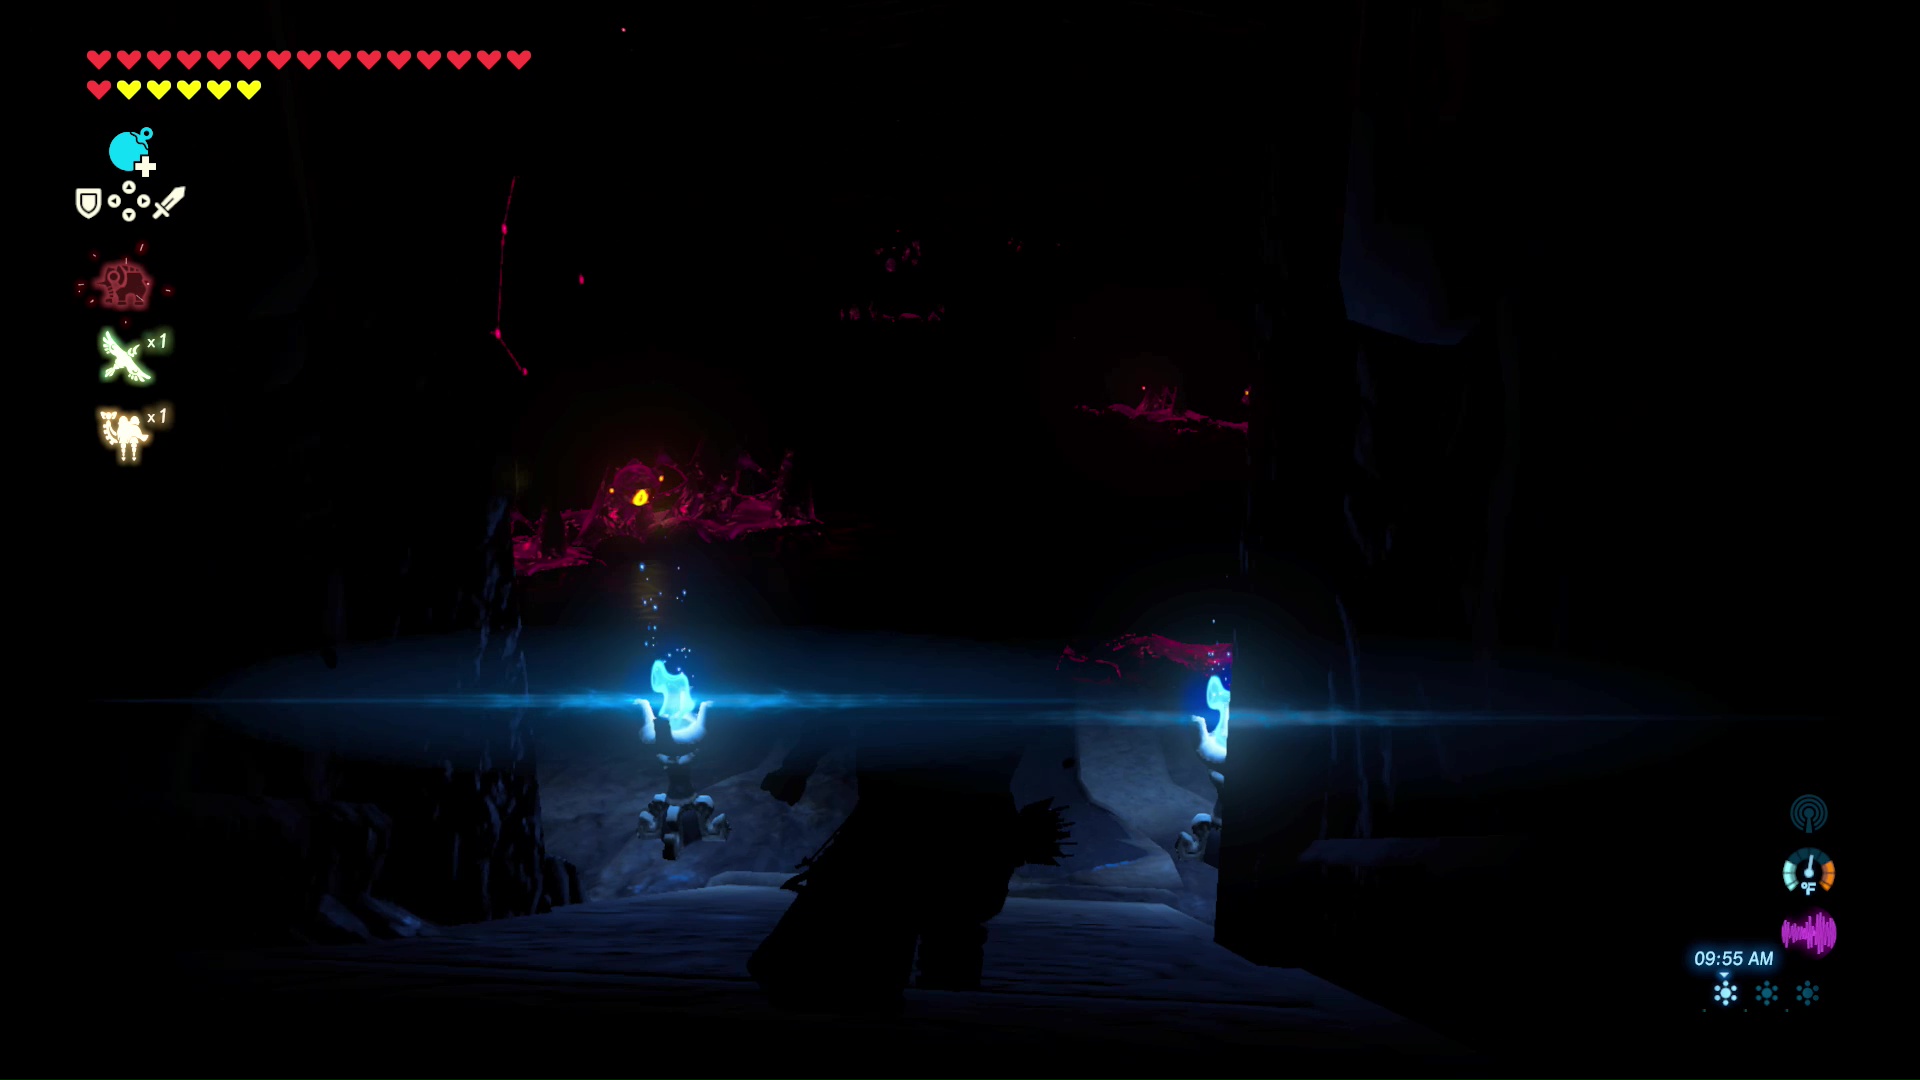
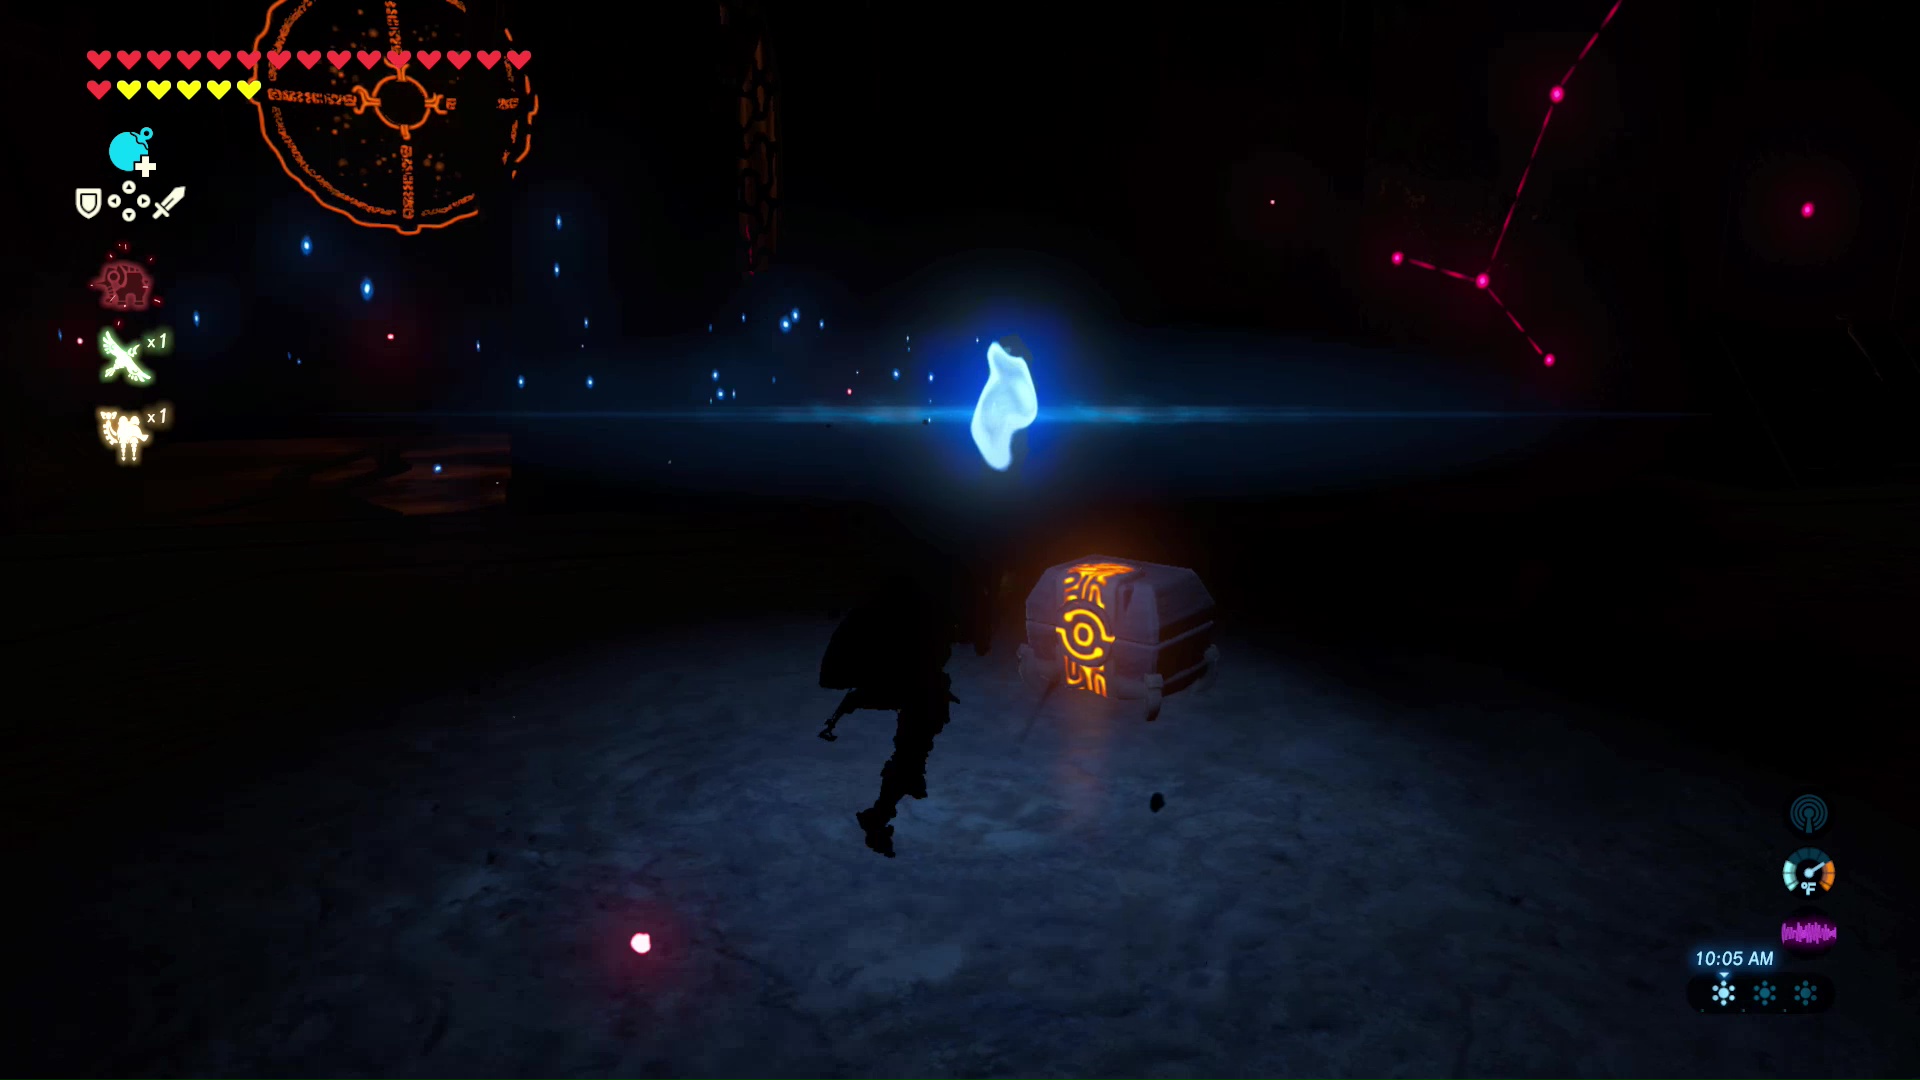
A short distance ahead is another calamity eyeball that is blocking the path. Shoot it with an arrow, and open the treasure chest to find a Torch. This can be used to carry a flame without worry about your weapon breaking.

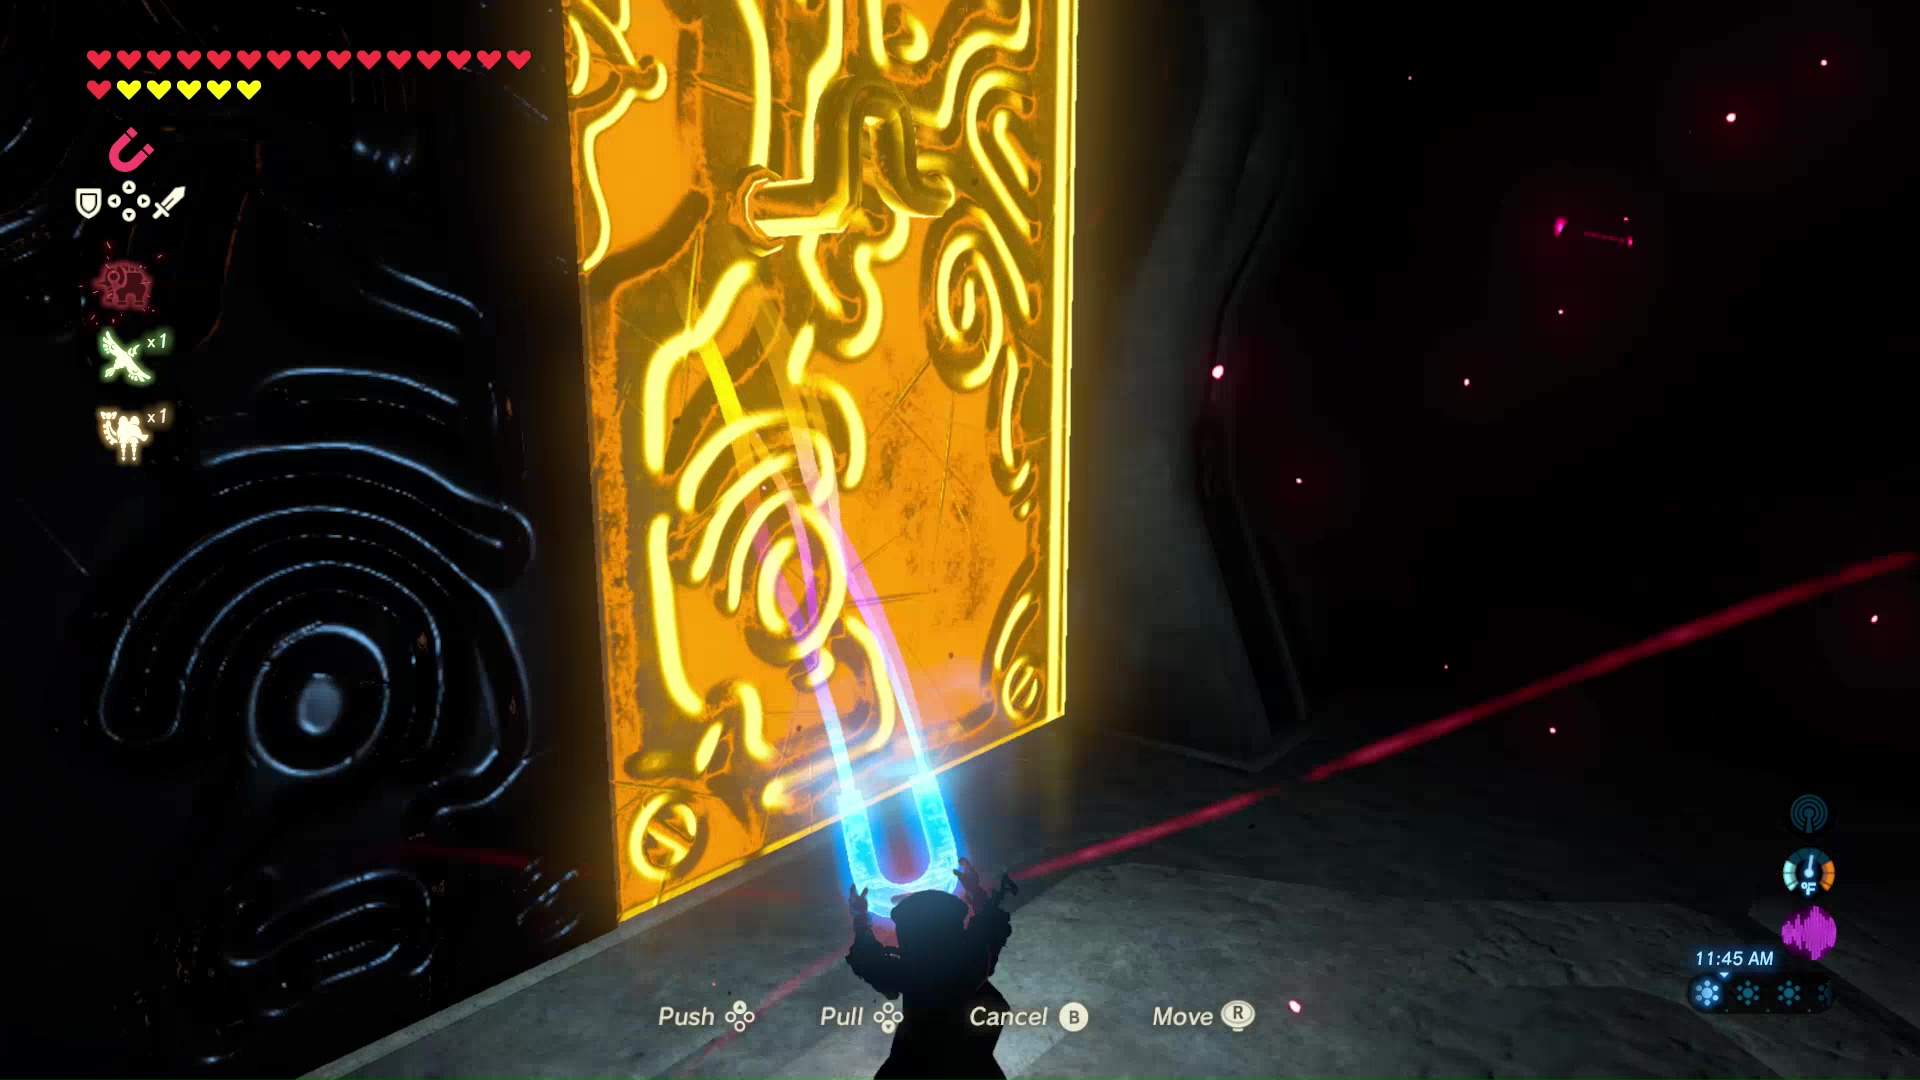
Terminal 1 Giant Barred Door
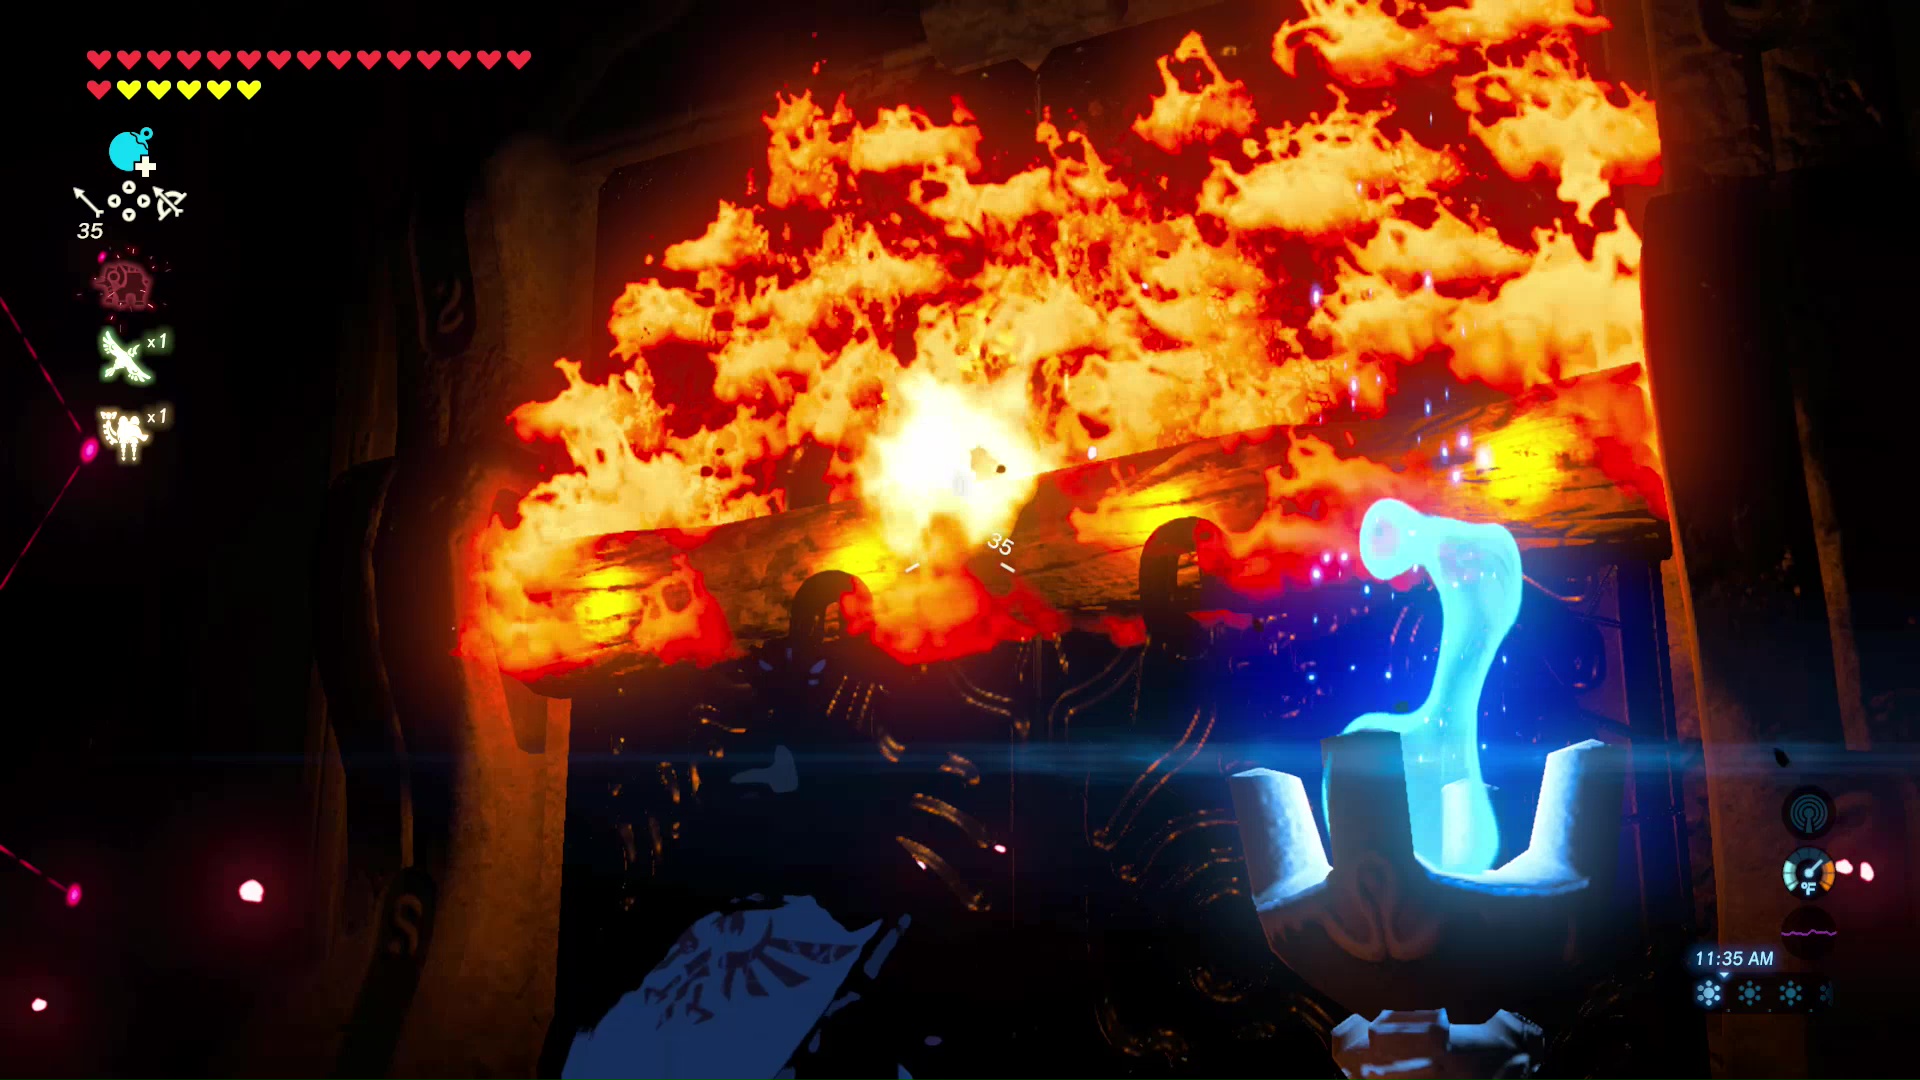
Fire arrows can also be used around Vah Rudania. Set the vines on fire to the right of the entrance to reveal a steel door. Use your Magnesis Rune to push the doors open to a Terminal.
Directly to the left of the terminal are vines climbing up the ceiling. Set these on fire to reveal a hidden chest containing an Ancient Gear.
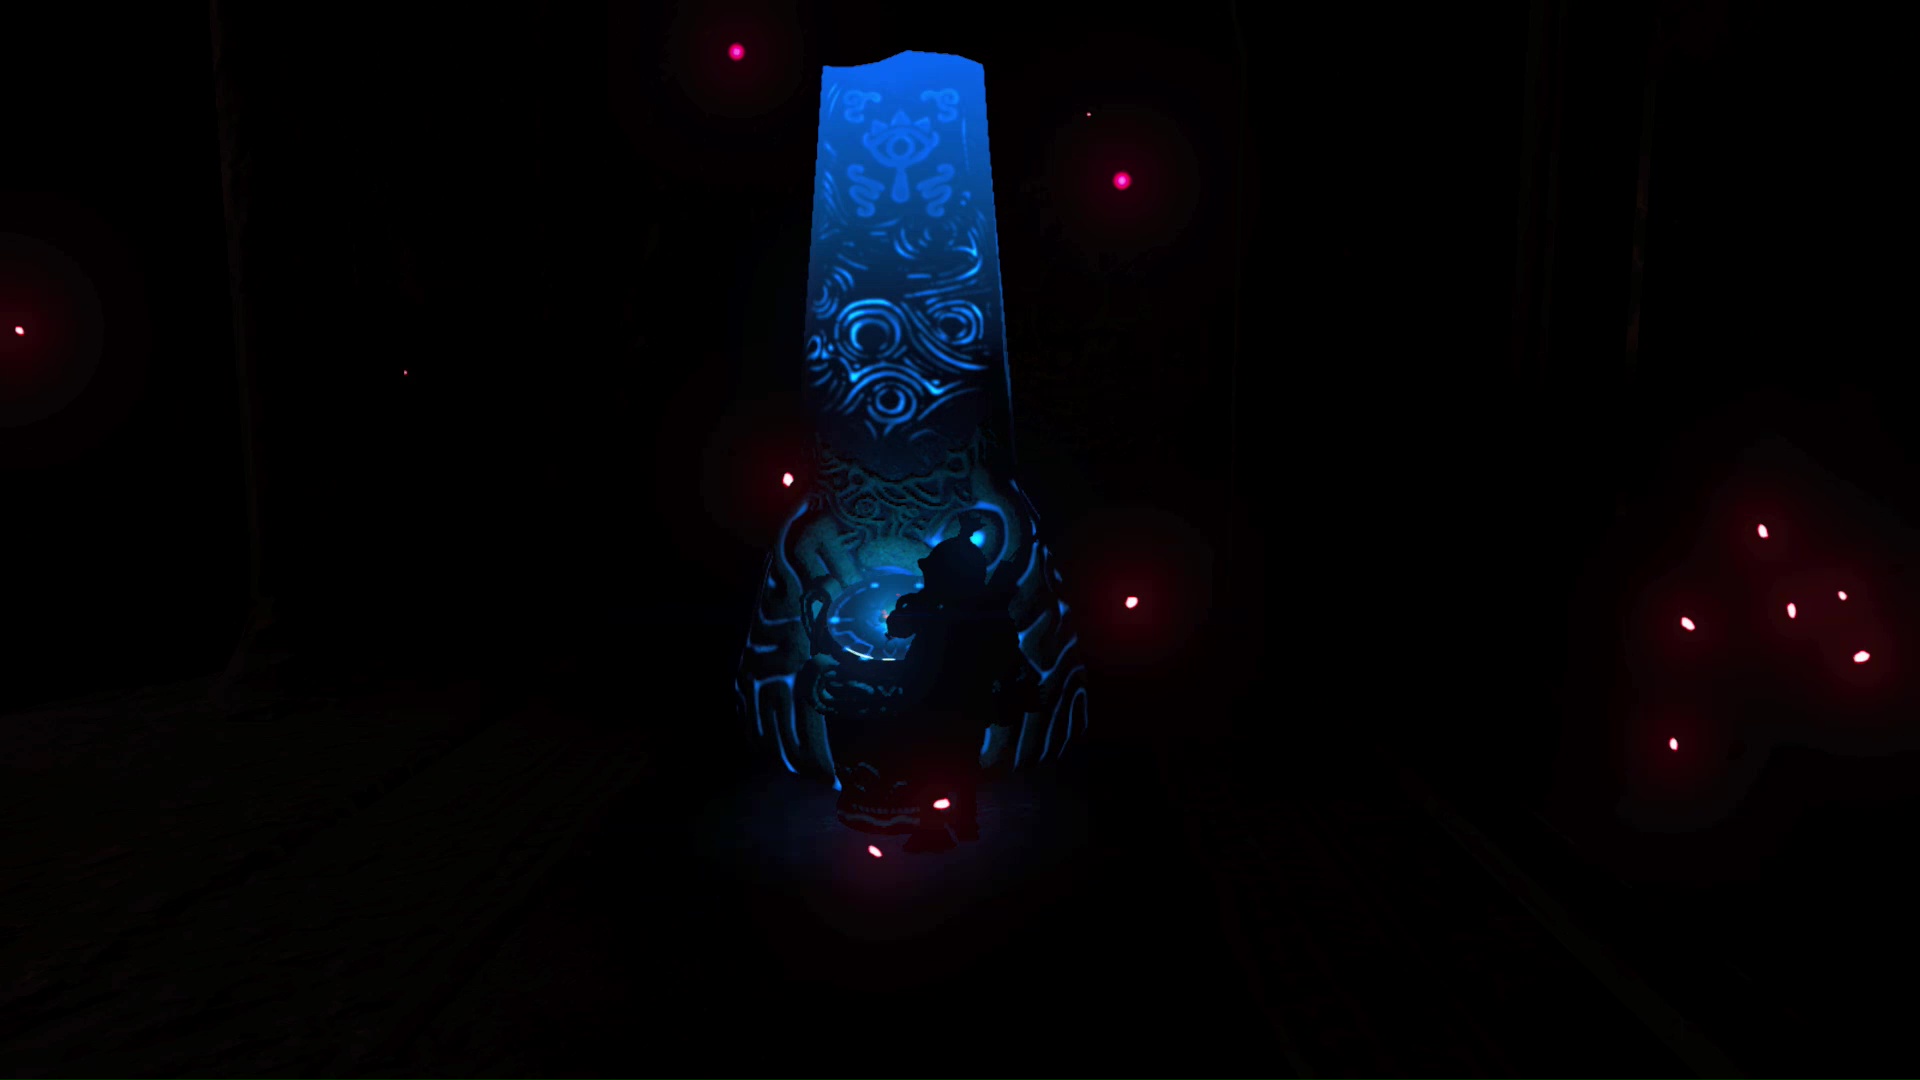
Map Terminal
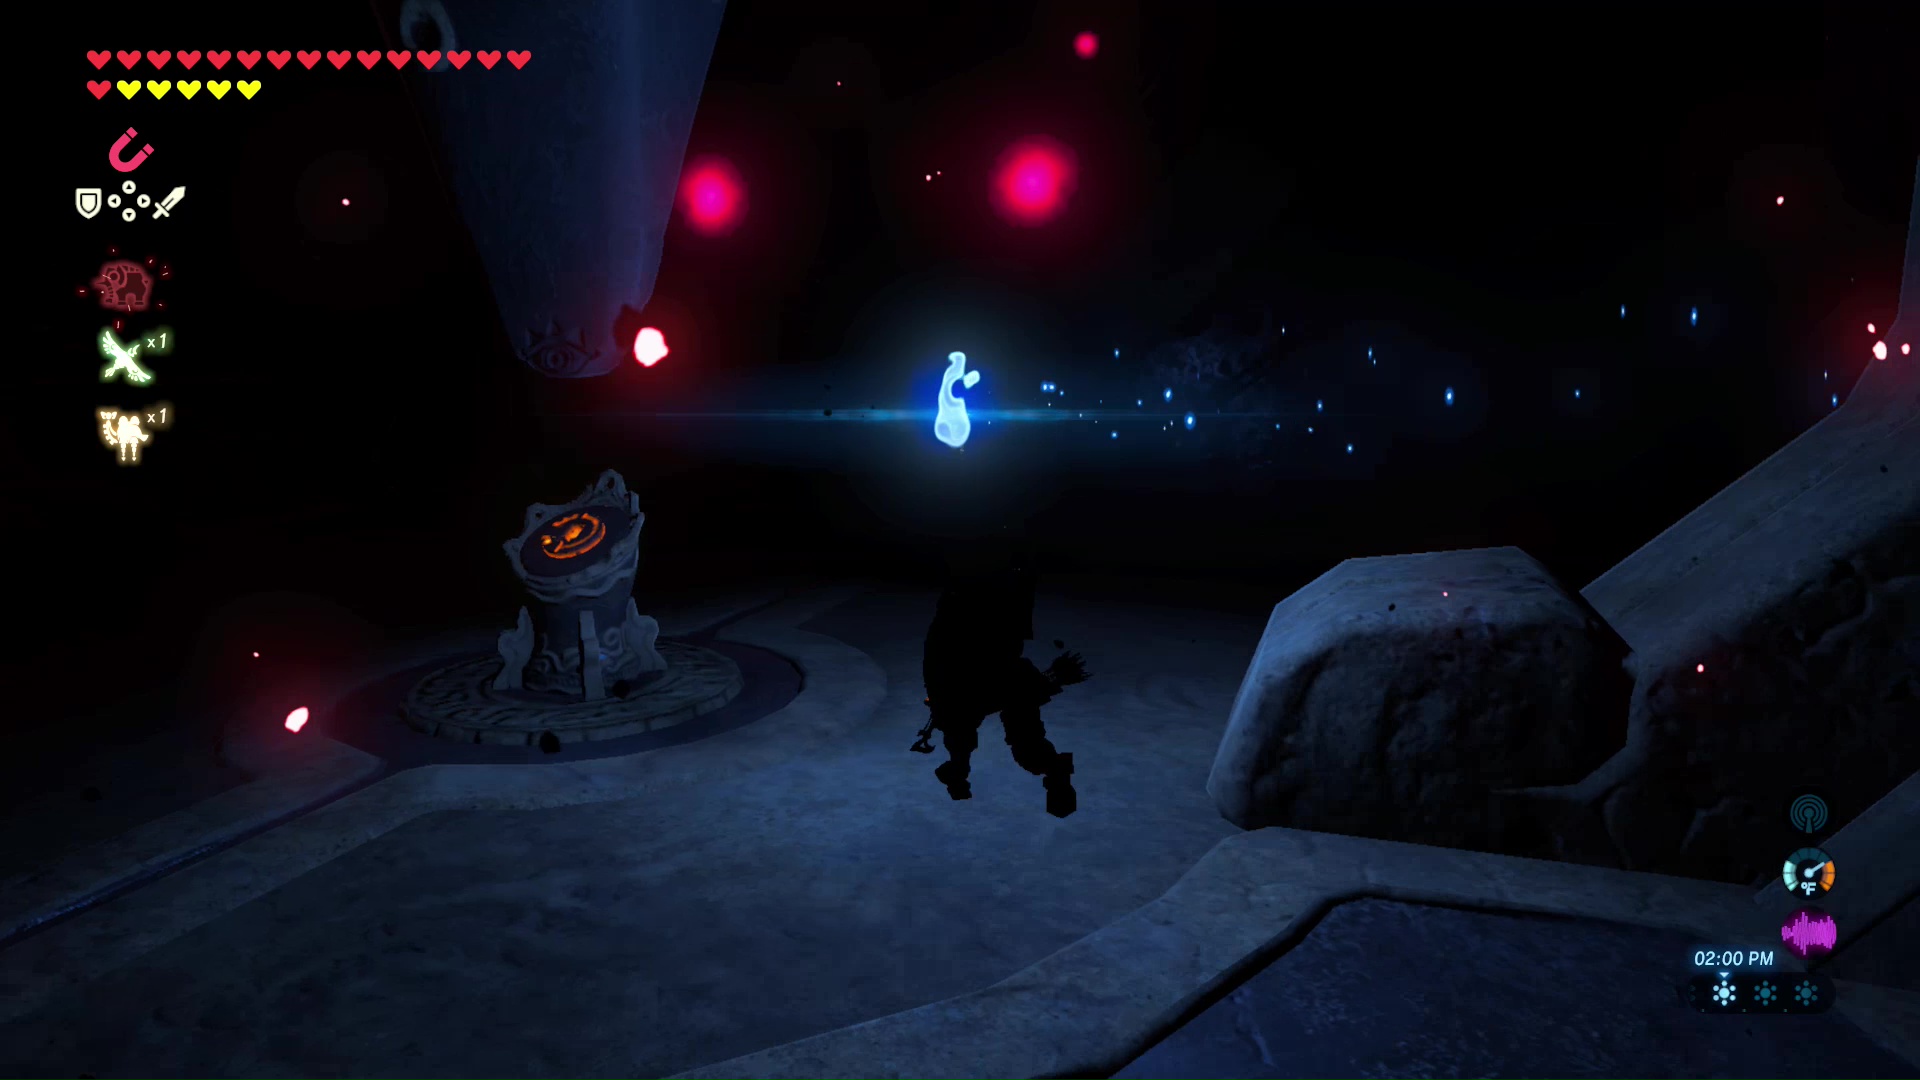
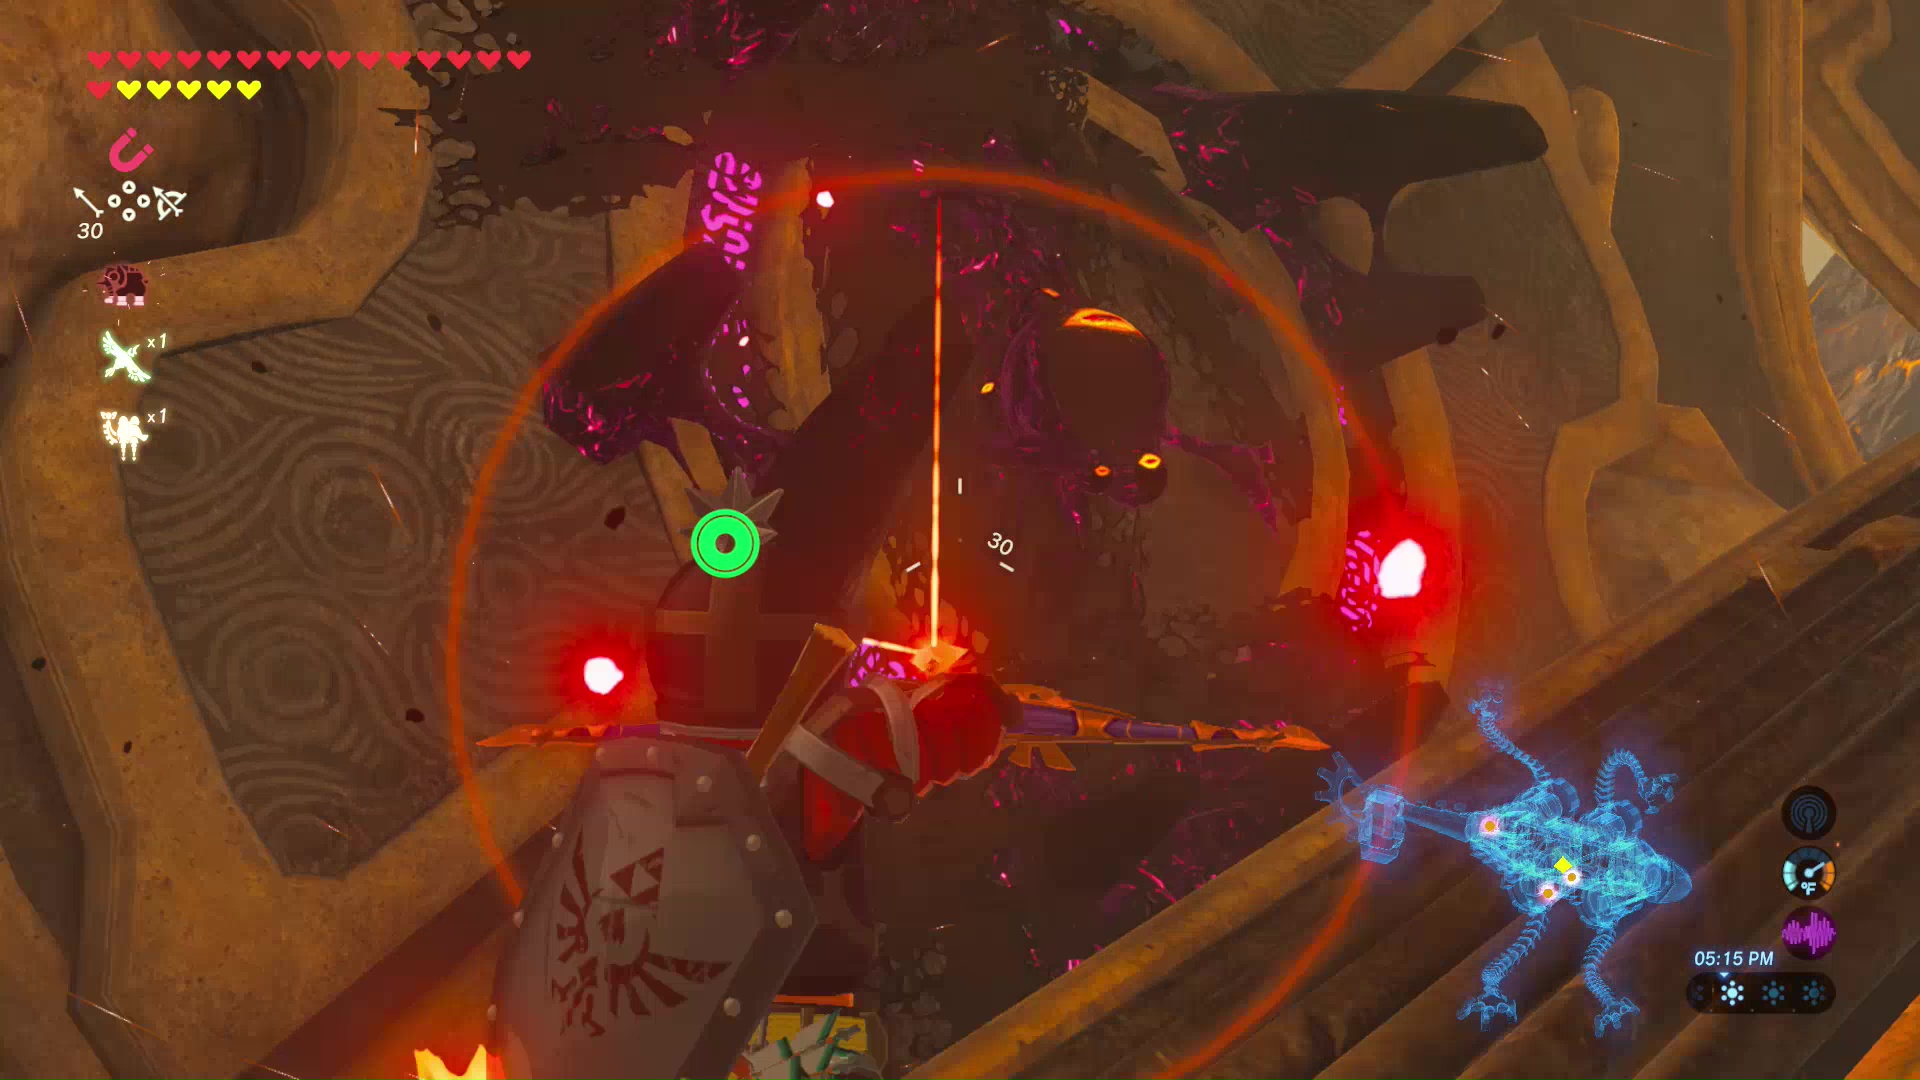
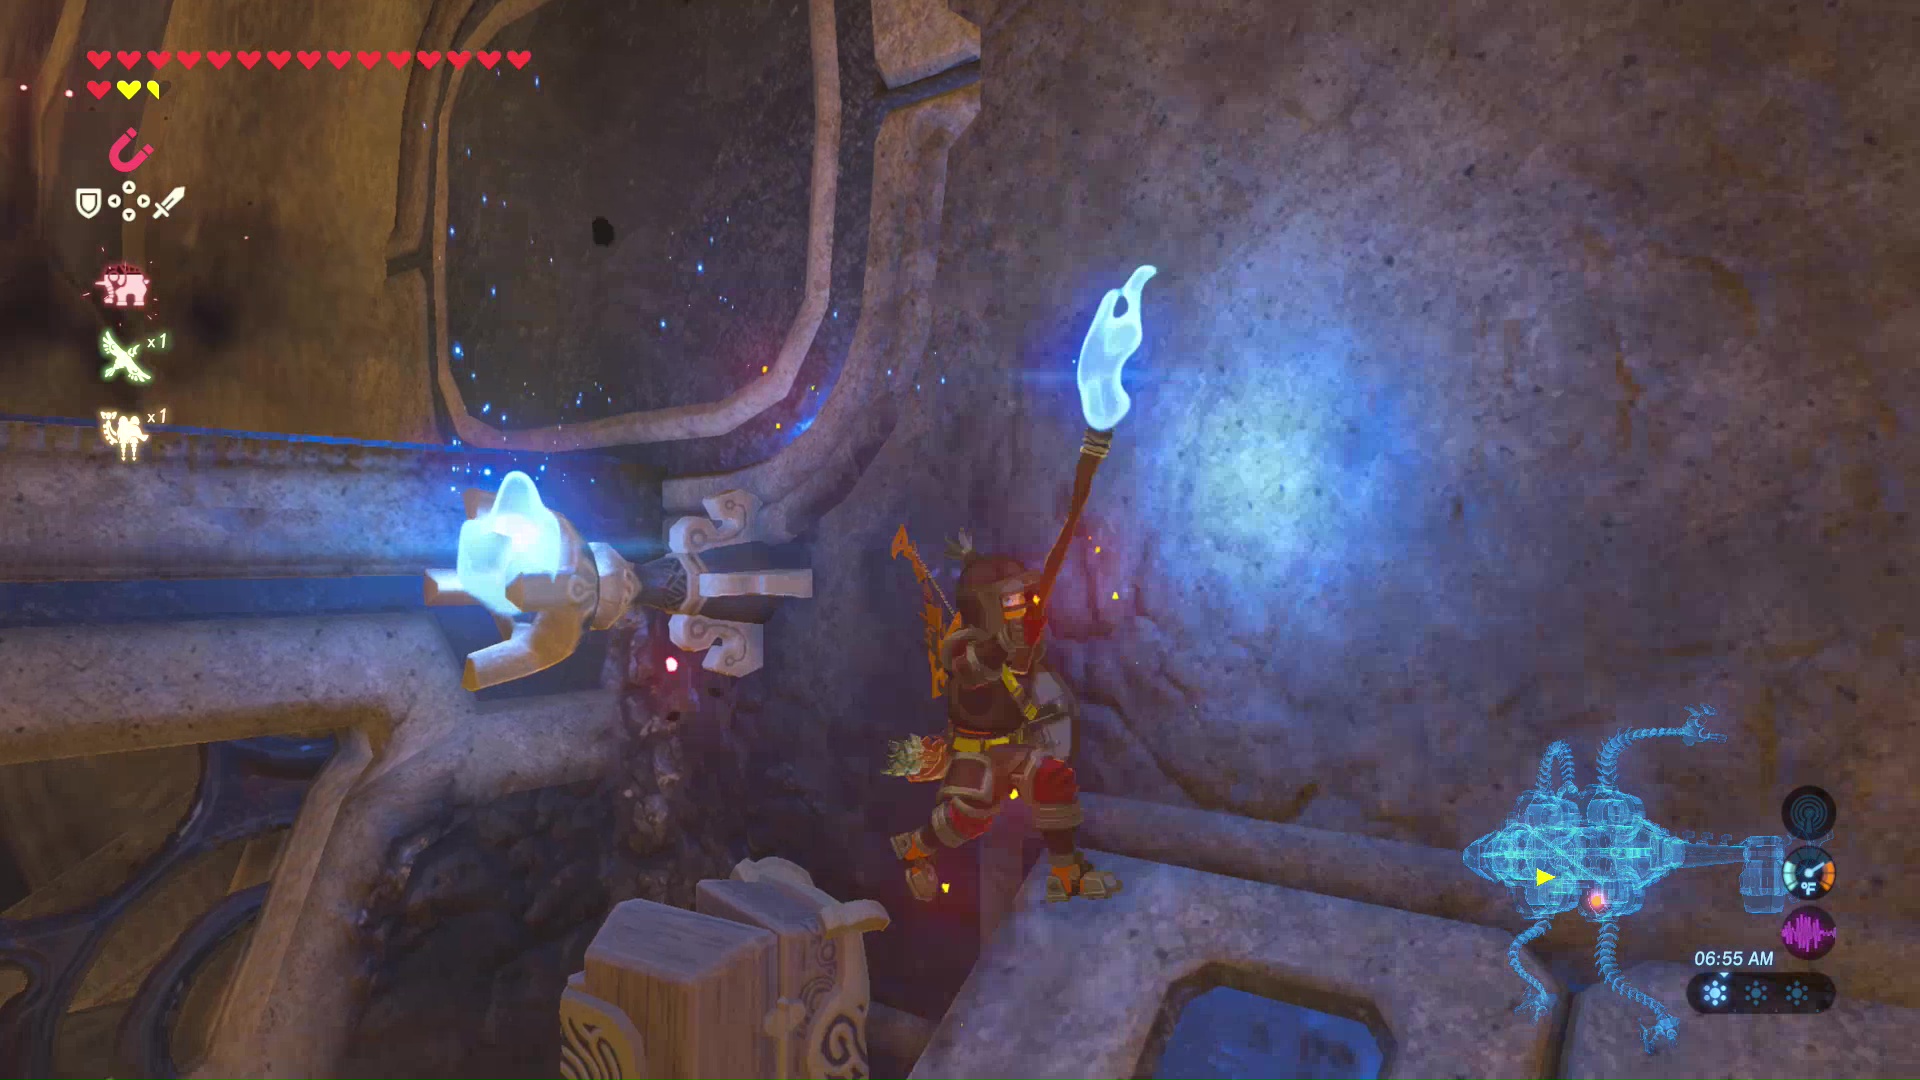
Return to the first room and use the torch to carry a blue flame and light a pedestal near the second treasure chest that originally contained the torch. This will open a door to the next room. Be on guard, a Guardian Scout is right through the door. It can be attacked with melee weapons or put down quickly with an arrow to its eye.
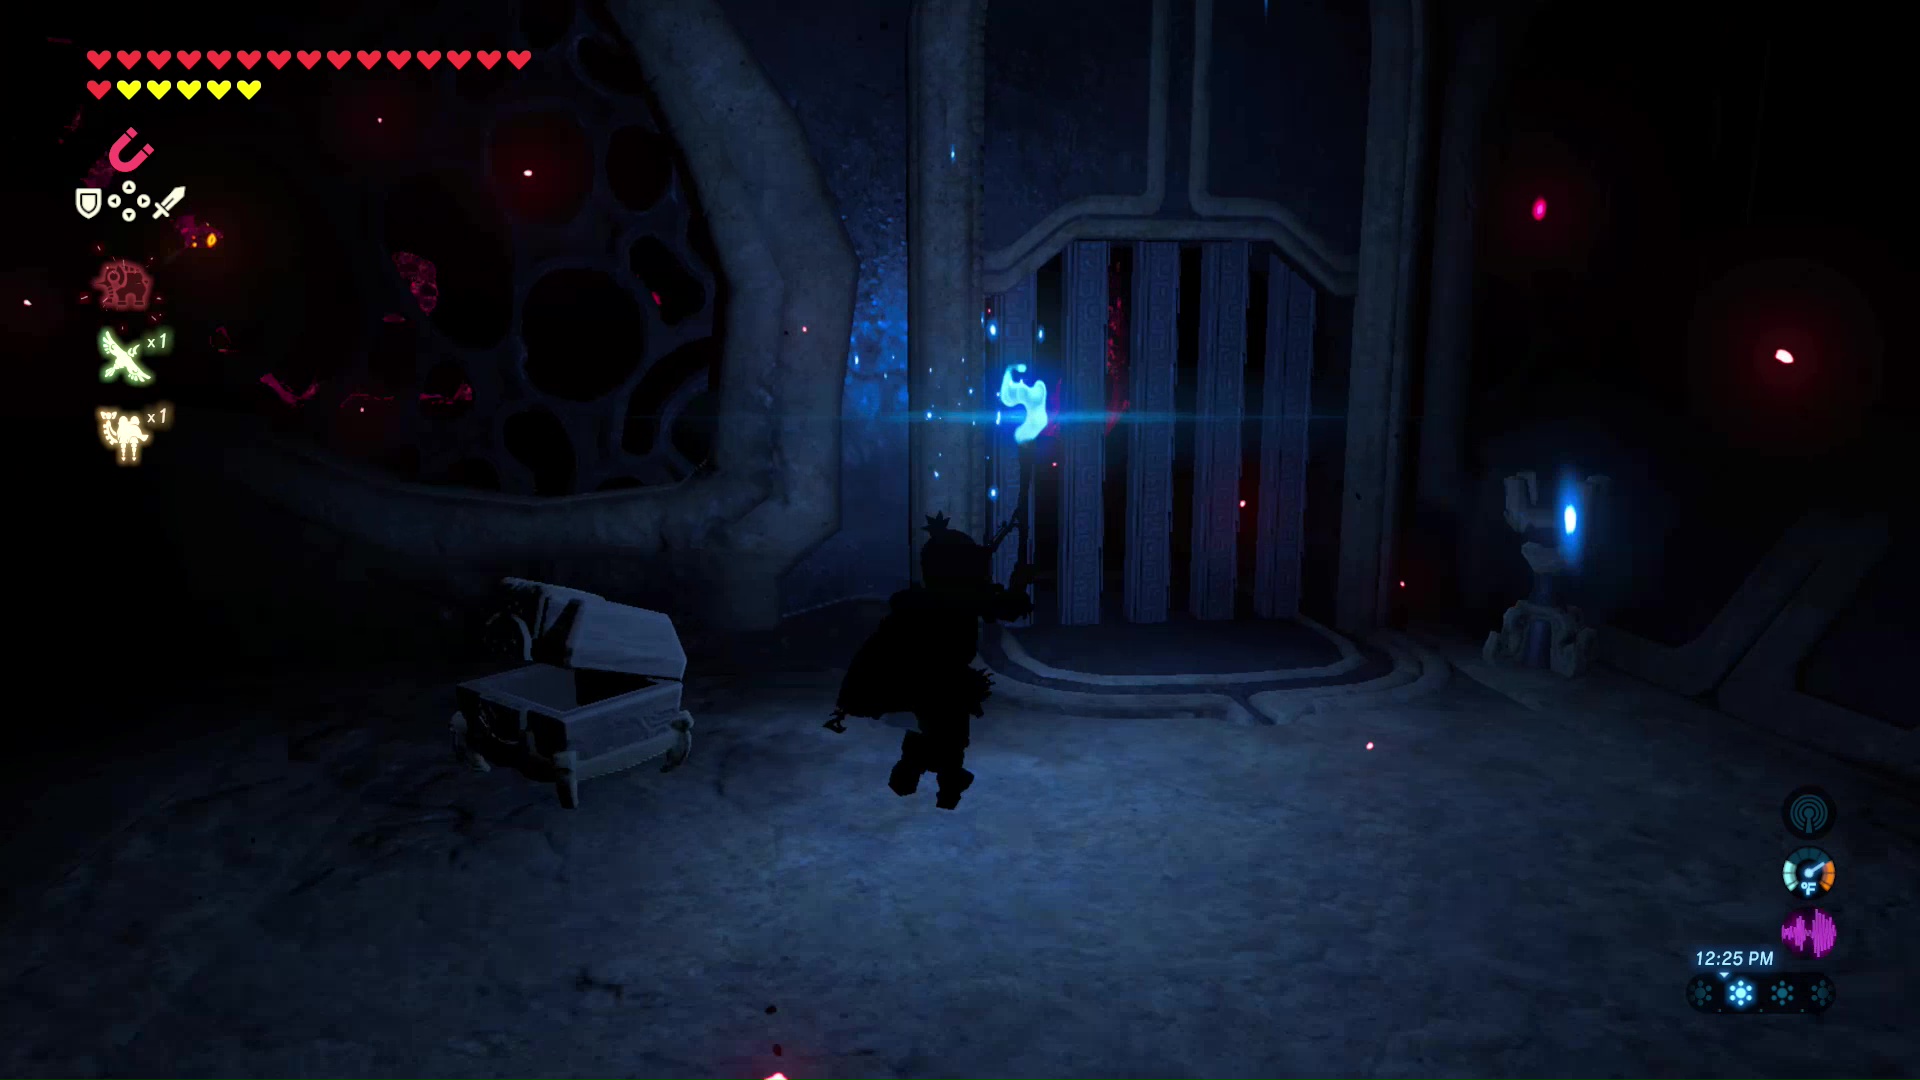
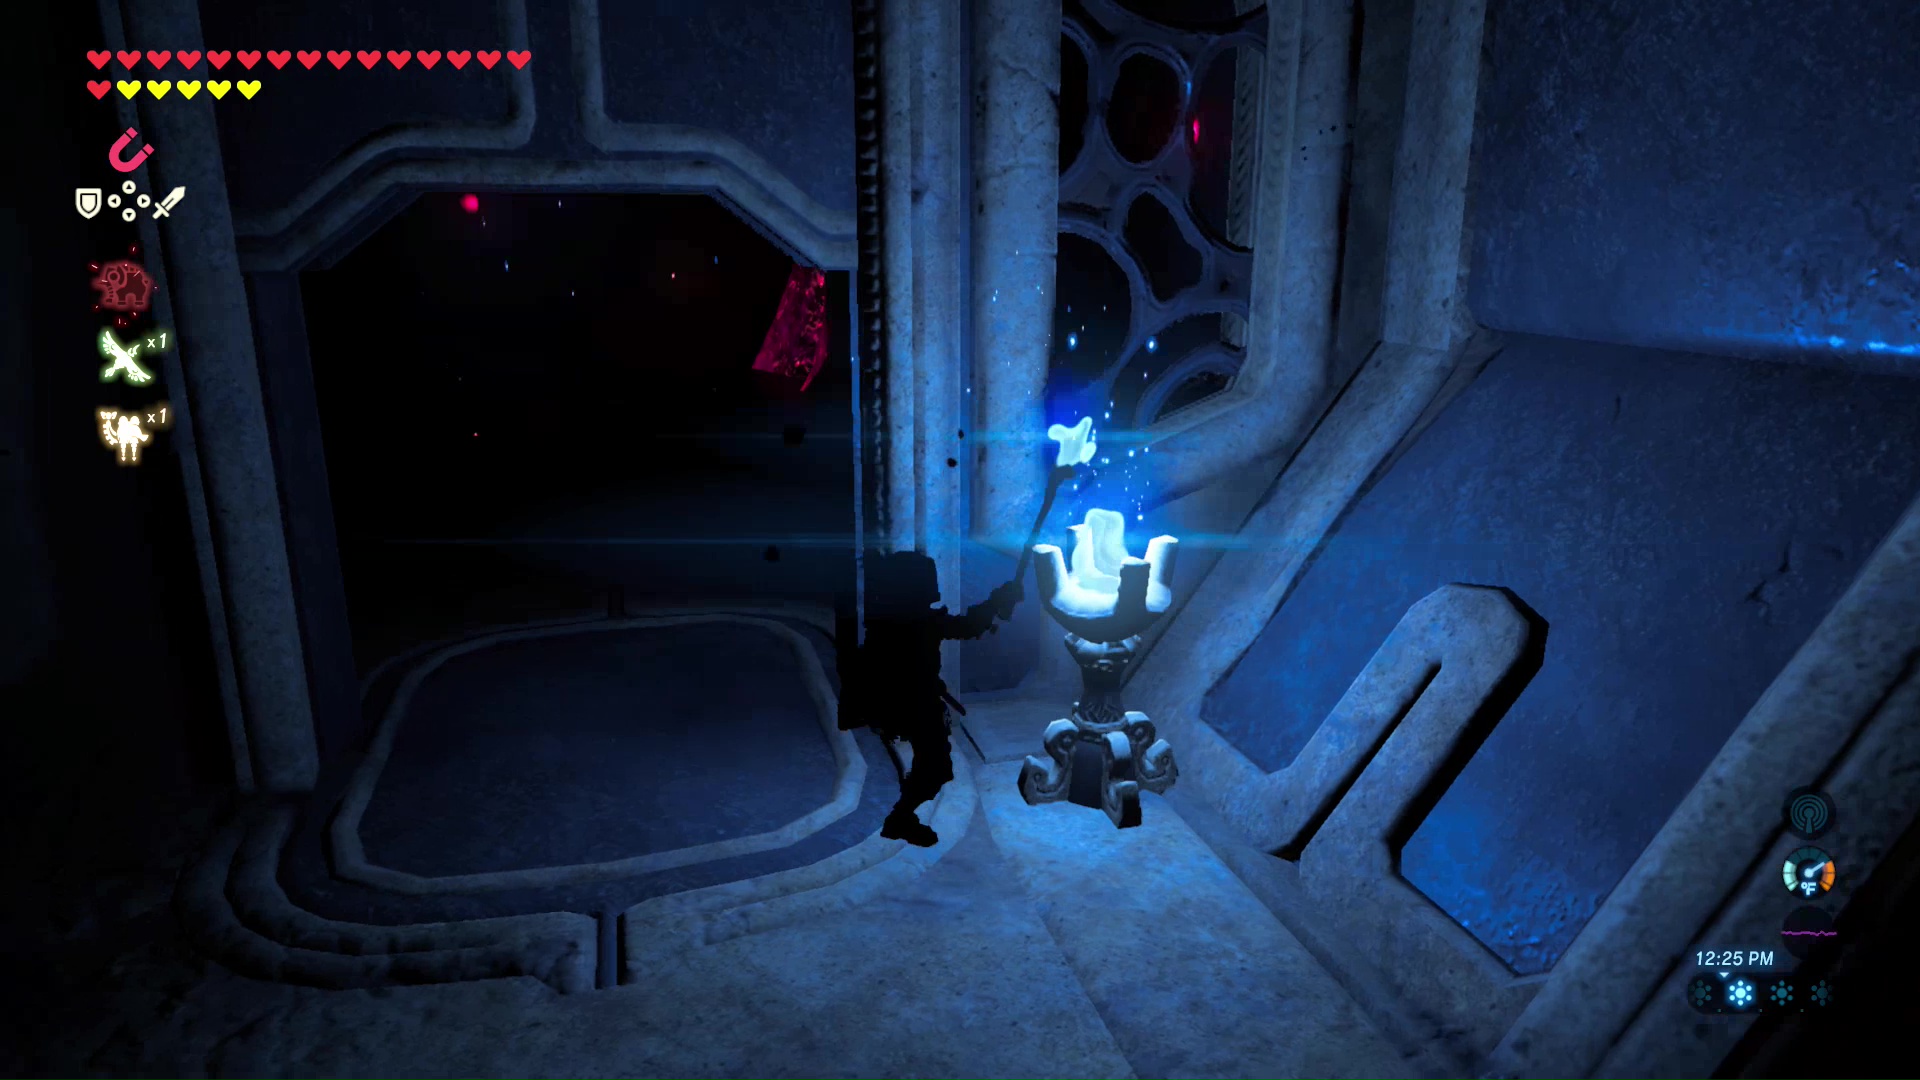
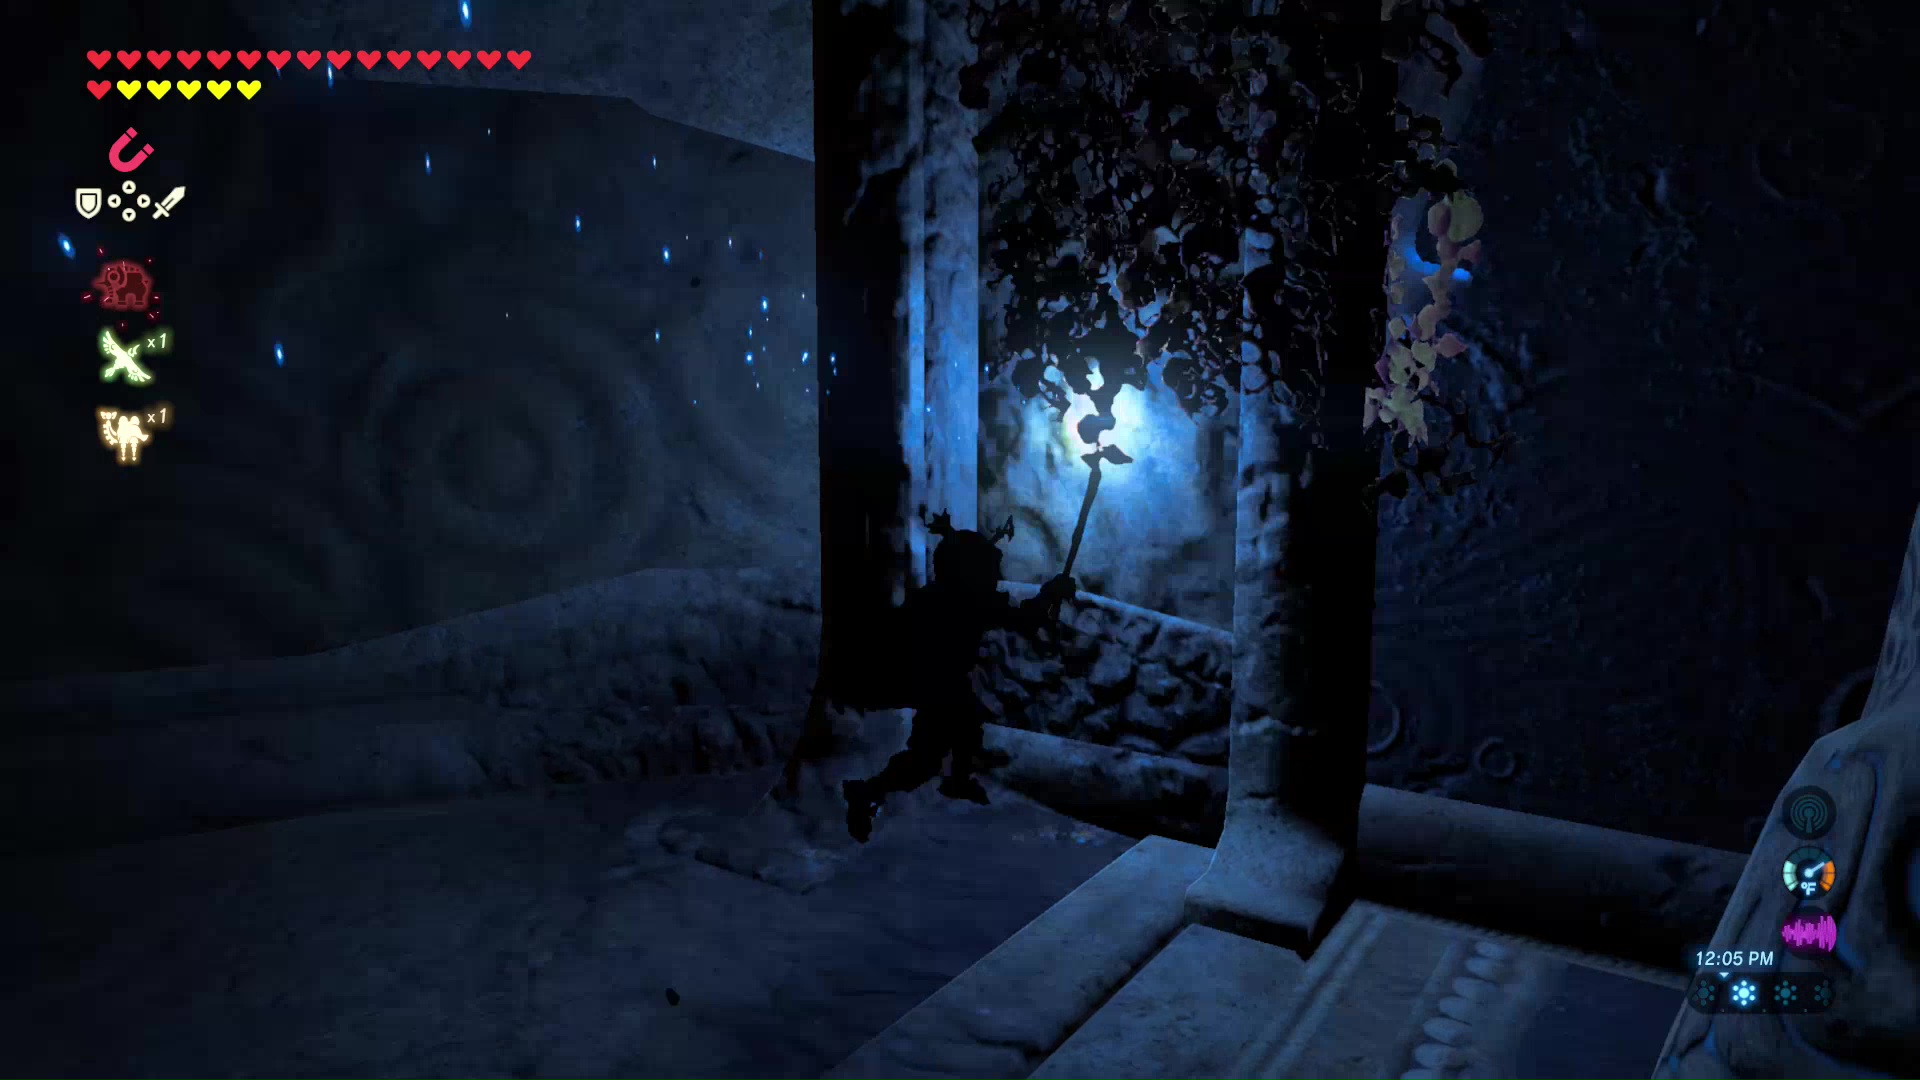
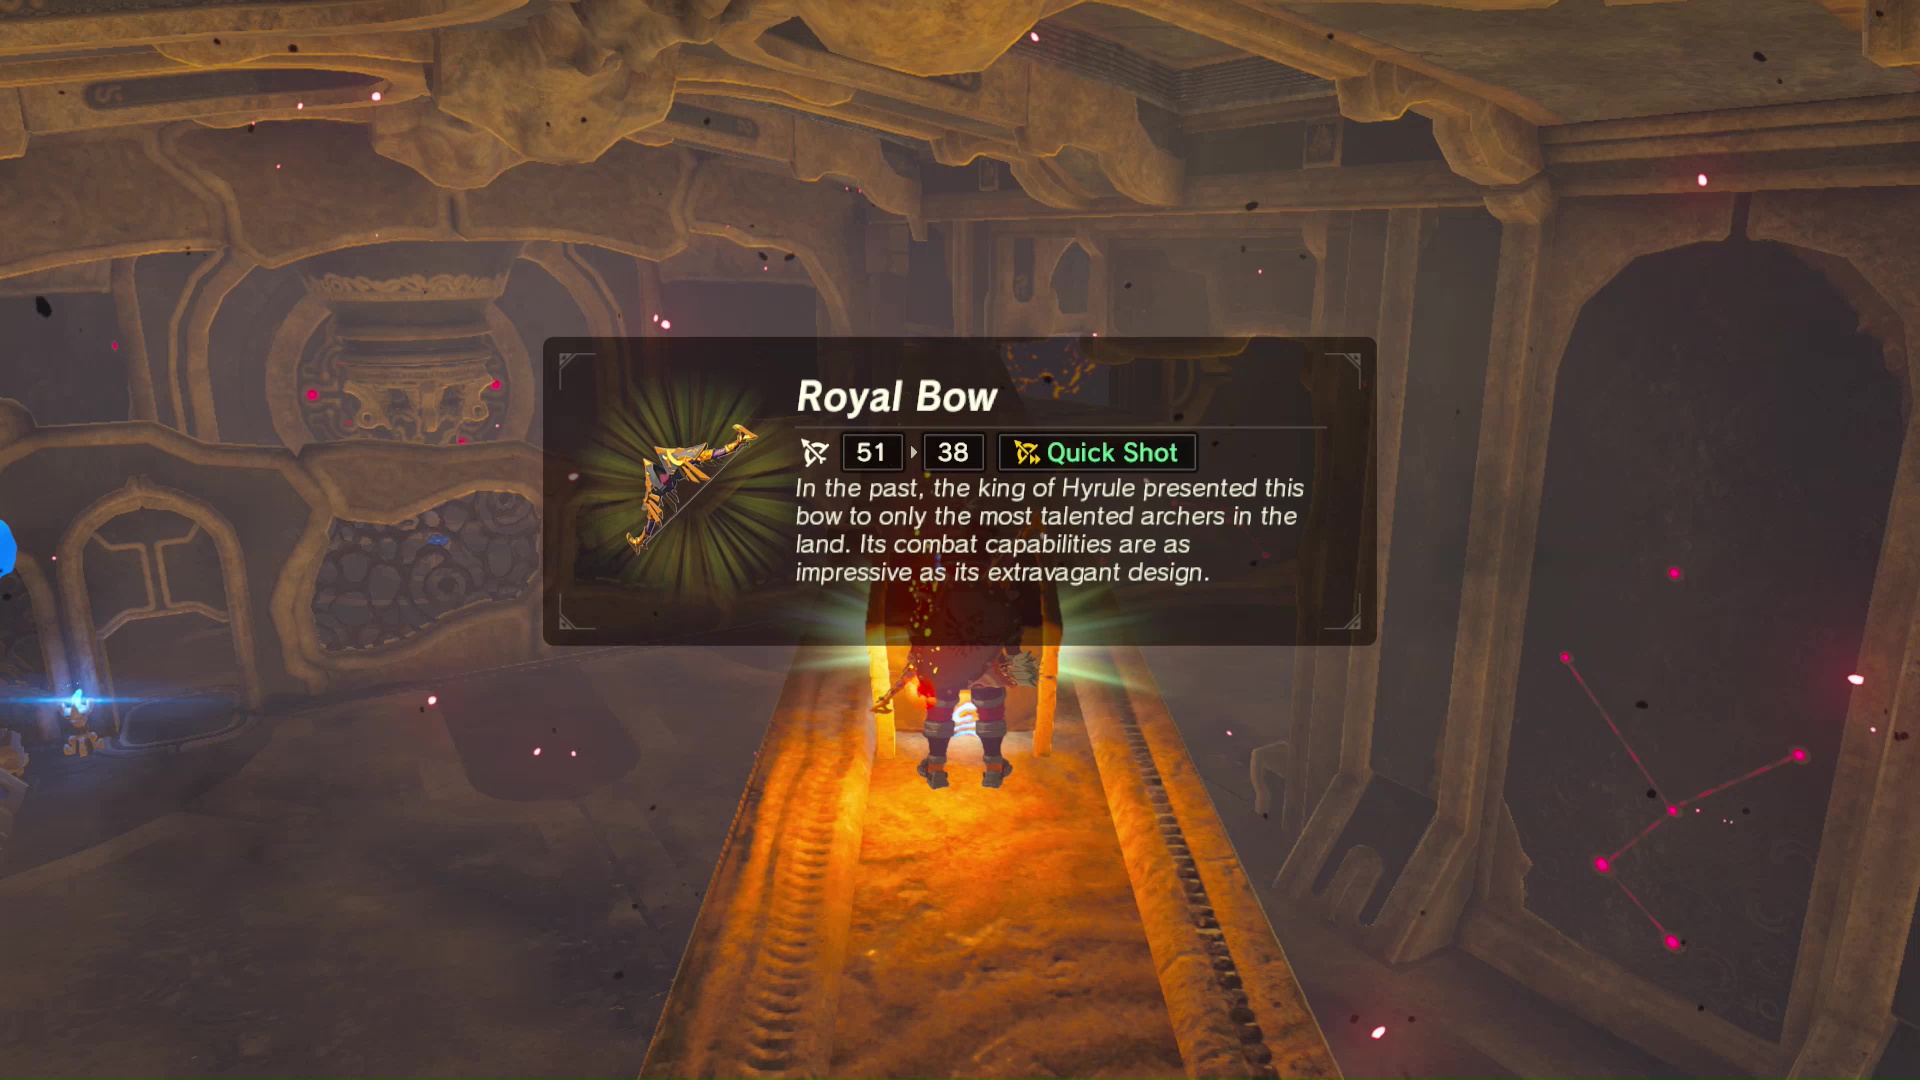
Look around the room for another calamity eyeball. Destroy it and move towards the next door with your torch. Just like earlier, you will need to carry a flame to the pedestal to open the door to the next room. The door is next to a treasure chest containing a Royal Bow.
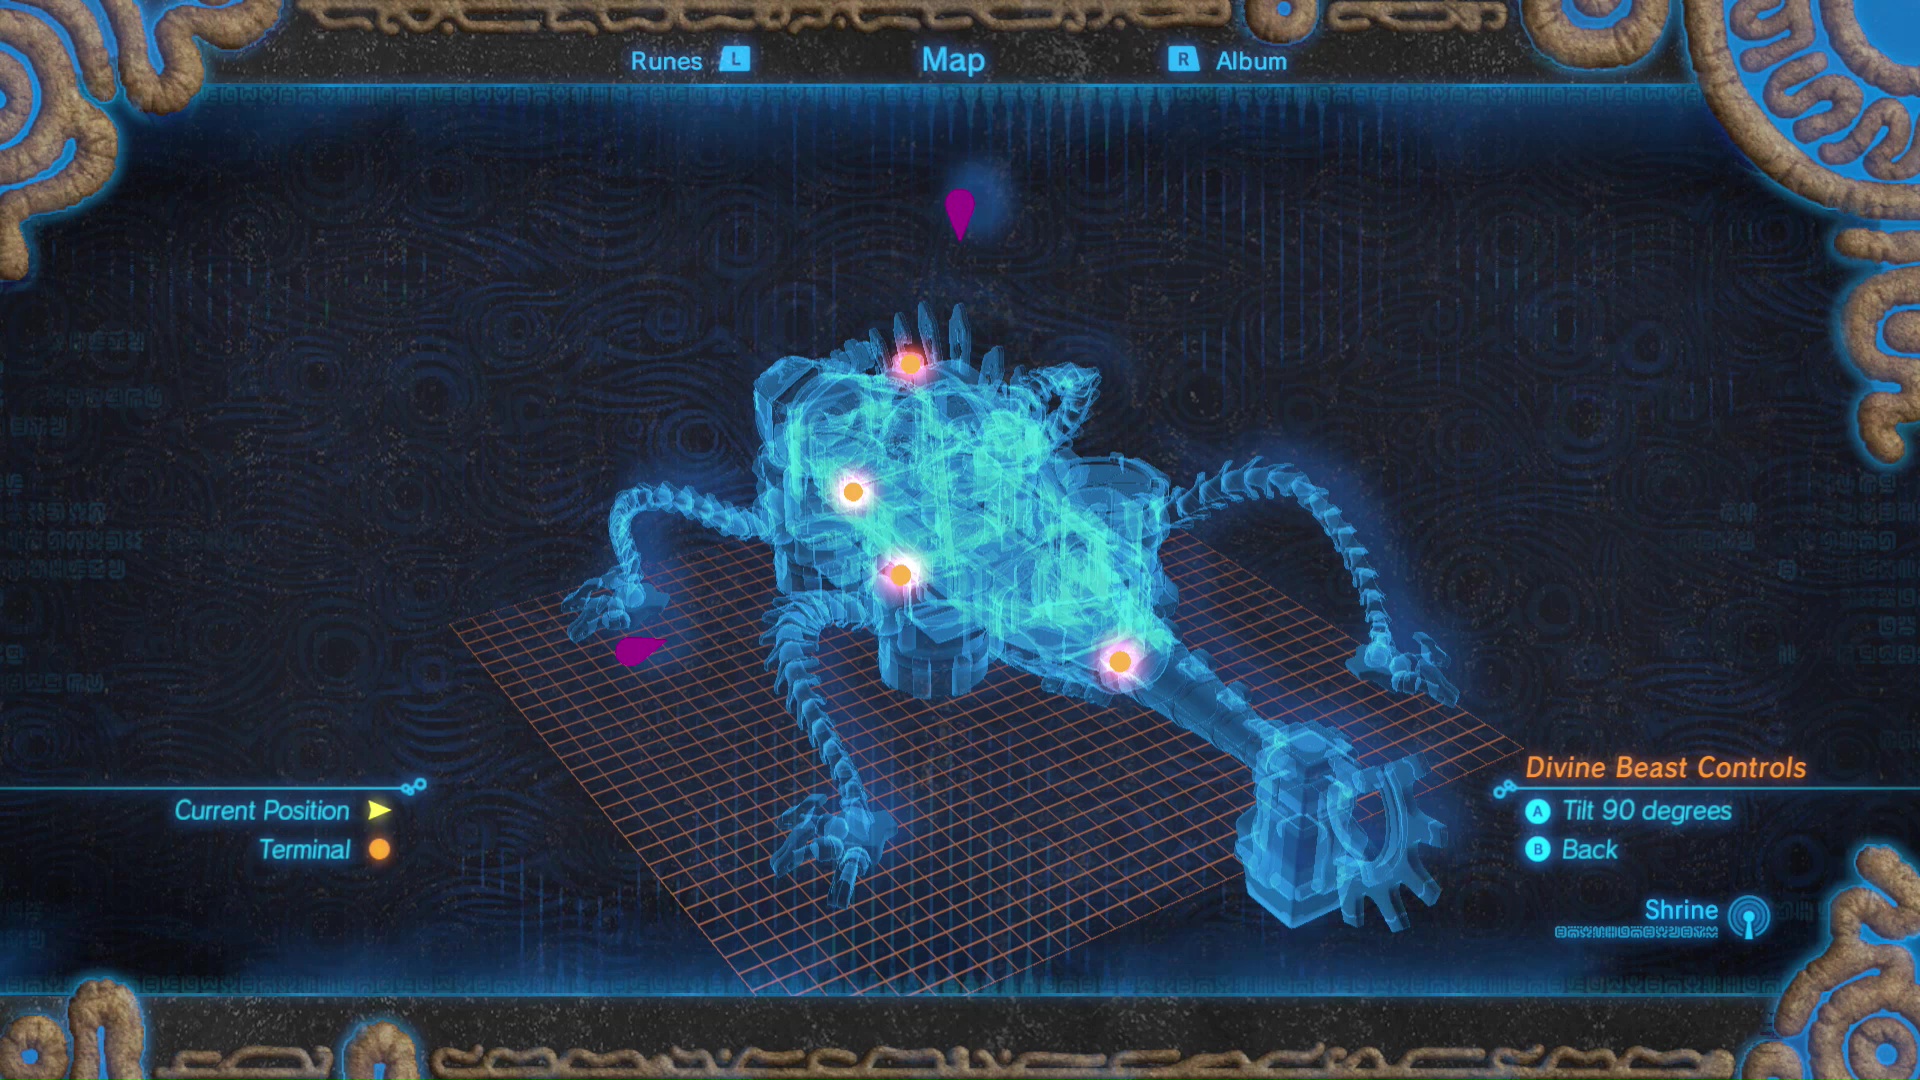
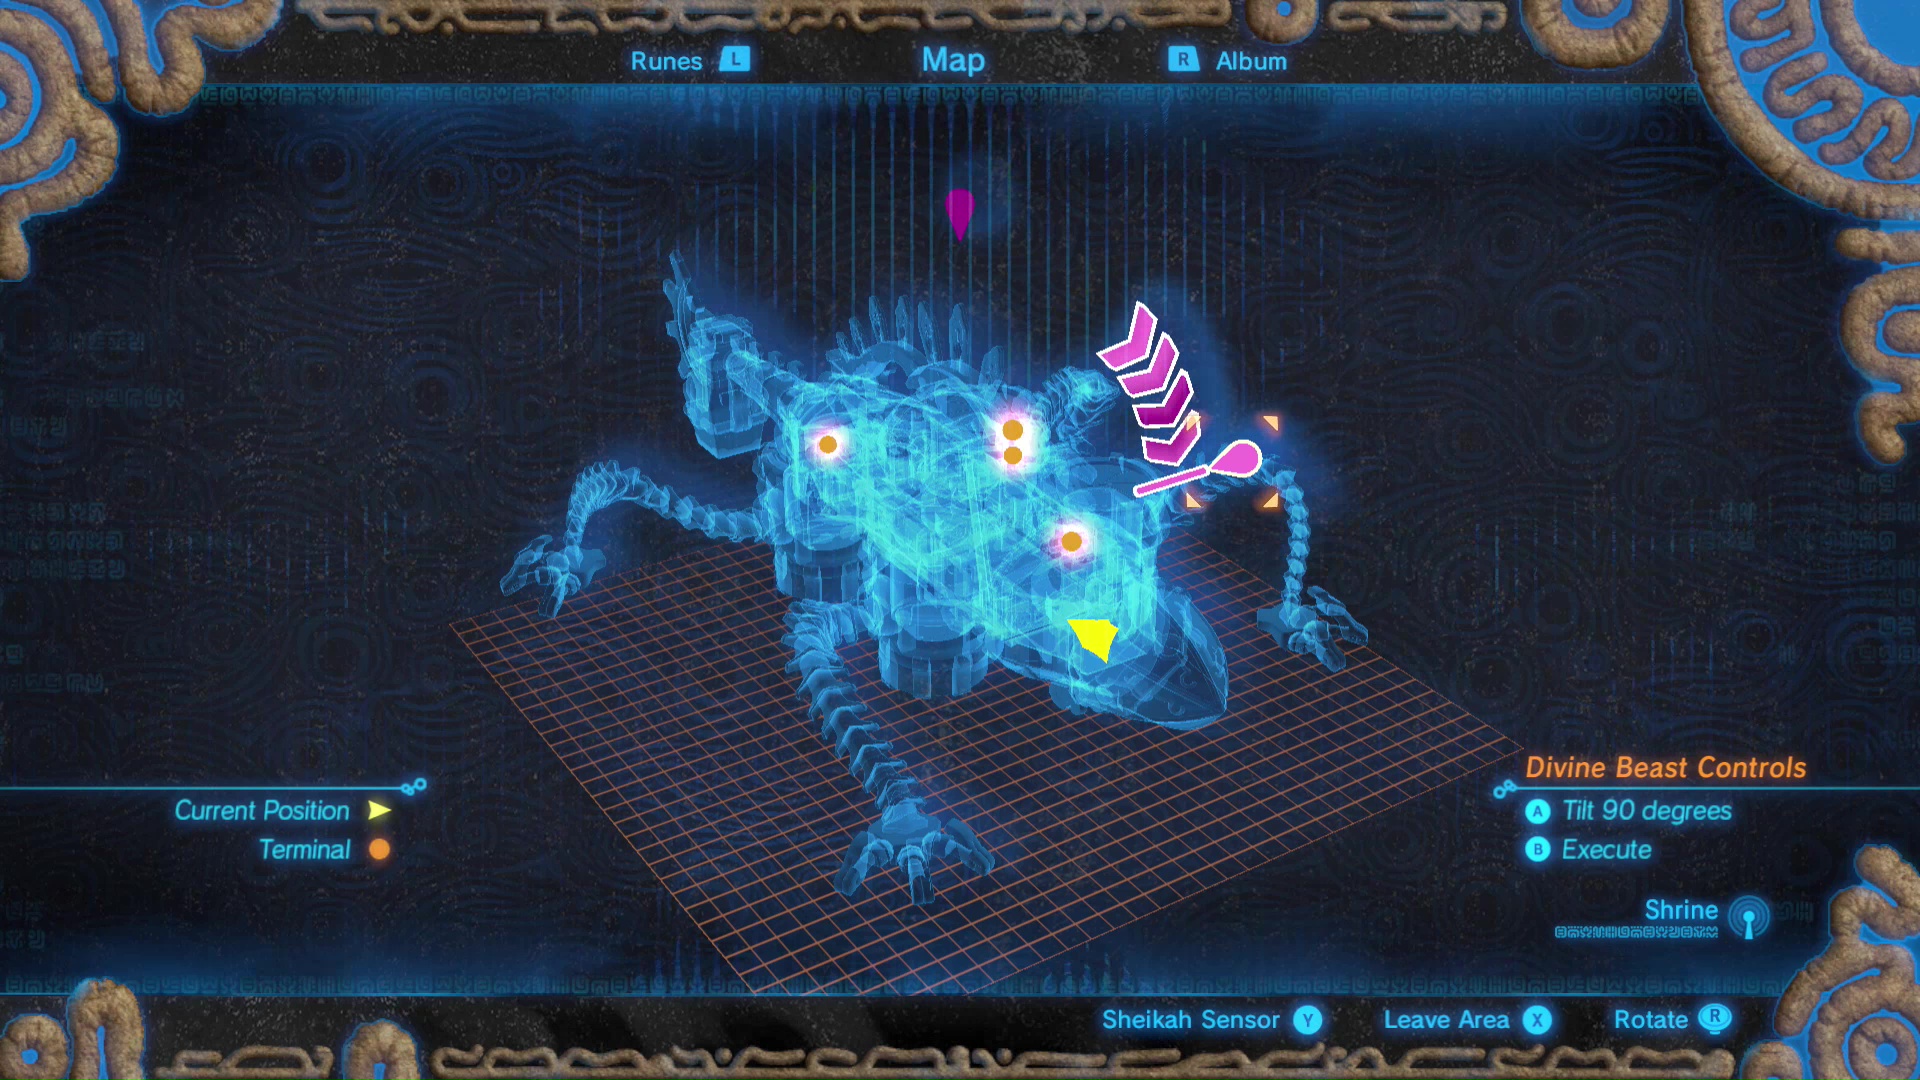
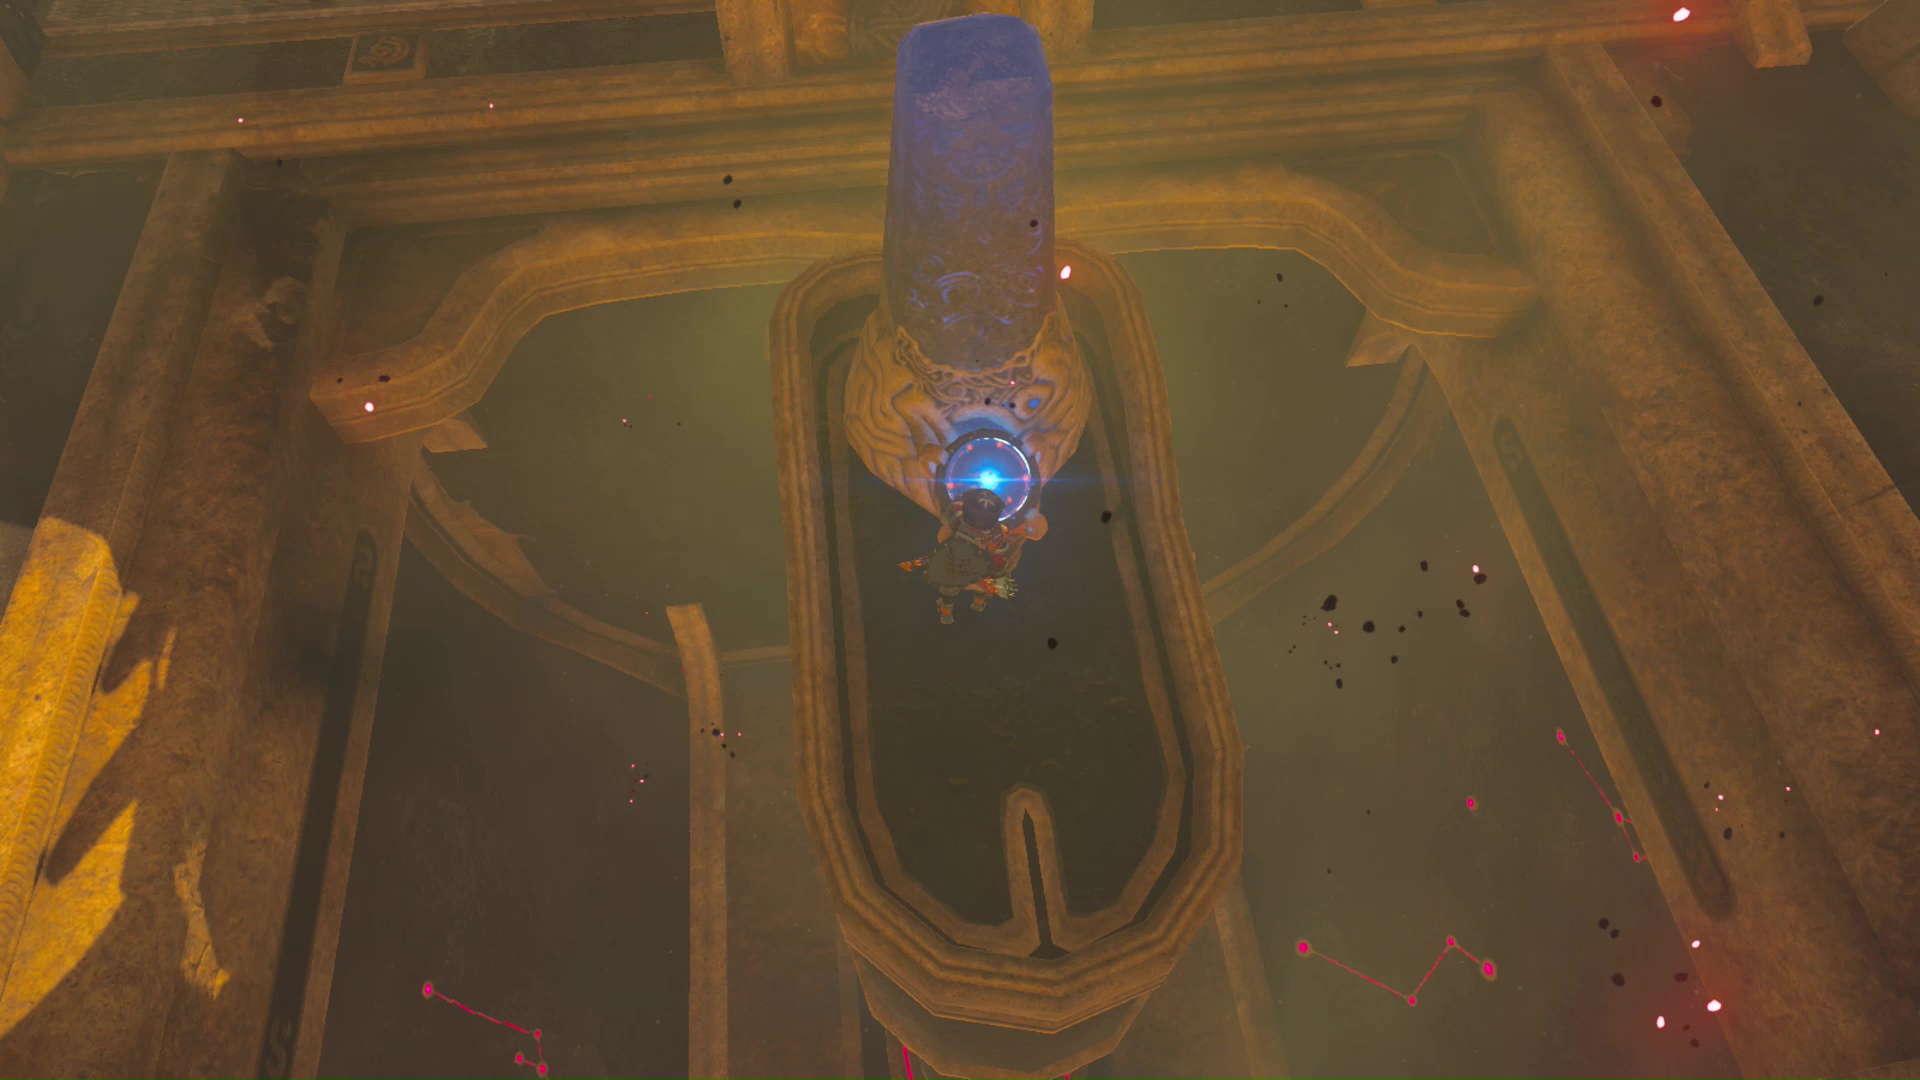
Walk through the door and interact with the large terminal. This will add a map of Vah Rudania to your Sheikah Slate. The Divine Beast can be tilted 90 degrees by pressing A while on the map screen. A short scene will play out. The ceiling windows will open up, letting light throughout the Divine Beast.
Terminal 2 Center Sideways
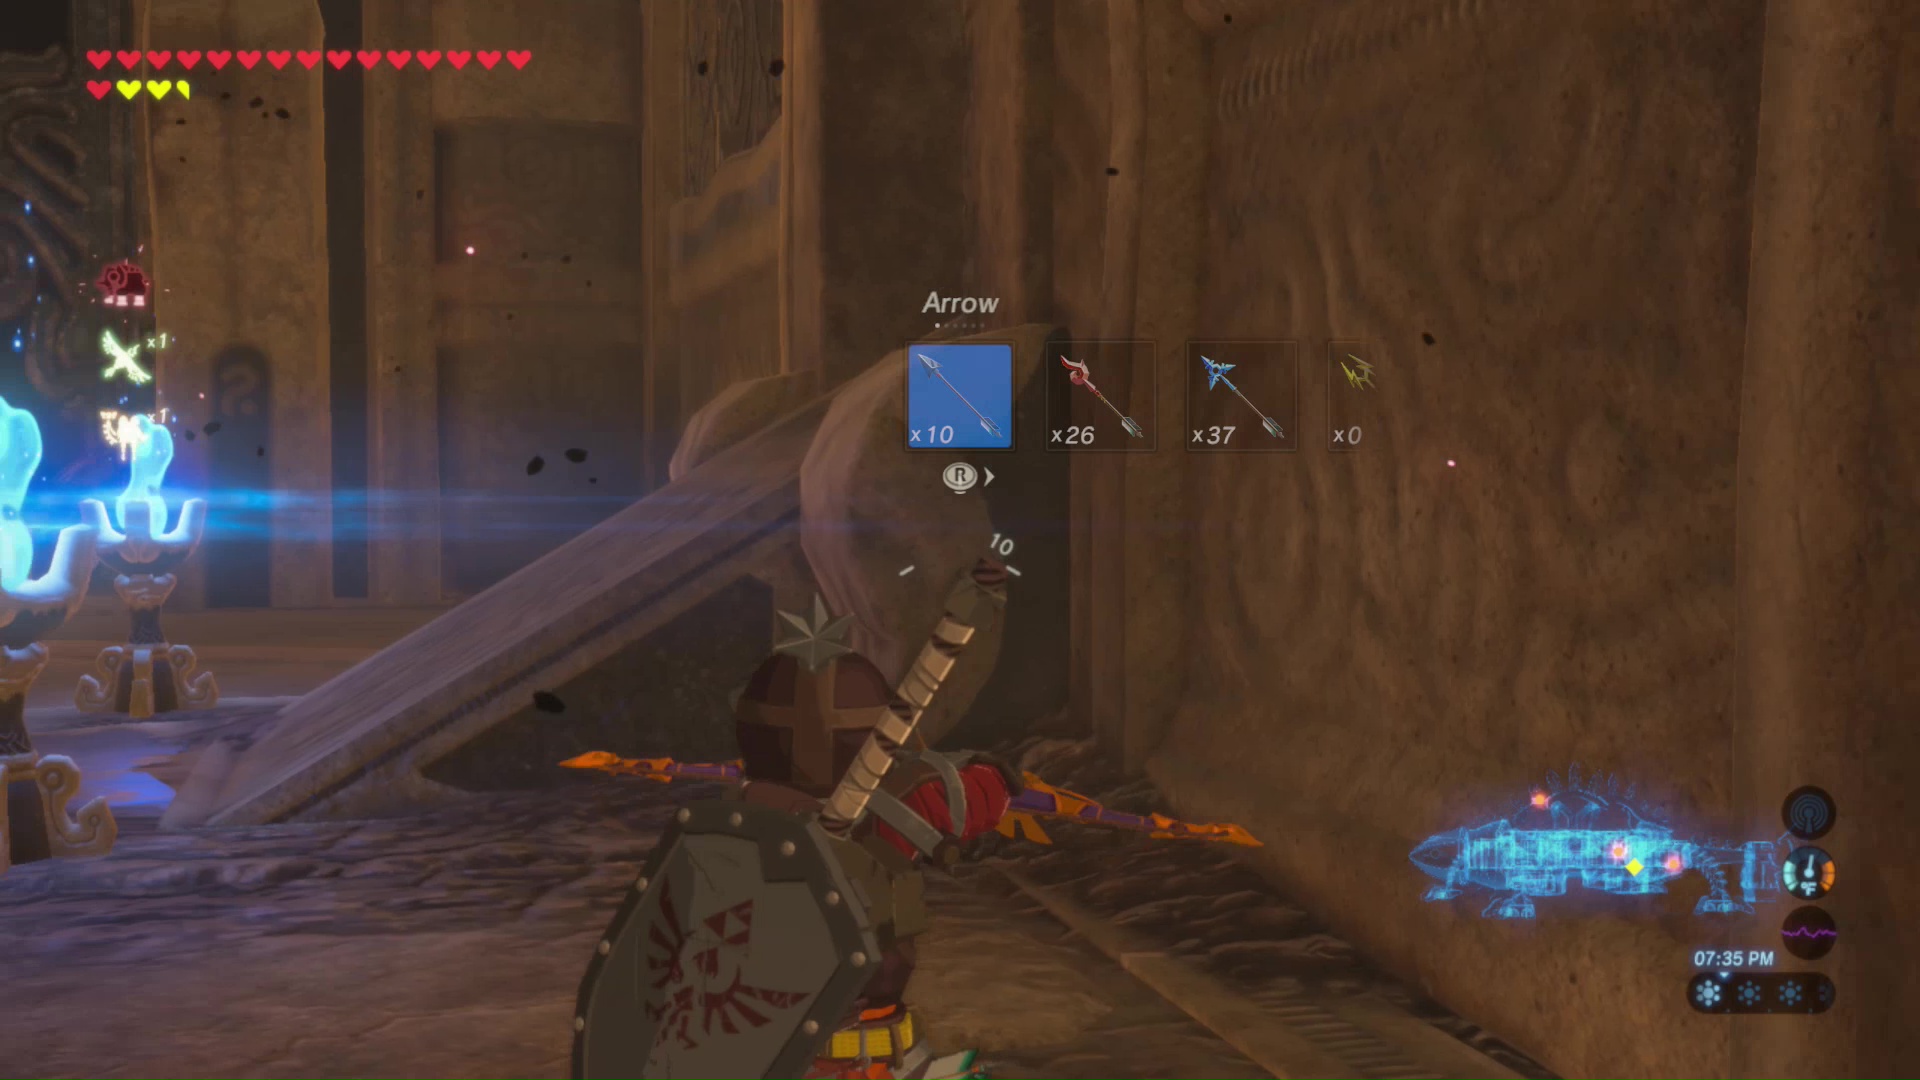
Return to the previous room and shoot a calamity eyeball in the corner. This will reveal two treasure chests containing Arrow x5 and Arrow x5.
On the other side of the room, a calamity eyeball will be covering a terminal. Shoot it to reveal the terminal, but you will still need to do some twisting to reach it.

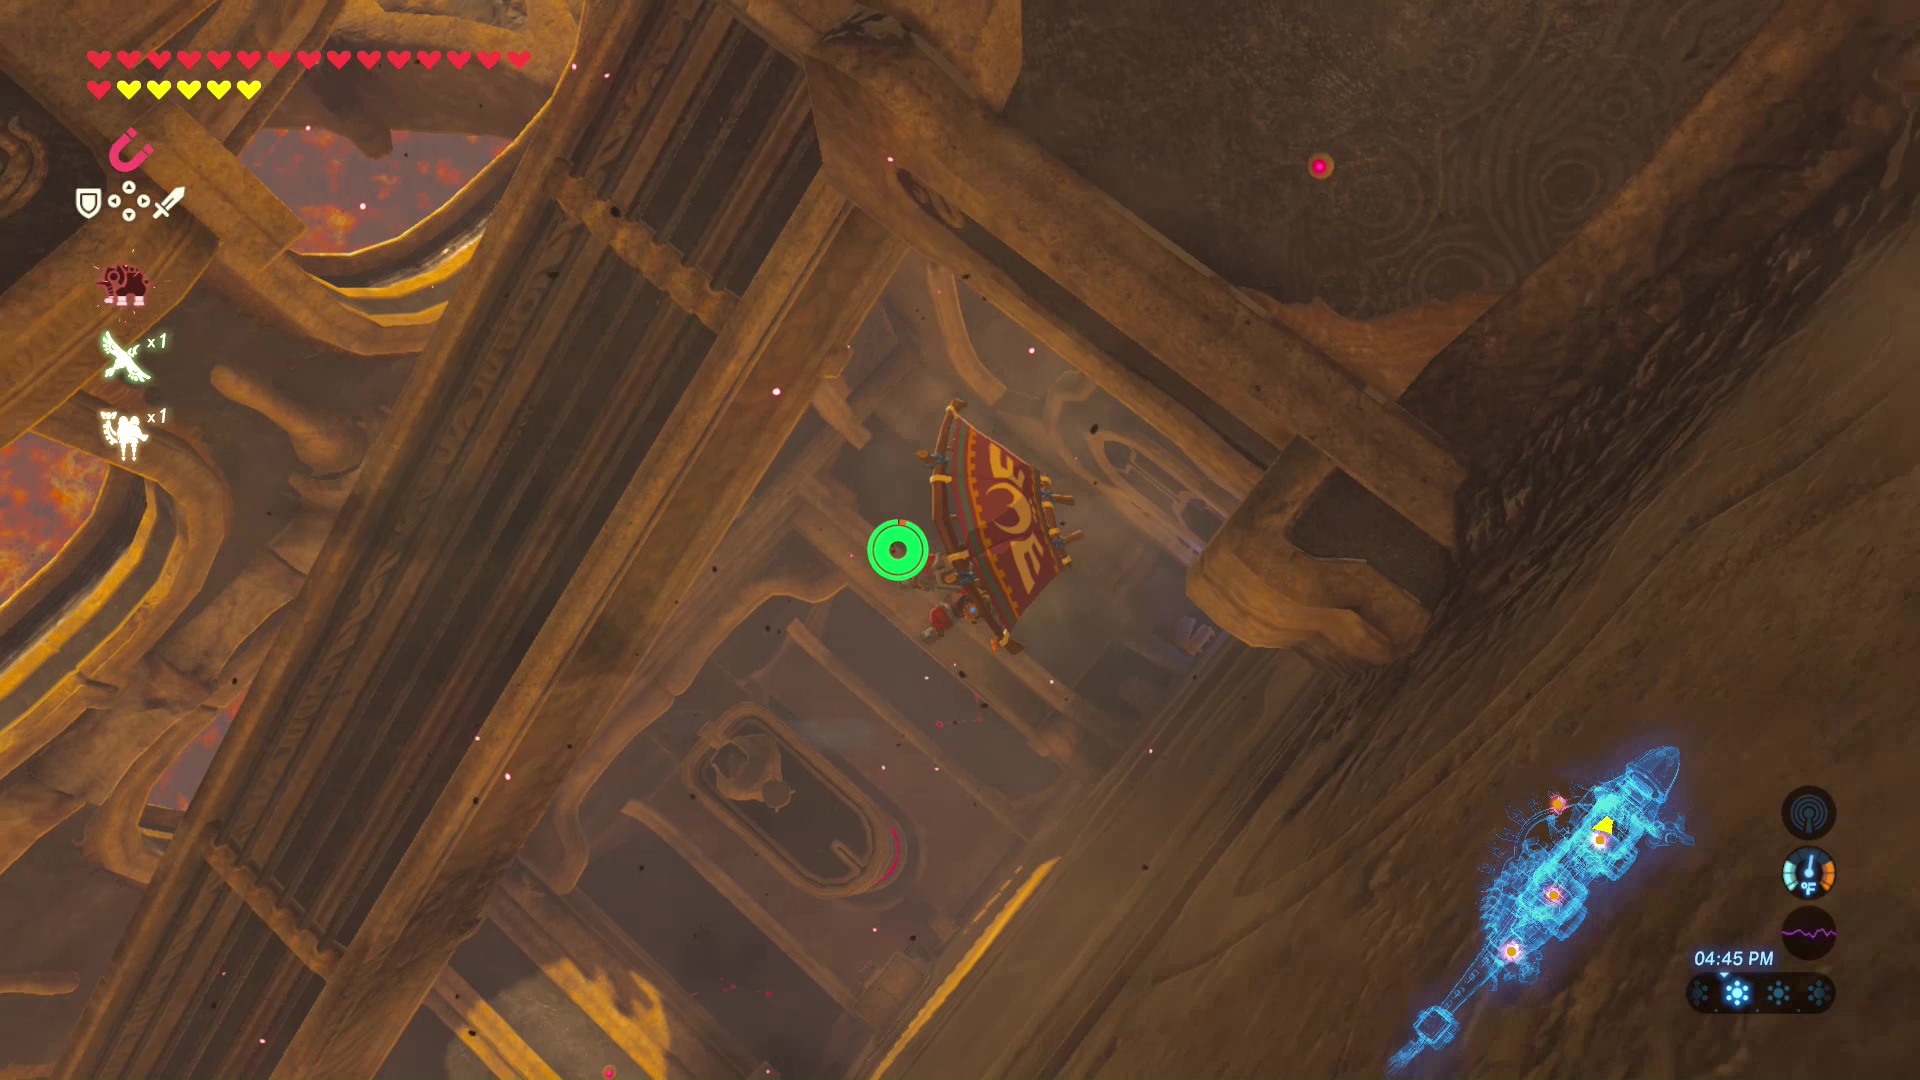
This terminal can be reached by tilting the Divine Beast 90 degrees. Make sure you are in the side room near the two treasure chests before tilting the Divine Beast. You can then glide down onto the Terminal.
Terminal 3 Small Hole Door
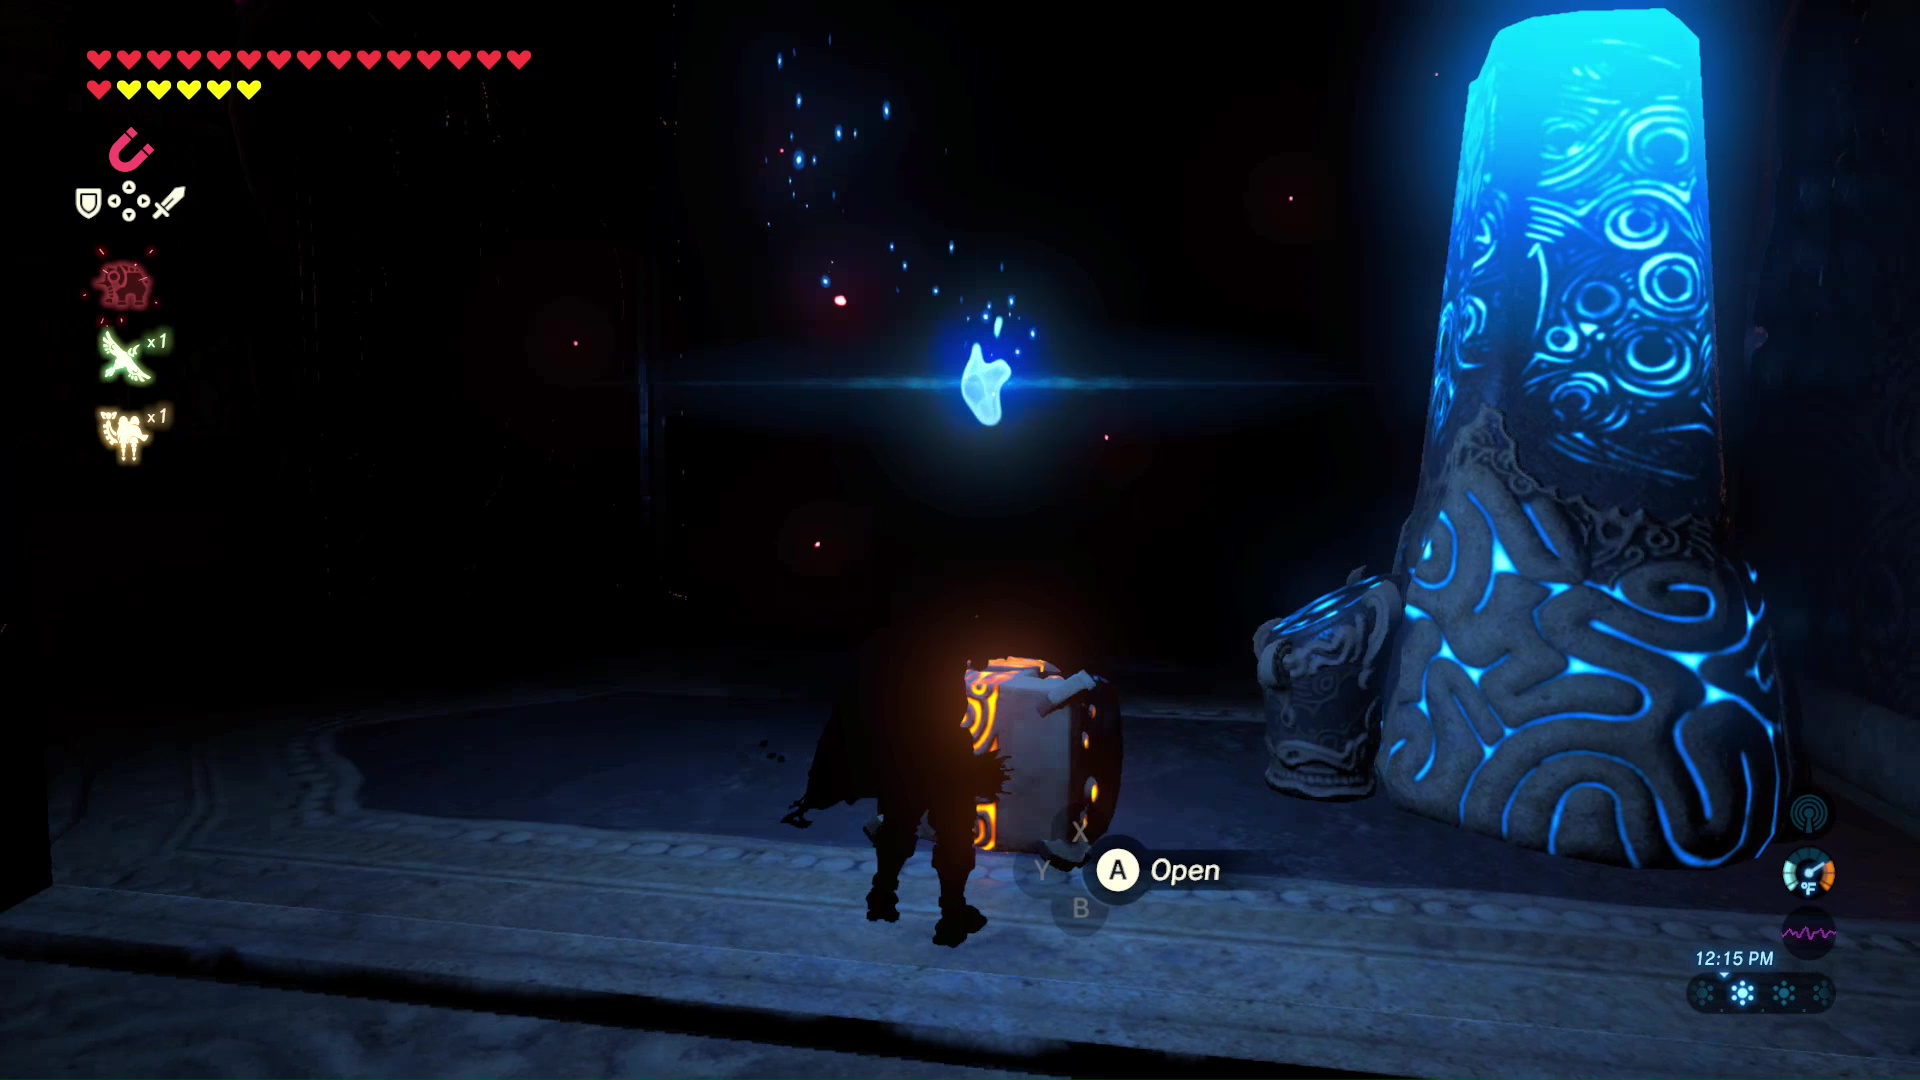
Before going on, there are a few things you can take care of. Walk to the other end of the room and ascend the ramp. Another calamity eyeball can be shot on the way up. You can also grab the treasure chest along the side of this ramp by tilting the Divine Beast and walking around the bottom of the ramp. Inside the treasure chest is a Royal Bow.
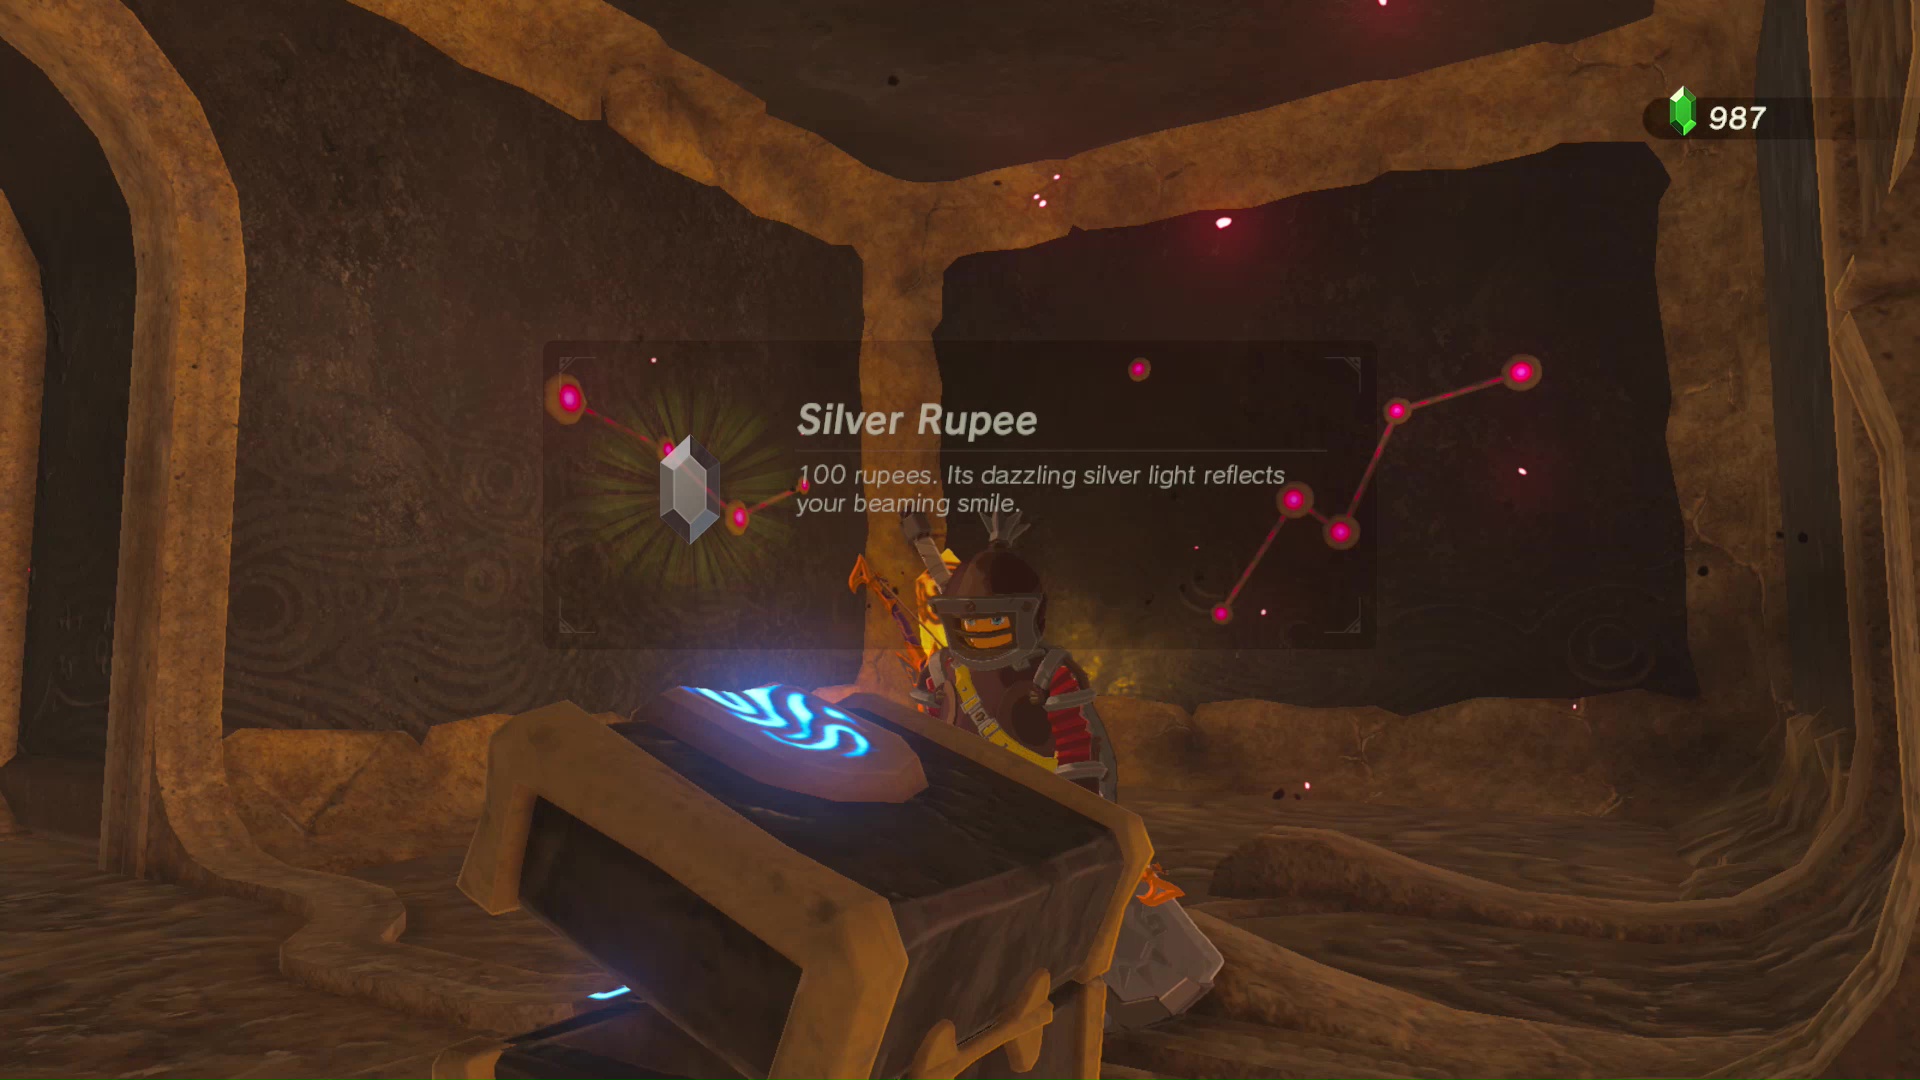
A few monsters will float your way once you reach the outside up top. Look for a calamity eyeball around the side of the Divine Beast to stop the monsters from spawning. You can jump down to the side, and then glide down a hole where a treasure chest is hiding. Inside the chest is a Silver Rupee.
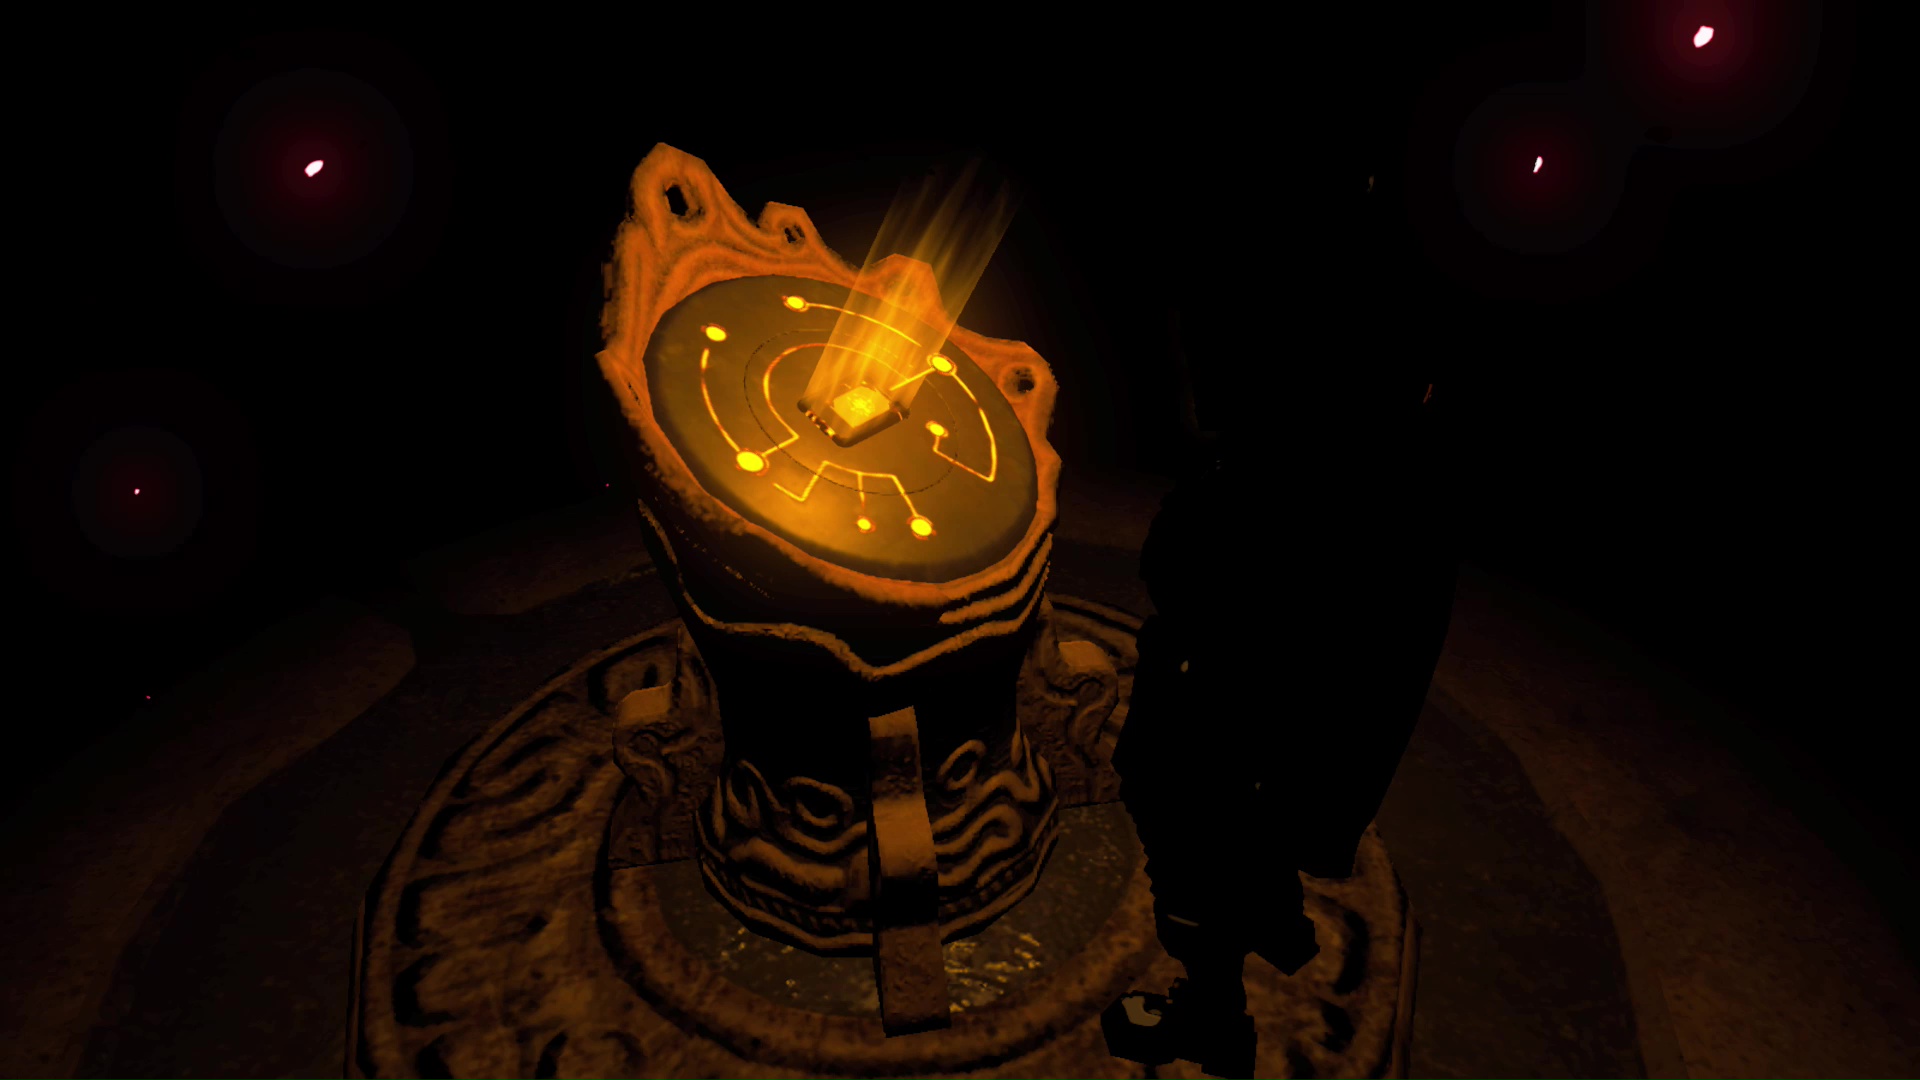
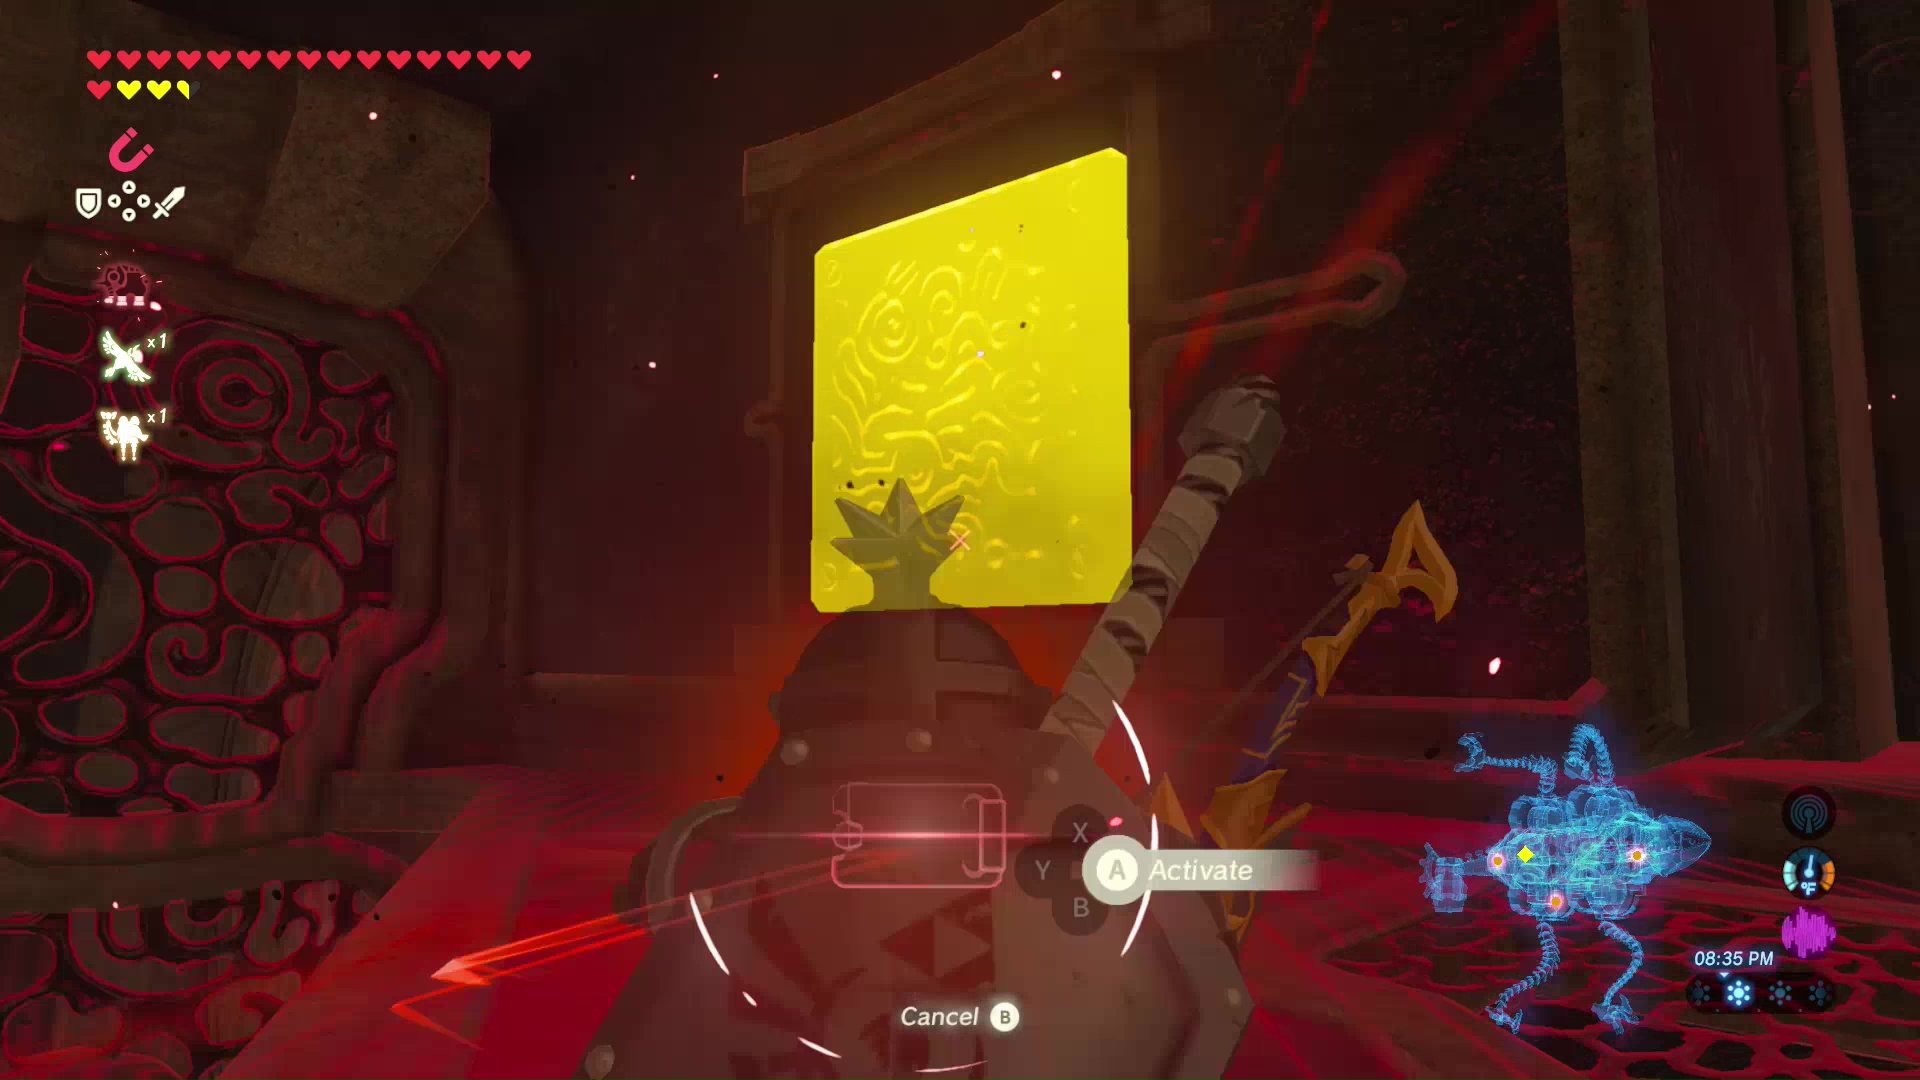
Hit the orange crystal to open the door to the next room. Enter the room and tilt the Divine Beast 90 degrees again. This will take you back to one of the first rooms.
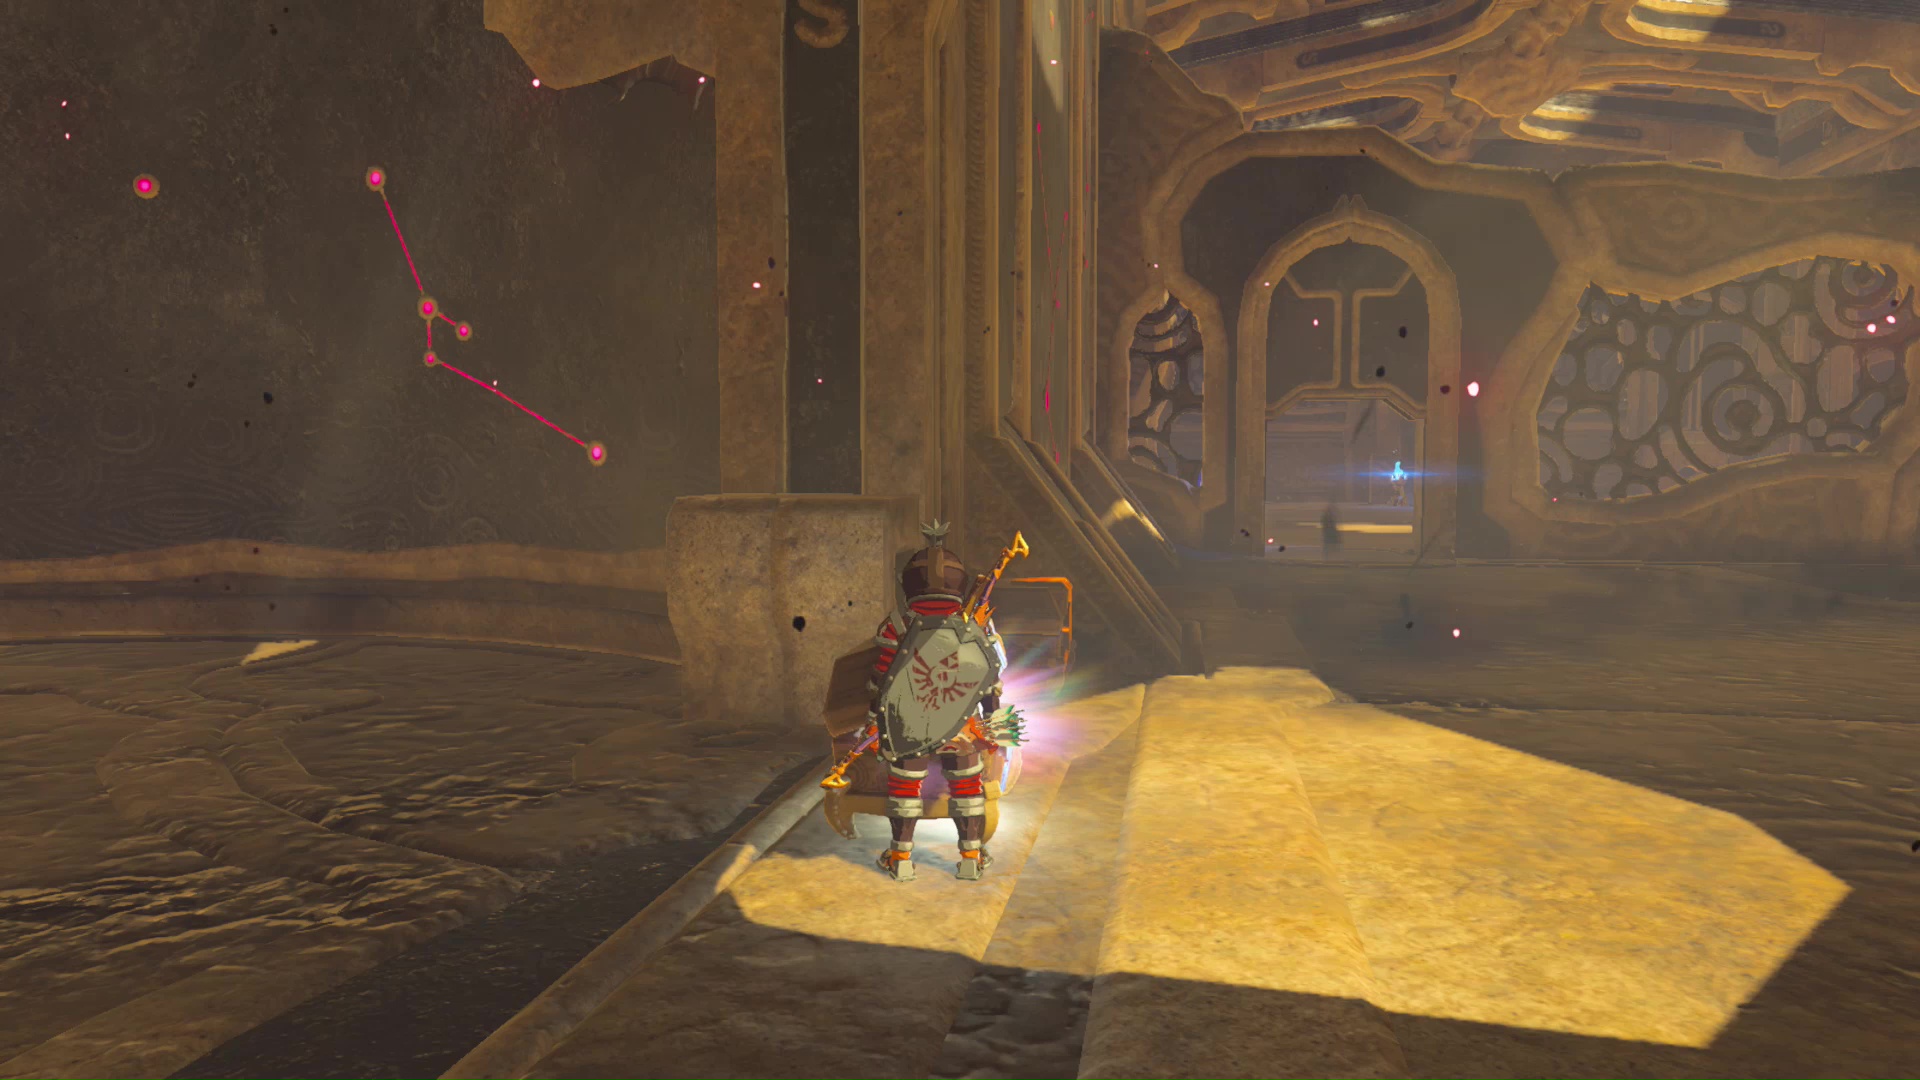
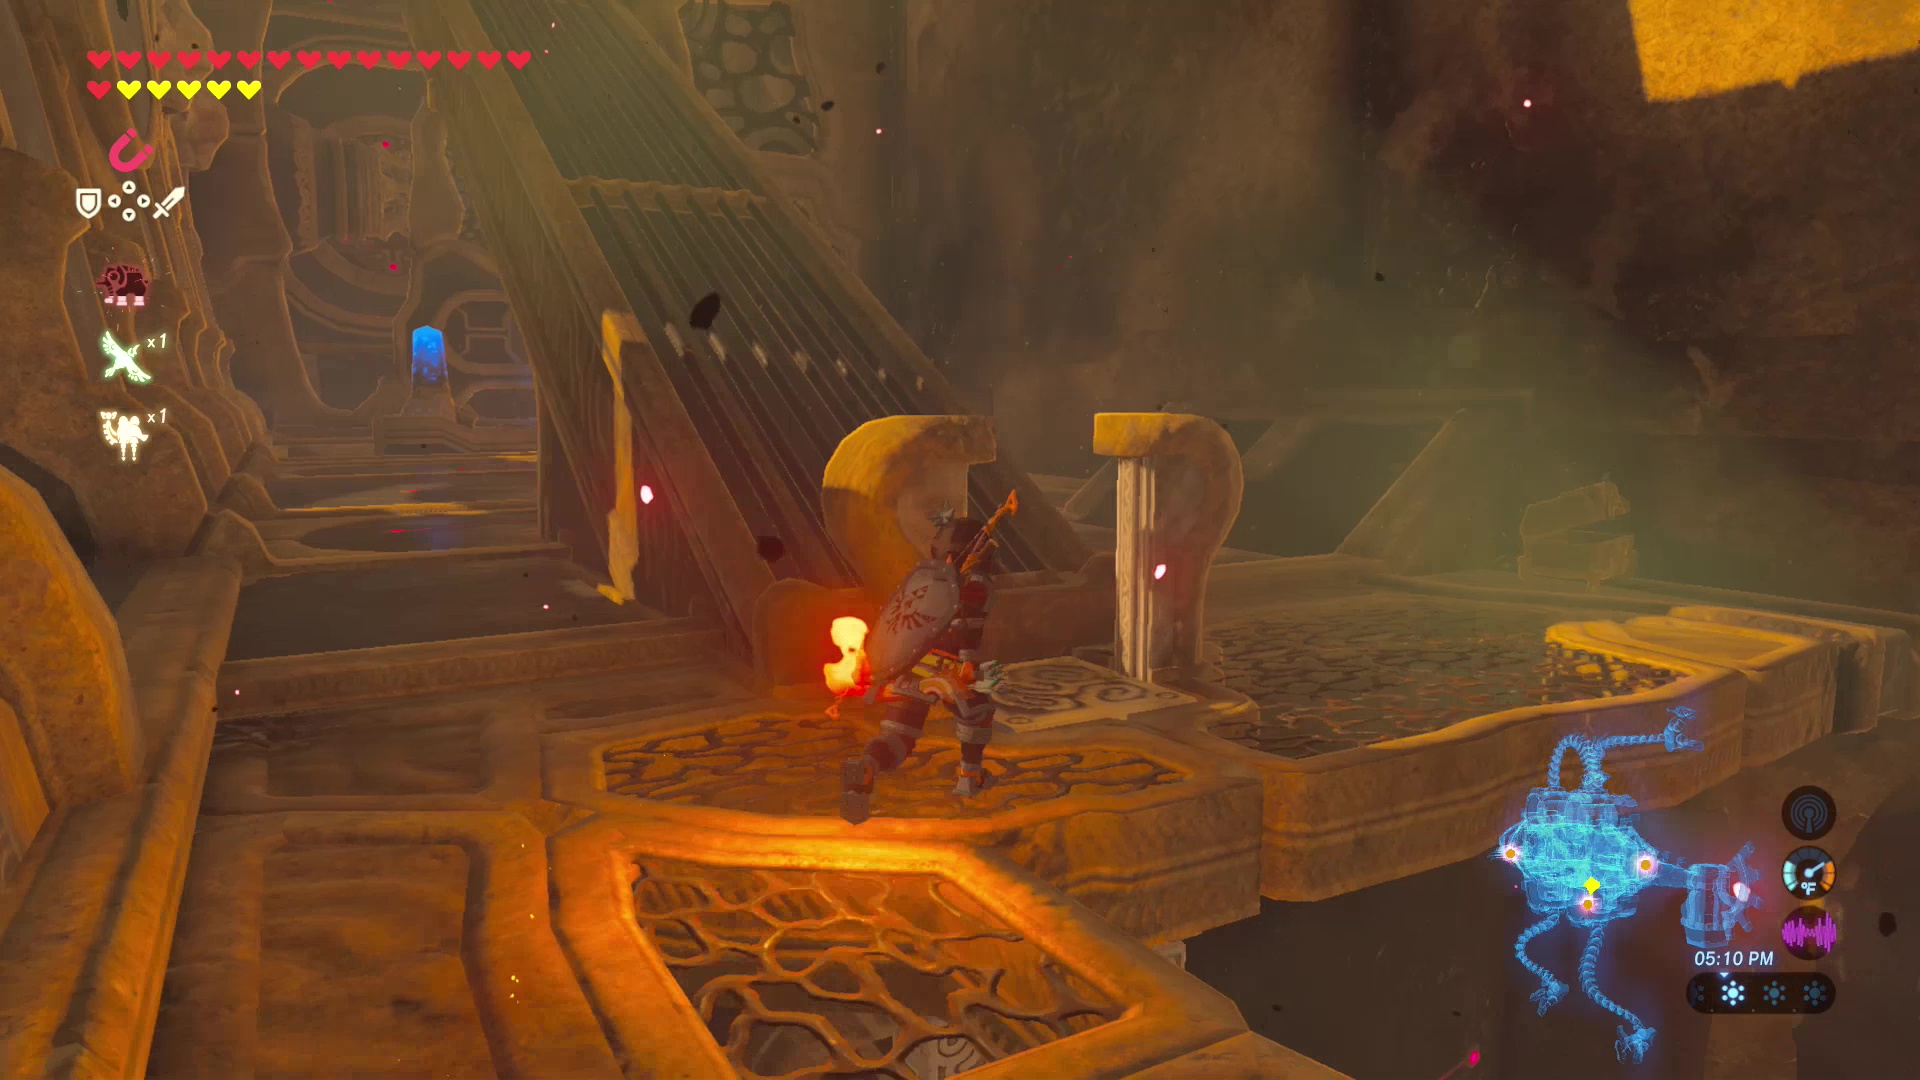
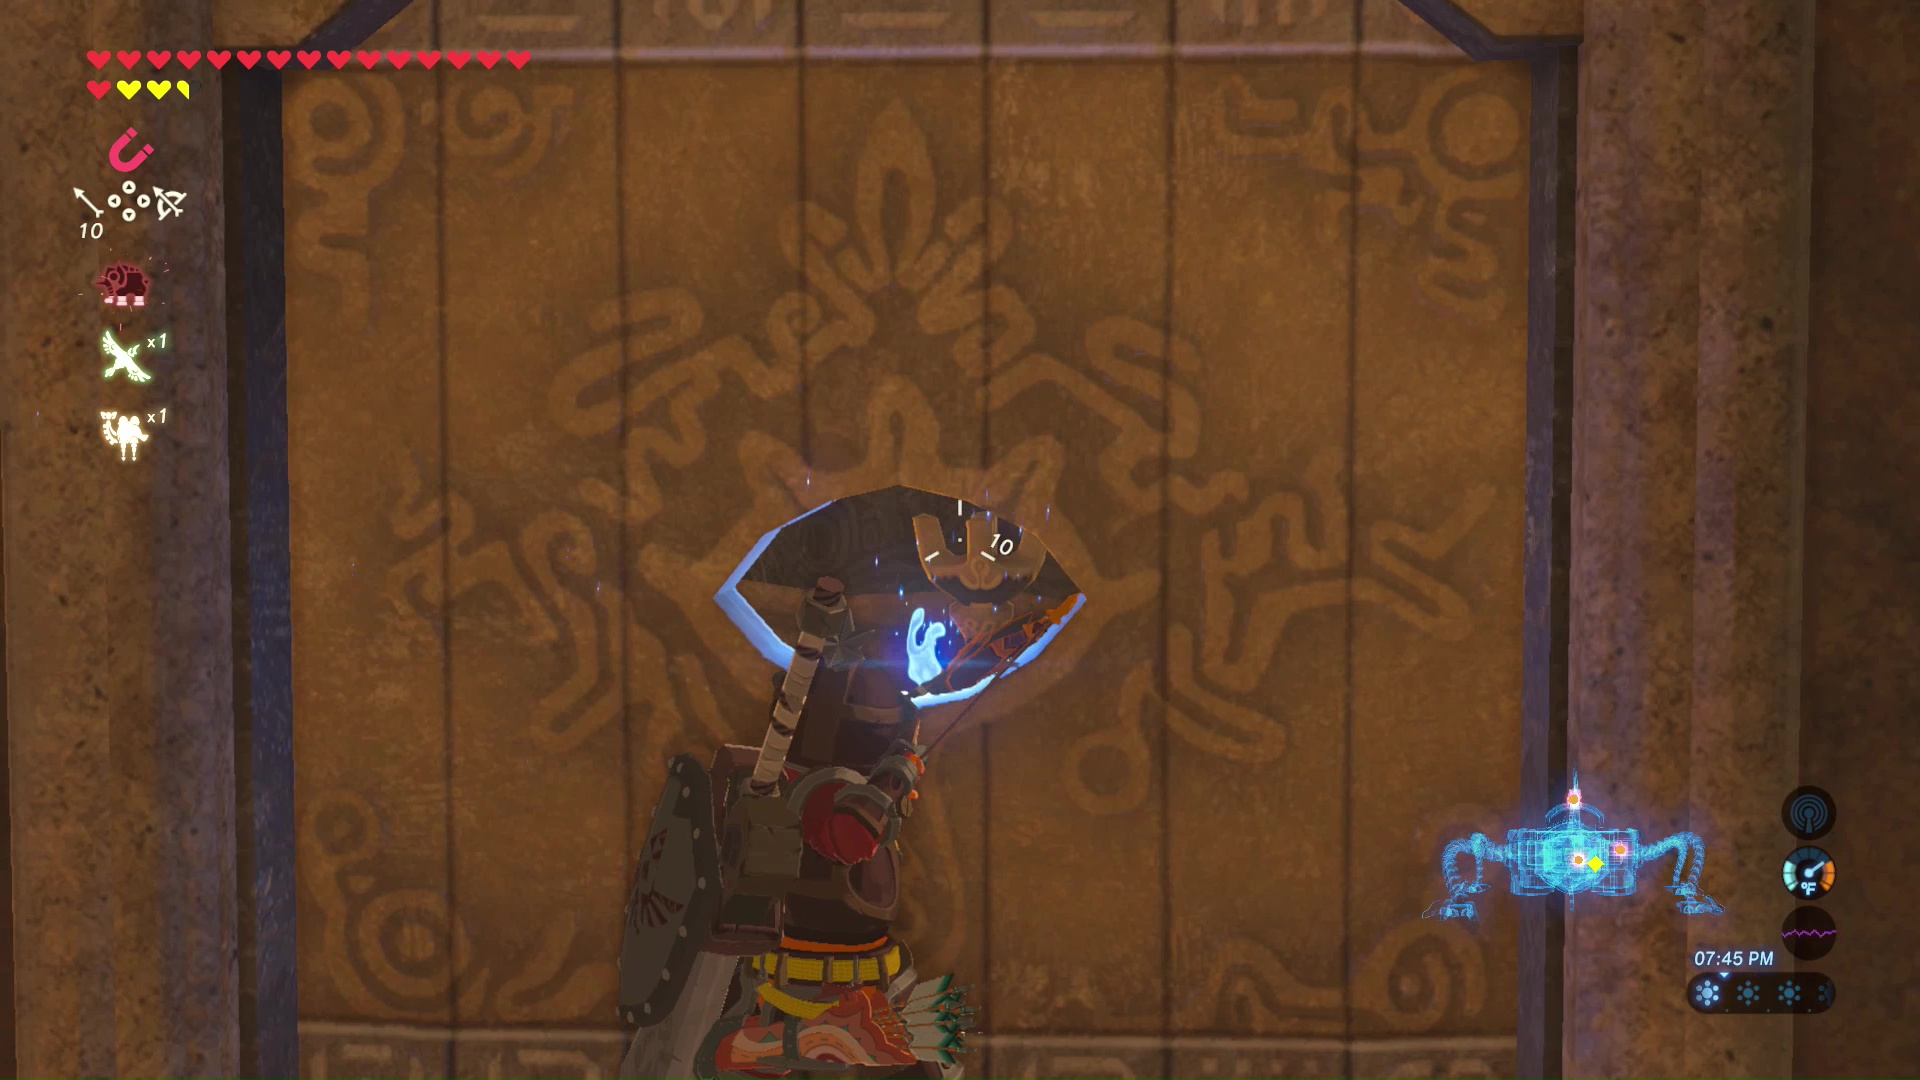
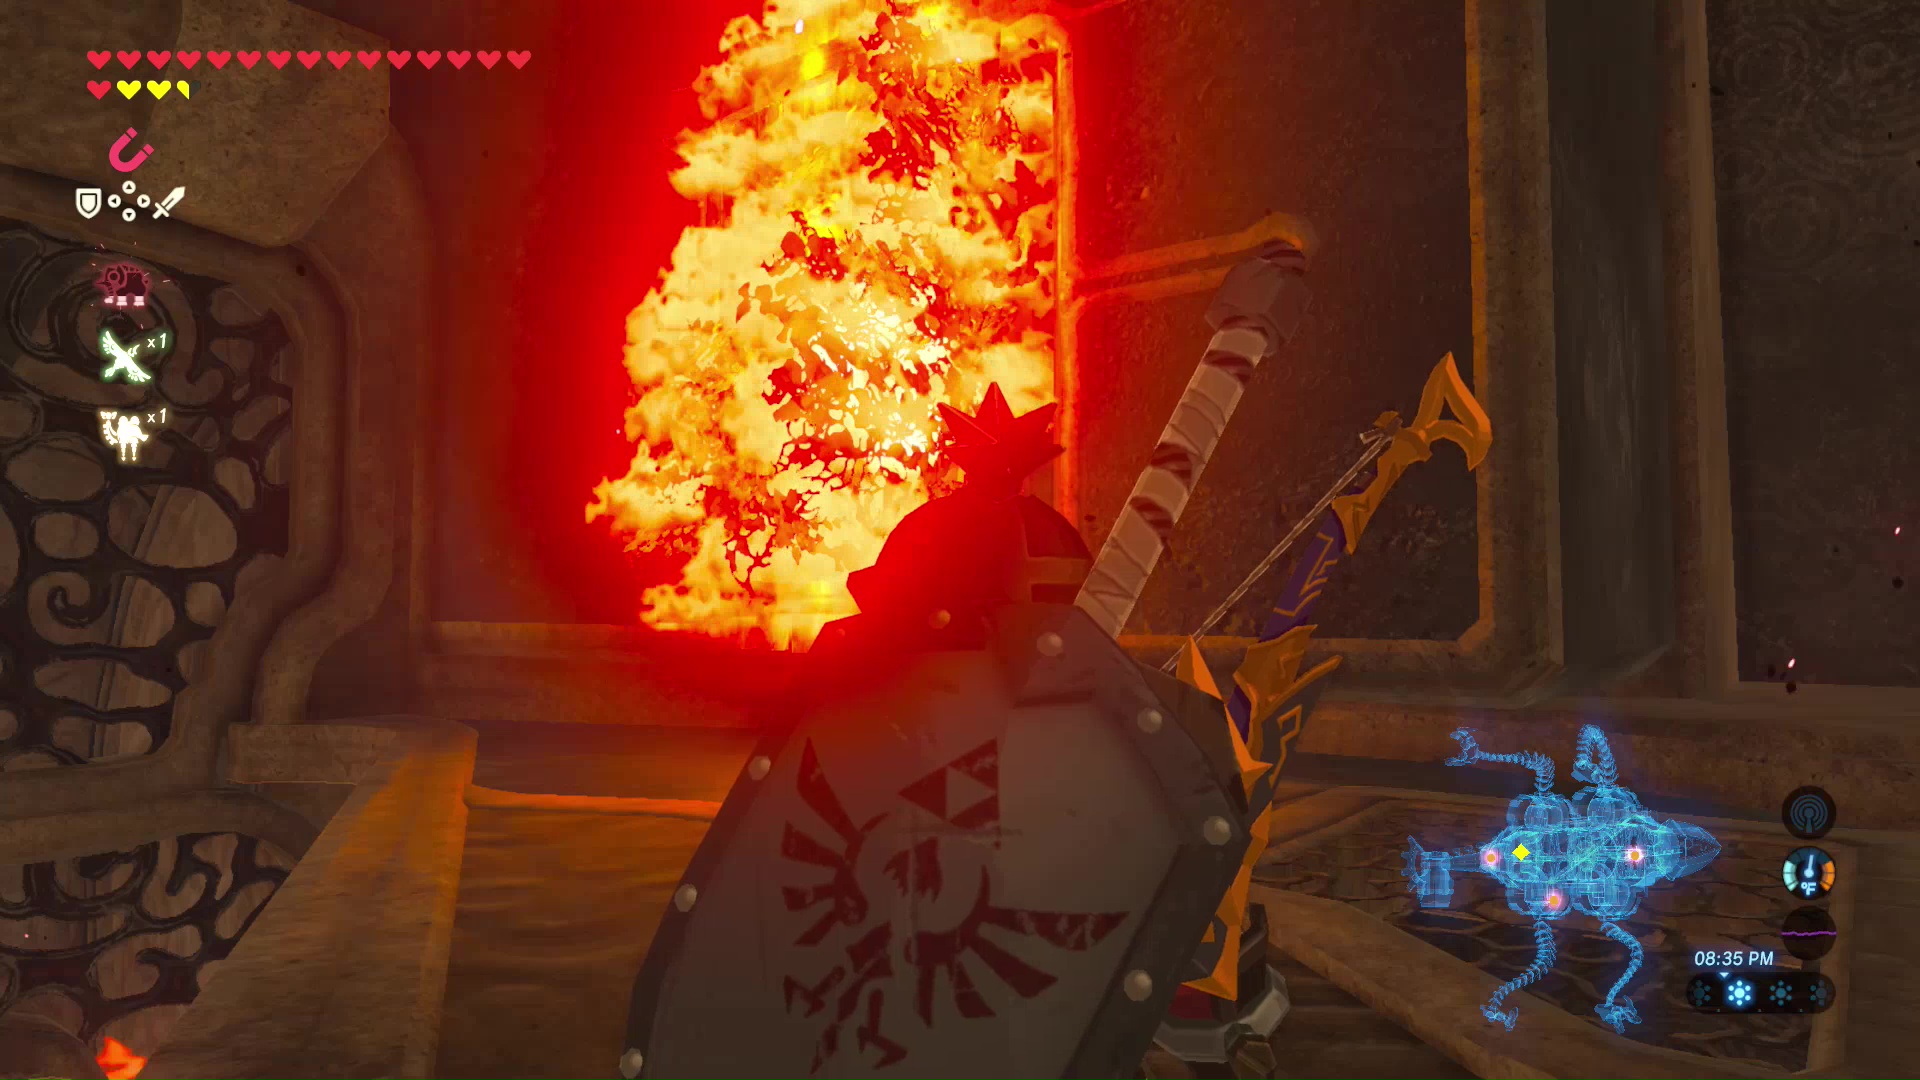
You should now be back at the entrance of the Divine Beast and back on the hunt for terminals. Switch to your bow and a regular arrow. Use the blue flame near the entrance to set the arrow on fire, then shoot it through the hole in the door to the side of the entrance to light a pedestal. This will open the door to the backside.
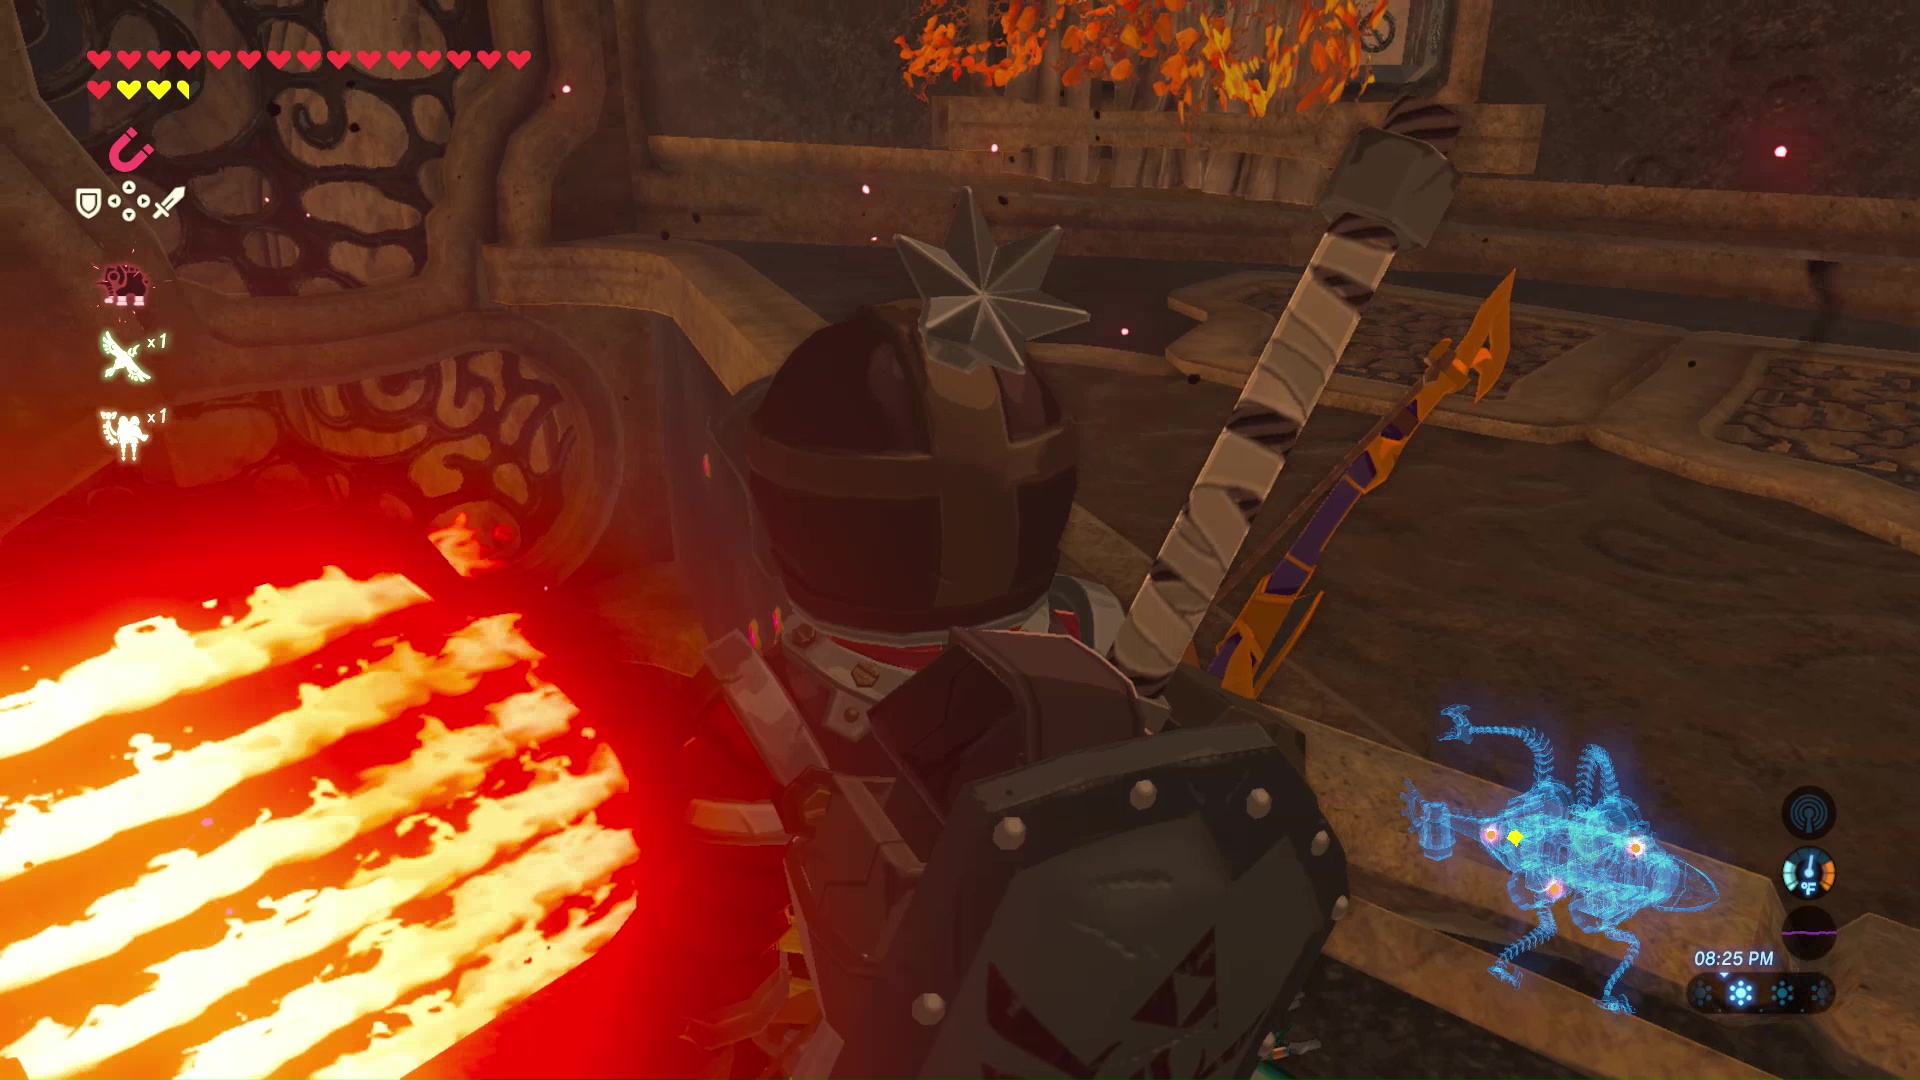
Inside the room is a terminal blocked off by a wall of flames. Walk over to corner of the room and tilt the Divine Beast 90 degrees again. Along the wall is a group of vines. Set them on fire with a fire arrow or a torch to reveal a large, metal block. Use your Stasis Rune to carry this block to the wall of flames. This will allow you to access the third terminal. You will need to tilt the Divine Beast 90 degrees once on the other side of the wall of flames to access the terminal.

Terminal 4 Spine
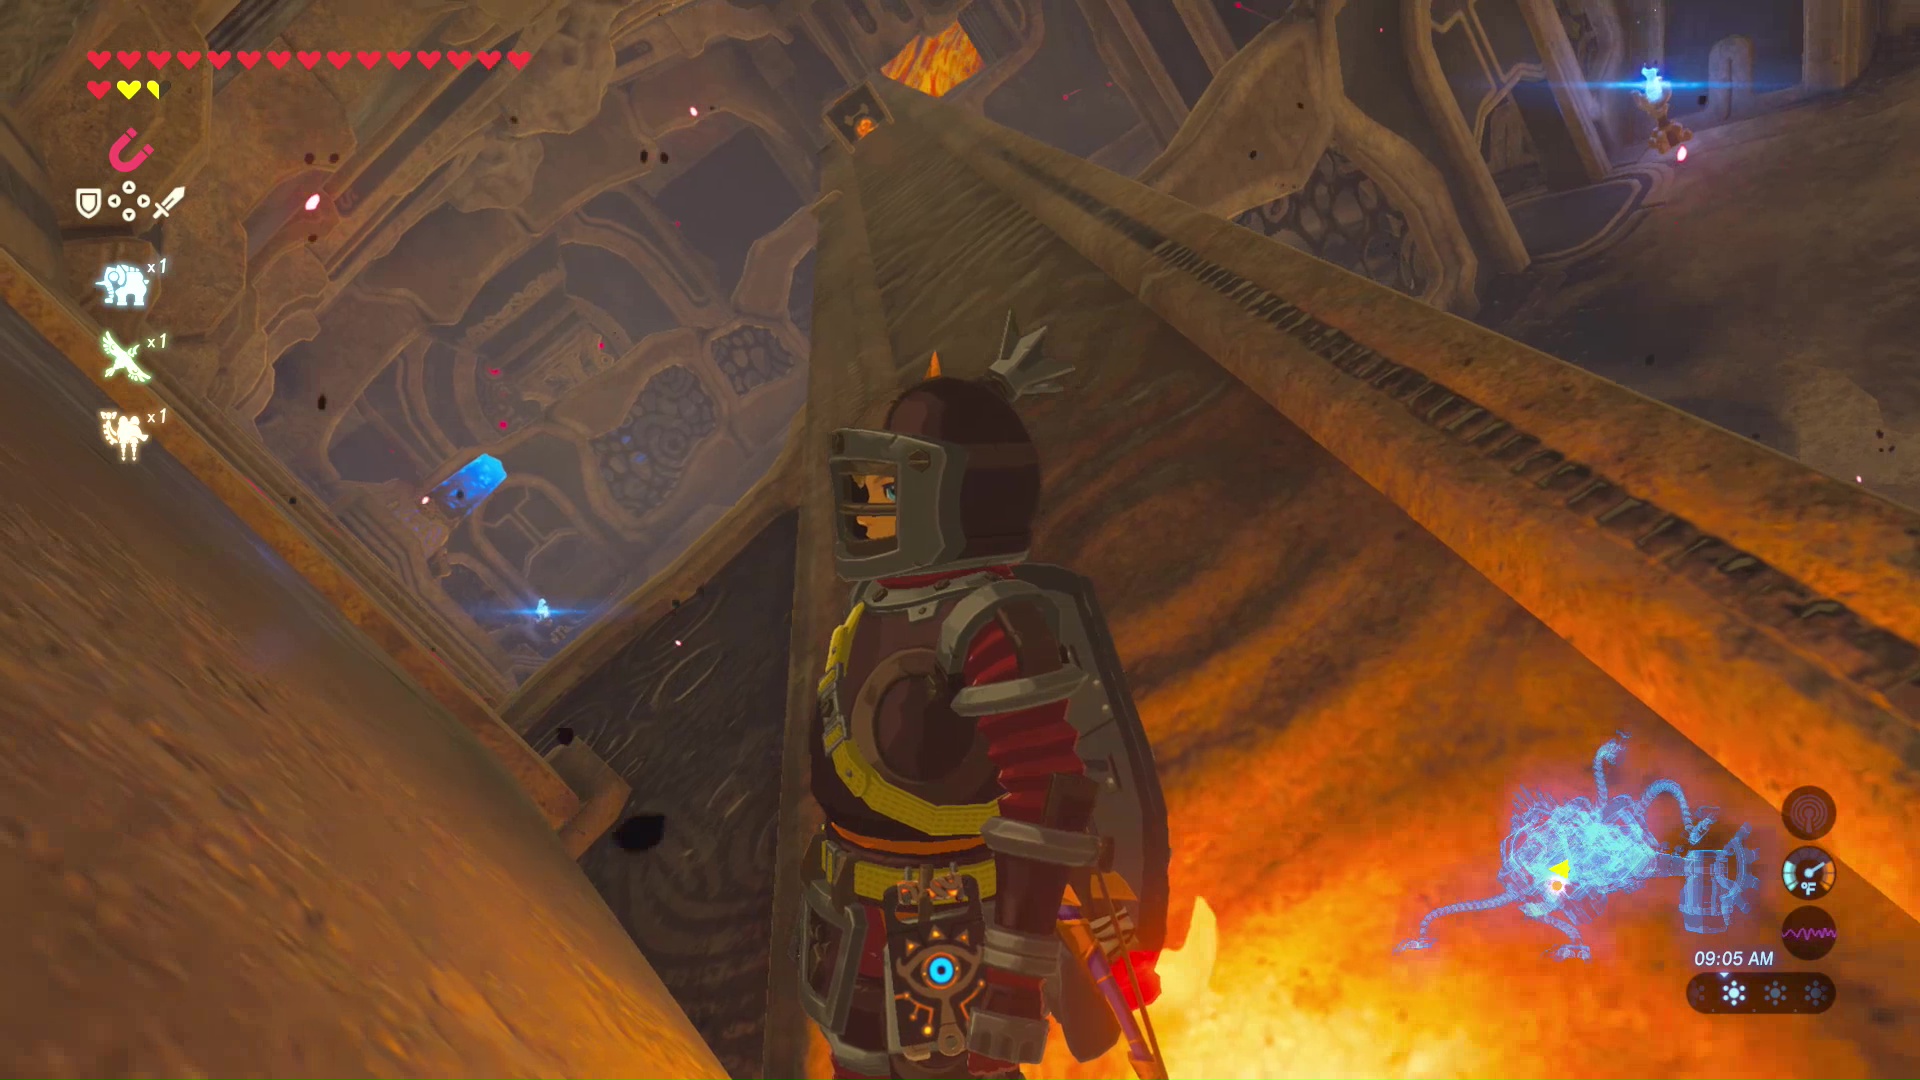
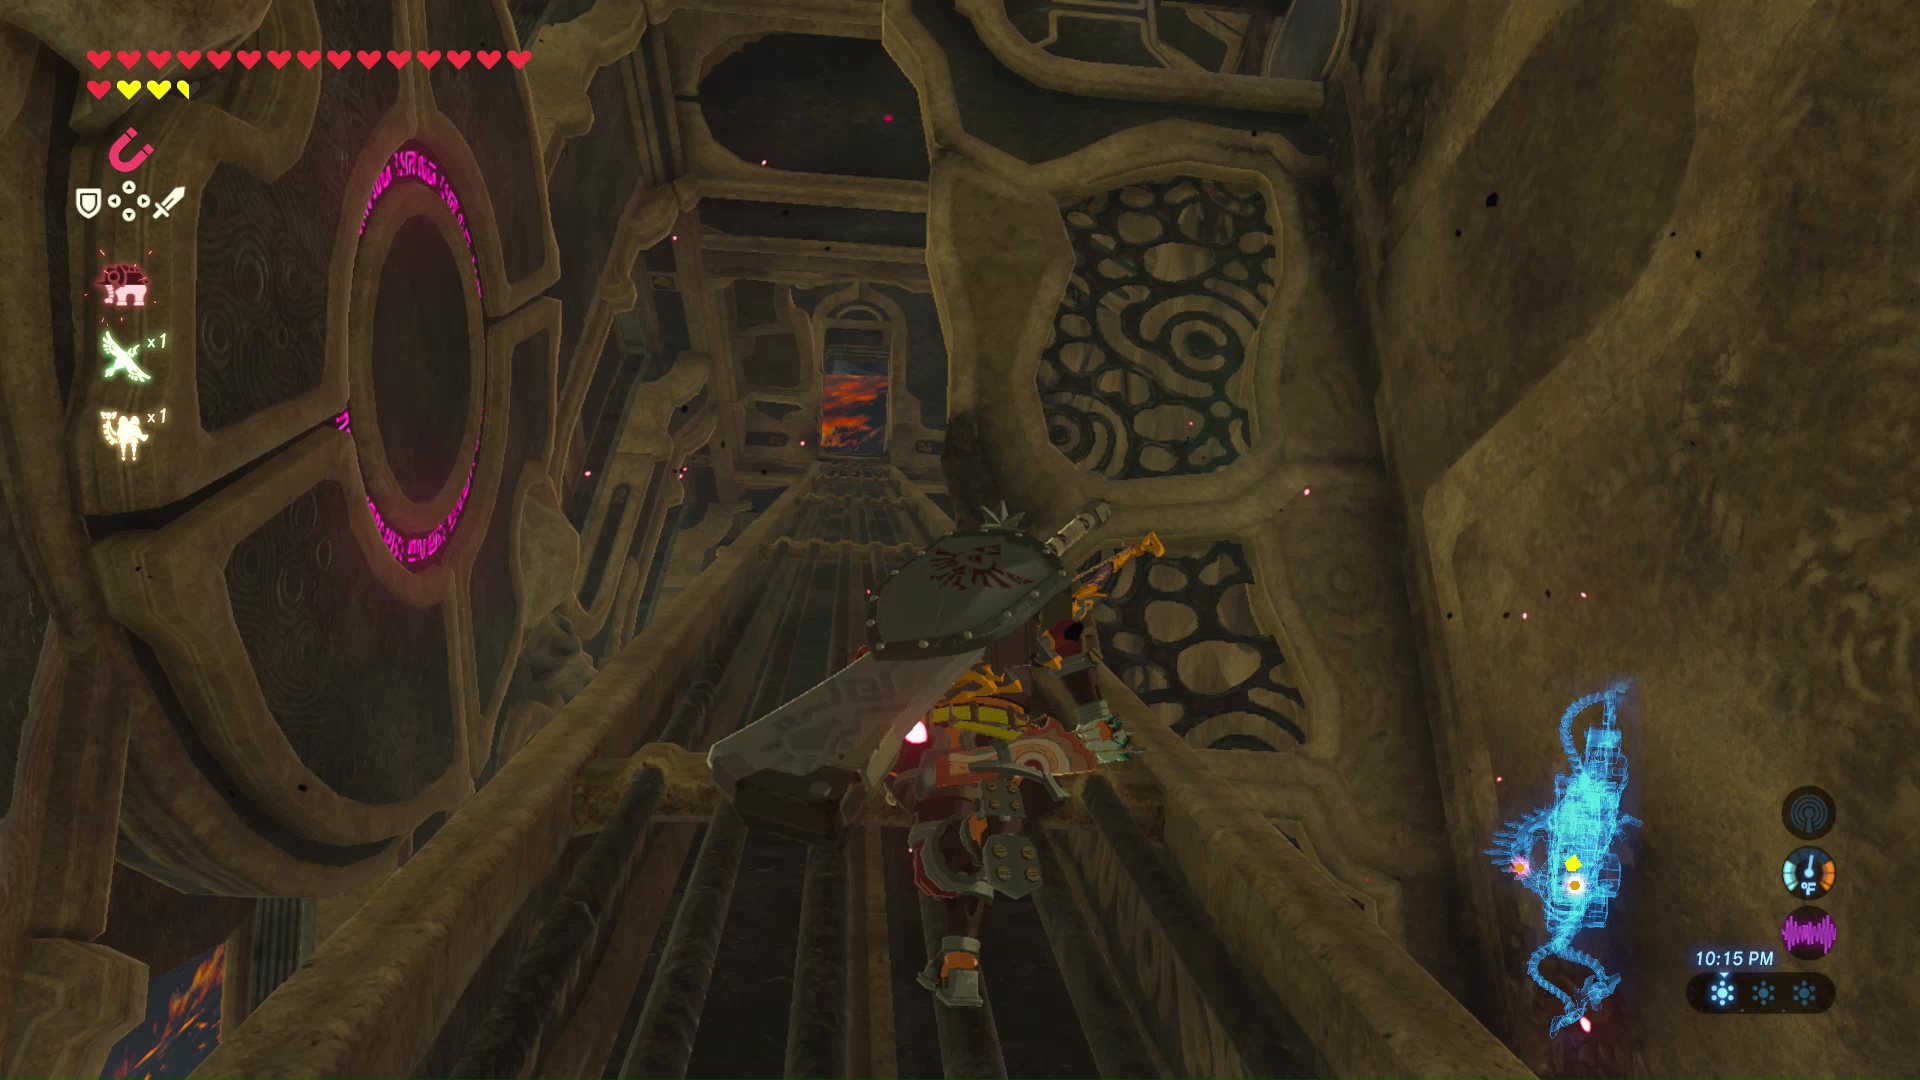
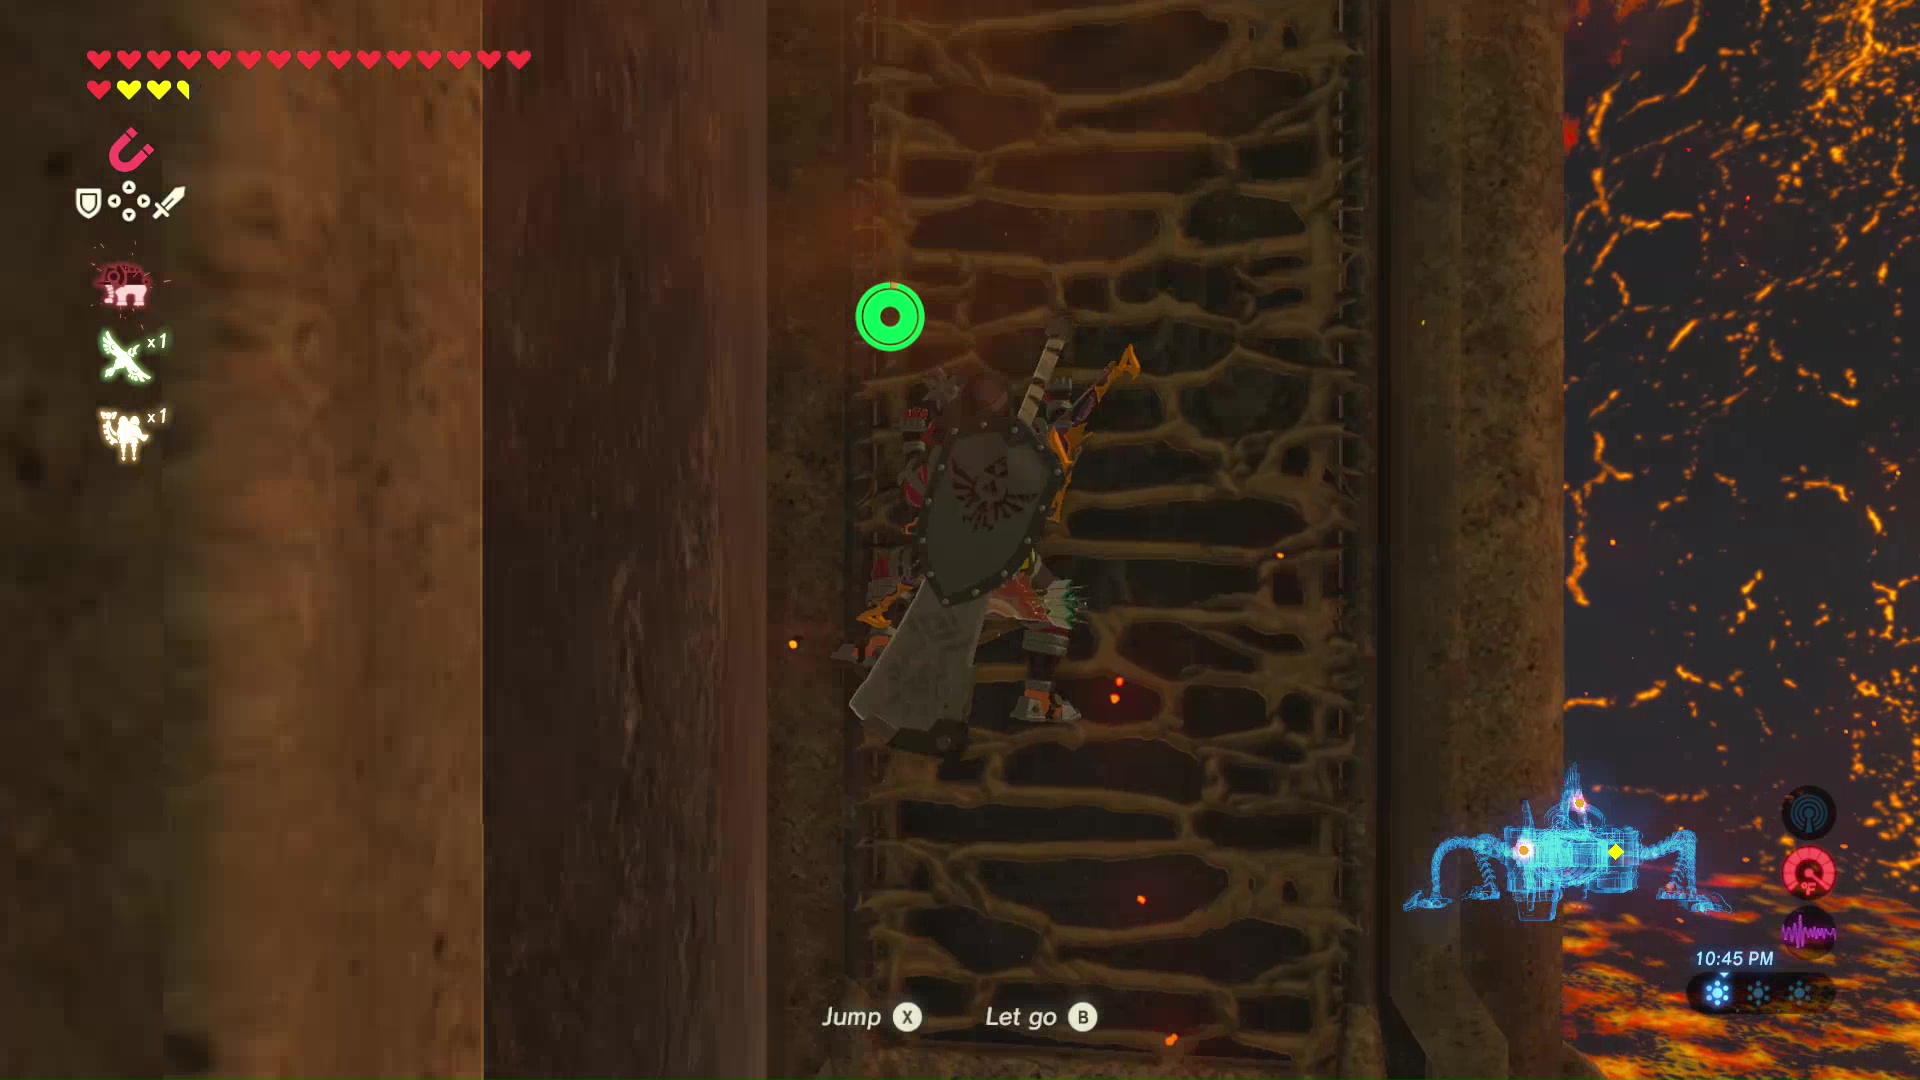
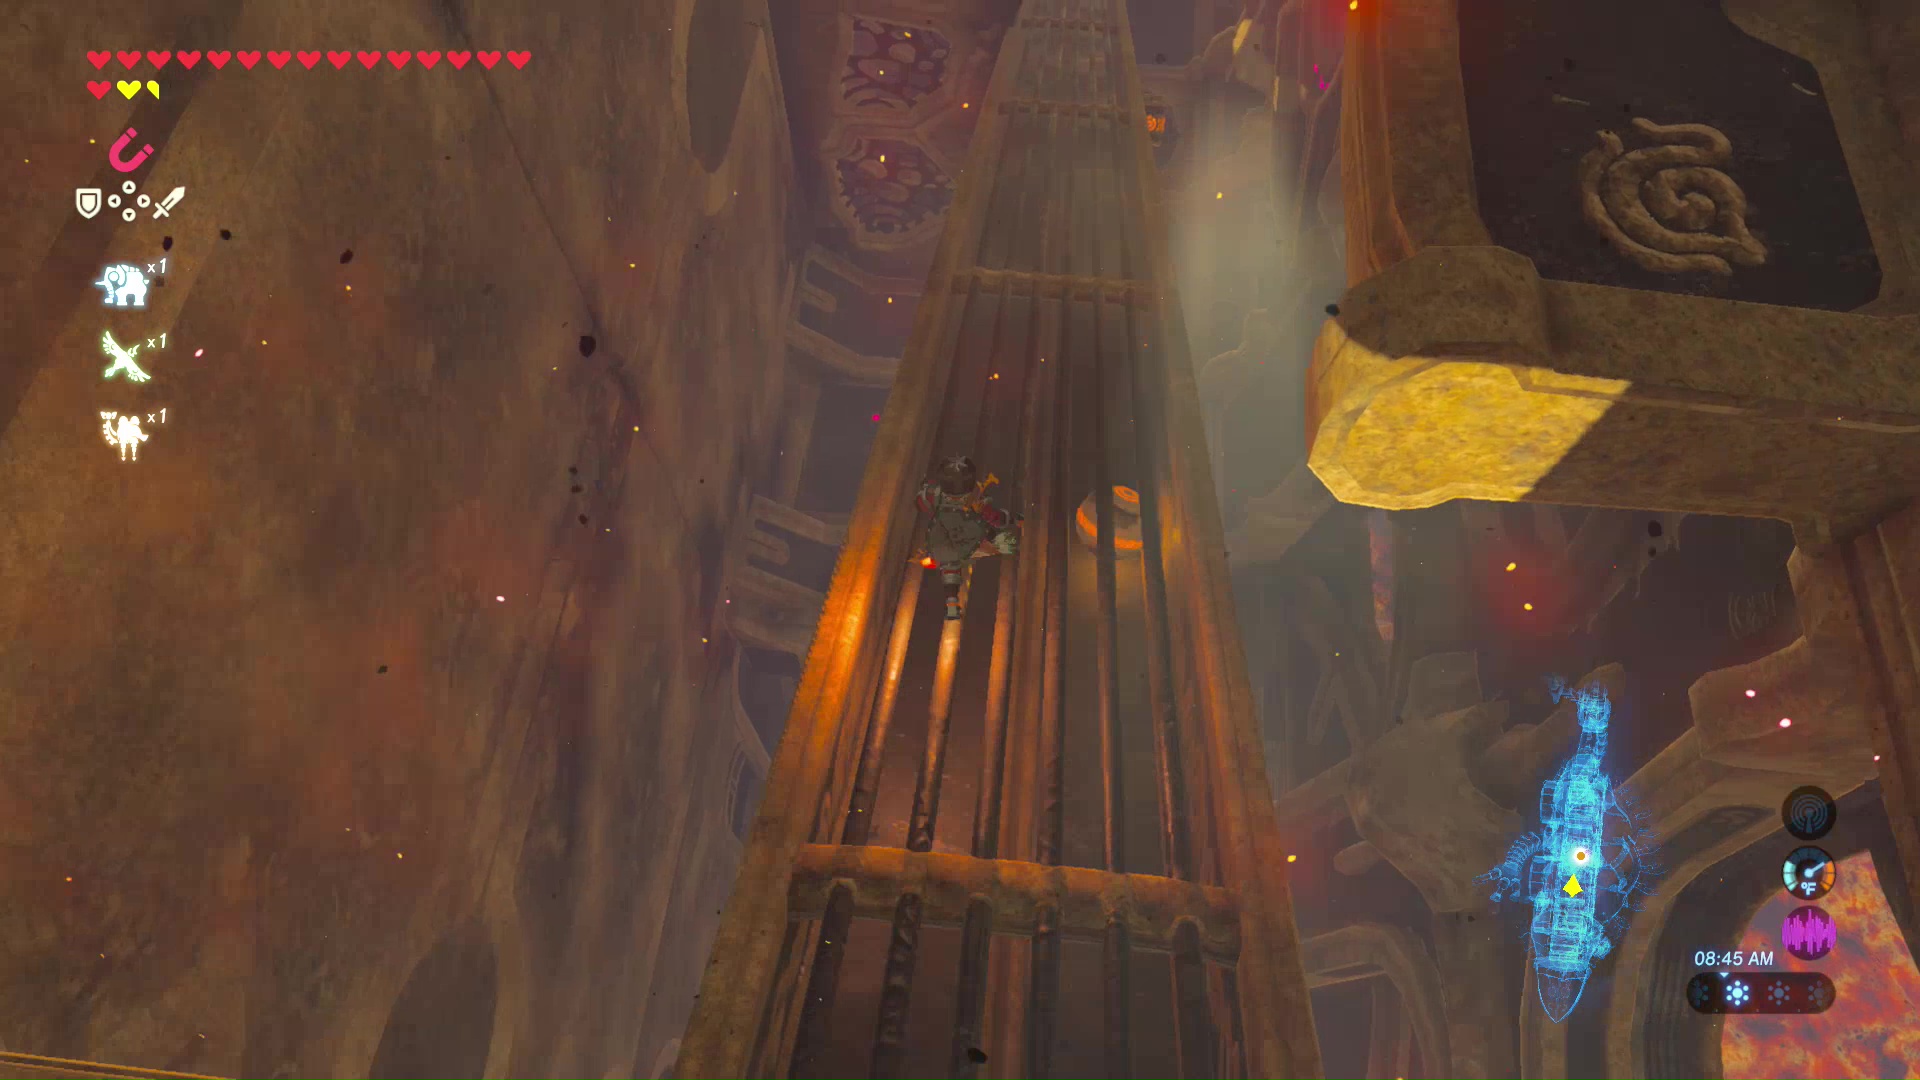
Return to the previous room and tilt the Divine Beast 90 degrees so it is on its side. Walk up the ramp and tilt the Divine Beast 90 degrees again so it is right-side up. Climb up the side of the wall that looks like a ladder to reach the very top of the Divine Beast.
Before doing anything, you can grab an Ancient Screw from a treasure chest at the very back of the Divine Beast.
The next terminal is on the spine, but it is being covered by calamity monsters. Look for a calamity eyeball on the spine of the Divine Beast. Shoot the eyeball to clear the path, then tilt the Divine Beast 90 degrees so you can walk along the spine.
Jump onto the outer spine and look for a calamity eyeball on the underside. This can be shot with your bown and arrow before going on. Return to the main part of the spine and grab the treasure chest further down the spine containing an Ancient Core.
Tilt the Divine Beast 90 degrees again to walk on the very top of the spine. This will allow you to interact with the terminal near the head of the Divine Beast.
Terminal 5 Ball Puzzle
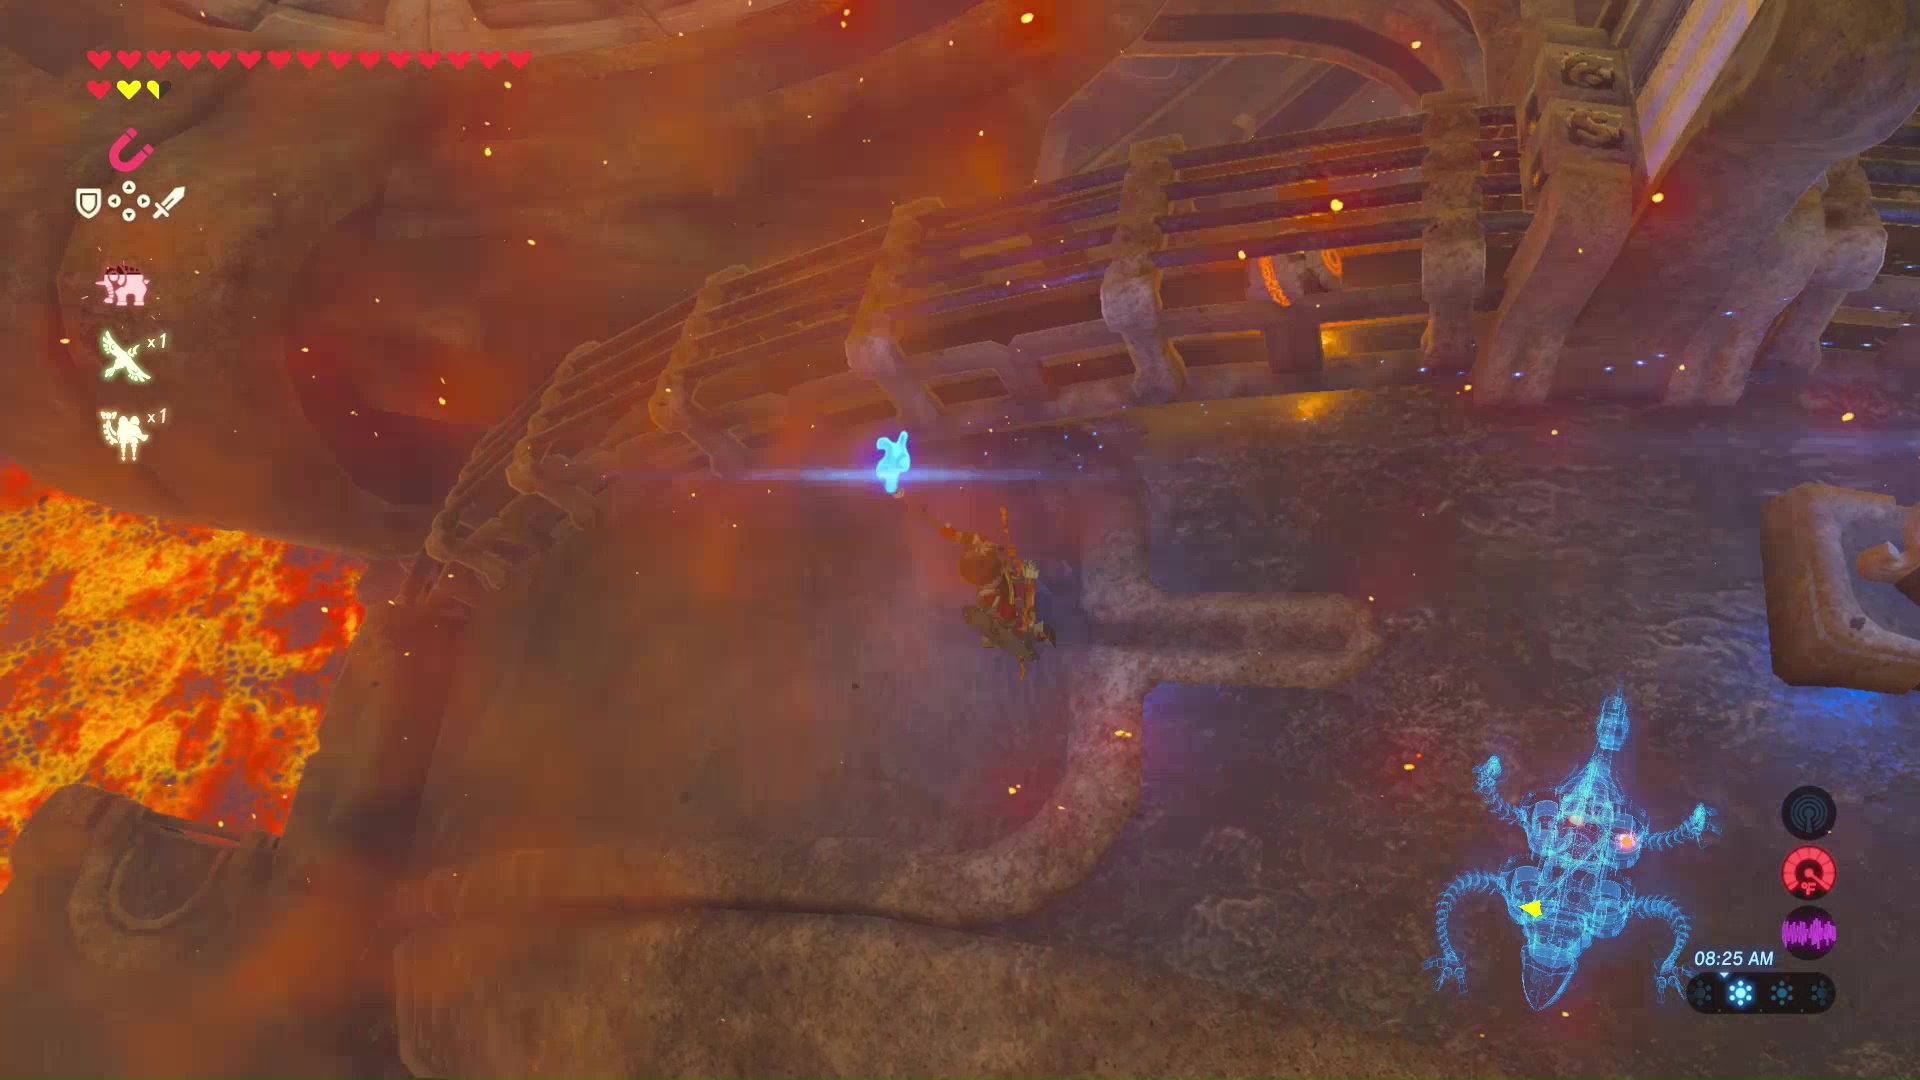
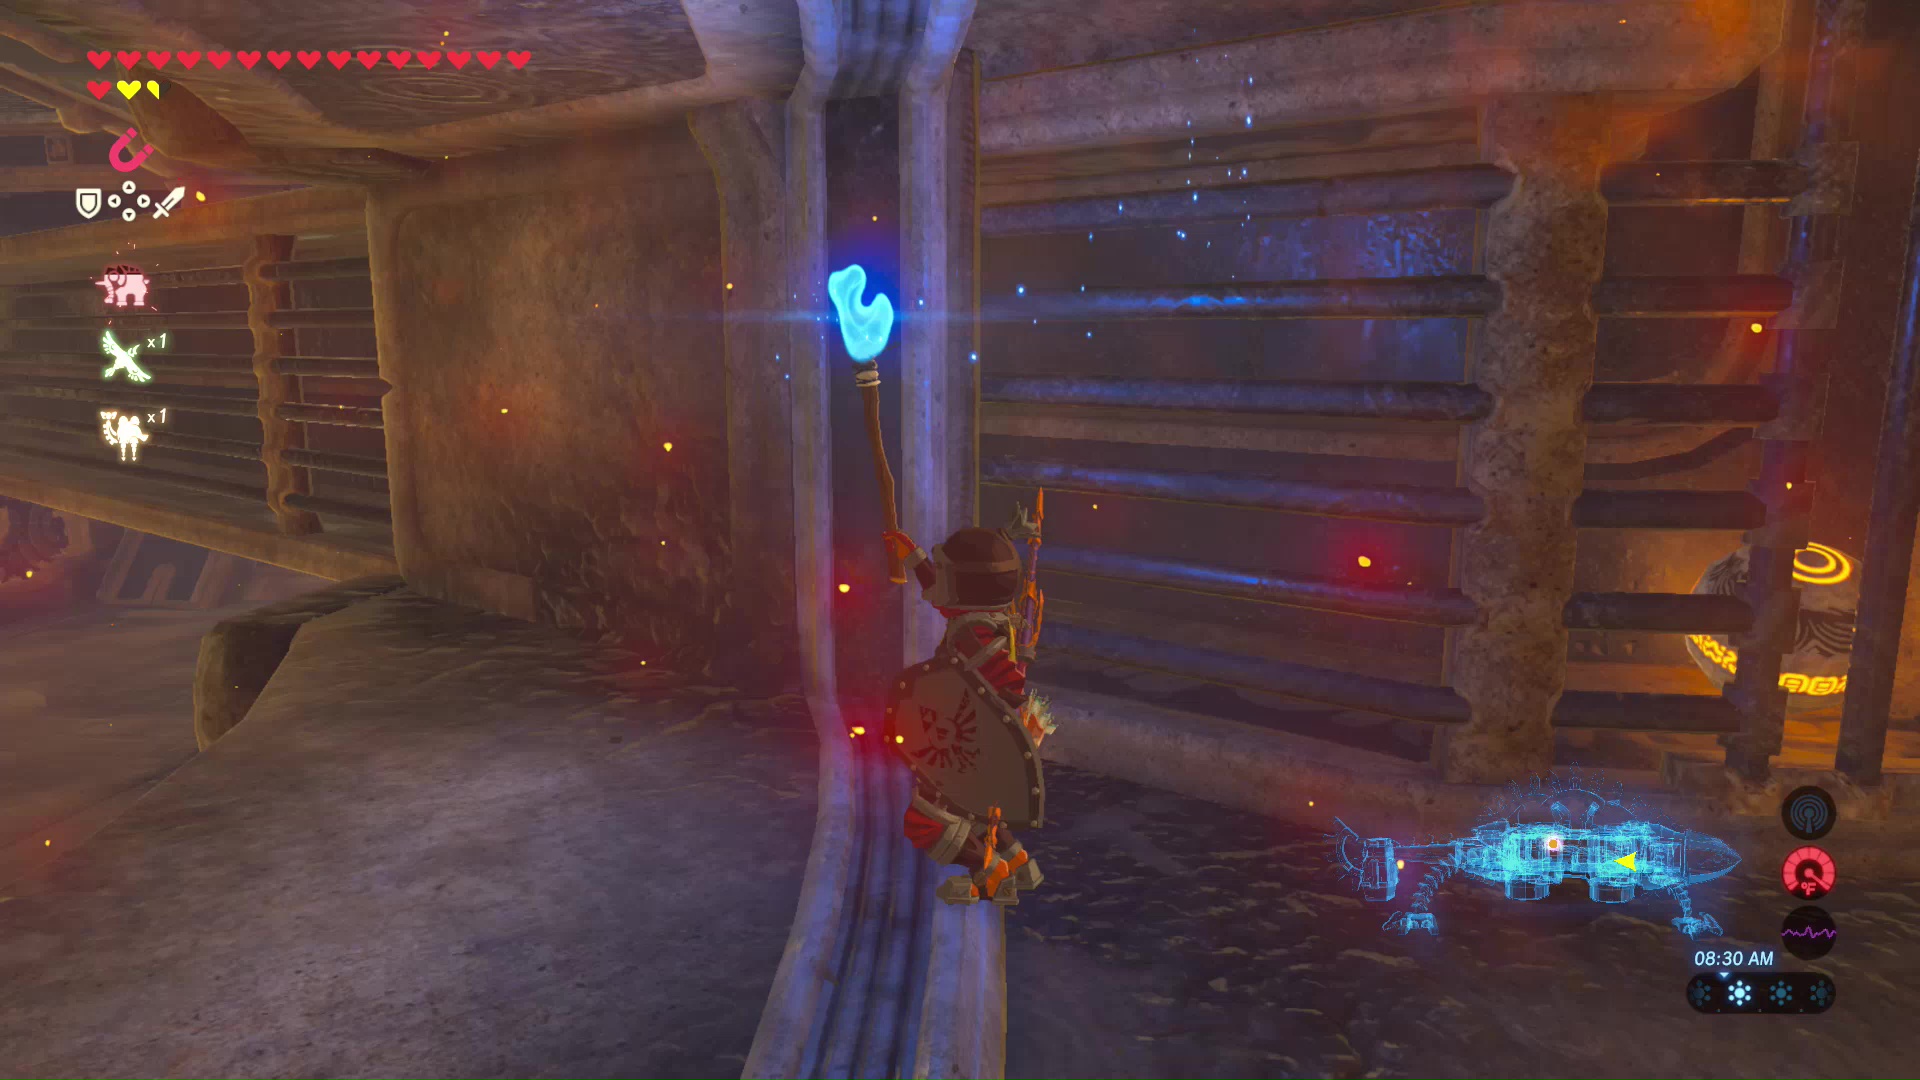
Near the head of the Divine Beast is another pedestal where the blue flame can be placed. You must grab the blue flame from the entrance and carry it here without climbing or gliding. Simply tilt the Divine Beast several times from the entrance, walk up the ramp, and reach the pedestal at the top of the Divine Beast.
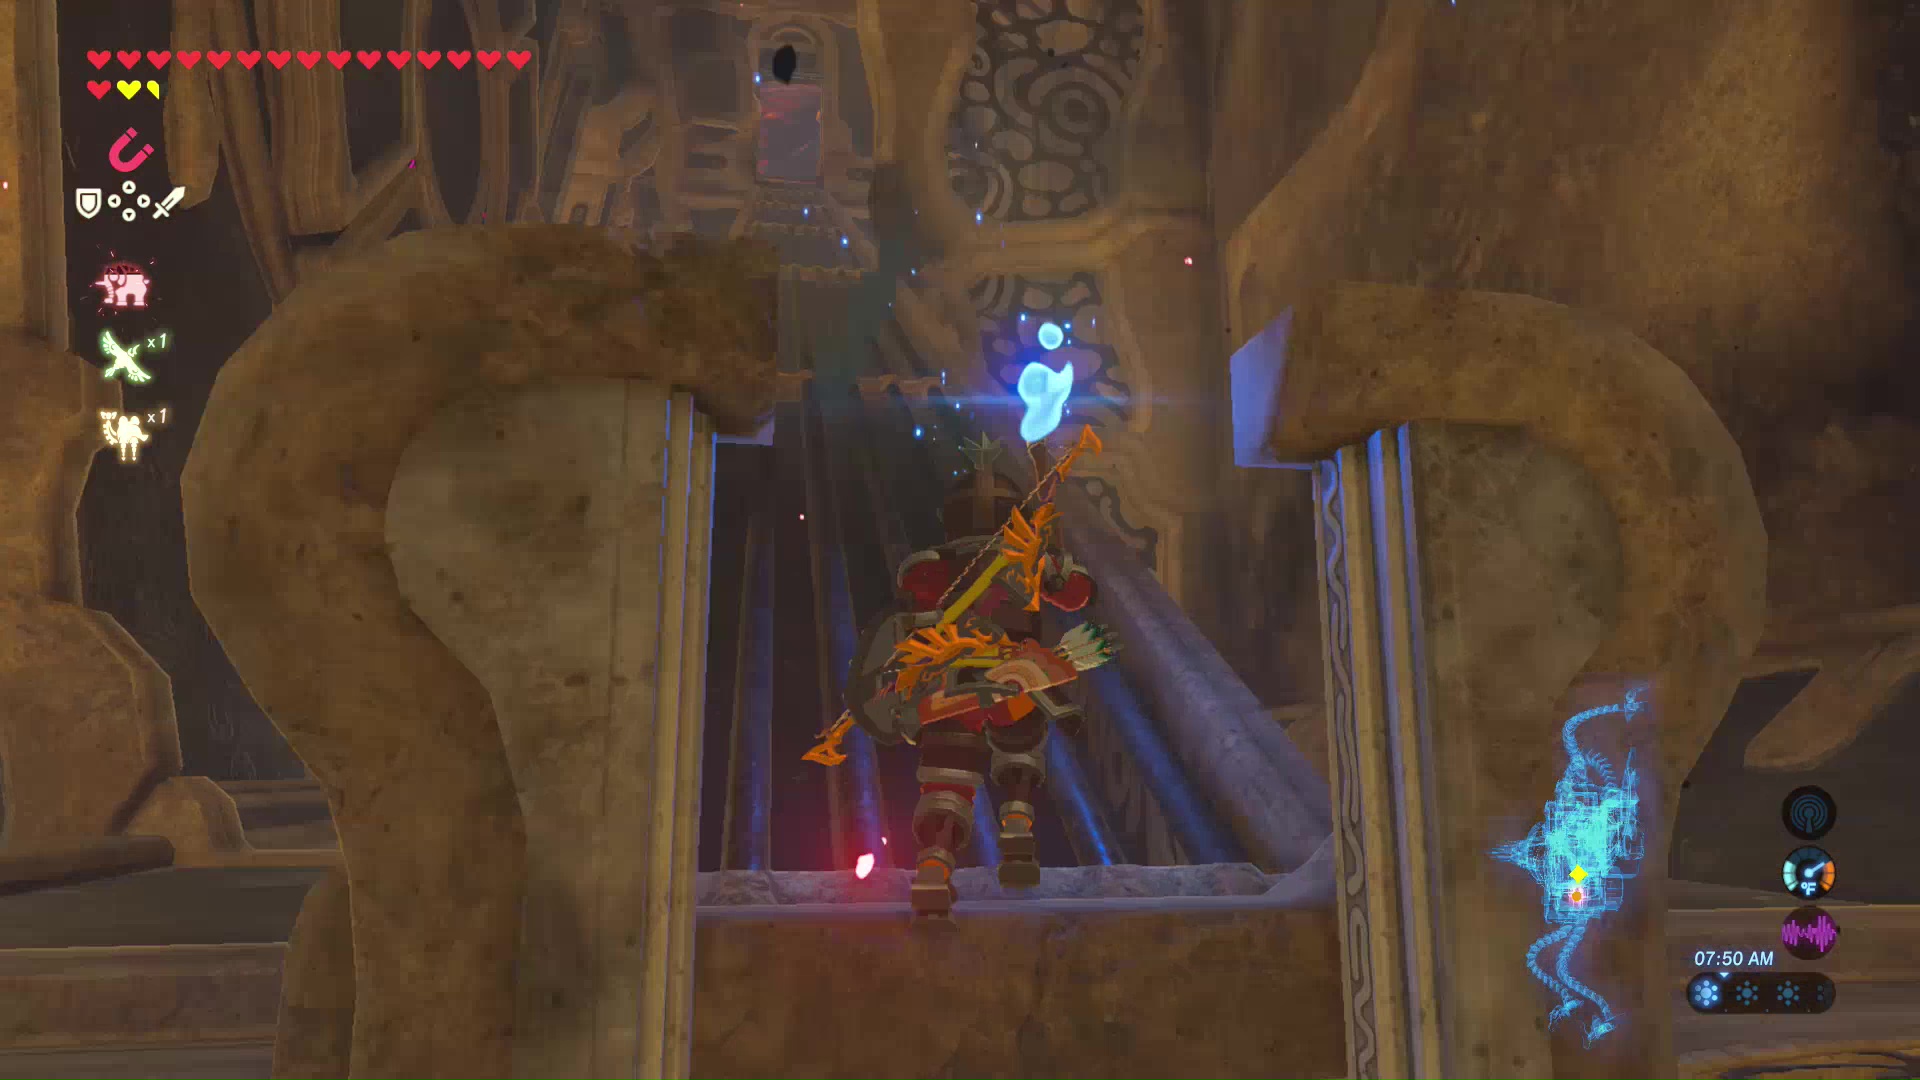
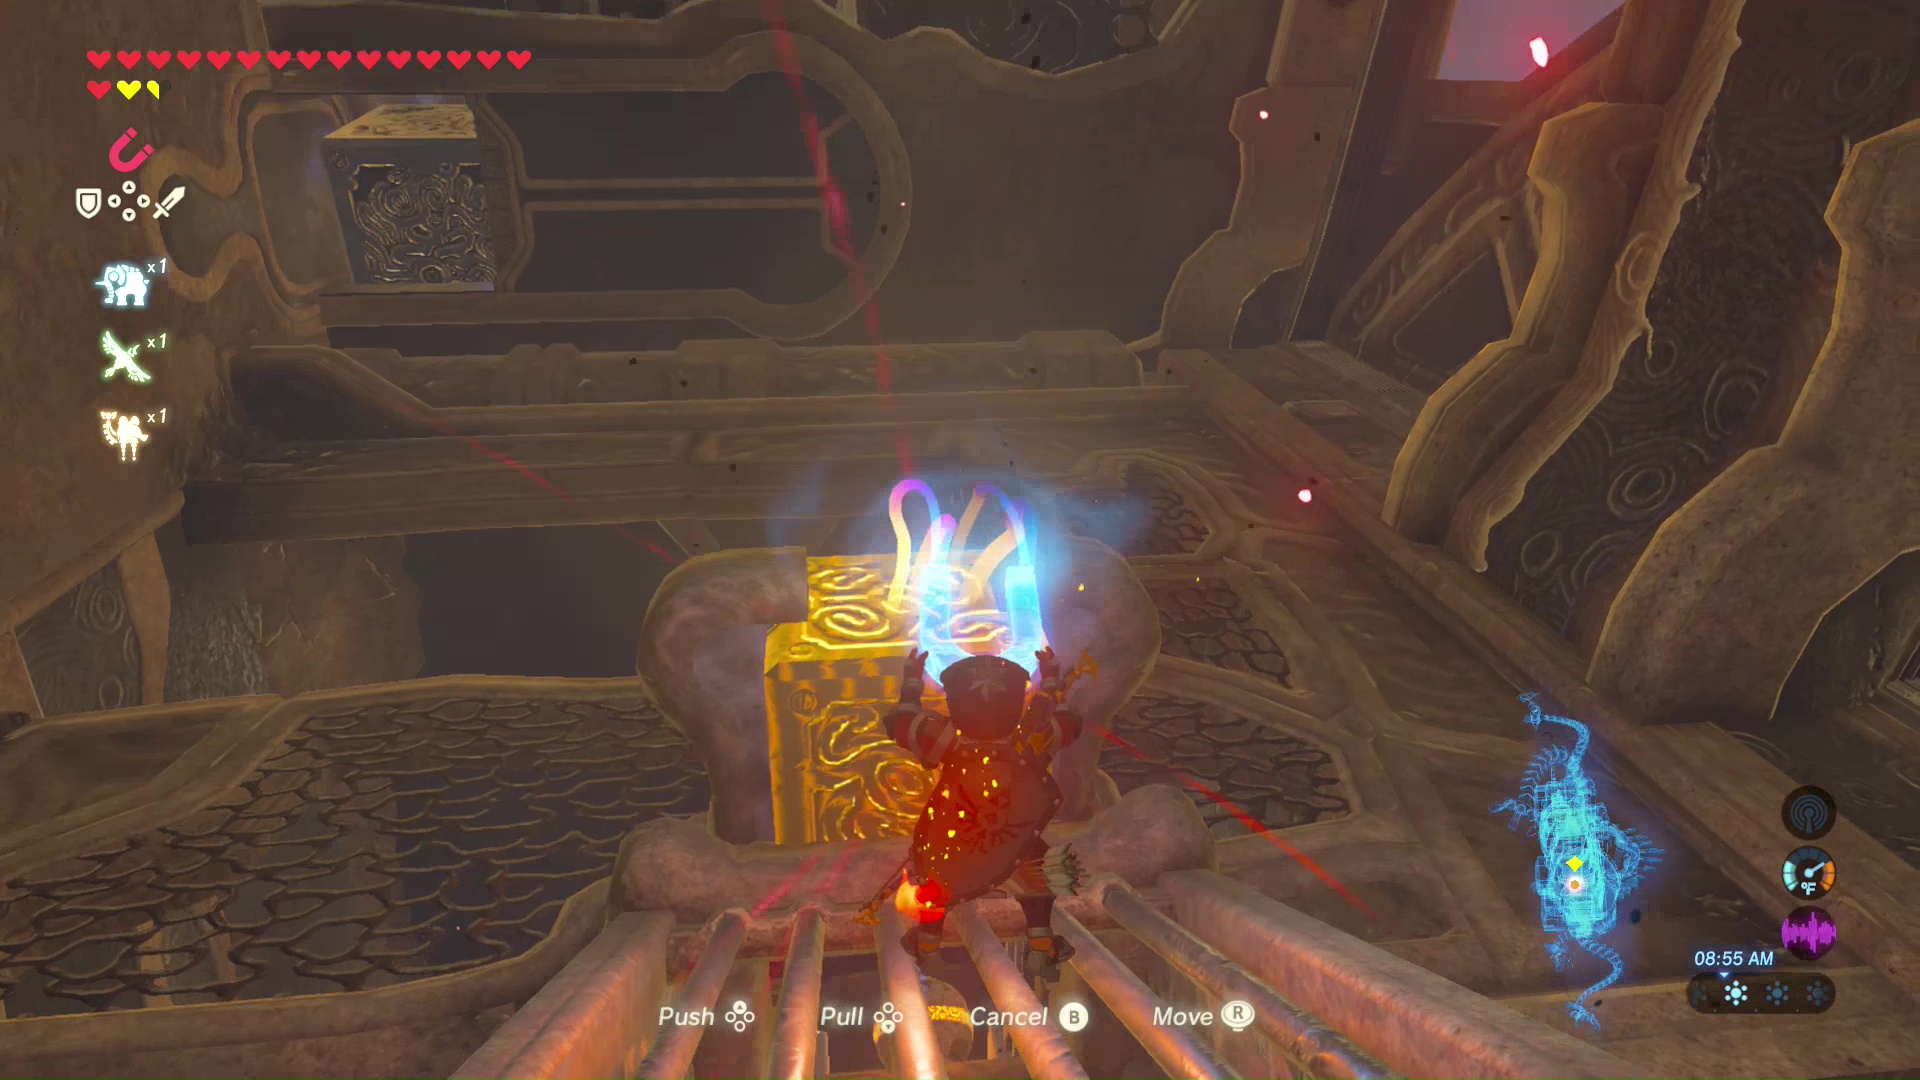
Lighting the pedestal will open a gate and release a ball. Tilt the Divine Beast to allow the ball to roll out of its home and down the ramp.

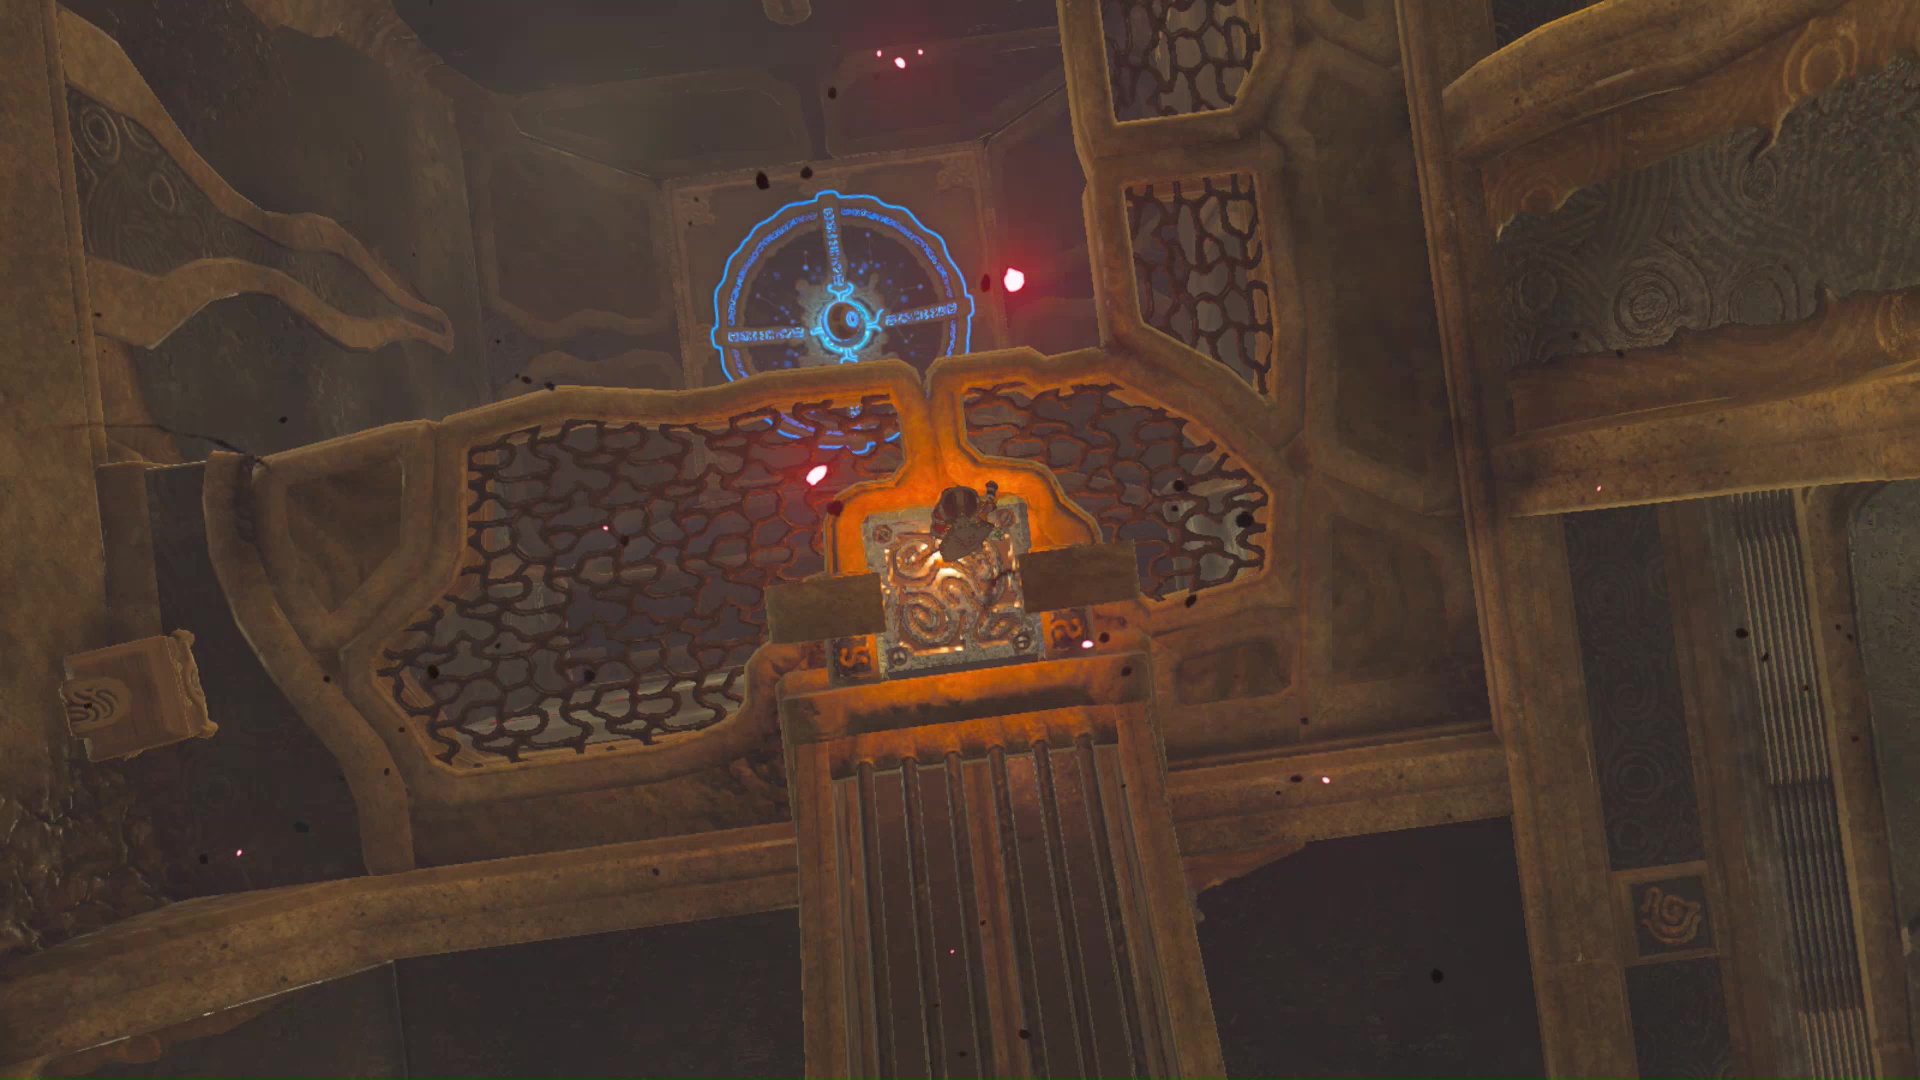
At the bottom of the ramp is a steel door. Use your Magnesis Rune to lift this door and drop the ball into the room below. This will open the gate to the final terminal. Glide down and interact with the terminal.
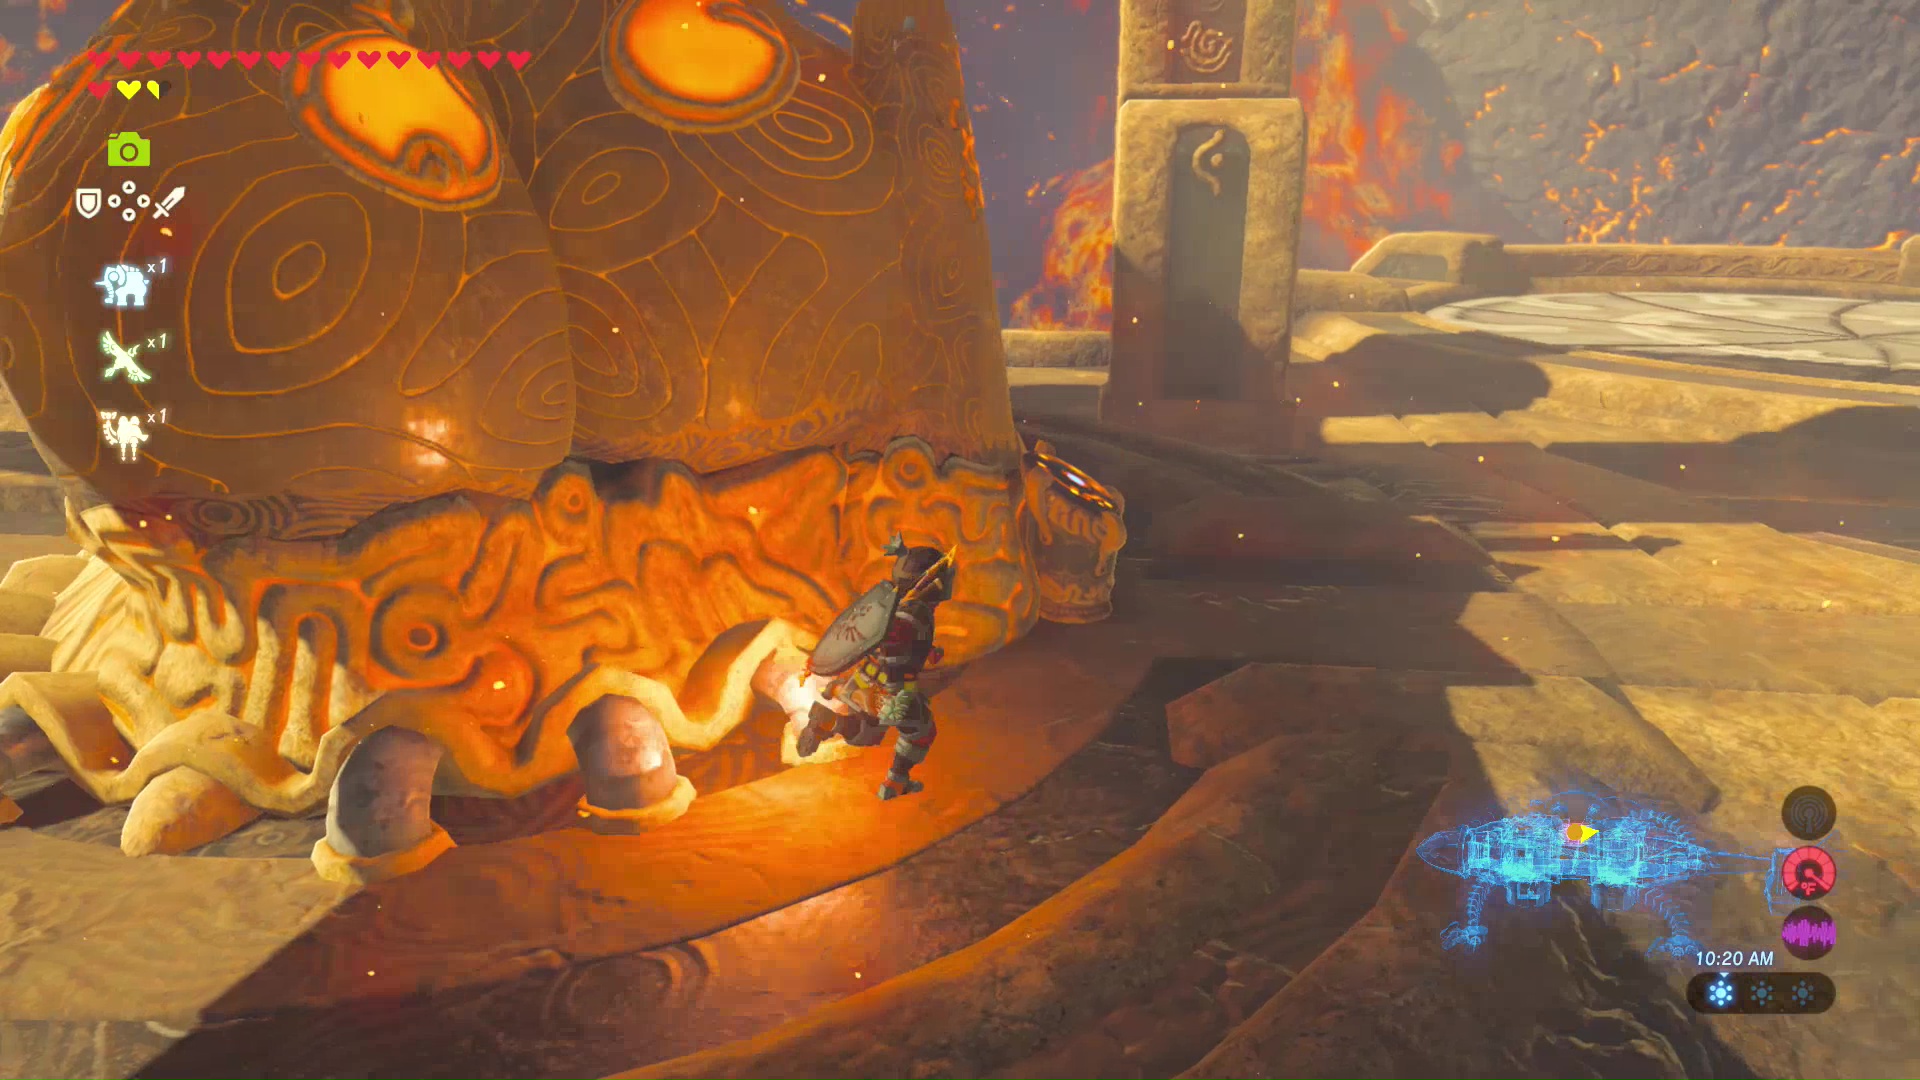
The final thing to do is activate the main control unit at the top of the Divine Beast. This will start a boss battle, so make sure your weapons and armor are in order.
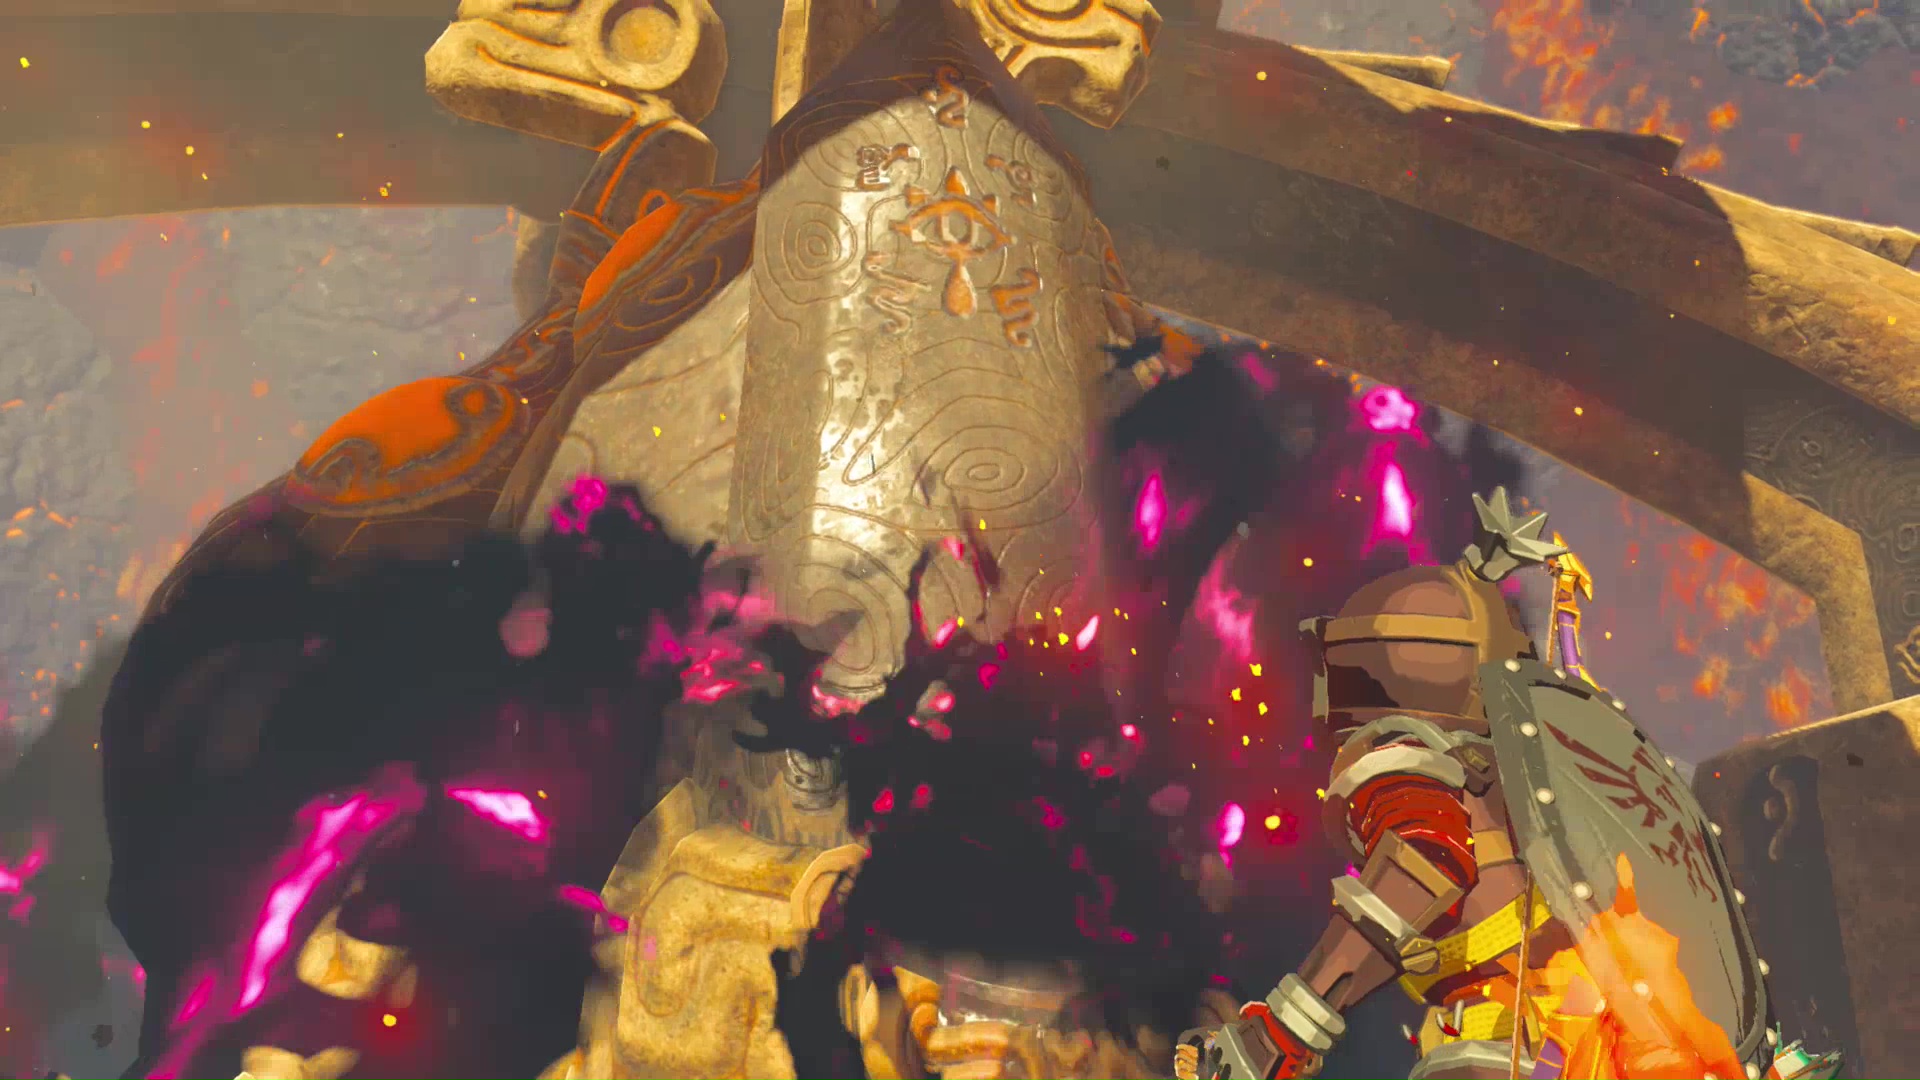
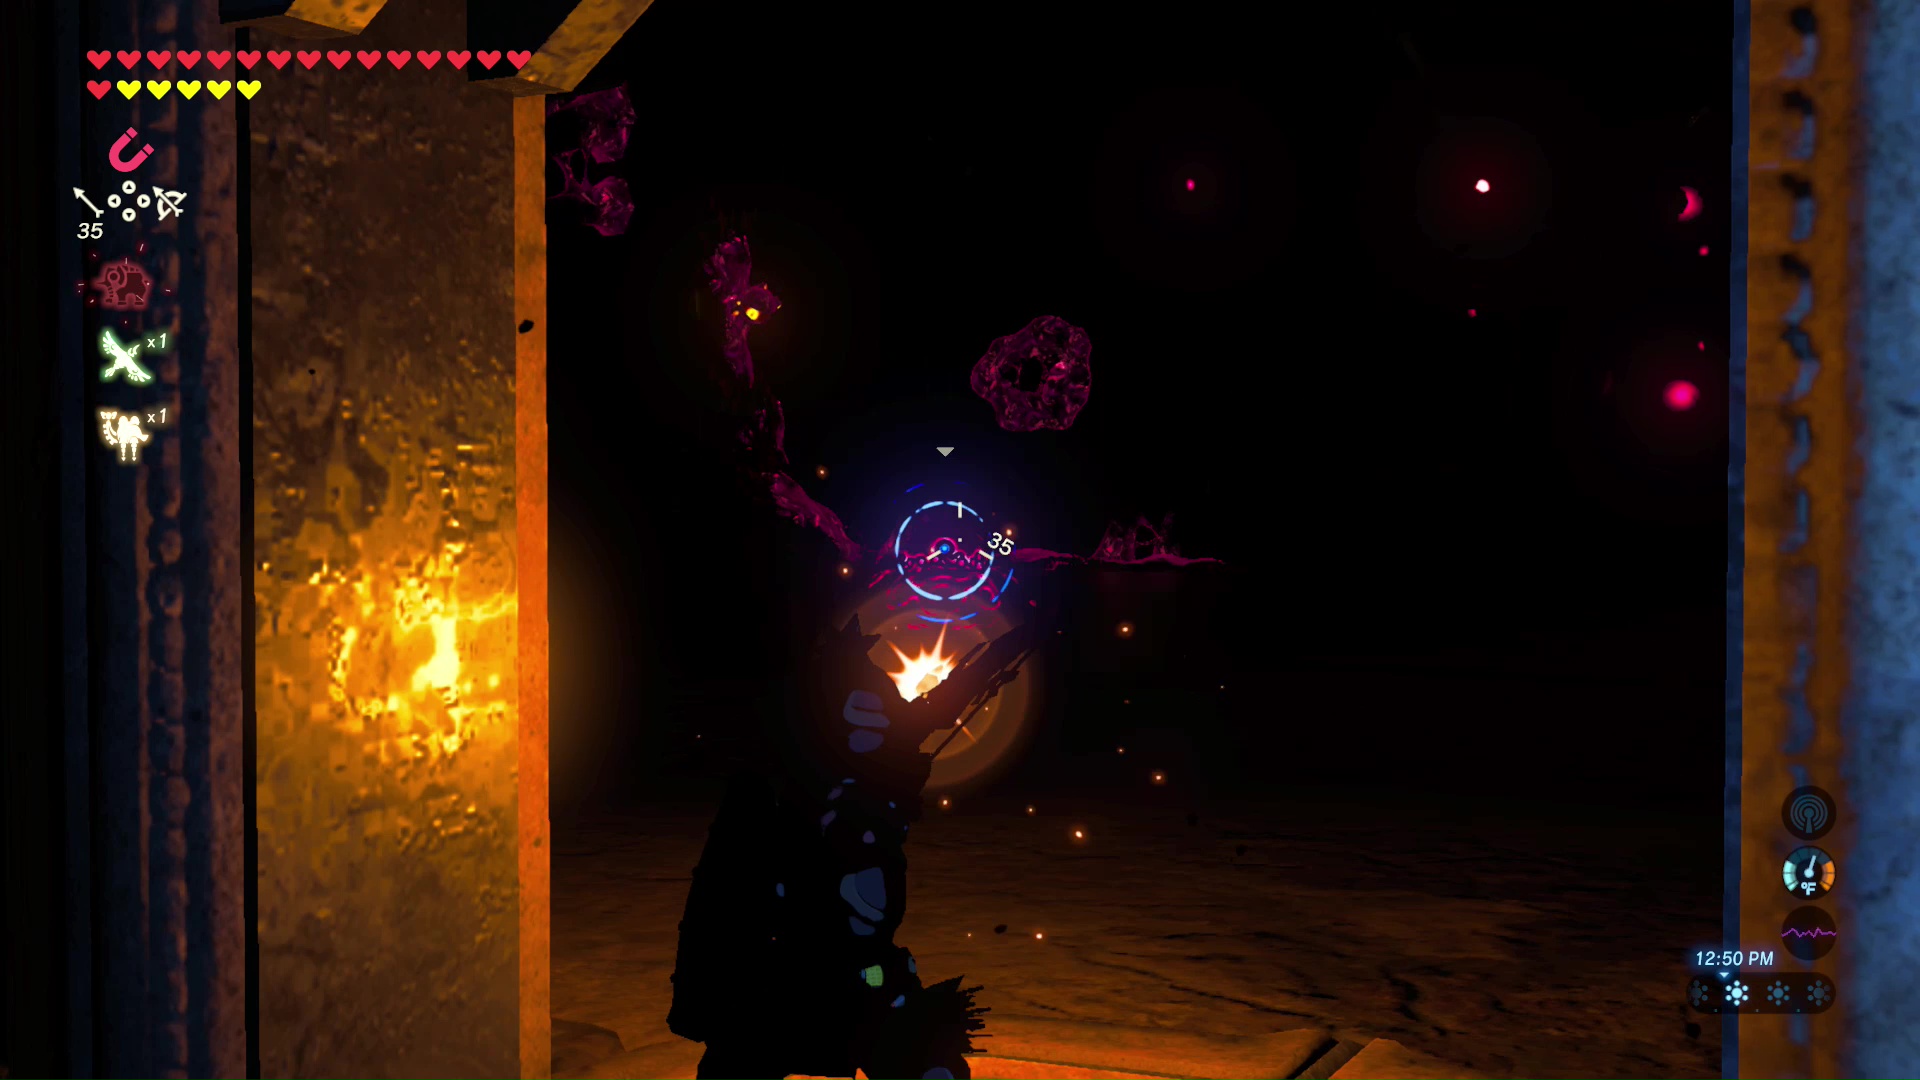
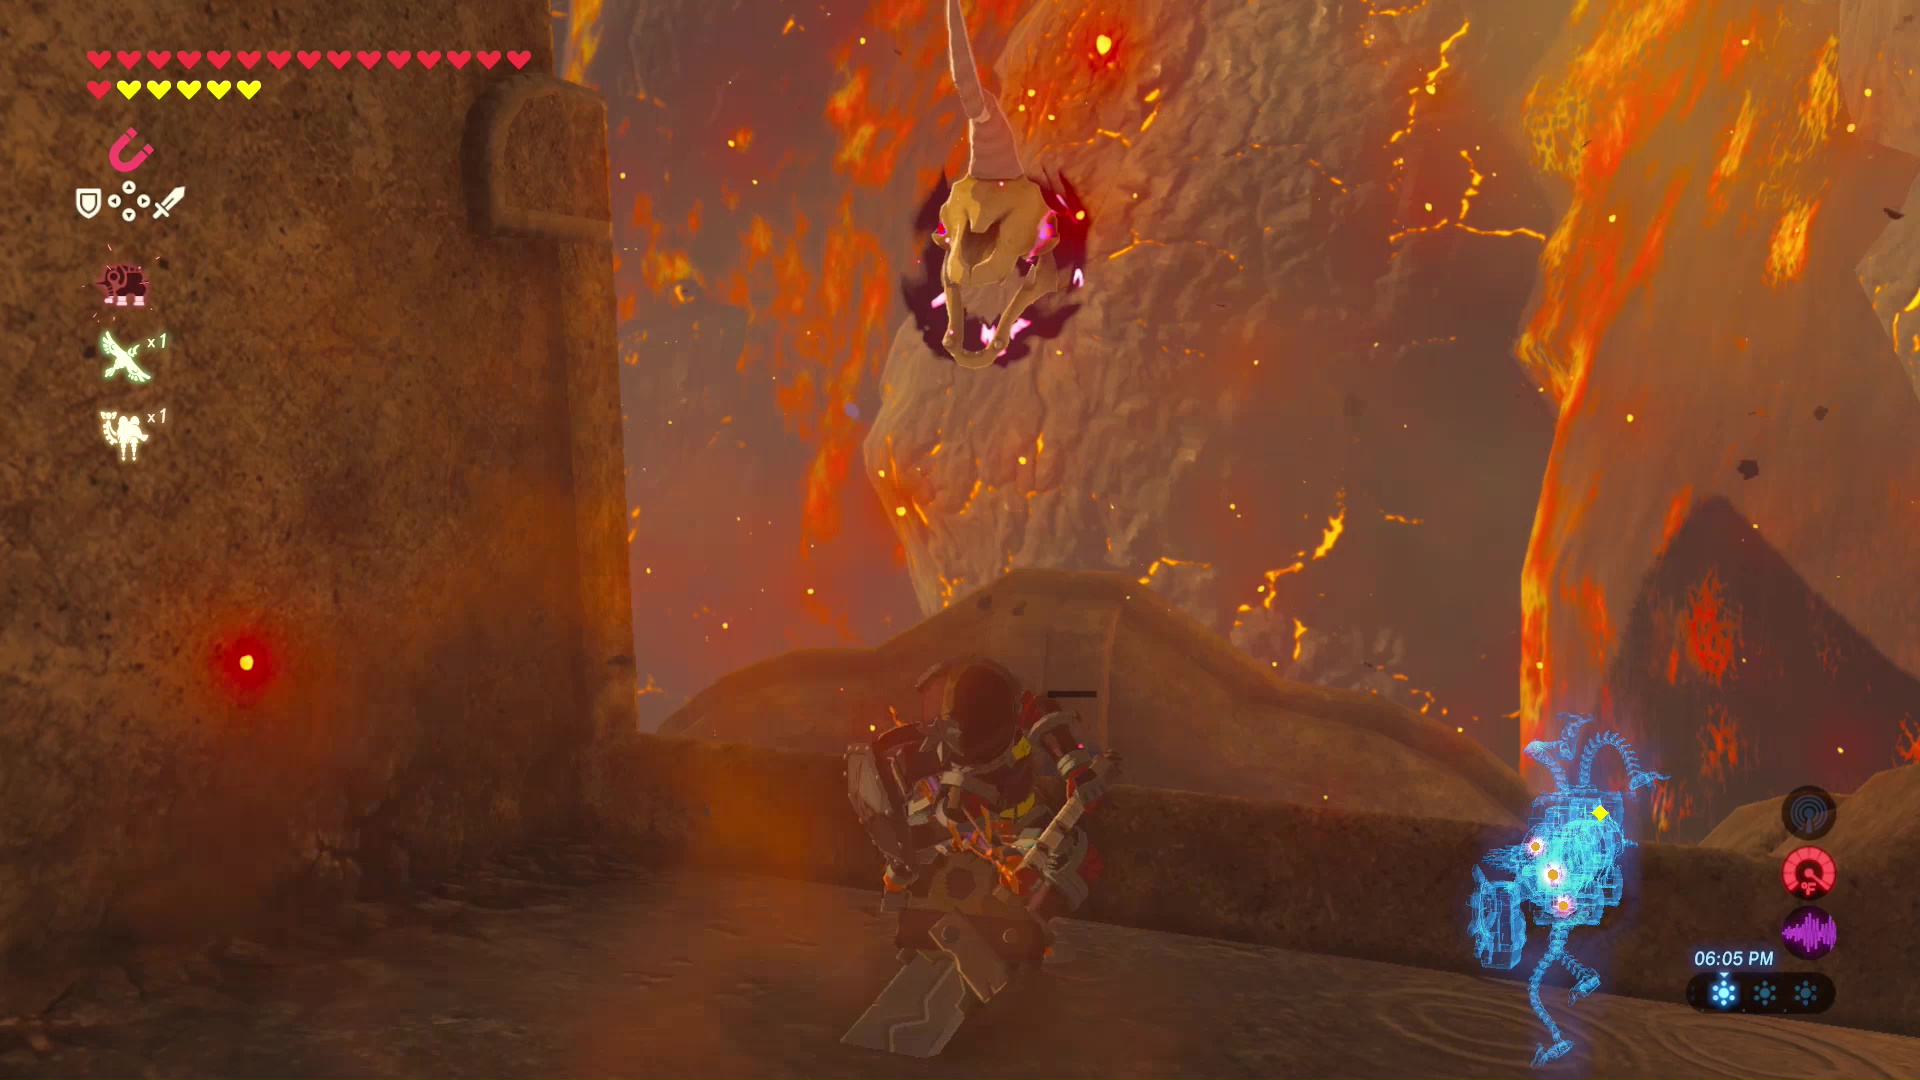
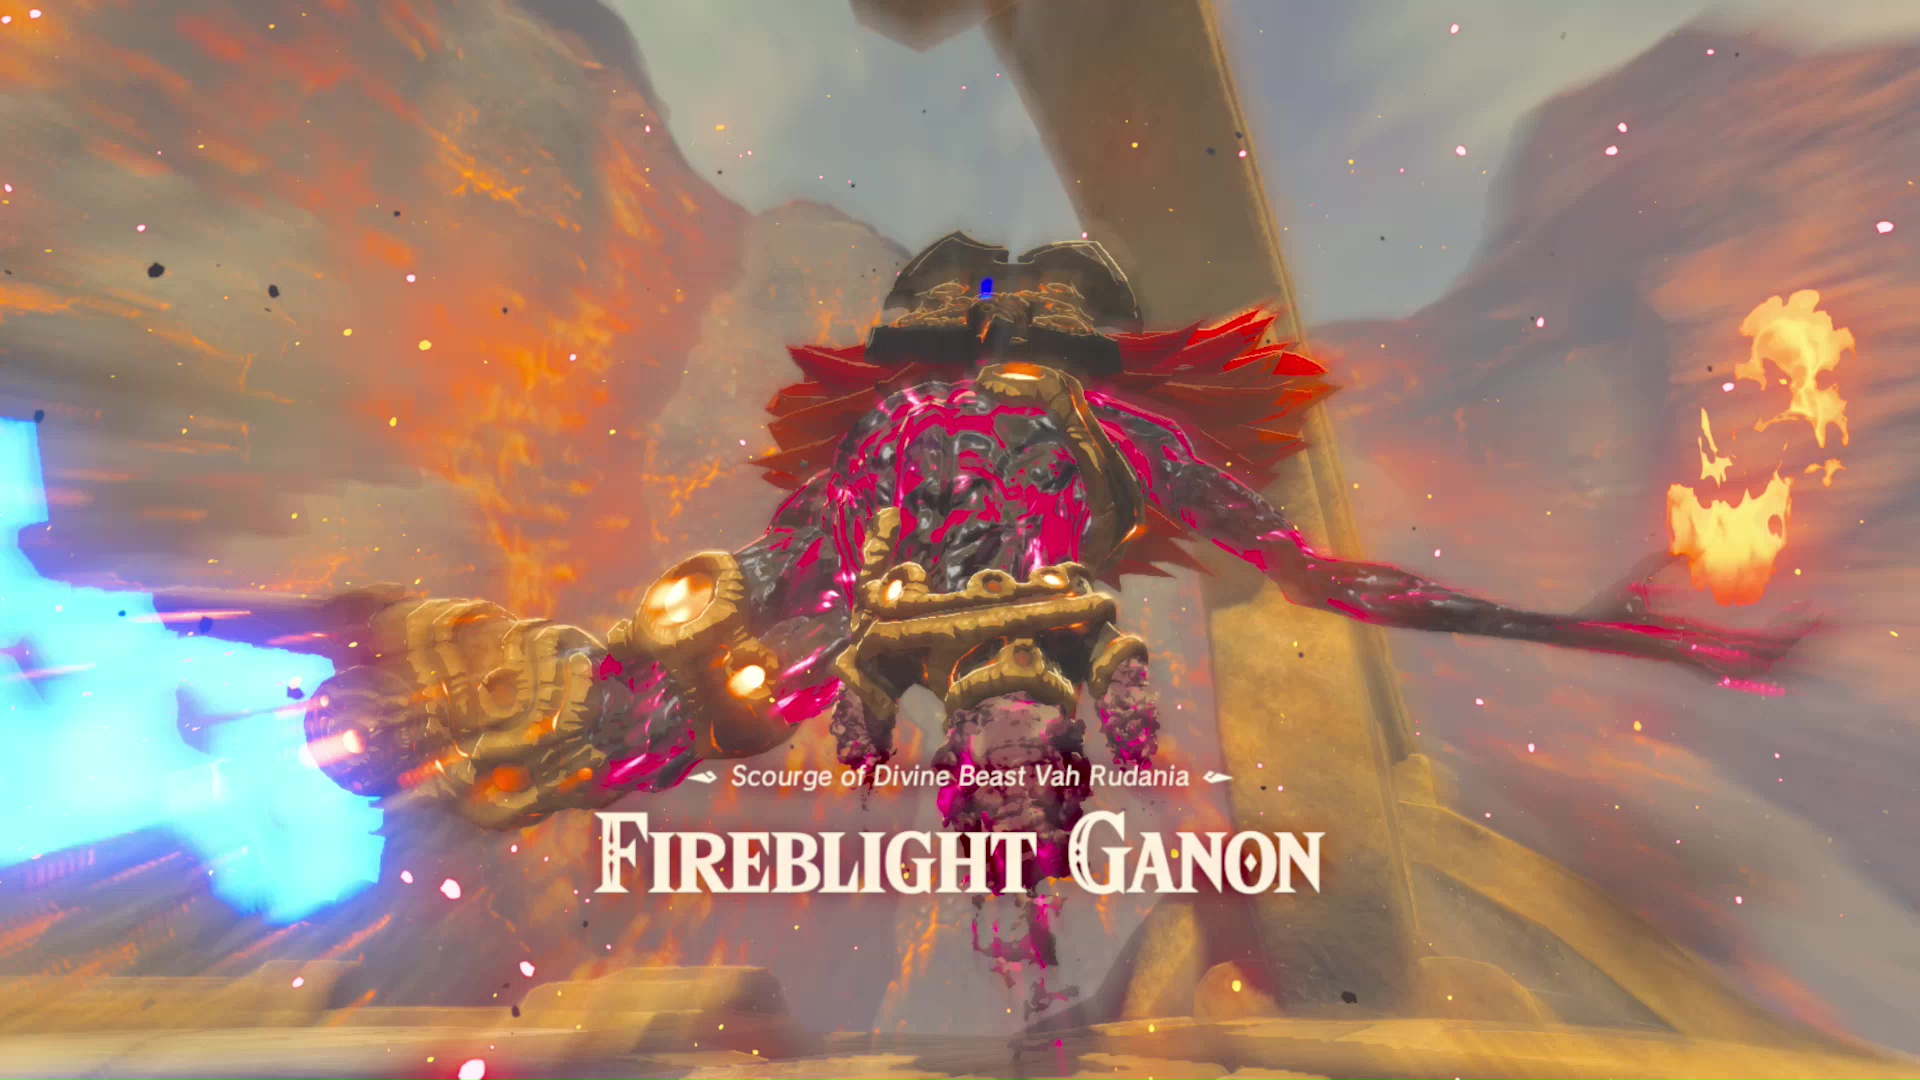
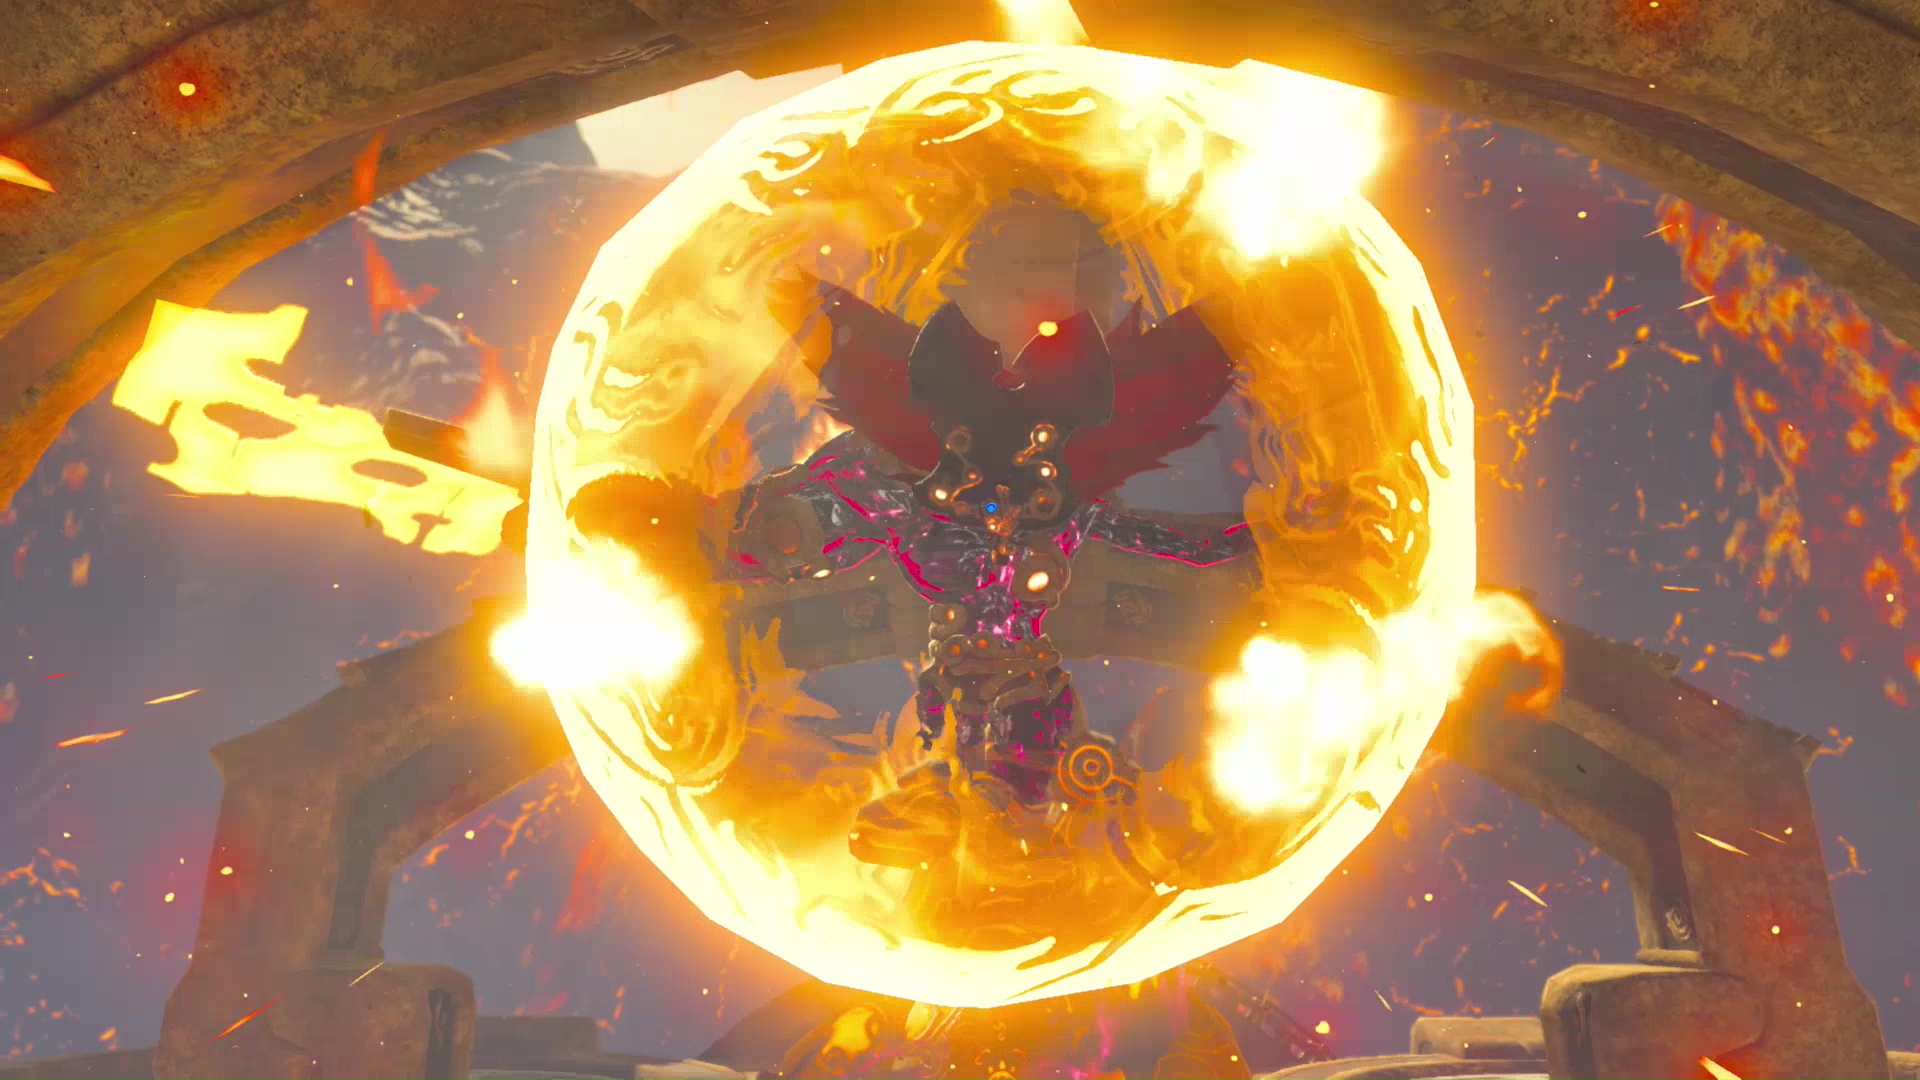
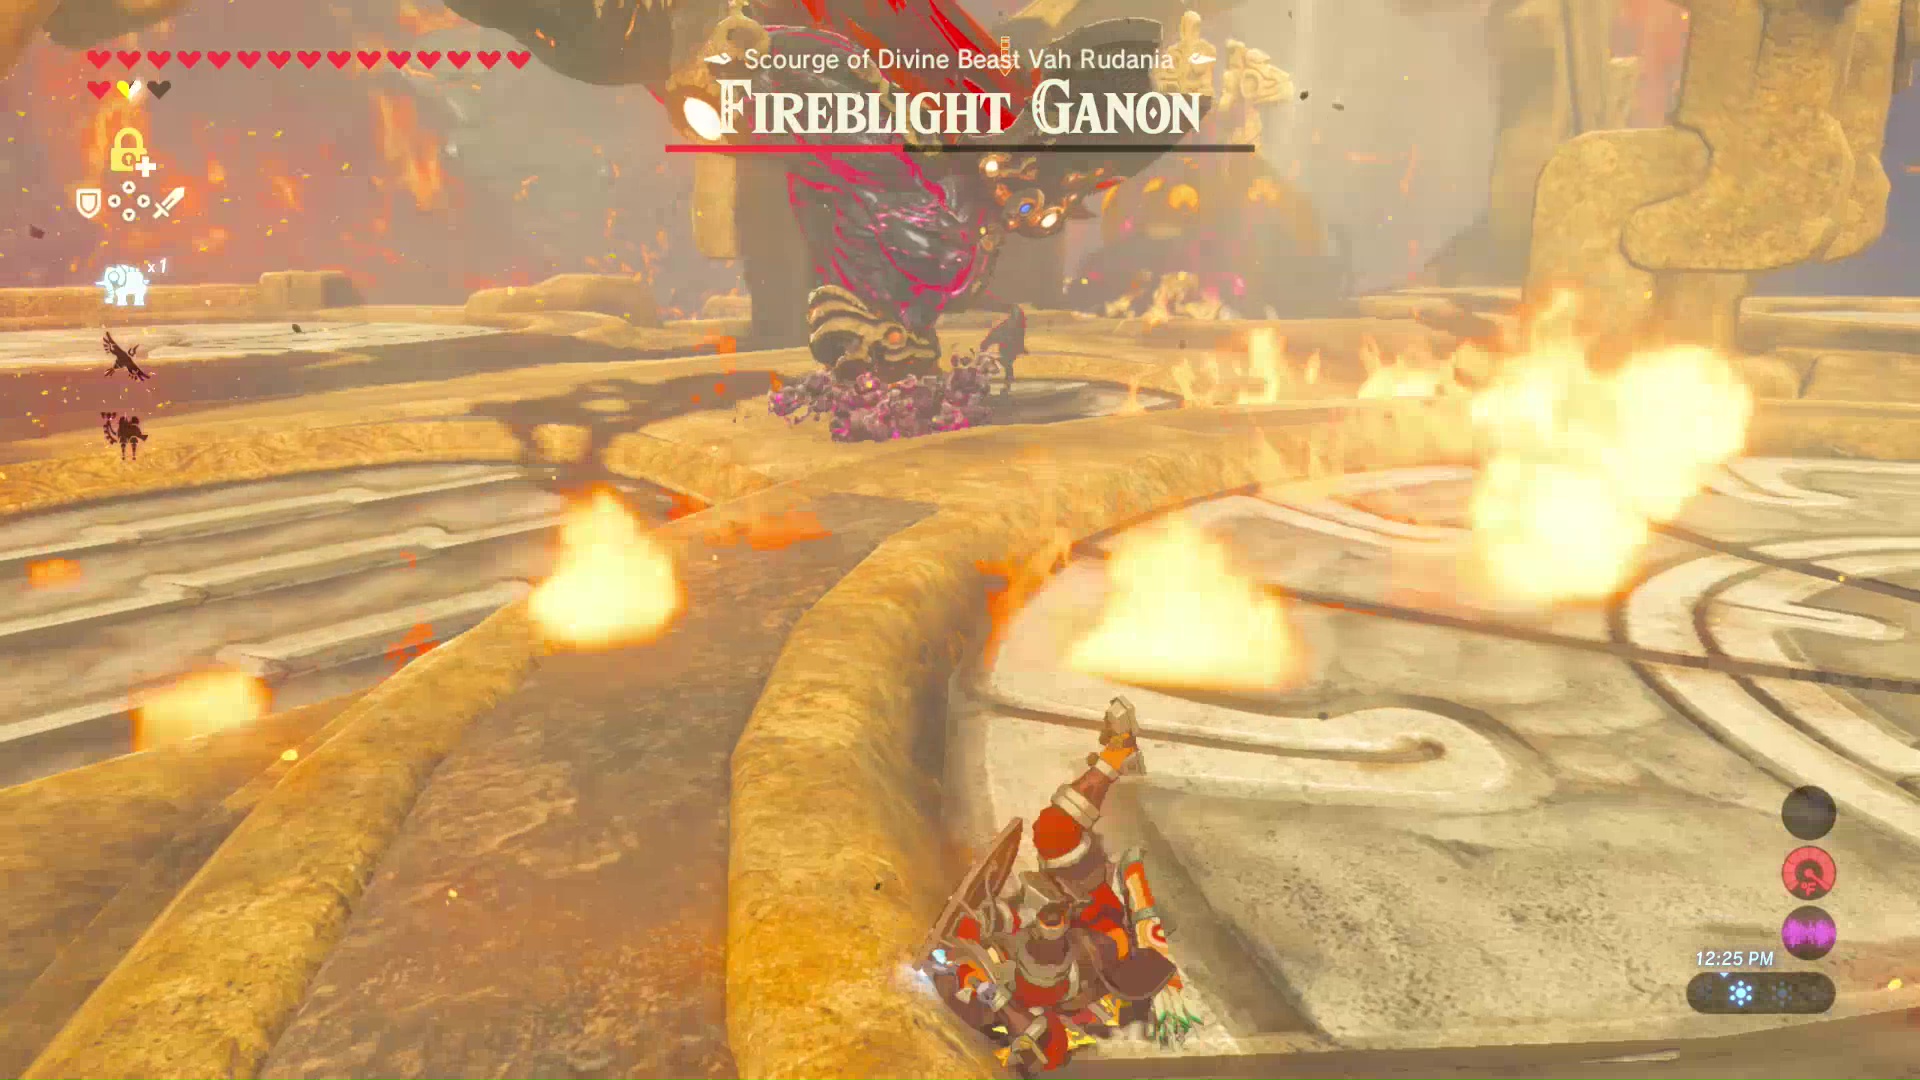
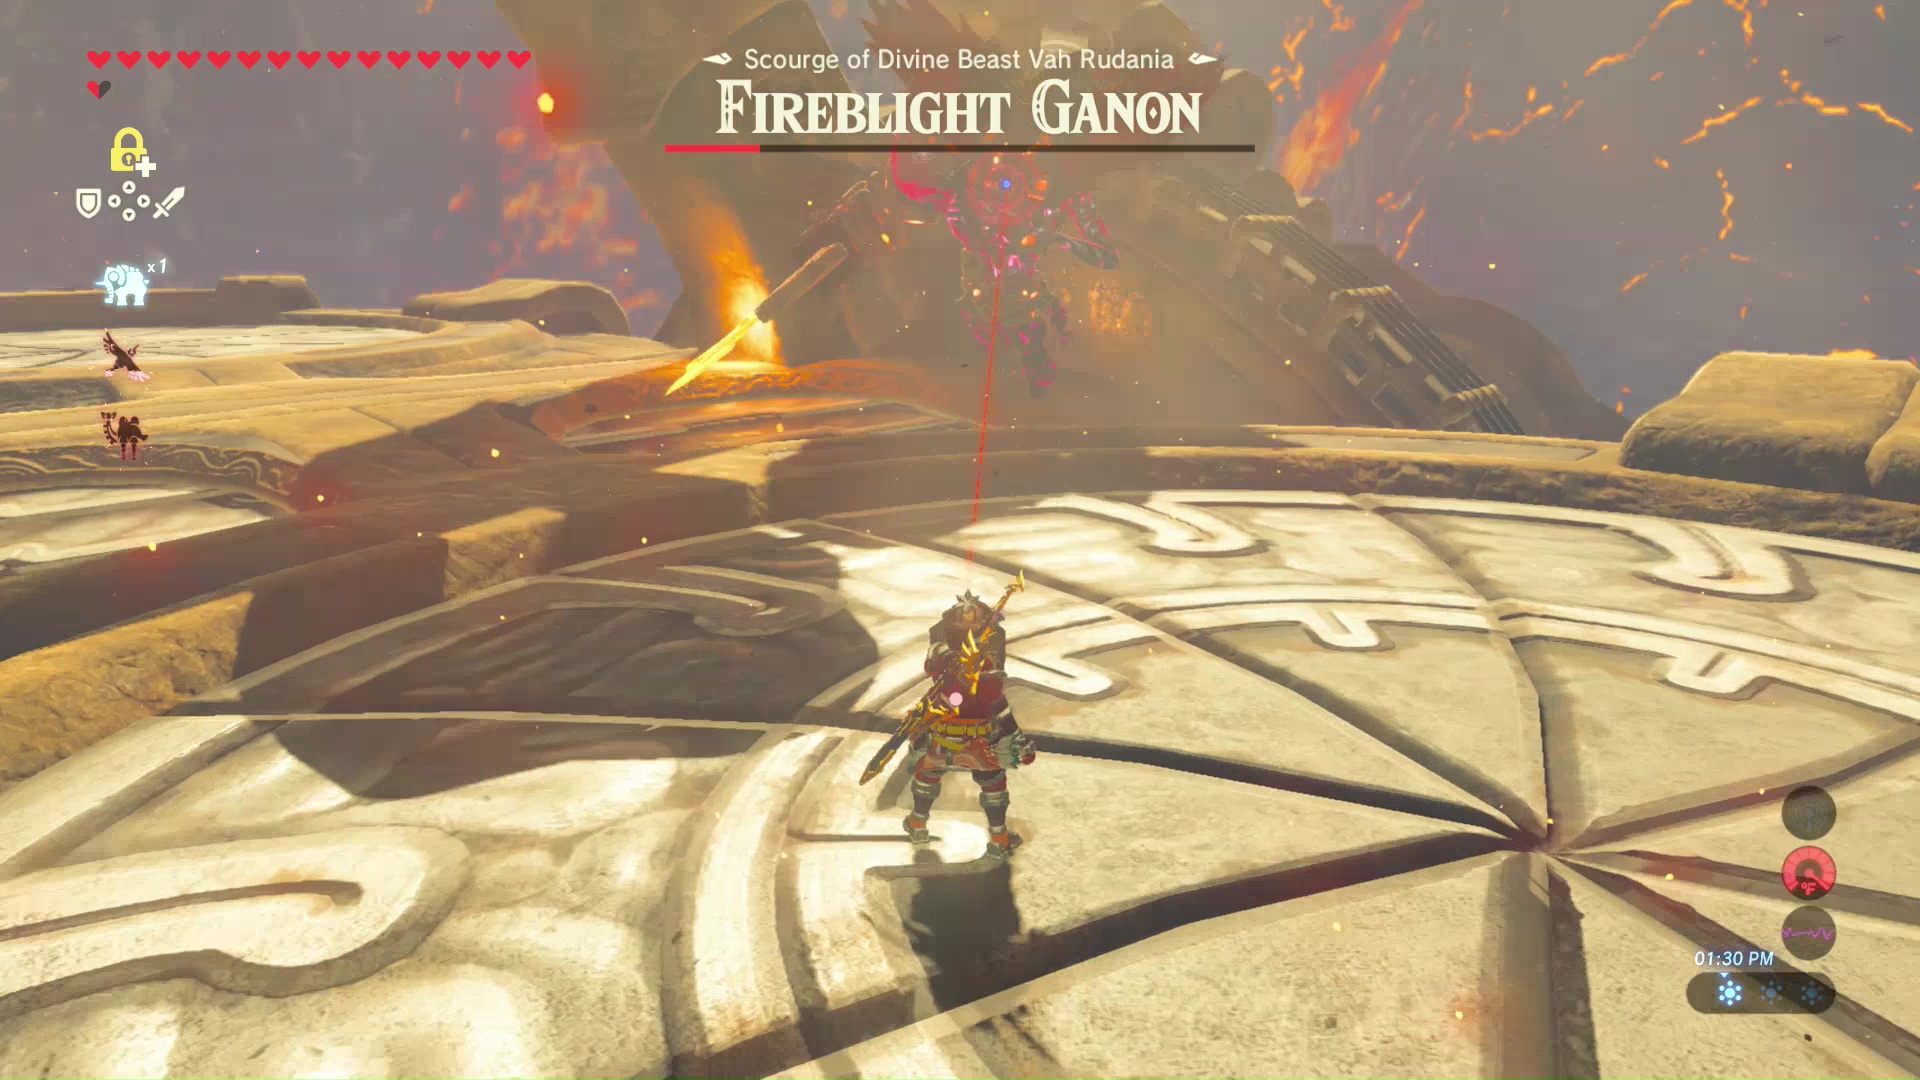
Boss Battle Fireblight Ganon
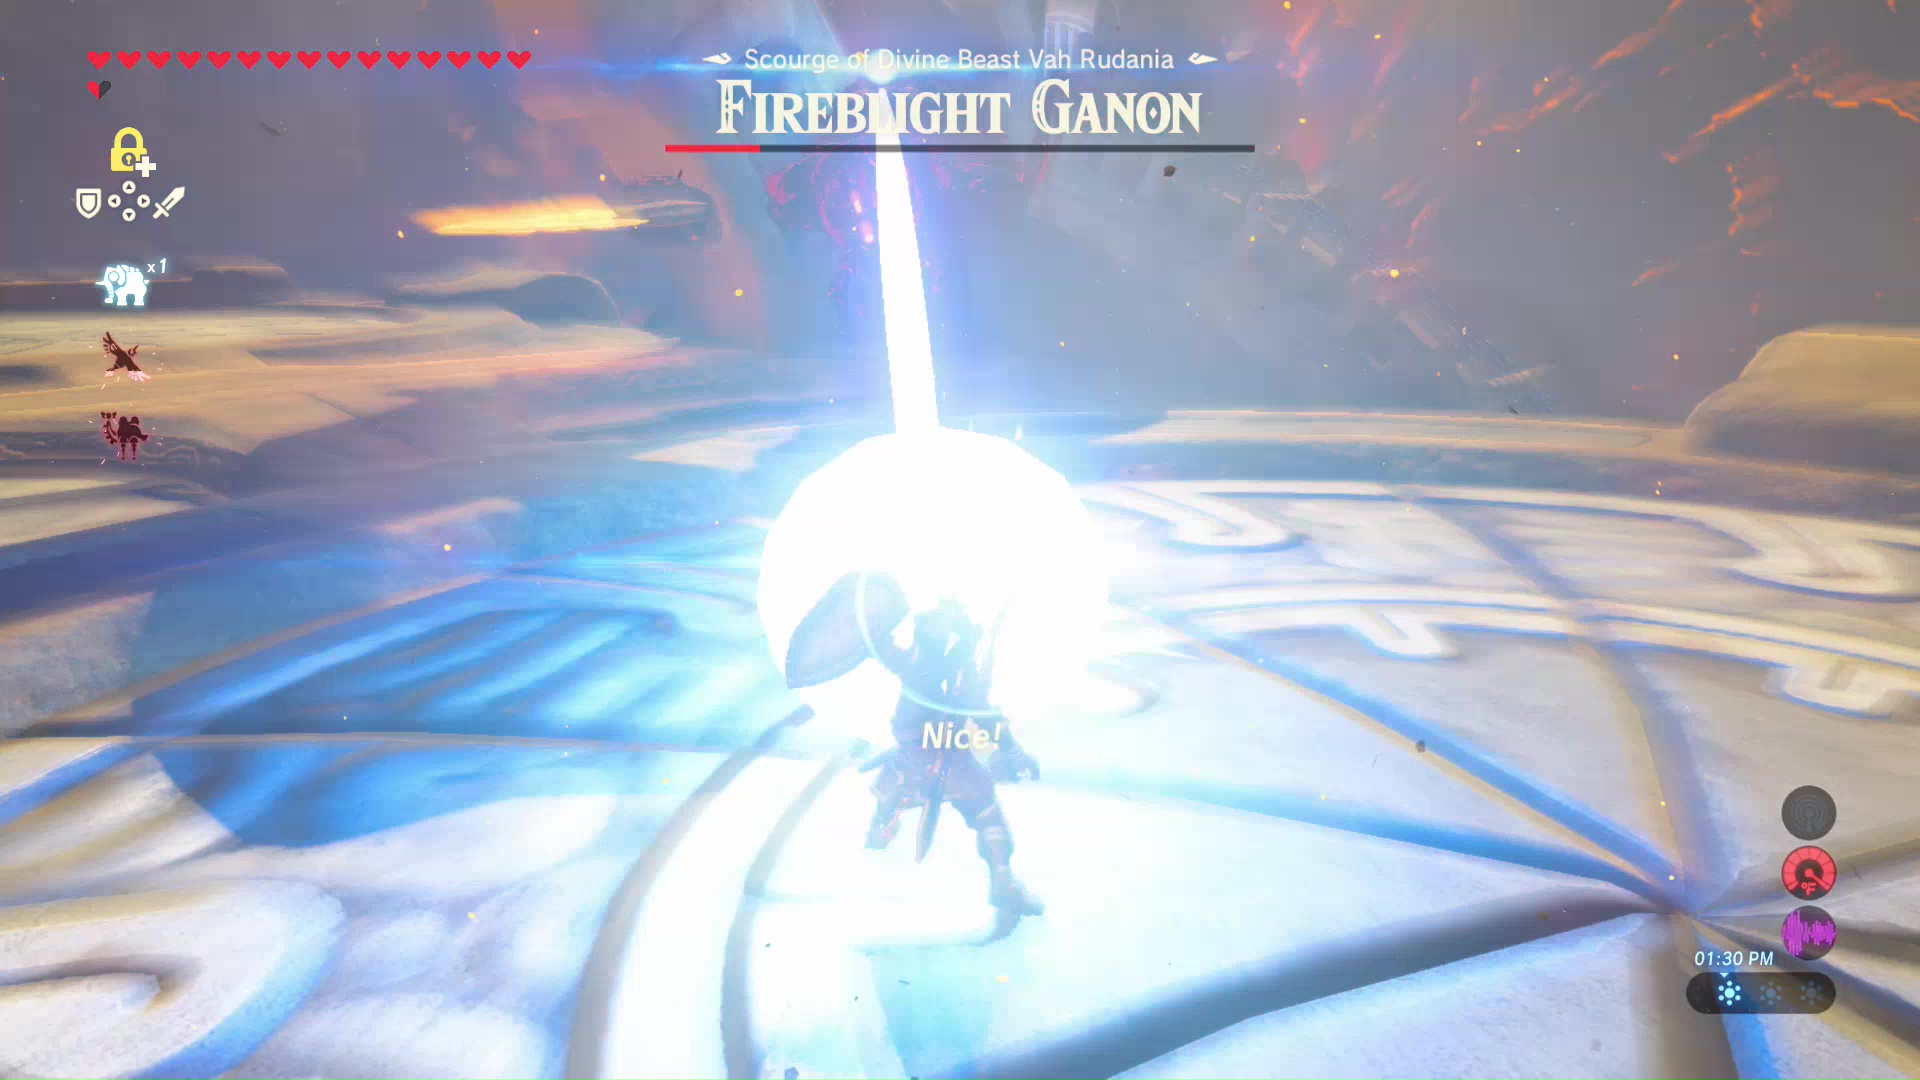
As the name suggests, Fireblight Ganon uses fire-powered attacks and is weak to ice-powered attacks. Use Ice Arrows to knock him down temporarily, then use the Stasis Rune to paralyze him for another second. Shooting his eye will deal extra damage as well.
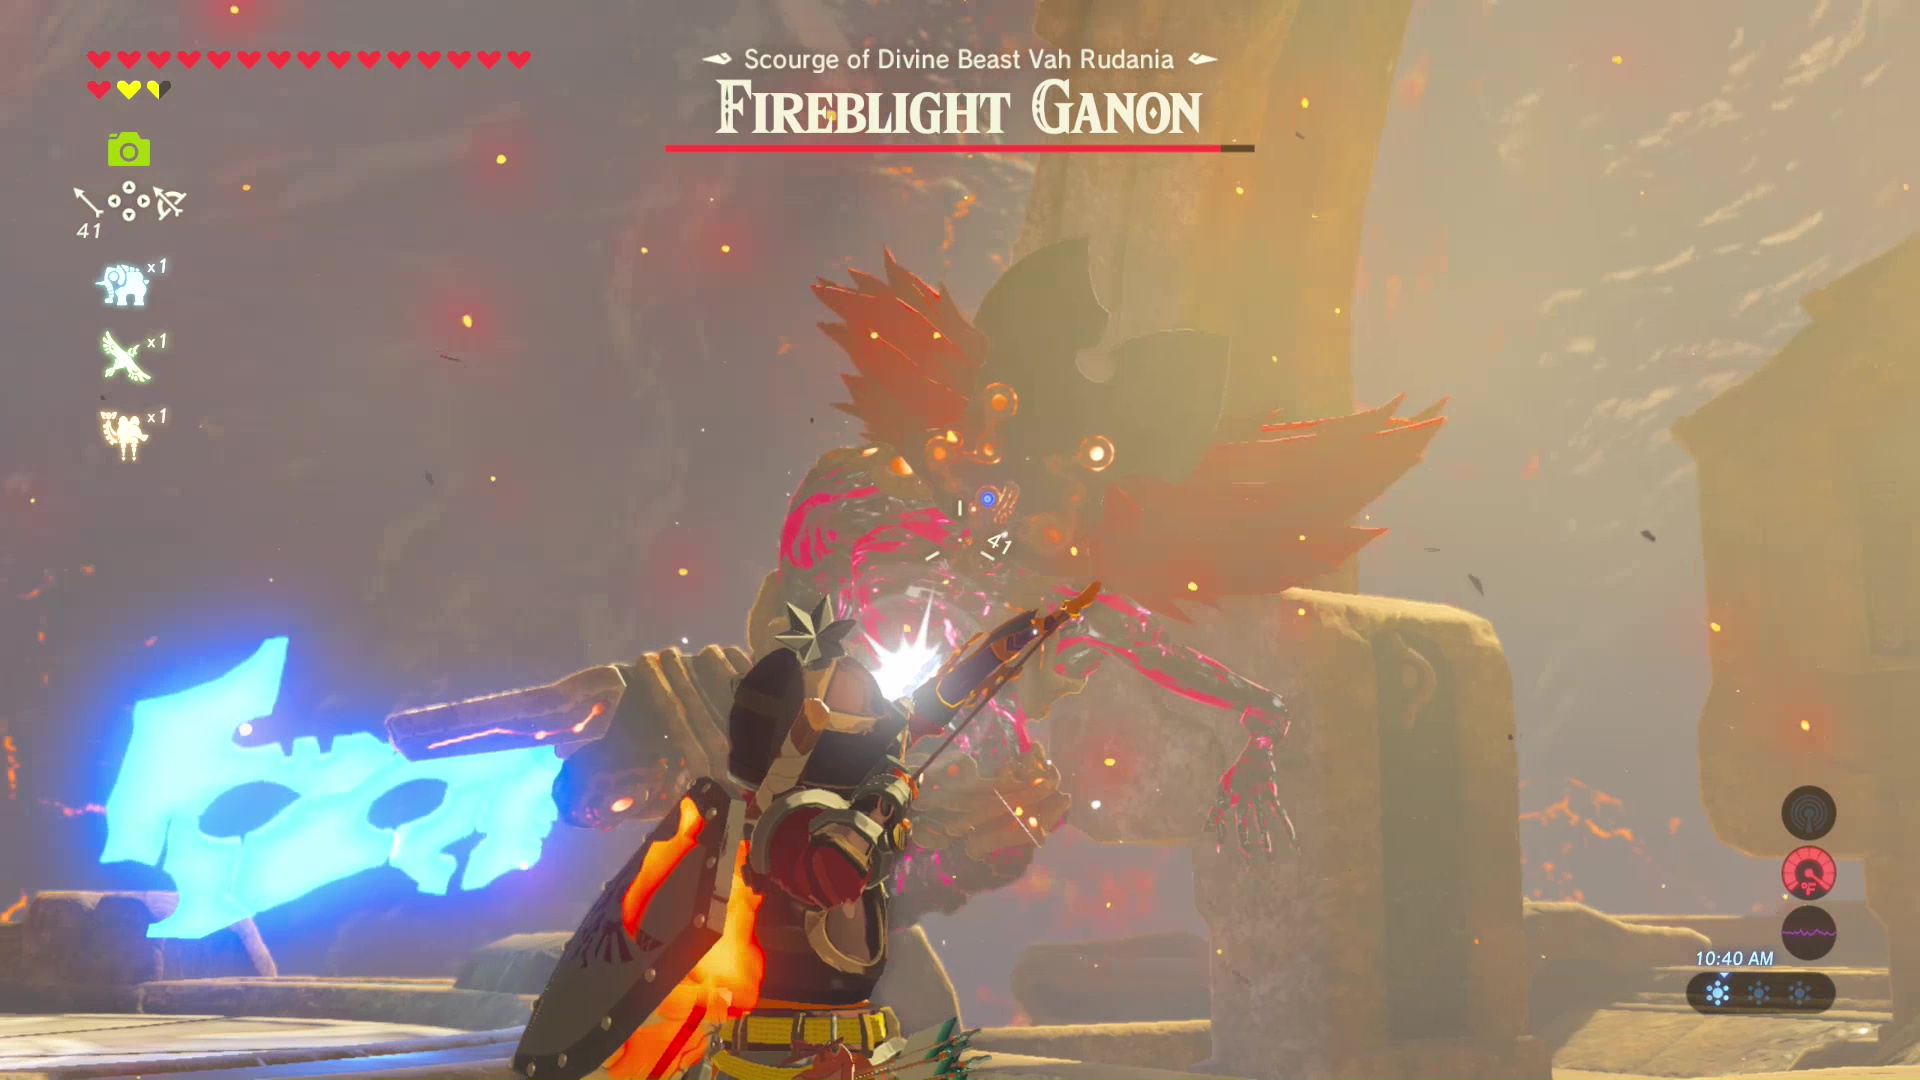
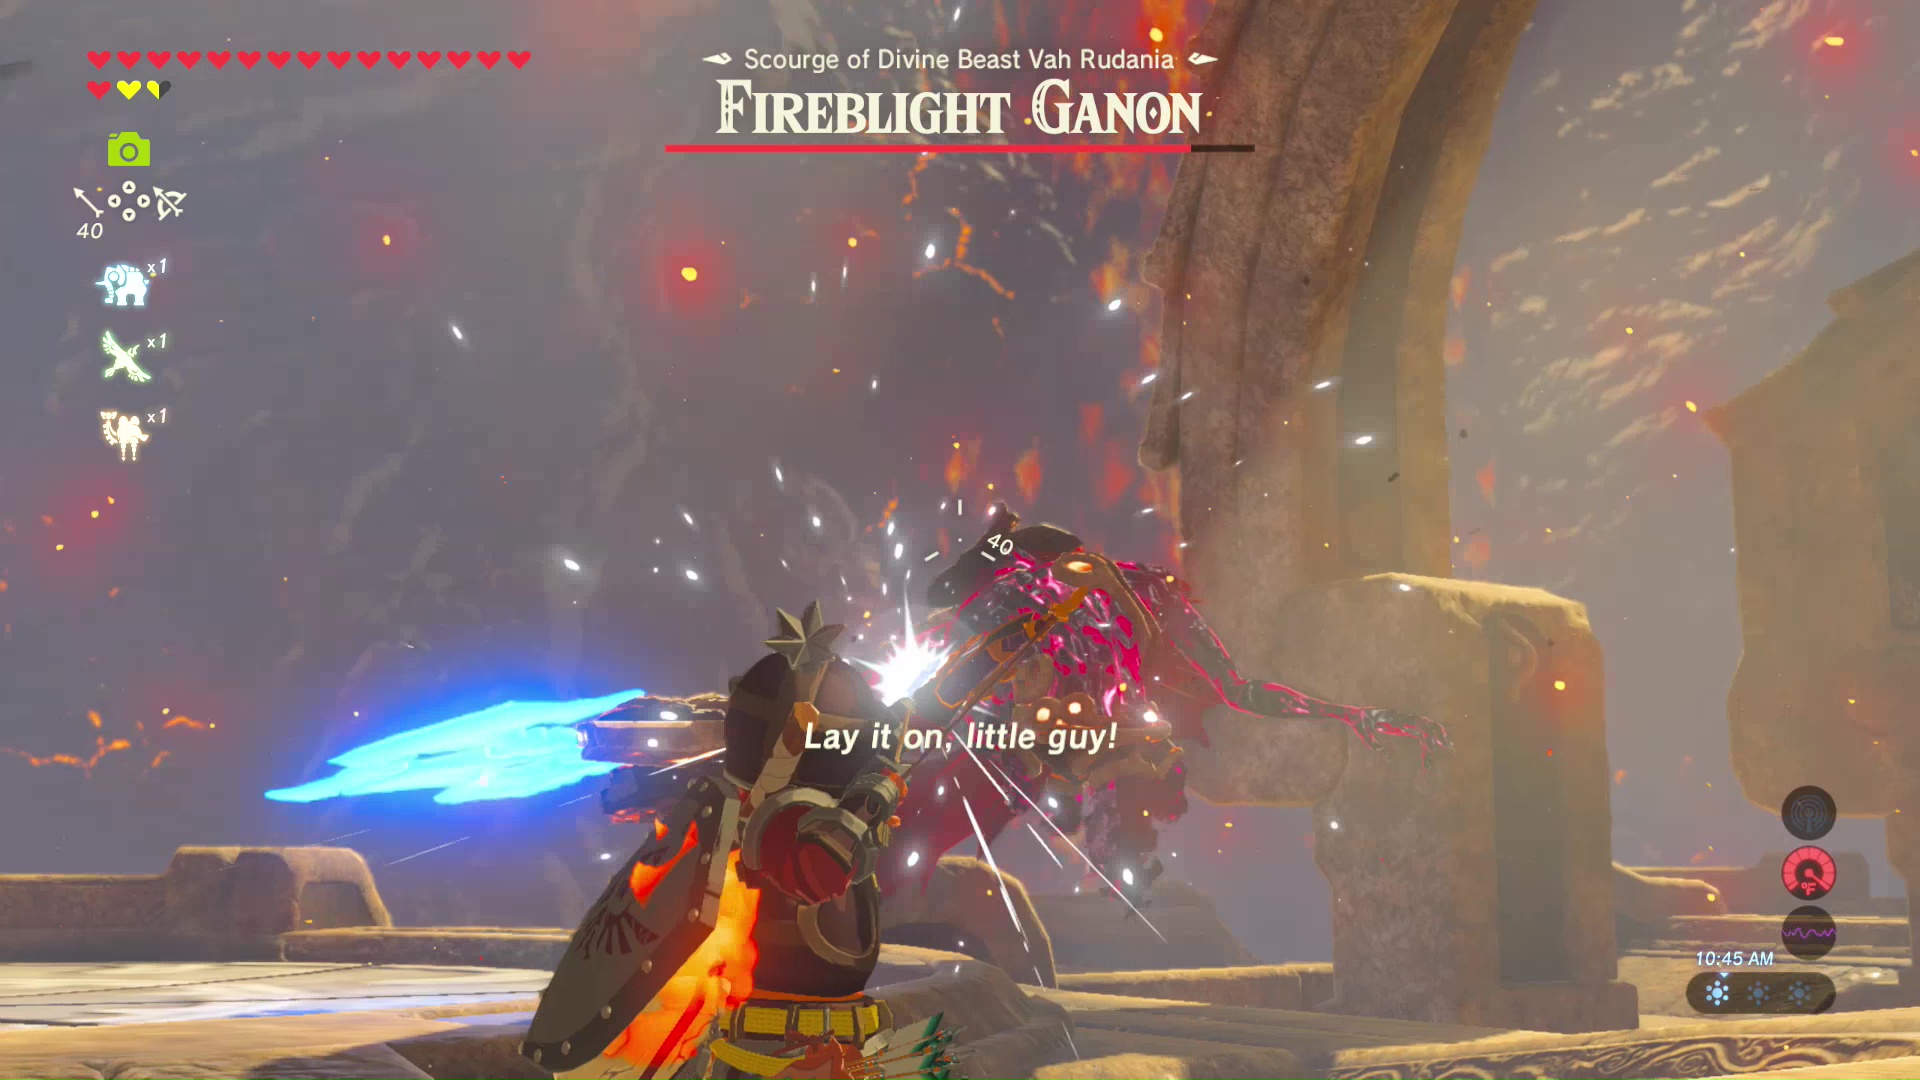
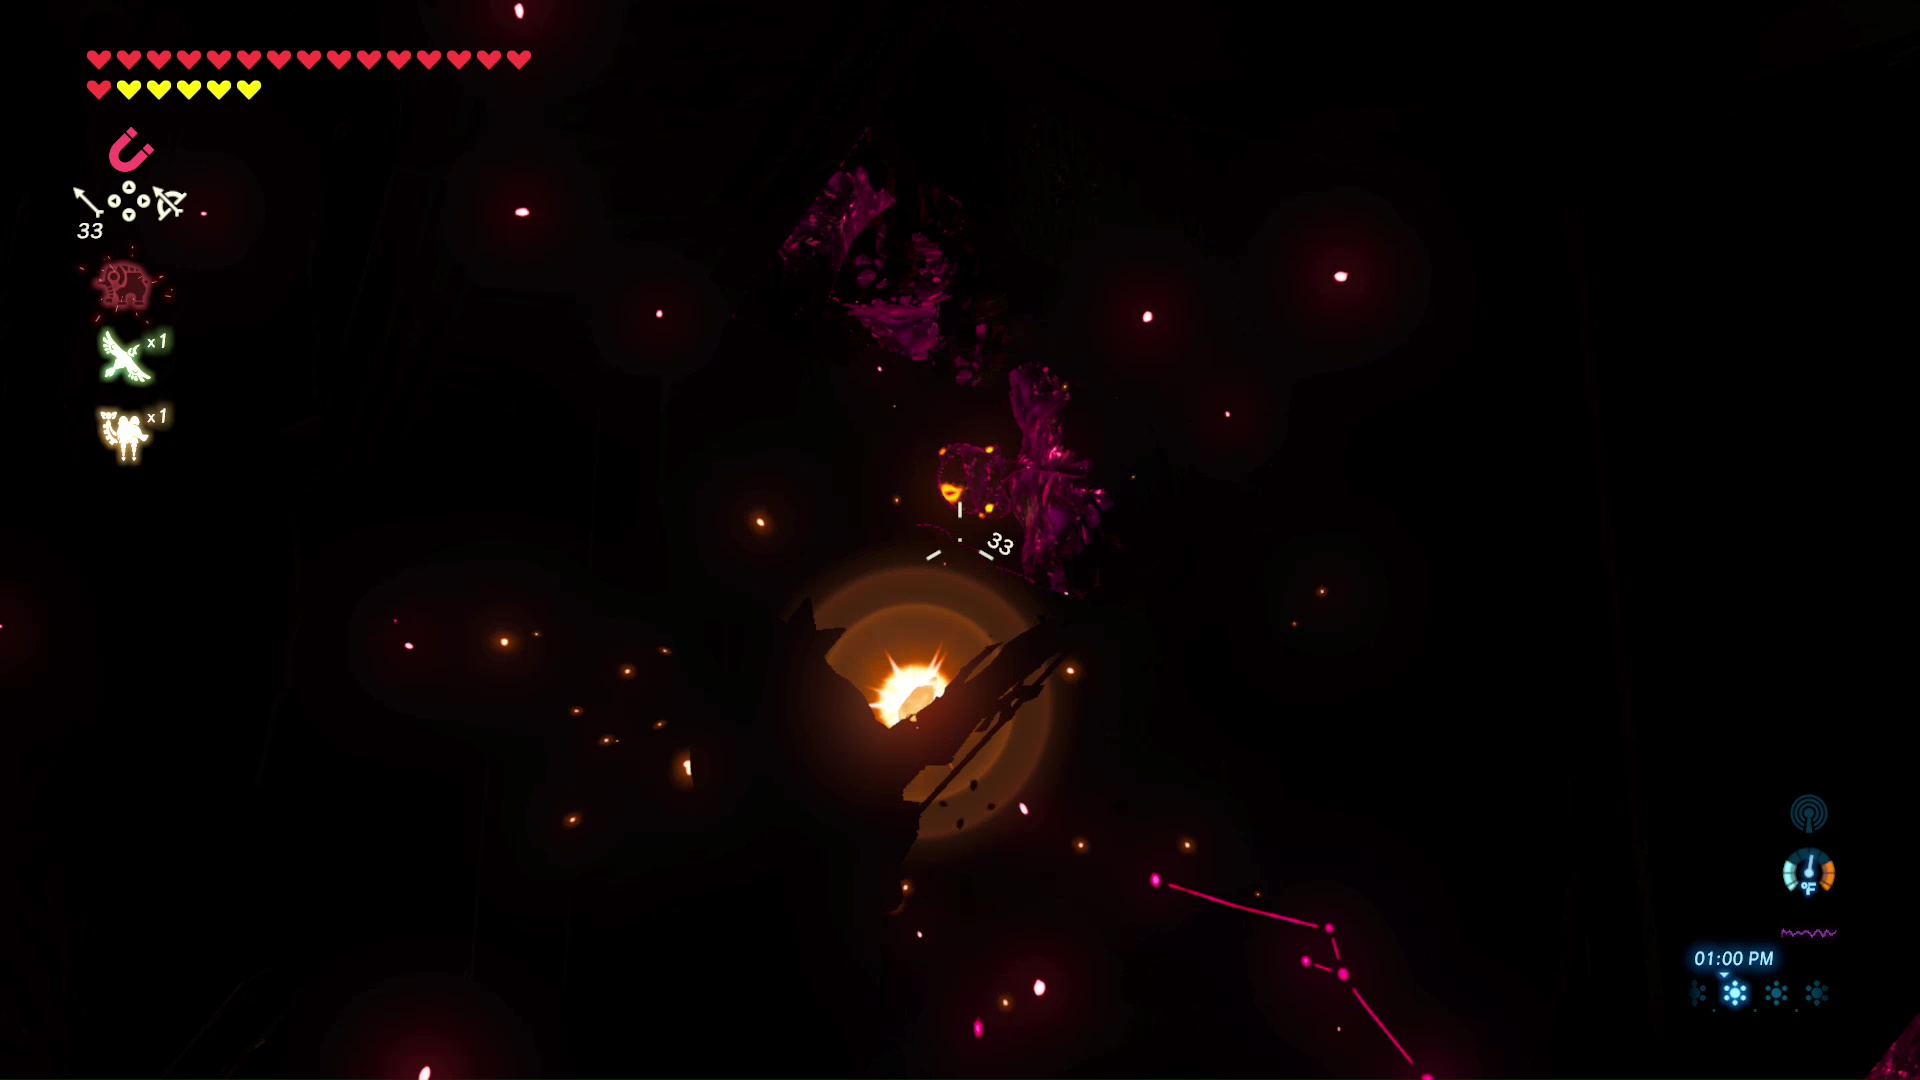
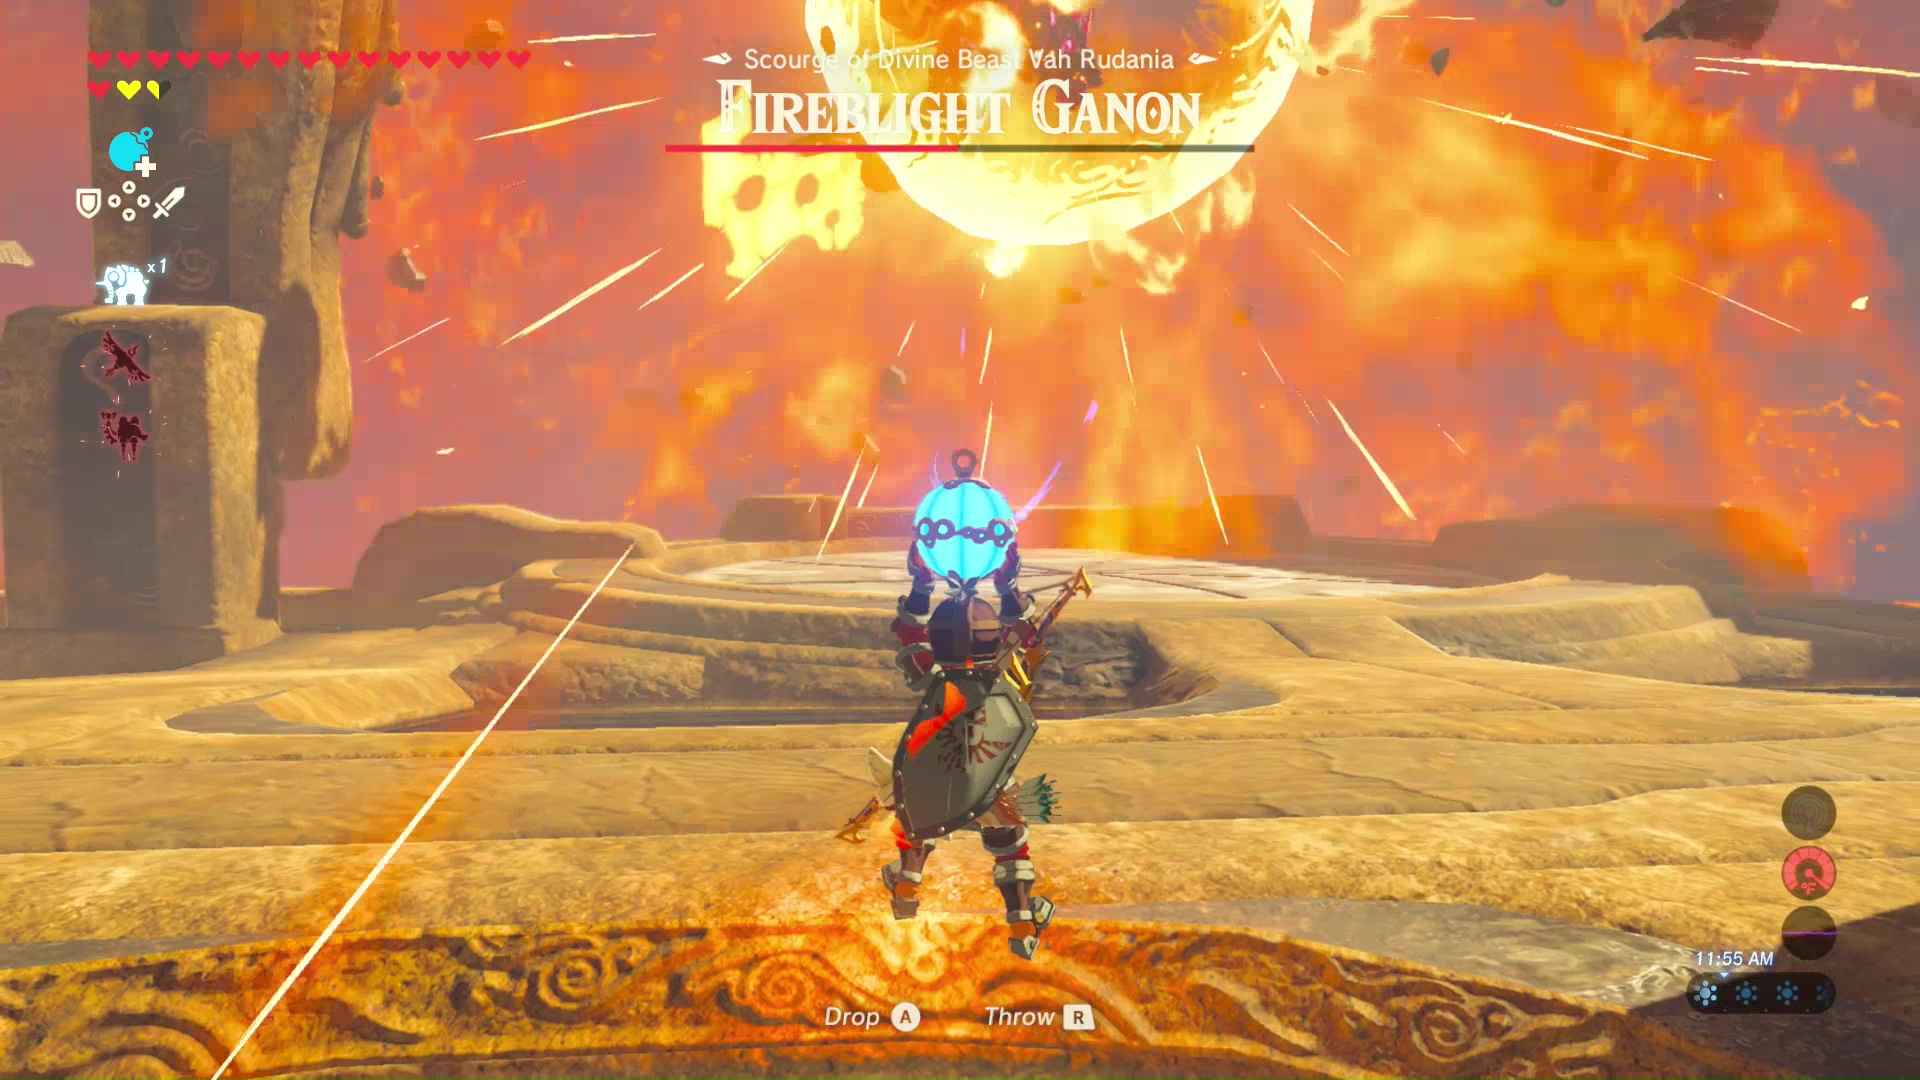
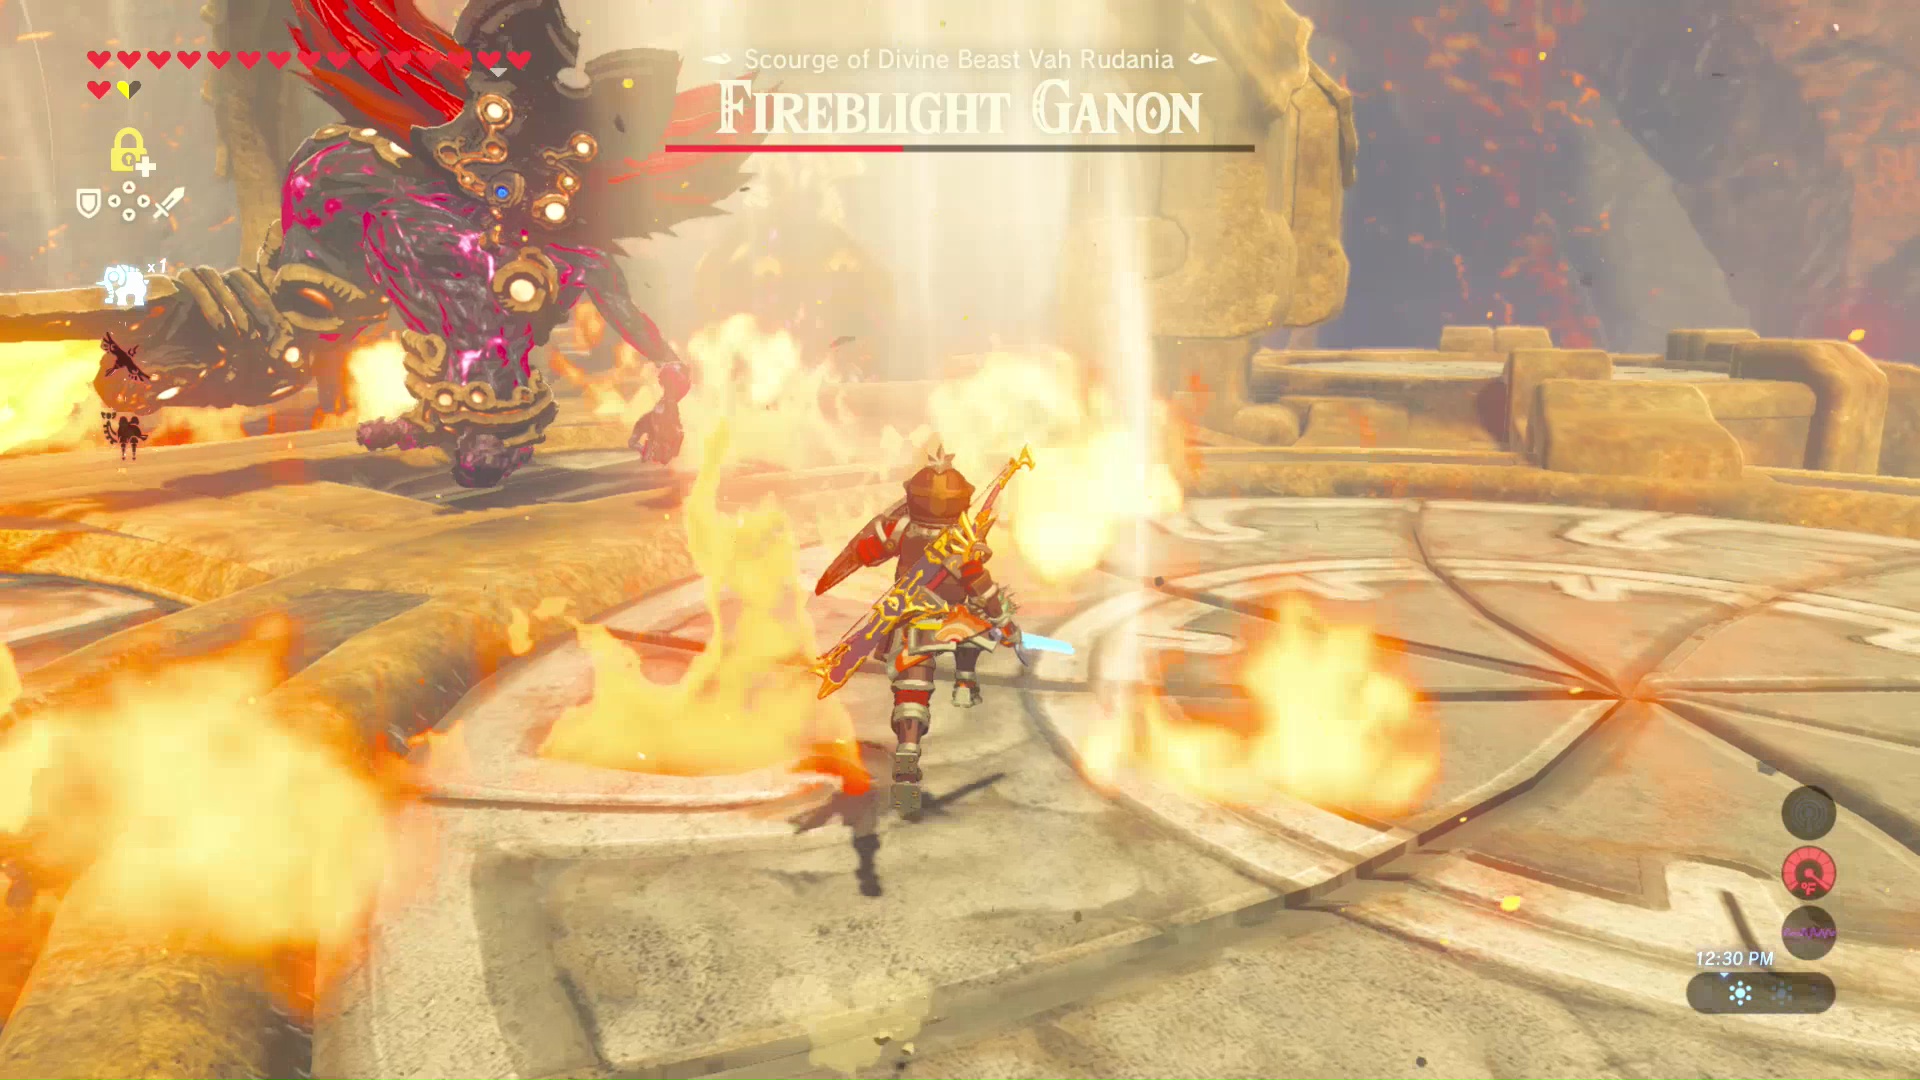
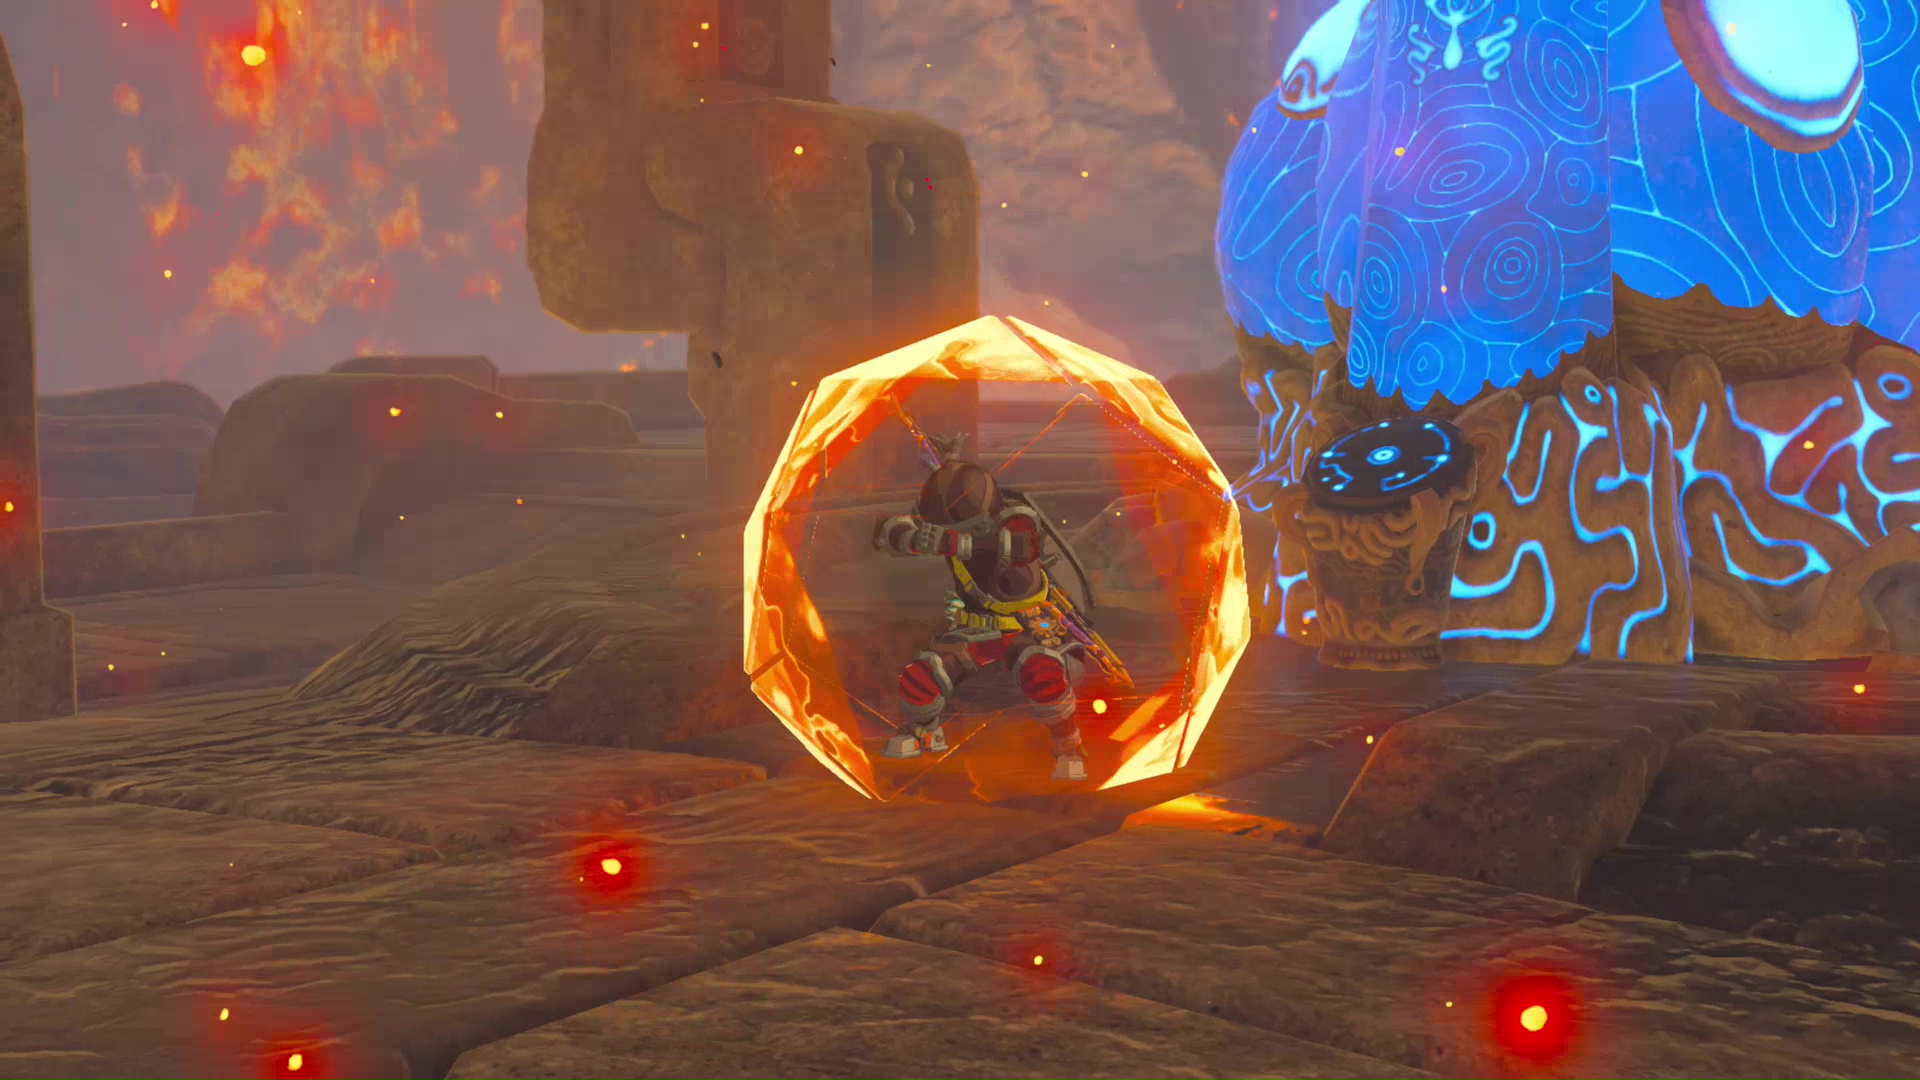
Fireblight Ganon will attack with fireballs and his large sword. Reduce Fireblight Ganon’s HP by 50% and he will power up his sword and encase himself in a flaming ball. Do not attempt to attack him directly. Wait for him to suck up anything nearby, then throw a Remote Bomb Rune towards him and detonate it to knock the monster down. Use the Stasis Rune to give yourself another second to deal damage or to get close for attack.
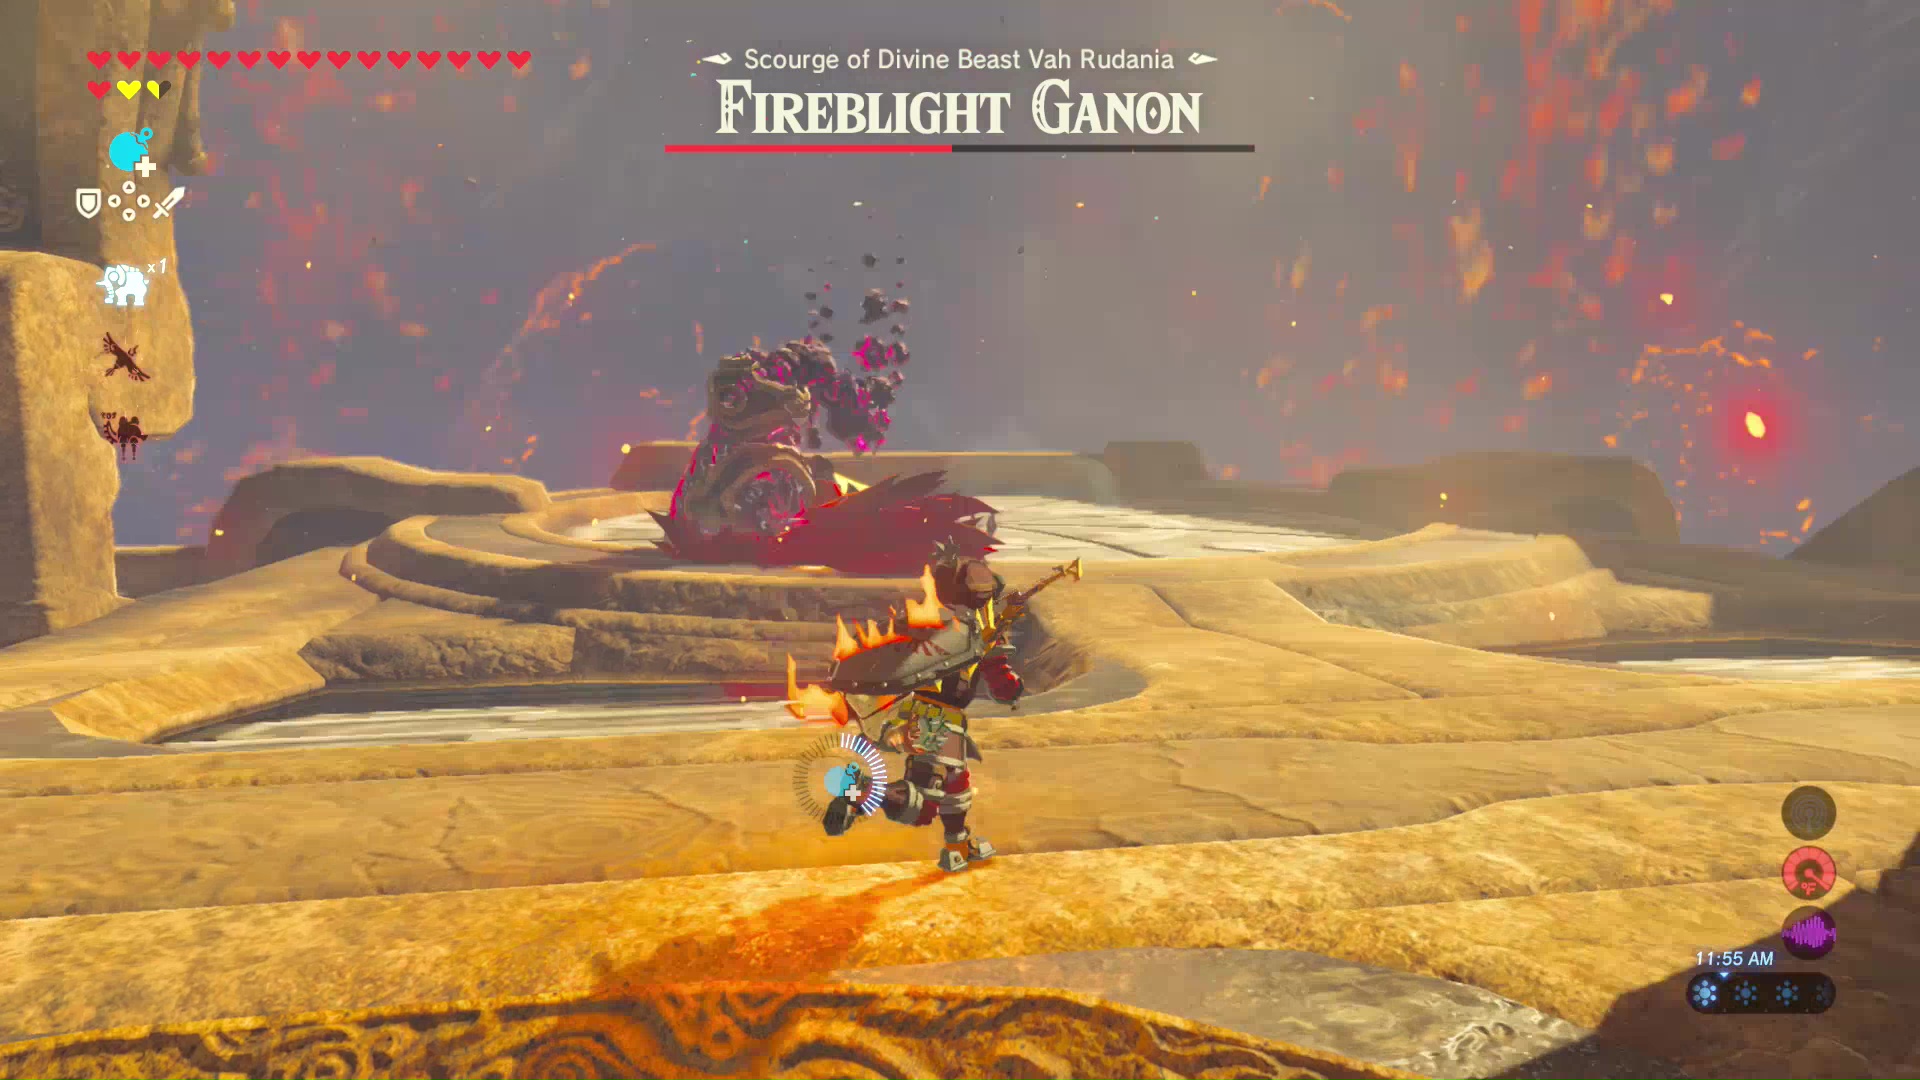
The second the monster gets up, he will meet you head on for a swinging melee attack. This will hit you multiple times and leave flames on the ground. The flames can be used to launch upward with the glider, giving you some distance to attack with Ice Arrows.
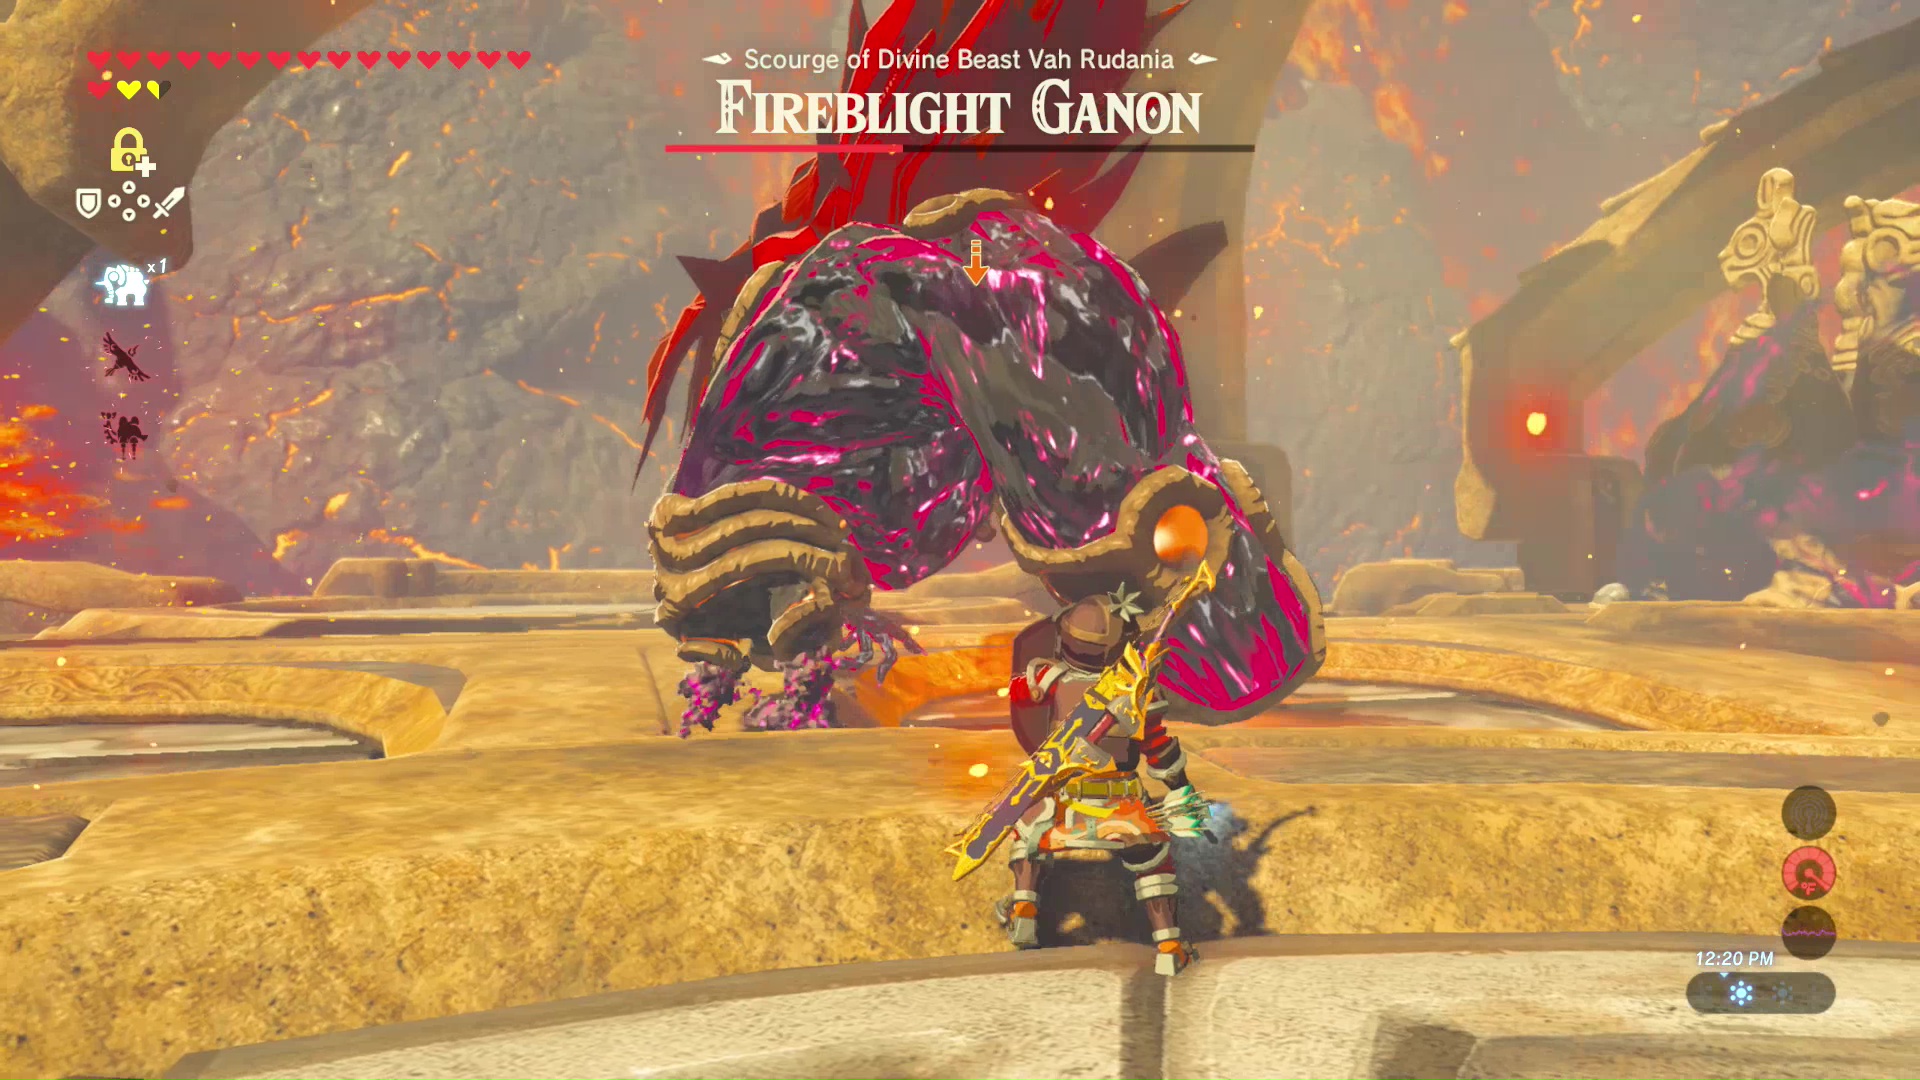
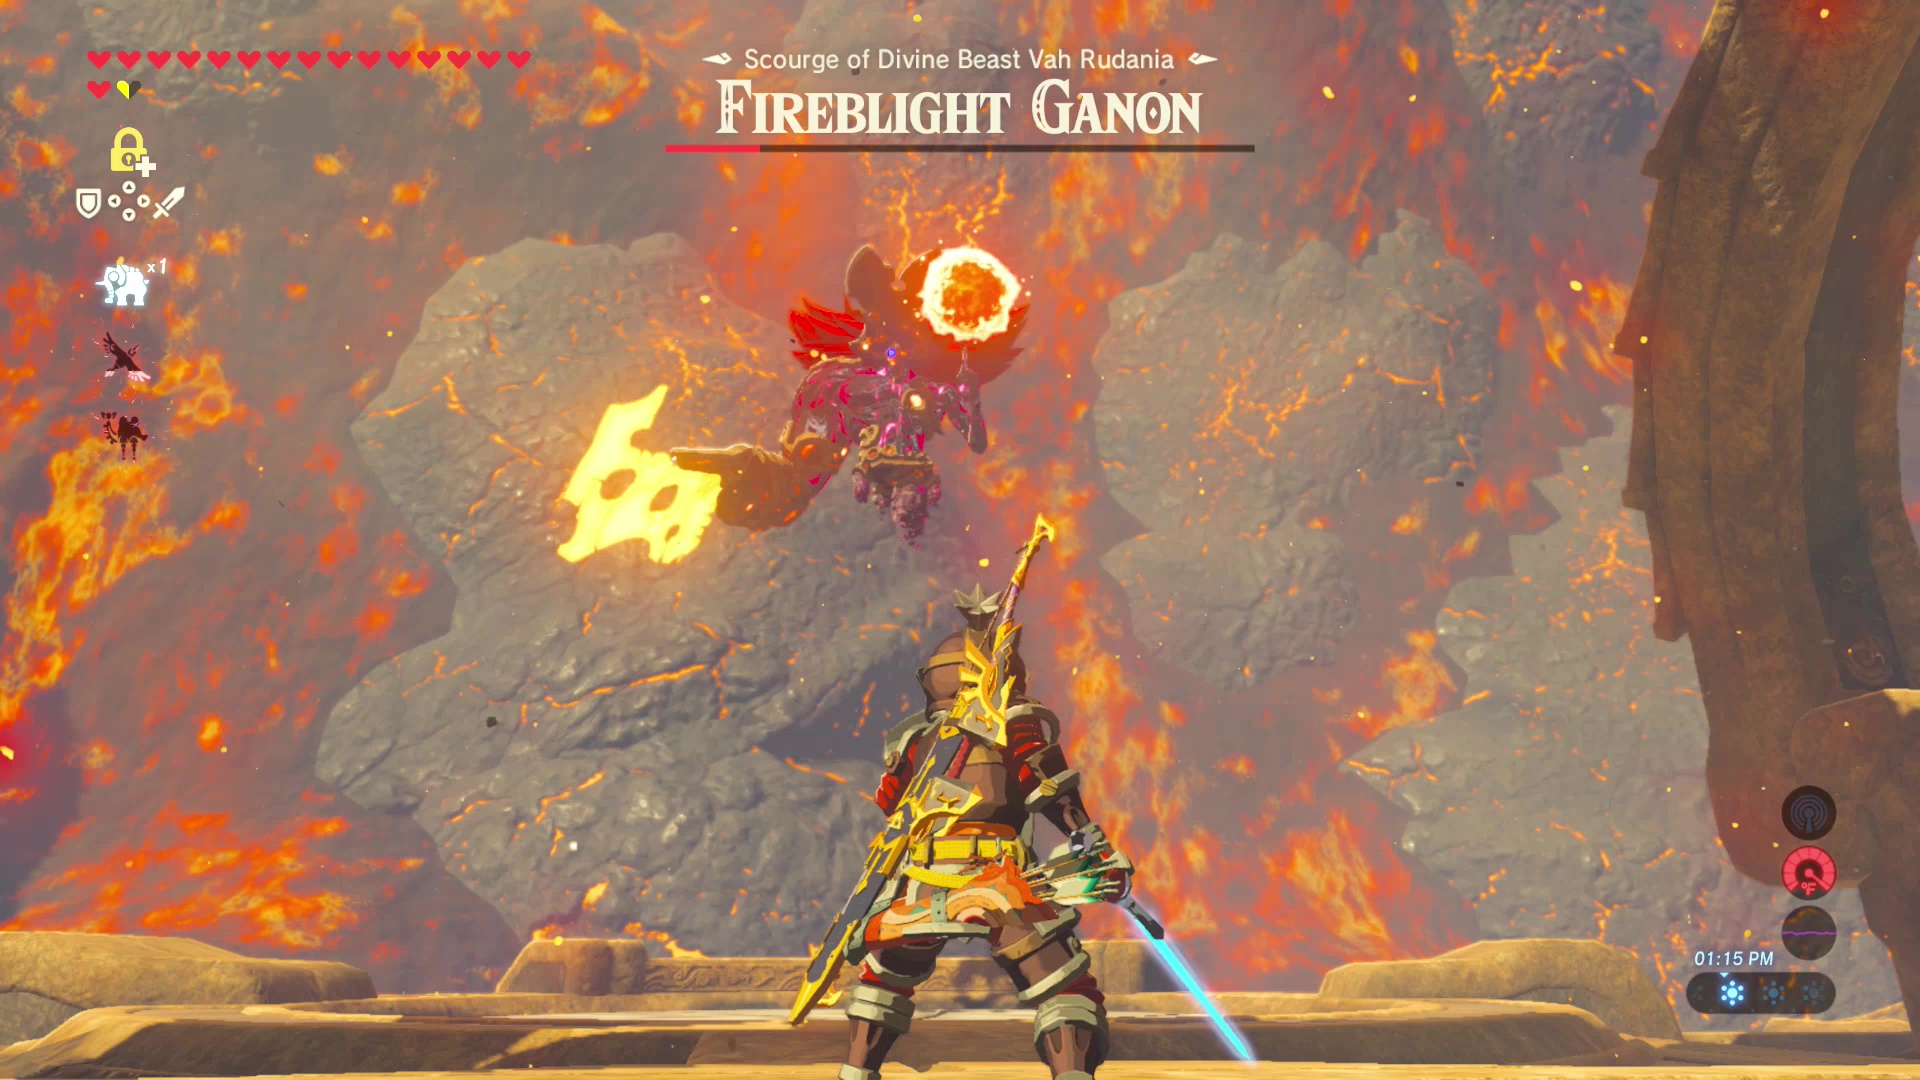
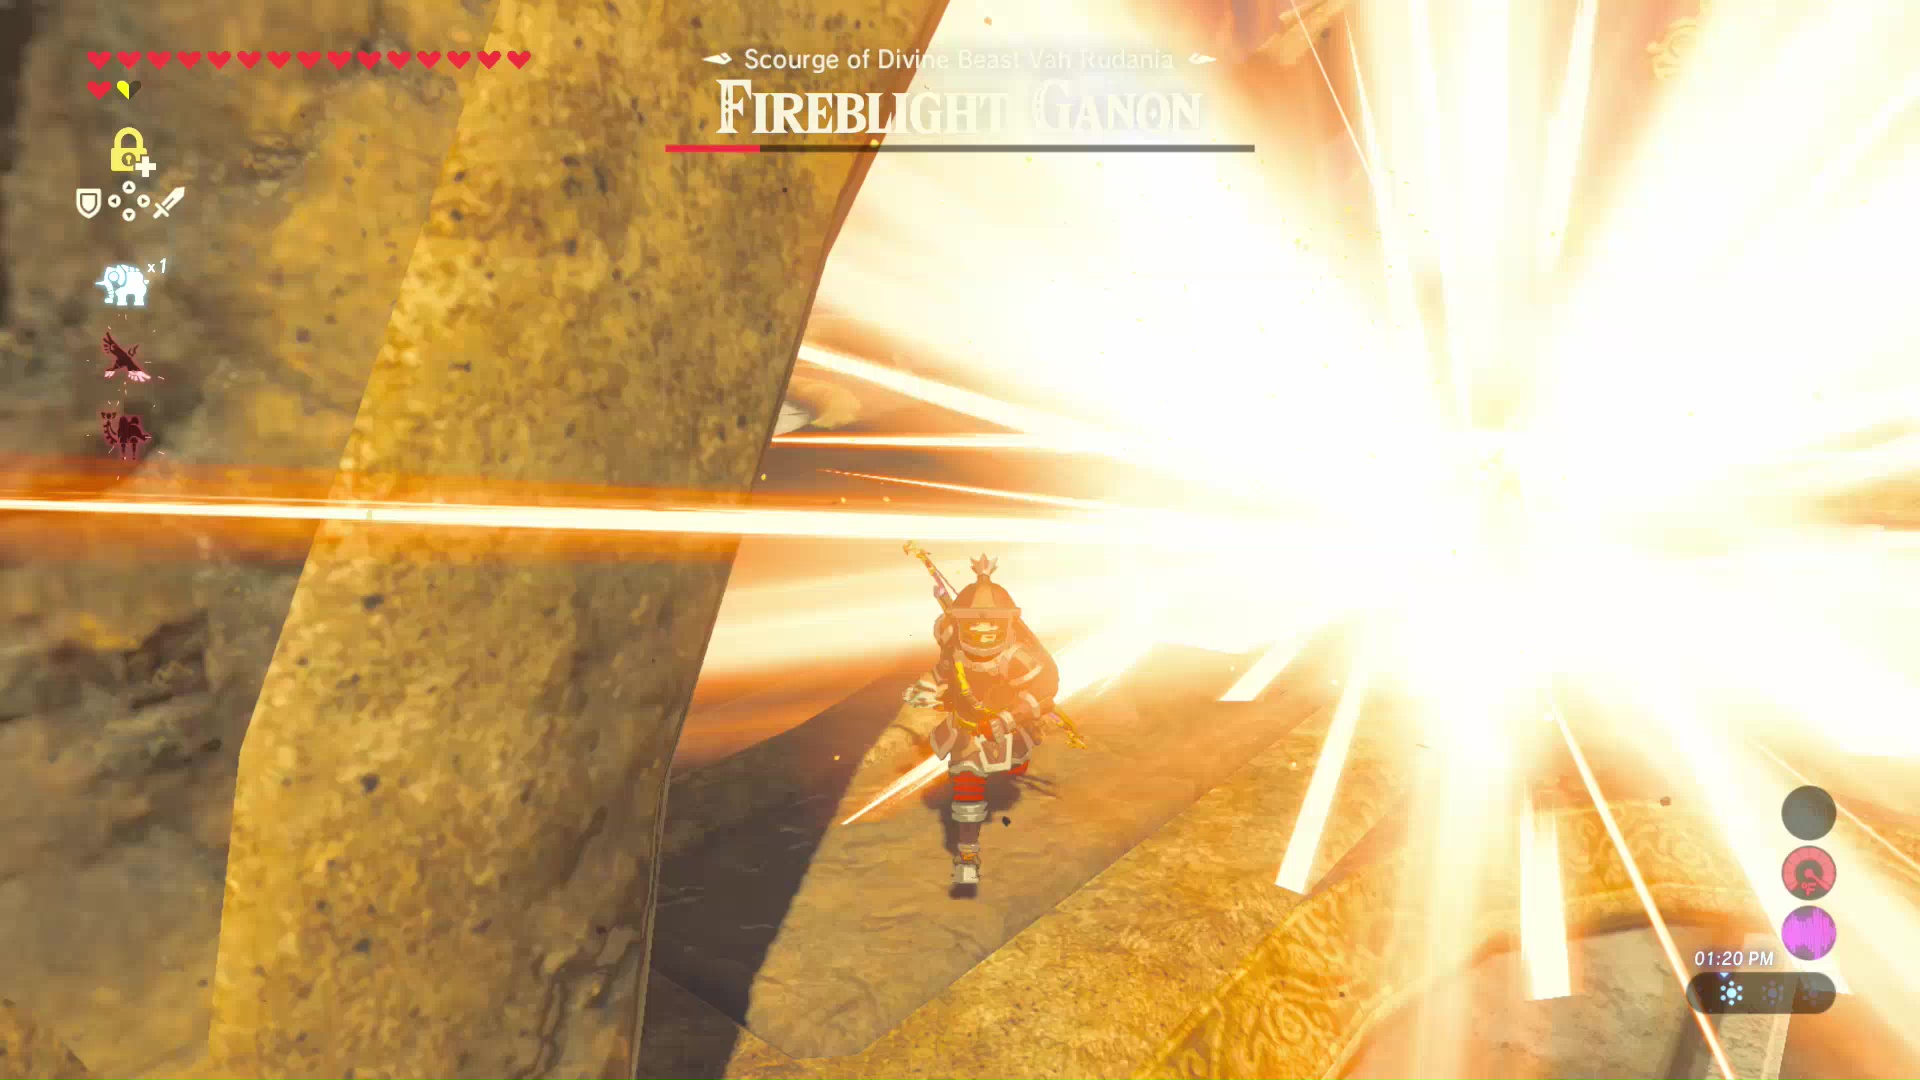
As Fireblight Ganon’s HP is reduced further, he will teleport away and attacking with a giant fireball. This ball moves slowly, but once it hits the ground it will cause a huge explosion. He will also use the same laser attack as the other guardians. Keep attacking with your bow and arrow until Fireblight Ganon is defeated.
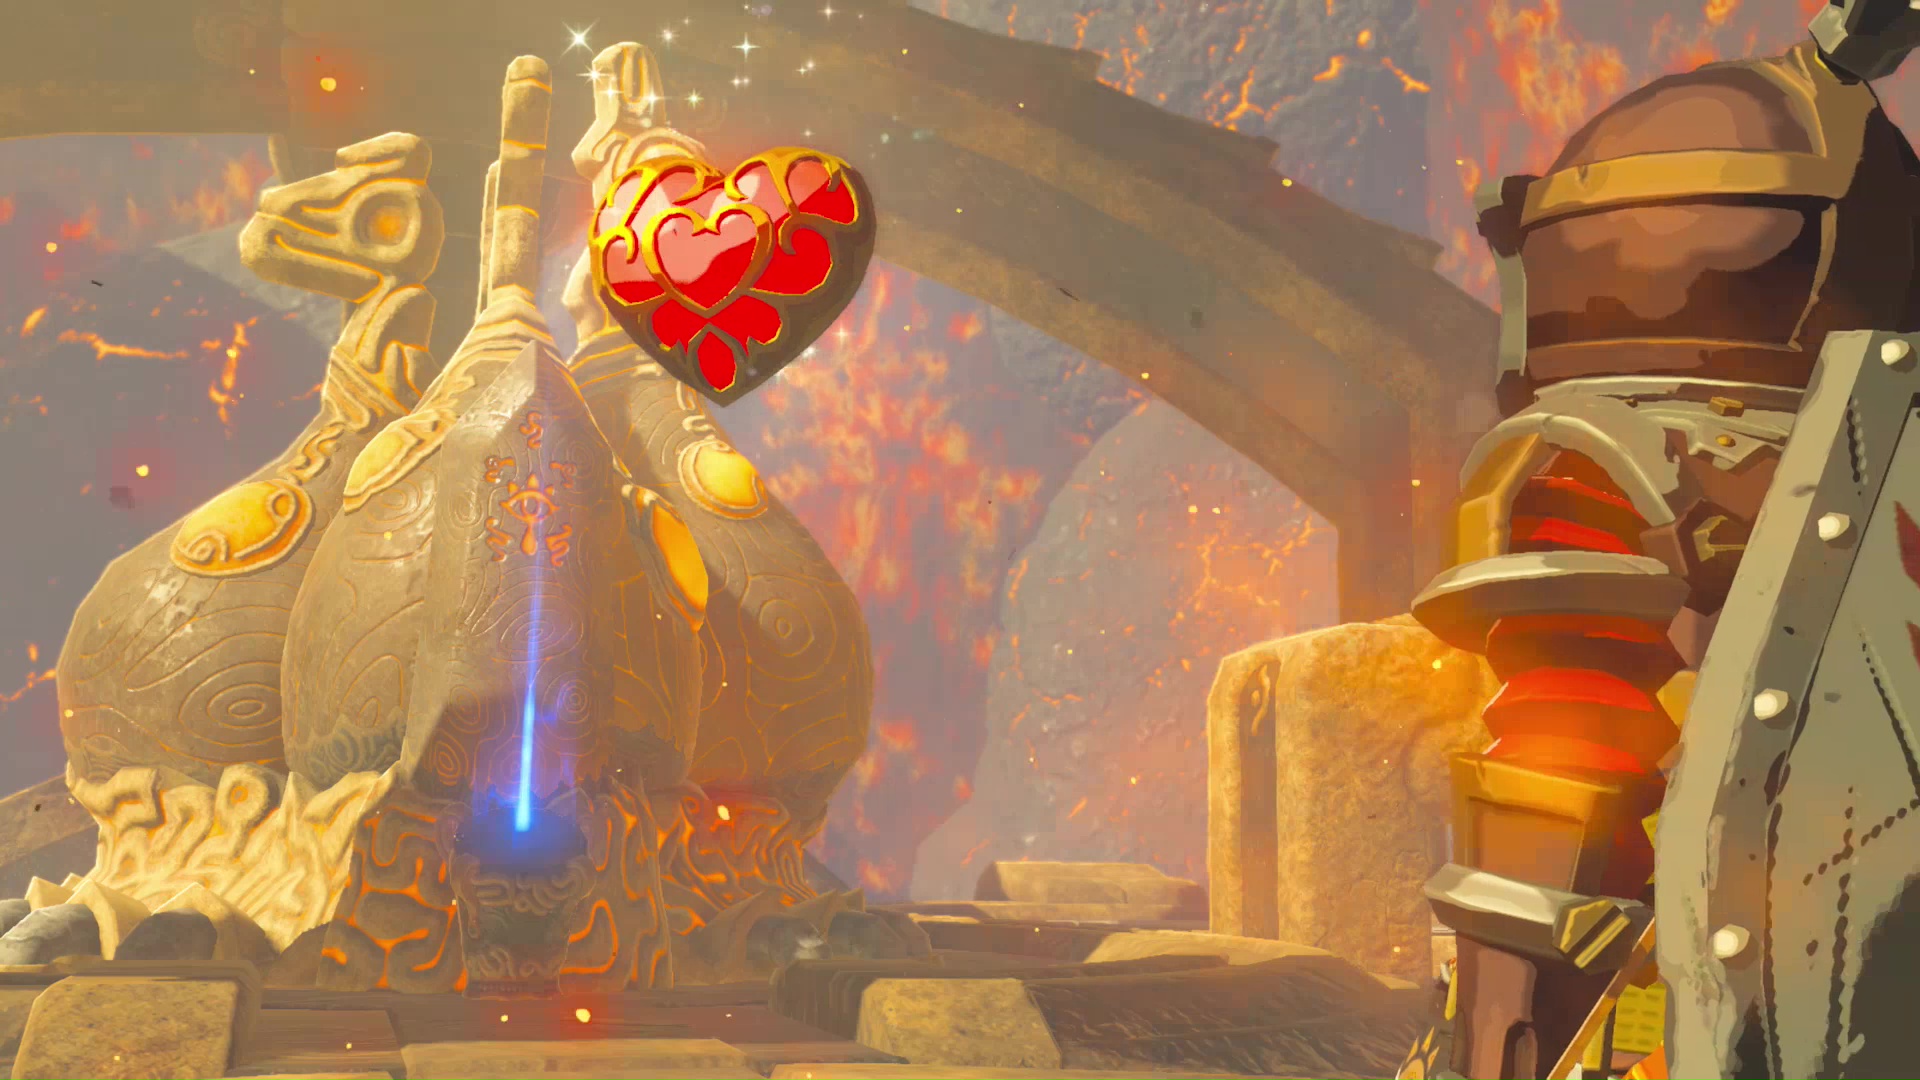
A Heart Container will be your reward. Interact with the main control terminal to play a scene where you earn the Champion Power Daruk’s Protection. This will allow you to block any attack three times a day. You will exit Vah Rudania at the end of the scene and return to Goron City.
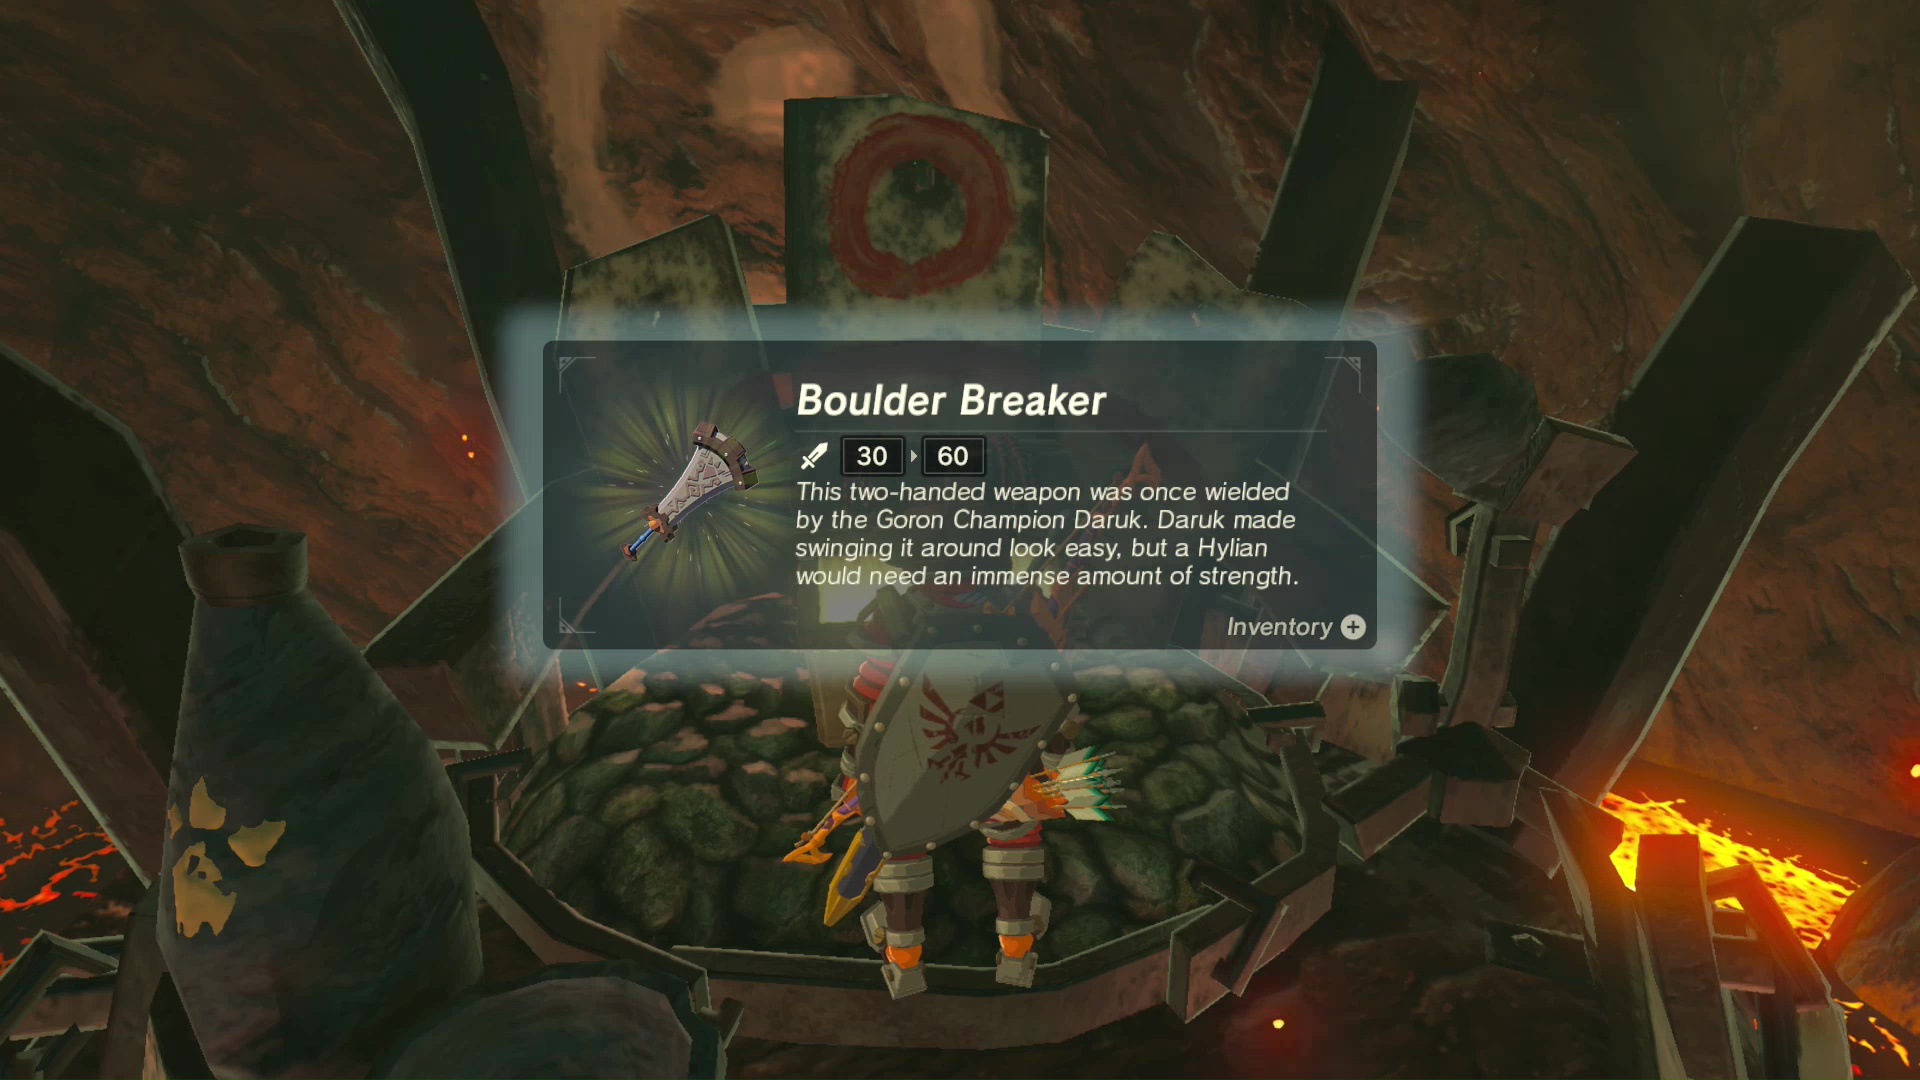
Walk a few steps forward to speak with Yunobo. After the chat, walk to the back of Goron City to speak with Bludo. He will thank you and reward you with a special weapon. Enter Bludo’s home and open the treasure chest to obtain the Boulder Breaker.