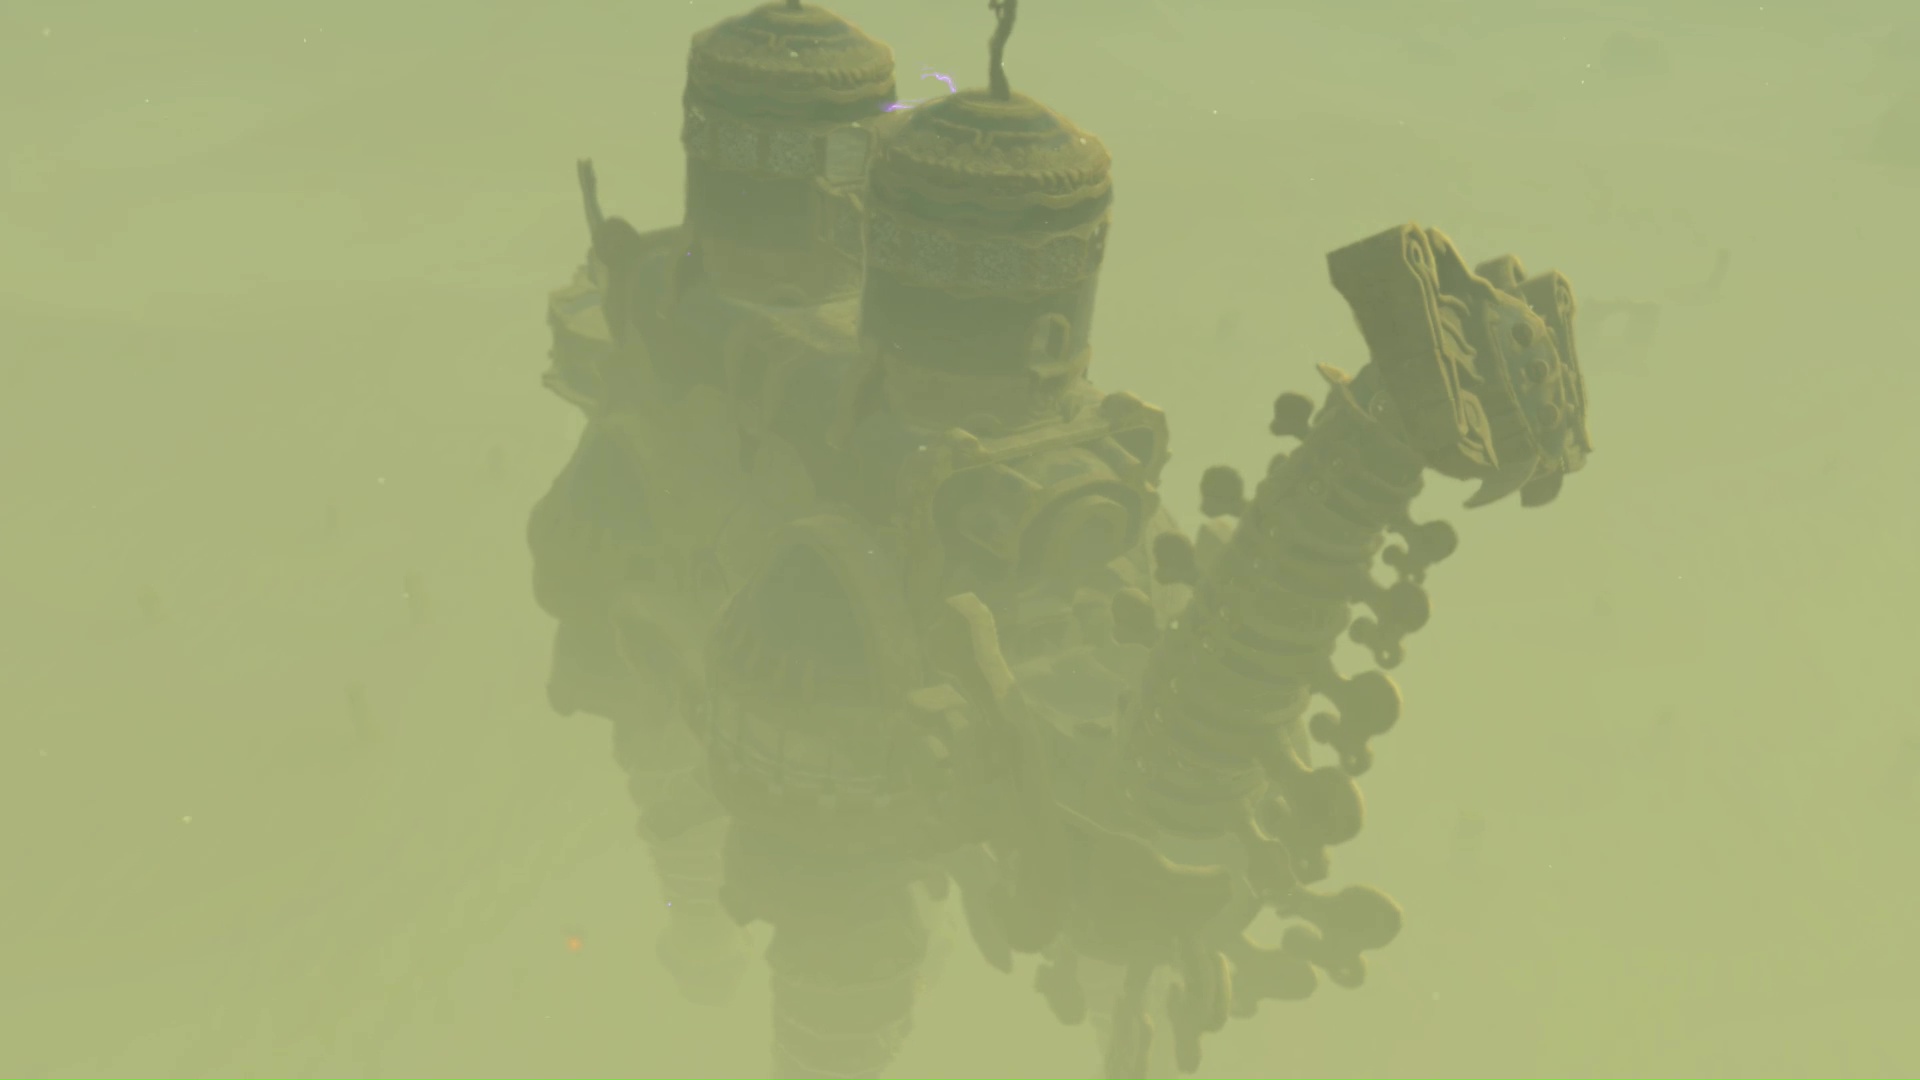
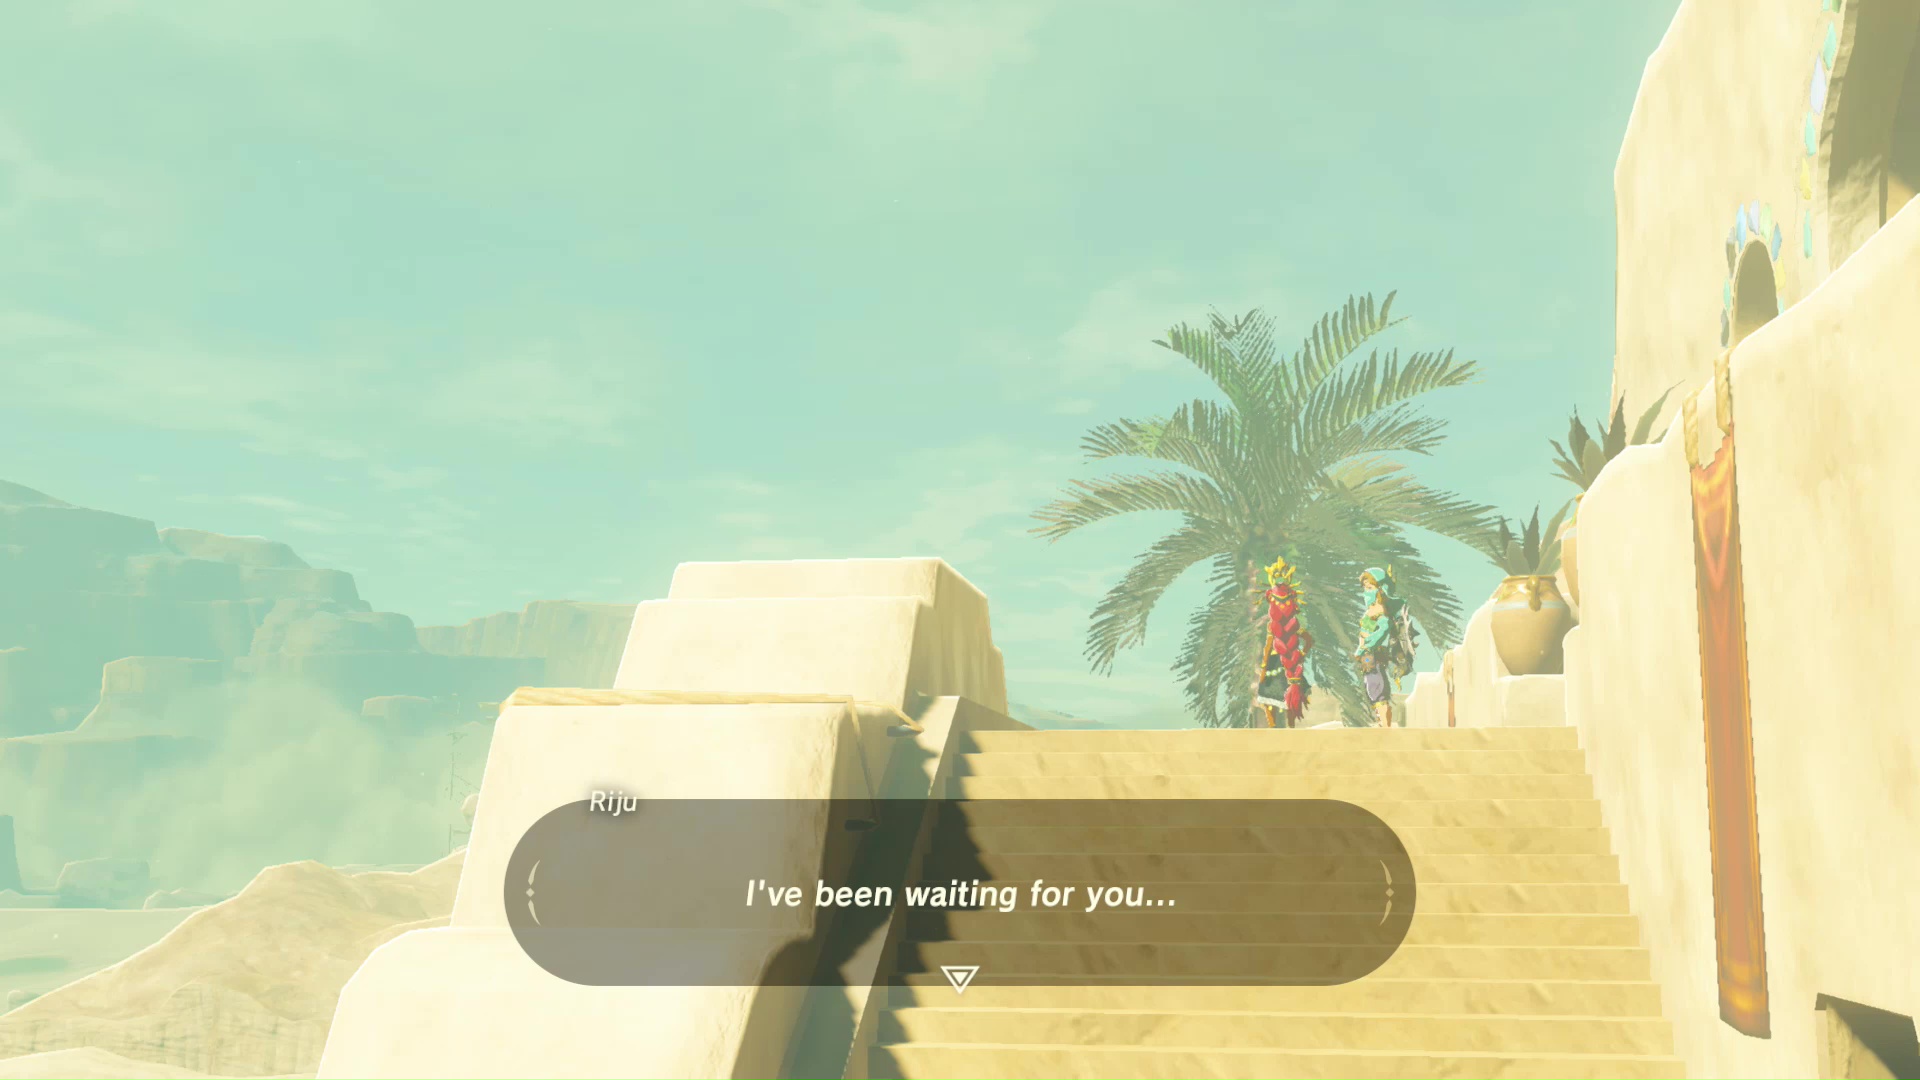
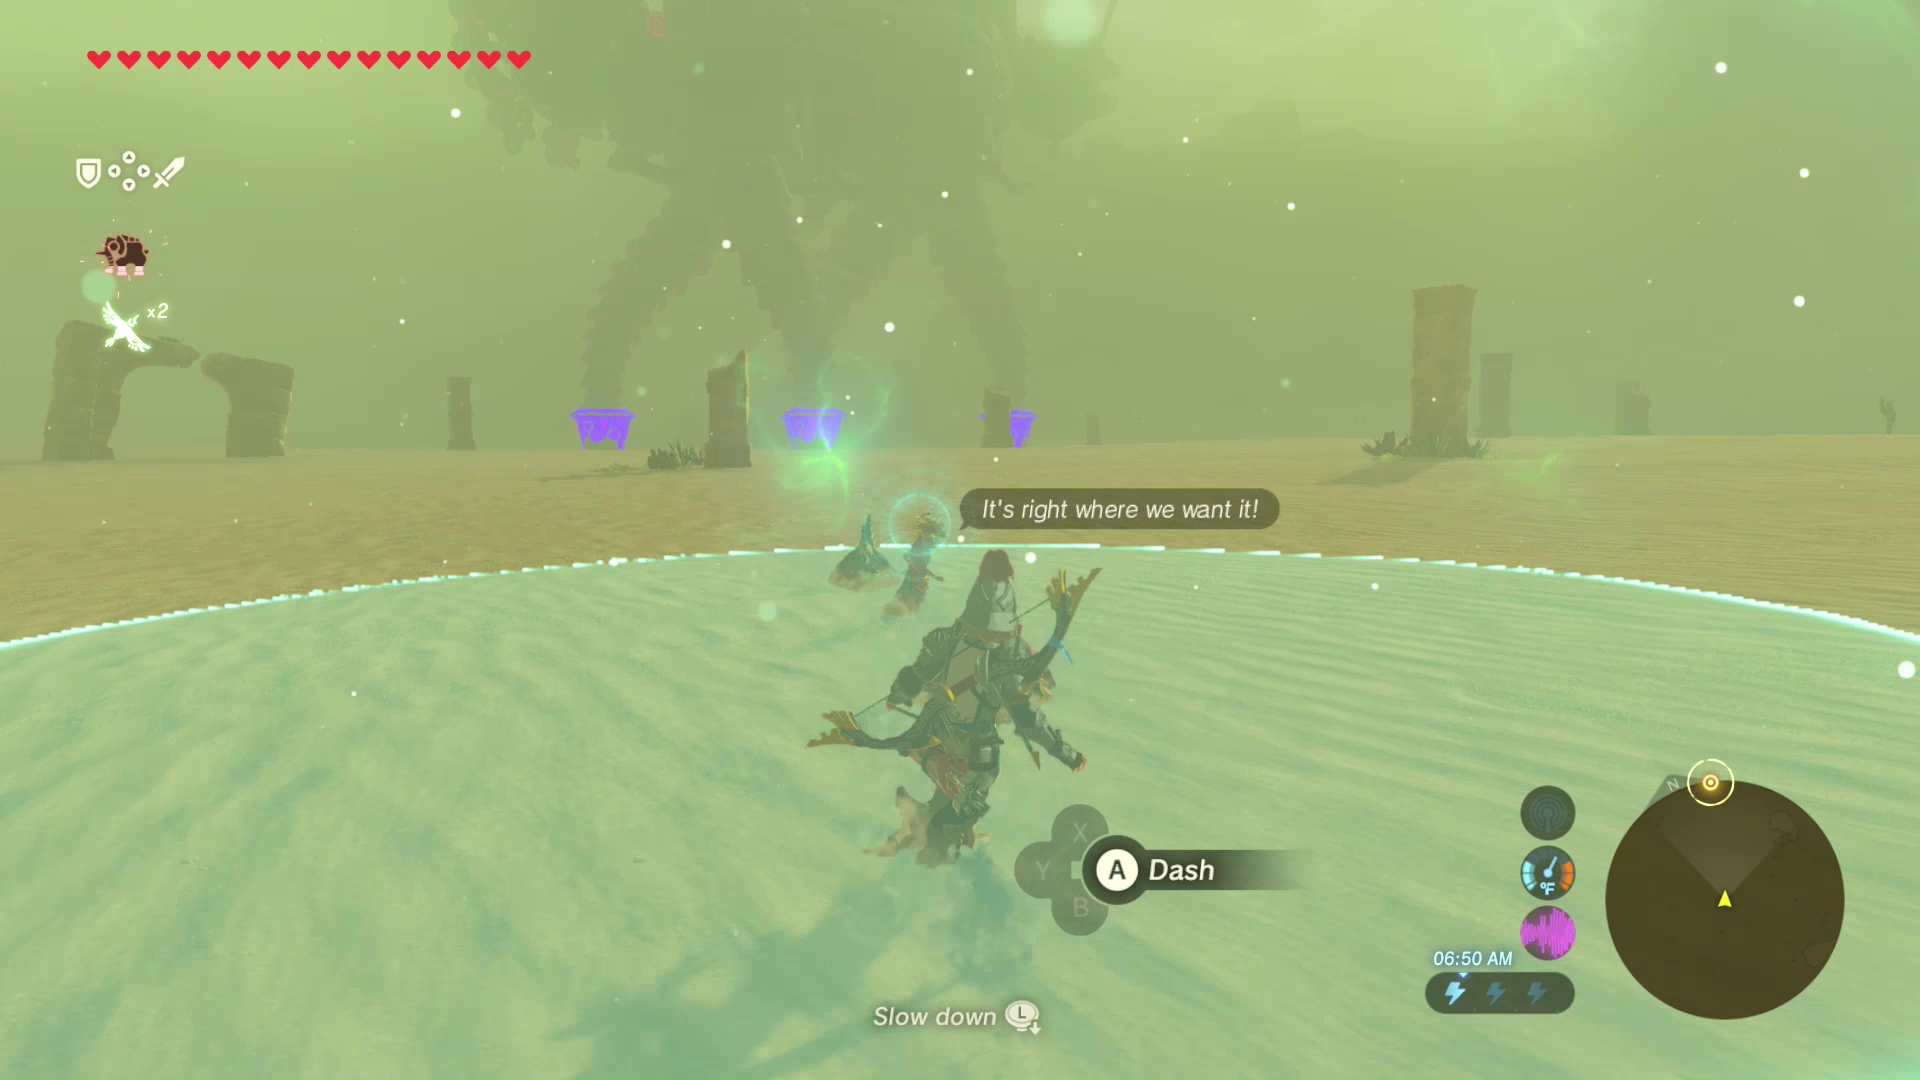
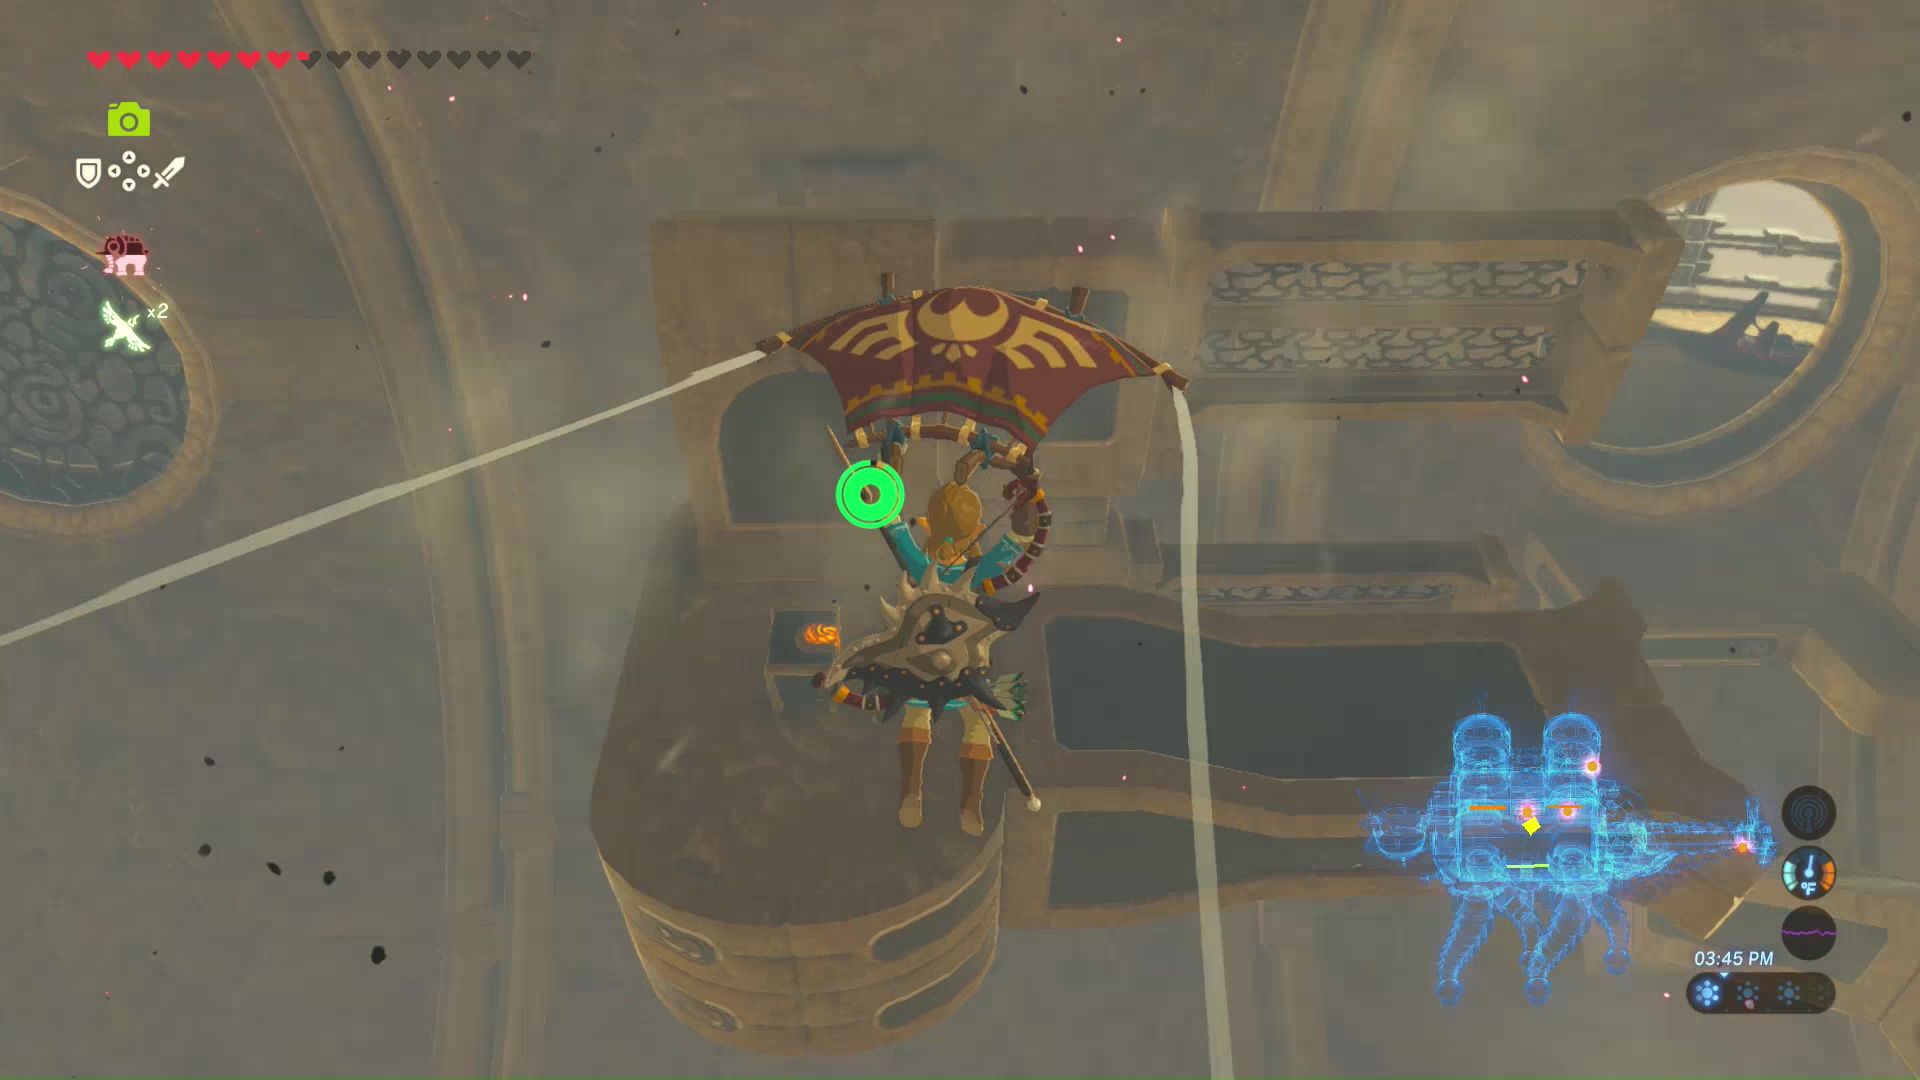
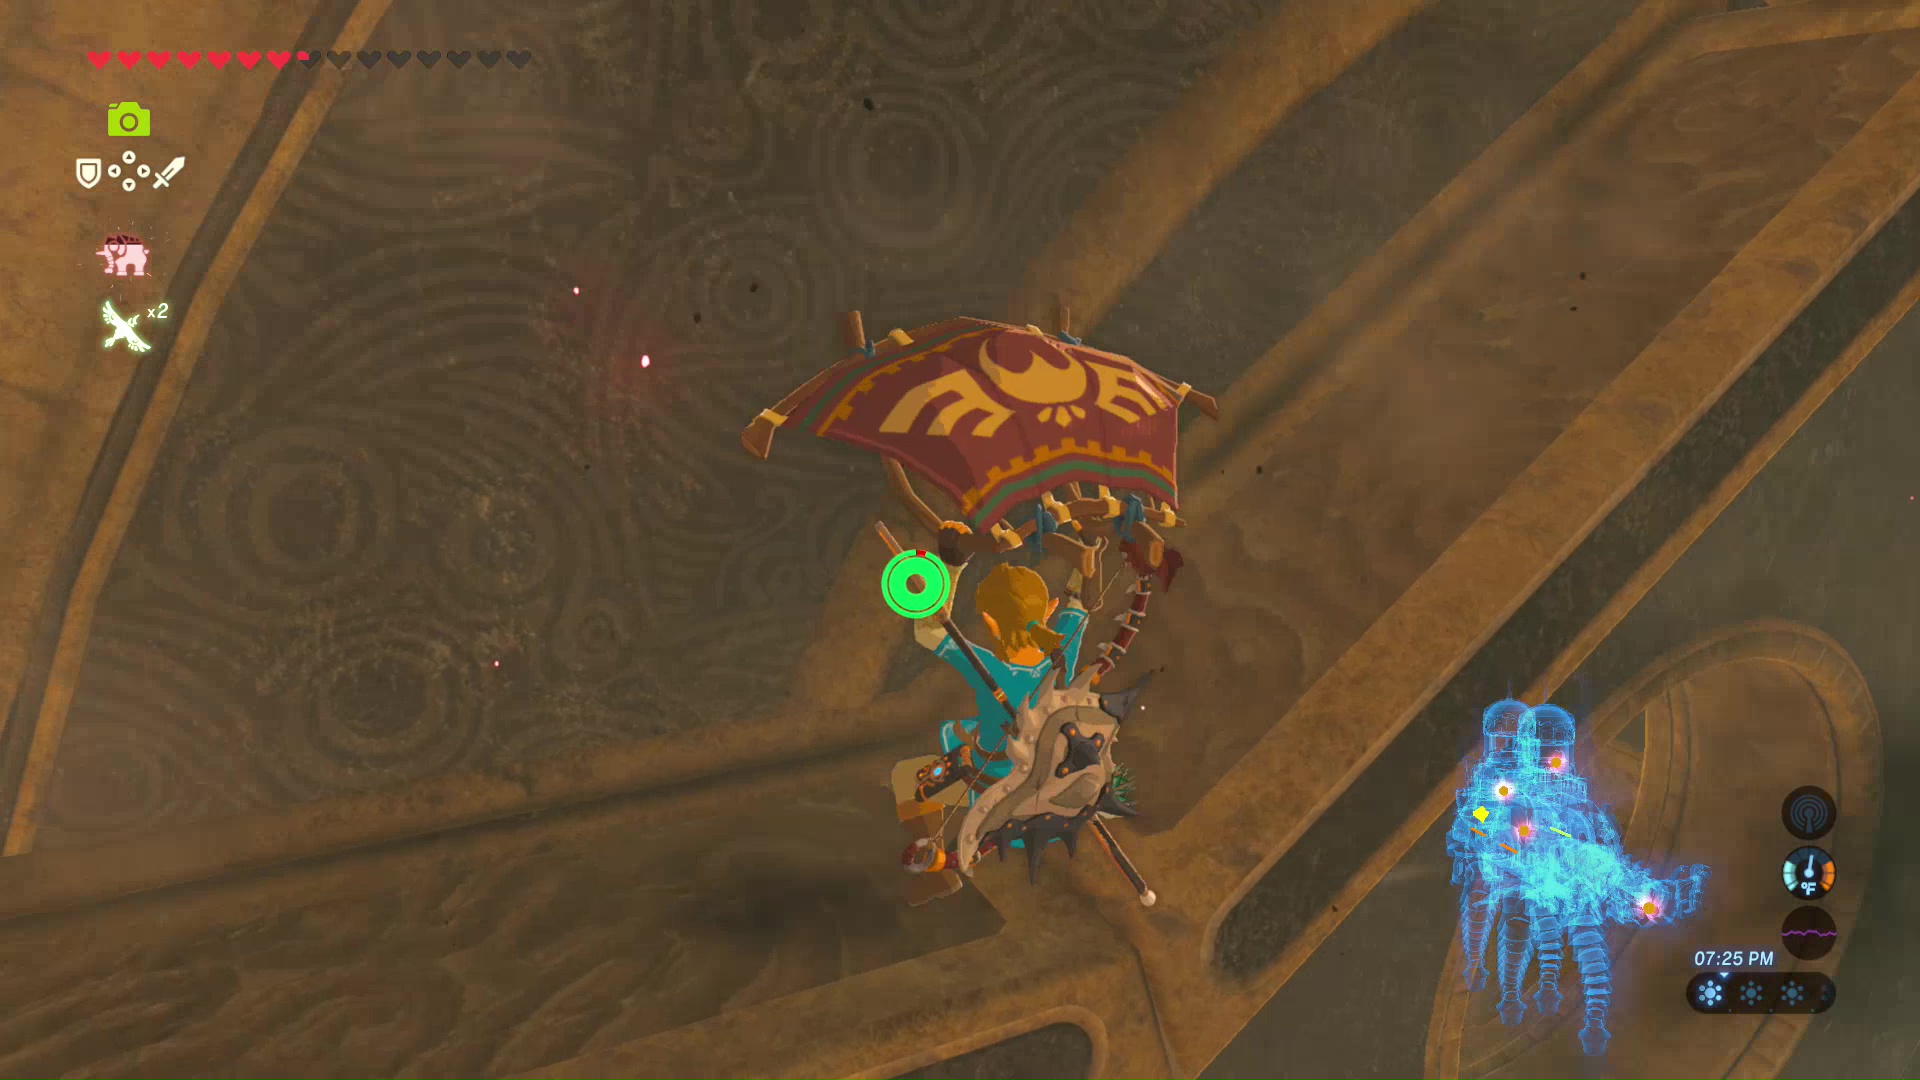
Divine Beast Vah Naboris is located in the Gerudo Desert. You can enter the machine after securing the stolen Thunder Helm for Gerudo Chief Riju. You can find her on the balcony of her palace after returning from the Yiga Clan Hideout. After a cut scene, she will tell you to meet her at the lookout post south of Gerudo Town. Follow the marker to rent a sand seal to take you to the lookout post. Make sure you have shock resistant elixirs and healing potions before setting out.
Reaching Vah Naboris
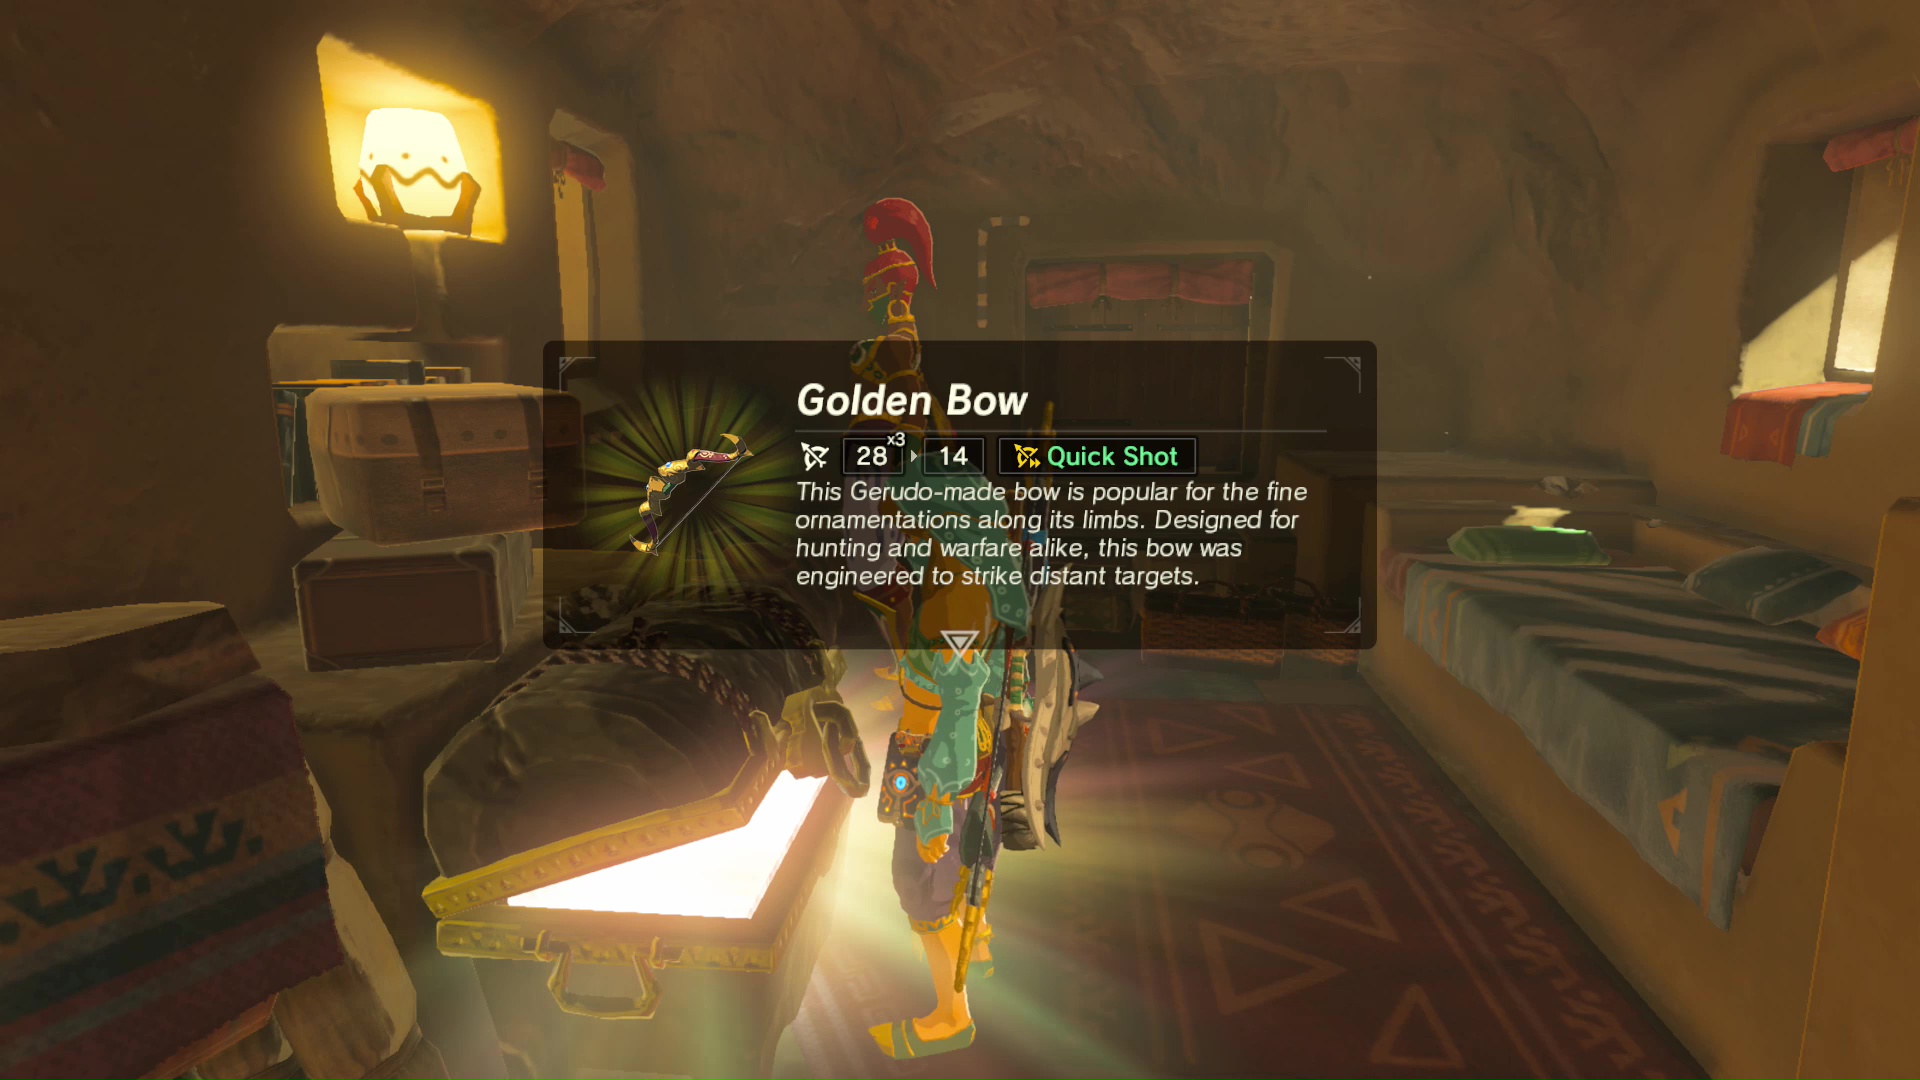
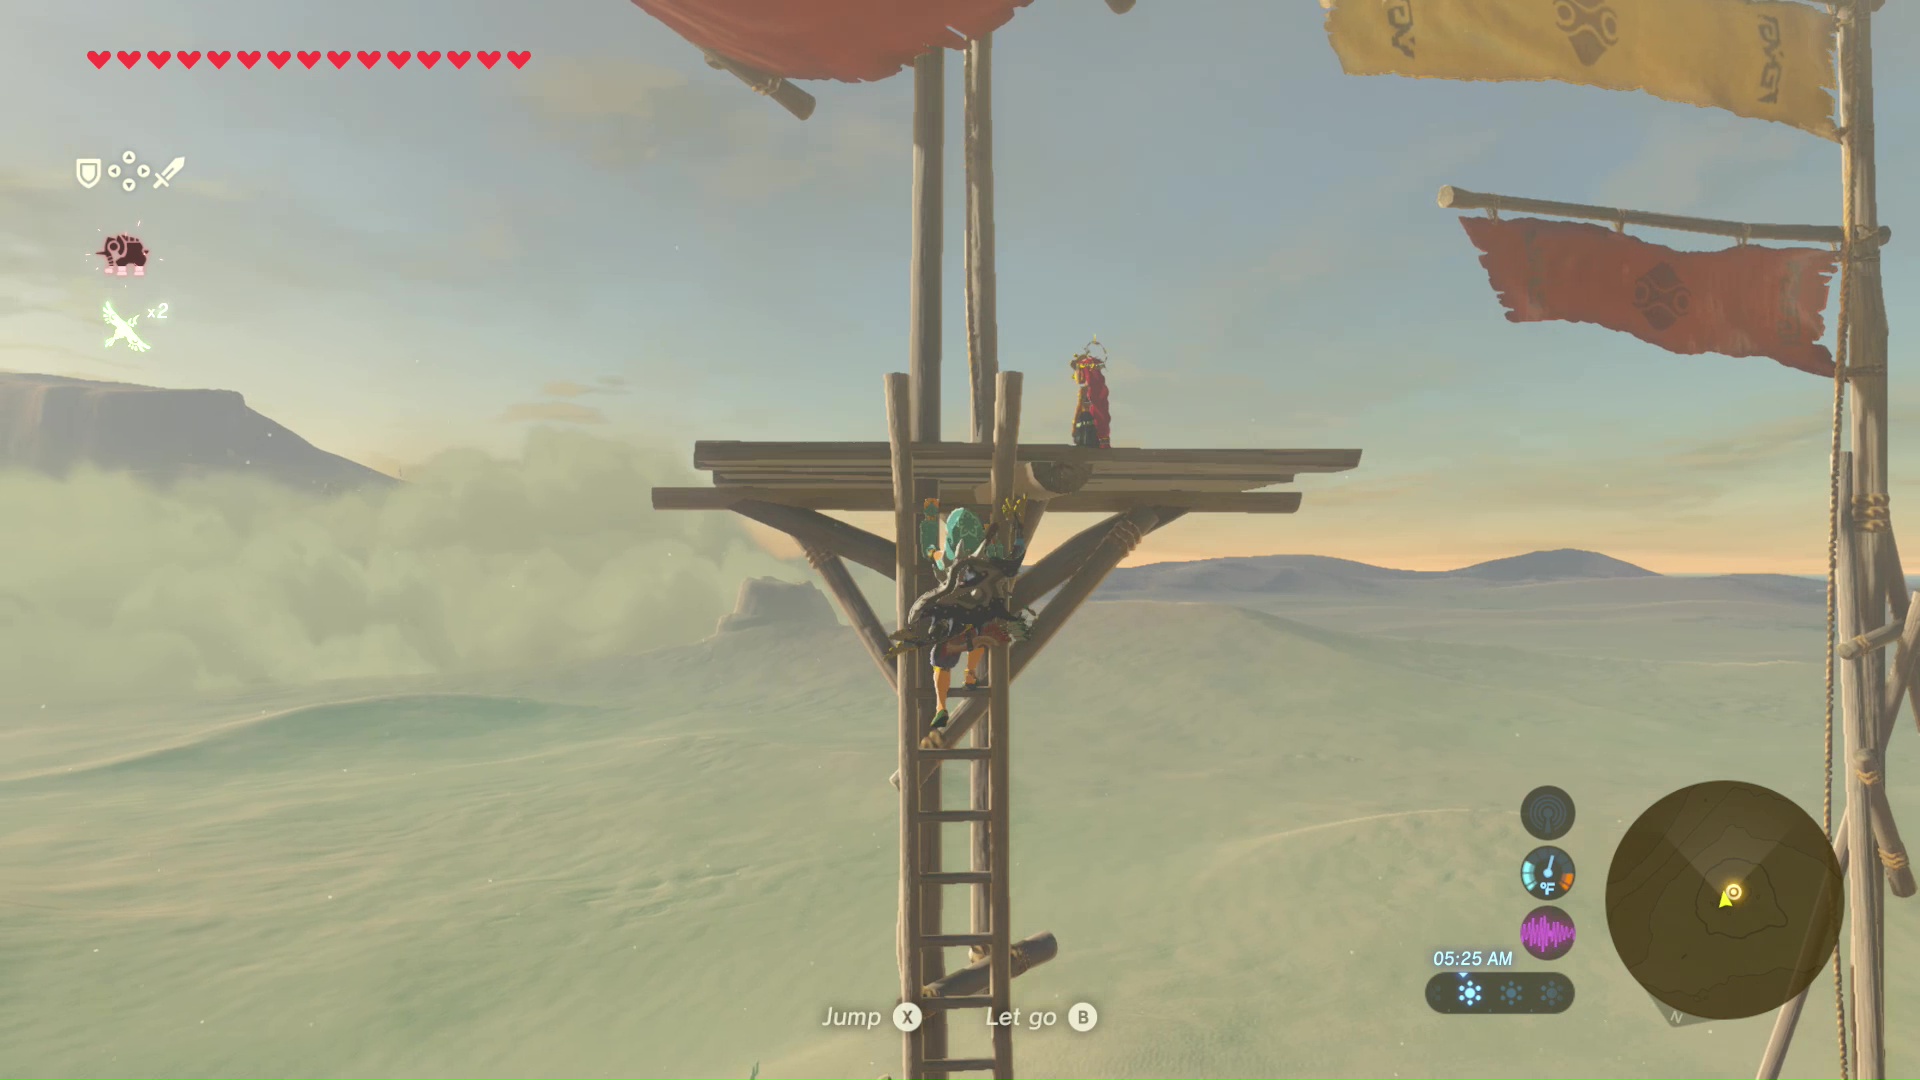
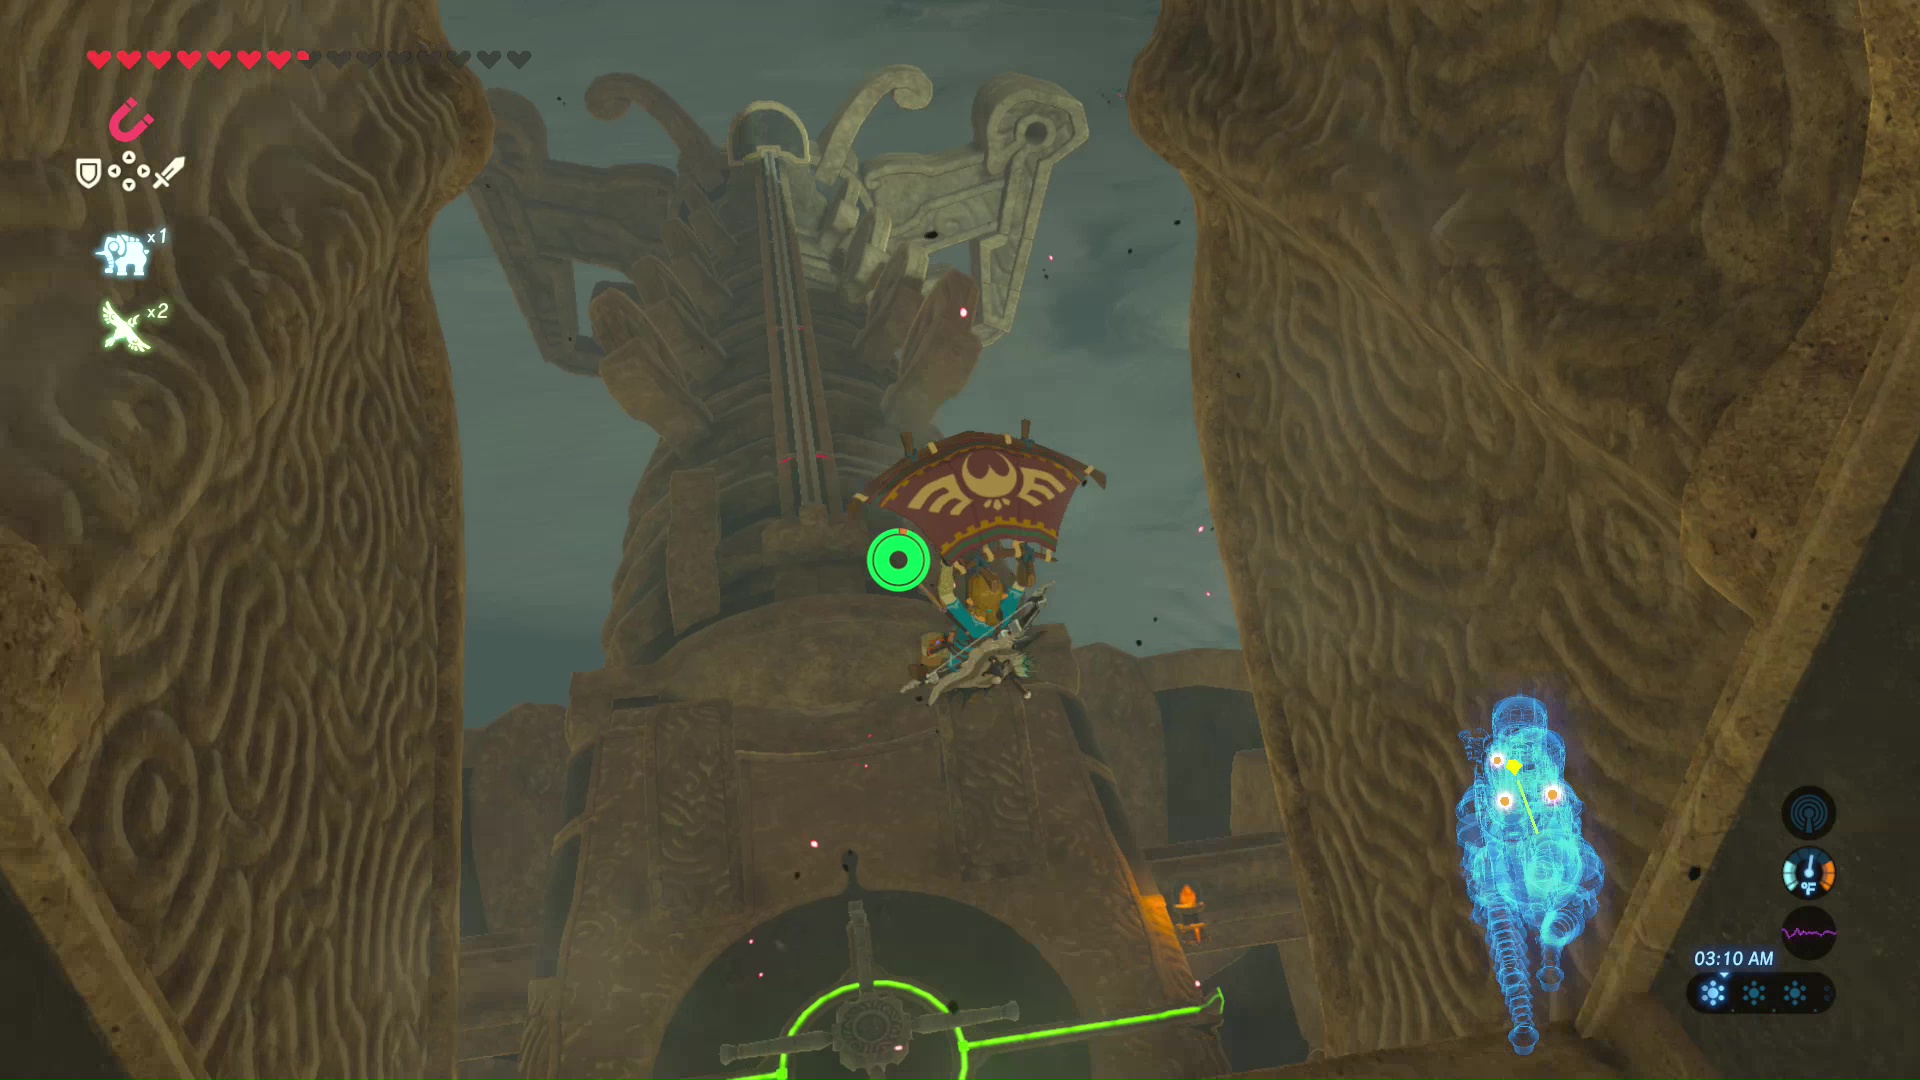
Inside the lookout post is a treasure chest with a Golden Bow. There’s also a bed where you can rest for free. Climb the ladders to the top of the lookout post to find Riju. Speak with her to obtain a few Bomb Arrows. She will tell you that she is fully protected by lightning attacks, but you will have to remain near her to gain the same protection.
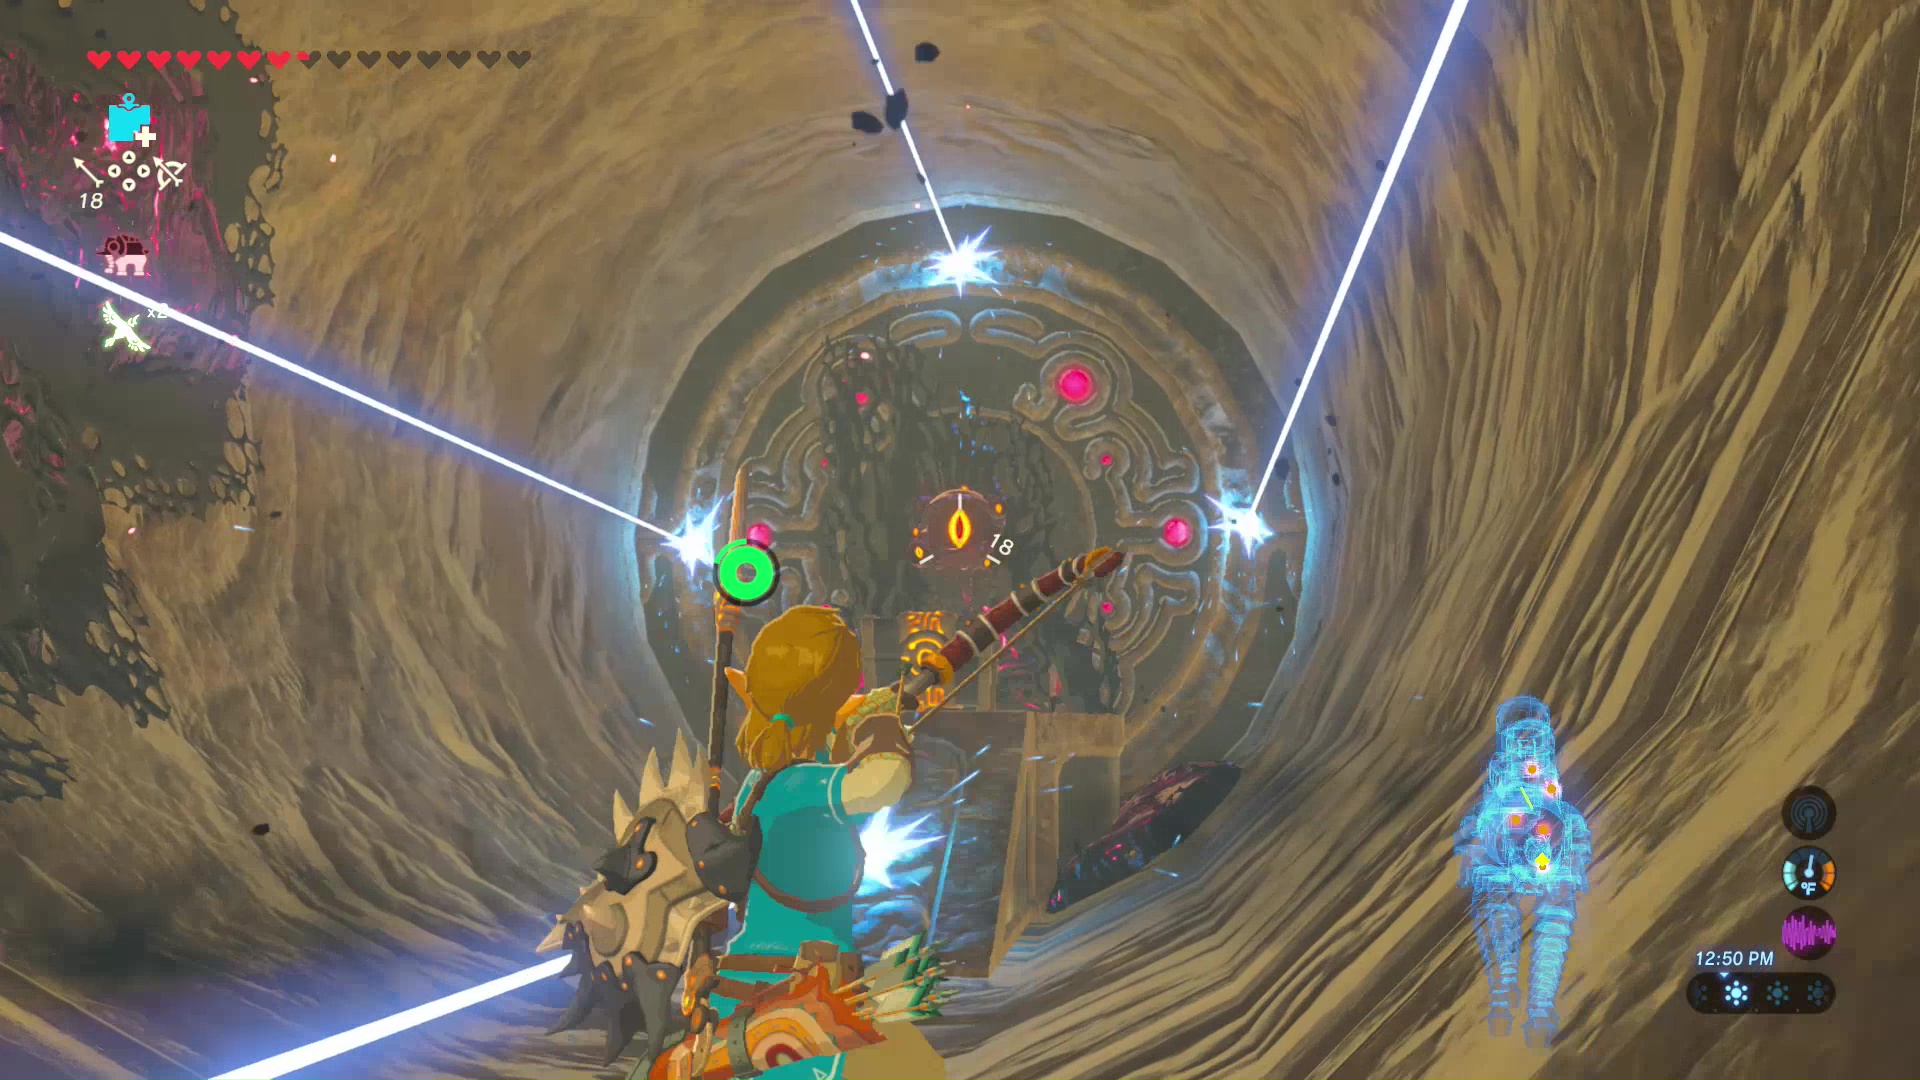
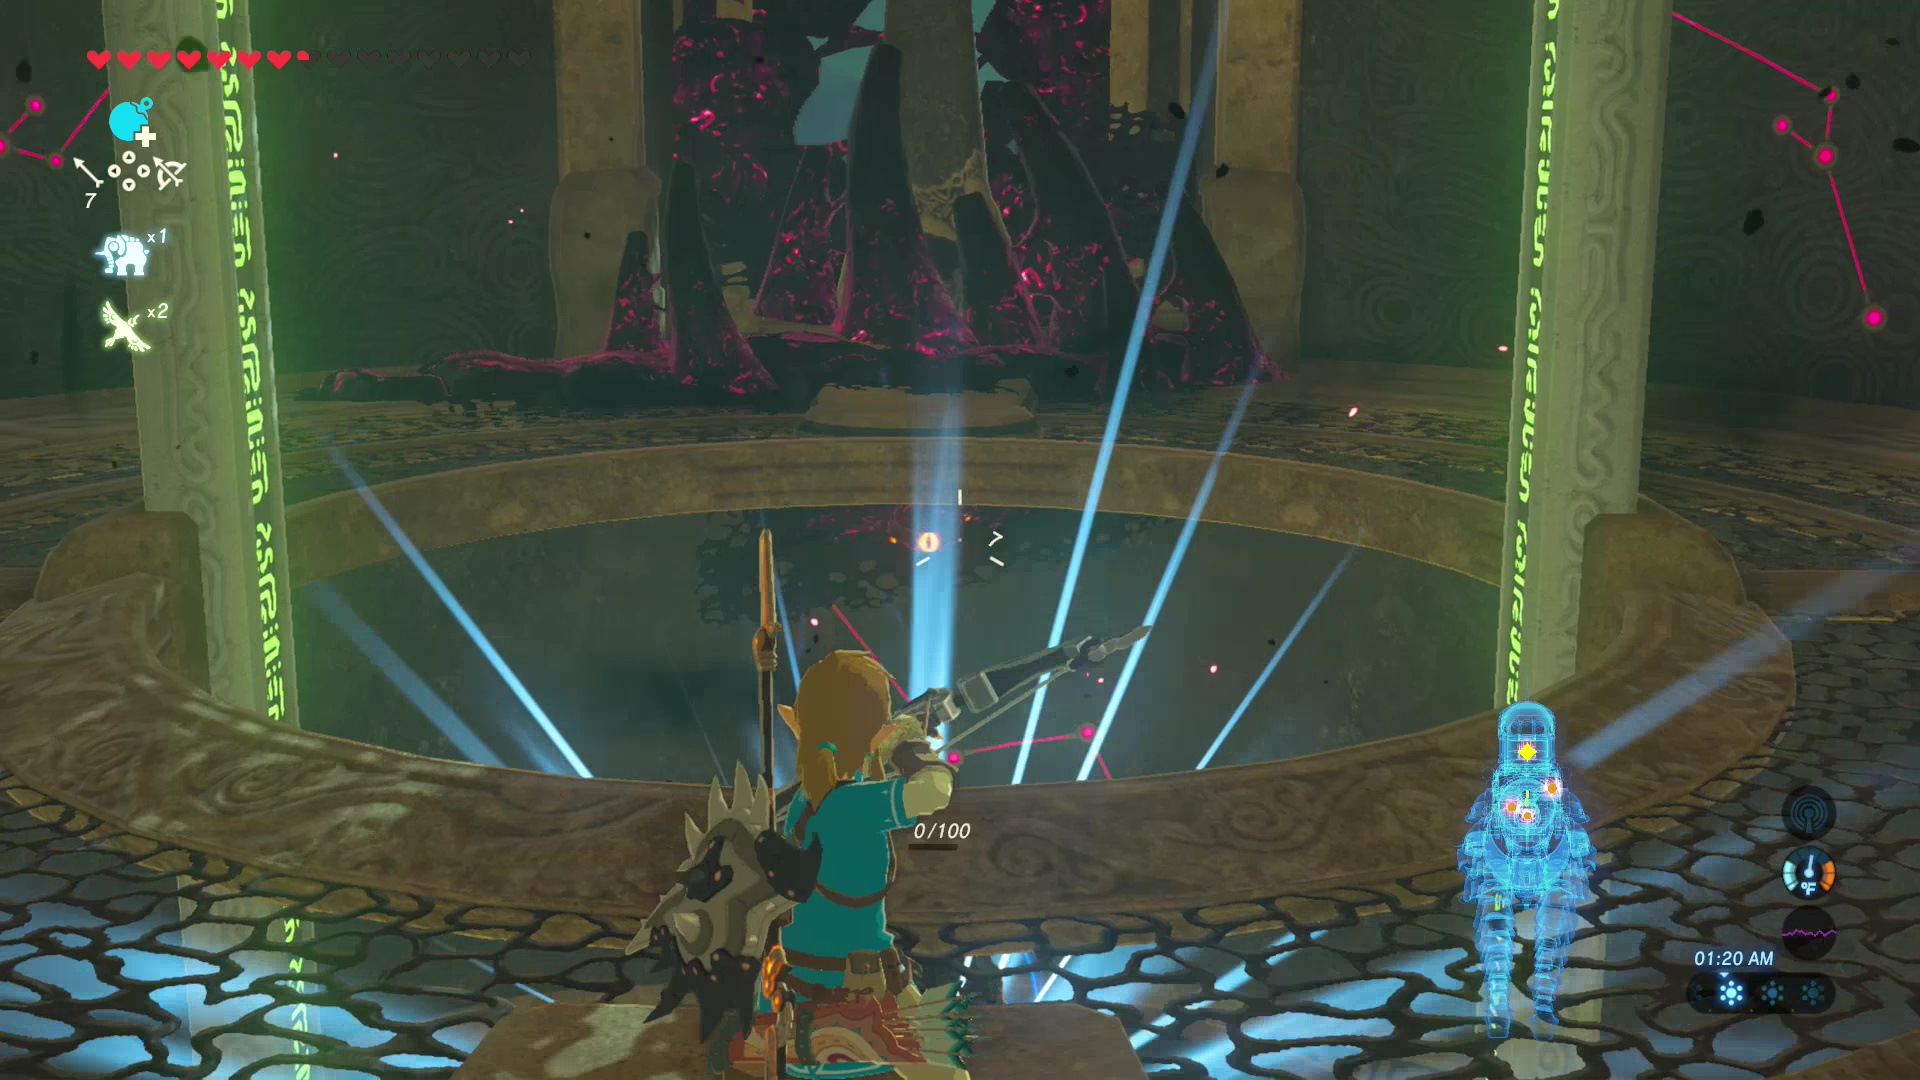
The goal is to shoot the glowing feet of Vah Naboris. Use the Gerudo Bomb Arrows to deal massive damage, but stay near Riju to stay protected from its electric attacks. These arrows won’t shoot far compared to regular arrows, so you may need to shoot upward if you are far away.
Vah Naboris
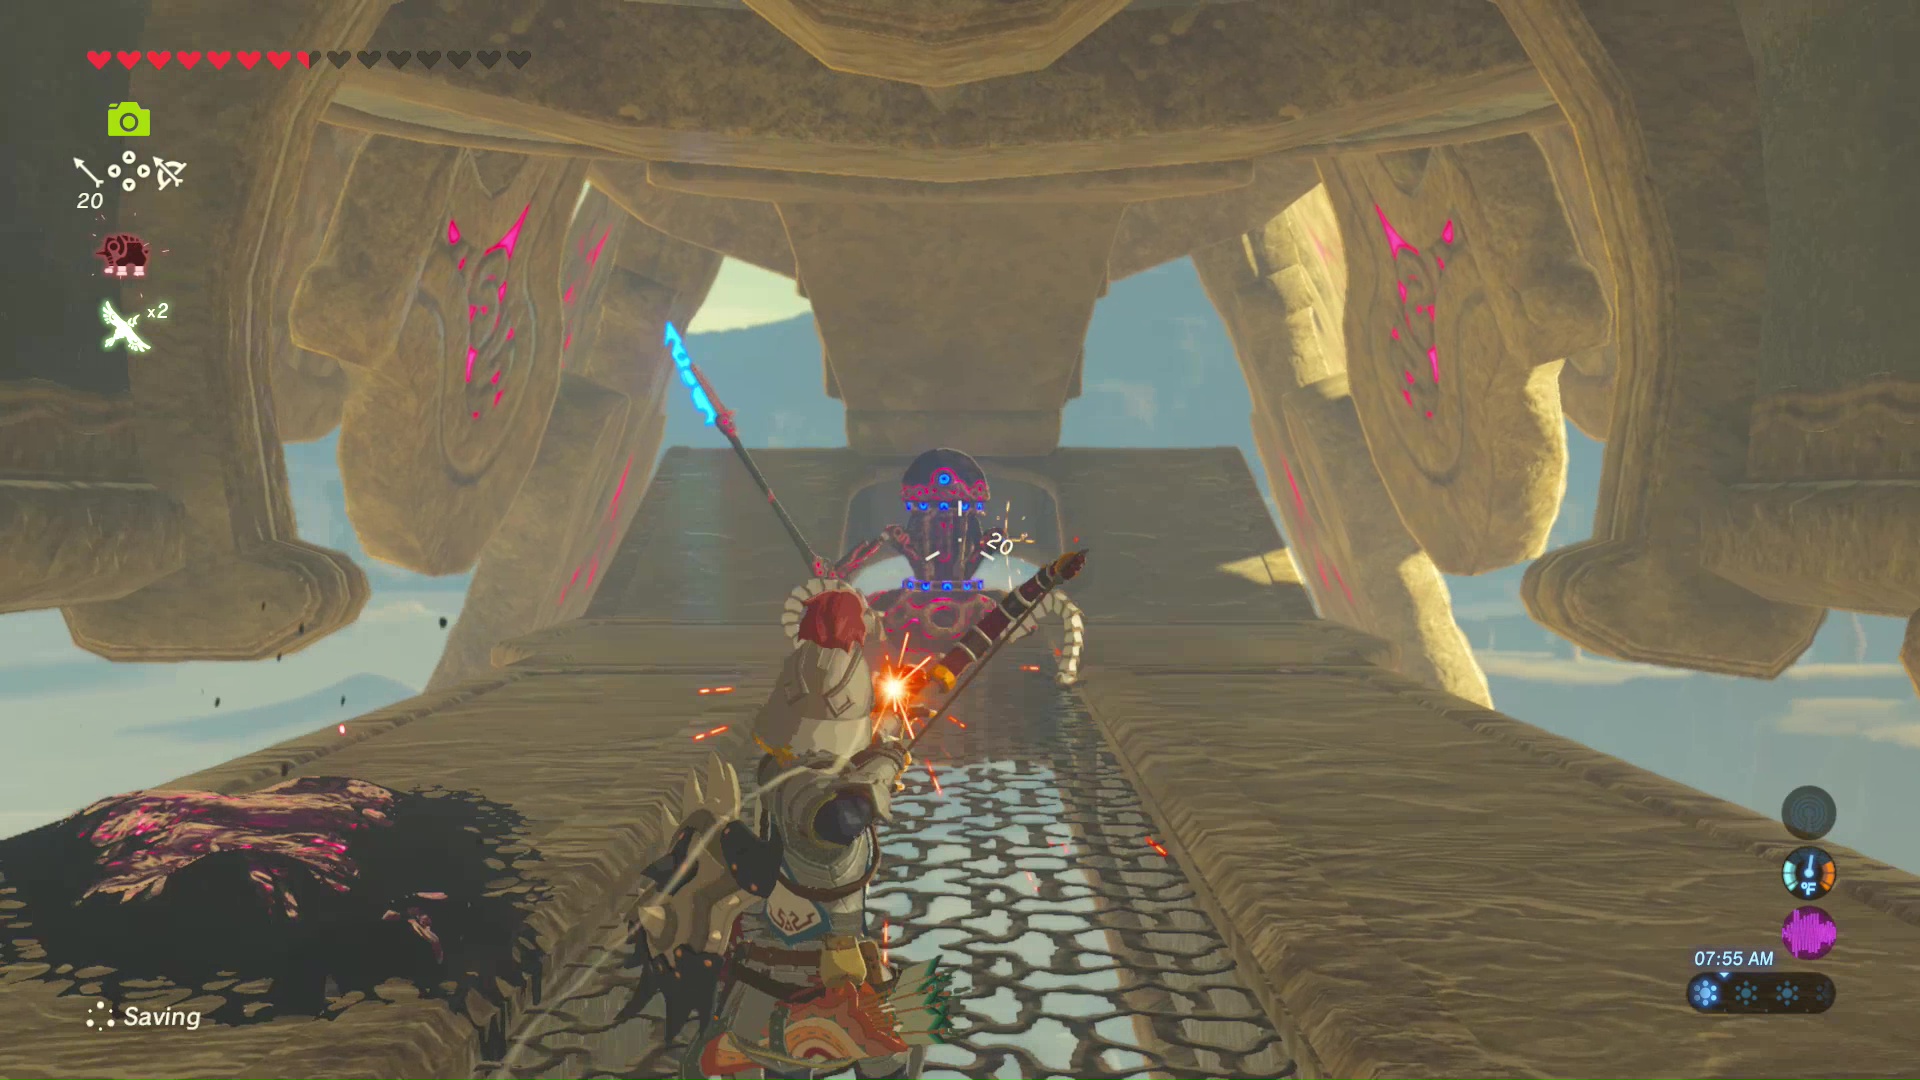
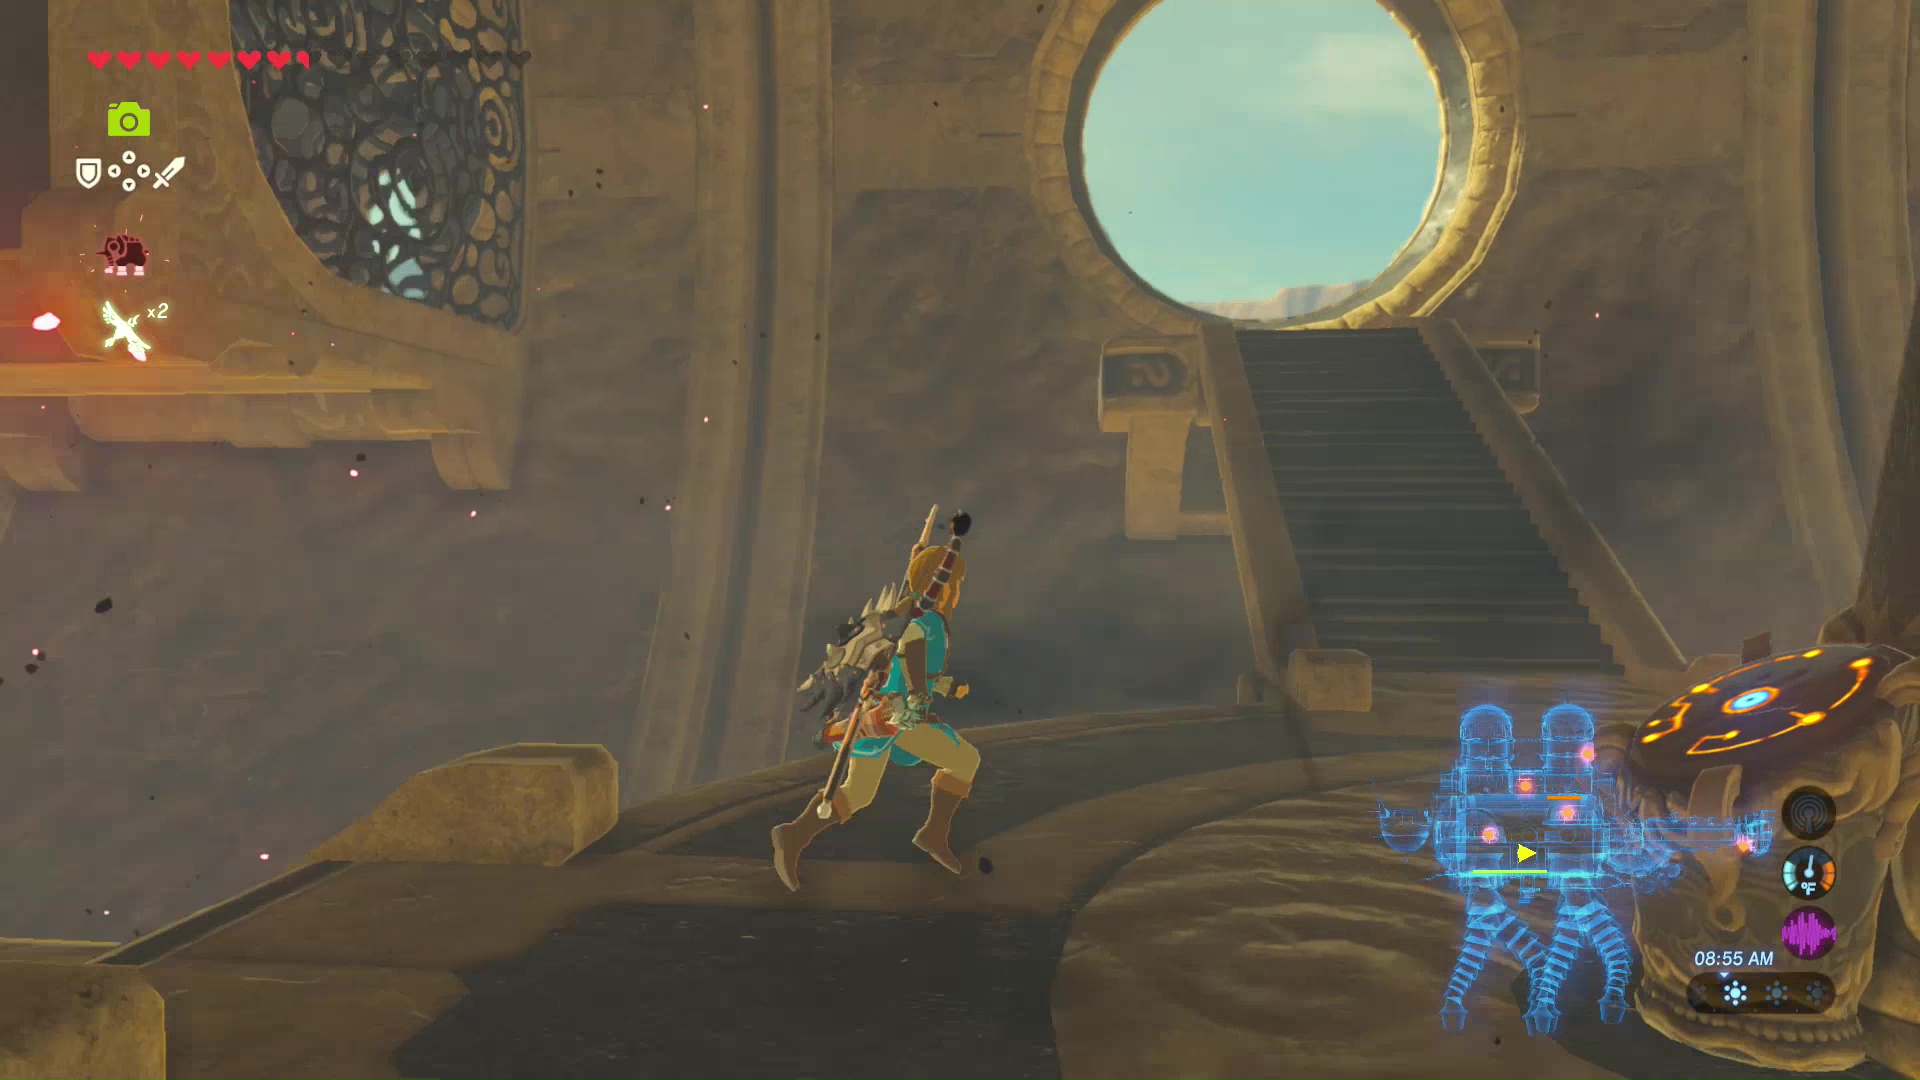
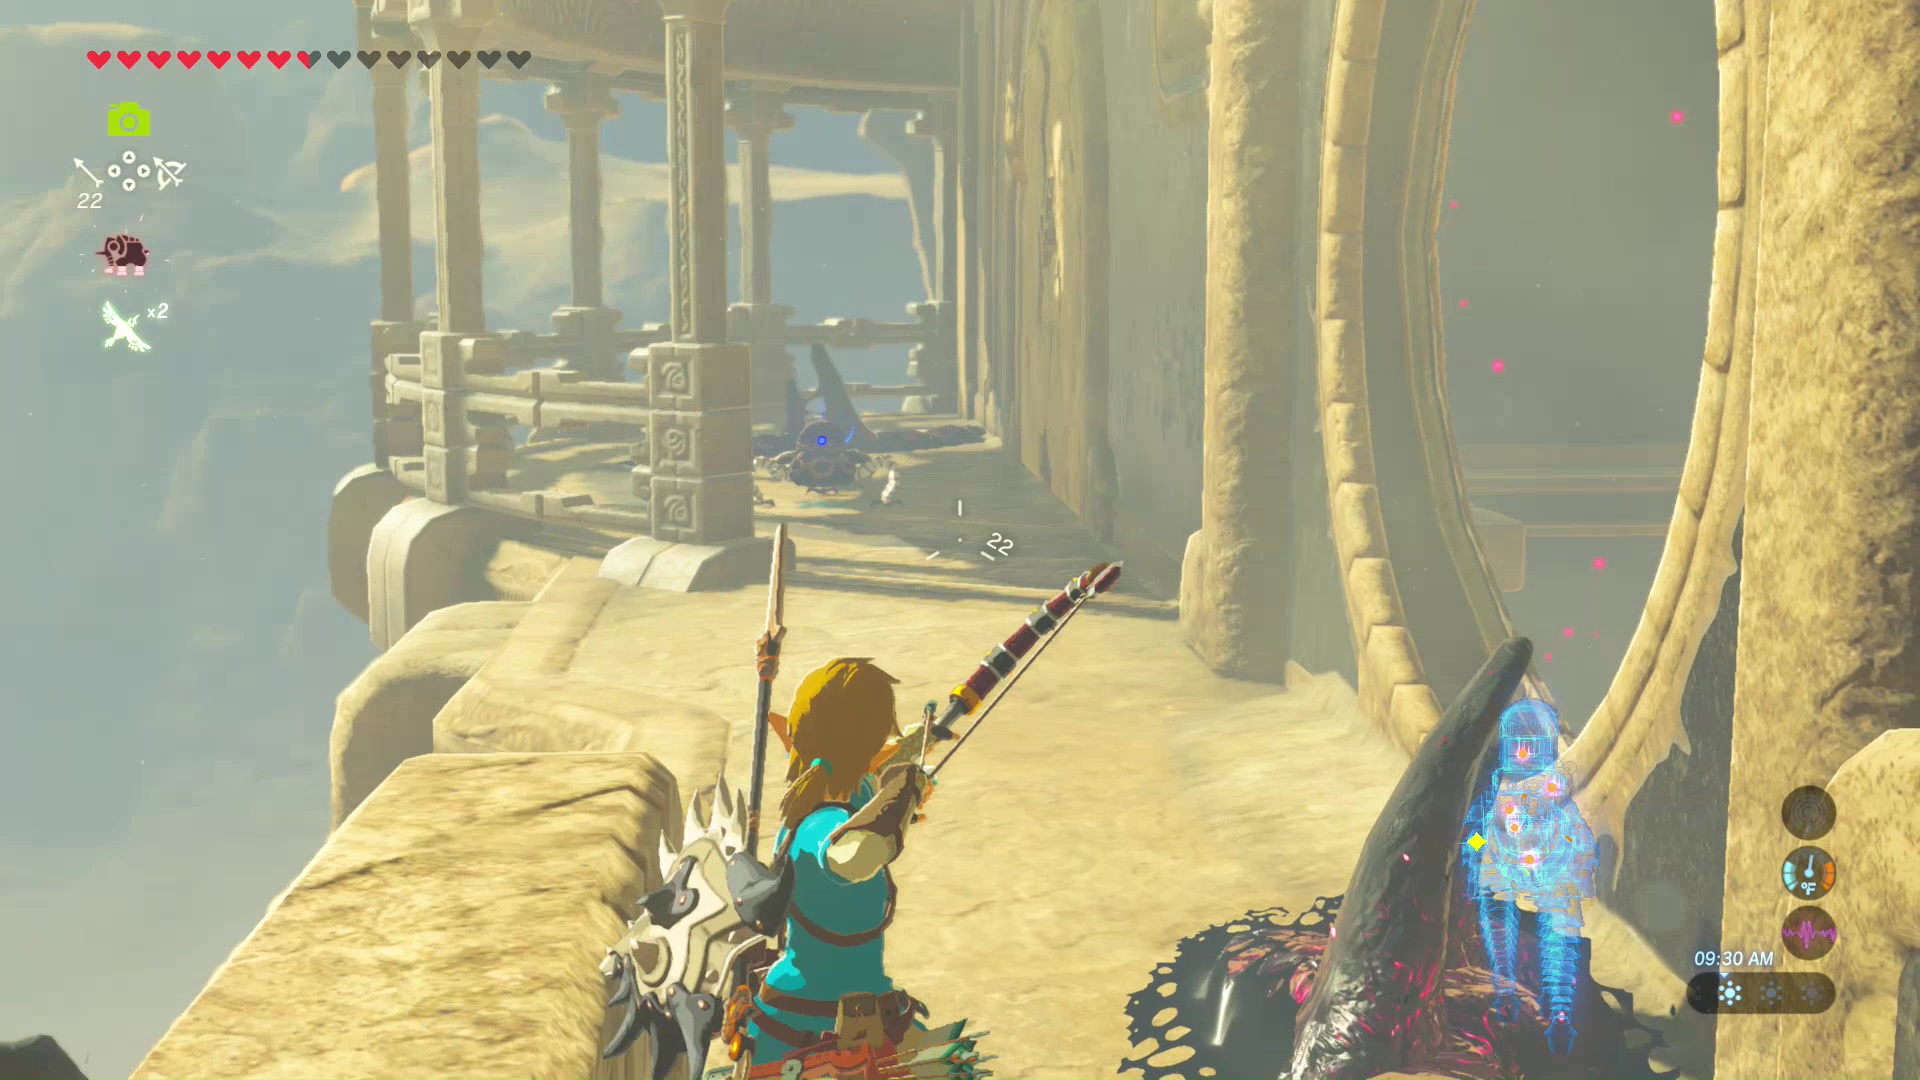
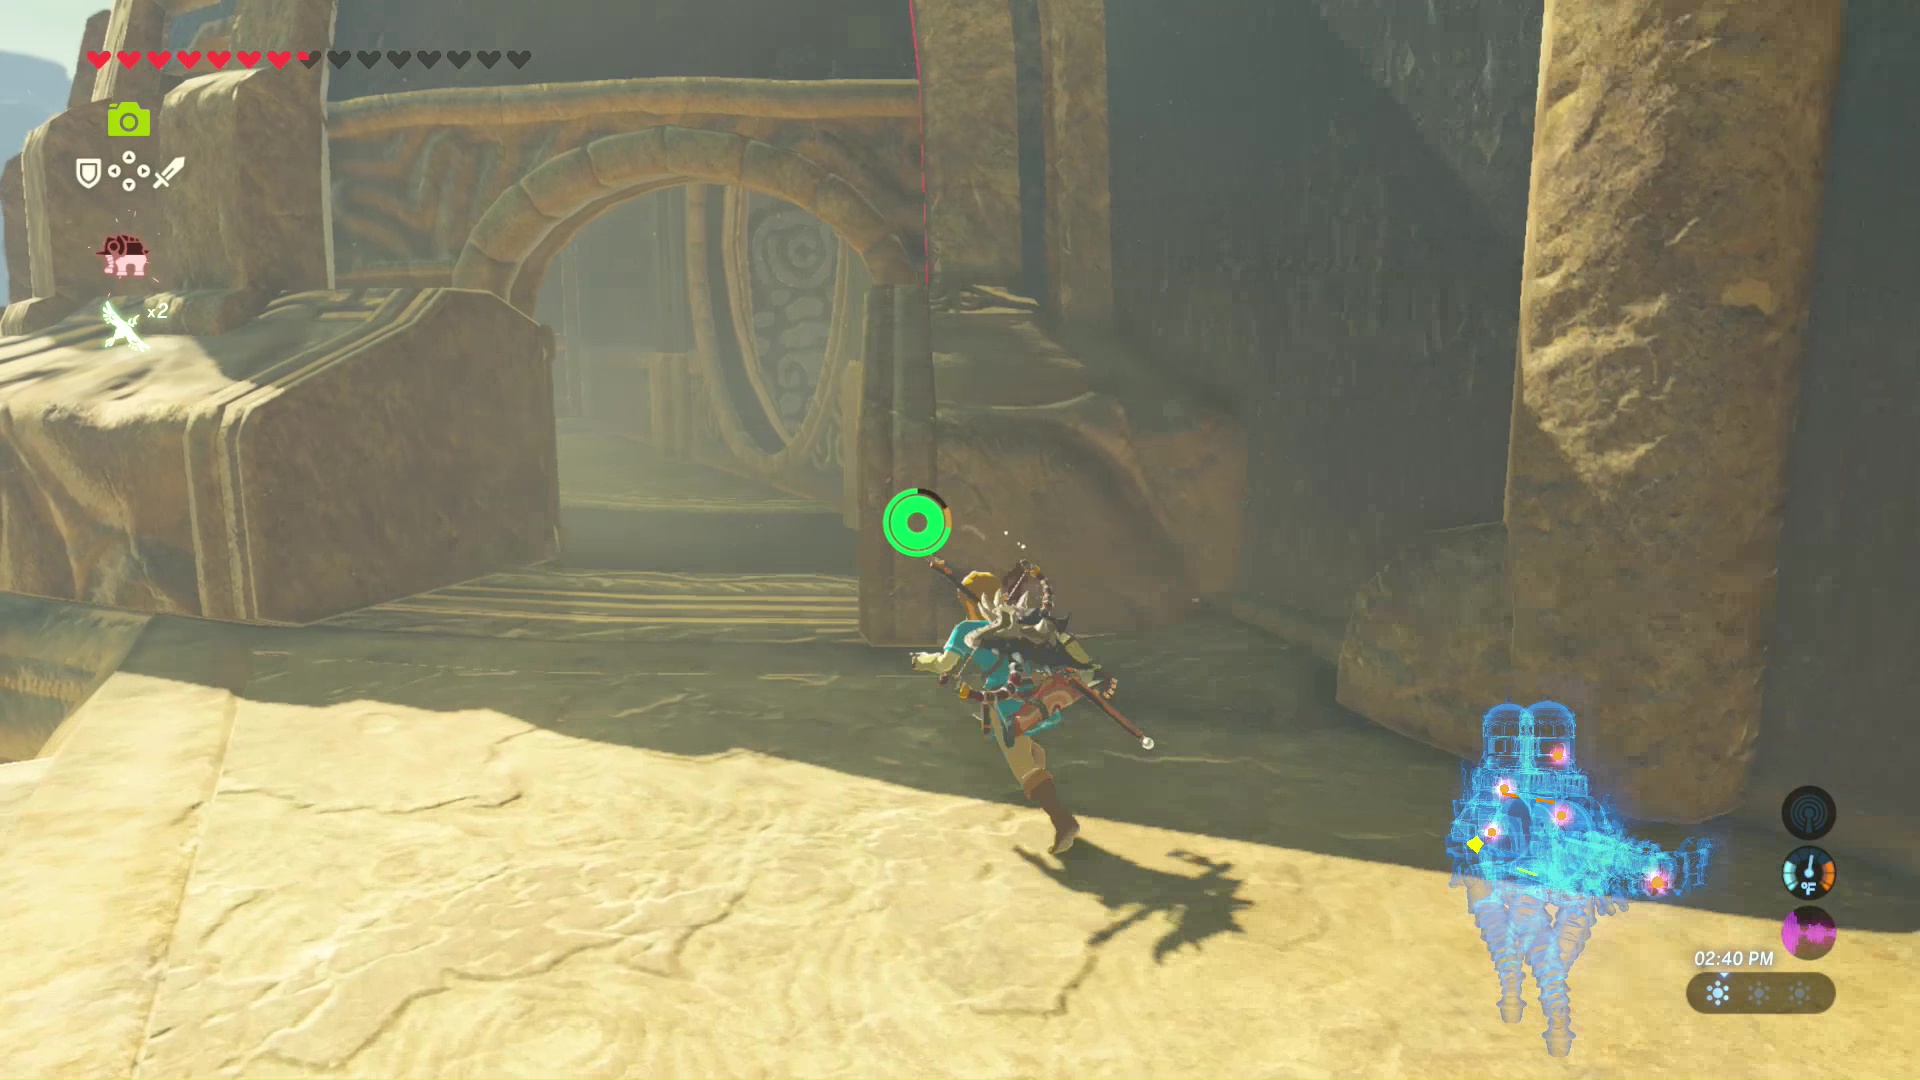
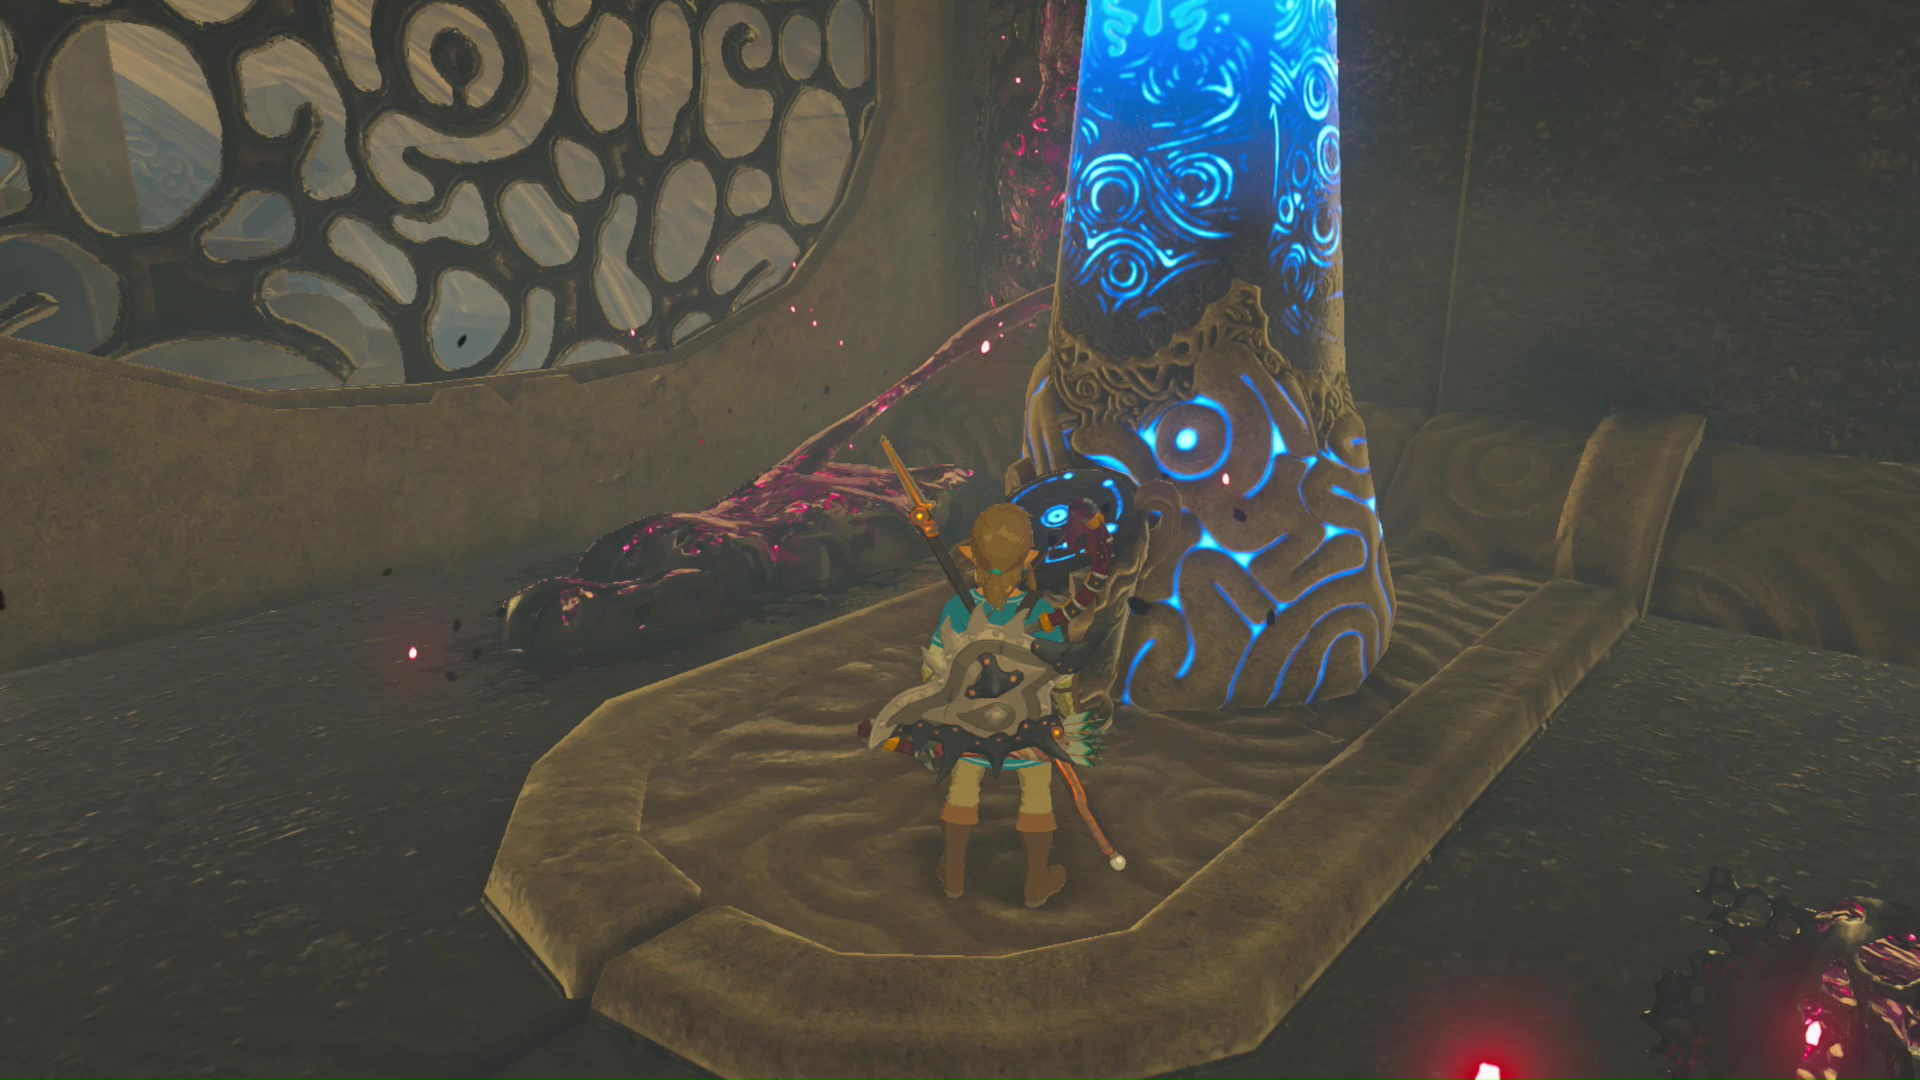
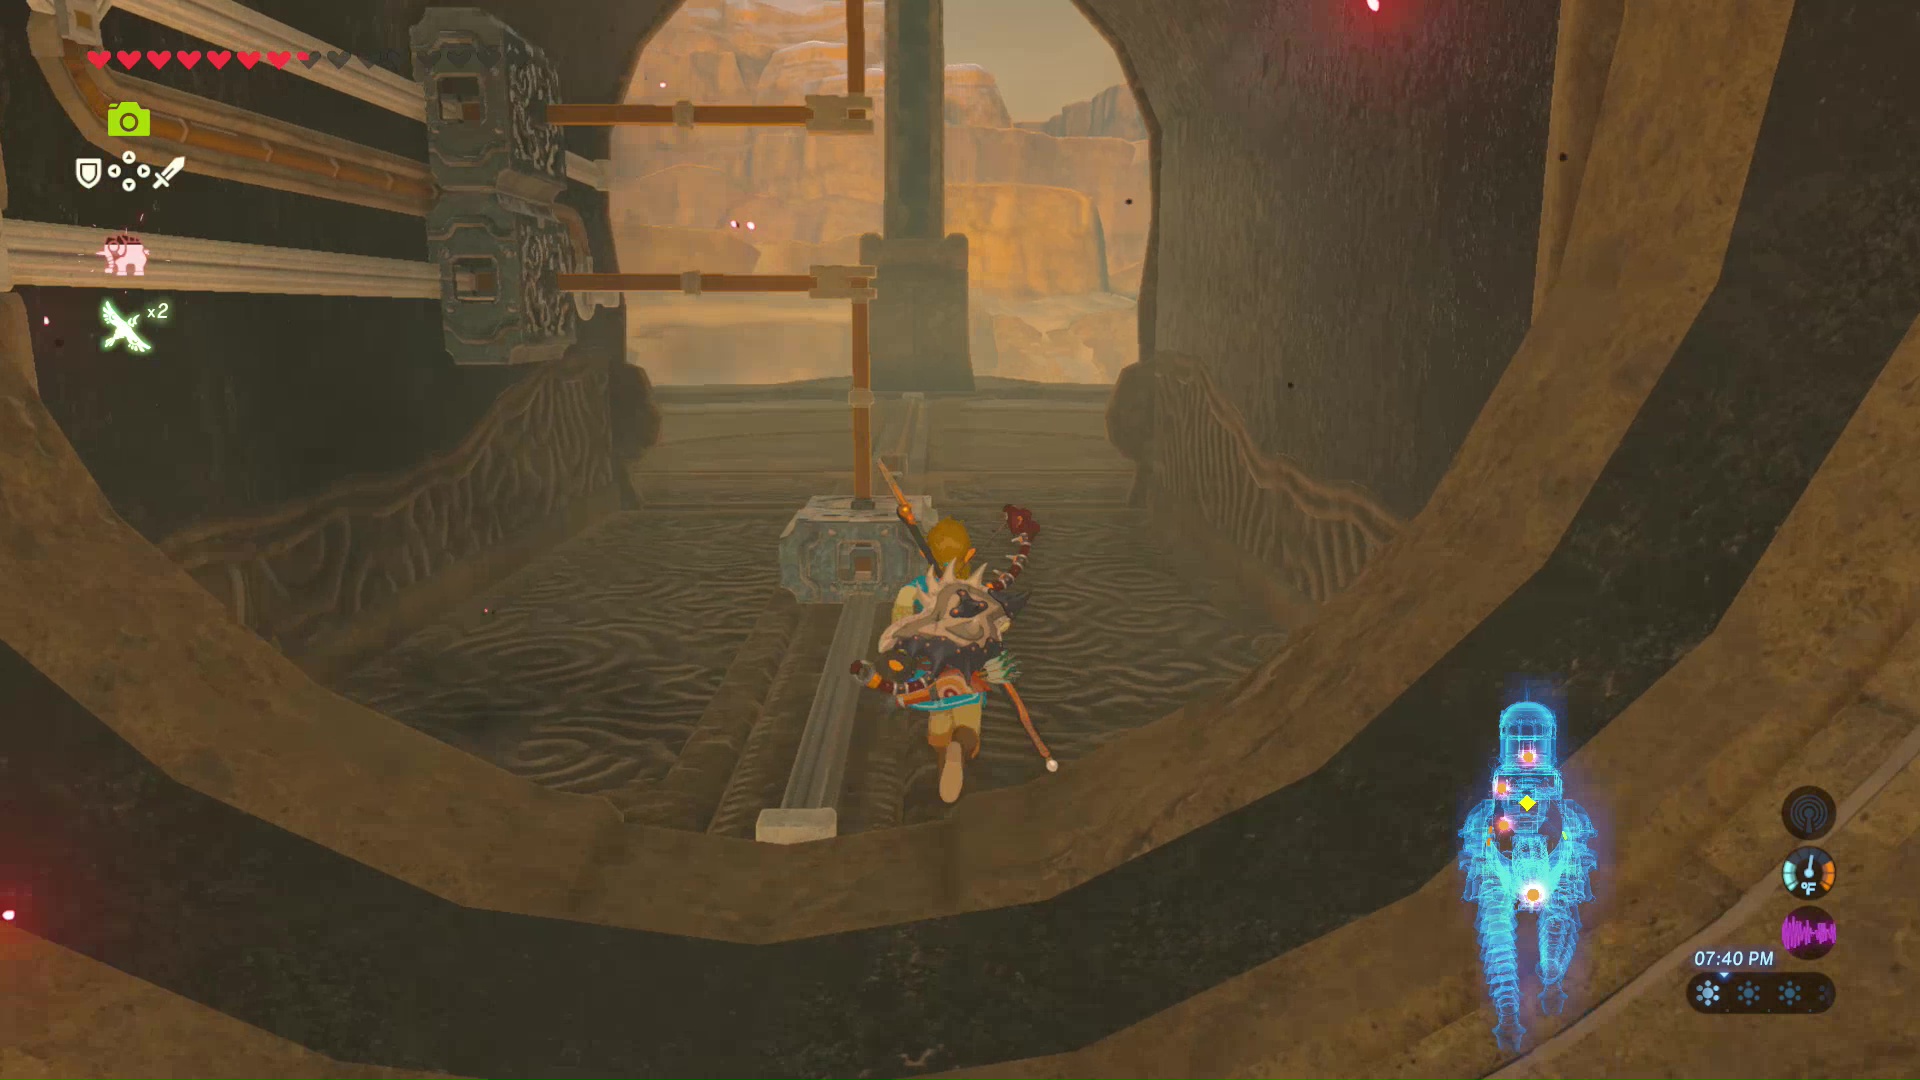
A Guardian Scout will be at the entrance of Vah Naboris. Don’t forget to change your arrows, then aim for the eye of the Guardian Scout to take it out with a single hit. Walk up the ramp and shoot the calamity eyeball to clear the path into Vah Naboris.
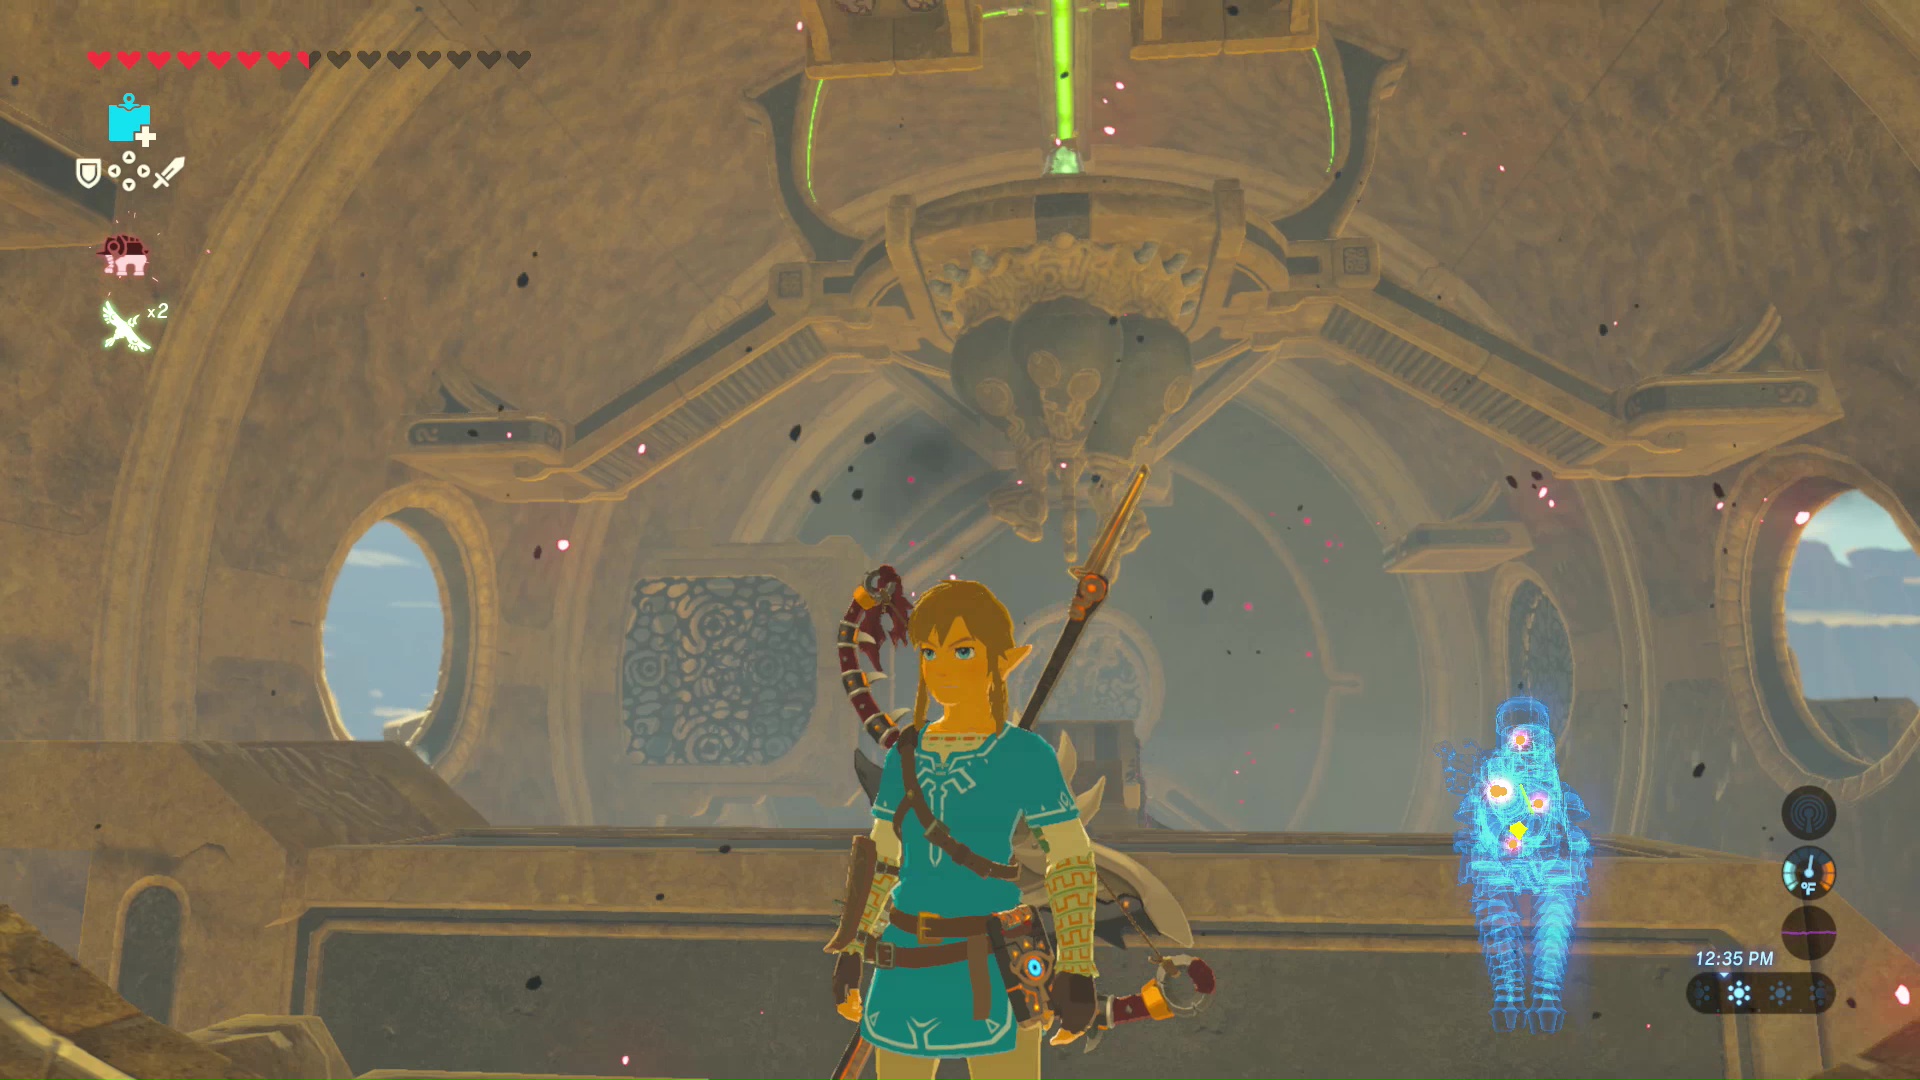
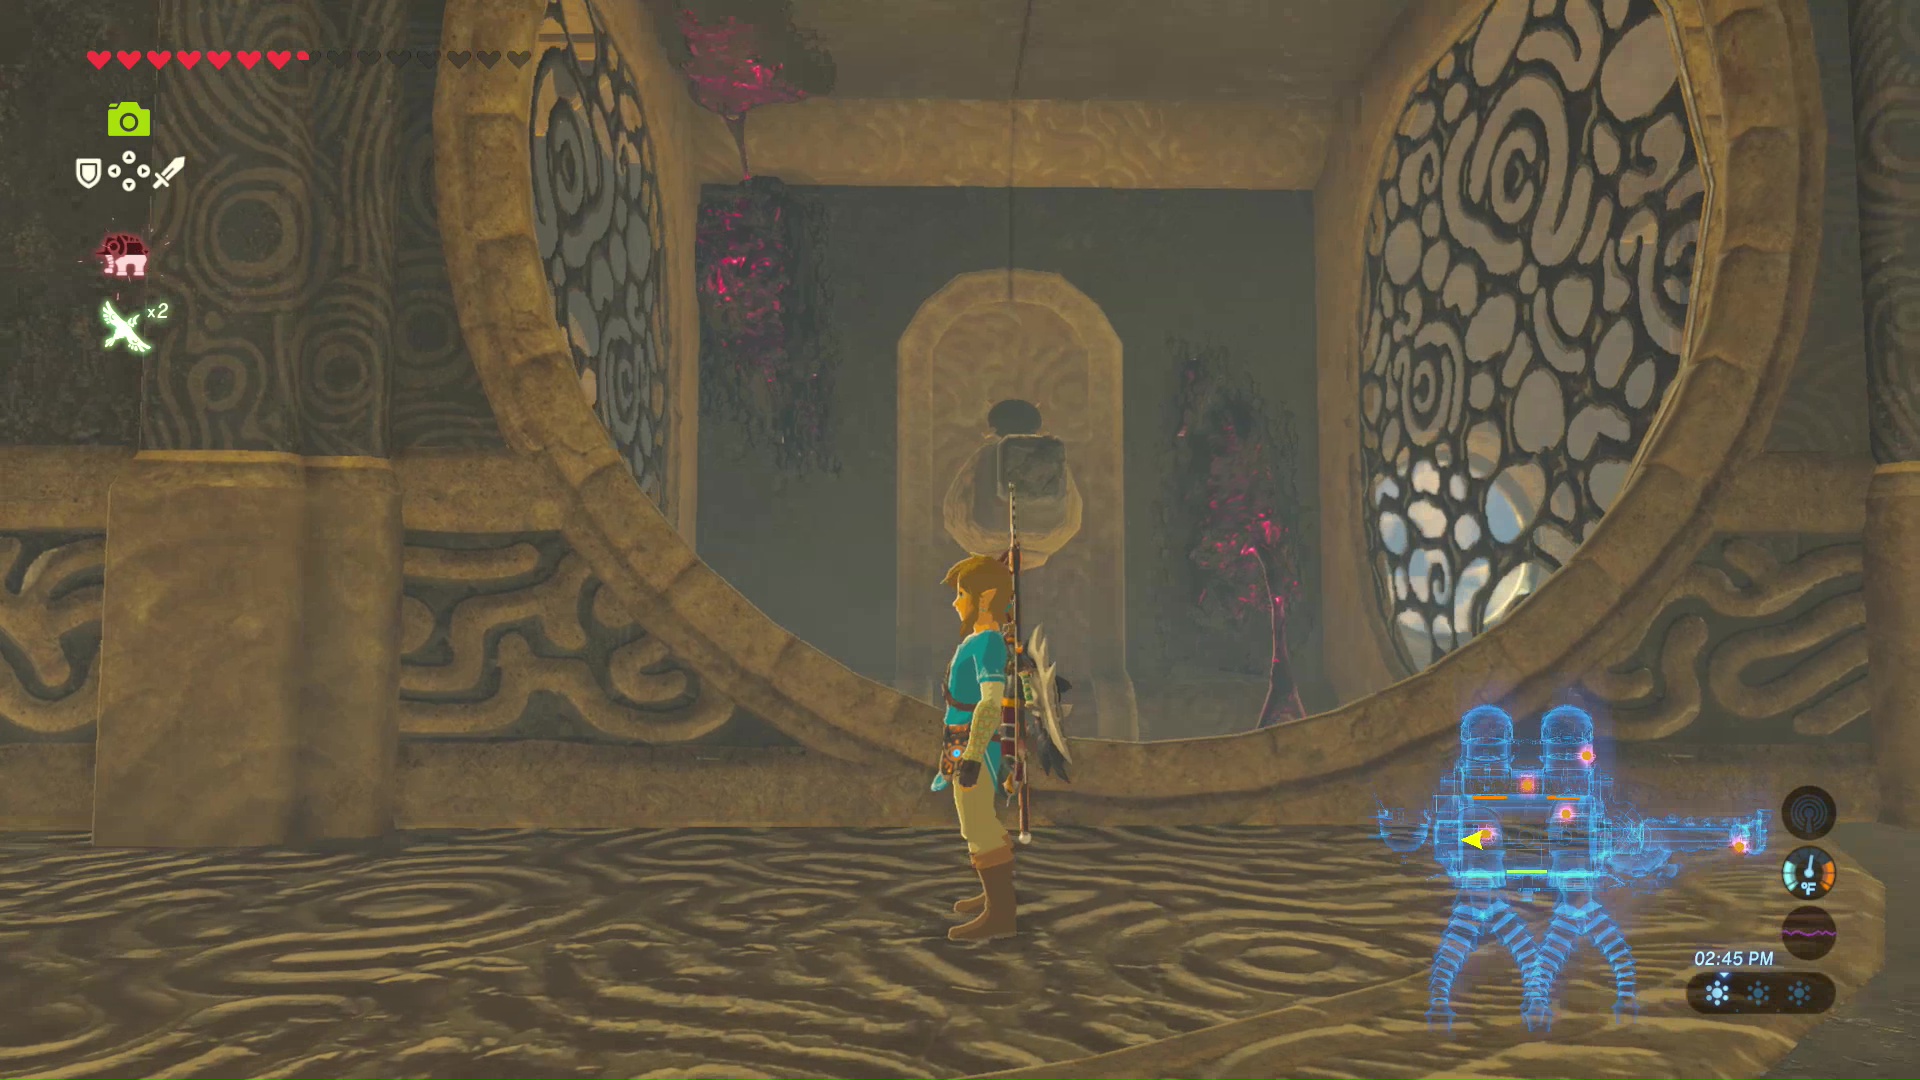
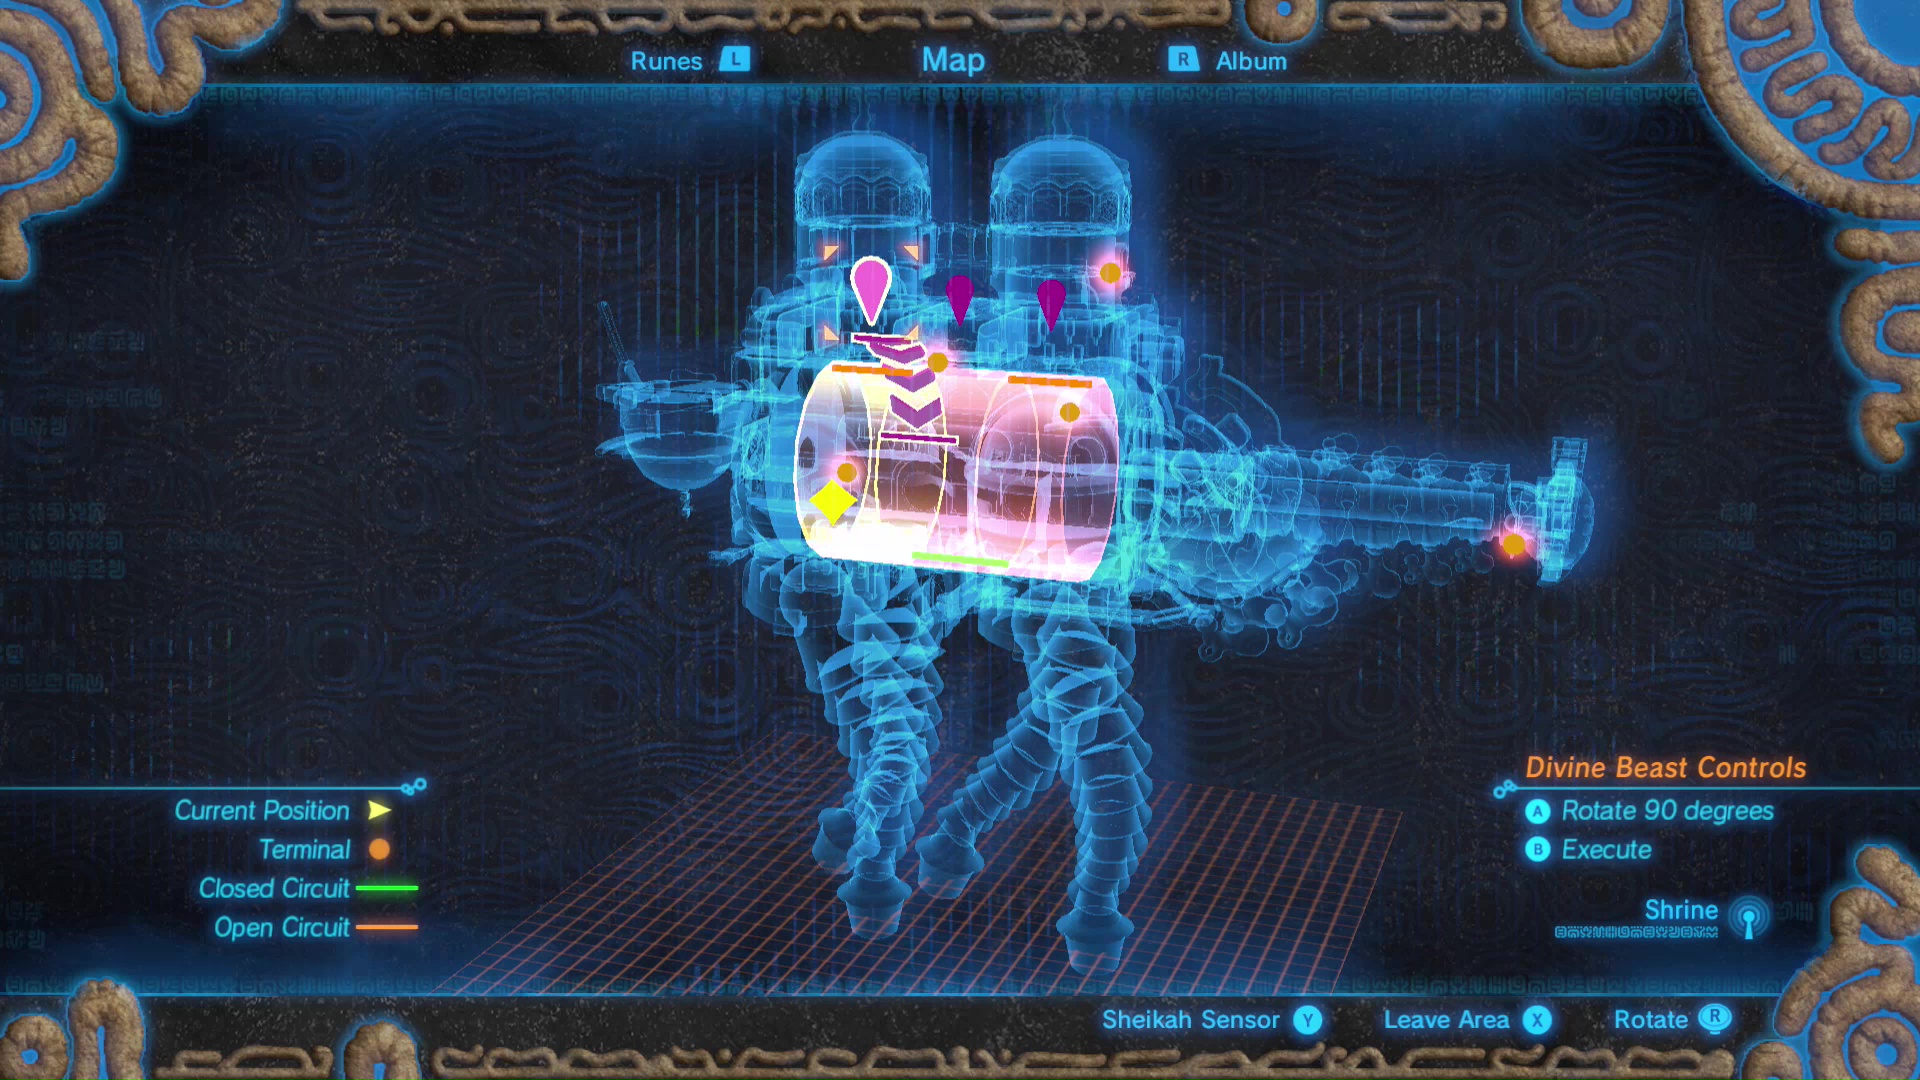
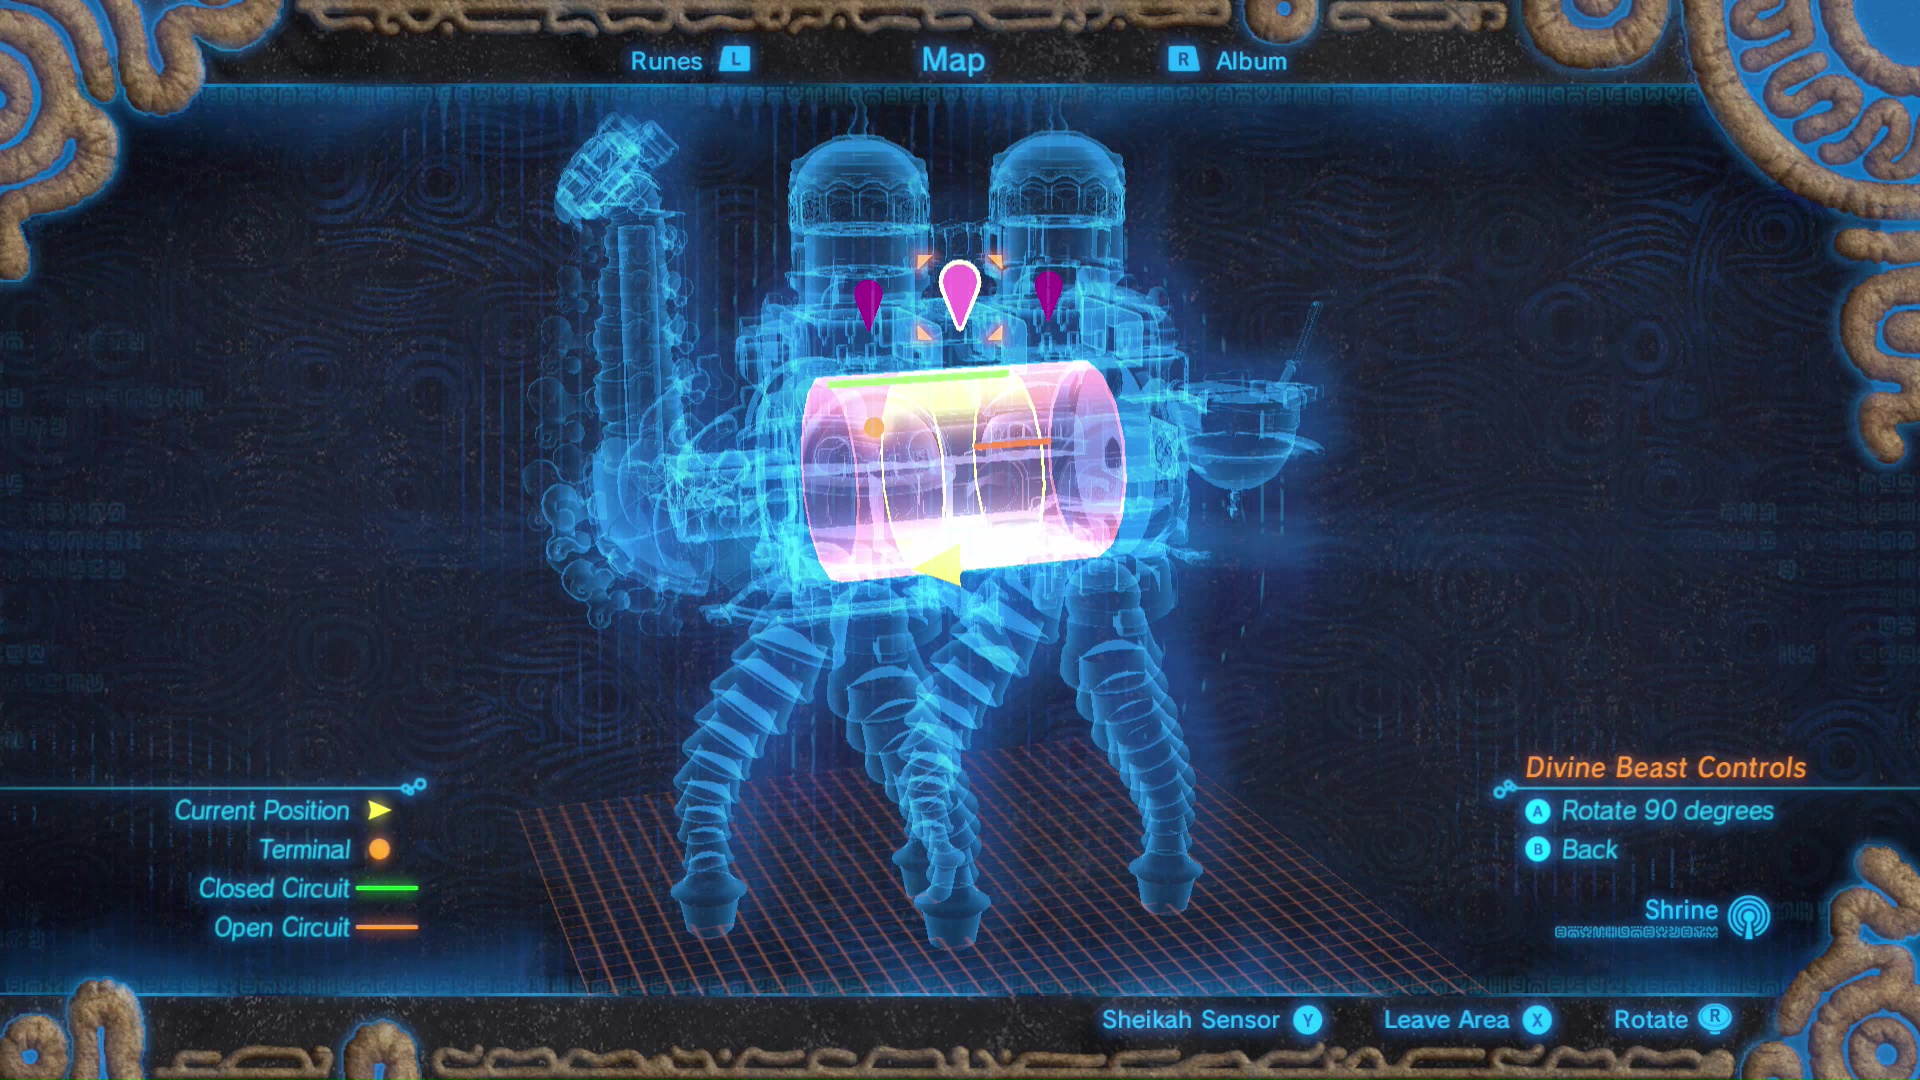
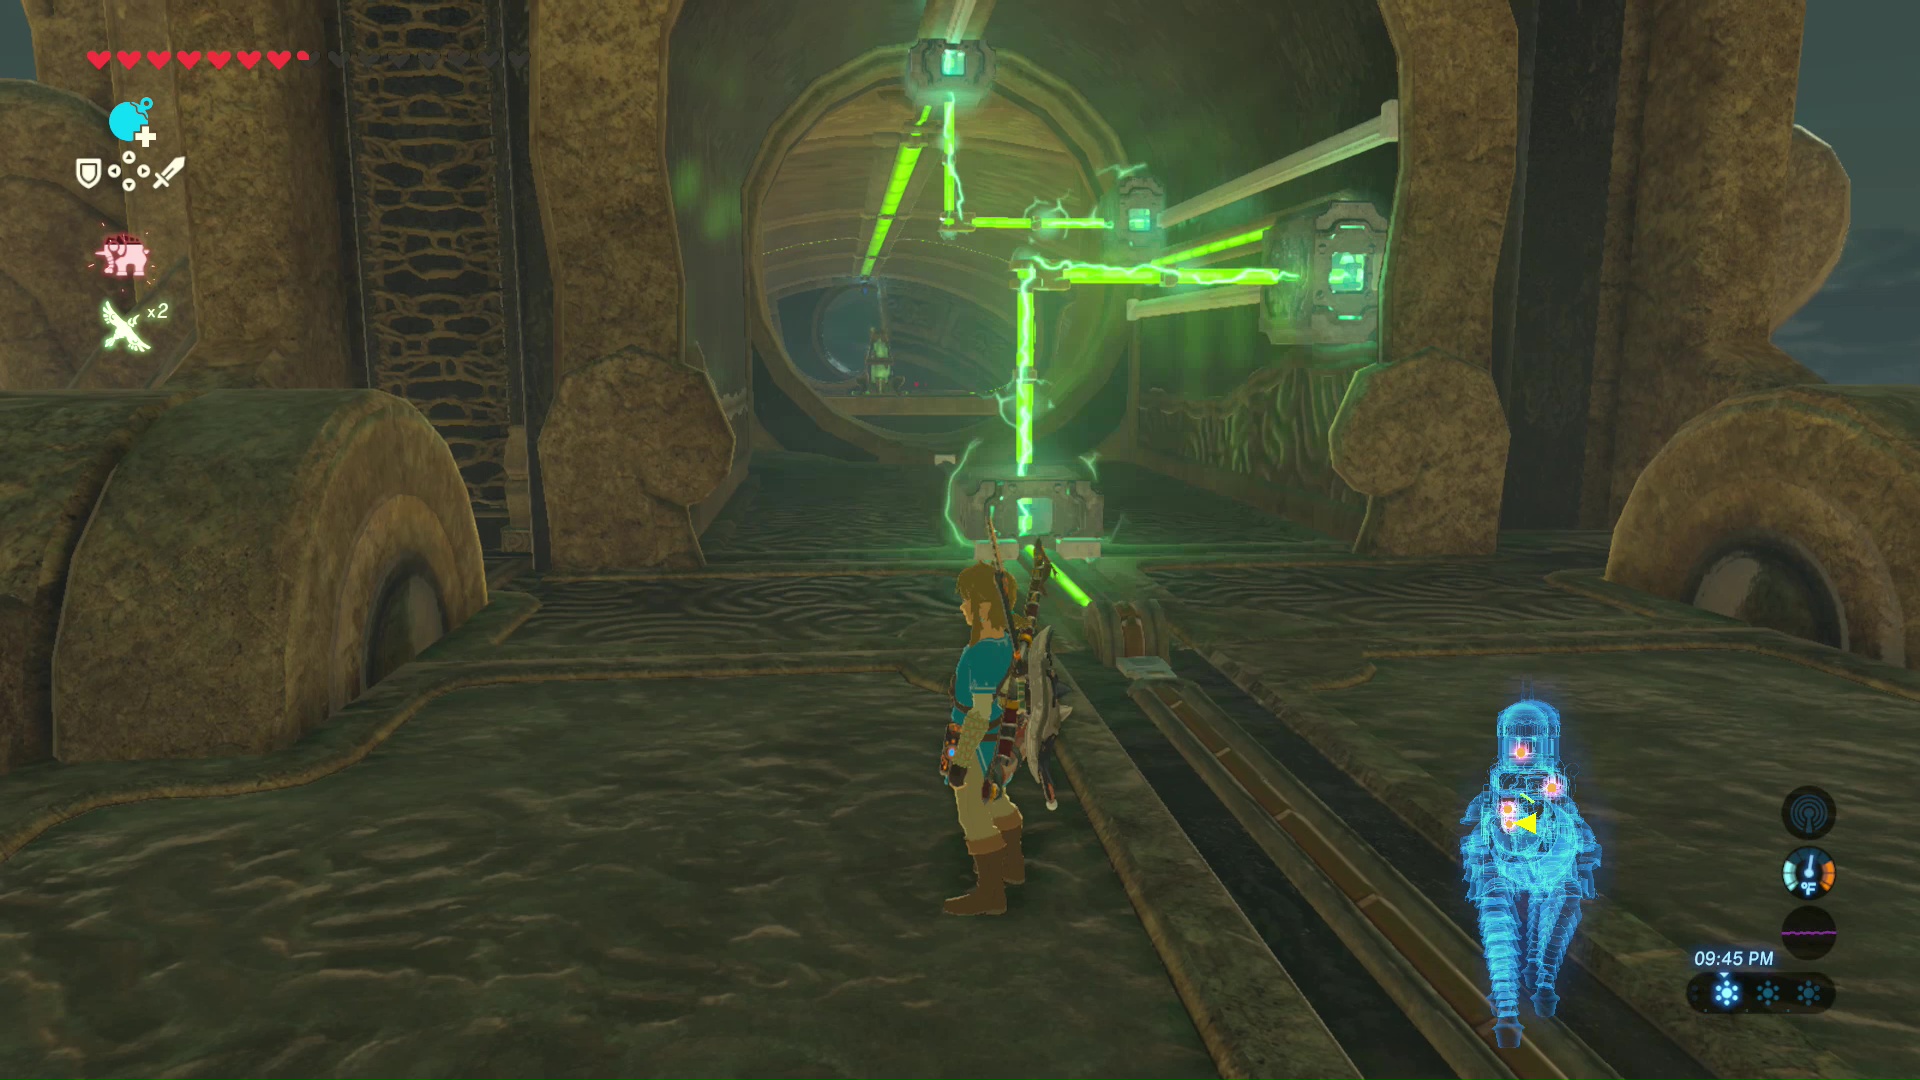
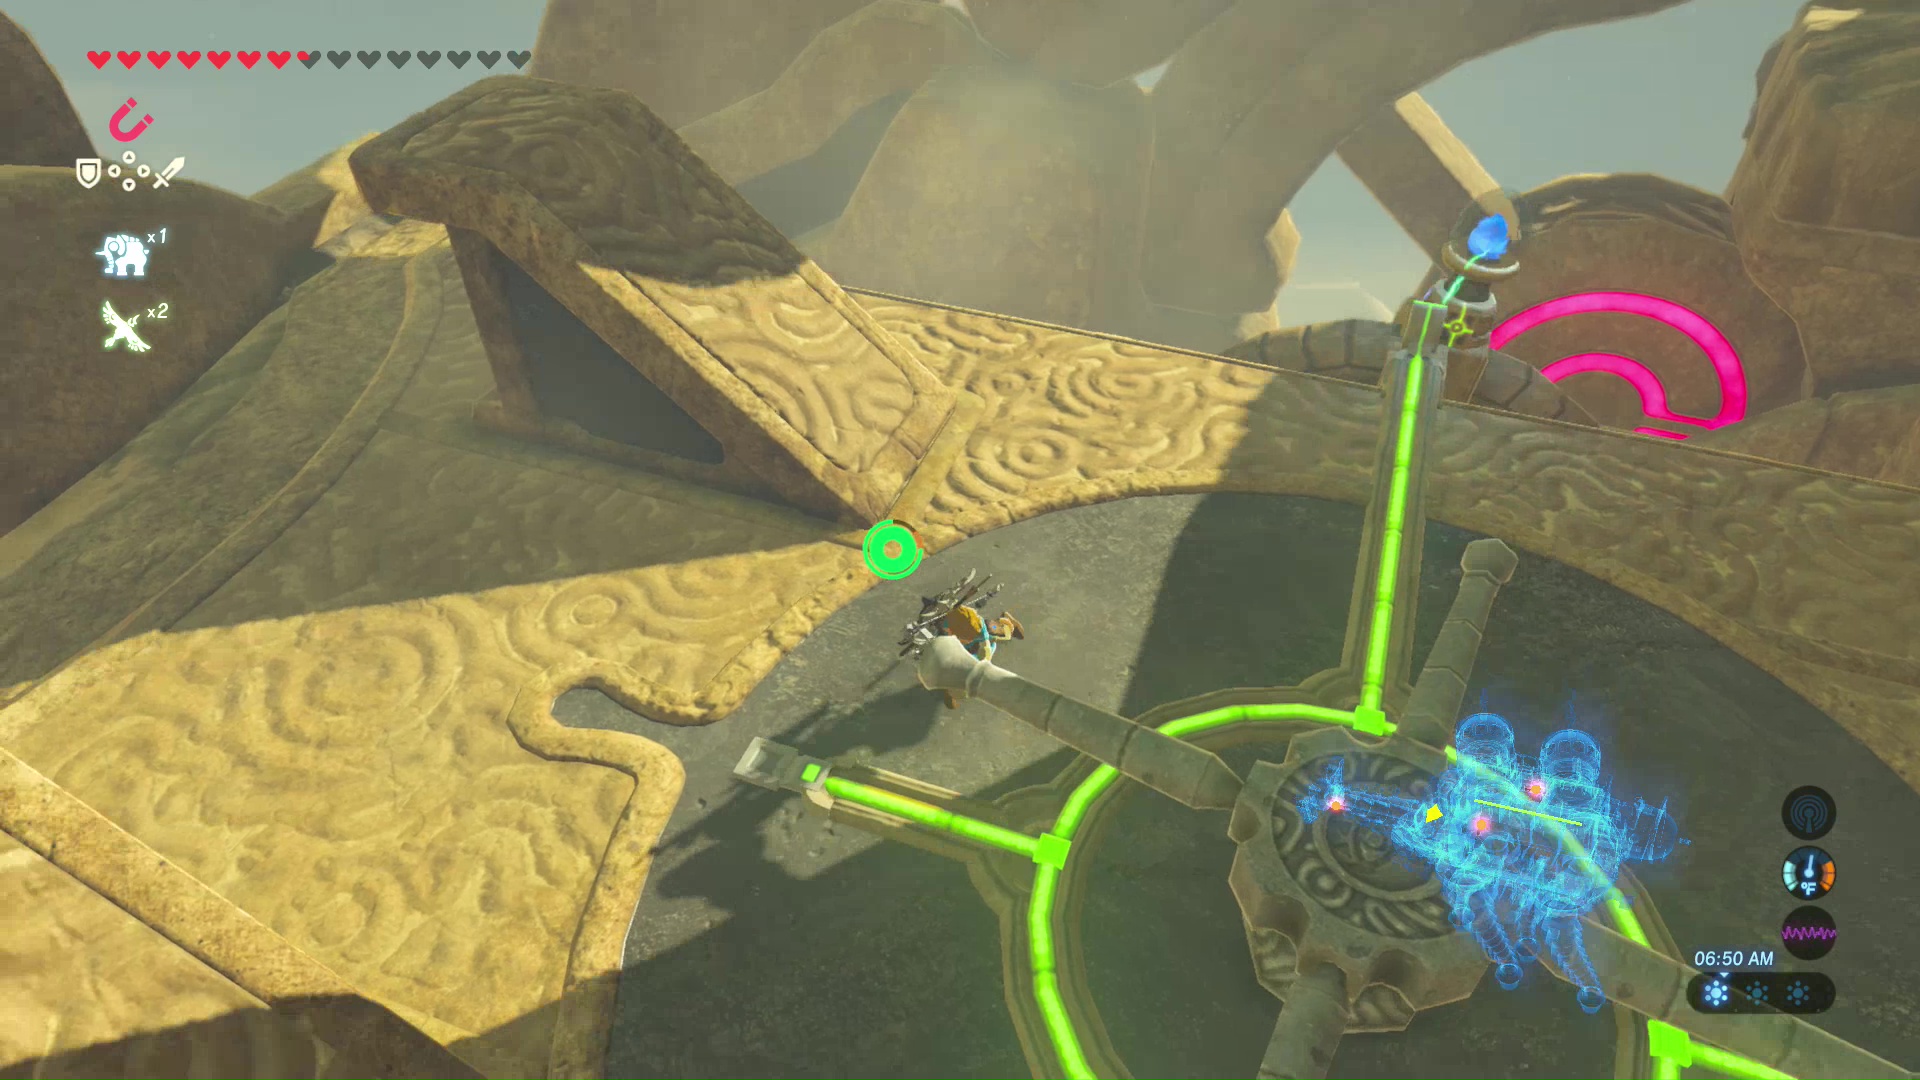
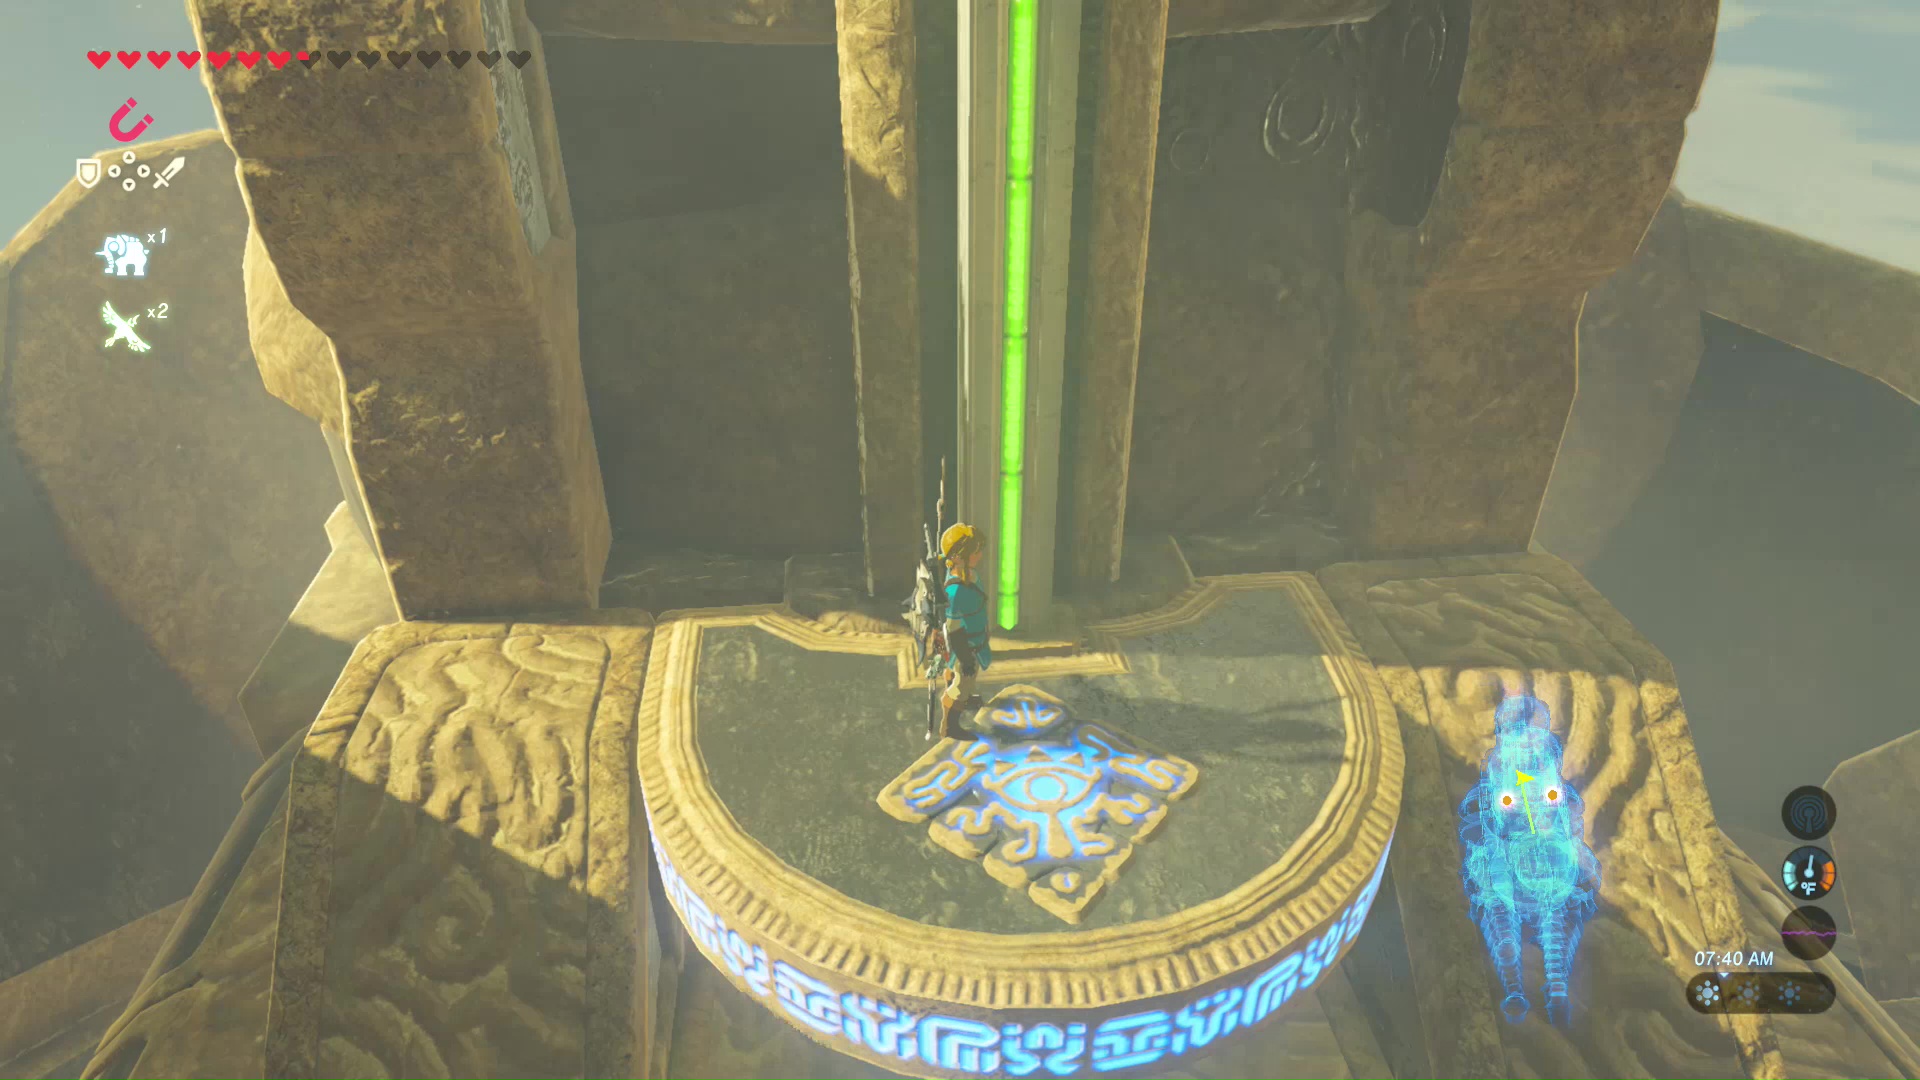
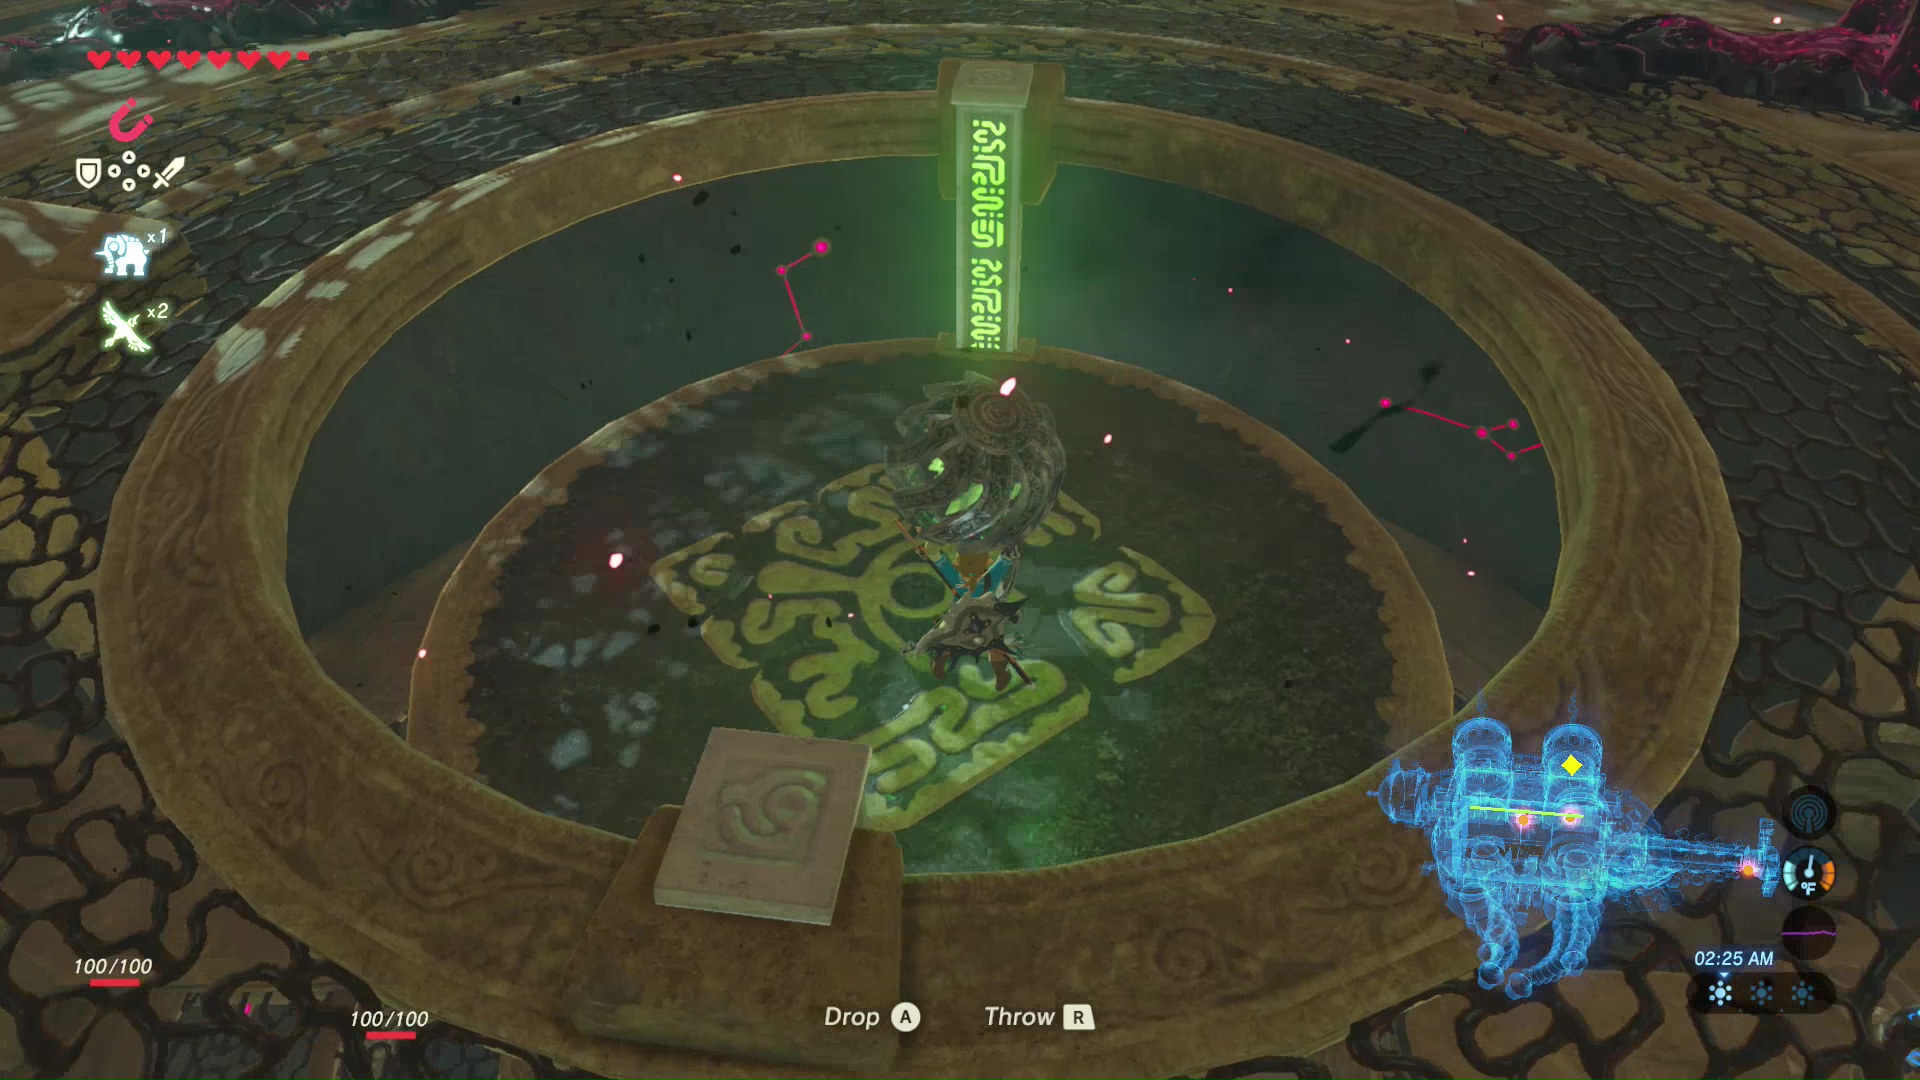
Climb up the walkway near the backside of Vah Naboris to find the Guidance Stone. Interact with it to obtain a map of Vah Naboris. You will also gain the ability to twist three segments of the center 90 degrees. It’s easier to recognize the direction of these segments by the green lines.

Treasure Chests and Walls
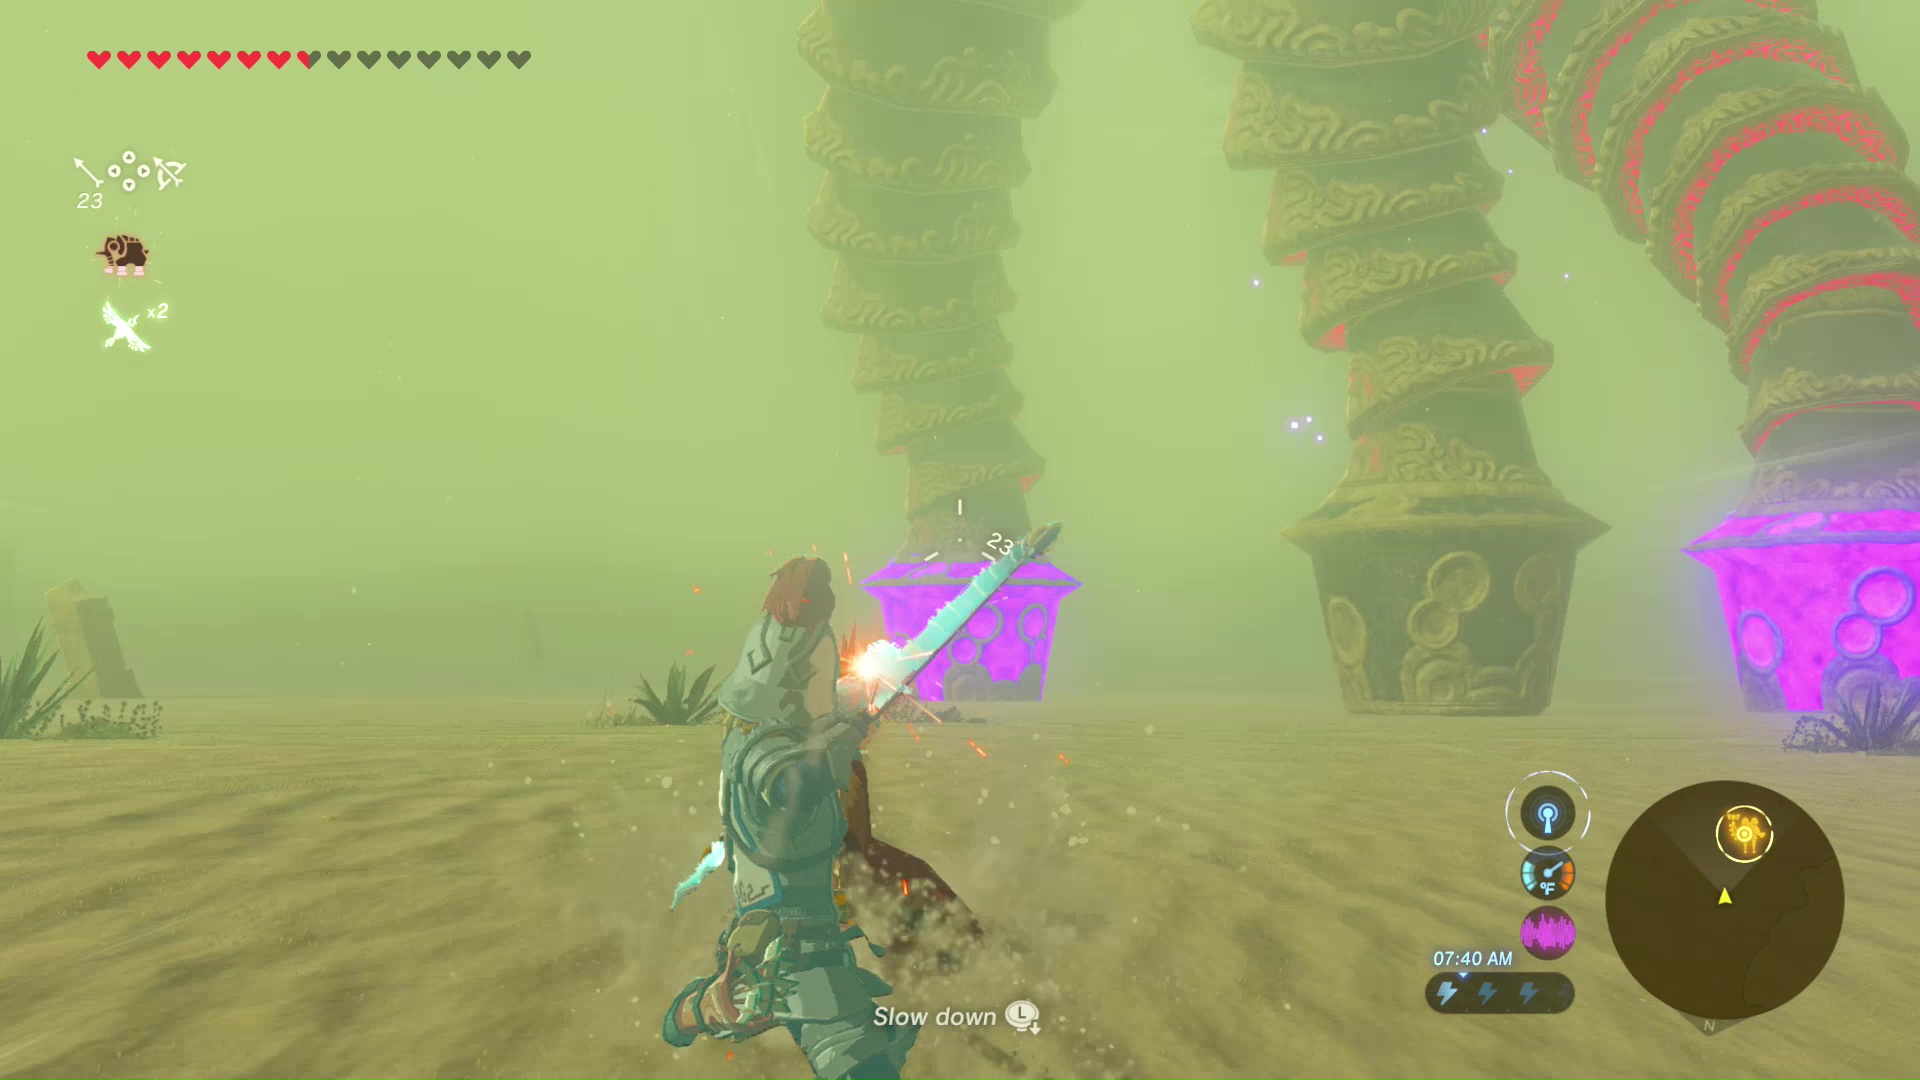
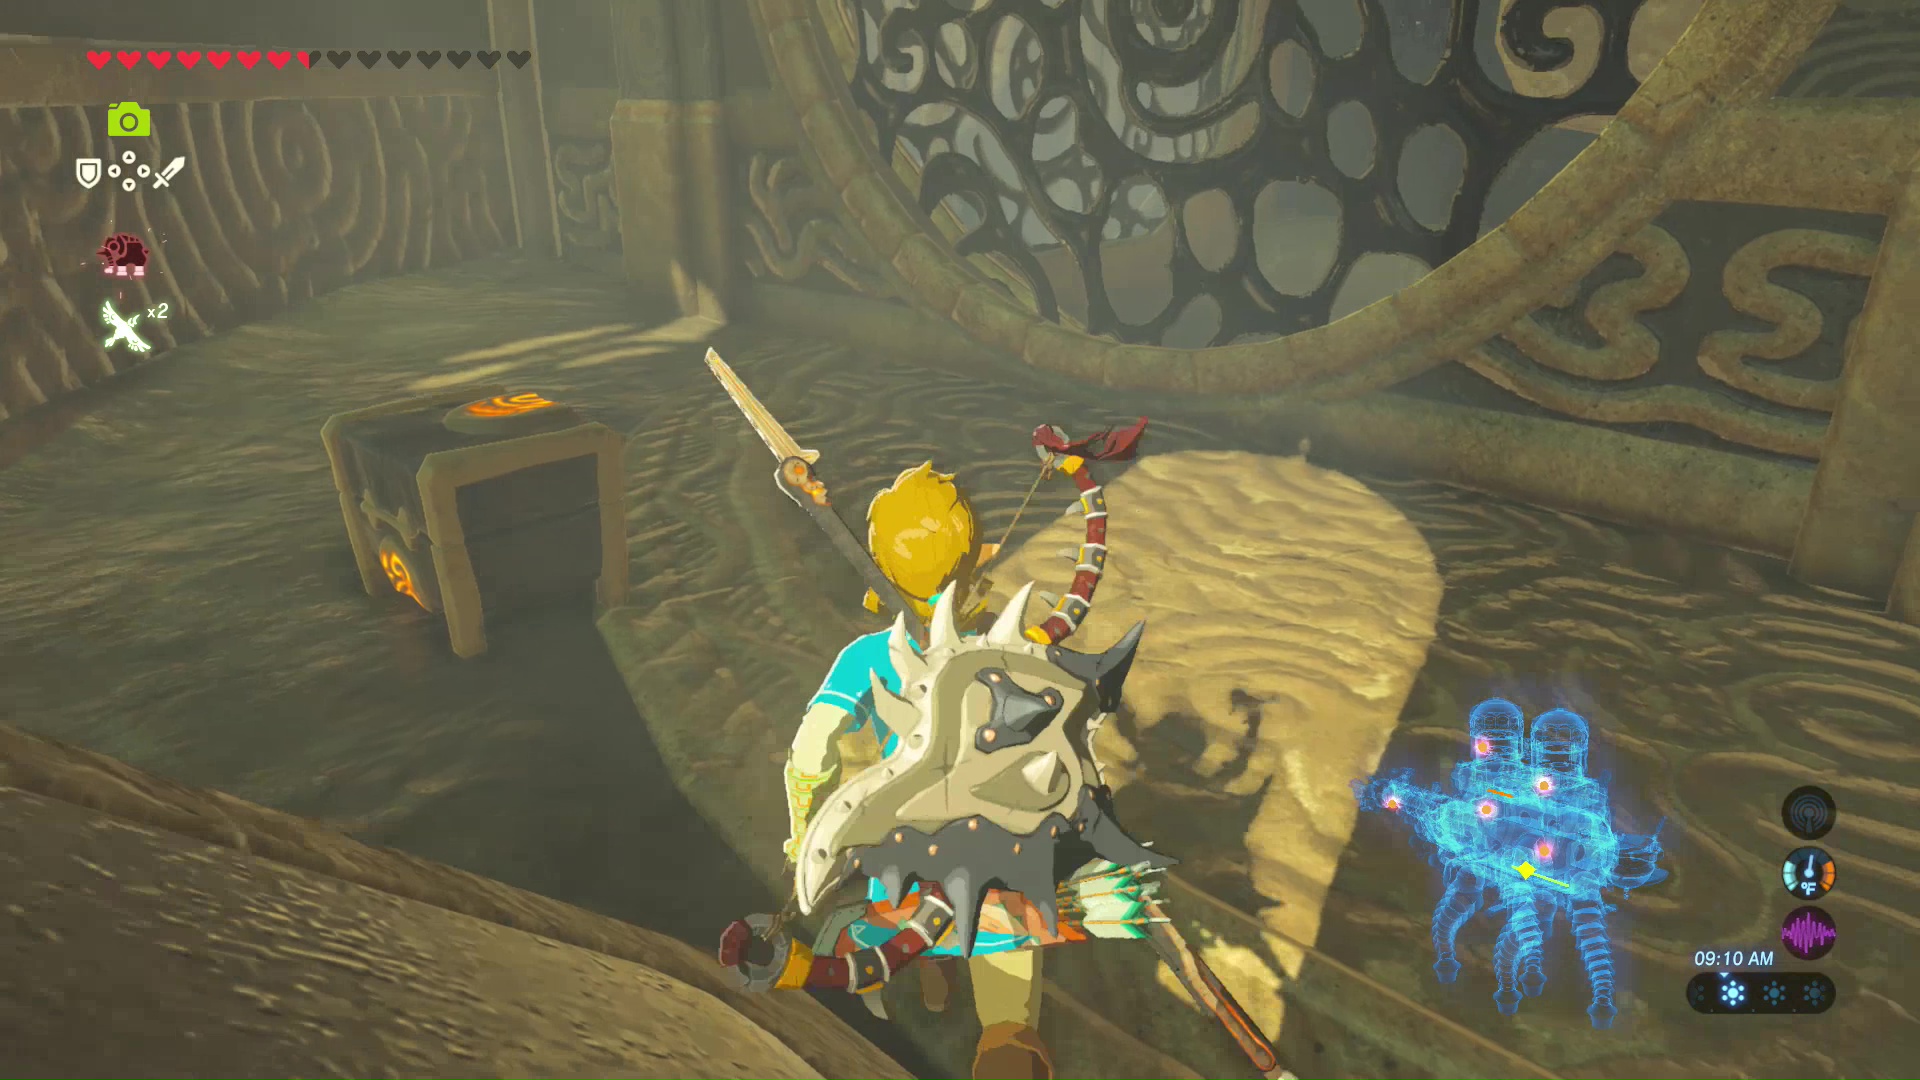
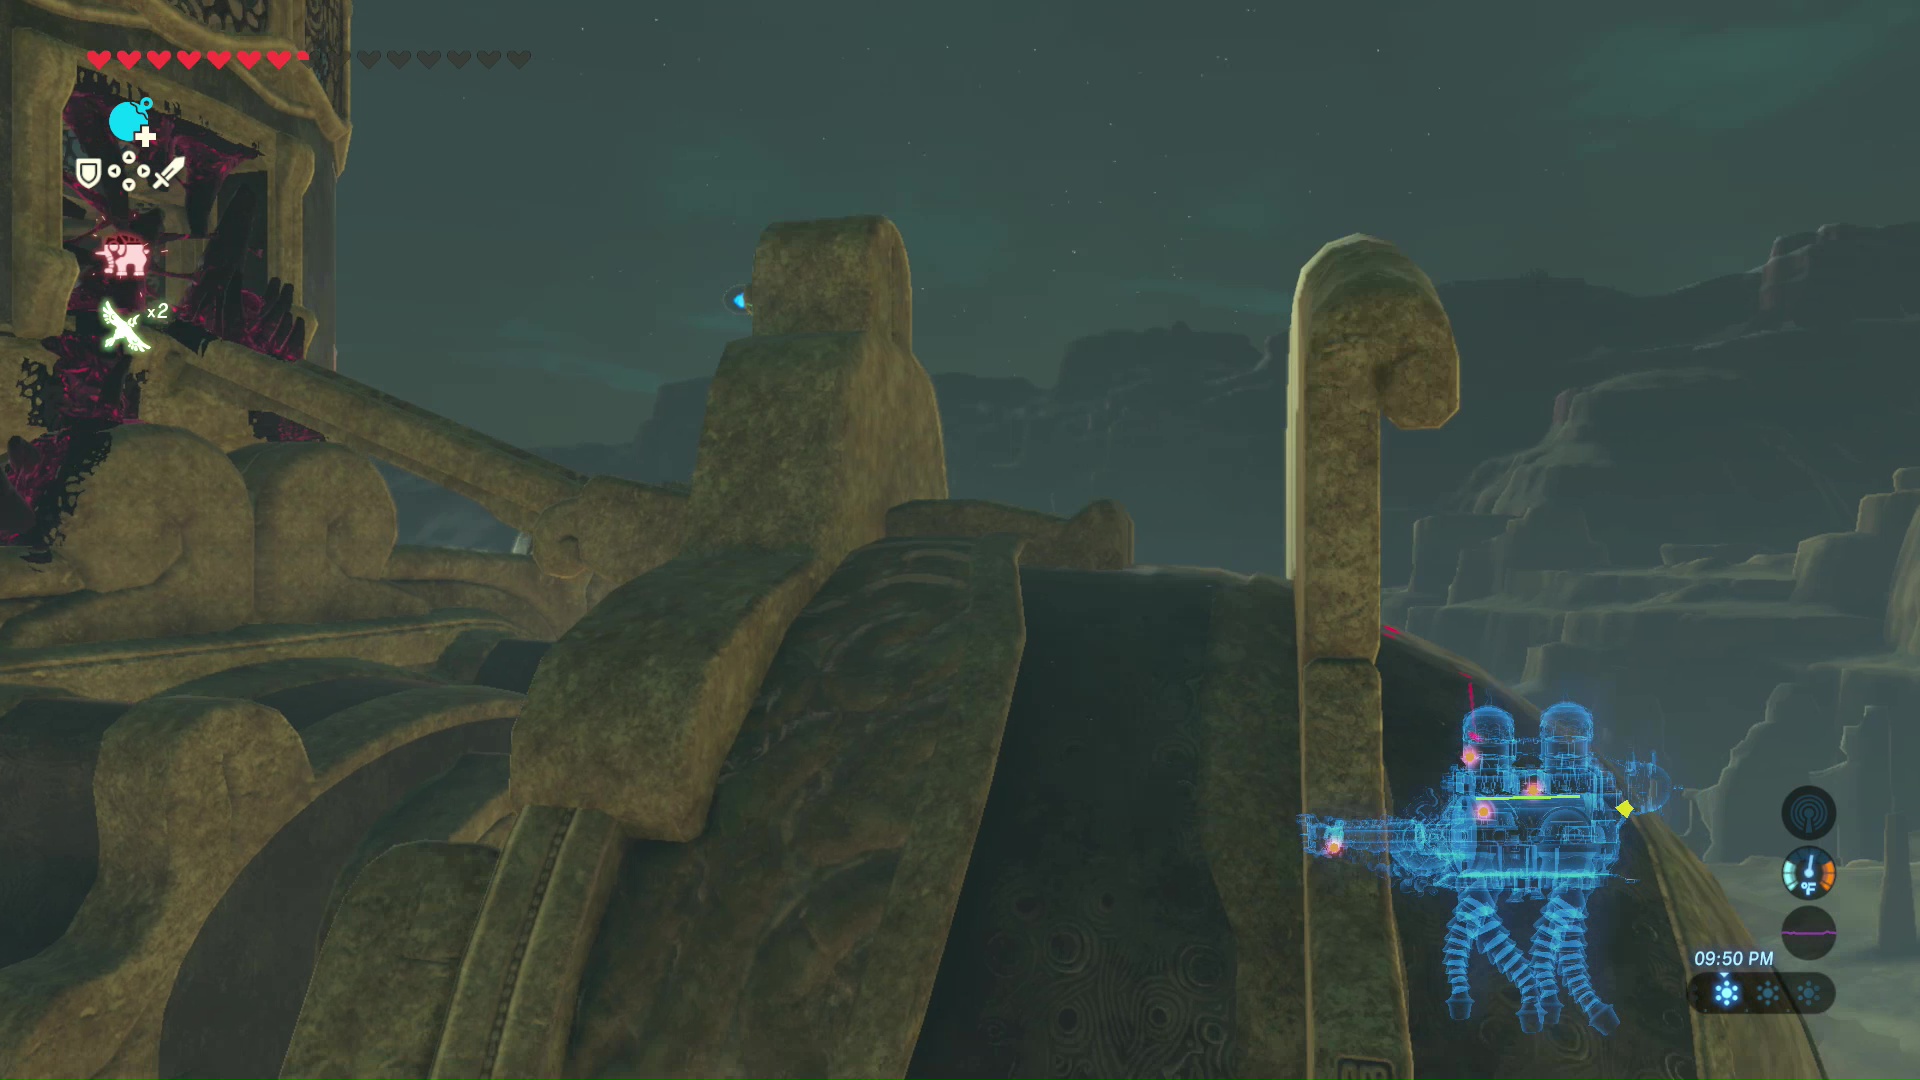
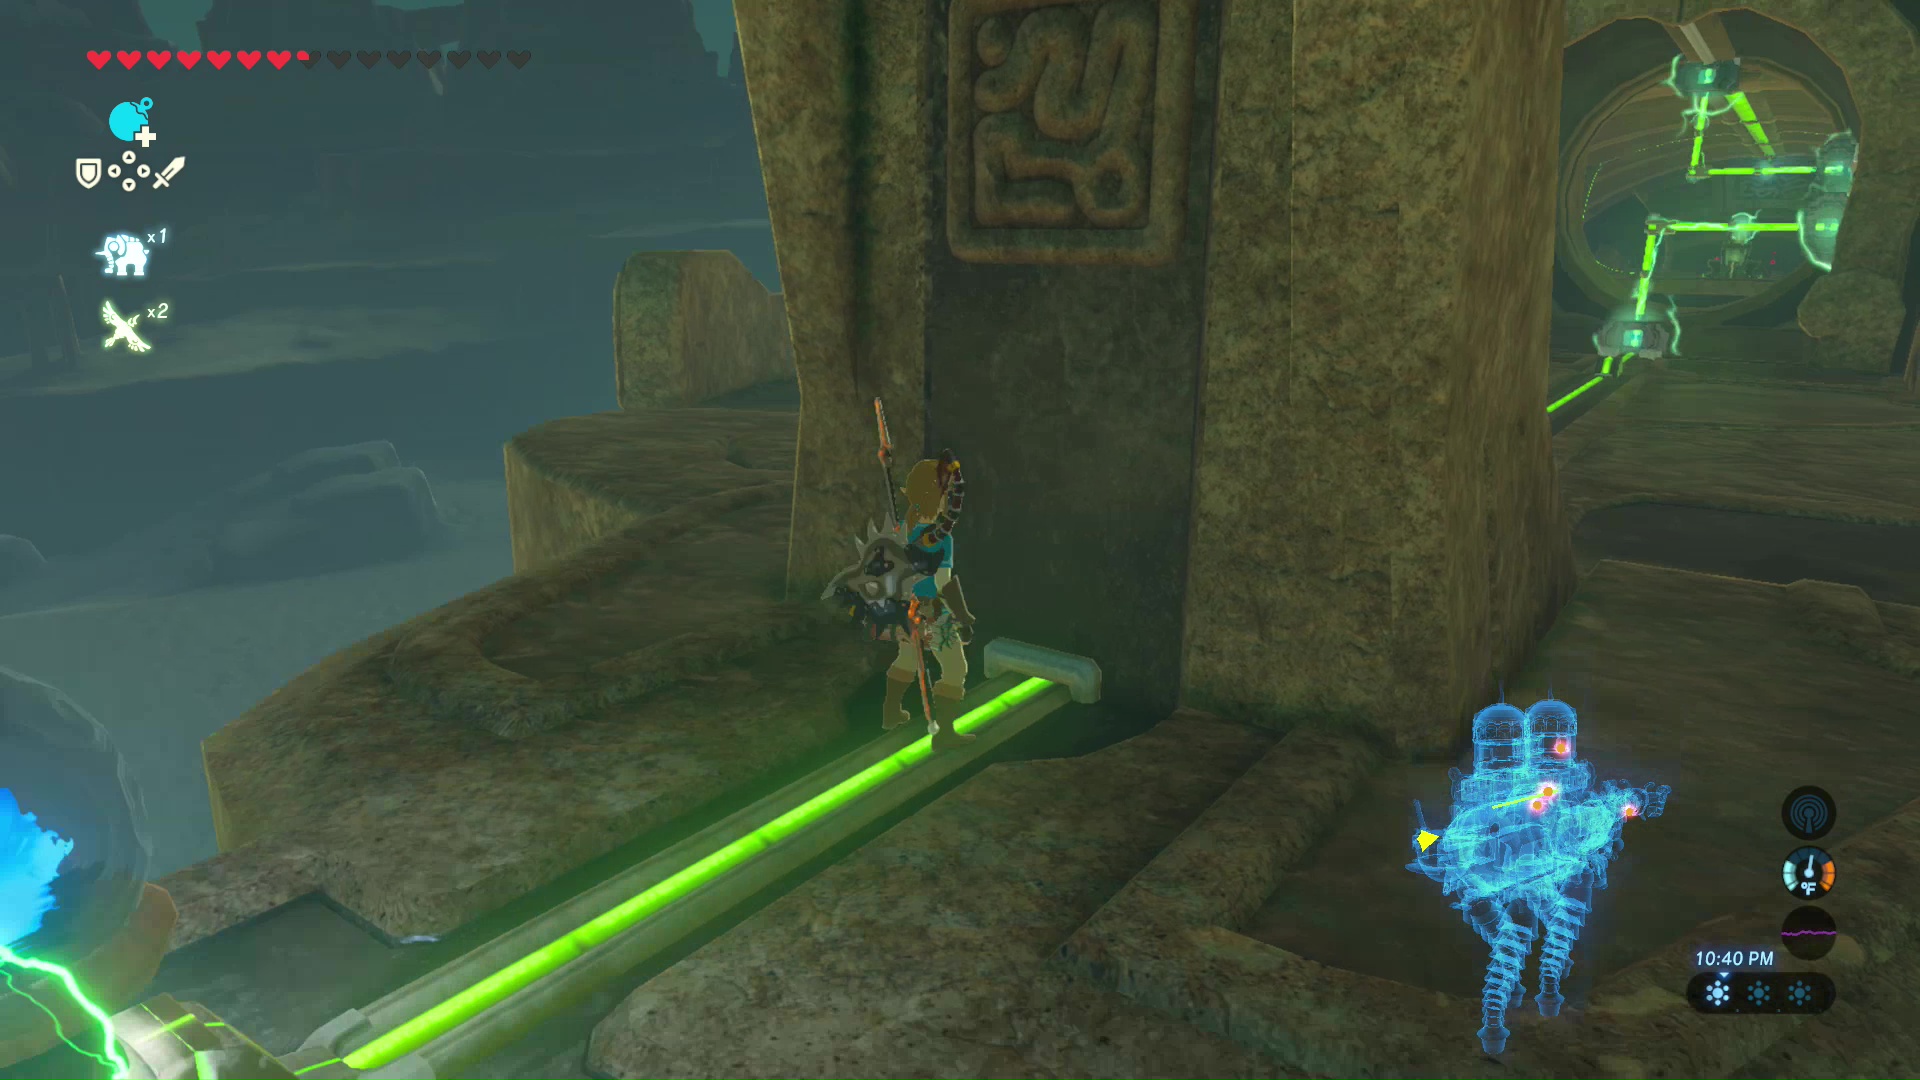
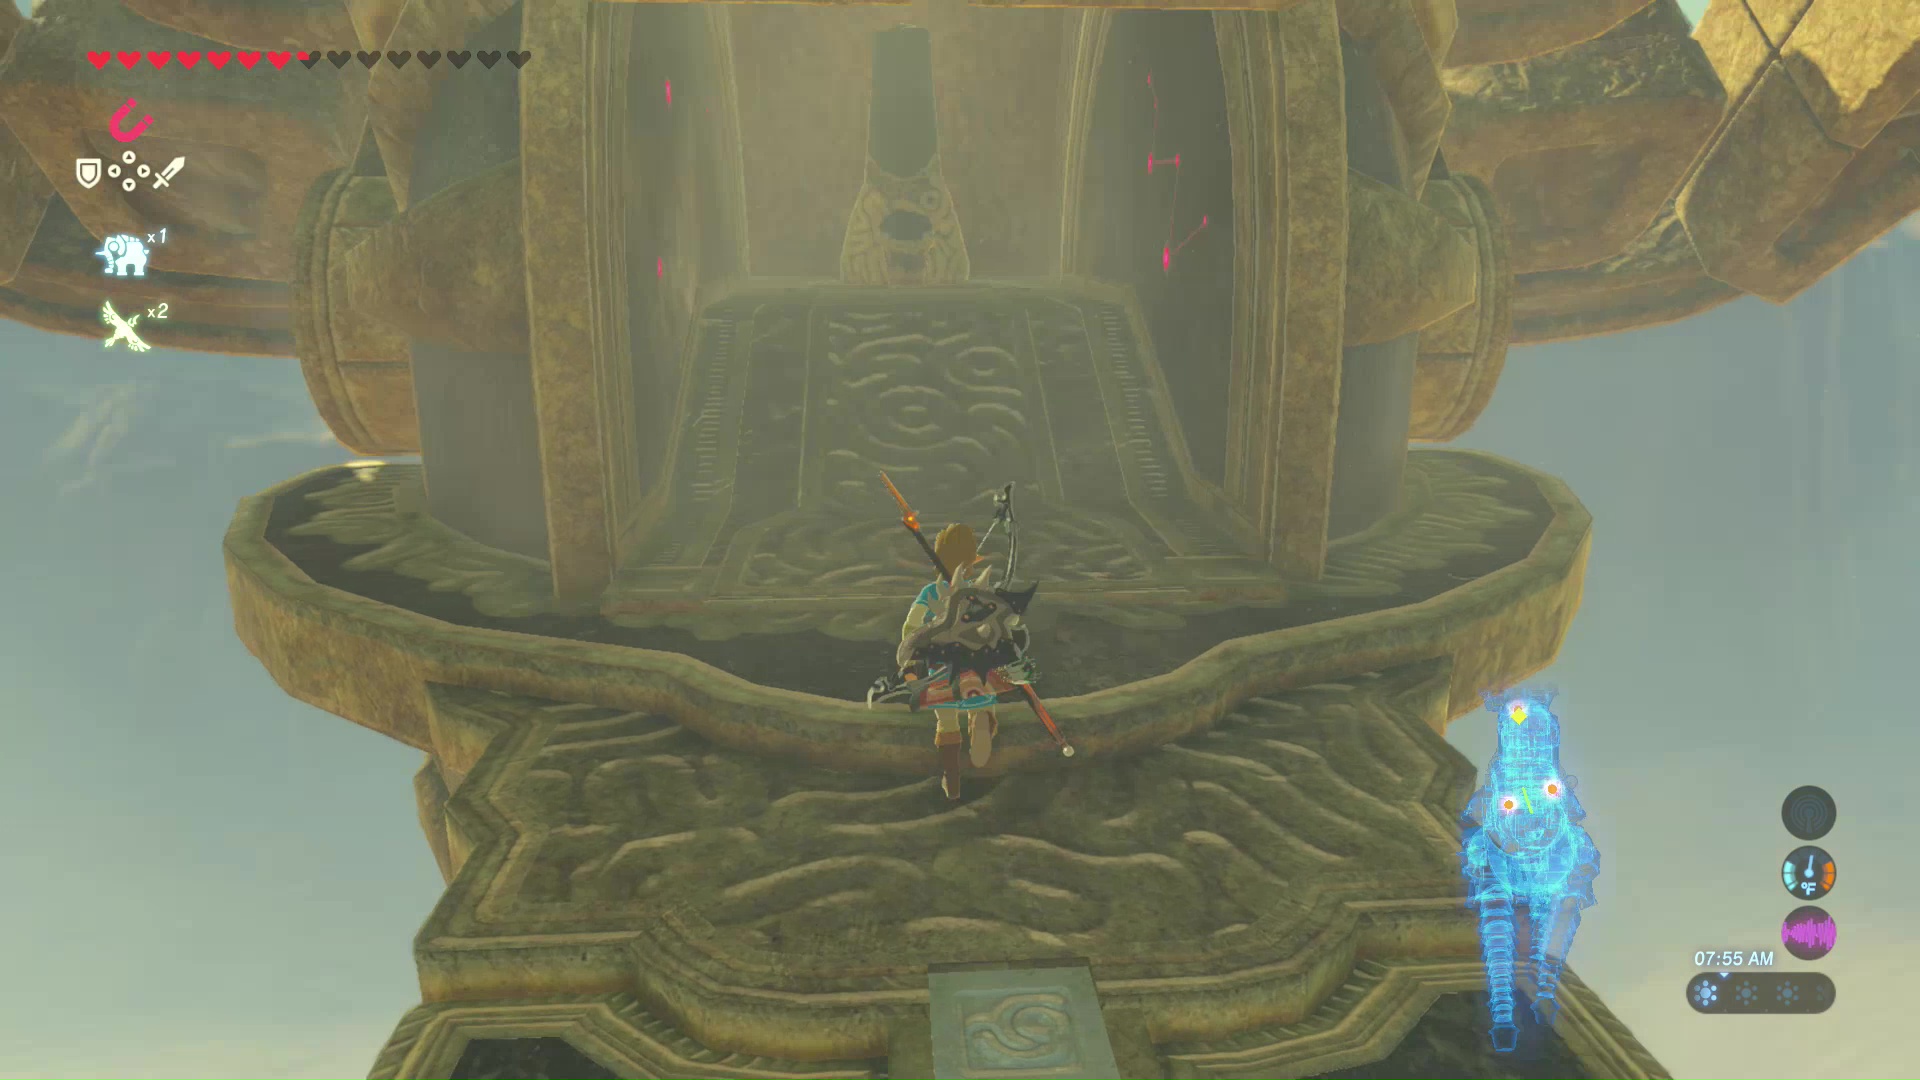
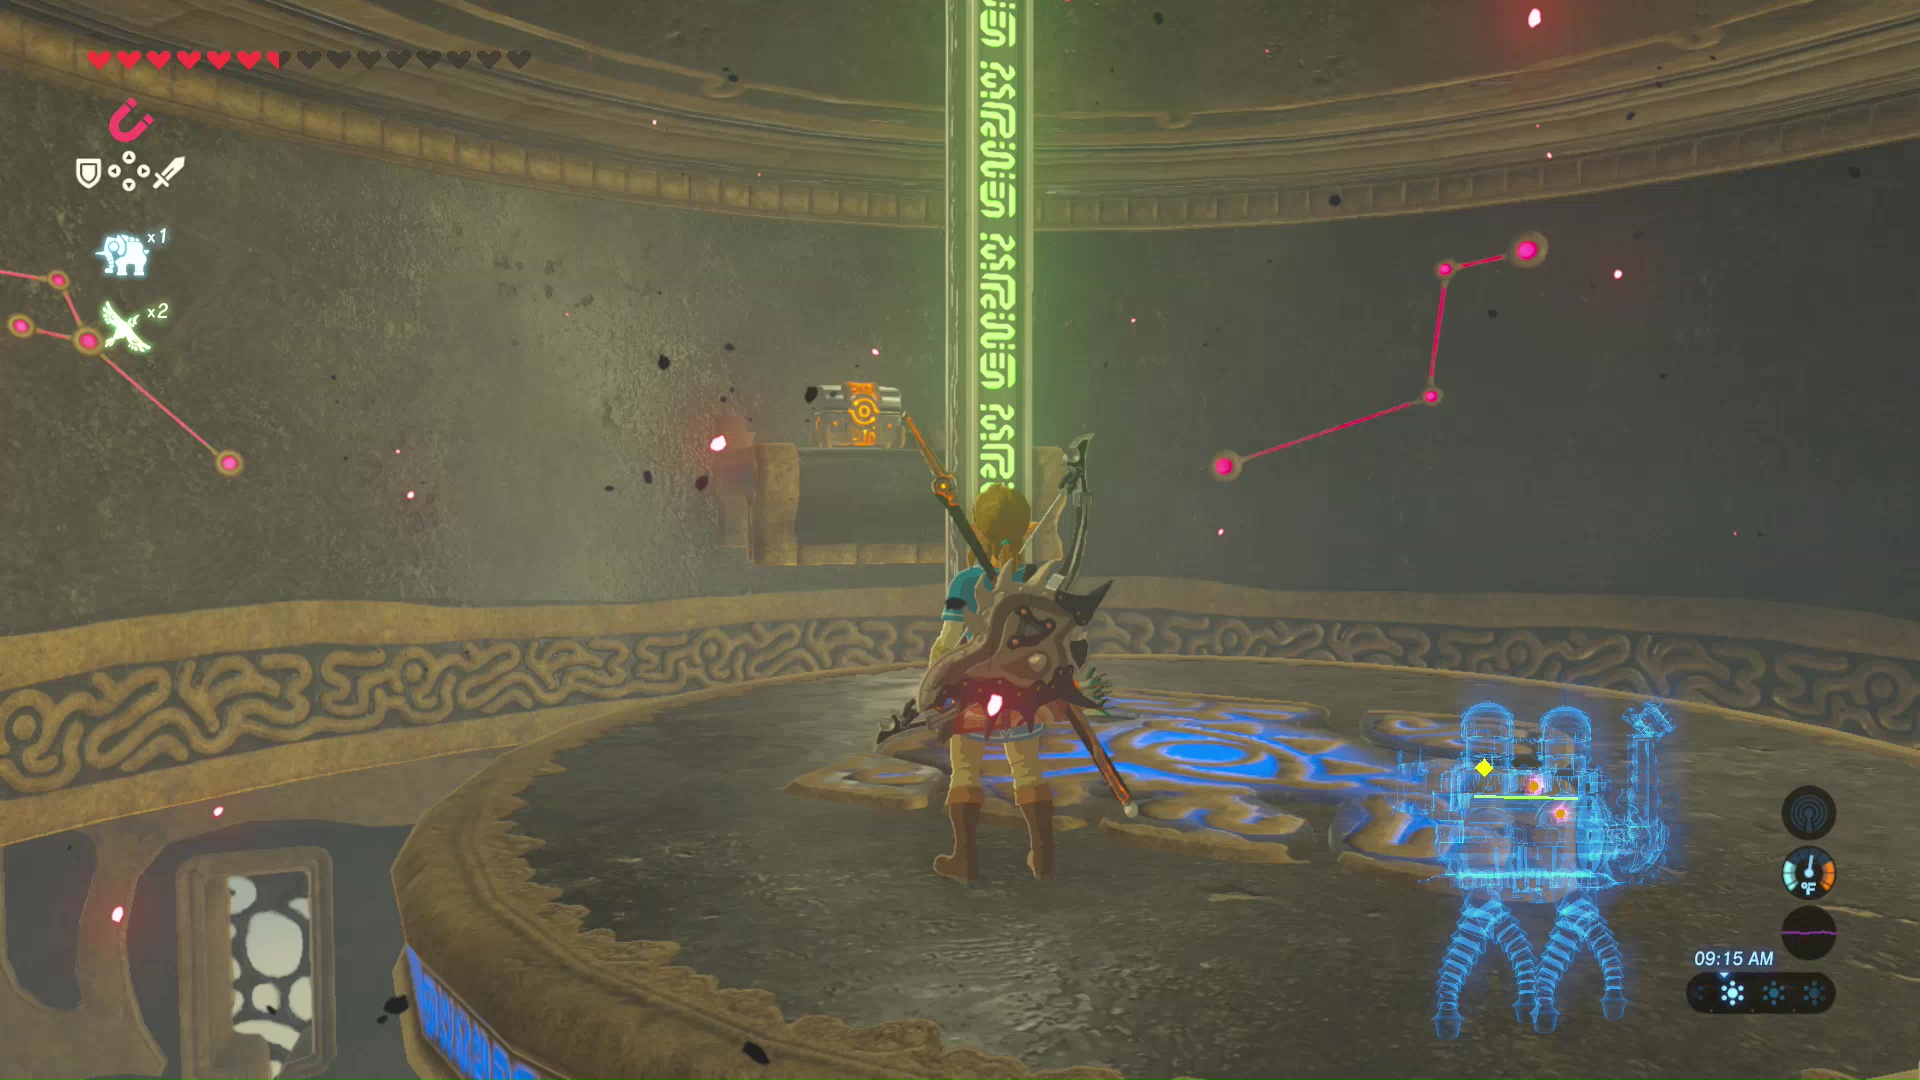
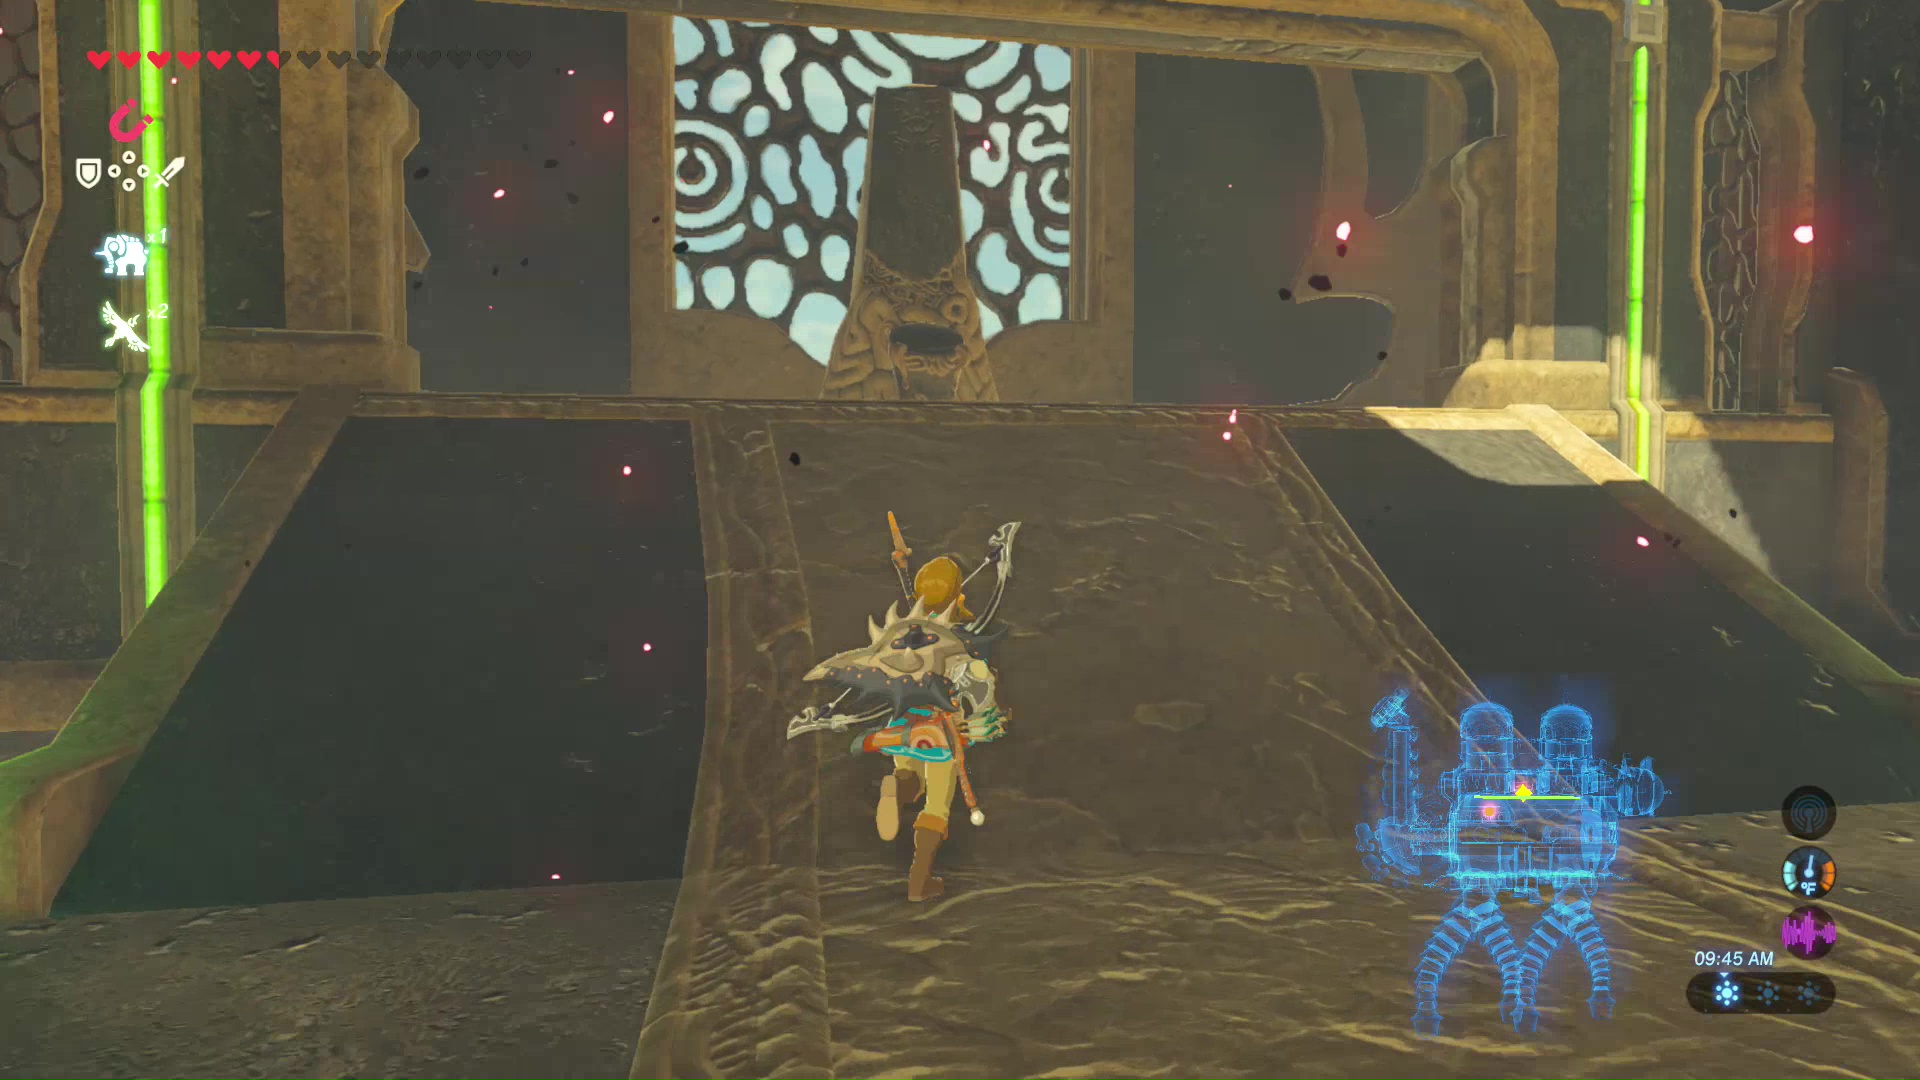
A number of treasure chests can be opened from the start. It’s also important to blow open the circular walls on the sides of Vah Naboris to have access to the whole machine.
A treasure chest can be found hanging off the back end of Vah Naboris. Use the Stasis Rune to freeze the chest, shoot the rope with an arrow, then quickly use the Magnesis Rune to bring it over. I was unable to obtain the chest in my playthrough.
A treasure chest can be found around the left side of Vah Naboris. Walk up the ramp to reach the outside, then follow the path into a small, enclosed room. Open the treasure chest to obtain Bomb Arrow x5.
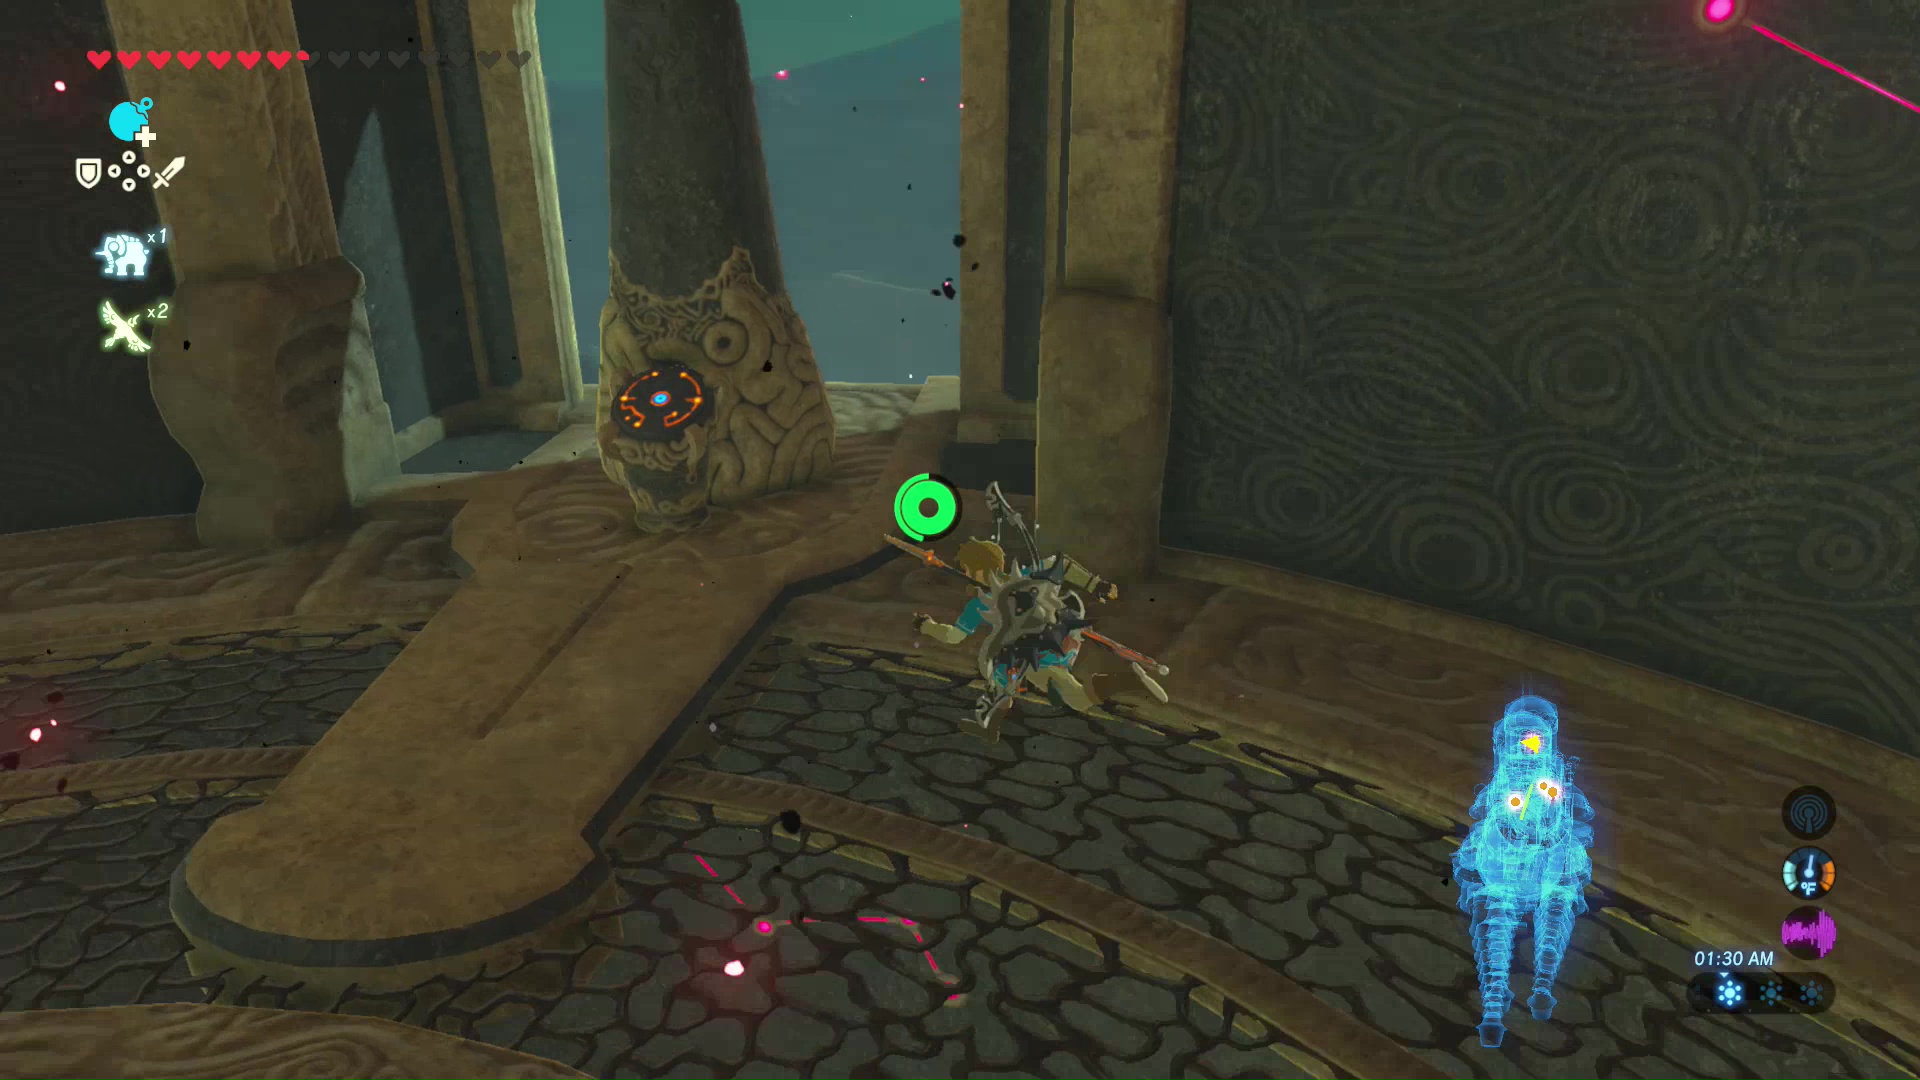
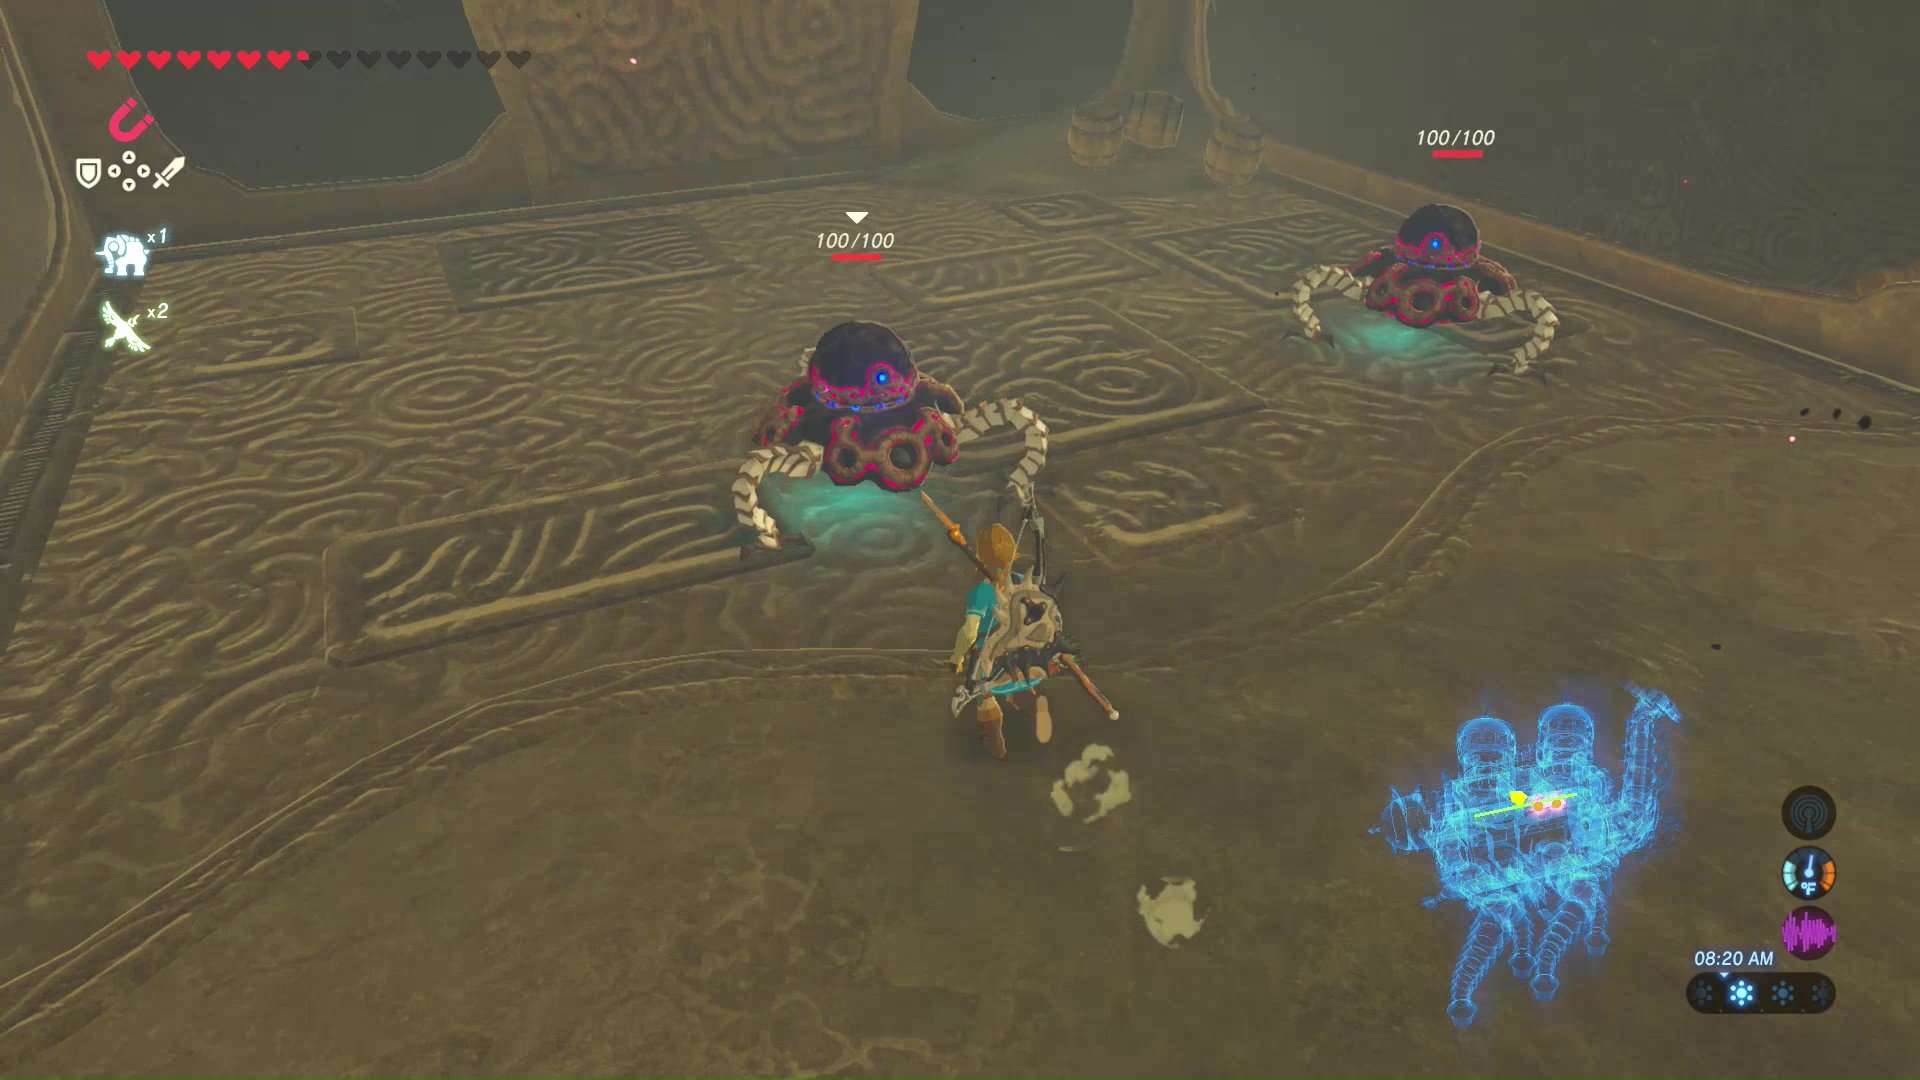
Exit out this small room and you will see a Guardian Scout at the other end of the path. Destroy the Guardian Scout, then drop a Remote Bomb Rune next to the cracked wall to destroy the wall.

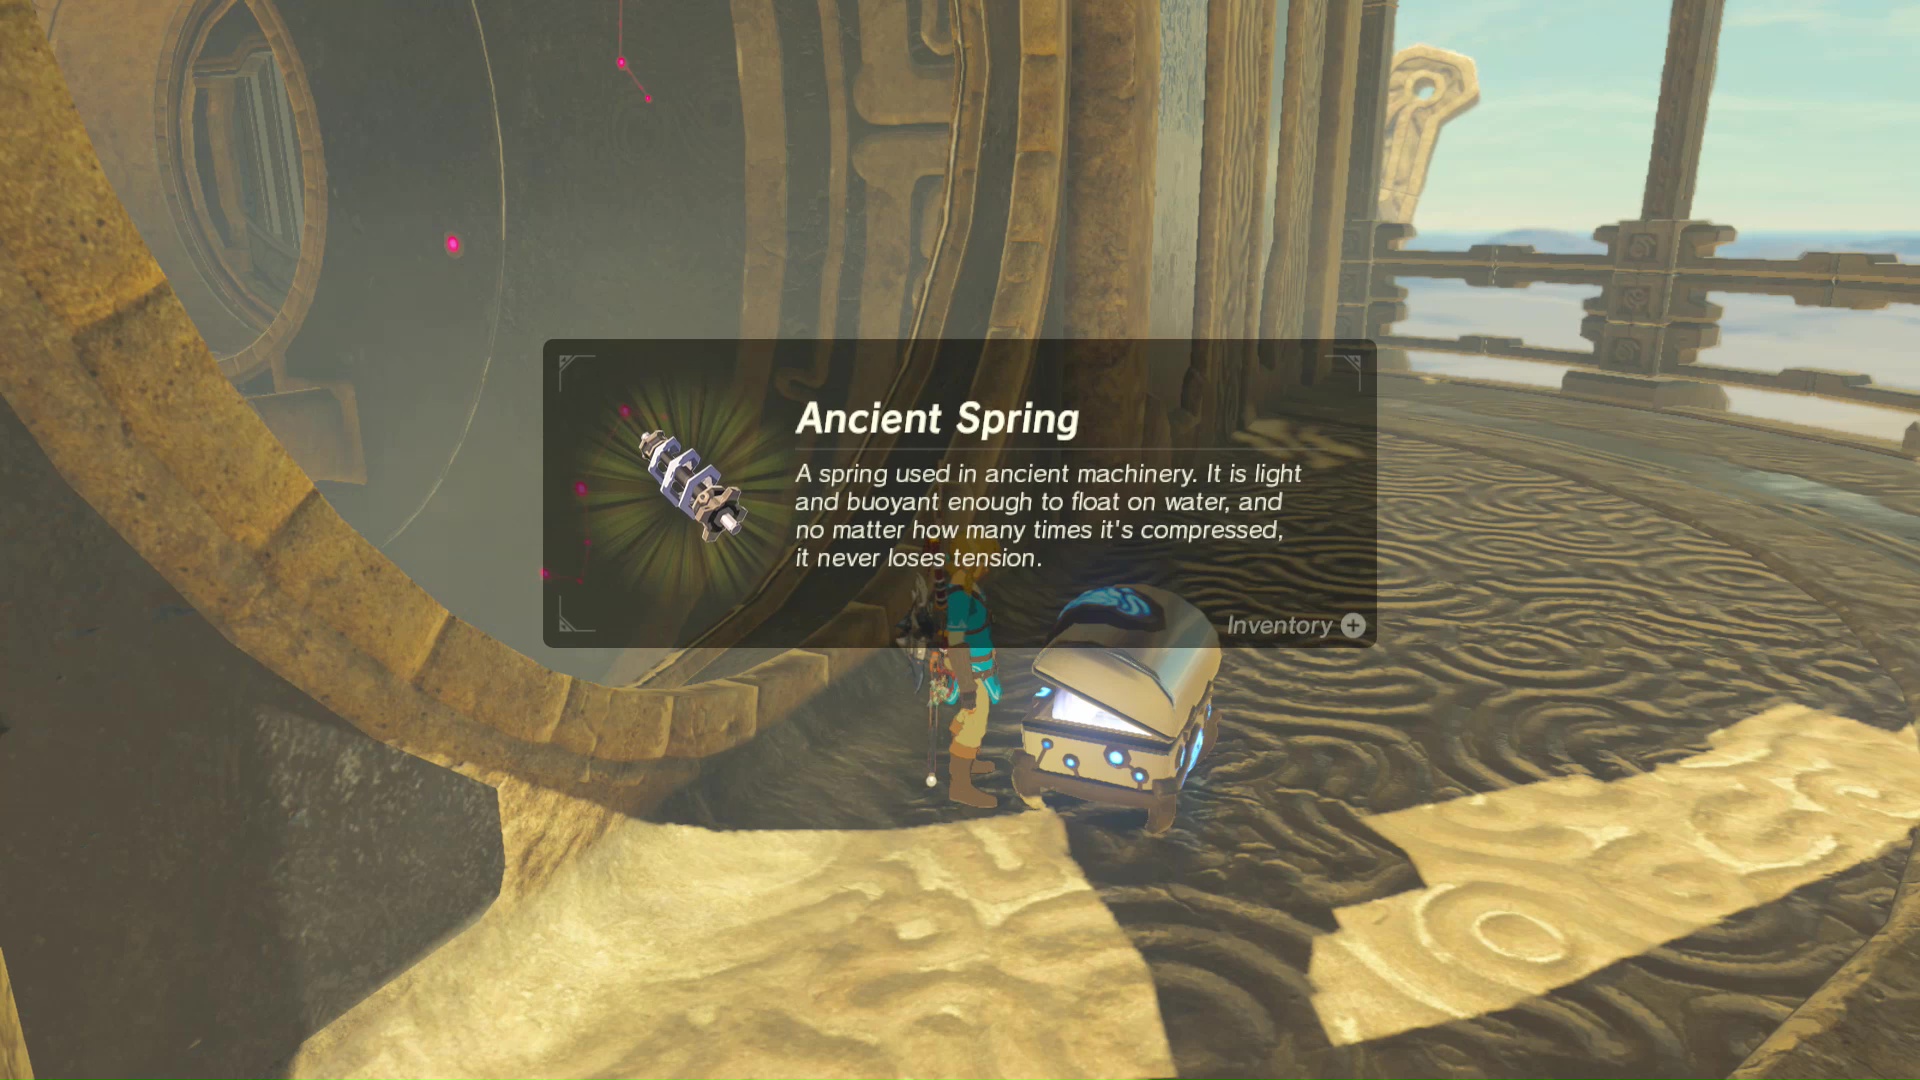
Jump through the newly created hole and walk across the bridge. Another cracked wall is at the end of the bridge on the right side of Vah Naboris. Grab a Remote Bomb Rune, throw it toward the wall, and detonate the bomb in mid-air to blow it open. A treasure chest with an Ancient Spring is on the other side of the wall. If the hole isn’t open, you will need to rotate Vah Naboris to reach the treasure chest.
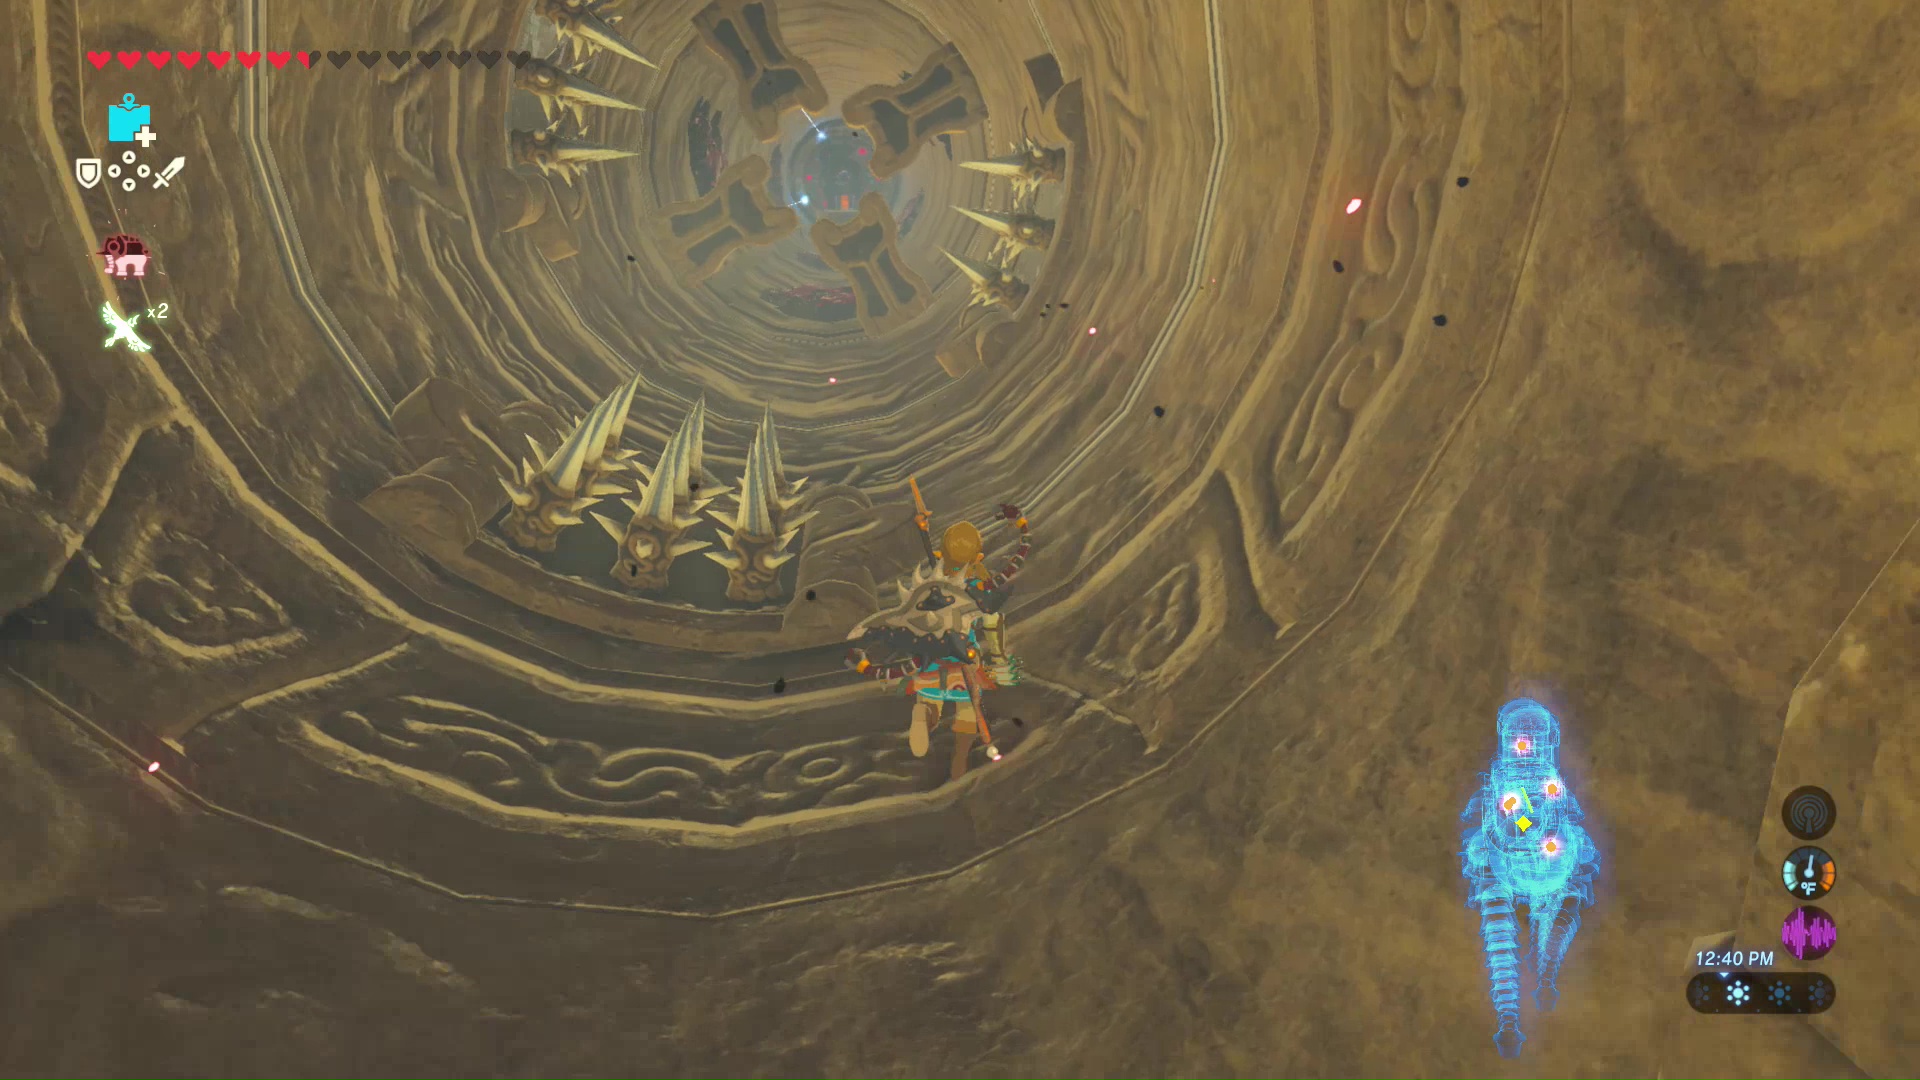
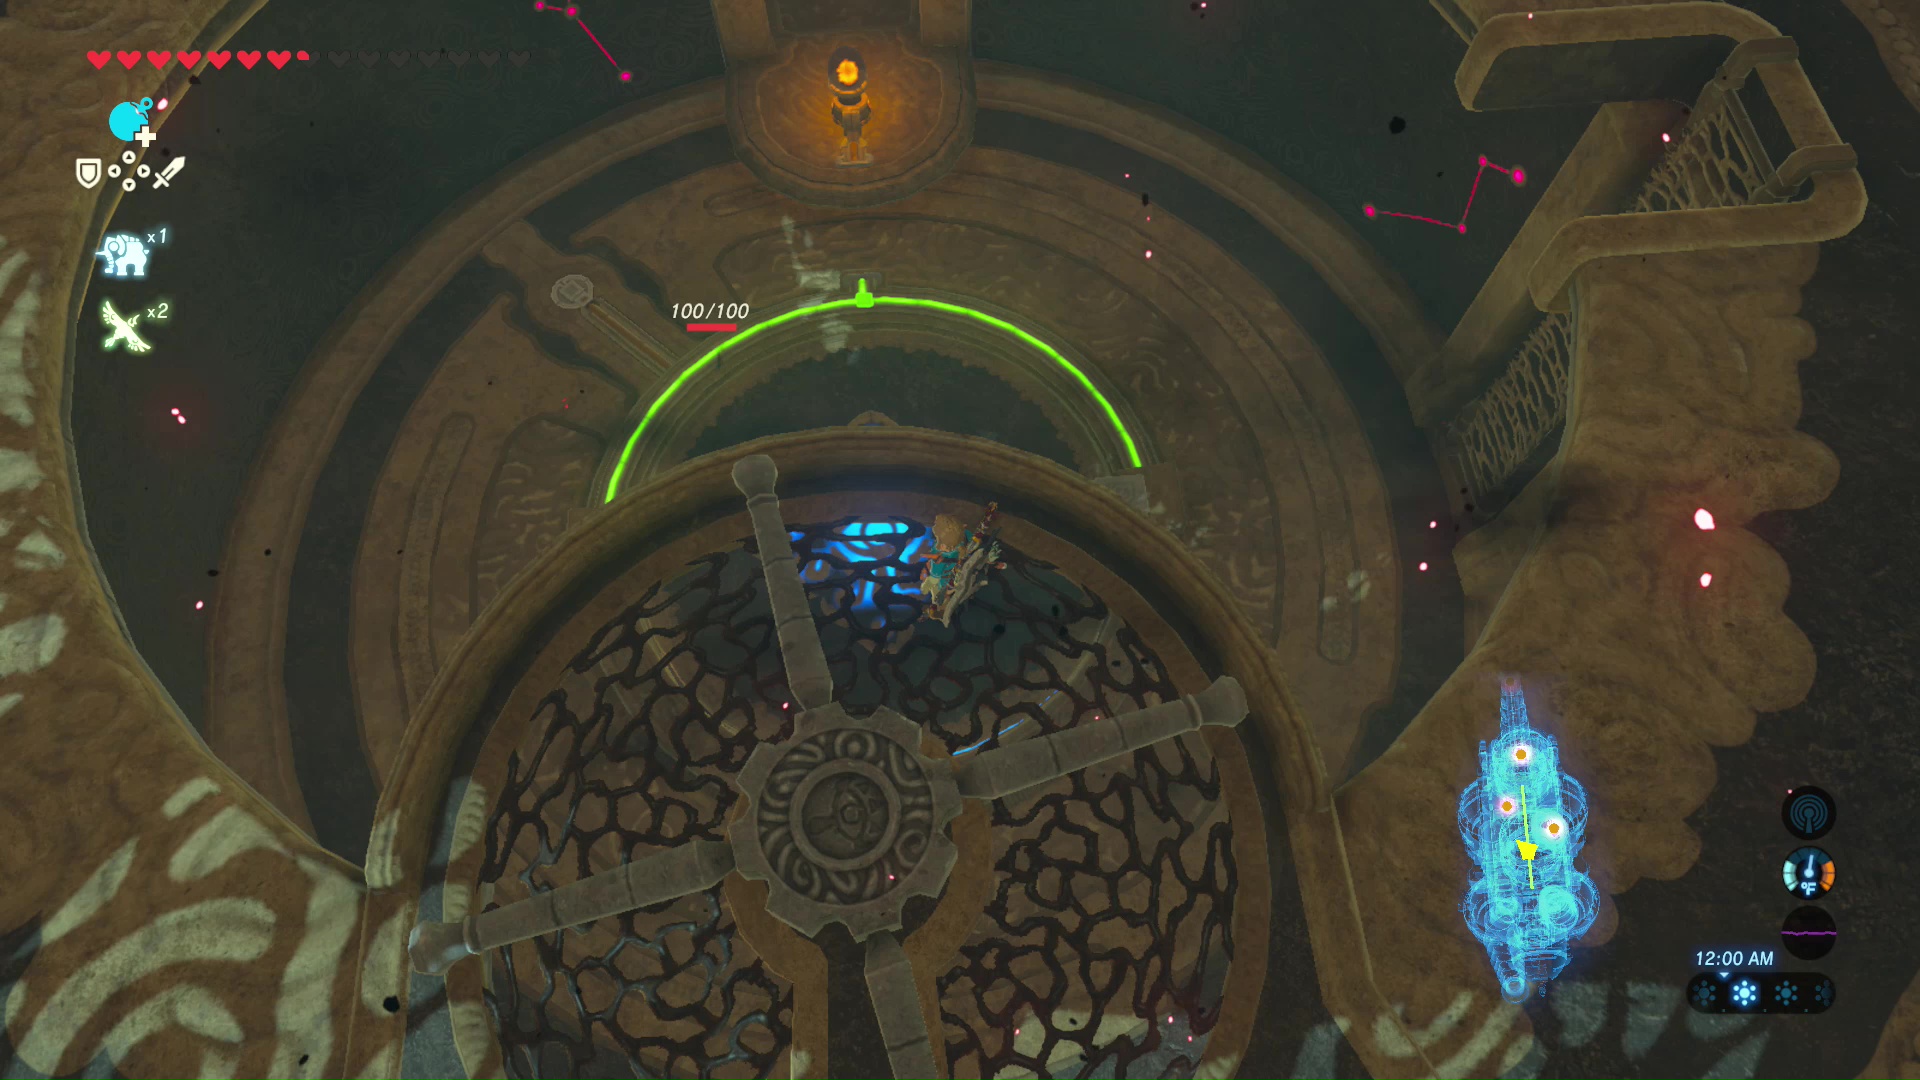
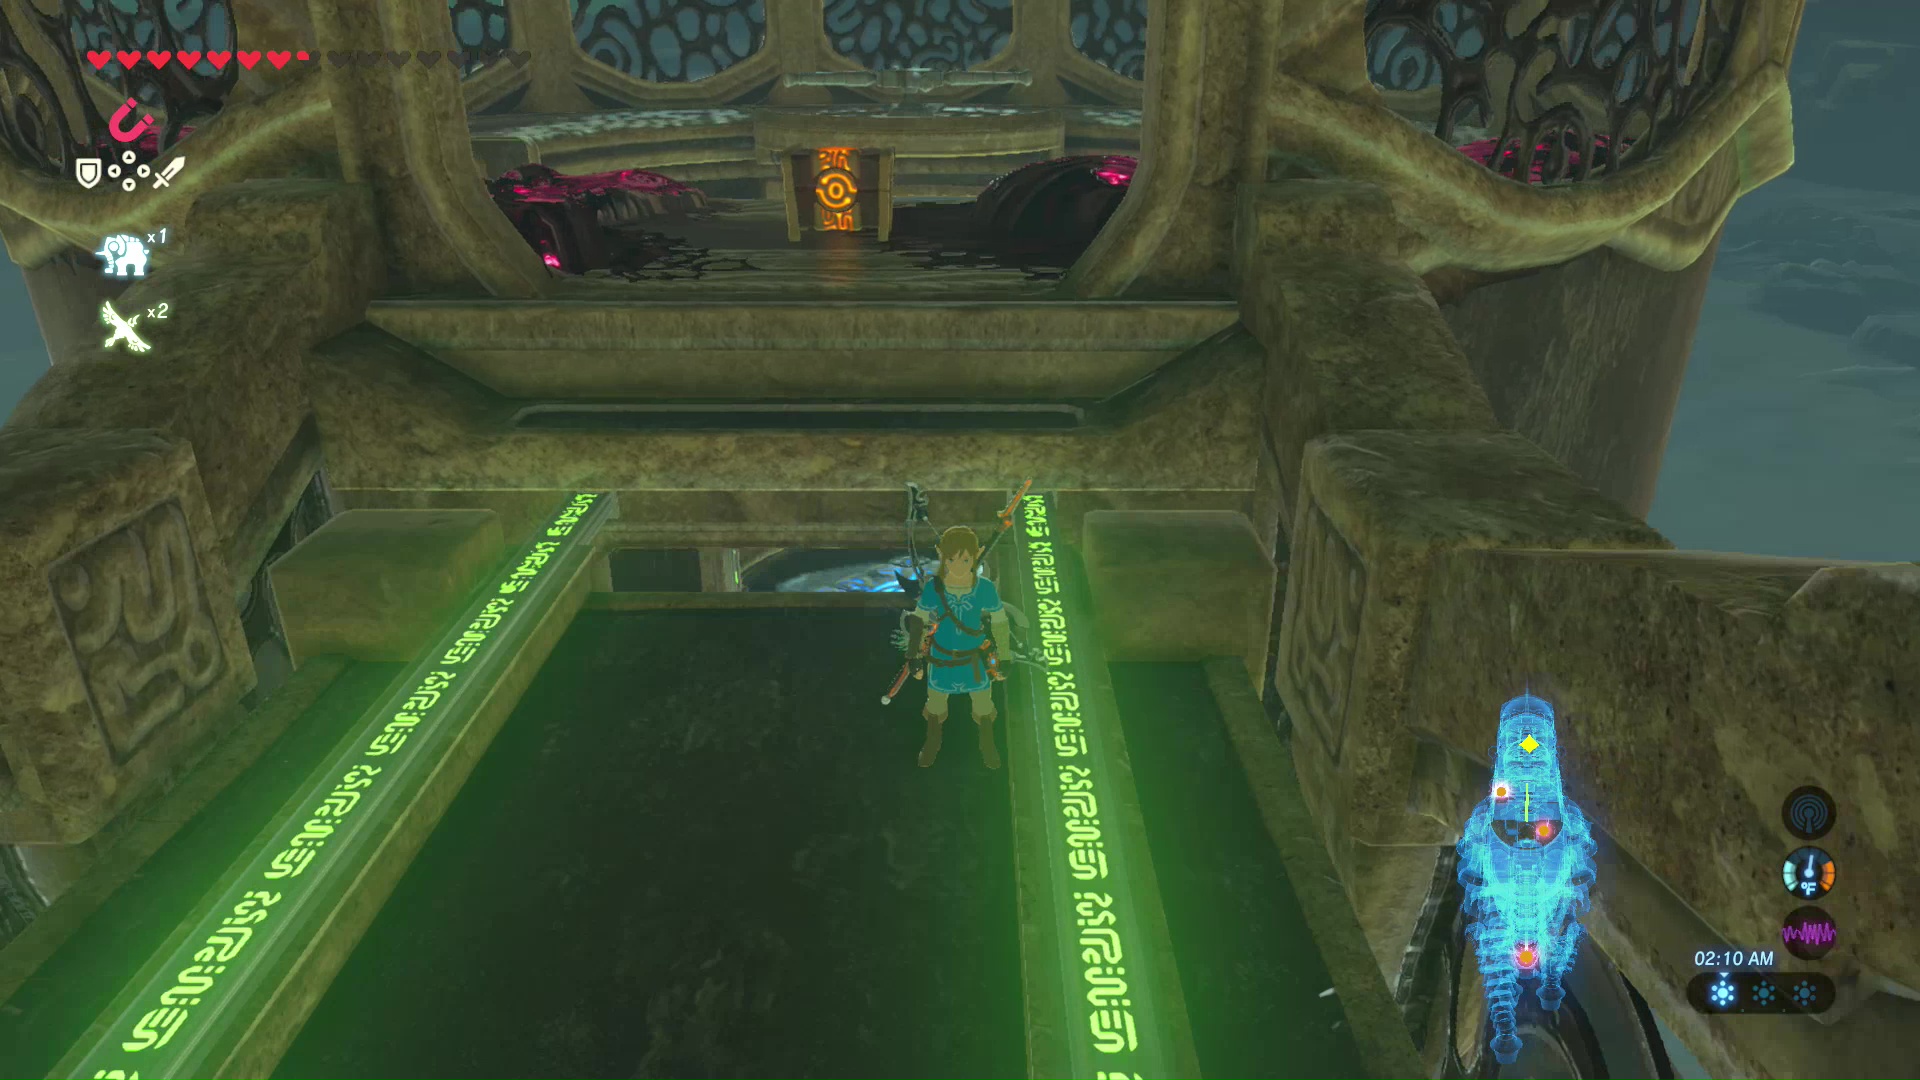
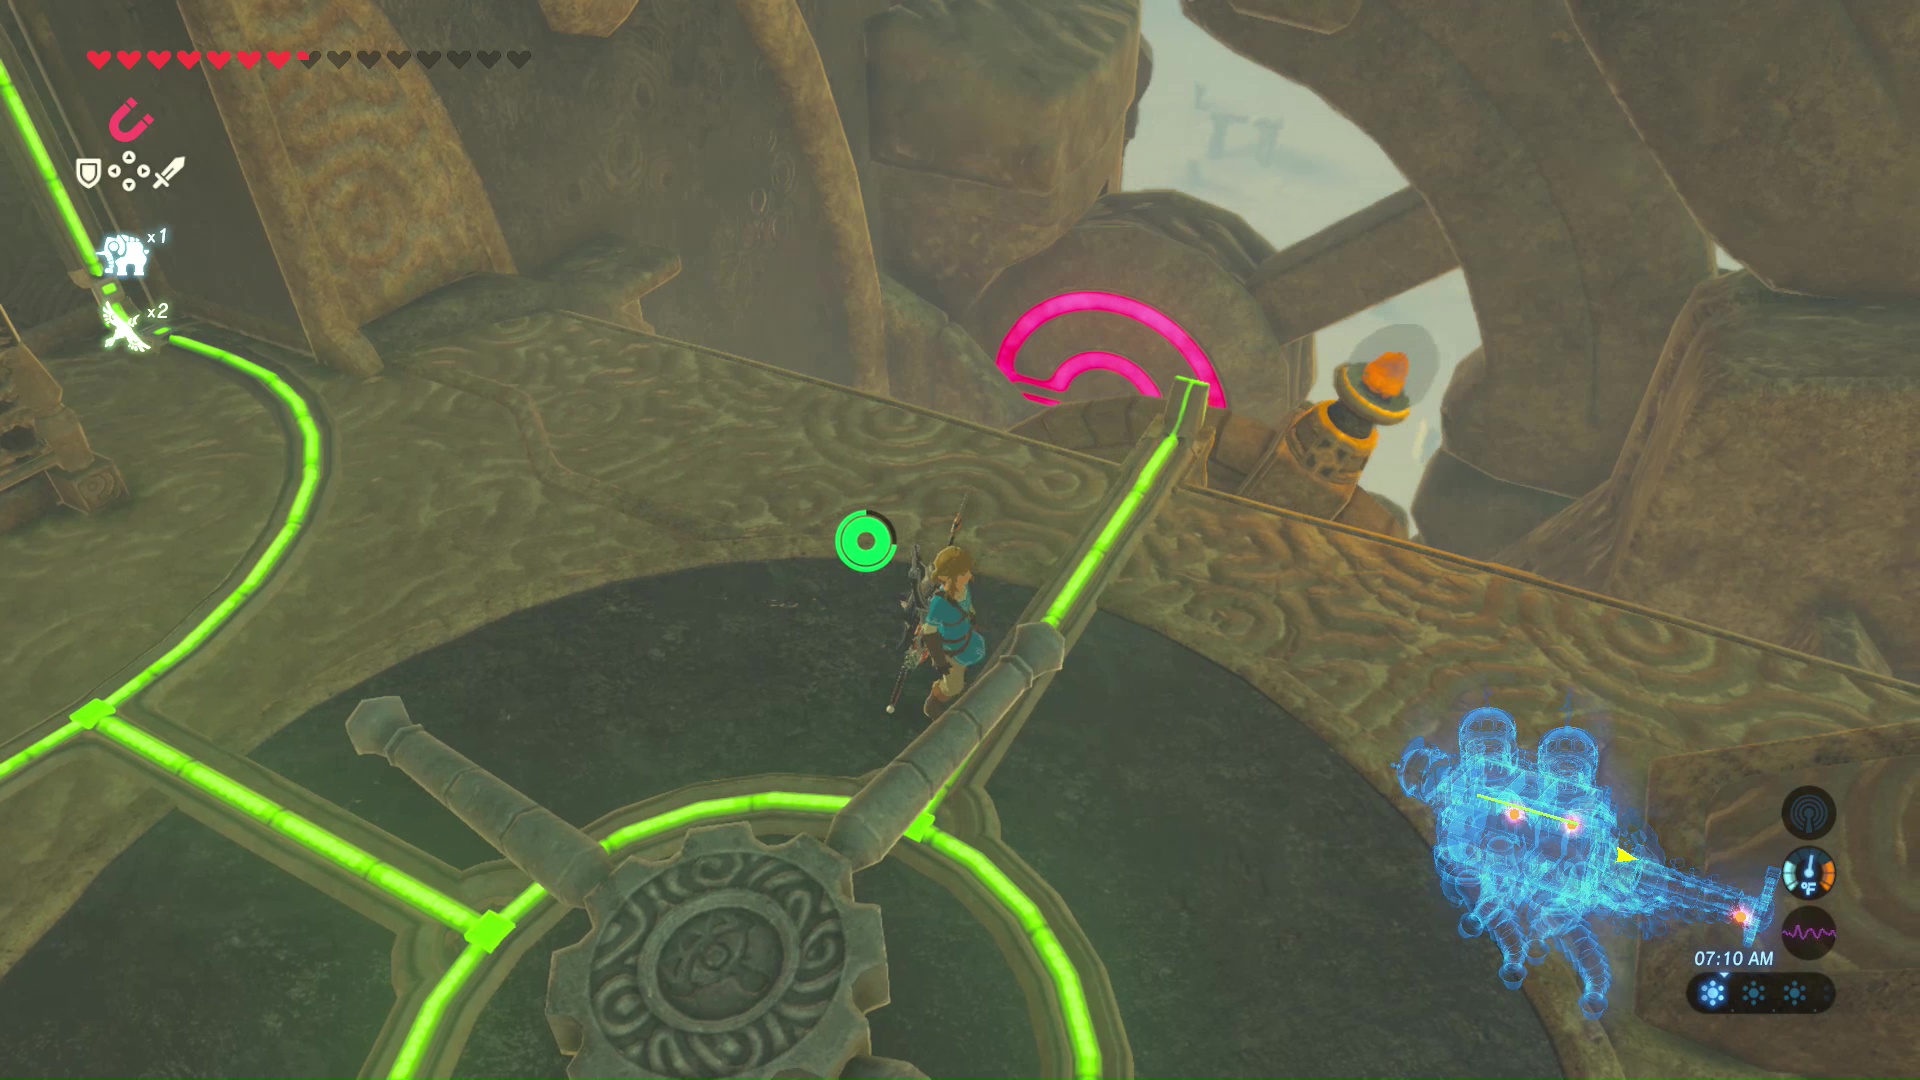
Walk toward the neck of Vah Naboris next. A gate might be blocking off this area if the Divine Beast isn’t set just right. Rotate the center of Vah Naboris to match all three green lines at the top.

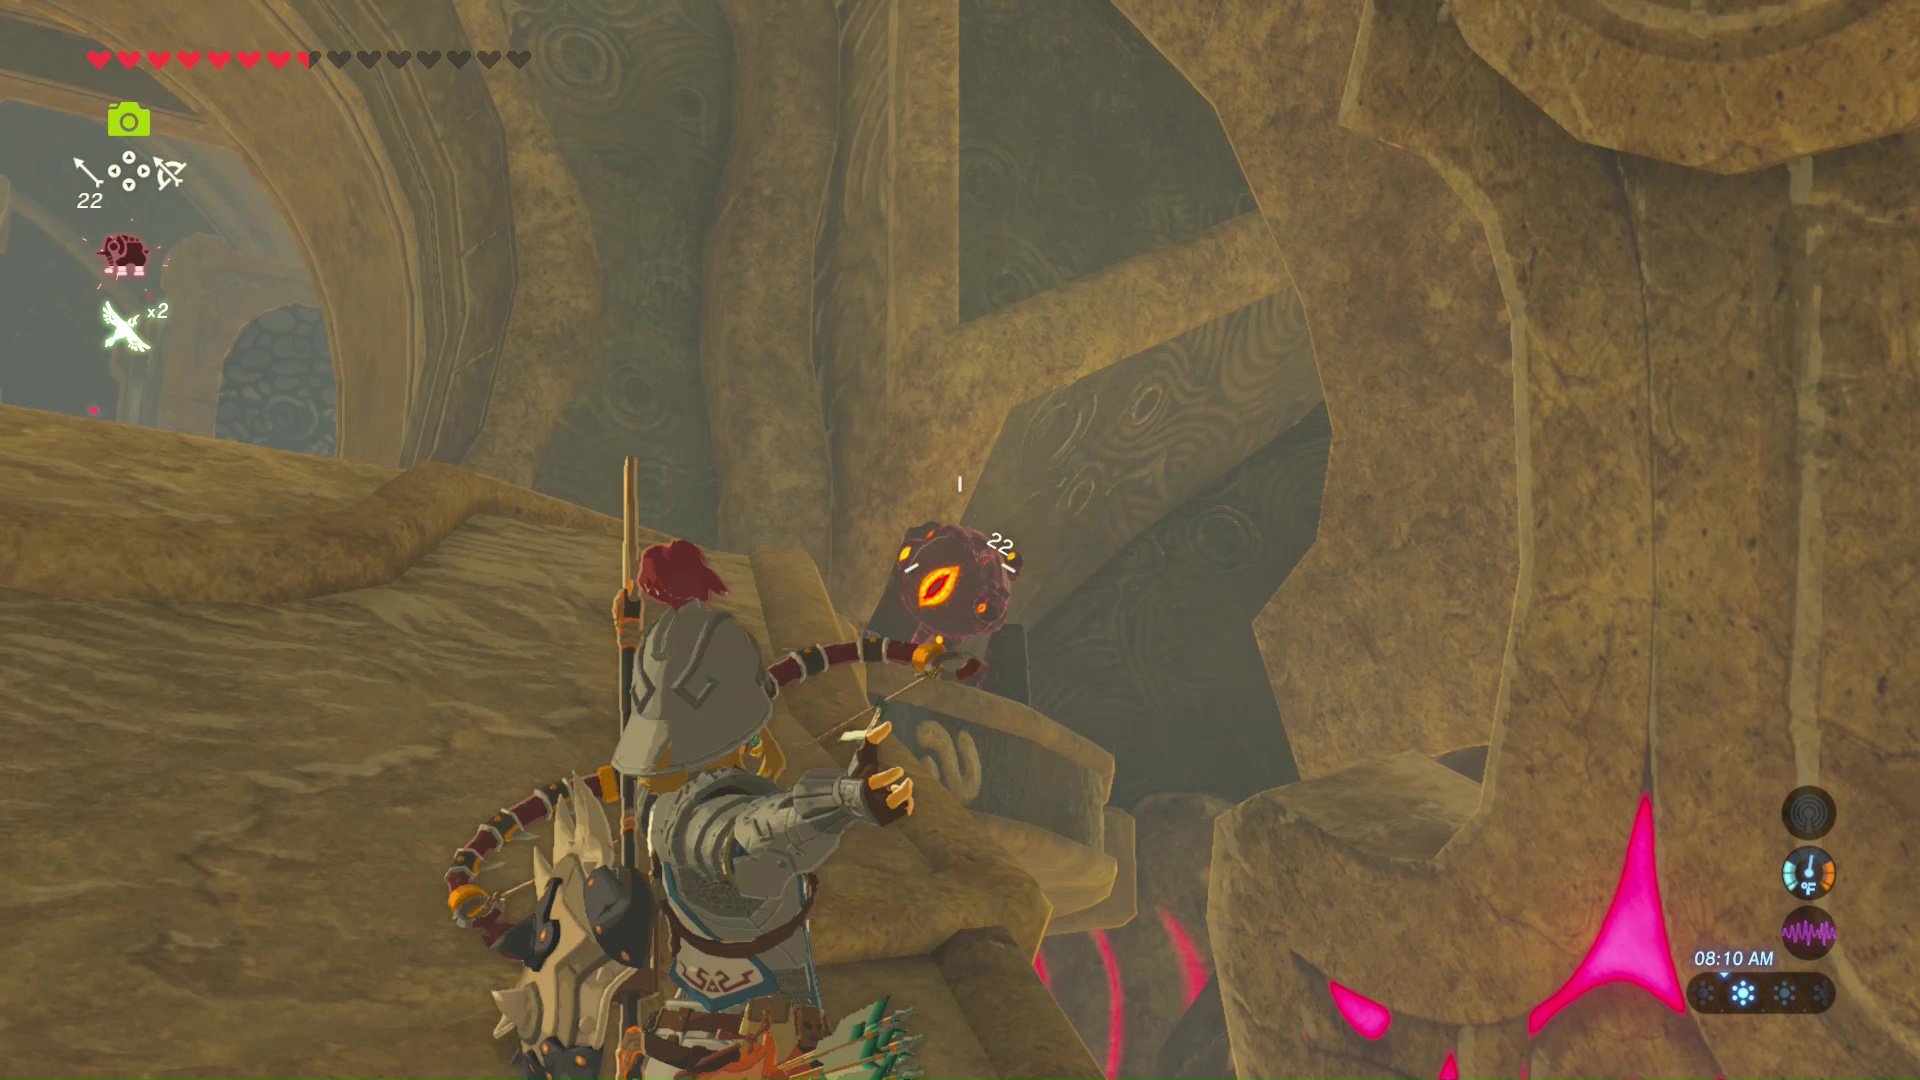
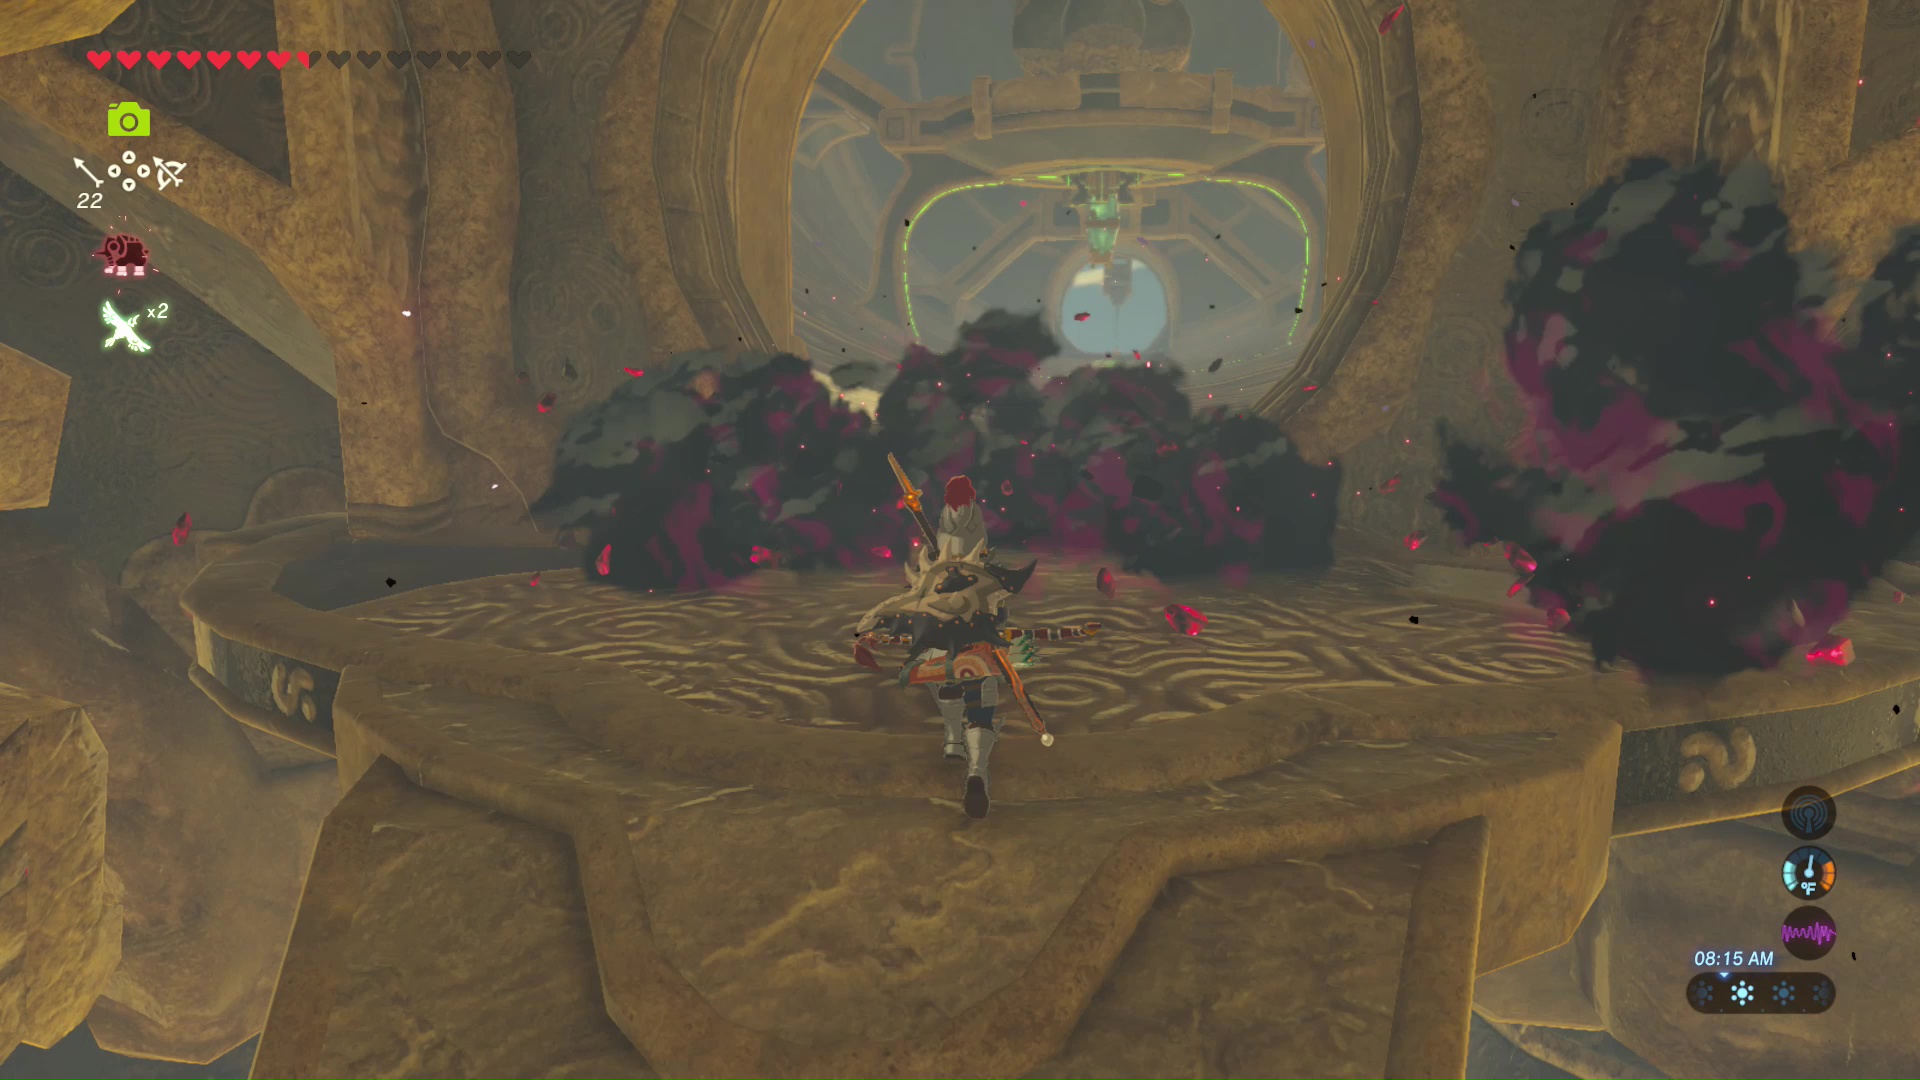
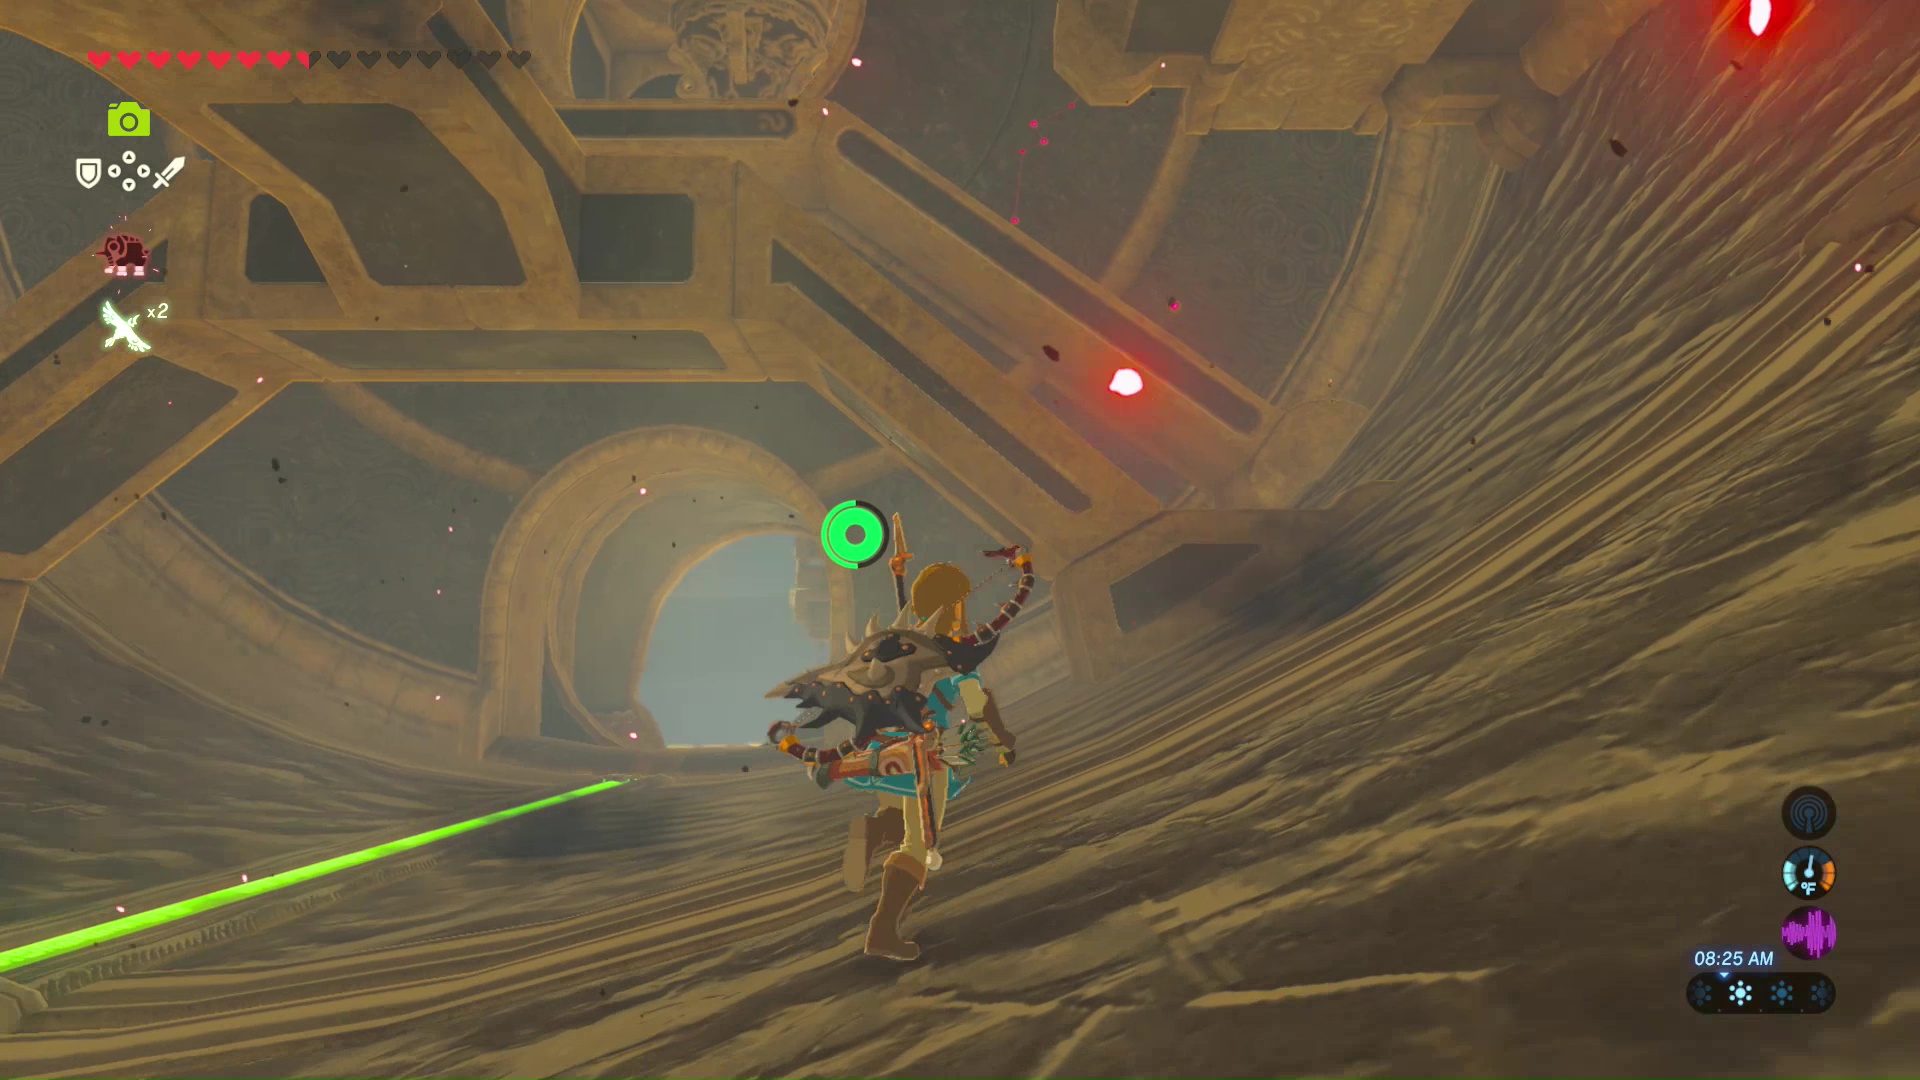
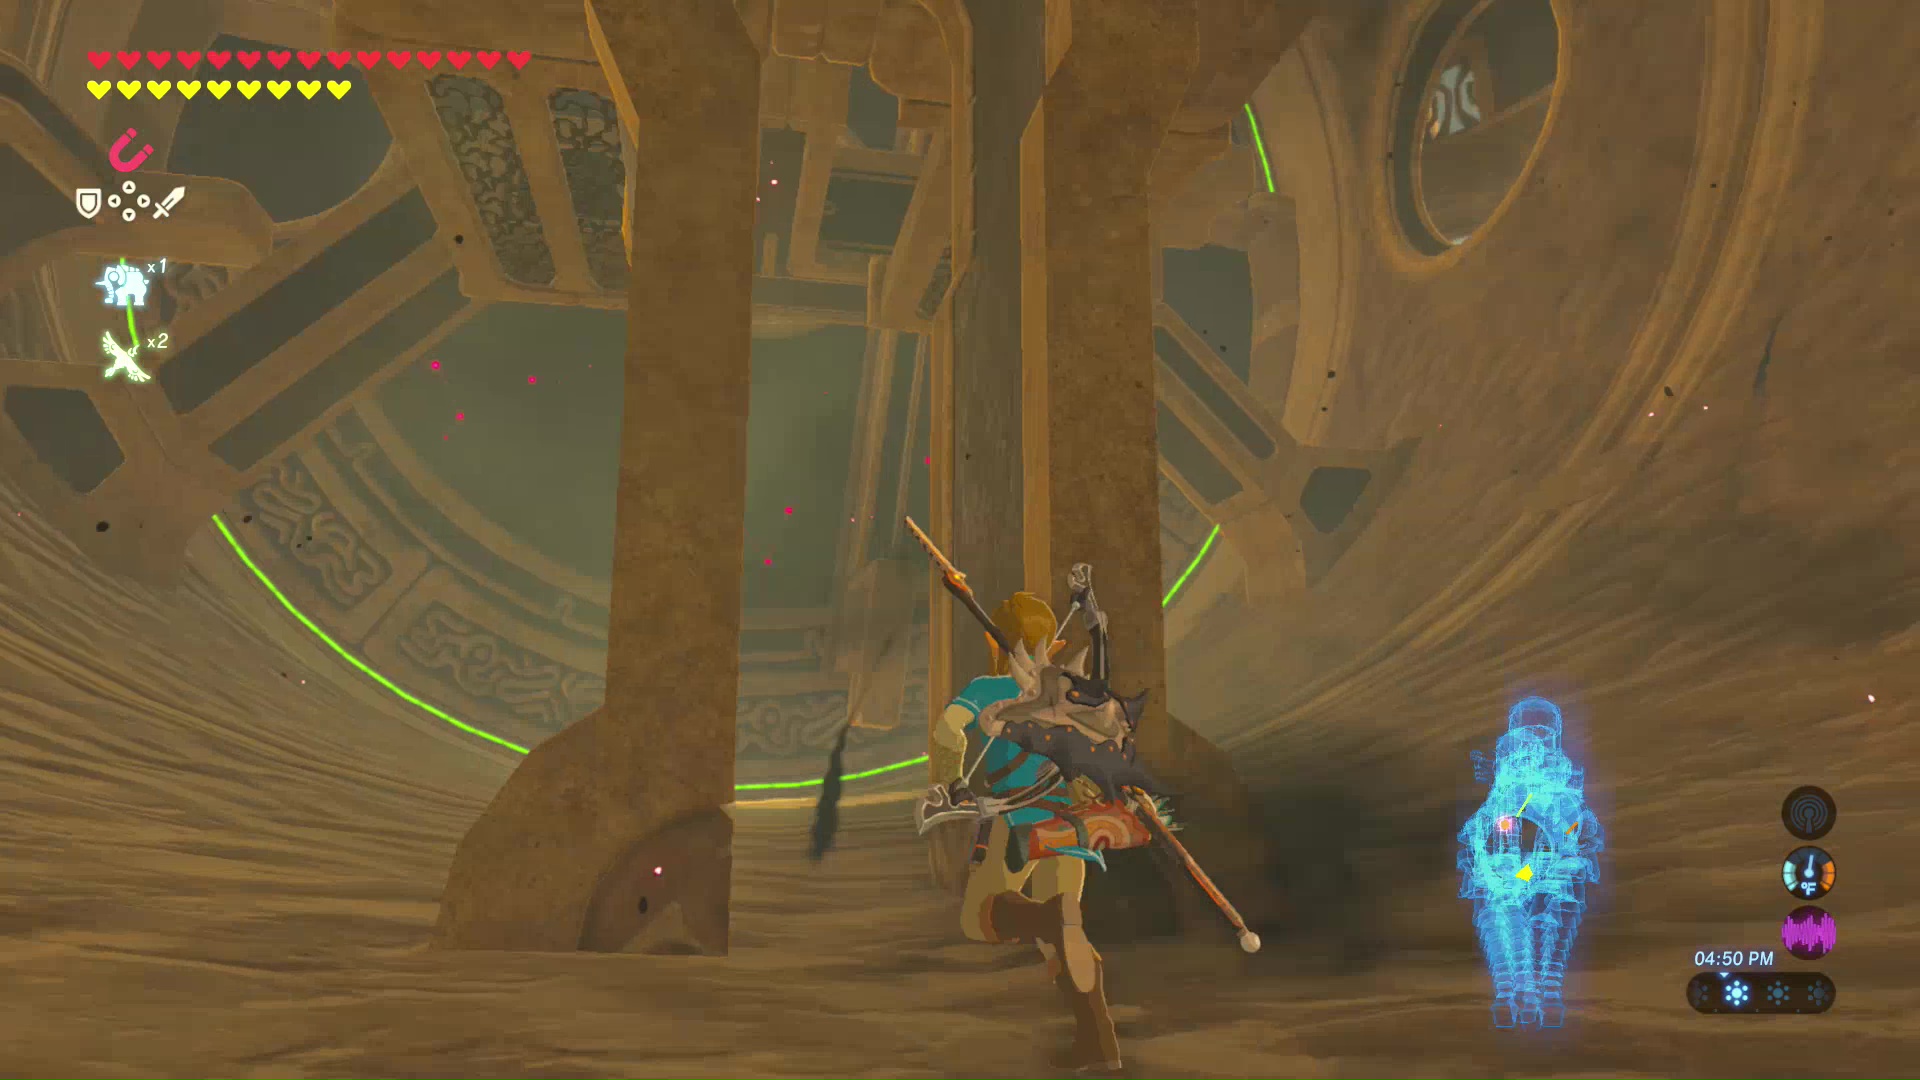
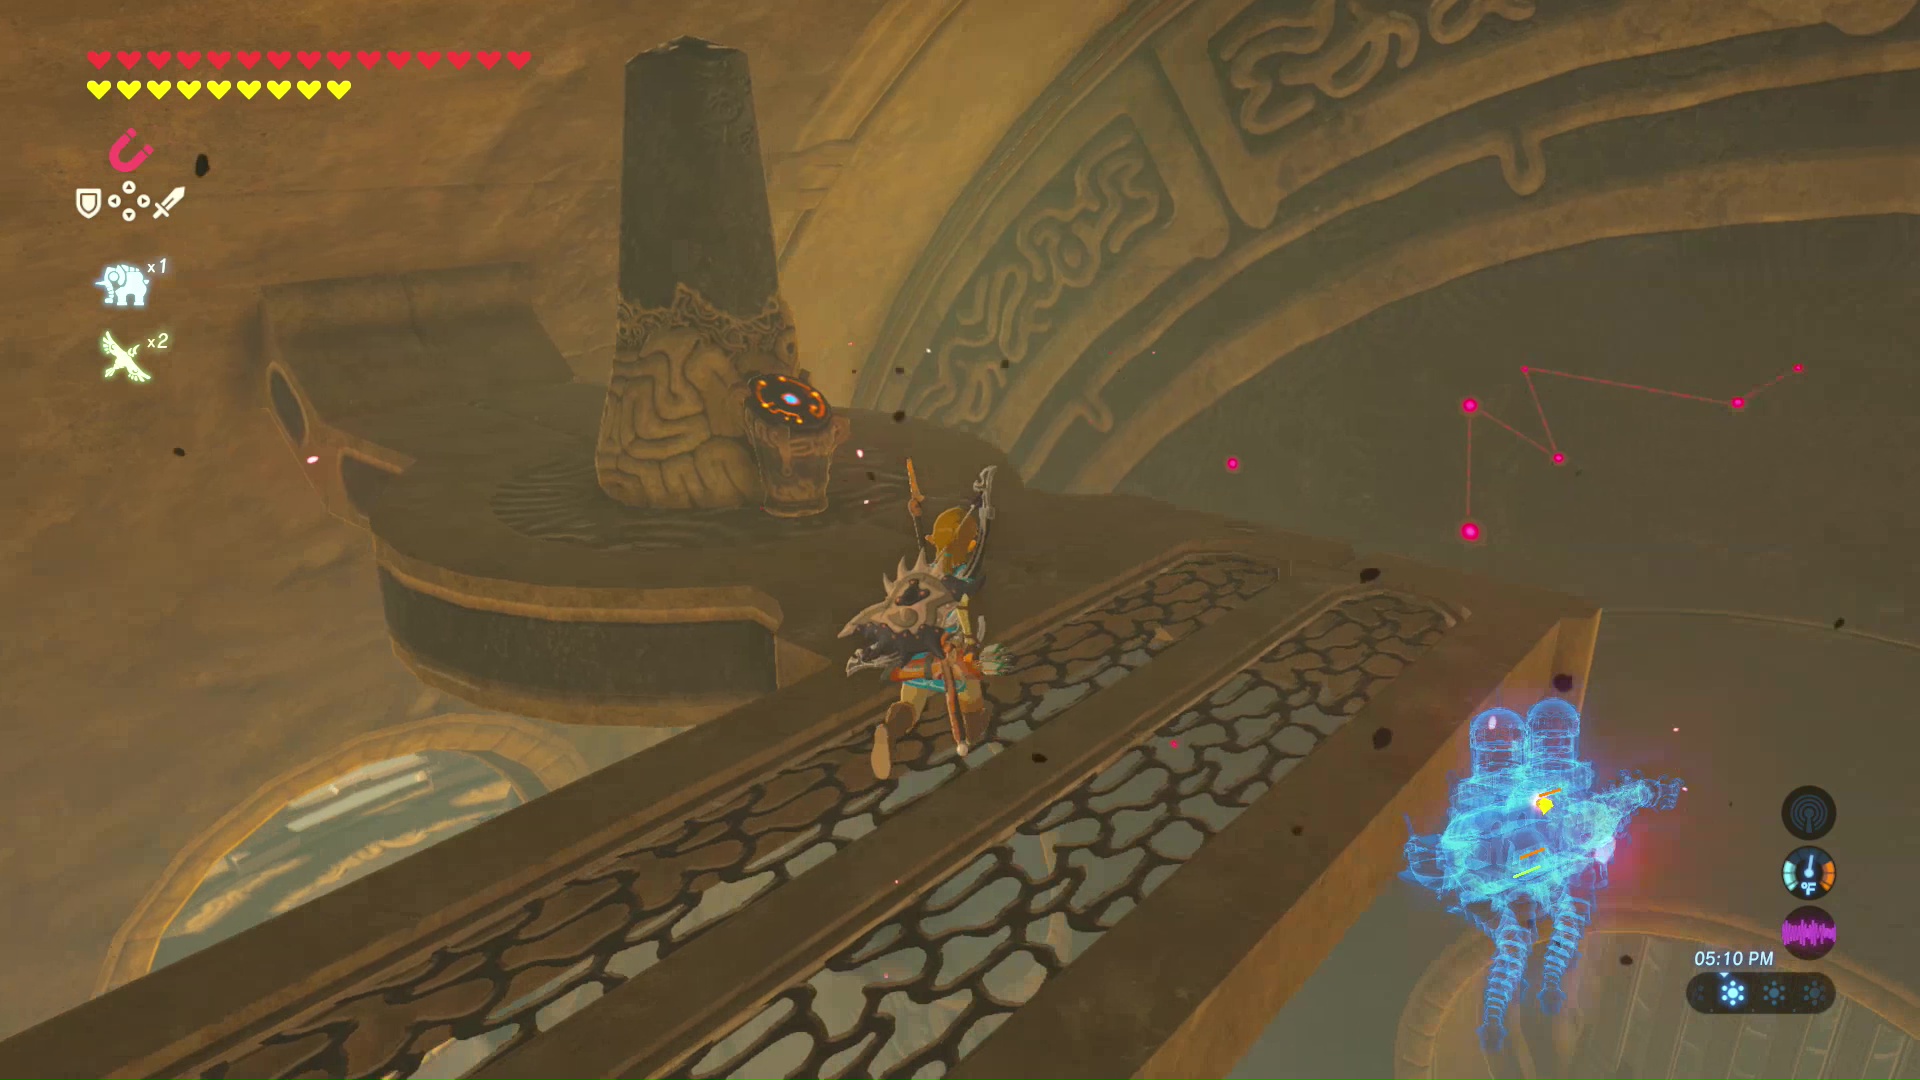
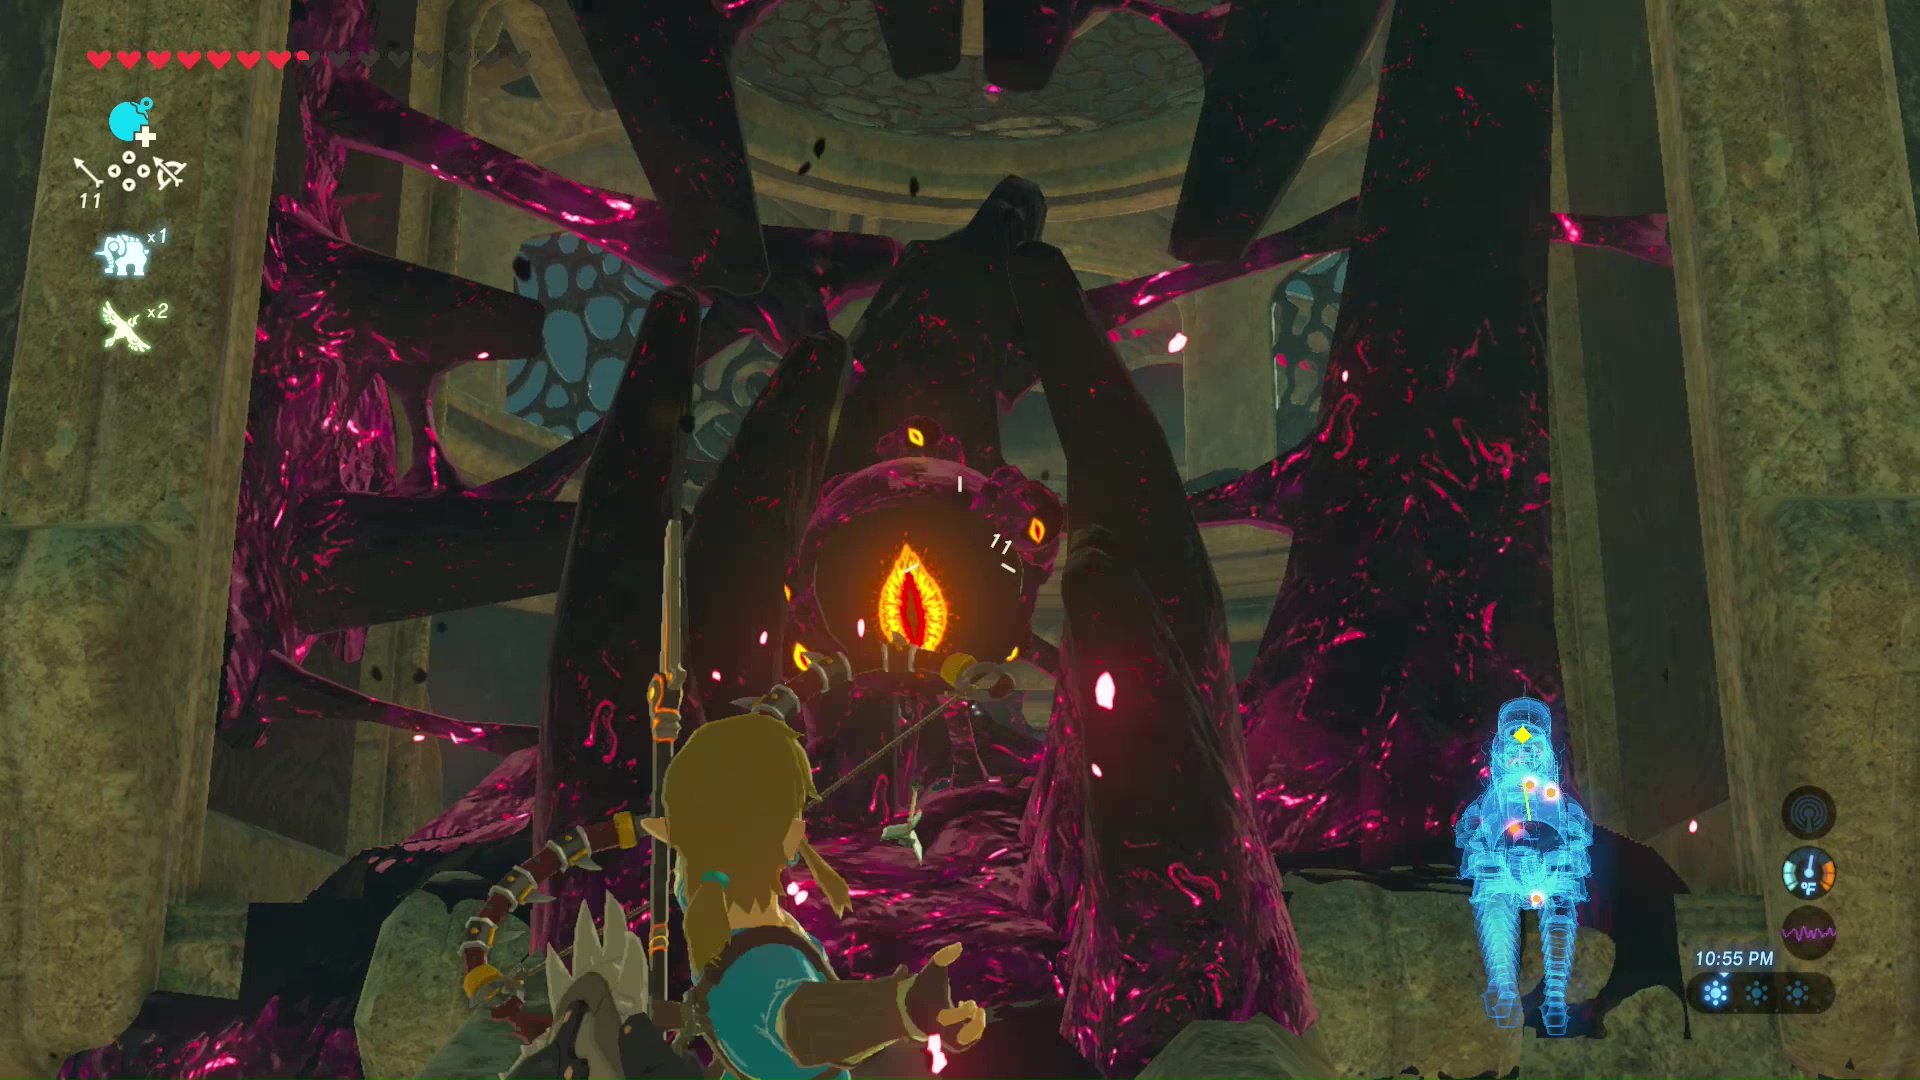
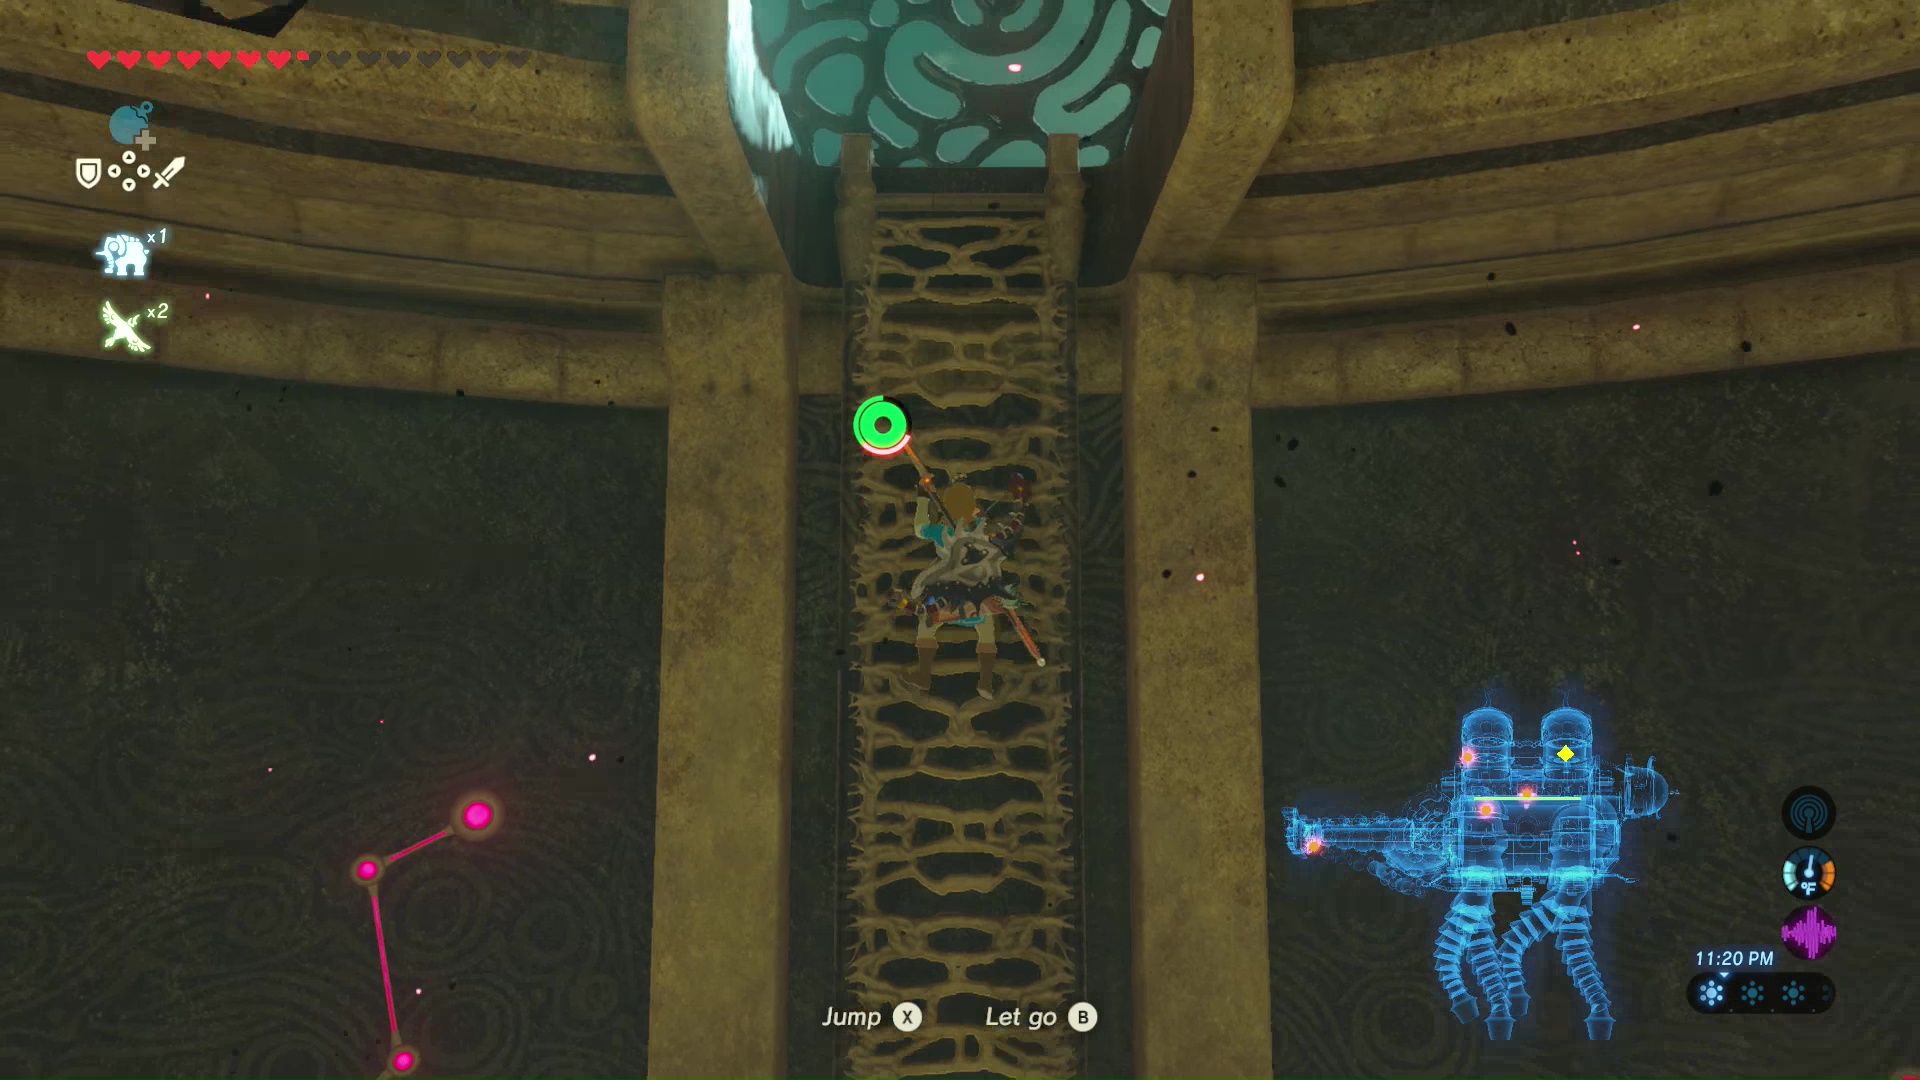
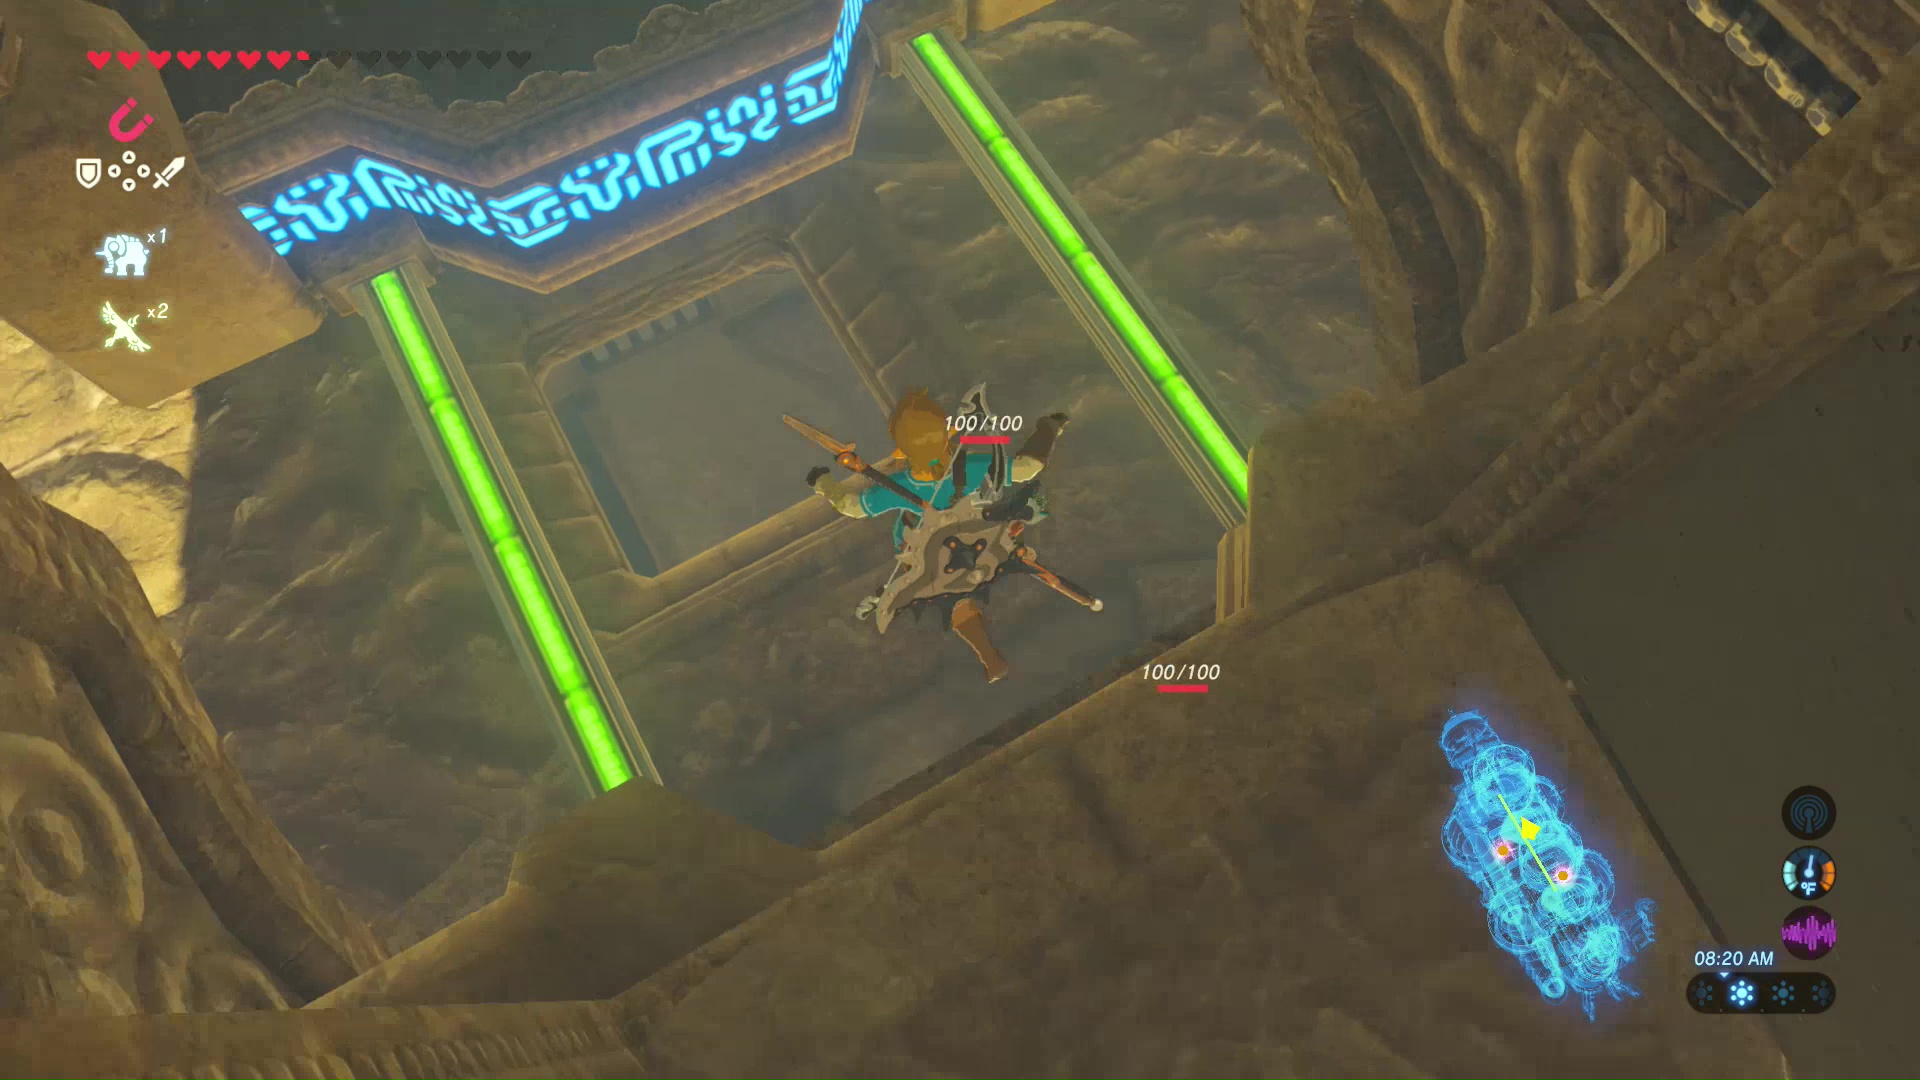
A few traps are in the neck of the Divine Beast. There are some rotating spikes and rotating lasers that will damage you if you touch them, and there are rotating lasers. Walk up the sides and jump if needed to avoid any damage. Shoot the calamity eyeball at the end of the path to eliminate a lot of calamity junk around the neck. Open the treasure chest to obtain a Royal Shield.
Return to the center of the machine. Two more treasure chests can be found on the sides of the bridges. It will be next to another calamity eyeball that can spawn monster heads. Shoot the eyeball and destroy any monster heads that may be around. You will need to use the bridges and rotate the center-third piece to reach the treasure chests containing a Royal Bow and an Ancient Shaft.


Terminal 1 Back Side
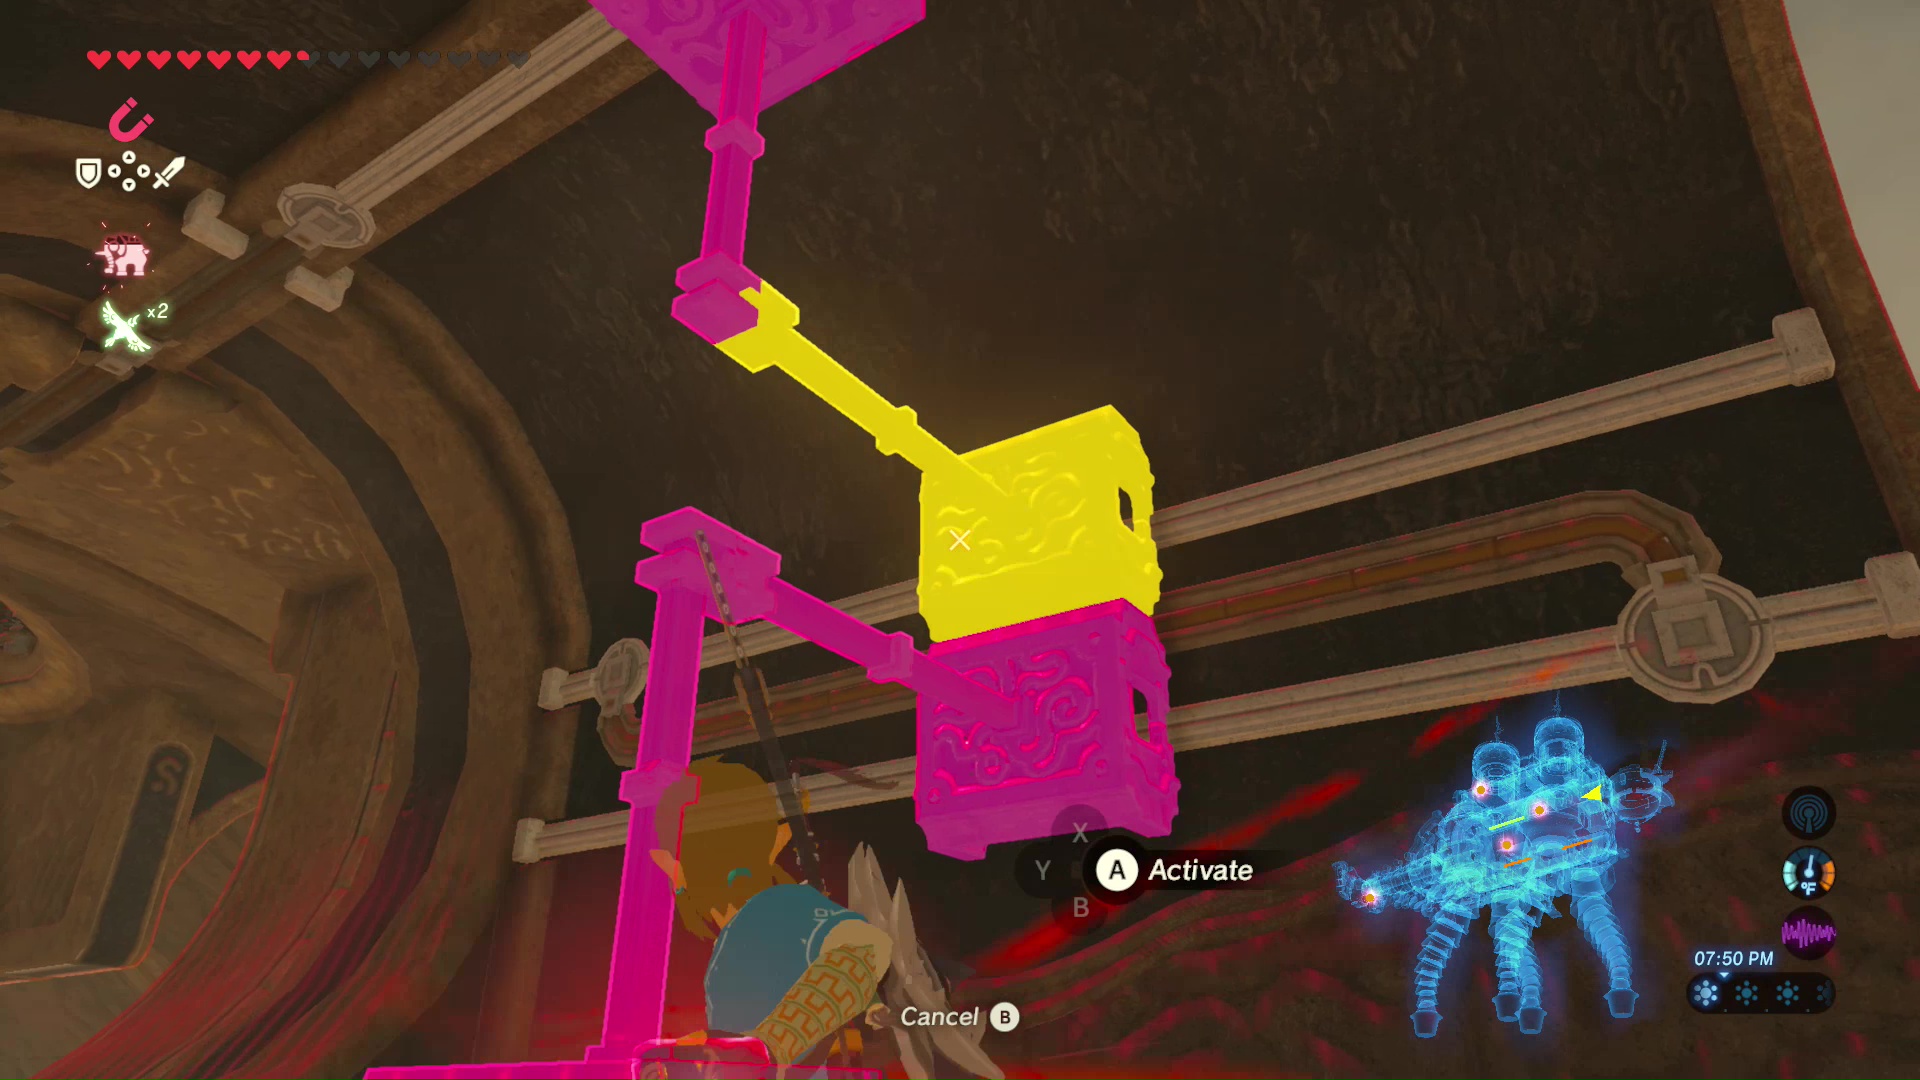
One of the terminals can be found along the back side of Vah Naboris. First, rotate the back-third so the power line is at the top. This will allow you to enter a room from the outside of the Divine Beast at the back-right end.
Once inside the room, rotate the back-third once more so the power line is on the left. This will allow you to access the terminal. Rotate the back-third two more times to exit out the back.
Terminal 2 Front Stomach
A terminal is located at the front of the stomach, but can only be accessed when it is at the top. Rotate the front-third piece so the power line is at the top, then rotate the center-third of the stomach so the power line is positioned at the top.
Put yourself in between the stone U-shaped structure at the center of the stomach. This will allow you to stay in place as you rotate the center-third piece twice. Once at the top of the stomach, walk along the bridge to access the terminal.
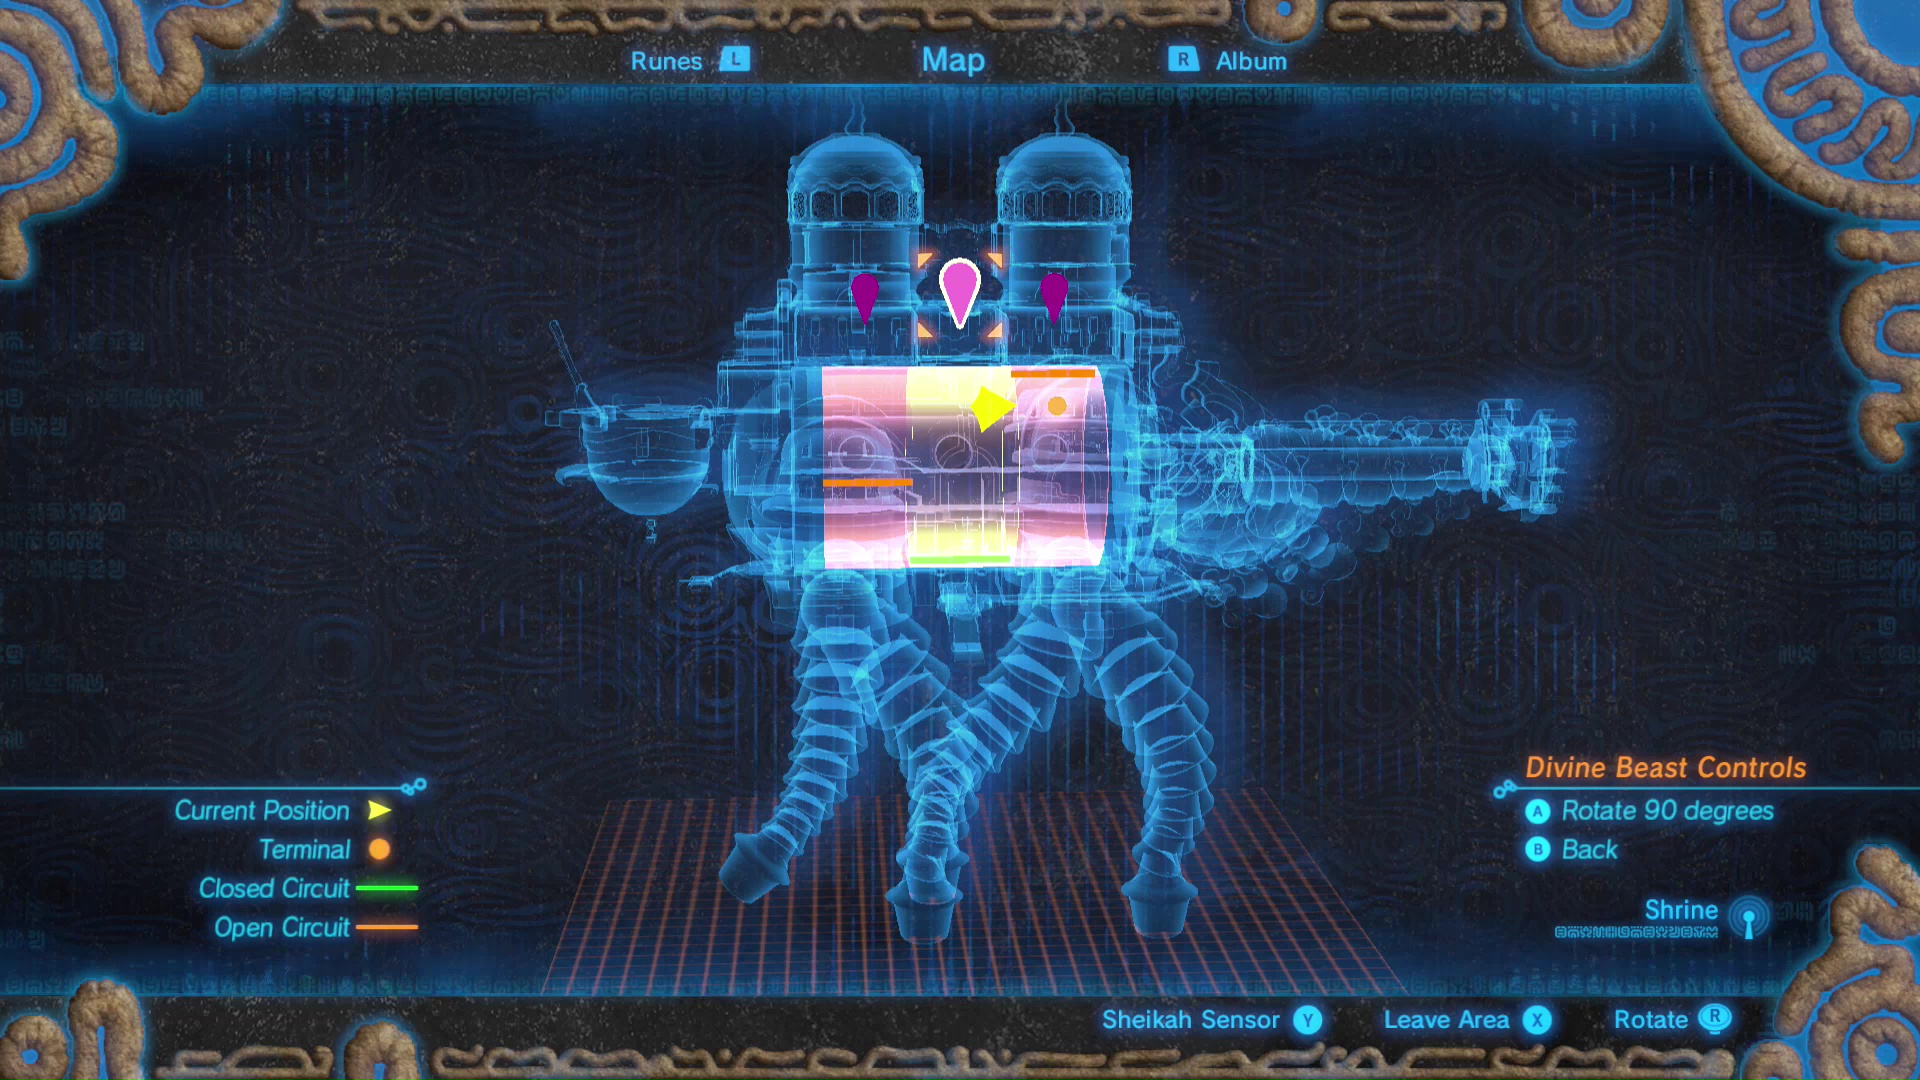
Terminal 3 Front Hump
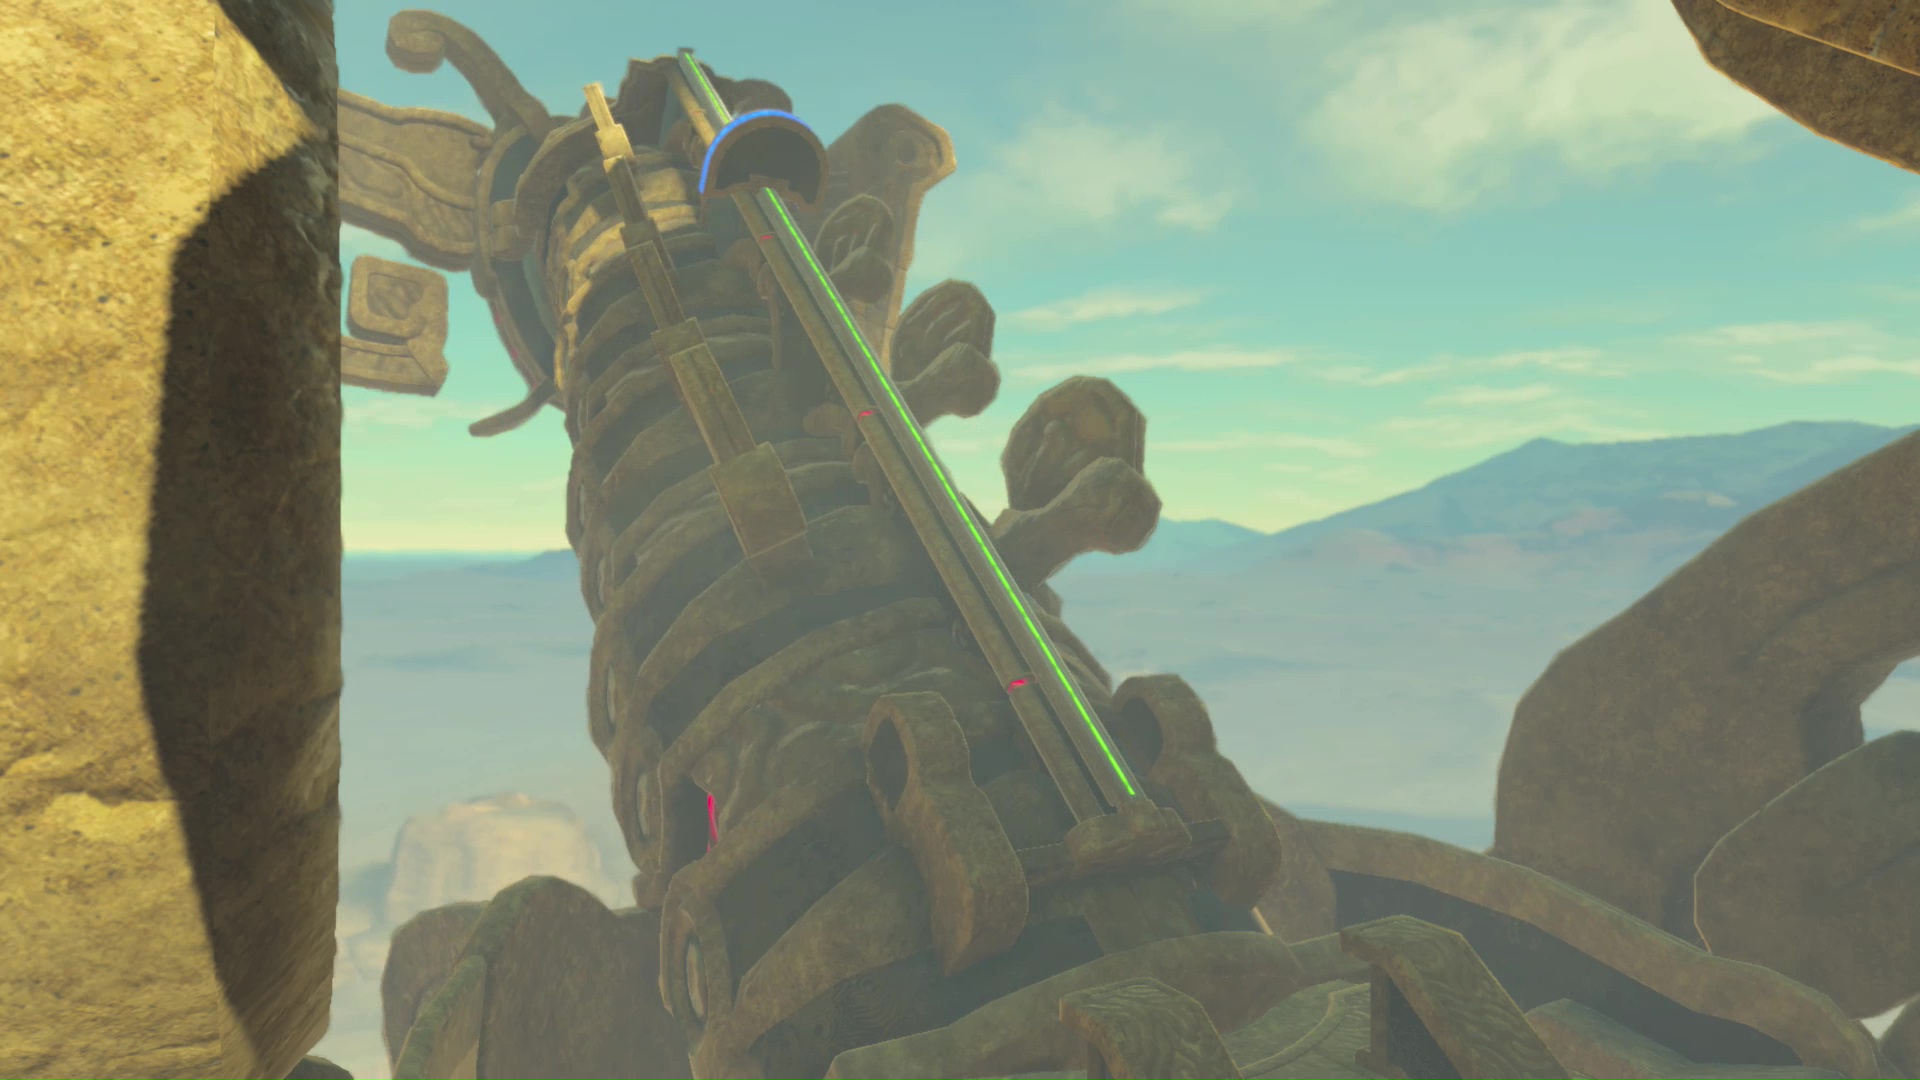
Rotate the back-center part of Vah Naboris so the power line is at the bottom. Walk onto one of the bridges, then rotate the back piece once again. As you move upward with the bridge, jump and glide toward the top bridge attached to the back wall.
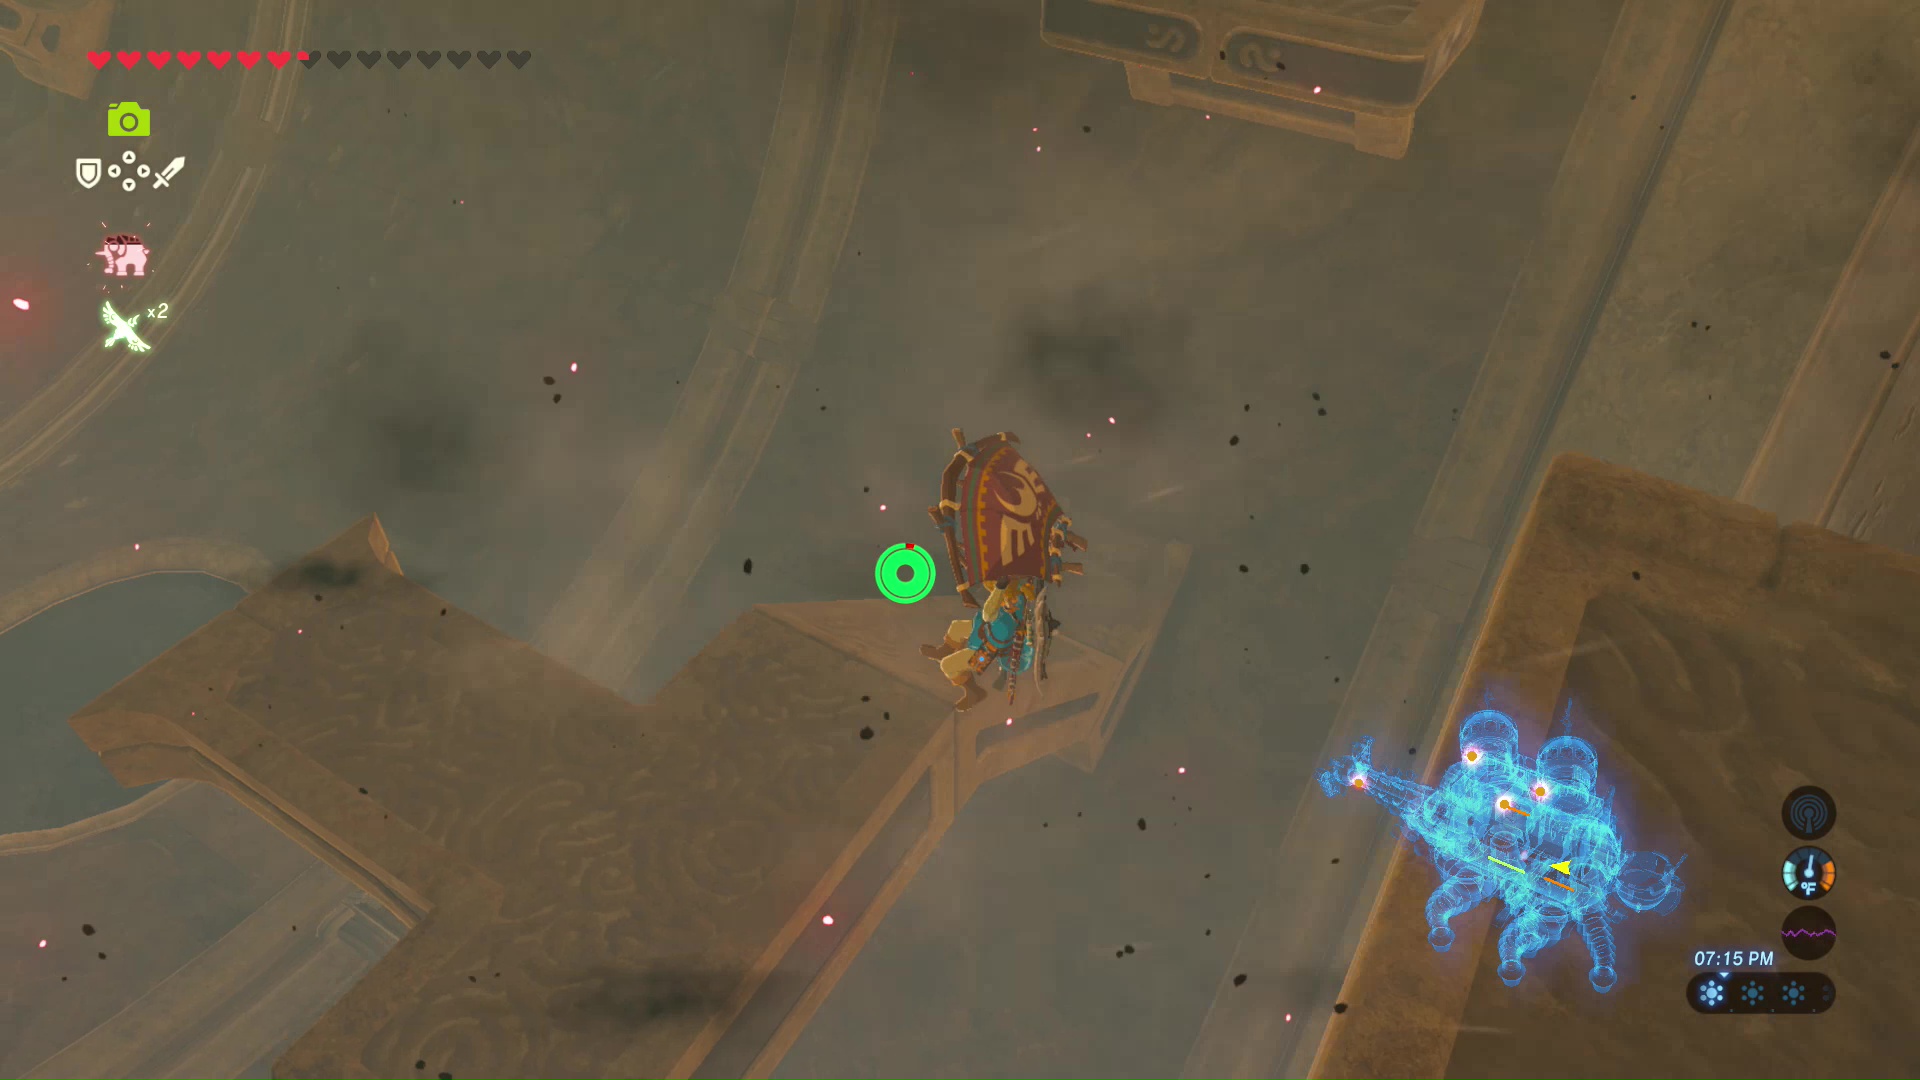

Climb up the path to find four metal blocks with wooden sticks attached to four tracks. You can use the Magnesis Rune on these pieces to move them along these tracks. Move the top two pieces toward the center of Vah Naboris, and move the bottom two pieces toward the back. This will complete the power line circuit. Once you rotate all three center pieces so the power line is at the top, the tail will rise and create a bridge.
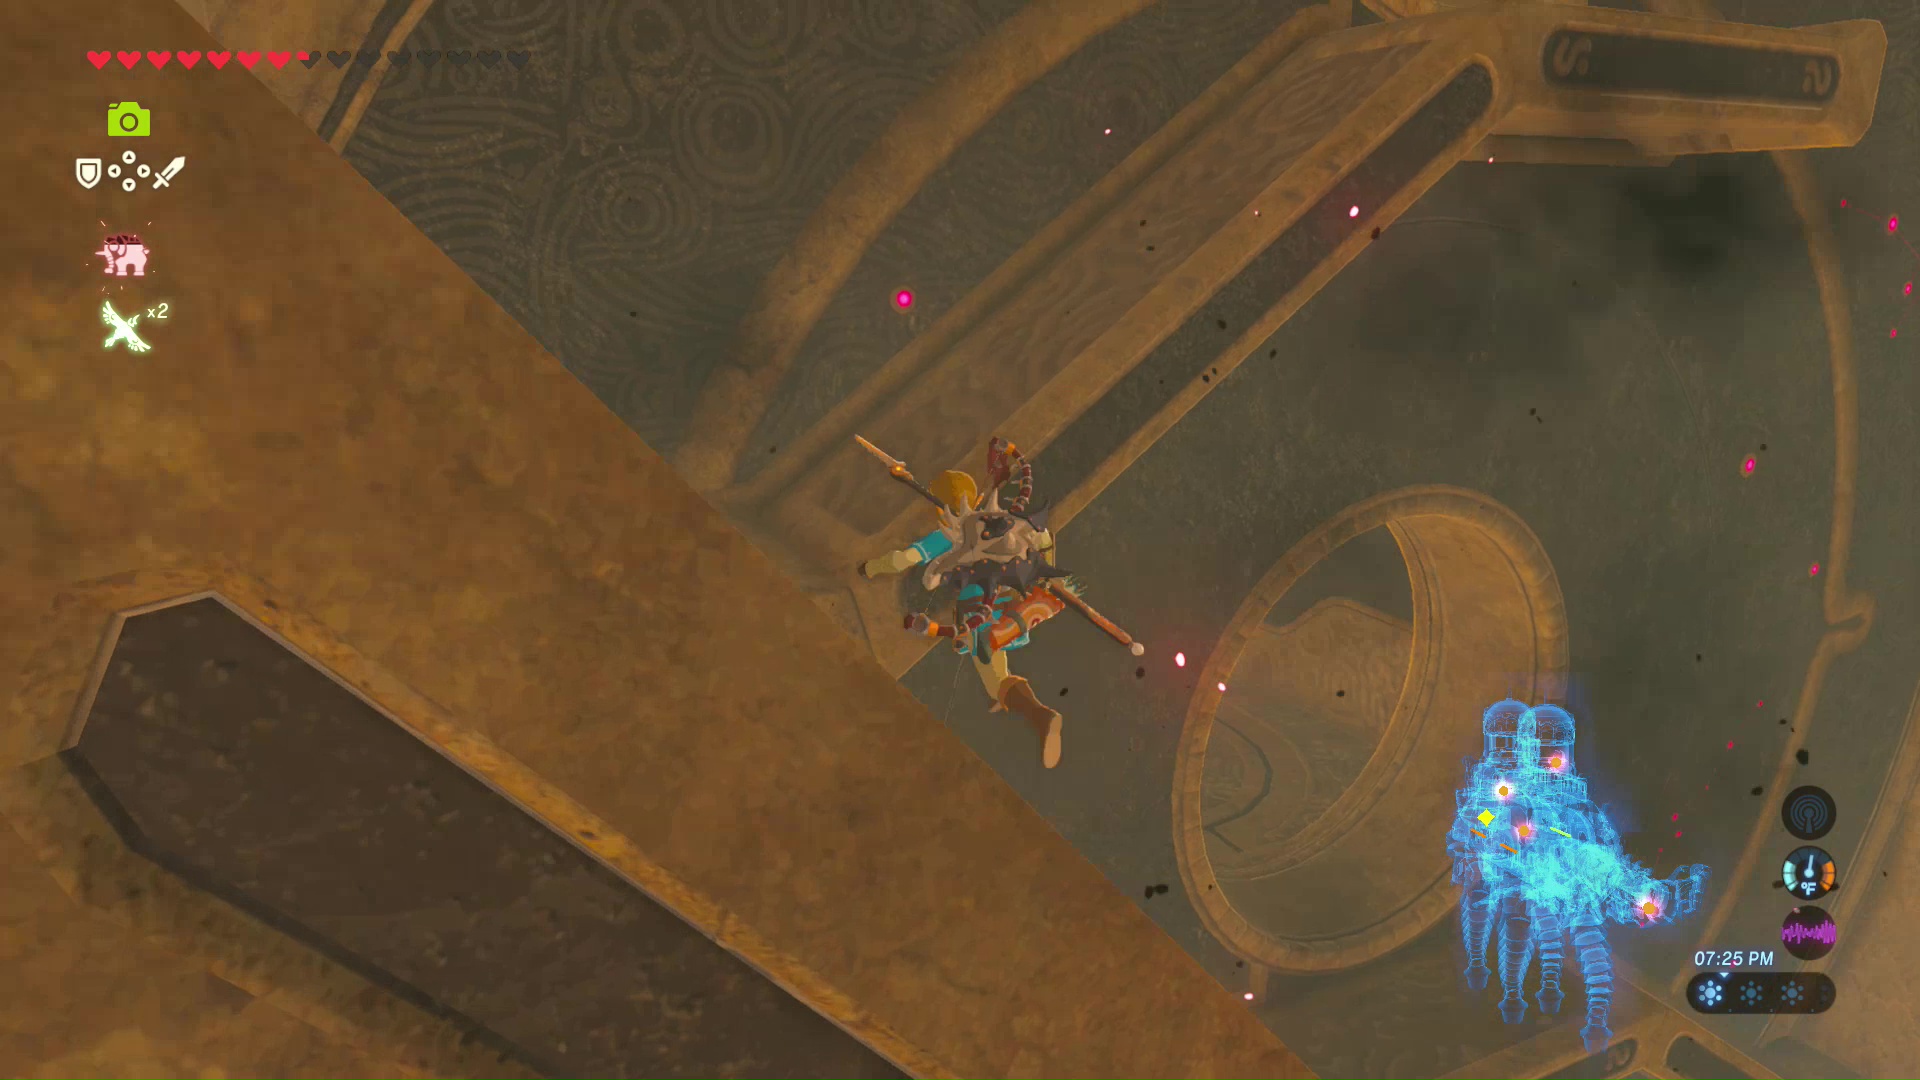
Stand on the tail and complete the circuit to rise with the bridge. As you rise, you will see a calamity eyeball. Destroy it to clear the path onward to the humps.
Another calamity eyeball is inside the back hump of Vah Naboris. Shoot it to clear the path to the next hump. Before going forward, climb the ladder upward.
You will find another calamity eyeball at the top of the hump. There will also be a wheel you can walk against to spin. Spin this wheel to complete the circuit on the platform below. The goal is to connect the green power line here. This will move the bridge to the next hump.
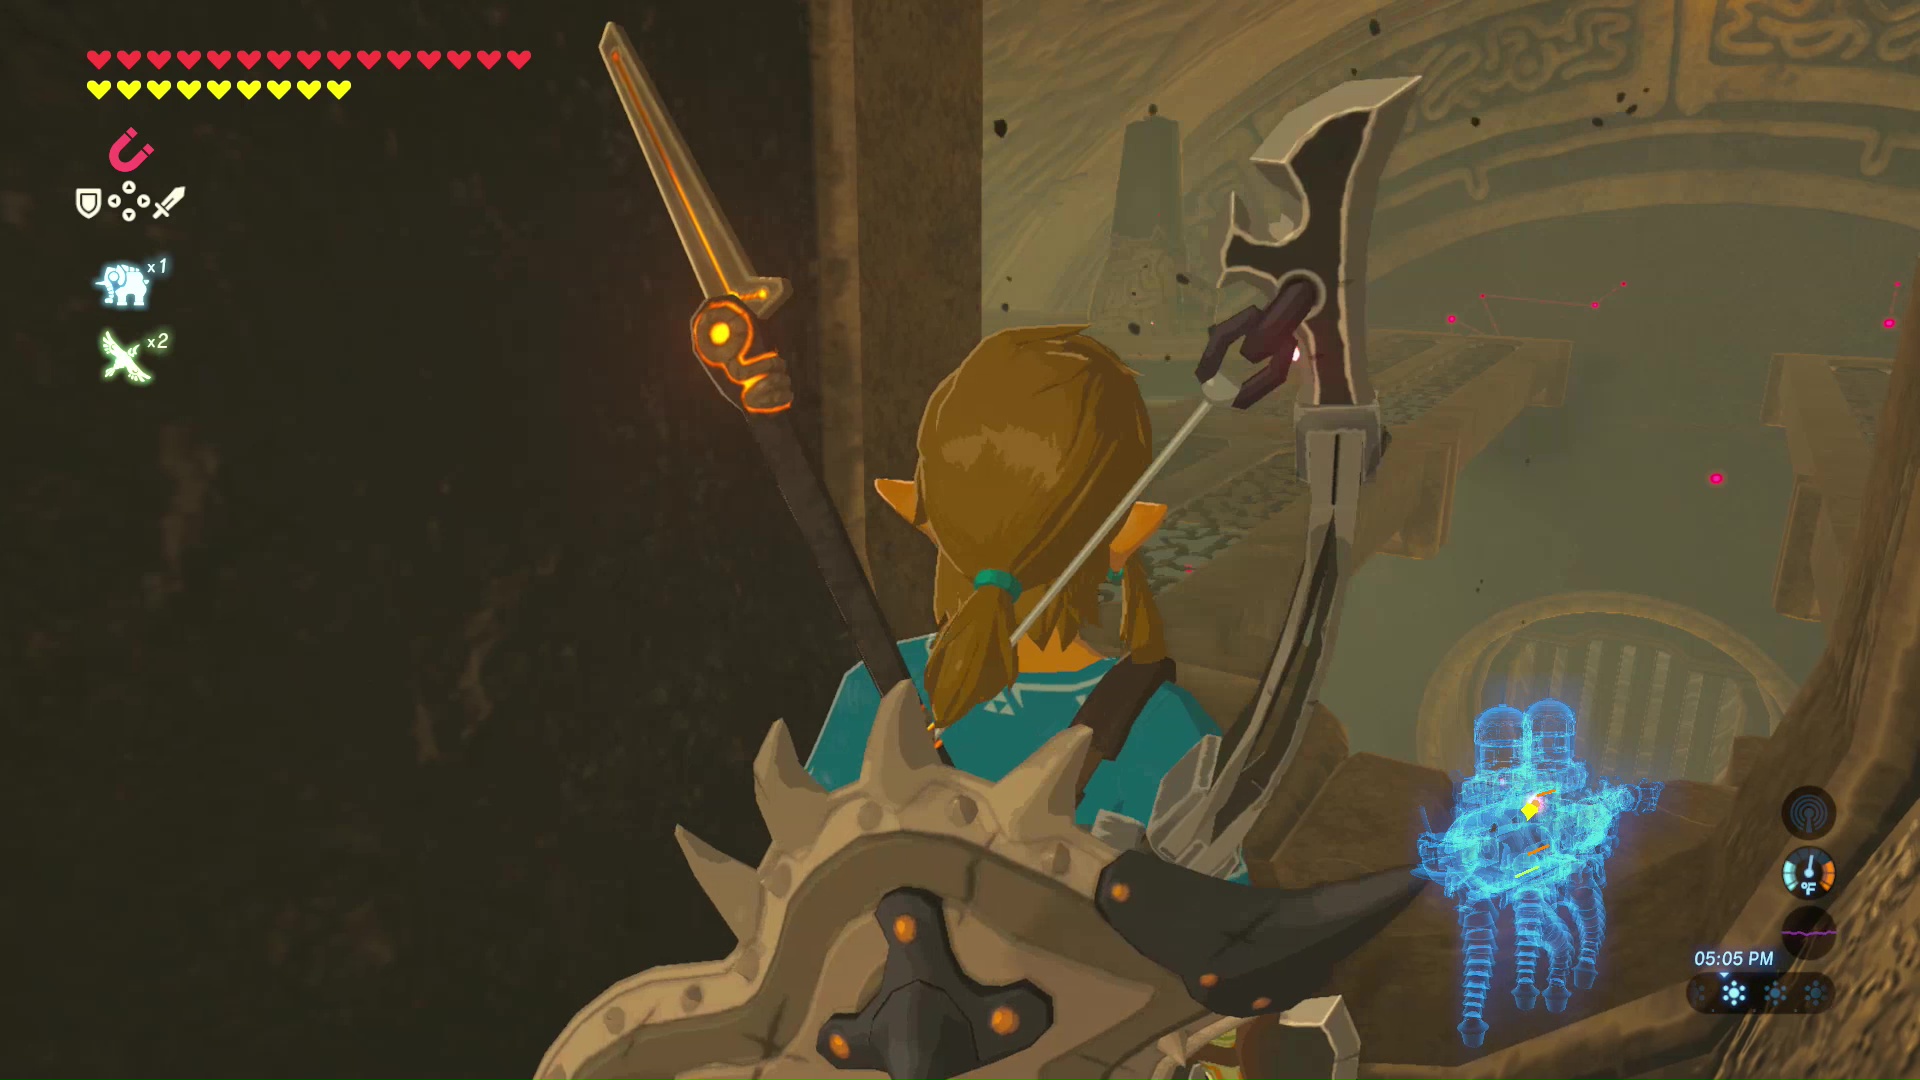
Take the moving bridge to the front hump. If you fall off the bridge, you will have to face two Guardian Scouts below. A Guardian Scout will be lowered on another platform in the front hump. Destroy it, then shoot the calamity eyeball below to reveal the next terminal.
Terminal 4 Head
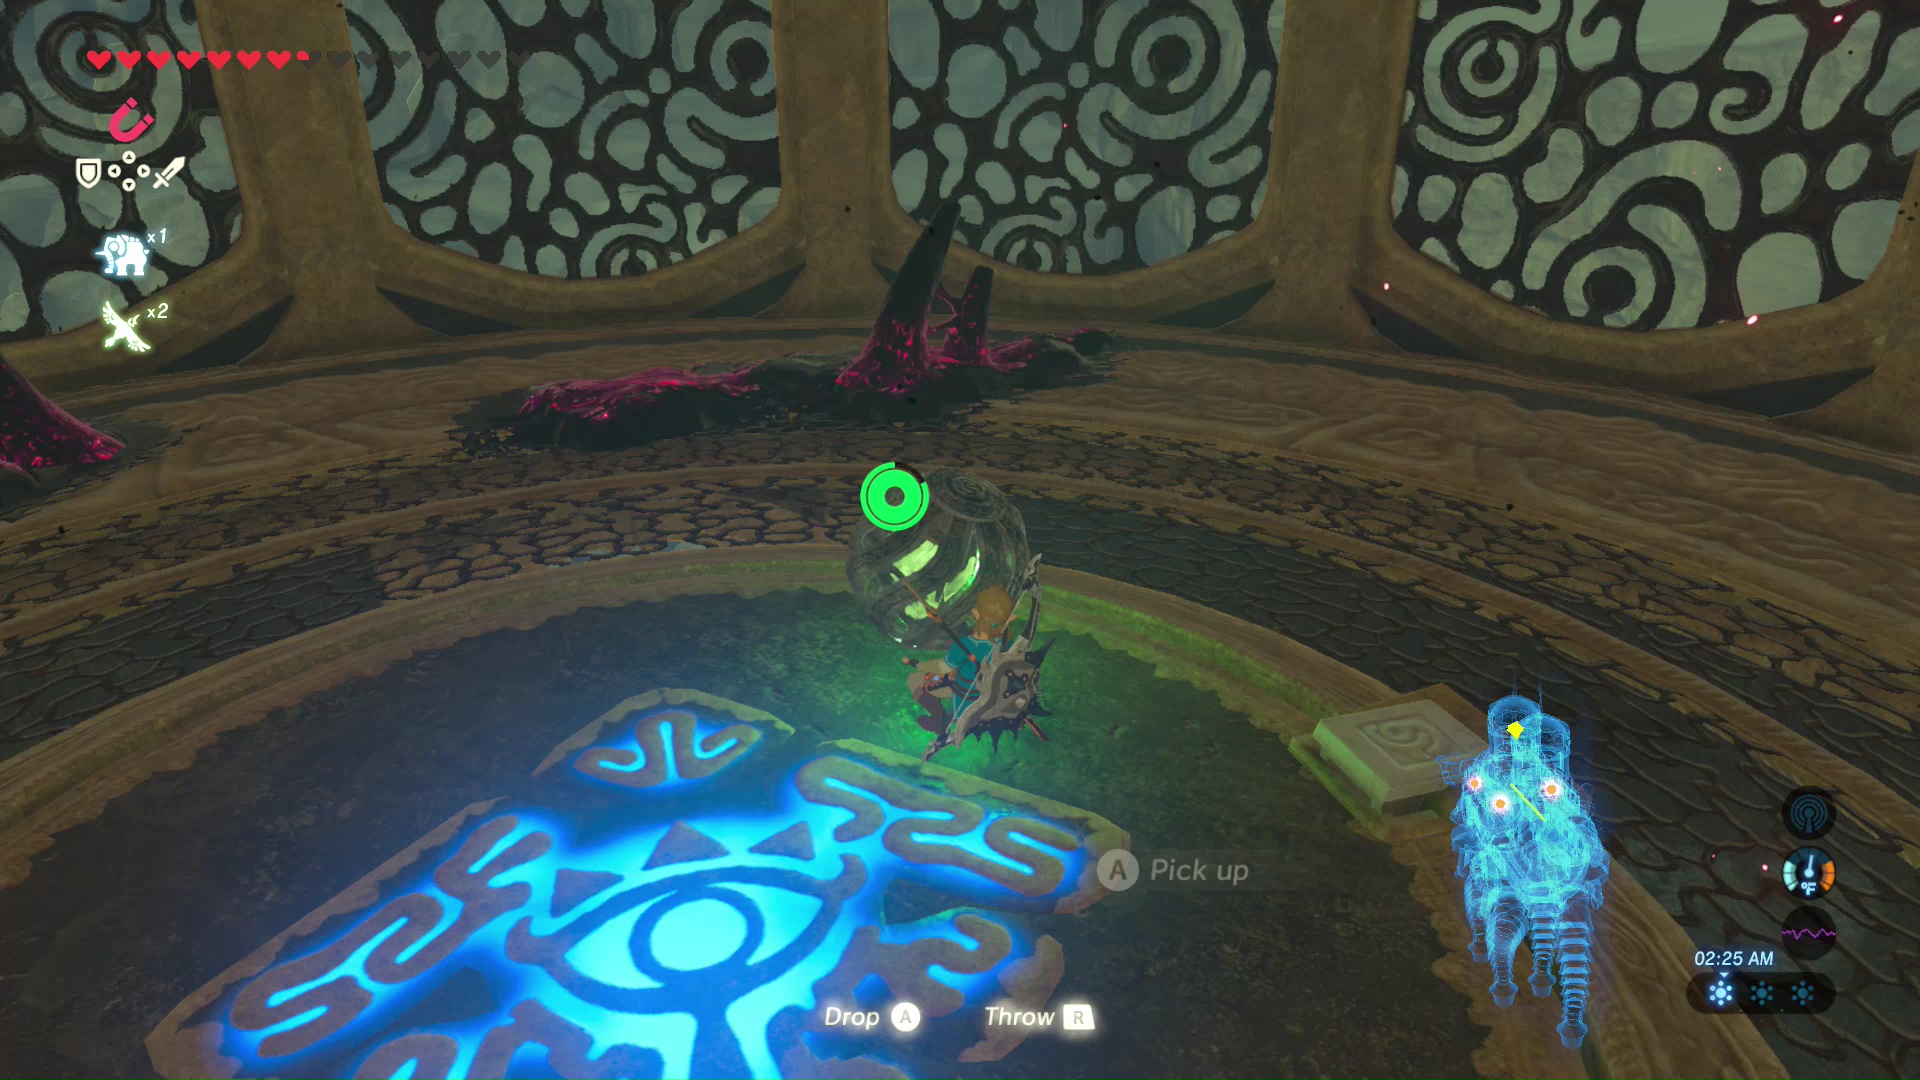
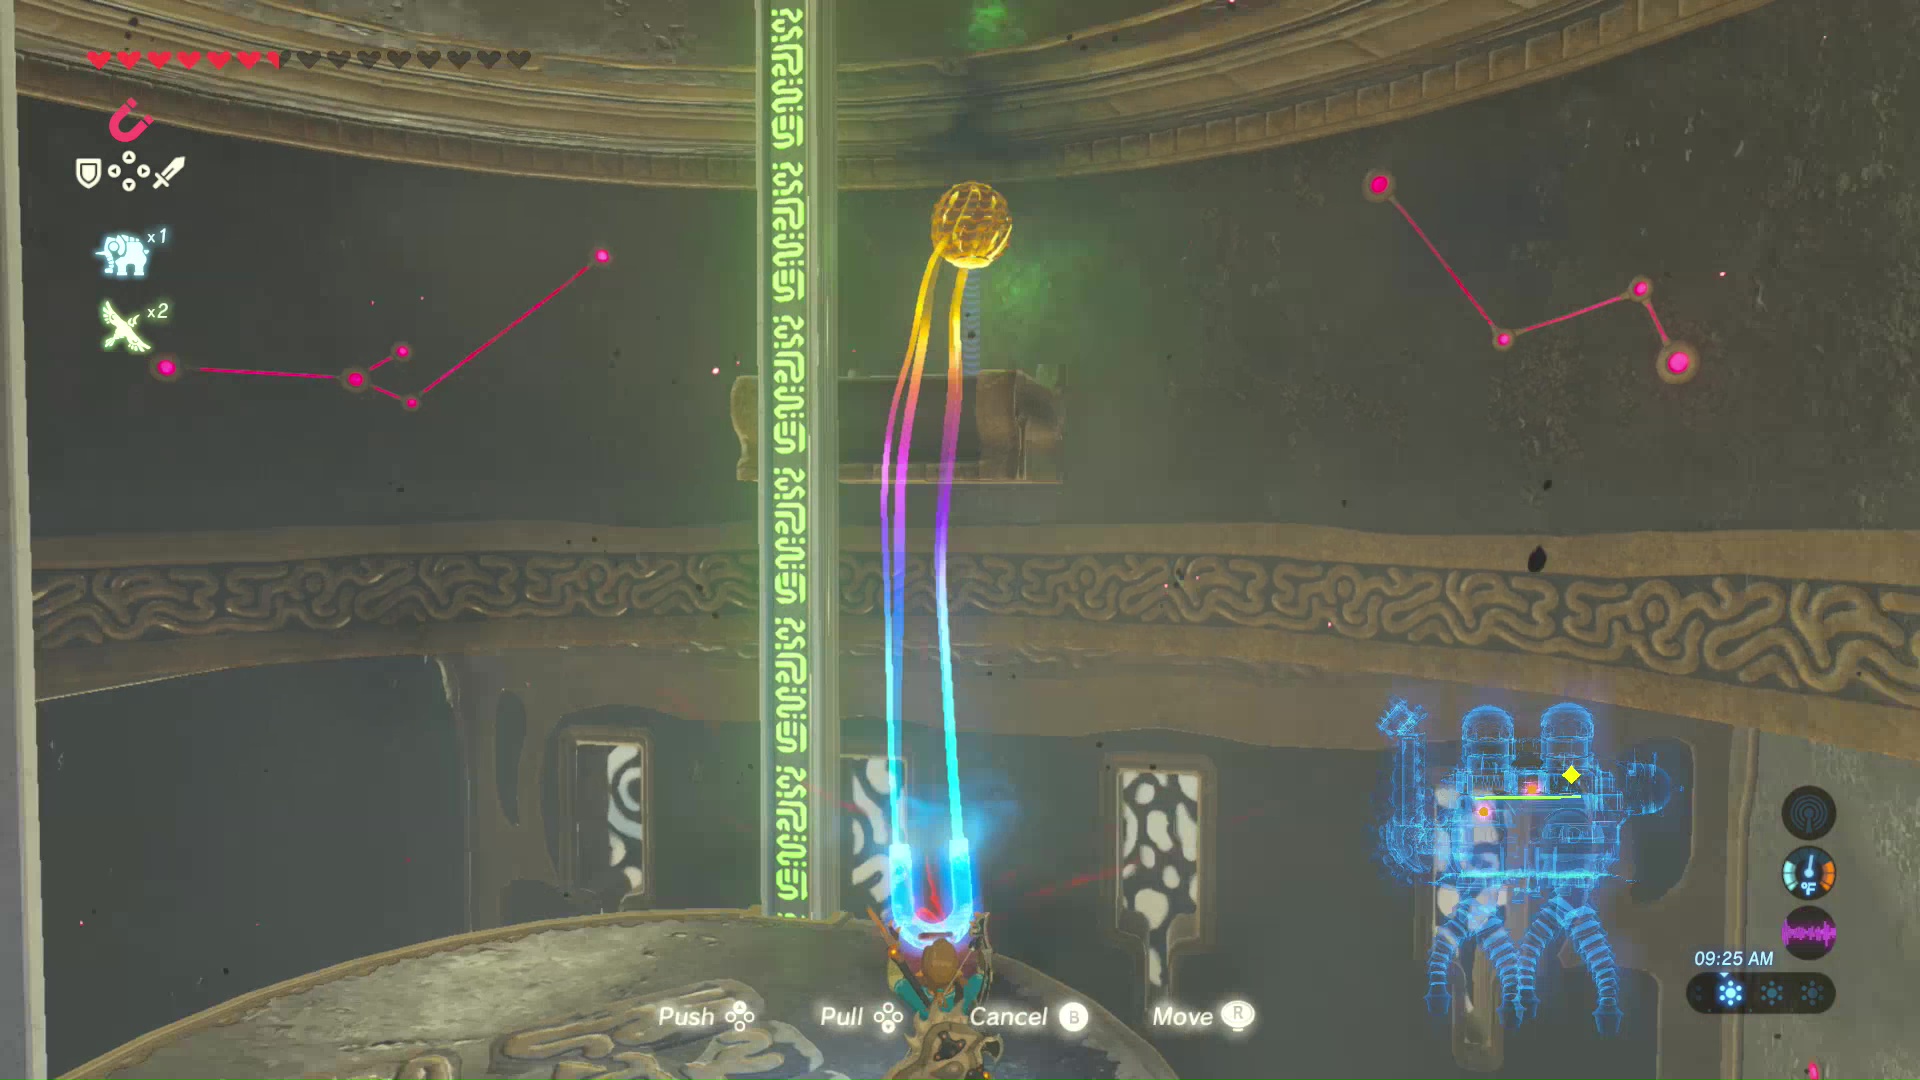
Take the moving platform upward in the front hump. A green ball can be found here. First, turn around and cross the moving platform to the back hump. A treasure chest can be found here with a Topaz inside. Return to the green ball in the front hump and push it down the platform to the bottom of the hump. It can be carried over your head or pulled with the Magnesis Rune.
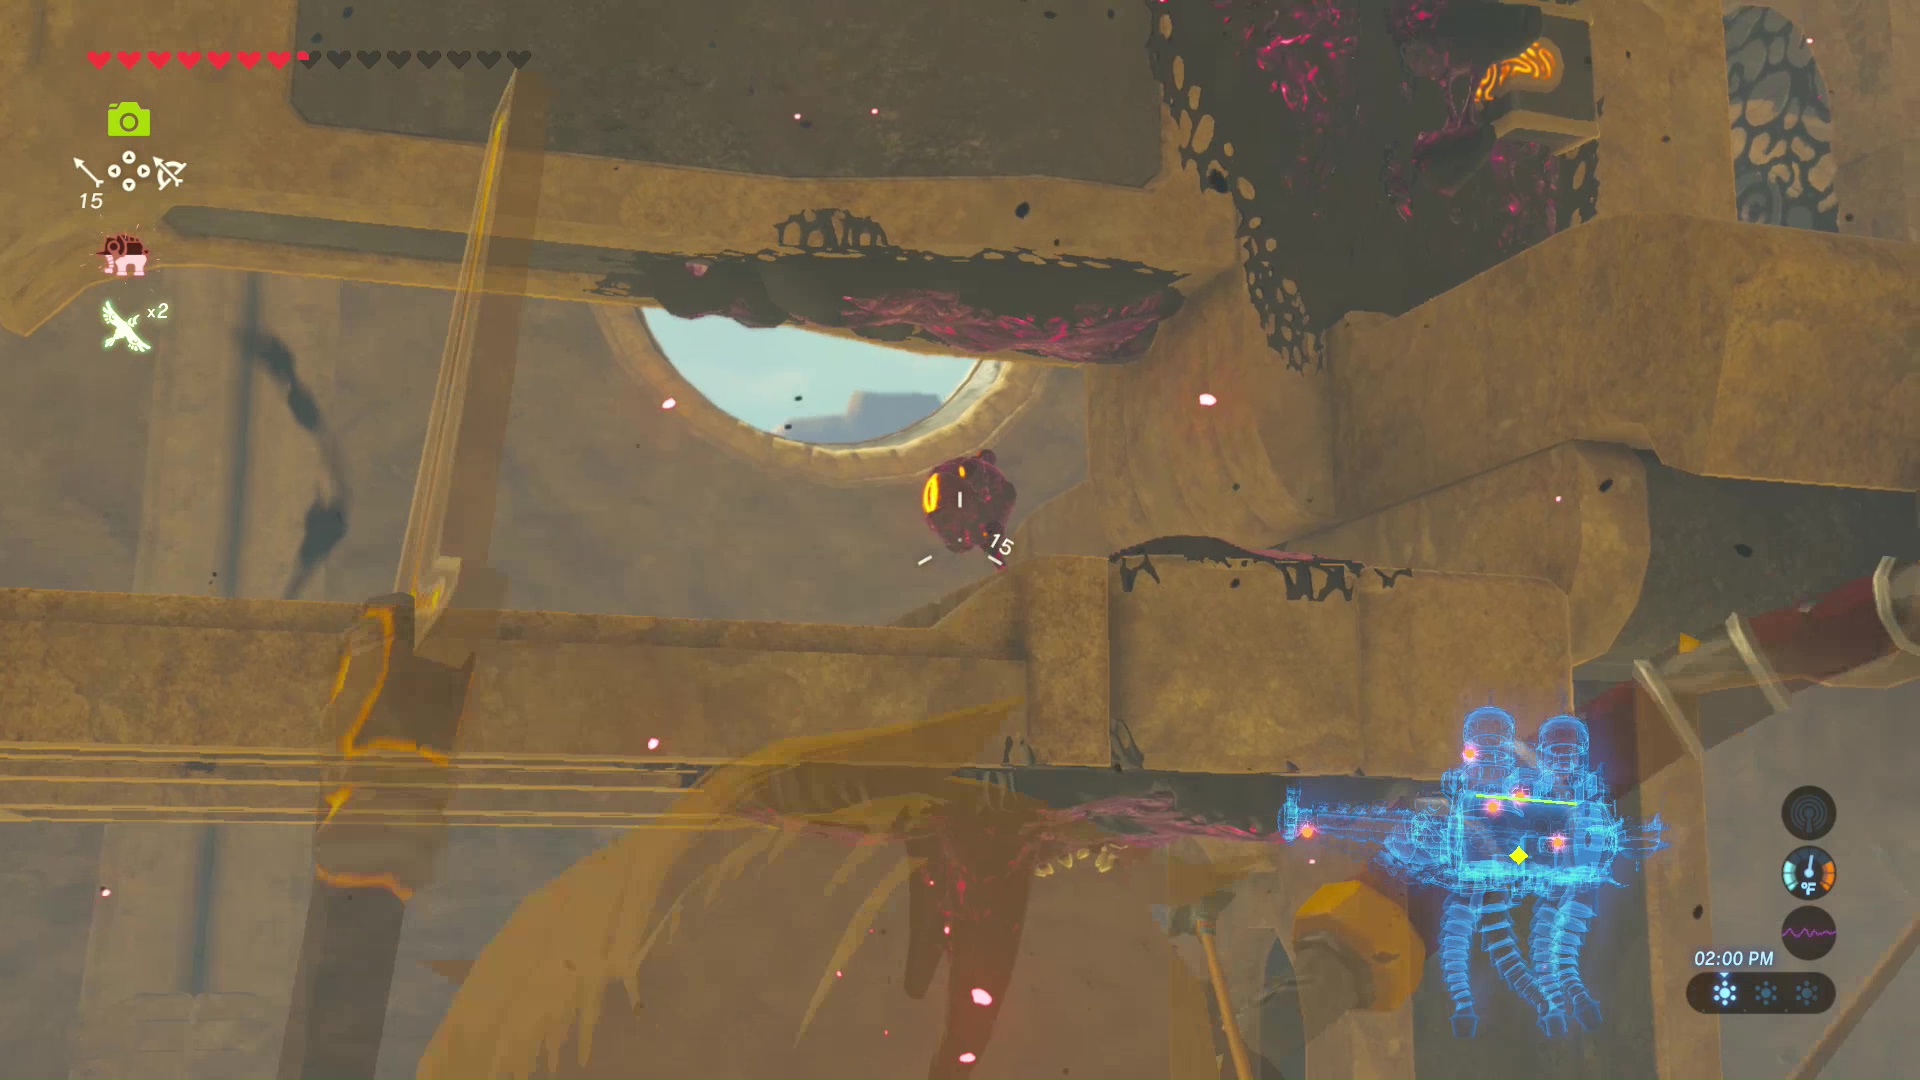
Another calamity eyeball can be found at the bottom. Shoot it to open a path above Vah Naboris’ neck.

Jump down to find another wheel that can be pushed. Turn it counter-clockwise to move a red stone on one side and complete a circuit, then turn it clockwise to move a red stone on the other side and complete a circuit.
Matching up both stones will raise Vah Naboris’ neck and head. A platform will lower and raise automatically. Take this platform up to the next terminal.
Terminal 5 Humps
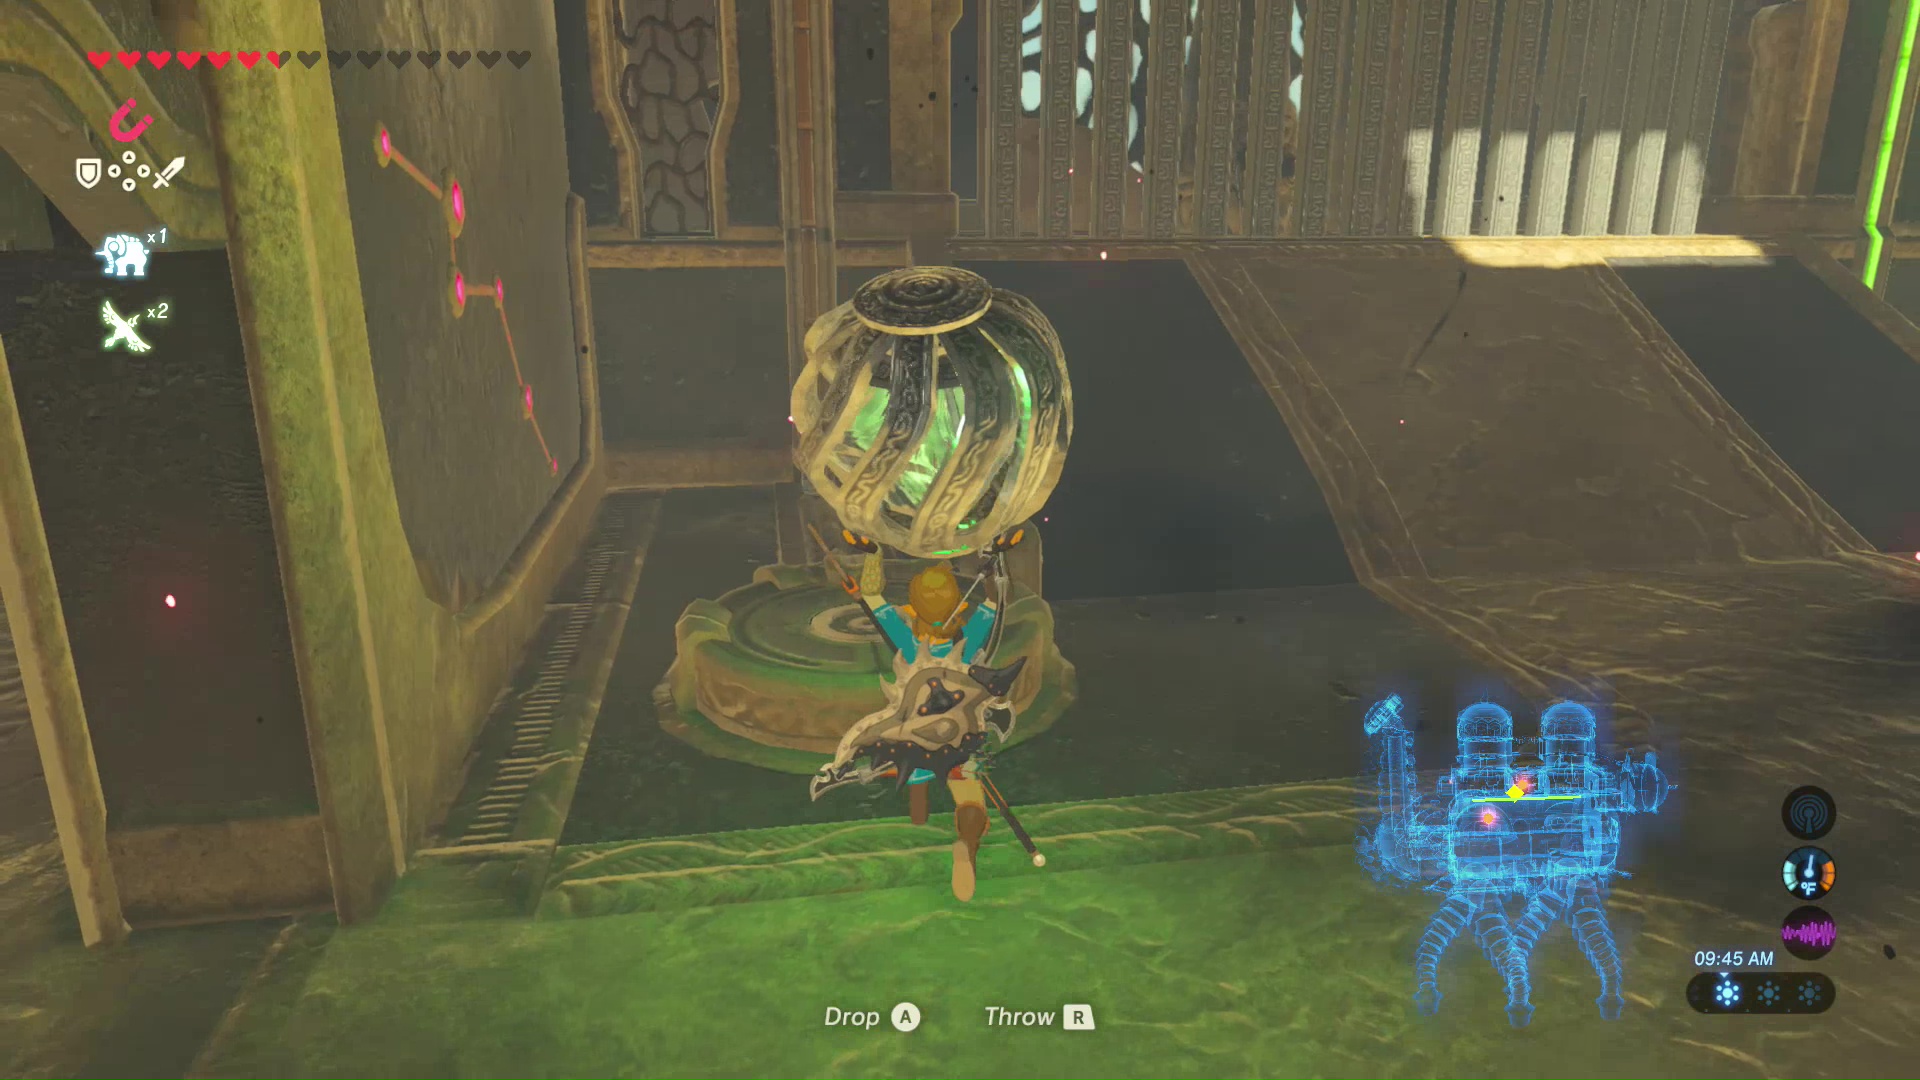
Return to the moving platform that bridges between the two humps. Jump into the hole below and destroy the Guardian Scouts inside. This will open the locked doors on both sides. Inside this same room are two pedestals. You will need to place two green balls here to access the next terminal.
The first green ball was found earlier at the top level of the back hump. Hopefully you pushed it down to the bottom level so you can grab it easily.
The second green ball can be found near the bottom level of the back hump. It is on a platform opposite a metal treasure chest. Both can be grabbed using the Magnesis Rune. Inside the treasure chest is an Ancient Screw.
Take the second green ball to the second pedestal to access the final terminal.
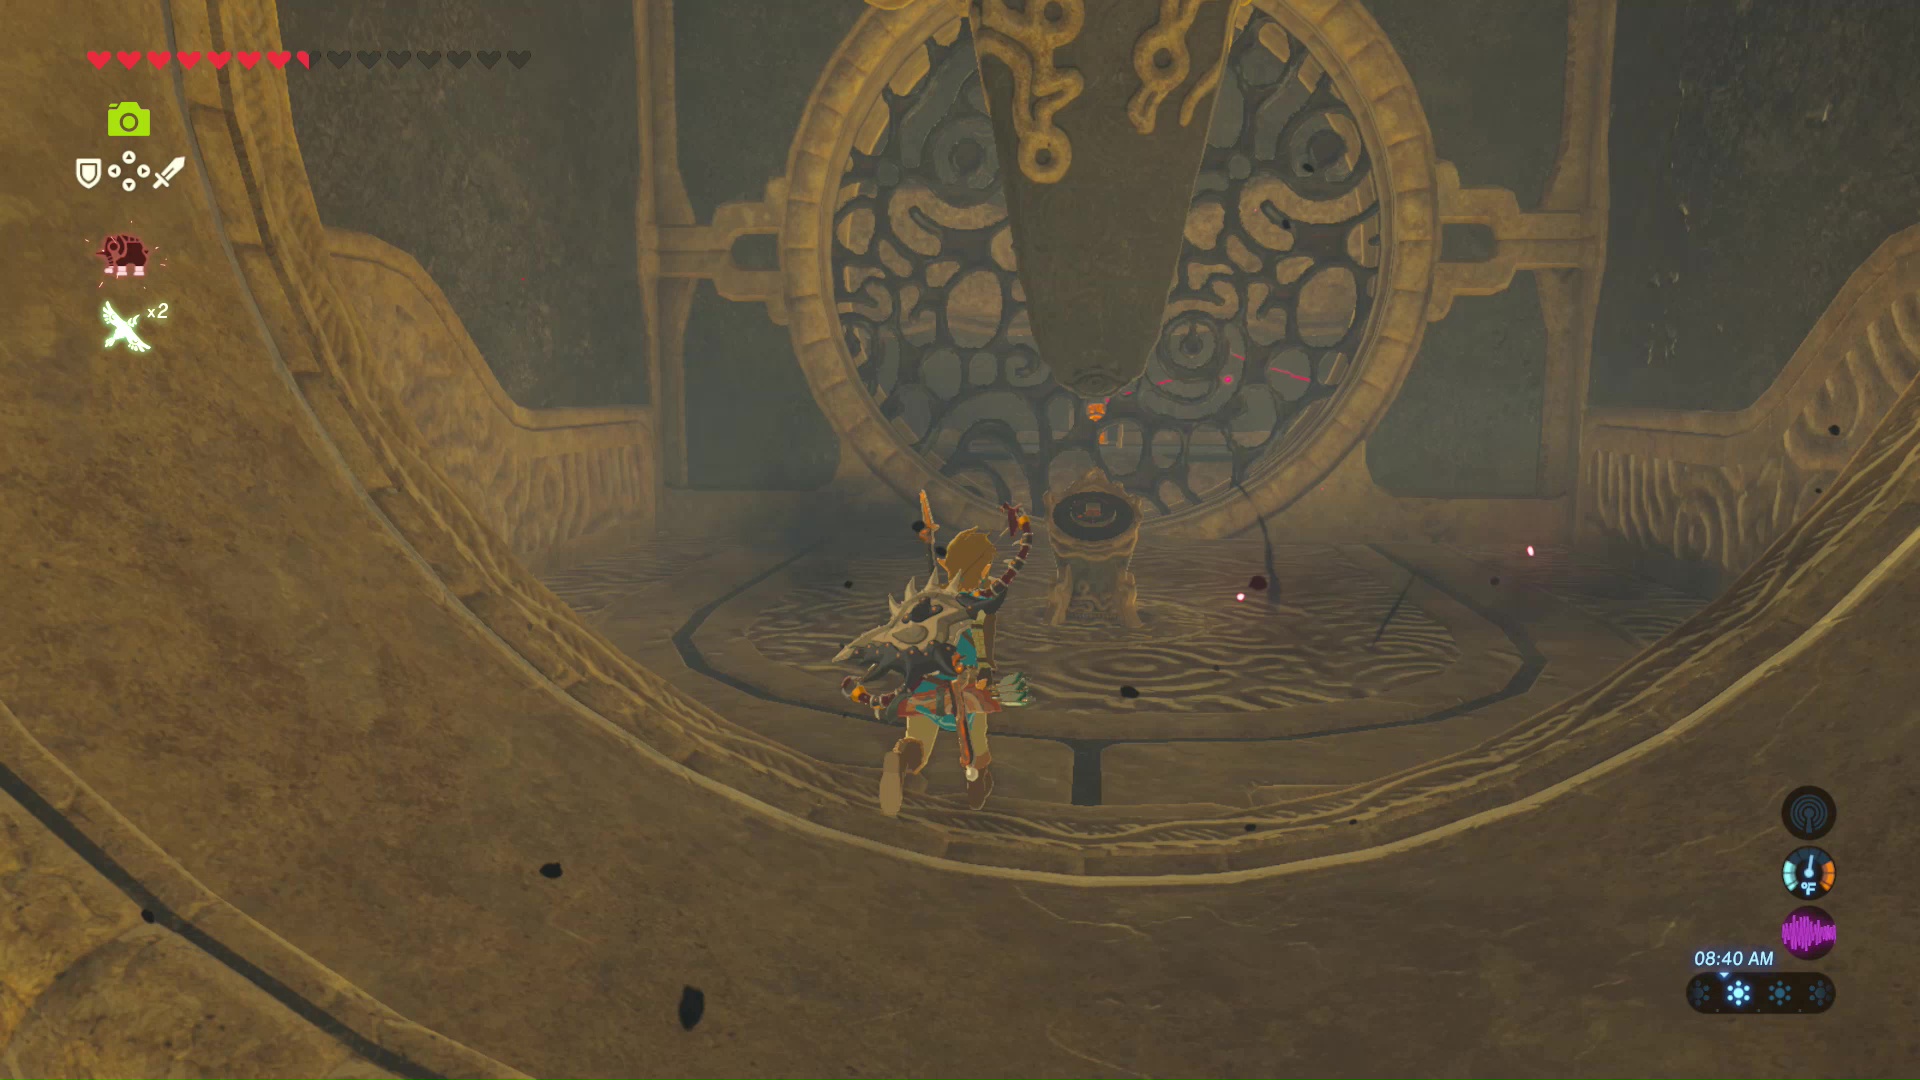
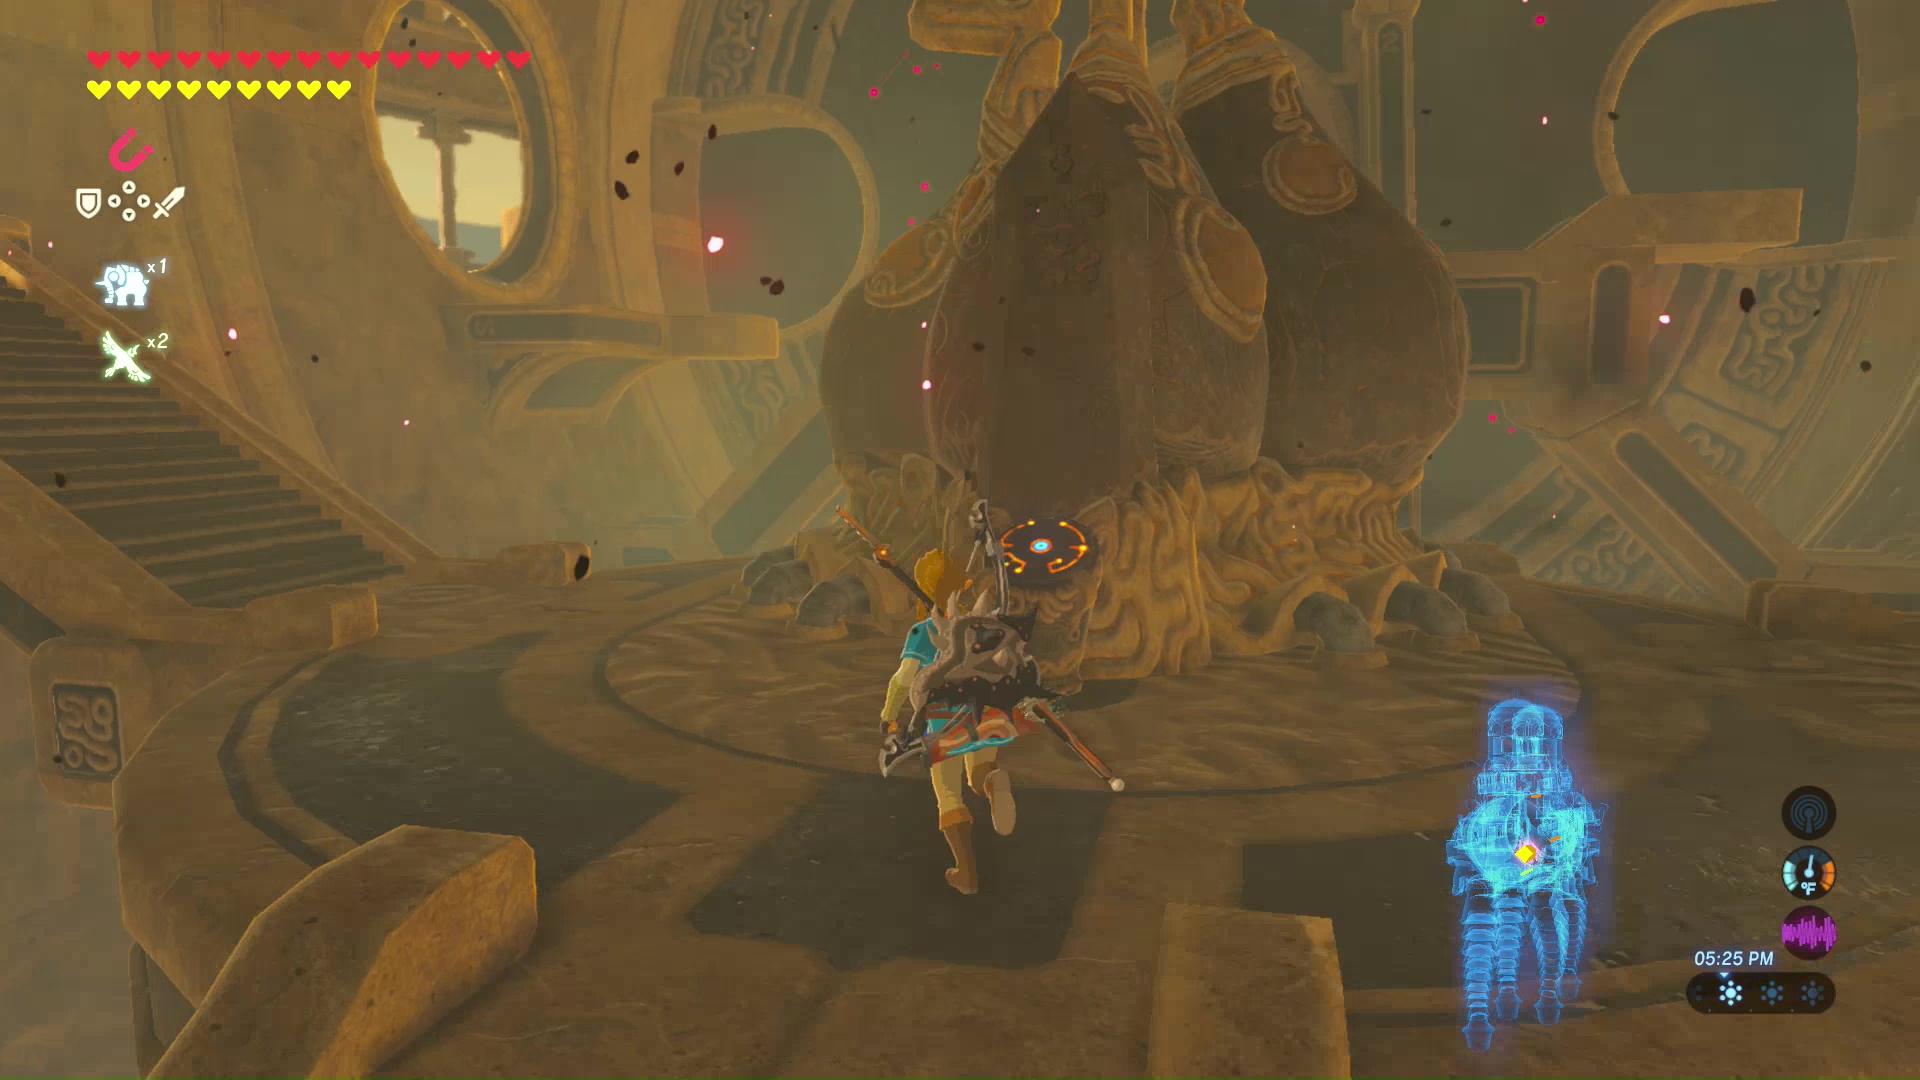
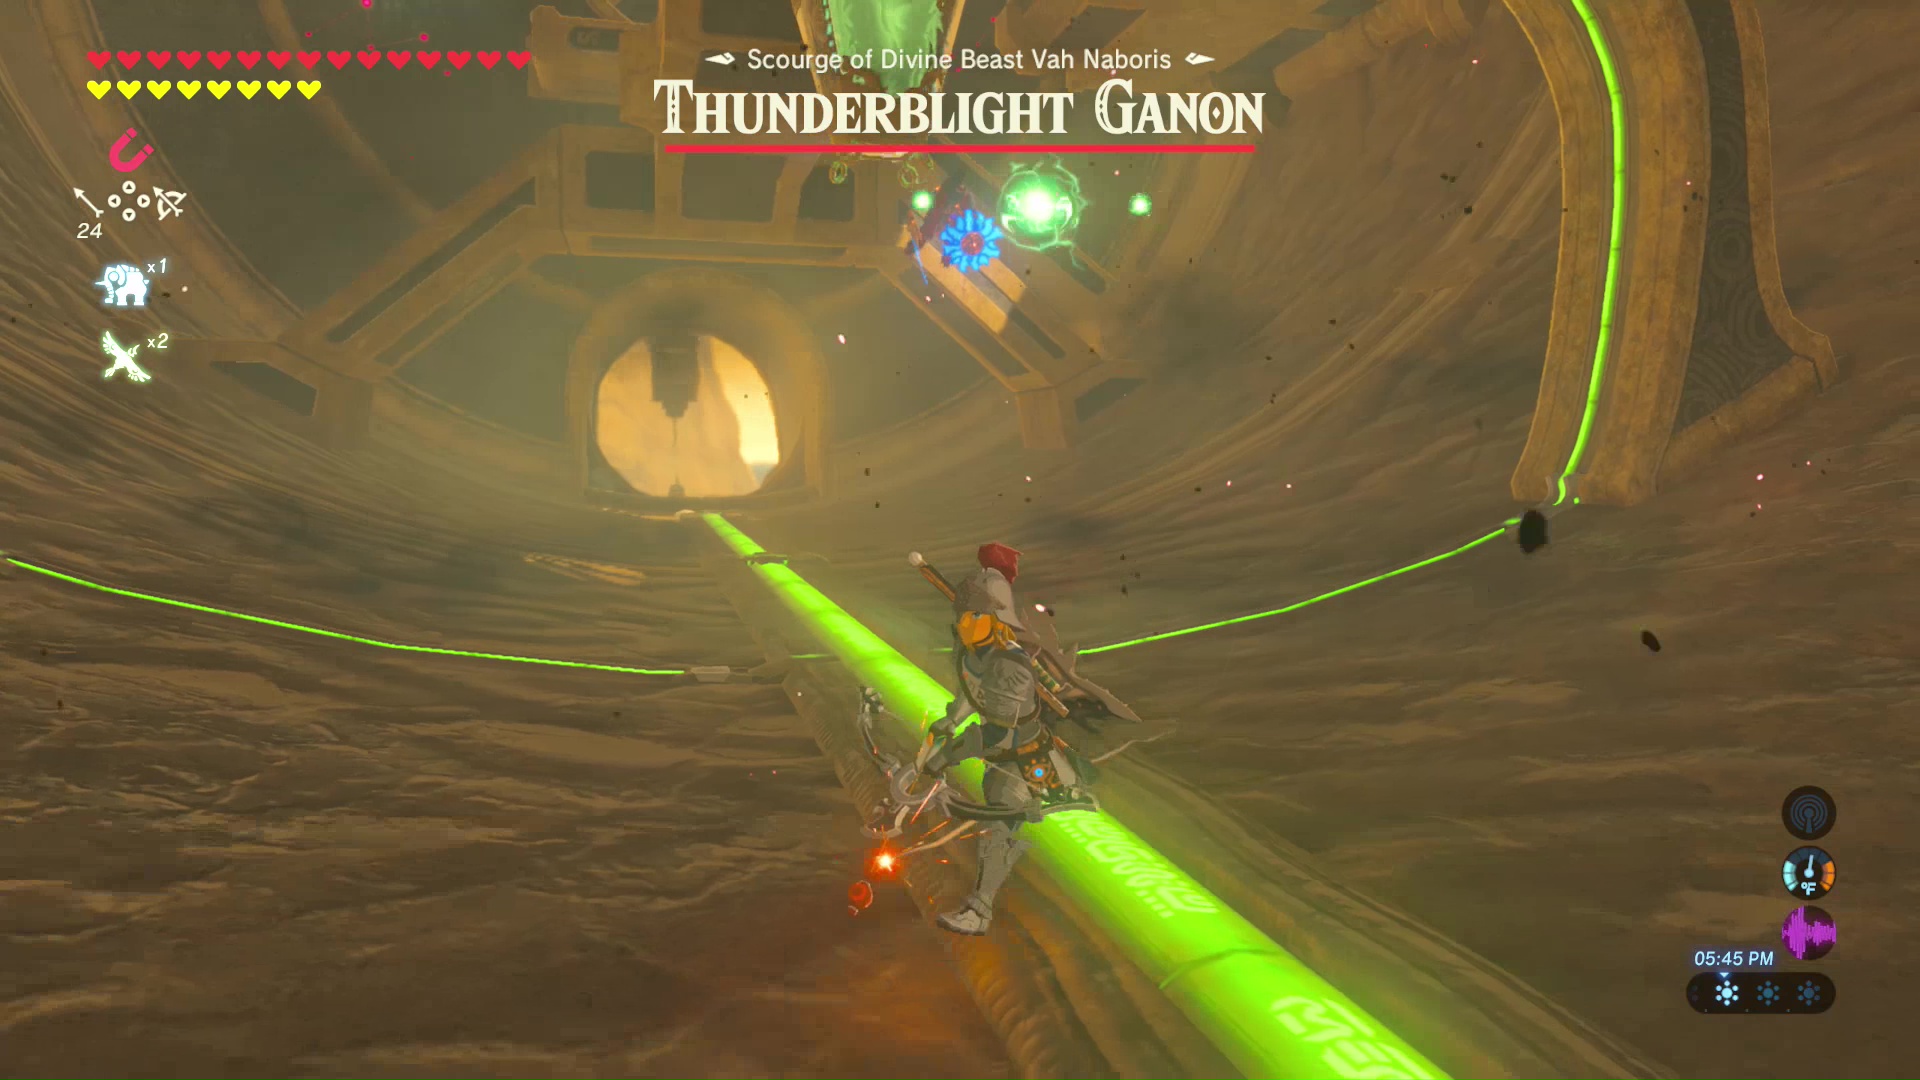
After accessing all five terminals, return to the center of the stomach. Rotate this part so the power line is at the bottom. Interact with the main control unit to begin a boss battle.
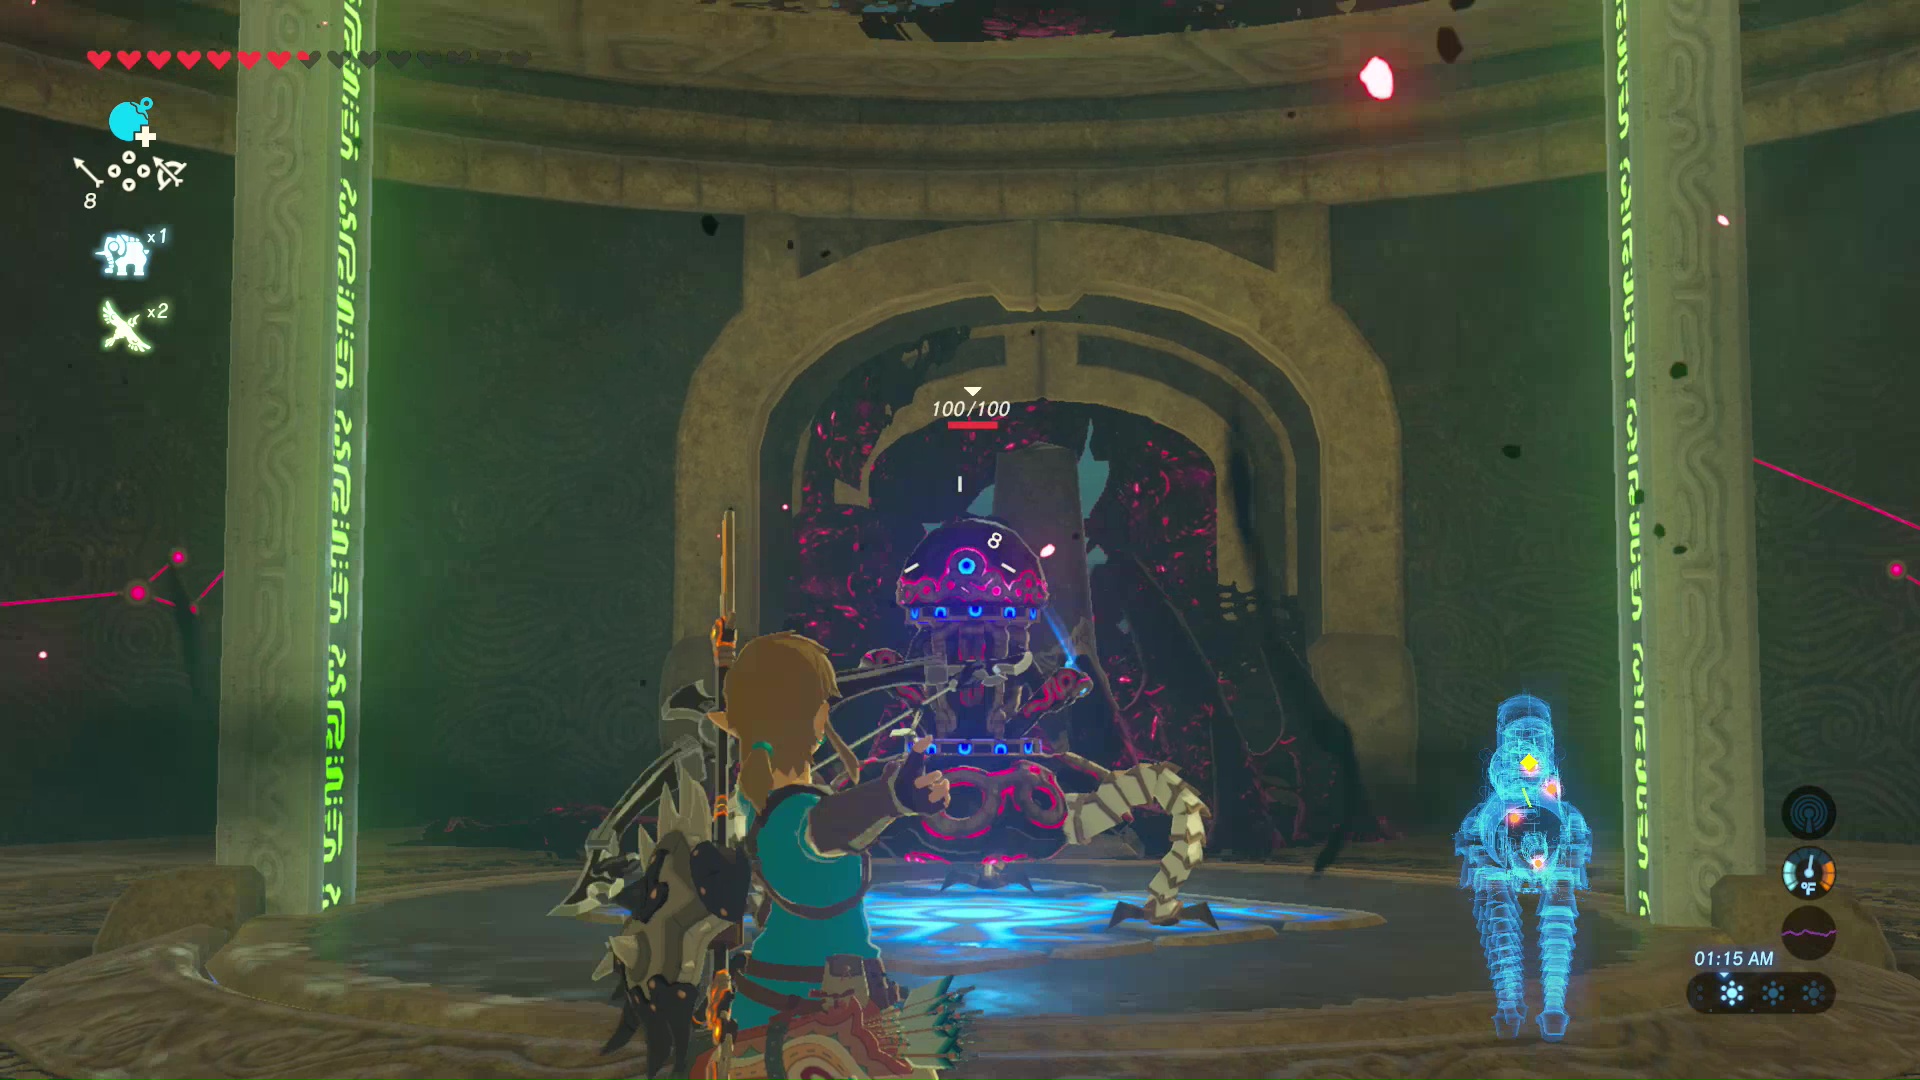
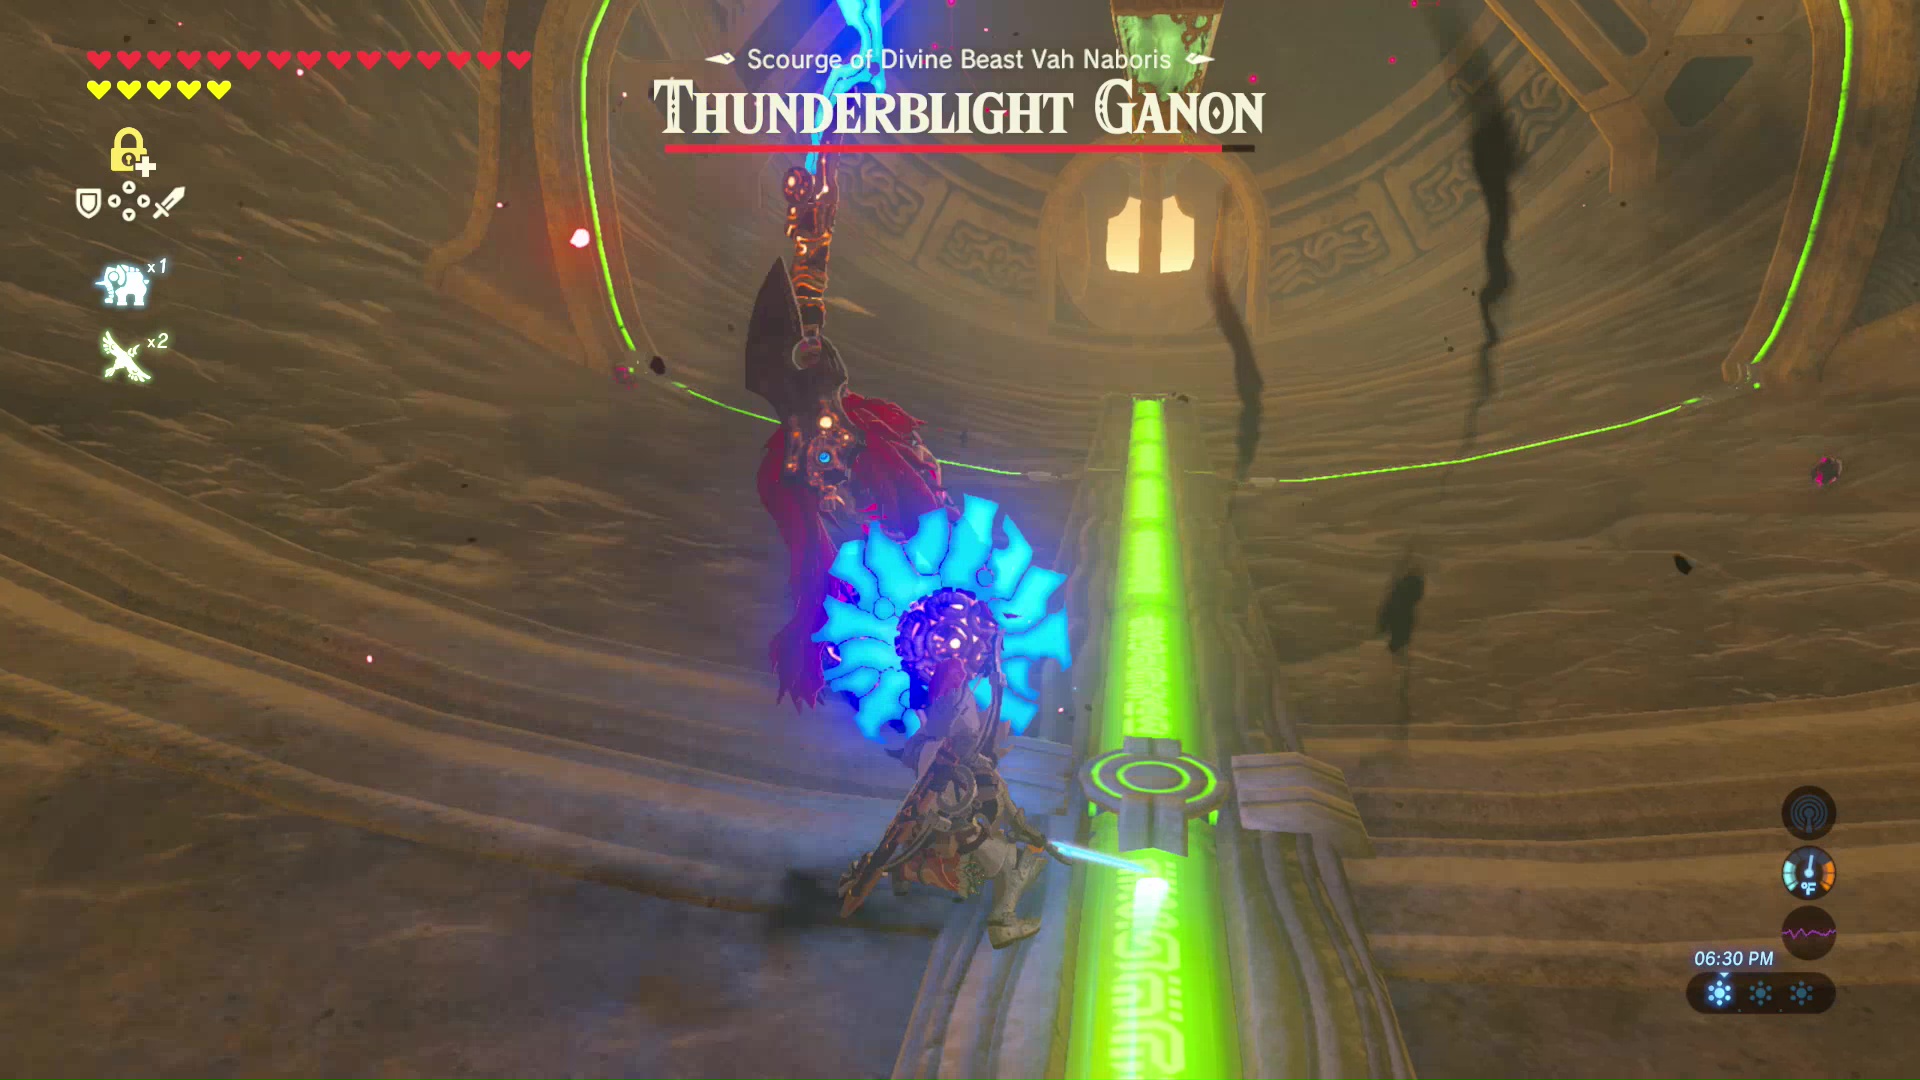
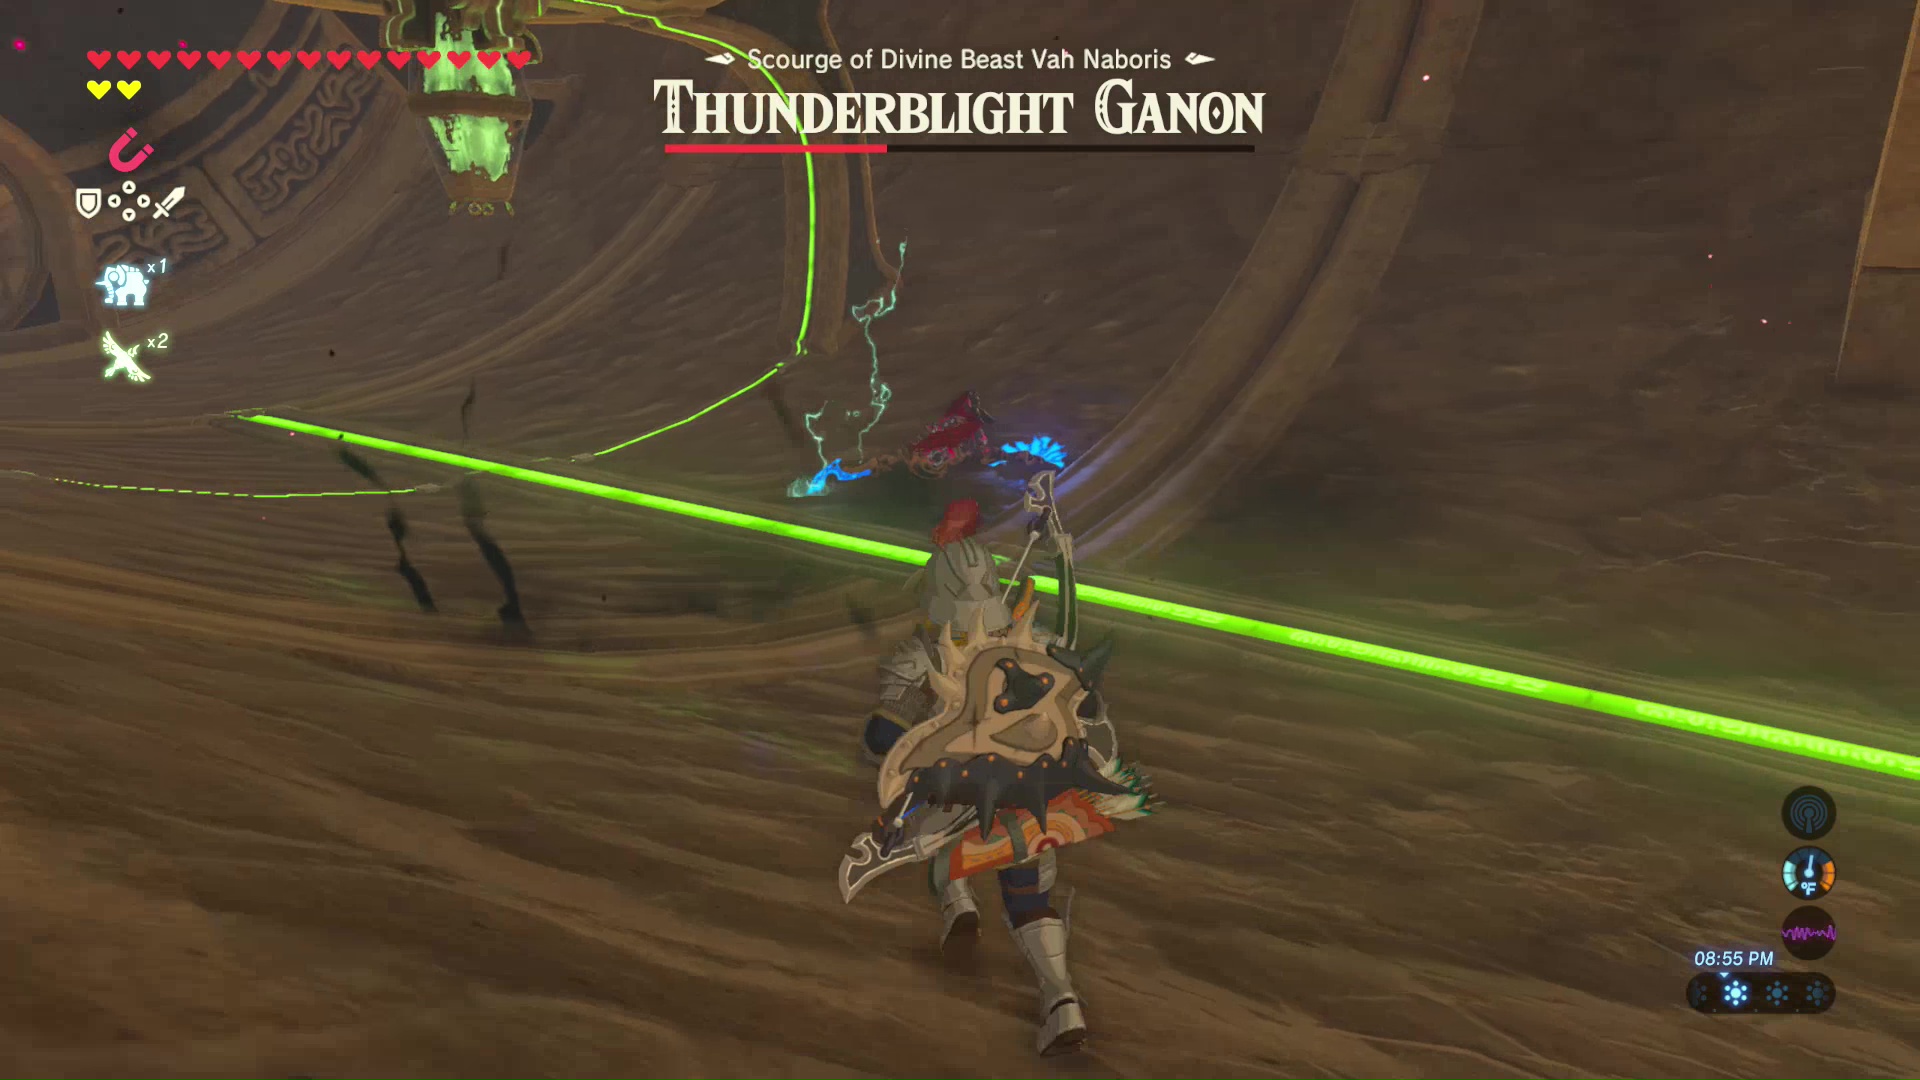
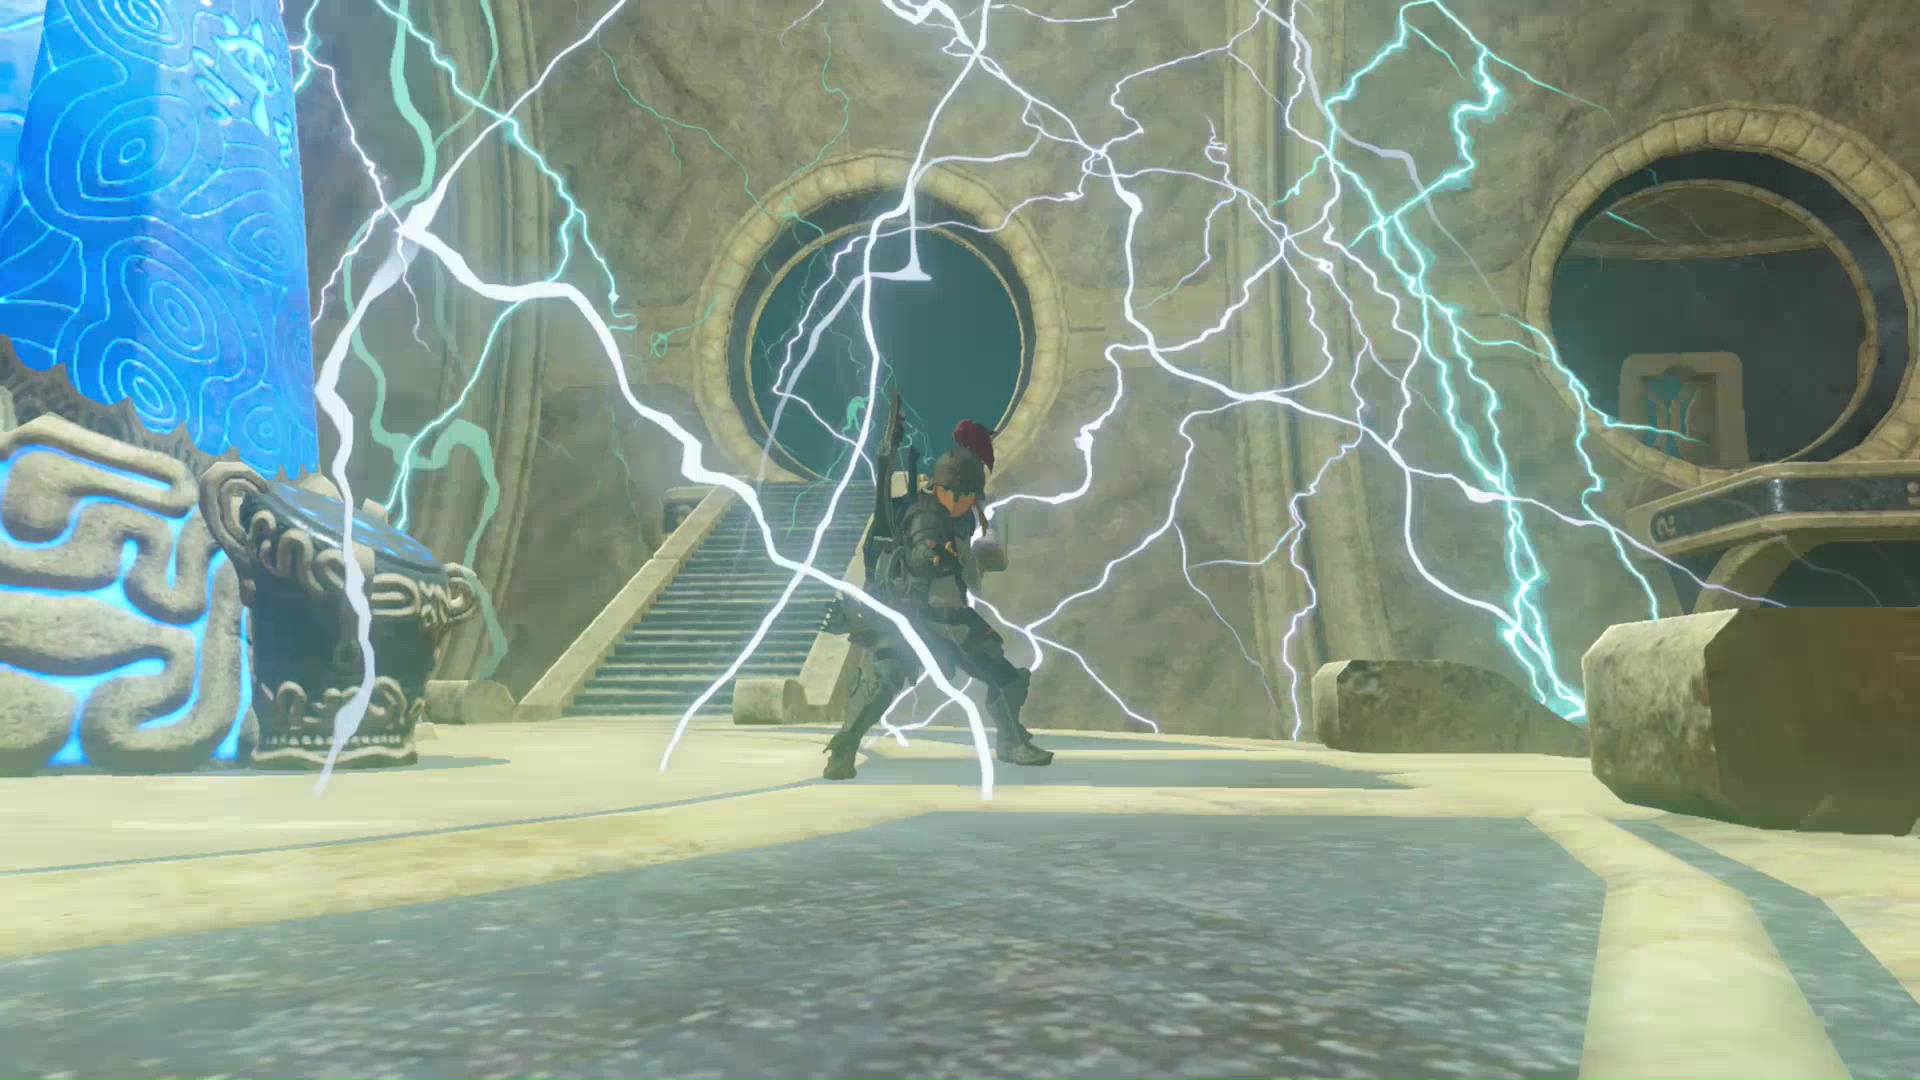
Boss Battle Thunderblight Ganon
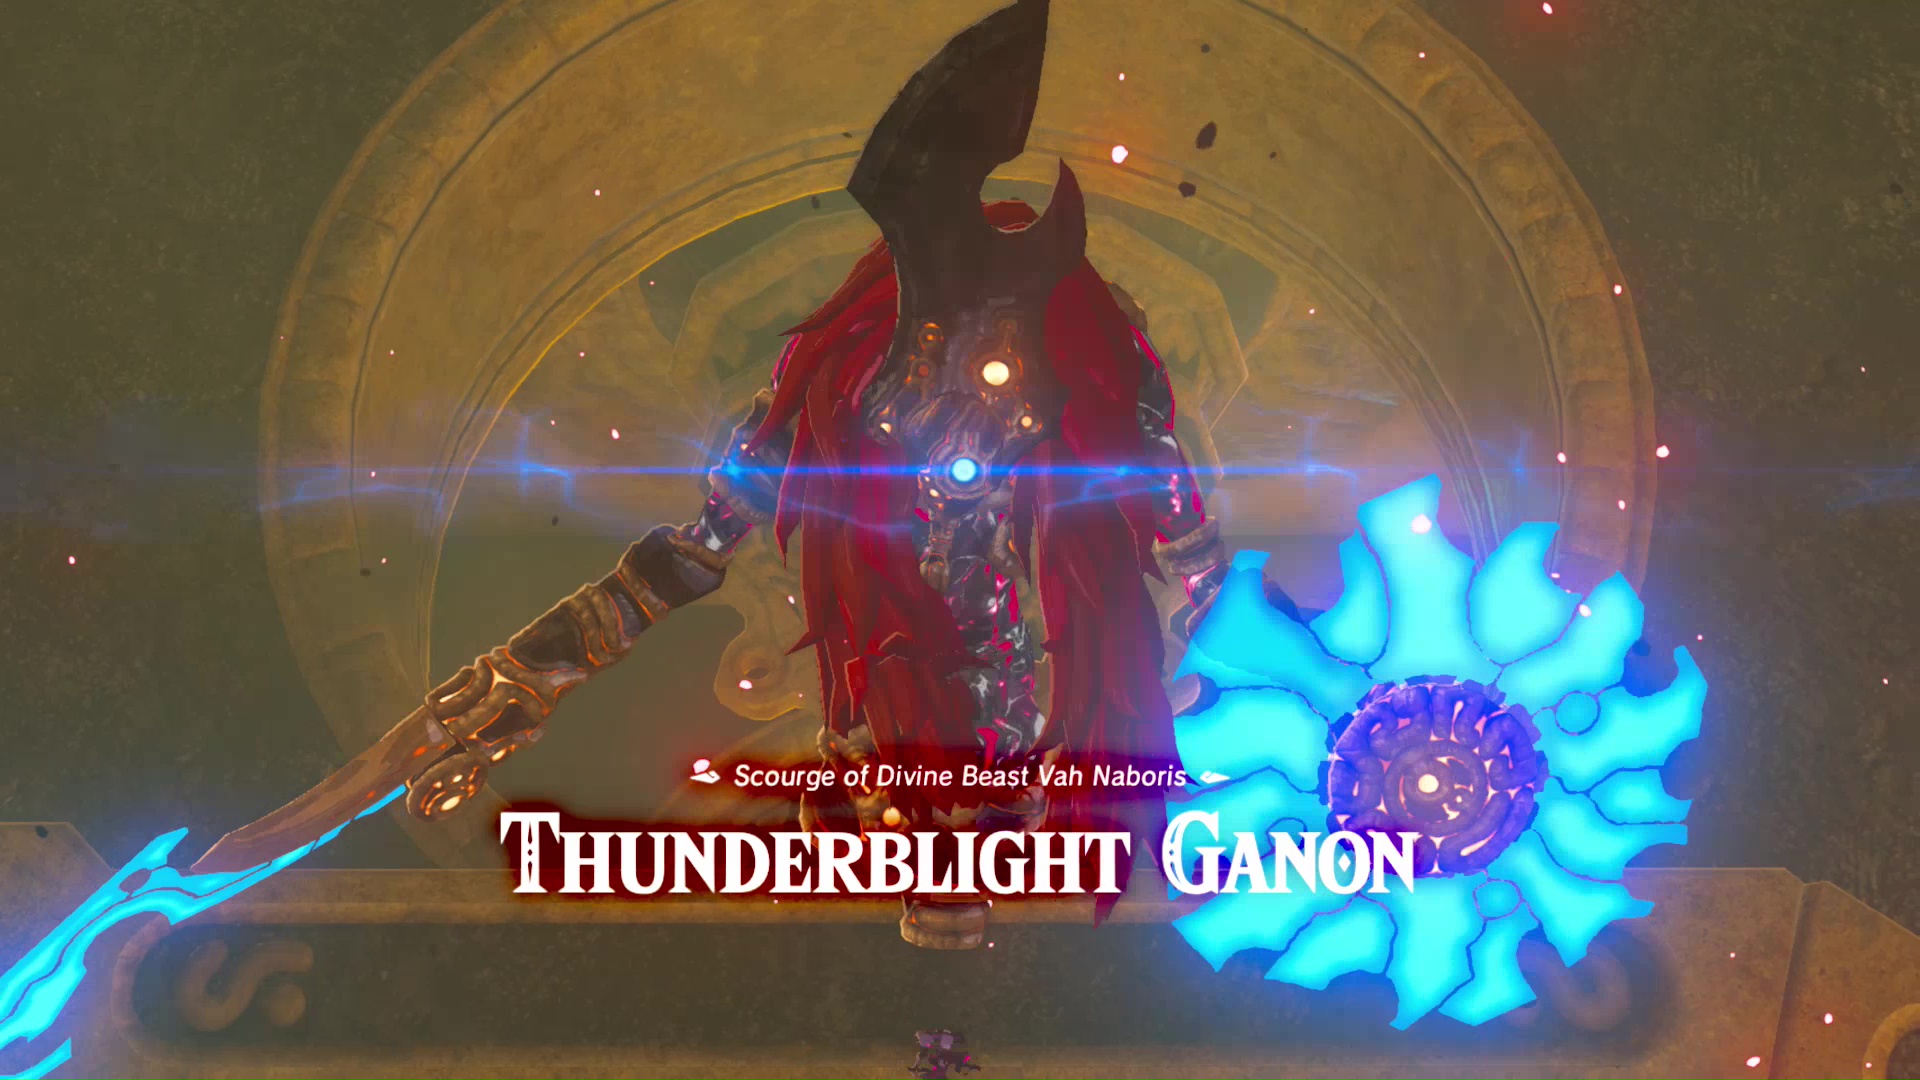
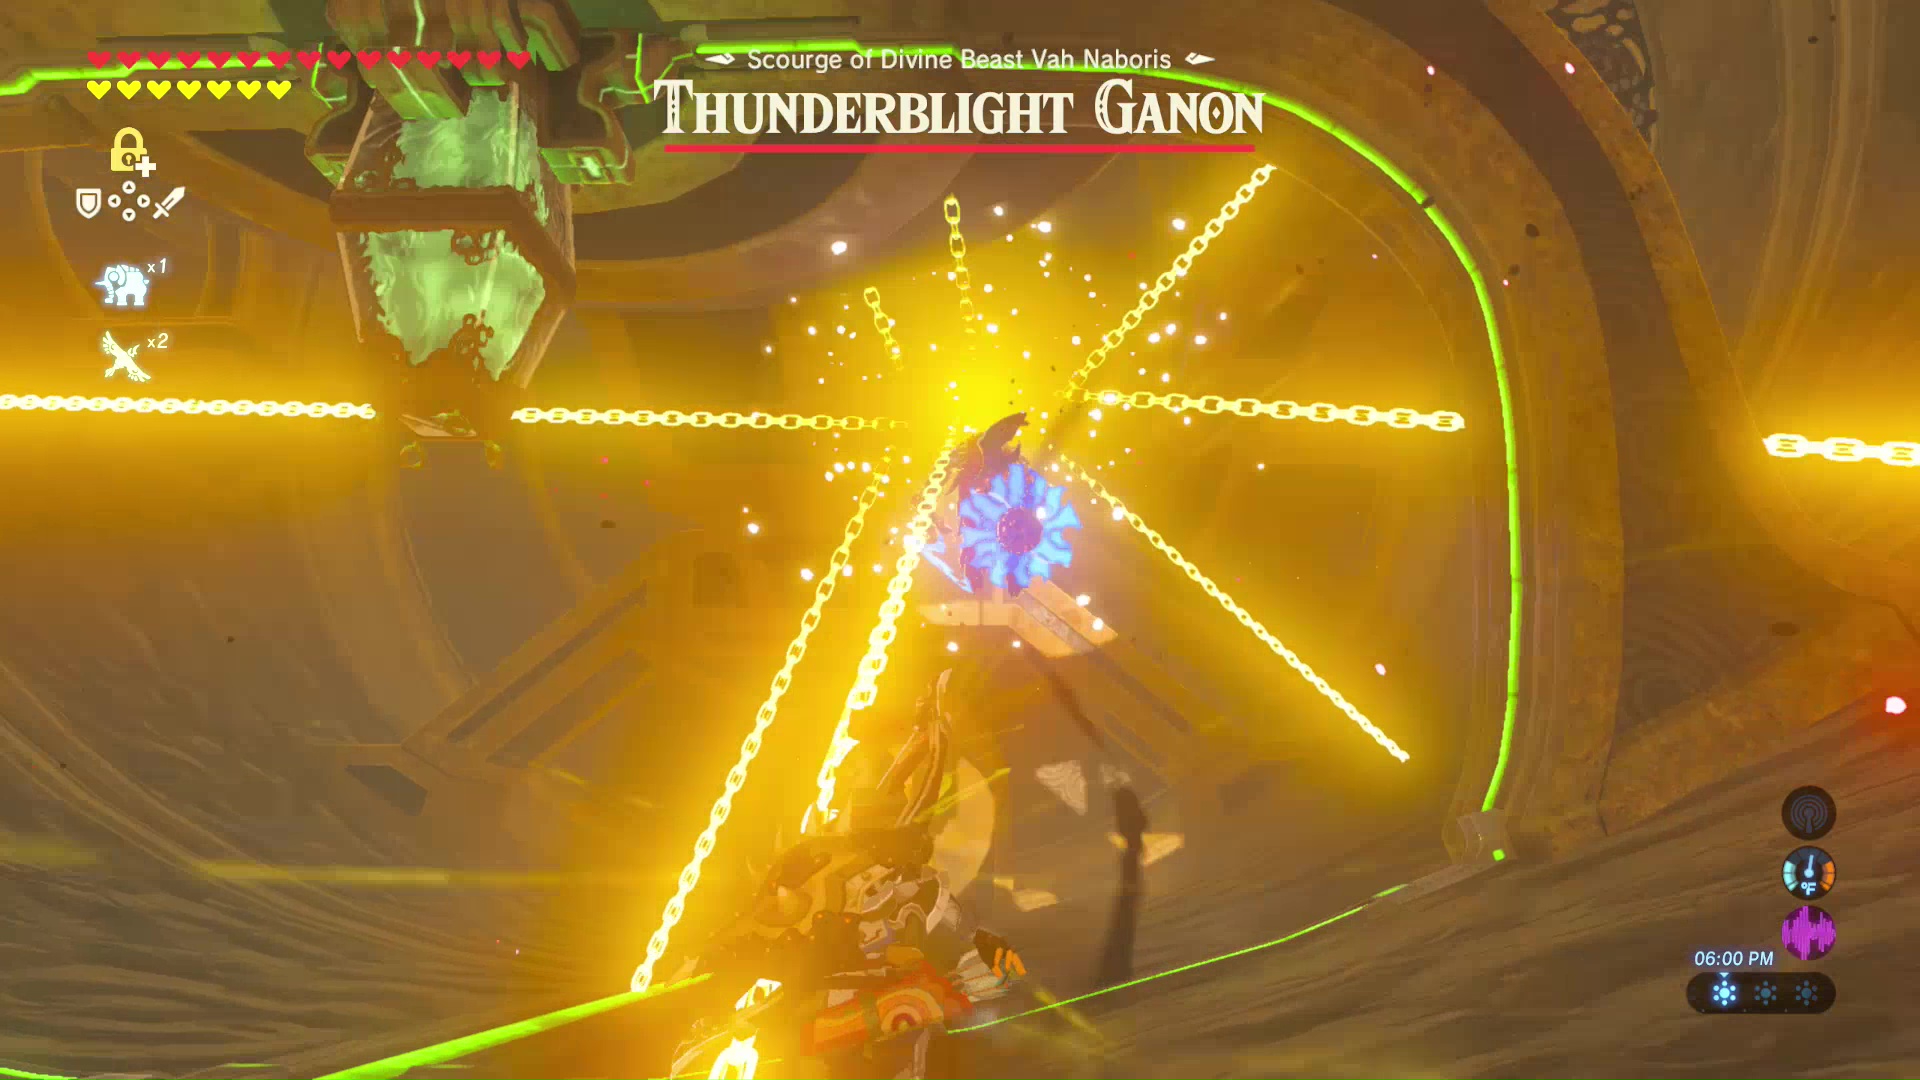
Thunderblight Ganon is probably the hardest of the boss battles. It will move incredibly fast and has no elemental weakness. Use armor or elixirs with shock resistance. Do not use any metal weapons or shields or else you will drop them the moment you are shocked. The monster attacks with an ancient curved blade and protects itself with an ancient shield. If at a distance, it will throw electric balls that deal shock damage and can temporarily stun.
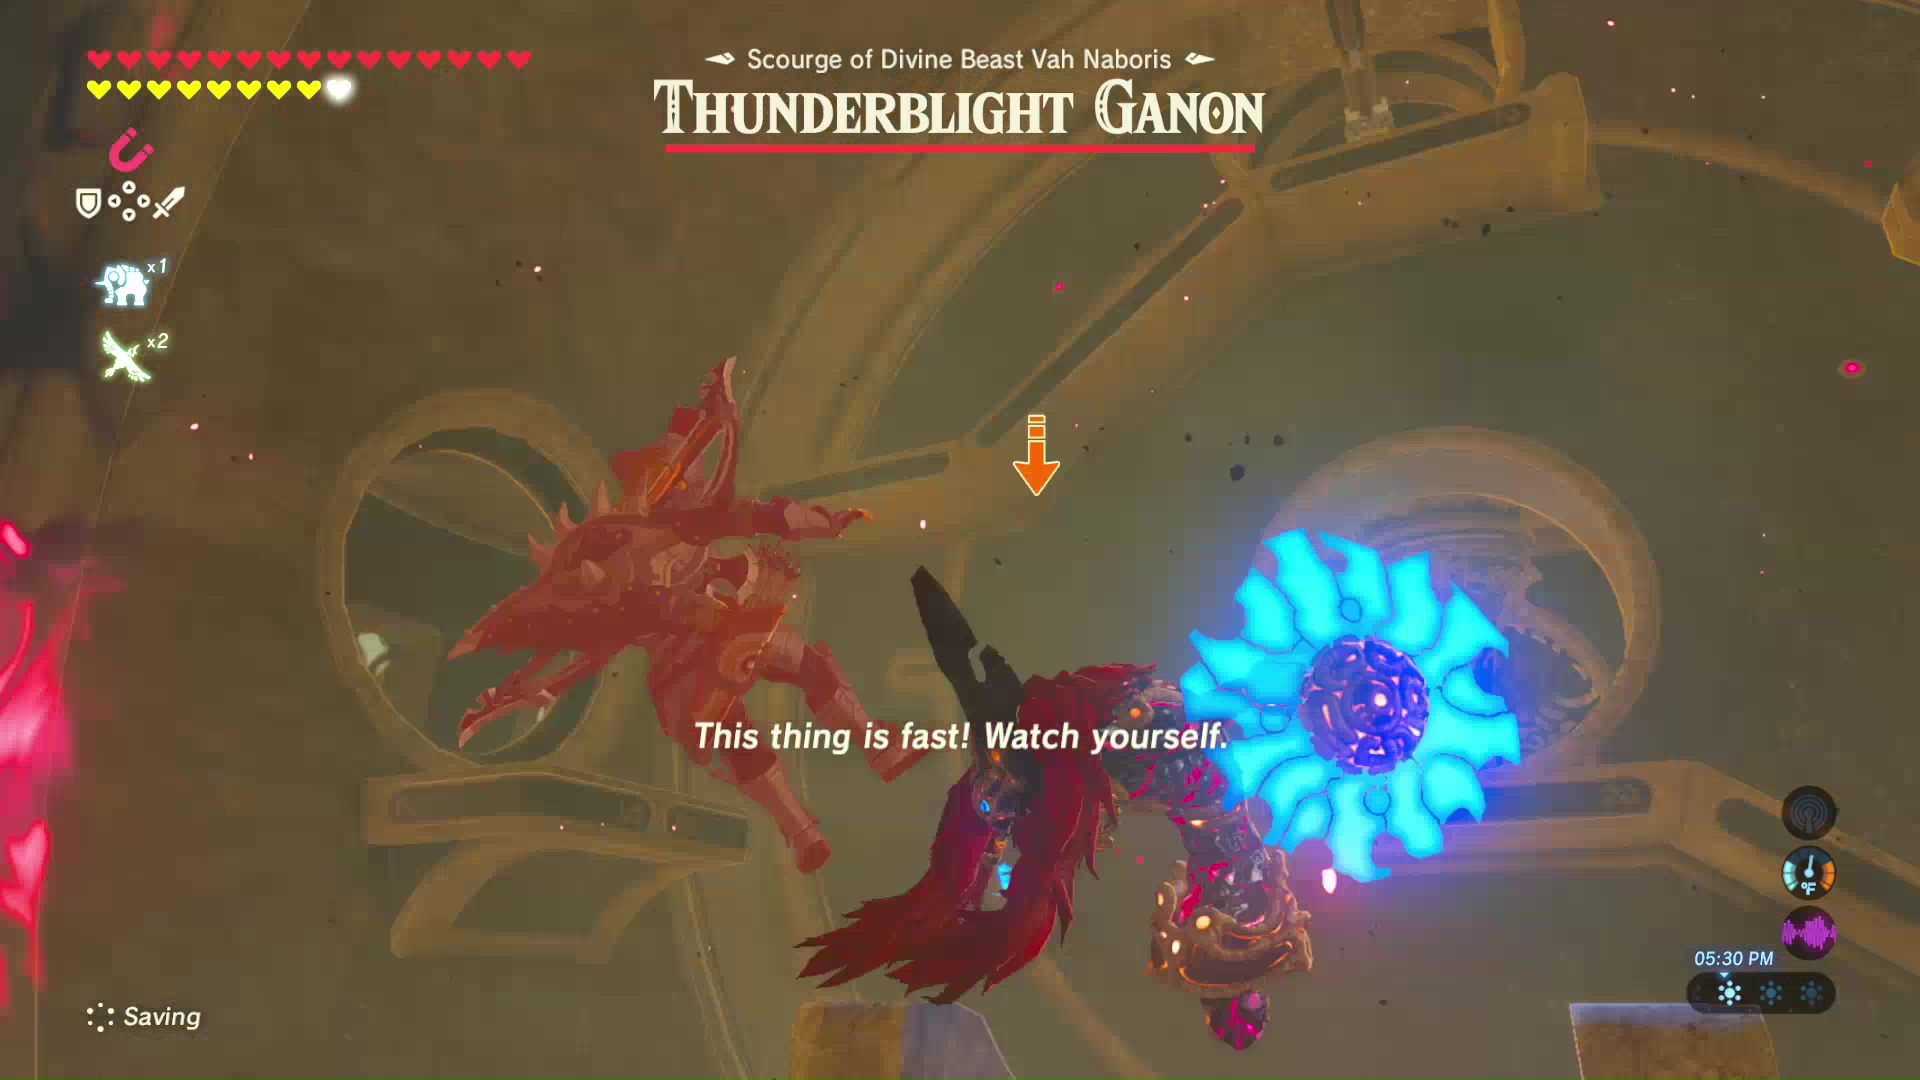
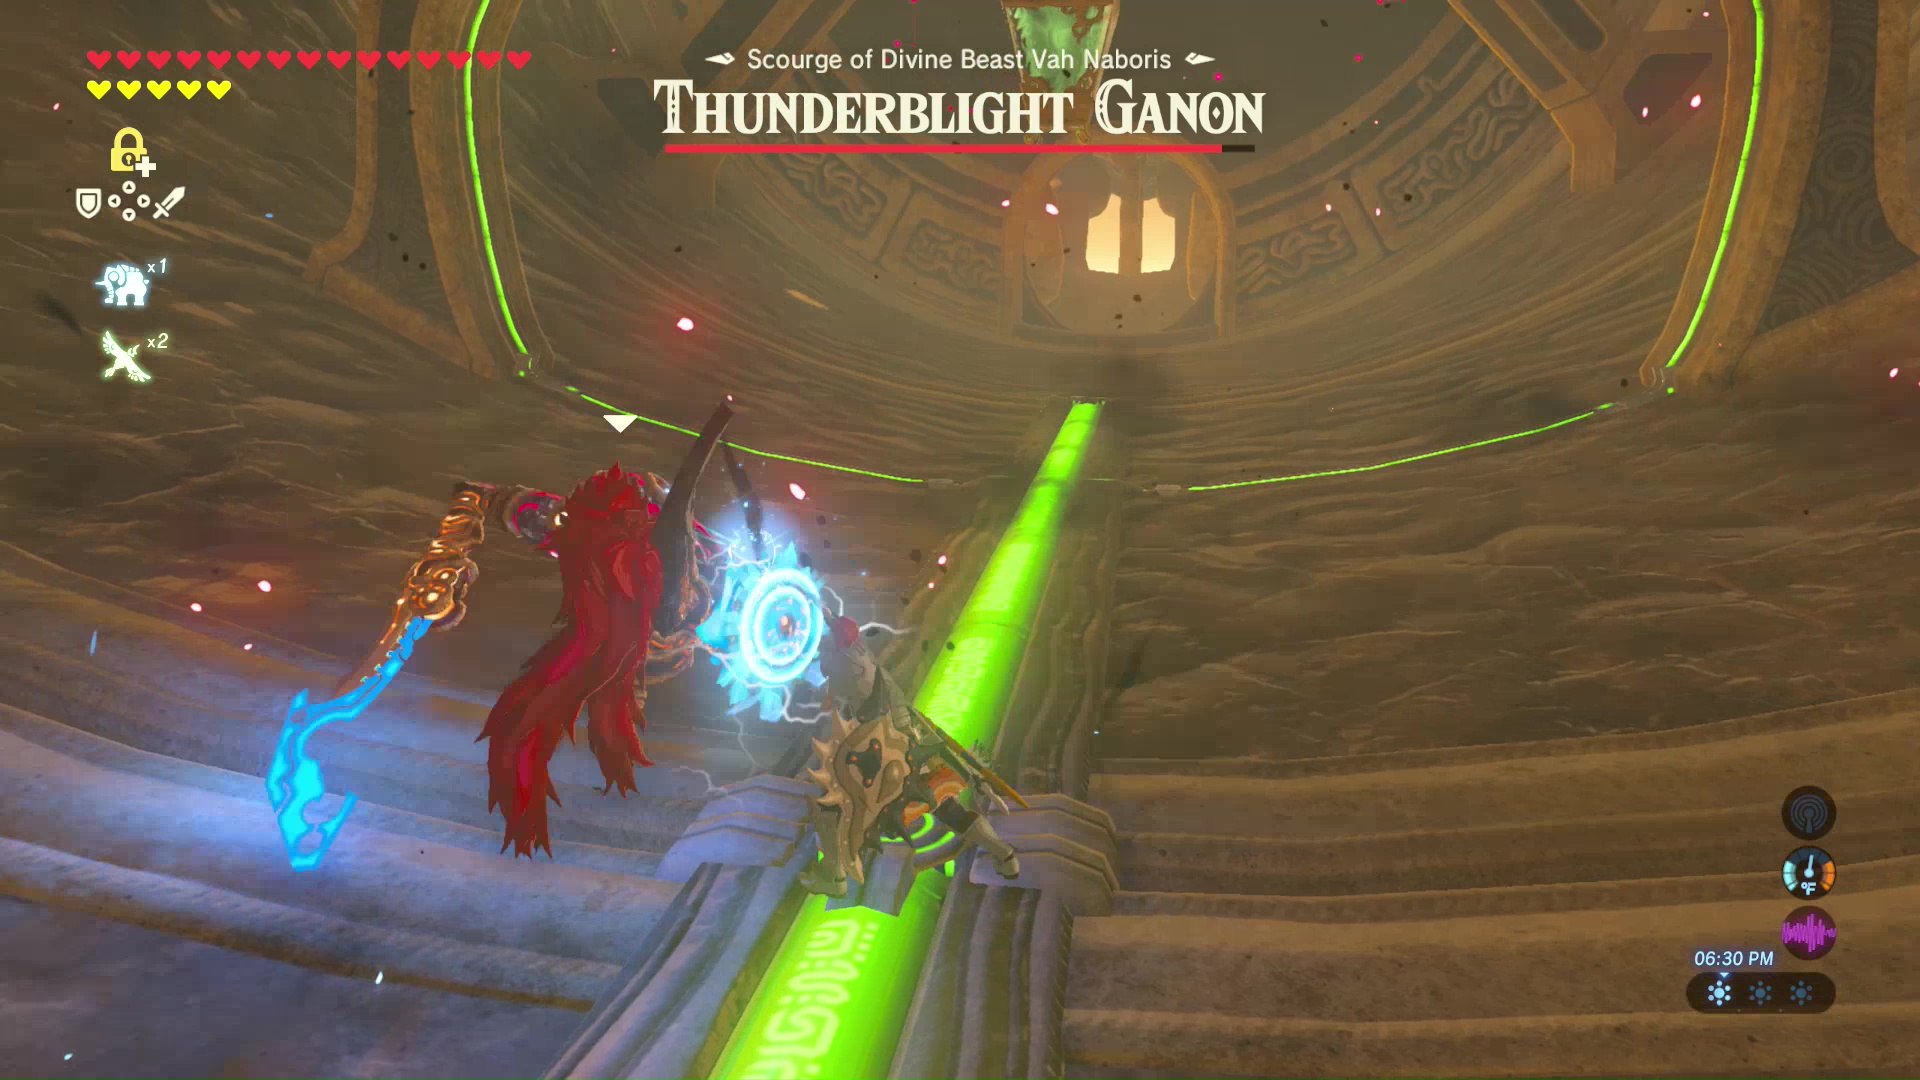
Use the Stasis Rune to lock Thunderblight Ganon in place, then shoot it with a Bomb Arrow or any other arrow you might have. This should take down the beast and allow you to land some melee attacks.
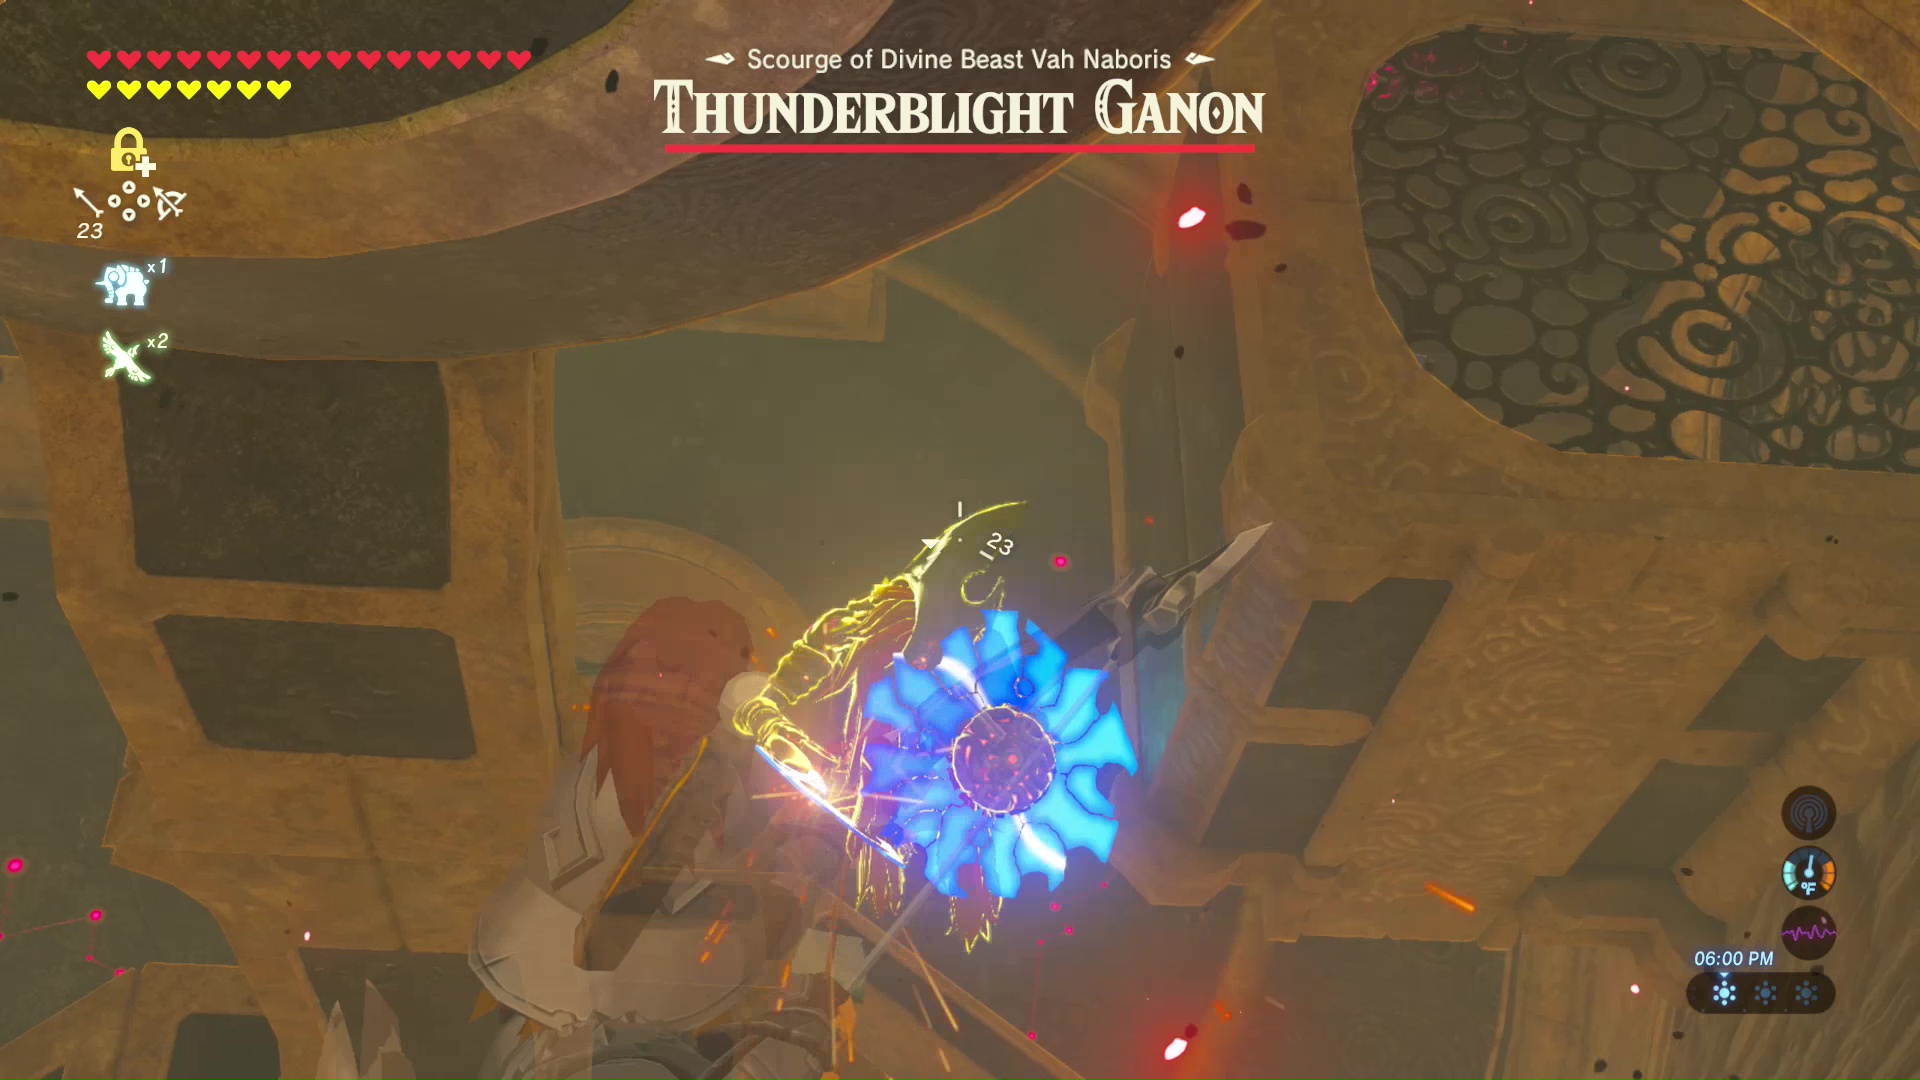
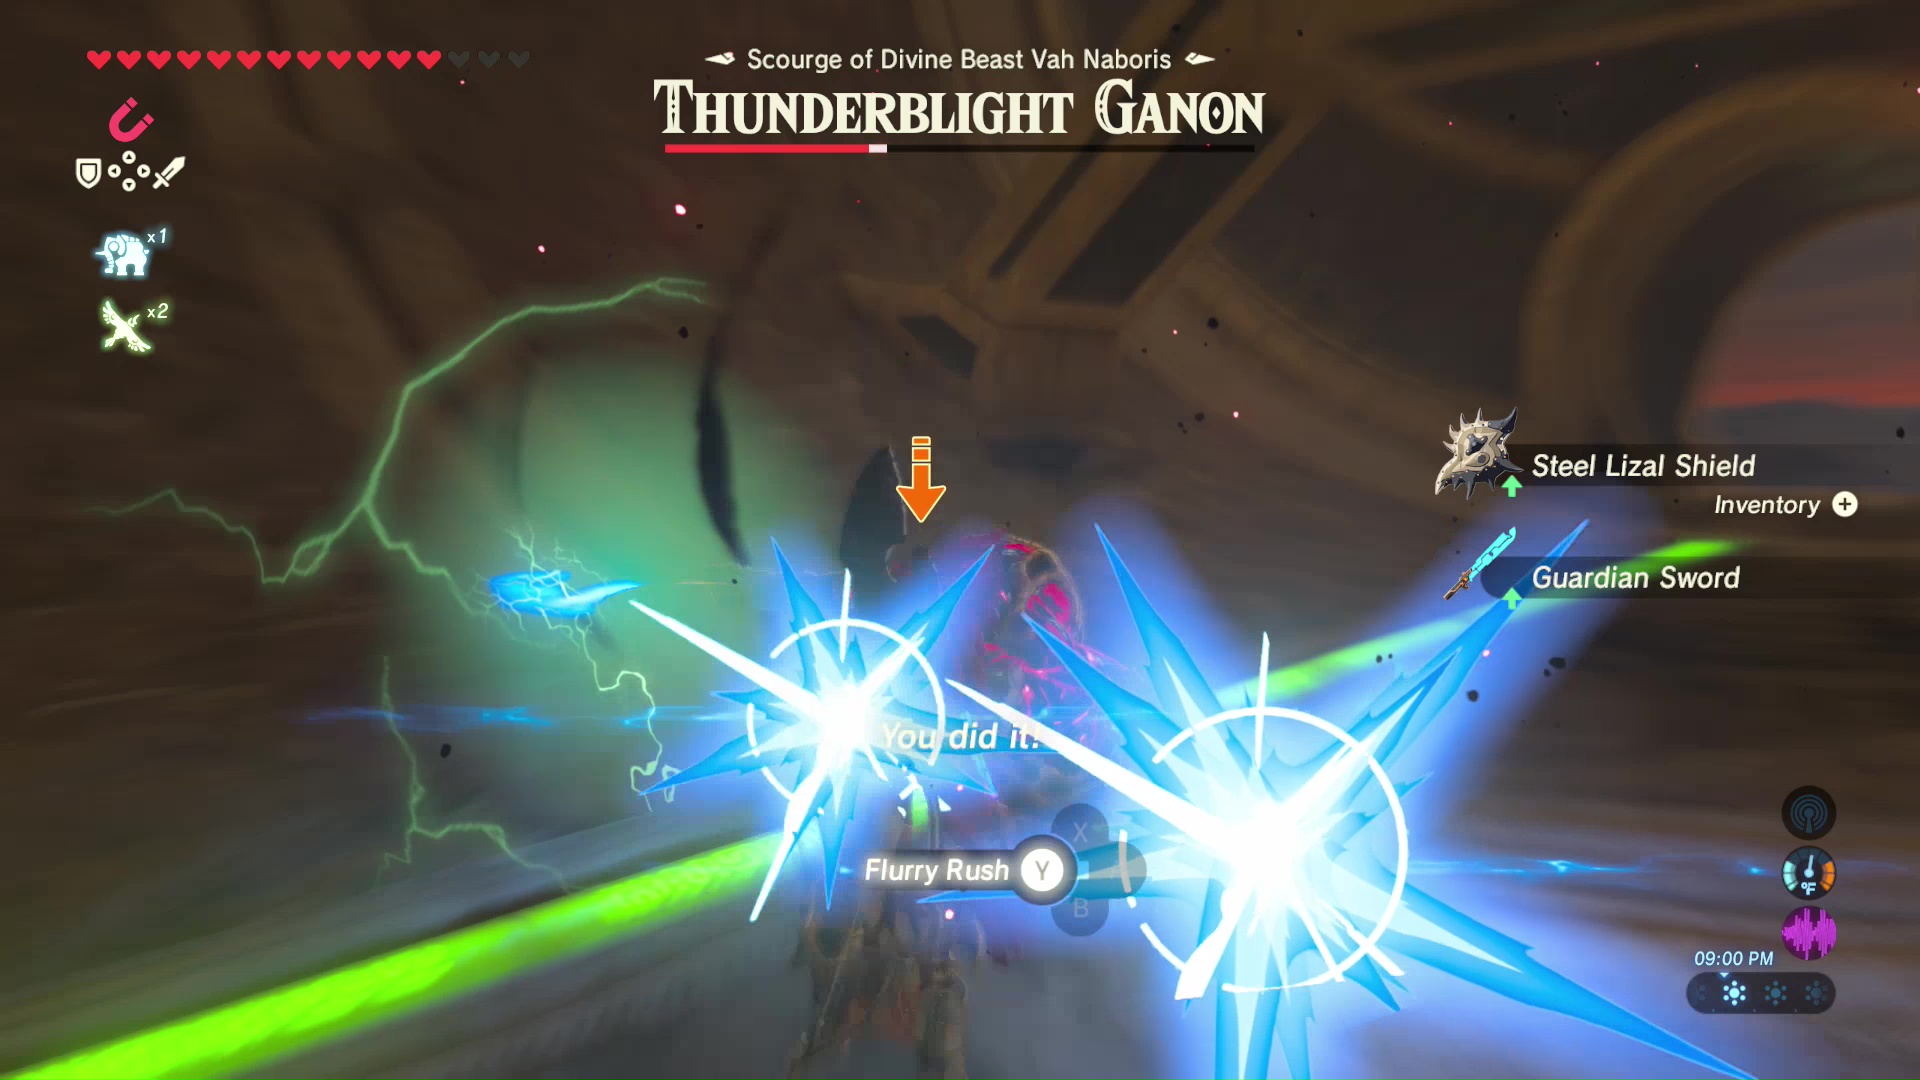
Another option is to lock on to Thunderblight Ganon and attempt to block or dodge its attack. If you can dodge at the right time, you will land a flurry rush, dealing massive damage. Attacking with Thunderblight Ganon’s shield up will stop a few of your attacks before temporarily breaking.
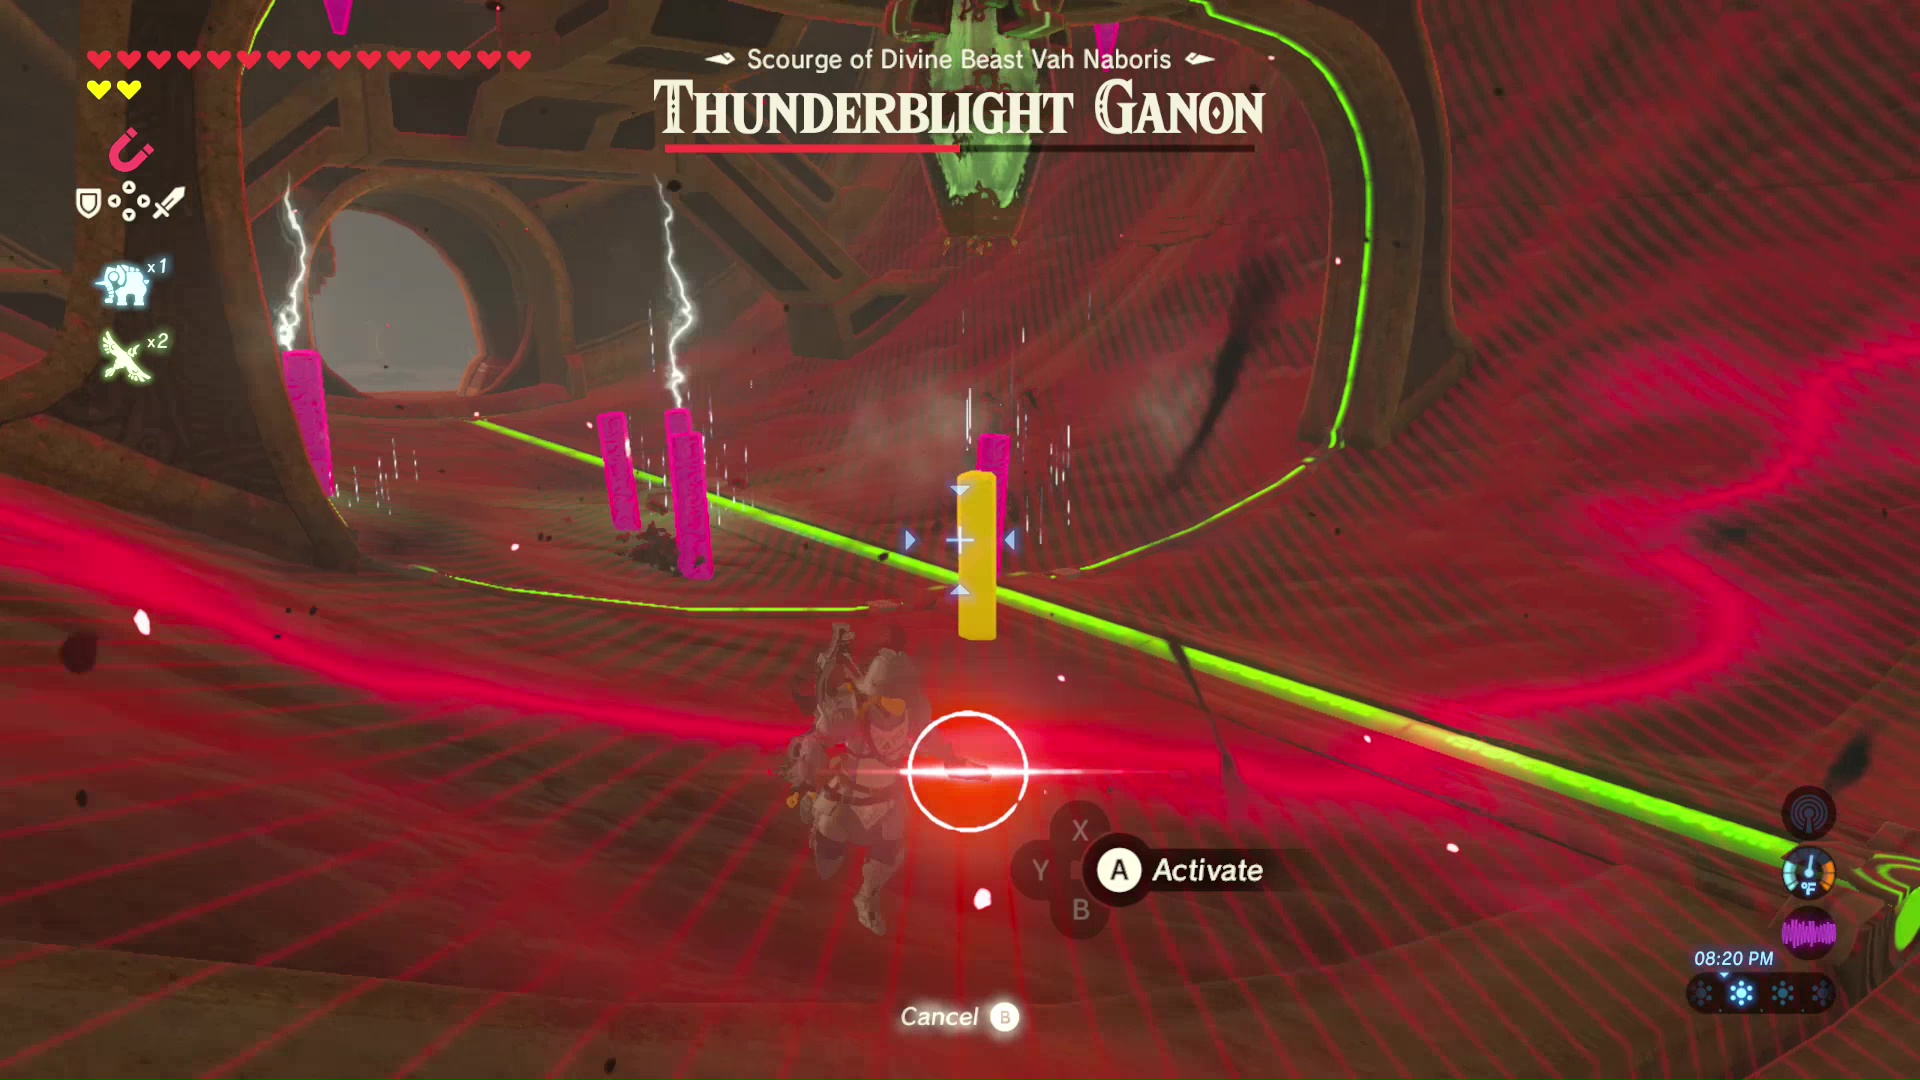
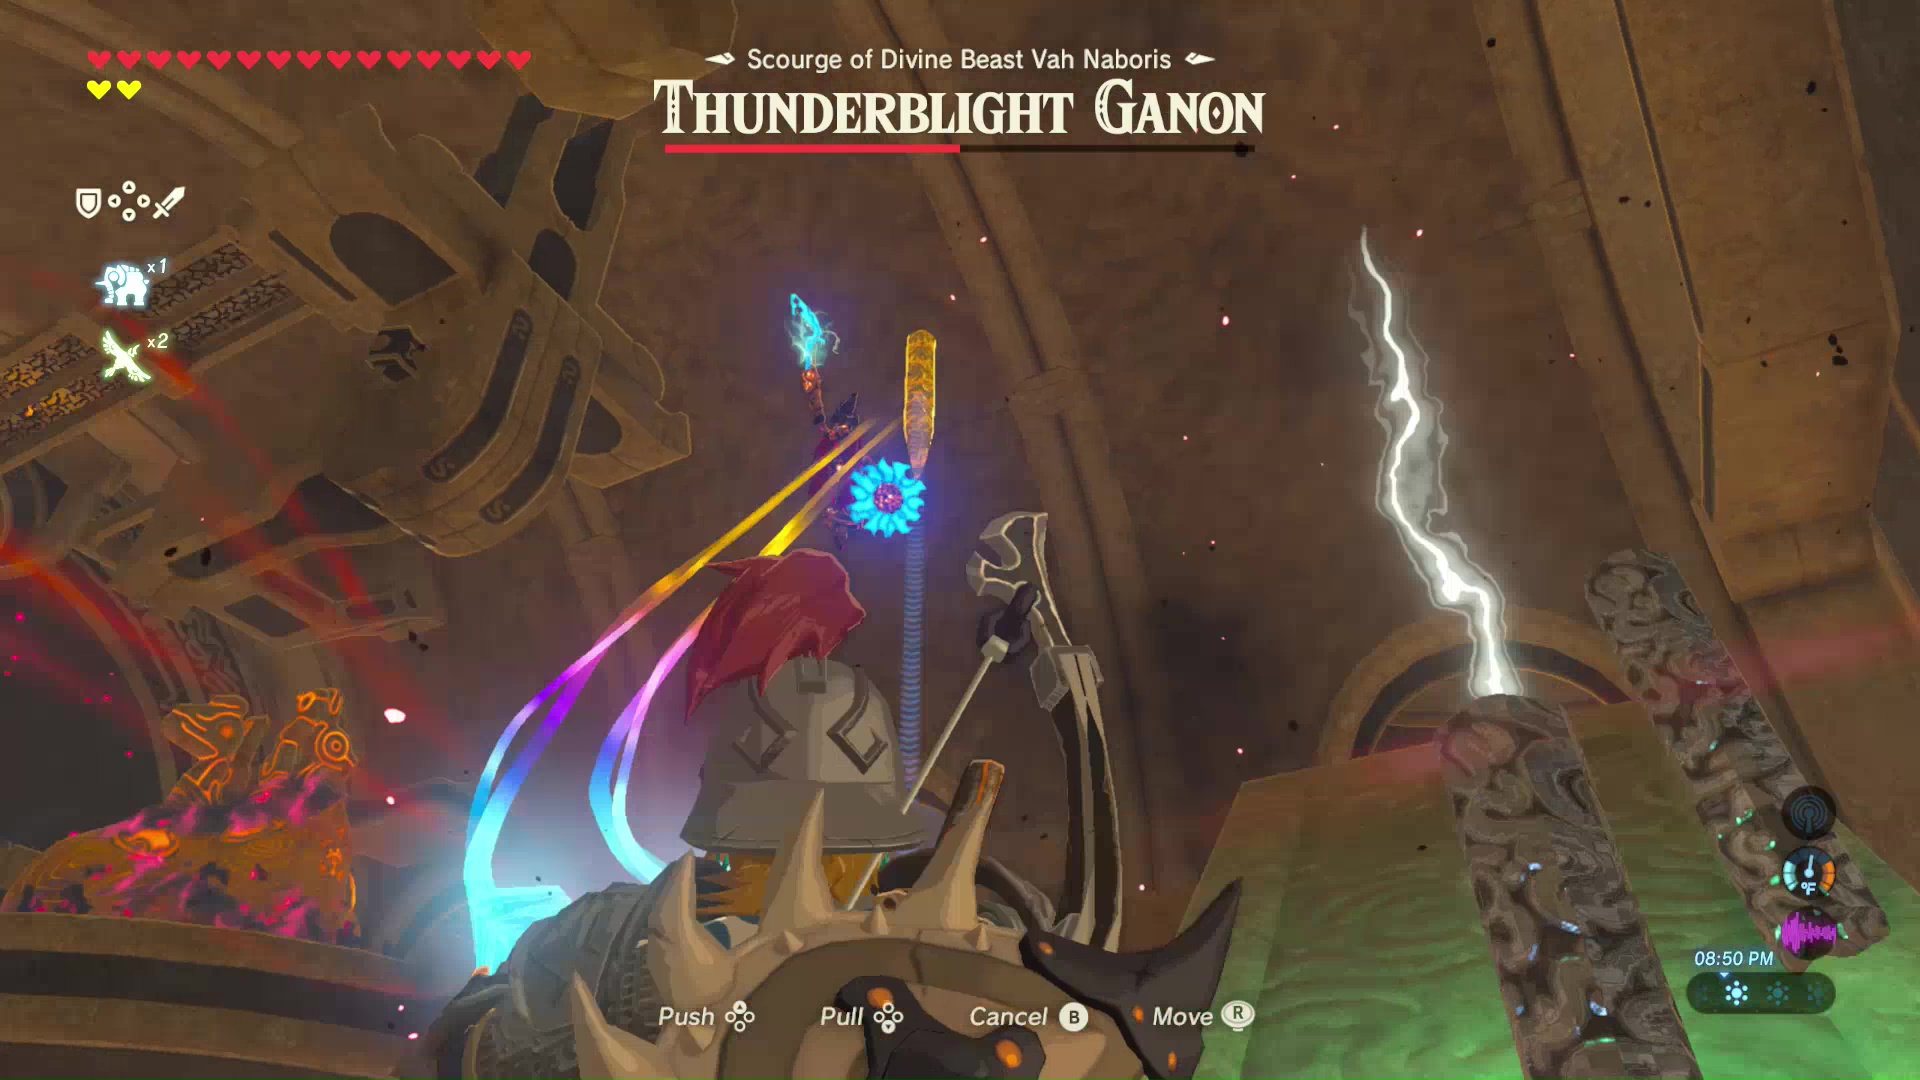
Reduce Thunderblight Ganon’s health to 50% and it will begin dropping metal beams with electricity surging through them all. Pick one of these metal beams up using the Magnesis Rune and place it next to Thunderblight Ganon to attract a thunderbolt directly to the monster, sending it to the ground. Use Stasis and attack as quickly as possible.

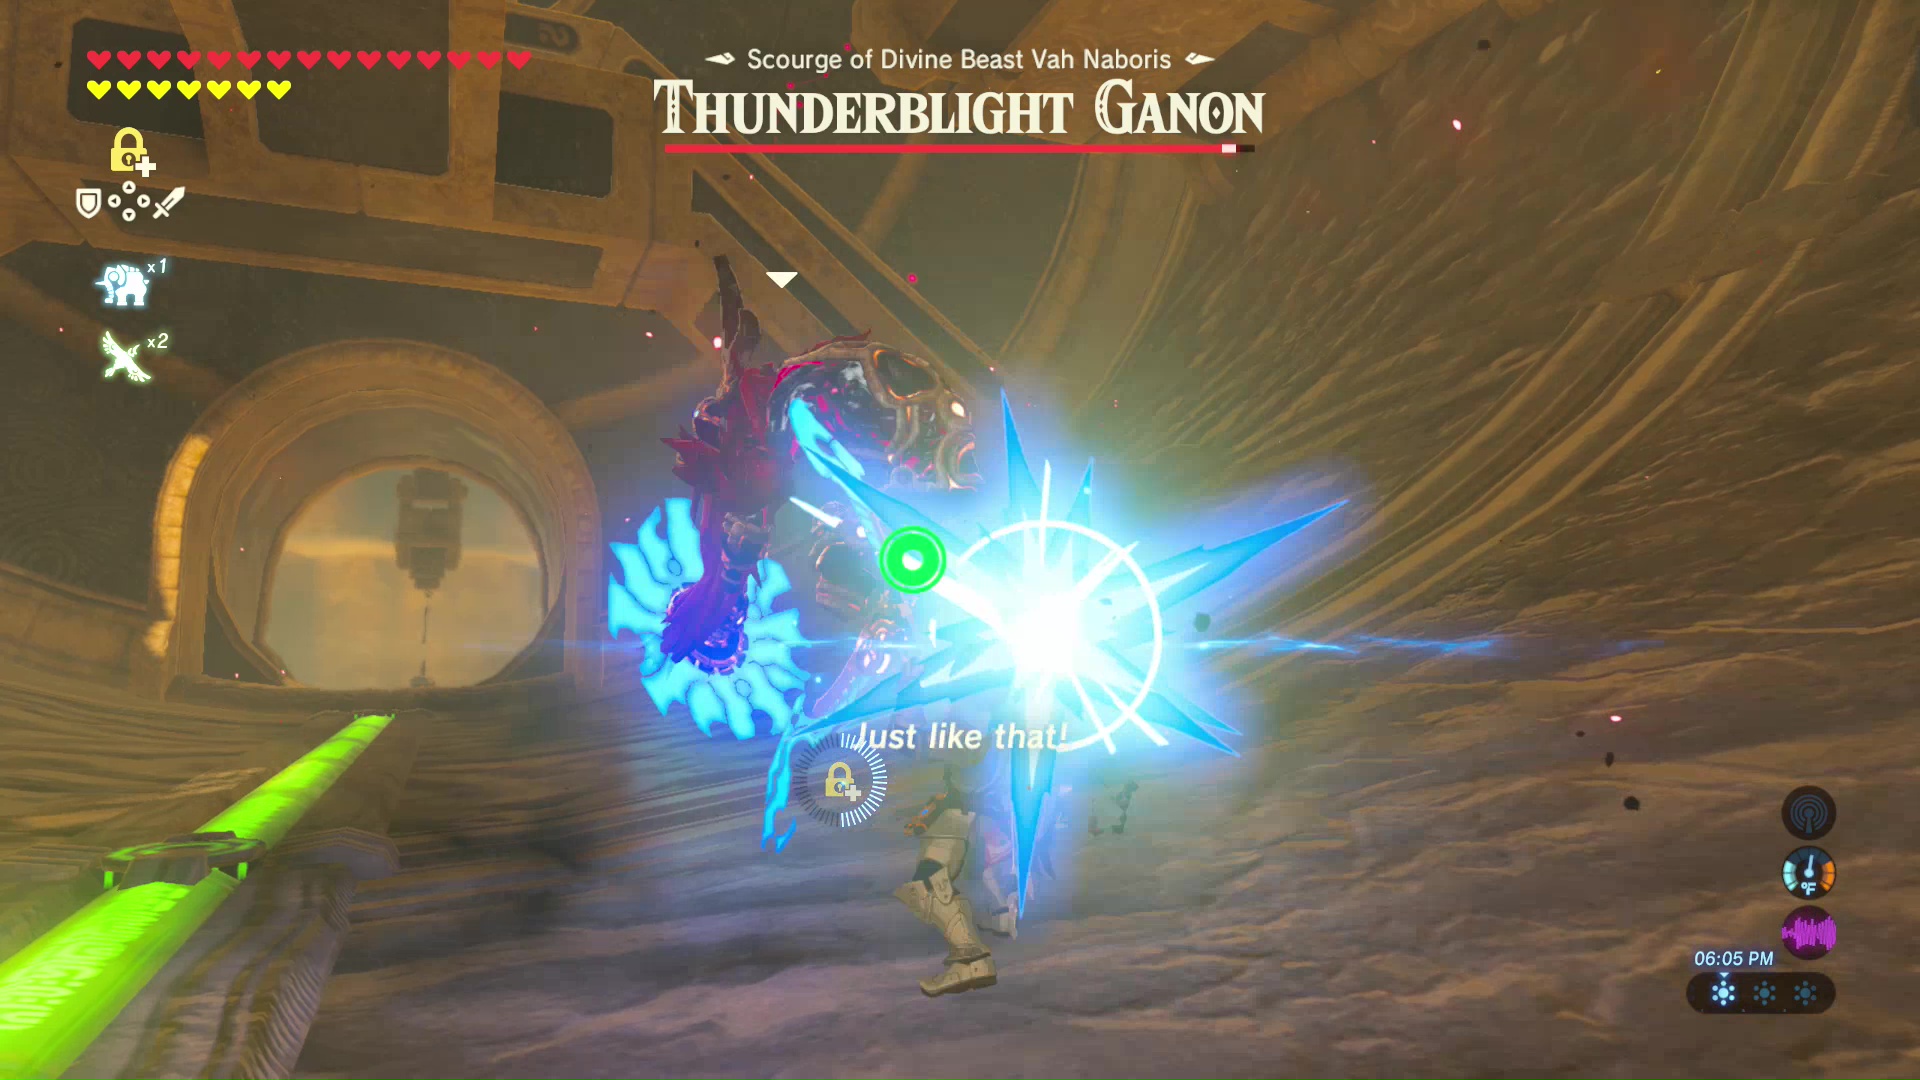
Once Thunderblight Ganon’s health reaches 25%, it will begin attacking head on with super speed. The best method is to dodge and counter with a flurry rush.
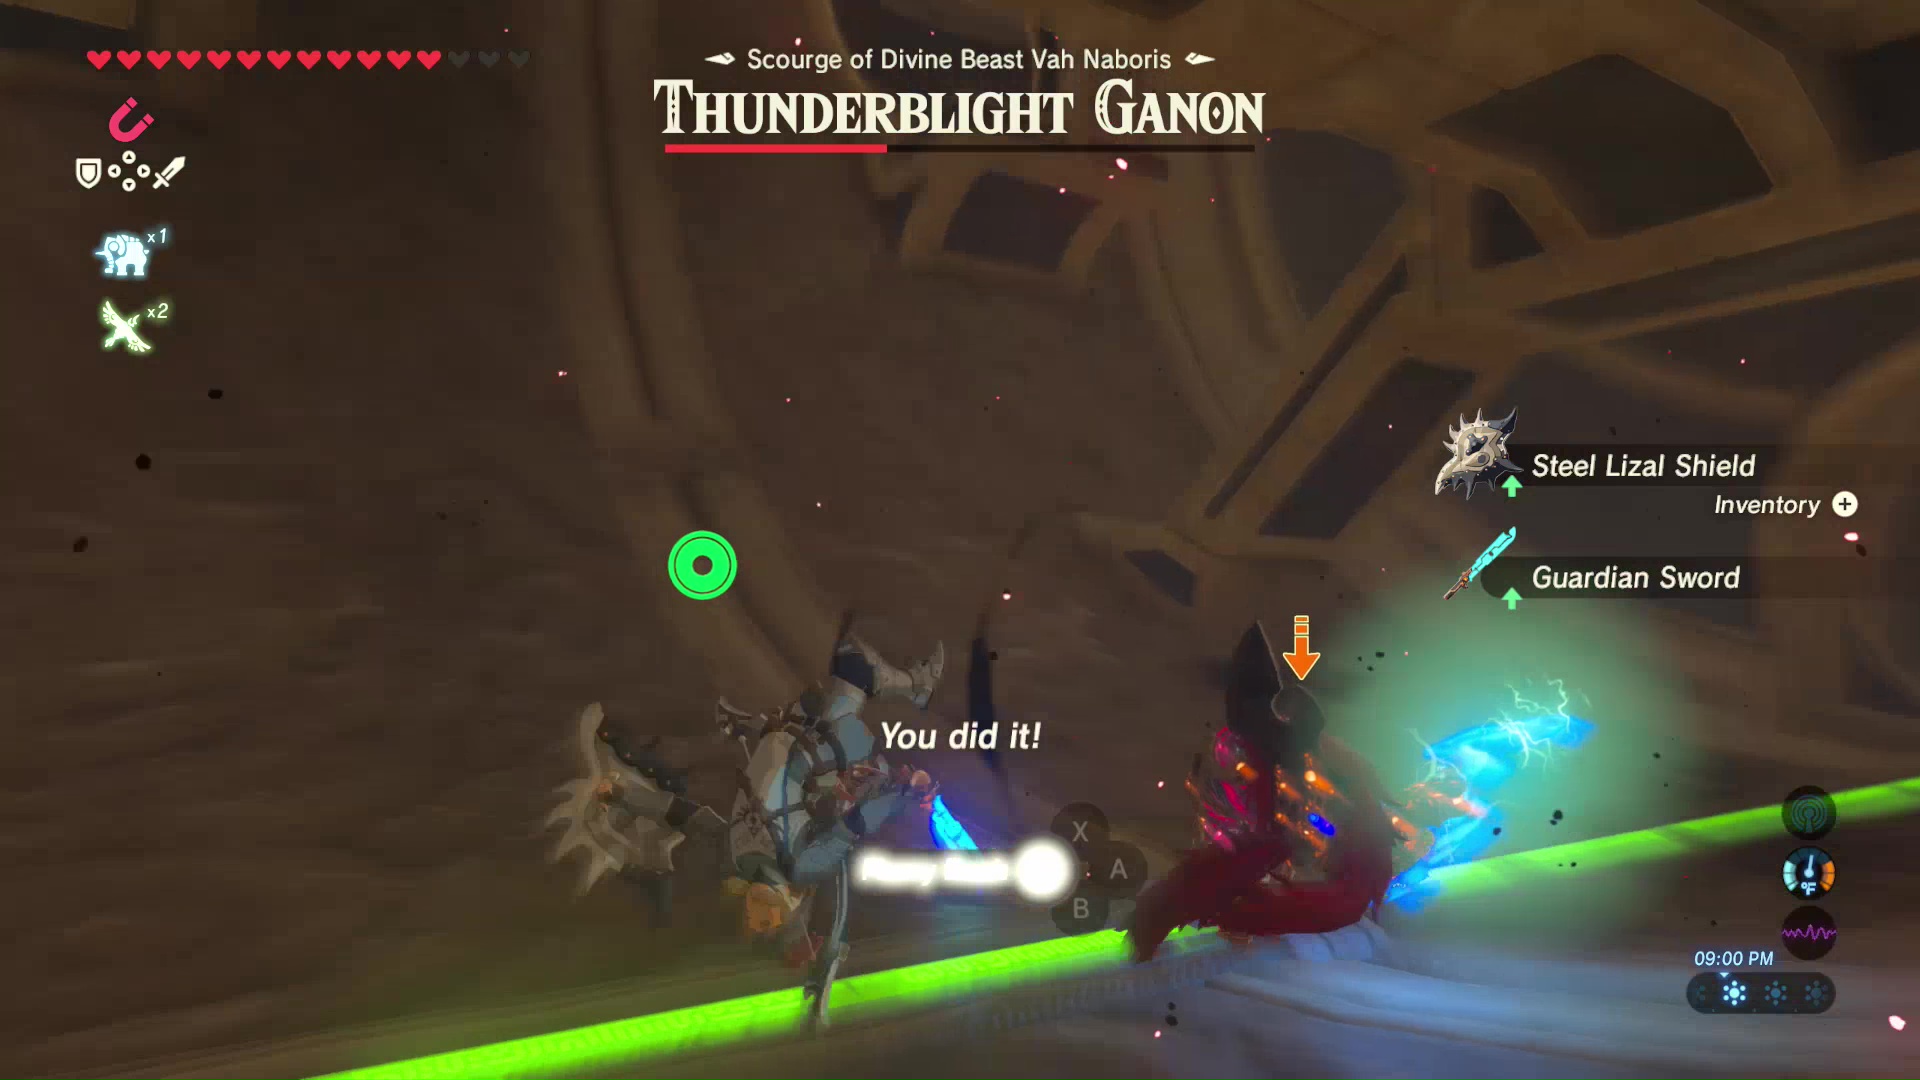
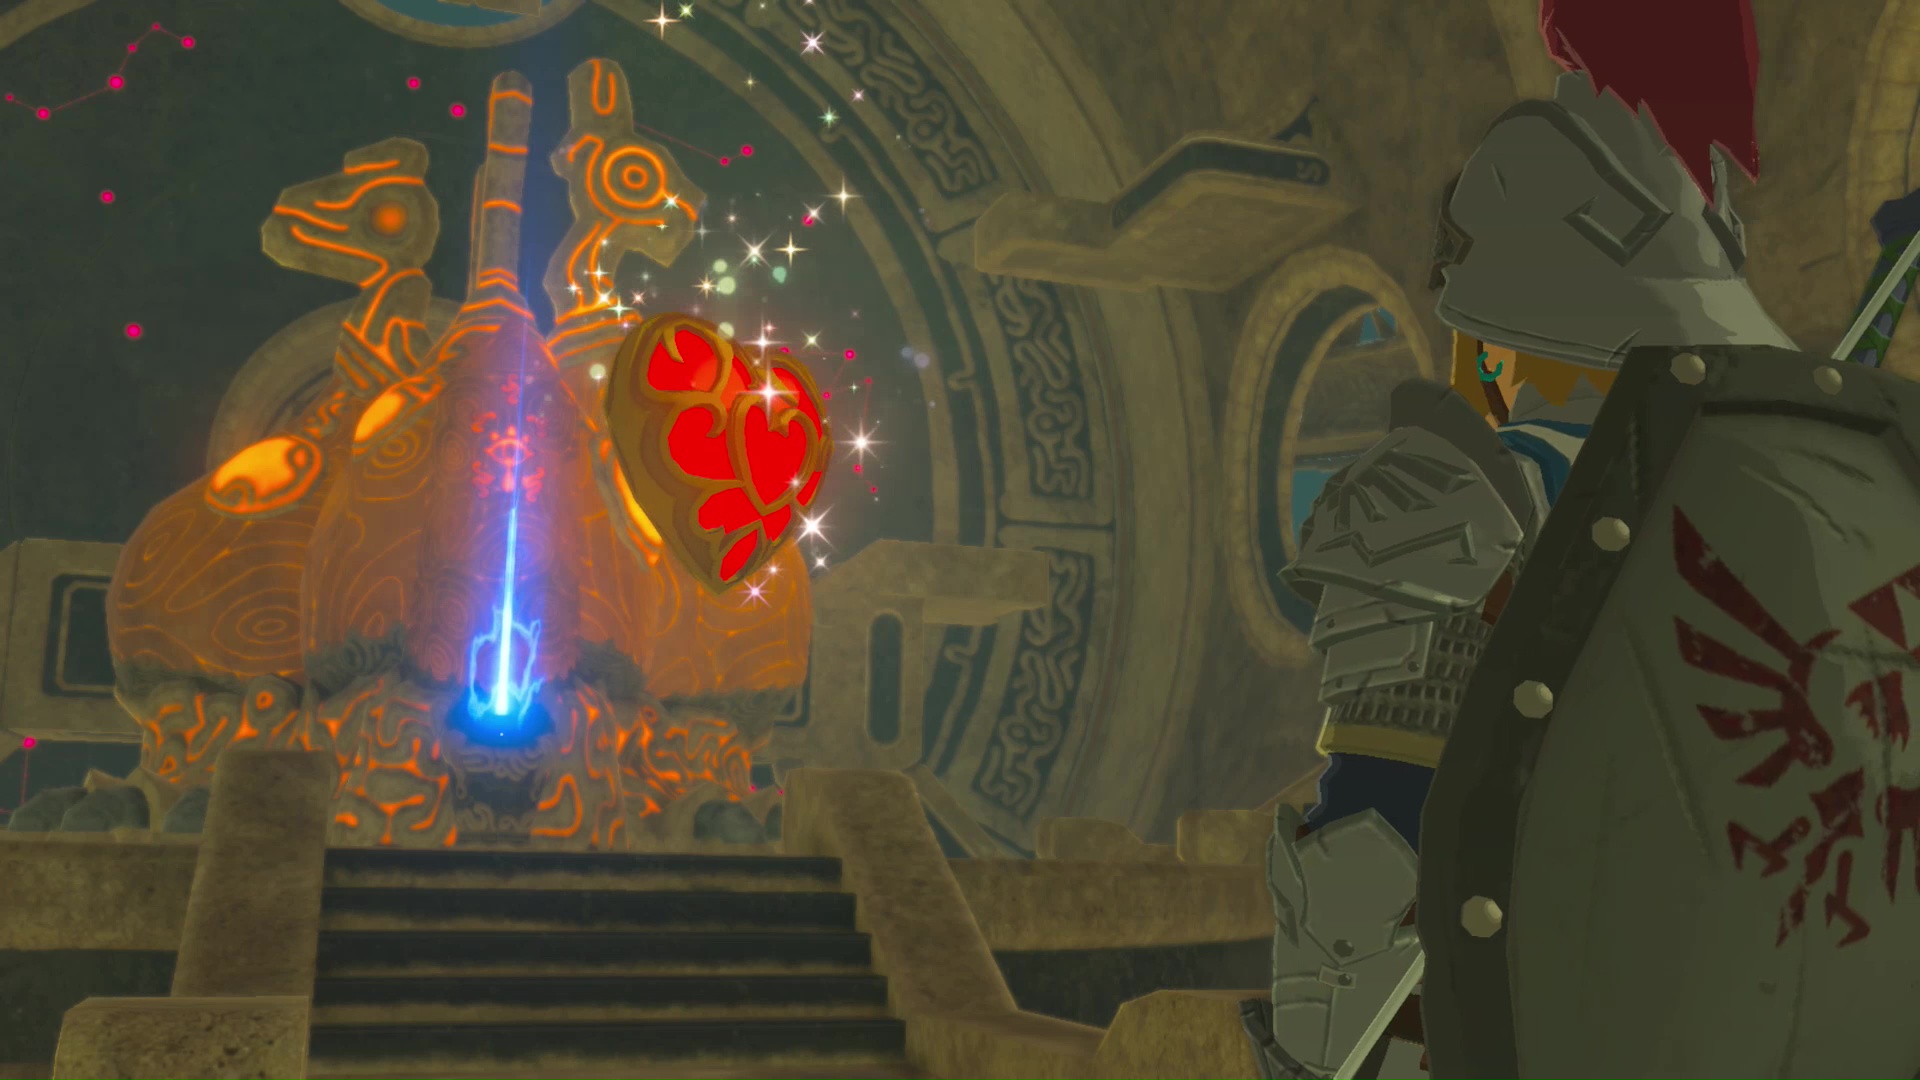
Destroy Thunderblight Ganon to earn a Heart Container as a reward. Interact with the main control unit to exit Vah Naboris. A cut scene will play, and you will receive Urbosa’s Fury. This will deal a massive electric attack when performing a charged melee attack.
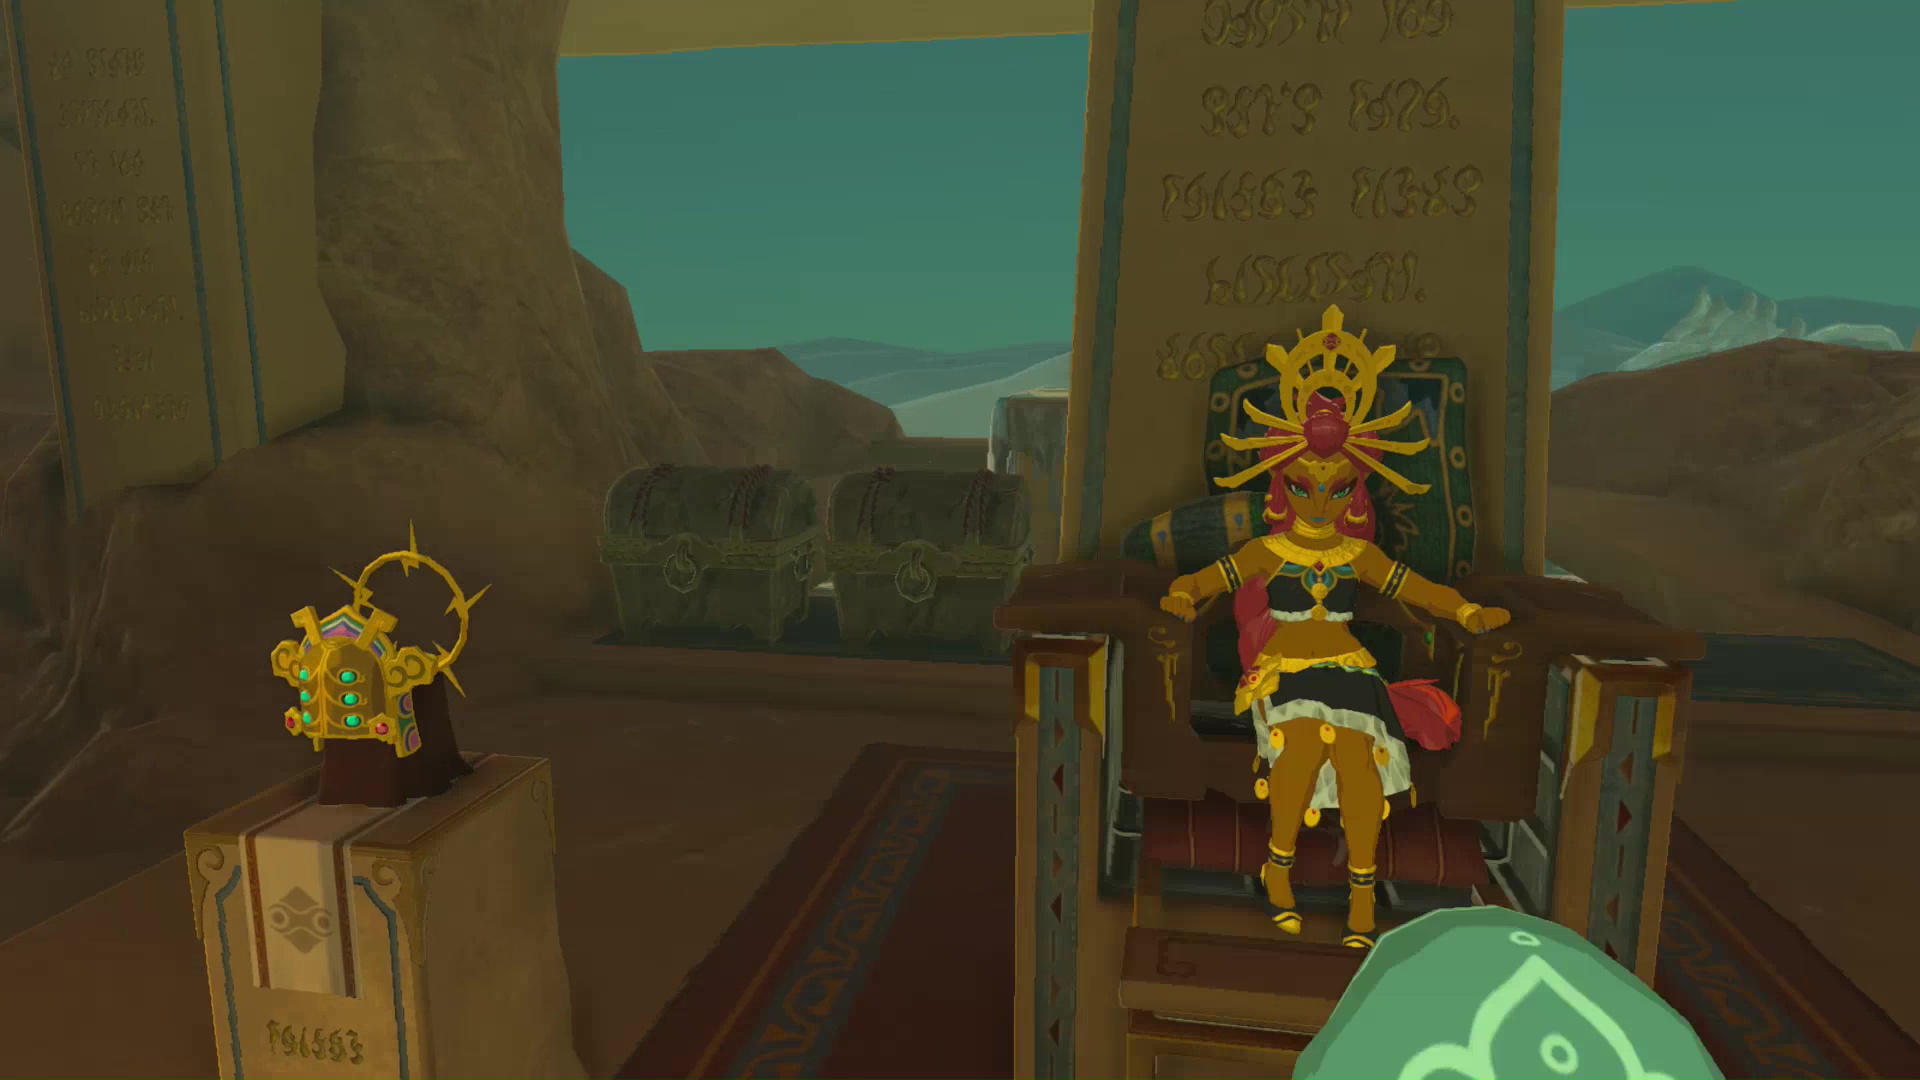
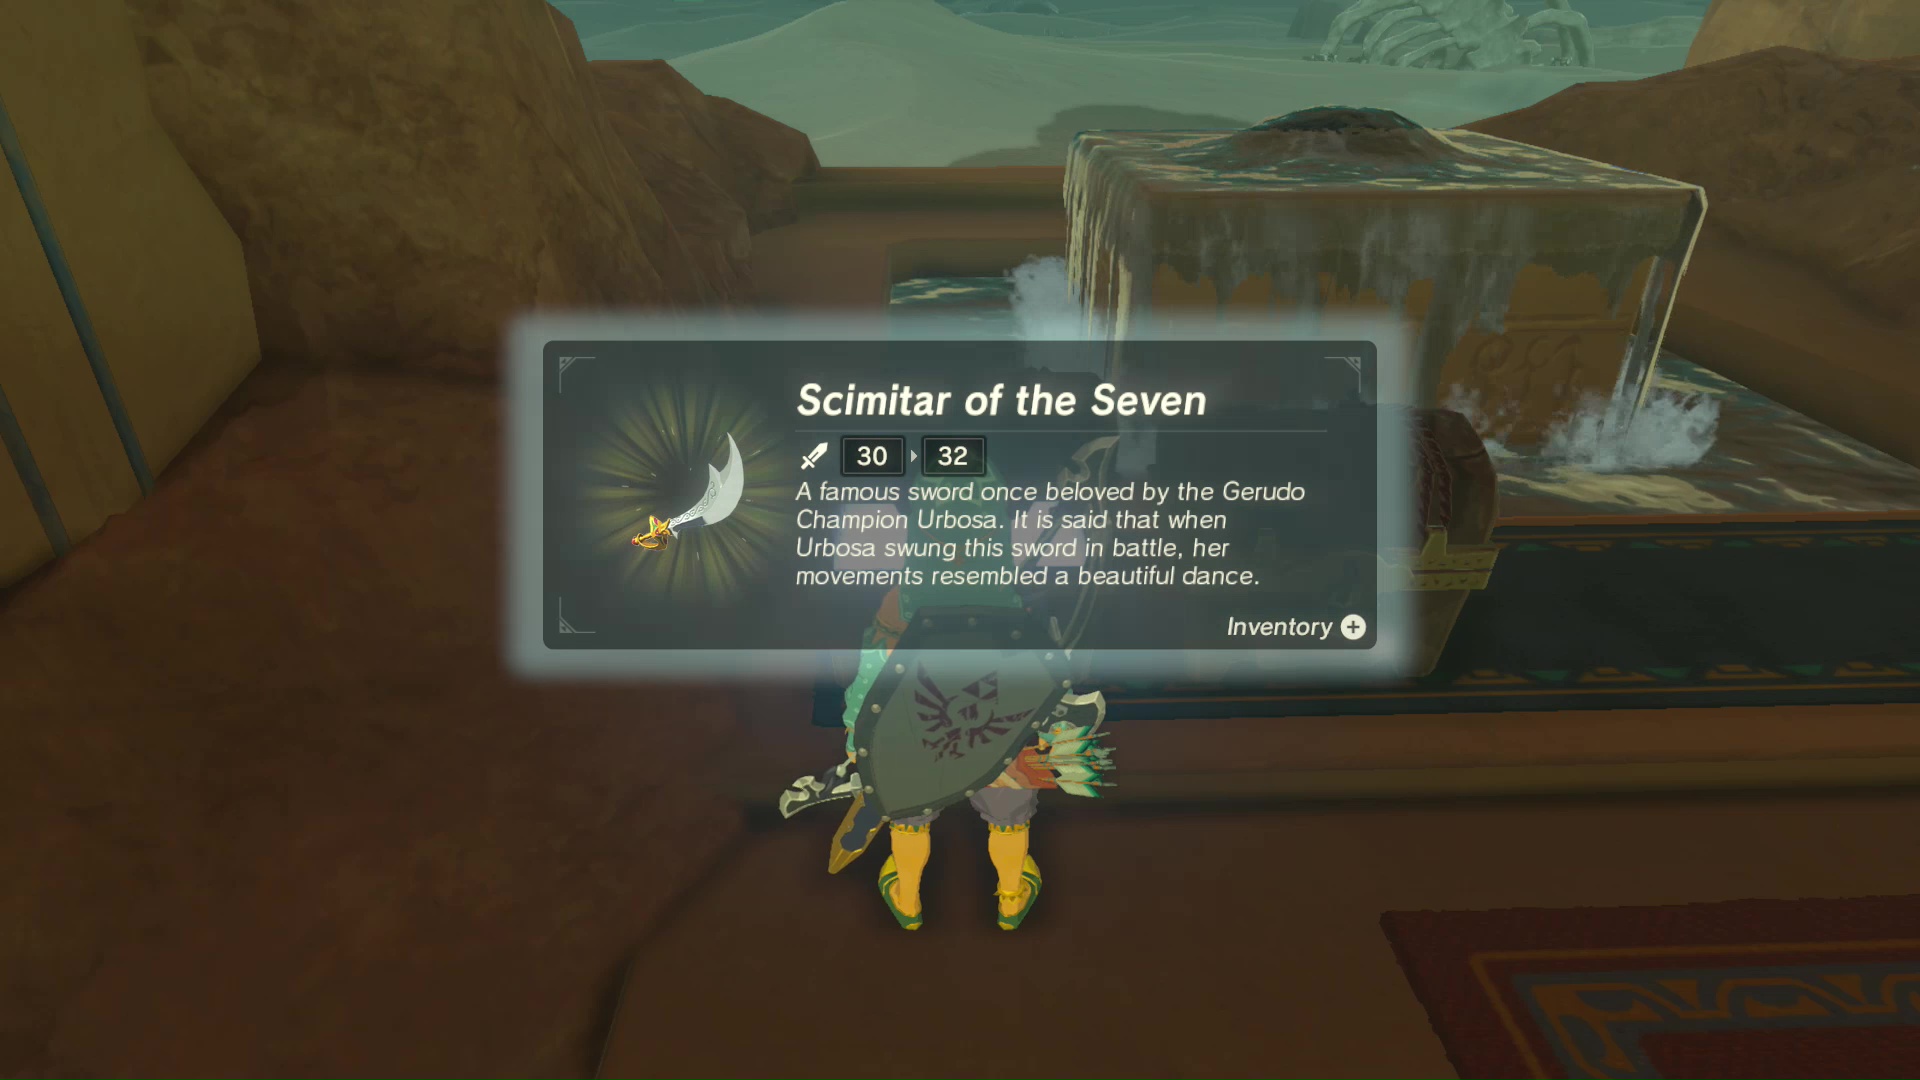
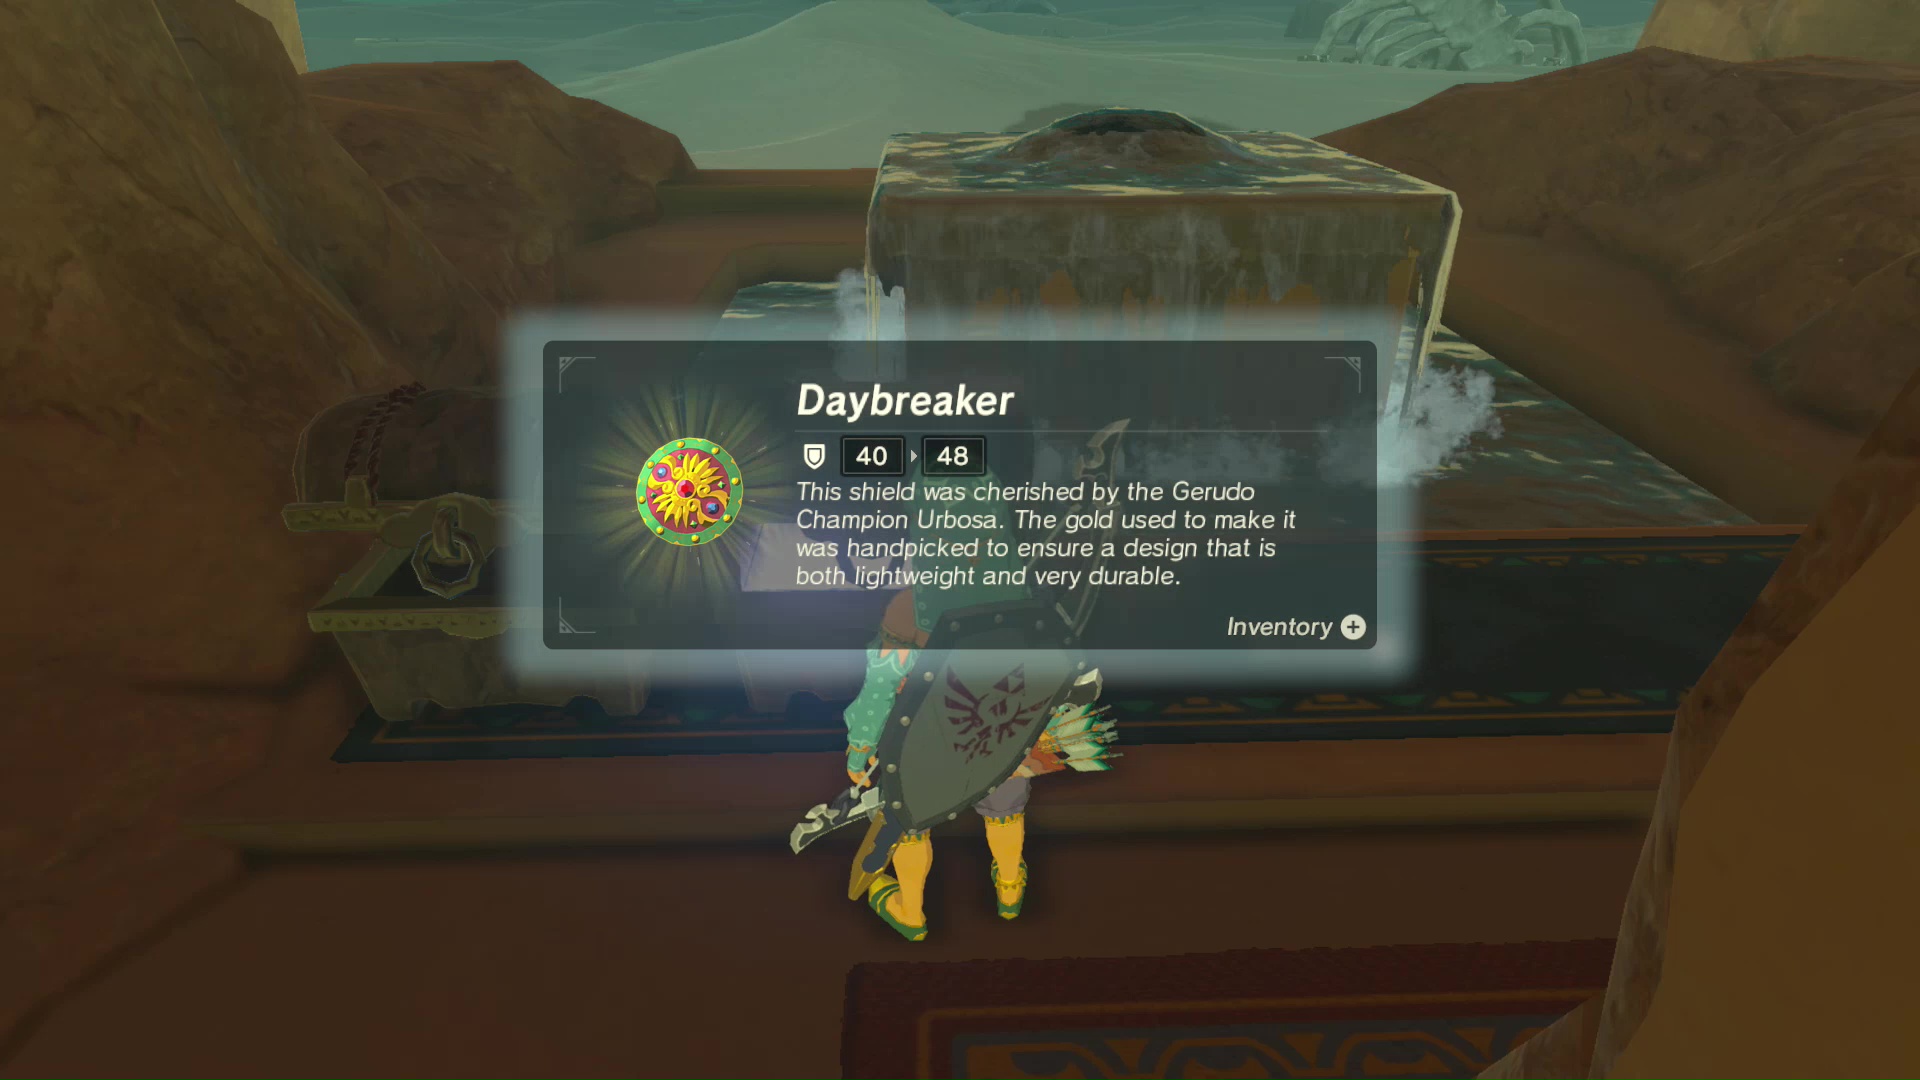
Return to Riju in Gerudo Town and speak with her to end the main quest. She will thank you for calming Vah Naboris, and reward you with two treasure chests containing items that were once Lady Urbosa’s. The Scimitar of the Seven melee weapon and the Daybreaker shield.