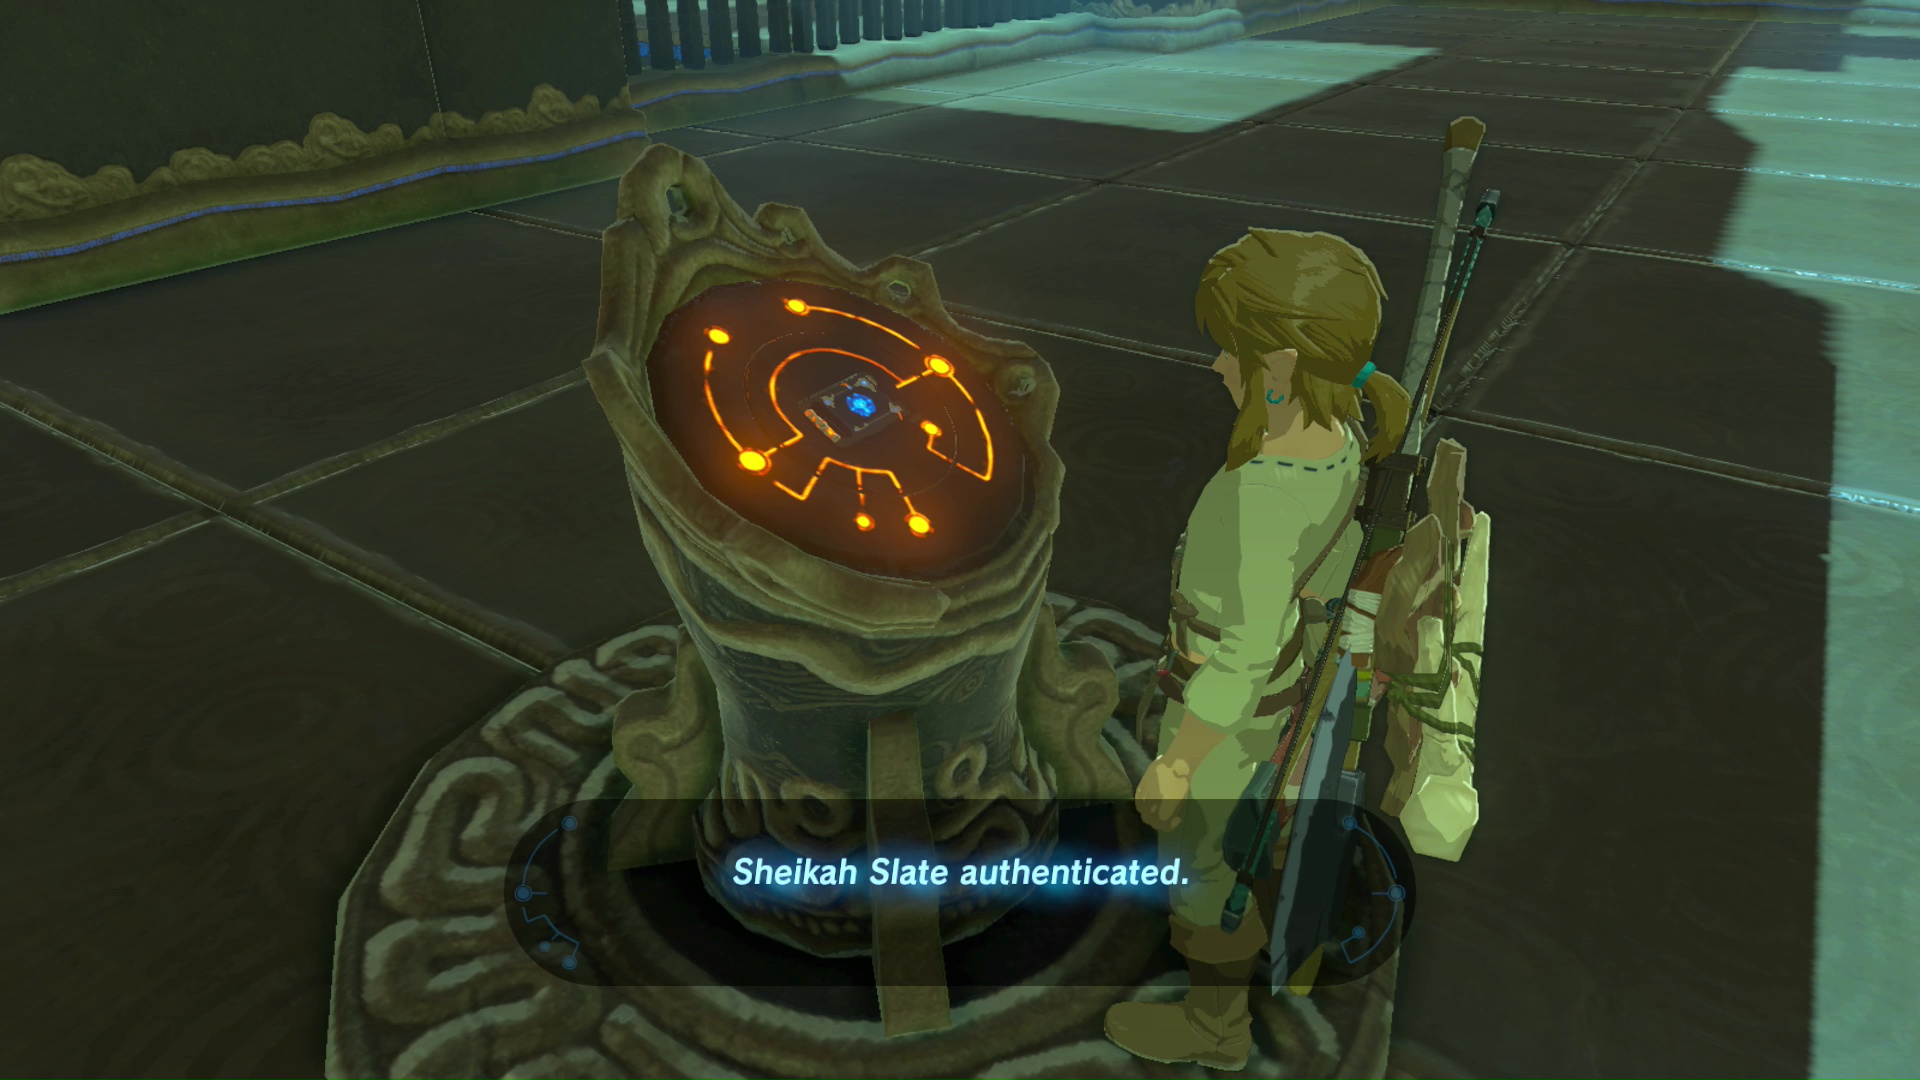
The Isolated Plateau is the second main quest in The Legend of Zelda Breath of the Wild. It will begin once Link jumps down from the top of the Tower activated in the previous quest. The Old Man will instruct Link to walk over to the nearby cliff. Speak with him to get your next objective: place your Sheikah Slate on the pedestal connected to the shrine with the orange light.
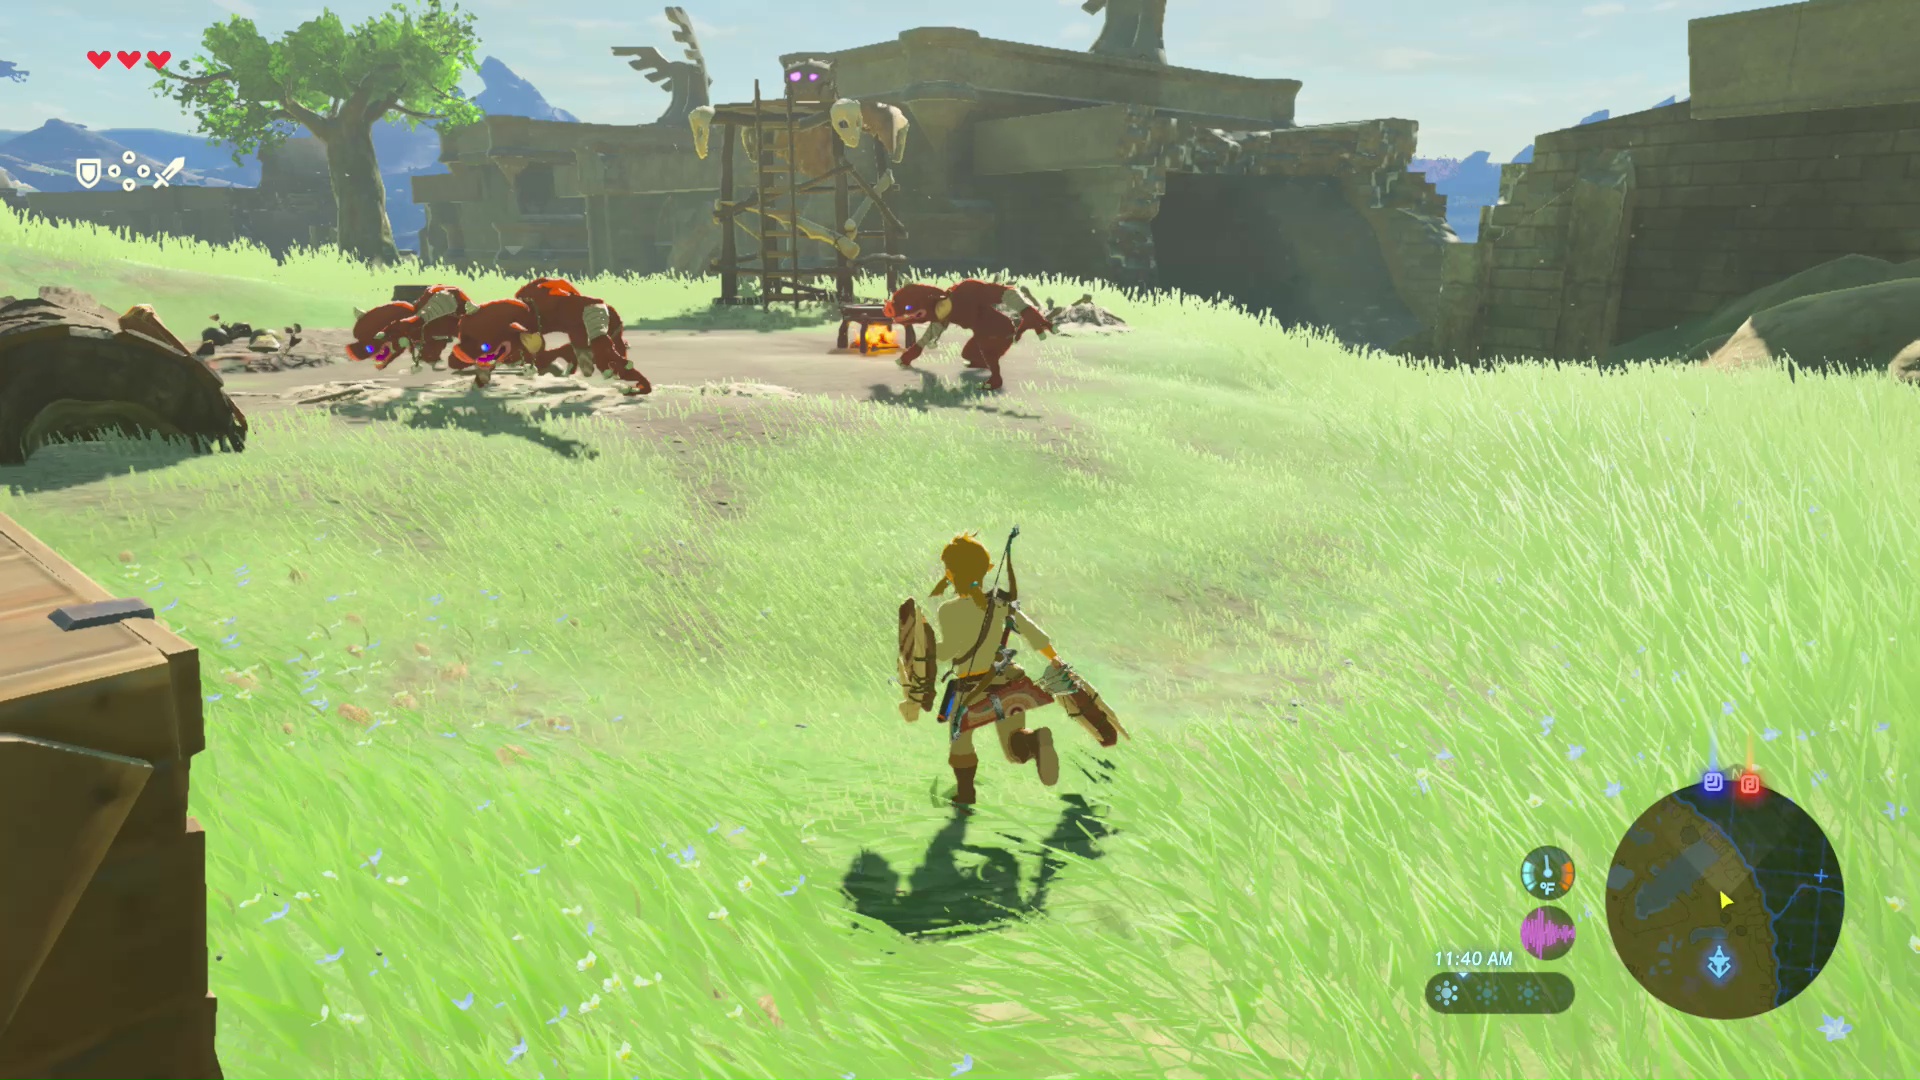
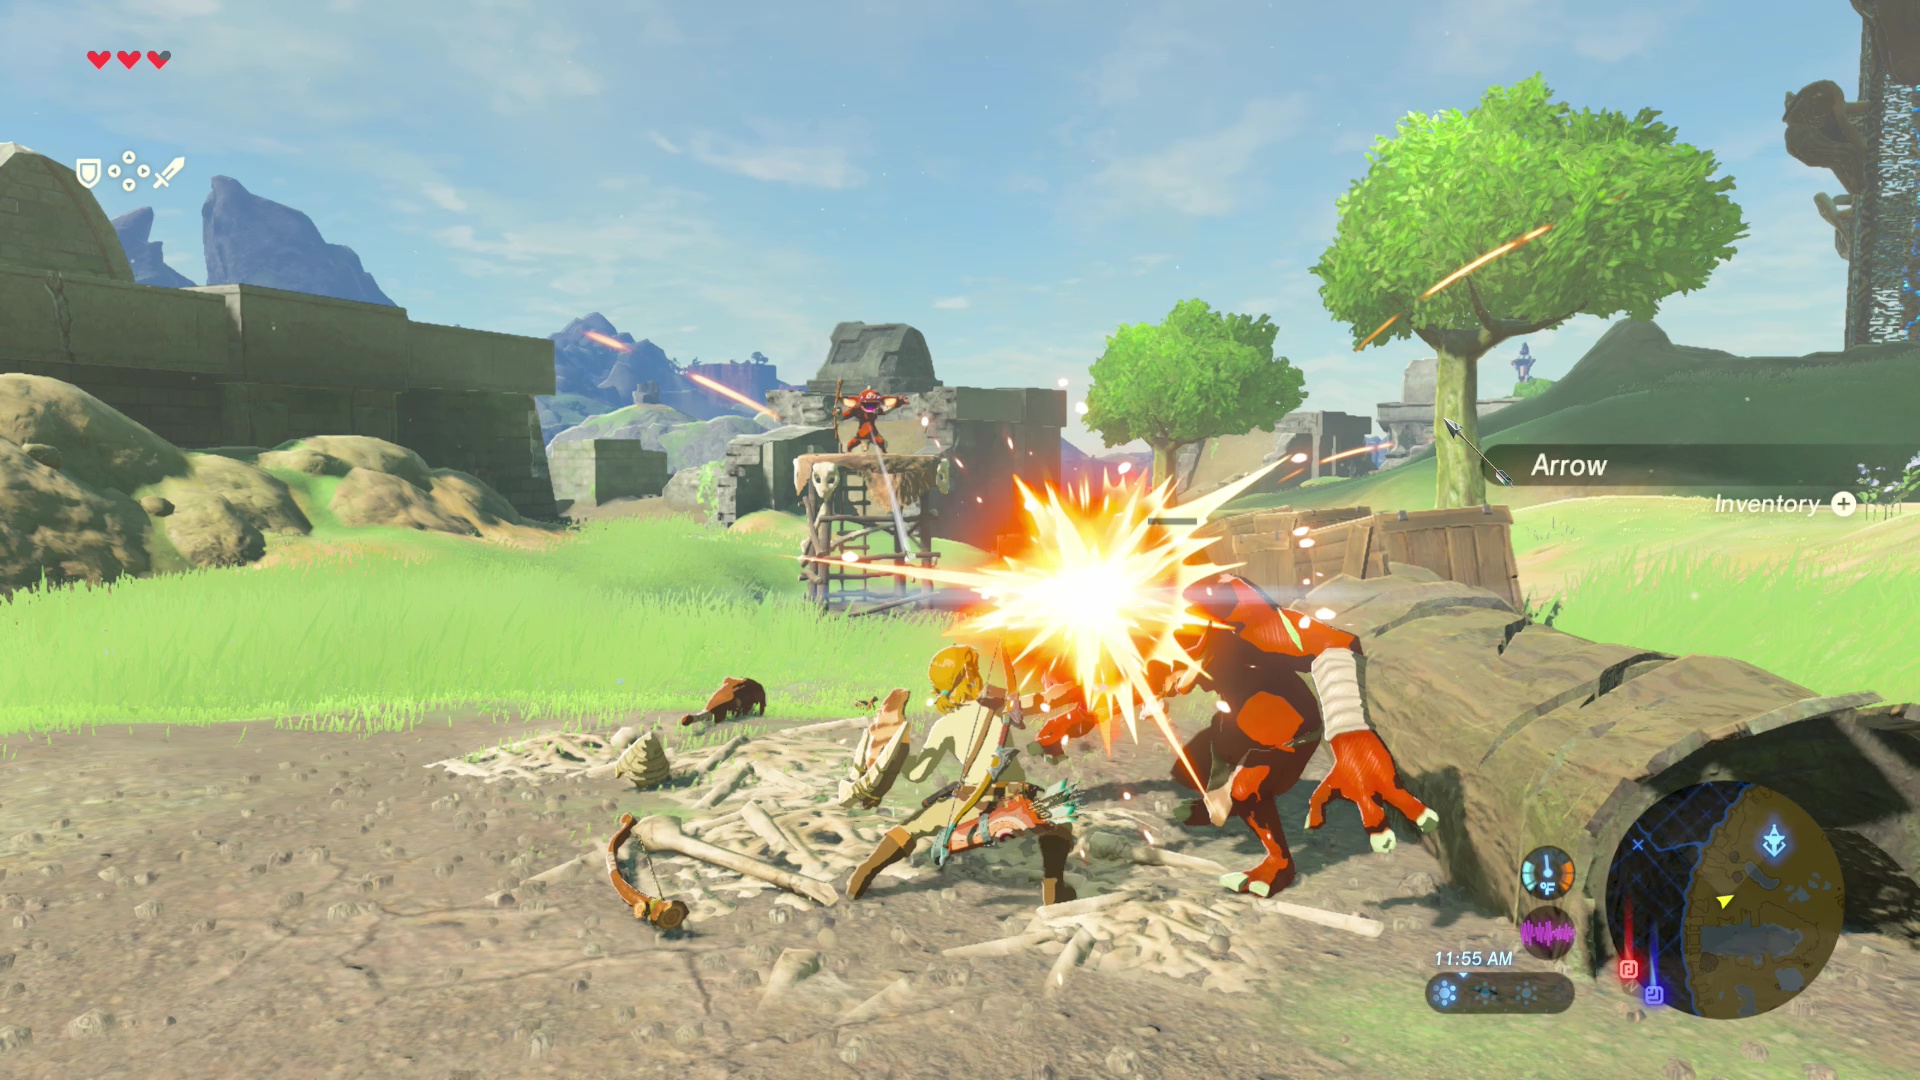
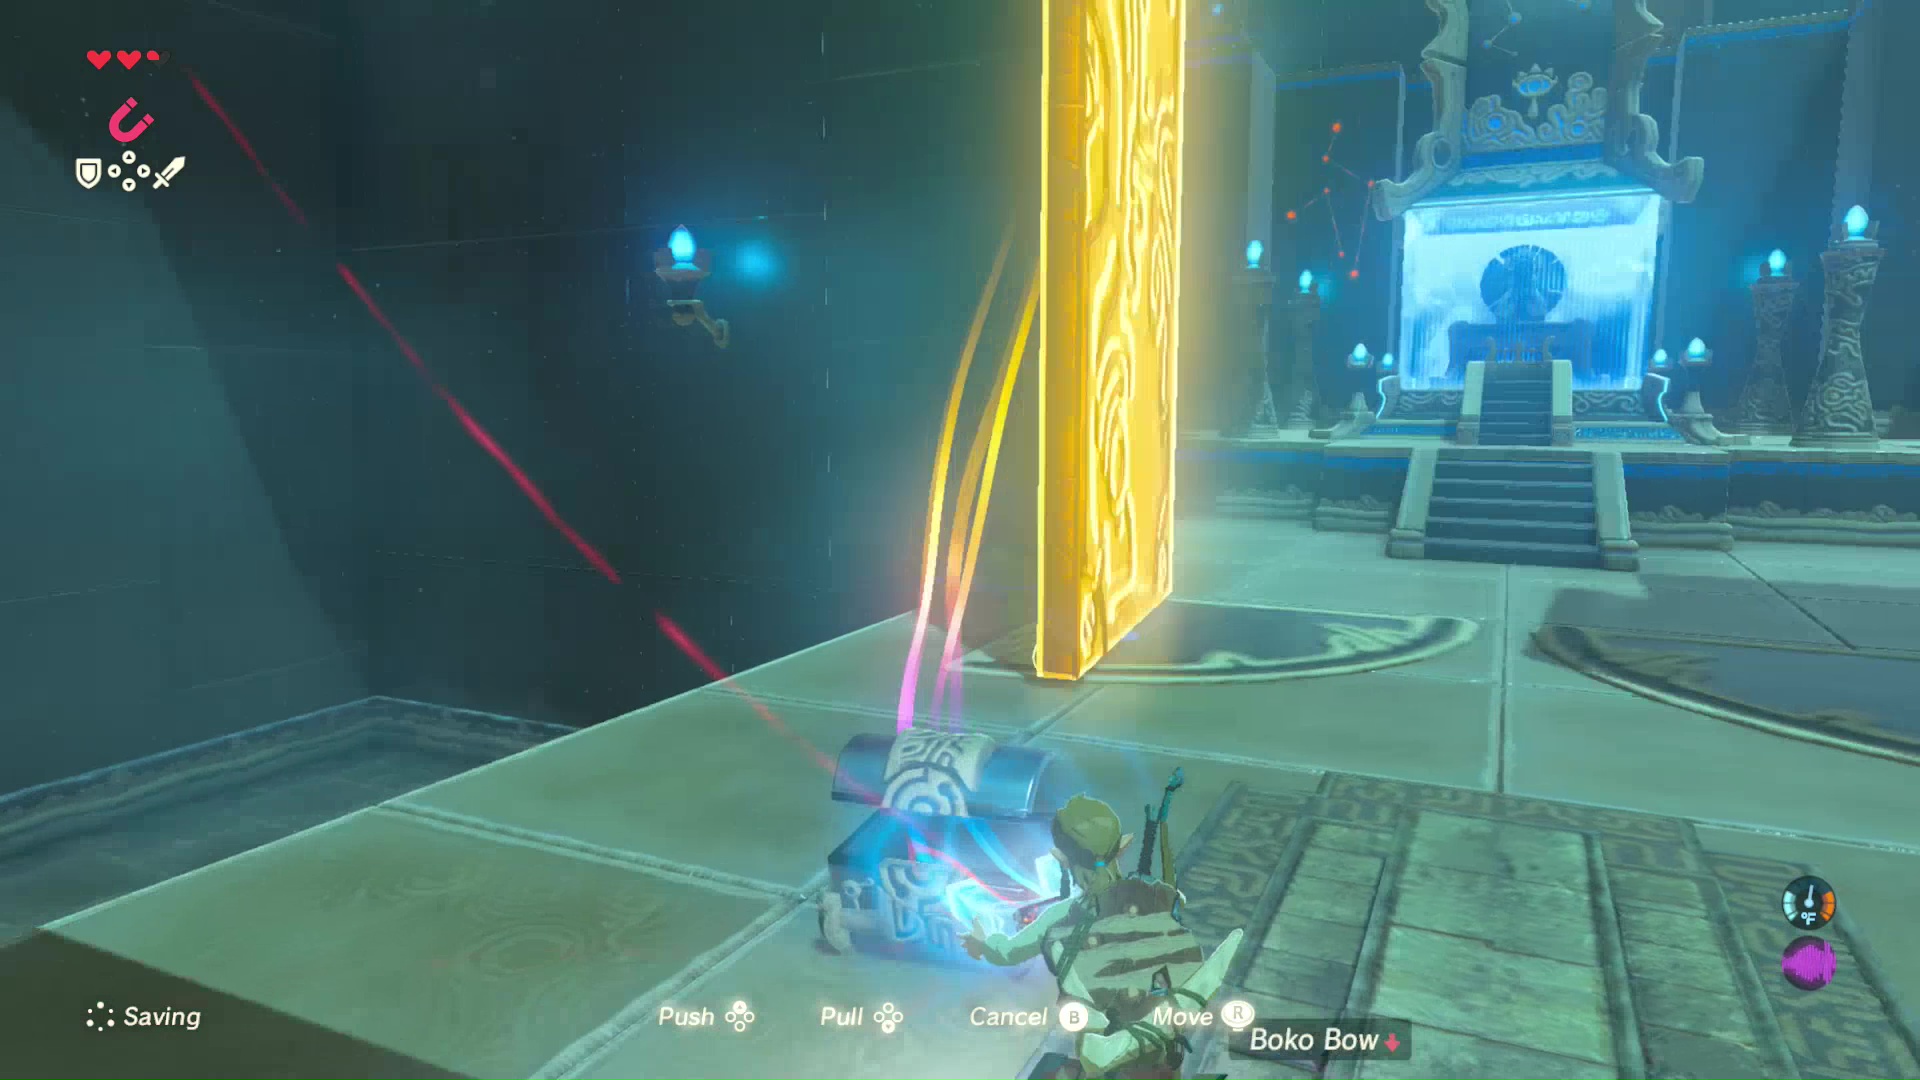
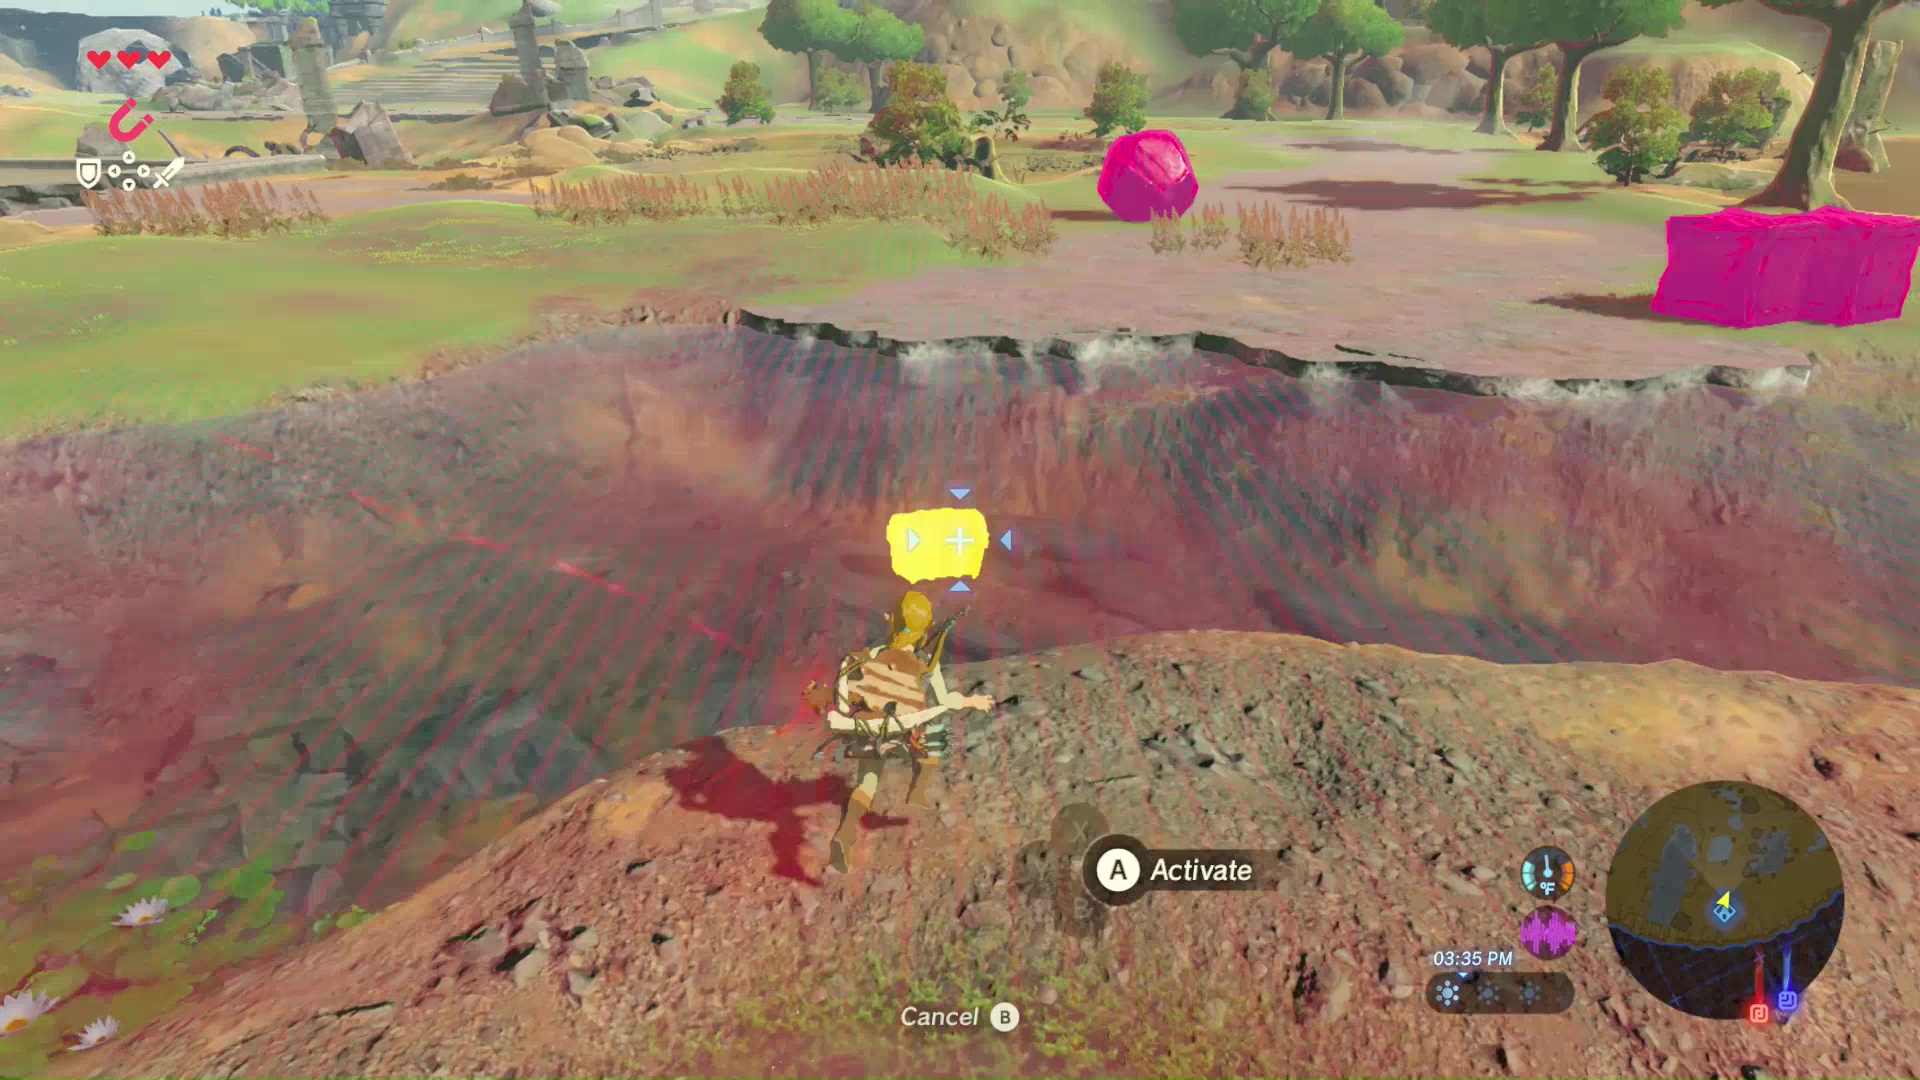
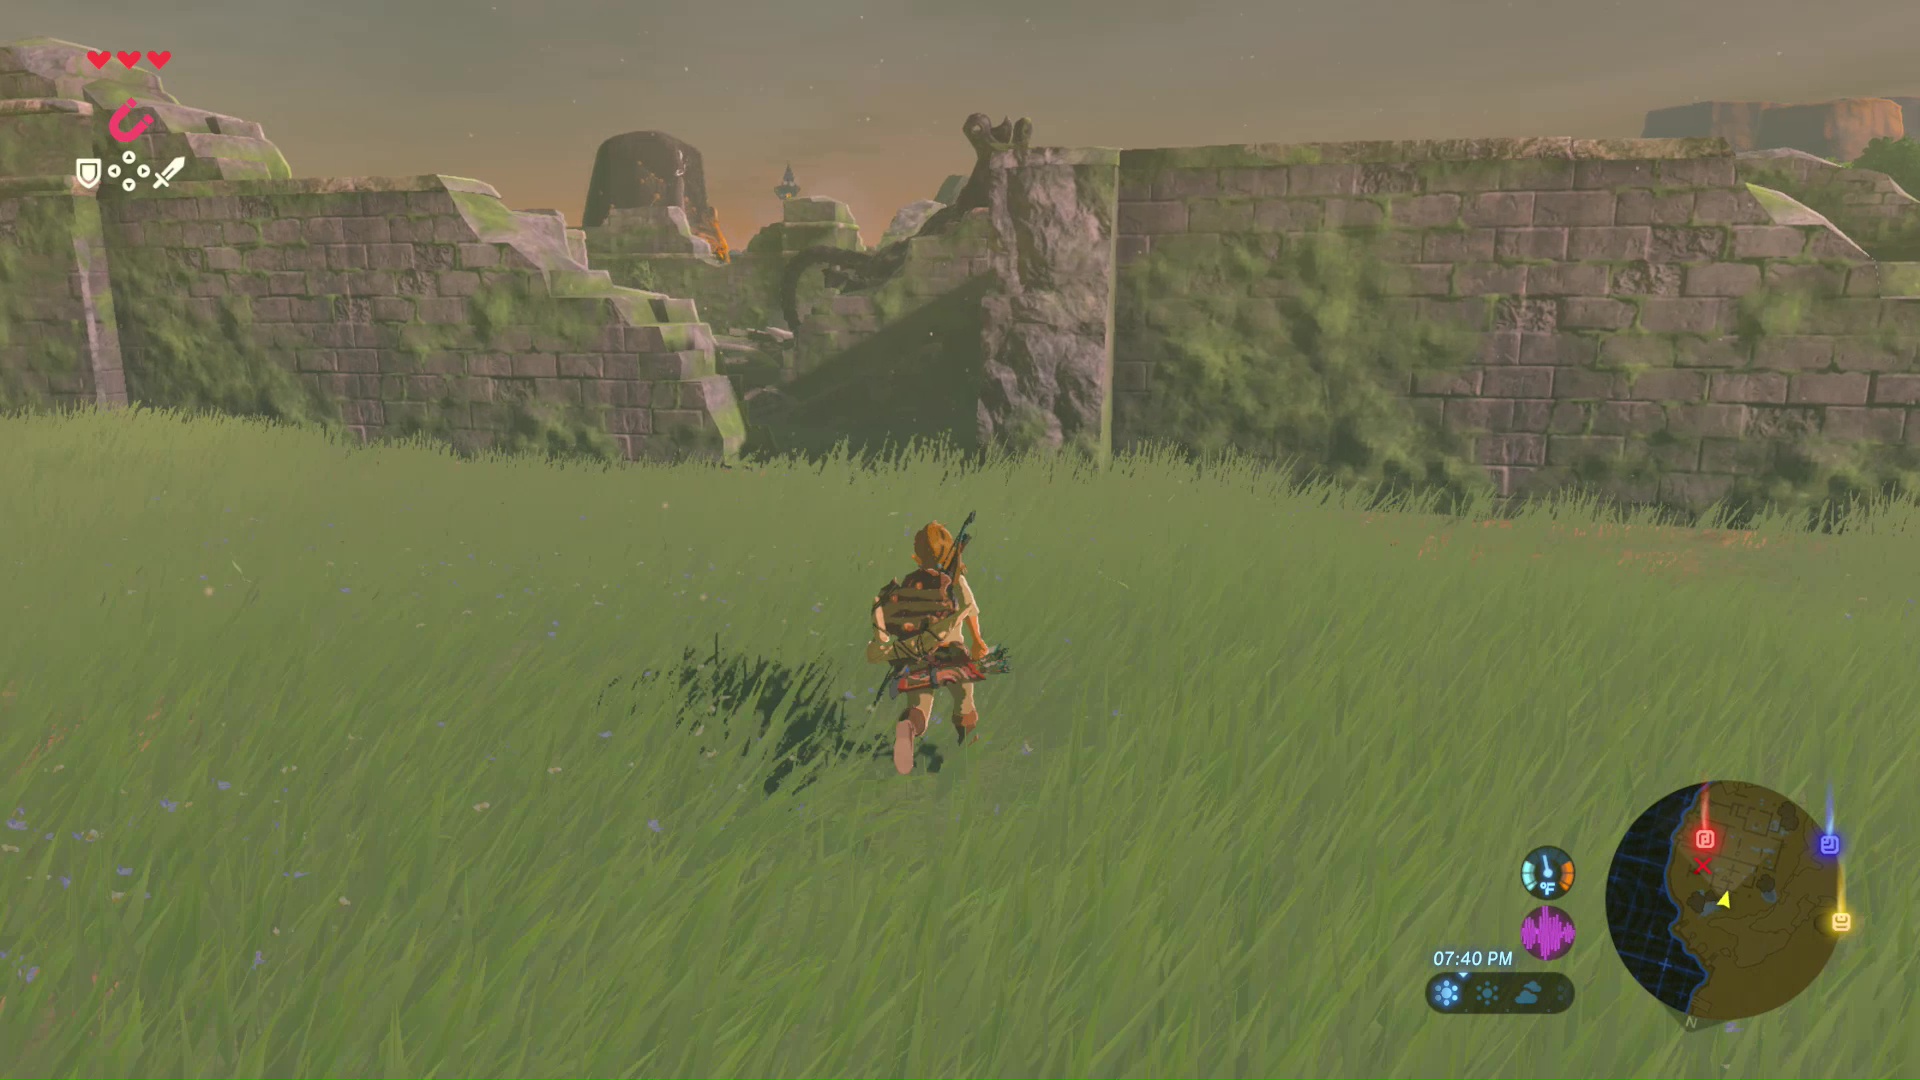
The task is simple enough, but there are monsters between Link and the Shrine. Clear out the monster camp to the right before going for the shrine. There will be Bokoblins huddled around a fire and at least one archer on a makeshift tower overlooking the camp.

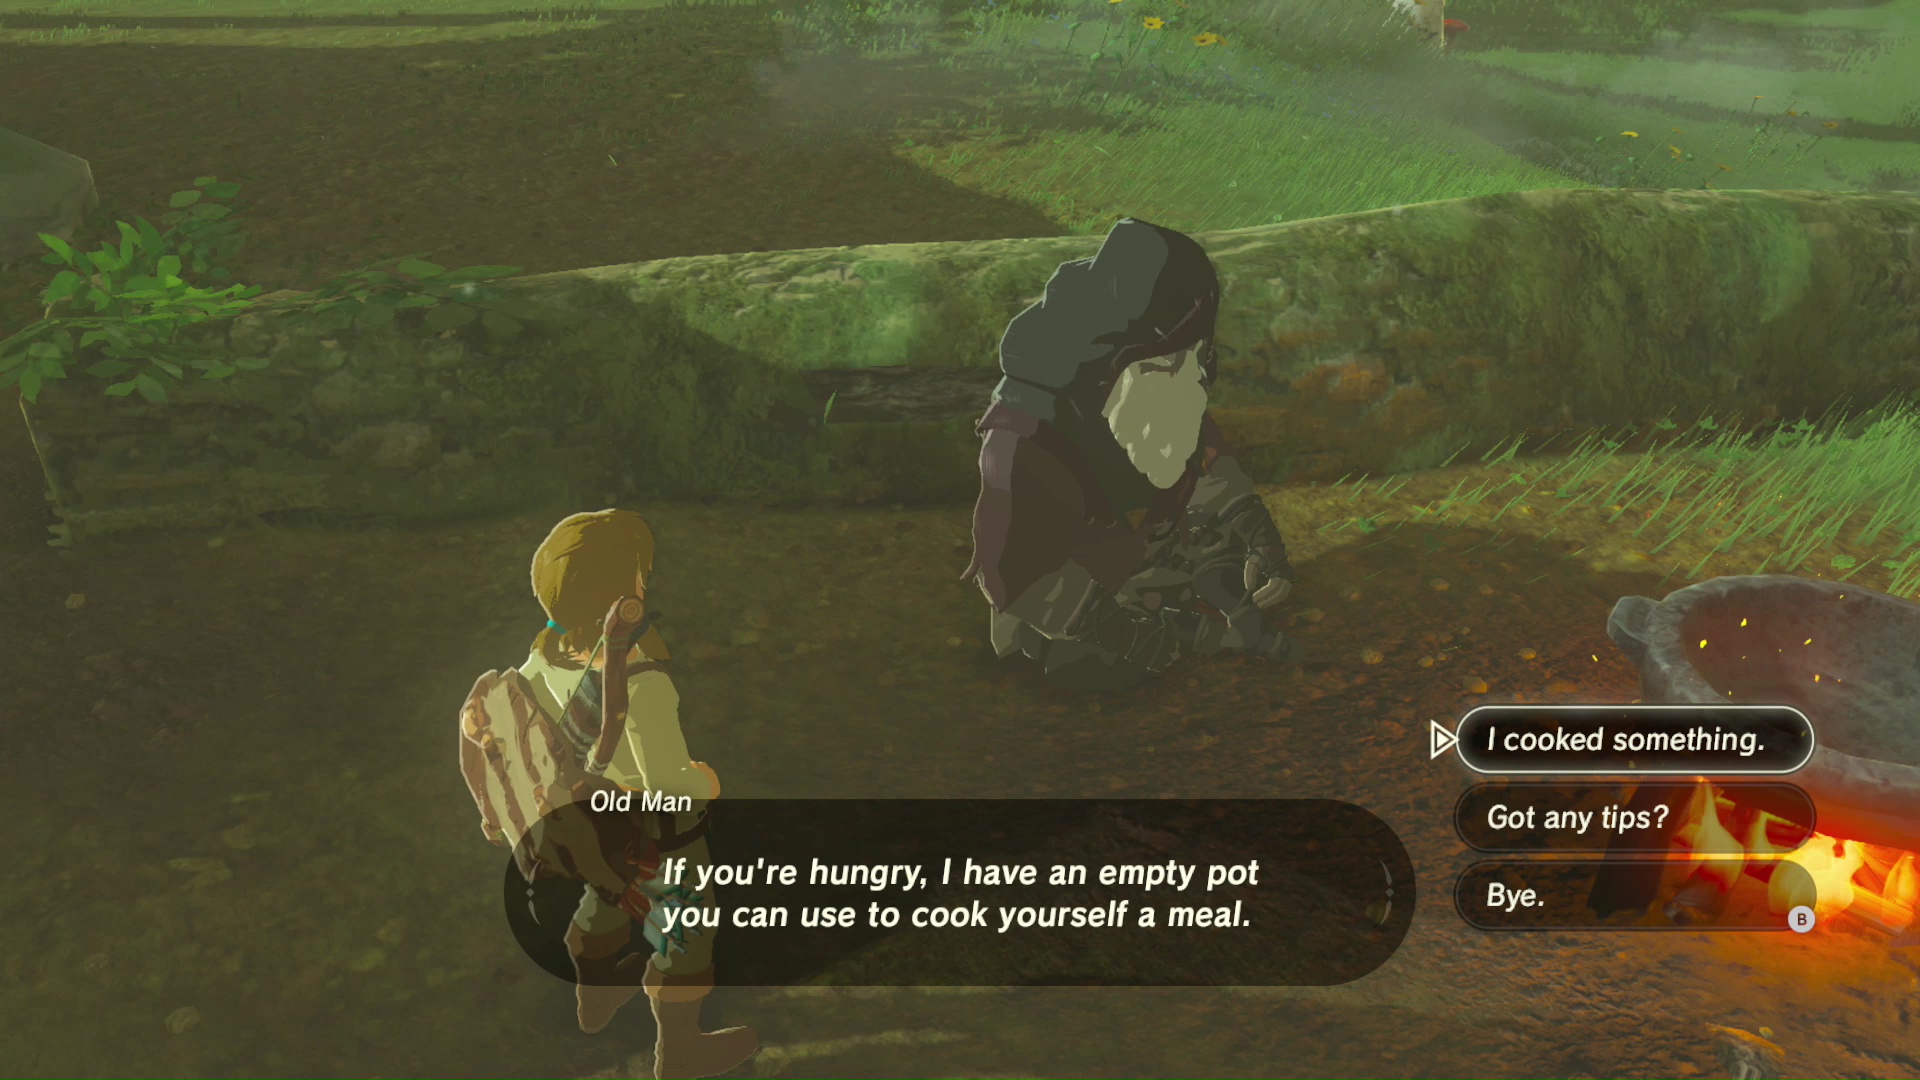
Try to take out the archer before the others, and don’t forget to lock on to the Bokoblins to make fighting and blocking a breeze. Defeat all monsters to unlock the nearby treasure chest. The best part is having access to a cooking area! Hold several materials from your inventory and drop them in the cooking pan to create some food or elixirs. If you’re not familiar with cooking, read more about it in the basics section.
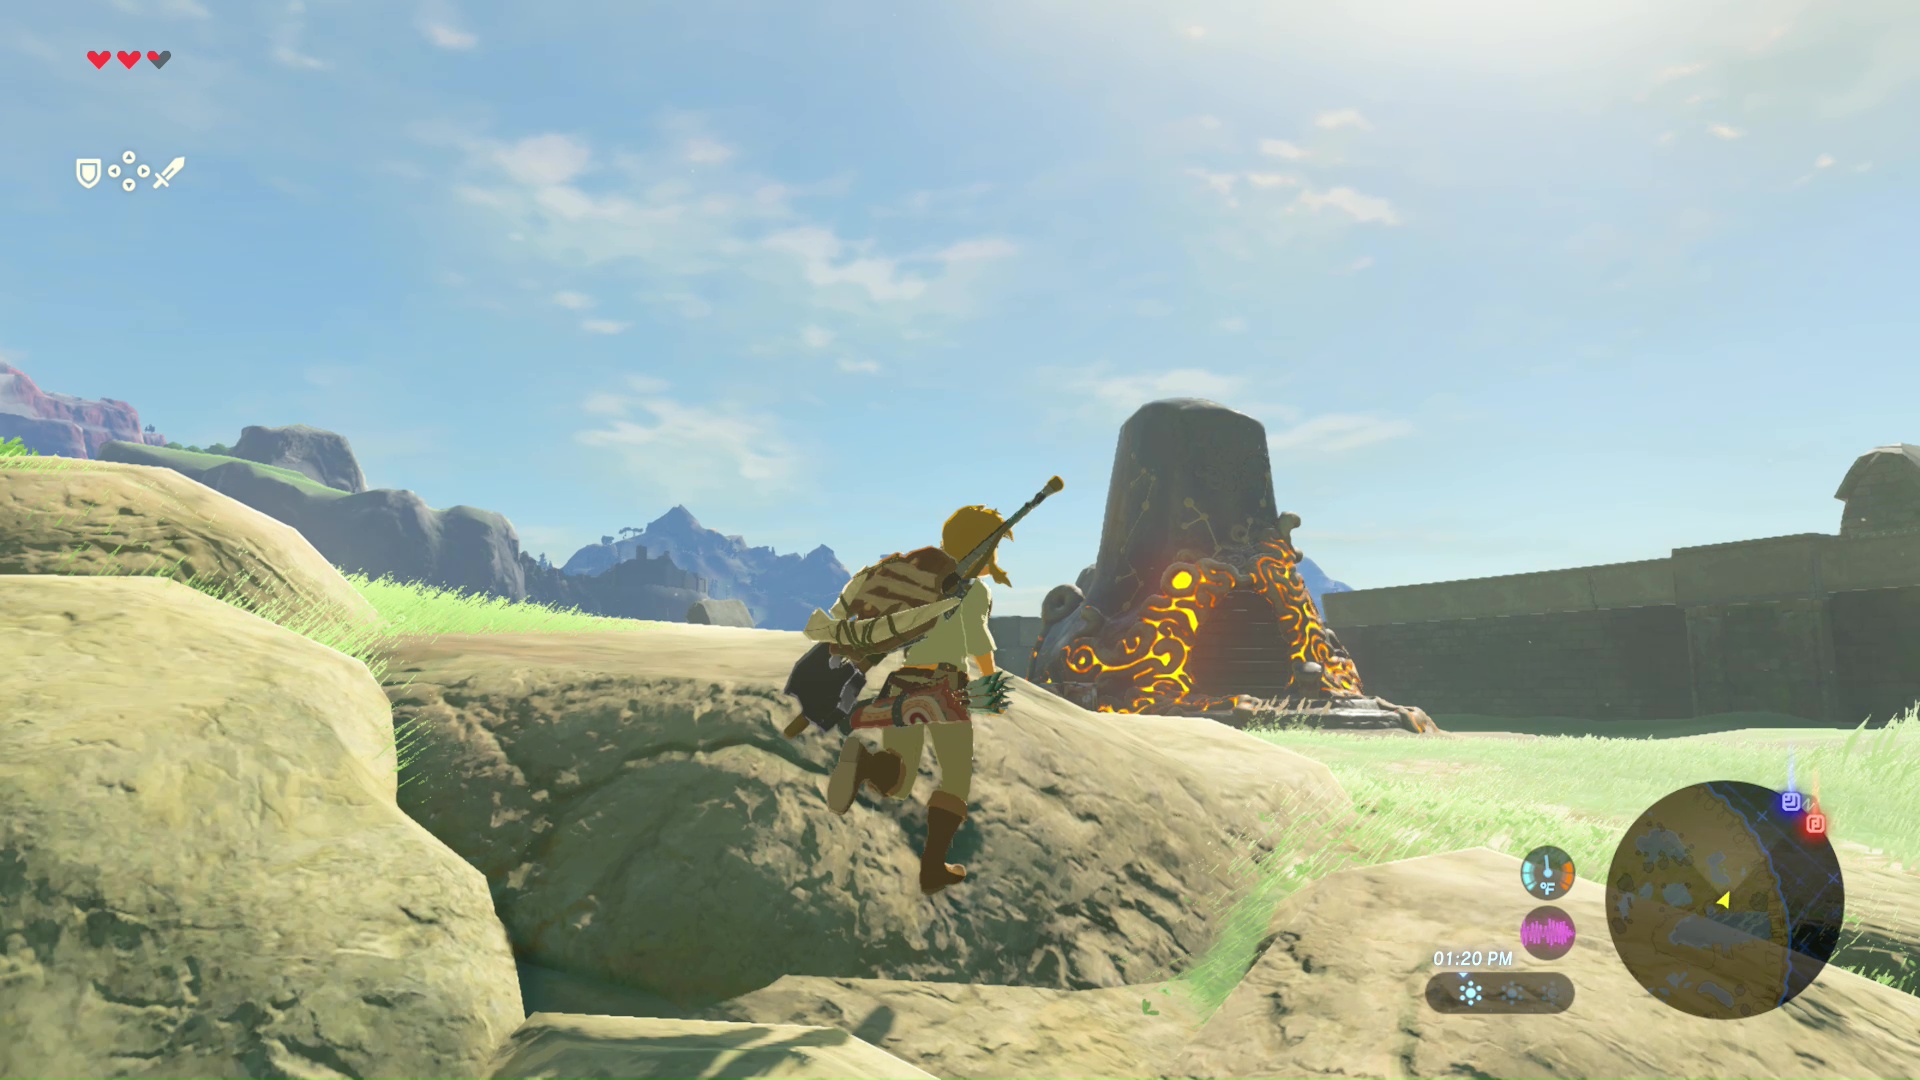
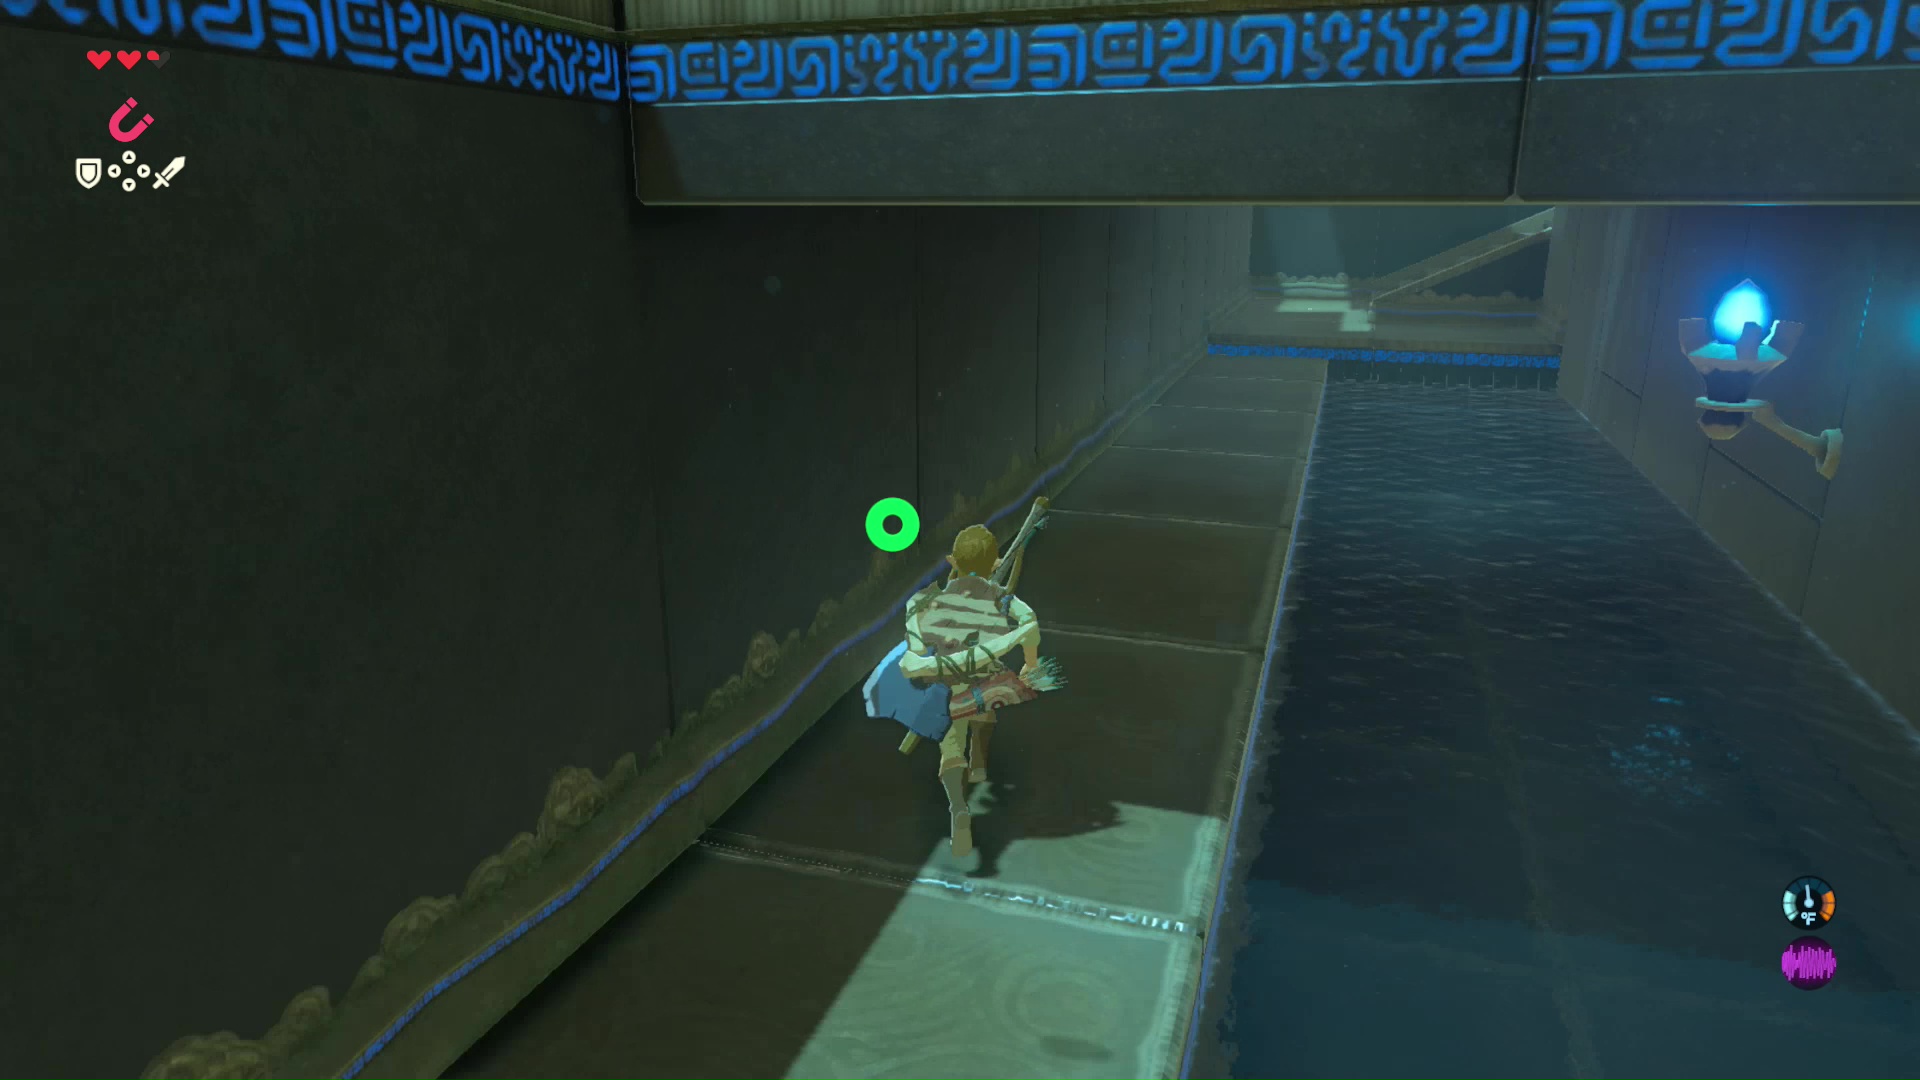
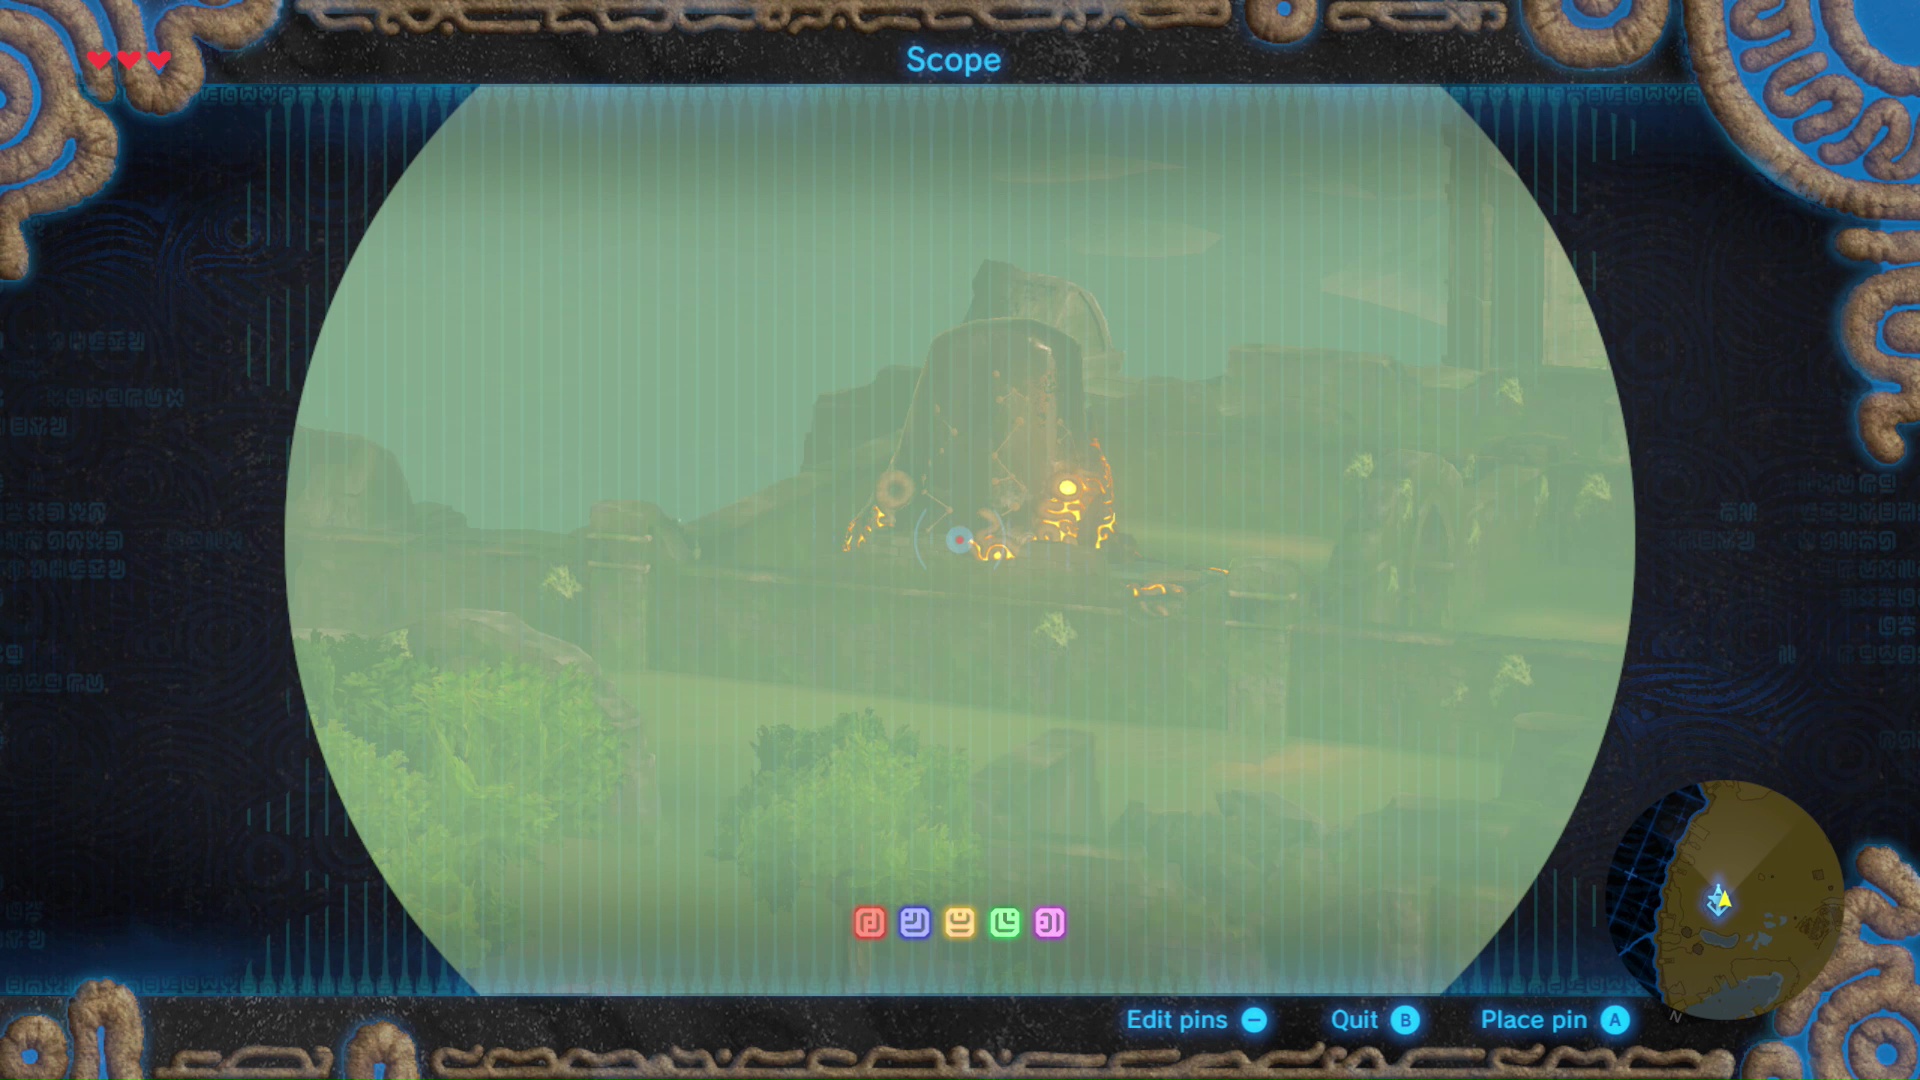
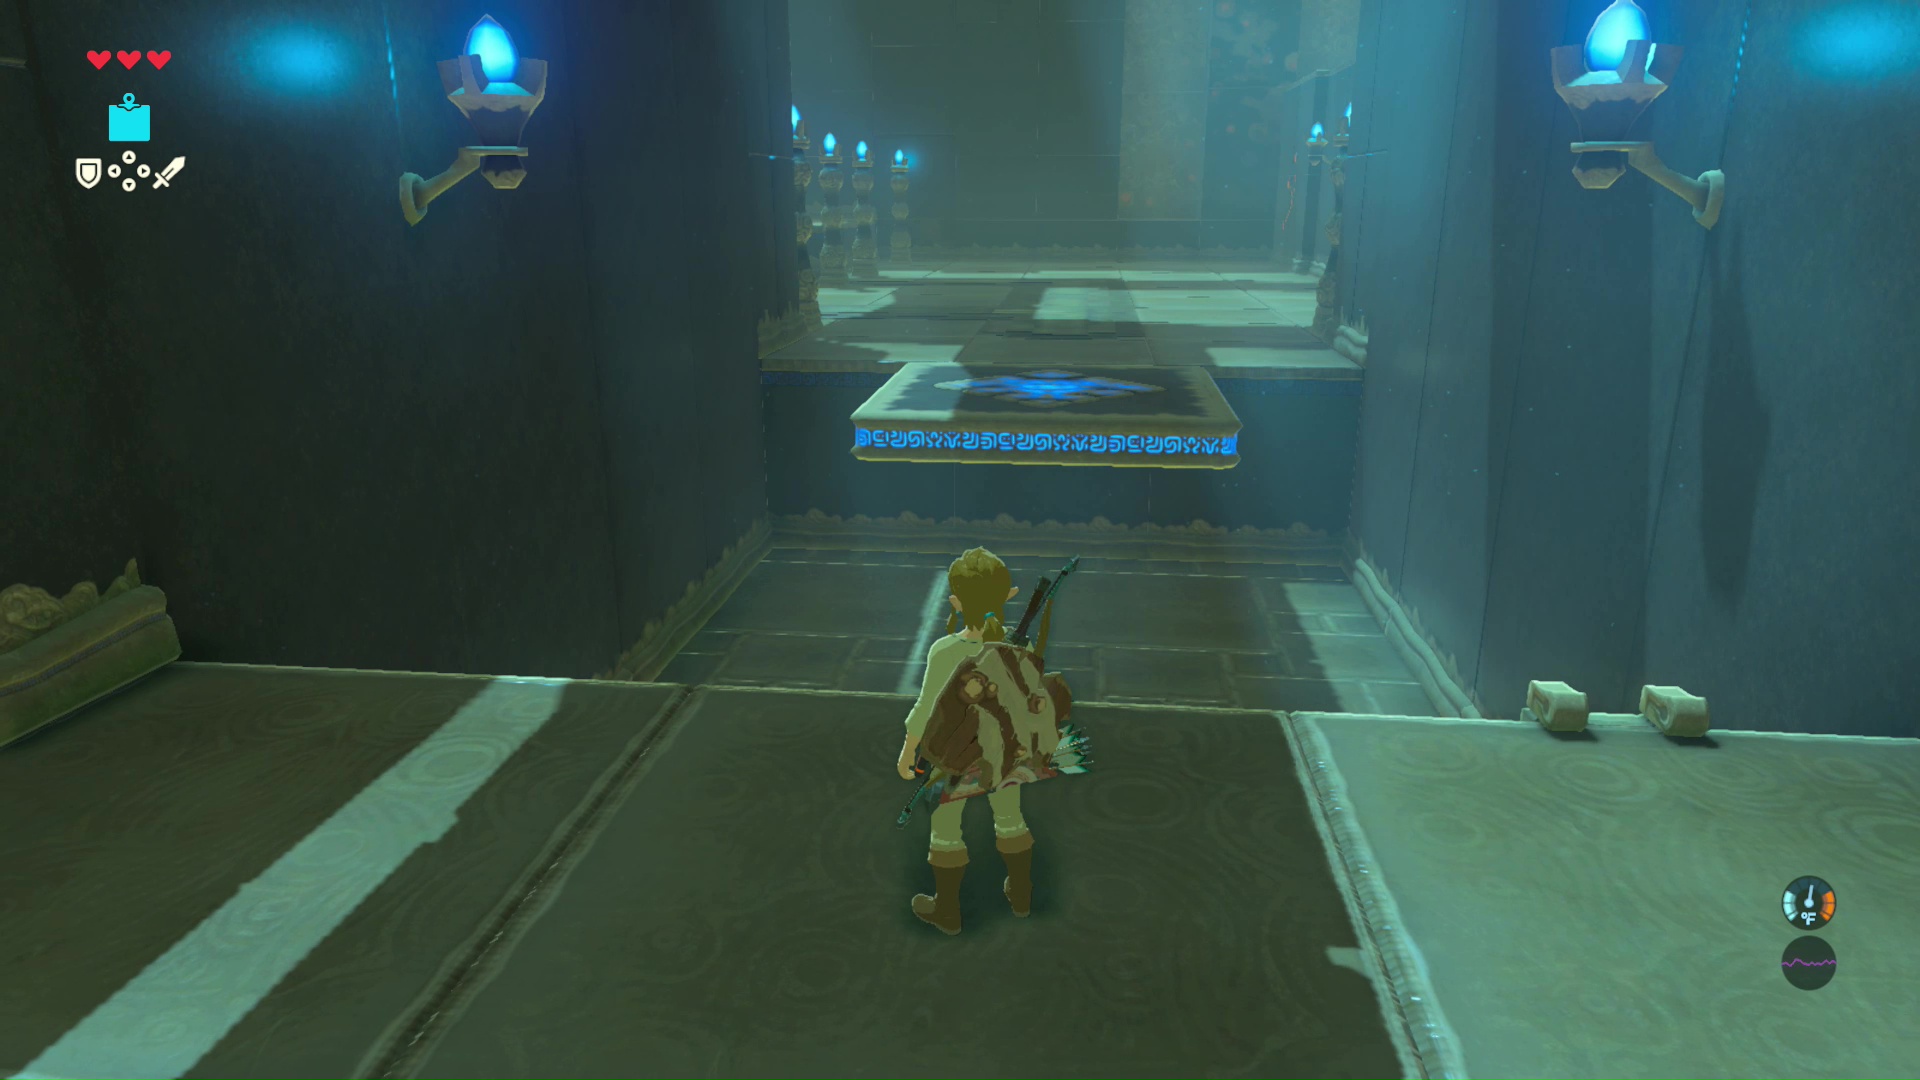
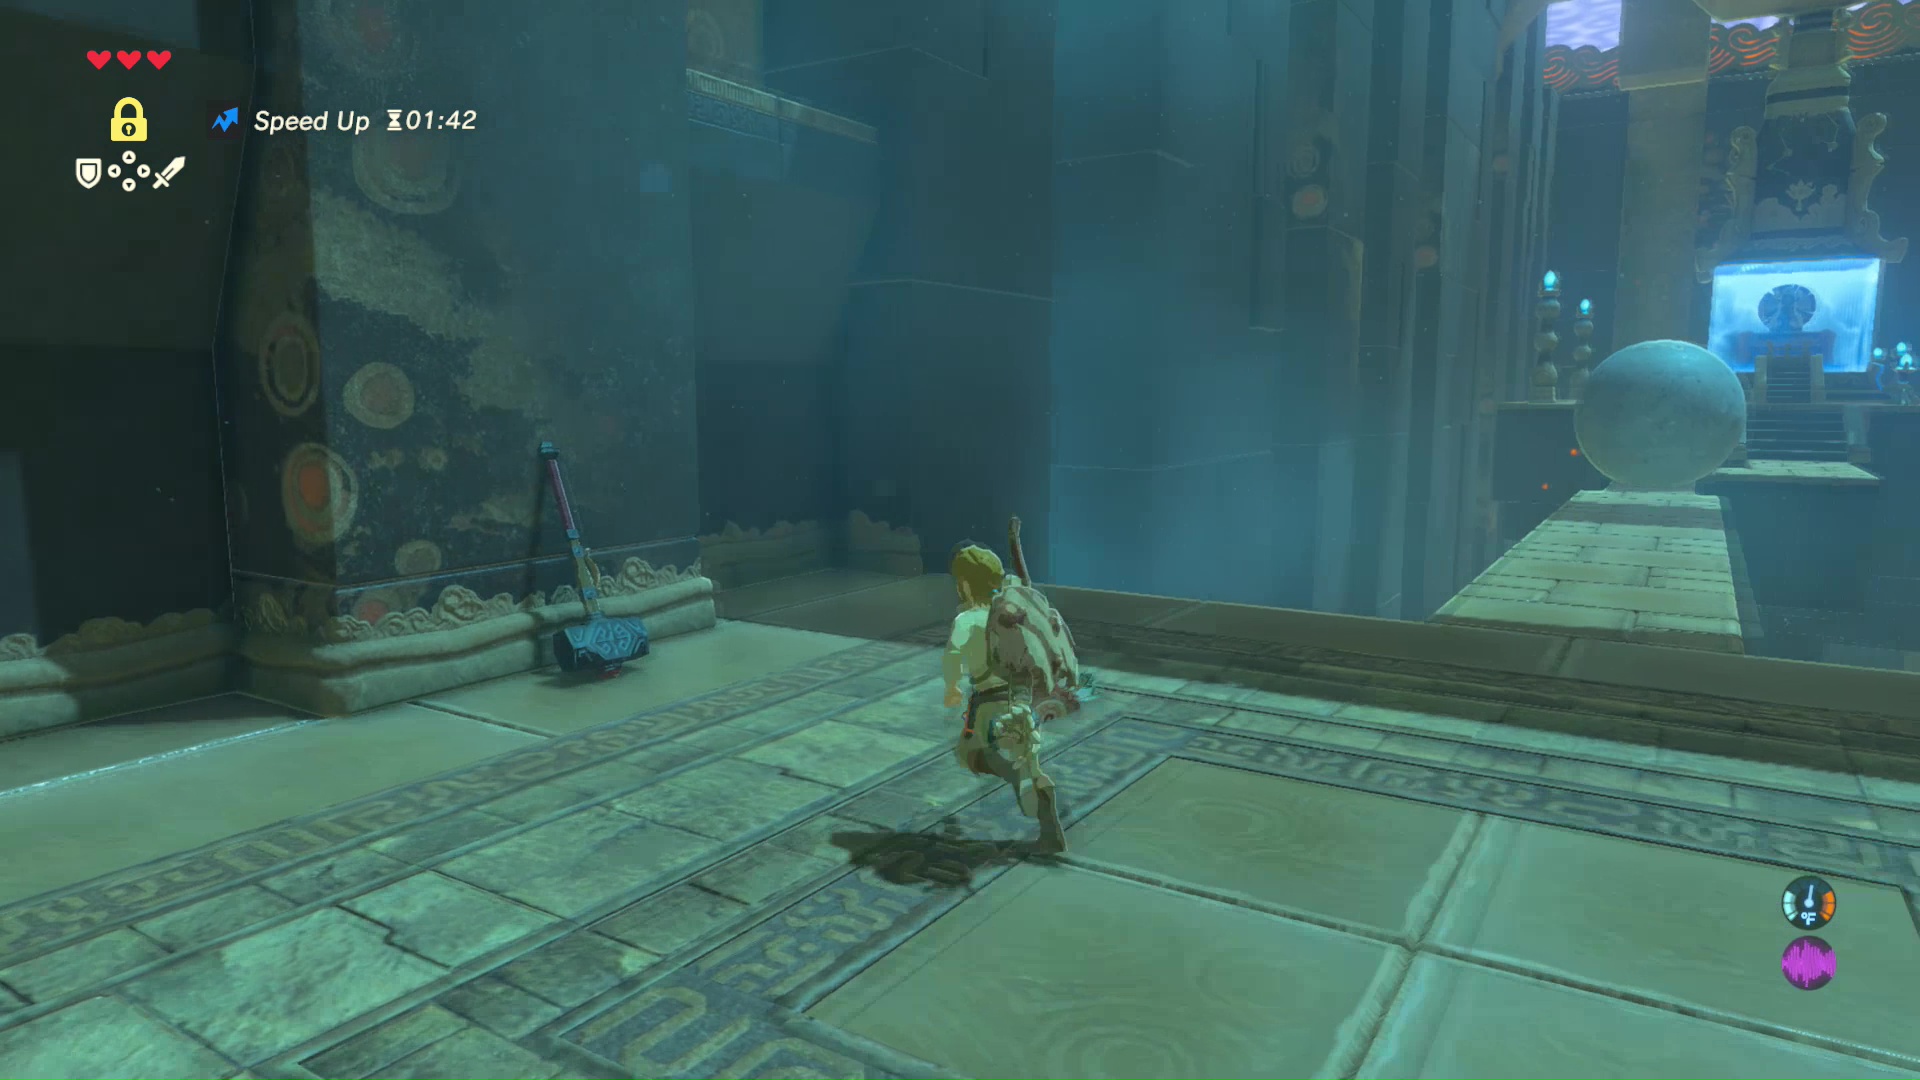
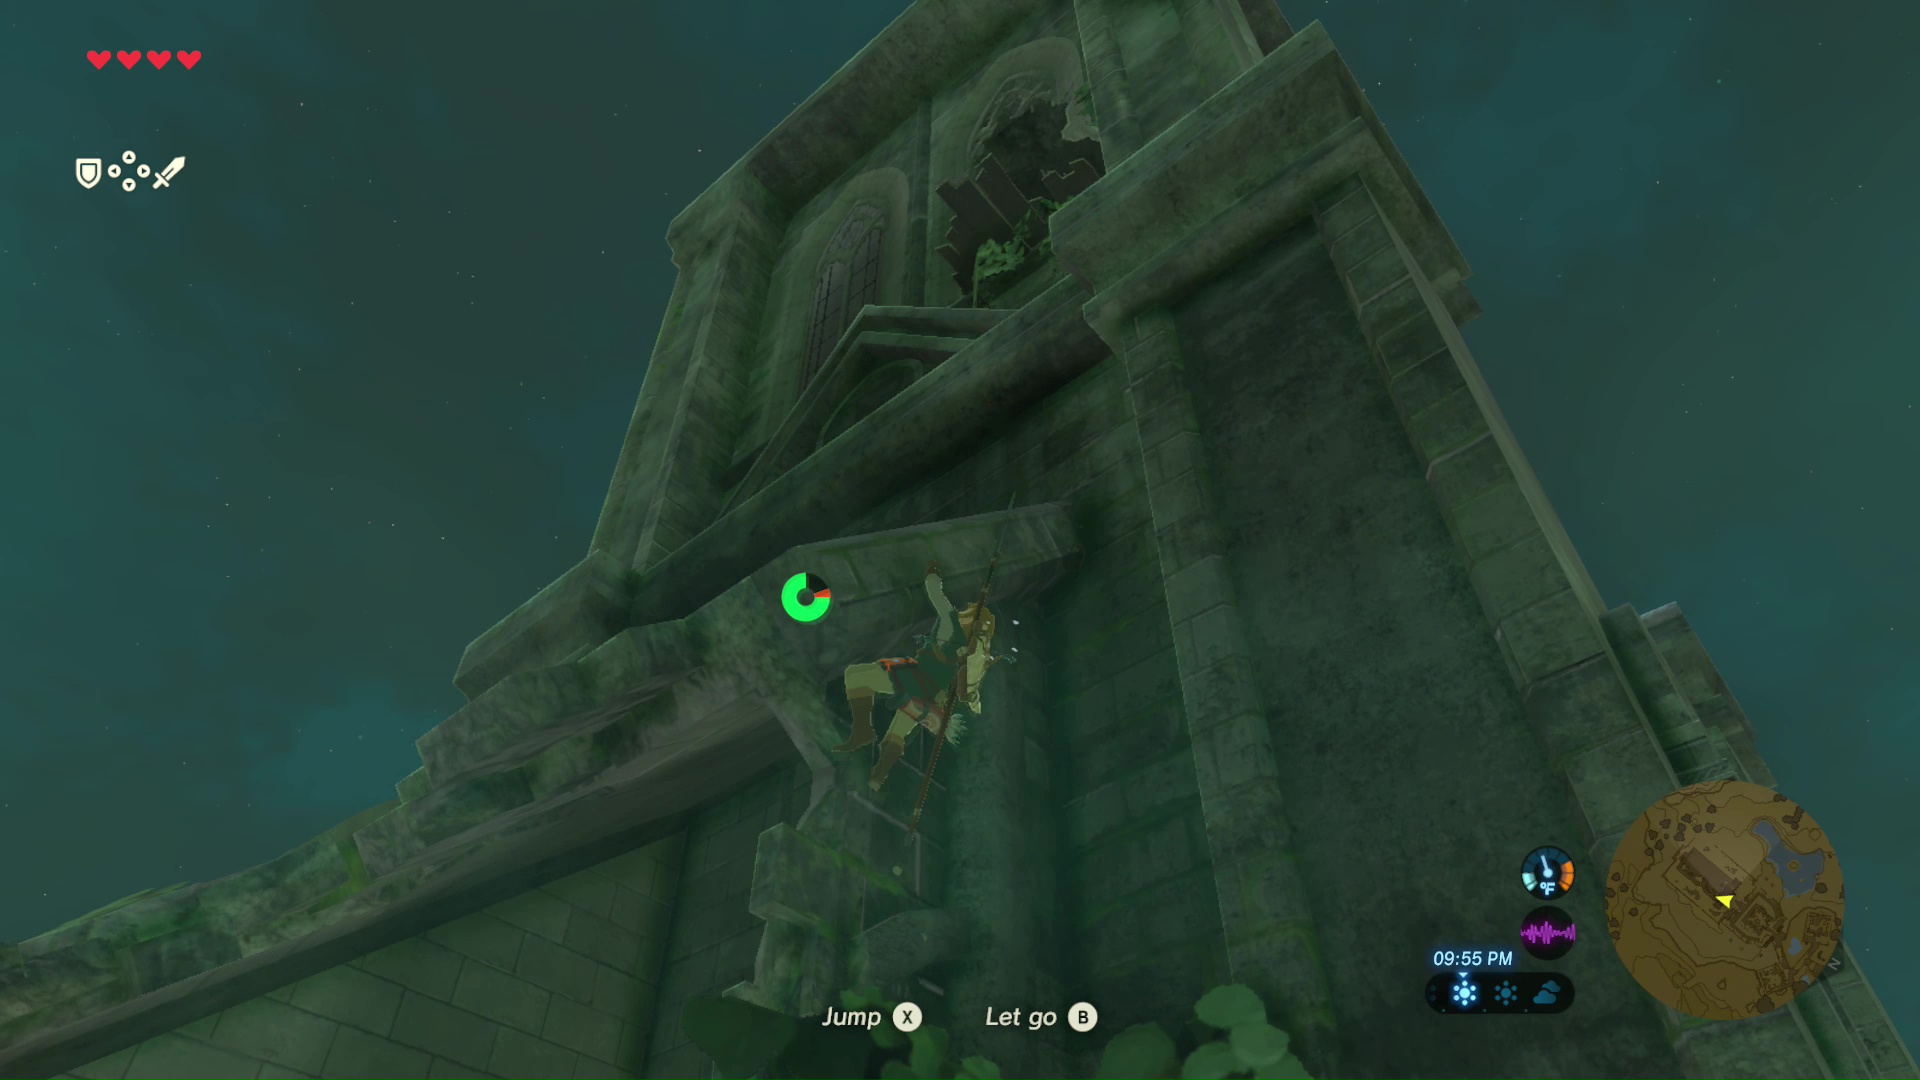
Walk to the Oman Au Shrine and place the Sheikah Slate on the pedestal to open the door. Enter the Shrine to continue the quest.
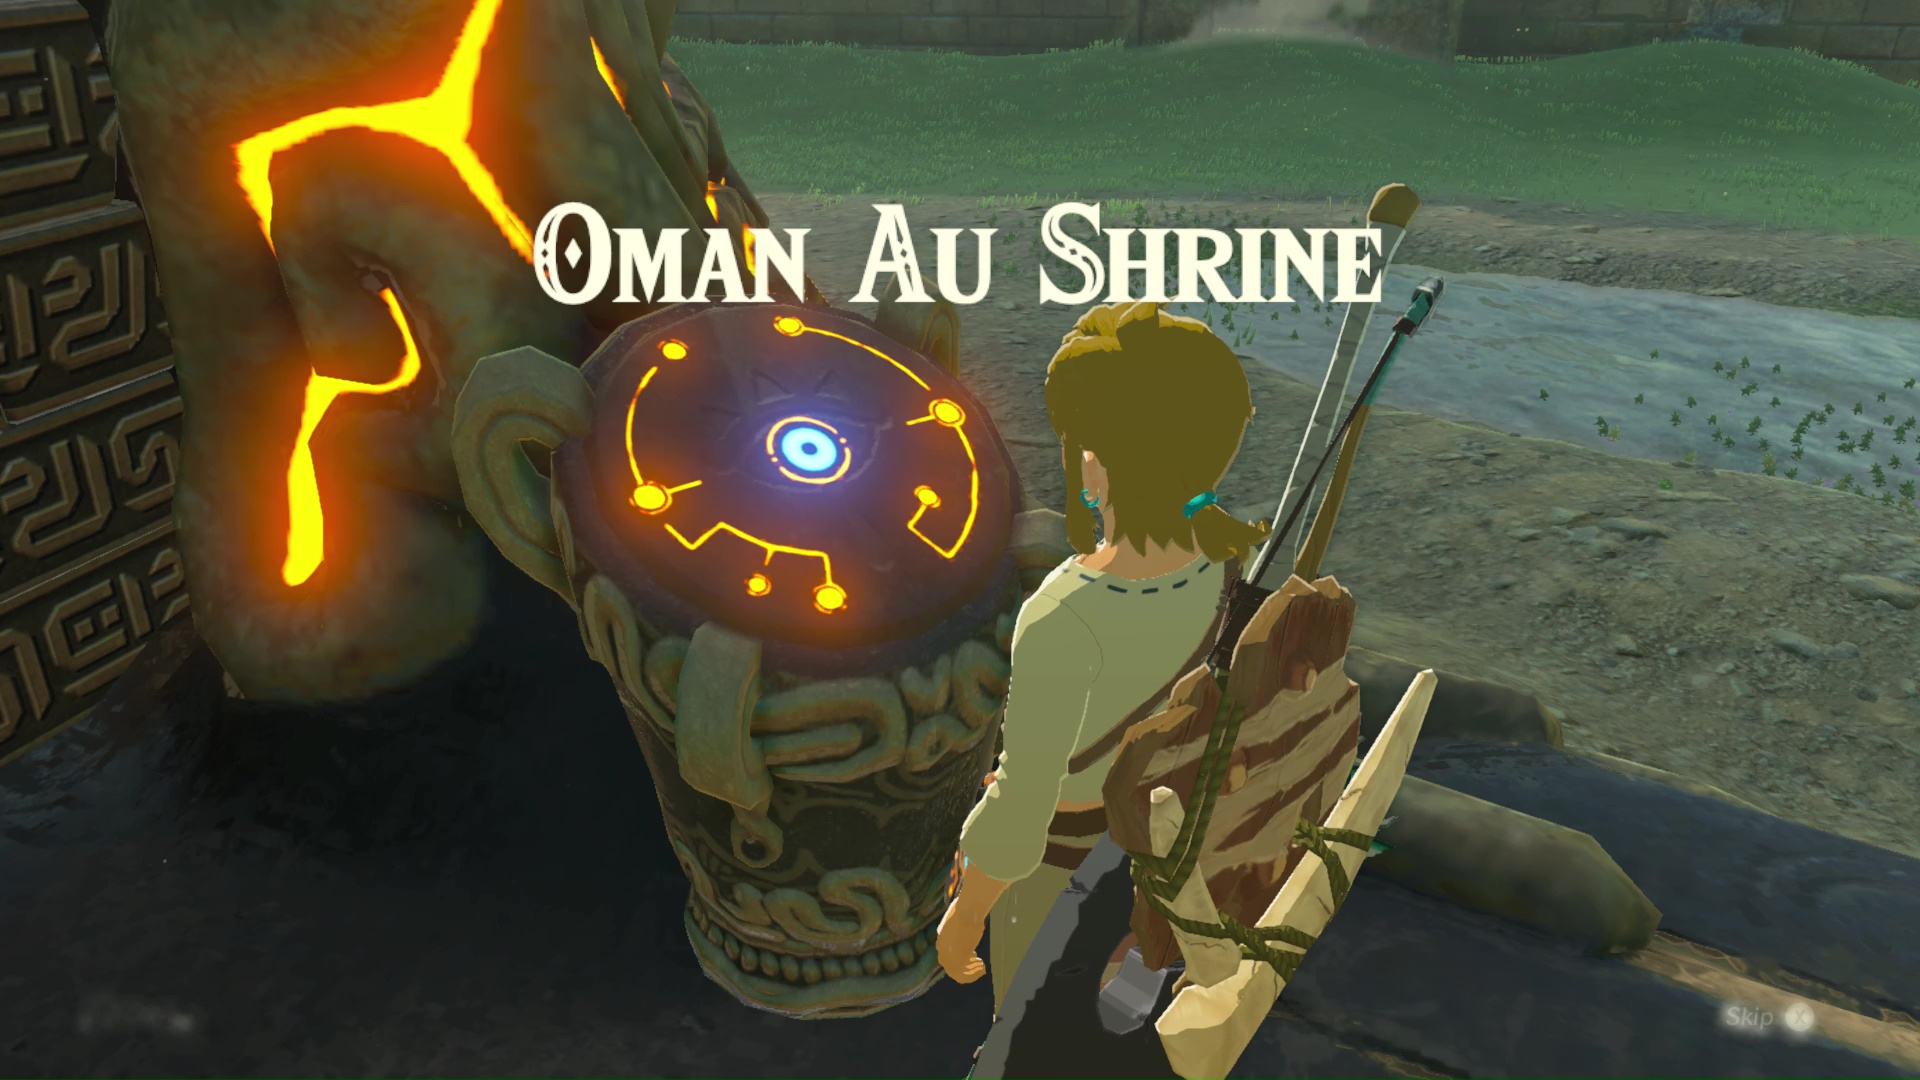
Oman Au Shrine
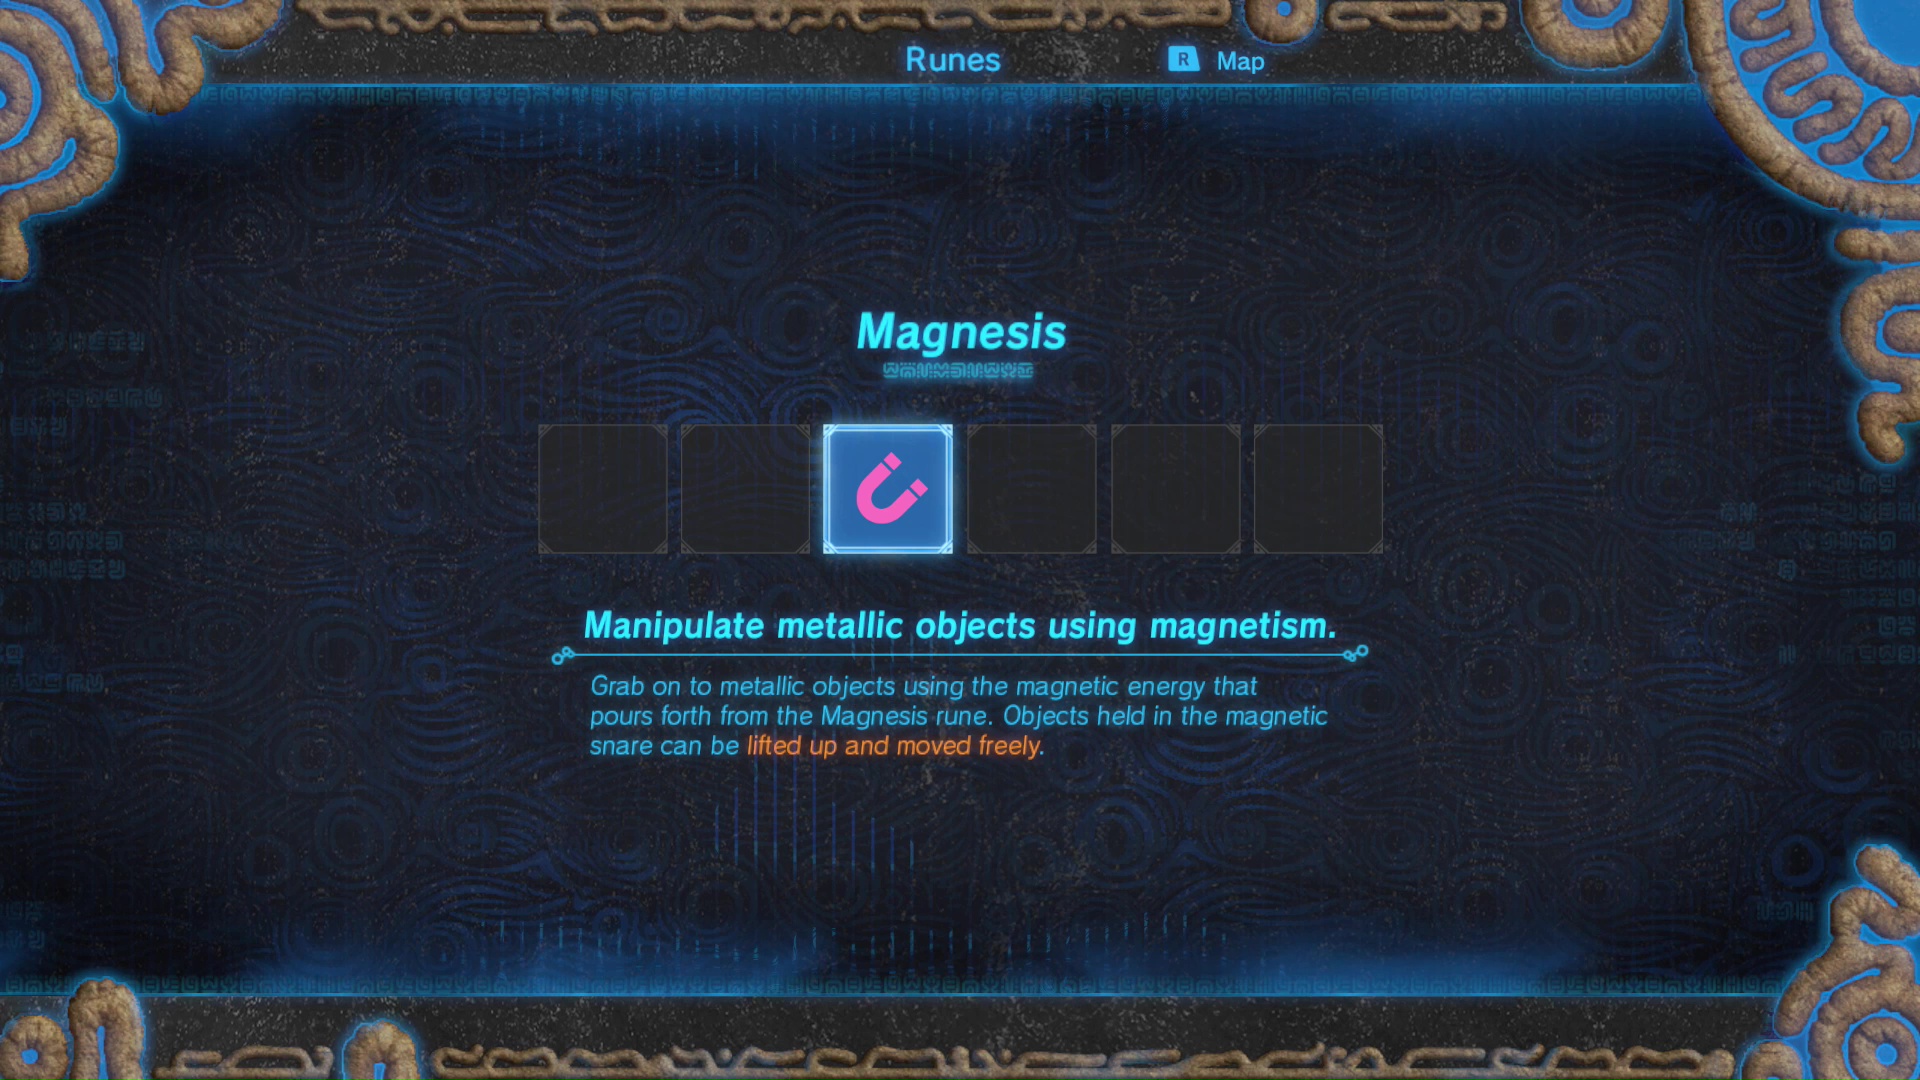
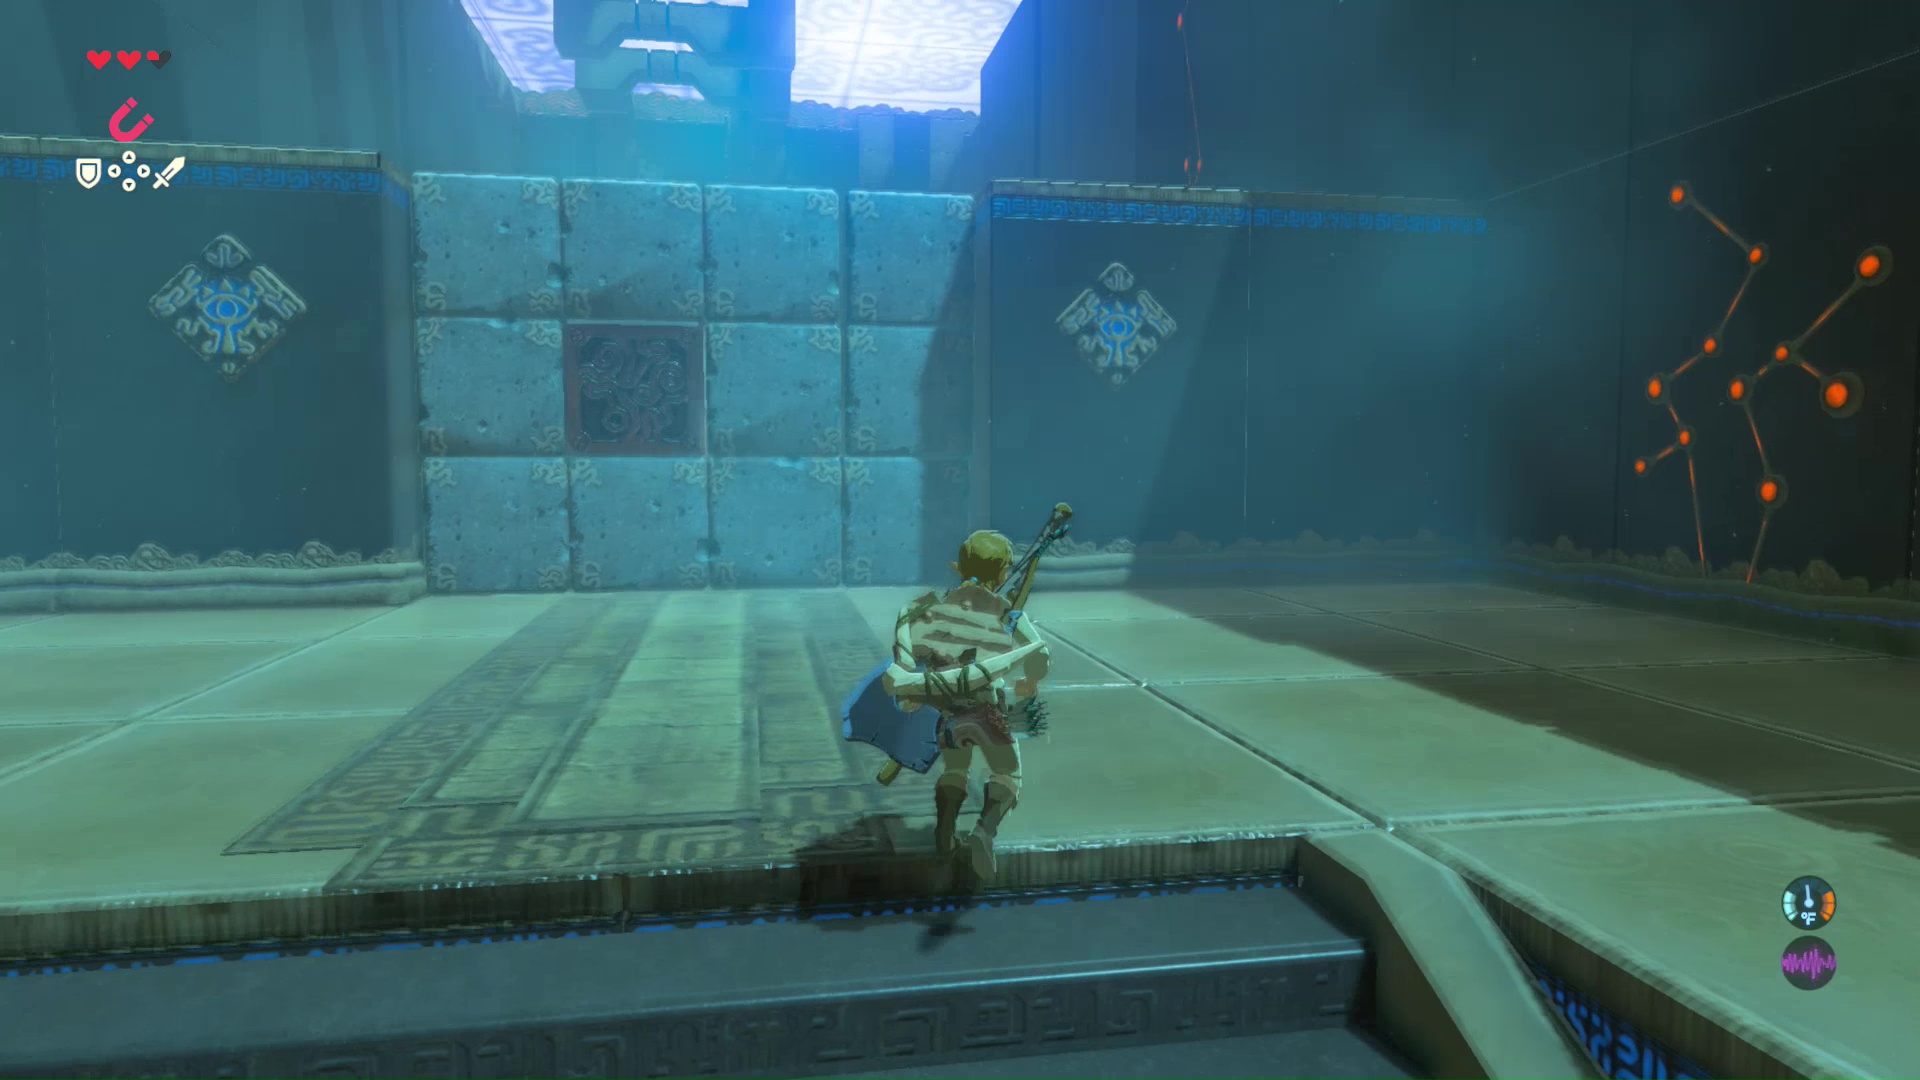
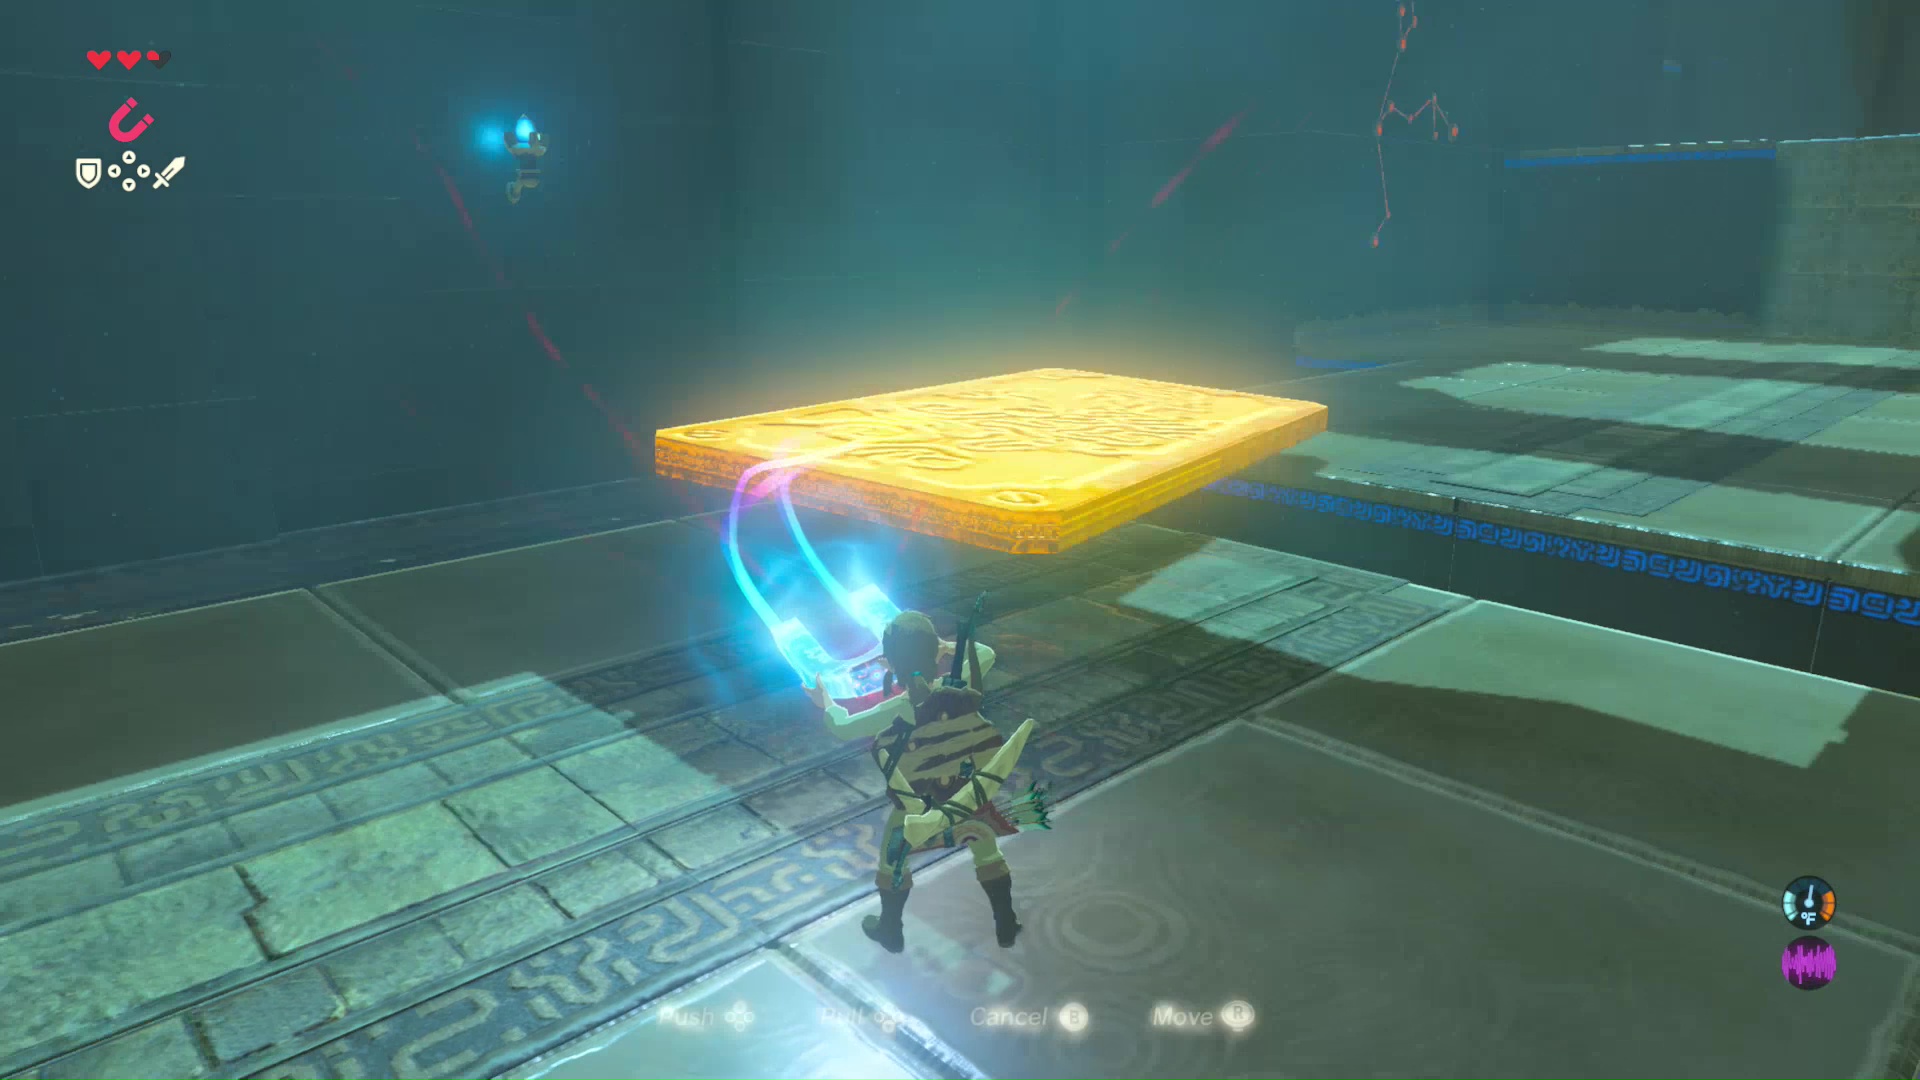
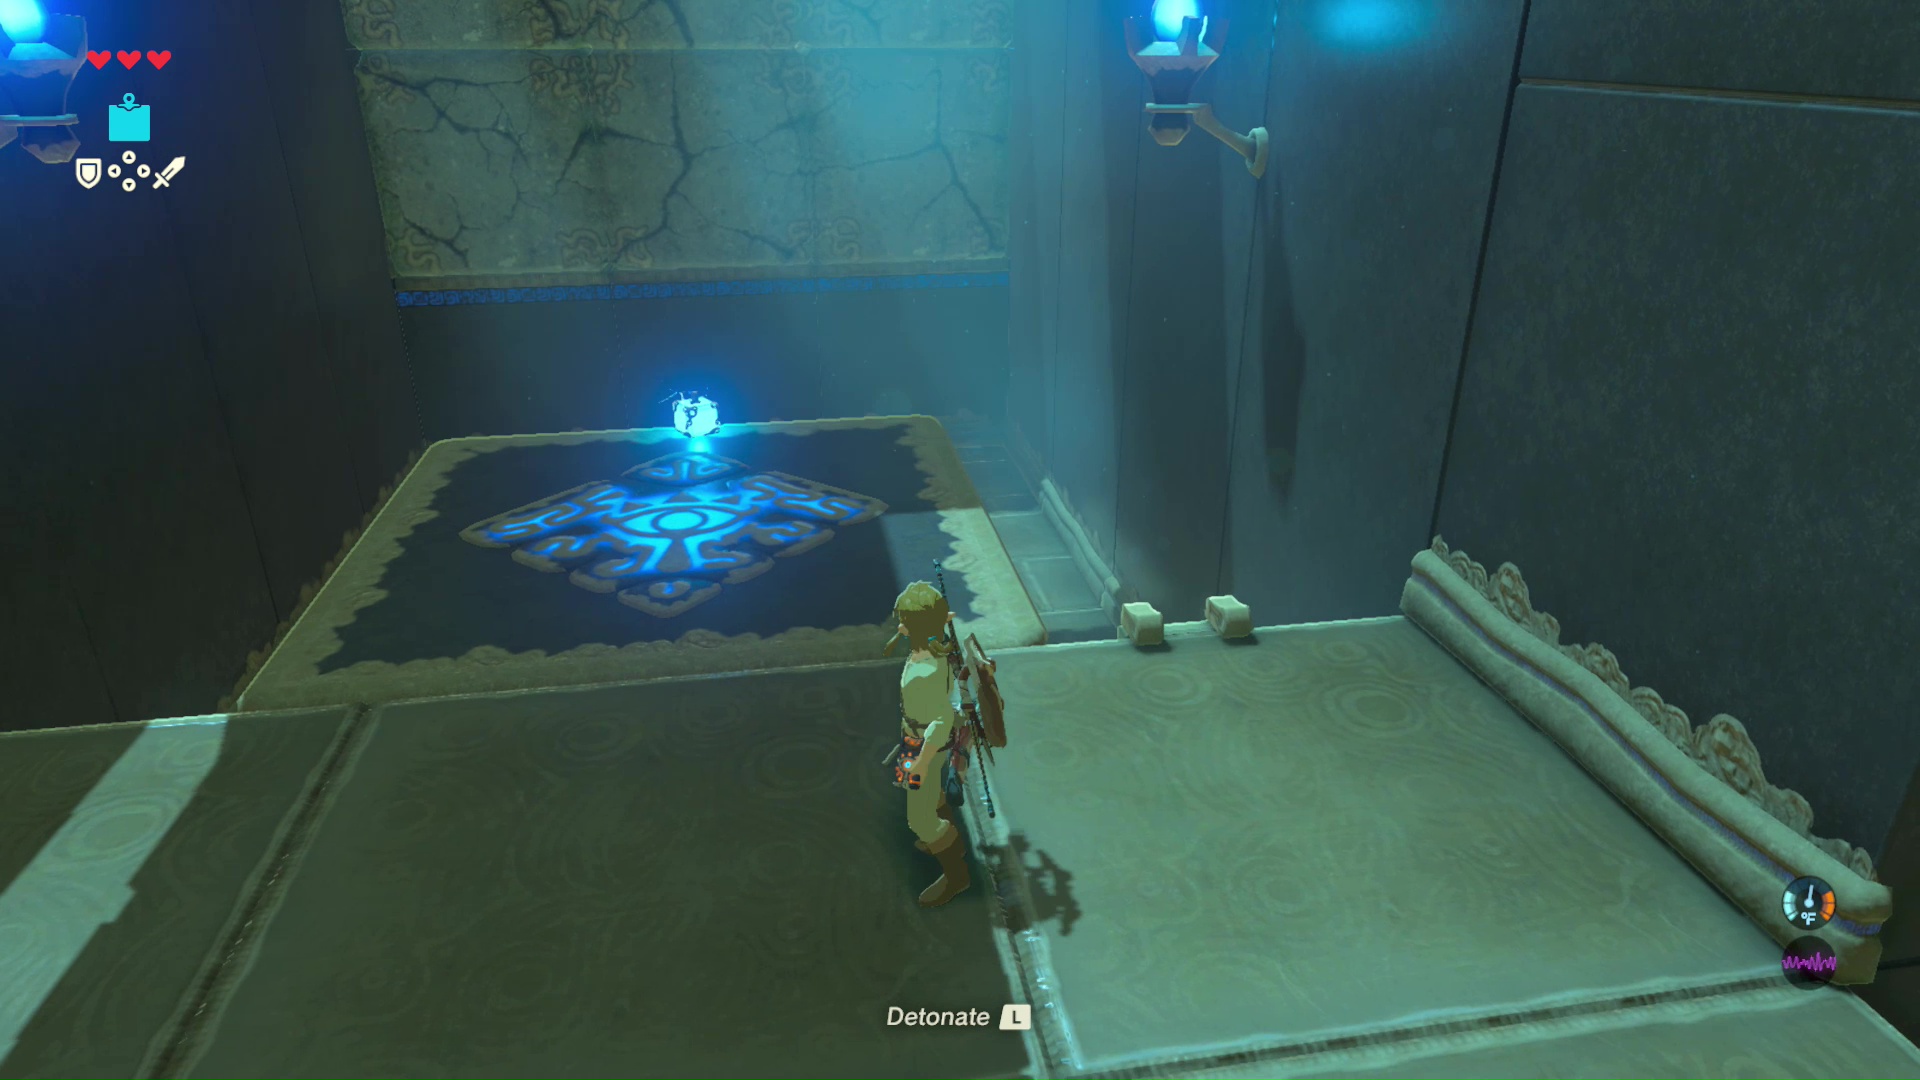
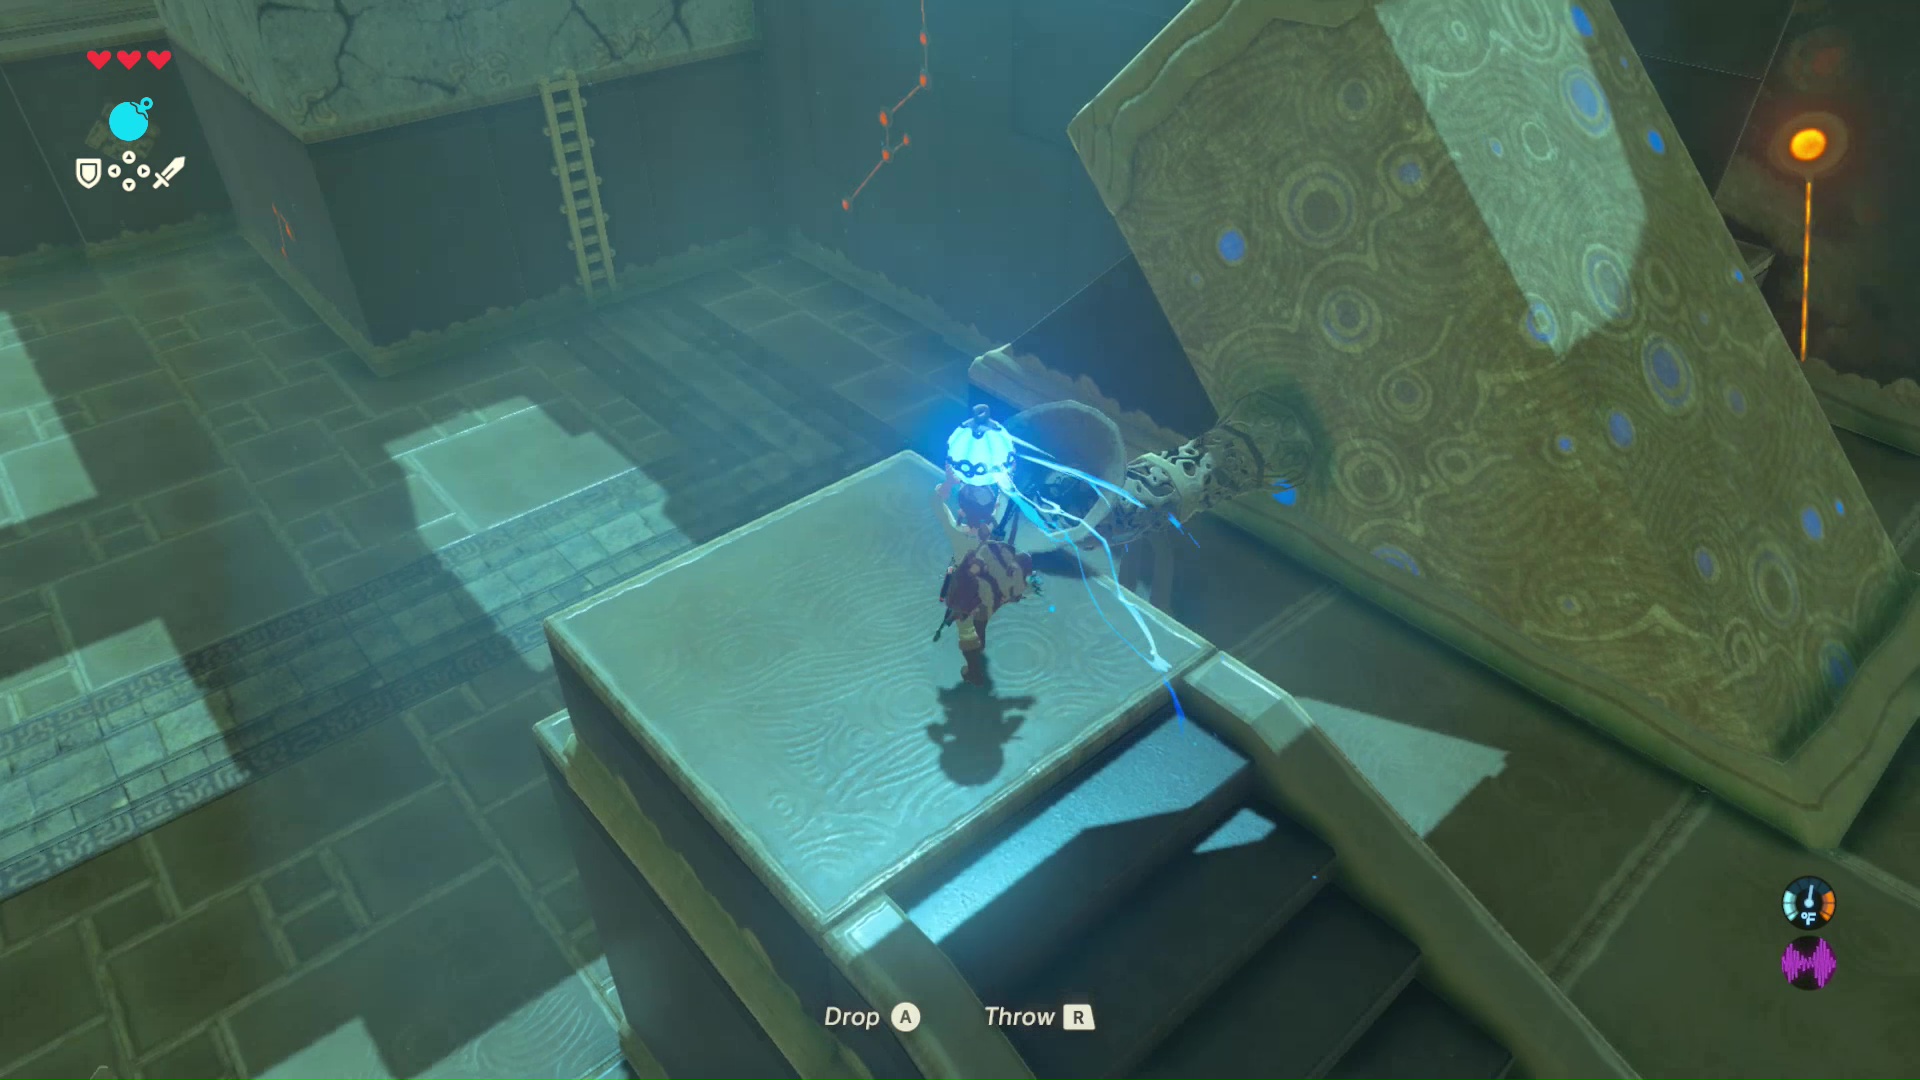
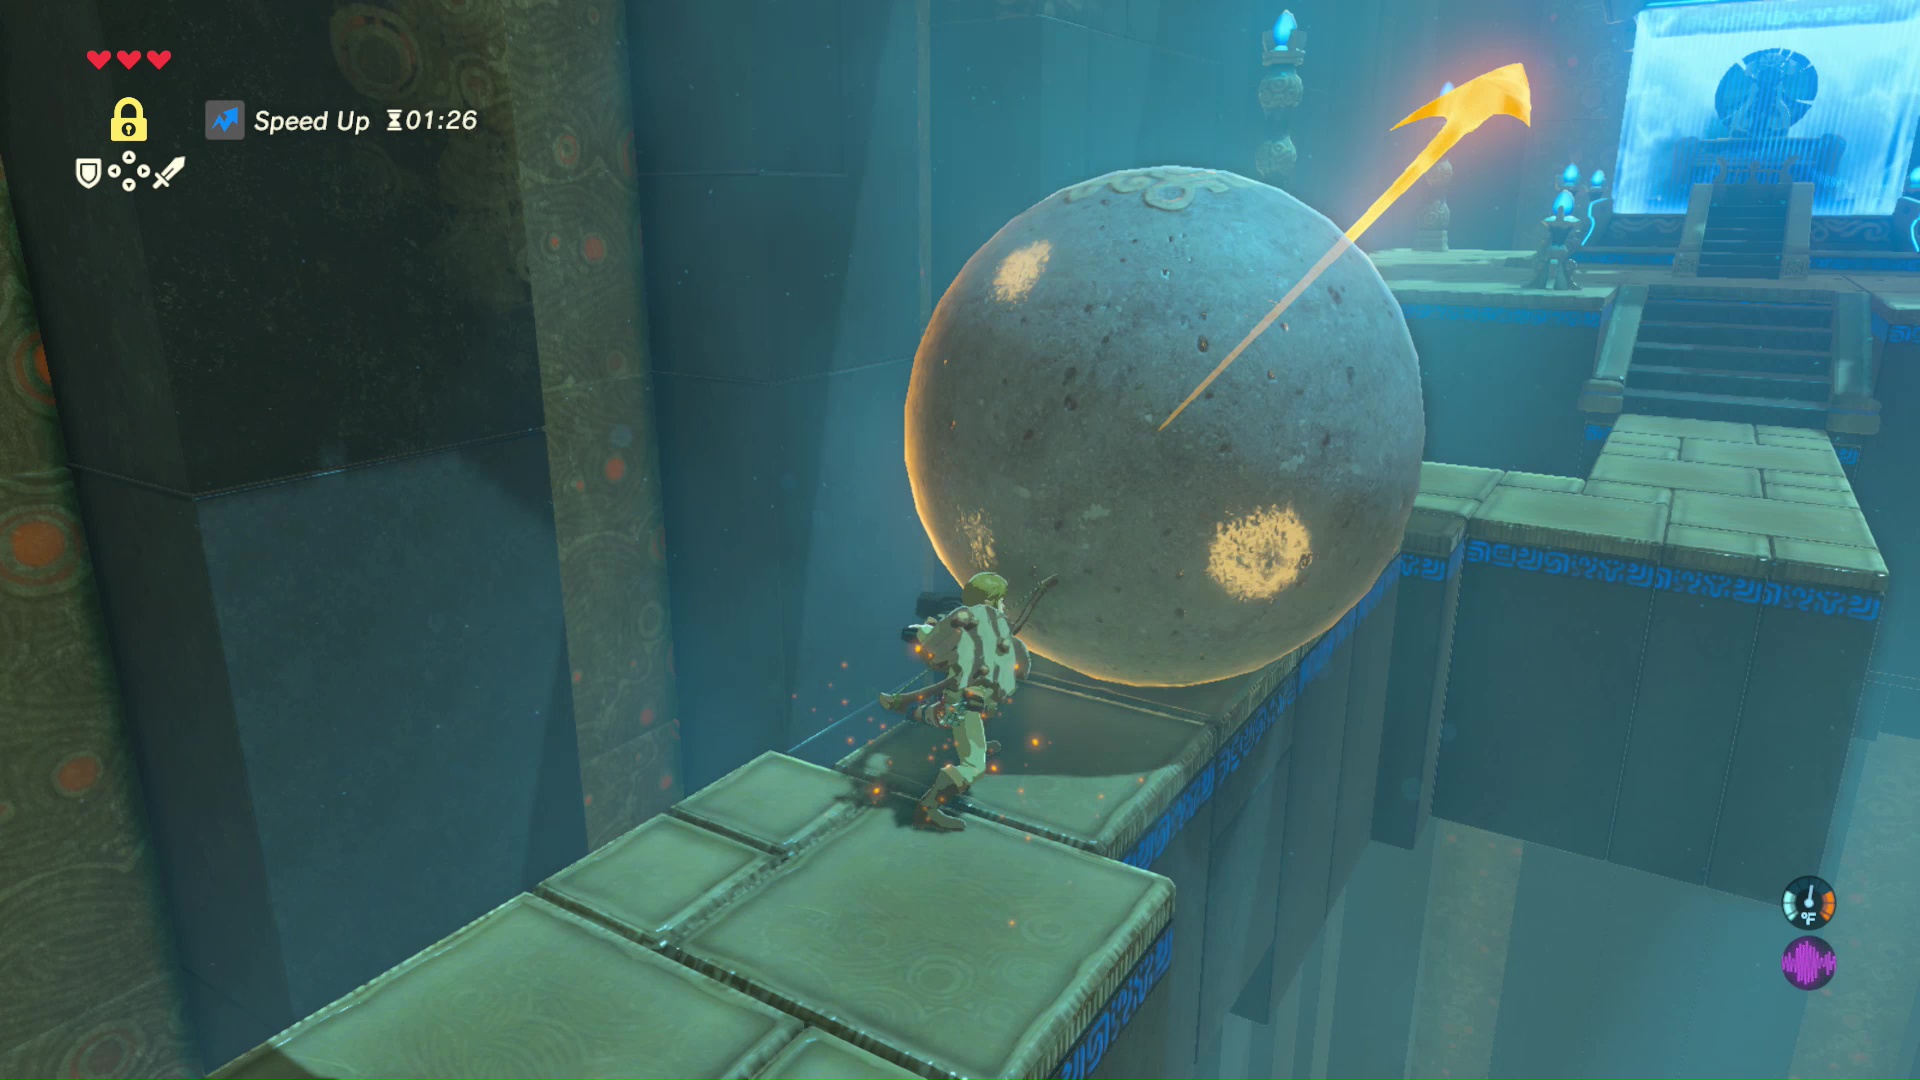
Place your Sheikah Slate on the pedestal near the left side of the room. Doing so will add the Magnesis Rune to your abilities. Press L to start the Rune, then press A to activate it. You will now be able to move large metal objects with ease.
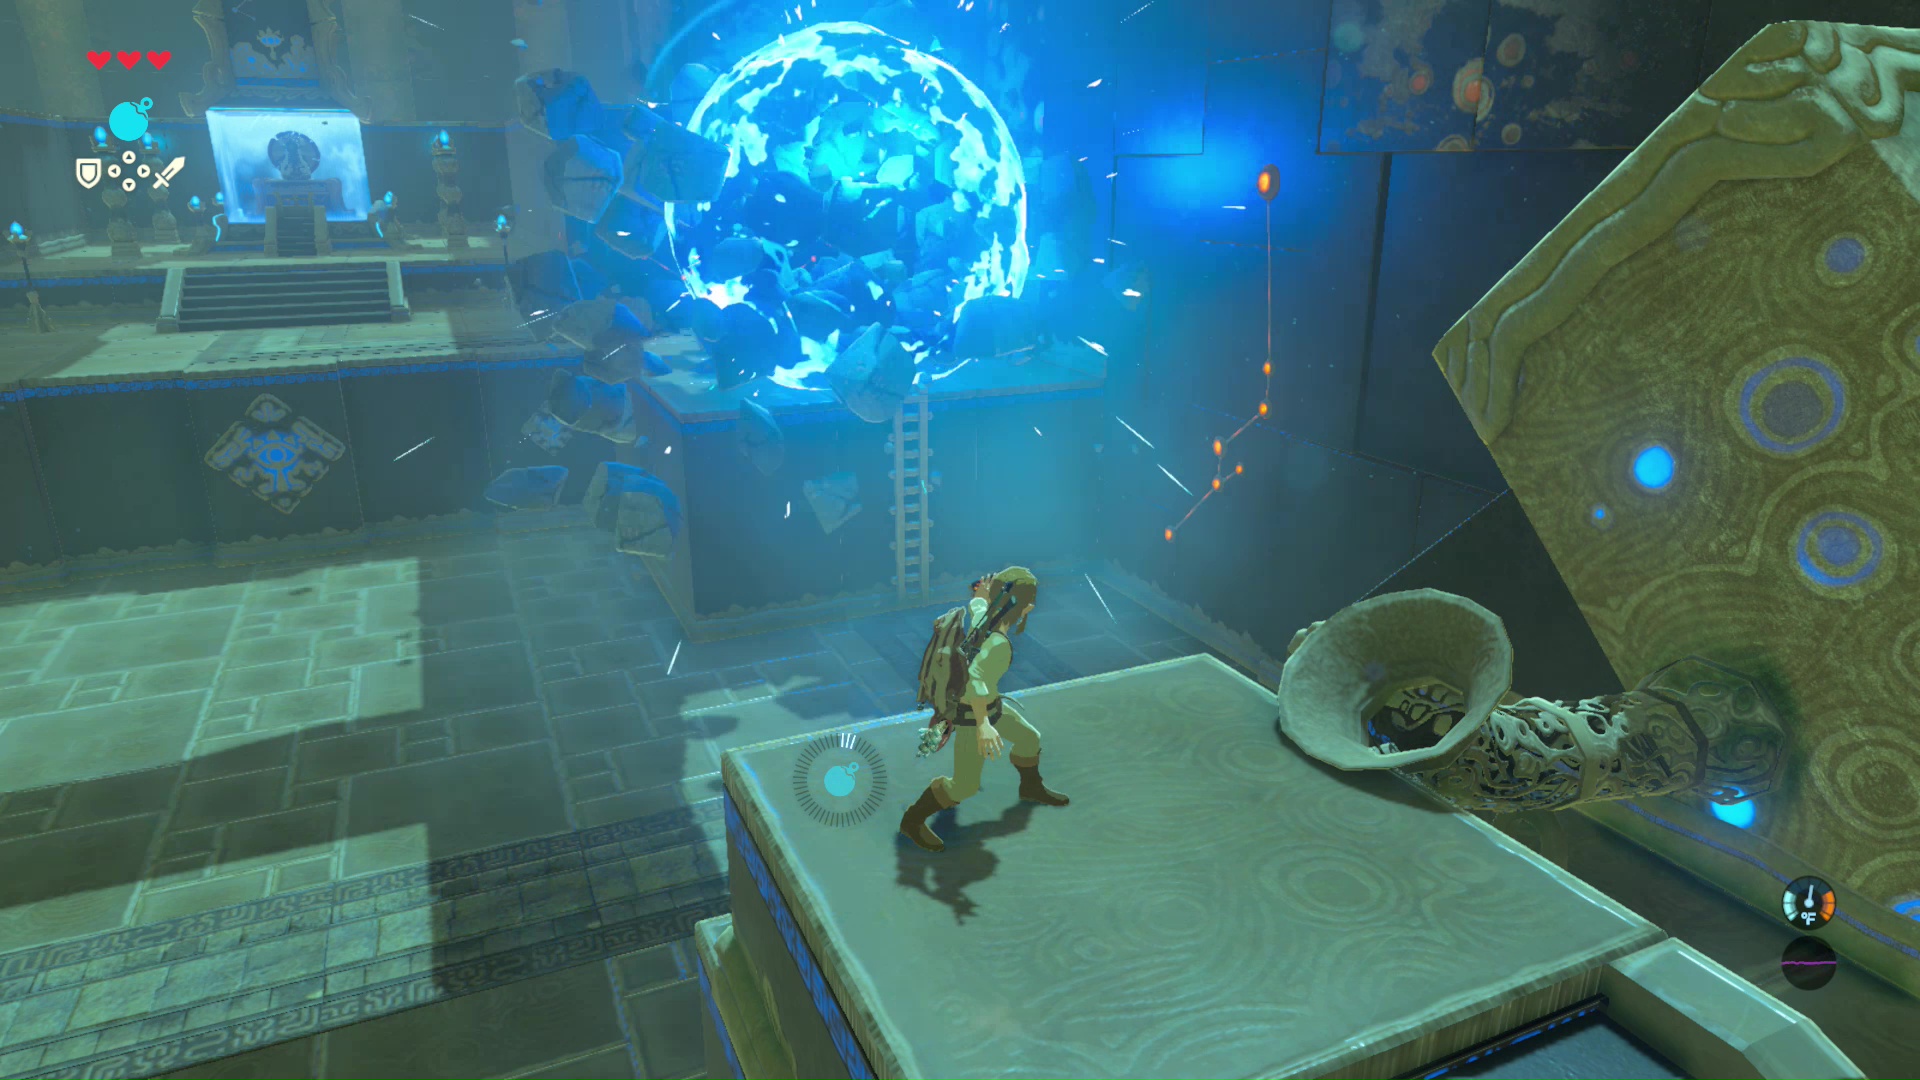
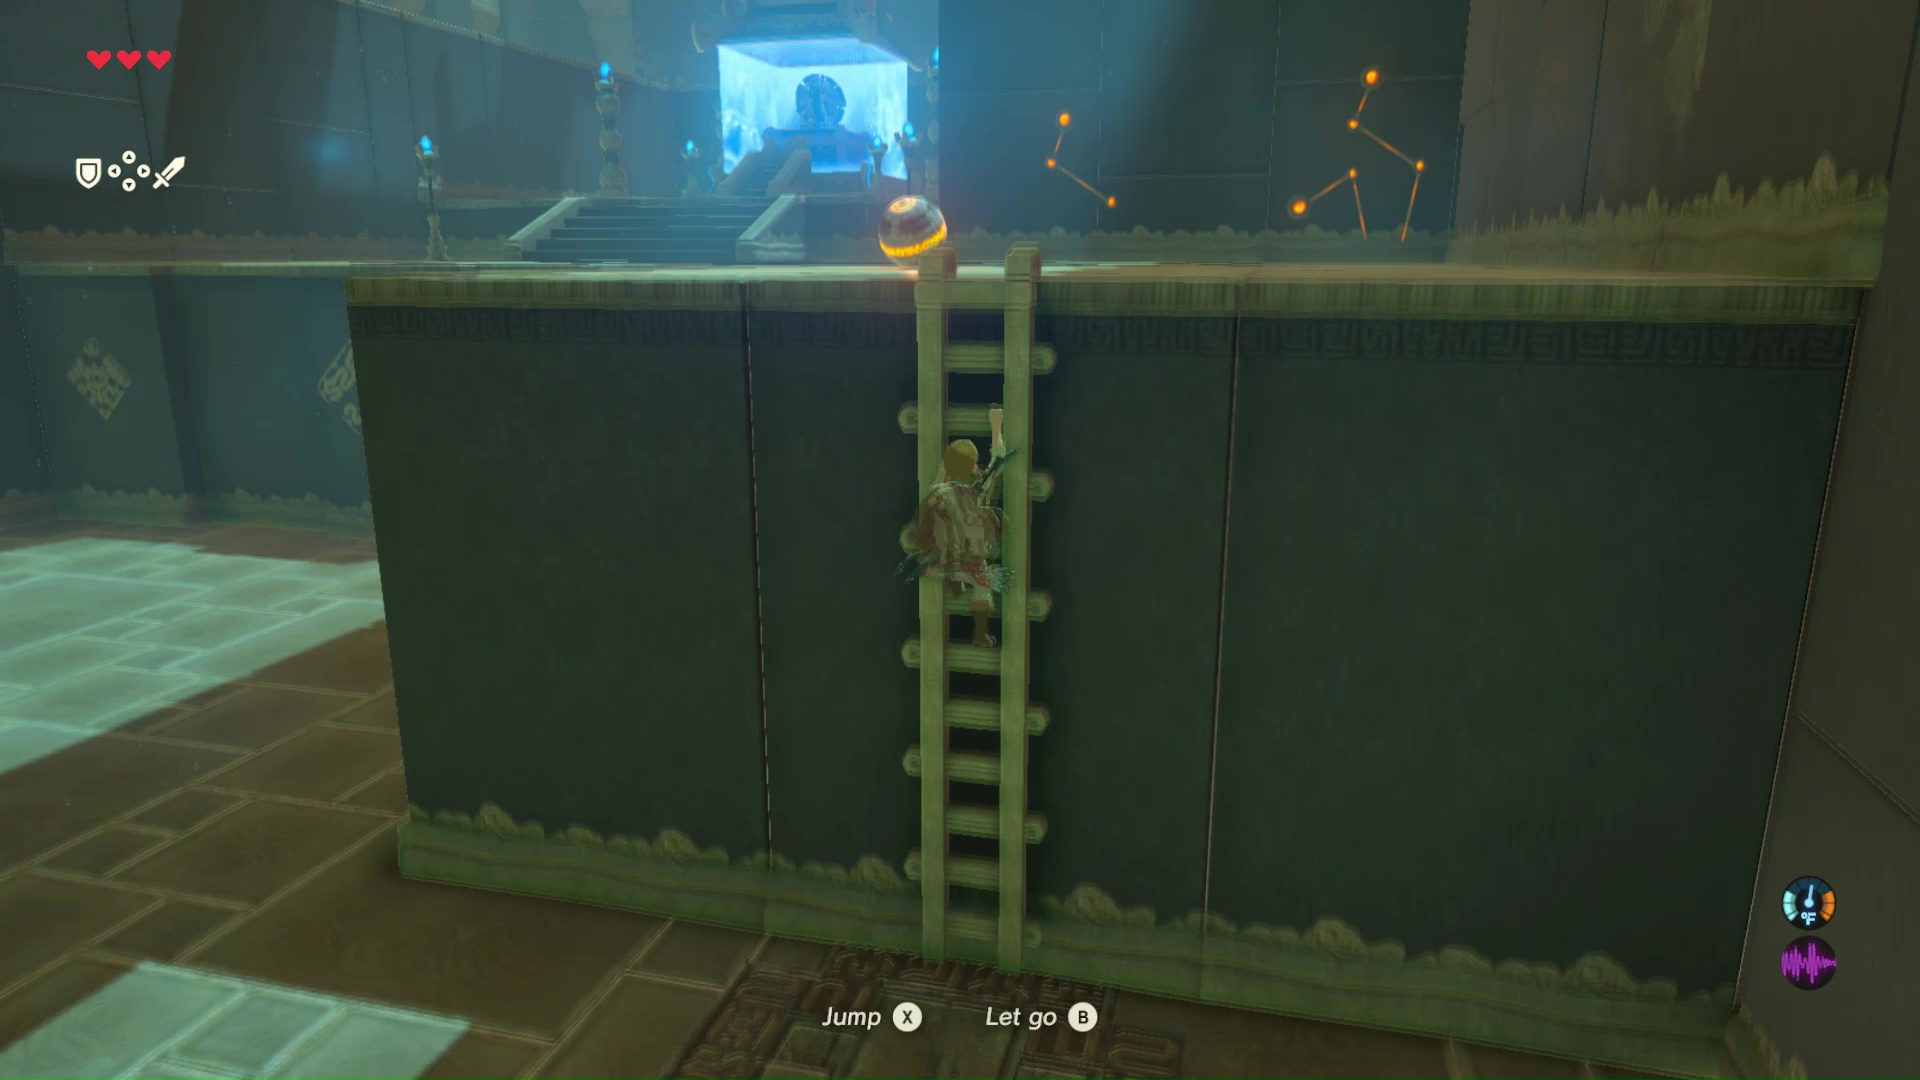
Magnetize the steel plates in the middle of the room to reveal a secret passage below. Follow this tunnel to the next room.
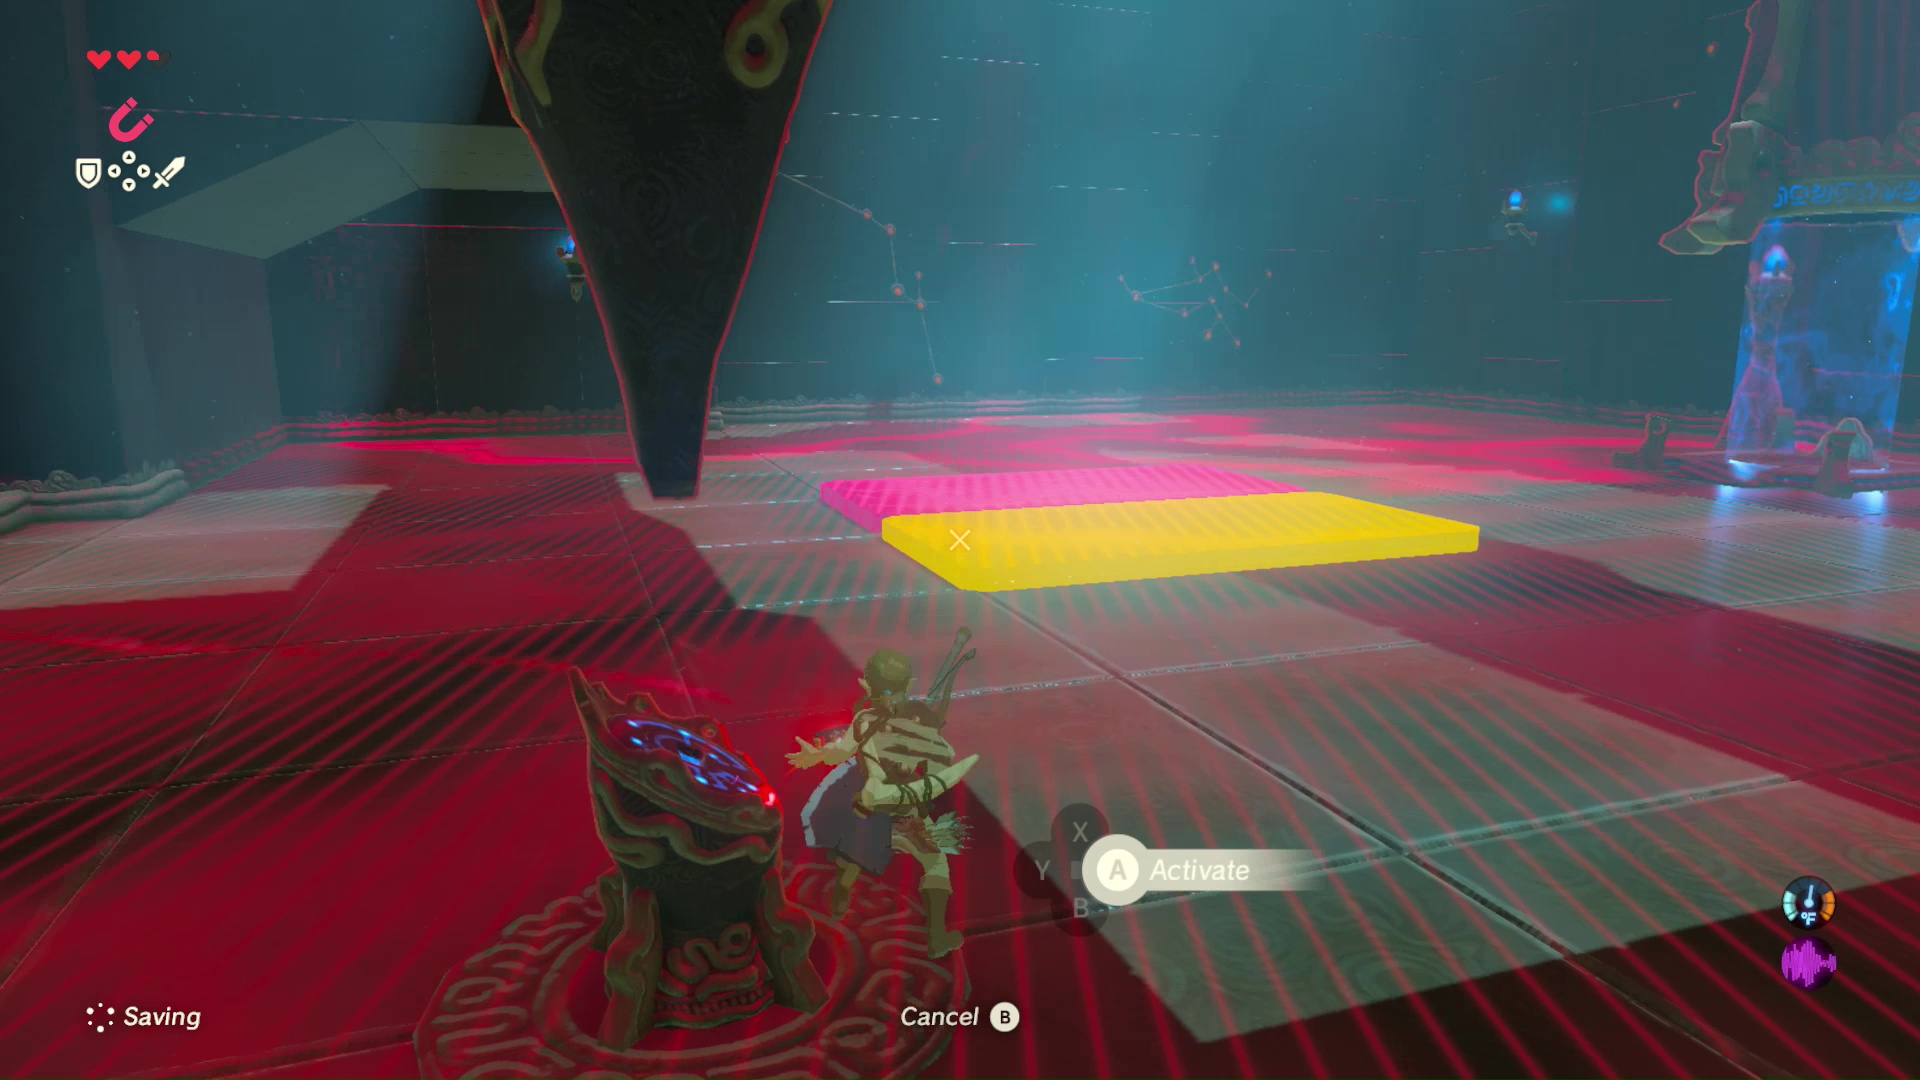
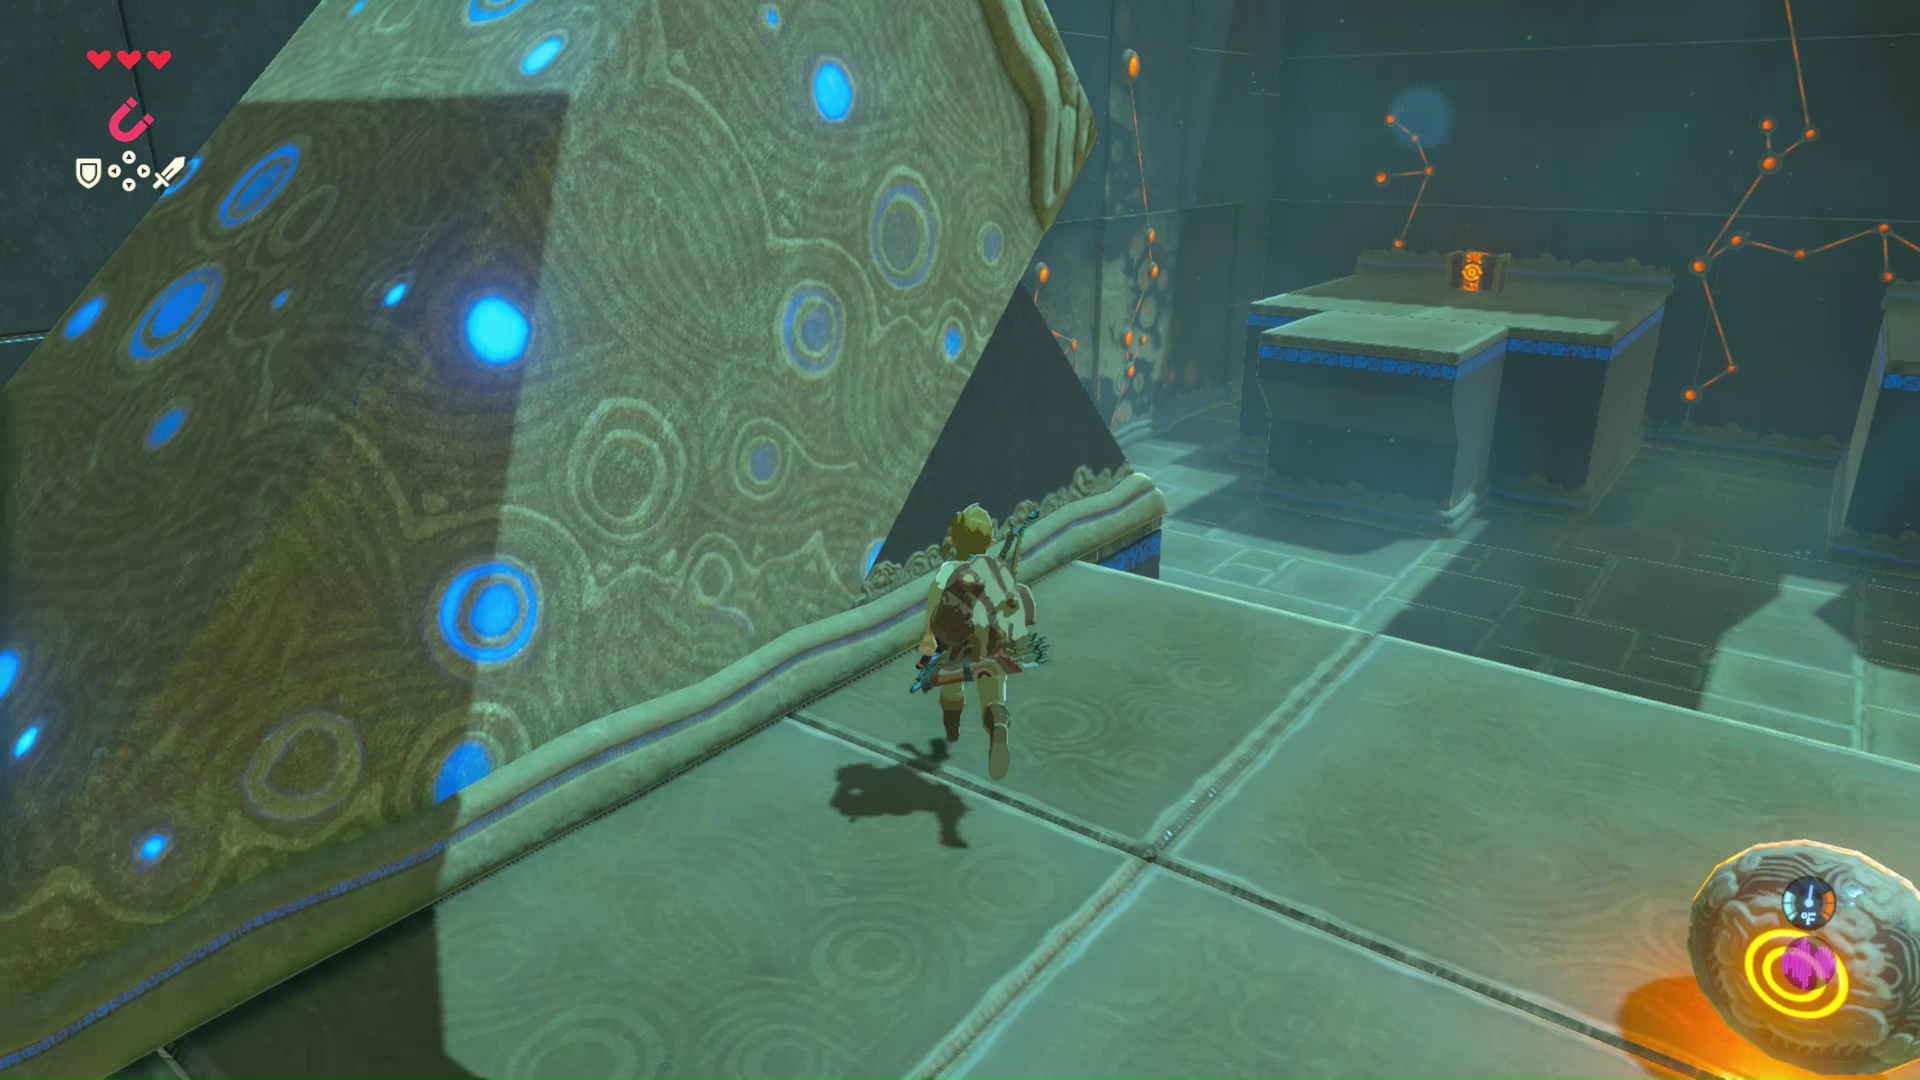
A wall of square rocks with a single metal square will block the path ahead. Use Magnesis to move the metal block, or to bash all the other blocks.

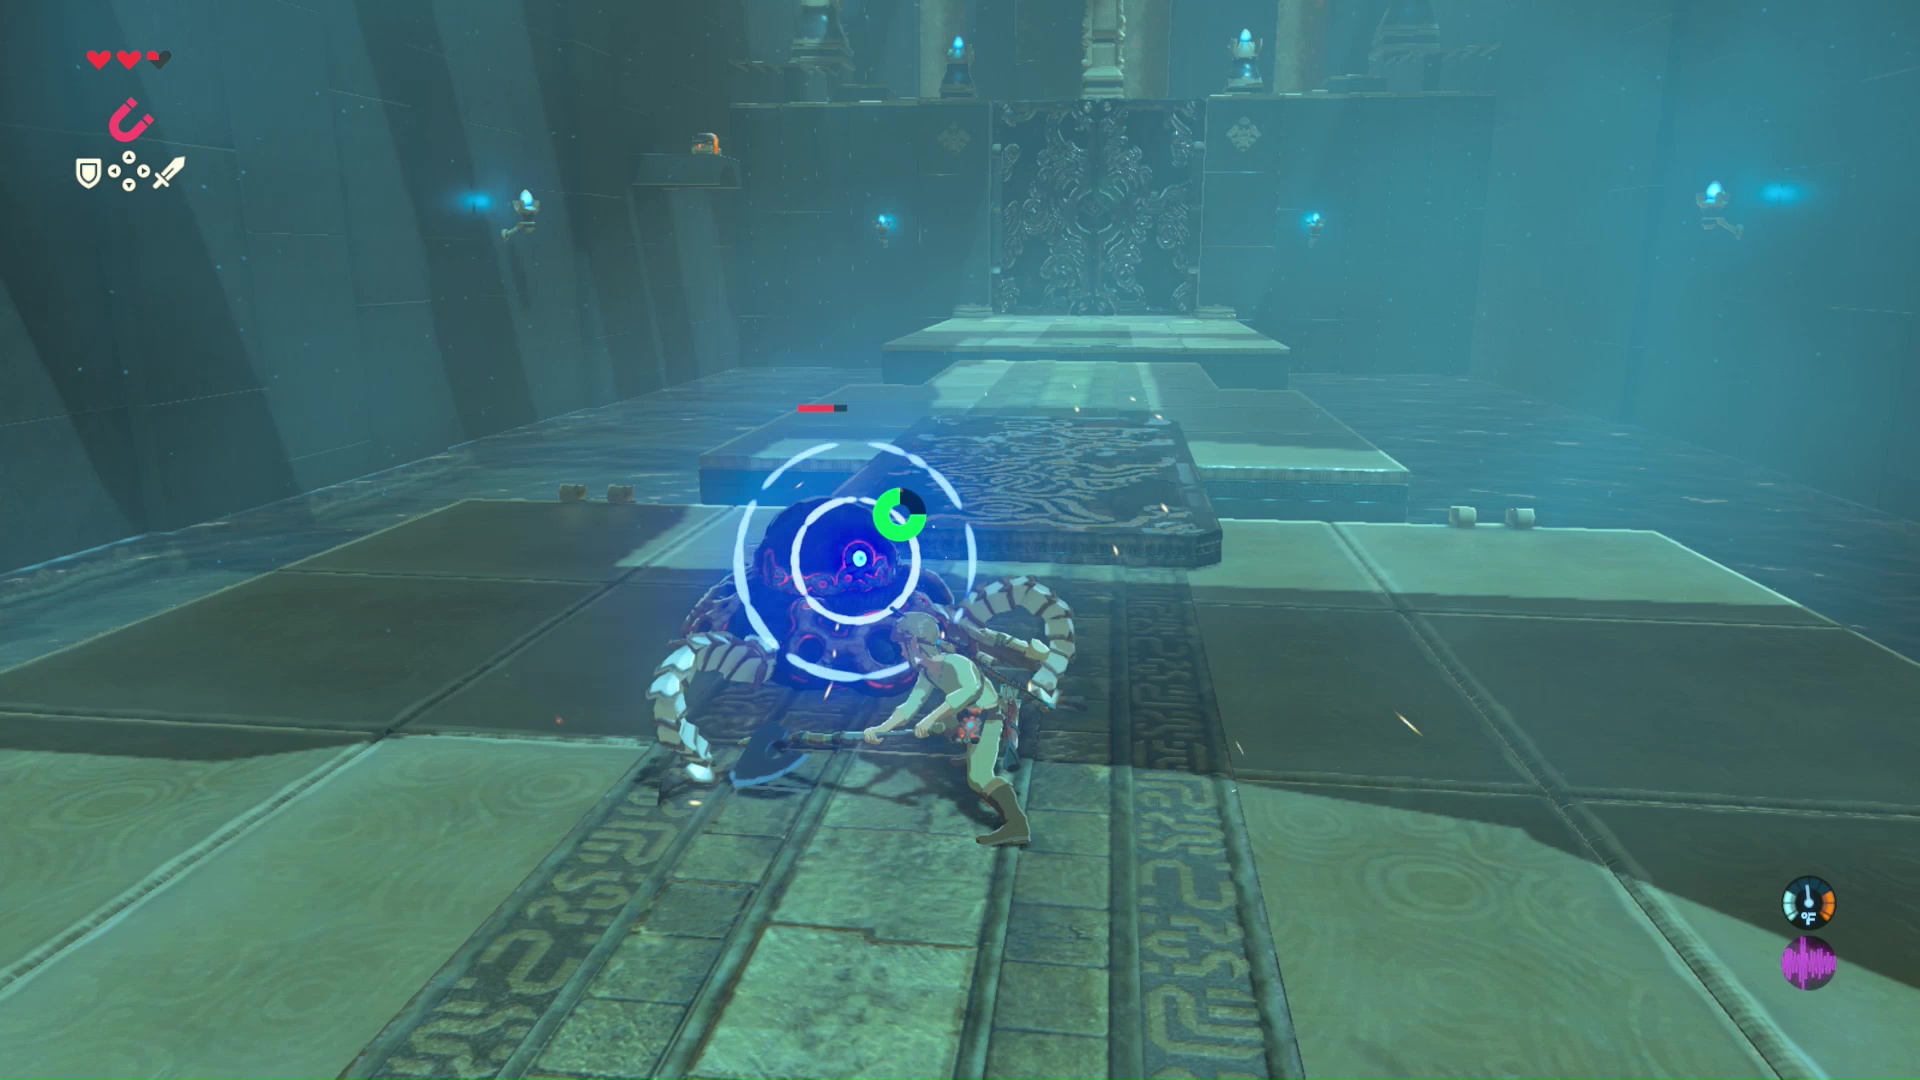
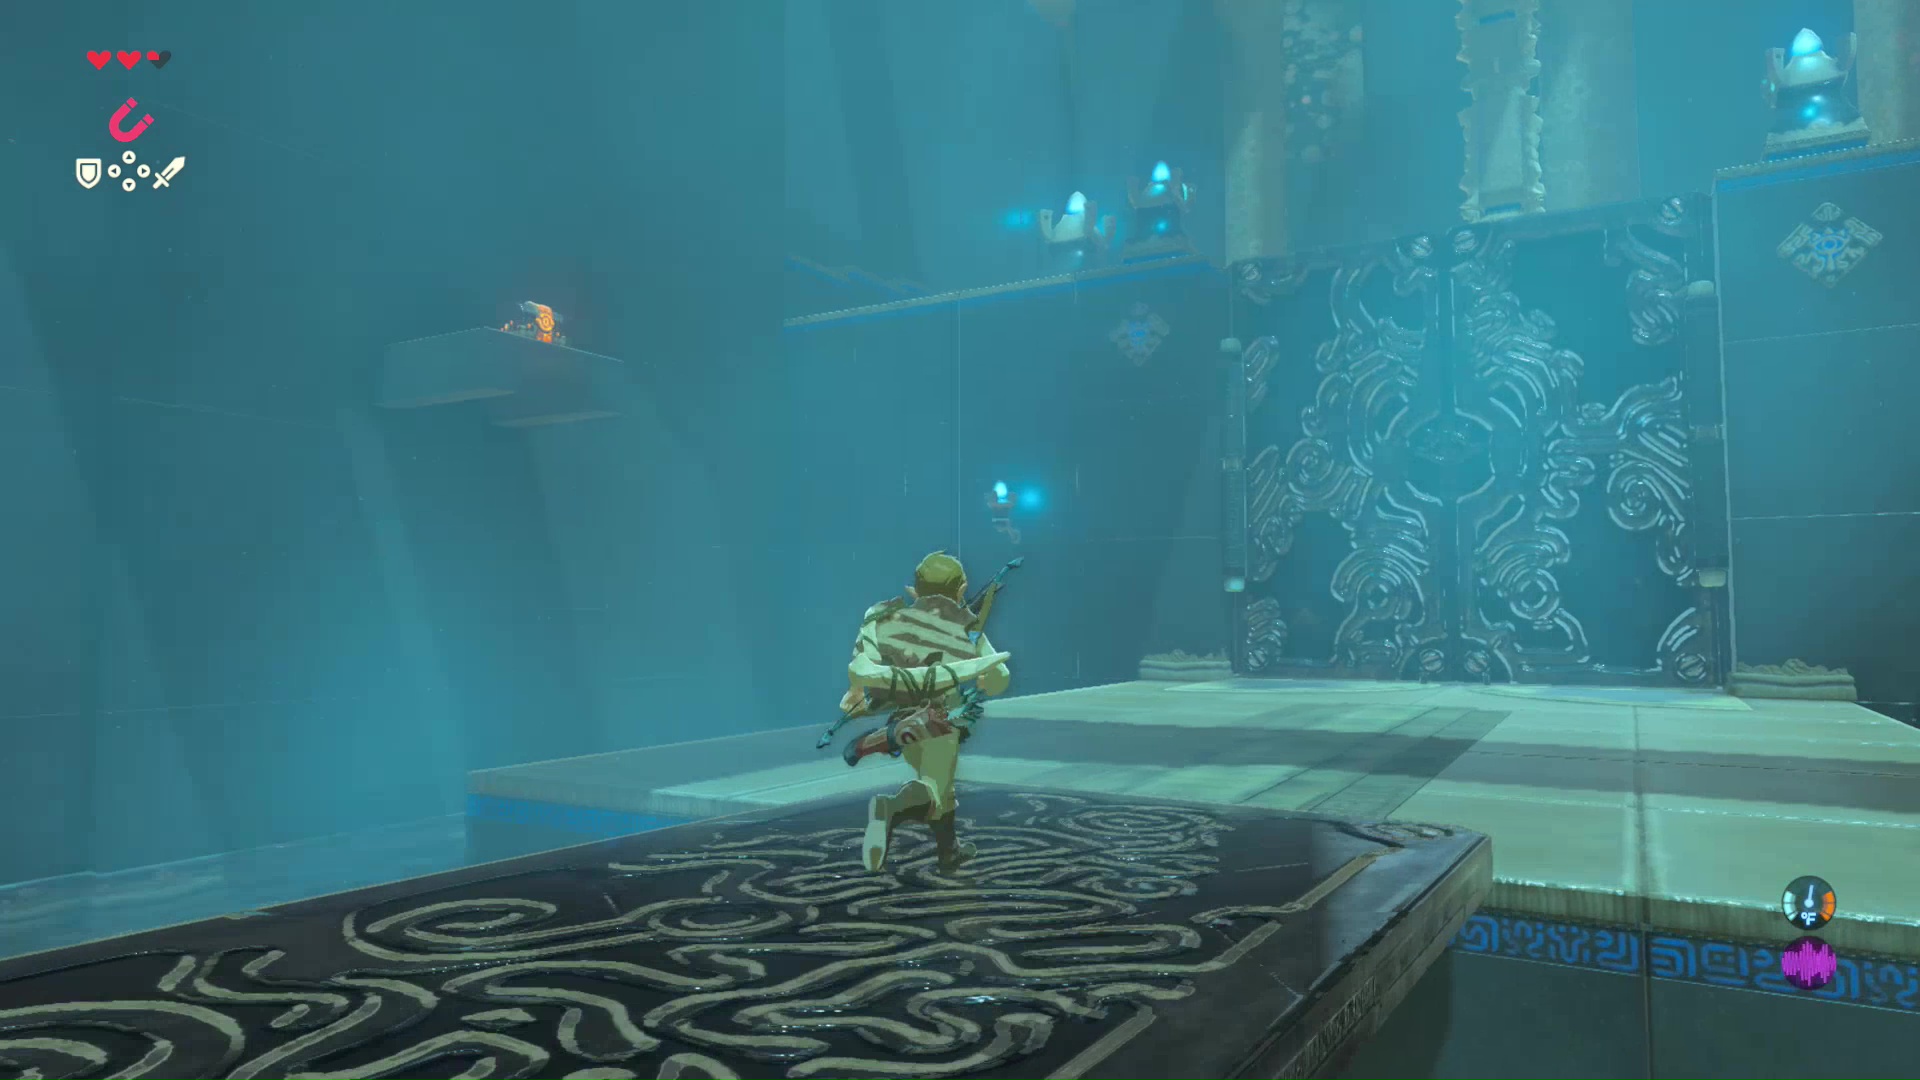
On the other side of the wall is a small guardian scout. They are hostile, so do not let your guard down. Shoot their blue eye with a bow and arrow to temporarily stun them, then get in close and beat them down with your melee weapon. Destroy the machine and collect any materials it might have dropped.
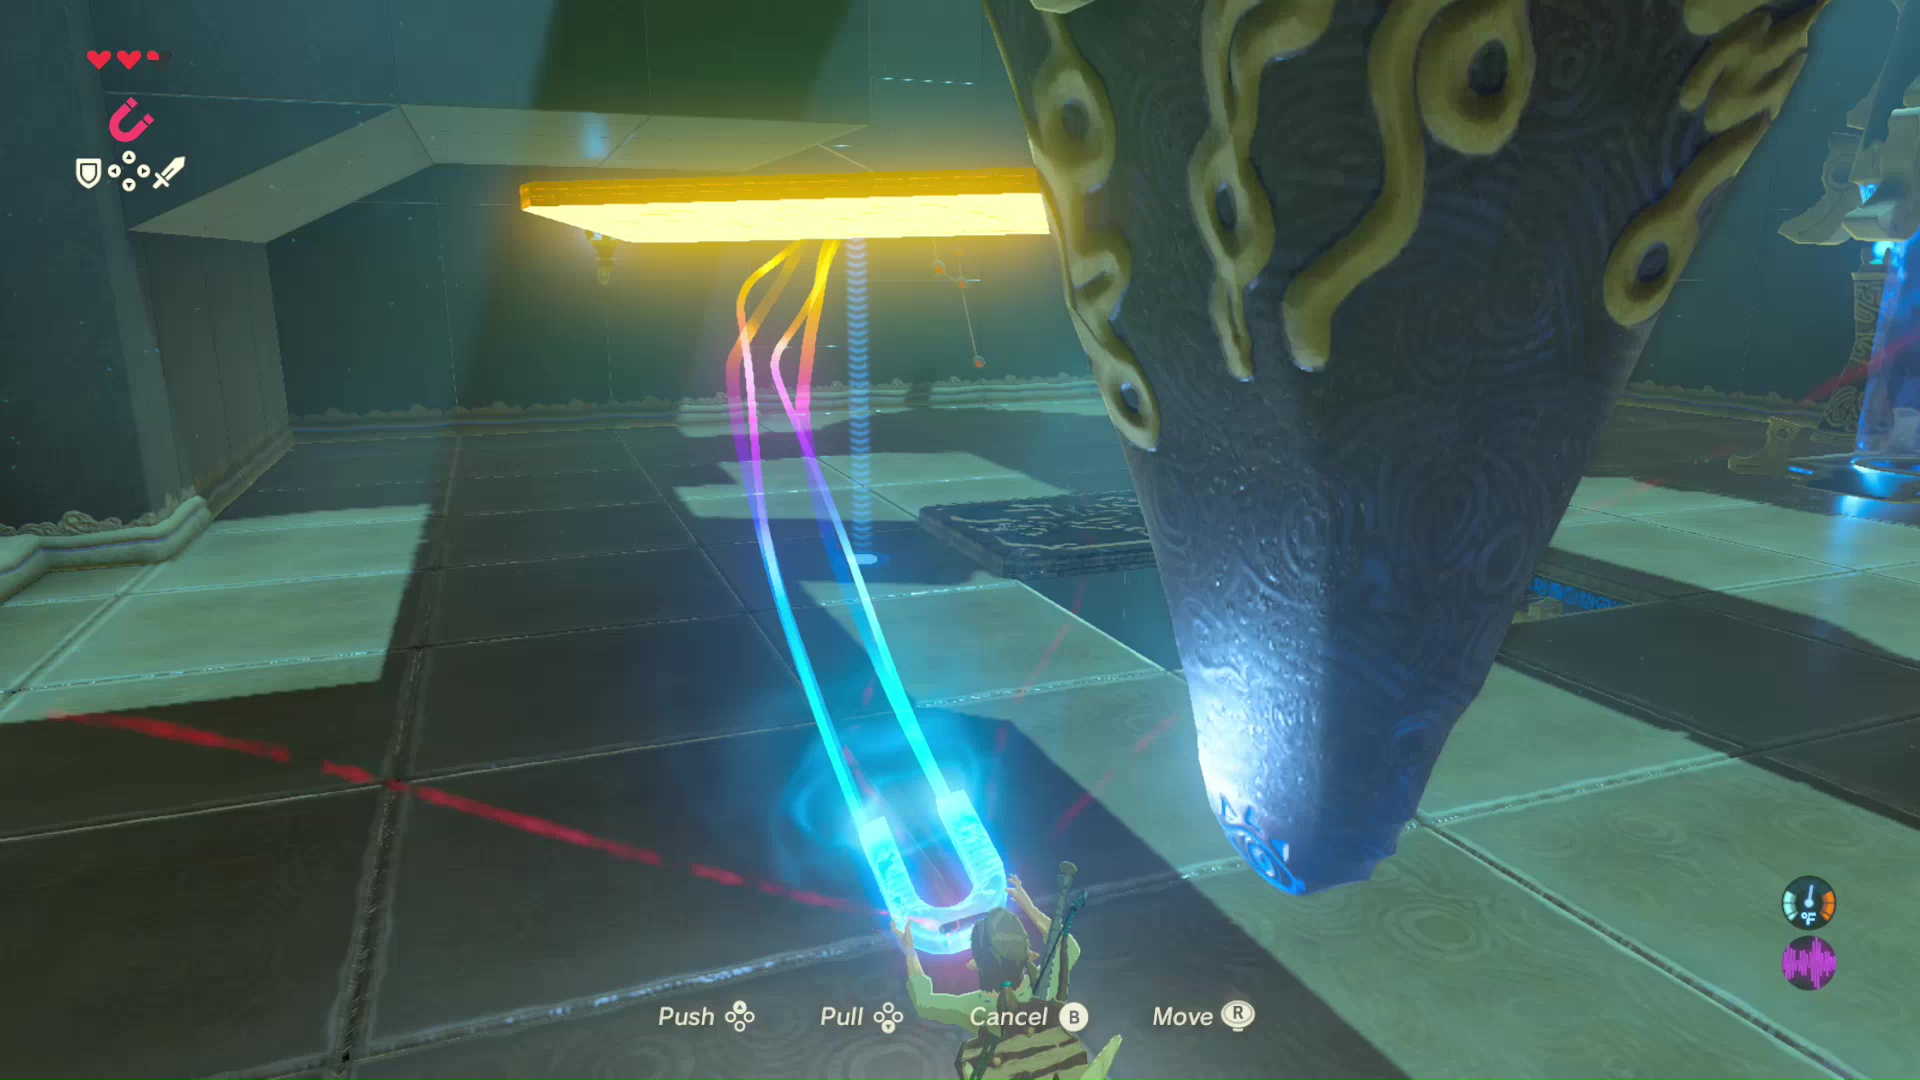
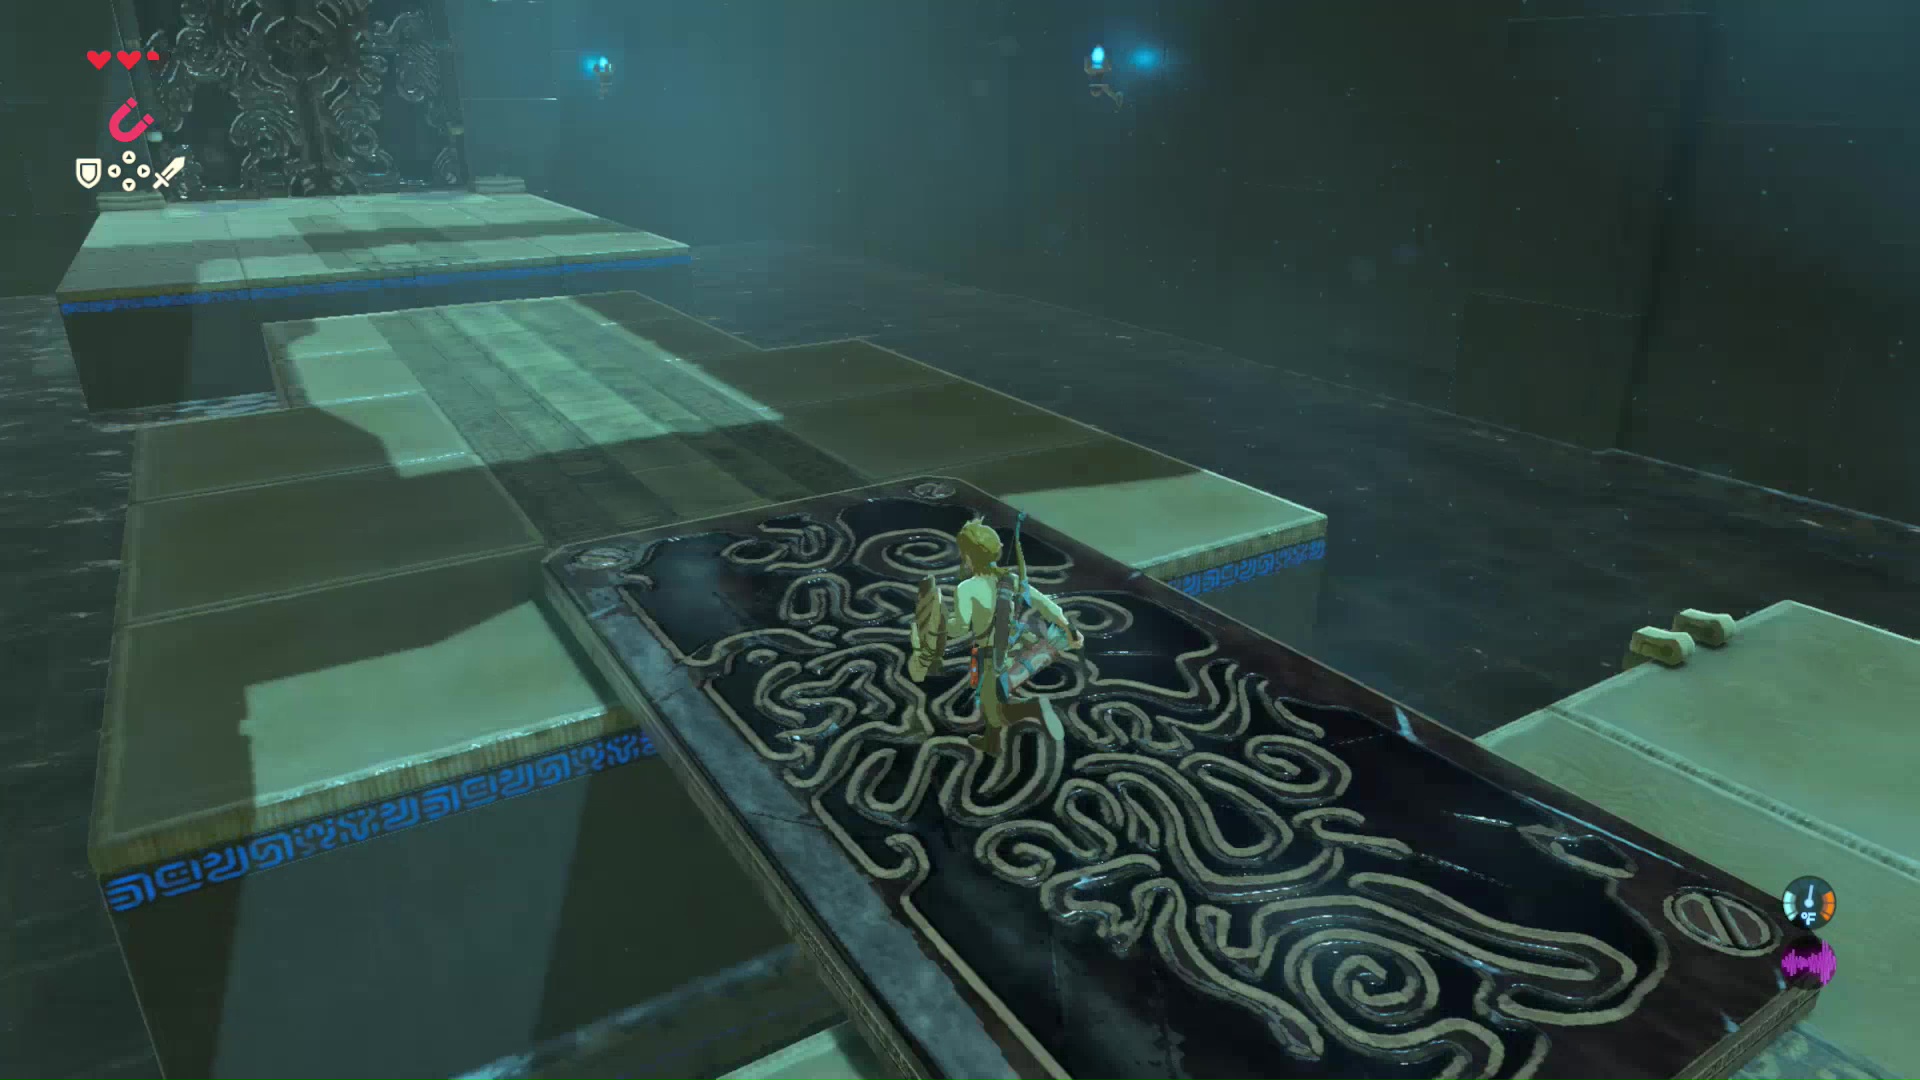
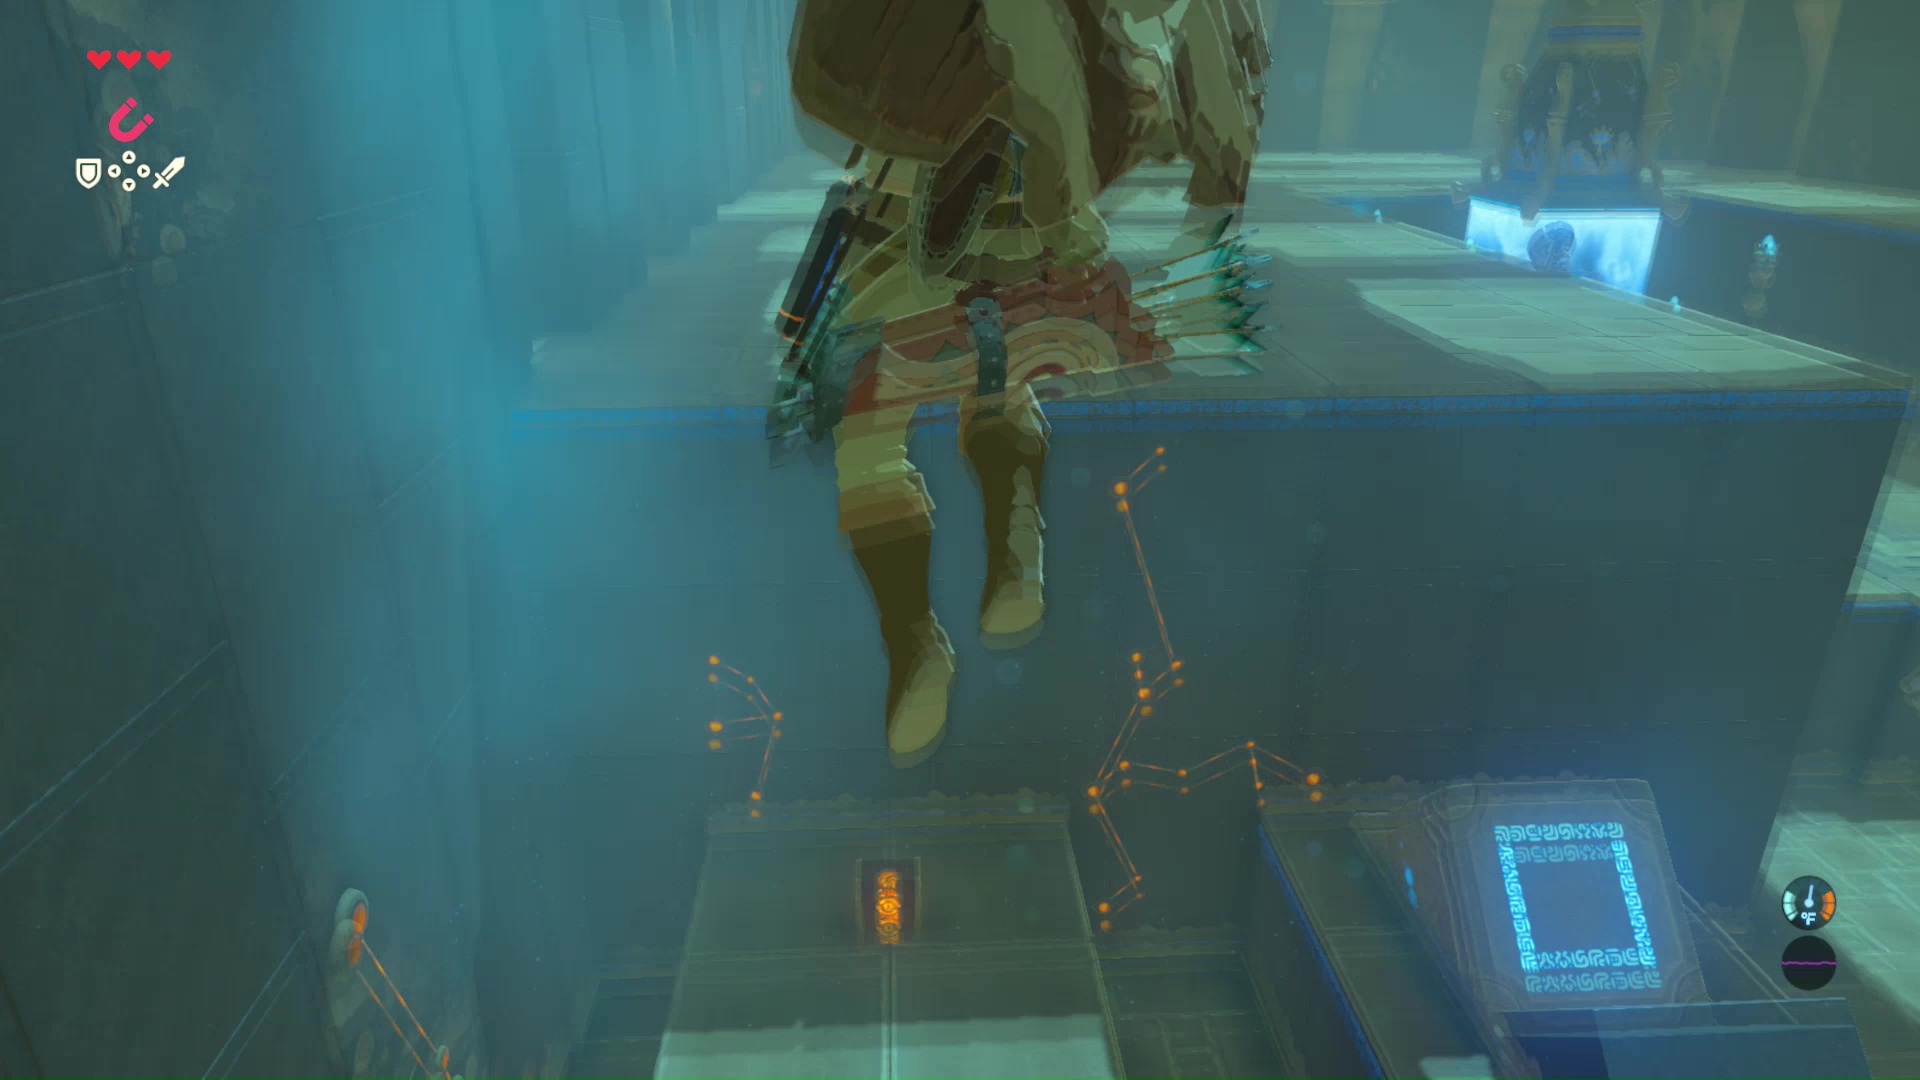
Walk across the metal bridge, then turn around and use Magnesis to move the bridge over the next gap.
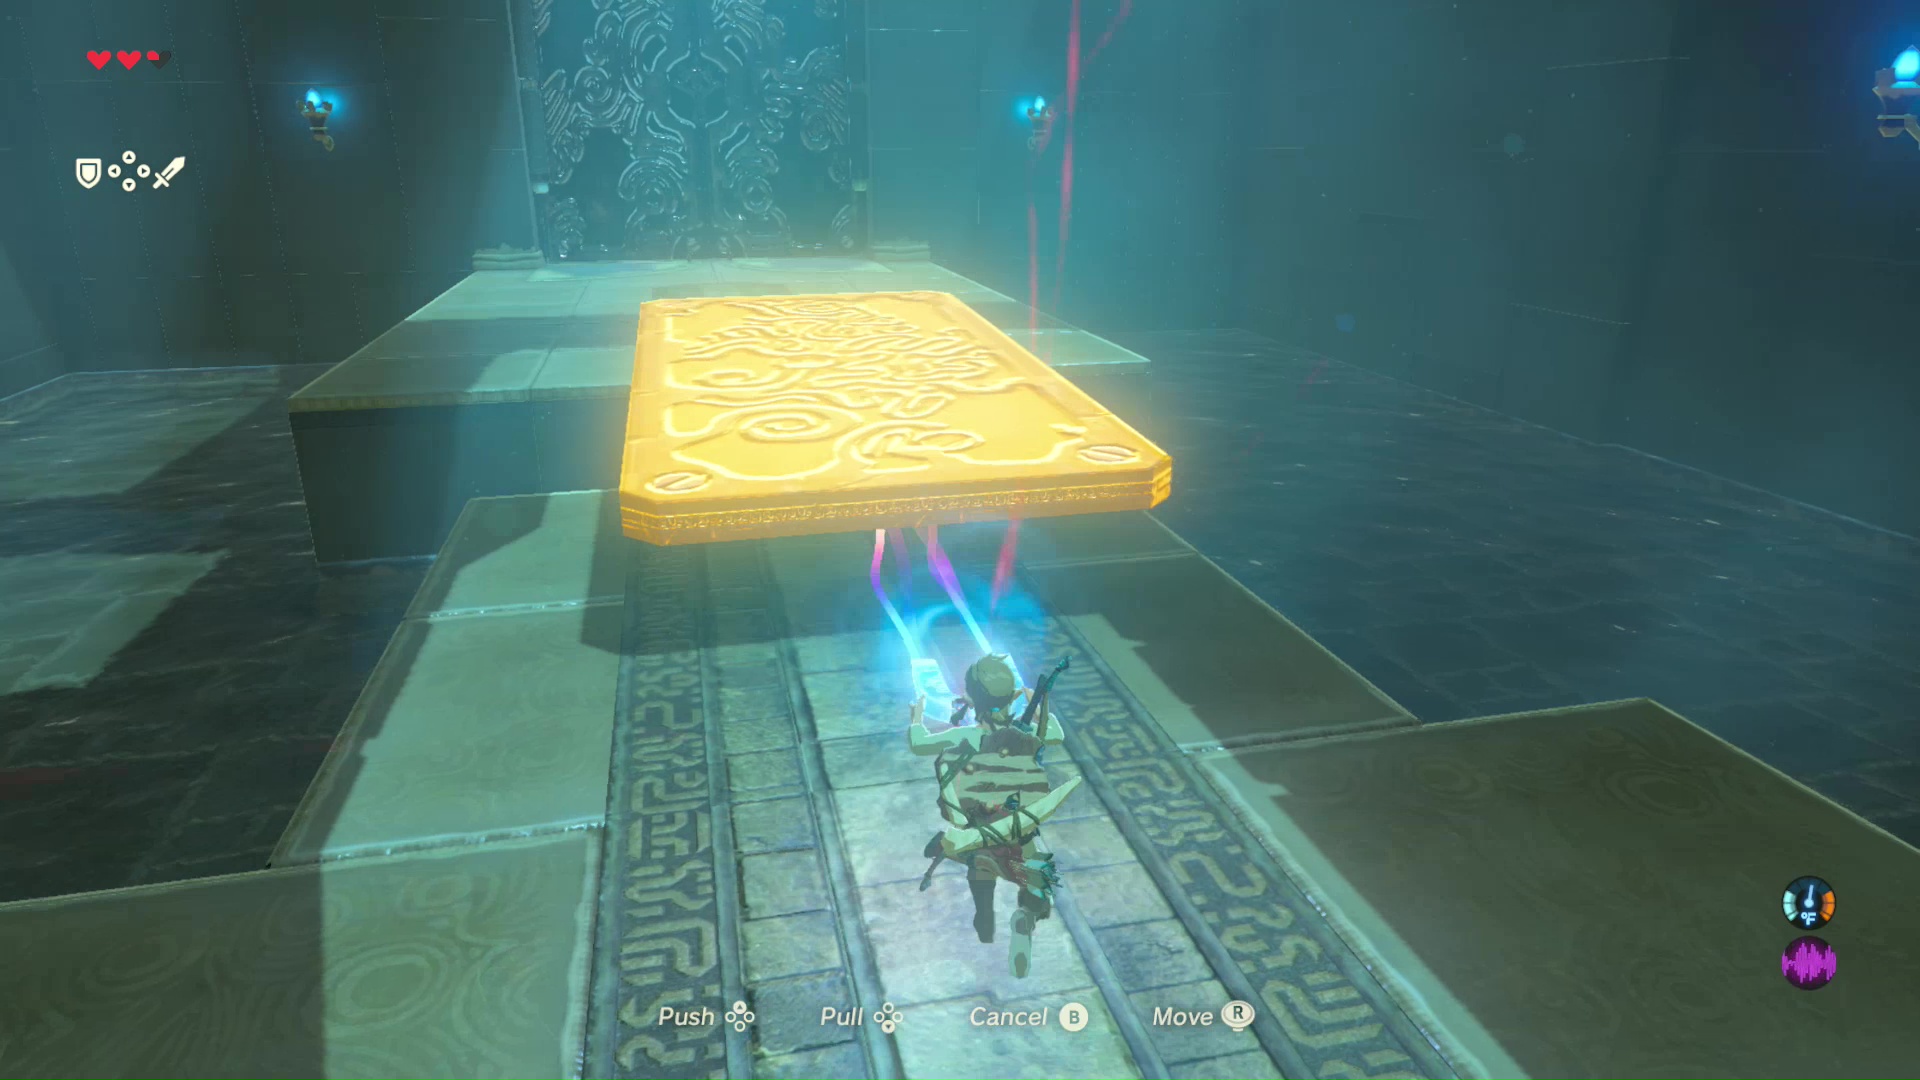
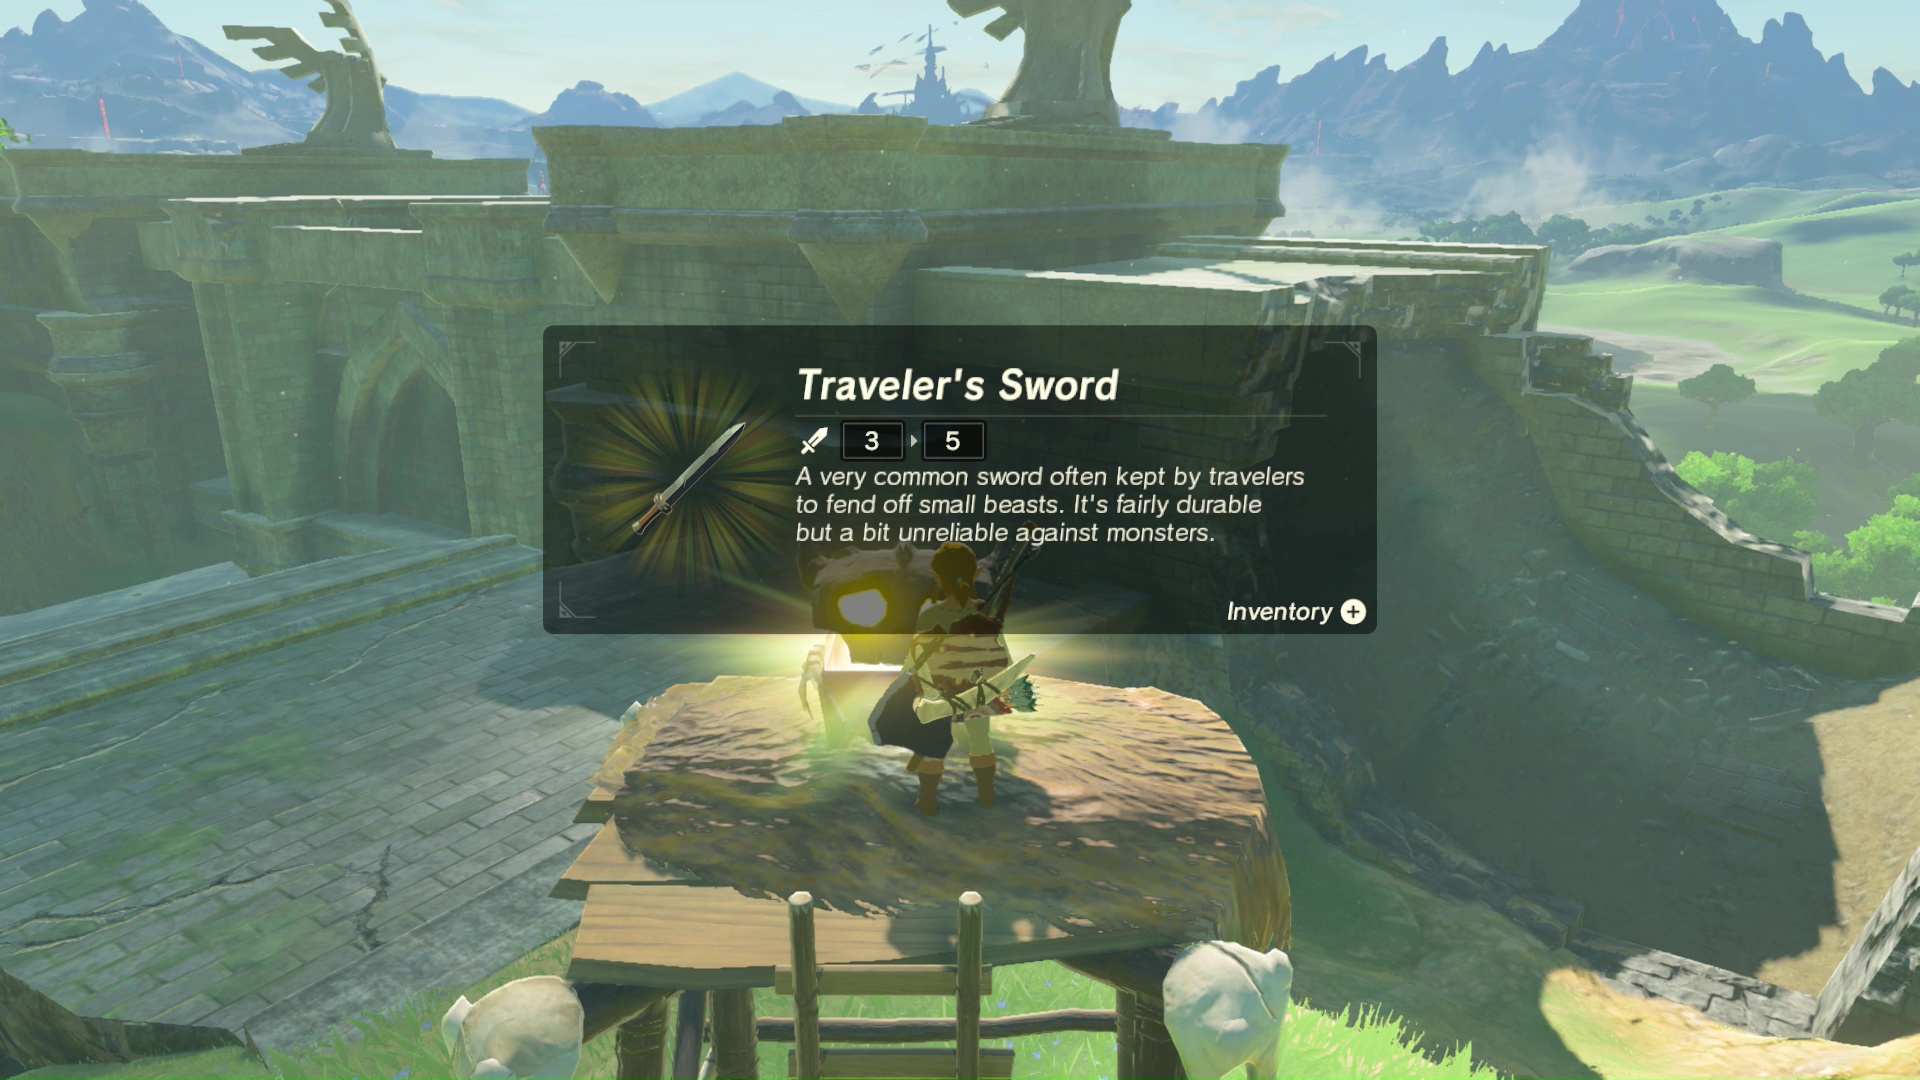
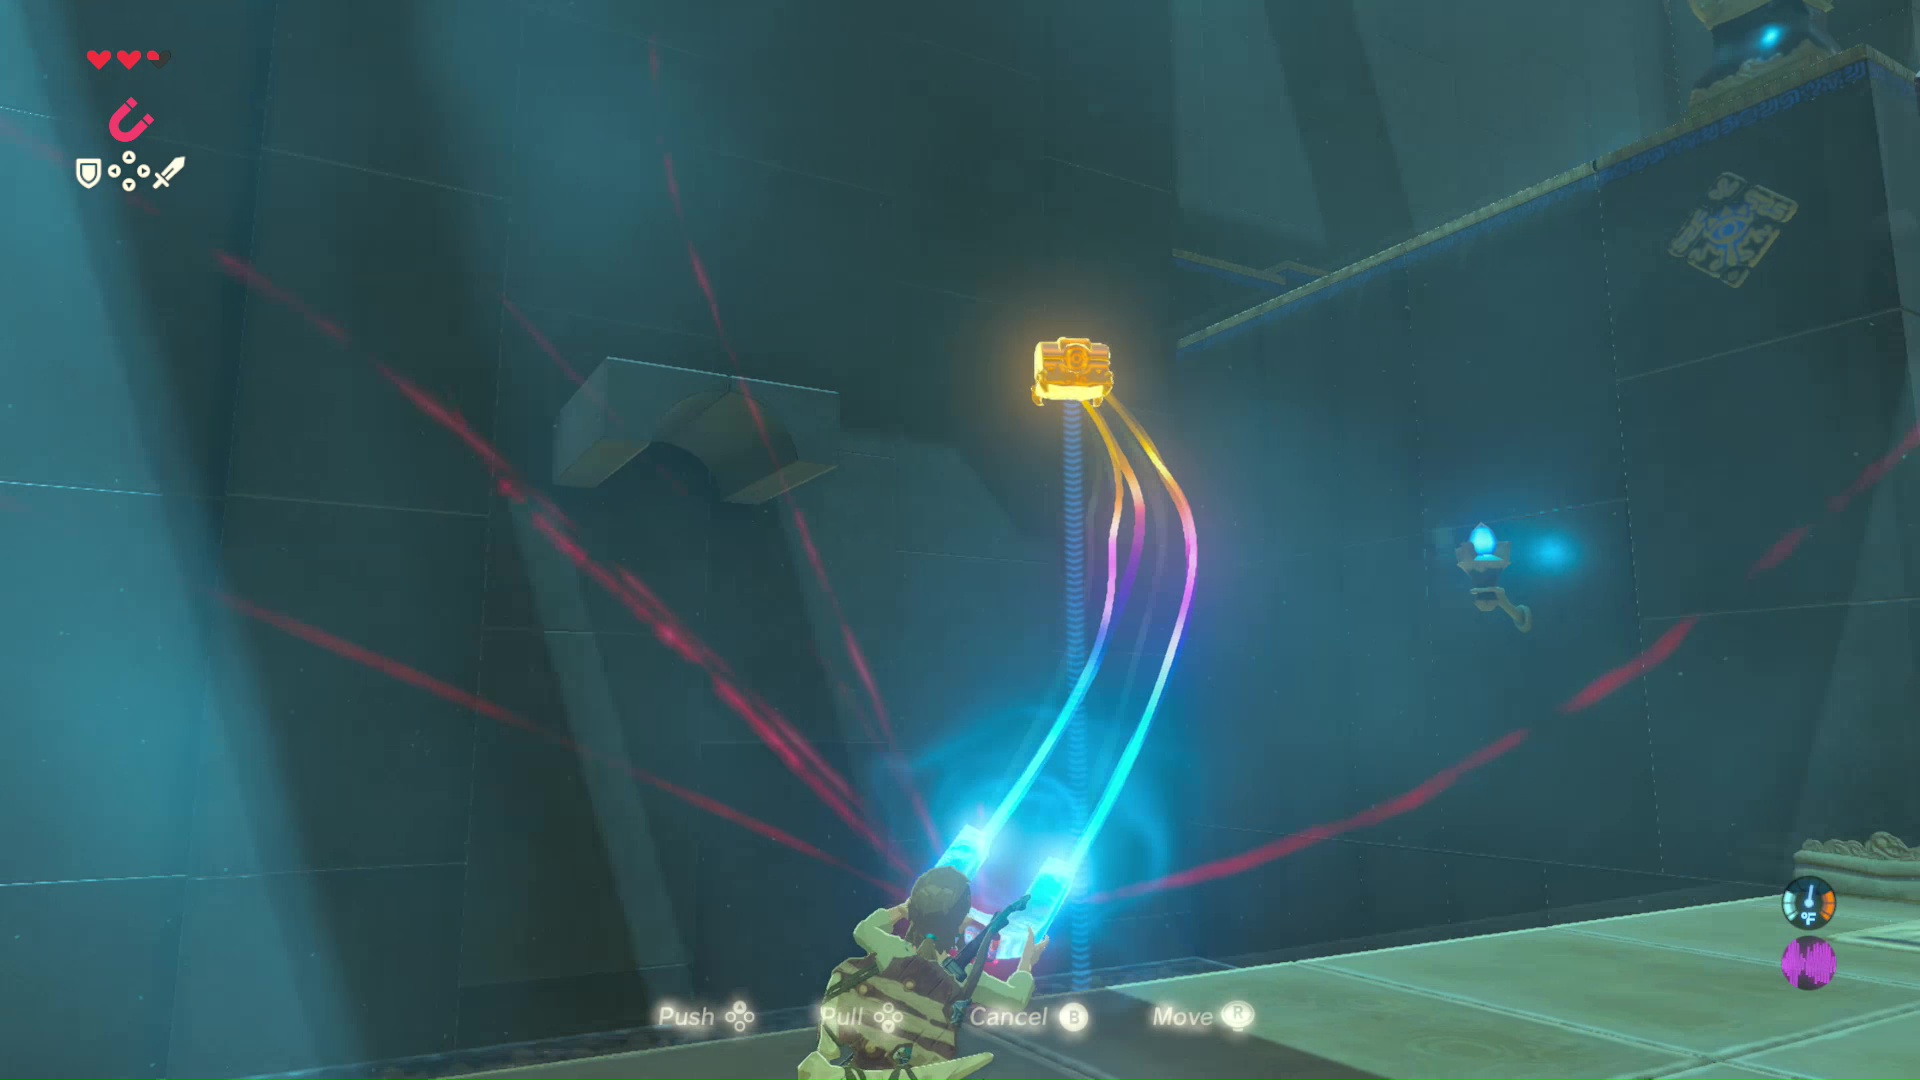
Use Magnesis on the big steel doors up ahead to find the exit to the Shrine. However, before leaving the Shrine, look to the left of the steel doors for a treasure chest on a raised platform. Use Magnesis to grab this chest since it is made out of metal. A Traveler’s Bow should be inside.
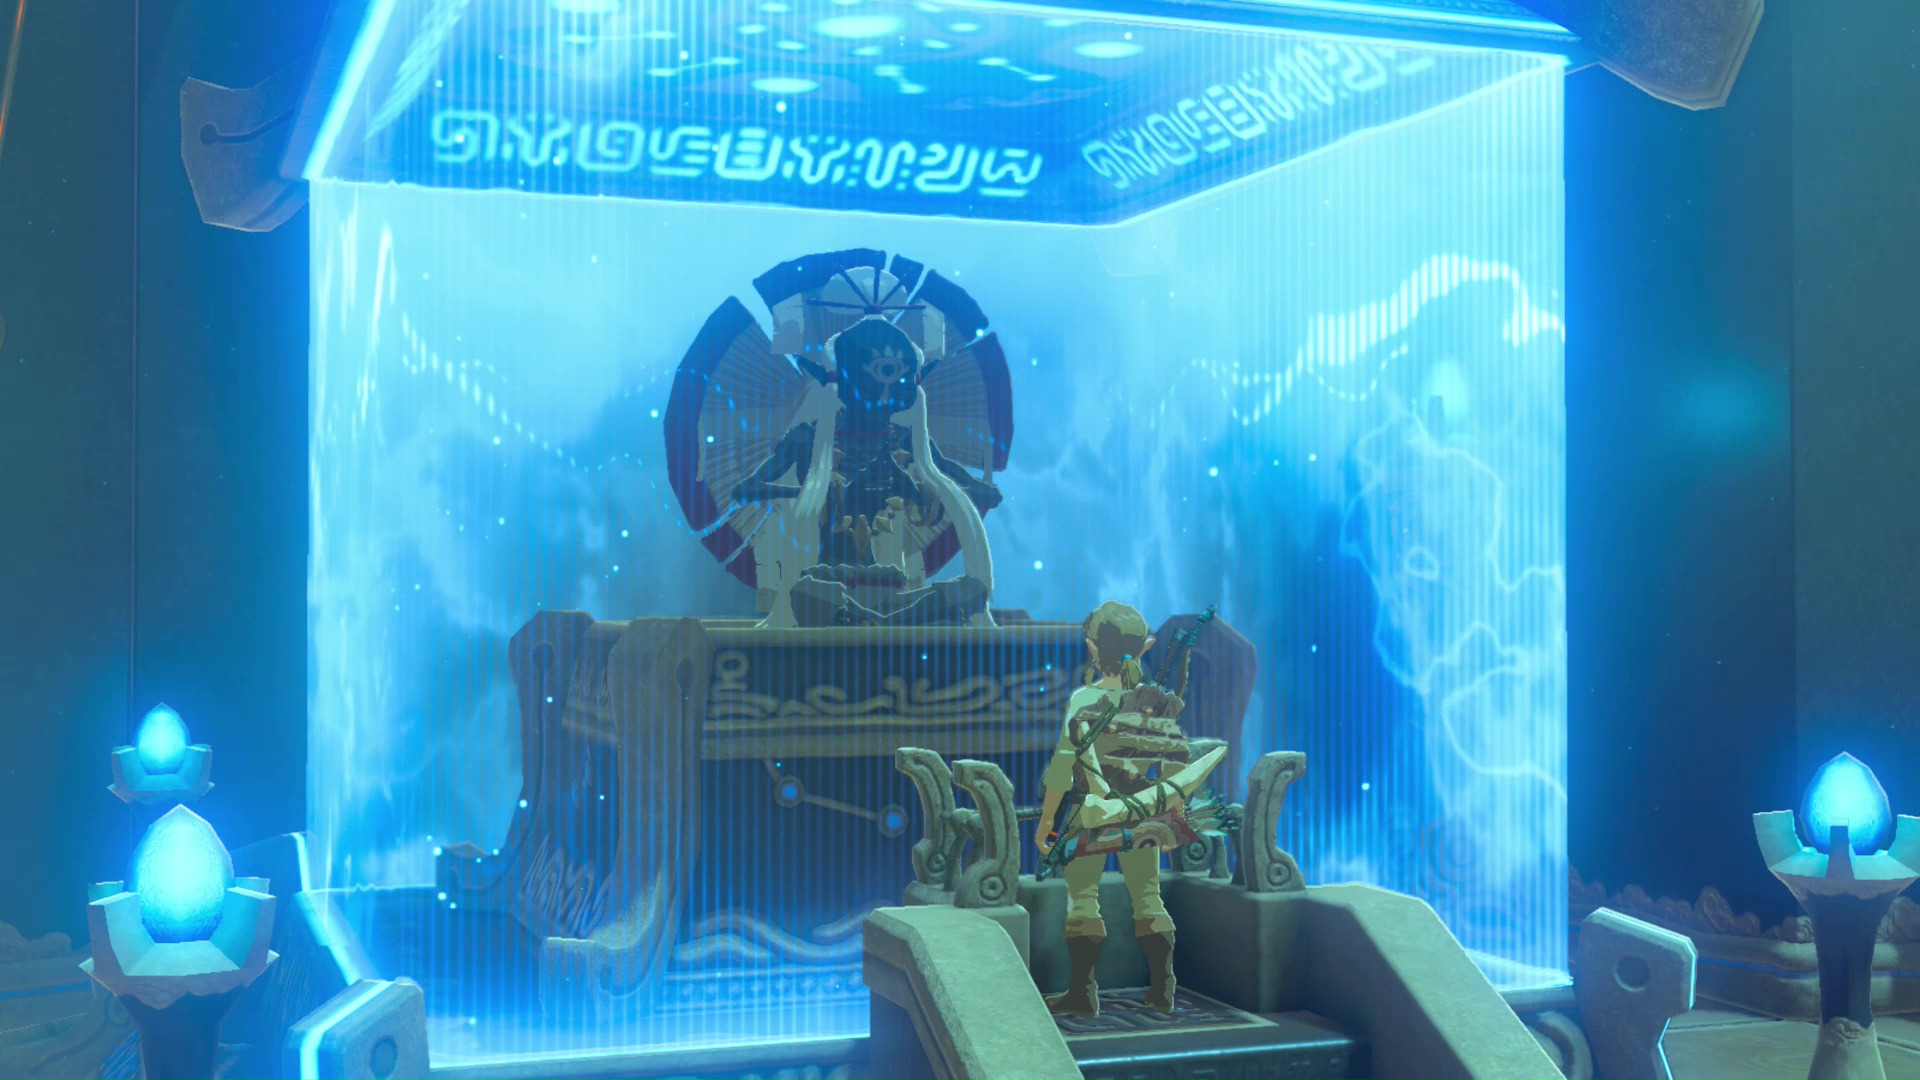
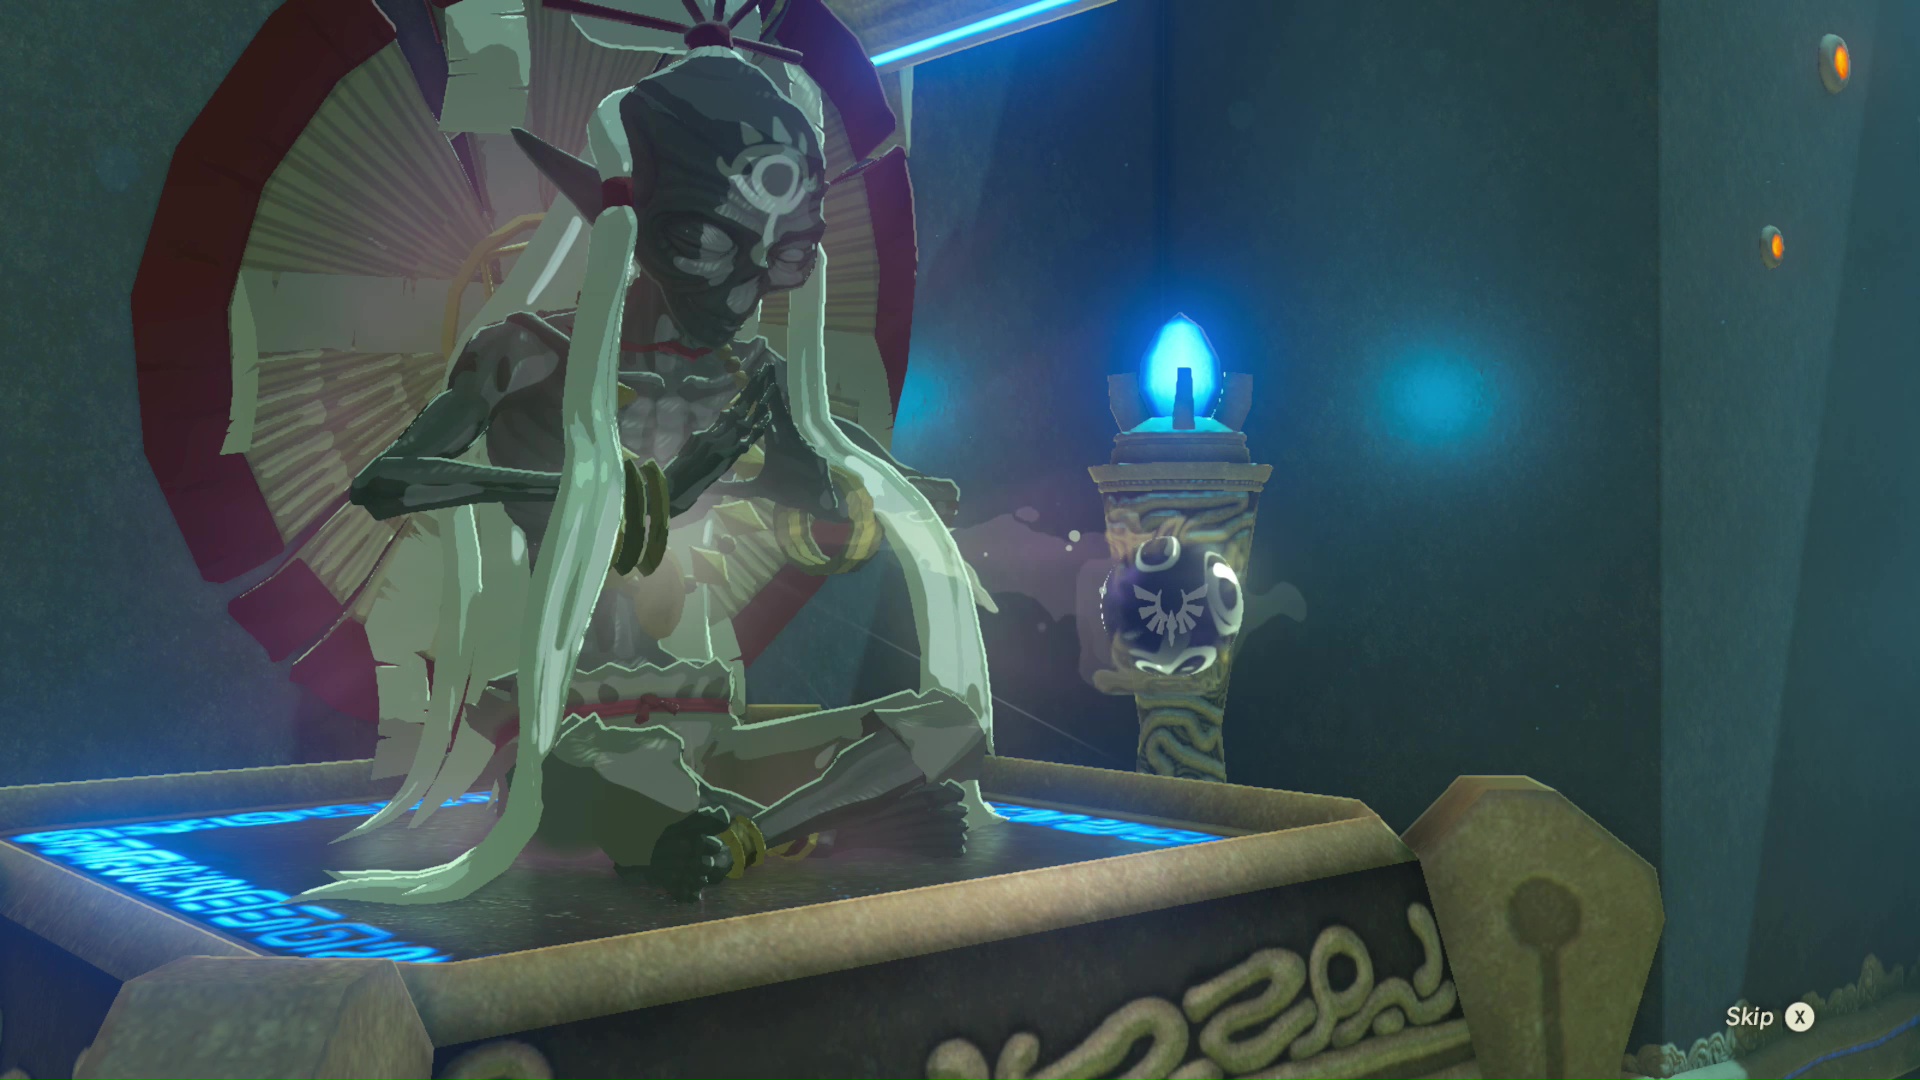
With the Shrine cleared, interact with the monk in the back to obtain a Spirit Orb and exit out of the shrine.
Great Plateau to Ja Baij Shrine
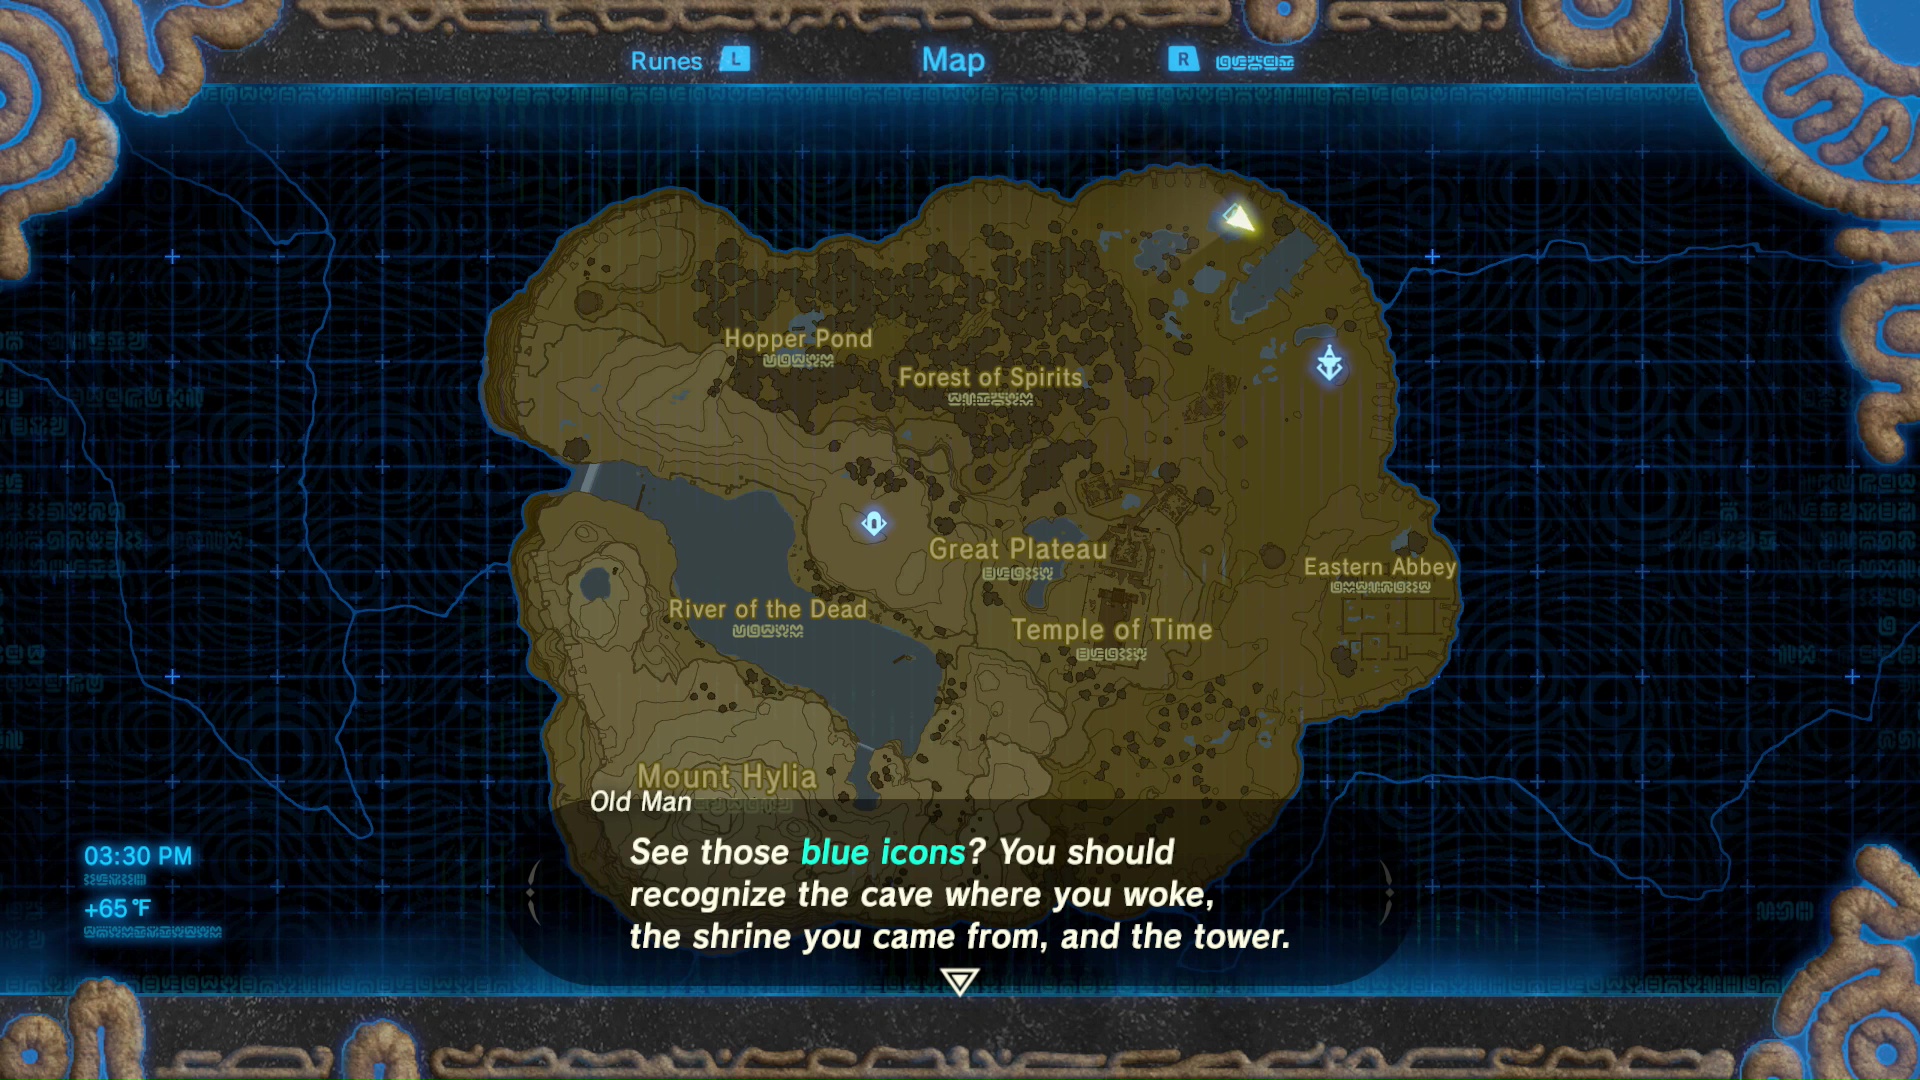
As you exit the Shrine, the Old Man will come in and update the quest. Unfortunately it’s not over just yet. Now you have to find three more Shrines on this plateau before you get the Paraglider. The Old Man will tell you to return to the Sheikah Tower from earlier to easily find these three Shrines. It’s simple, just open up your map and select the tower to instantly travel to the top.

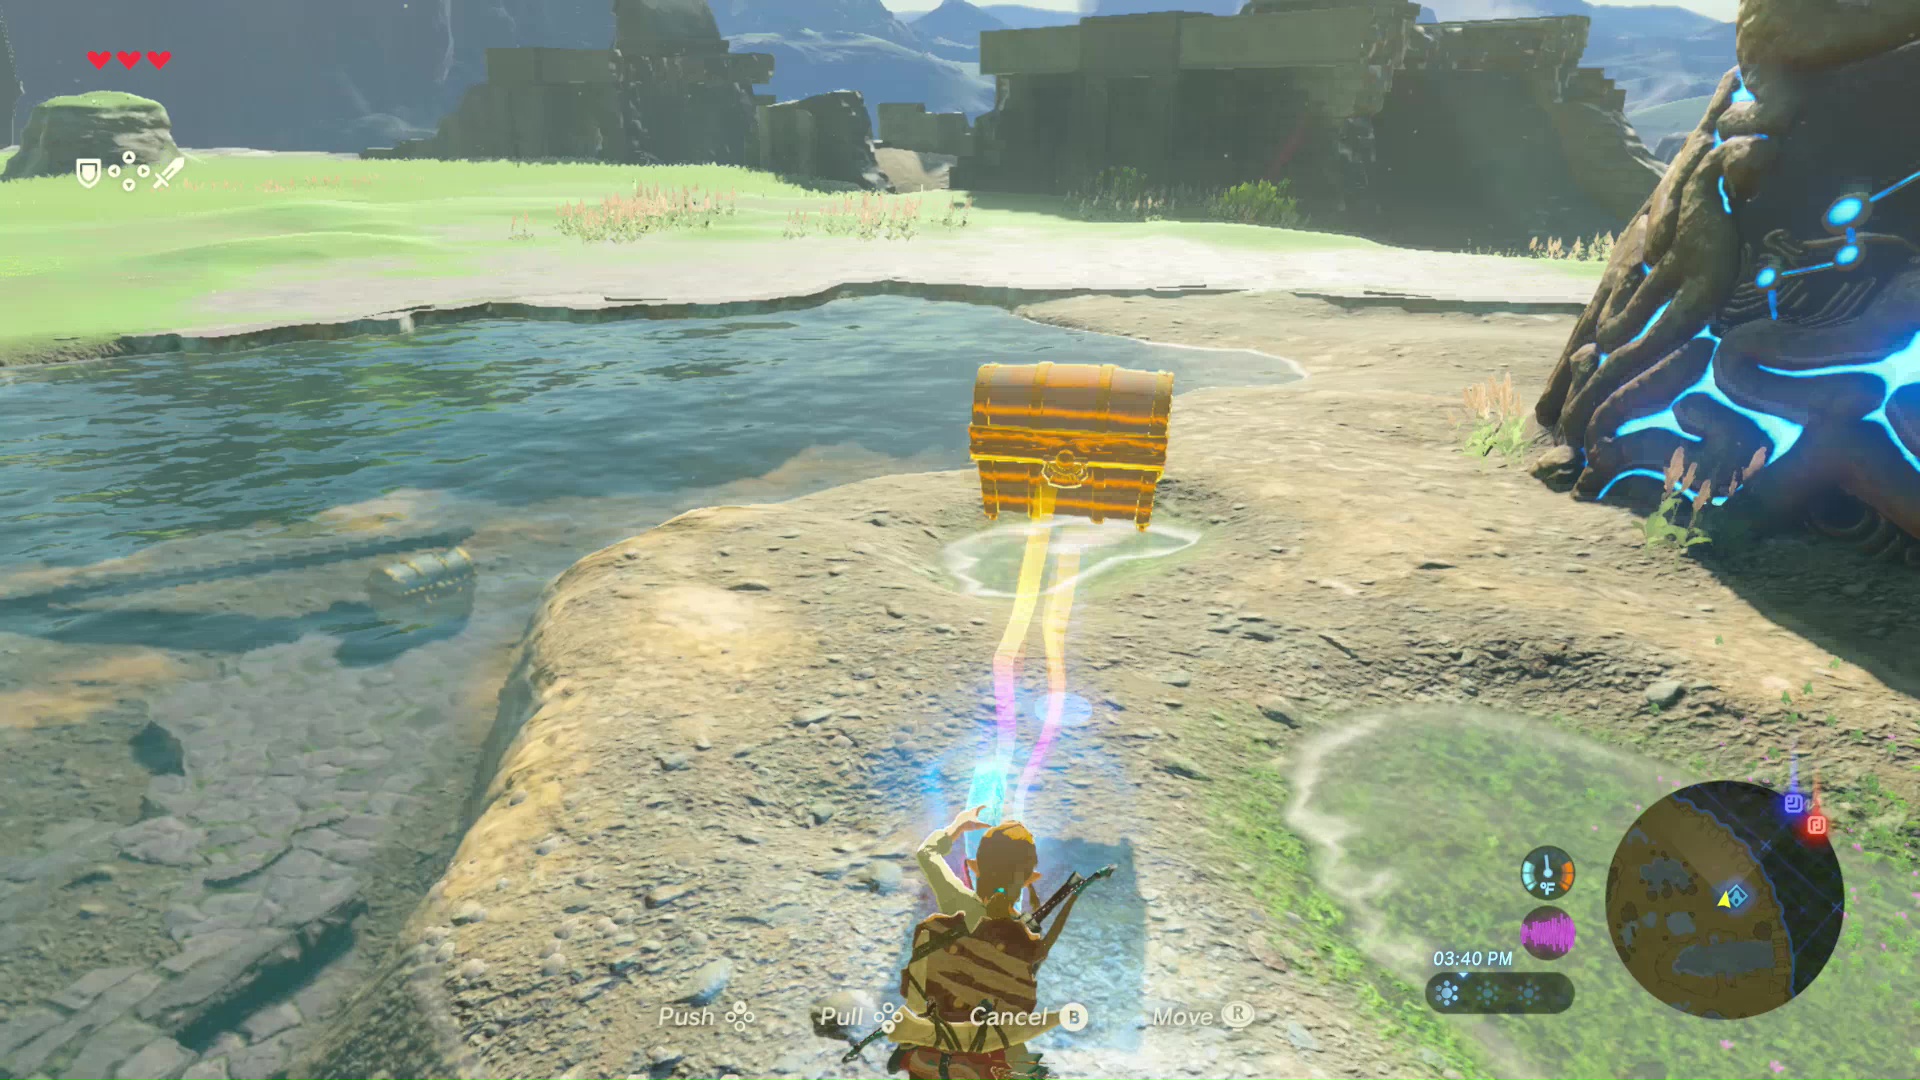
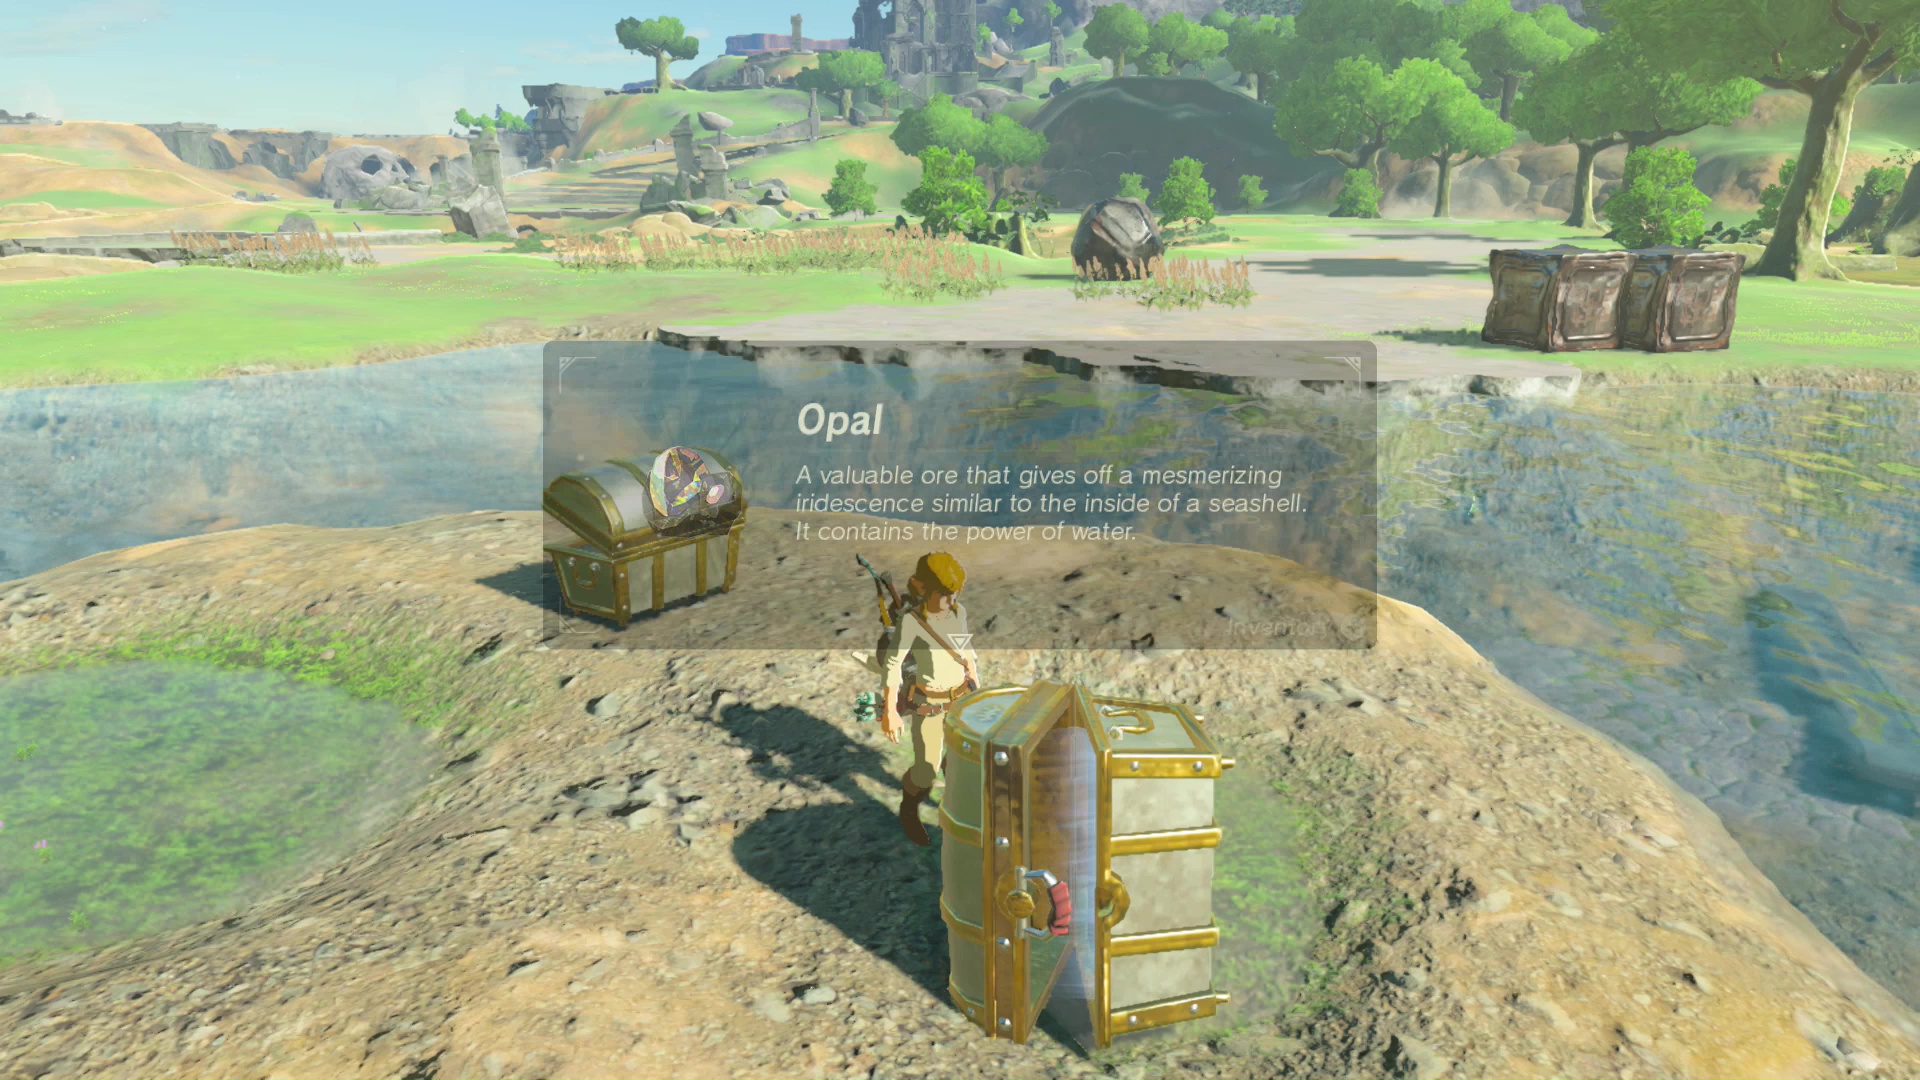
Again, you don’t have to travel directly to the objective. Grab some materials or use the new Magnesis Rune to collect Treasure Chests from tough to reach areas. There’s a small body of water near the Shrine where you can grab two treasure chests. Smash the large steel blocks to get some materials, as well.
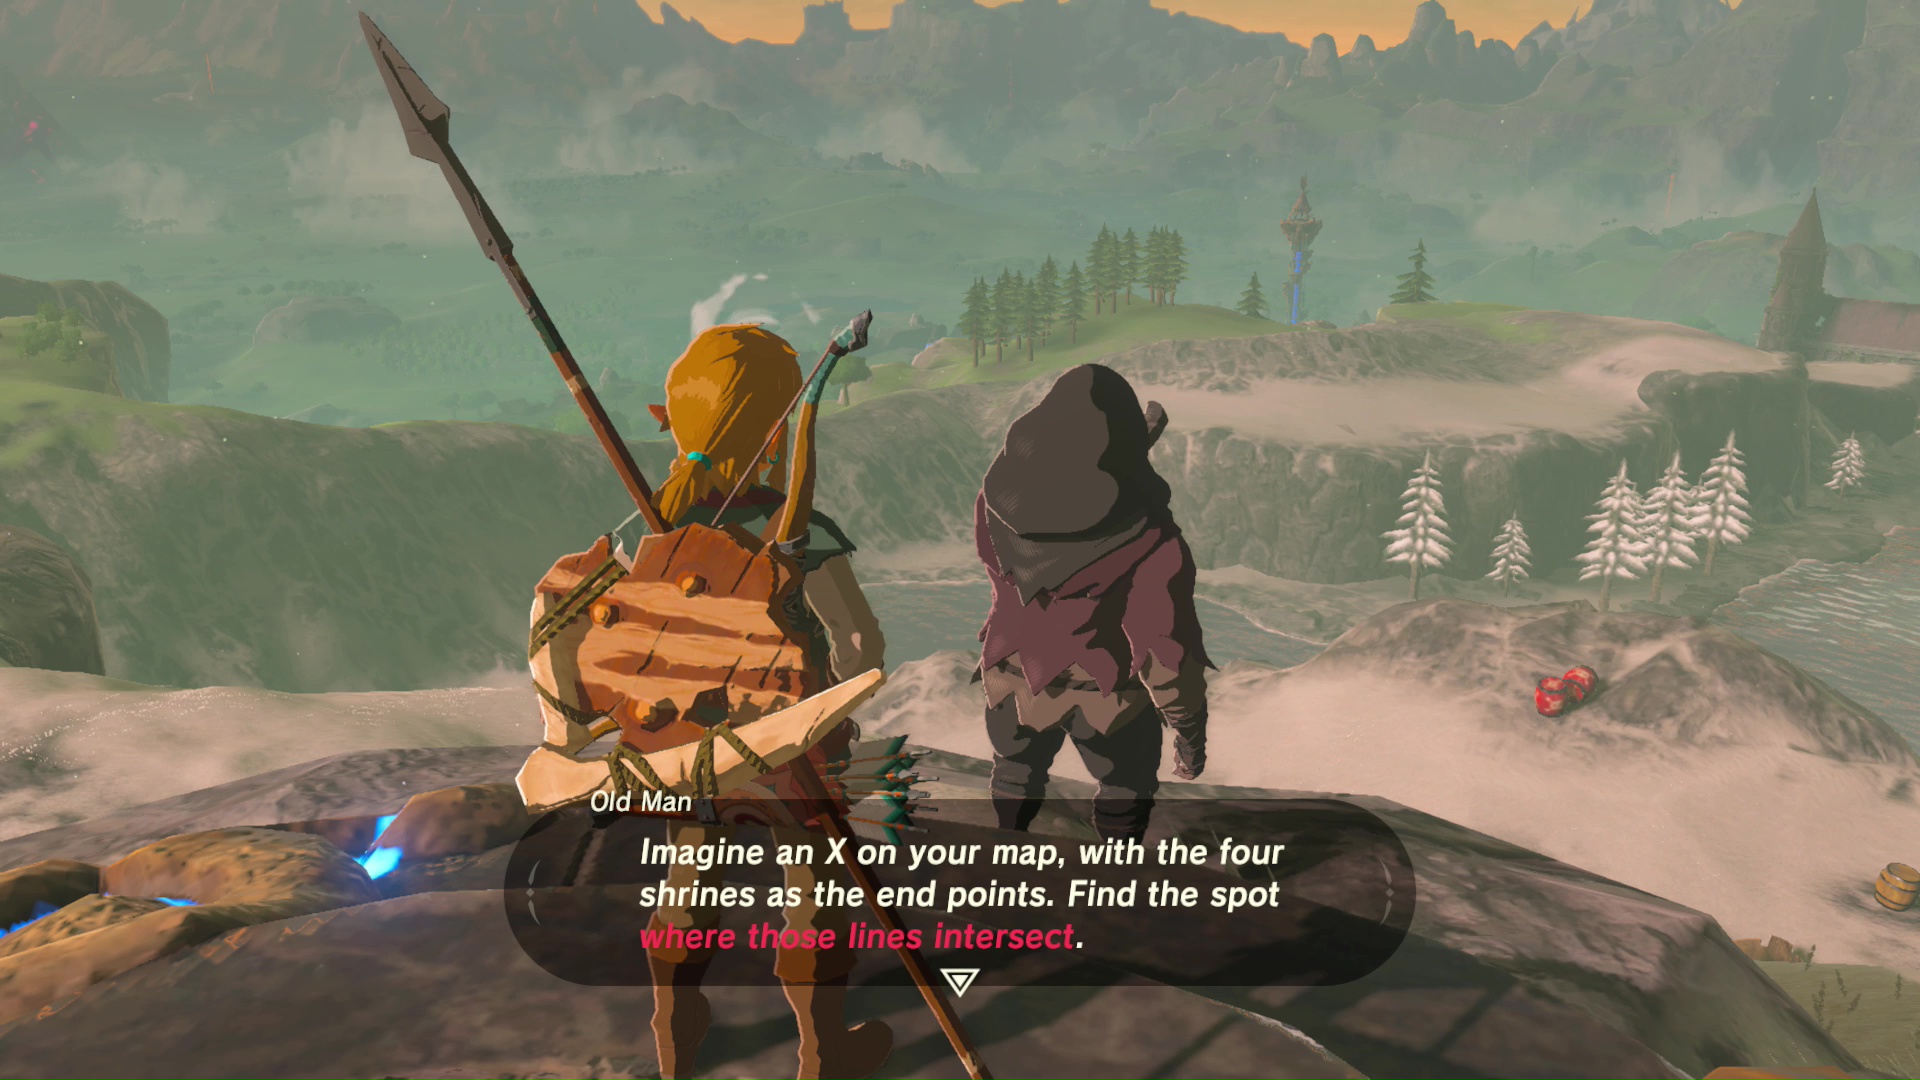
When you’re ready to continue the quest, return to the top of the tower and speak with the Old Man. He’ll tell you to press the right joystick to activate the scope on the Sheikah Slate. Press A while using the scope to add a pin to the map. Find the other three Shrines on the Great Plateau and pin them with your scope. If you’re having trouble finding them, see the map below.
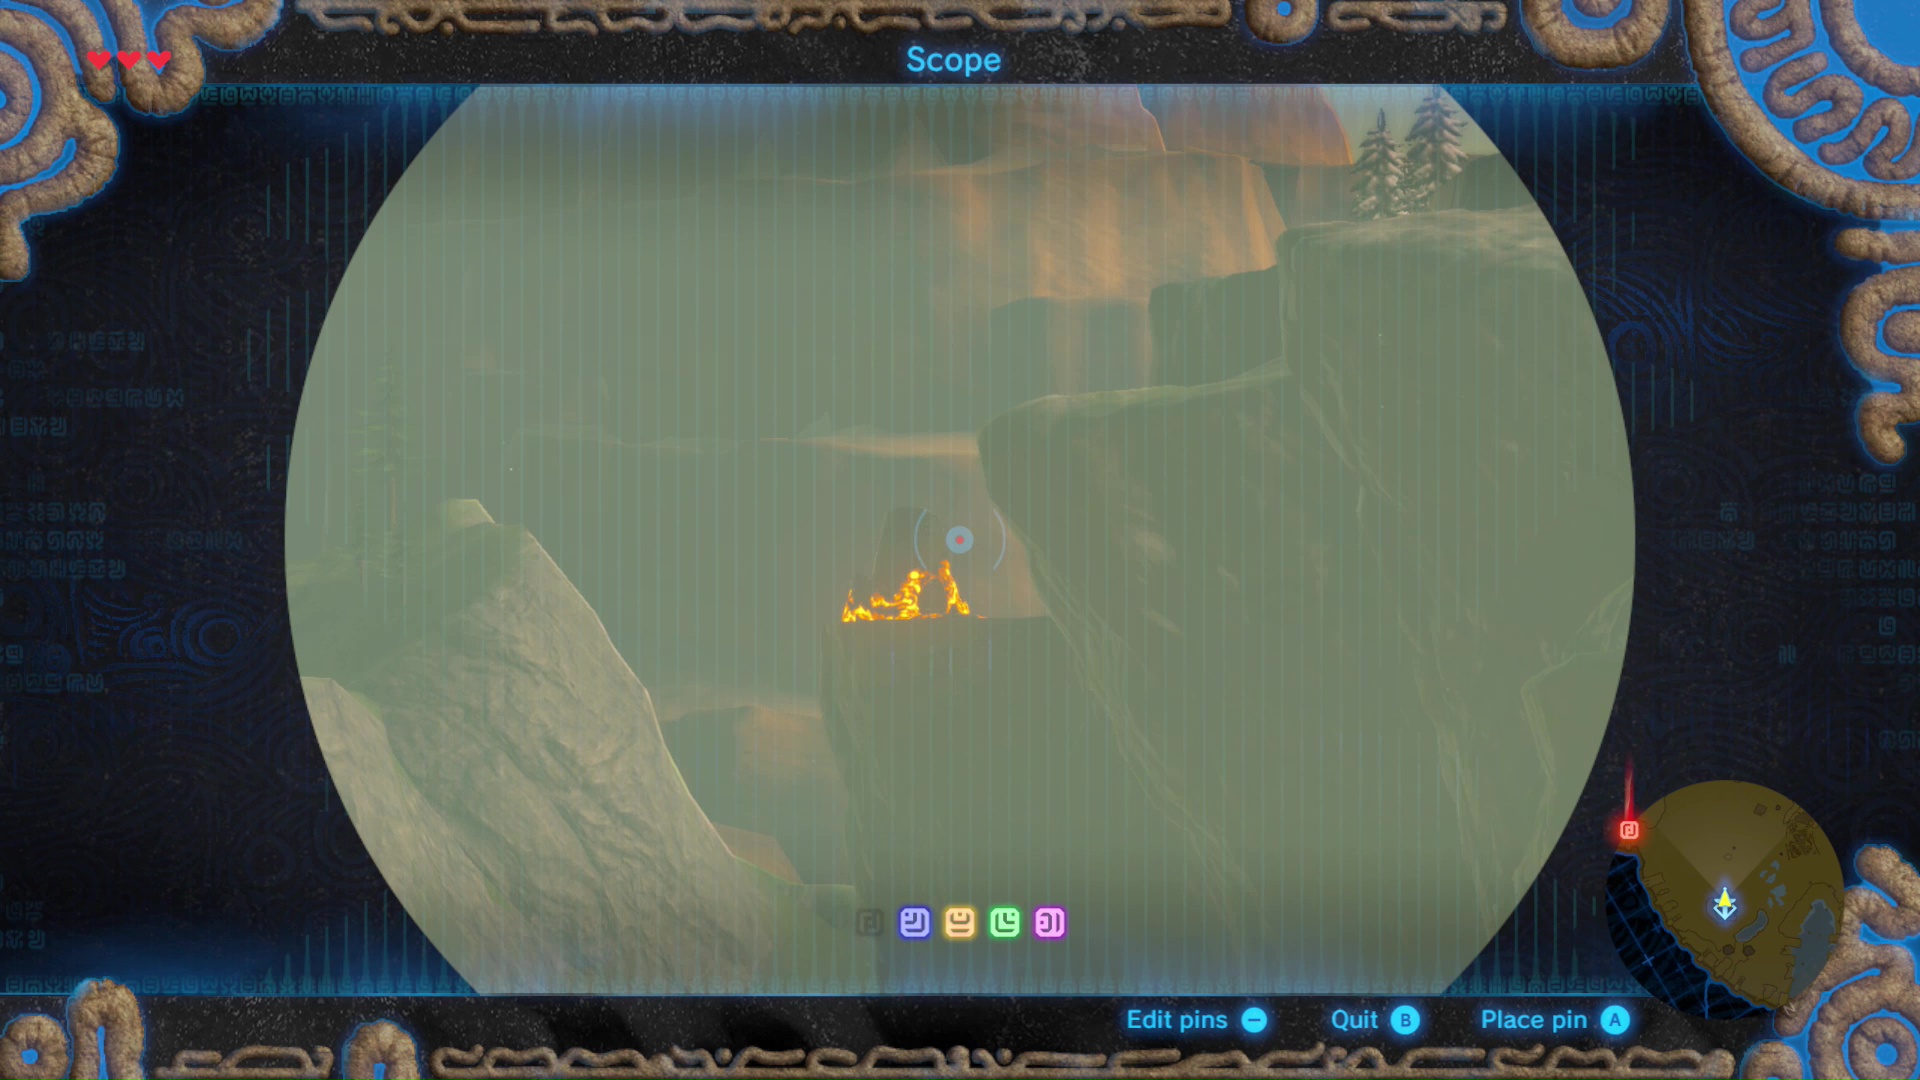
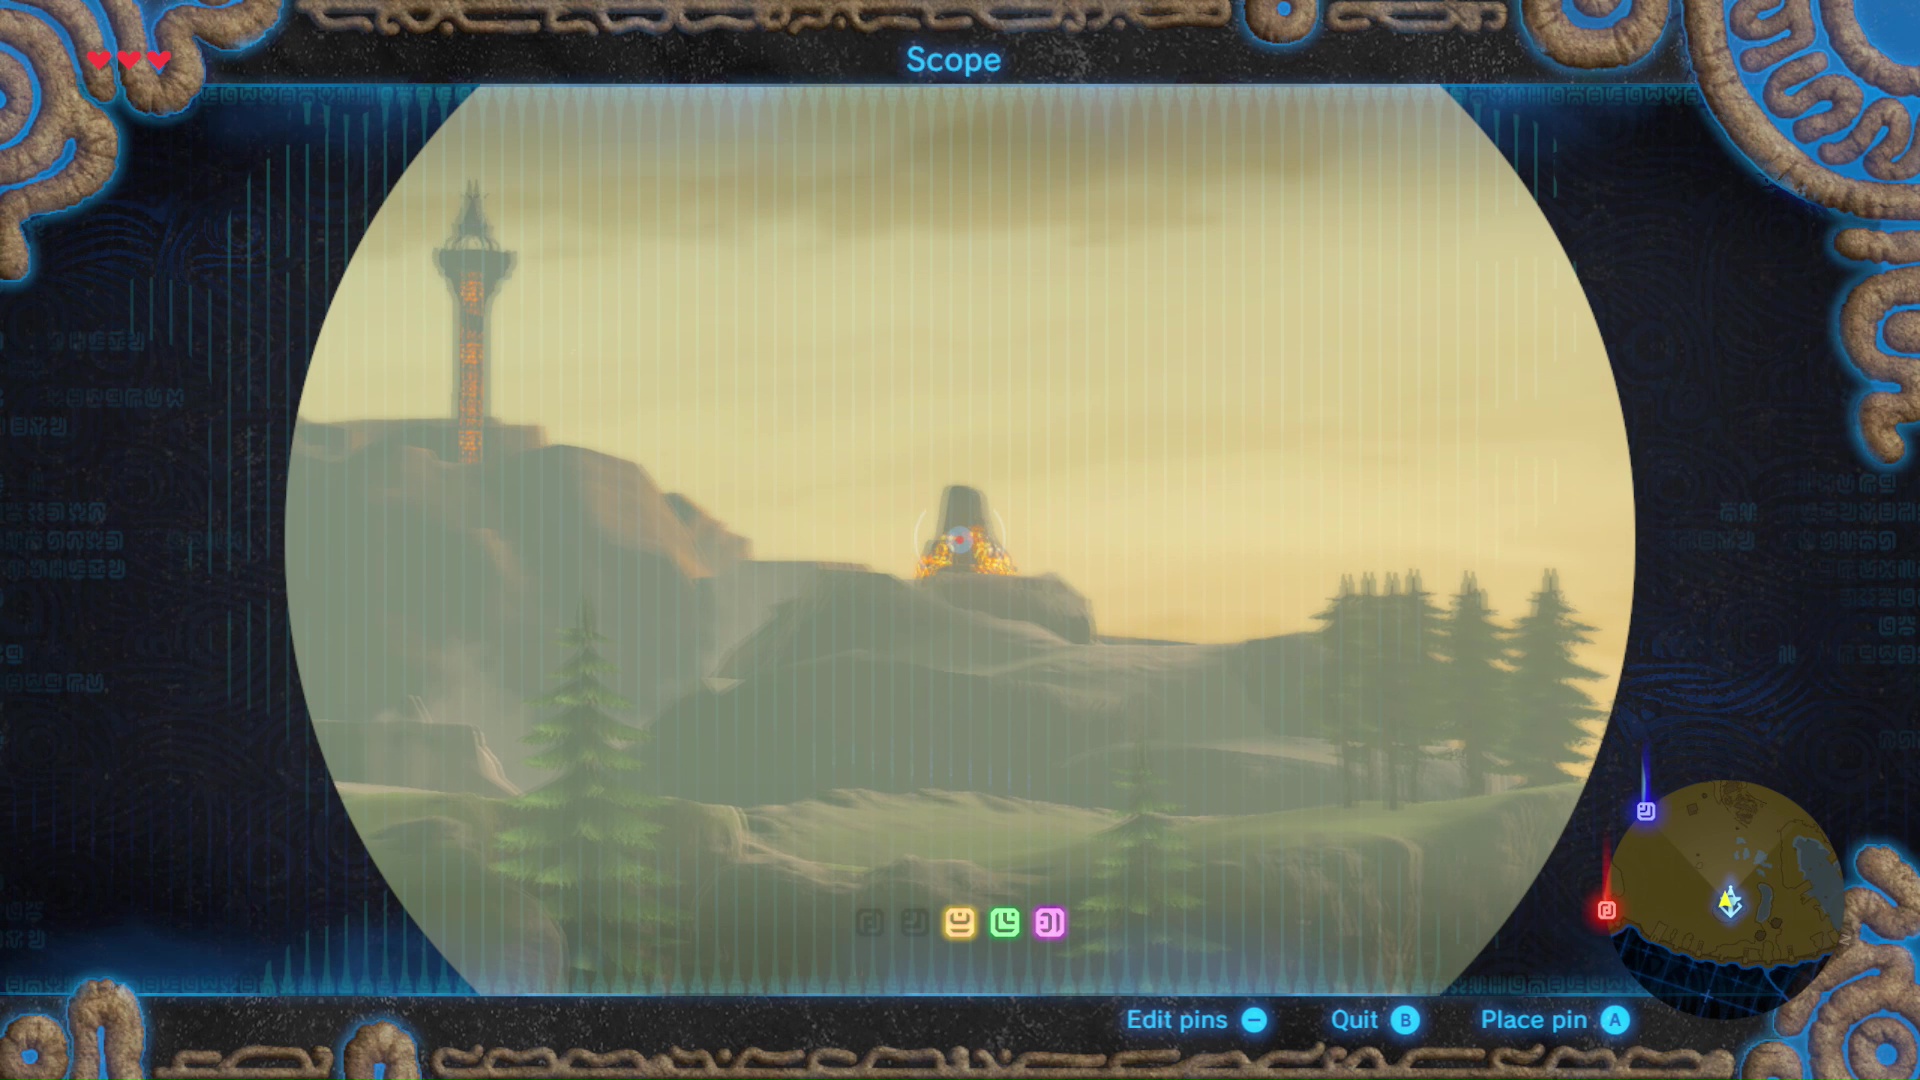
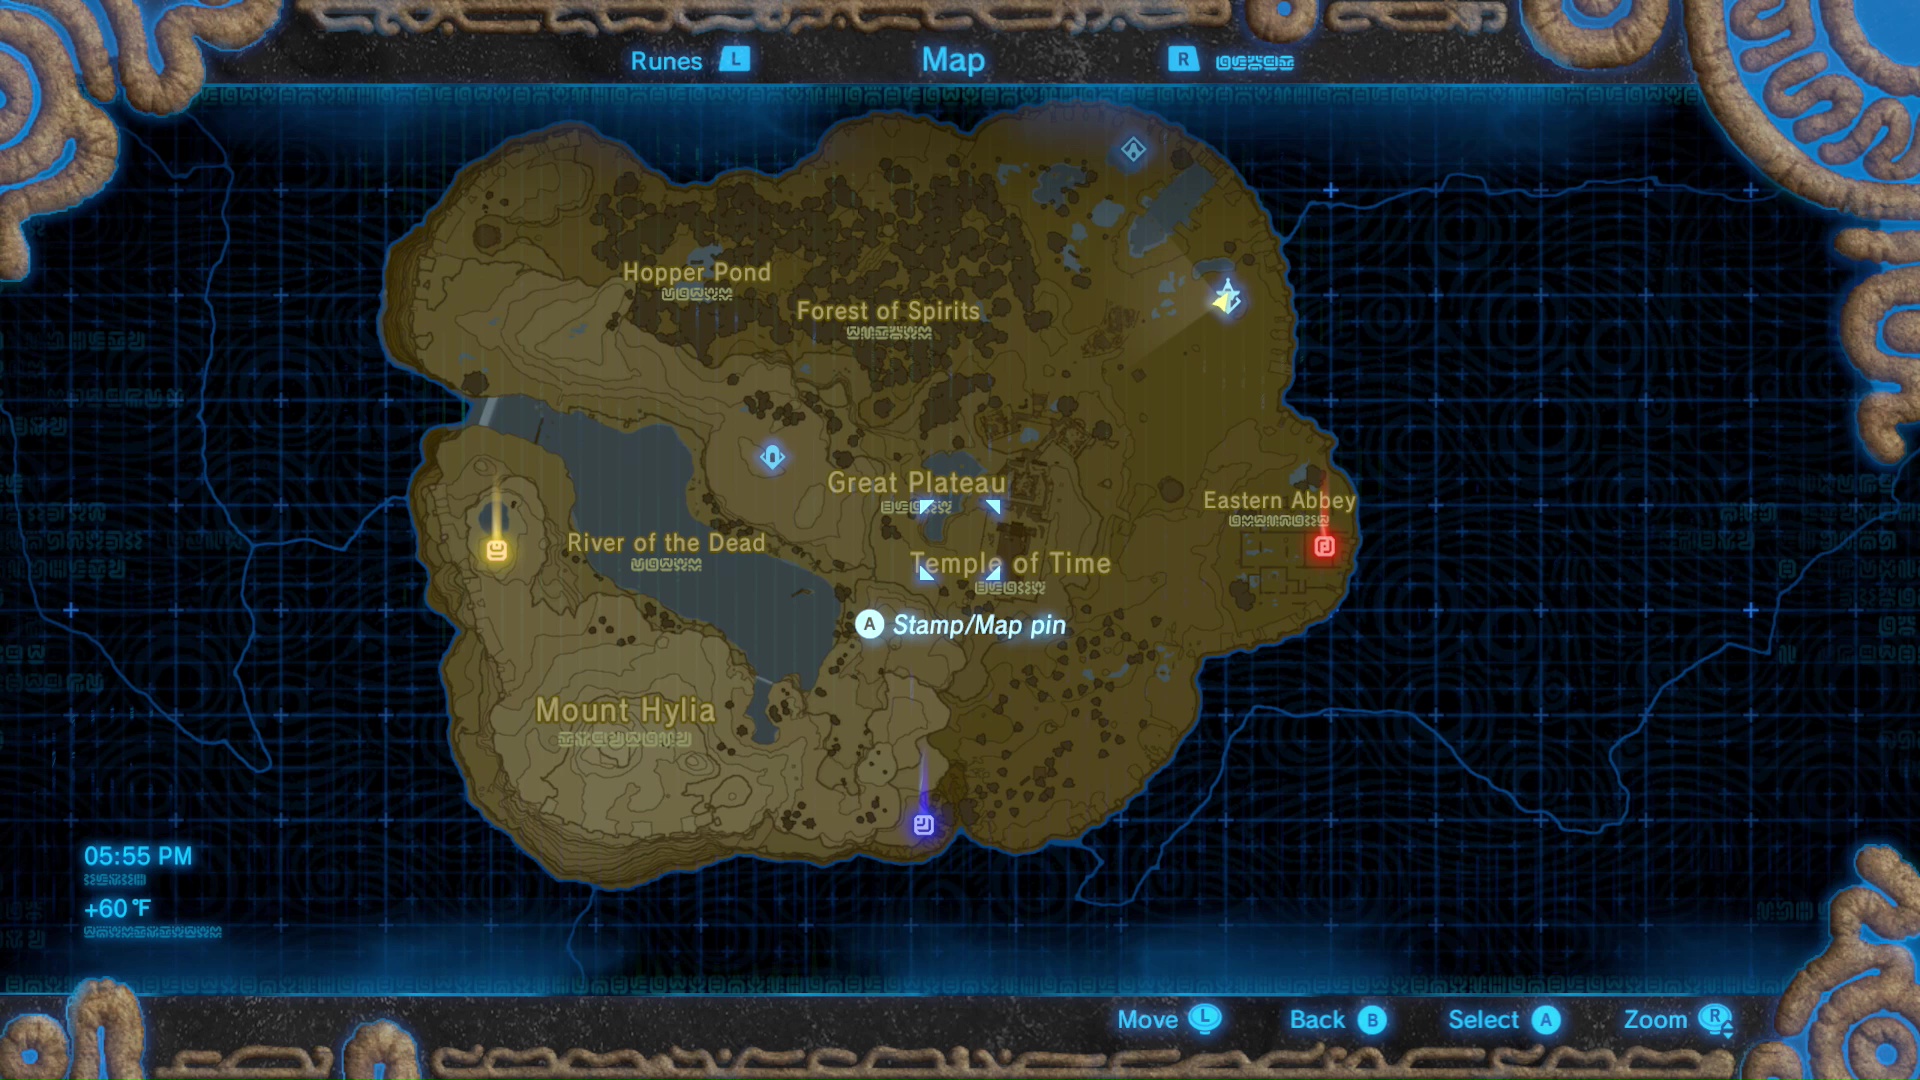
The next step is to find and clear all three Shrines. The Shrines can be taken in any order, but it’s best to go directly south first to the Ja Baij Shrine.
Ja Baij Shrine
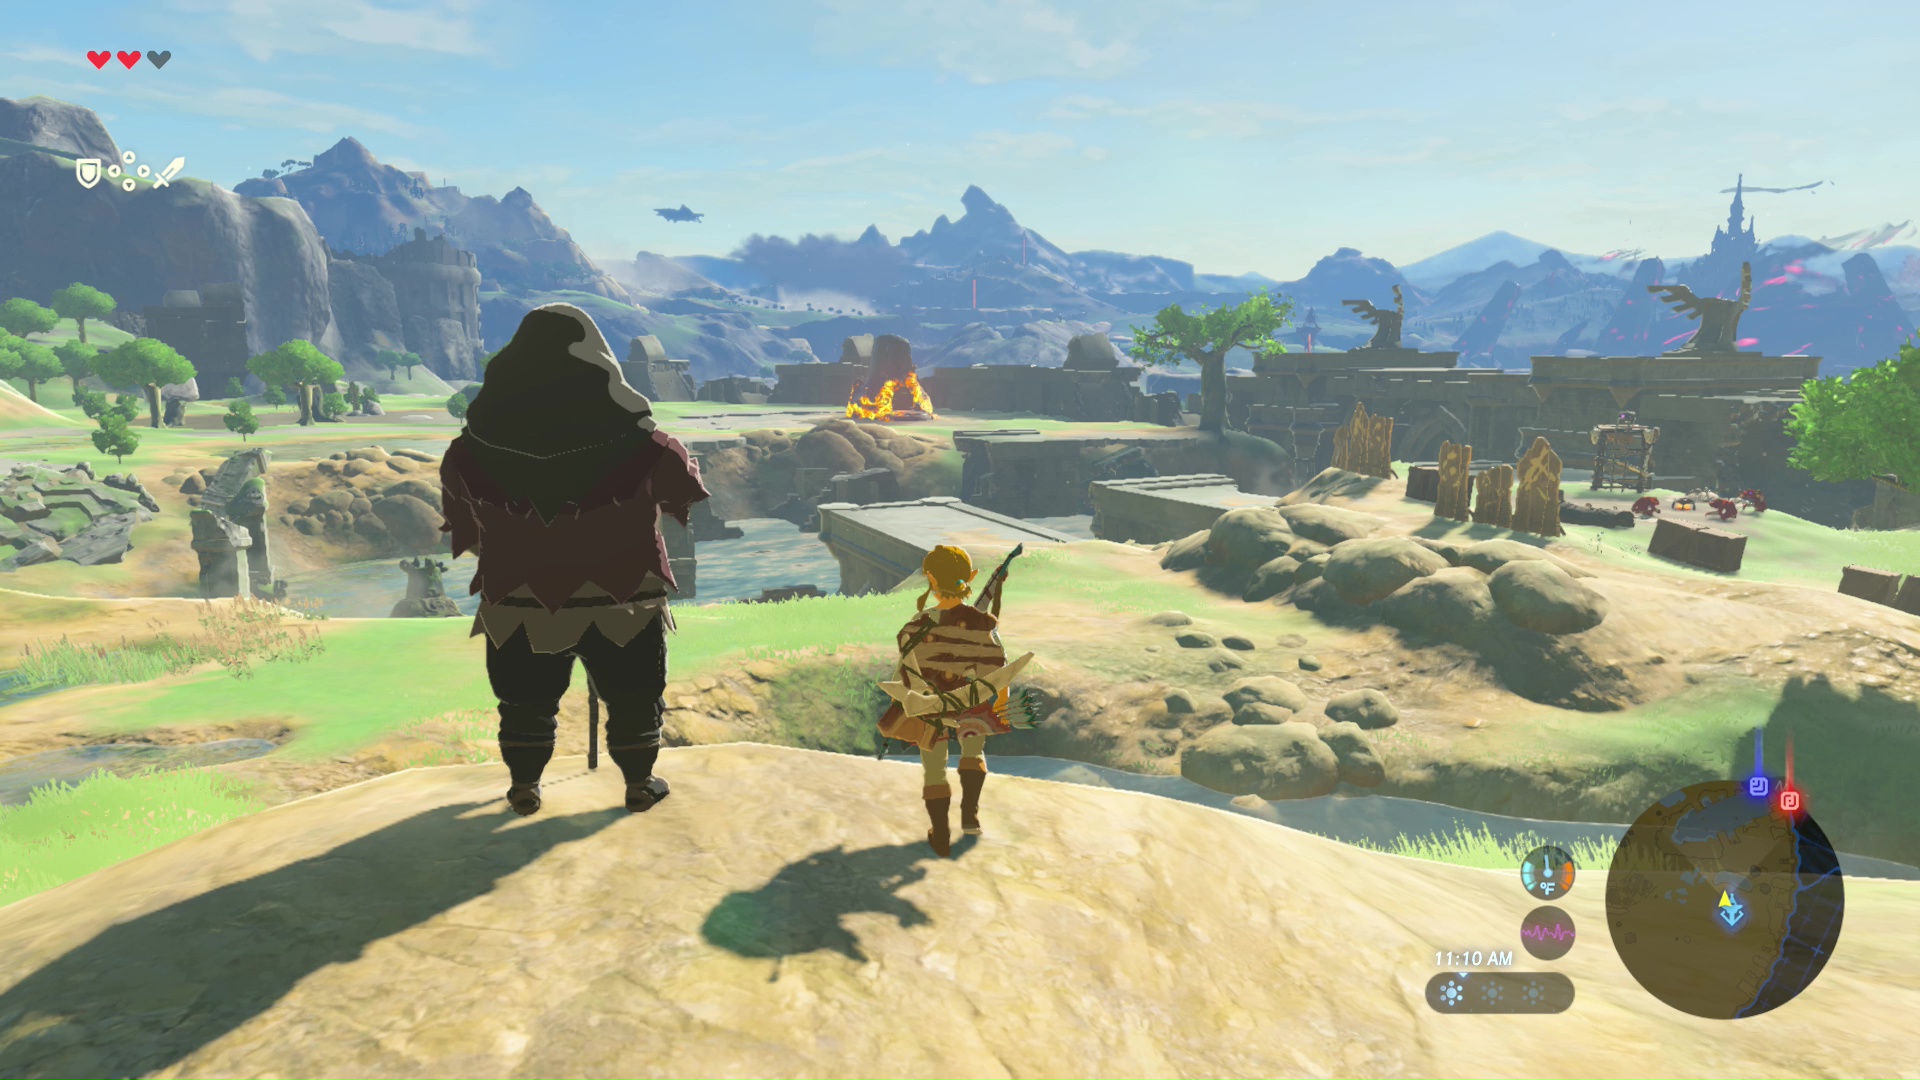
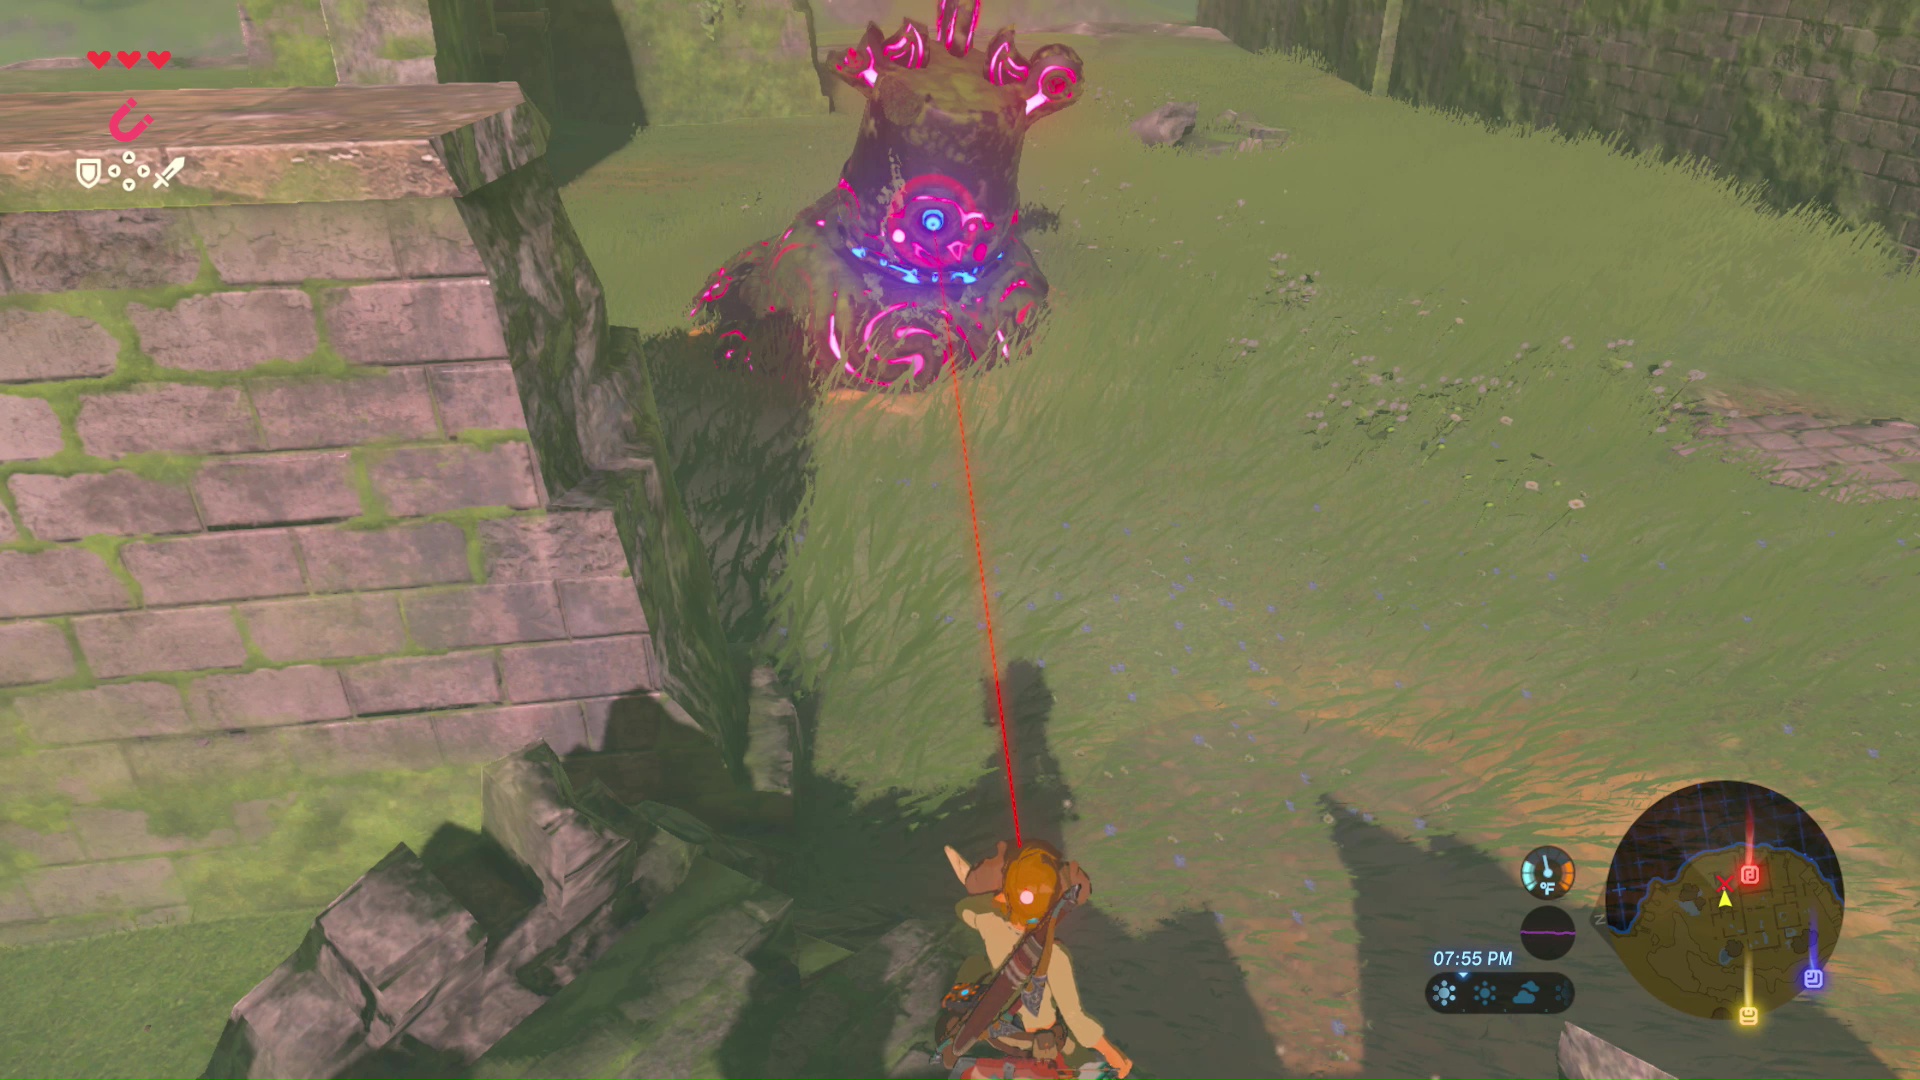
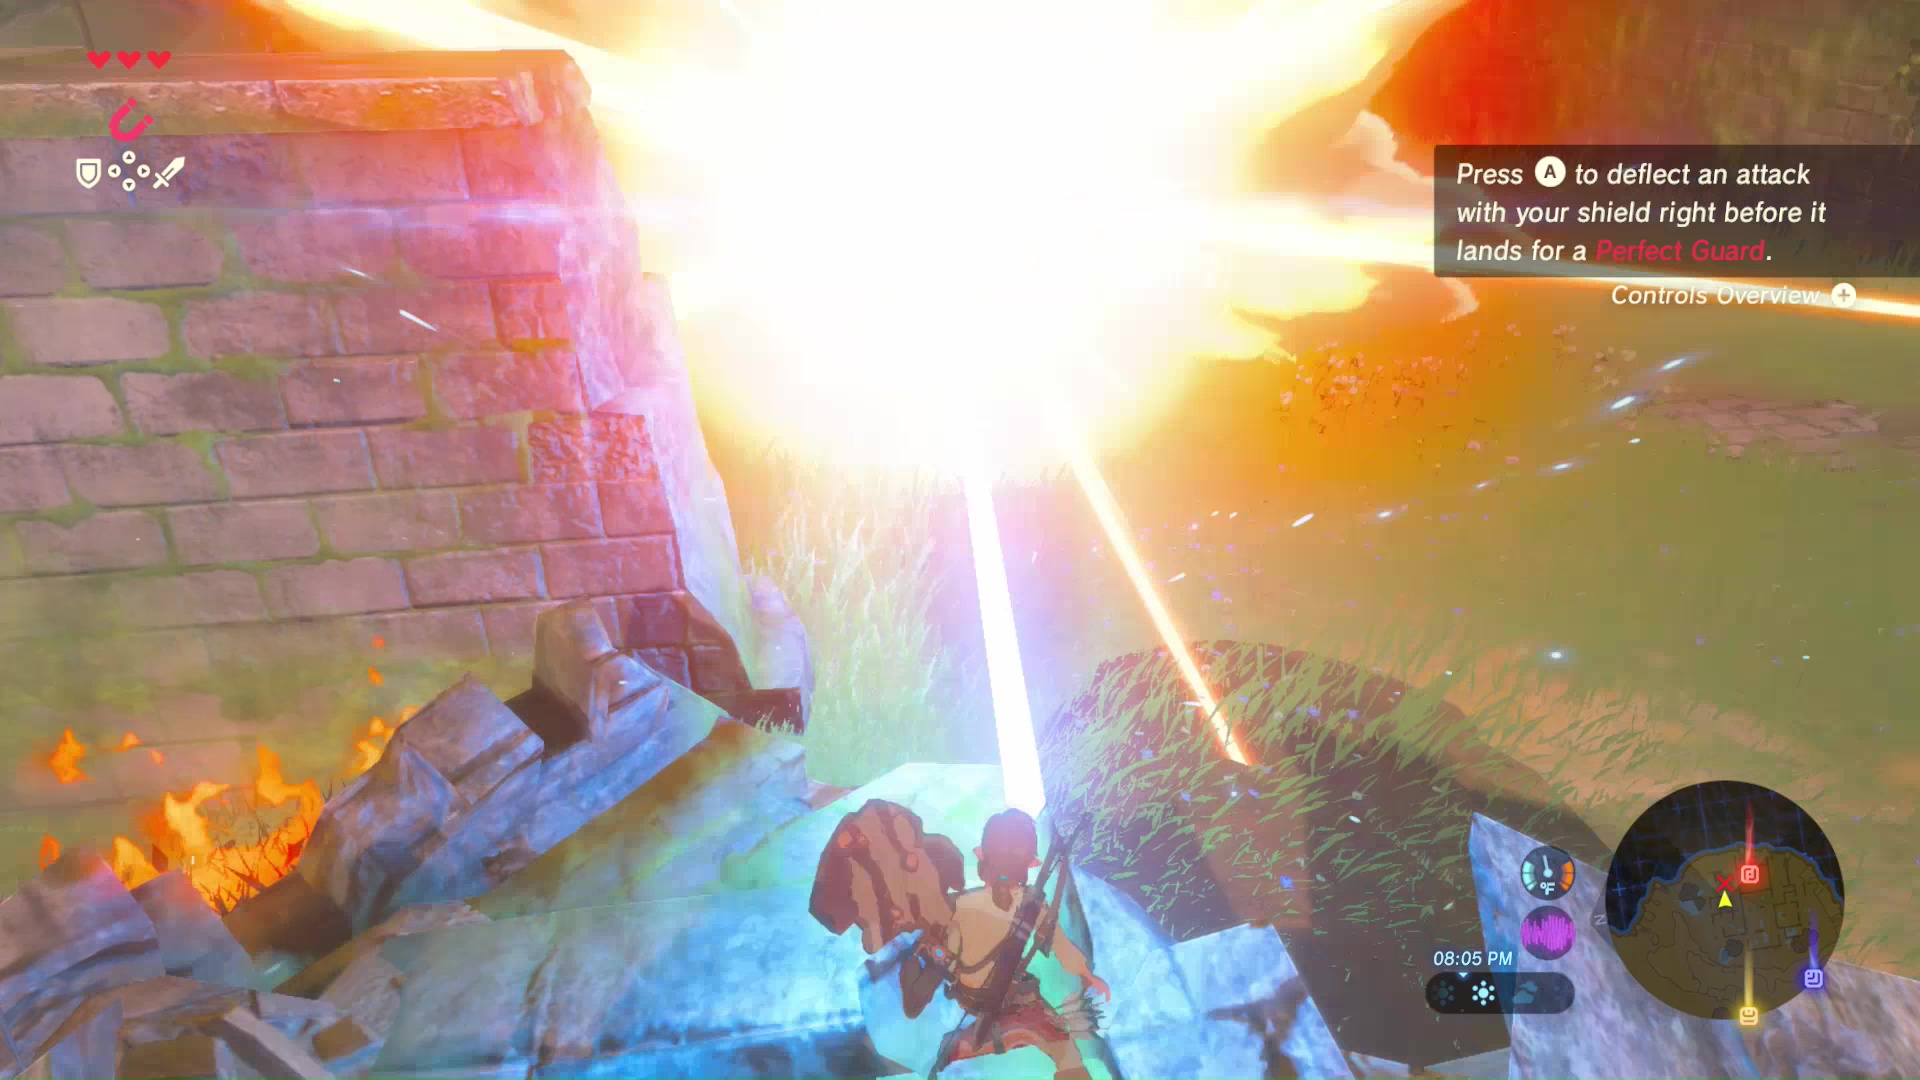
The Ja Baij Shrine is located south of the Tower within some ruined brick walls. Also within these walls is a partially destroyed Guardian. Although they can’t move, they can still use their beam attack to kill you with a single shot. Either hide behind the brick walls to dodge its attacks, which takes a few seconds to charge, or land a perfect guard to destroy it by sending the beam right back at its weak spot.
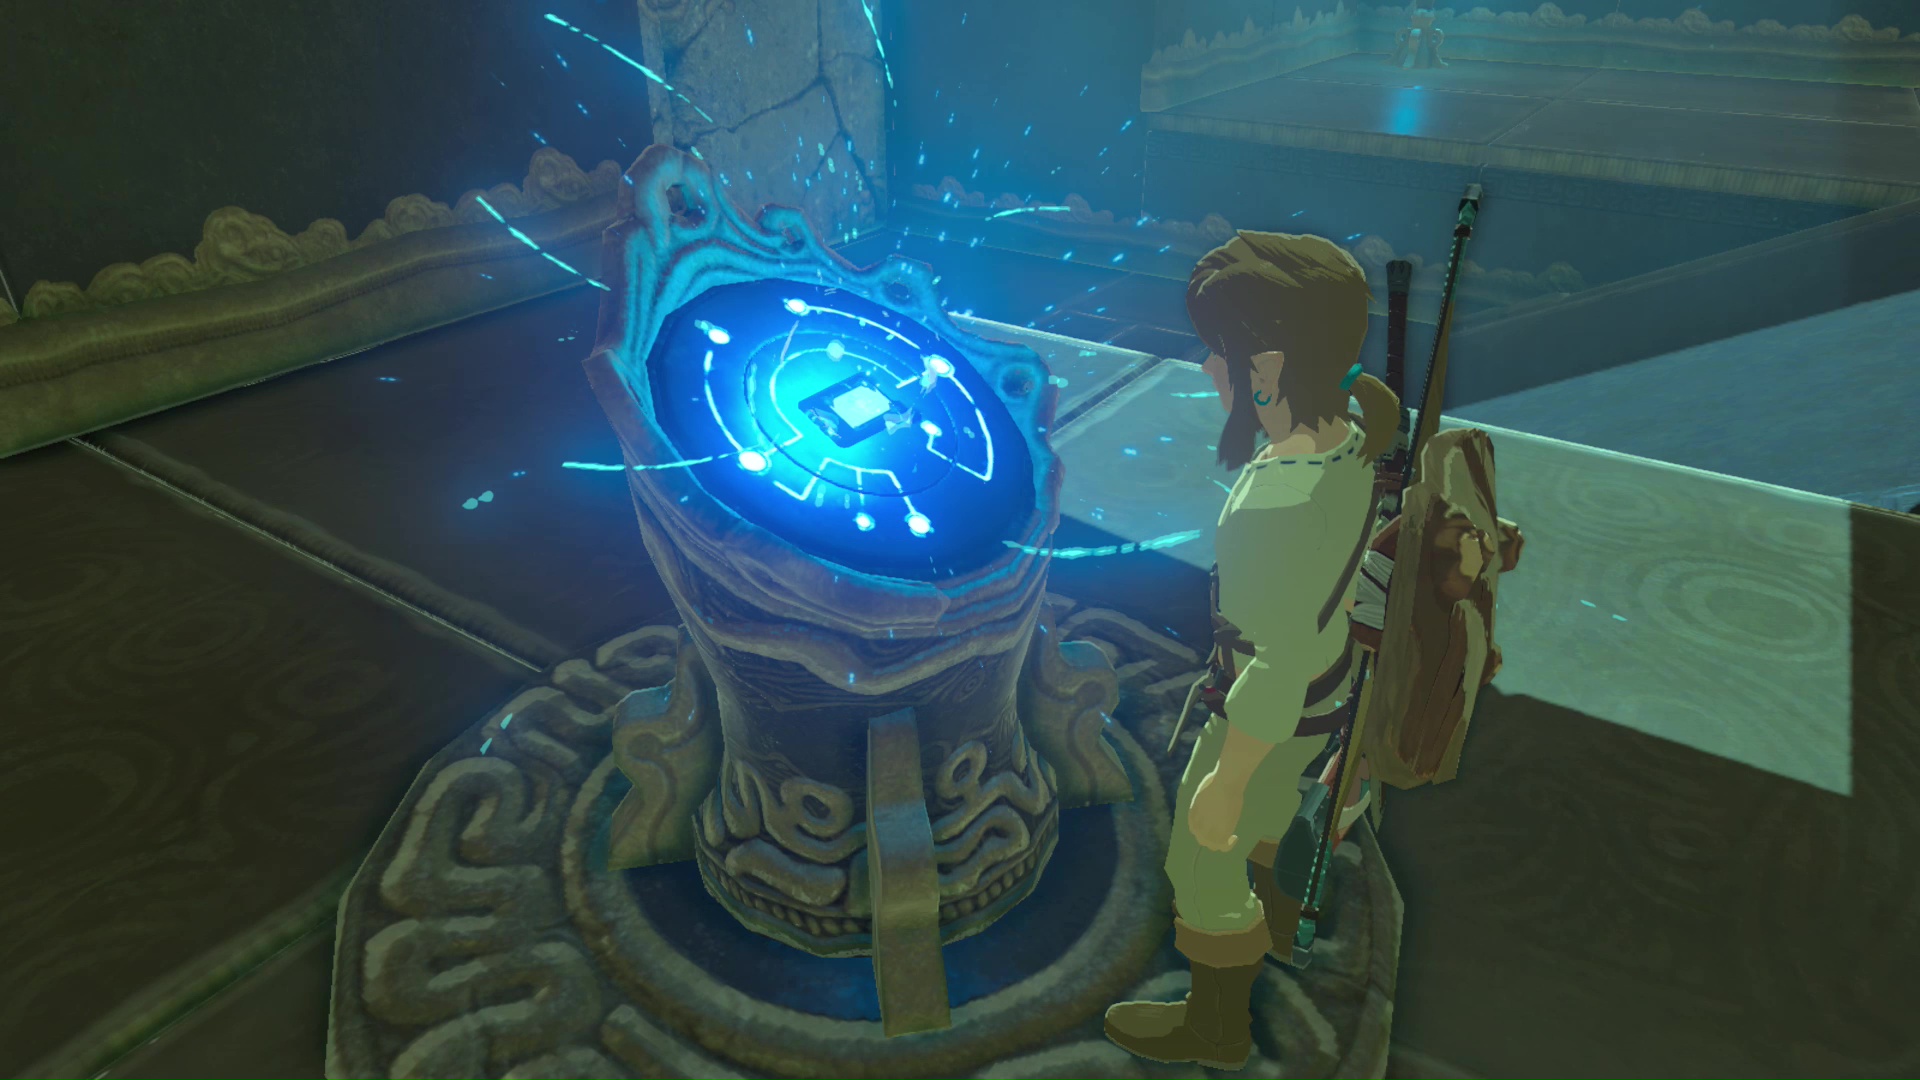
Enter the shrine and place your Sheikah Slate on the nearby pedestal. This will add the remote bomb runes to your abilities. Both bombs can be set down or thrown. The cube bomb is shaped that way so it doesn’t roll down hills. Use the bomb to blast open the stones blocking the path ahead.
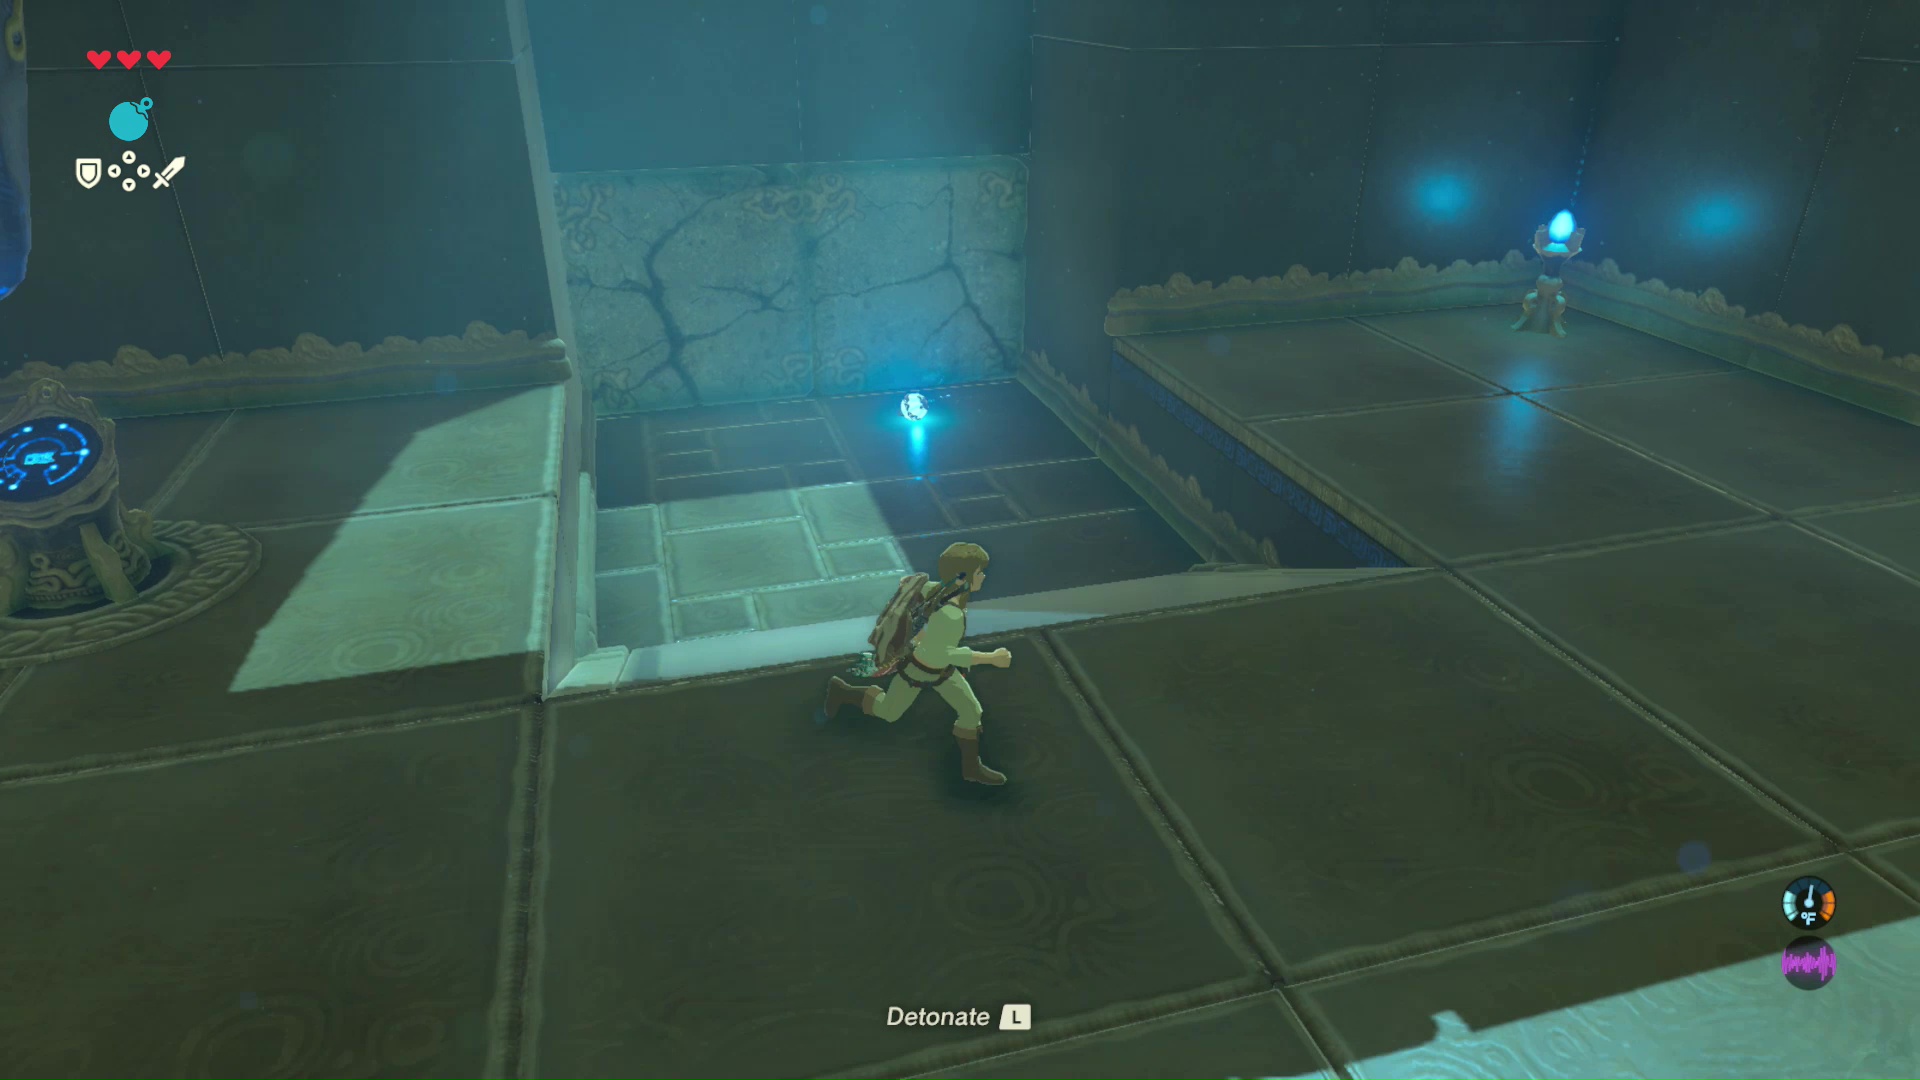
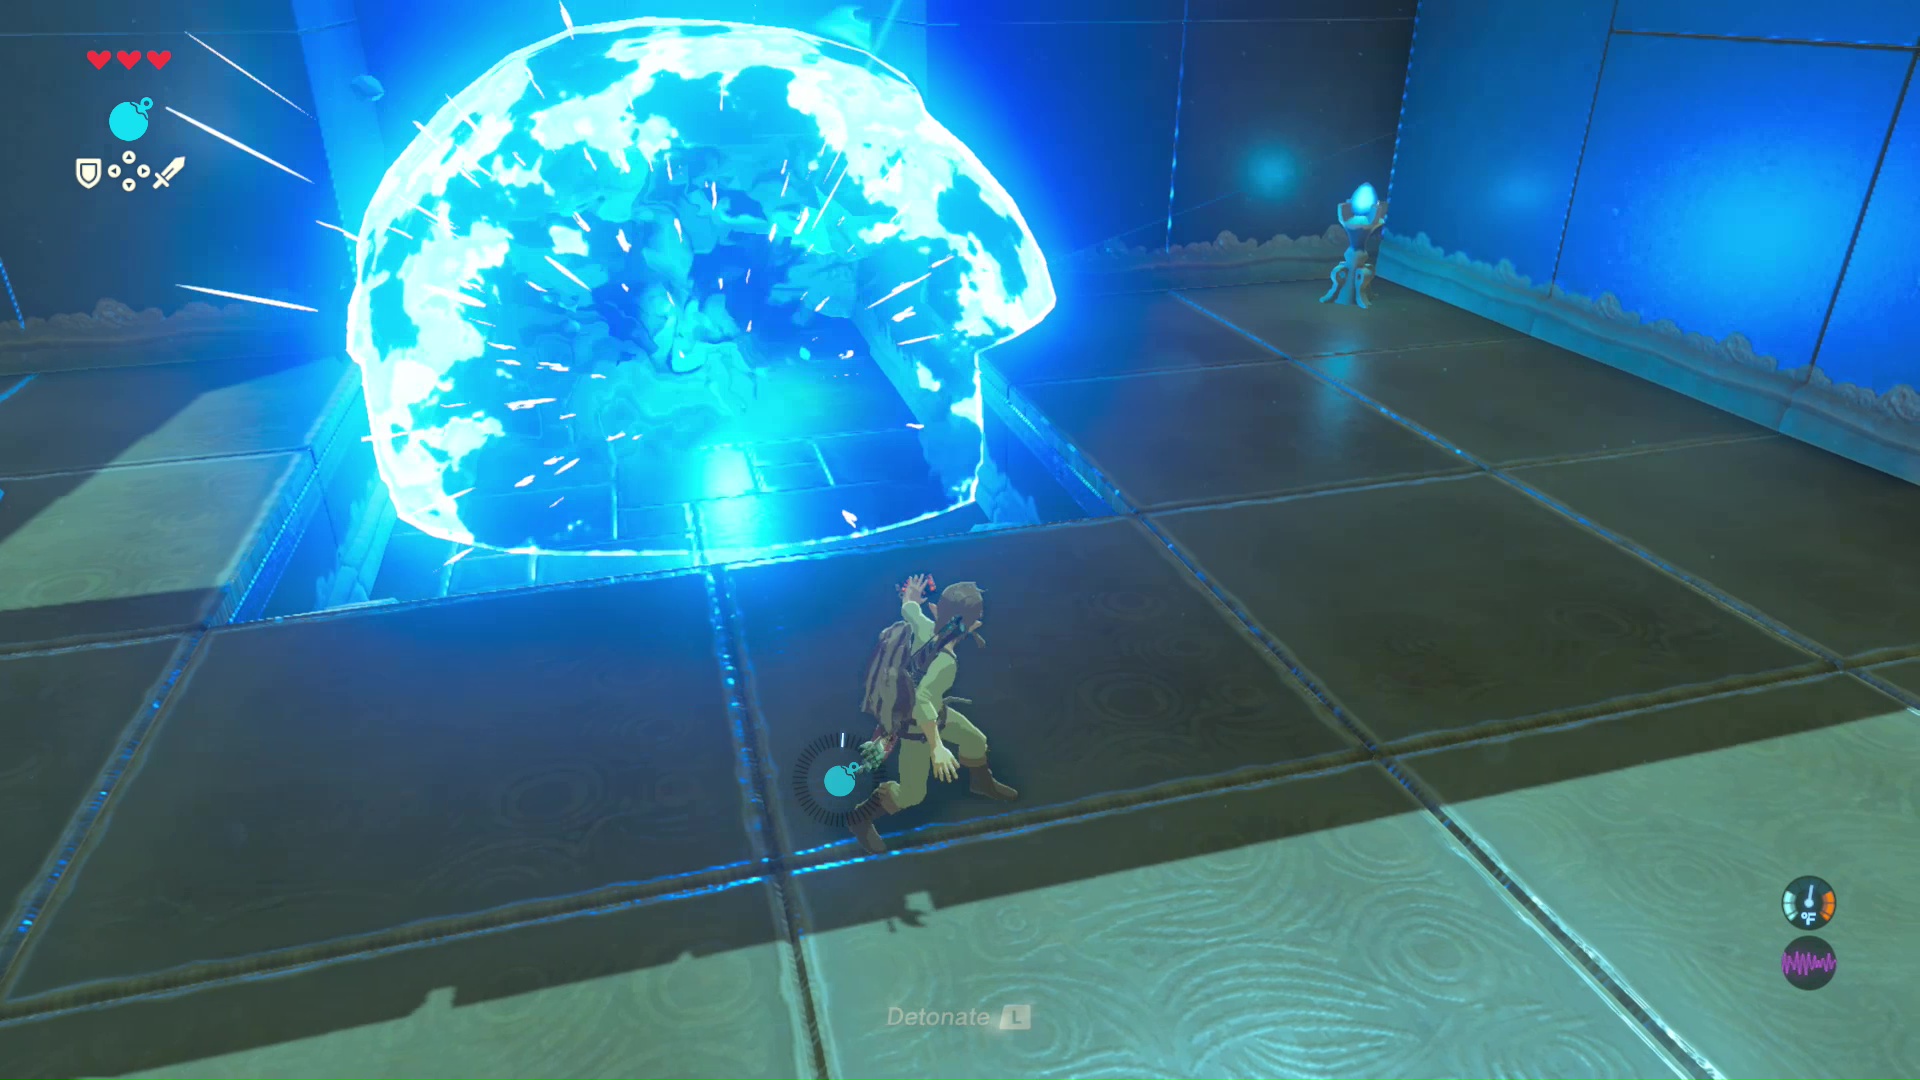
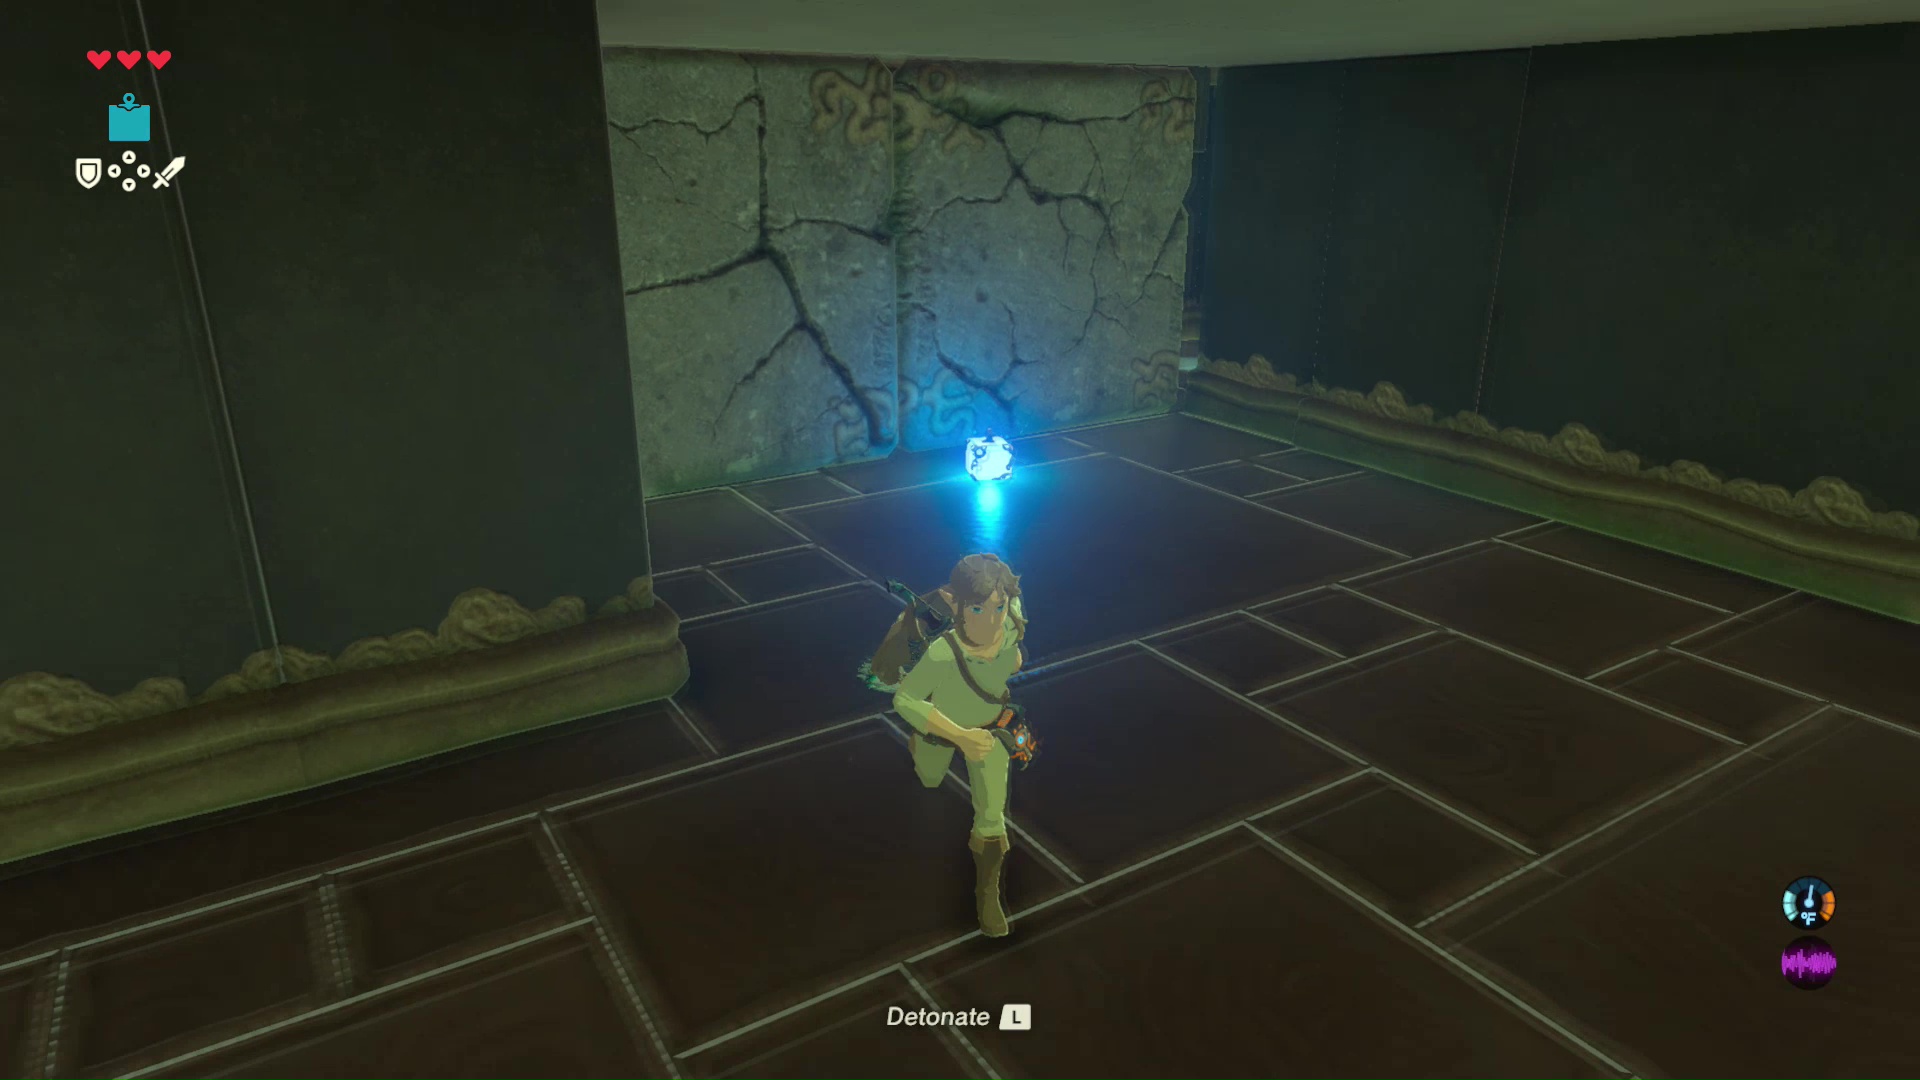
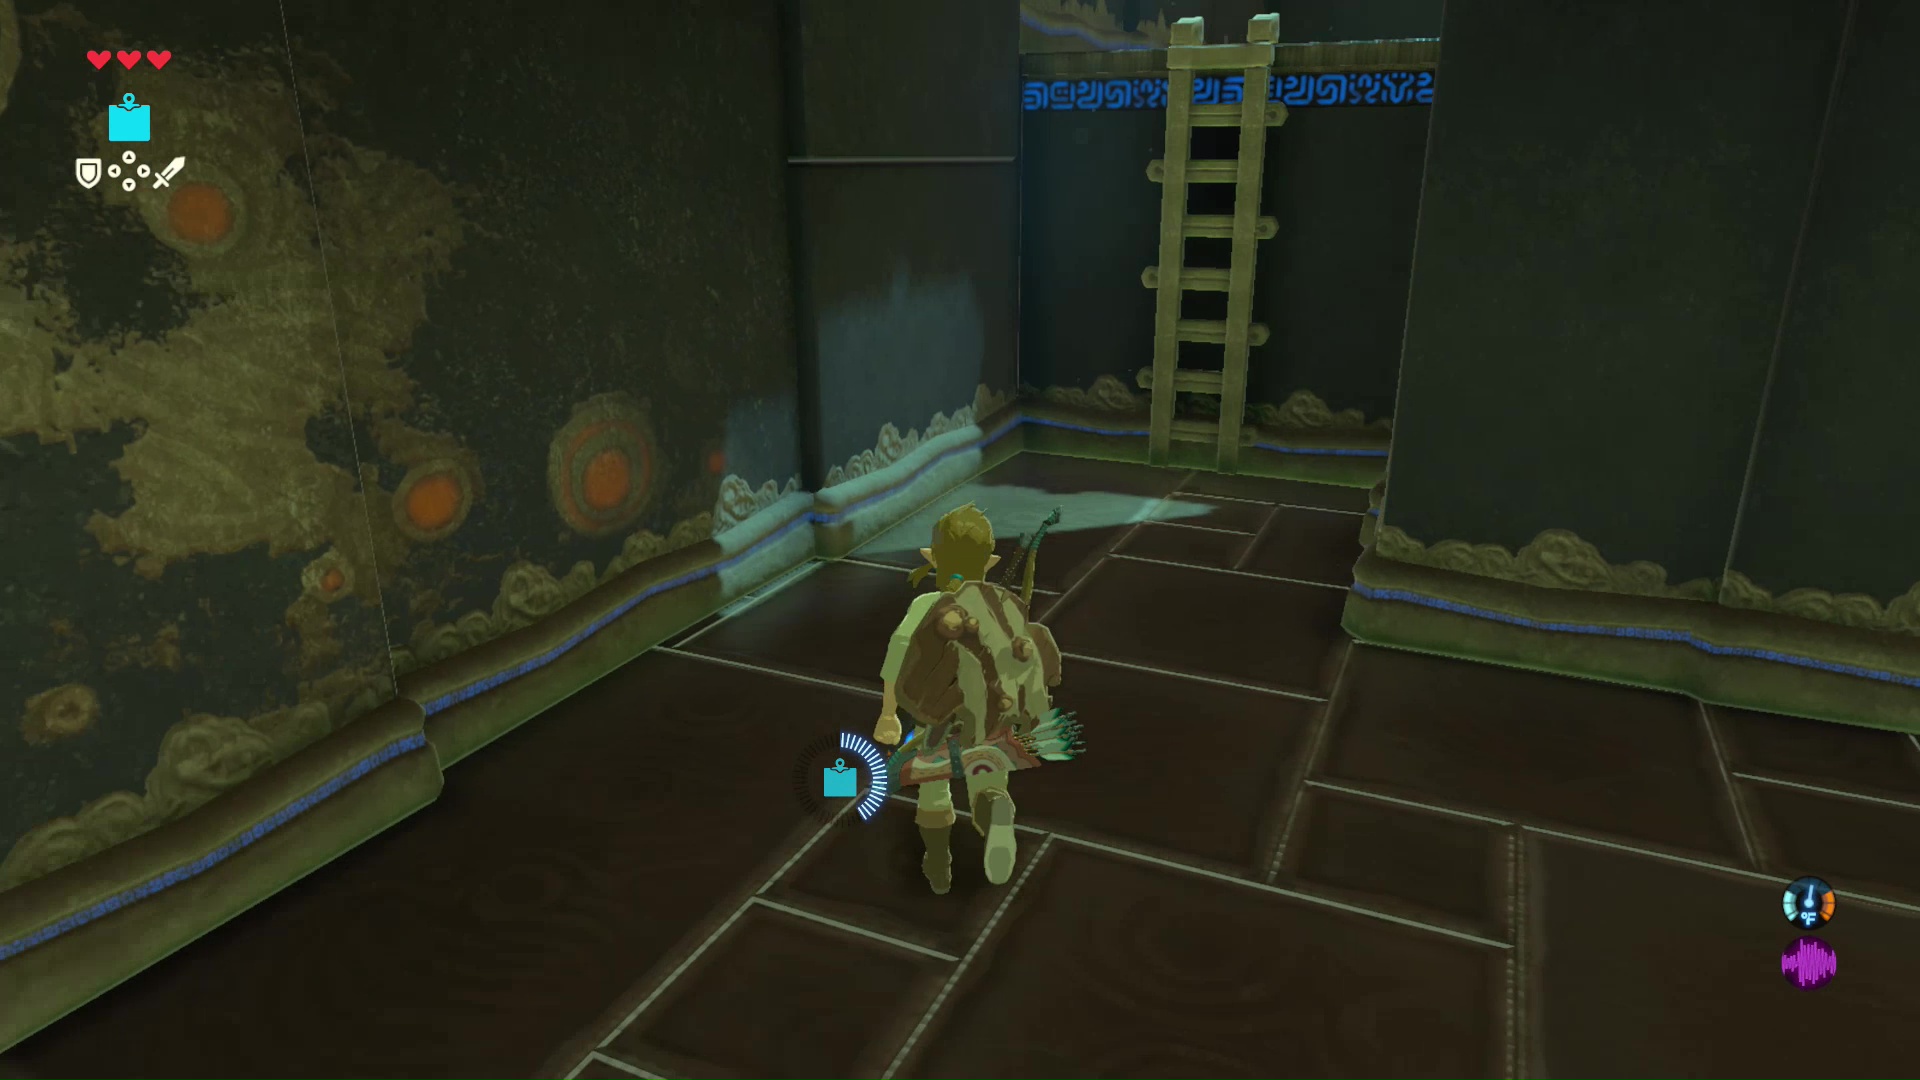
Walk through the tunnel and blast open the stone blocks up ahead. This will give you access to a ladder.
Climb up the ladder to find a moving platform. Set down a square bomb on the moving platform, but do not go on the platform with the bomb. When the platform moves towards the stone blocks, detonate the bomb to clear the path.
The next room has several devices that will launch Link and bombs across the room. Stand on the launcher opposite a treasure chest to fly across the room and land on the other platform. Inside the treasure chest is a piece of Amber.
Walk towards the other launcher with a funnel connected to it. Place a circular bomb inside this funnel to launch the bomb towards a stack of blocks. Detonate the bomb when it reaches these blocks to clear the path to the shrine’s monk and spirit orb.
Great Plateau to Owa Daim Shrine
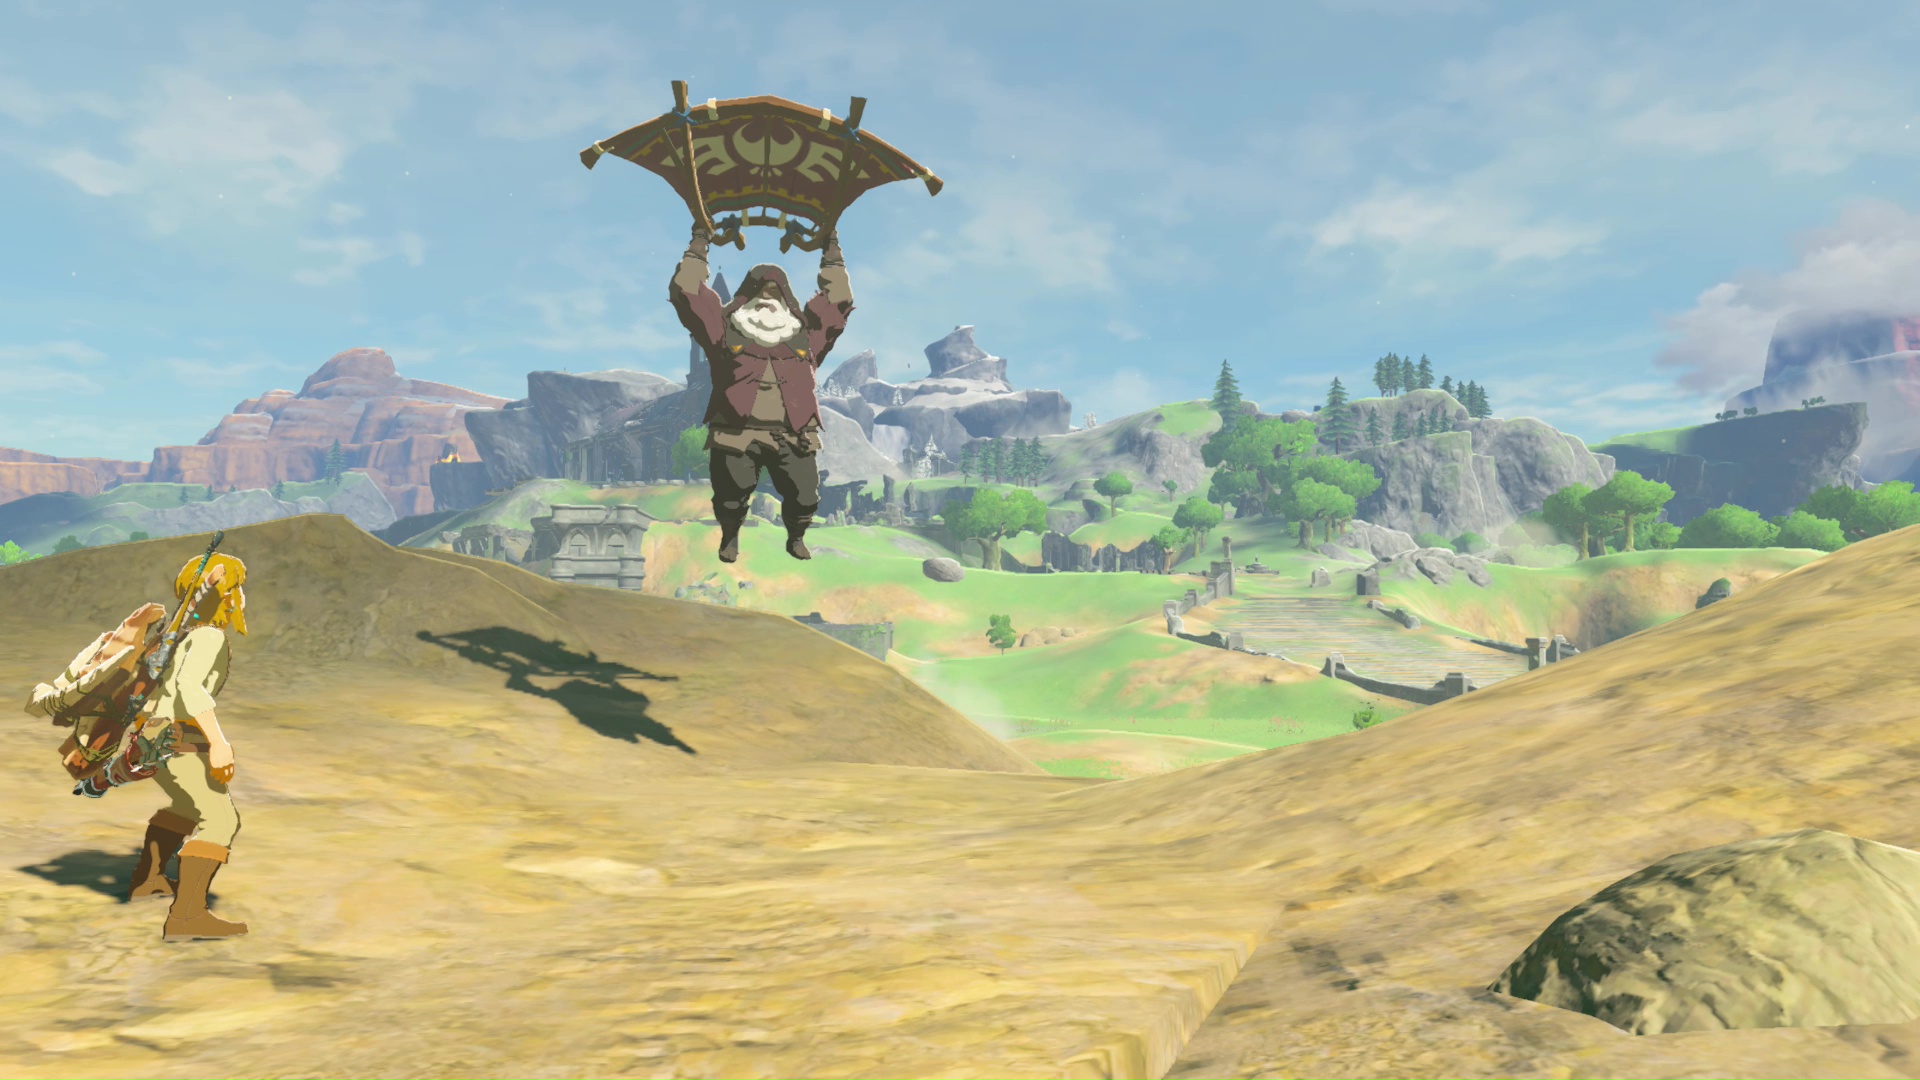
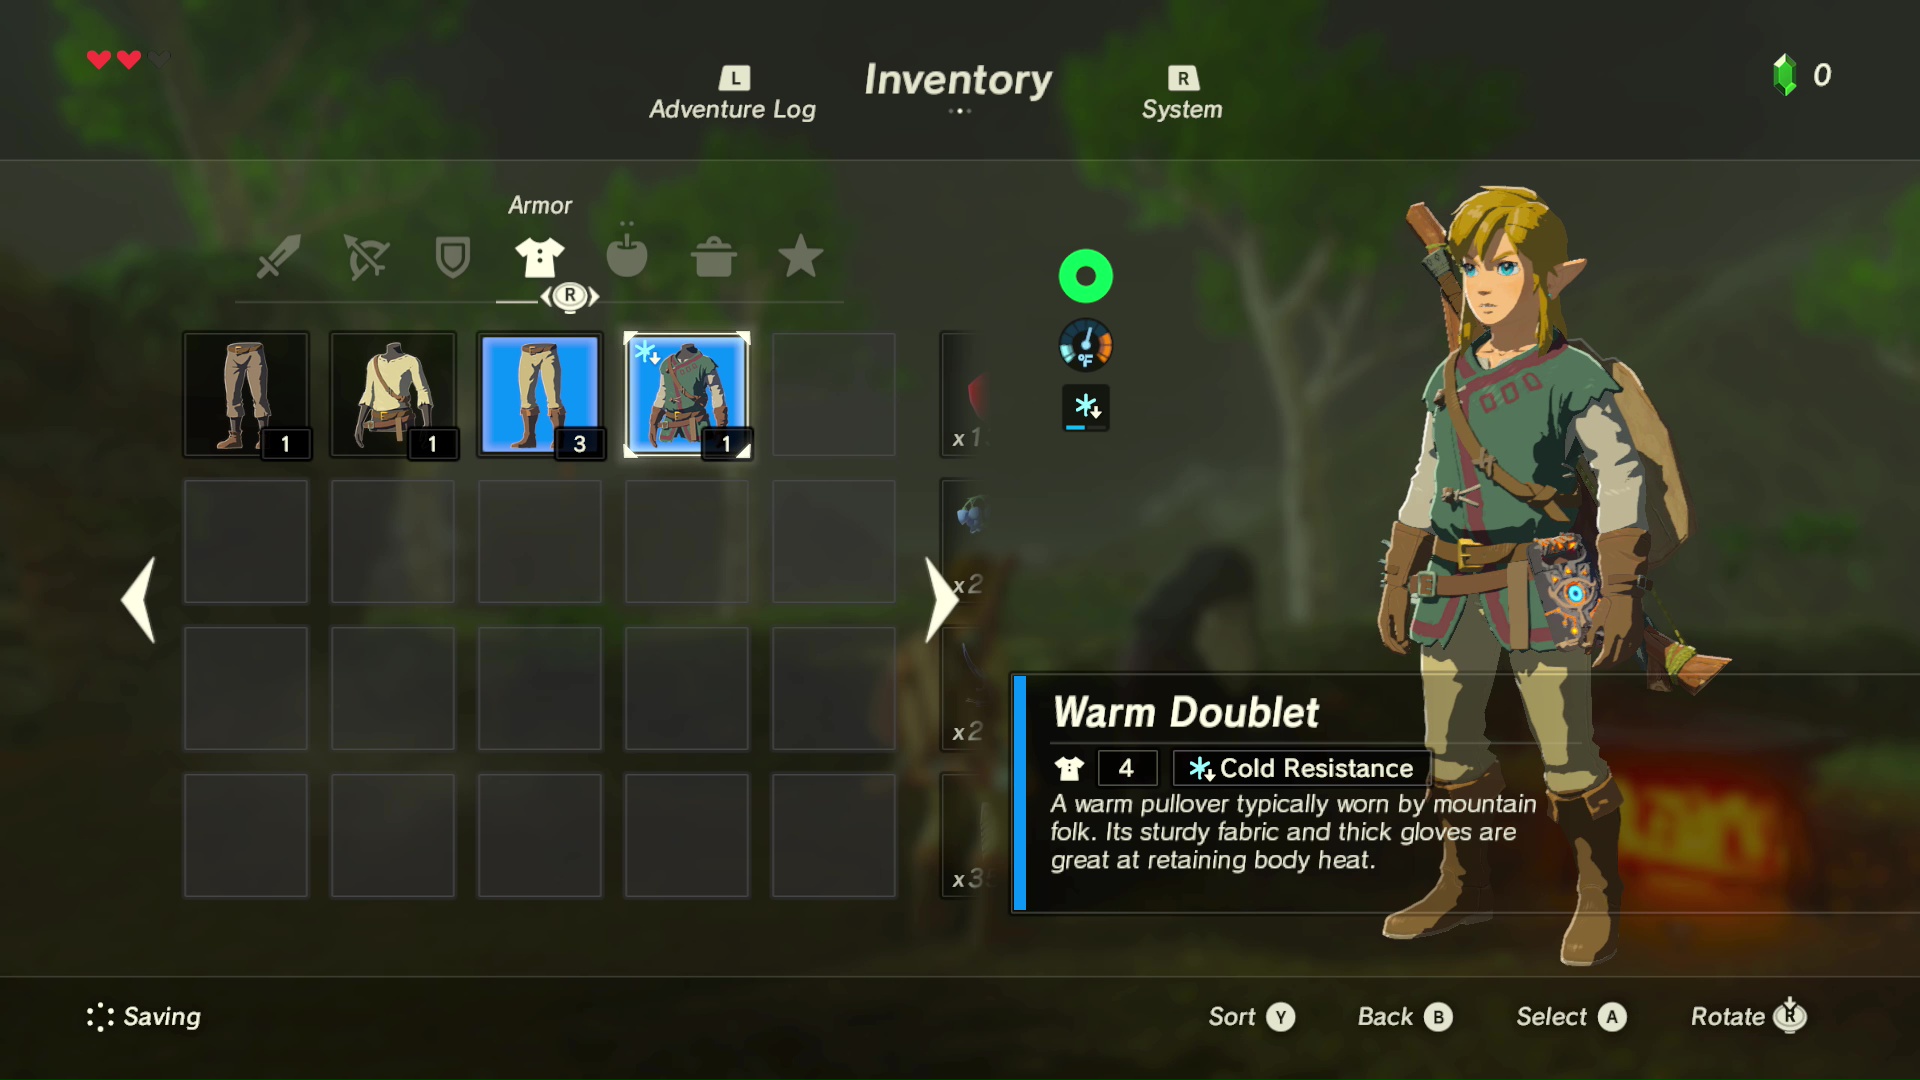
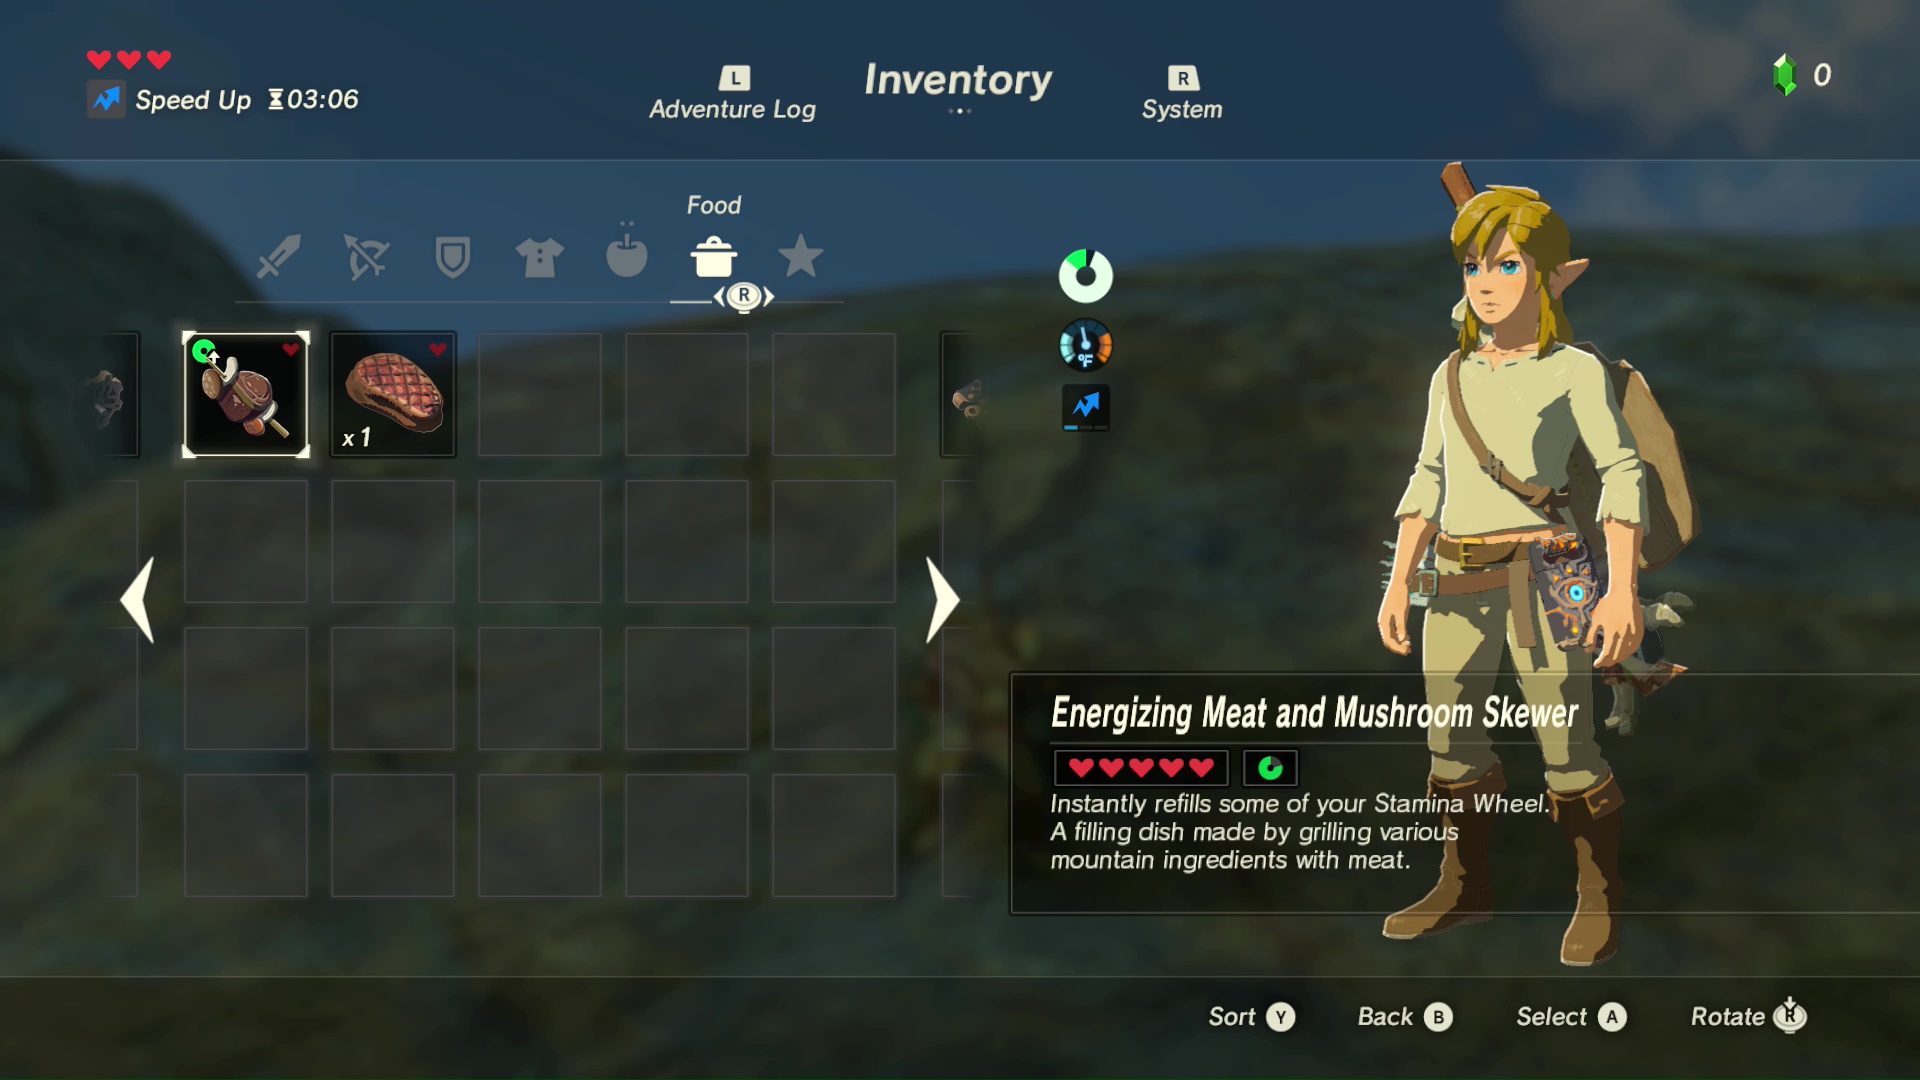
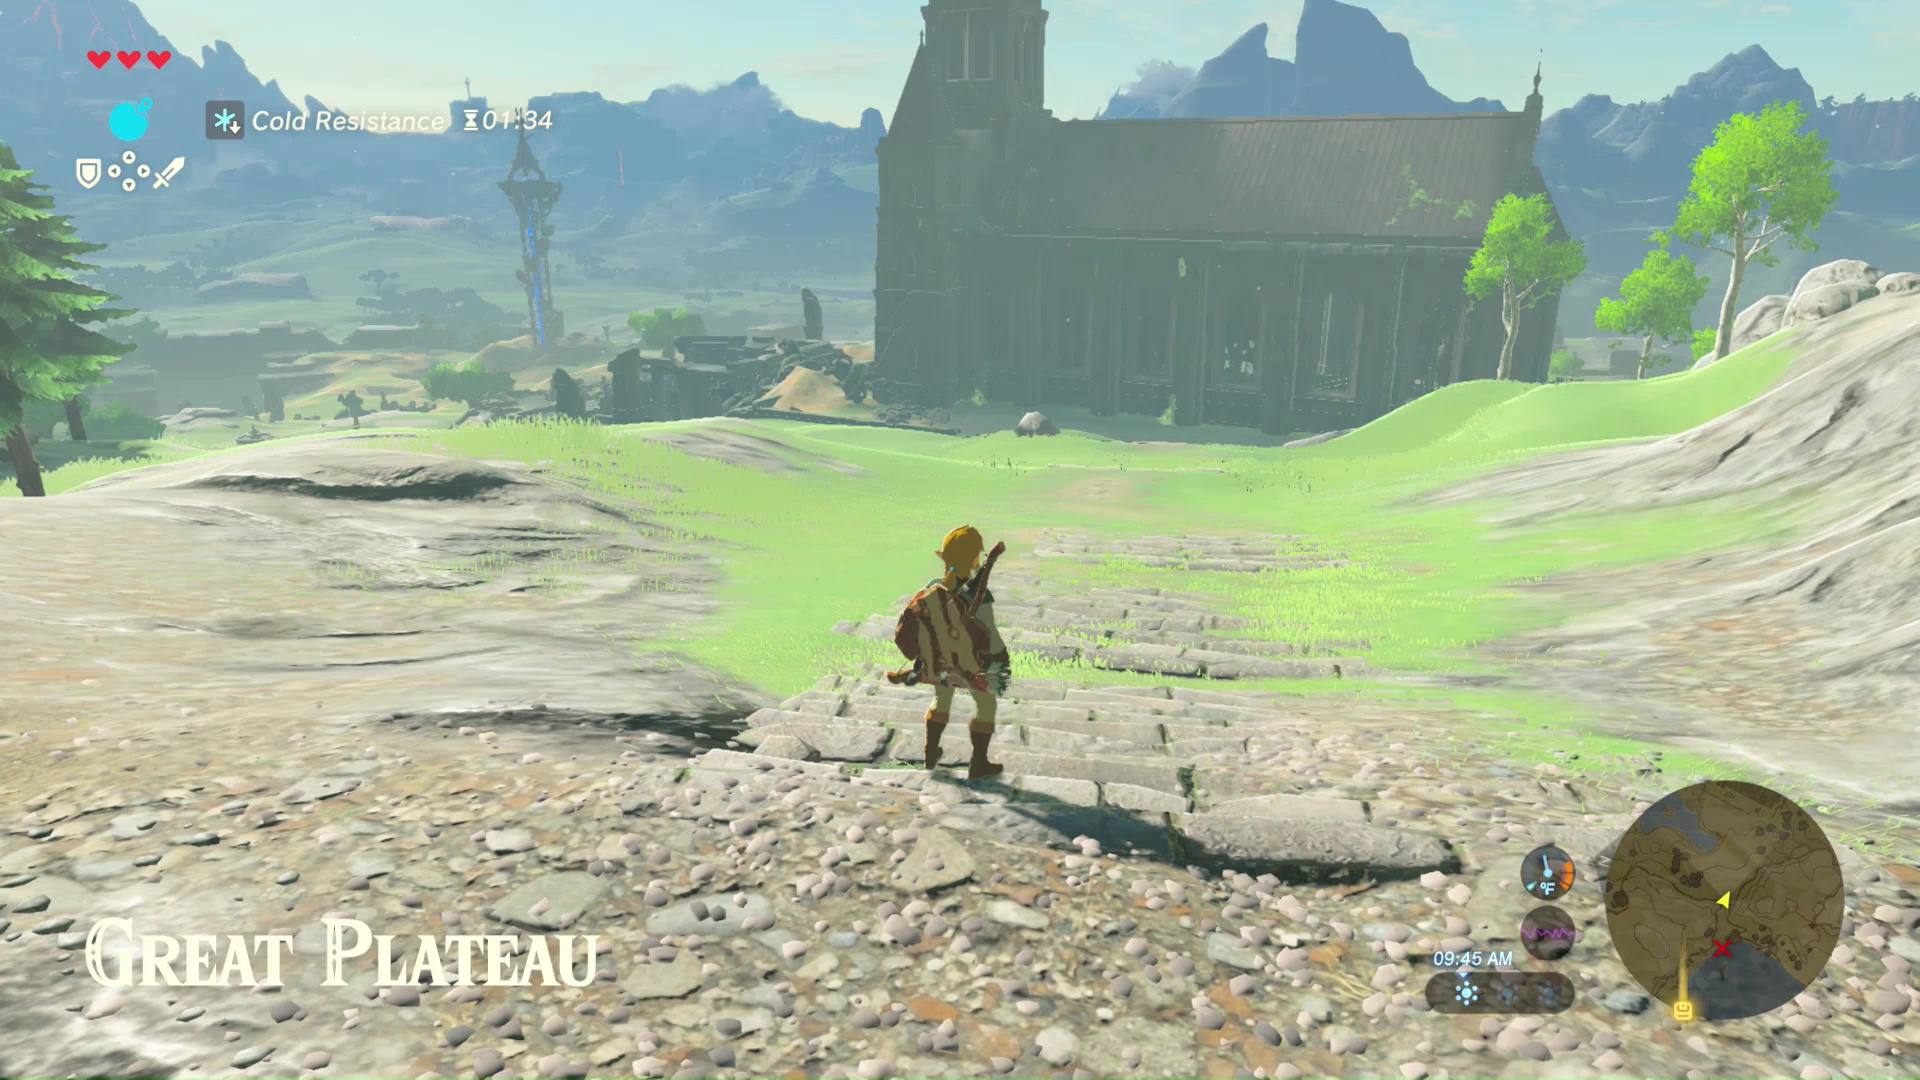
Getting to the next shrine requires a little bit of work. It is located at the far south side of the plateau. Unfortunately, there’s a large crevice blocking the path. Near this fissure is the Old Man’s house. You can find him sleeping inside at night fall. Read his diary to learn about a dish that keeps you warm at cold climates. All you need is a fish (Hyrule Bass can be found in the small lake by the Temple of Time) and a spicy pepper. Recreate the dish and speak with the old man to receive the Warm Doublet. You will need that when finding the third shrine.

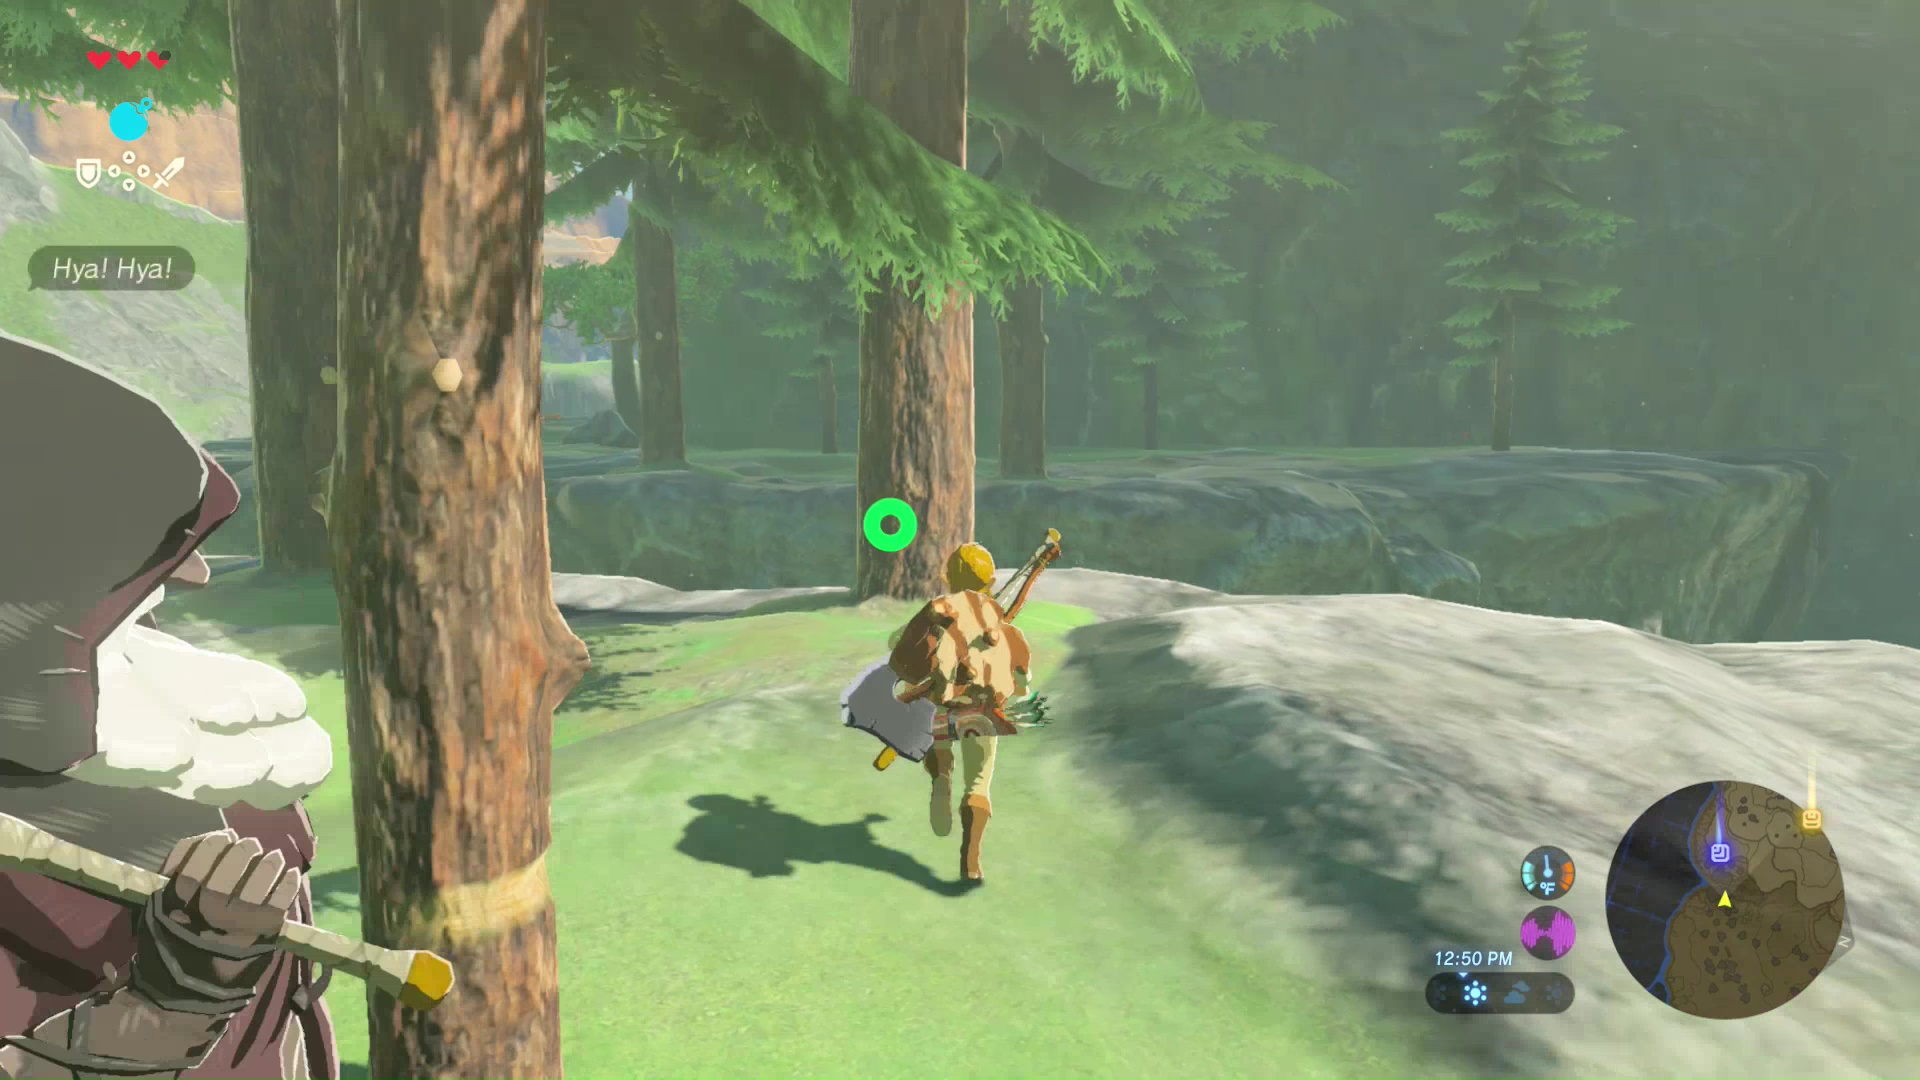
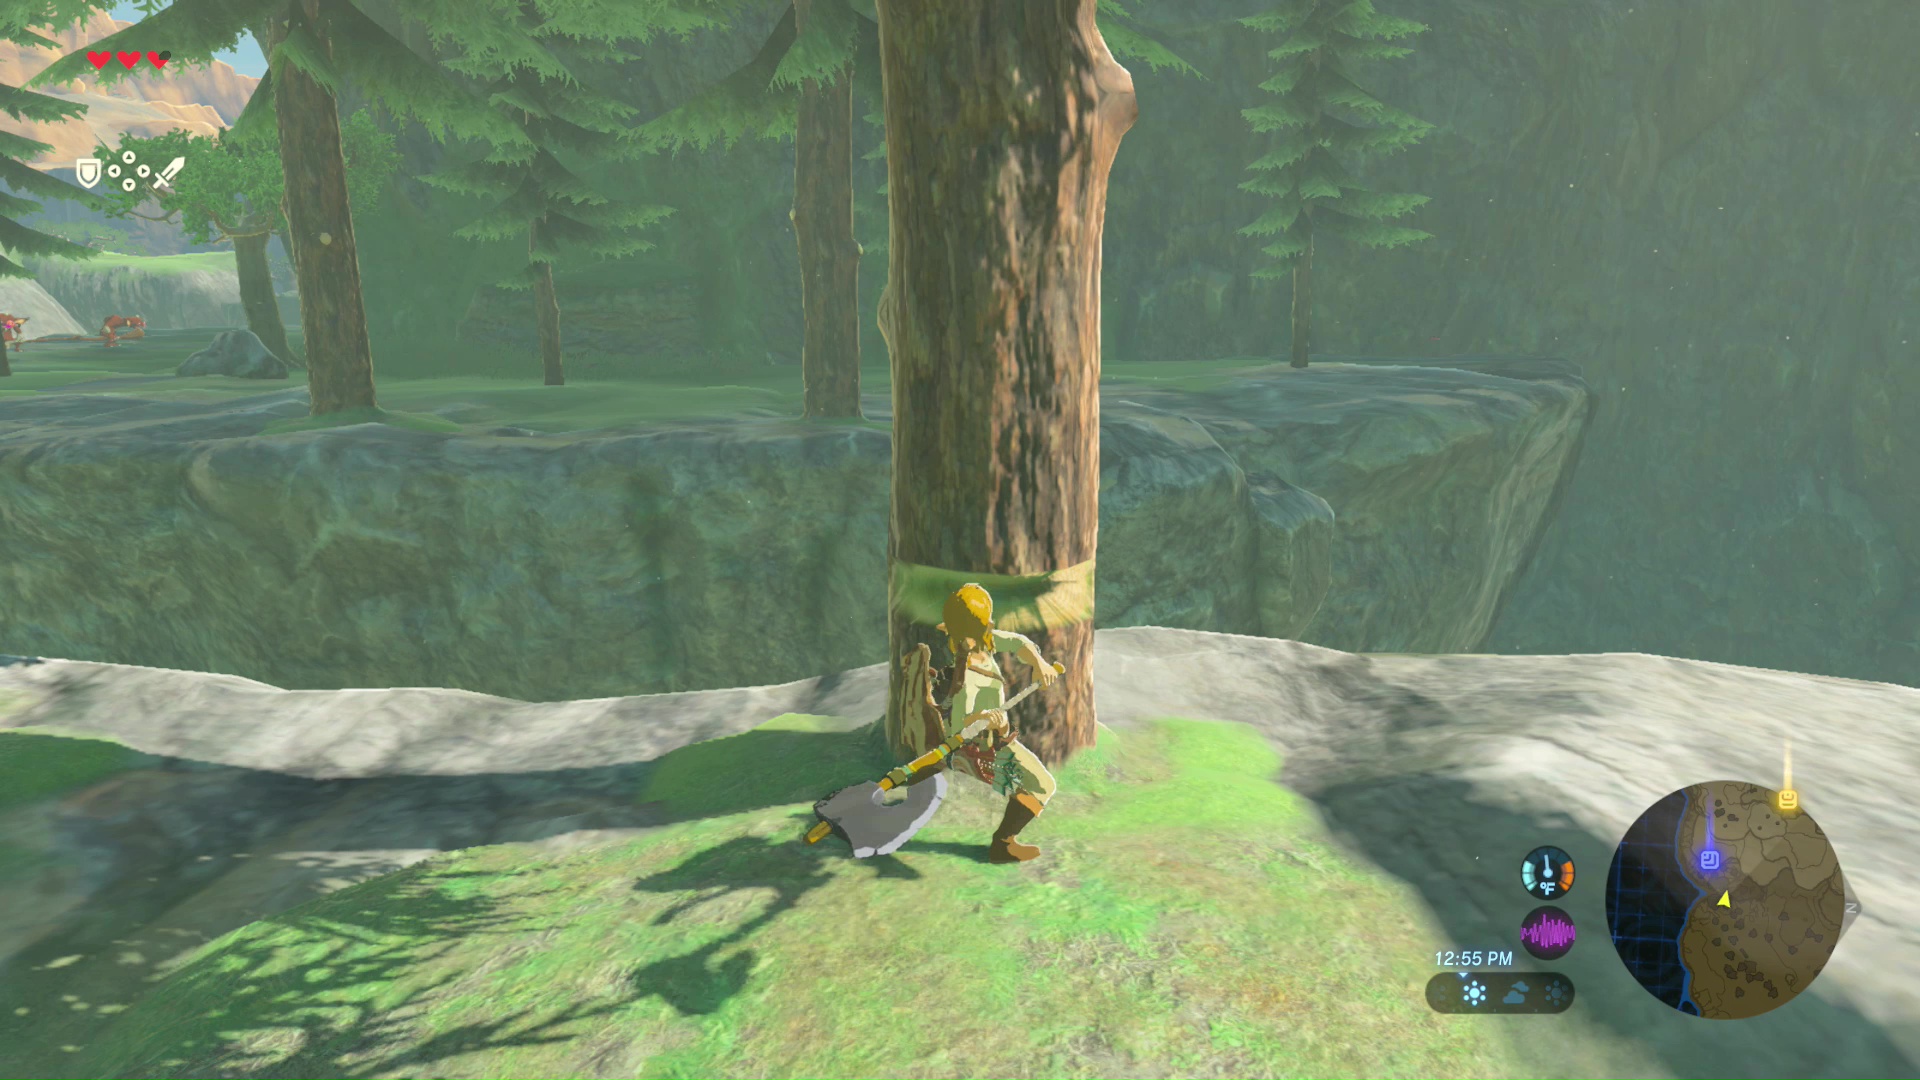
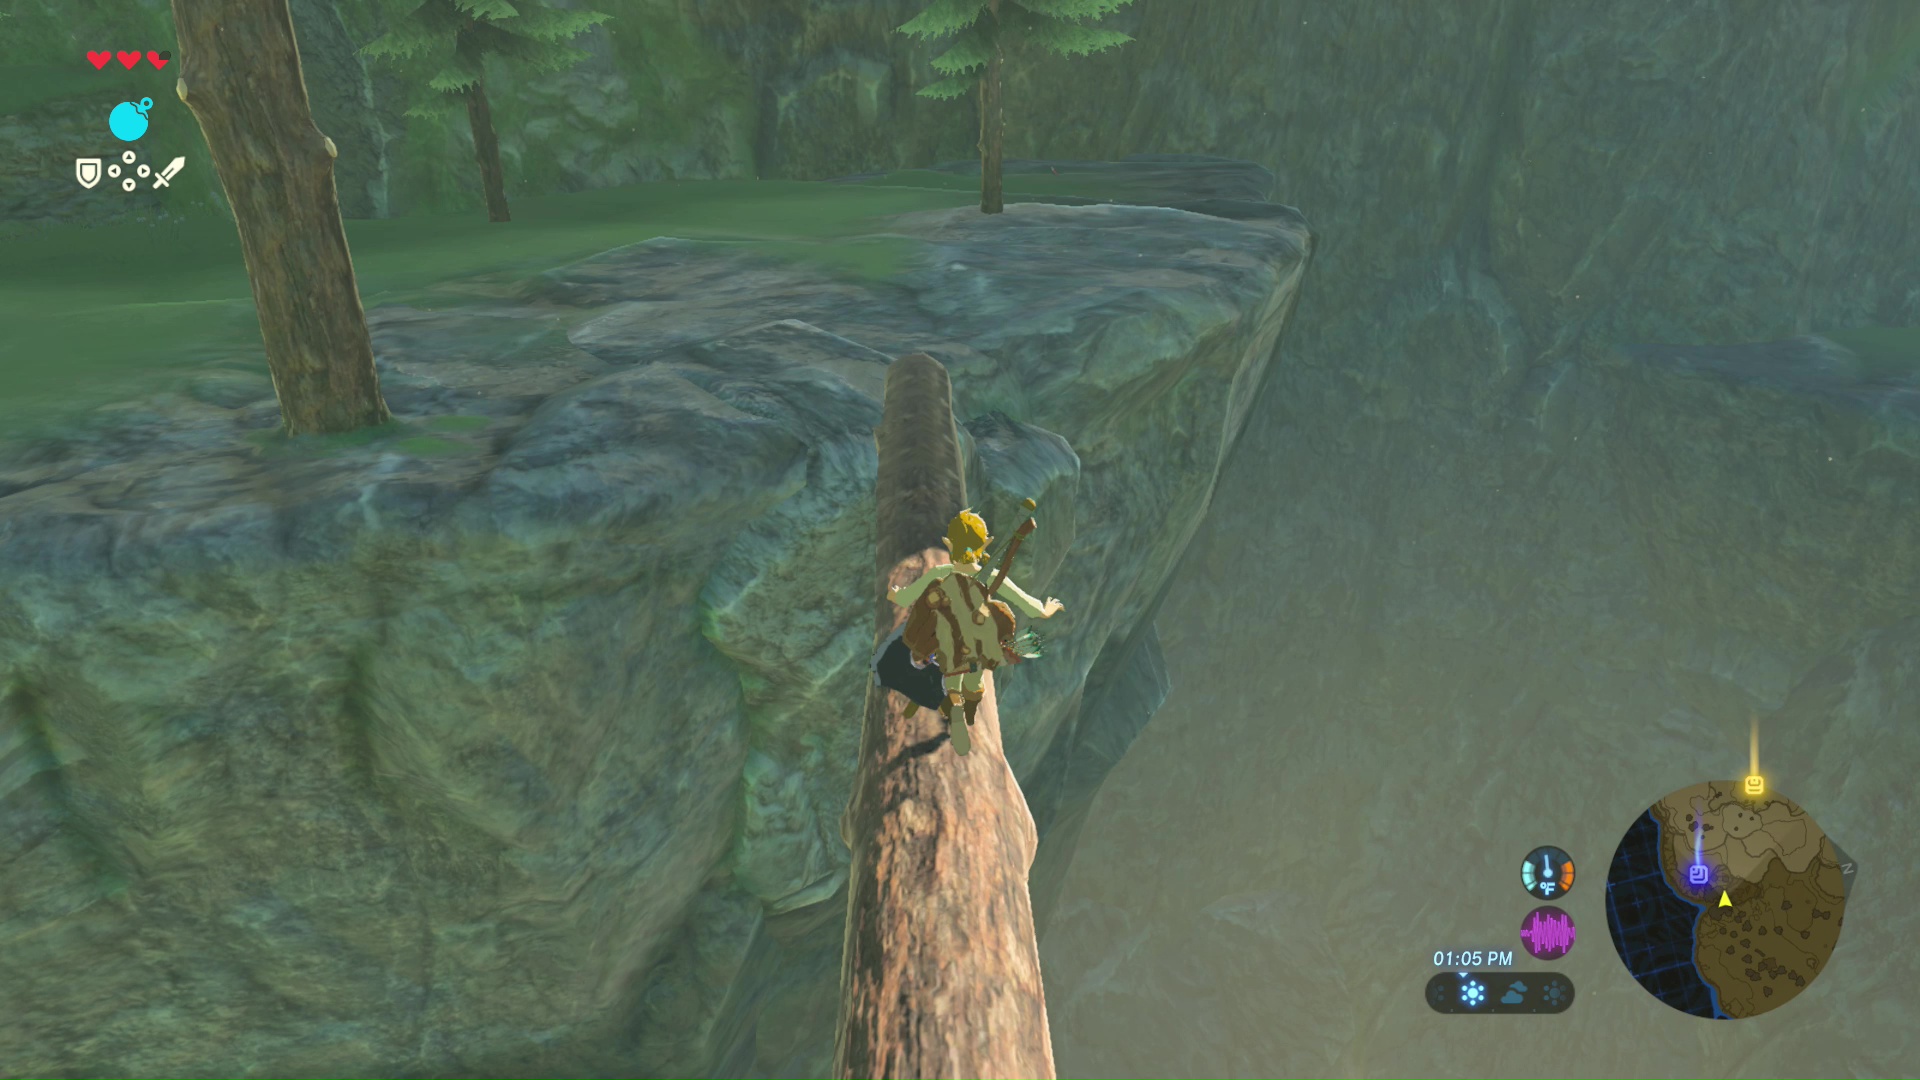
Also inside the old man’s house is a large axe. Use this to cut down the trees near the crevice. Doing so will create a bridge to the other side.
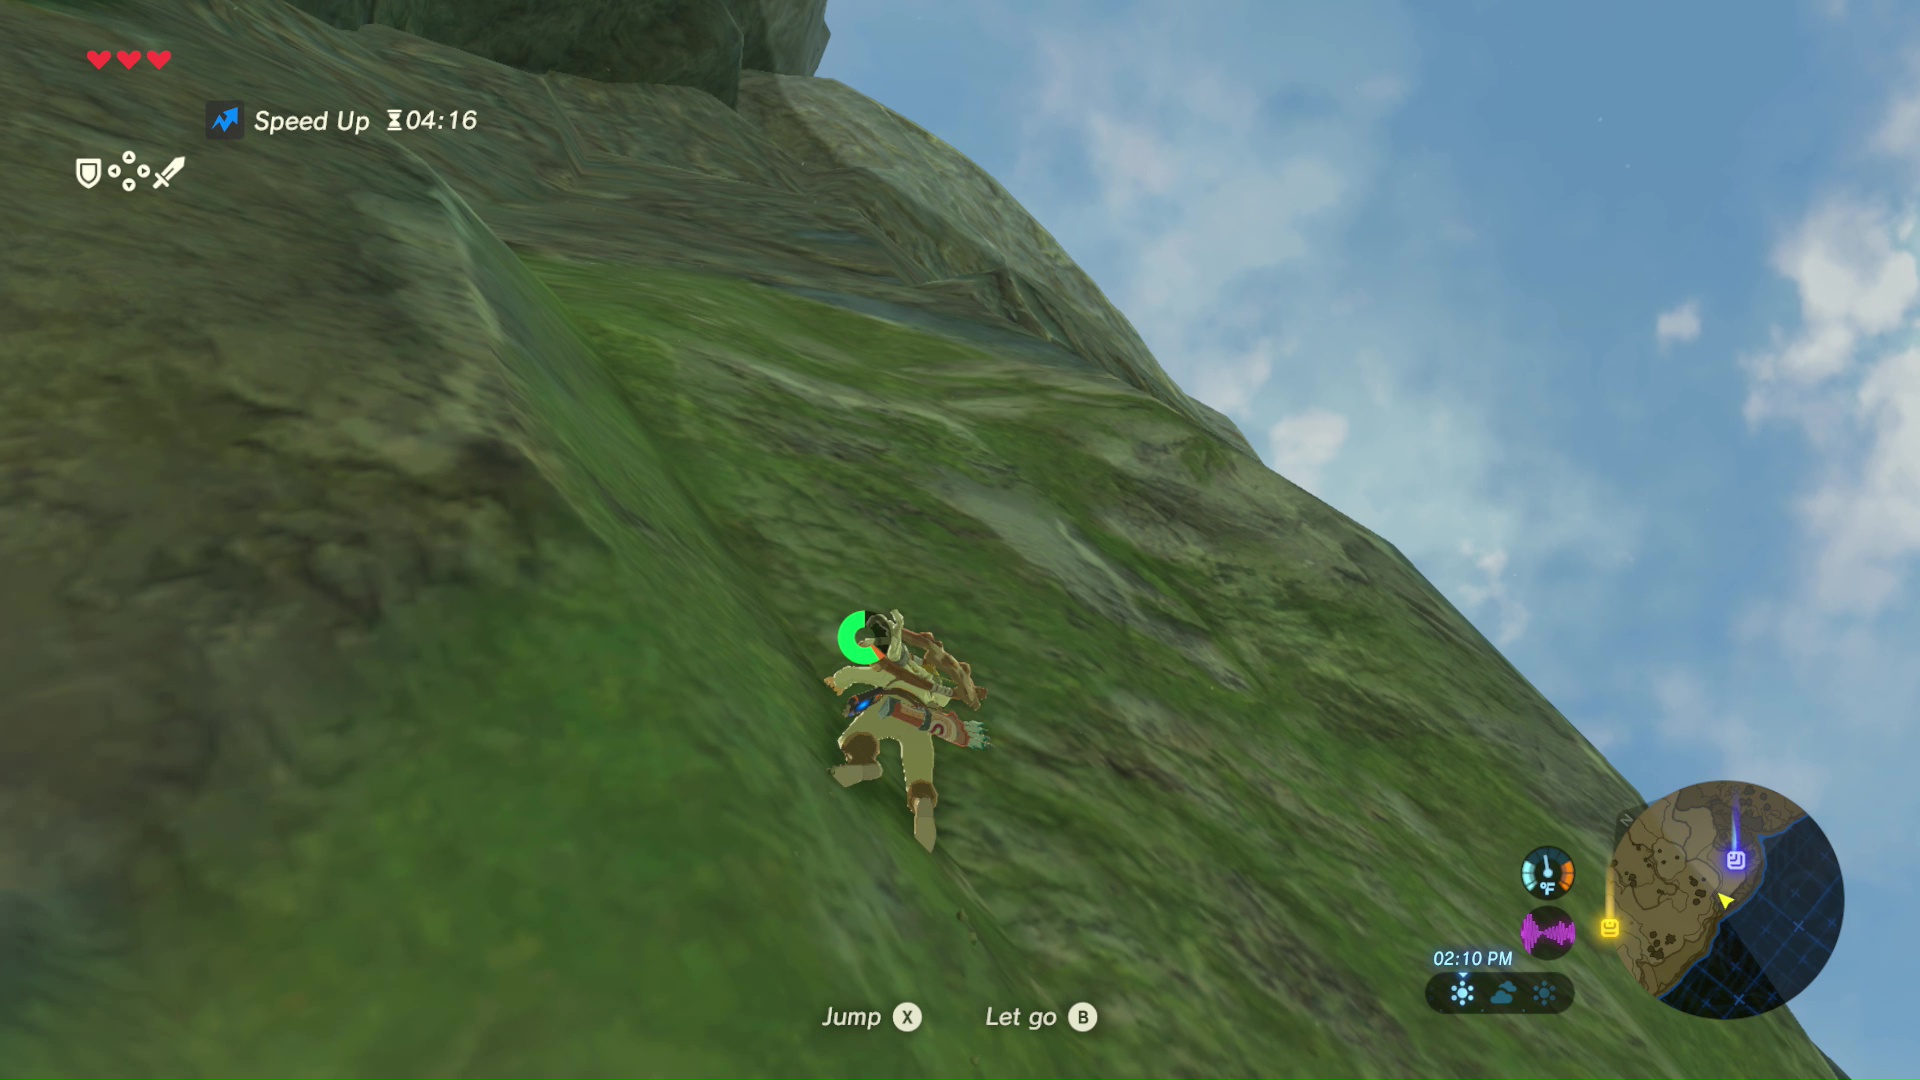
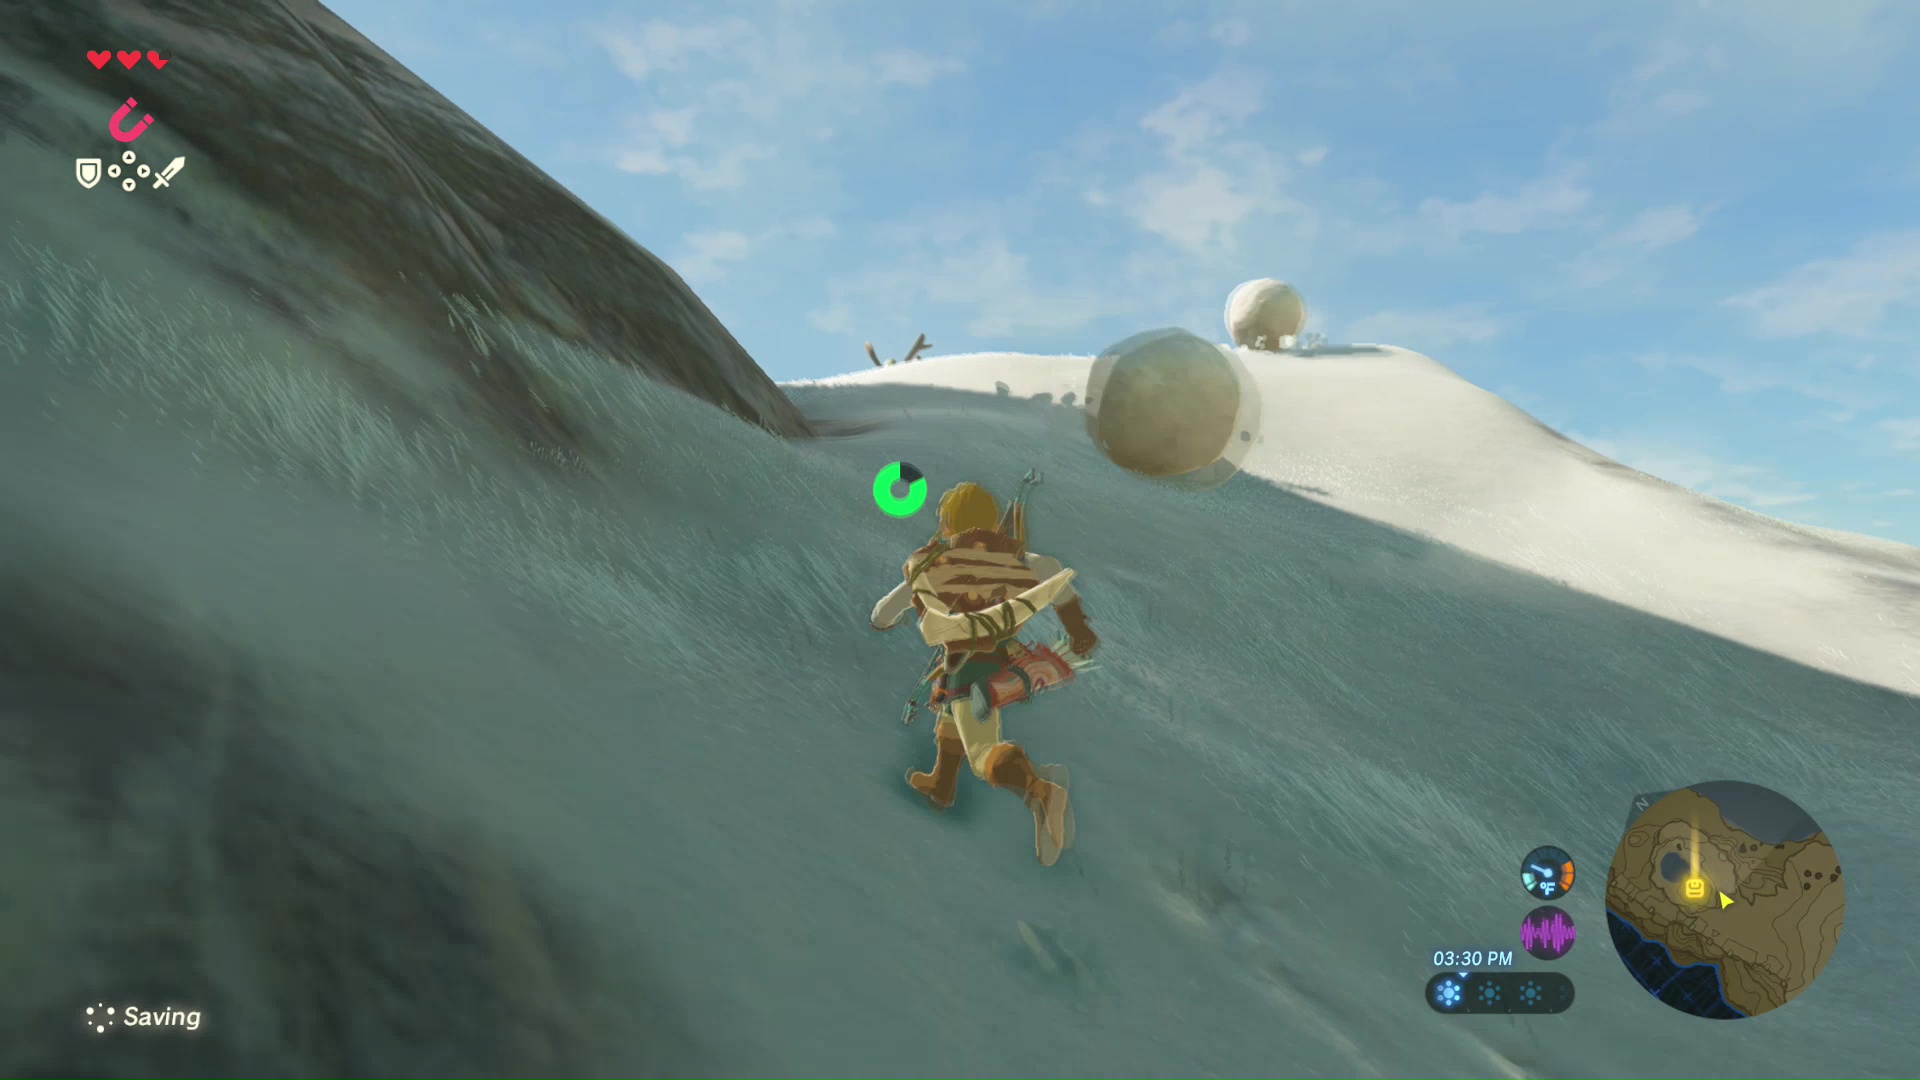
Continue your quest towards the next shrine. If you wish to climb straight up the side of the mountain, you will need to boost your stamina or speed. Remember, you can create dishes at the fire near the Old Man’s house, but only one boost can be active at a time. Climb up the mountain to reach the Owa Daim Shrine.
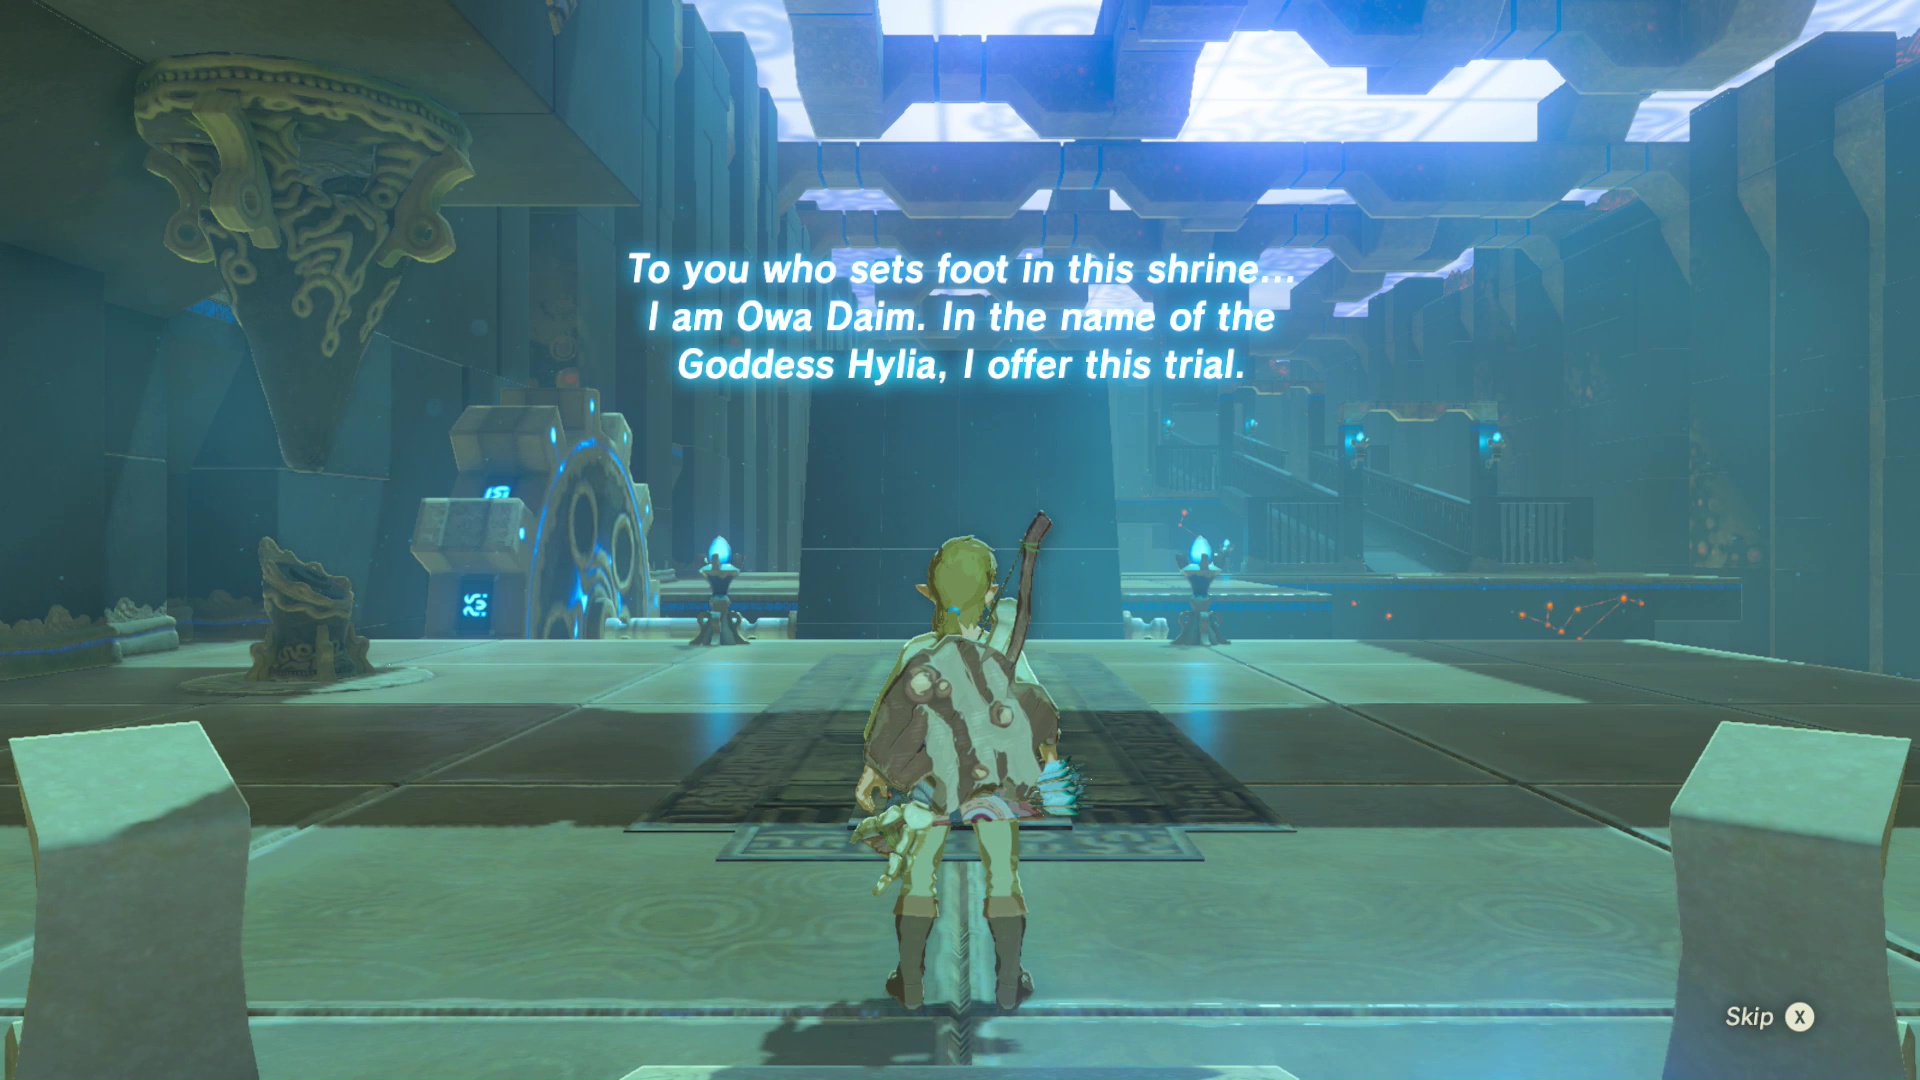
Owa Daim Shrine
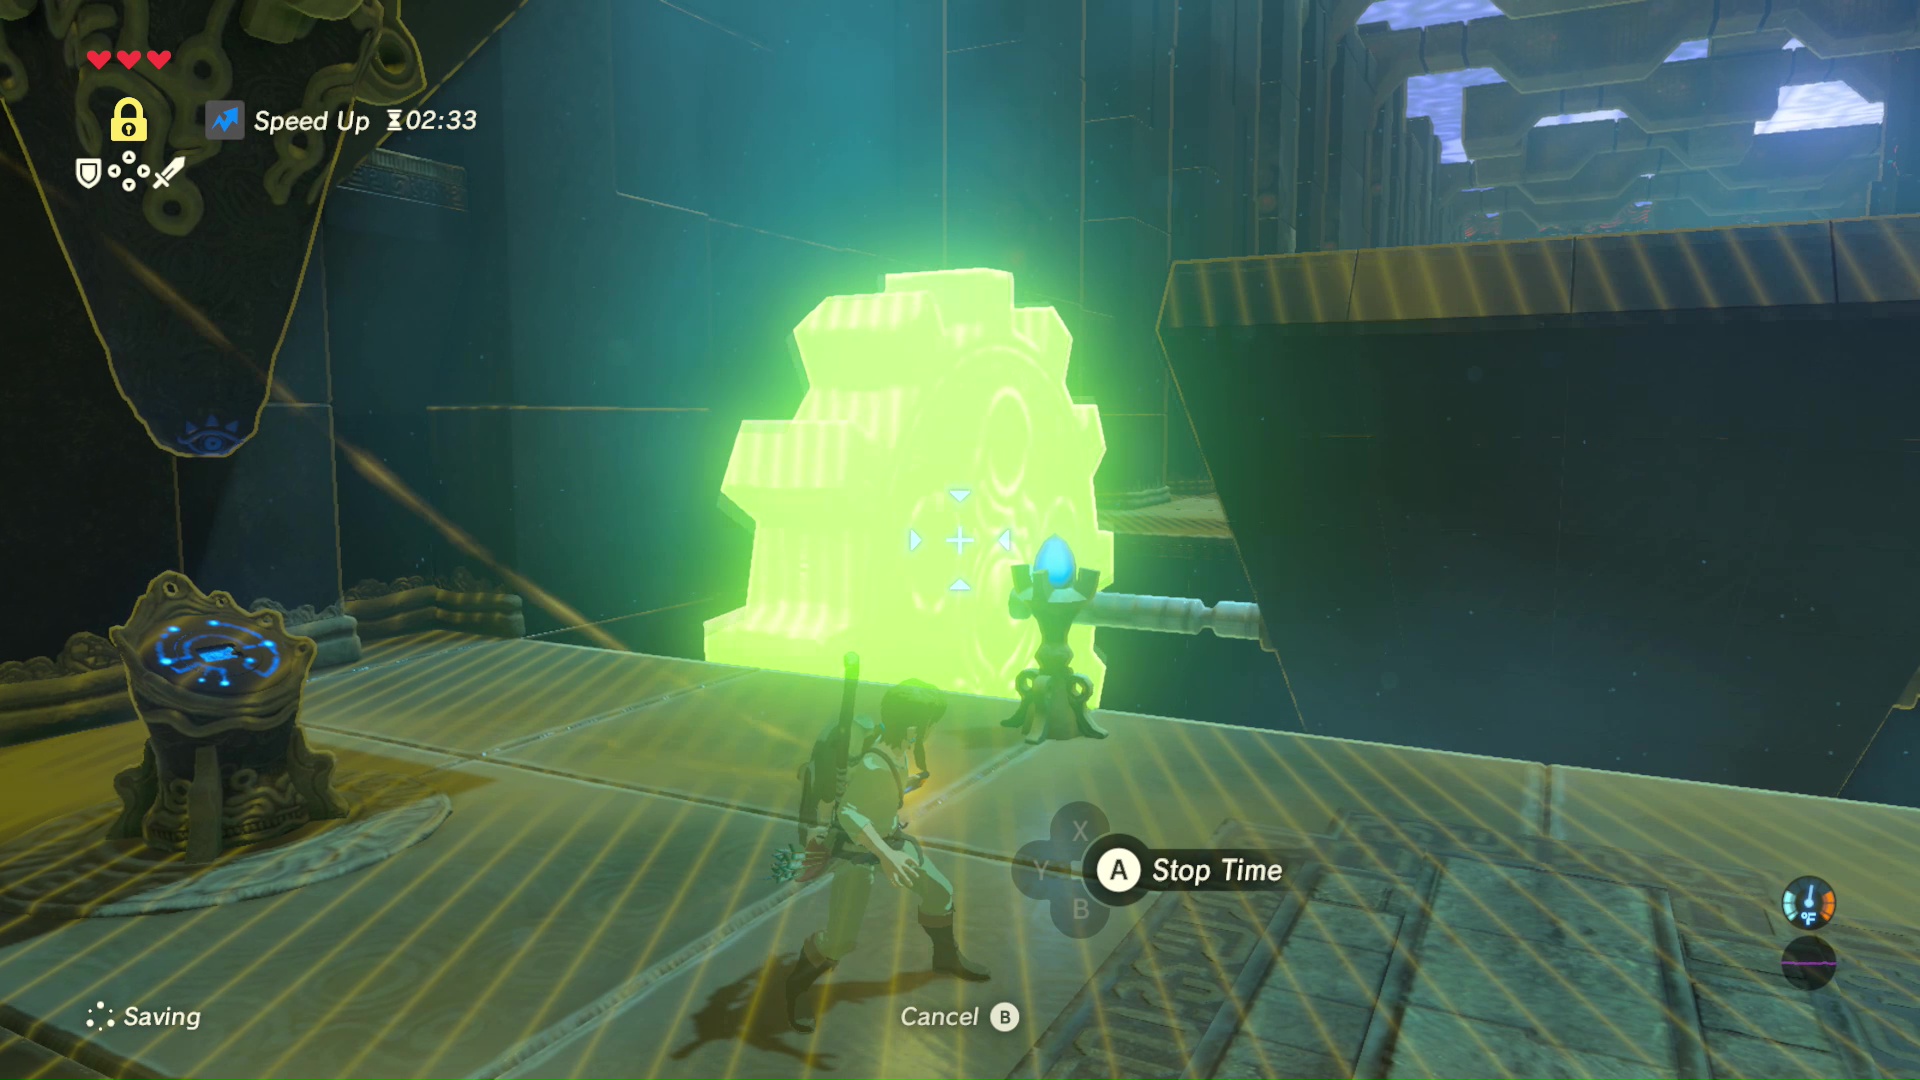
Enter the Owa Daim Shrine and interact with the pedestal near the entrance. This will add the Stasis Rune to your Sheikah Slate. The Stasis Rune freezes select objects in the game for 10 seconds. Freeze the giant cog rotating the bridge to cross ahead.
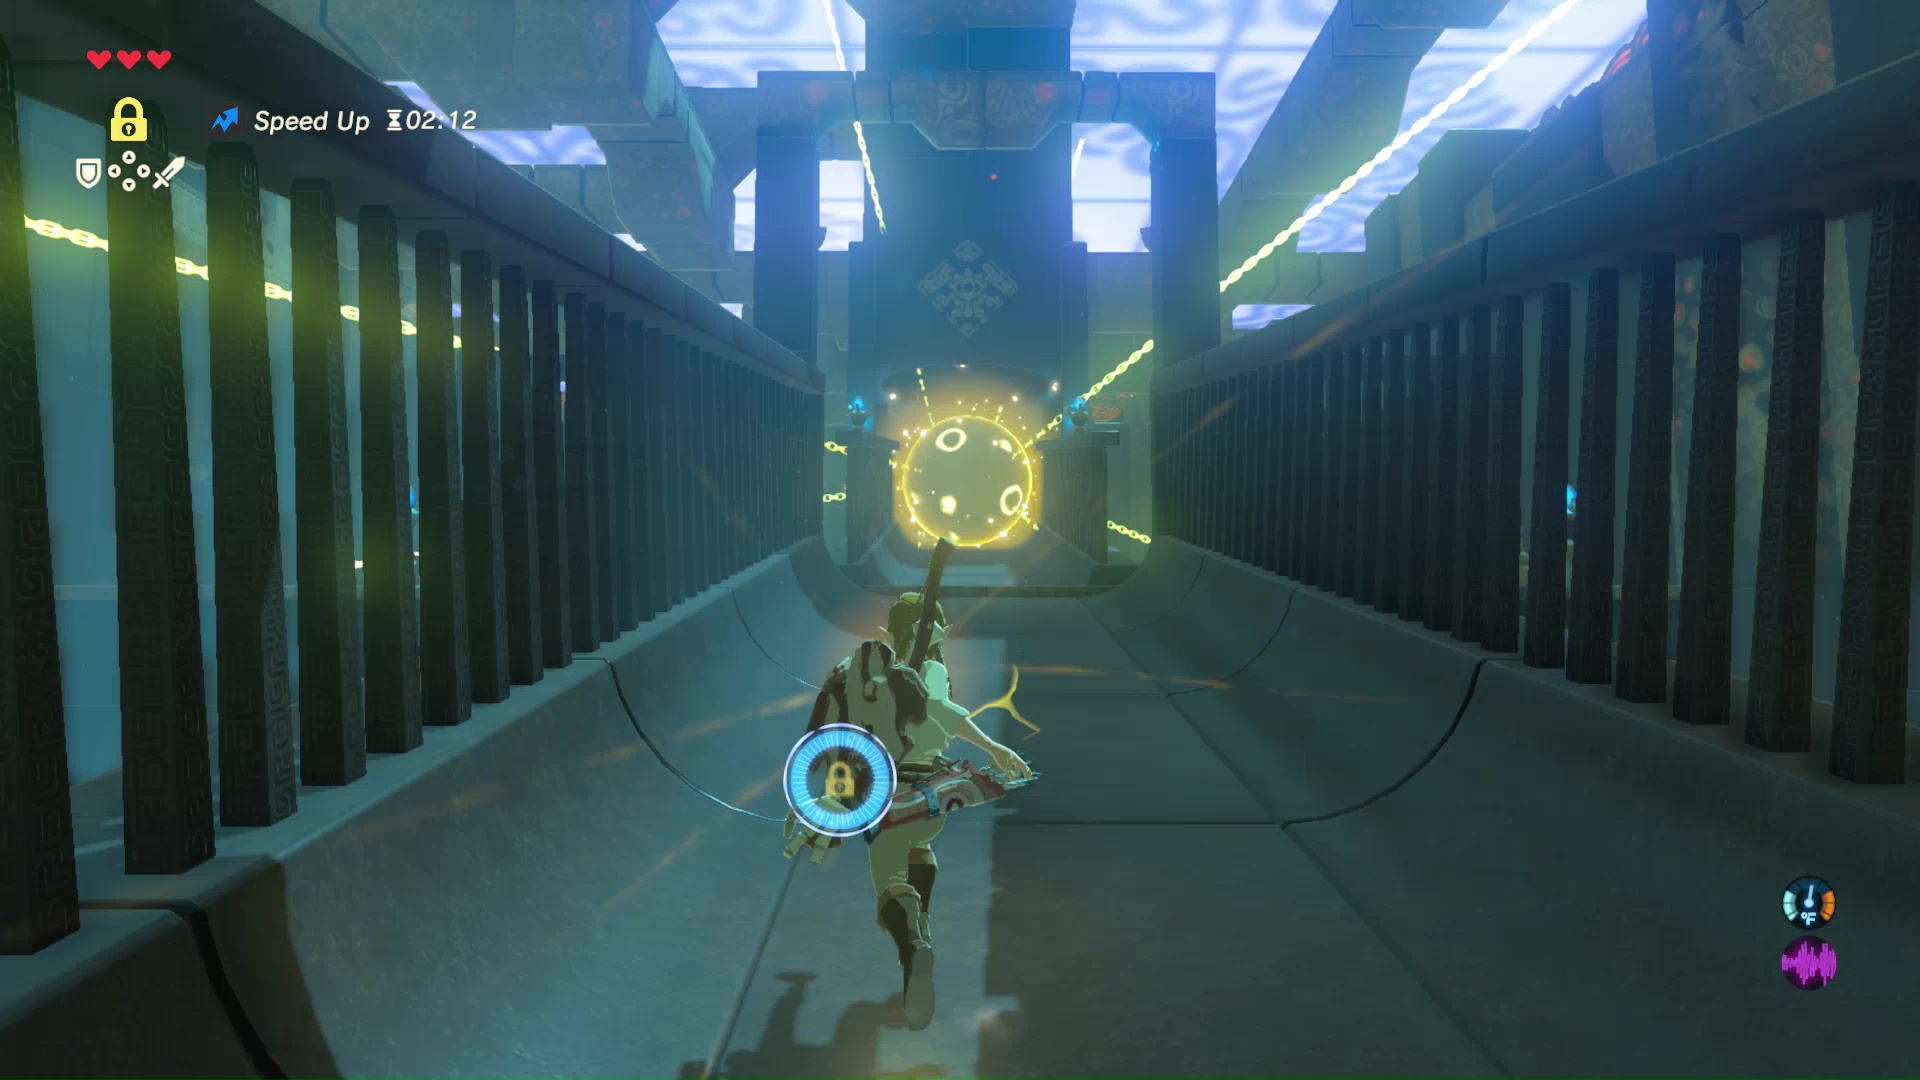
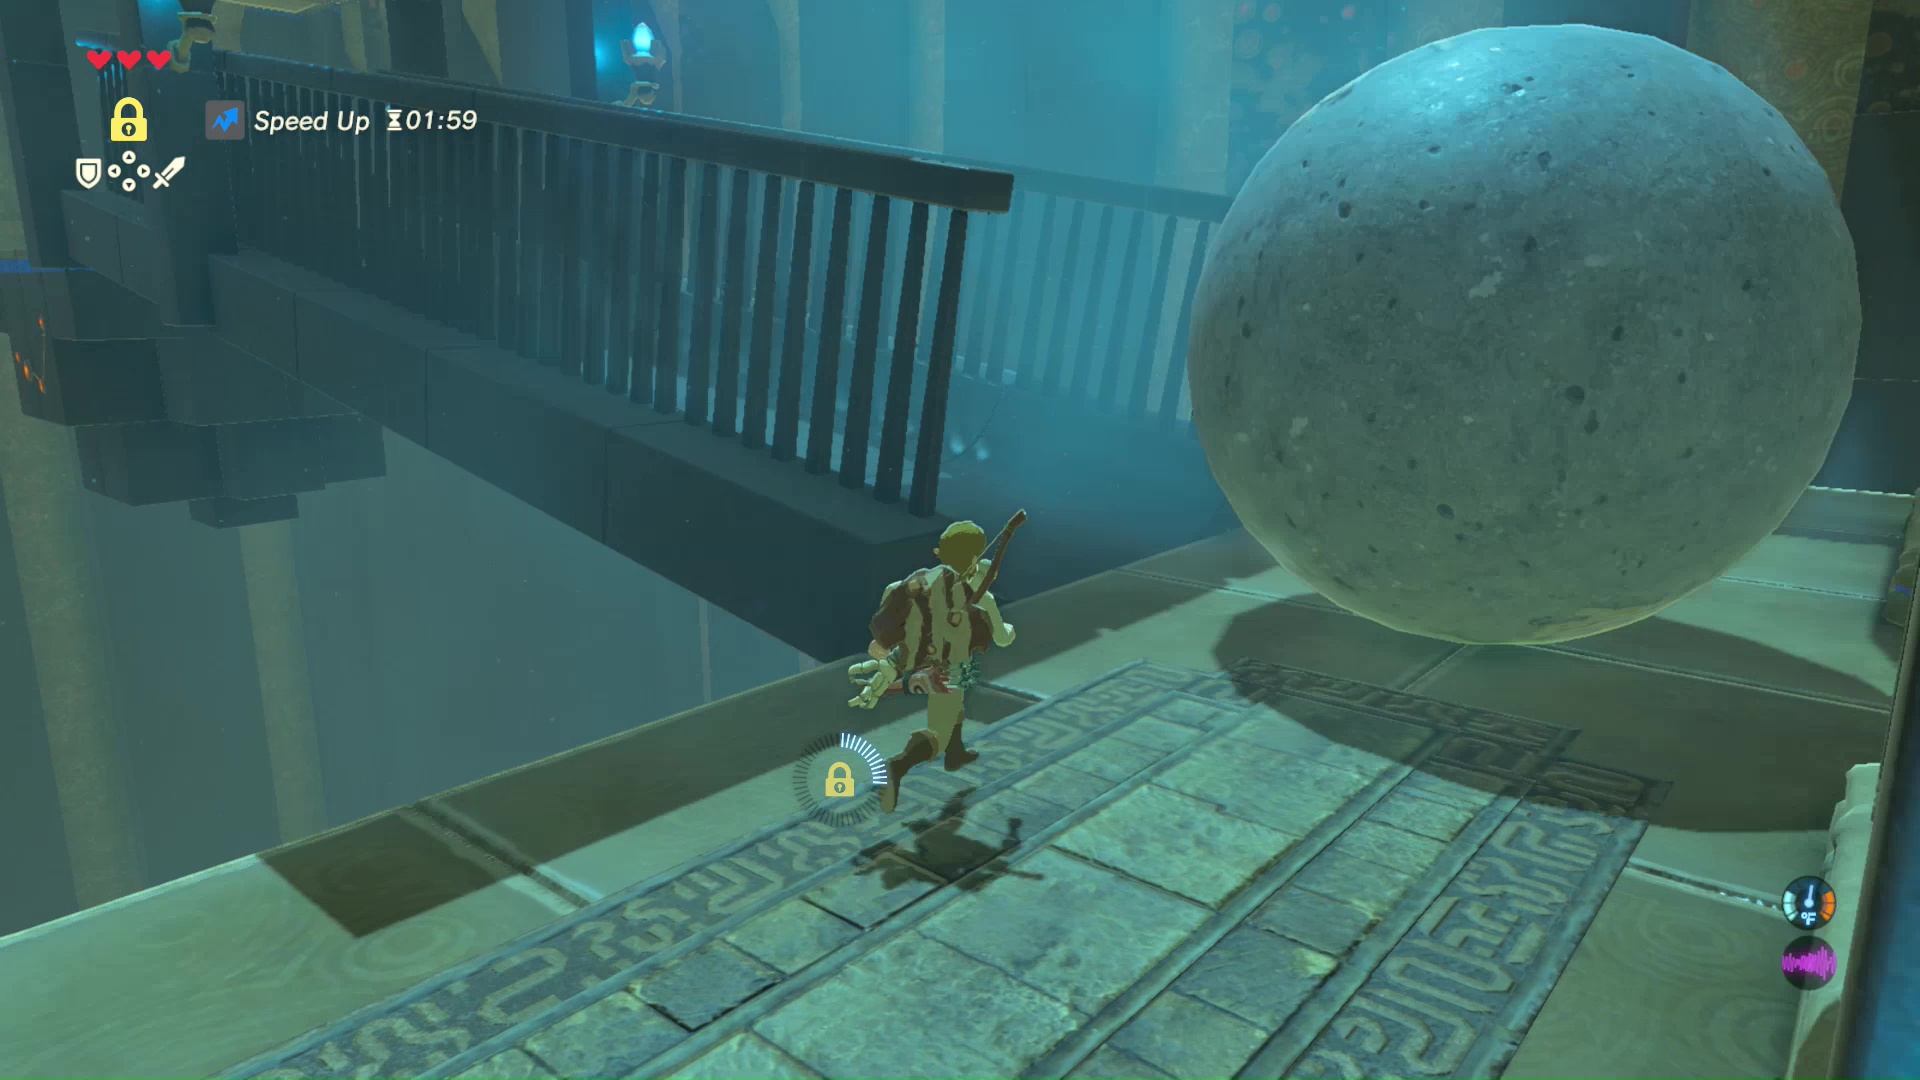
The next area is a large slide with an Indiana Jones style boulder rolling down. The goal is to run up the slide without getting smashed. When you see the next ball drop, use Stasis to freeze it to give yourself enough time to run off at the half-way point.

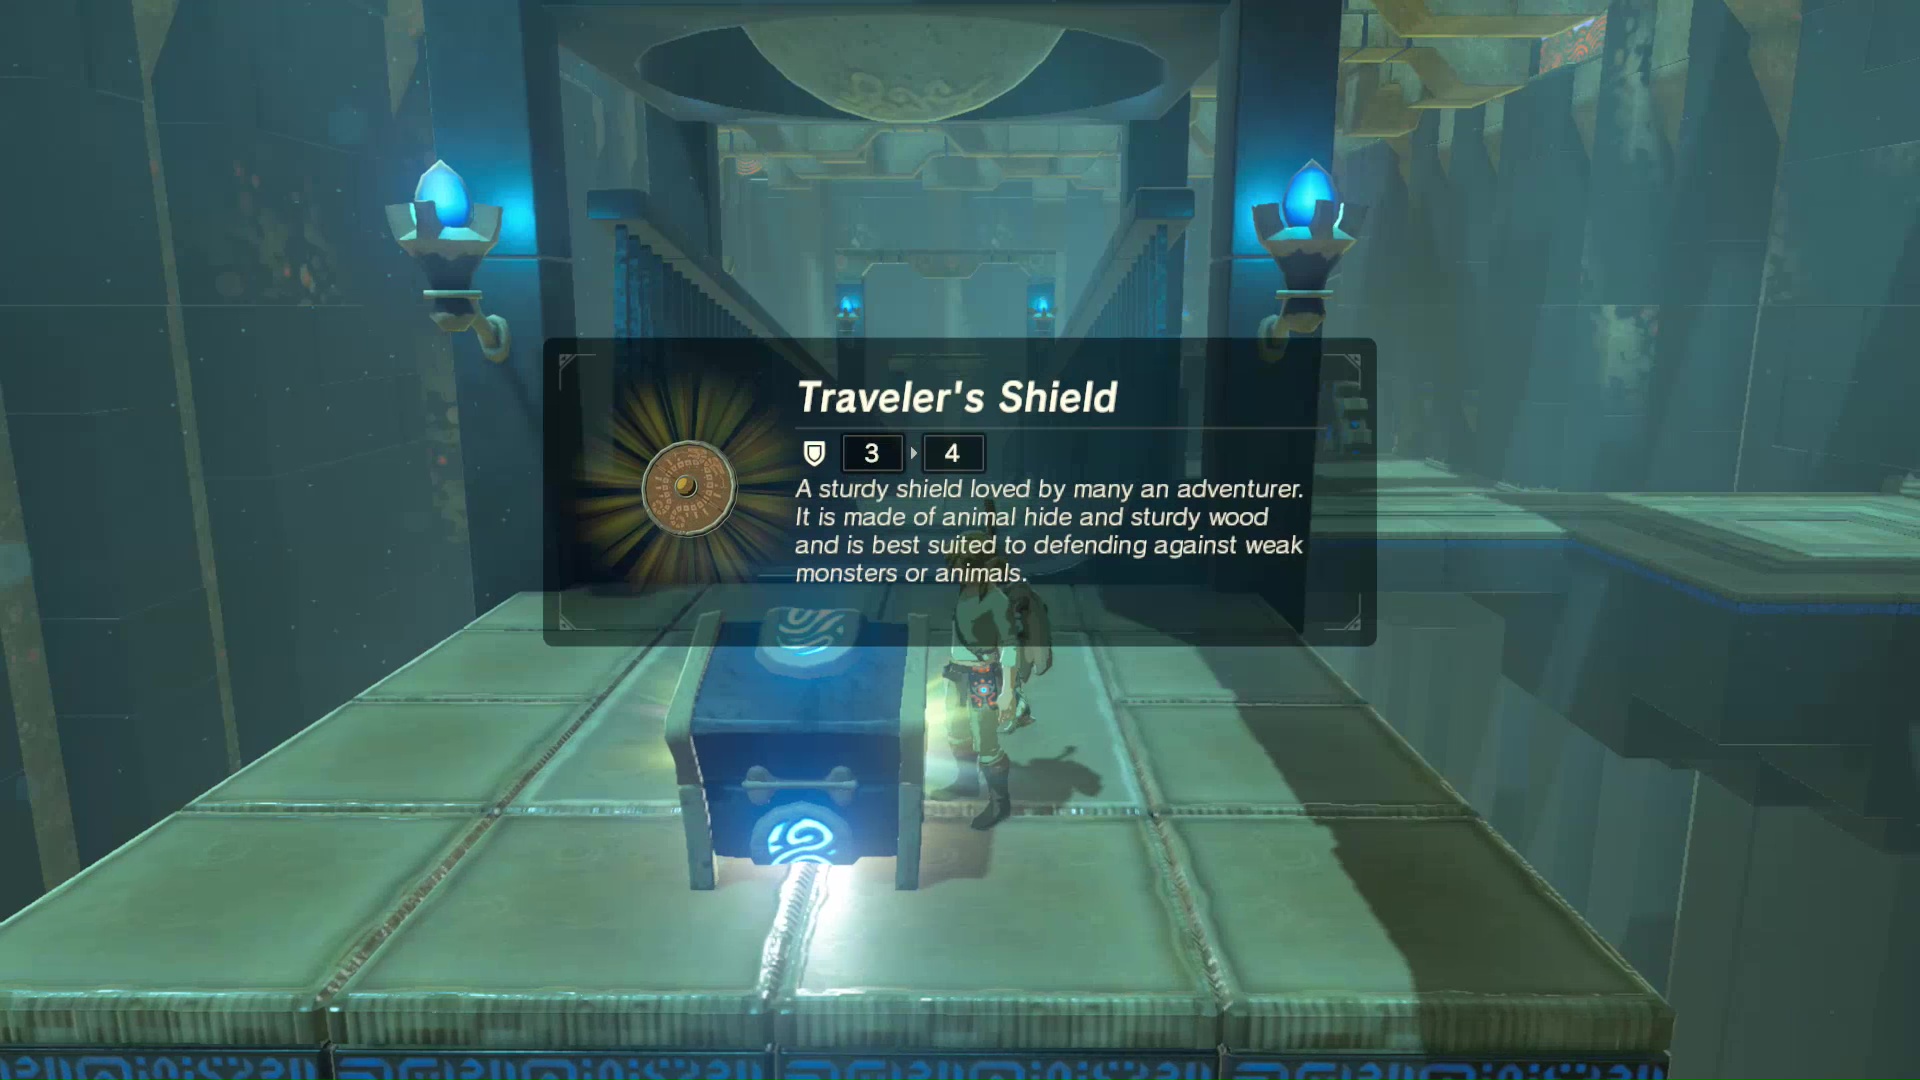
When the ball rolls on by, quickly run up the slide to find a treasure chest. Inside is a Traveler’s Shield.
Return to the half way point down the slide. Continue on until you find a stationary boulder. Use Statis on this boulder, then attack it with any melee weapon you have. If you don’t have any weapons, you can grab the iron sledgehammer nearby. This will clear the path to the shrine’s monk and spirit orb.
Great Plateau to Keh Namut Shrine
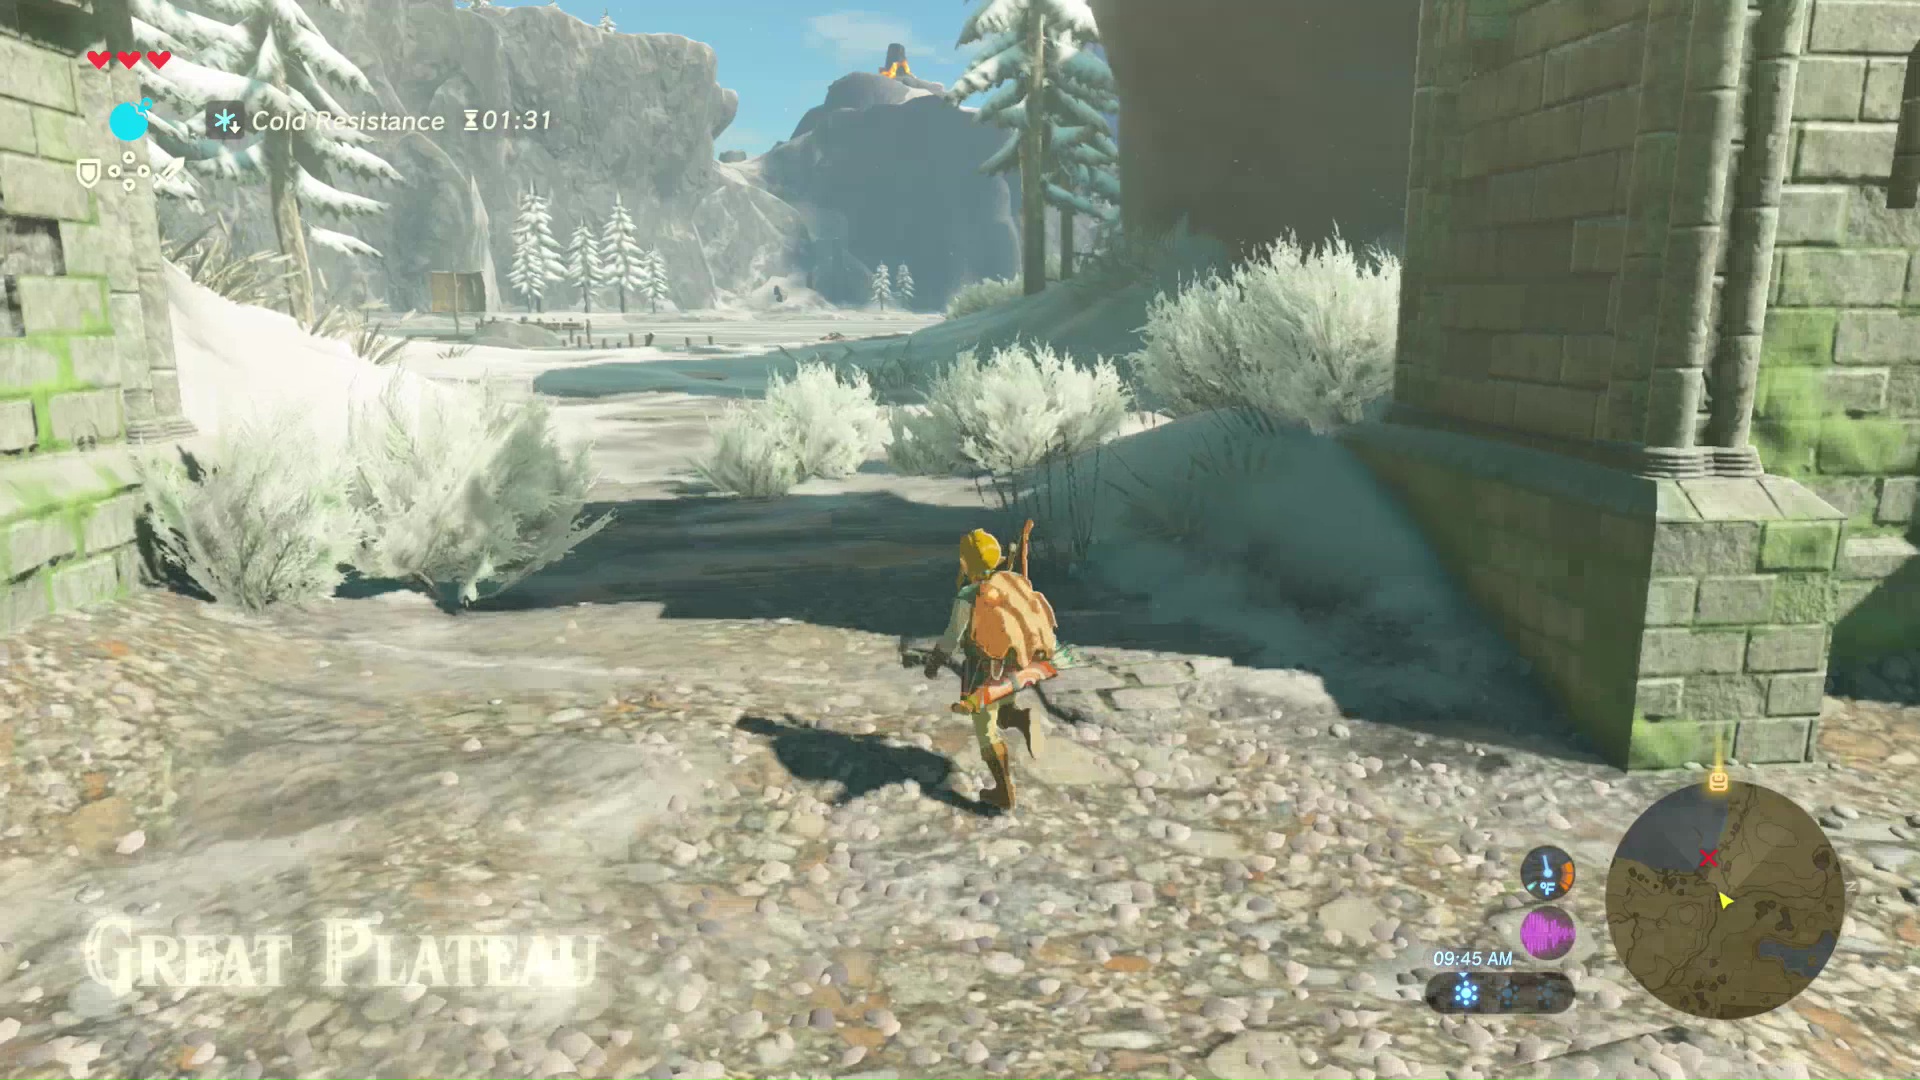
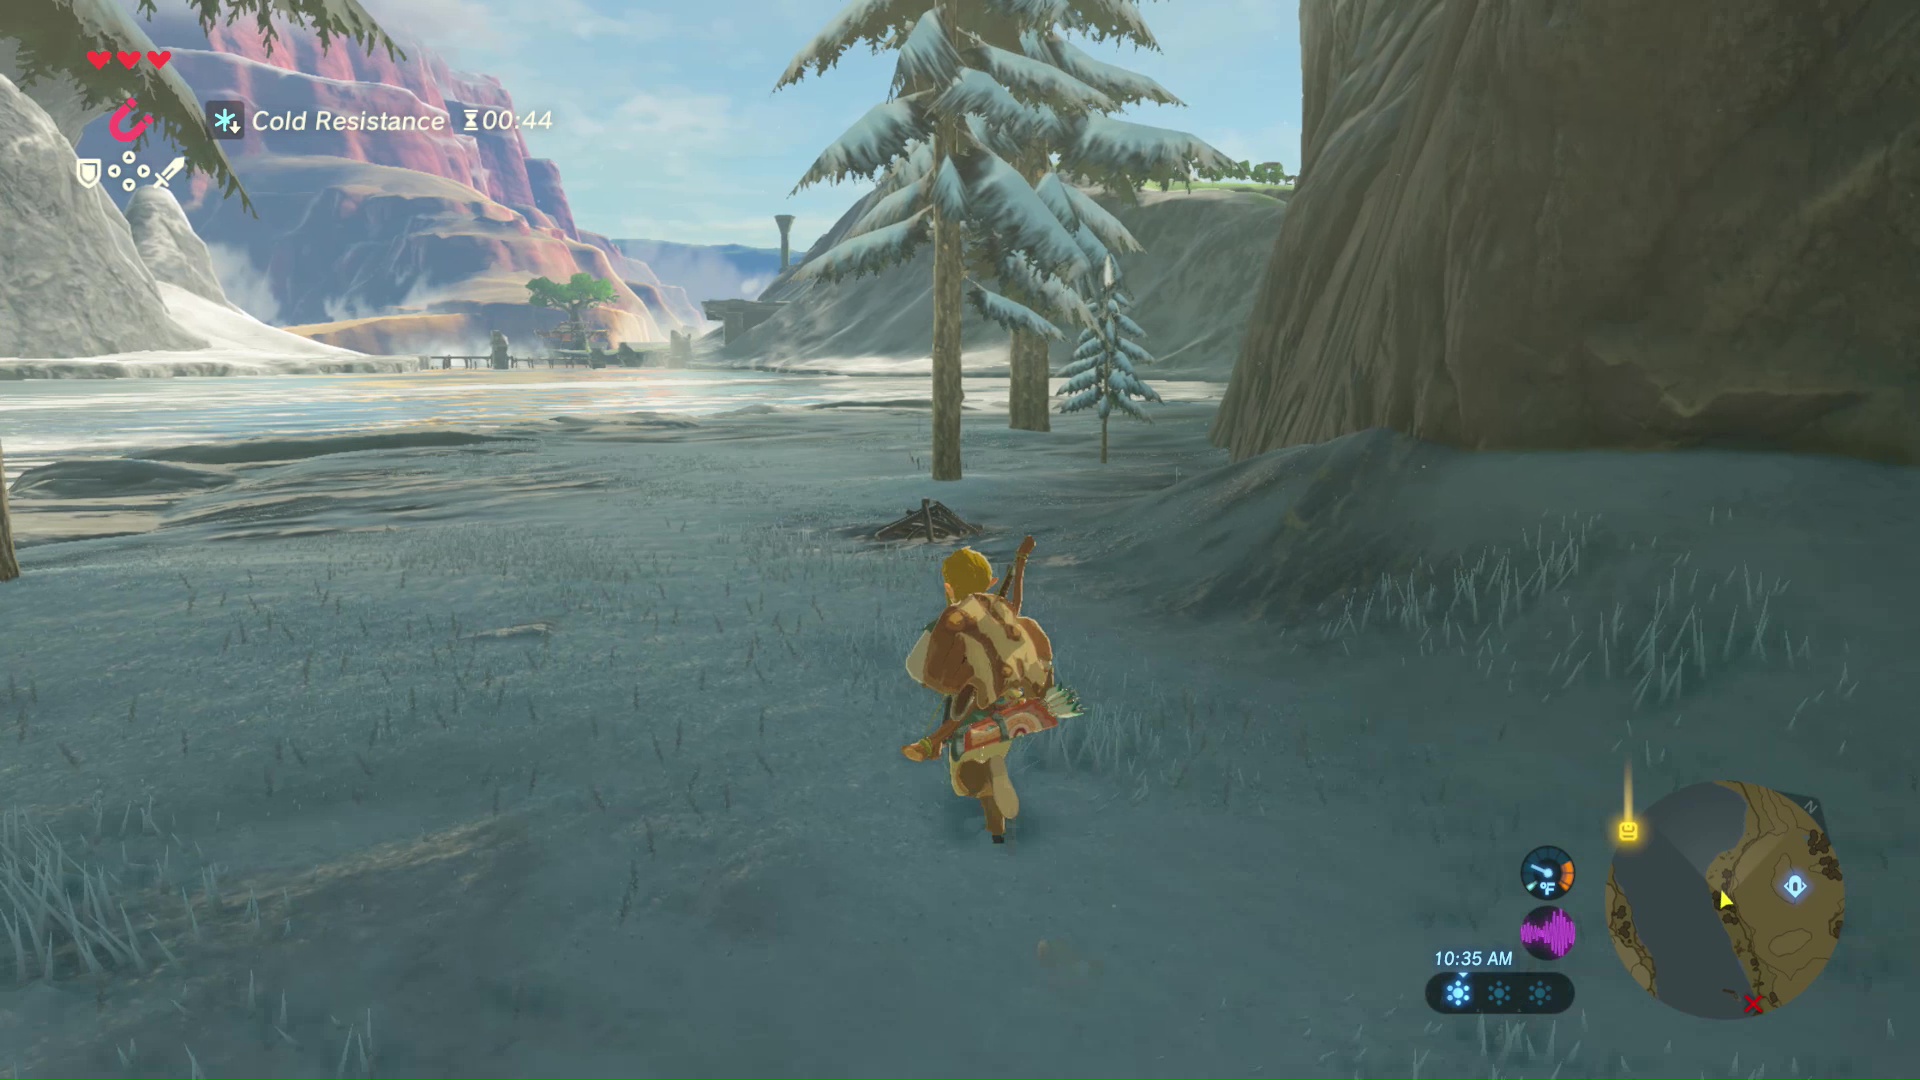
Now that the other two shrines are completed, it’s time to find the final shrine. It’s located at the top of the snowy mountain. The colder climate will drain your health as you explore. Make sure you grabbed the Warm Doublet from the Old Man. To obtain the item, you must recreate his dish with a Hyrule Bass and Spicy Pepper. You can also use the Spicy Peppers in other dishes to resist the cold.
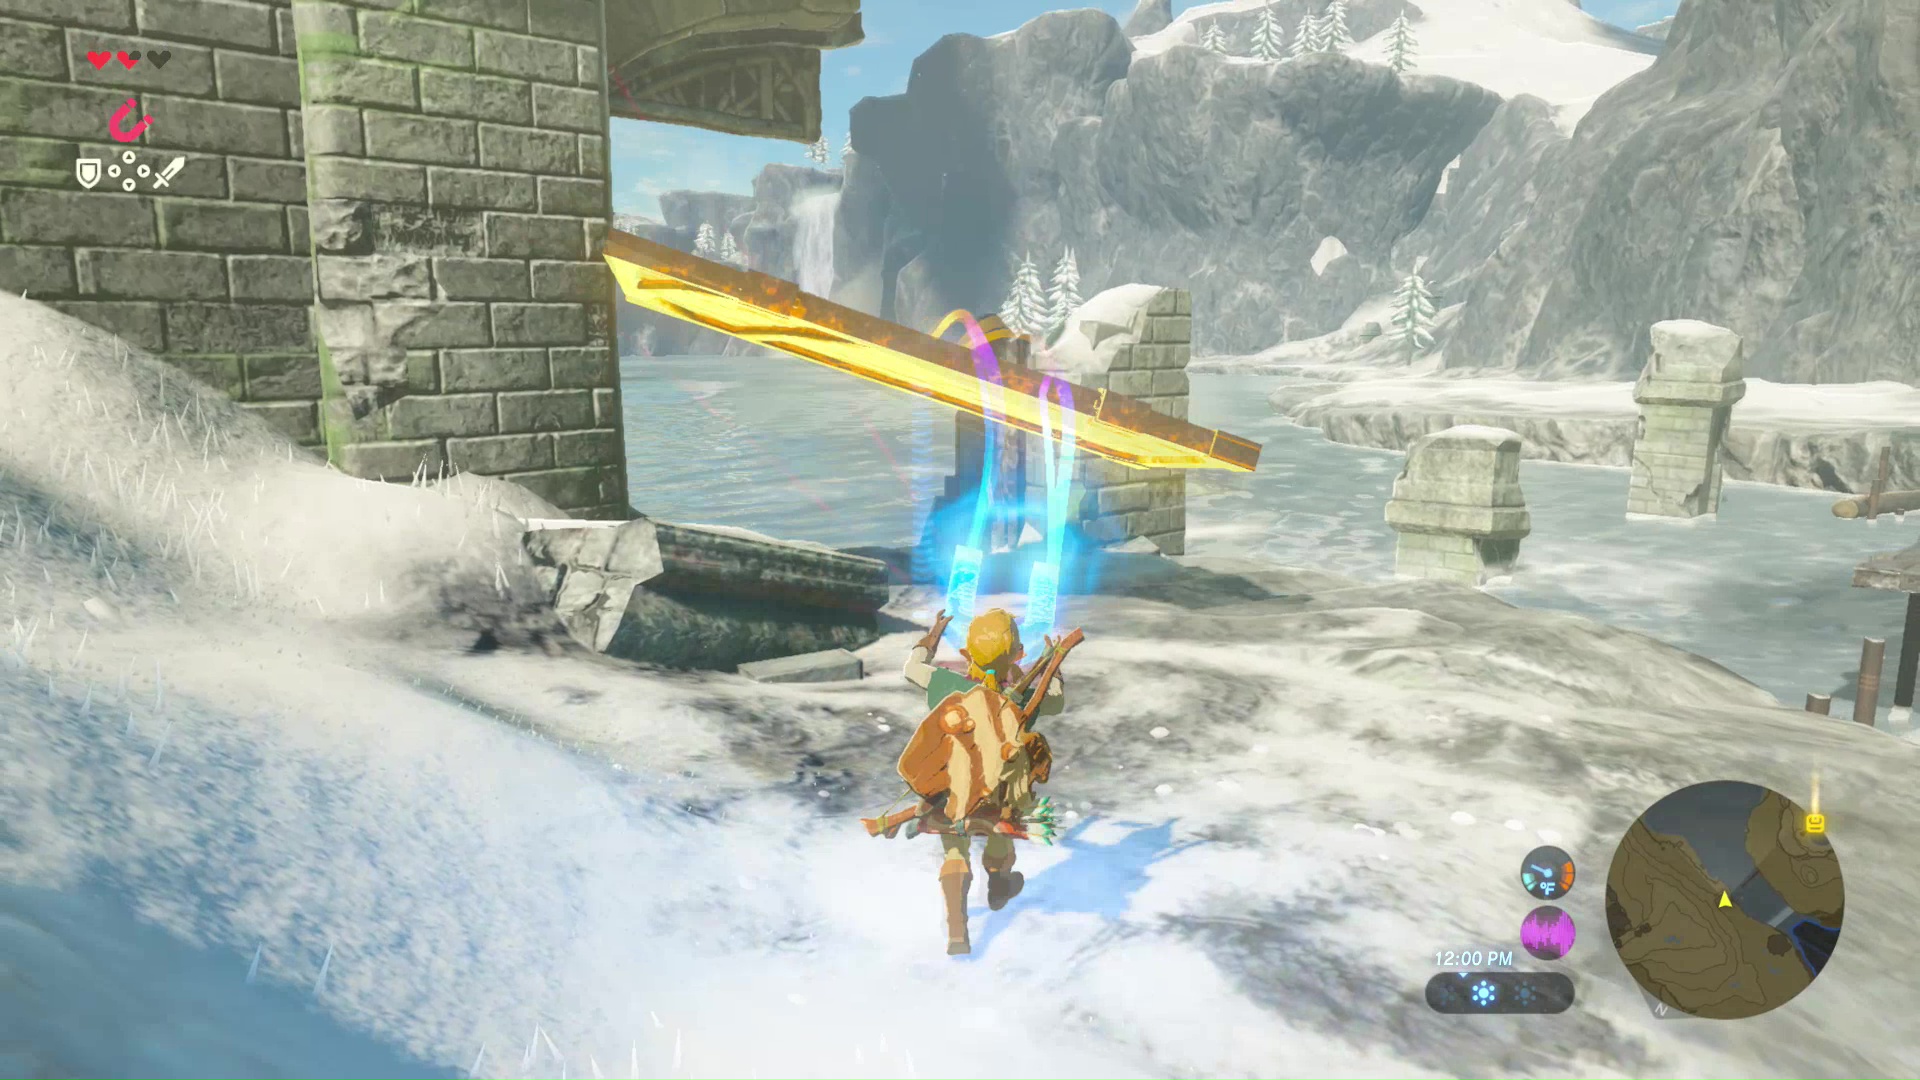
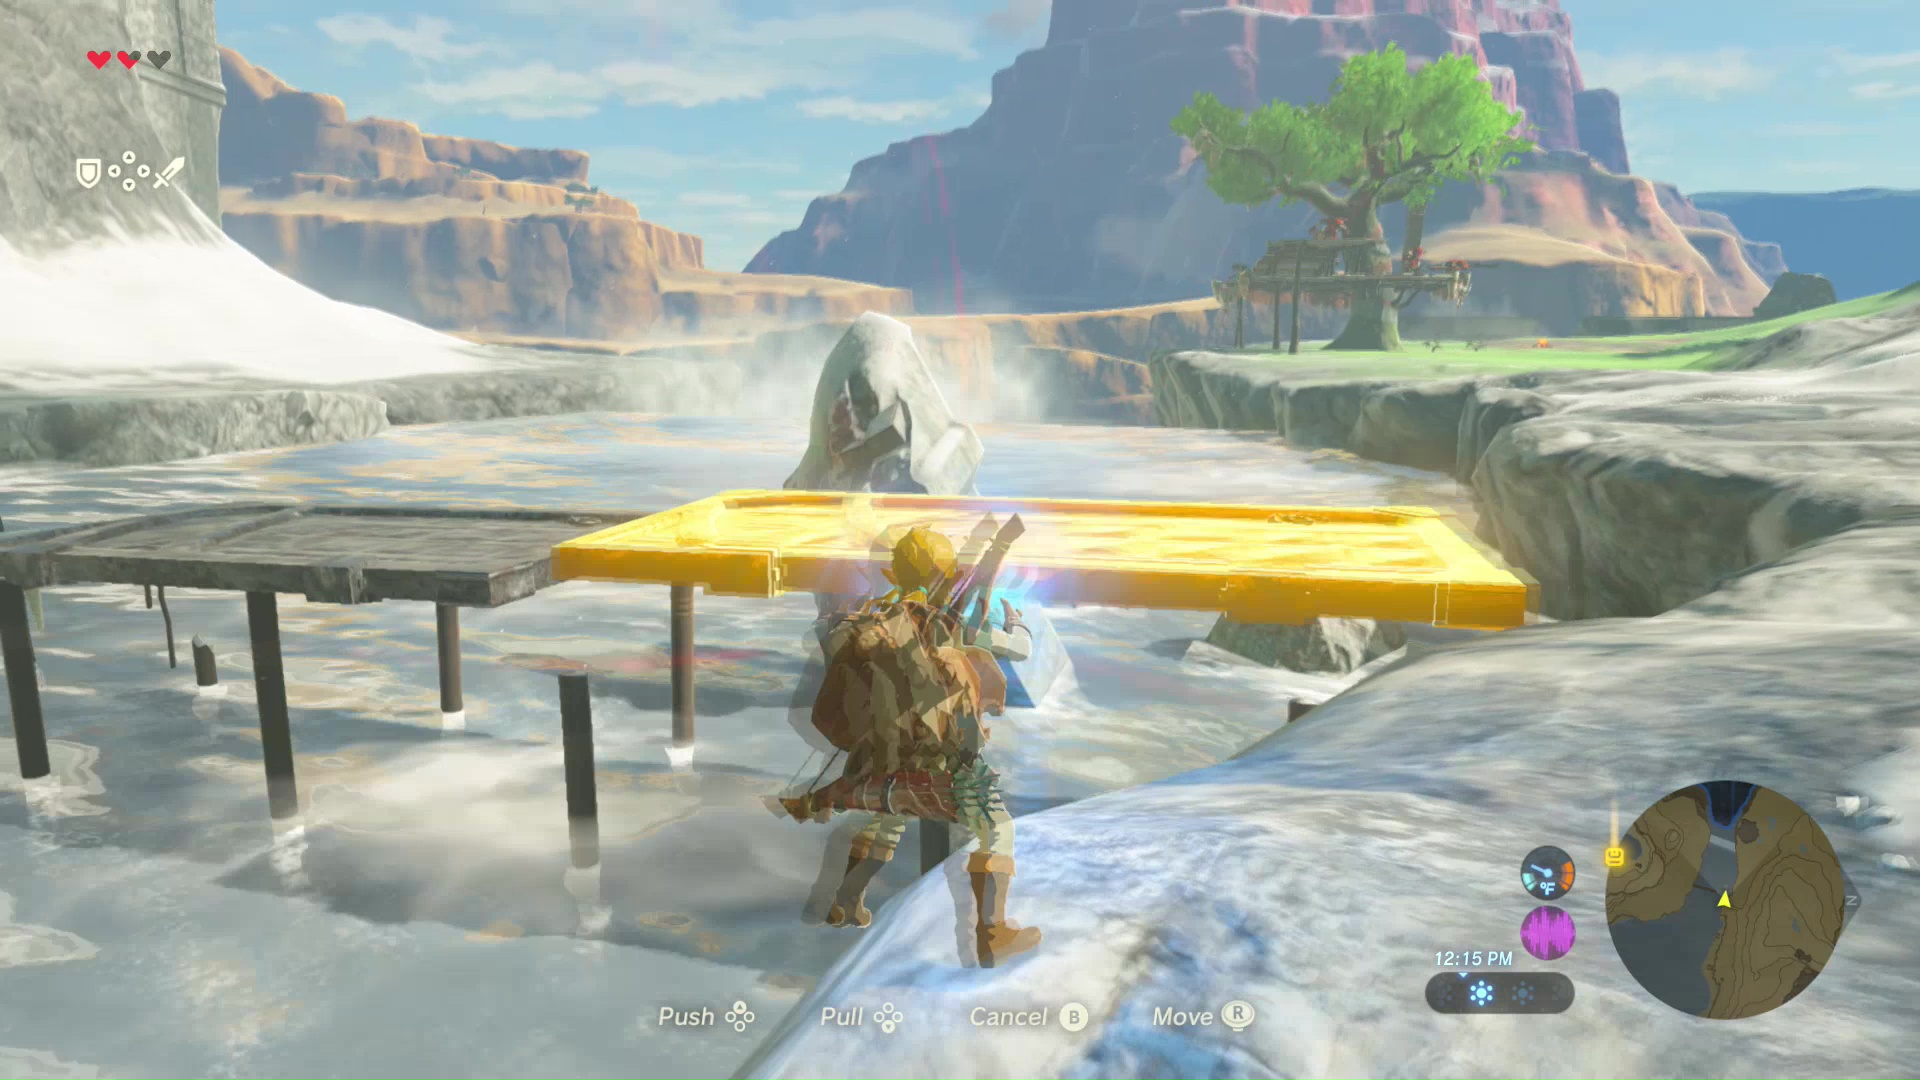
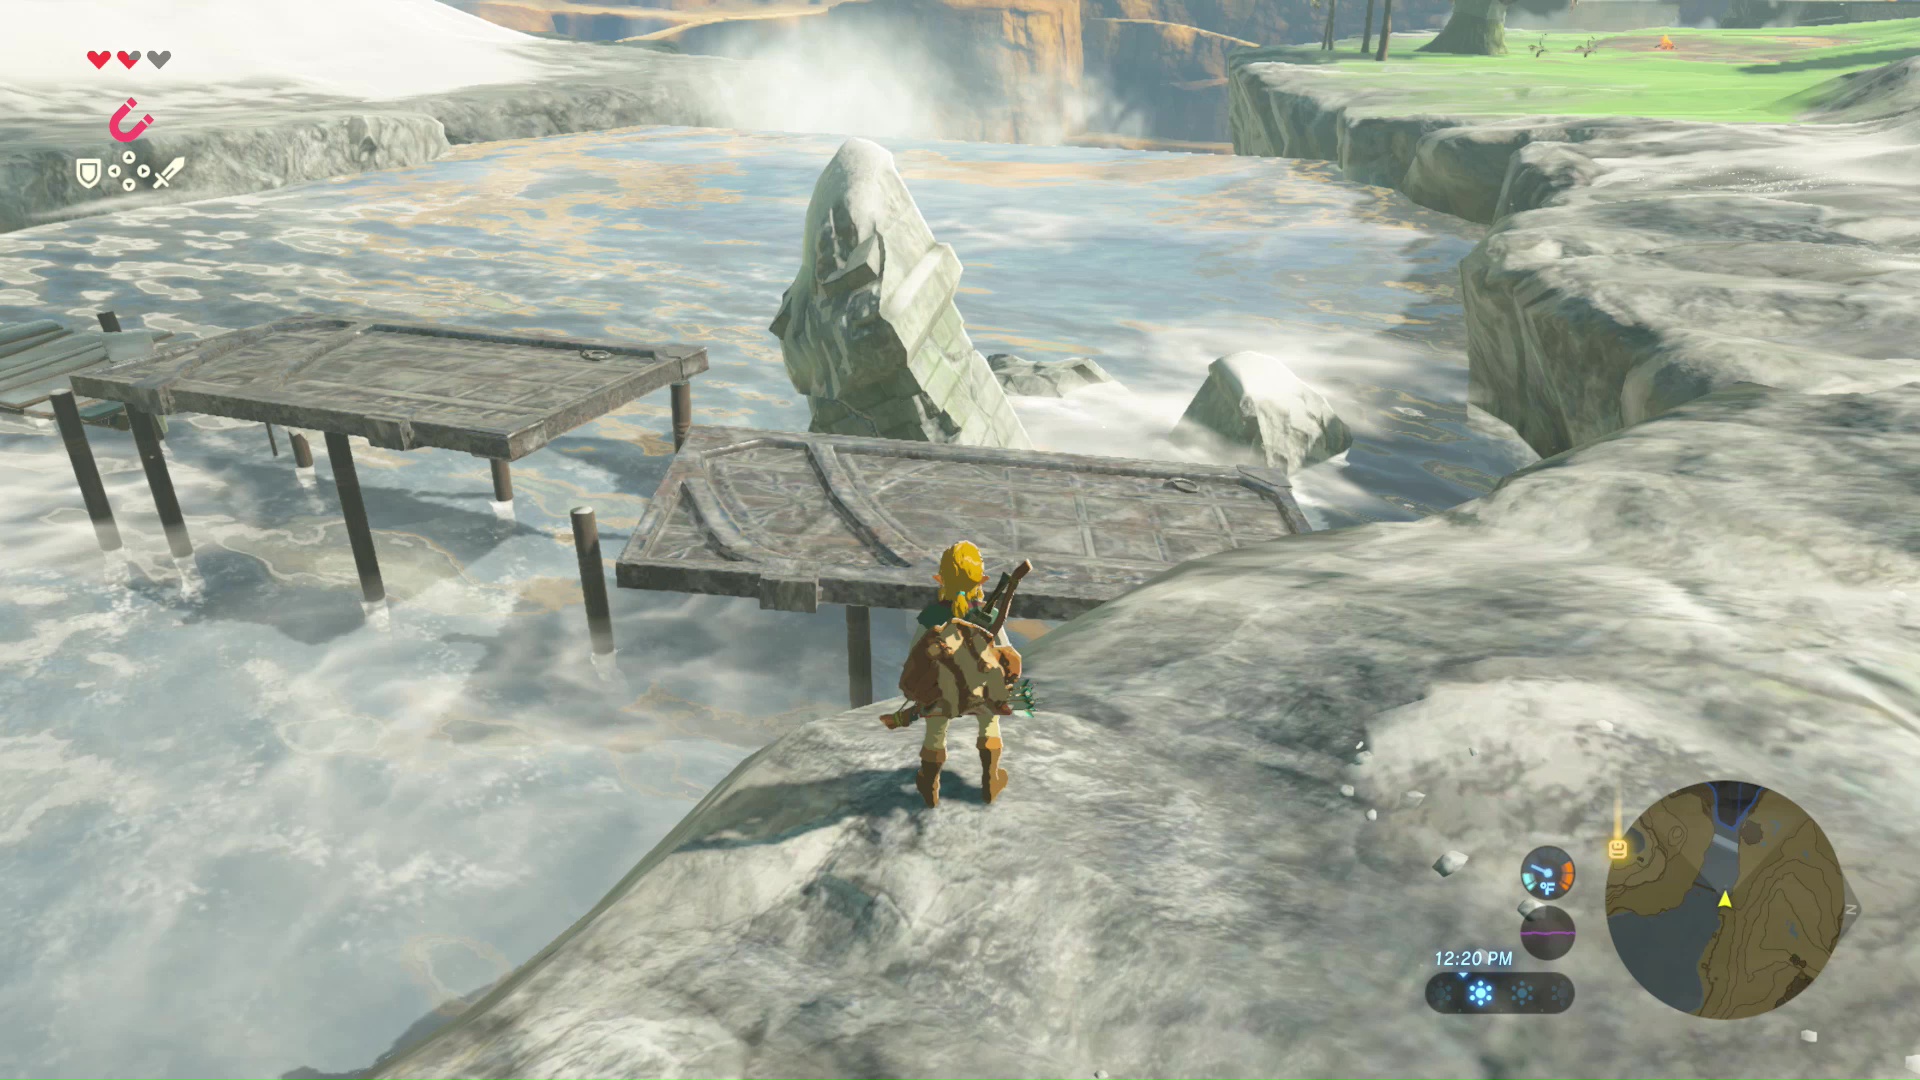
The fastest way to get to the Keh Namut shrine is to return to the Temple of Time and travel up the path to the west. Do not jump in any icy water or you will almost instantly die. If you see treasure chests in the water, use Magnesis to pull them out.
The bridge at the far end will be partially destroyed. Use the Magnesis rune to move the nearby steel piece and create a bridge across.
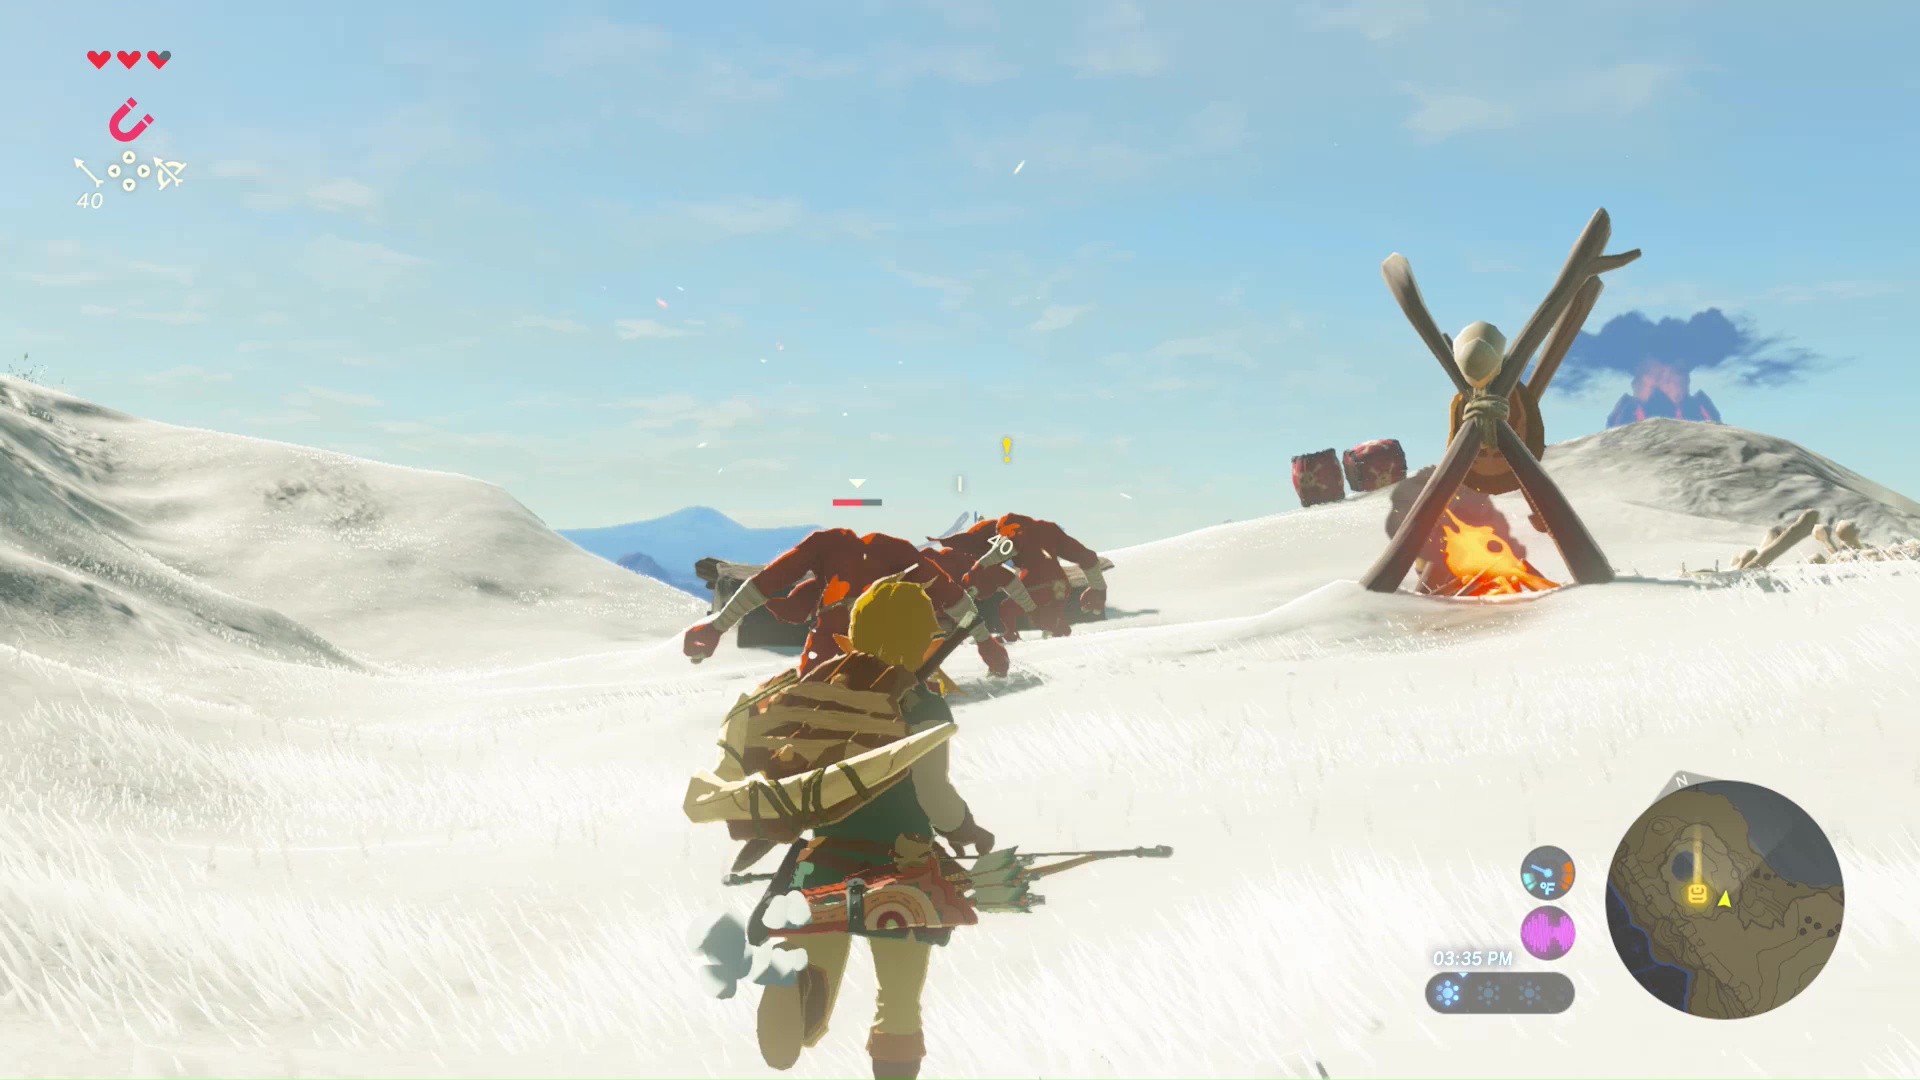
Continue up the mountain towards the shrine. A small camp of Bokoblins will be waiting for you up the mountain side. Dodge their snow balls and fight them before reaching the shrine. Again, do not jump in the icy water! You can grab the nearby treasure chest after completing this shrine.
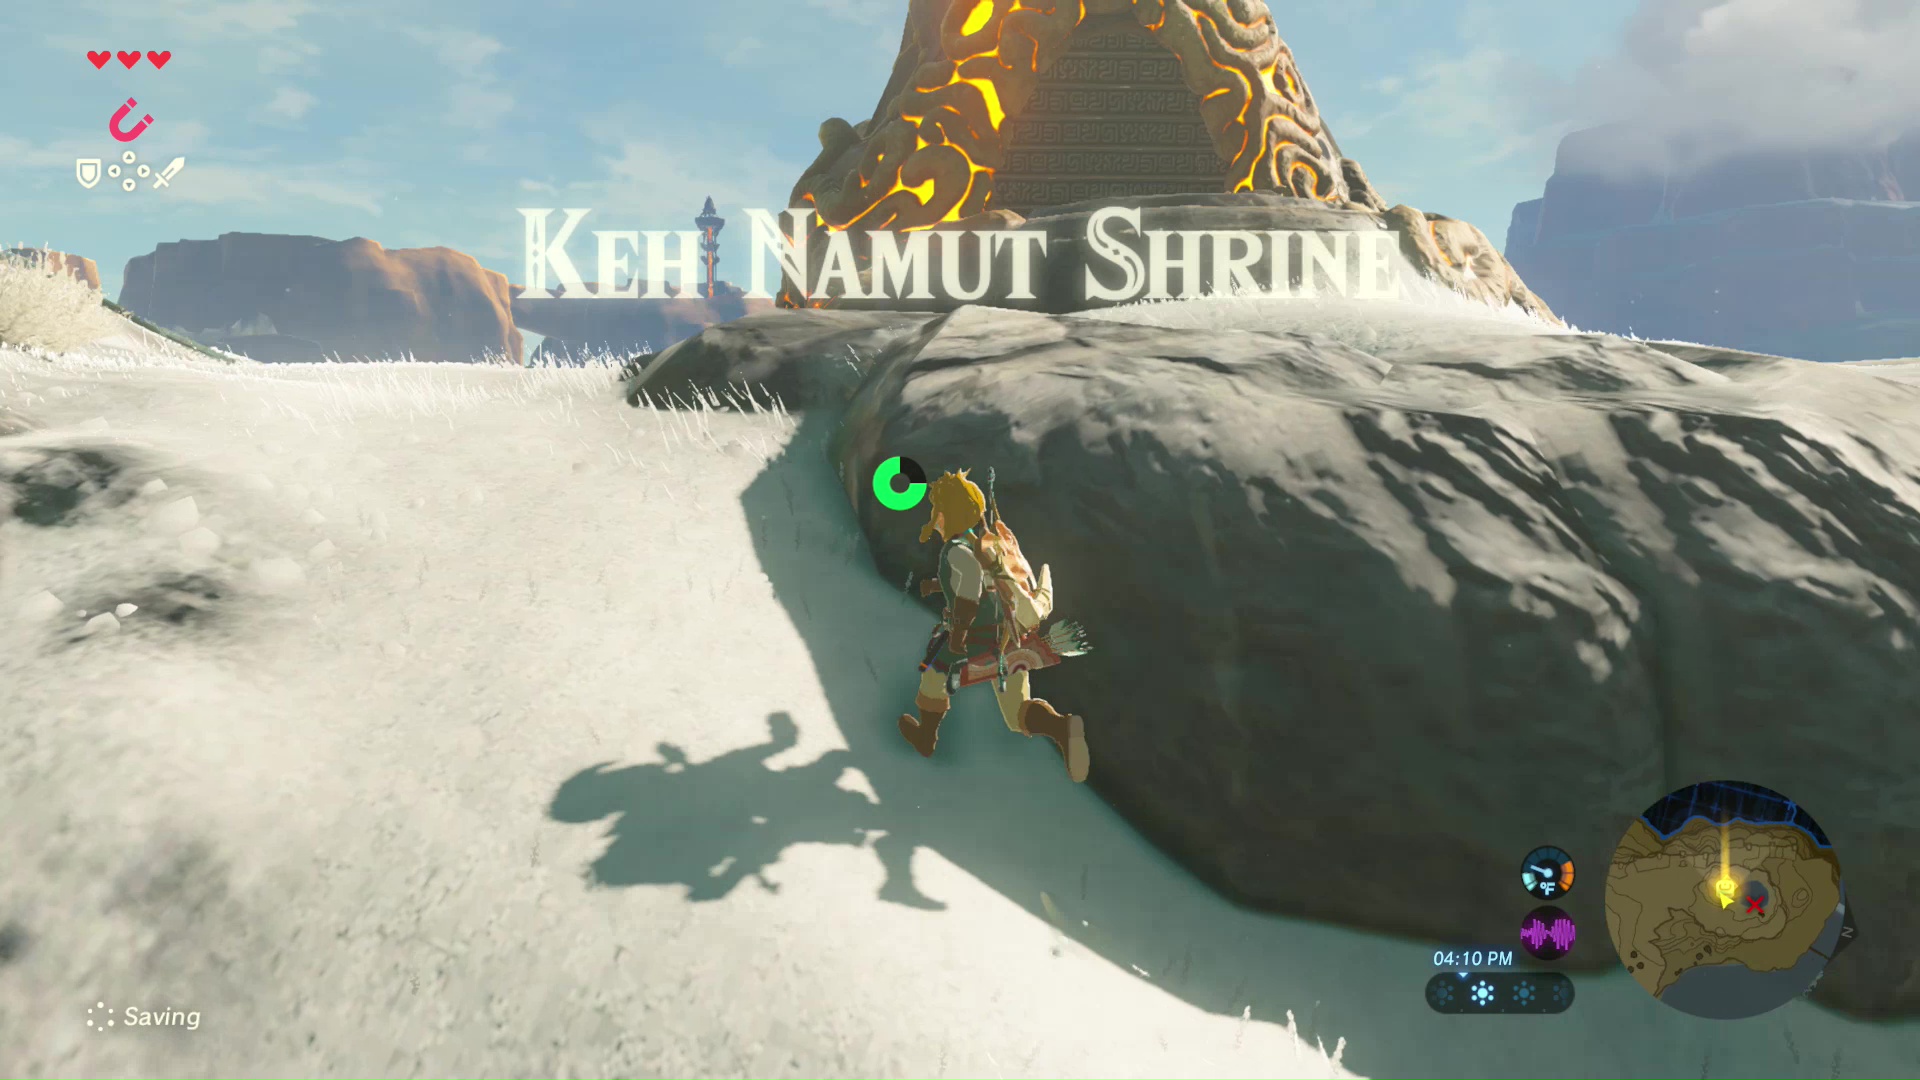
Keh Namut Shrine
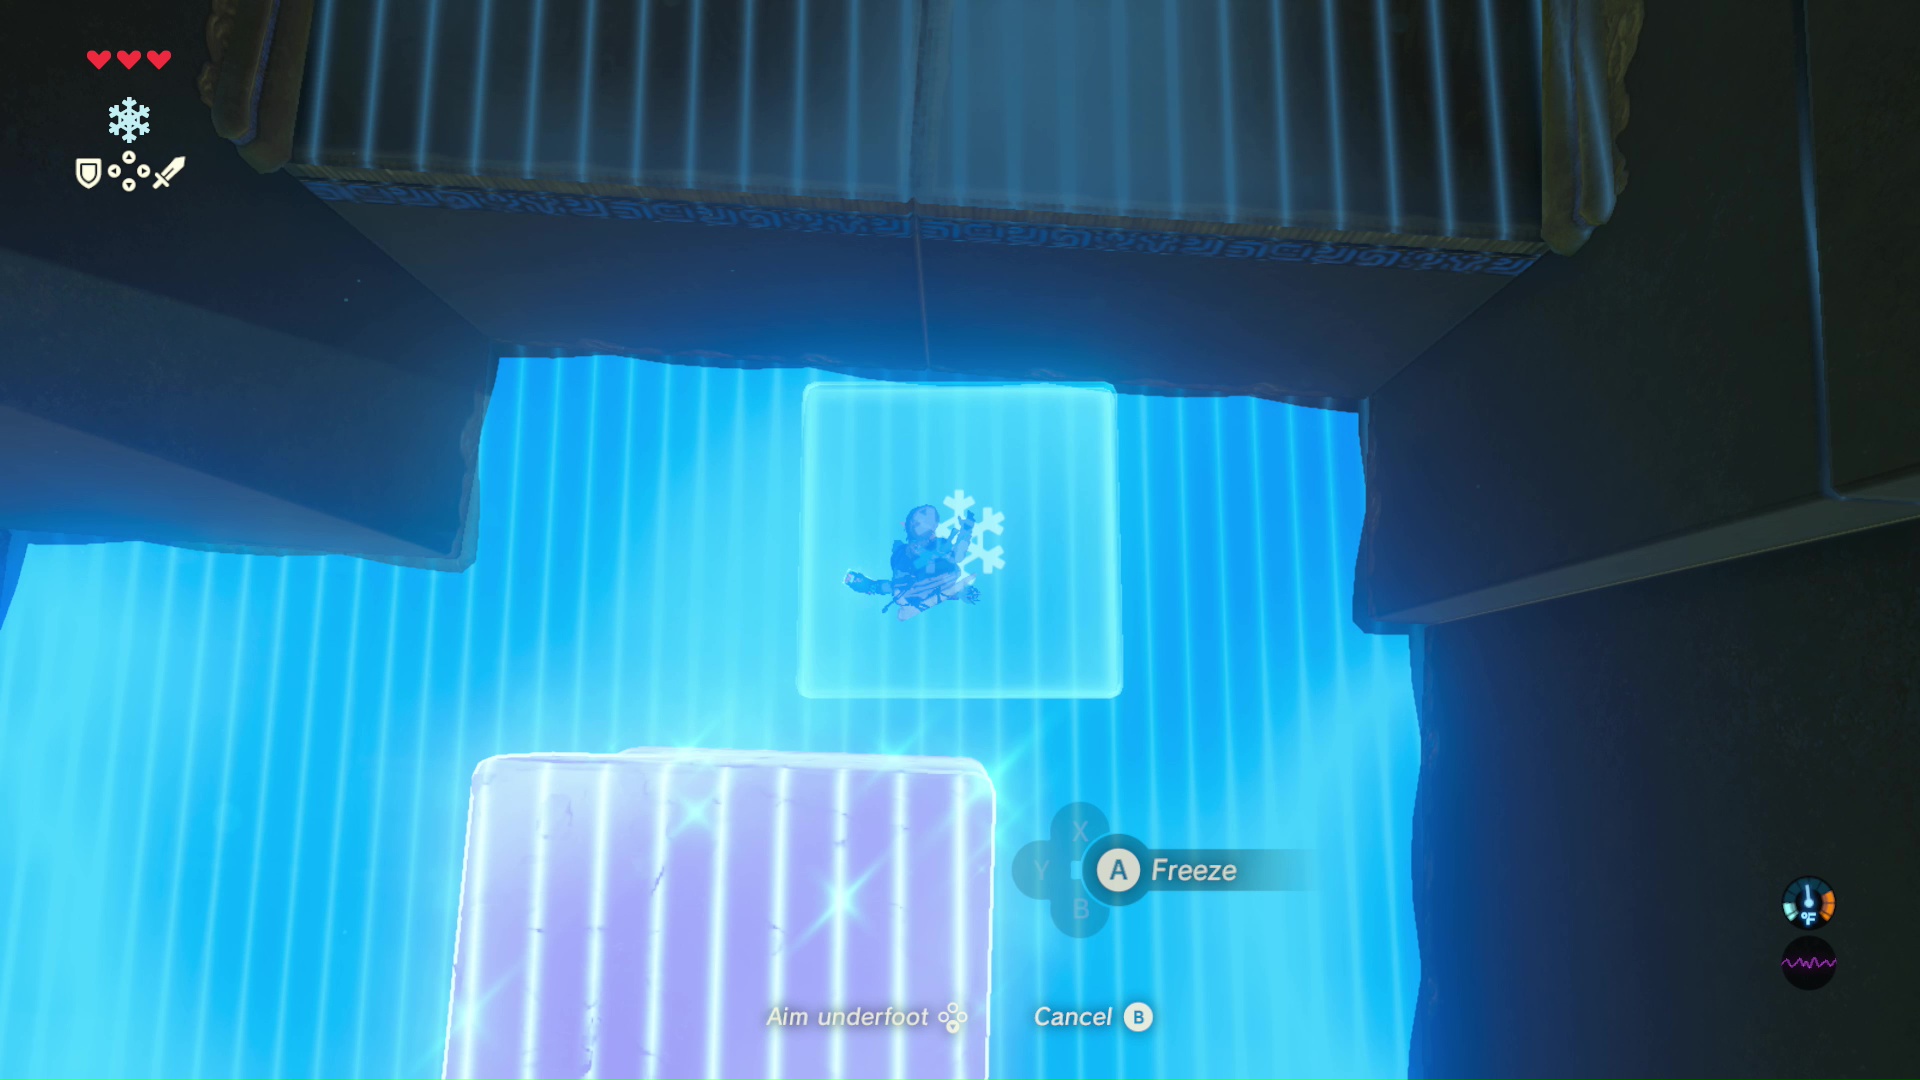
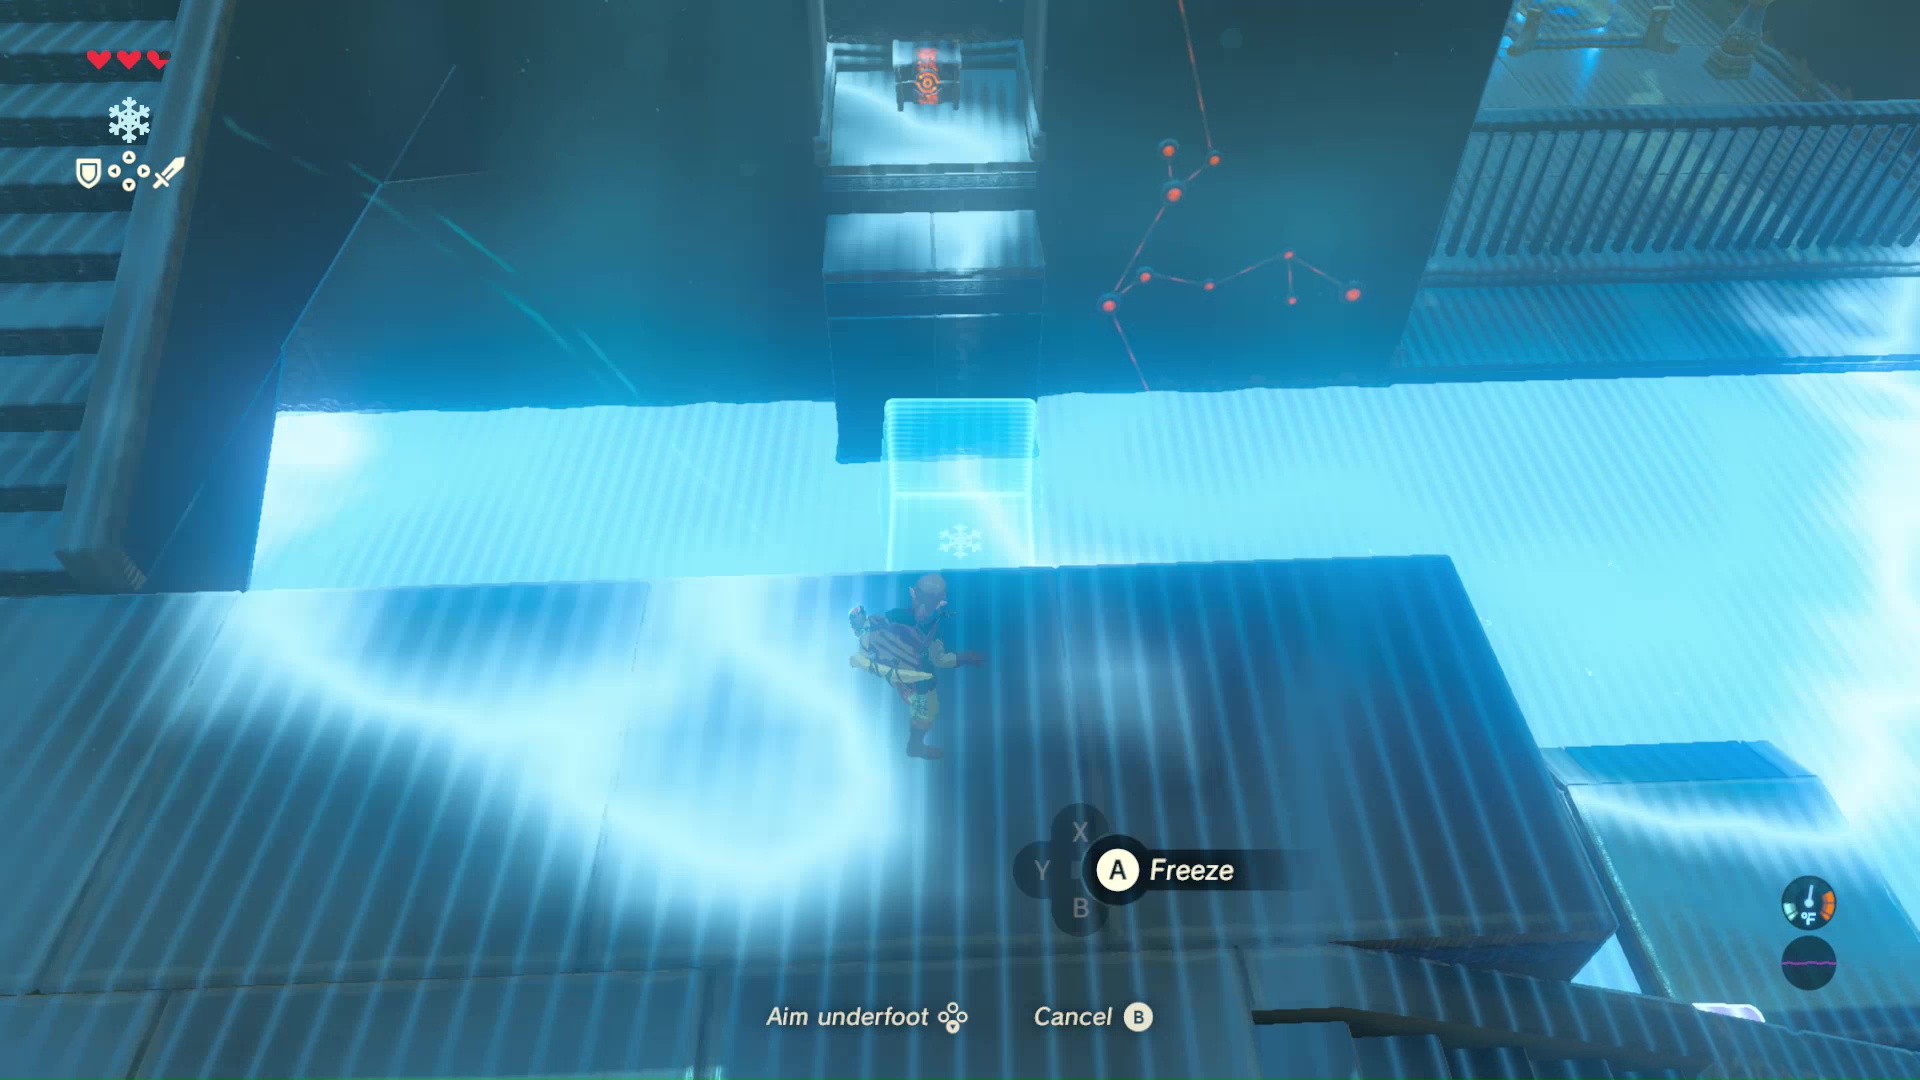
Enter the shrine and interact with the nearby pedestal. This will add the Crynosis rune to your Sheikah Slate. Crynosis will create ice pillars in bodies of water. The pillars can be created directly beneath you, or you can create a series of pillars to climb and jump on.

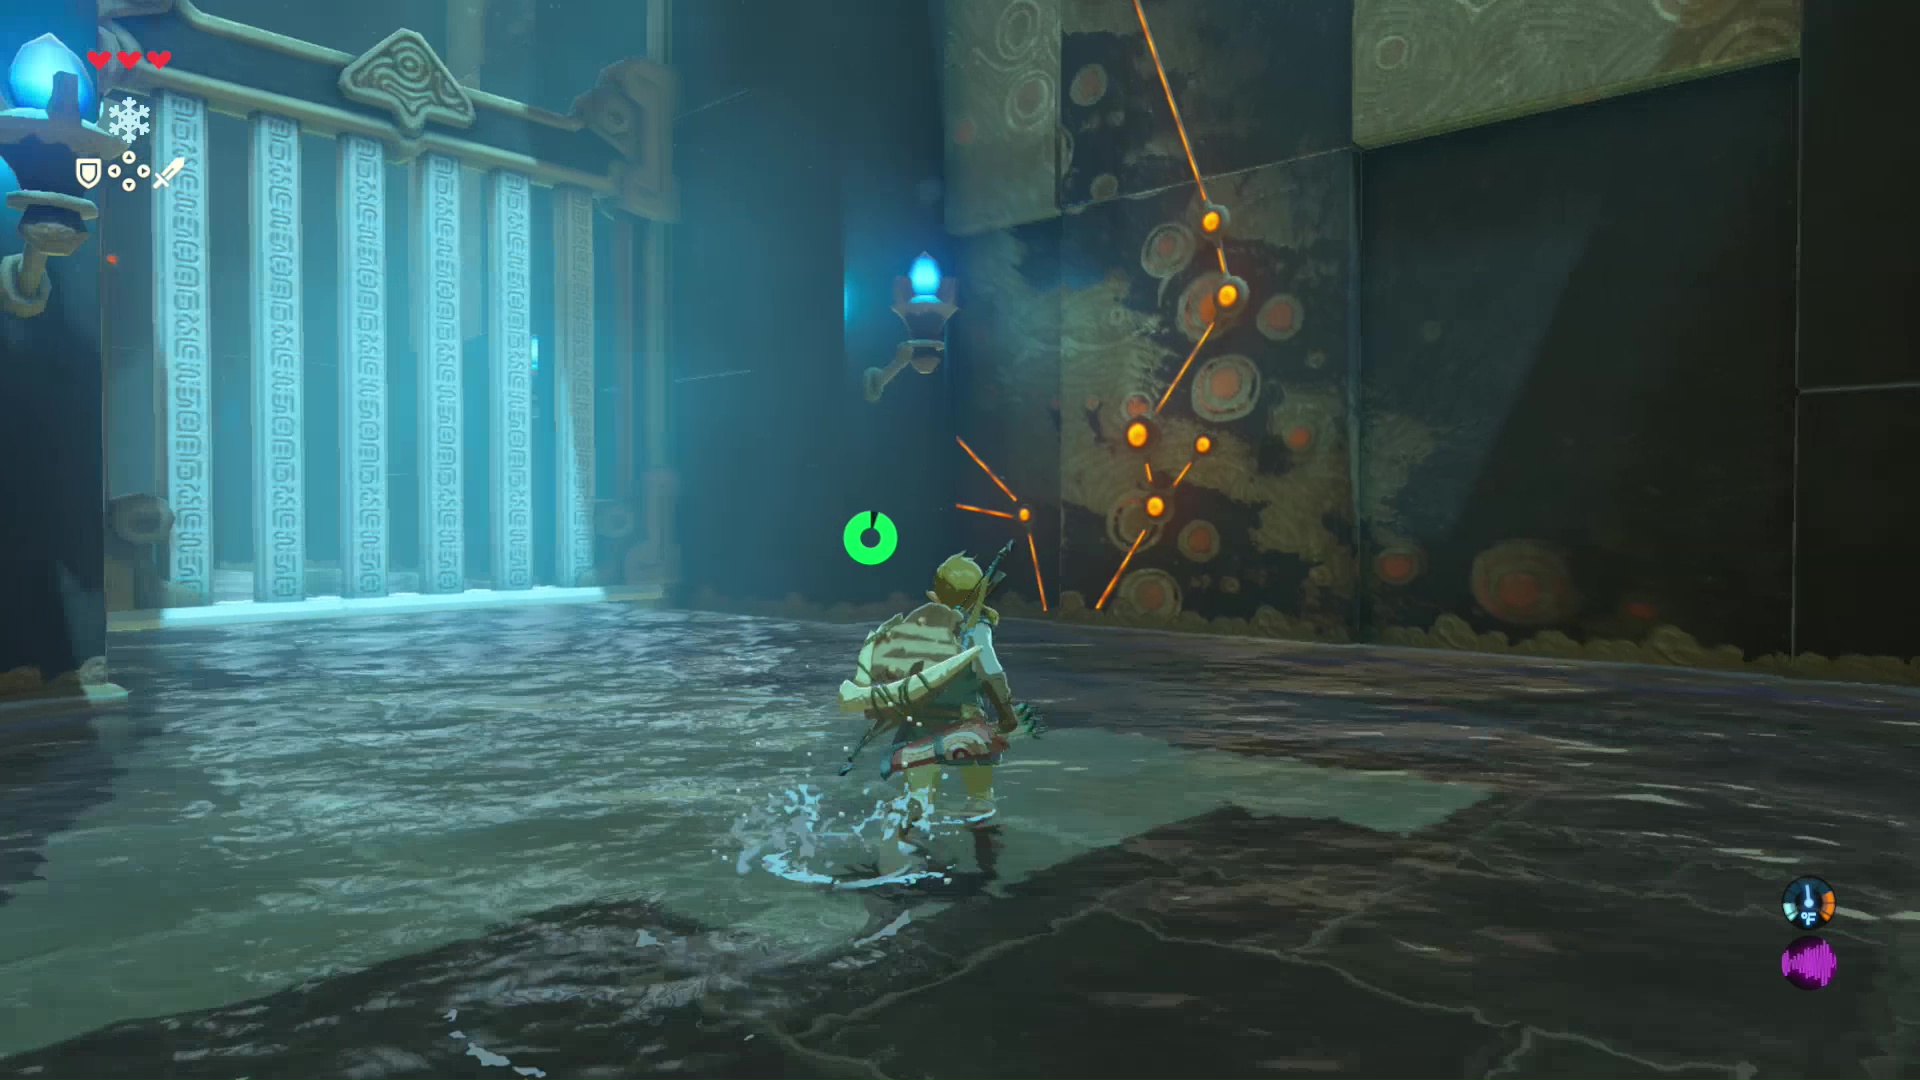
A gate will be blocking your path up ahead. Use Crynosis beneath the gate to lift it with an ice pillar. Continue on, but be aware of the Guardian Scout up ahead! It shouldn’t be too much of a threat in battle if you’ve made it this far.
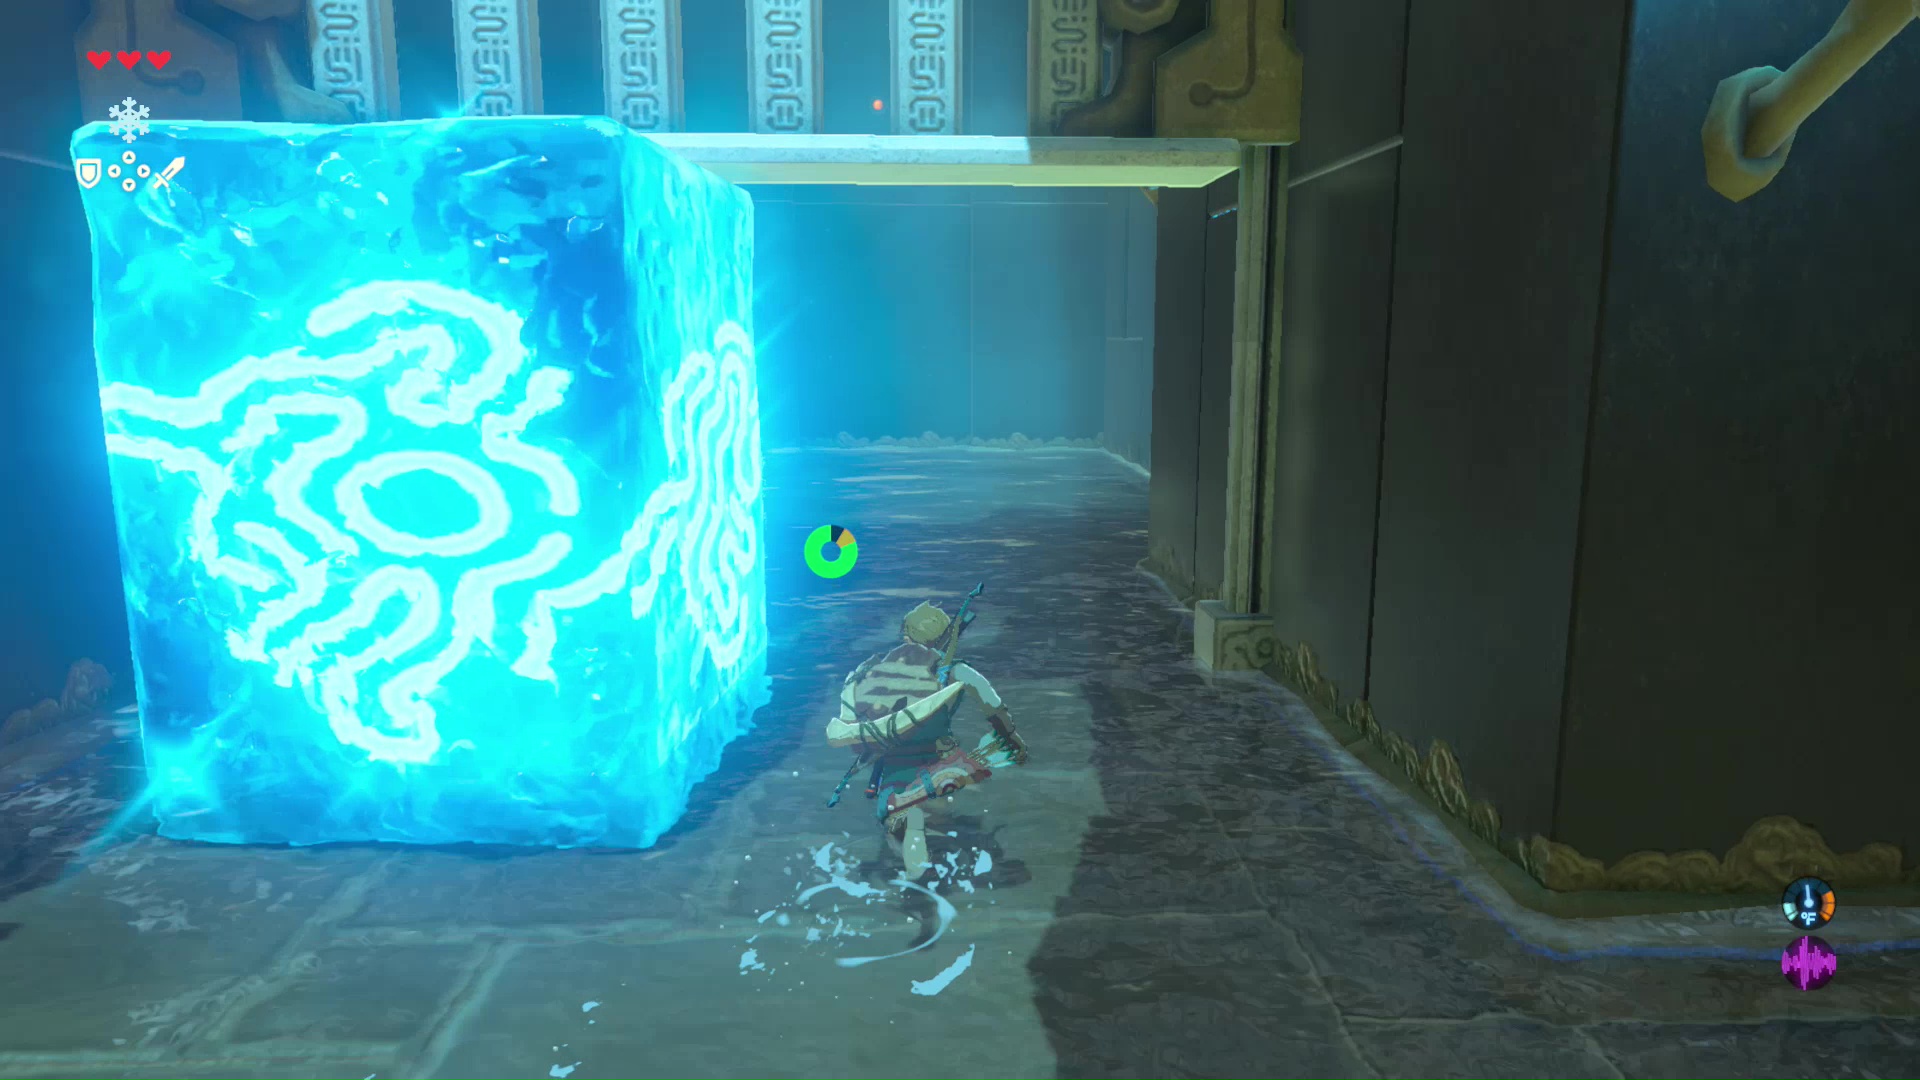
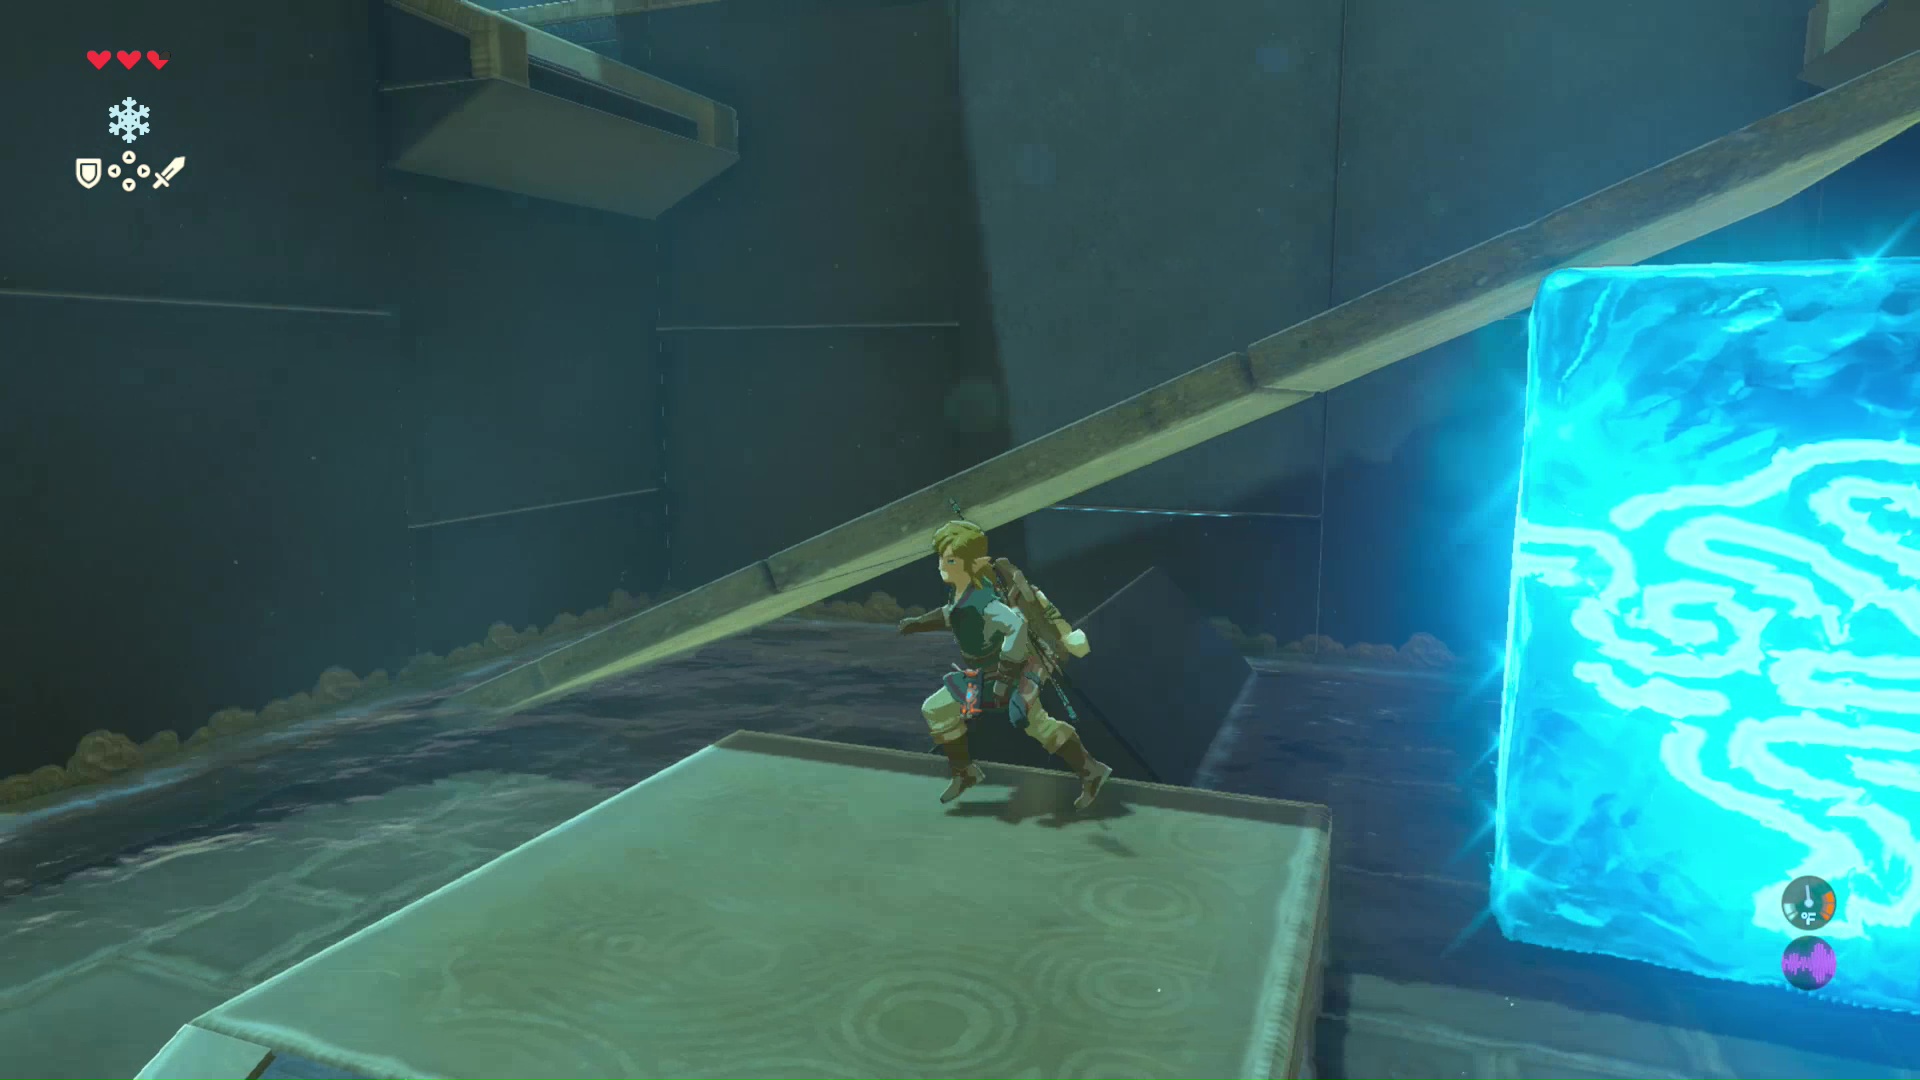
The next part of the puzzle involves a large plank that resembles a balance. Create a pillar of ice beneath one side to walk up to the next level.
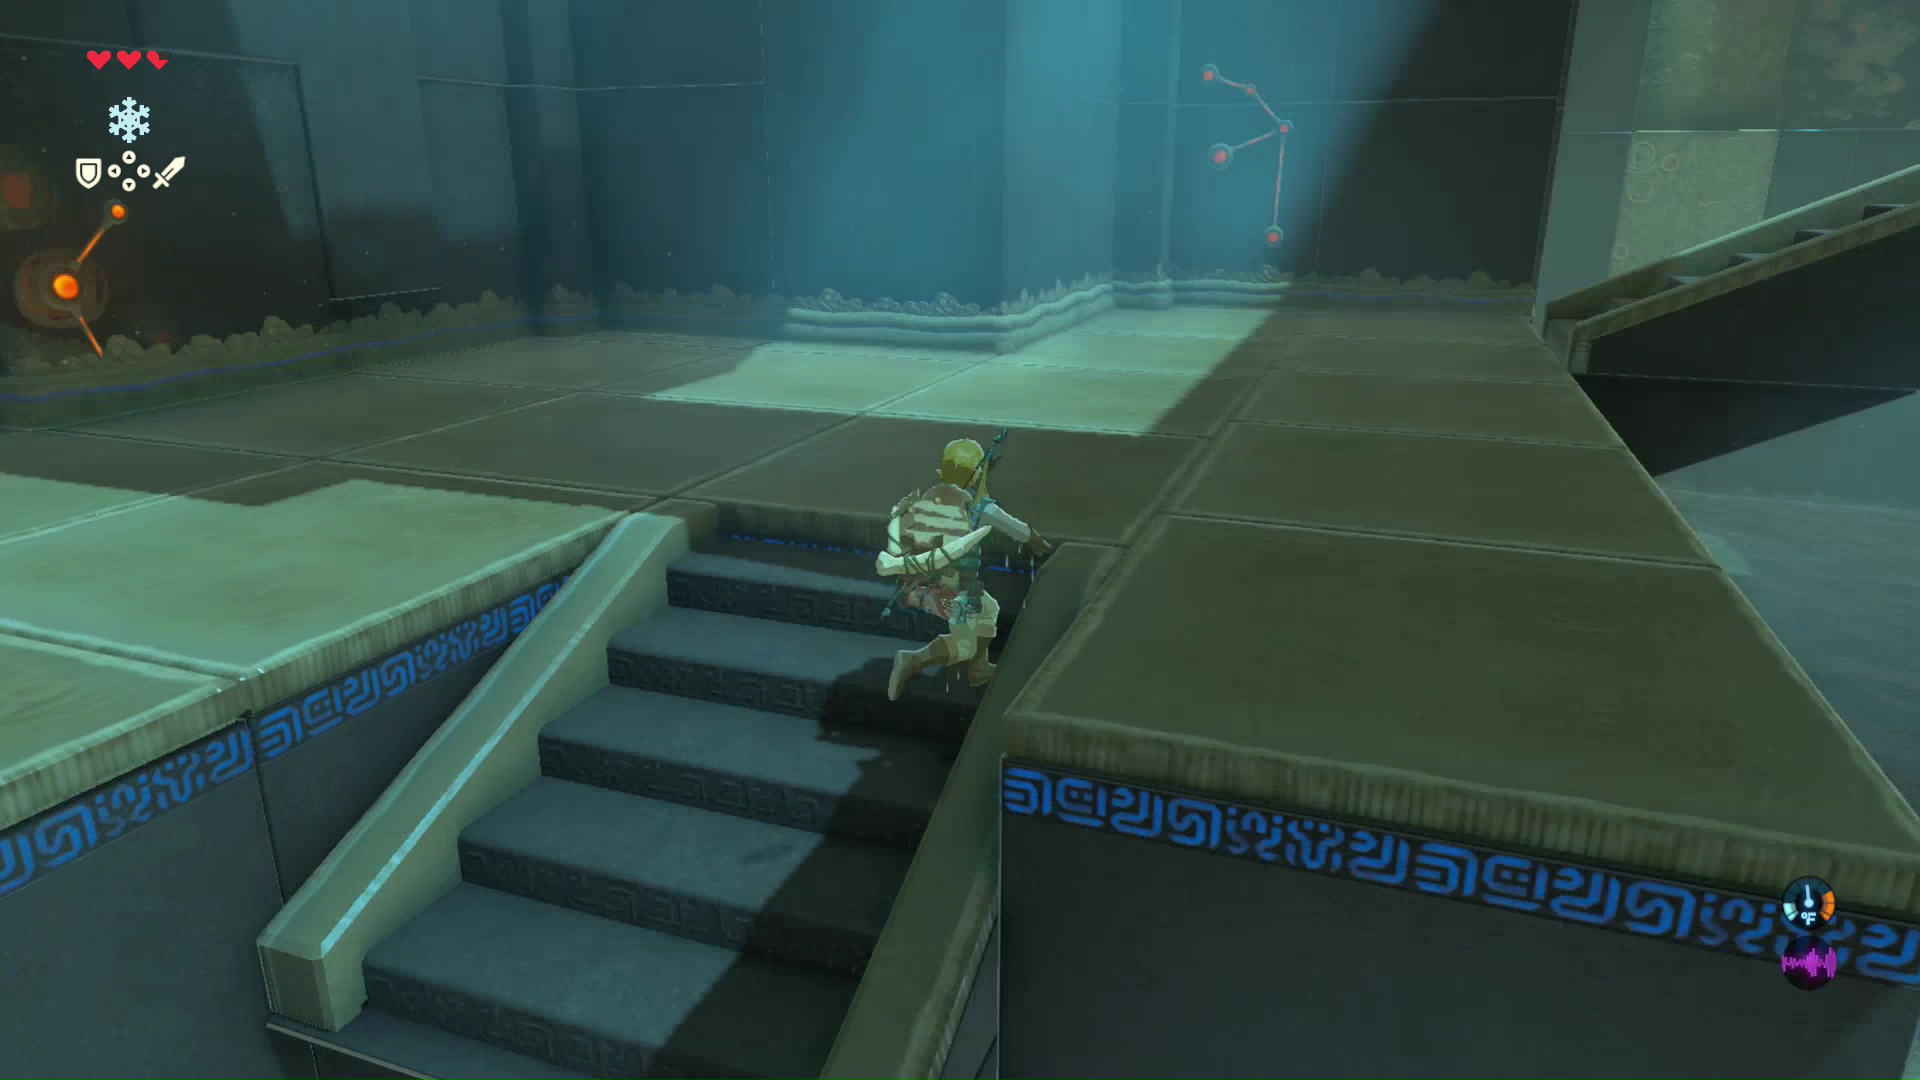
Before running to the monk, look to the right of him to find a secret treasure chest. Create a pillar of ice to climb up to this hidden chest and obtain a Traveler’s Spear. Now you can interact with the monk and obtain the spirit orb.

Quest Completion
The Old Man will come by after you obtain the four spirit orbs. He will give you another riddle before the quest officially ends. Your goal is located at the Temple of Time. Before going there, you can use your new Crynosis rune to cross the icy bodies of water and obtain floating, wooden treasure chests.
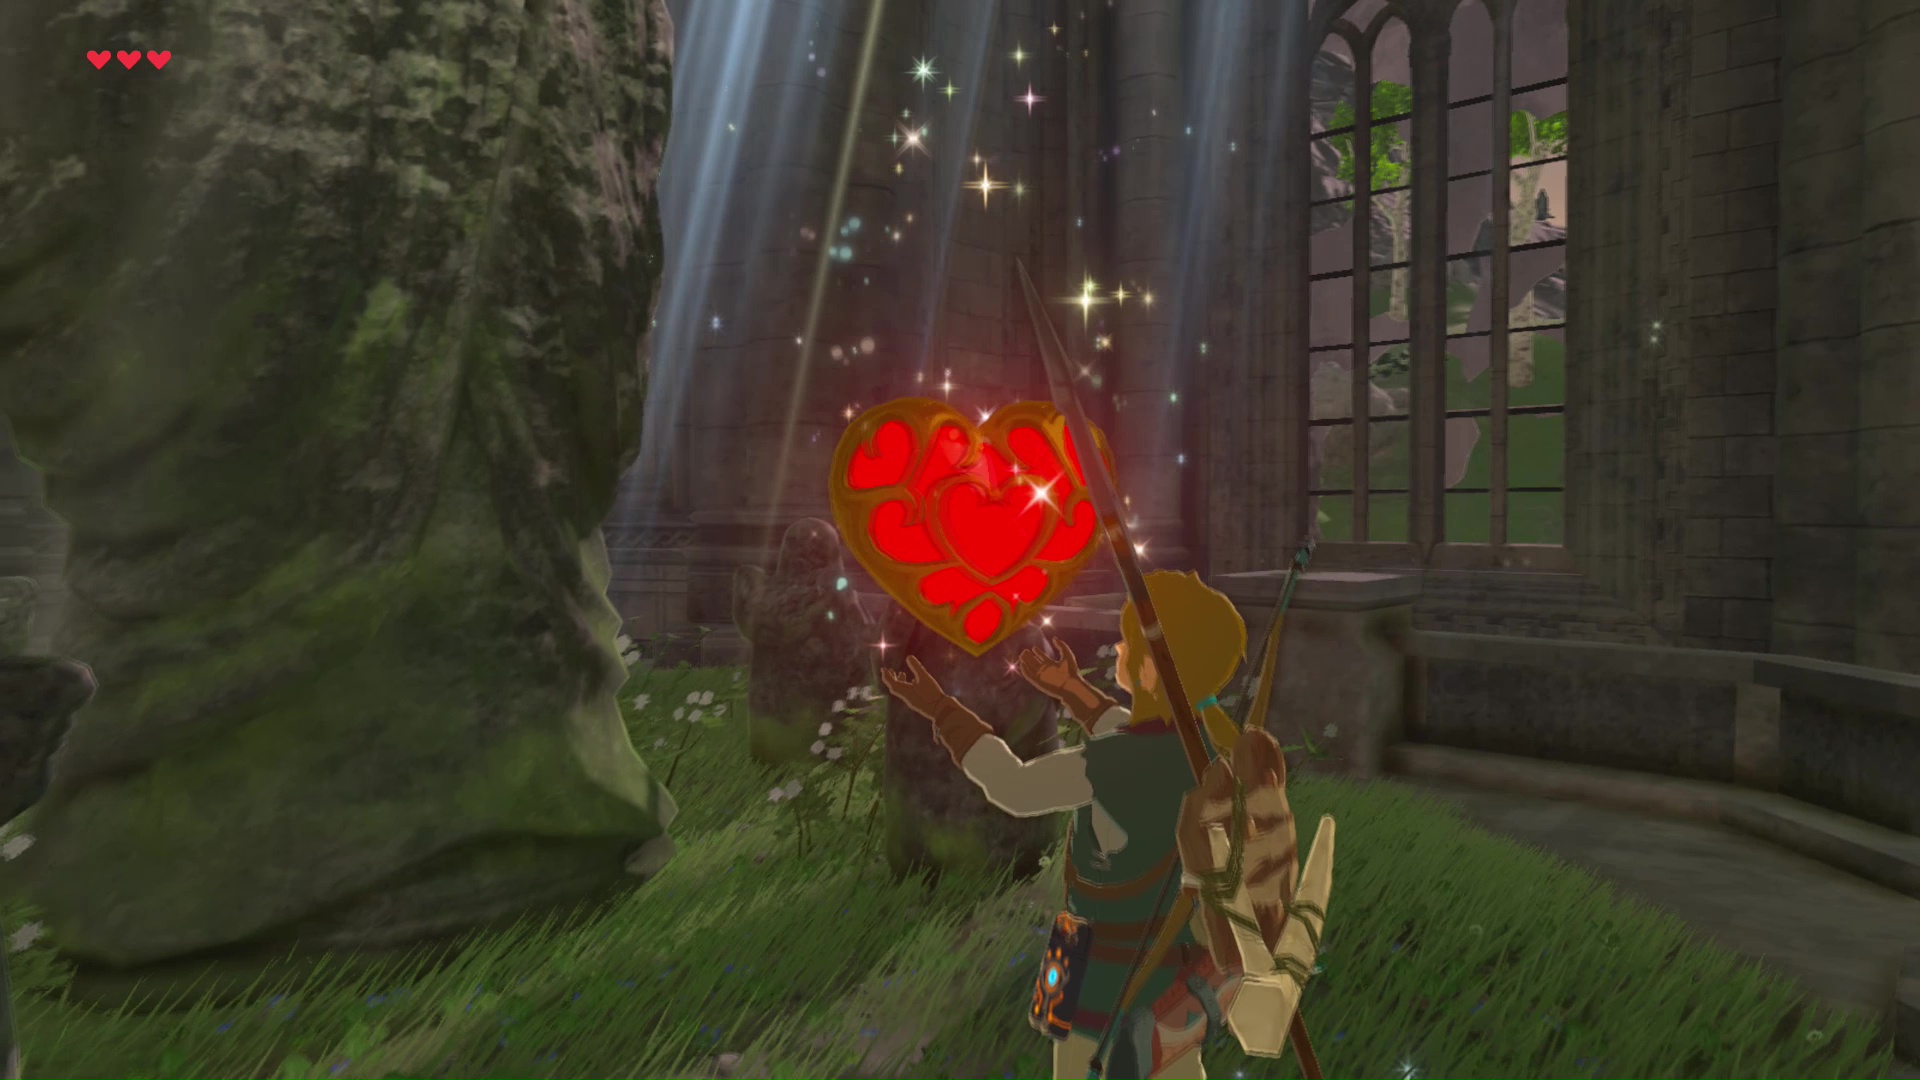
Now that you have four spirit orbs, the Goddess Statue inside the Temple of Time will begin to glow. Interact with the statue and choose to add another stamina or heart container.
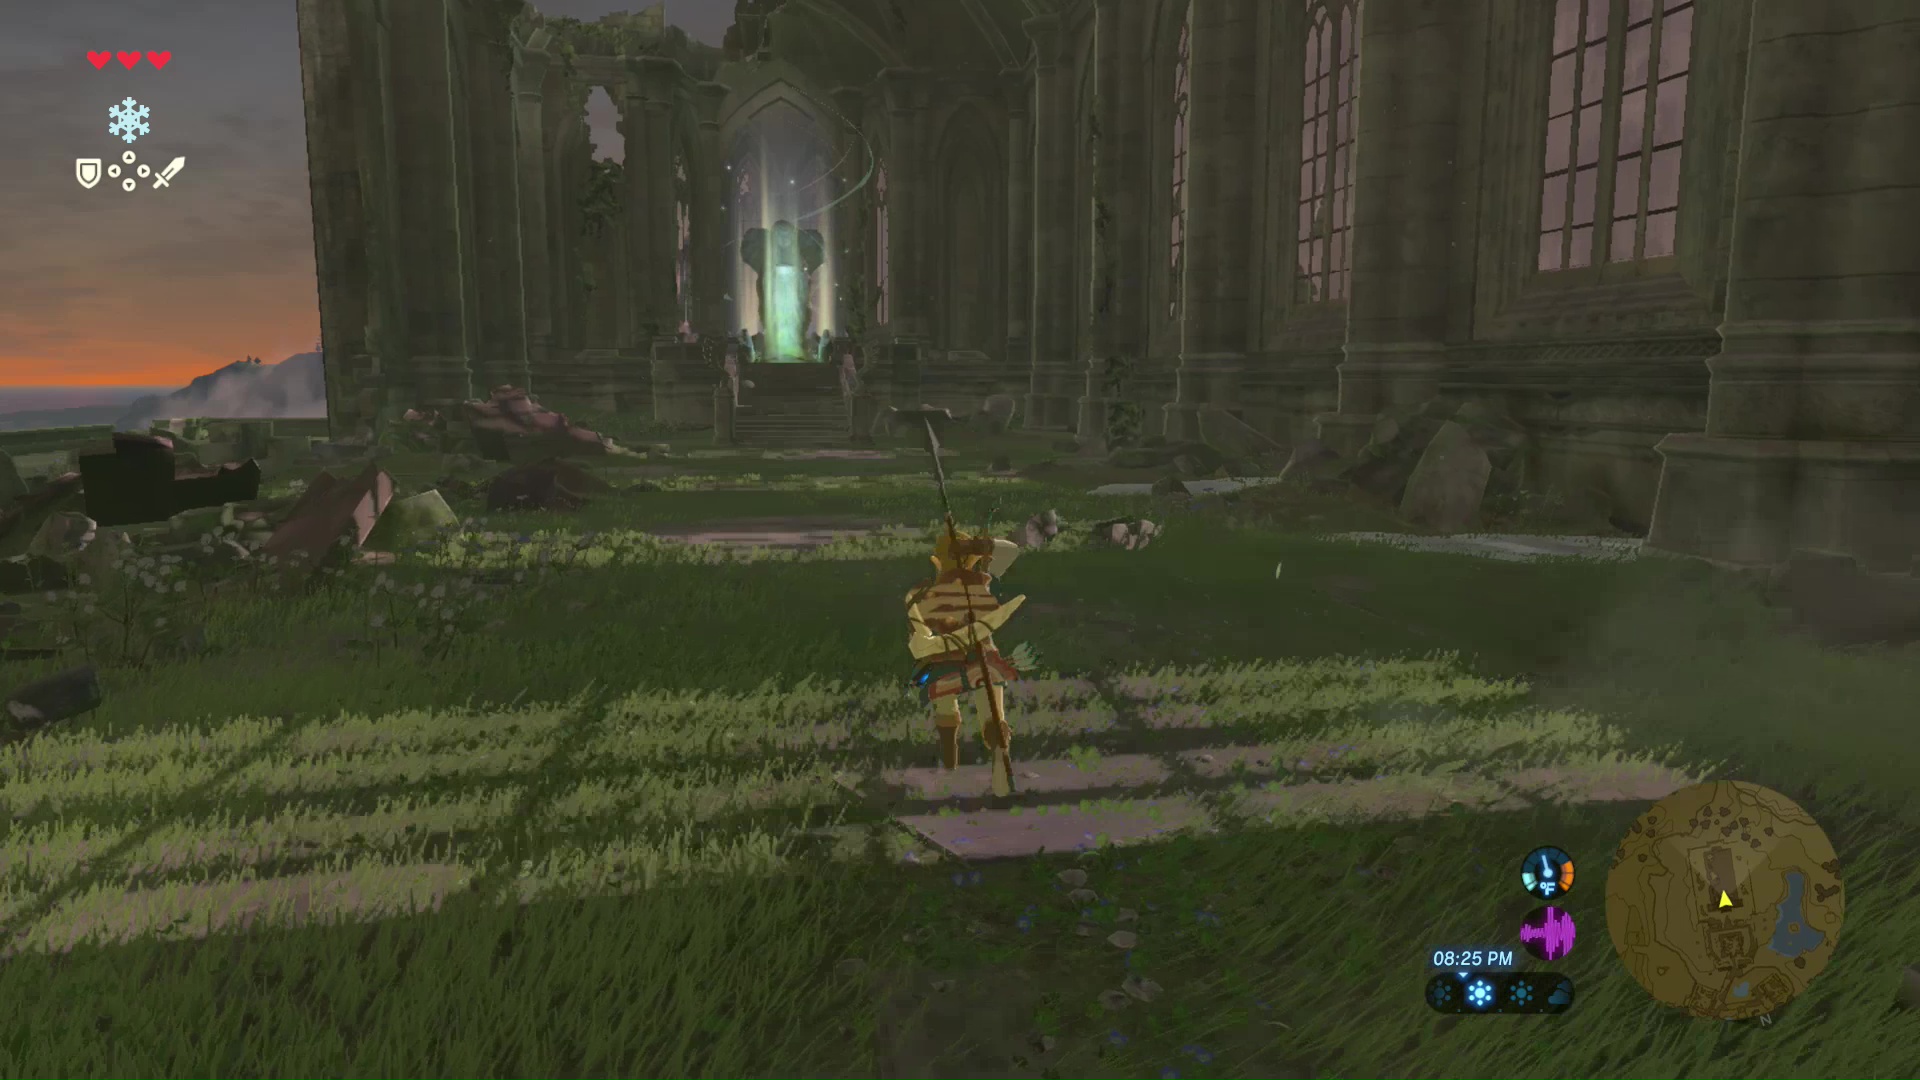
Climb up the northern side of the temple to find the Old Man in a room. Listen to his story to complete the Isolated Plateau quest and begin the Destroy Ganon and Seek Out Impa quests. Before going on, grab the Soldier’s Bow from the nearby treasure chest.
Your next goal is to find Impa in Kakariko Village. Travel east off the plateau and begin climbing towers to reveal sections of the map.