Gaining Access and Entering
On March 20th, after you have greeted all of the Social Links that you managed to maximize during the past year, you will be given the option to return home and pack. Choosing Yes will end the game and you will receive the Normal ending.
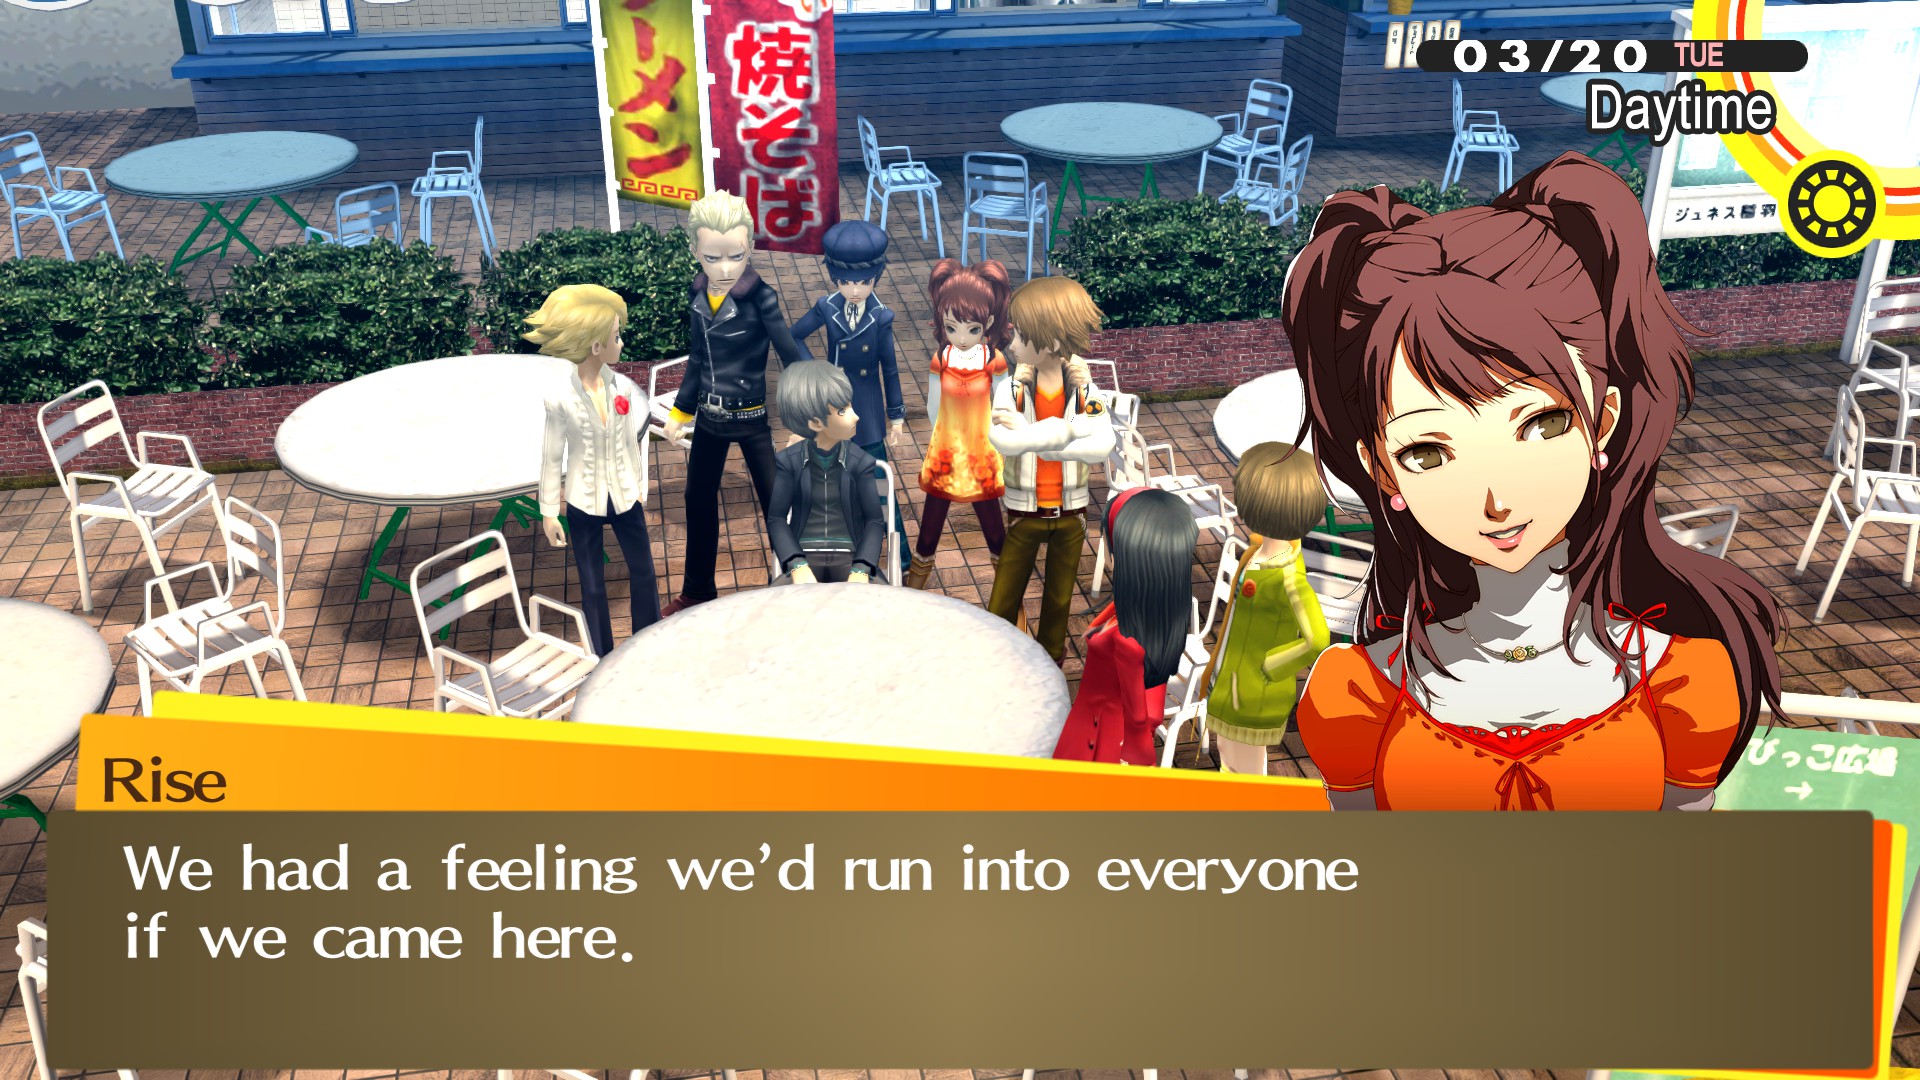
However, if you choose not to go home, you will be given control once again, allowing you to roam freely. Go to the Junes’ Food Court. Another story scene will take place where the gang meets up and reads a letter from Adachi. If you’ve reached rank 9 in the Hunger Social Link, you will reach rank 10 here.
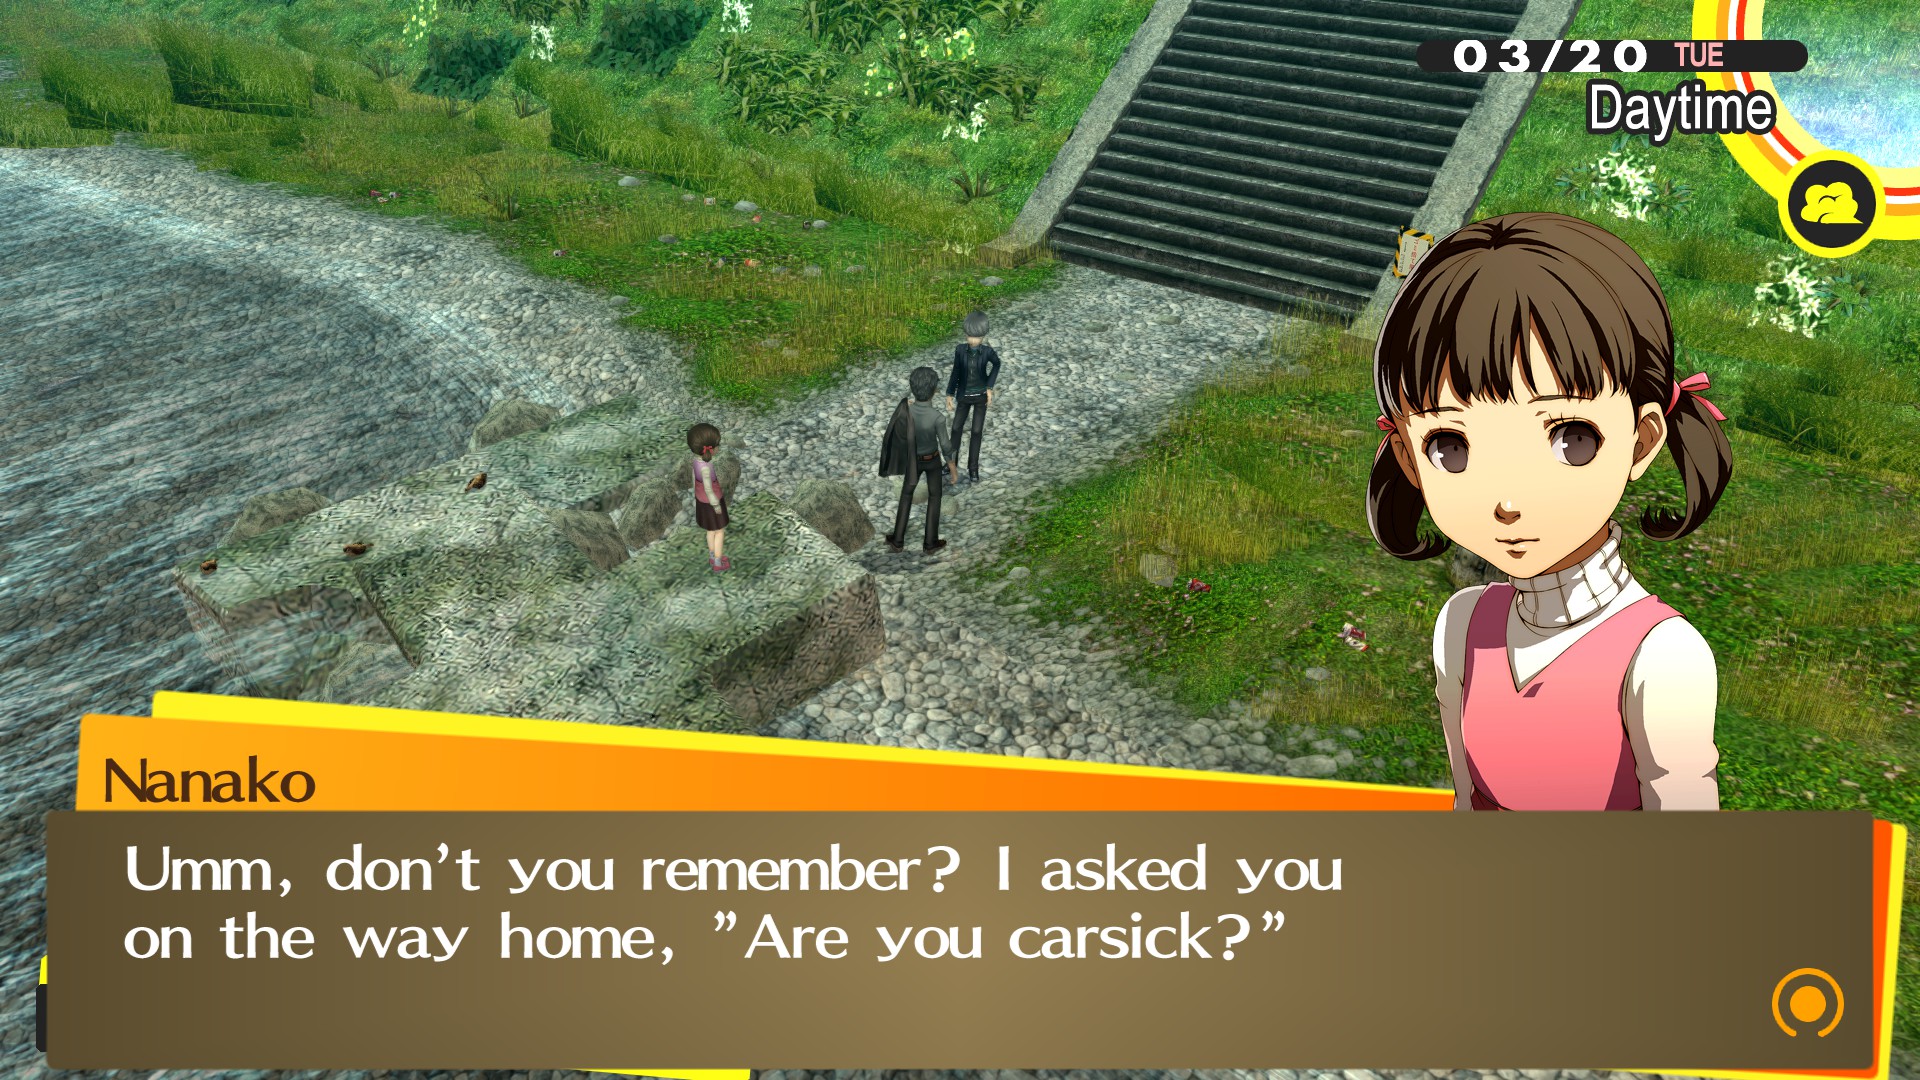
Once the scene is over, go back to the Samegawa Flood Plain Riverbank to find Dojima and Nanako. Speak with them and try to remember the first day of your trip. You met the weird attendant at the gas station and felt ill.
Next, go to The Velvet Room in the Central Shopping District and watch a short scene with Igor. He will give you the Orb of Sight.

If you are on a New Game Plus, maxed out the Empress Social Link, and defeated all of the optional bosses, go back inside the Velvet Room to get the Aqua Invitation from Margaret. It says, “I will be waiting for you at Heaven’s end. – Margaret.”
With that out of the way, walk over to the Gas Station and talk with the attendant. Speak with the attendant and choose these options in the dialogue:
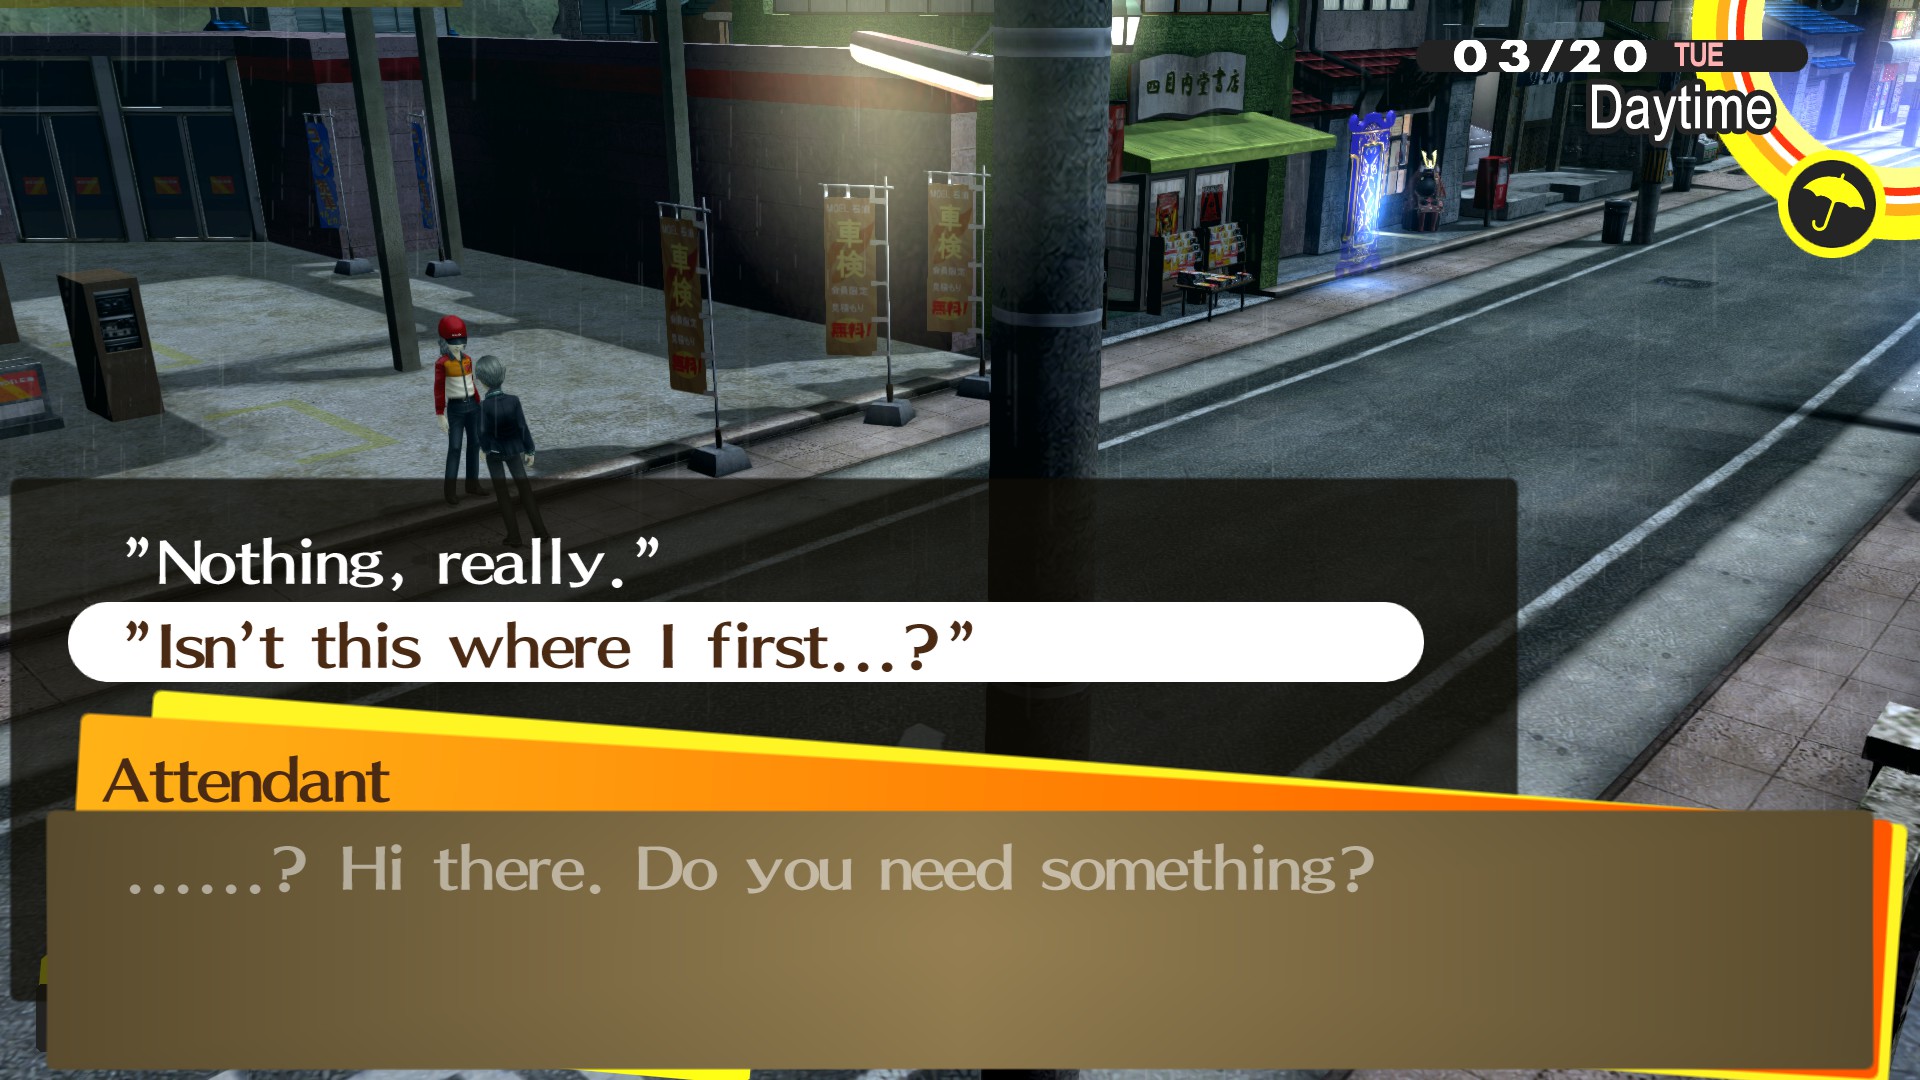
- “Isn’t this where I first…?” (2nd Response)
- “Do you know Namatame?” (2nd Response)
The Attendant will stop speaking with you, but force him to talk and choose these options each time he attempts to cut you off:
- “Did those two come here?” (3rd Response)
- “Did you do anything to them?” (2nd Response)
- “What did you do to me?” (2nd Response)
- “Did you give me the power?” (3rd Response)
- Any Response
Head back to Junes and enter the TV. Speak to Rise to go to Heaven for the Margaret Battle, or go to the final dungeon: Yomotsu Hirasaka. Don’t forget to save and visit the velvet room first!
Possible Persona
Below is a list of Persona that can be found from Shuffle Time in this dungeon.
- Alilat
- Arahabaki
- Atavaka
- Baal Zebul
- Belial
- Oberon
- Horus
- Kartikeya
- Saturnus
- Seth
- Suparna
- Surt
- Tzitzimitl
- Vasuki
- Yurlungur
Shadows
Below are all shadows found in this dungeon, along with their affinities.
| Shadow | Phys | Fire | Ice | Electric | Wind | Light | Dark |
|---|---|---|---|---|---|---|---|
| Wrathful Book | Wk | Nul | Nul | Nul | Nul | – | – |
| Emperor Beetle | Str | – | – | – | – | Nul | Wk |
| Eternal Sand | – | – | Dr | Wk | Str | – | Nul |
| Divine Mother | – | Str | – | Nul | Wk | – | Nul |
| Pure Papillon | – | Nul | Wk | Str | – | Wk | – |
| Crazy Twins | – | Wk | Str | – | Nul | Nul | – |
| Primitive Idol | – | Str | Nul | Dr | Rpl | Nul | Wk |
| Mistress Pot | Rpl | Wk | Wk | Wk | Wk | Rpl | Rpl |
| Grand Magus | – | – | – | – | – | Nul | Wk |
| Phantom Hero | – | Wk | Str | Str | Str | Wk | Nul |
| Grudge Tower | – | Dr | Wk | – | Dr | – | – |
| Gracious Cupid | – | – | – | – | – | – | – |
| Doom Sword | – | Str | Wk | Rpl | – | Nul | Wk |
| Neo Minotaur | Str | Wk | – | – | – | – | – |
| Next Gene | Wk | Dr | Dr | Dr | Dr | – | – |
| Jotun of Grief | – | Rpl | – | Str | Wk | Wk | Nul |
| Rampage Drive | – | Str | Str | Wk | Nul | – | – |
| Ptarmigan Panzer | – | – | – | – | – | – | – |
| Successful Junecy | Str | Str | Dr | Nul | Wk | – | – |
| Heartless Machine | Str | Str | Str | Wk | Str | Nul | Nul |
| Stoic Snake | – | Wk | Str | Dr | Str | Nul | Wk |
| Rebellious Cyclops | Nul | Str | Wk | Str | Str | Wk | Nul |
| Brilliant King | Str | – | – | Wk | – | Nul | Nul |
| Reckoning Dice | – | – | – | – | – | – | – |
| Moon Okina | Str | Wk | Rpl | Rpl | – | – | – |
| El Dorado Beast | – | Dr | Wk | – | Str | Rpl | – |
| Acheron Seeker | – | Wk | Dr | Dr | Dr | Wk | – |
| Void Giant | – | Nul | Nul | Nul | Wk | Nul | Nul |
| Berserk Turret | Str | – | – | Wk | Dr | – | – |
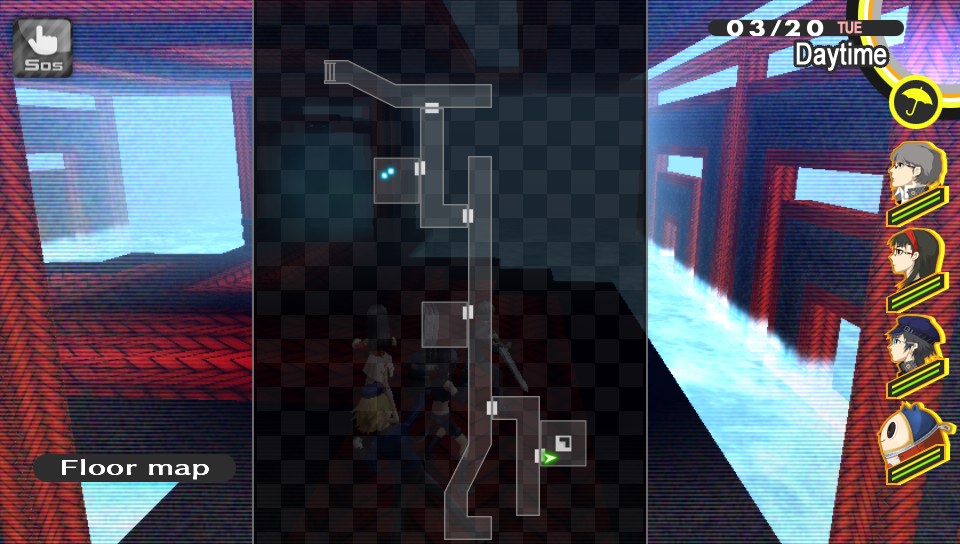
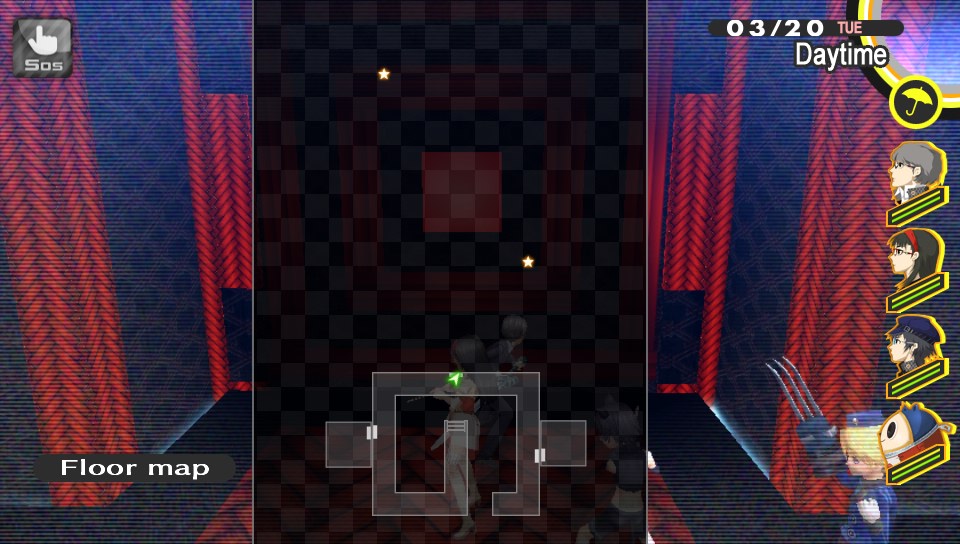
Floor Maps
The floors in Yomotsu Hirasaka are called “Paths”. Here are a few pictures, but they might not be the same for you.
 Path 2
 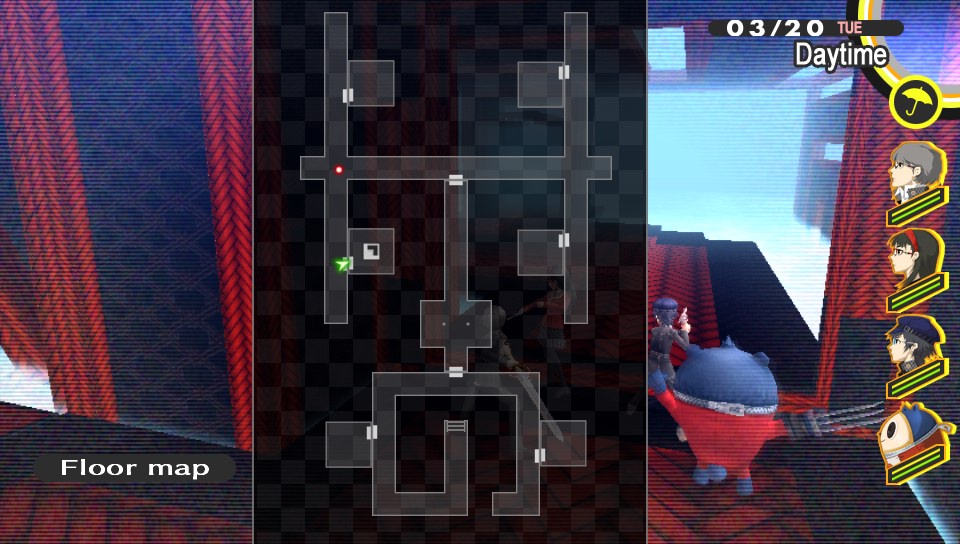 Path 3
 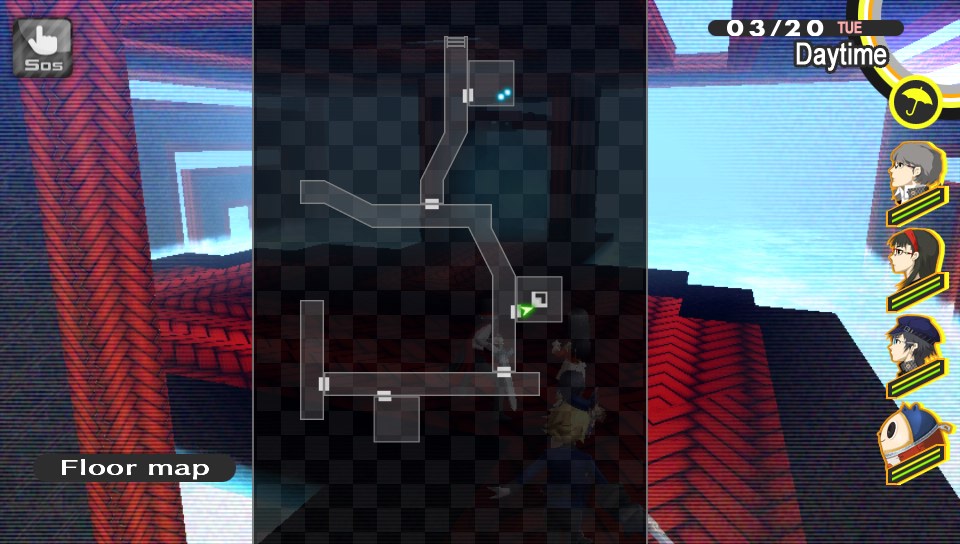 Path 4
 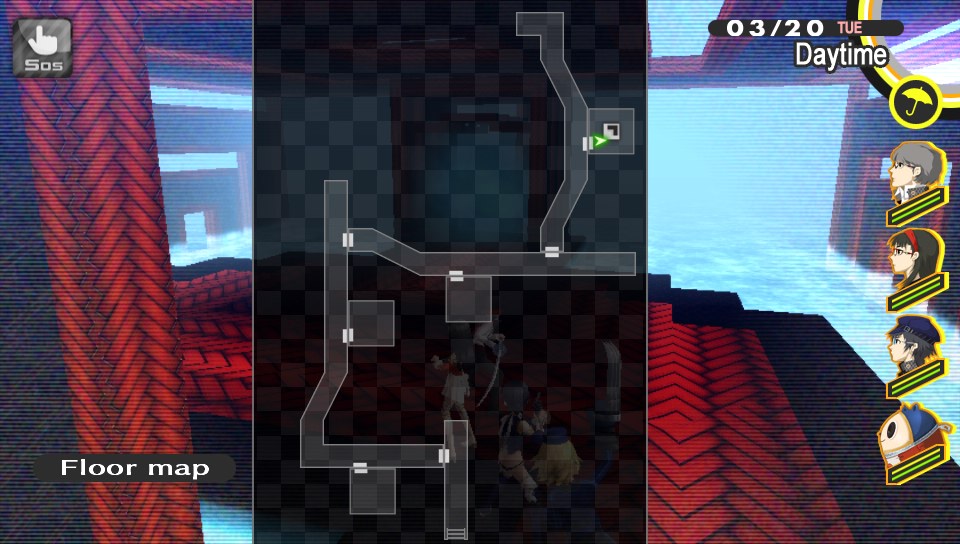 Path 5
 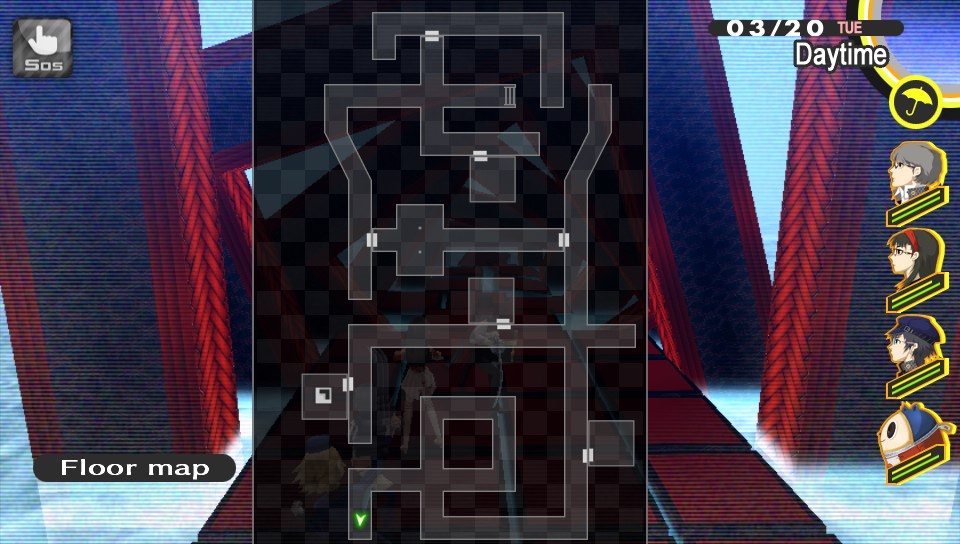 Path 6
 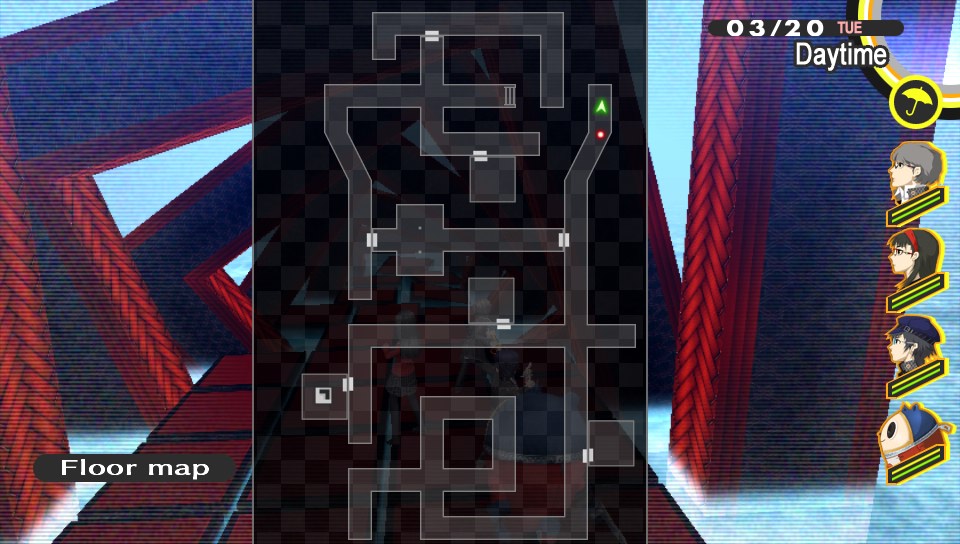 Path 7
 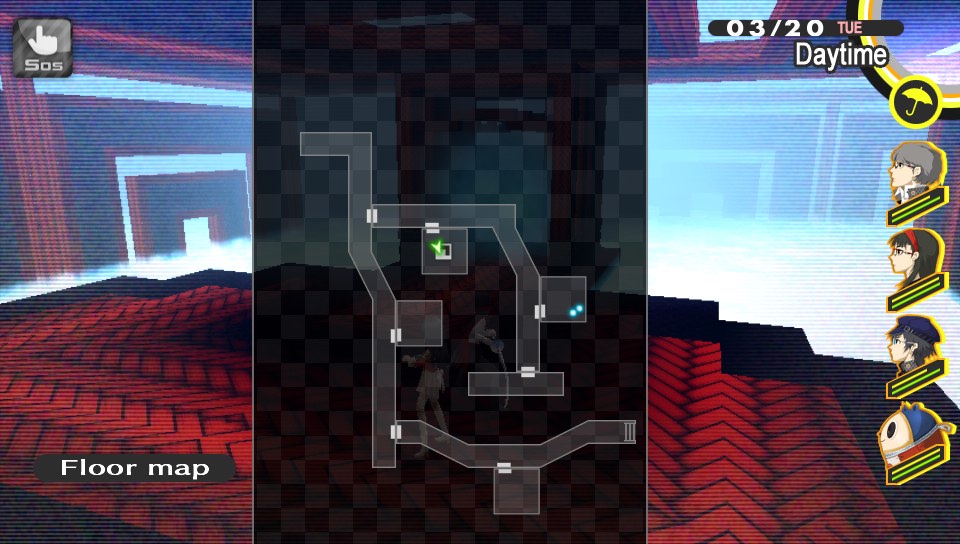 Path 8
Neo Minotaur
The Neo Minotaur mini-boss can be found on the 3rd floor, midway through the map heading northward. The Neo Minotaur mini-boss lies through the door beyond the green arrow.
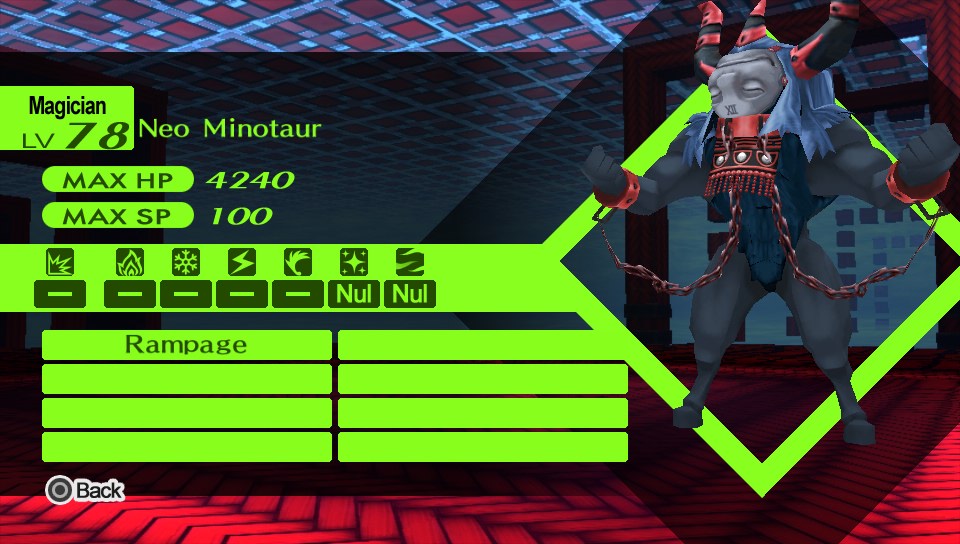
| Phys. | Fire | Ice | Elec. | Wind | Light | Dark |
|---|---|---|---|---|---|---|
| – | – | – | – | – | Nul | Nul |
SKILLS
- Rampage: Heavy Physical damage to all enemies.
STRATEGY
Neo Minotaur is a surprisingly easy mini-boss. It only nullifies Light and Dark skills, so you can really throw any single-target -dyne attacks its way and you’ll be doing a nice 400-750 damage.
The Minotaur only has two attacks: Attack and Rampage, and it will begin the battle with an initial Rampage before you even have an opportunity to act.
Rampage hits hard, but hopefully you’ll have your Team to a high enough Social Link rank (usually Rank 8) that they’ll be able to take a Mortal Blow during the fight and survive to wait for a heal from Teddie or Yukiko. That’s really all you’ll need for this fight: 2 or 3 rounds of damage will be more than enough to get the job done.
You will earn 5,805 experience points and 520 yen on the Normal difficulty setting.
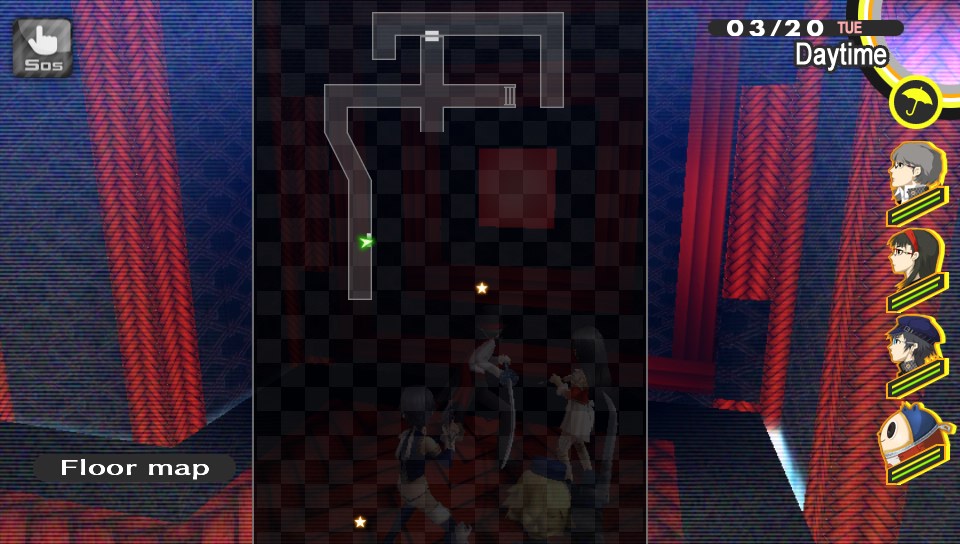
Sleeping Table
The Sleeping Table mini-boss can be found on the 6th floor (Path 6) about midway down the western side of the map. The Sleeping Table mini-boss lies through the door beyond the green arrow.
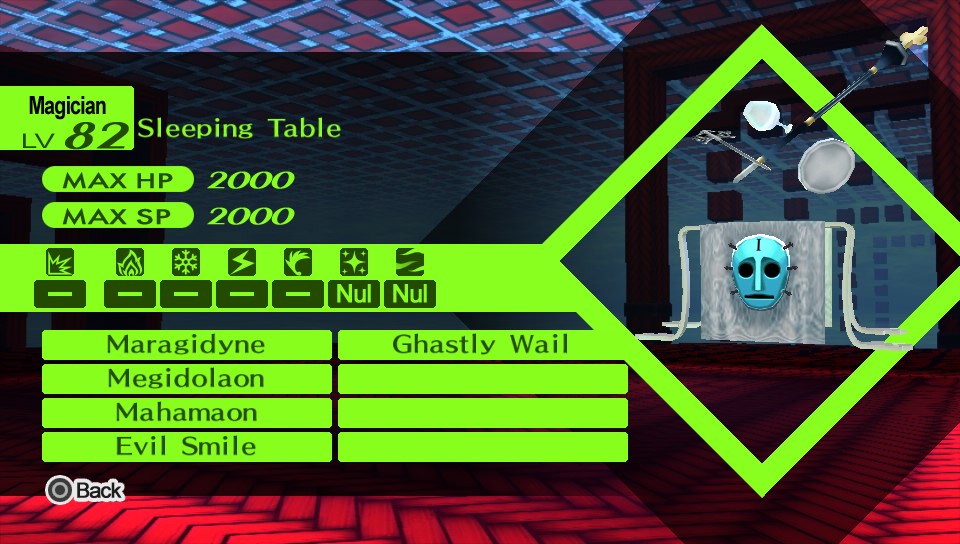
| Phys. | Fire | Ice | Elec. | Wind | Light | Dark |
|---|---|---|---|---|---|---|
| – | – | – | – | – | Nul | Nul |
SKILLS
- Evil Smile: 30% chance inflict Fear on all opponents.
- Ghastly Wail: Instantly kills all targets suffering from Fear. Unavoidable.
- Mahamaon: 40% chance to inflict death by Light element.
- Megidolaon: Inflicts severe Almighty damage to all enemies.
- Maragidyne: High Fire damage to all enemies.
STRATEGY
Again, the Sleeping Table is a surprisingly easy mini-boss. The table has the exact same resistances as the Neo Minotaur: nullifies Light and Dark skills. so you can really throw any single-target -dyne attacks its way and you’ll be doing a fair amount of damage.
As opposed to the Minotaur on the third floor, however, the table has a relative array of skills at its disposal. Most notably among these is its Evil Smile/Ghastly Wail combo, wherein the Table will attempt to fear your entire team on one turn and then attempt to instantly kill anyone still feared during the next round.
There’s not much you can do to avoid this combo, other than use any items you might need if you feel threatened, or hope that your Social Link ranks are high enough amongst your party so that each member has the Wake-Up ability.
Most of your team should be able to dodge the occasional Mahamaon thrown your way, but the Table also has Megidolaon that can be fairly devastating, especially if one of your members is critically hit. Again, not much you can do to avoid Almighty.
Unfortunately, there’s not much strategy here other than to bring the boss down as quickly as you can with either single-target or multi-target -dyne skills.
This will take a few more rounds than the Minotaur, but no more than 5 full turns should do the trick.
You will earn 6,142 experience points and 520 yen on the Normal difficulty setting. No items are dropped.
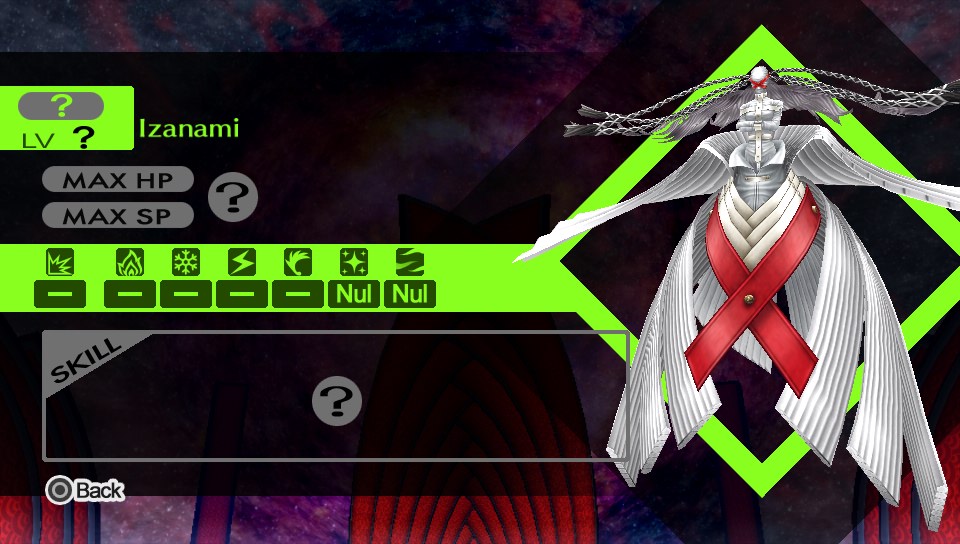
Izanami
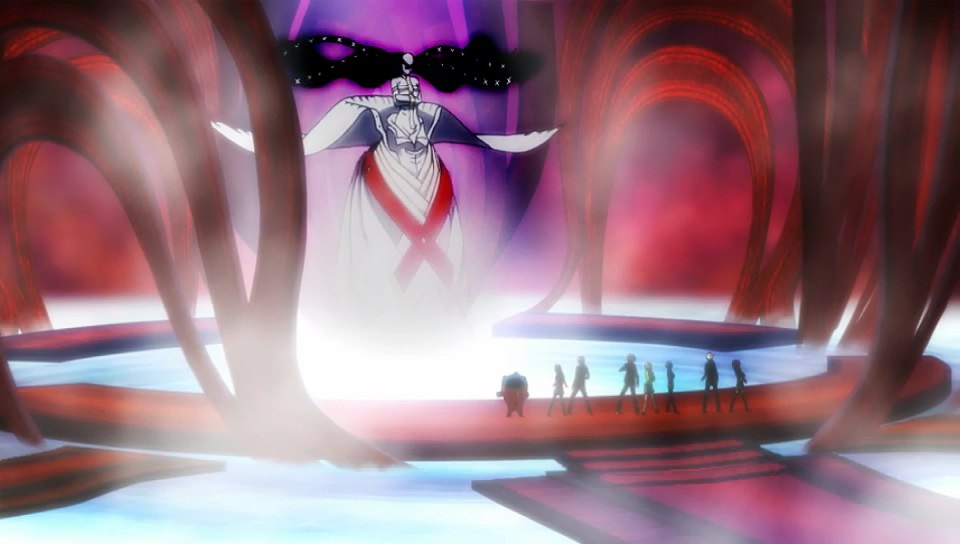
Izanami can be found on the ninth floor of the dungeon (“Path 9”). This floor includes nothing aside from the final boss fight. This boss is the first part of a two-part fight, the second being with Izanami-no-Okami, listed below.
| Phys. | Fire | Ice | Elec. | Wind | Light | Dark |
|---|---|---|---|---|---|---|
| – | – | – | – | – | Nul | Nul |
SKILLS
- Maziodyne: High Electric damage to all enemies.
- Magarudyne: High Wind damage to all enemies.
- Mabufudyne: High Ice damage to all enemies.
- Megidolaon: Severe Almighty damage to all enemies.
- Mind Charge: Doubles the damage of the next Magical attack.
STRATEGY
The initial fight with Izanami shouldn’t prove too much of a challenge to the grizzled veteran that you probably are by now.
The safest way to approach this fight is to have some form of resistance gear/personas equipped protecting you and your allies from any weaknesses. Even if you do this, however, your efforts might not always insure that Izanami doesn’t merely choose to constantly use Megidolaon and Mind Charge repeatedly on your party.
The key — since this is a two-part battle — is to conserve as much of your SP as you possibly can while still taking Izanami down a bit at a time. Focus on single-target “-dyne” Skills or else use Personas with Spell Master to reduce the cost of your “Ma-dynes” to 11SP each.
Either way, this fight shouldn’t be overly long and you will probably have at least 75-80% of your SP left.
Near the end of her health bar, the game will tell you that Izanami “seems impervious…”. At this point, use Guard on all of your characters. Izanami will continue to attack, so if you need to have Teddie or Yukiko cease guarding for a turn to heal, do so.
Once she has talked twice, this part will end. (This make take more than just two rounds of guarding, possibly upwards of 4-5 full rounds.)
Izanami-no-Okami
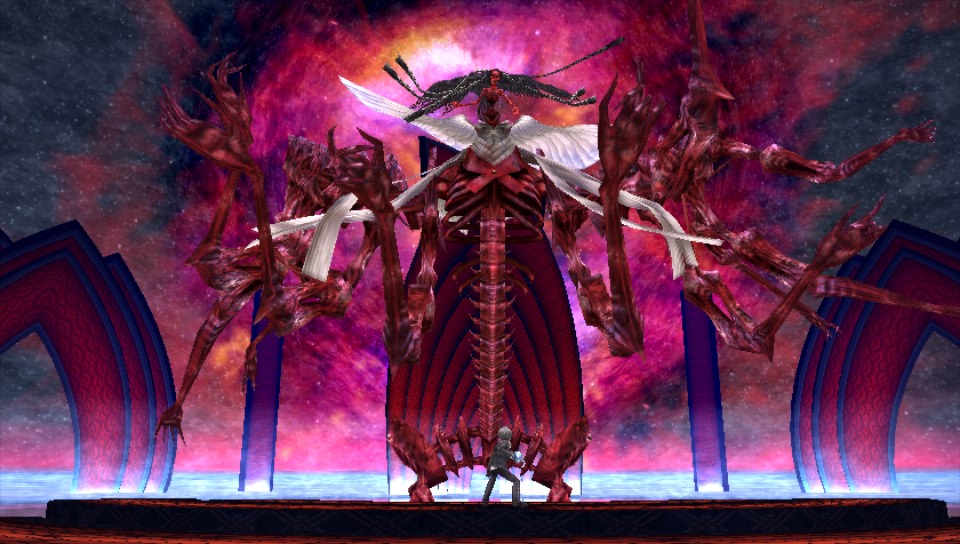
Izanami-no-Okami can be found on the ninth floor of the dungeon (“Path 9”). This floor includes nothing aside from the final boss fight. This boss is the second part of a two-part fight, the final fight of Persona 4 Golden.
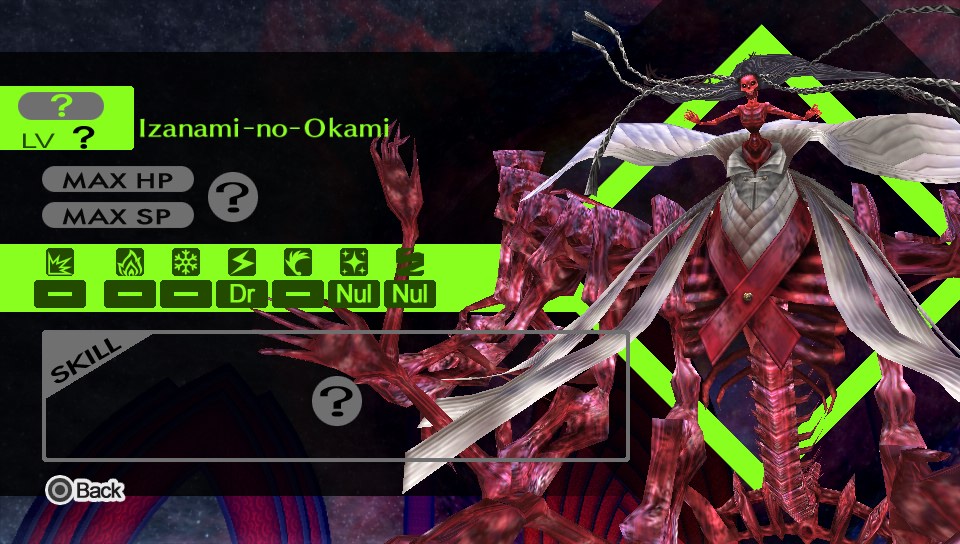
| Phys. | Fire | Ice | Elec. | Wind | Light | Dark |
|---|---|---|---|---|---|---|
| – | – | – | Dr | – | Nul | Nul |
SKILLS
- Beast Eye: Allows two attacks per turn. (Passive)
- Agidyne: High Fire damage to one enemy.
- Garudyne: High Wind damage to one enemy.
- Bufudyne: High Ice damage to one enemy.
- Ziodyne: High Electric damage one enemy.
- Maziodyne: High Electric damage to all enemies.
- Mind Charge: Doubles the damage of next Magical attack.
- Marakunda: Decreases all enemies’ Defense for 3 turns.
- Masukunda: Decreases all enemies’ Agility for 3 turns.
- Fury of Yasogami: High Physical damage to all enemies.
- Kuro Ikazuchi: High Almighty damage to all enemies.
- Galgalim Eyes: Reduces one target’s HP to 1 and inflicts Exhaustion.
- Summons to Yomi: Instantly kills any target with an Ailment.
- World’s End: Inflicts high Almighty damage to all enemies and inflicts a random status ailment.
- Oho Ikazuchi: 999 Almighty damage to all enemies. (Scripted, see below.)
- Thousand Curses: Removes a party member from the battle. (Scripted, see below.)
STRATEGY
Buckle in — this is going to be a lengthy fight.
Izanami-no-Okami is different from the plain Izanami in that she has the passive ability “Beast Eye” which allows her to attack twice per turn. She will also Drain Electric attacks, so avoid them at all costs. No “zio” skills.
With that said, mitigating and managing incoming damage is really the only trick to this fight. The key is to keep everyone healthy and fit as much as possible. Do this through any buff and debuff skills you might have on you: Marakunda, Matarukaja, Masukukaja, Marakukaja, and Debilitate will all work wonders for your team. Additional assistance will come from Rise, but you can’t rely on her to help exactly when you need help.
Apart from knowing when to heal (and with whom to heal), there’s not much strategy to this fight. Go all-out and use any -dyne Skills you and your party have (except for any Electric skills, as she will absorb them and heal herself).
Use any SP-restoring items as you need them throughout the fight; you don’t want to run out of SP with your healer when Izanami-no-Okami smacks 3 of your party to 1 HP. And, since those items won’t carry into New Game Plus, you’ve literally got nothing to lose but the game.
Keep on attacking until she starts using Thousand Curses. You’ll lose party members, but don’t worry: it means you’ve won the fight!
Some cut scenes will play, Izanagi will transform into Izanagi-no-Okami, Izanami-no-Okami will continue to attack you but nothing will work and you will have defeated the final boss.
Congratulations. Sit back and watch the awesome credit sequence. If you completed Hollow Forest and maxed out the Aeon social link, you’ll get some extras after the end credits!