Gaining Access and Entering
The Hollow Forest is a bonus dungeon exclusive to Persona 4 Golden, accessible only if you have maximized the Aeon Social Link with Marie to Rank 10 before the end of December.
On January 2nd, go to the Velvet Room in the Central Shopping District to wish Margaret a Happy New Year. She will ask if you want to search for Marie. Margaret will tell you it will be dangerous, but select to search for Marie anyway. Over the course of the next month until the Winter Ski trip on February 11th, Margaret will call you on Wednesday mornings before school to update you on her progress in the search for Marie.
On February 12th during the ski trip, you’ll get lost and end up in a cabin (really the lodge’s storage shed) with your friends and you’ll be sucked into a TV. Margaret explains what the place is and why she brought all of you there. The group decides to come back the following day after school to rescue Marie.
After School on February 13th, you will automatically meet-up on the roof and then head back to the dungeon through the cabin’s TV.
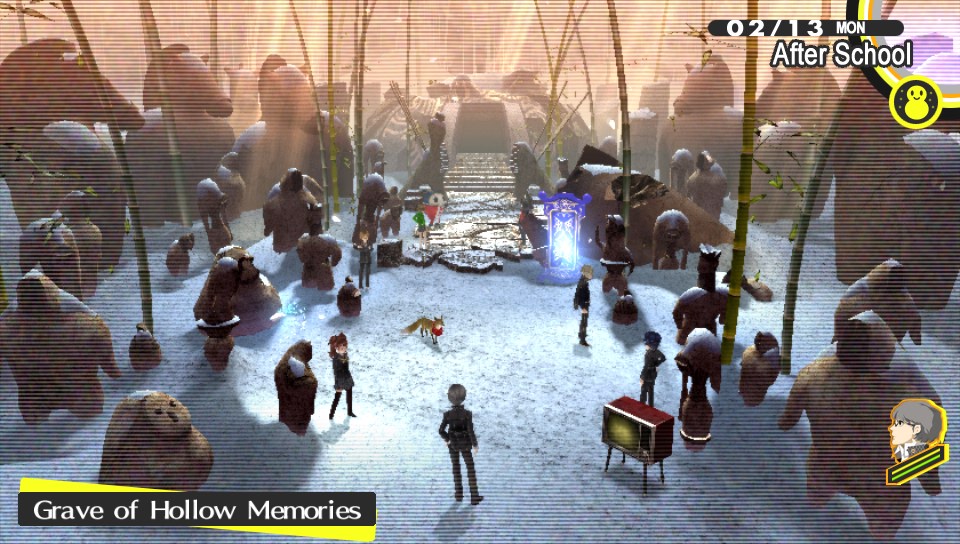
The Entrance

The staging area of the dungeon is fairly straightforward: the Fox is there and can heal your party for a fee, as usual. There is also a Blue Butterfly save point and the typical Velvet Room door. This hub is where you will add members to your party; there is no room further inside.
If you’d like to sell items or purchase anything, you can access Diadara Metalworks and The Shiroku Store by selecting the stack of TVs in the staging hub and telling Rise that you’d like to shop. You can sell and buy as normal here, but remember, nothing will carry through within the dungeons walls.
Traits of Hollow Forest
This dungeon is very unique and, as such, can be extremely aggravating if you don’t know what to expect. So, here’s what you can expect:
You will lose all of your items, temporarily. Nothing you have in your inventory in the staging area or pre-dungeon will be carried into the dungeon. Your inventory will be empty upon entering and you will need to gather items from battles. You will also enter with standard weapons and armor: none of your awesome gear will be with you, but you can collect some throughout the dungeon. All of your items will reappear in your inventory if you return to the staging area and when you have completed the dungeon.
After the first fight, your SP will be halved every single fight thereafter. At the end of each fight, your SP recovery bonuses will be applied (Rise’s Song, Cool Breeze, Victory Cry, etc.) based on your total possible SP, not what you have left. After the recovery has been applied, the remainder will be severed in half each time a battle ends. For example: You have 400 total SP. You end a fight with 250 SP remaining. You have Cool Breeze and Rise’s Song. Cool Breeze restores 8% of your 400 max giving you 32SP, and Song returns 10% of your 400 max giving you 40SP from that. With that 72SP added to the remaining 250, you should leave the fight with 322SP. However, that will be cut in half to 161SP. Even Victory Cry does not stop this: if you have 400 possible SP and VC restores all of it, you will never leave a fight with more than 200SP.
Collect Stones to maintain and regain as much SP as possible. You’ll need to hoard the SP-restoring items and elemental “Break” items. Stones that you can collect will restore SP per each turn in battle, with the amount increasing the further into the dungeon you travel. If you’re over-leveled and worried about your amount of SP, you can equip these Stones and use Physical attacks for a few rounds to regain a bit of SP as the enemies in the dungeon are not terribly difficult.
Collect armor from chests and mini-boss fights to assist with now-exposed party member weaknesses. With all of your familiar equipment gone for the time being, you might be concerned about the exposed weaknesses of your party members. Use every single Chest Key you receive during Shuffle Time on the Golden Chests throughout the floors since your inventory will not carry over when you leave and, since you started the dungeon with no keys anyways, use them up. You can usually find a nice set of armor that will help strengthen (and even repel) elements that your party members are weak to.
You can’t earn money in the Hollow Forest. You will enter the dungeon with no money and can earn no Yen for keeps within. The only enemy that will yield money is the Isolated Hand (this dungeon’s version of the Gold Hand), but even the 10,000 yen you can collect from each will not be usable once you leave. When you exit, your amount of cash prior to entering the dungeon will be returned each time you head back to the staging area.
The Hollow Forest is a terrible dungeon to grind for experience. Just don’t even try. The fights on most floors are too random and your SP will consistently be running very low. Compared to other recent dungeons — even Heaven — the enemies here yield very little experience.
You cannot use Traesto, Goho-M, or Return Daikons to escape. To return to the entrance, you’ll need to use the Branch items you collect to return and save, heal, whatnot. Don’t worry: there are plenty, usually one or two per floor.
Floors 1, 4, and 7 do not have visible Shadows. Perhaps the most annoying part of this dungeon aside from ending fights with SP being halved. Instead of visible Shadows running amok on your radar, you will encounter enemies (sometimes) when you go through doors. These fights are totally random and you can’t usually predict which doors will contain a battle. On the other floors, however, Shadows will be visible as usual and it is highly recommended that you run past them looking for chests and the stairs to the next floor.
Gorgeous King
The Gorgeous King mini-boss can be found on the 4th Floor (Memories of Sorrow) in the far northeast corner. To reach him, choose to go north and west whenever possible to avoid needless fights that can drain you of precious SP. When you reach the upper third of the map, keep your eyes peeled for a path leading eastward and follow that to the boss.
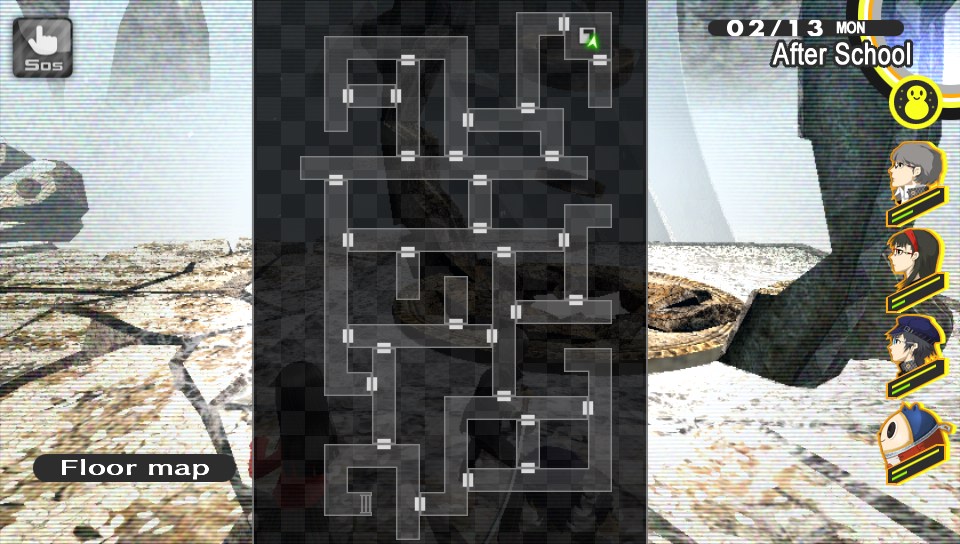
Like the 7th Floor later on (“Memories of Anger”), Sorrow is quite random in terms of battles; there aren’t visible Shadows running amok. Every door you open — or rope you cut through, in the case of this particular dungeon — could be hiding a battle. No radar can help you here.
| Phys. | Fire | Ice | Elec. | Wind | Light | Dark |
|---|---|---|---|---|---|---|
| Wk | Str | Str | Str | Str | Nul | Nul |
SKILLS
- Tetrakarn: Creates a wall that will block one Physical attack.
- Makarakarn: Creates a wall that will block one Magical attack.
- Makajam: Chance to silence one foe.
- Summon: Gorgeous King will summon 2 allies to fight with him.
- Poison Mist: Chance to inflict Poison on all enemies.
- Enervation: Chance to inflict Enervation on one enemy.
- Balzac: Chance to inflict Rage on one enemy.
- Evil Touch: Chance to inflict Fear on one enemy.
- Spirit Drain: Drain 30SP from targeted enemy.
- Soul Break: Chance to inflict exhaustion on one enemy.
STRATEGY
Gorgeous King is a surprisingly easy mini-boss. He resists all elements, repels Light and Dark, but is weak to Physical attacks.
The problem is that he will Summon two enemies almost every chance he can get and will silence you with Makajam with the rest. He receives two attacks per turn in battle.
For the first half of the fight, he will summon Wheeled Bambinos and Lying Hableries. As noted in the chart above, both have overlapping weaknesses to Ice and Electricity.
During the second half of the fight, Gorgeous King will summon Reverent Tables and Gauntlet Hands. Again, as noted above, both of these have overlapping weaknesses in the Electric element.
The key to beating him is to use the appropriate “Ma-dyne” skills (Mabufudyne and Maziodyne, most likely) to down his summoned allies and then Physically attack him during your One More turn to gain an All-Out attack on the entire enemy party.
Your All-Out attacks will do a large amount of damage to the King (and typically kill his summons), but you will need to string together quite a few of these to down the mini-boss. As he poses very little threat to the health of your party, though, this battle won’t be too stressful.
Once you have defeated the mini-boss, head north along the path to the stairs.
Heaven’s Giant
Heaven’s Giant can be found on the 7th Floor, called “Memories of Anger.” It is almost directly south of where you enter the floor on the map; however, you’ll need to do some meandering to make your way there. Stick with going south and west whenever possible.
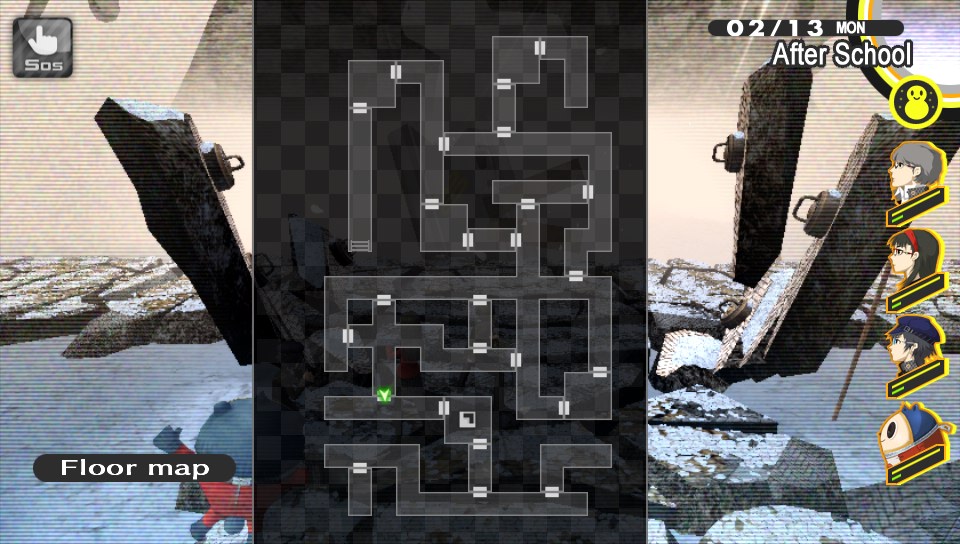
Like the 4th Floor (“Memories of Sorrow”), Anger is quite random in terms of battles; there aren’t visible Shadows running amok. Every door you open — or rope you cut through, in the case of this particular dungeon — could be hiding a battle.
| Phys. | Fire | Ice | Elec. | Wind | Light | Dark |
|---|---|---|---|---|---|---|
| Str | Nul | Nul | Nul | Nul | Nul | Nul |
SKILLS
- Stagnant Air: Increases field’s susceptibility to ailments.
- Balzac: Chance to inflict Rage on one enemy.
- Ziodyne: Inflicts heavy Electric damage to one target.
- Agidyne: Inflicts heavy Fire damage to one target.
- High Counter: Chance to repel an incoming Physical attack.
- Mustard Bomb: Inflicts medium Physical damage to all enemies with a chance to cause Enervation.
- Navas Nebula: Inflicts medium Physical damage to all enemies with a chance to cause Exhaustion.
- Heat Riser: Increases Attack, Defense, and Agility.
- Spirit Drain: Drains 30SP from target.
STRATEGY
This boss is interesting in that he blocks all elements and resists Physical attacks. The best way to approach the fight is to use all of the Break items you’ve accumulated over the past 6.5 floors.
Glance through the Skills of your party and note which members have single-target -dyne Skills and which members don’t. Also make a mental note of the order your party has been attacking in (usually something like: Protagonist, Yosuke/Naoto, Chie/Yukiko, then Teddie/Kanji).
Have the characters without single-target -dyne spells use Break items of the respective element for whomever is next that does have a single-target -dyne spell. For instance, say you have yourself, Naoto, Yukiko, and Teddie in that order, and Yukiko and Teddie are the only ones with single -dyne skills (Agi and Bufu). Have the Protagonist and Naoto use Fire Break and Ice Break in that order.
Once you have one or two of the boss’s resistances mitigated, the fight is a breeze. 4 or 5 -dyne attacks will do the job.
You really needn’t worry about what the boss does– he mainly uses Heat Riser on himself and Spirit Drain on a party member. He does, however, have High Counter so if you aren’t attacking with an element, use your turn to Guard in case he uses a Ma-dyne that you might be weak to.
After the fight, the stairs to Memories of Loneliness are immediately to the east.
Marie-san
The initial fight with Marie is accessible once you reach the 10th Floor, “Memories of Meeting”. Once you’ve climbed to the floor, it is highly advisable that you use a Branch to return to the staging hub and talk with the Fox for a quick SP fill-up. There are two back-to-back fights coming up and, as with the rest of the dungeon, your SP will be halved following the first. Better safe than sorry.
| Phys. | Fire | Ice | Elec. | Wind | Light | Dark |
|---|---|---|---|---|---|---|
| Str | – | – | – | – | Rpl | Rpl |
SKILLS
- Hot Lightning: Deals medium Electric damage to all enemies with a chance to Dizzy.
- Megidolaon: Deals high Almighty damage to all enemies.
- Alienation Wall: Chance to reflect any attack.
- Shell of Denial: Reflects any and all incoming attacks.
STRATEGY
Marie will use Hot Lightning quite a bit. This is a ma-based attack and will usually hit and auto-dizzy two of your party members. When she doesn’t use Hot Lightning, she will usually use Megidolaon on the party, so be prepared to heal as needed.
Marie also has a passive ability called Alienation Wall that will randomly reflect the Physical attacks she is already resistant to.
The best strategy to take is to use single-target -dyne Skills on her. These will do good damage and conserve as much SP for the inevitable halving you are about to receive. Just stay away from Light/Dark as she will repel them.
Once you have taken about 25-30% of her health, she will use Shell of Denial which repels everything. Don’t even bother. Just have everyone Guard for two or three rounds and Marie eventually stops the fight and a conversation begins that bridges to the second fight against Kusumi-no-Okami.
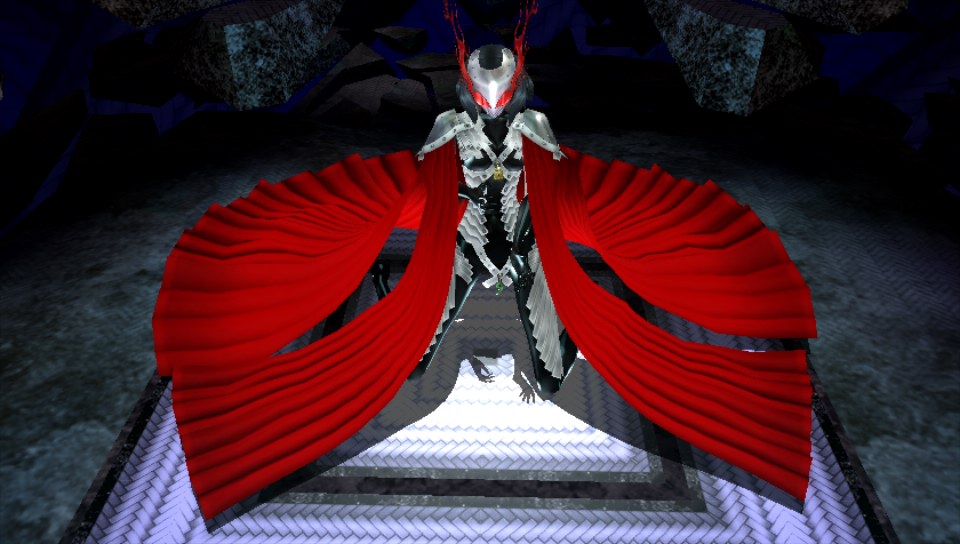
Kusumi-no-Okami
You will encounter Kusumi-no-Okami immediately after Marie has given up on fighting you. Marie will put her mind to sleep and allow the fog to break forth from herself.
| Phys. | Fire | Ice | Elec. | Wind | Light | Dark |
|---|---|---|---|---|---|---|
| Rpl | Rpl | Rpl | Rpl | Rpl | Rpl | Rpl |
SKILLS
- Run Amok: Deals light-to-medium Physical damage to all enemies, 2 times.
- Draining Fog: Drains 50SP from all enemies, but sucks 250HP from caster.
- Shake Off: Deals medium Physical damage to all enemies.
- Hot Lightning: Deals medium Electric damage to all enemies with a chance to Dizzy.
- Maziodyne: Deals heavy electric damage to all enemies.
- Maragidyne: Deals heavy Fire damage to all enemies.
- Mabufudyne: Deals heavy Ice damage to all enemies.
- Magarudyne: Deals heavy Wind damage to all enemies.
- Cry of Denial: Nullifies all existing stat affinities.
- Enclosure Shell: Nullifies all attacks.
STRATEGY
Surprisingly, this is a very straightforward fight. Kusumi-no-Okami is able to repel everything except Almighty, but don’t let that little tidbit and your waning SP worry you.
She will start the fight by using Run Amok which does light-to-medium Physical damage to the whole party two times. She also has the capability to use ma-dyne Skills of every element so just be sure that you’ve equipped your party with any helpful armor you’ve found throughout the dungeon. i.e.: Equip Yukiko with the Ice Repel armor if you come across it. This way, even when she does use an elemental attack, only one or two of your party members will even be affected and she will be damaging herself.
She will also damage herself for around 250HP each time she uses another favored ability called Draining Fog. This ability saps 50SP from everyone, but again, damages herself. If you need to, use some of the various SP-restoring items you have come across.
Once you have drained her to around 25-30%, she might use Hot Lightning just as Marie-san used earlier. Kusumi’s, however, will usually hit three party members and dizzy them.
The key to this fight is much like the 7th Floor fight with Heaven’s Giant’: over the course of the dungeon, you have probably accumulated at least 5-10 Break items of each of the four main elements: Fire, Ice, Electric, and Wind.
Follow much the same strategy as before by paying attention to party attack order, but this time, don’t worry too much about using only single-target -dyne spells. Use whatever you’ve got to finish this fight quickly.
By the time she gets around to using ‘Cry of Denial which nullifies all of your stats affinities, you’ve probably got her quite low on HP.
Keep an eye on your Breaks to wear off and refresh them when necessary and this battle should end within five or six turns, tops.