[toc]
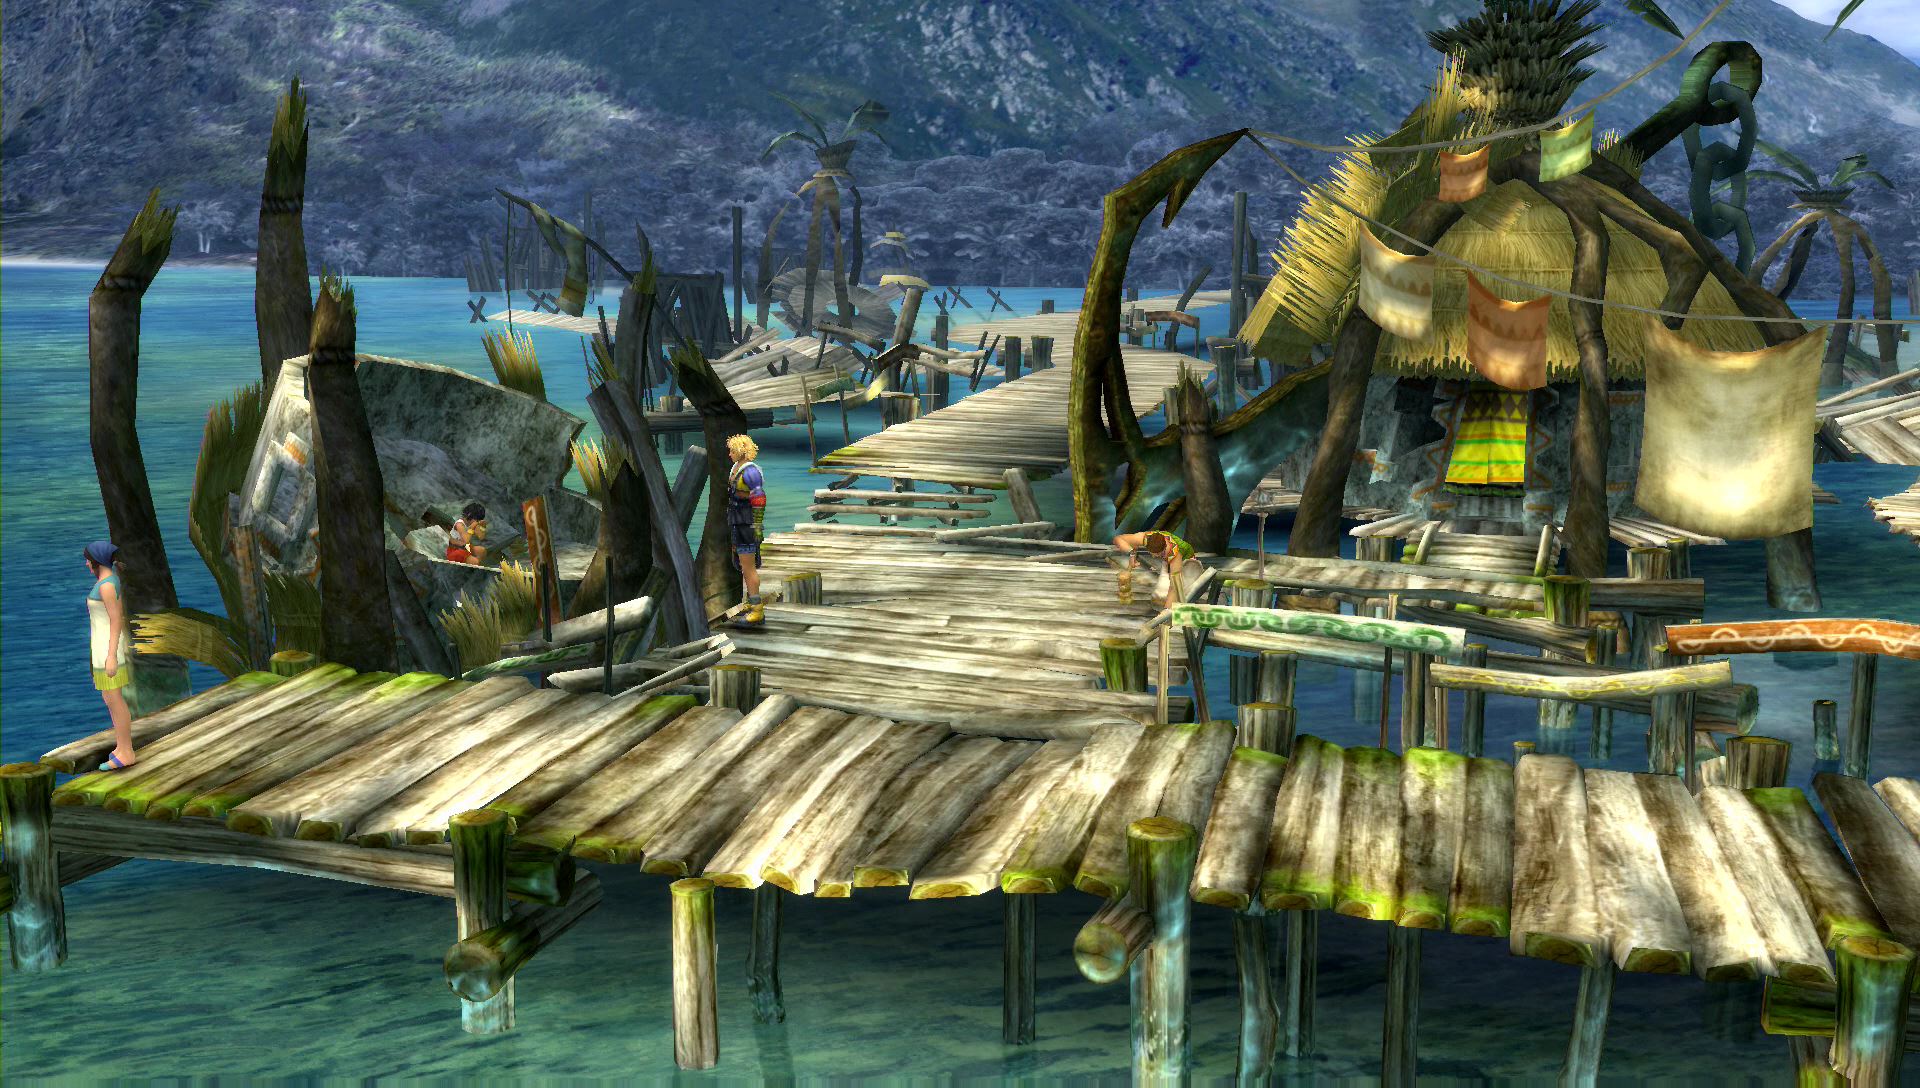
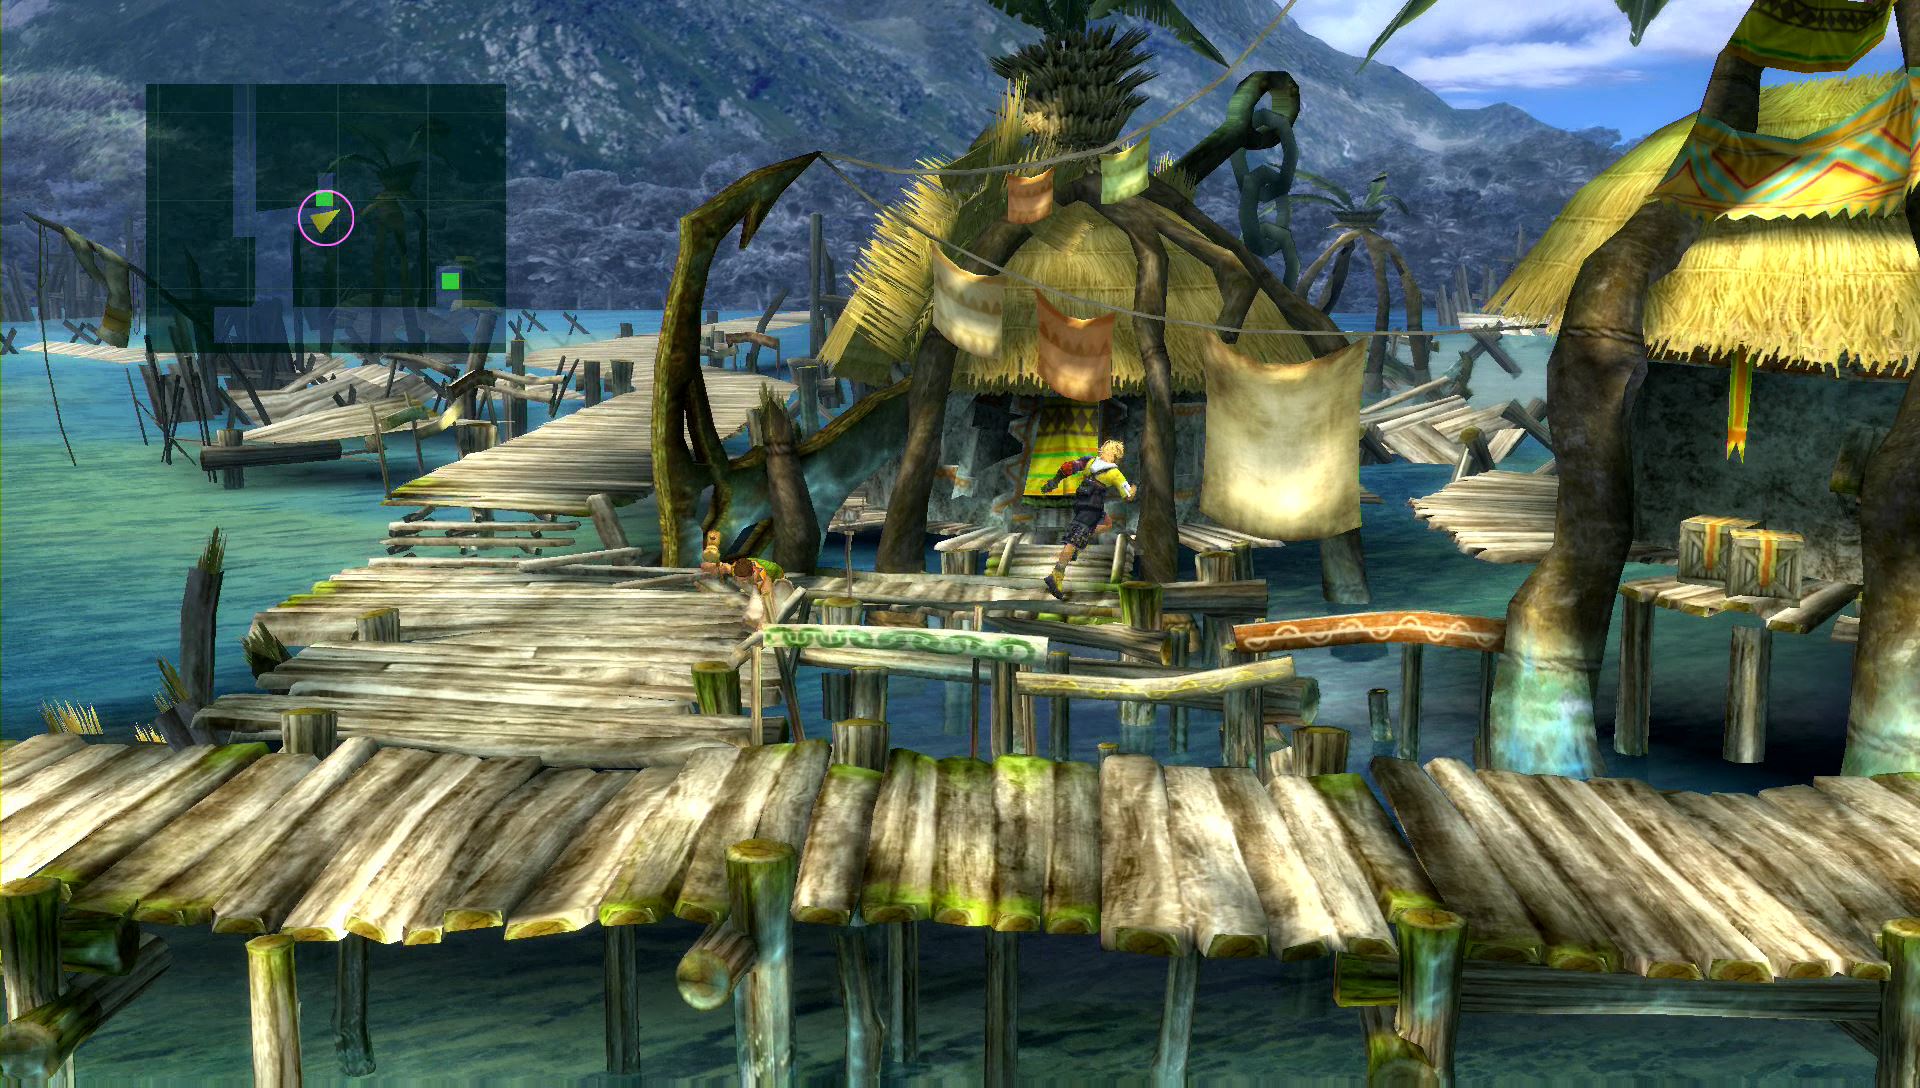
Docks and Village
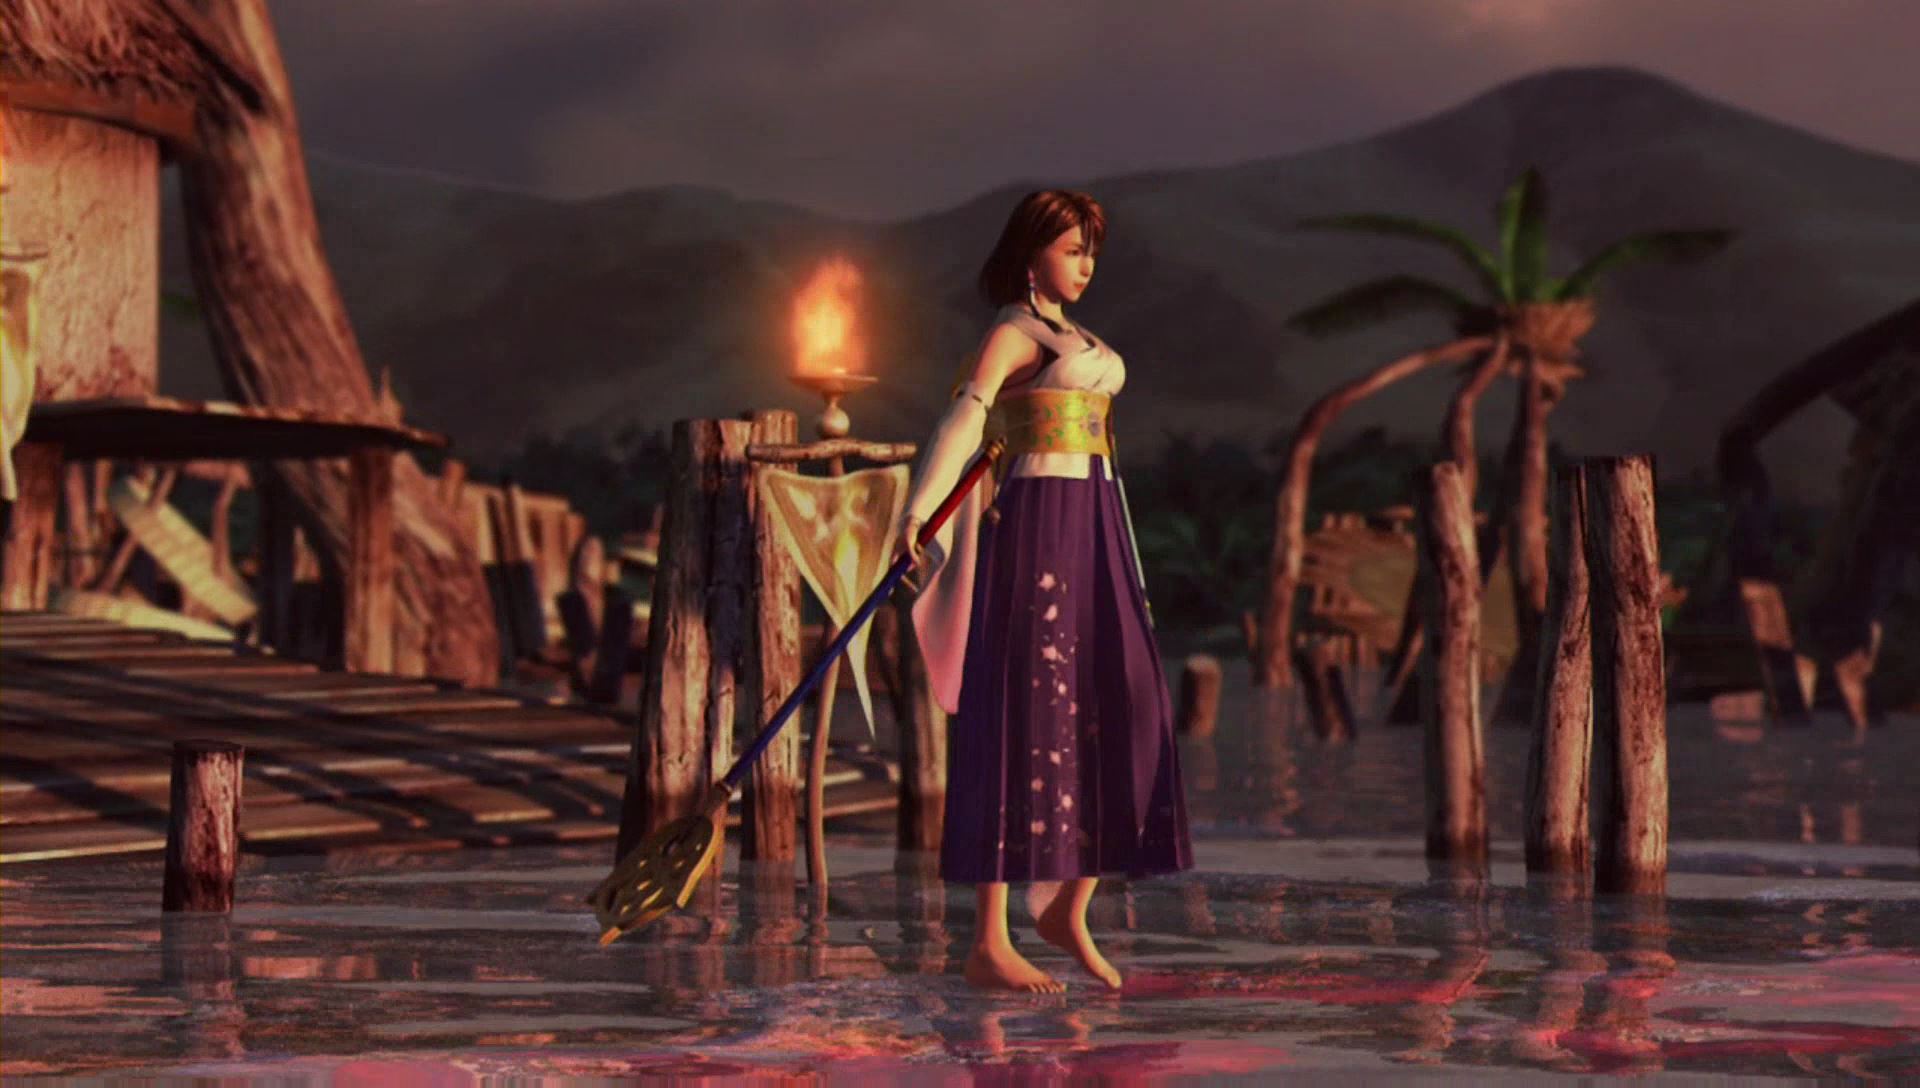
Follow the docks to find your party. A very interesting cut scene will play where Yuna performs a sending.
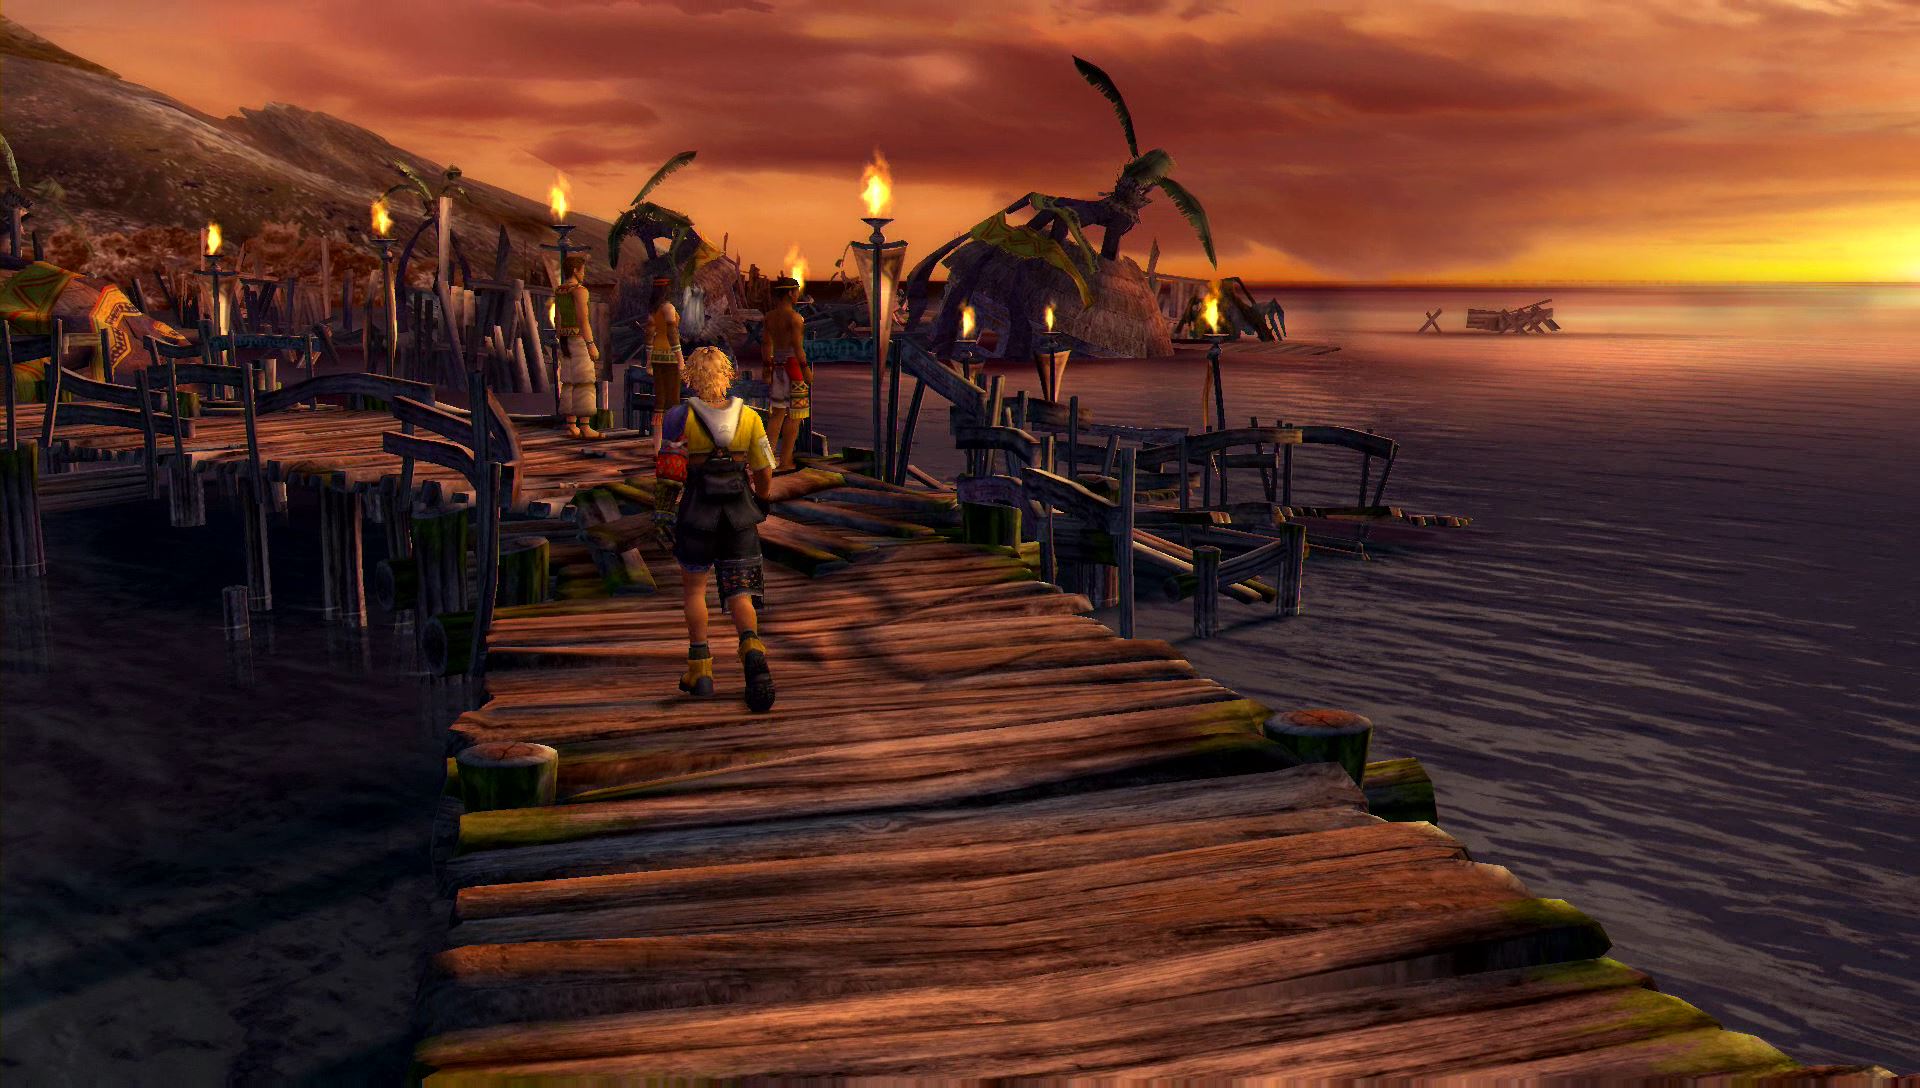
When you regain control of Tidus, exit the Inn and head to the southeast side of the docks. Speak with Wakka to get the team moving onward. Don’t follow them just yet. Enter the small building nearby to find the Al Bhed Primer vol. IV. This is a shop, but they won’t be selling anything.
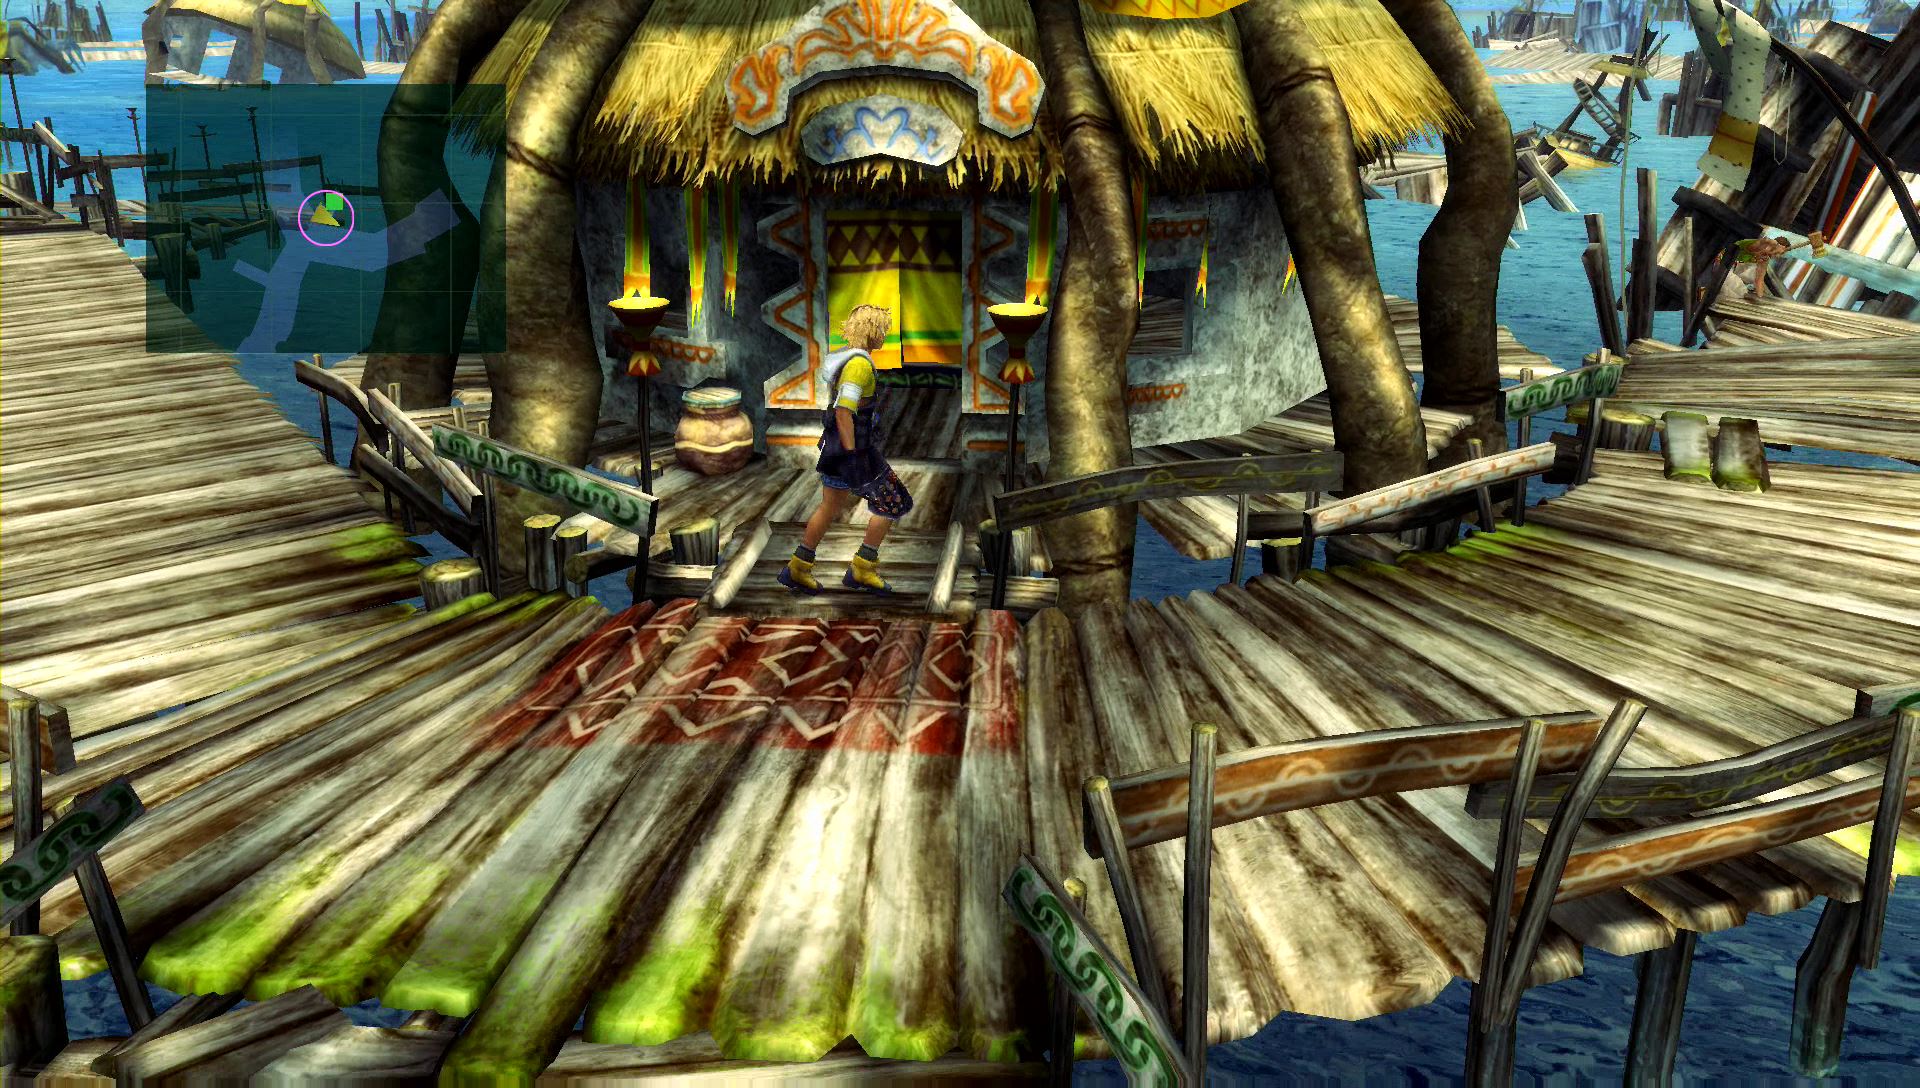

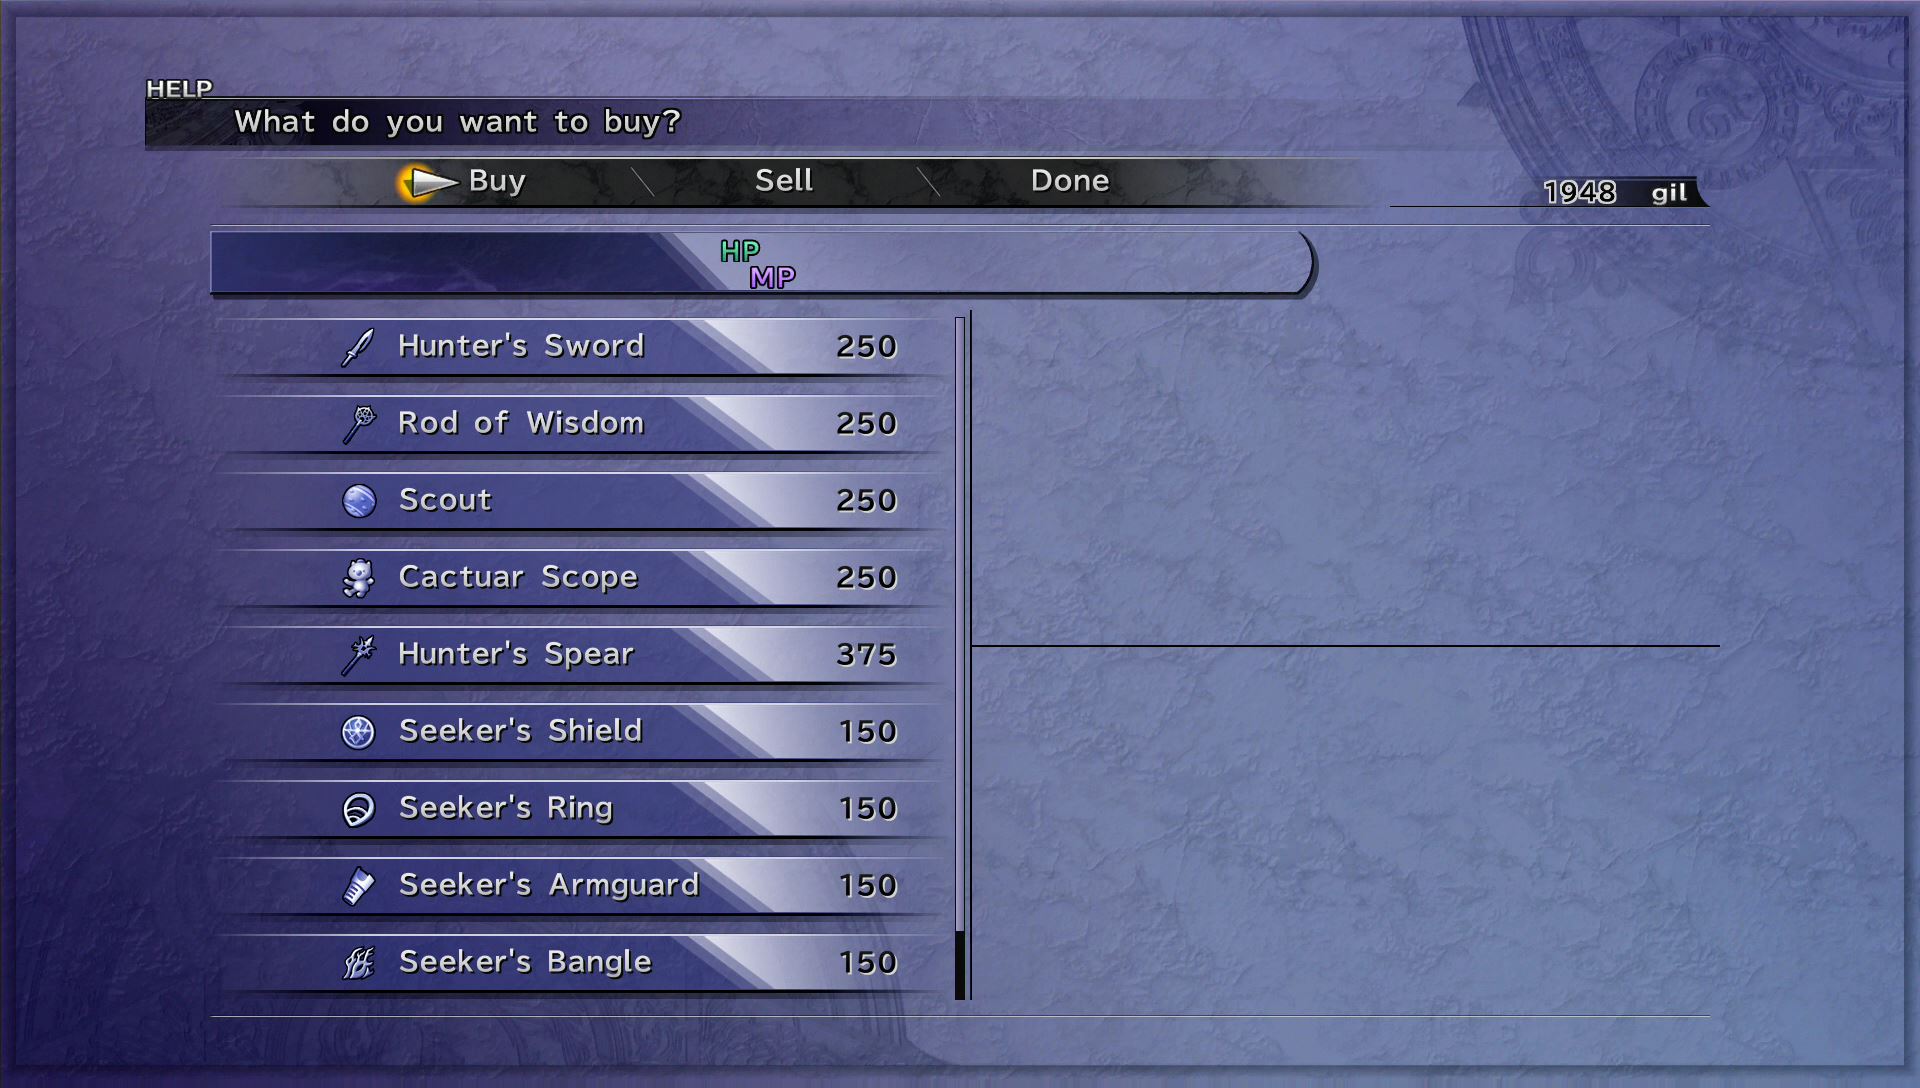
A short distance to the south is a woman next to a treasure chest. She’s running a small shop with a variety of weapons and armor. You can upgrade if you like, but you may be getting some new weapons and armor as rewards in the coming battles.

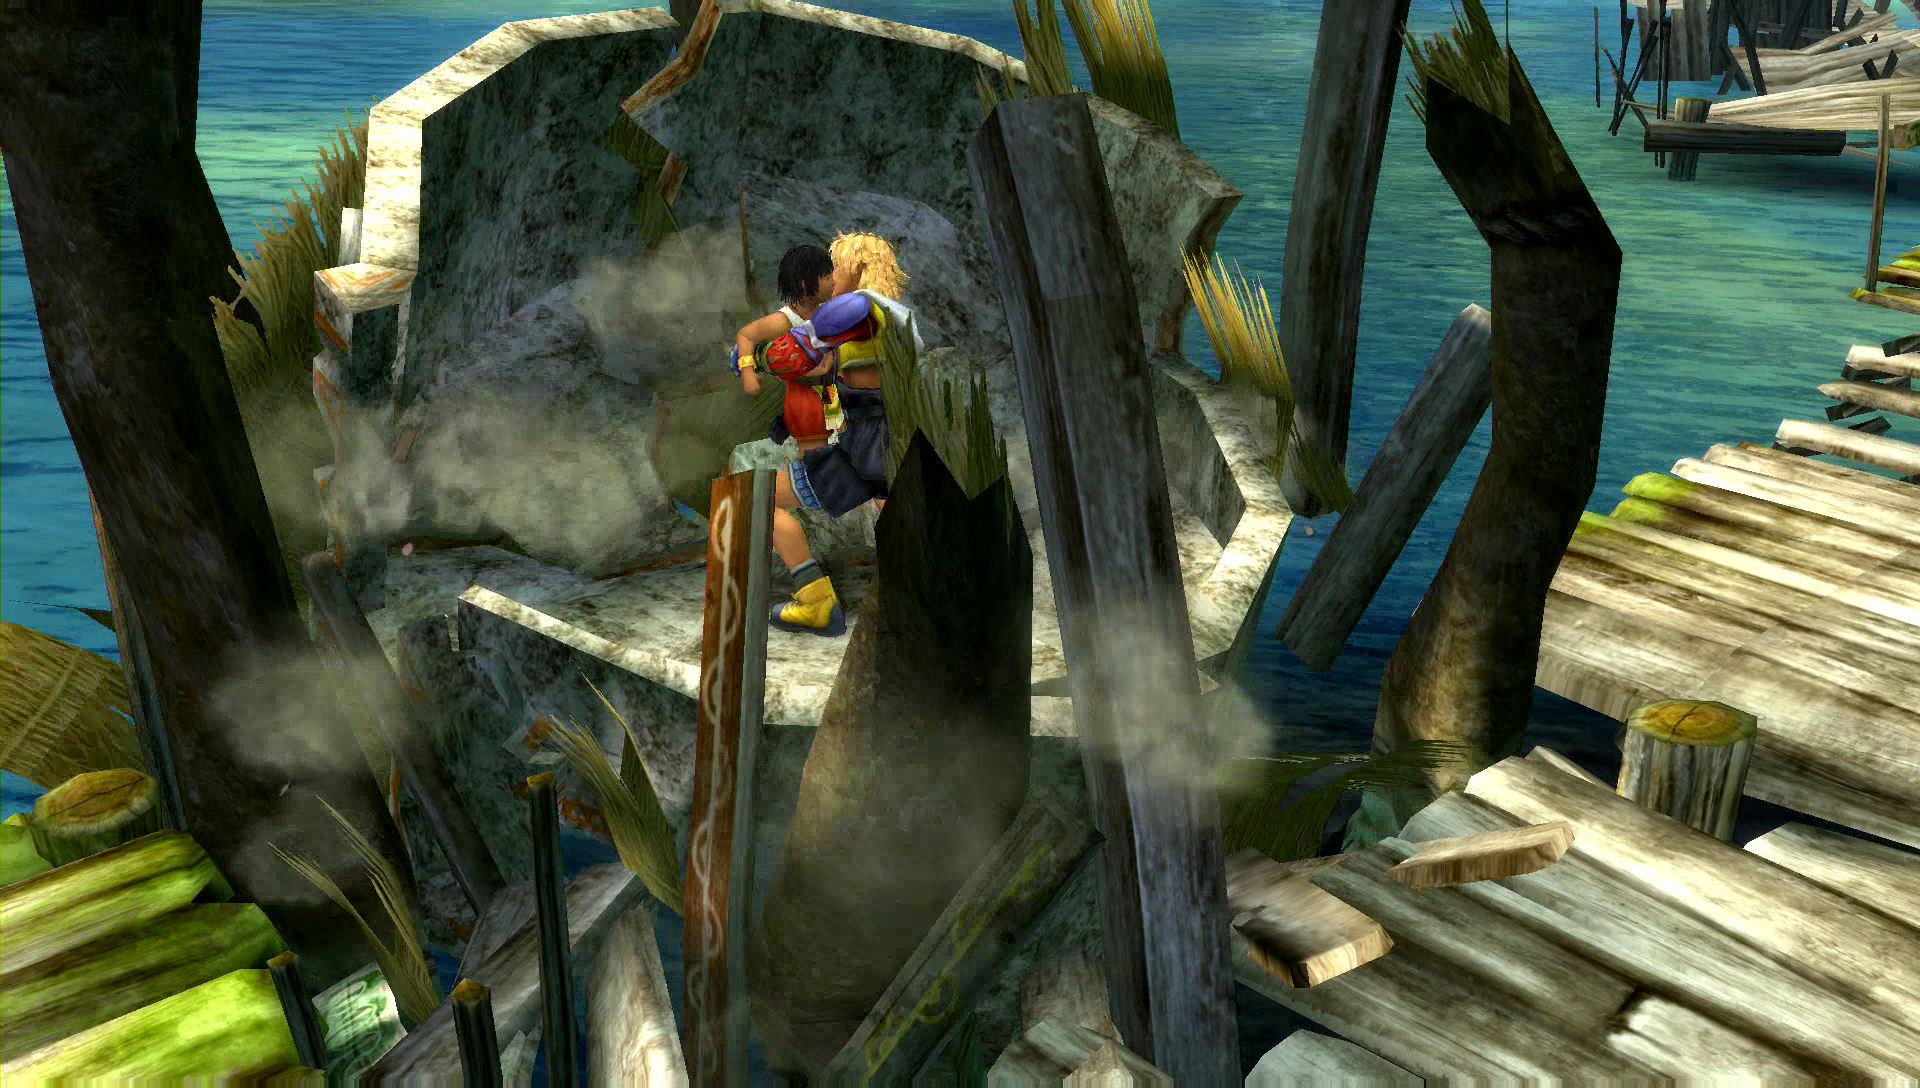
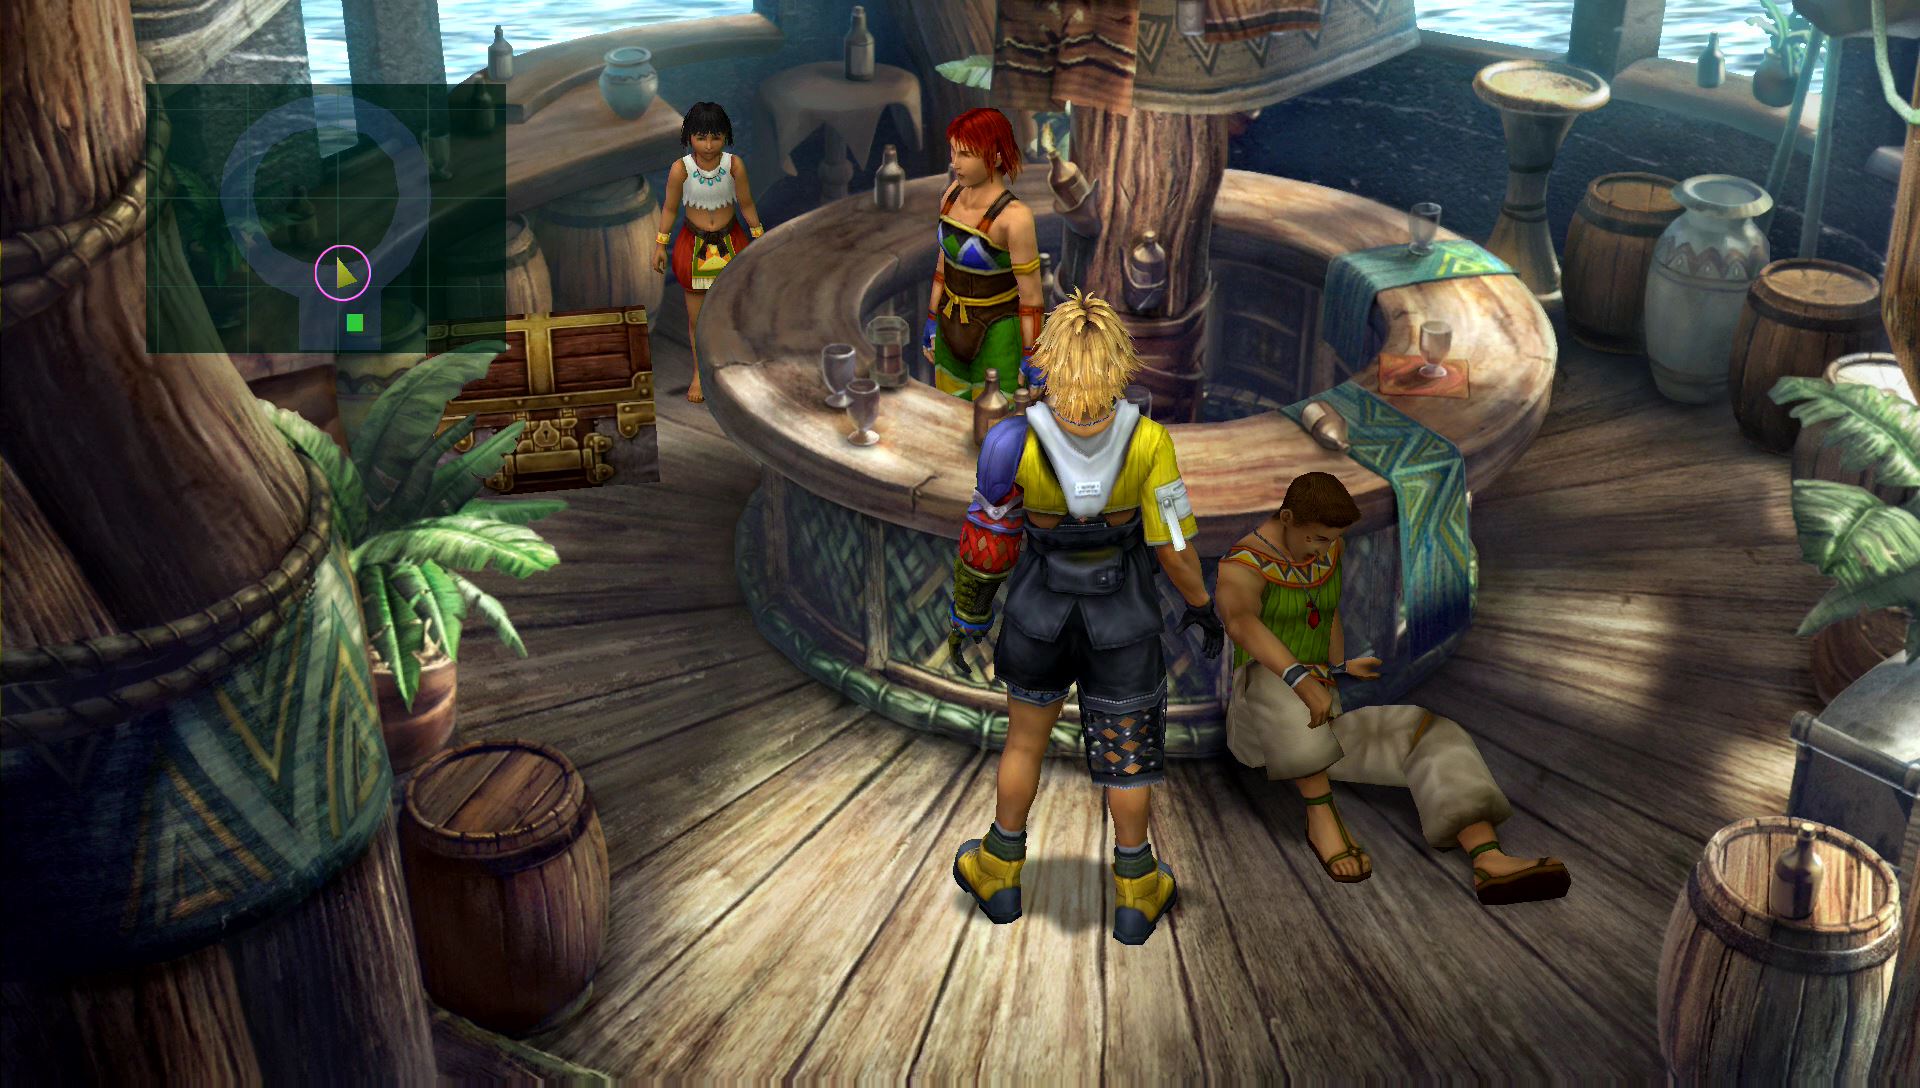
Continue to the north side of the docks when ready. You should notice a little girl in a crumbling house. Press X next to it to rescue the kid before everything collapses.
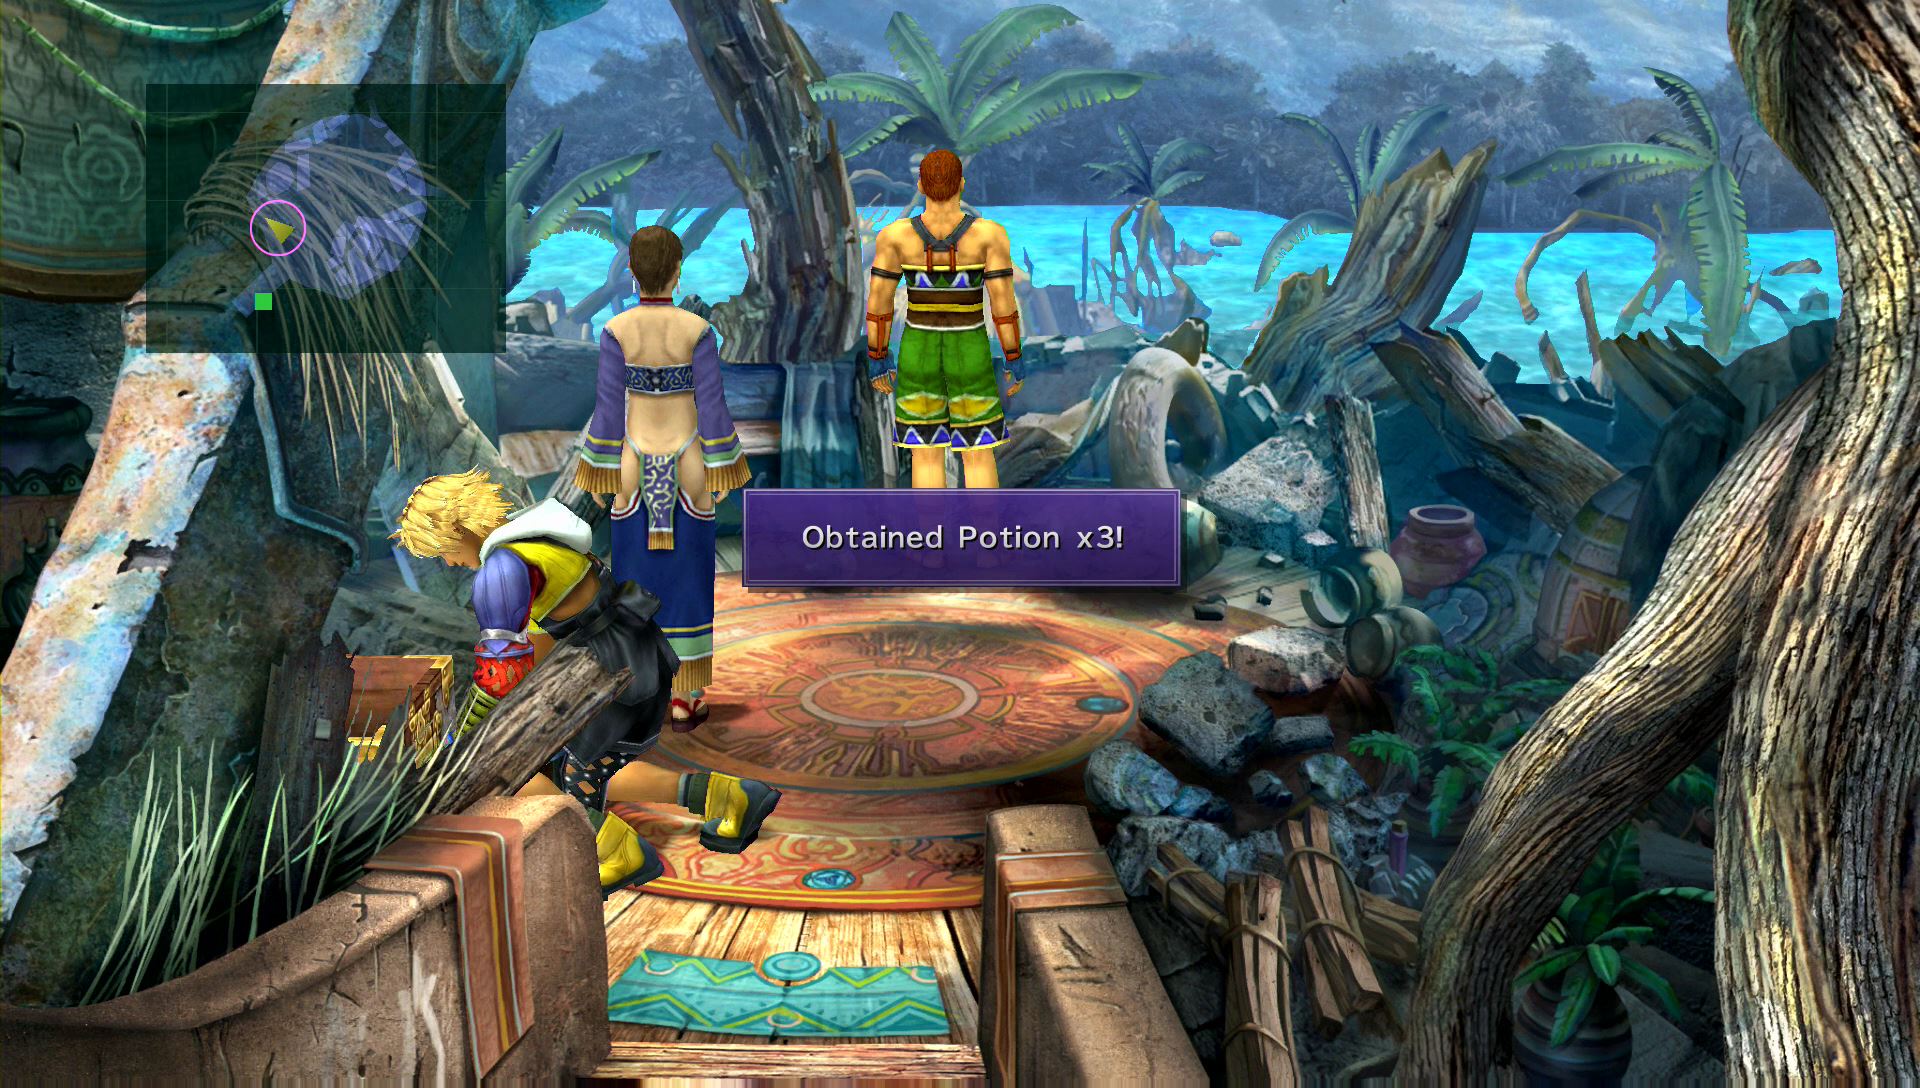
Enter the building on the right to find a treasure containing three potions. Exit back out to the docks and return to the south end of the village one last time.
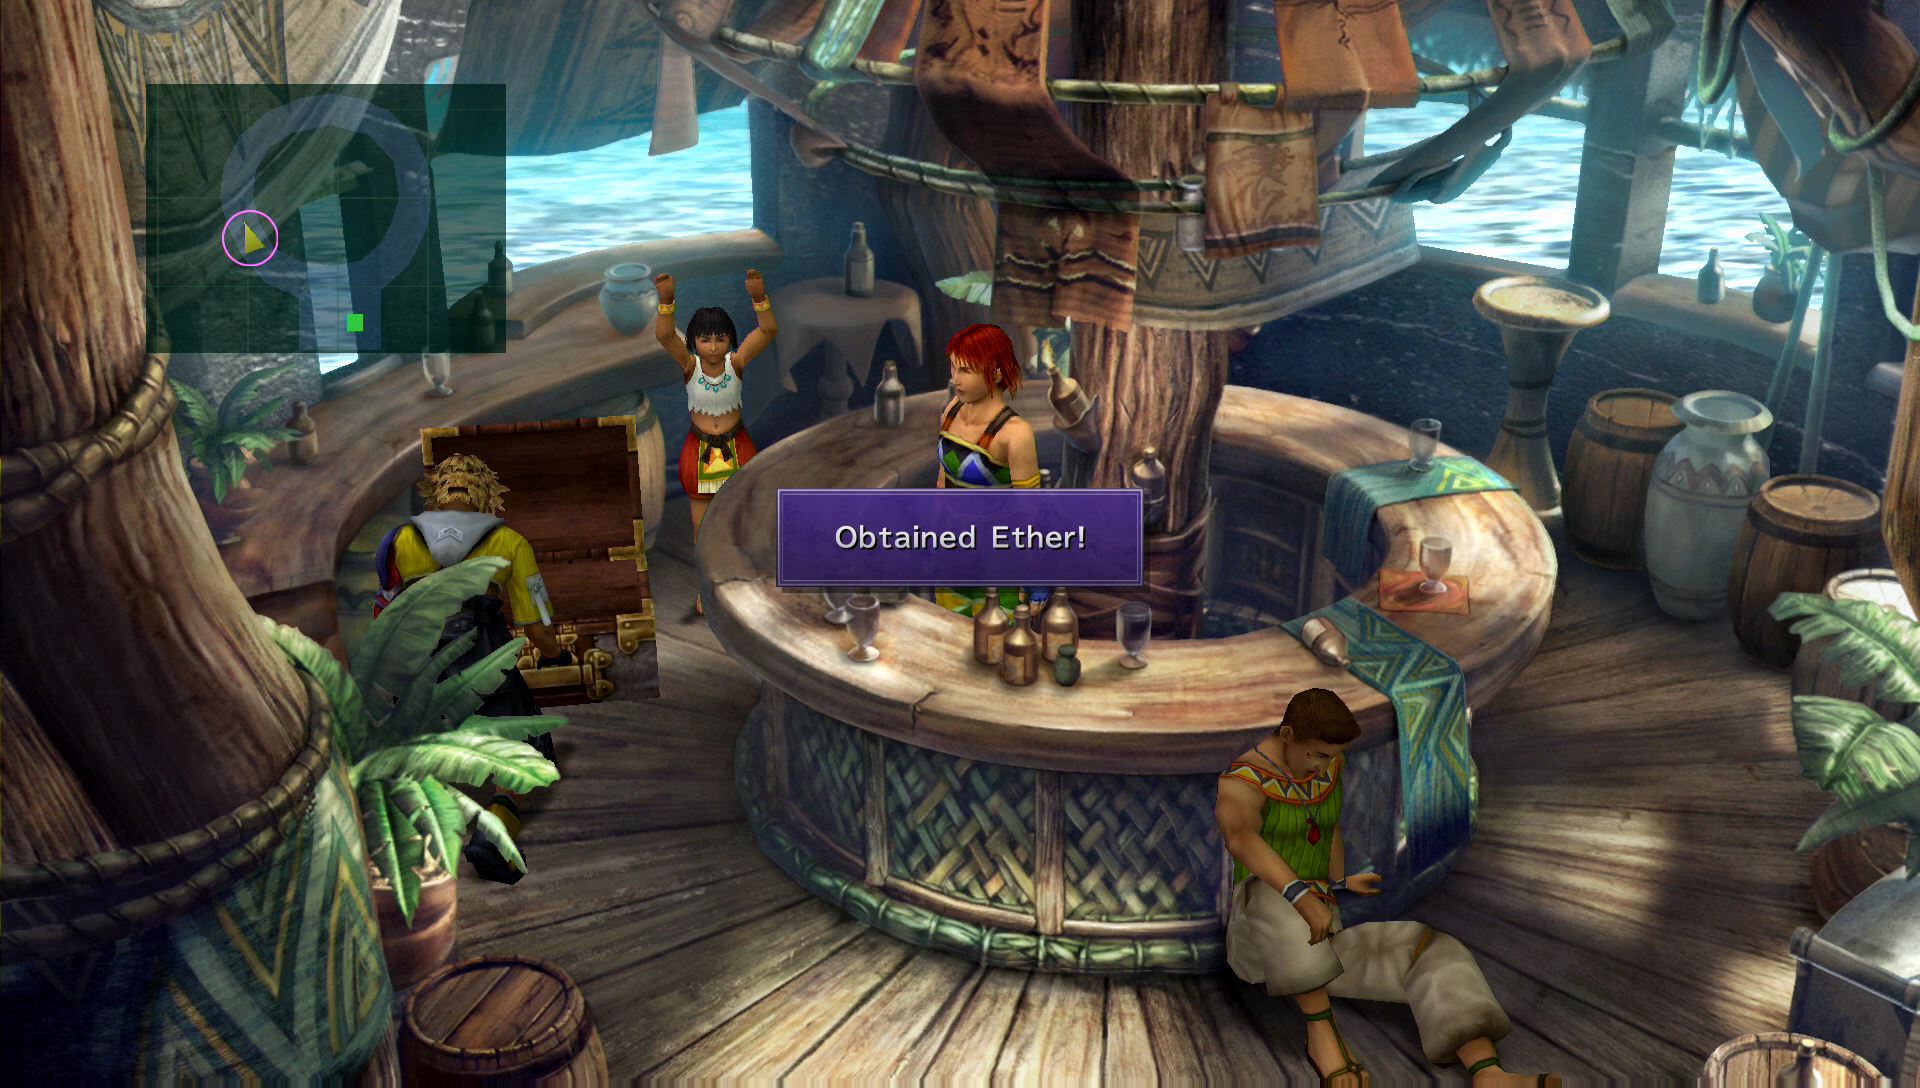
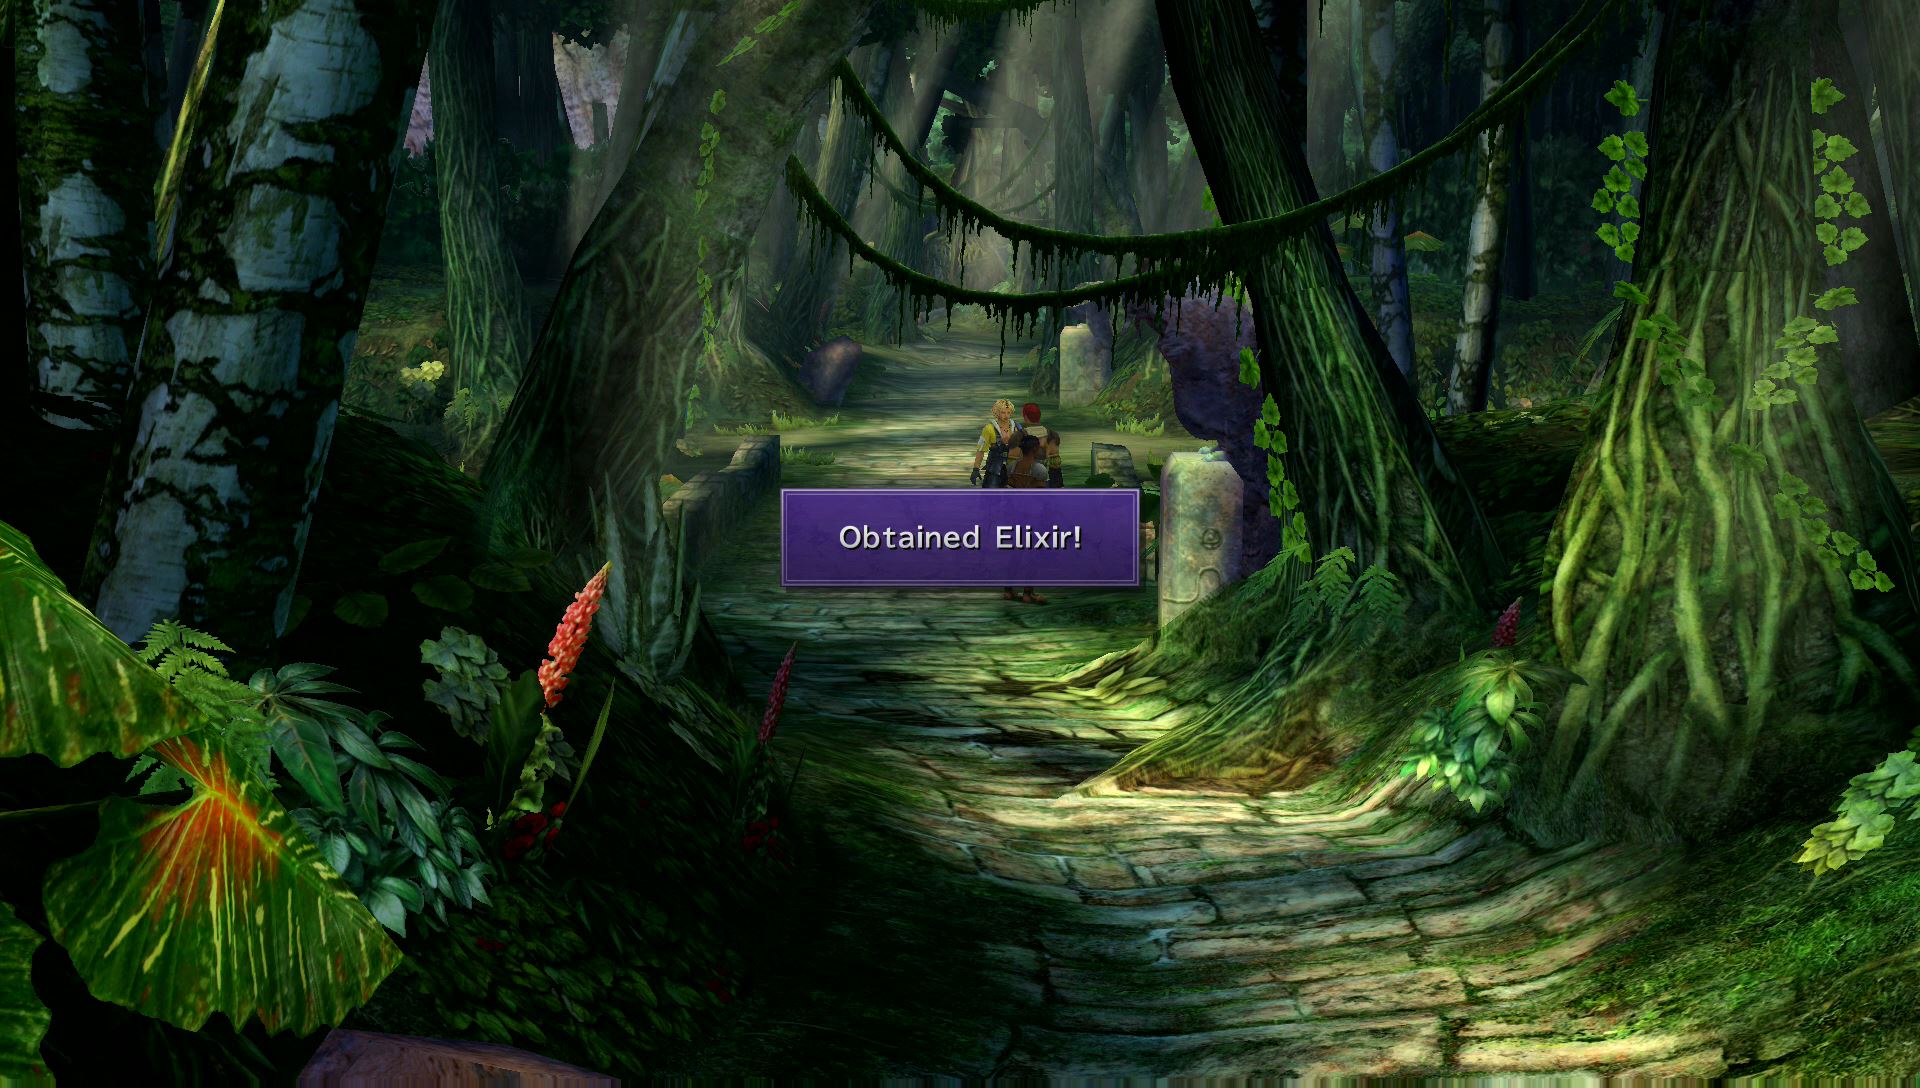
Inside the shop that isn’t actually selling anything is the girl you rescued. You should also notice a new treasure chest! Inside the chest is an Ether. With everything taken care of, head north to the next area.
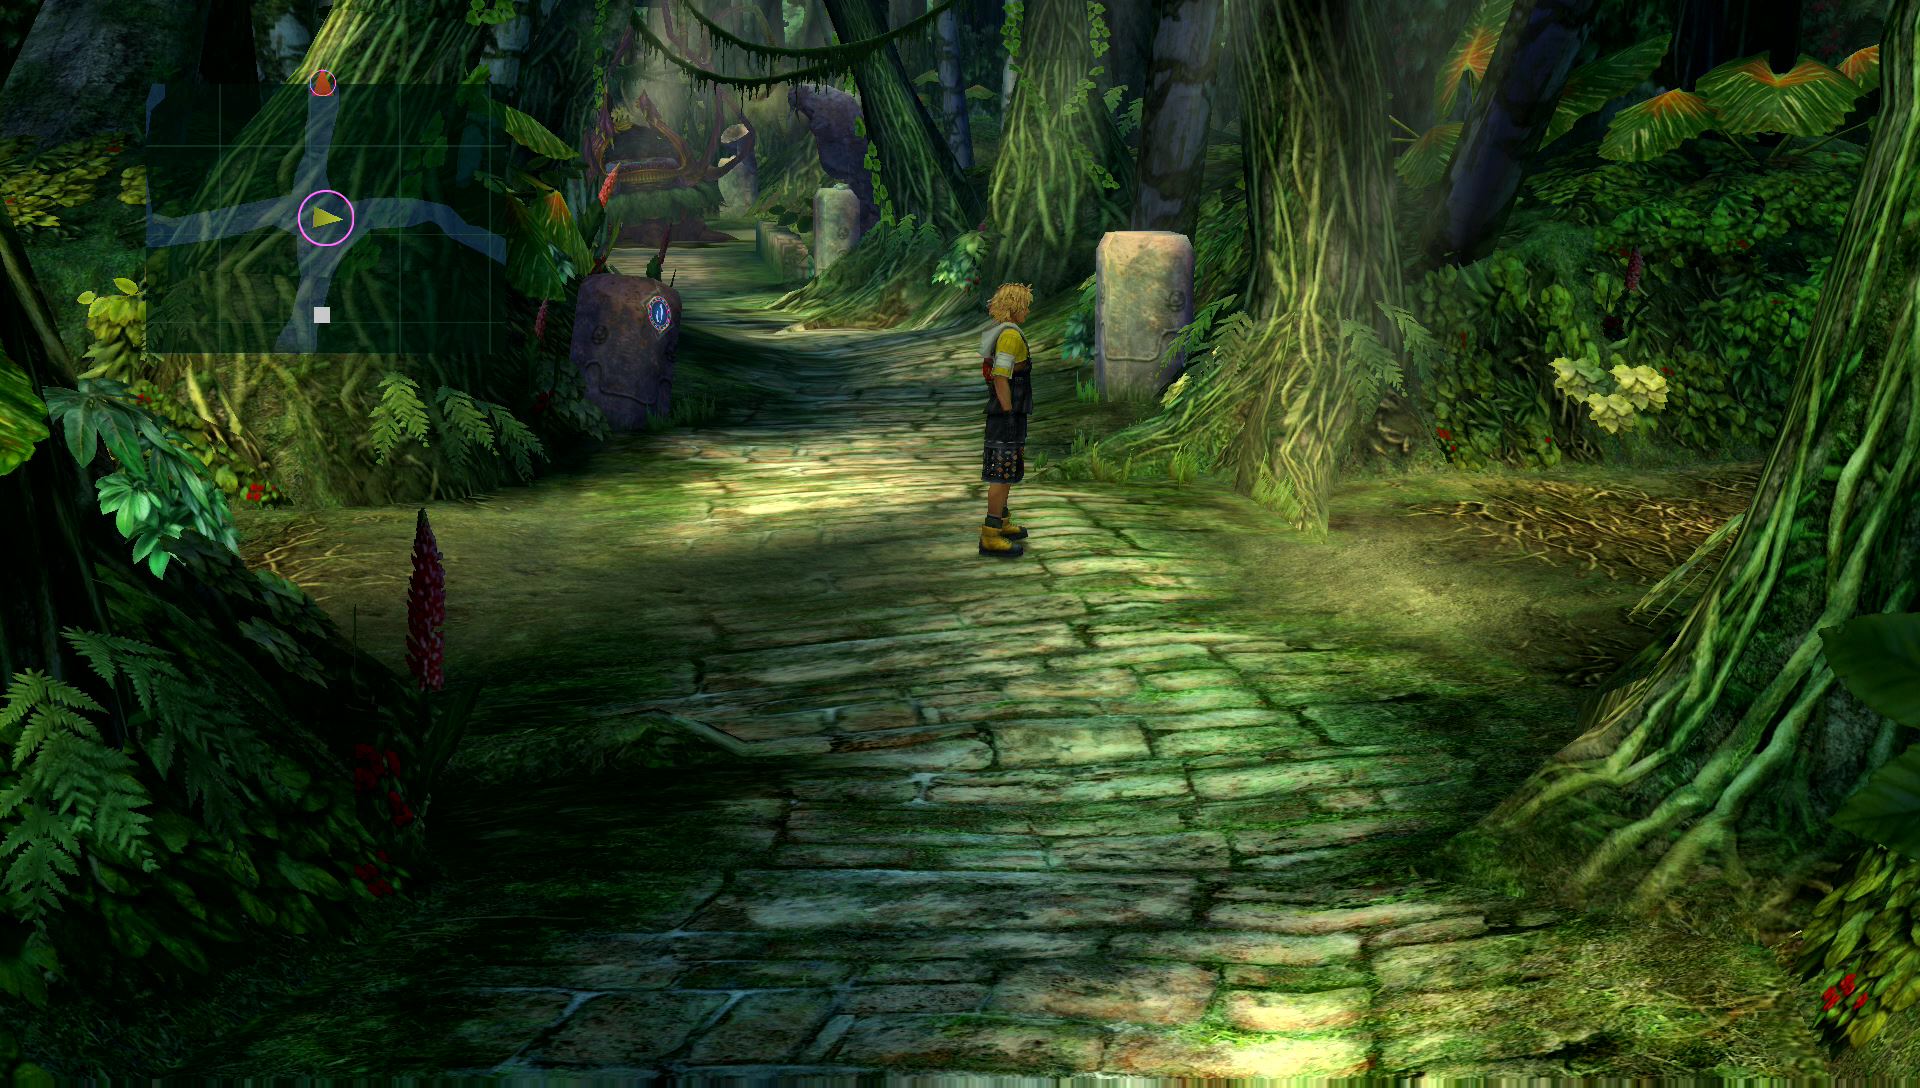
Kilika Woods
| Fiends | HP | Fire | Thunder | Water | Ice |
|---|---|---|---|---|---|
| Dinonix | 140 | Strong | — | — | Weak |
| Killer Bee | 110 | — | — | — | Weak |
| Ragora | 780 | Weak | — | Immune | — |
| Yellow Element | 300 | Strong | Drain | Weak | Strong |
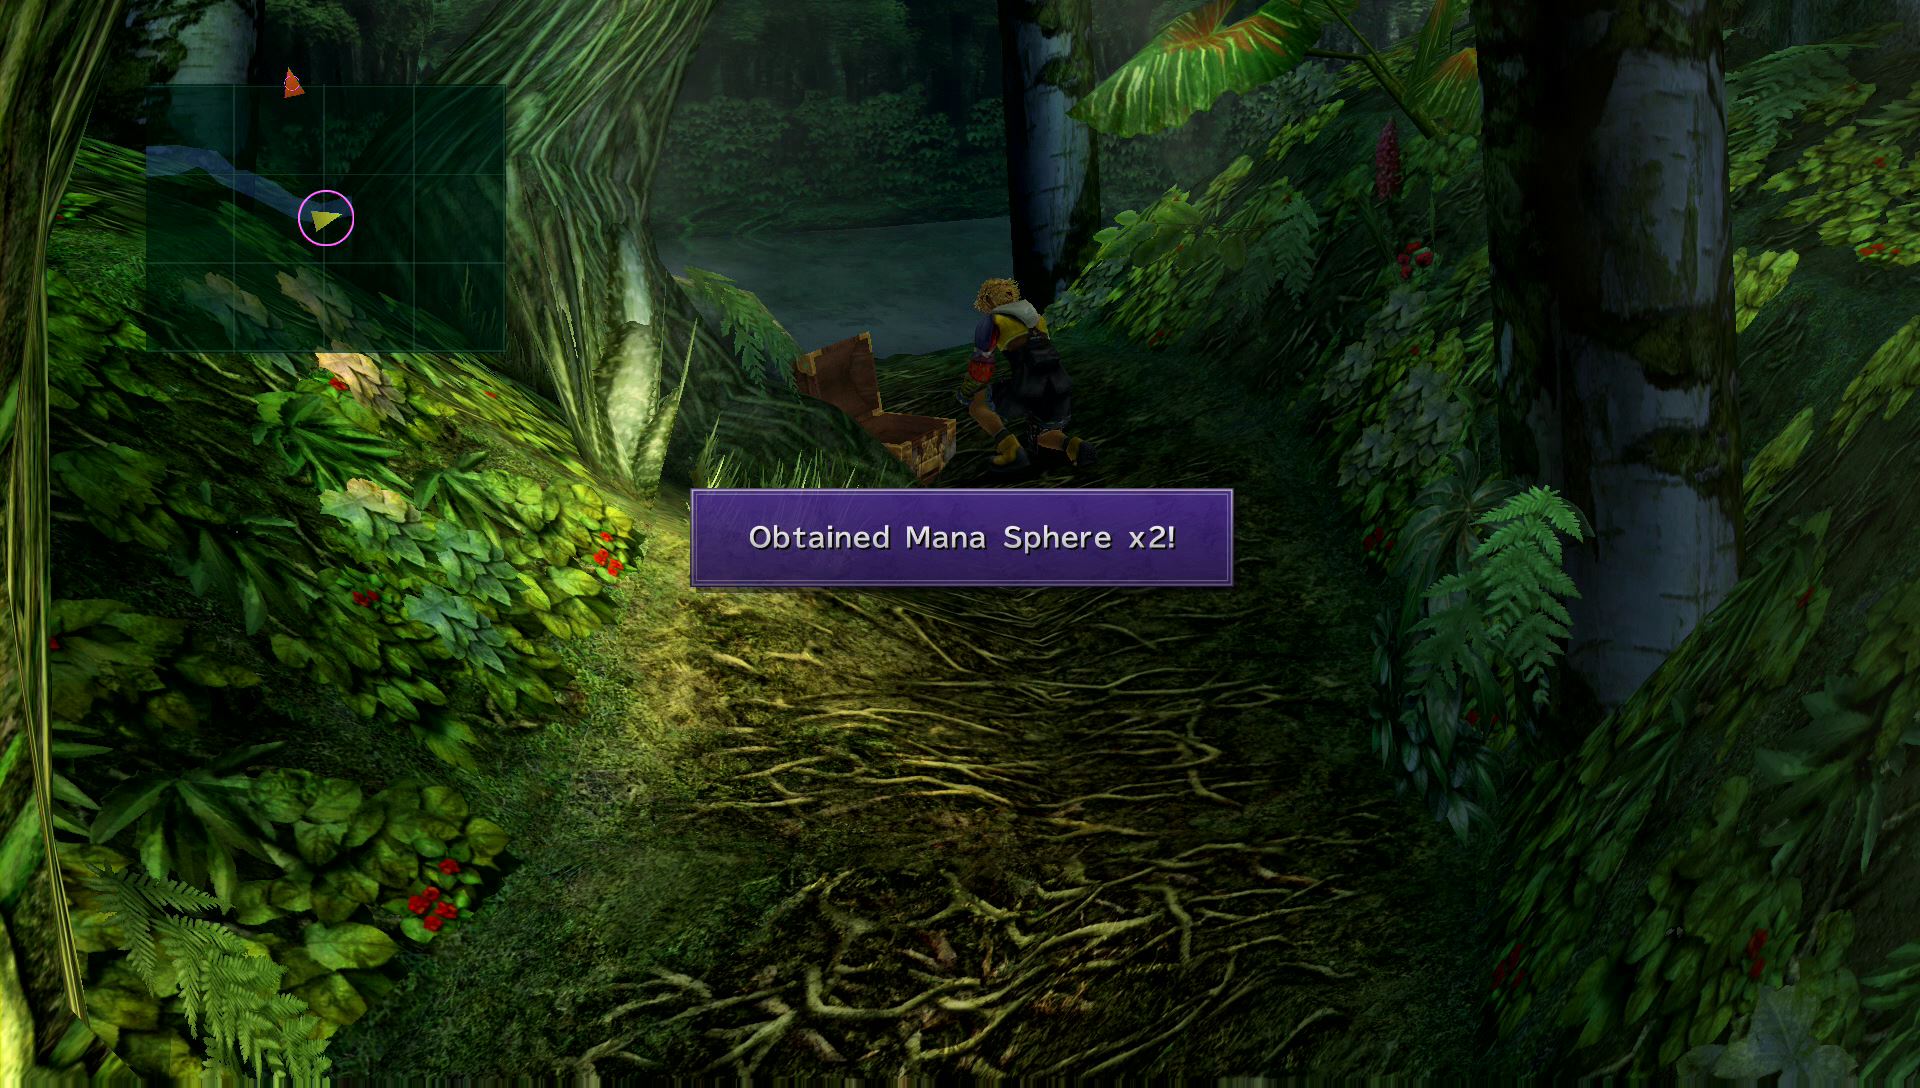
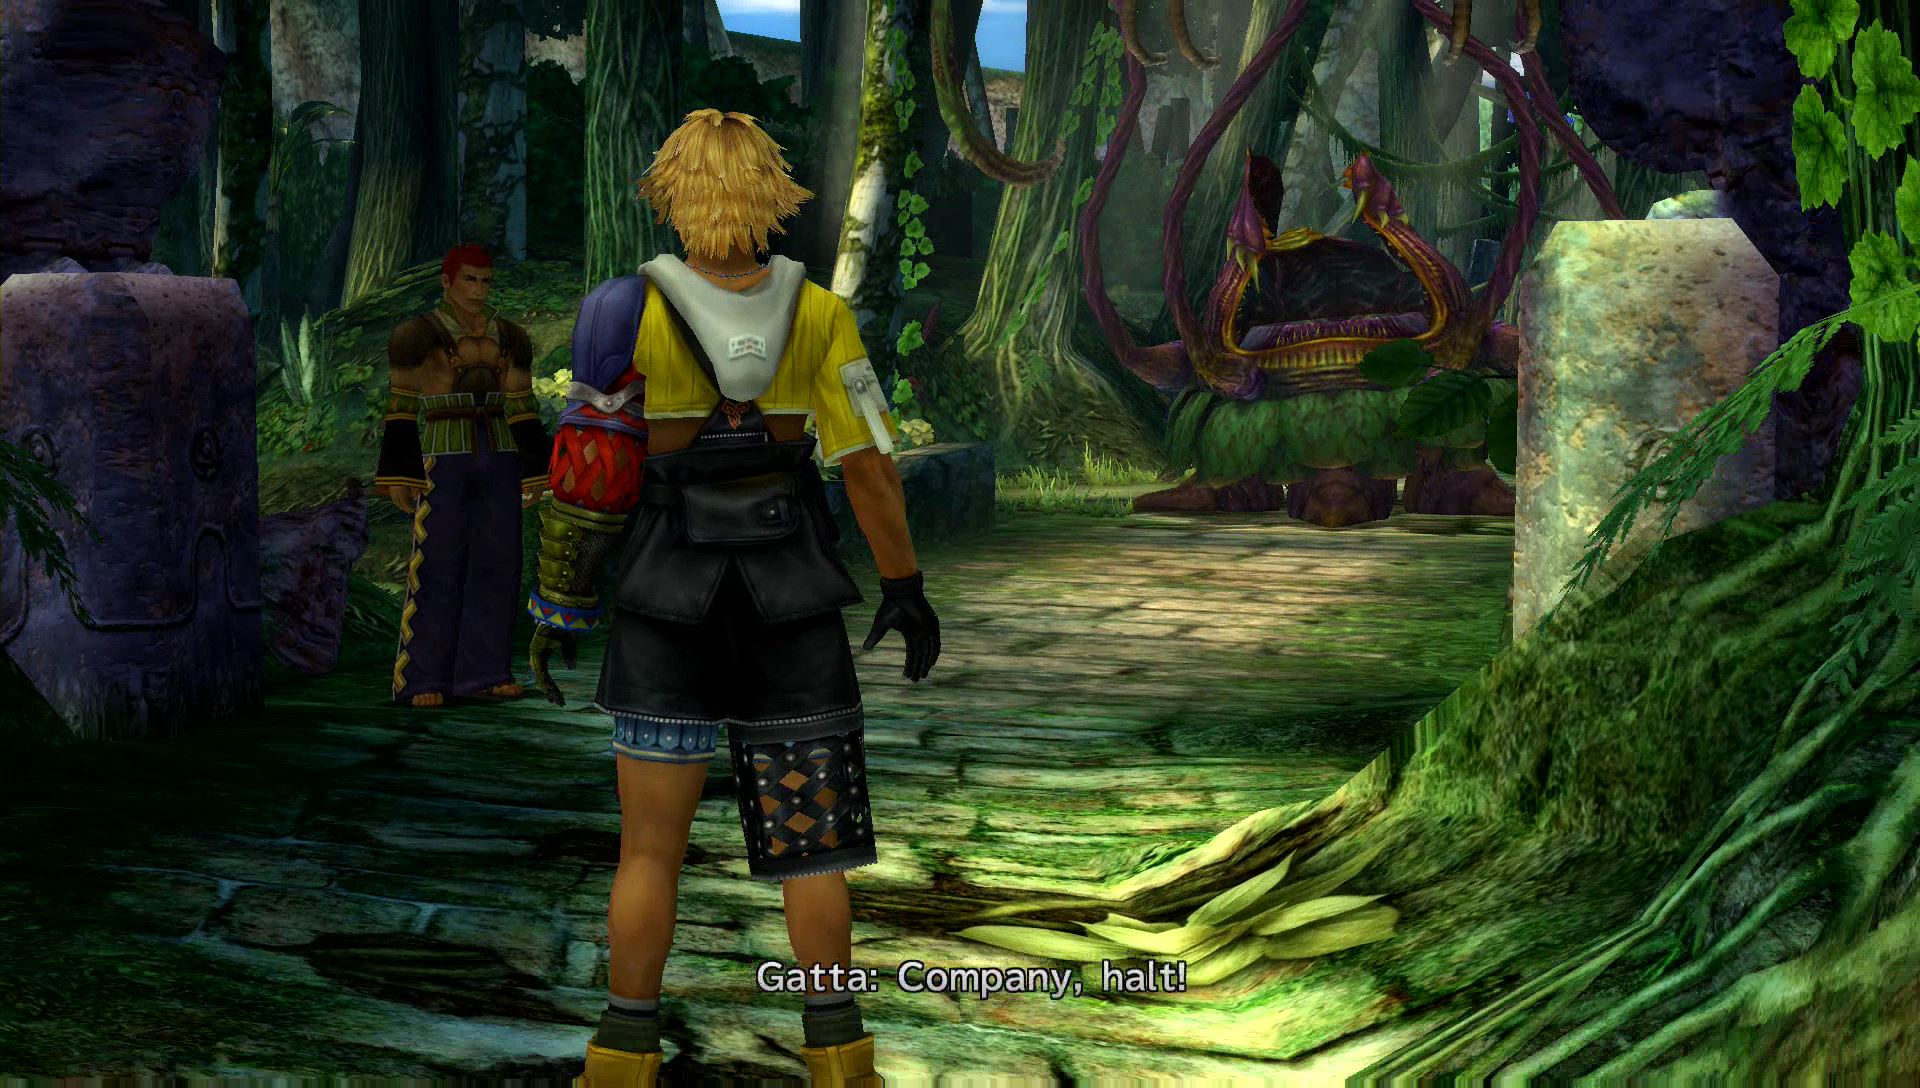
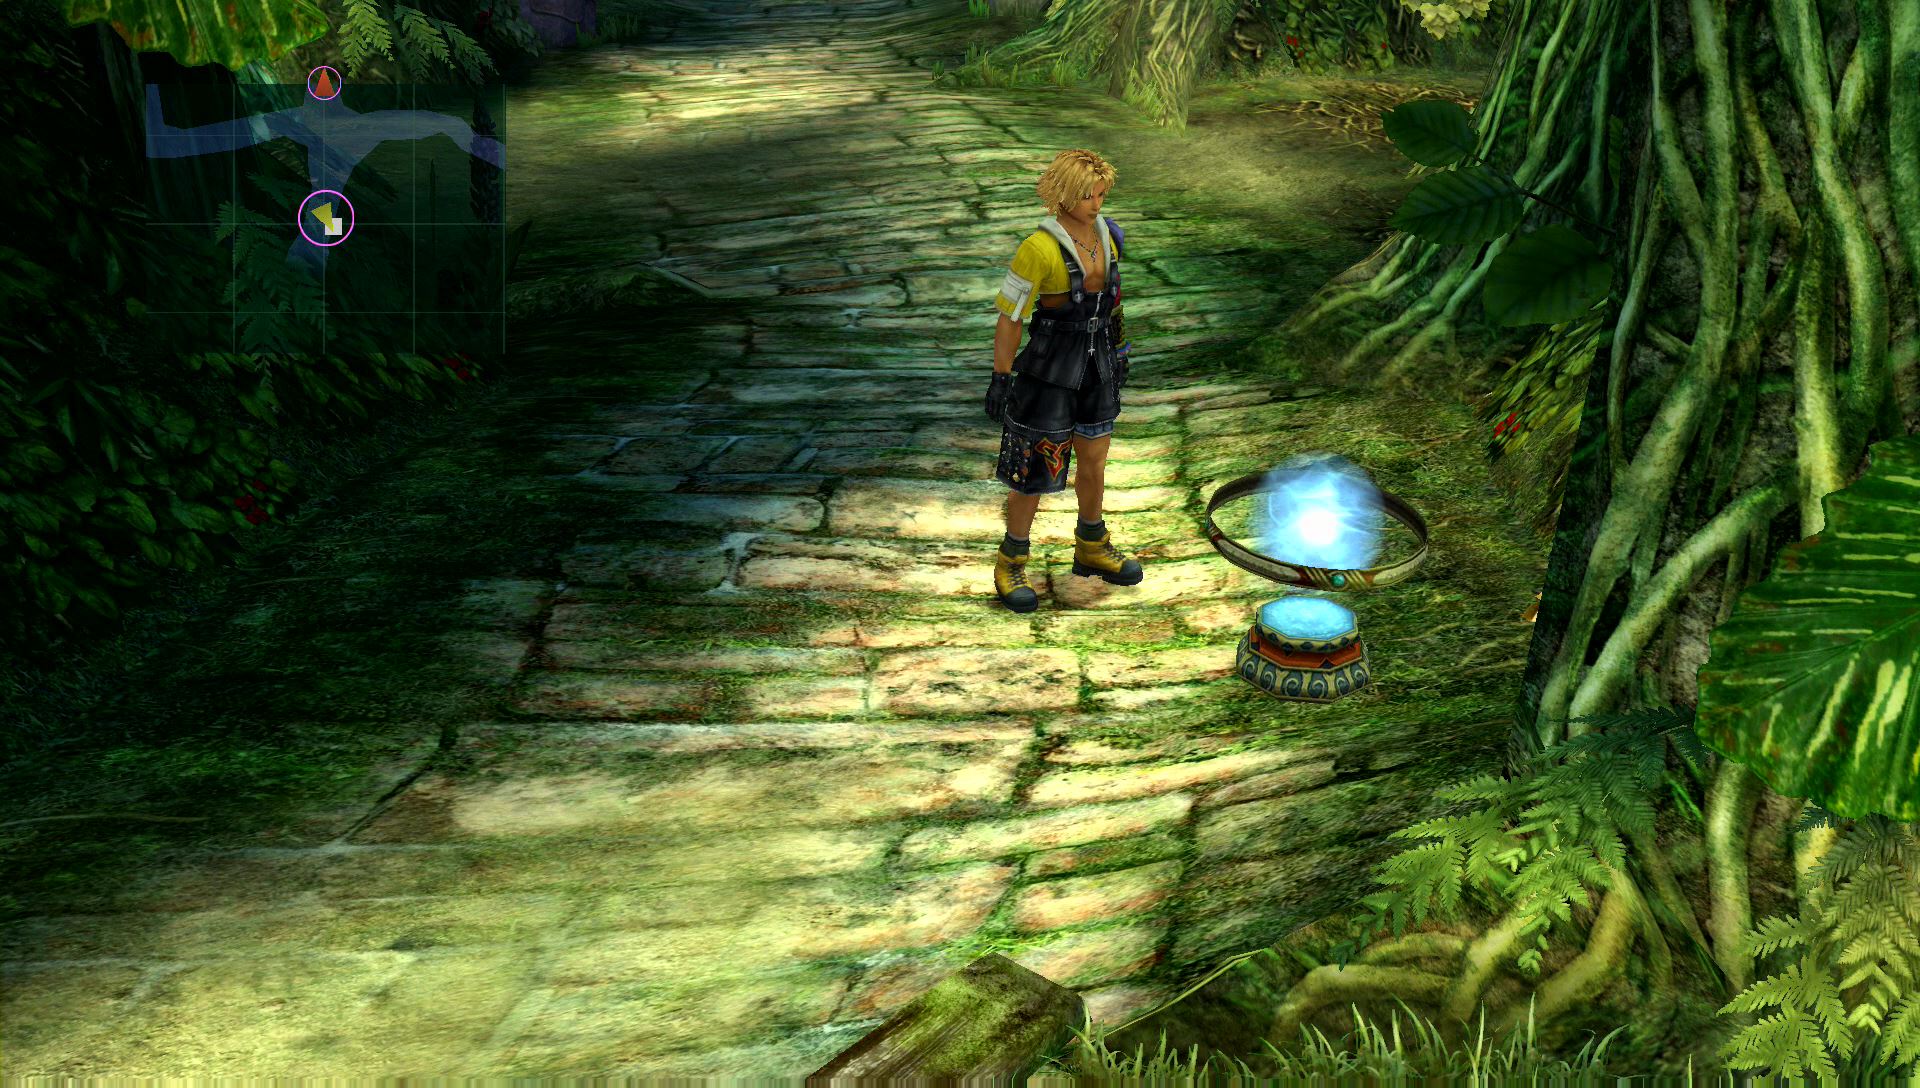
The party will be waiting for you at the forest entrance. After the short cut scene, take the path to the east. This will lead to a dead end with a treasure chest containing two Mana Spheres.
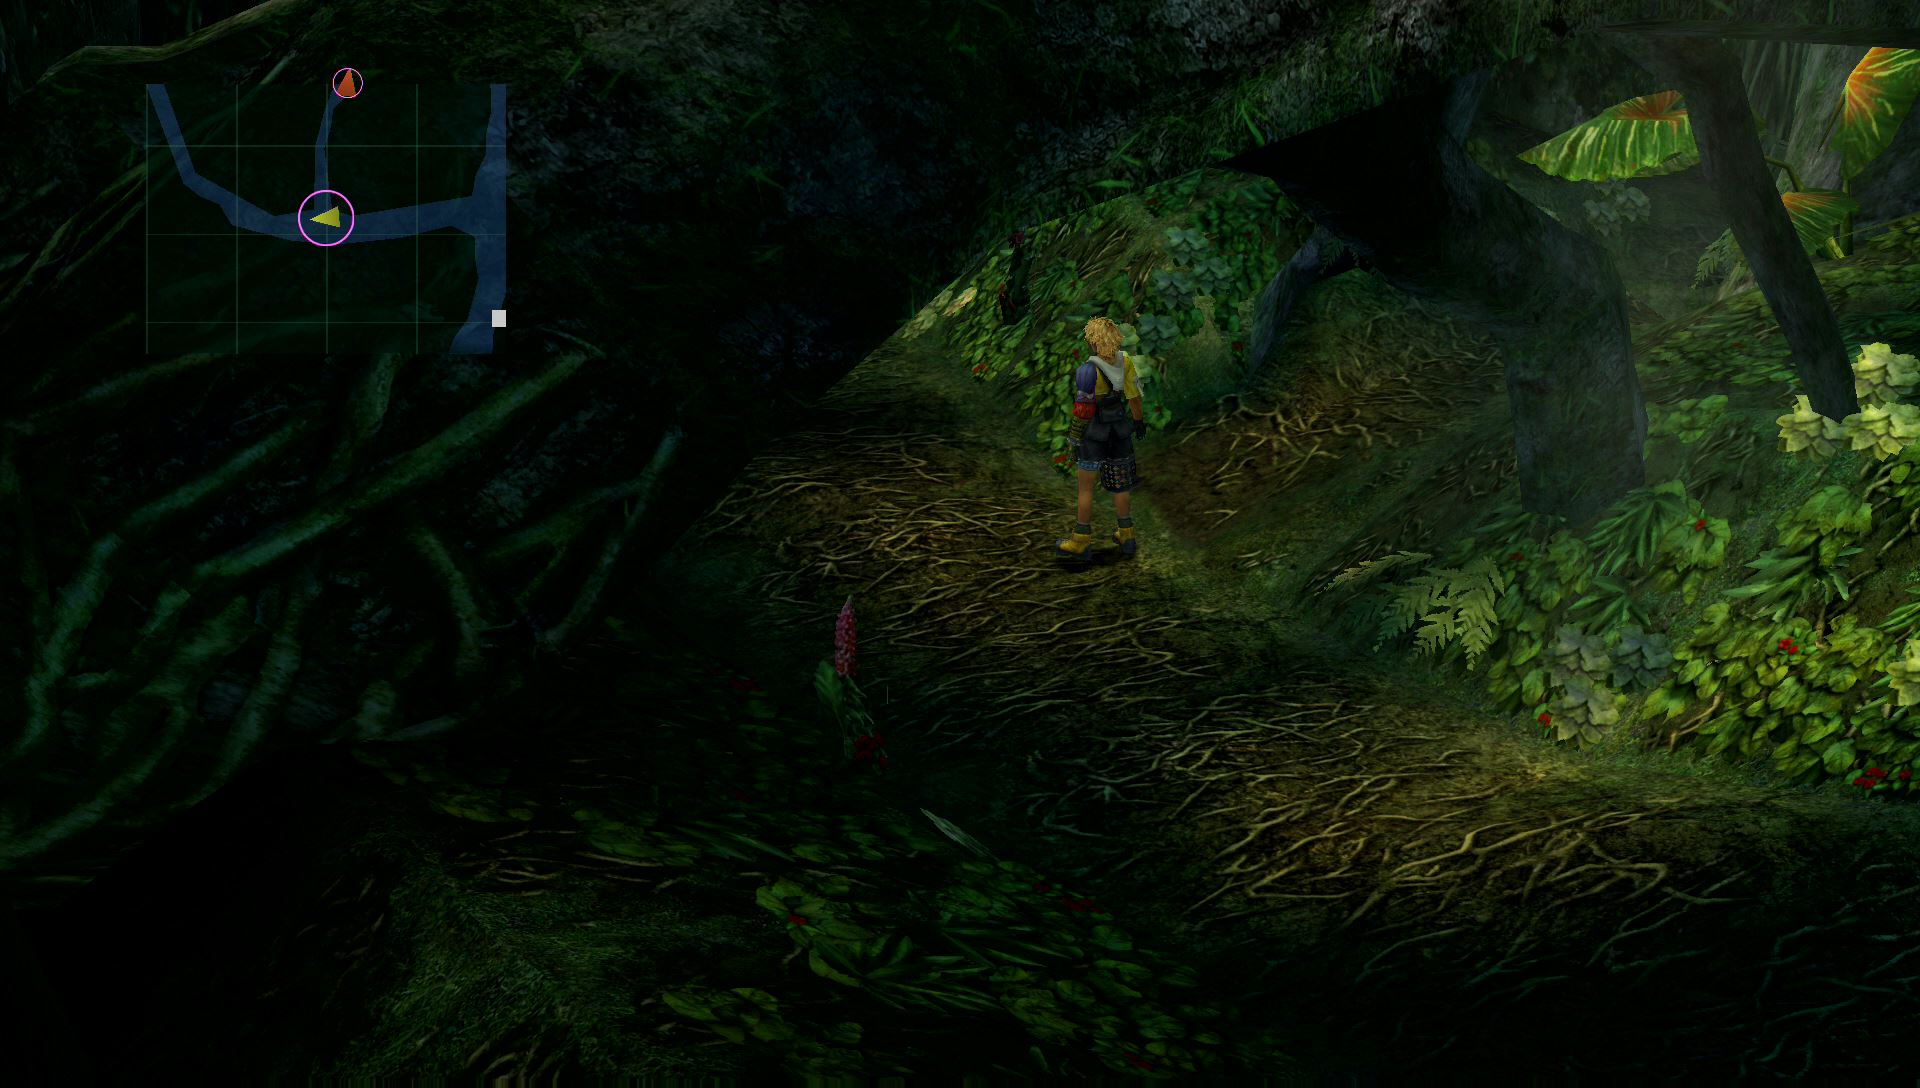
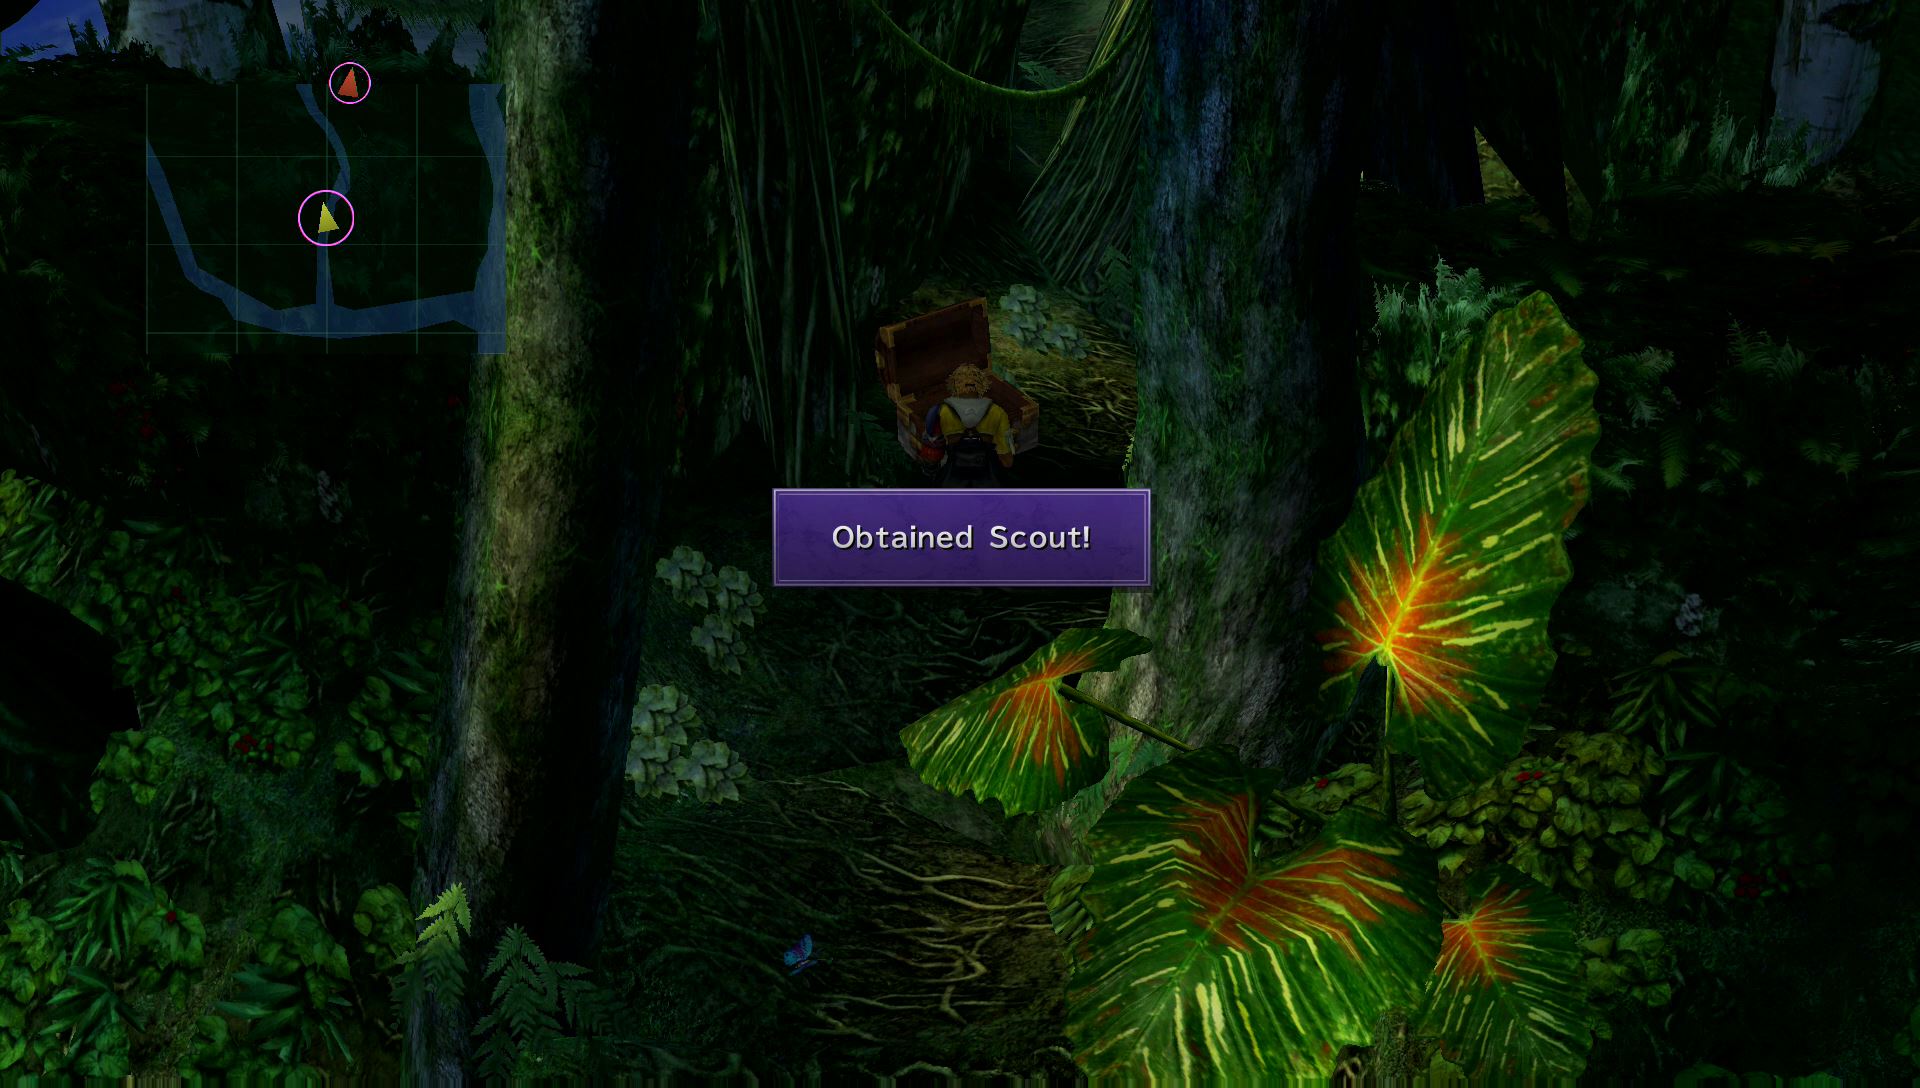
Return to the fork in the road and take the left path until you reach another intersection. Take the path to the north to find a treasure chest holding the Scout weapon. This is a weapon for Wakka.
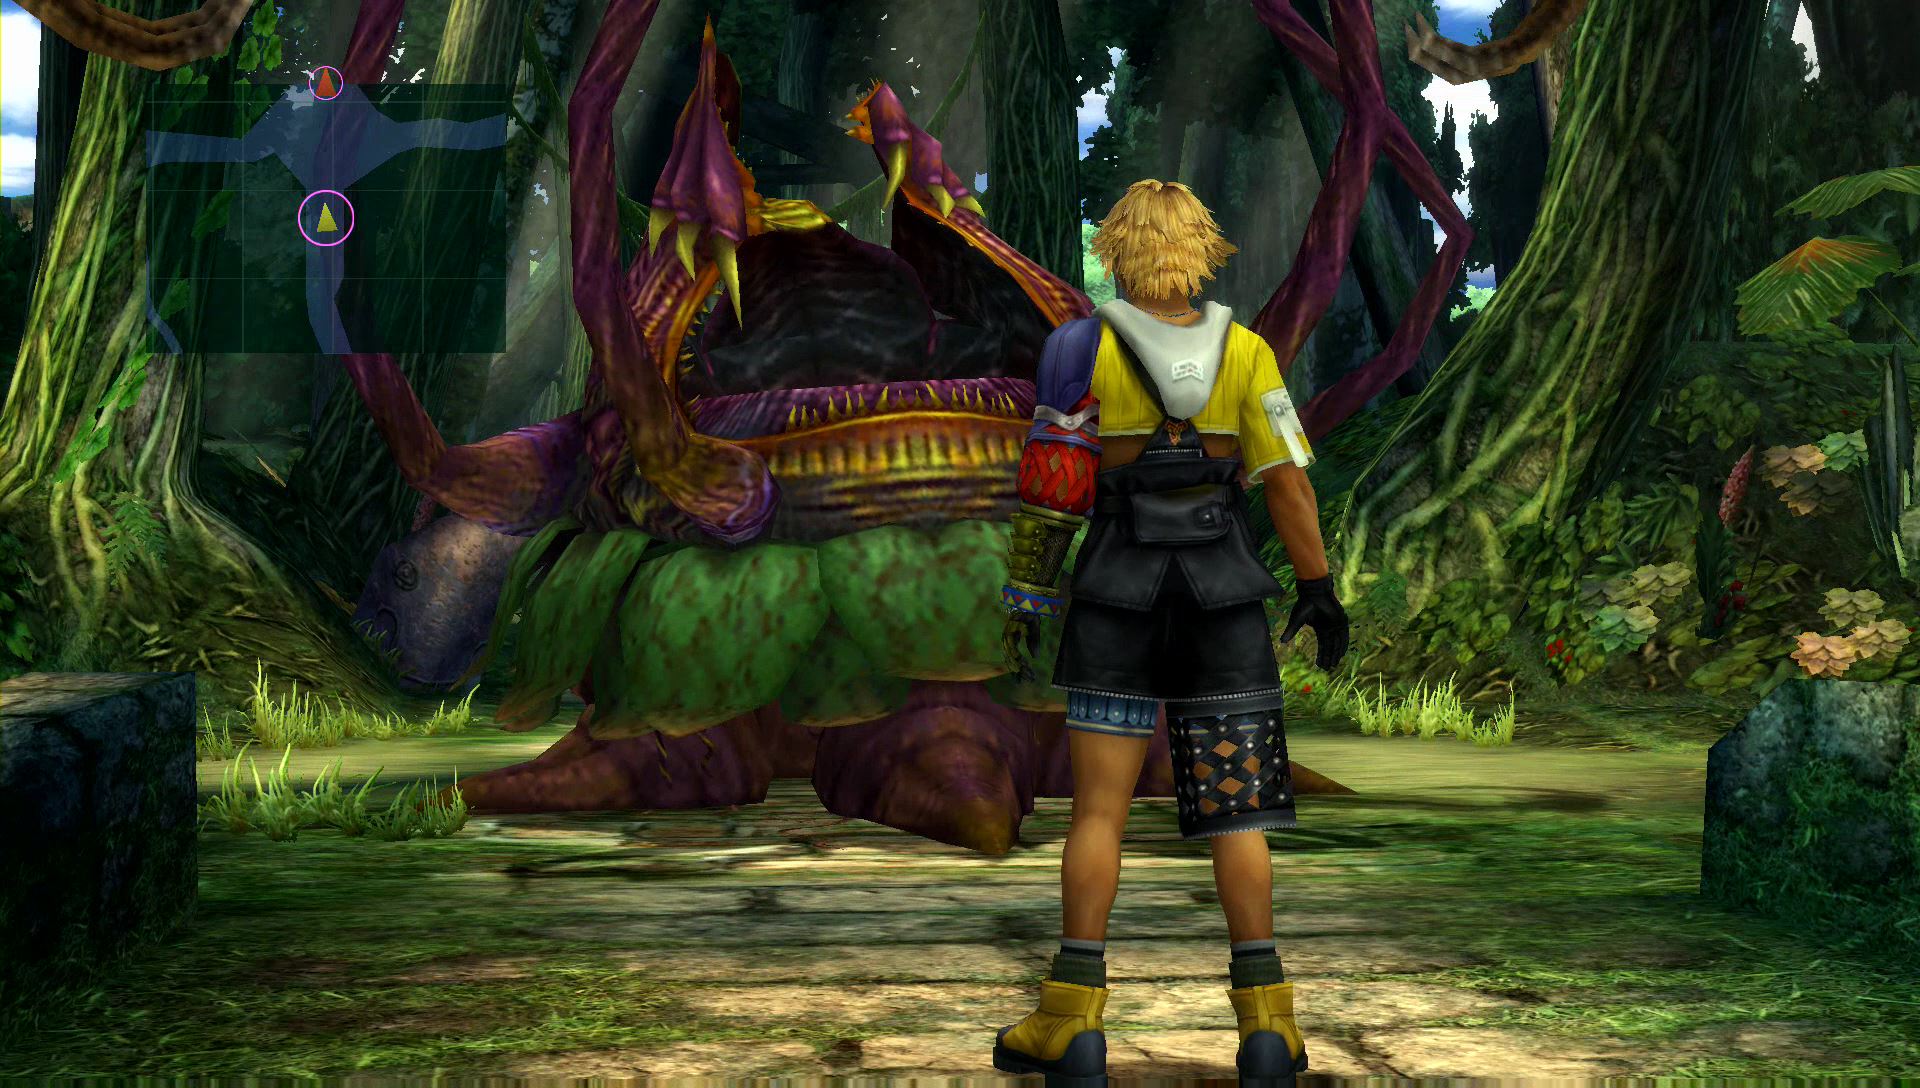
You can follow the path north until you are forced to go east, or you can battle the huge fiend in the middle of the area. This tough fiend is named Lord Ochu. It is completely optional, but you will get a lot of AP if you can defeat it (tips and tricks below).
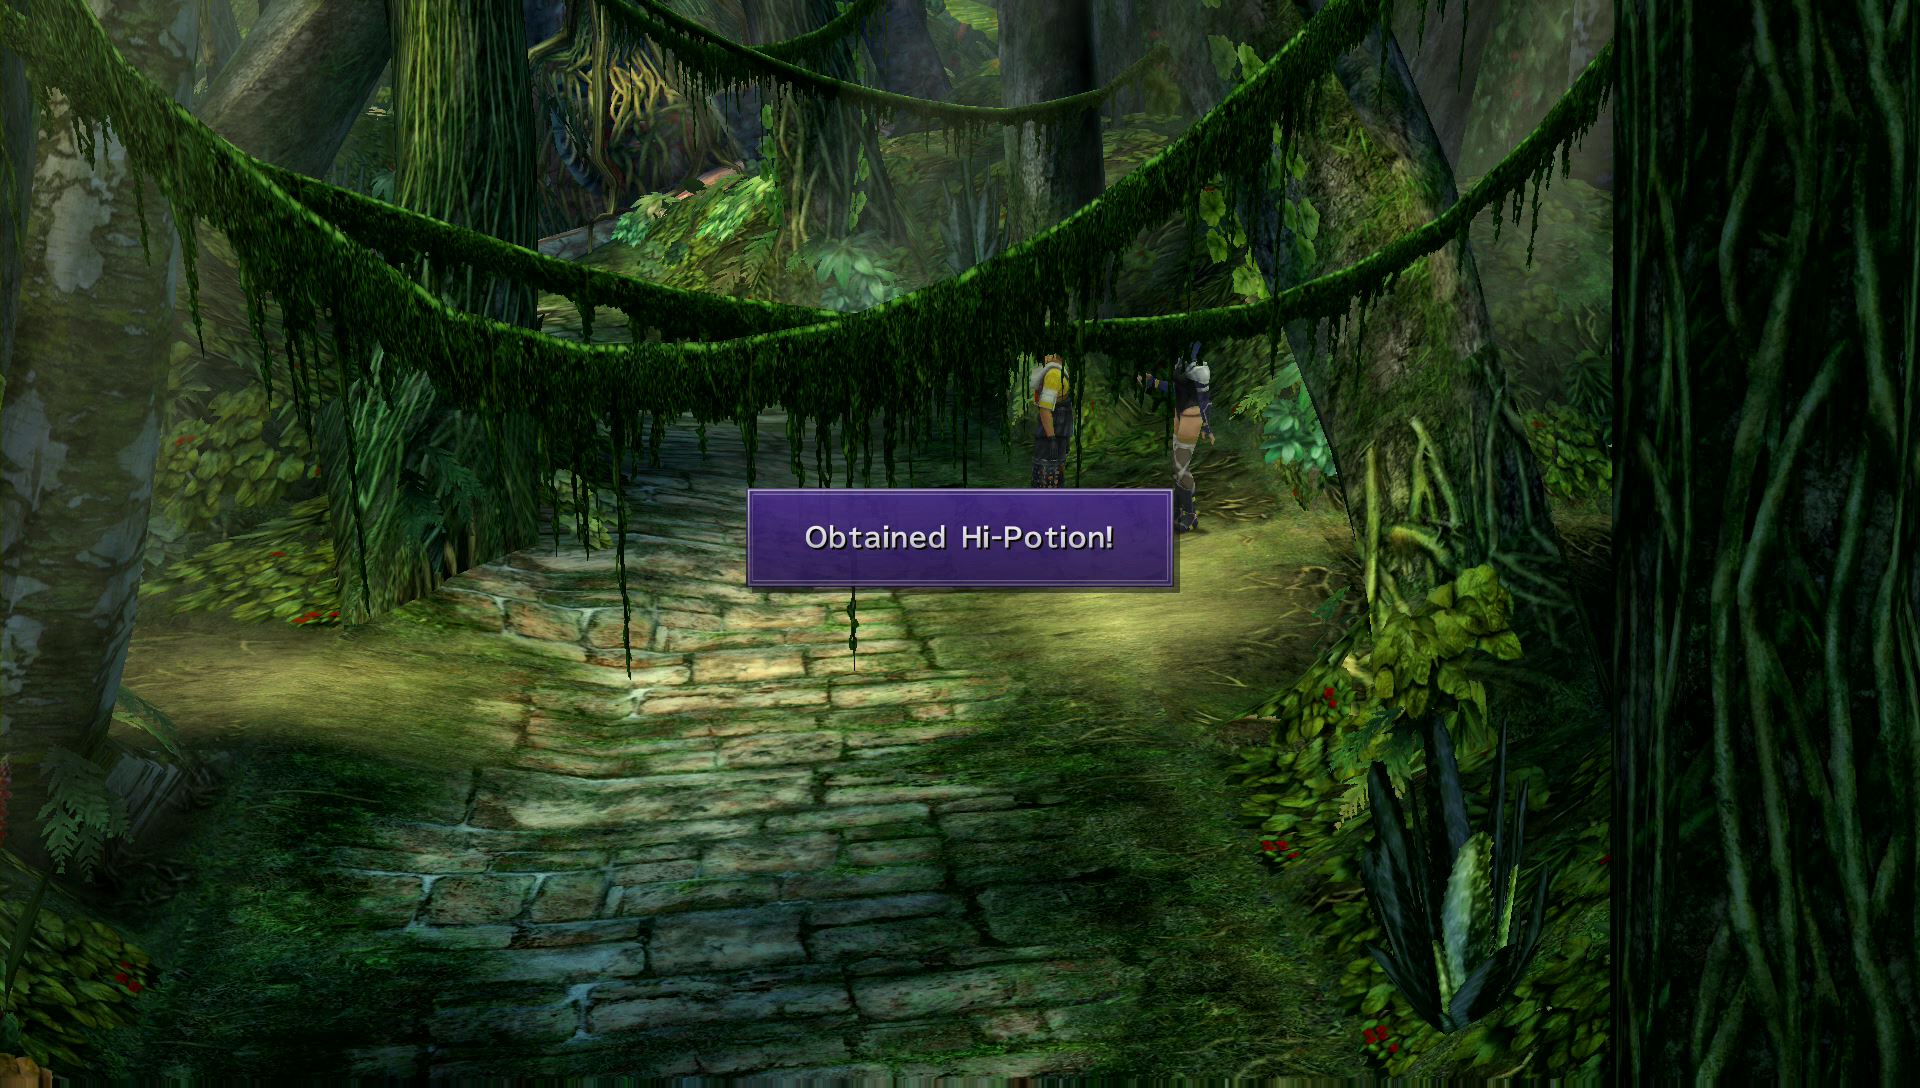
To the north of Lord Ochu is a small road. This road is just north of a crusader who will give you a Hi-Potion if you talk to her. At the end of the road is a treasure chest containing a very rare Luck Sphere.

You can train a little more in Kilika’s Forest, or continue up the road to the next area and Save Sphere.
Boss Battle: Lord Ochu
| HP | AP | Fire | Thunder | Water | Ice |
|---|---|---|---|---|---|
| 4649 (750) | 40 (60) | Weak | — | — | — |
- Poison Claw: Deal damage to one enemy and inflict poison
- Water: Deal water magic damage to one enemy
- Earthquake: Deal damage to all enemies
- Sleep: Lord Ochu falls asleep and restores ~900 HP
Lord Ochu is a very tough boss. If you charged a few characters’ Ovedrive gauges before battle, it may make things a little easier. Lulu’s and Yuna’s Overdrives are the best against Lord Ochu. Lulu can cast multiple fire spells to deal massive damage without using any MP, and Yuna will be able to summon Valefor with a fully charged overdrive gauge.
As you can see from the skill list above, Lord Ochu can deal a lot of damage in a variety of ways, and has a special skill to restore its own HP. A single physical attack will cause it to wake up and prevent it from gaining more HP, but it can still gain about 900 HP after a single turn. Use Lulu’s fire spells and Yuna’s Aeon’s fire spells to deal massive damage. If your HP gets low, allow Yuna to cast healing spells or command anyone to use Potions.
After the battle speak with the nearby Crusaders to obtain an Elixir. Make sure you heal up at the Save Sphere as well! The exit to the next area is located in the northeast.
Pilgrimage Road
A save sphere is nearby. It’d be a good idea to save here and prepare for the upcoming boss battle! Ascend the steps to begin.
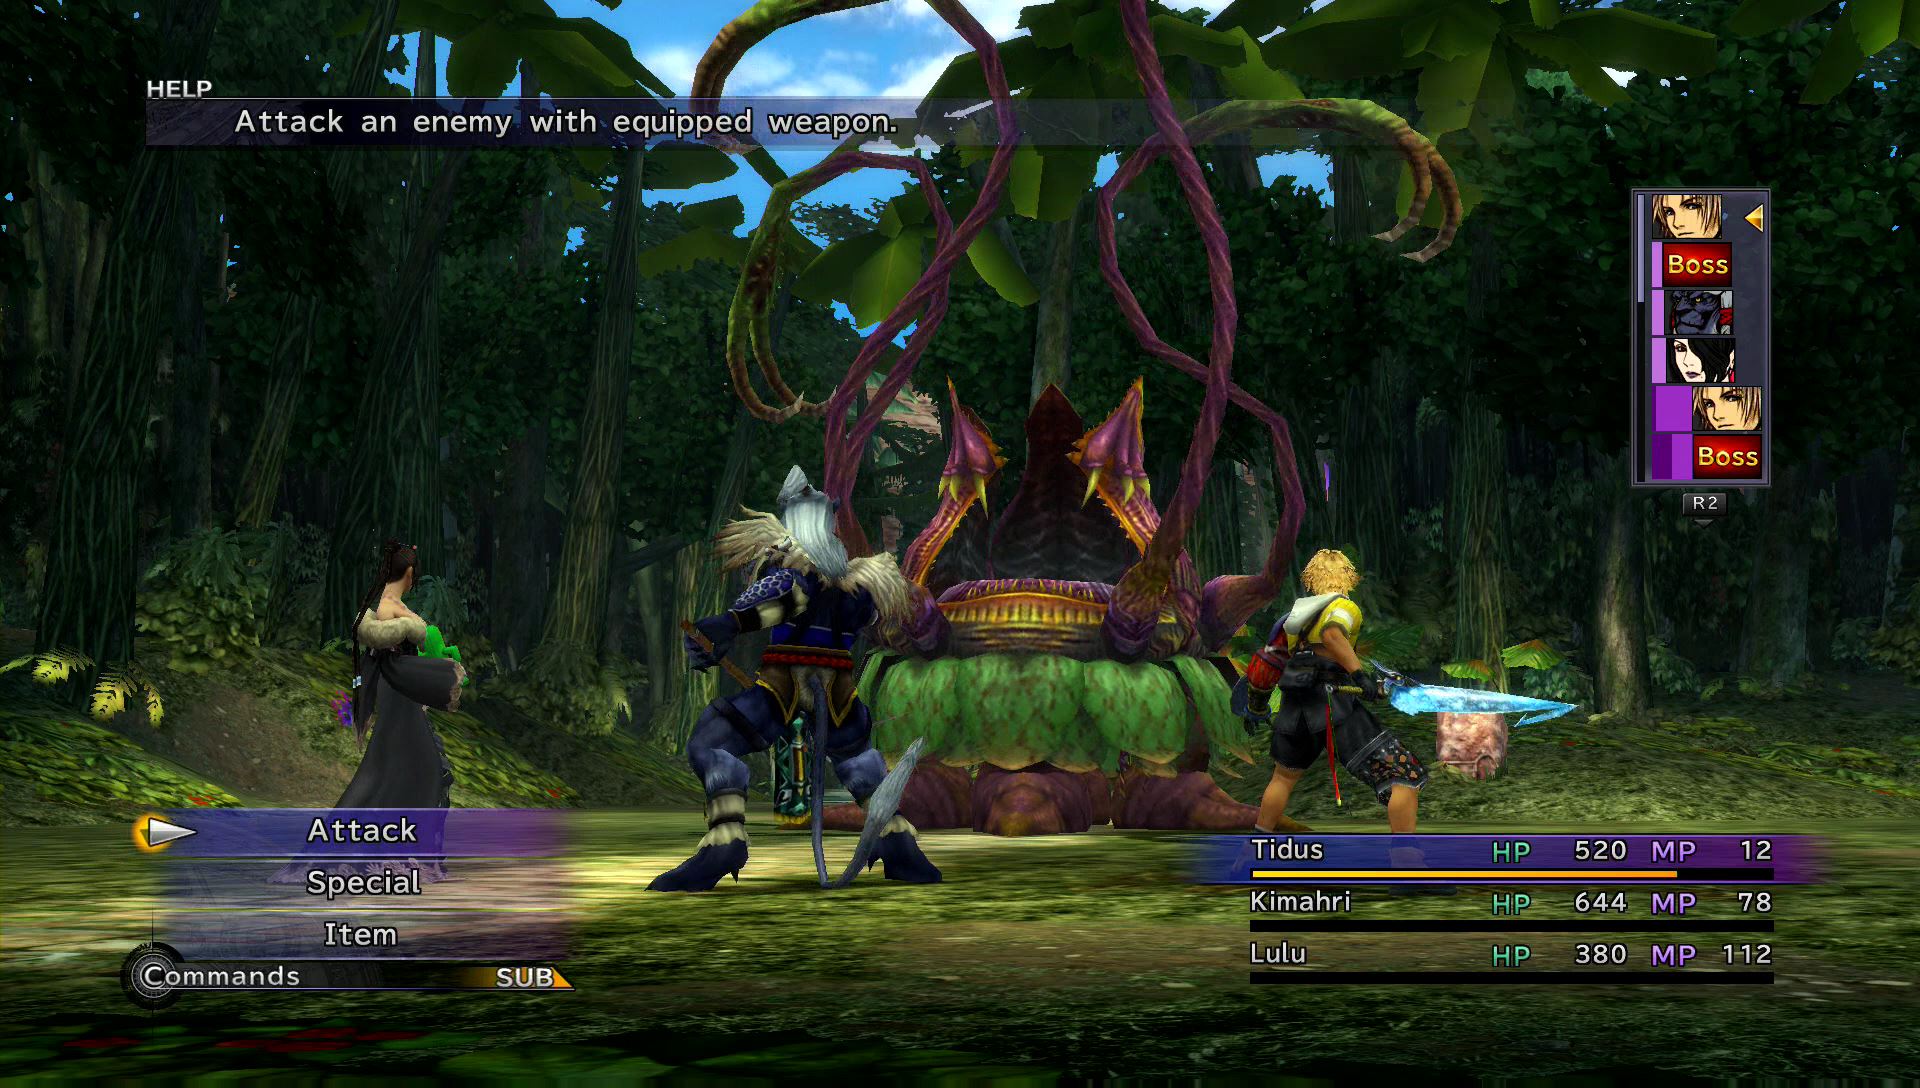
Boss Battle: Sinspawn Geneaux
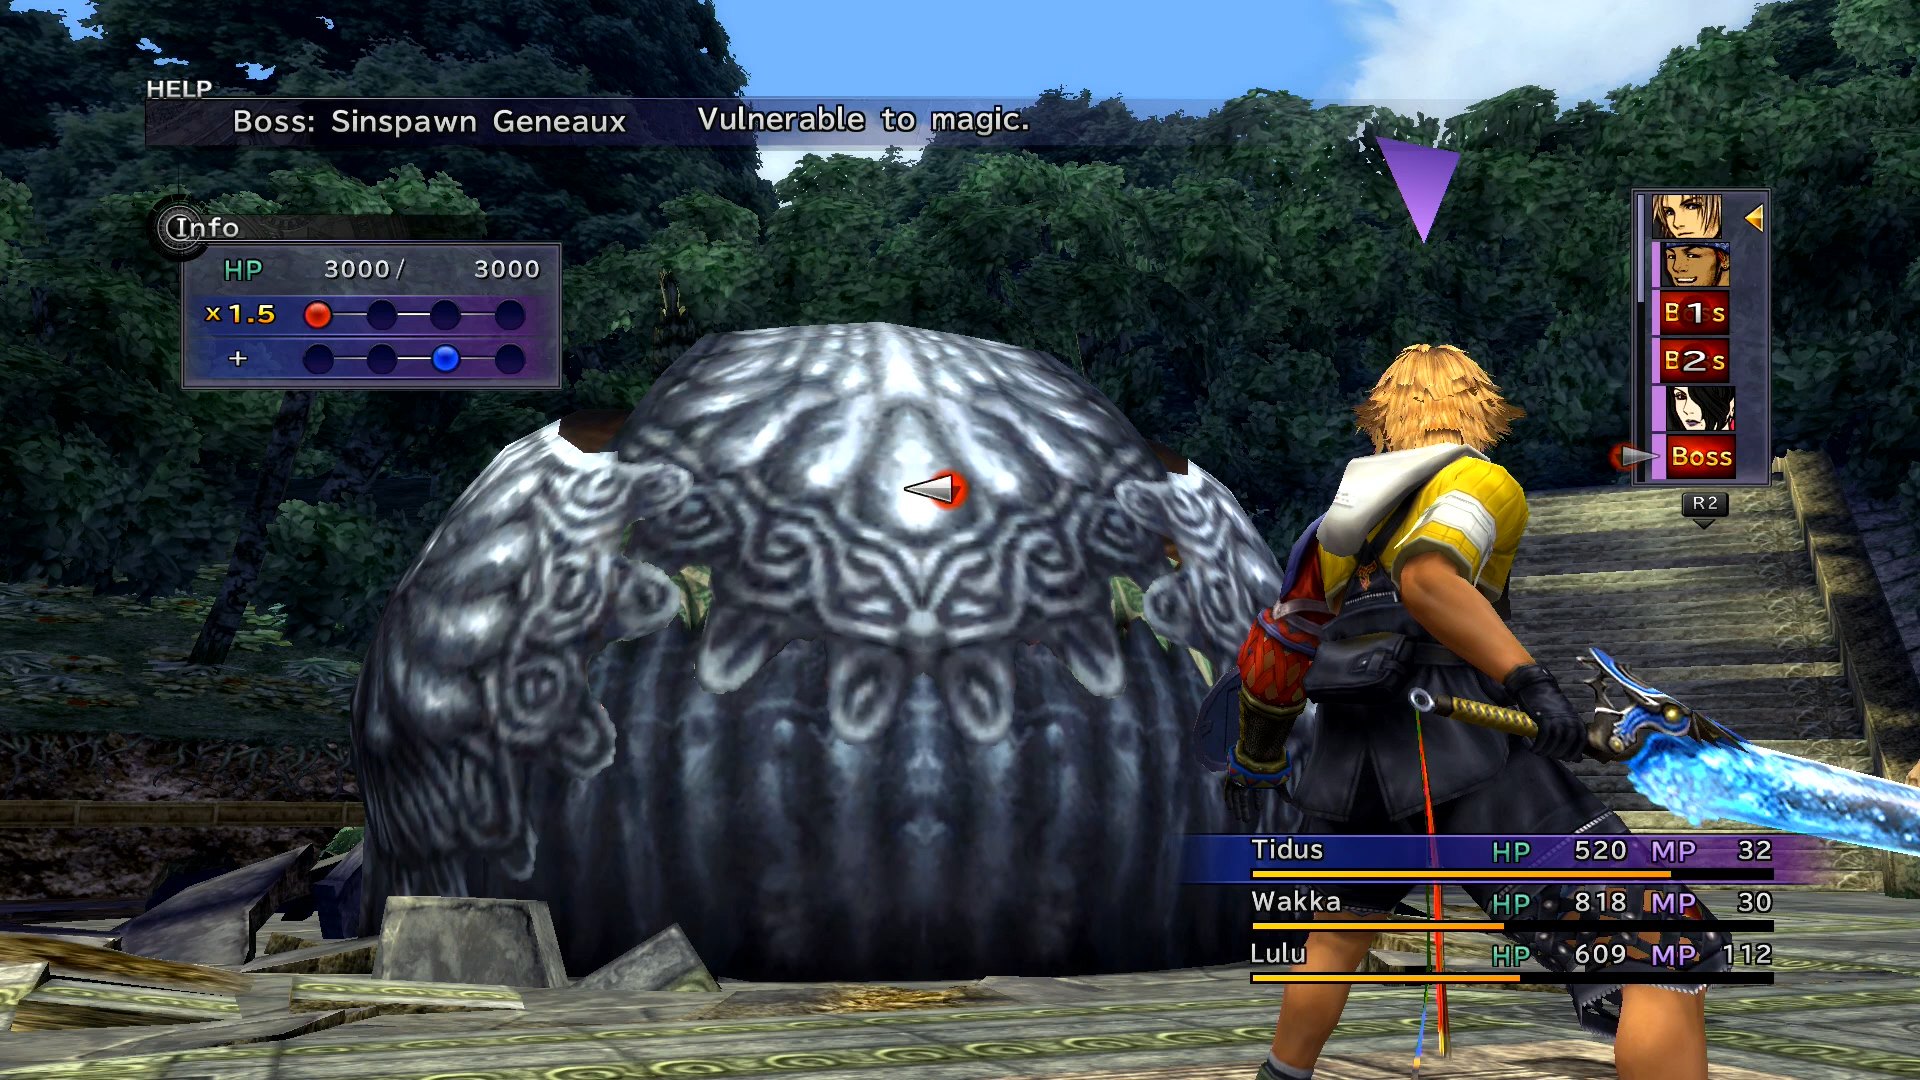
| HP | AP | Fire | Thunder | Water | Ice |
|---|---|---|---|---|---|
| 3000 (900) | 48 (72) | Weak | — | Drain | — |
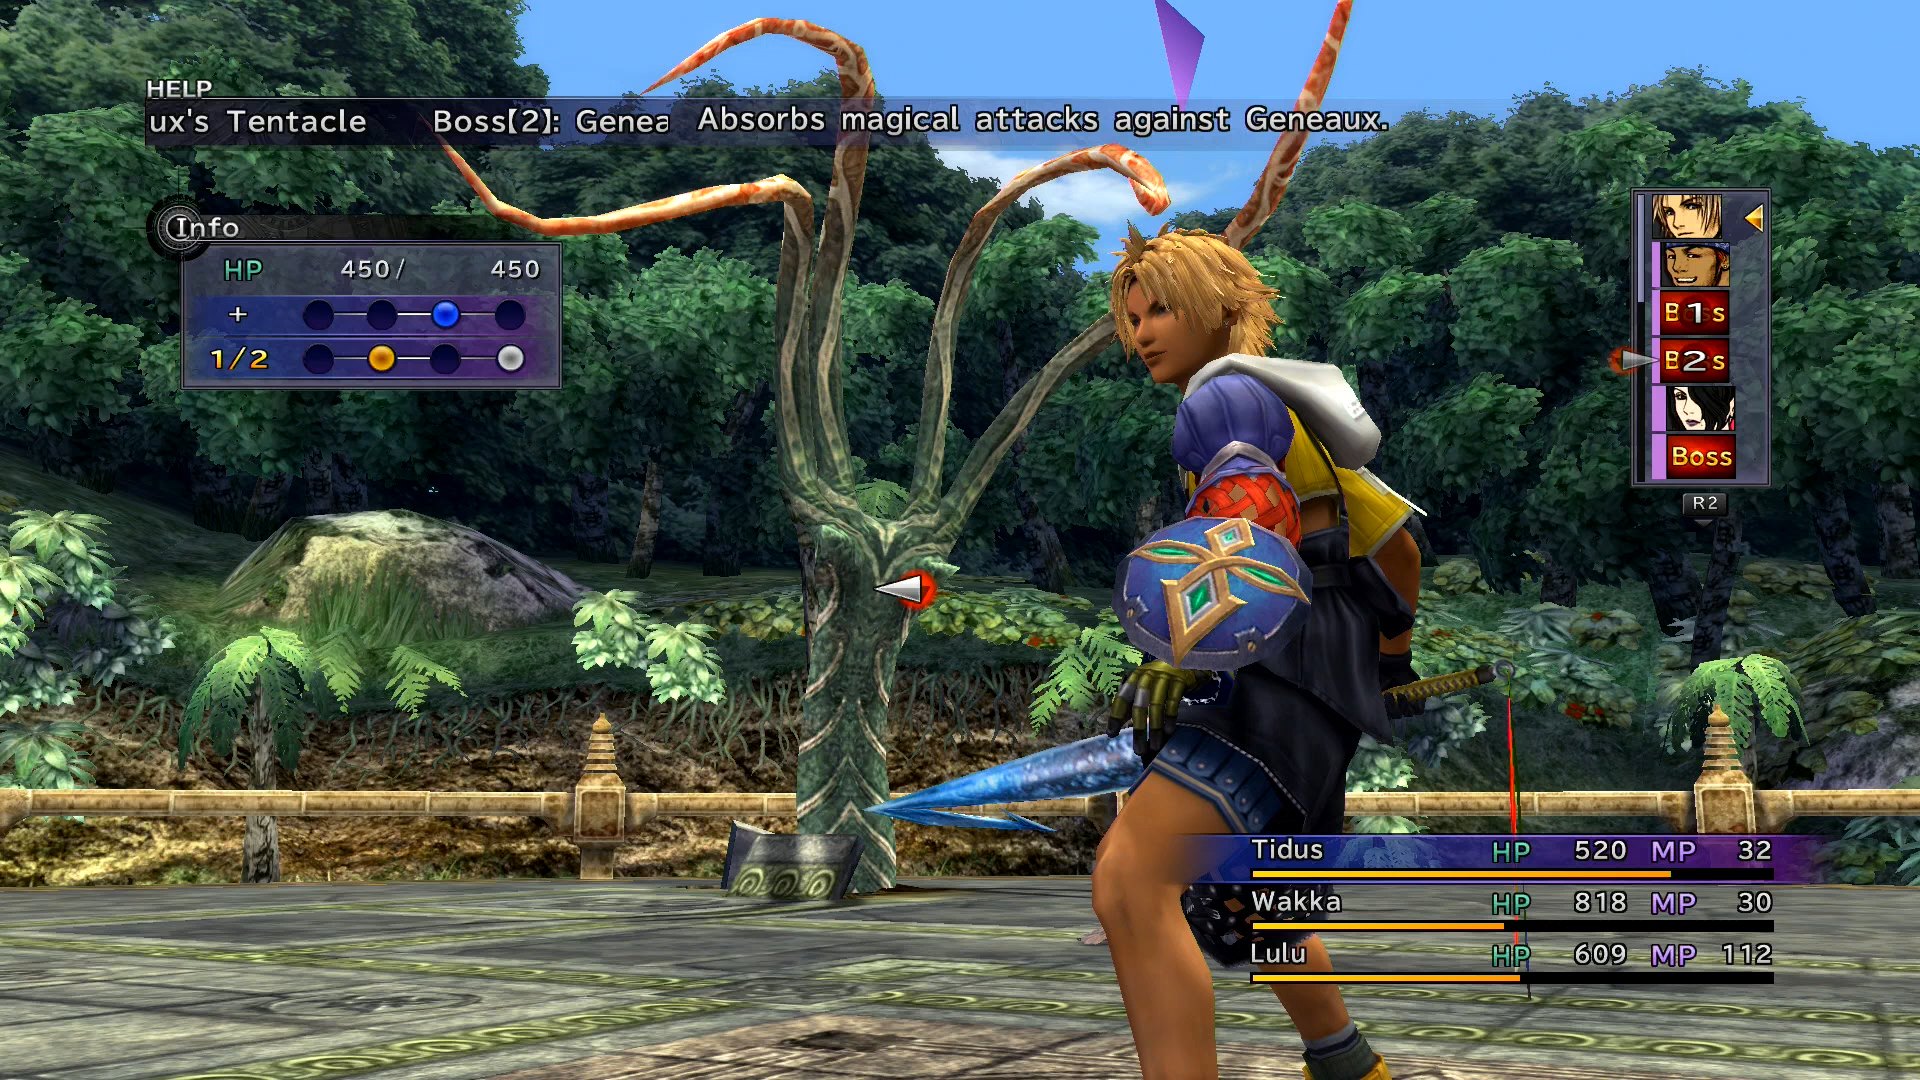
And Geneaux’s Tentacles
| HP | AP | Fire | Thunder | Water | Ice |
|---|---|---|---|---|---|
| 450 (500) | 5 (7) | — | Strong | Drain | Strong |
- Sigh: Damage to all targets
- Water: Water magic damage to one target
- Venom: Attack one target with a chance of inflicting poison
- Staccato: Physical attack to one target.
This boss is split into three targets. The main target has armor that reduces physical damage, but it’s weak to fire spells. Unfortunately, the two tentacles behind your team will absorb all magical attacks. Focus your physical attacks on the two tentacles before using black magic on the main body.
Once enough damage is done to the main body, it will open up and perform a few new attacks. The upside to Sinspawn Geneaux opening up is it won’t have armor anymore reducing physical attack damage. Go all out to eliminate this boss as fast as possible.
When the boss is defeated, head up to the temple.
Temple
As you walk into the temple, you’ll meet a number of new characters. Allow the first cut scene to pass, enter the temple, and talk to your party to meet a new Summoner. Your party will enter the Cloister of Trials, but Tidus will be left alone. Try to leave the temple to run into the new Summoner and her body guard again. They will force you into the Cloister of Trials.
Cloister of Trials
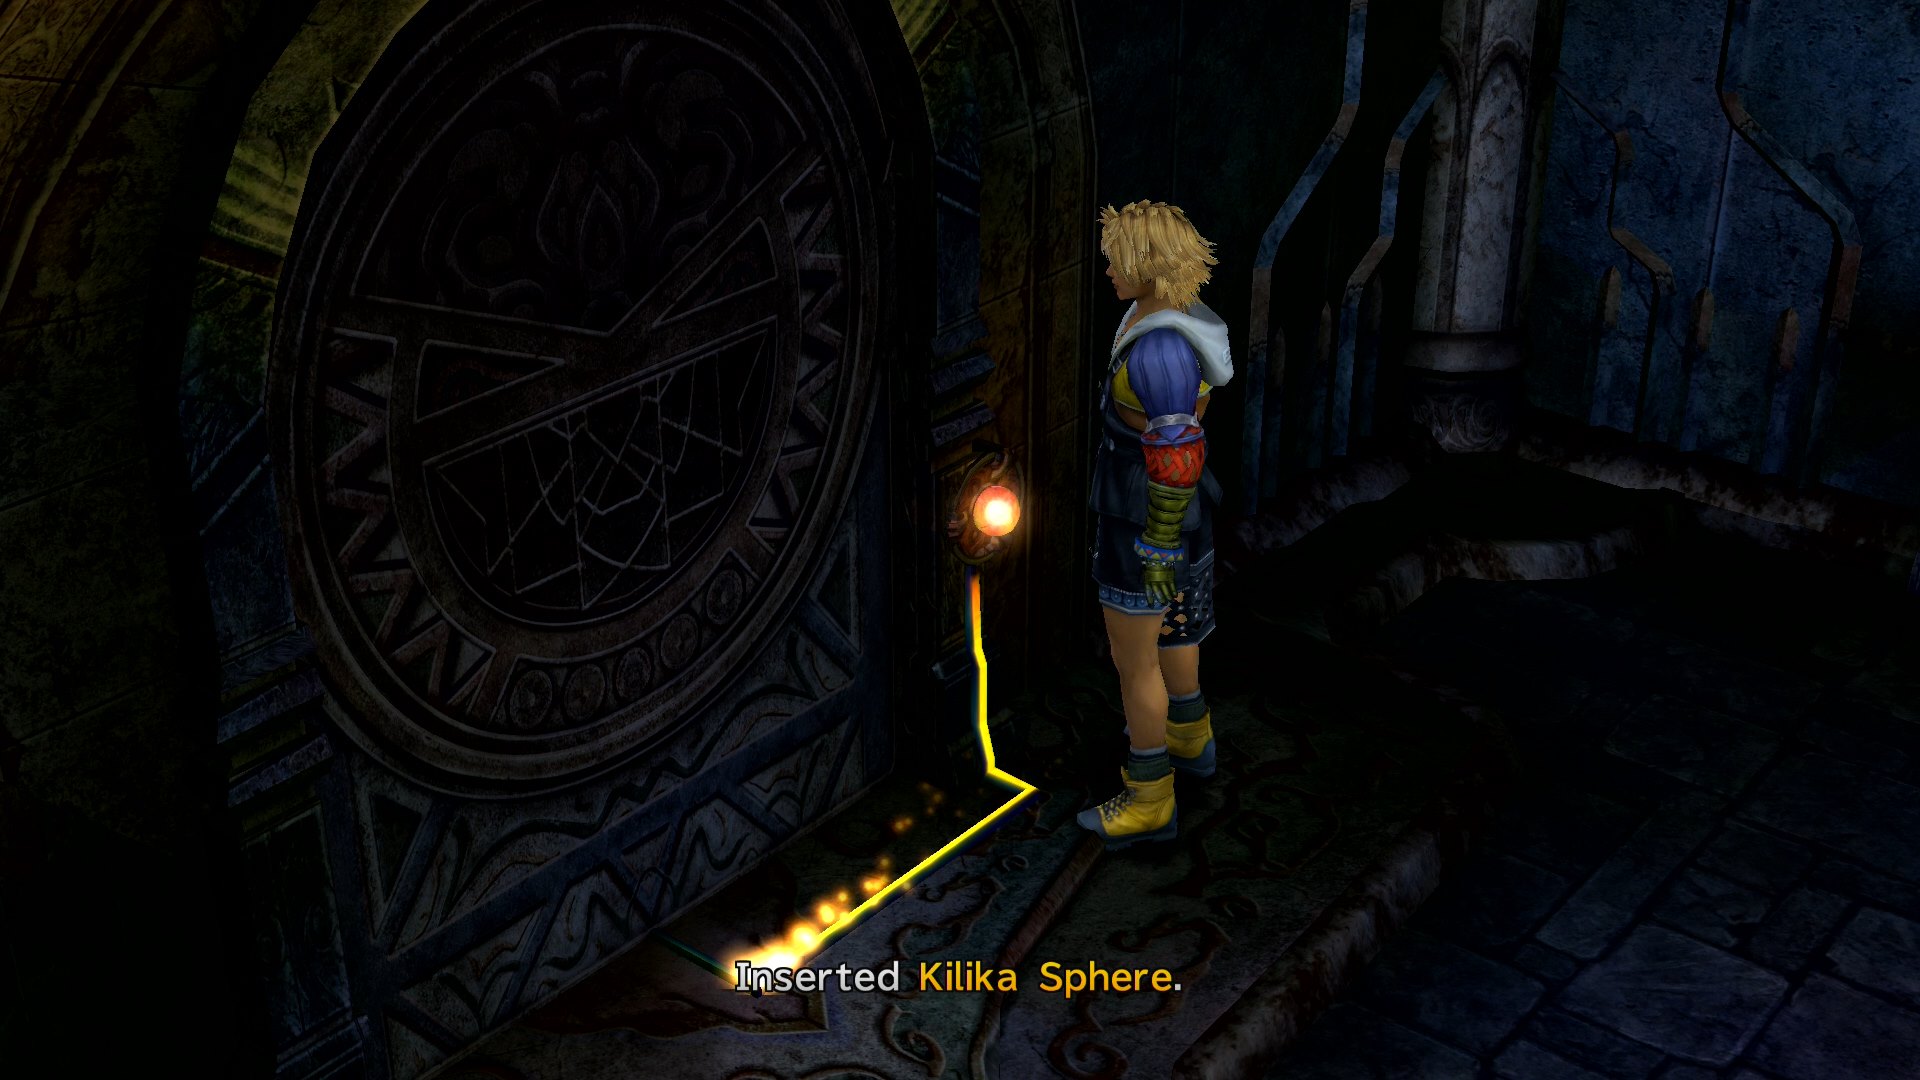
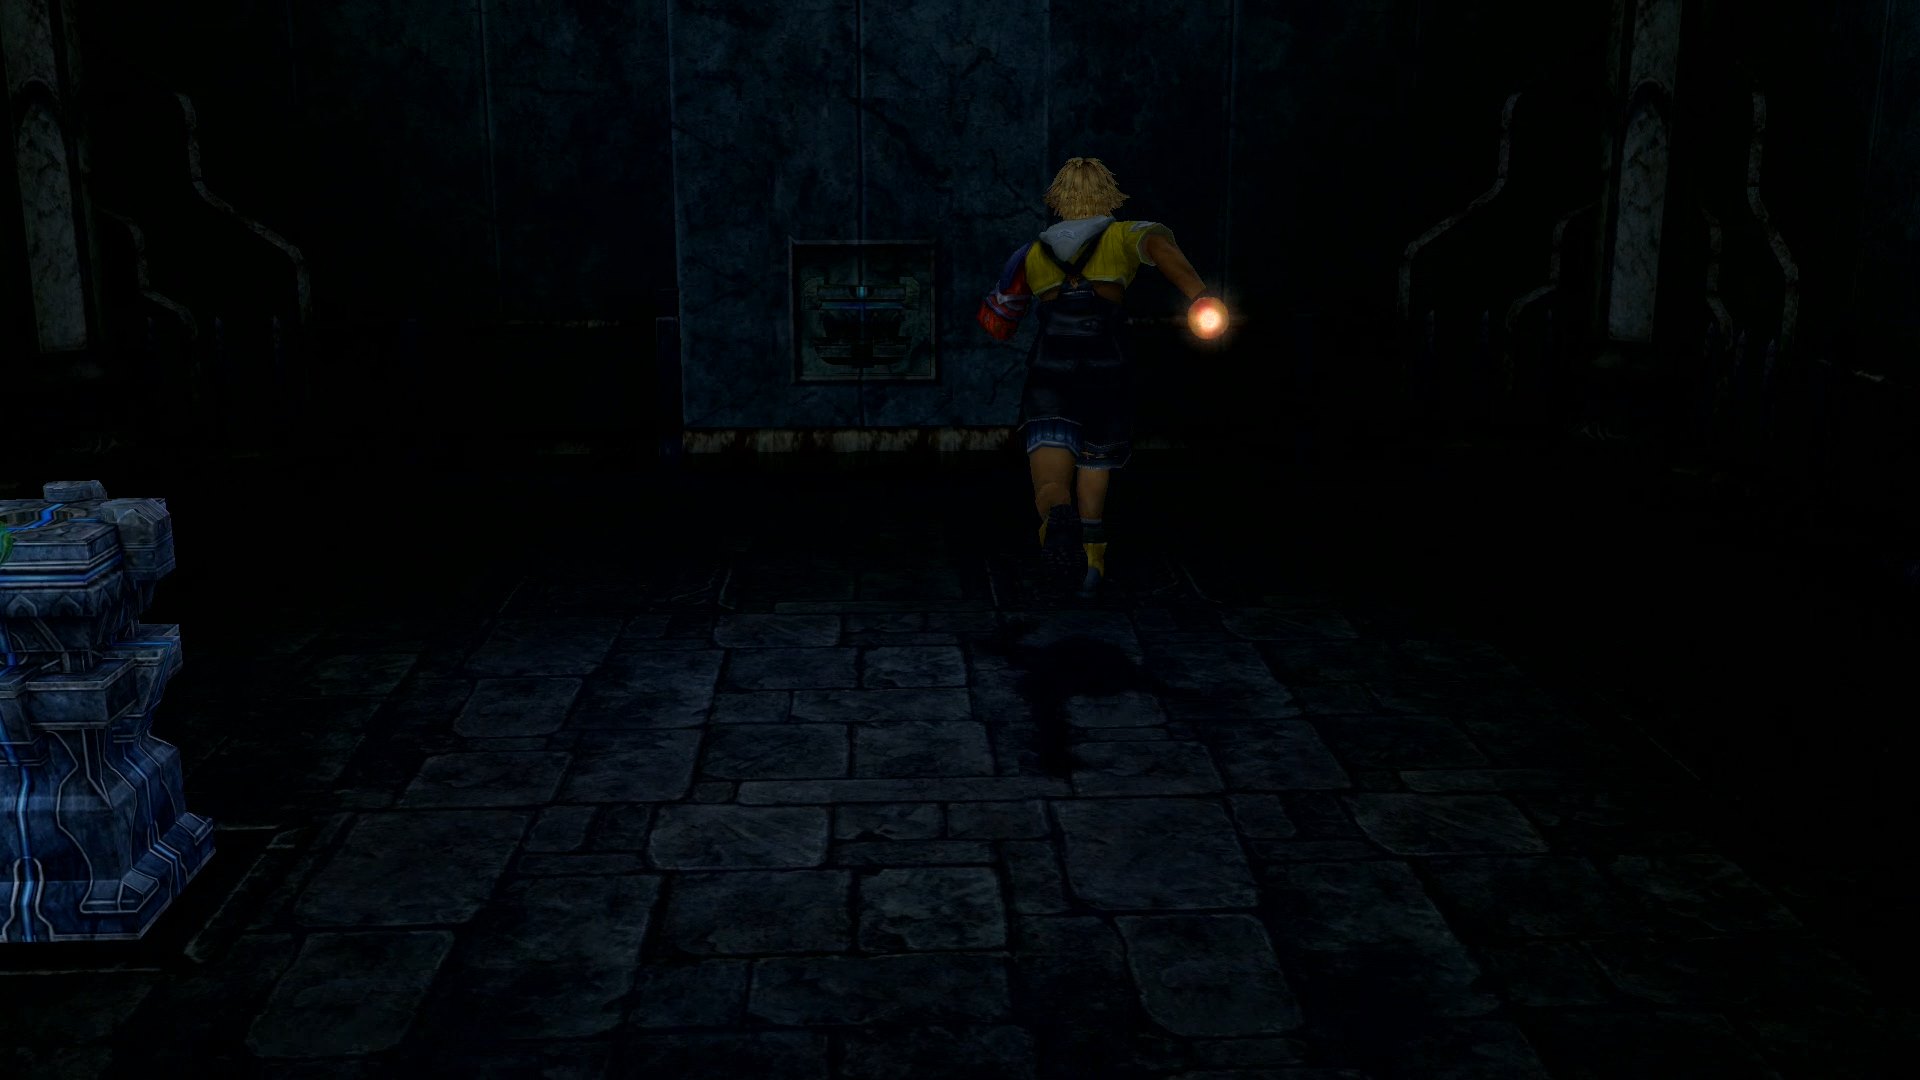
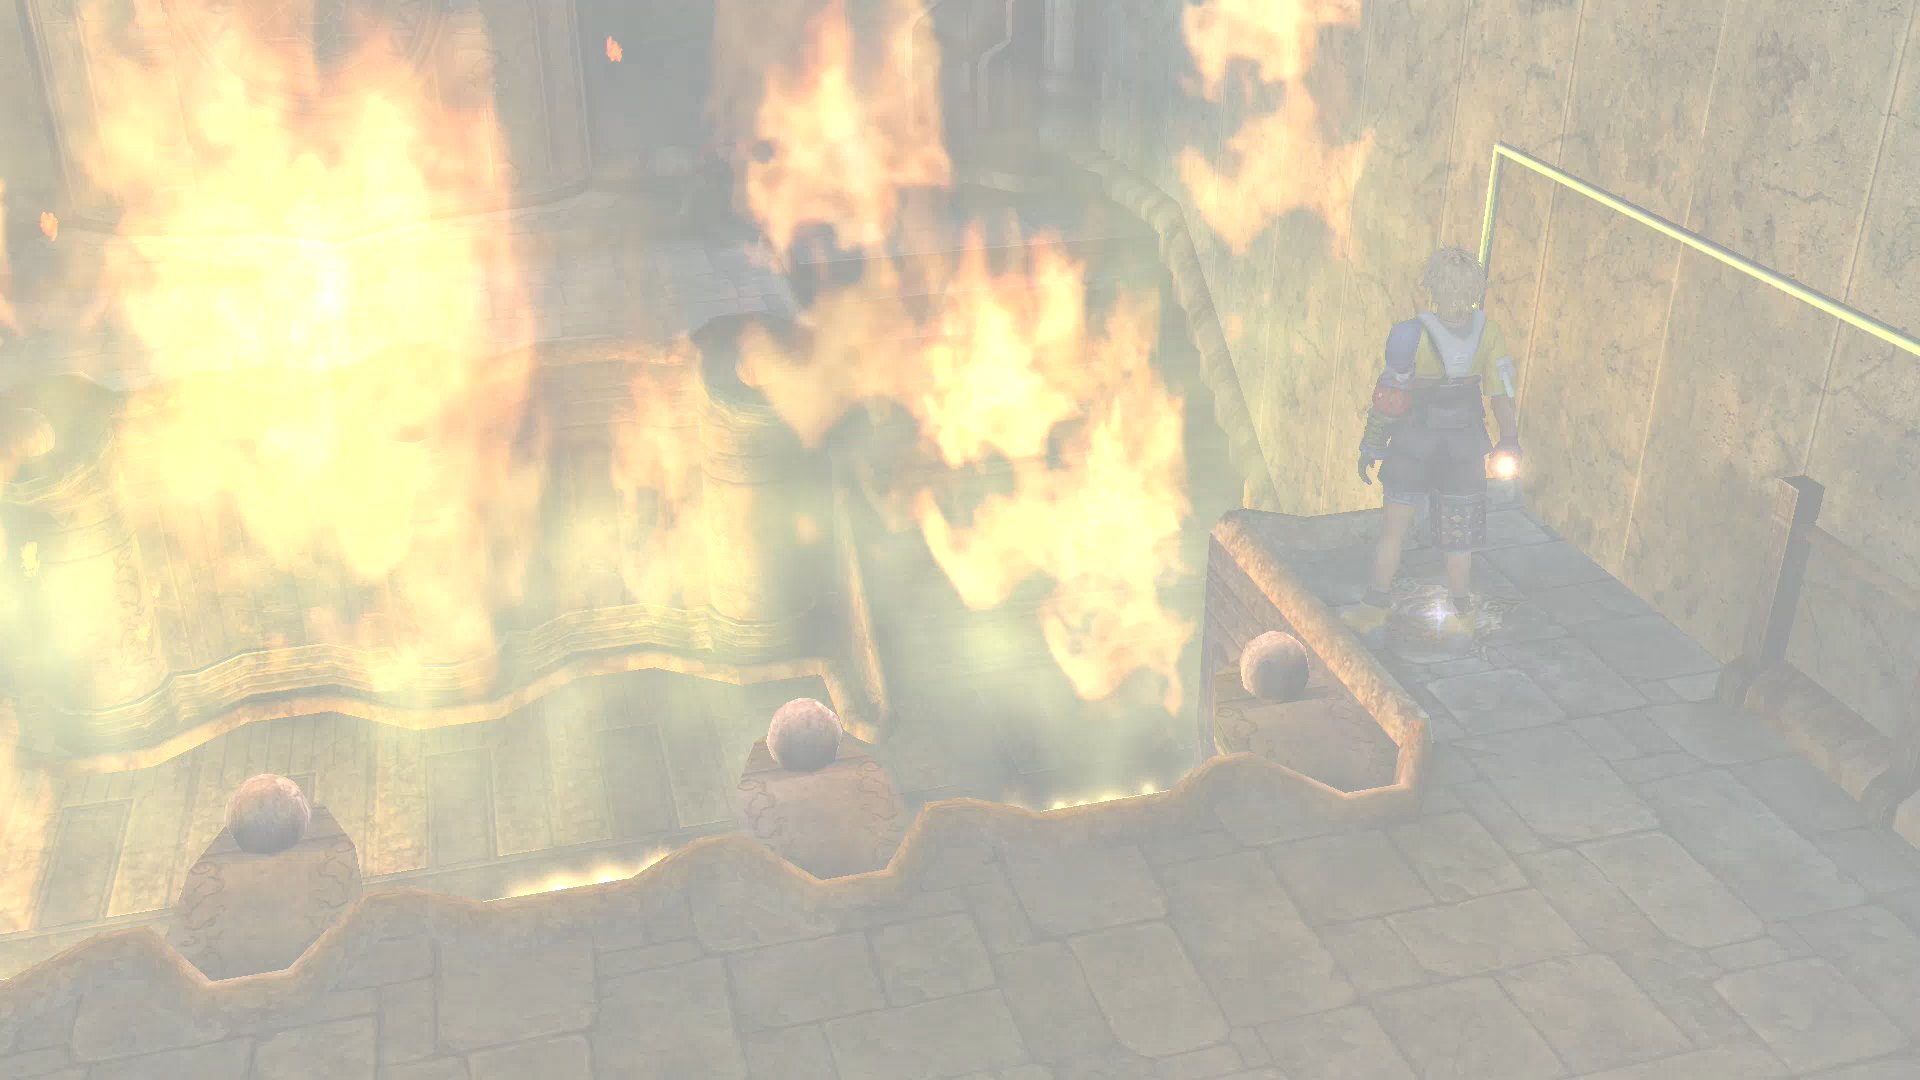
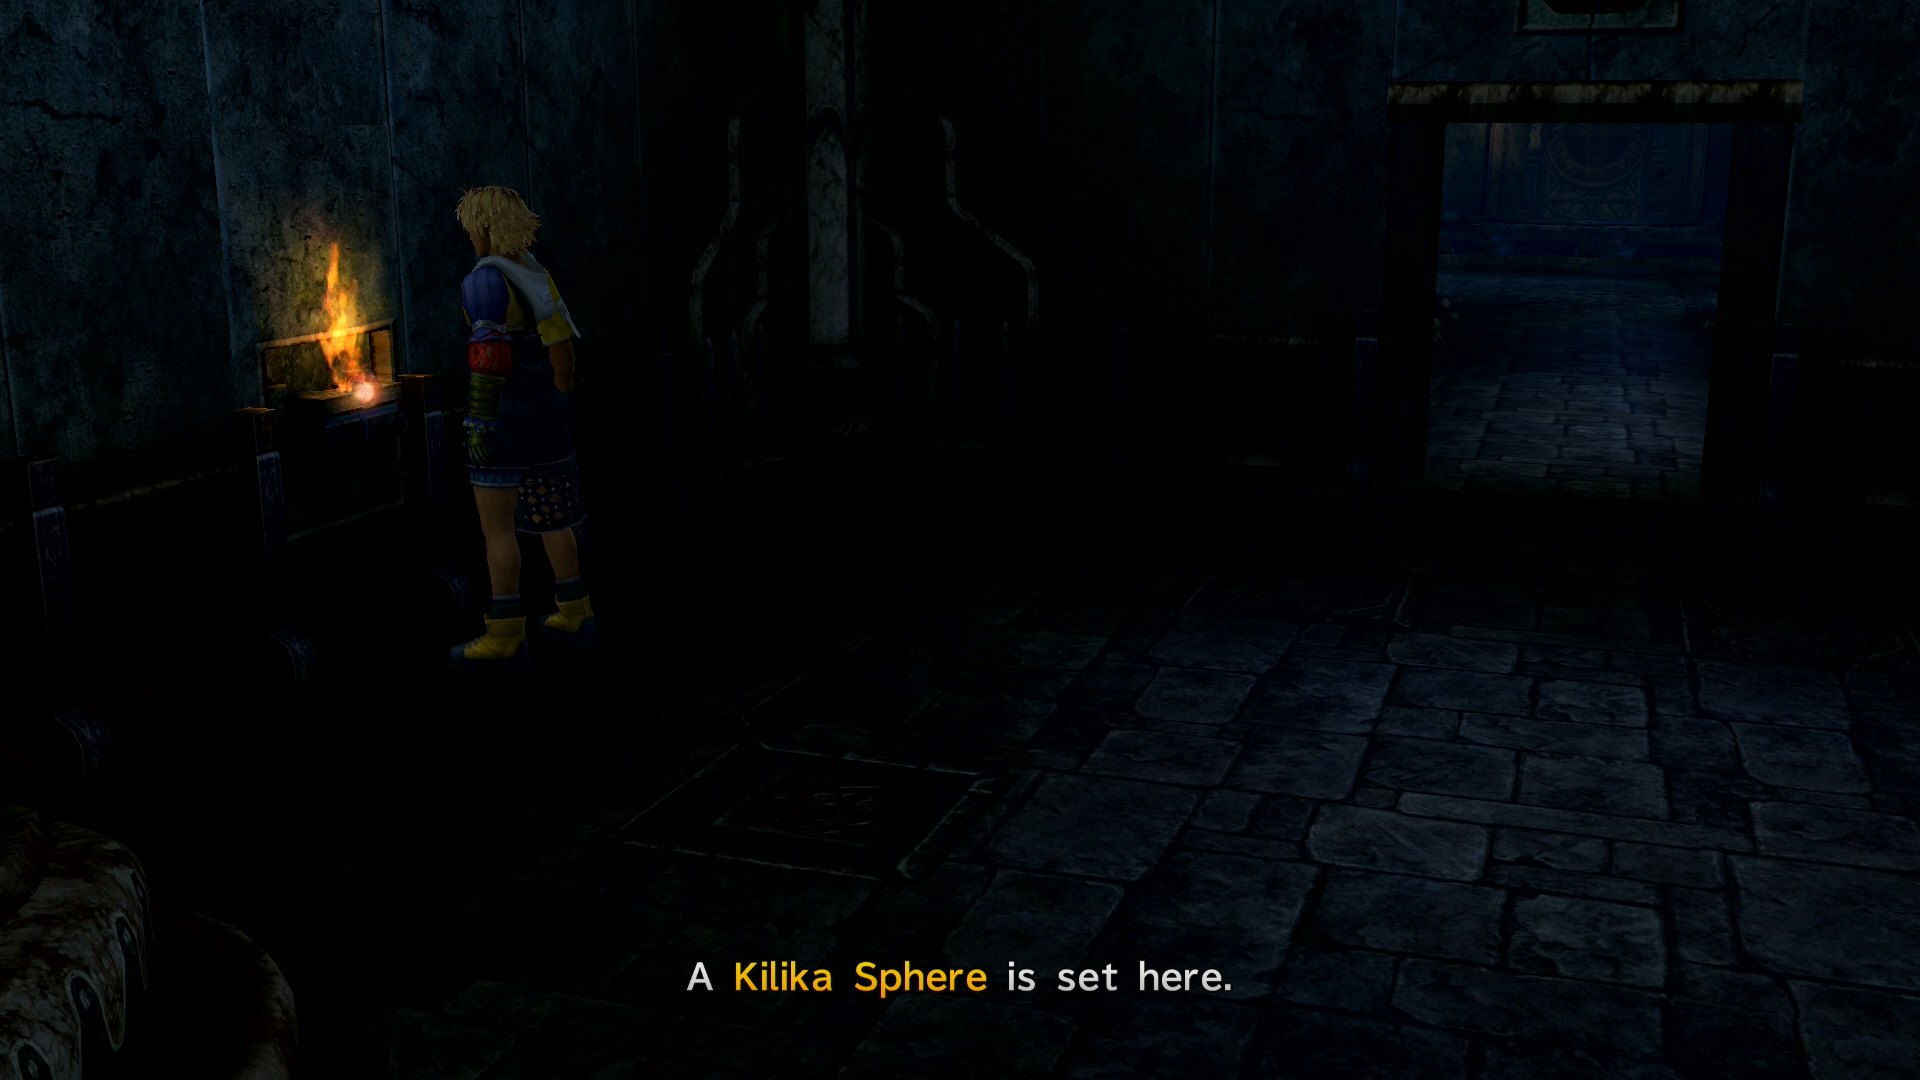
Like the first Cloister of Trials, you must solve a puzzle using Spheres. Take the Kilika Sphere from the pedestal in the front room and place it in the door. This will cause it to burst into flames. Remove it from the door and enter the next room.

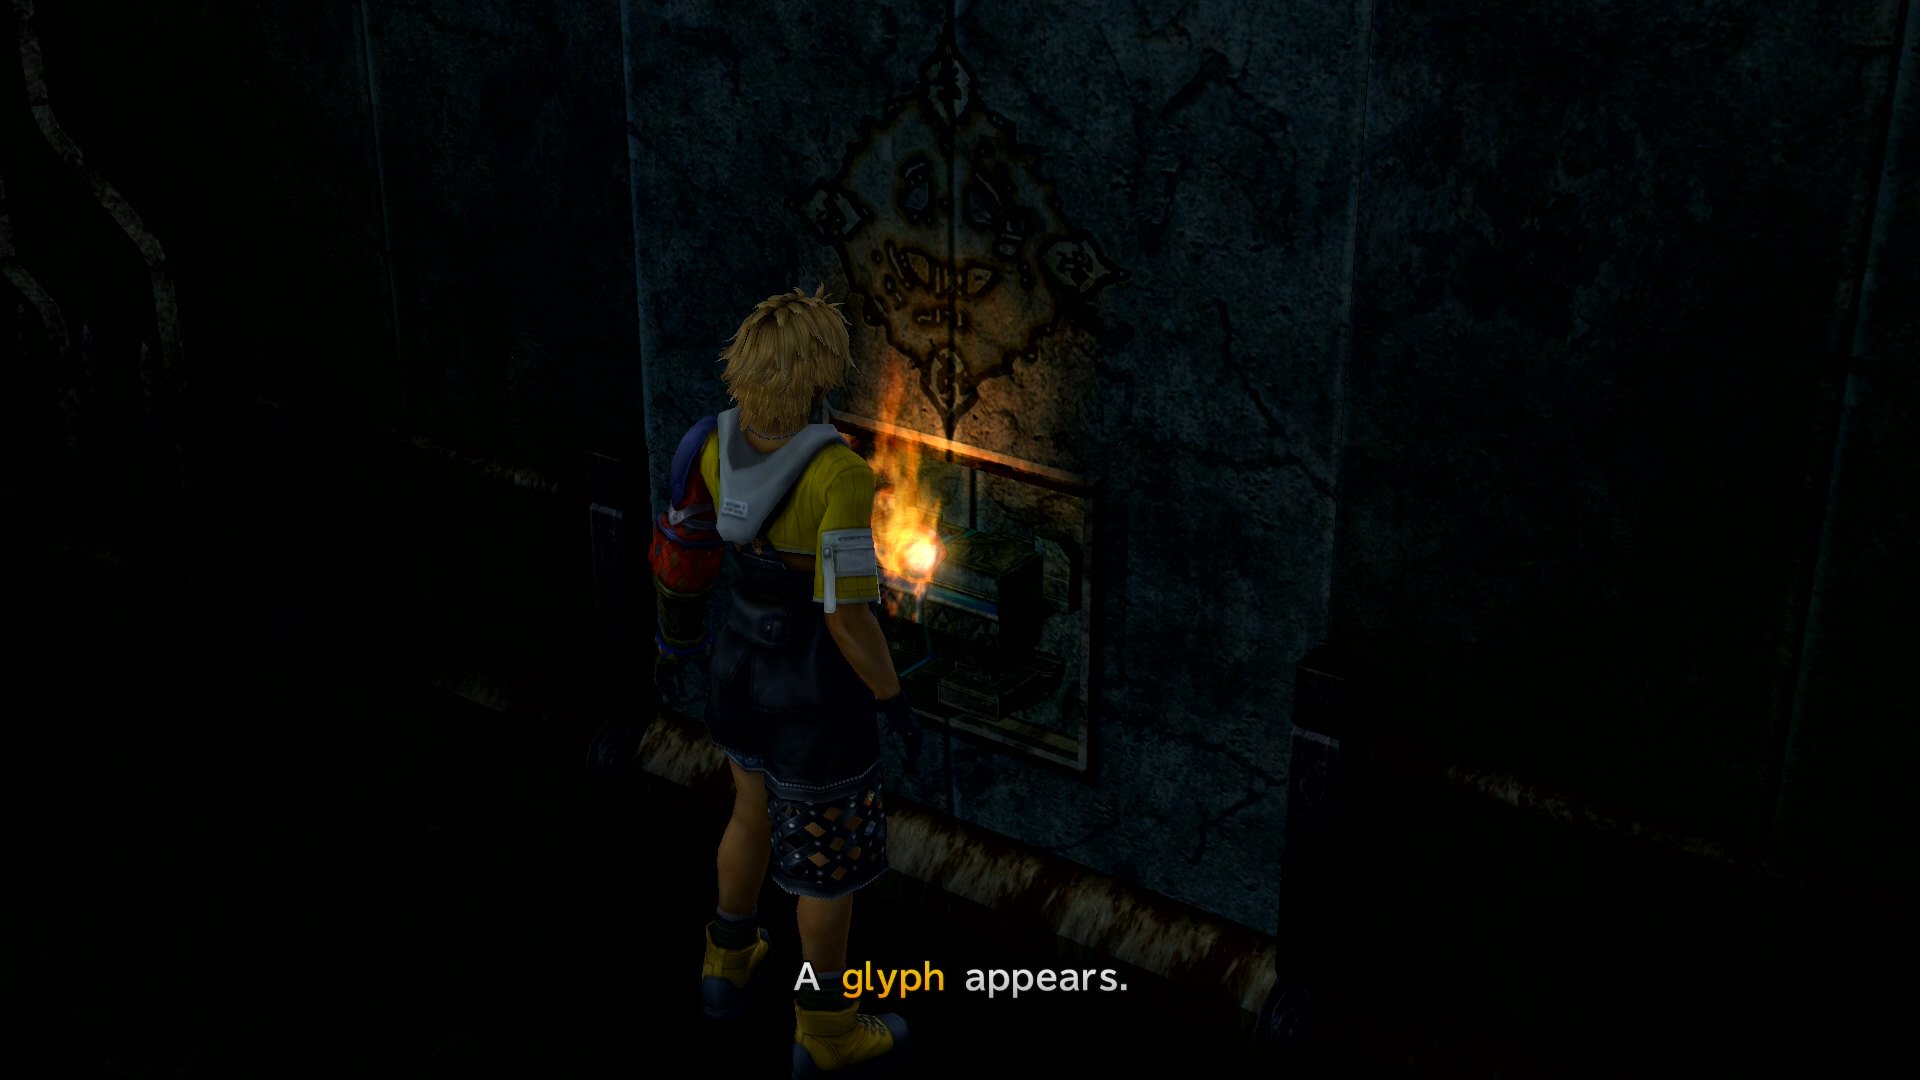
Place the Kilika Sphere into the recess on the north wall in the second room. This will burn a glyph in the wall.
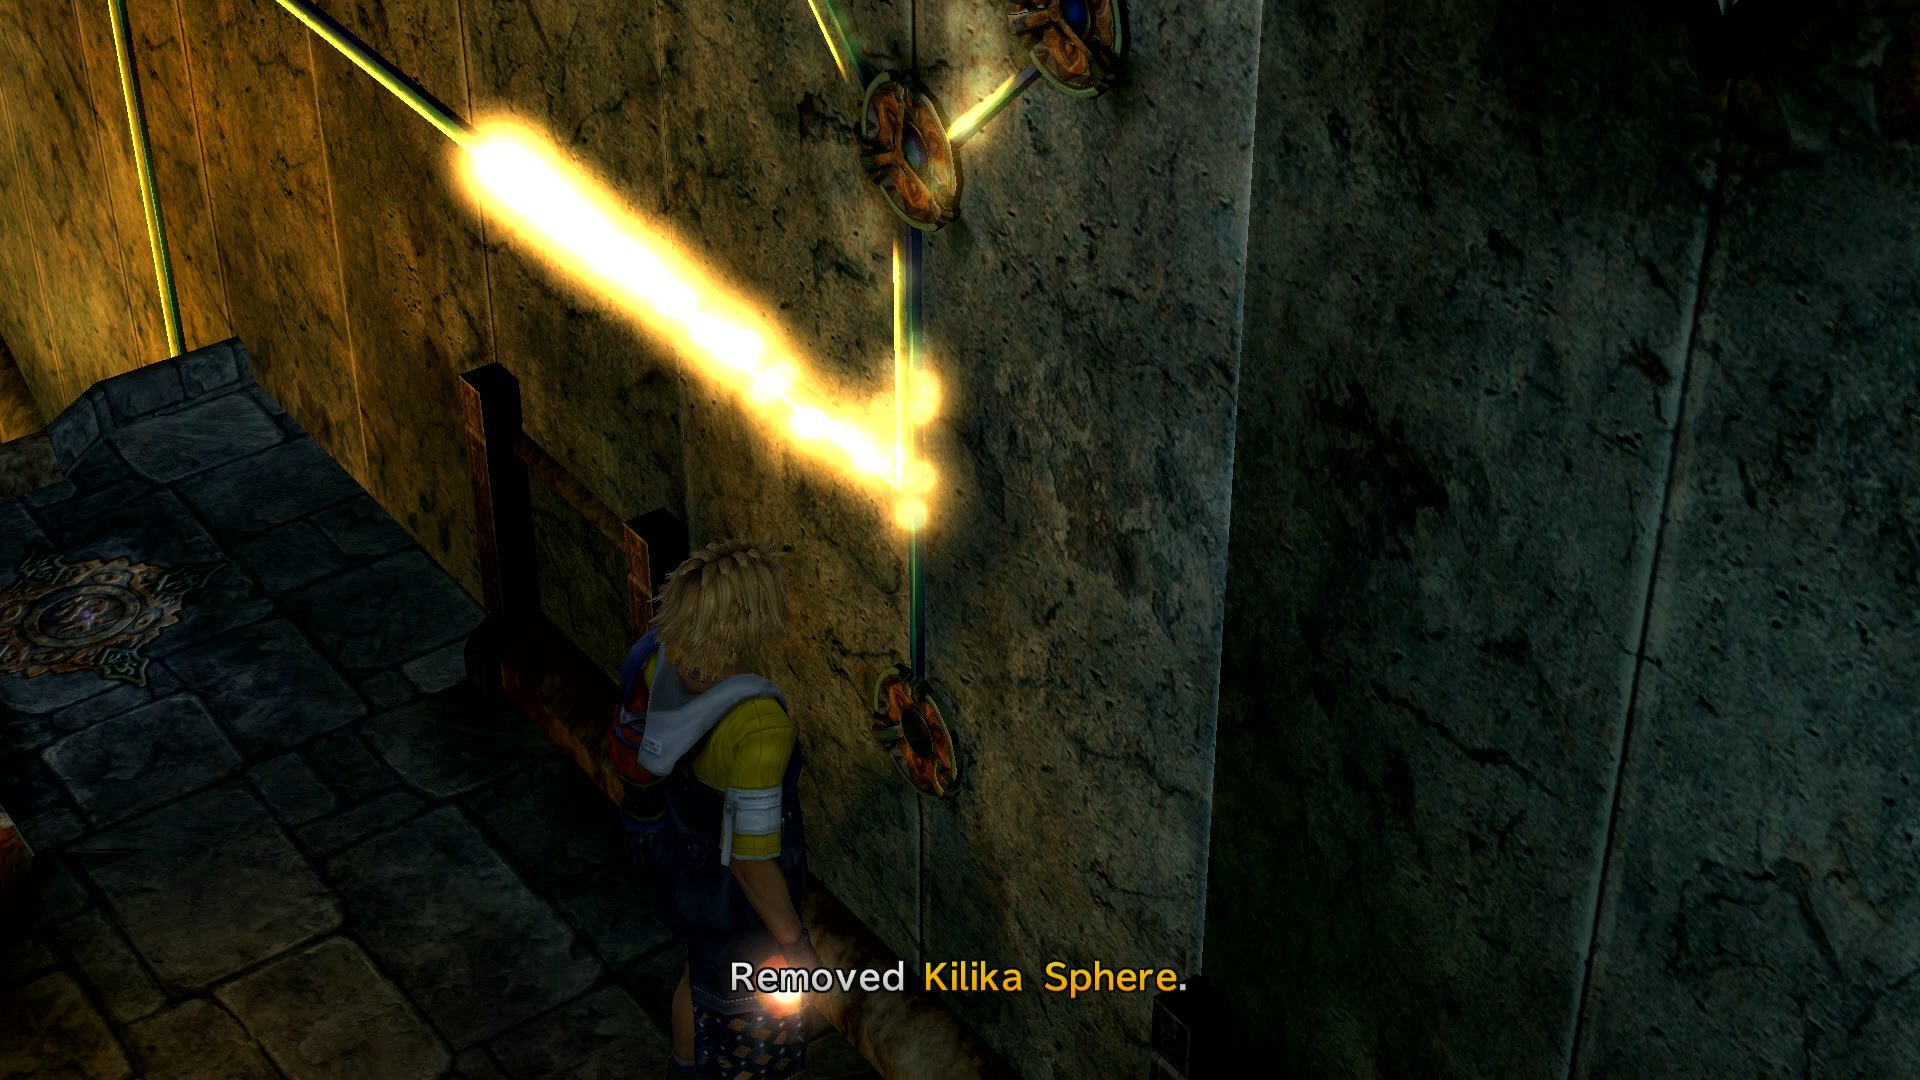
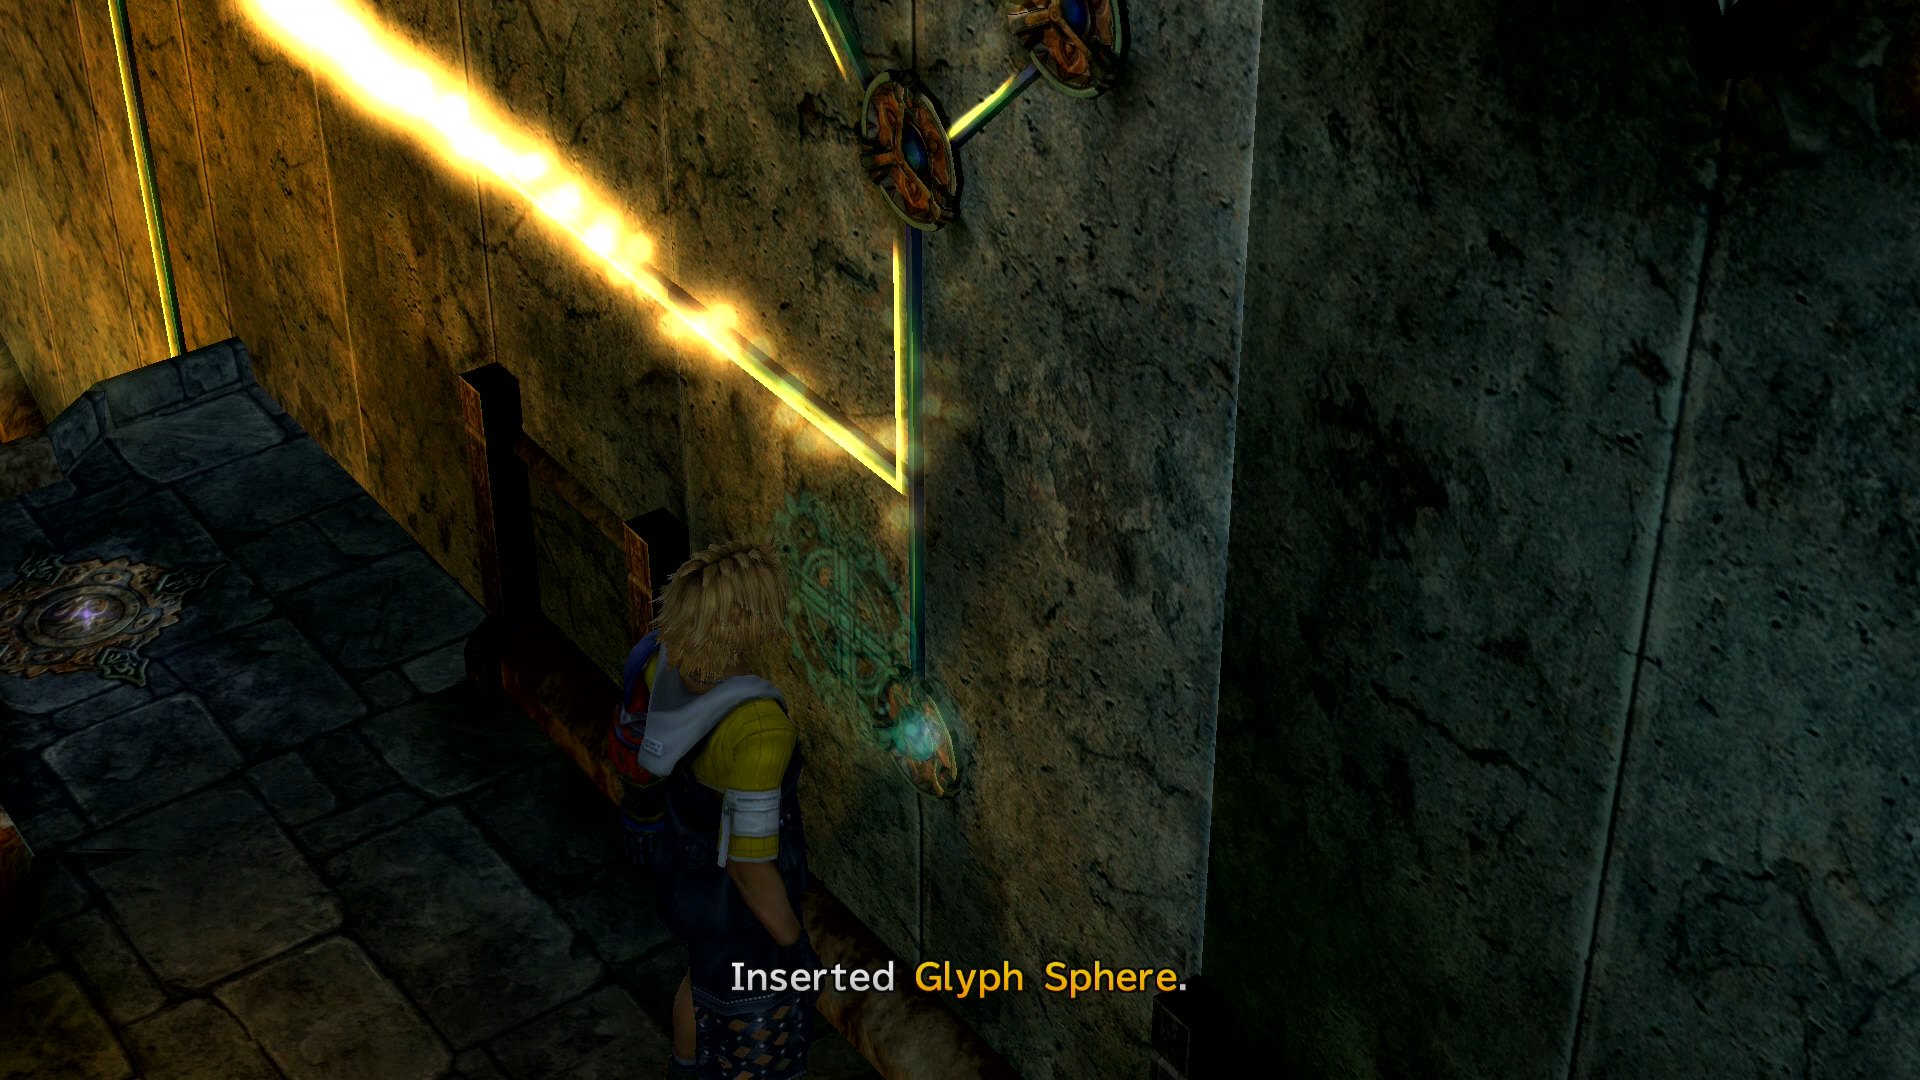
Remove the Kilika Sphere and place it in a recess on the left or right wall, then touch the glyph on the north wall. This will create a passage to the third room.


Remove the Glyph Sphere from the pedestal and place it in a recess on the left or right wall. Walk into the third room and remove the Kilika Sphere from the right wall.

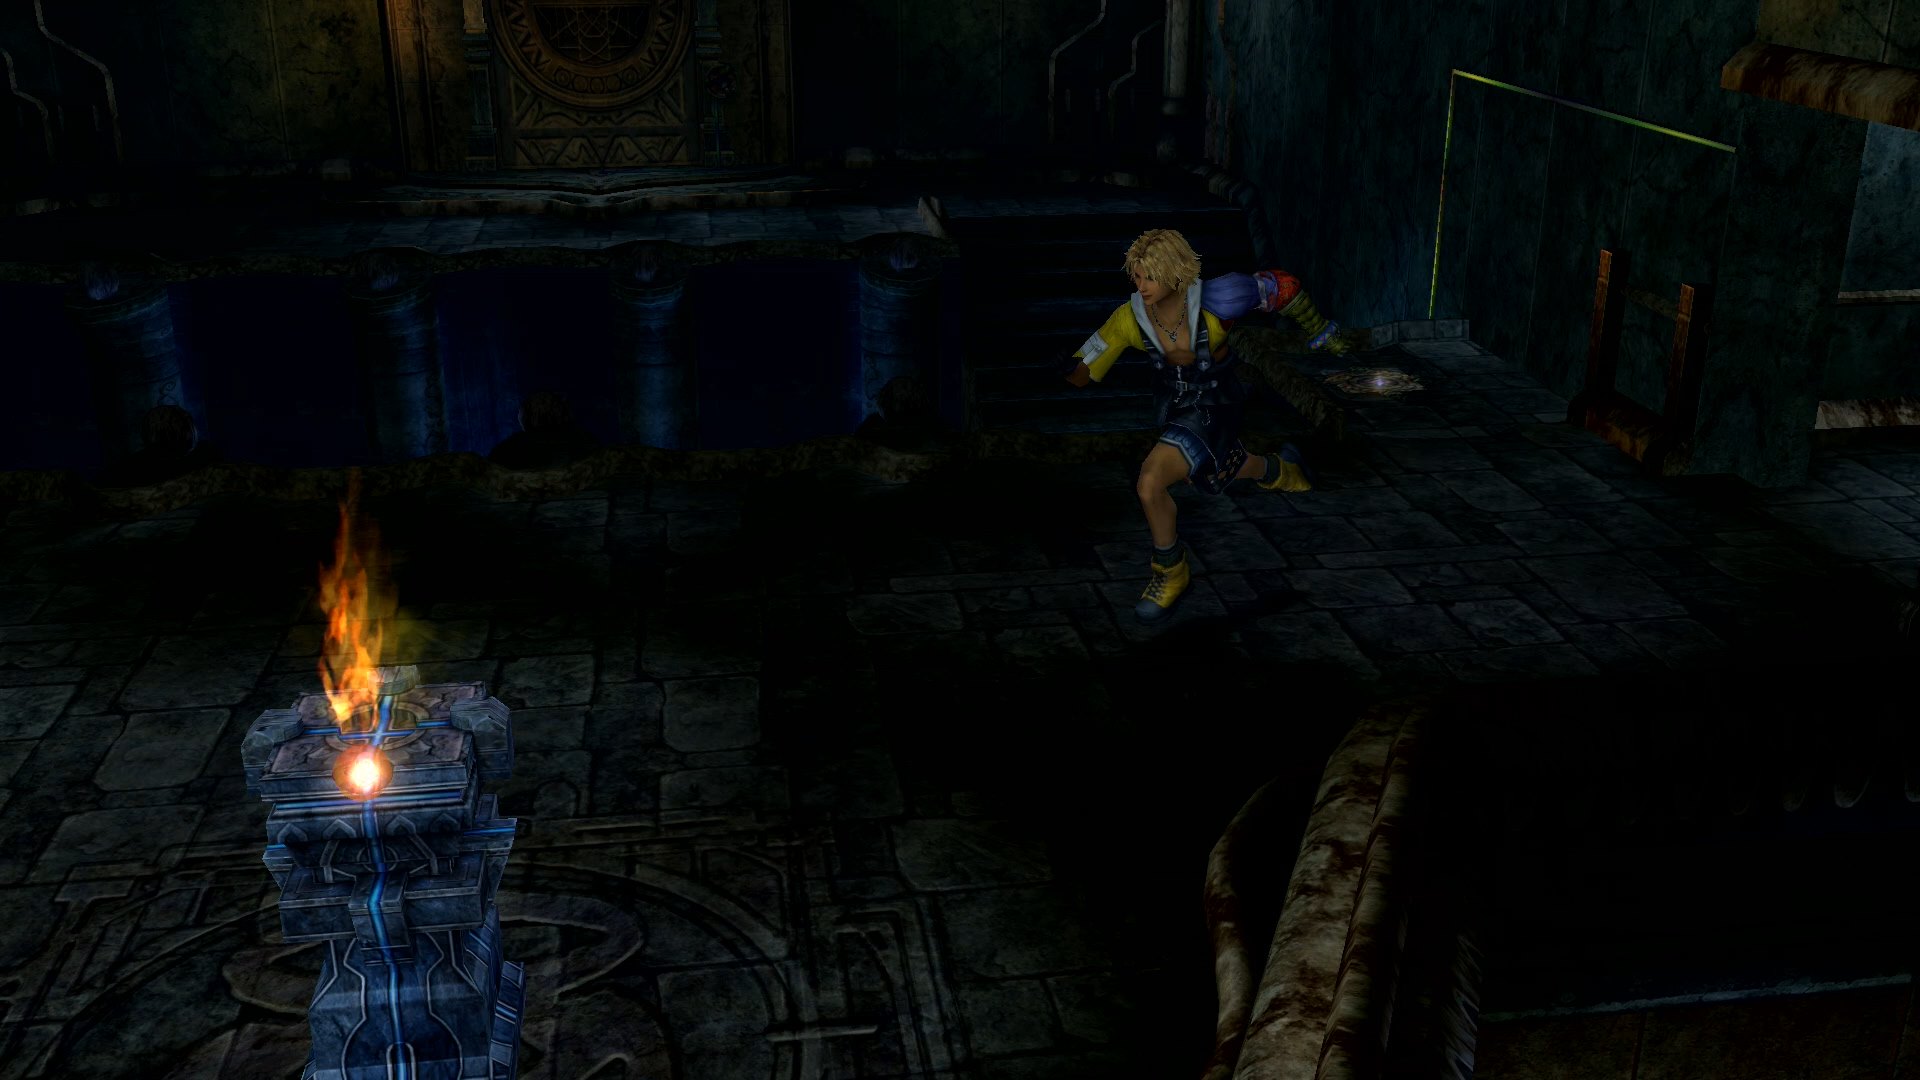
Step on the small white light further north to bring the pedestal from the second room into this third room. Place the Kilika Sphere from your hand into the nearby pedestal.

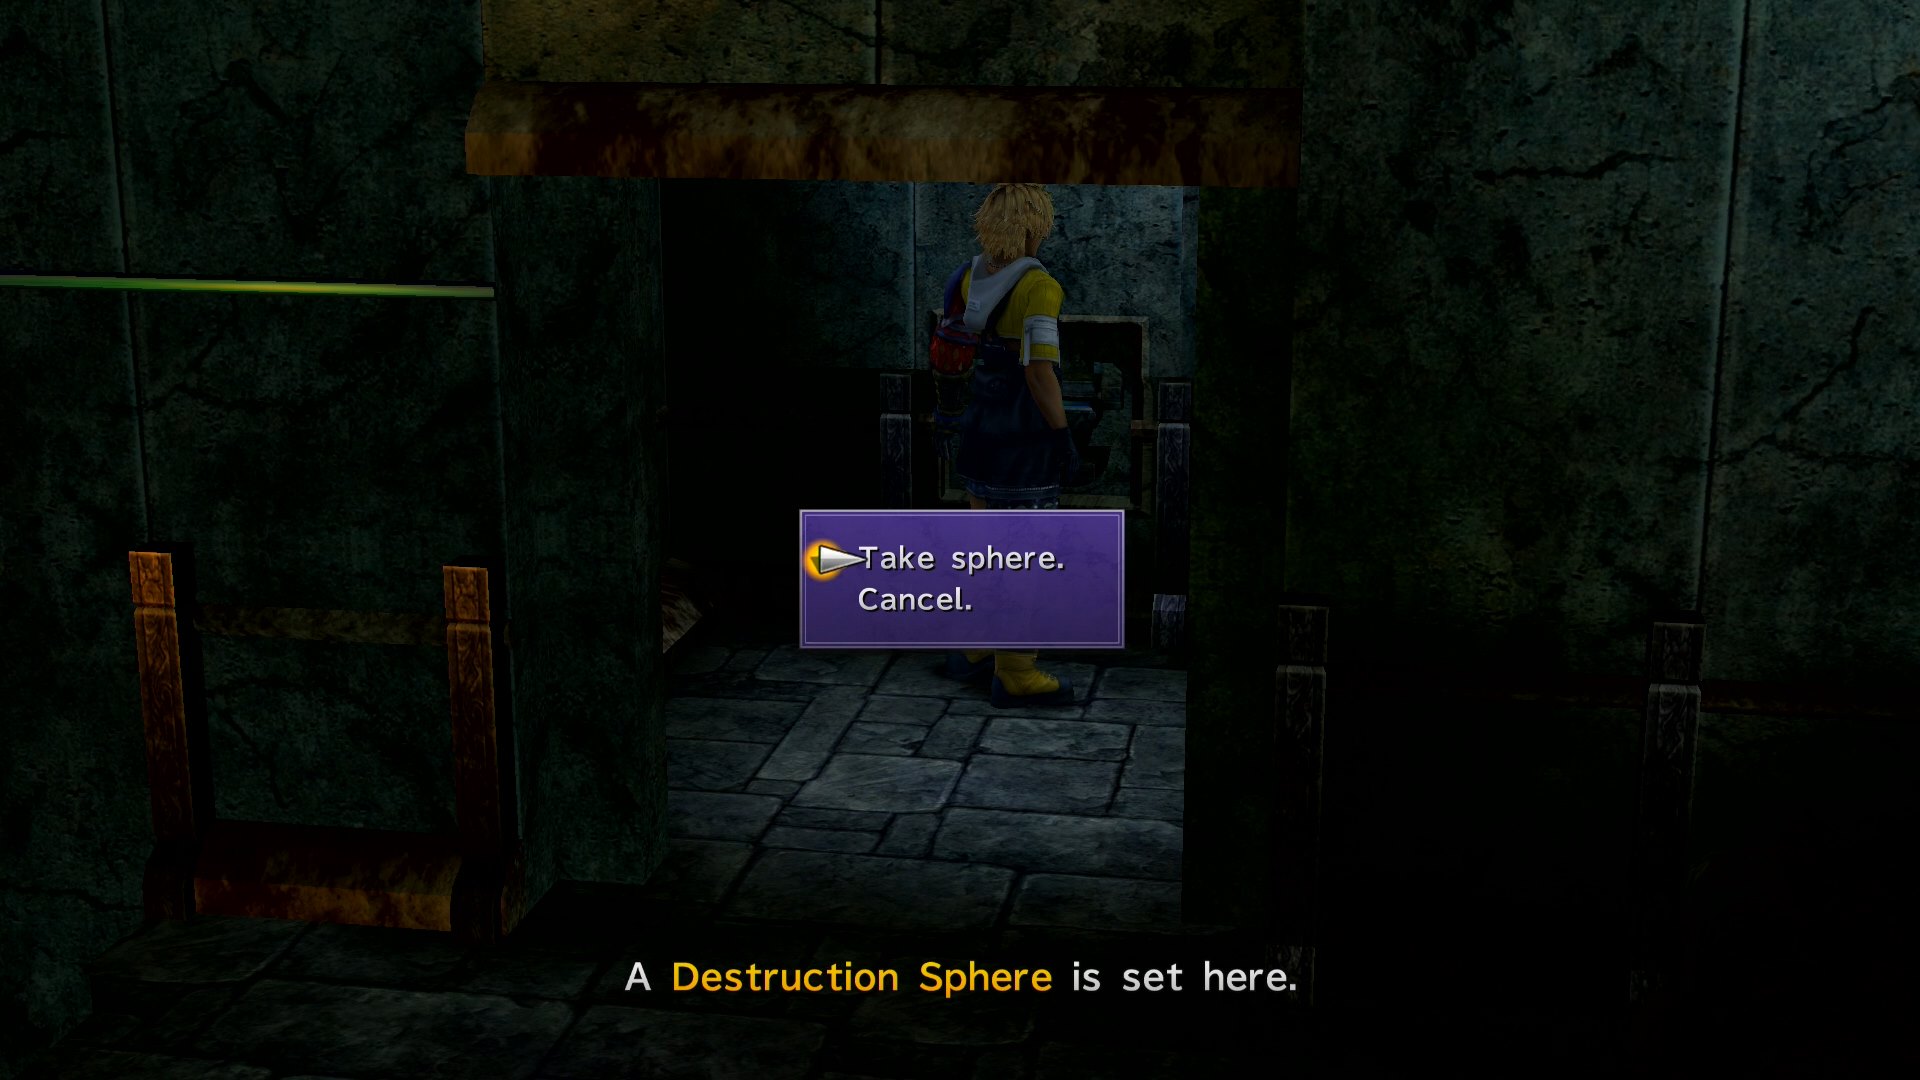
Grab the Glyph Sphere from the second room and insert it into the newly opened recess on the right wall of the third room. This will reveal a secret room with a Destruction Sphere.

Before grabbing the new Sphere, push the pedestal onto the small white light just north of the secret room. This will cause the platform to descend into the ground.
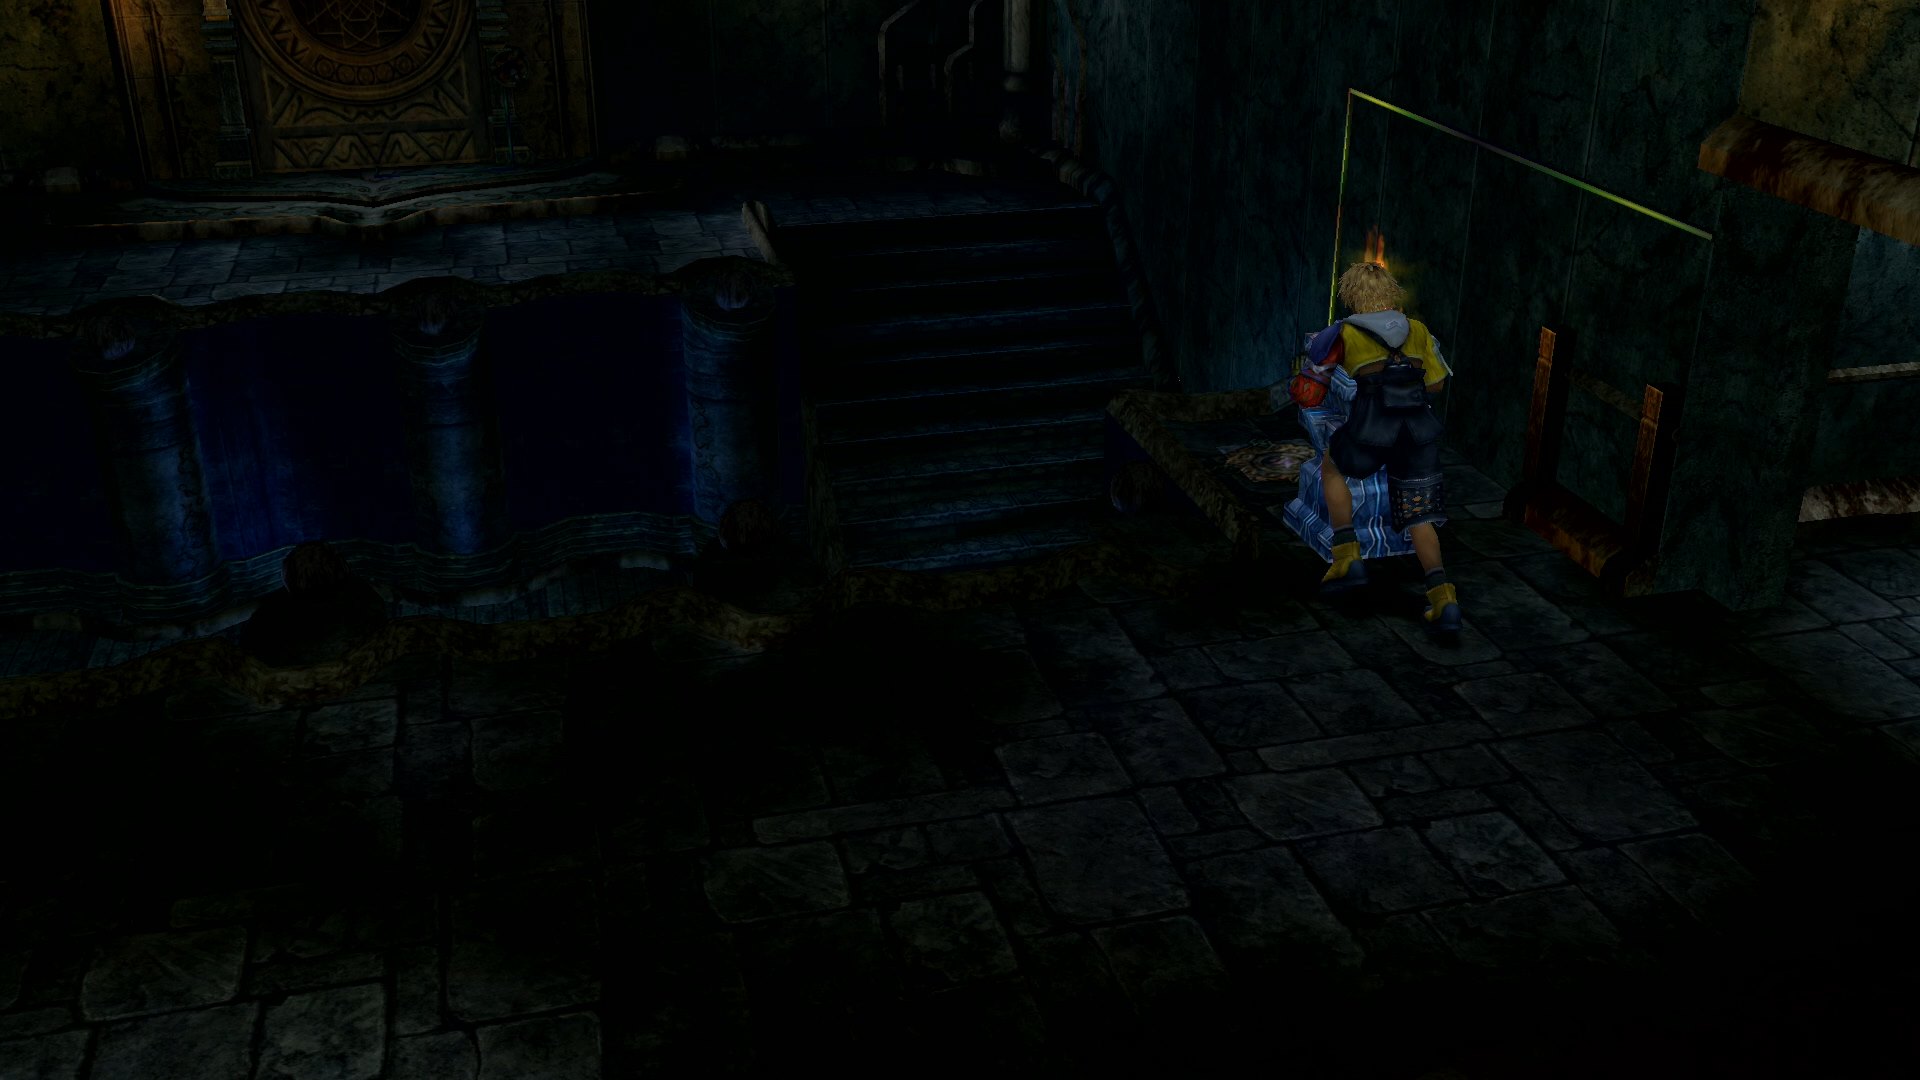
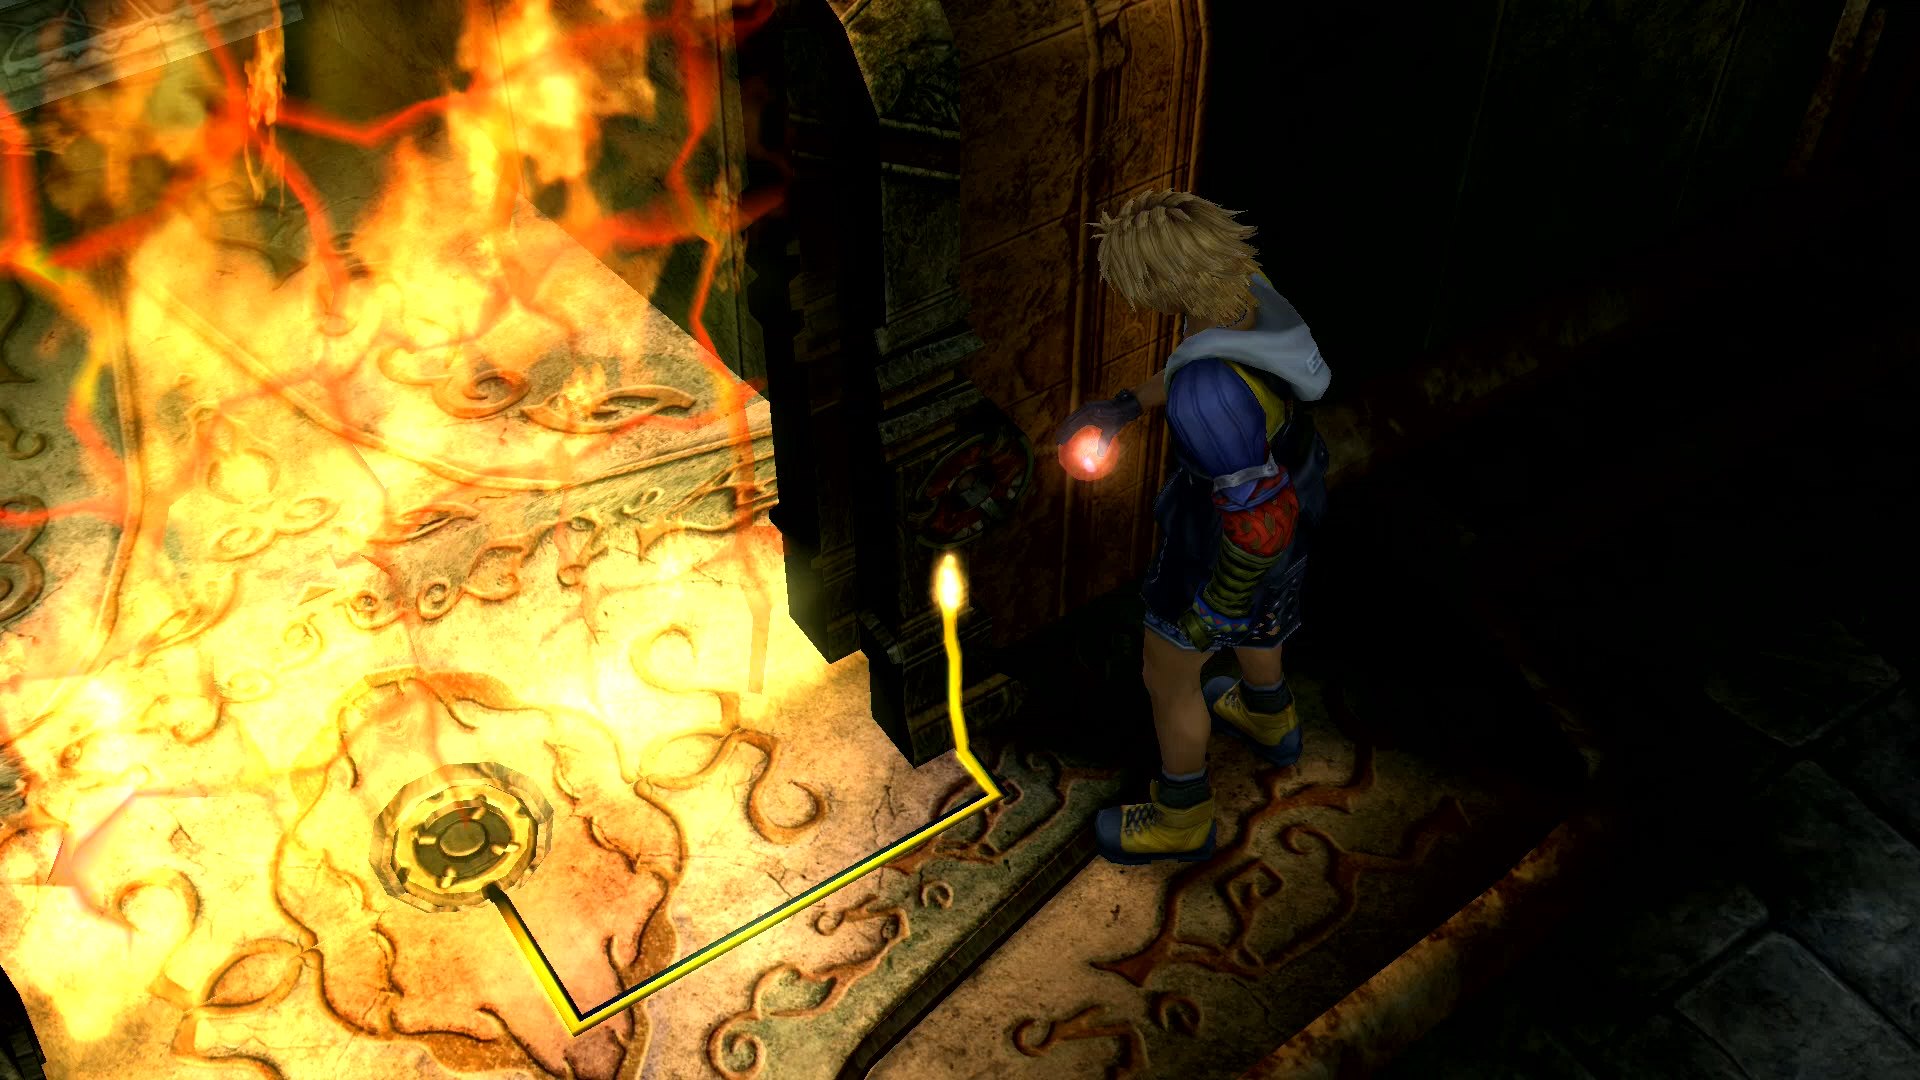
Walk down the stairs to the position the platform just descended into. Remove the Kilika Sphere from the wall and place it in one of the recesses in the second room.

Grab the Destruction Sphere from the hidden room and place it in the recess near the descended platform. This will cause the wall to explode and reveal a secret treasure chest. Inside the treasure chest is the Red Armlet, a very useful piece of armor for Kimahri.

Return to the second room and pick up a Kilika Sphere. Take this Sphere to the final door at the north side of the Cloister of Trials. The door will burst into flames just like at the beginning. Remove the Sphere and exit out of the area.

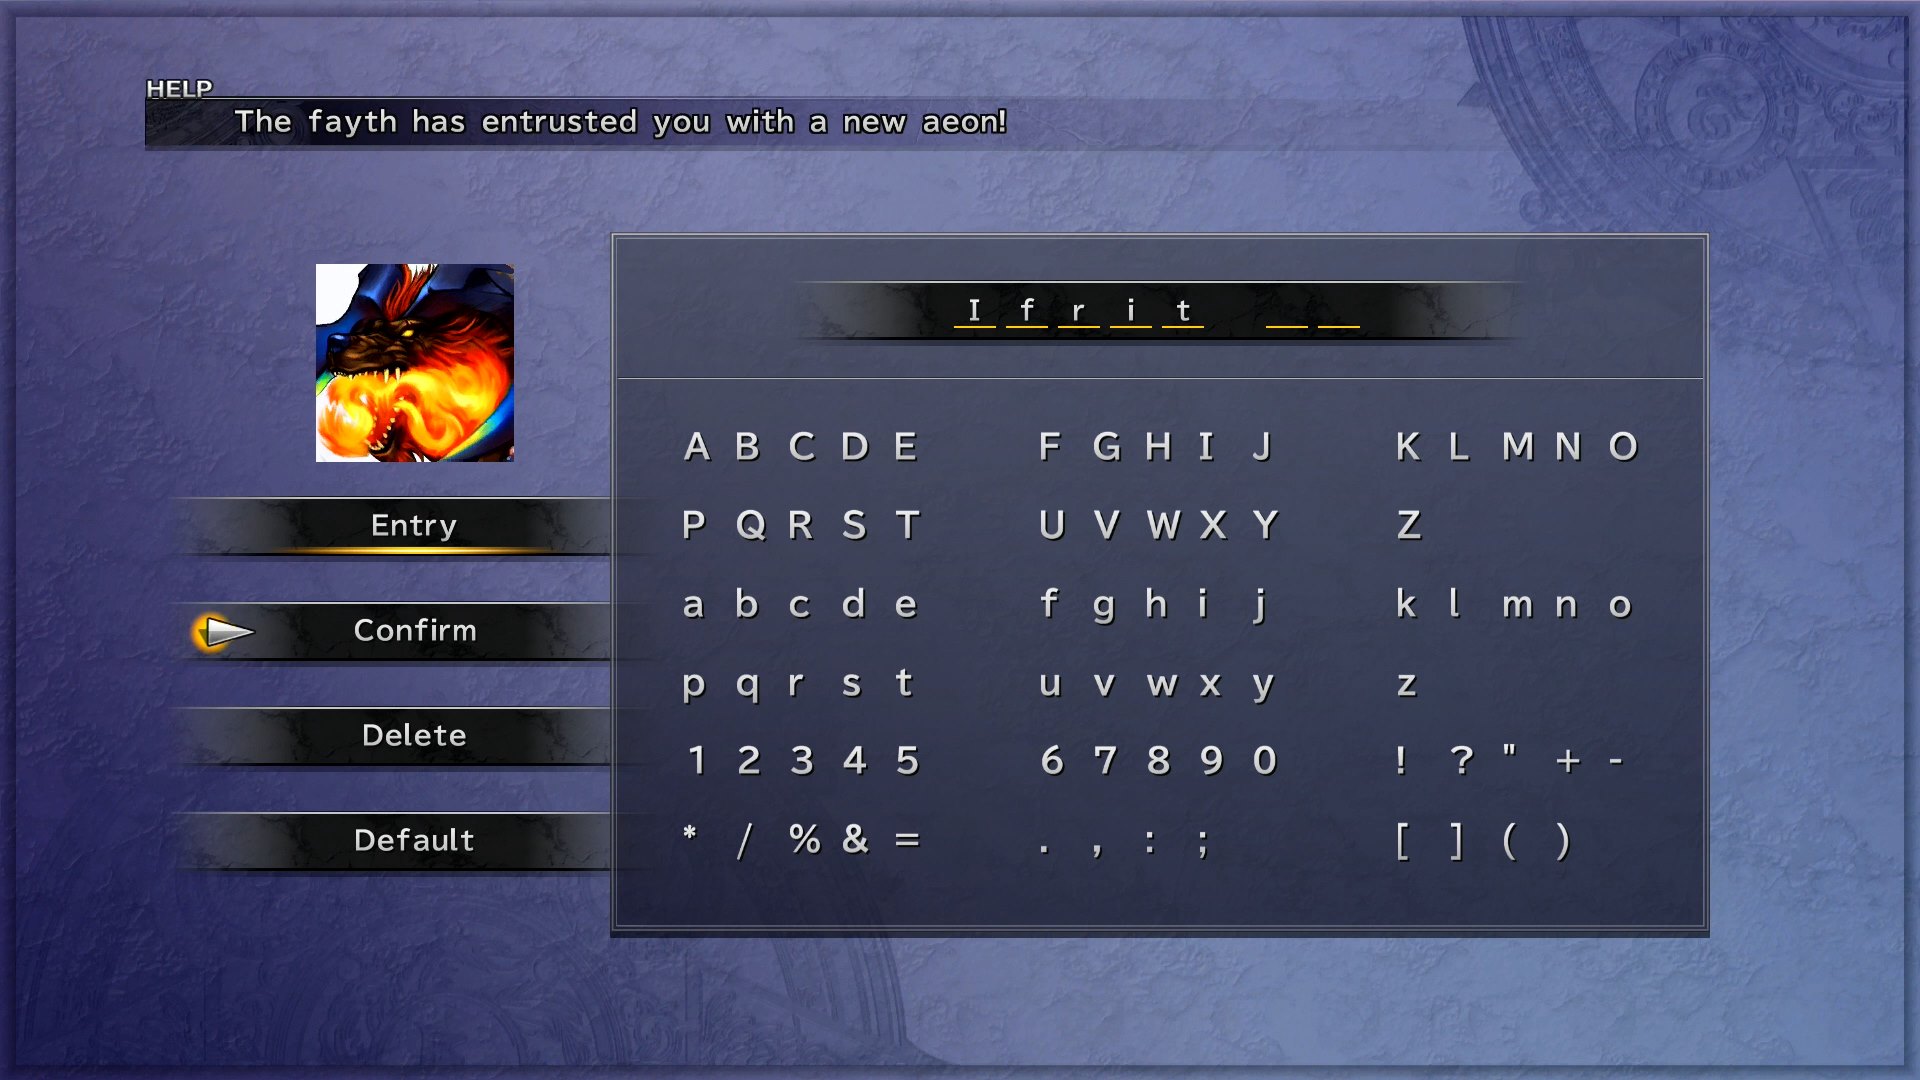
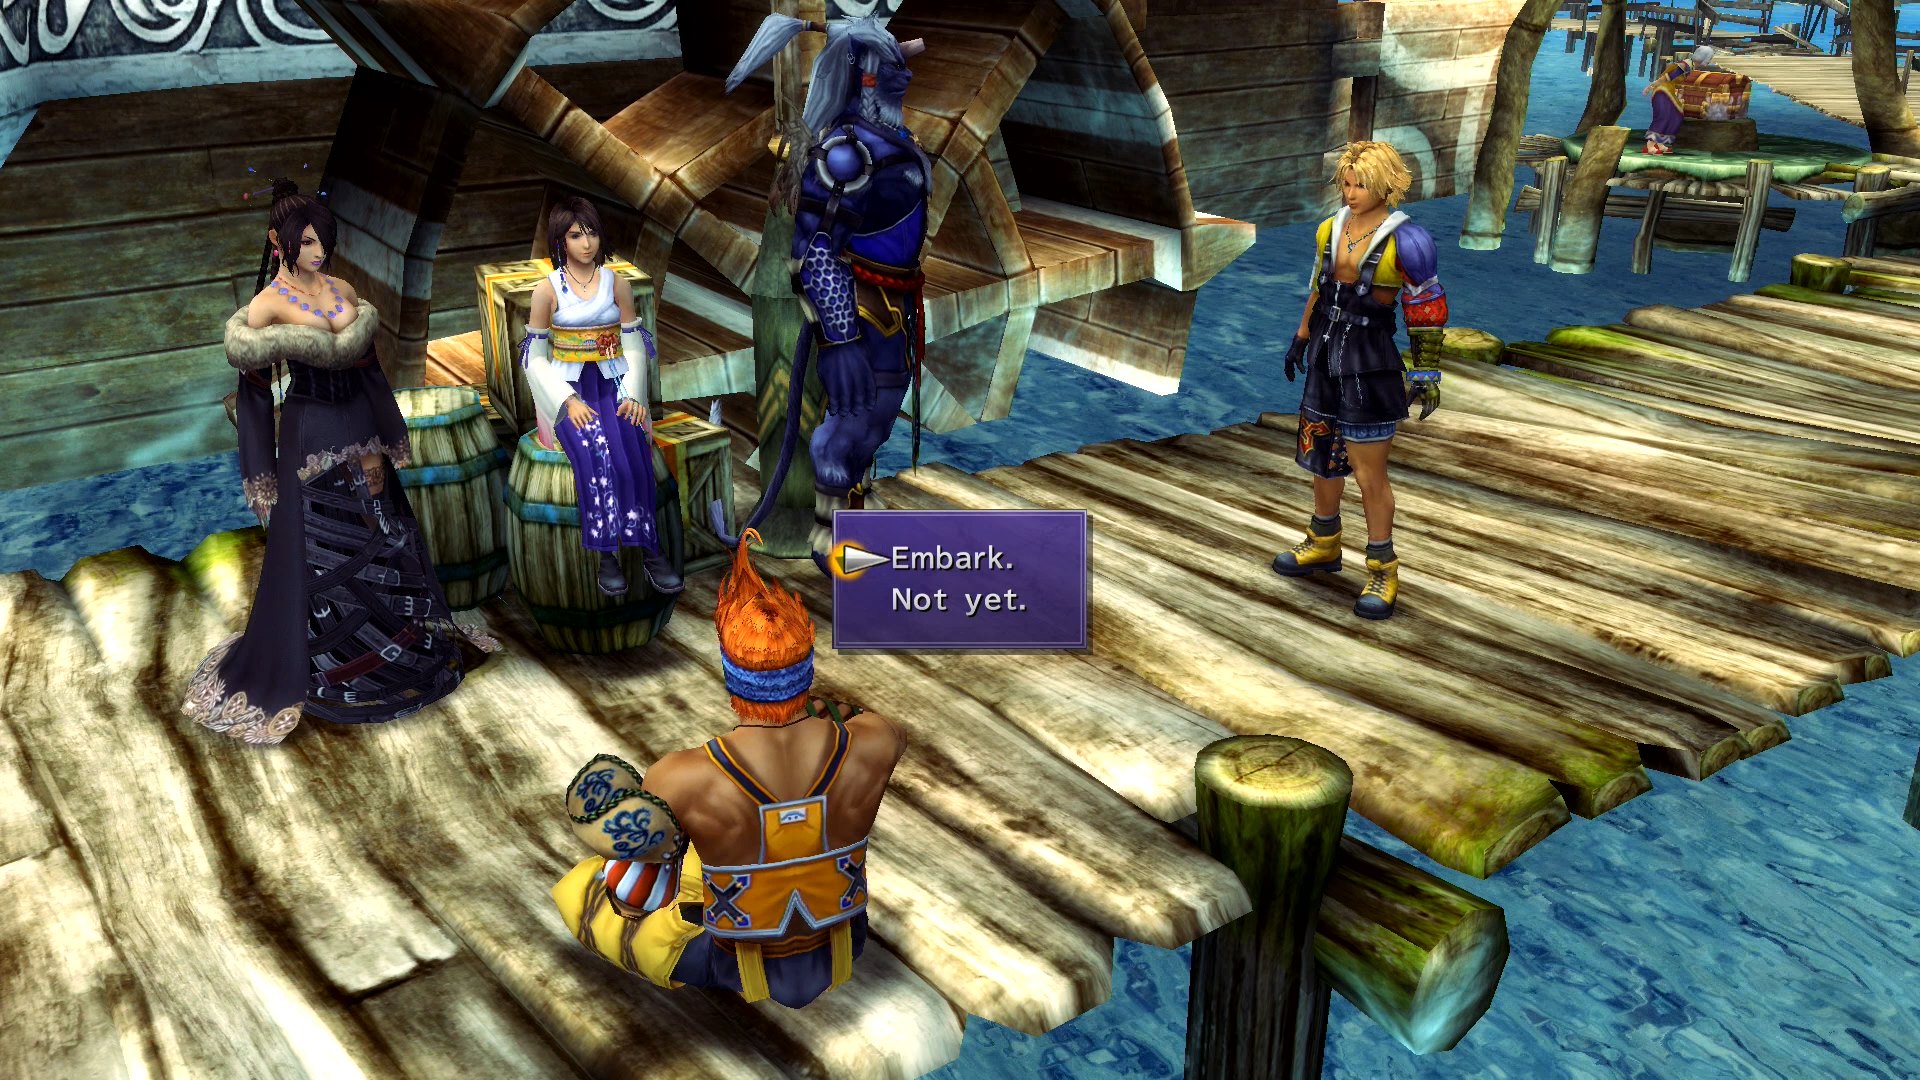
Your party will be waiting for you in the back room. Speak to everyone multiple times until they have nothing left to say. Attempt to leave and Yuna will walk out. She will now be able to summon the new Aeon Ifrit. With all of that out of the way, return to the docks and leave for Luca on the S.S. Winno.