[toc]
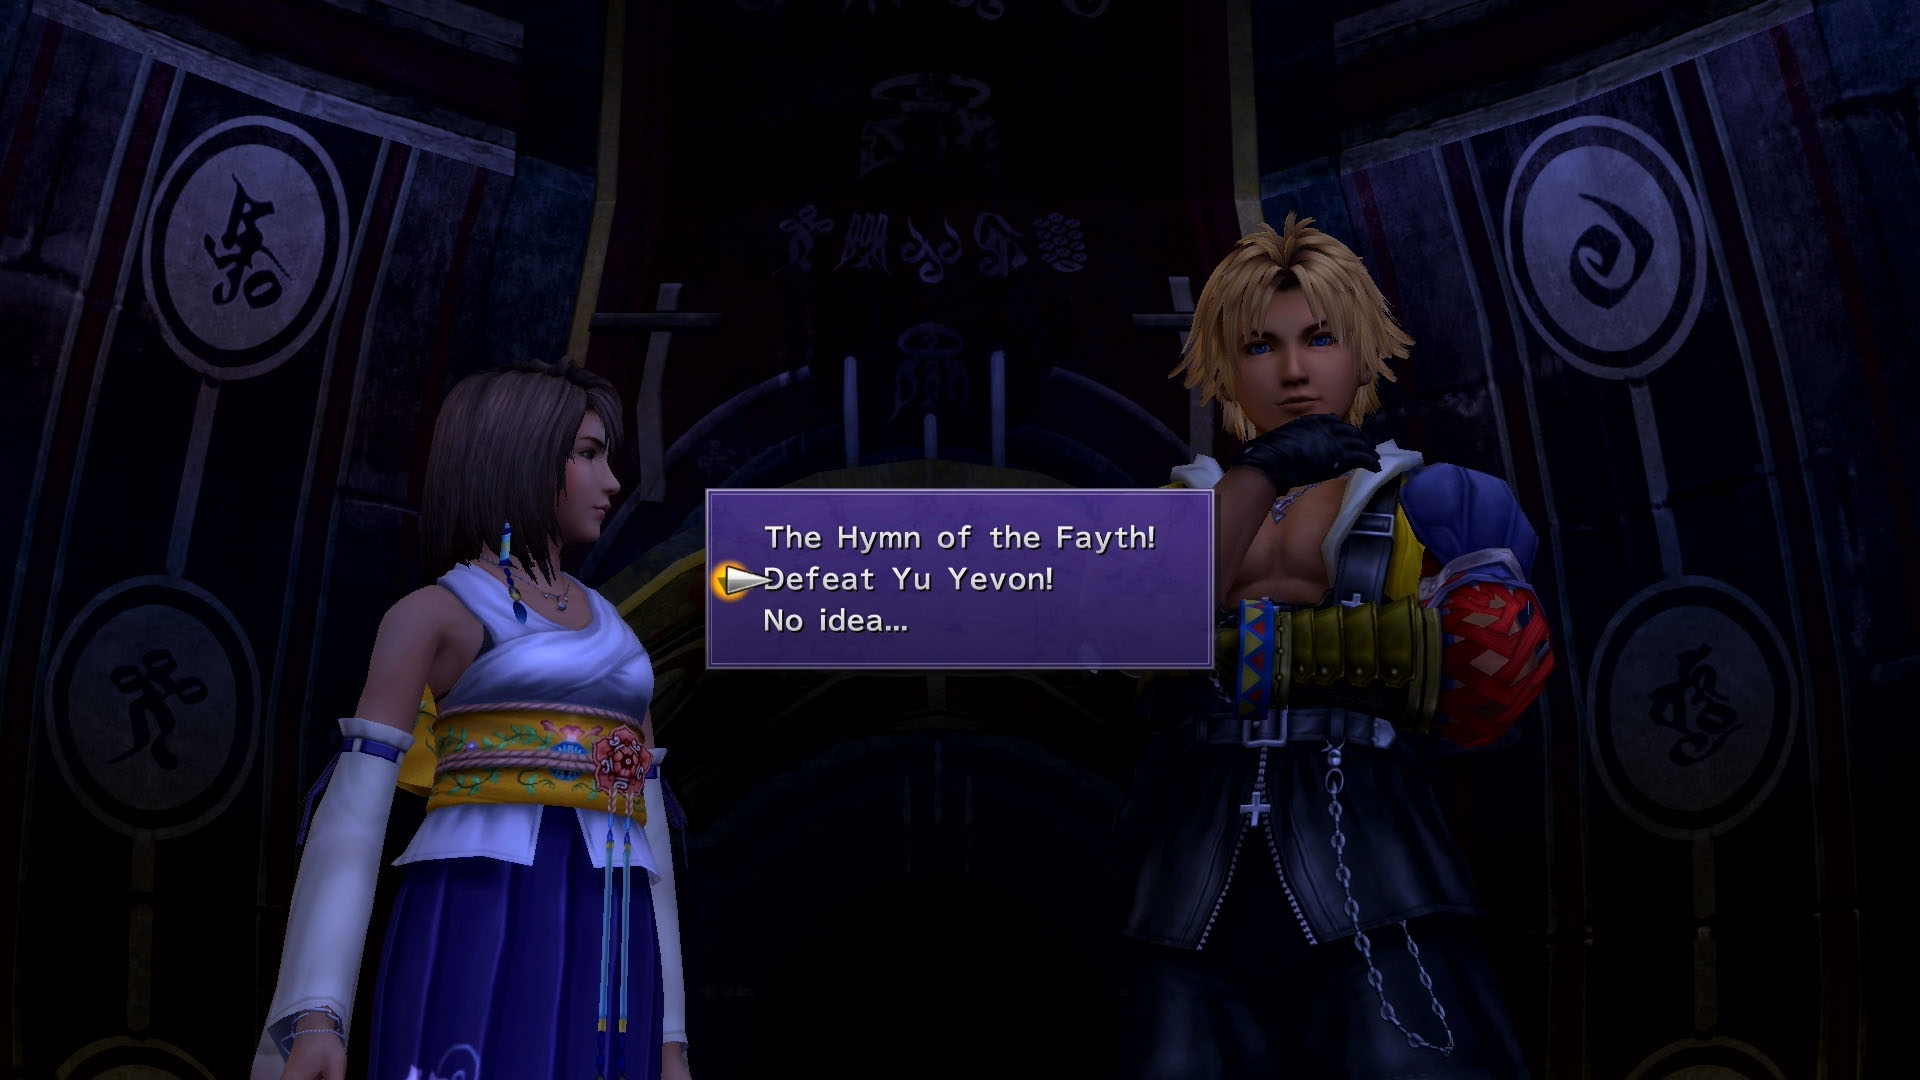
Choose Highbridge from the Airship NavMap list to continue the story. A lengthy cut scene will play out. You will get two dialogue options during one of the scenes. Choose “I Think So,” “The Hymn of the Fayth!,” and “Defeat Yu Yevon!”
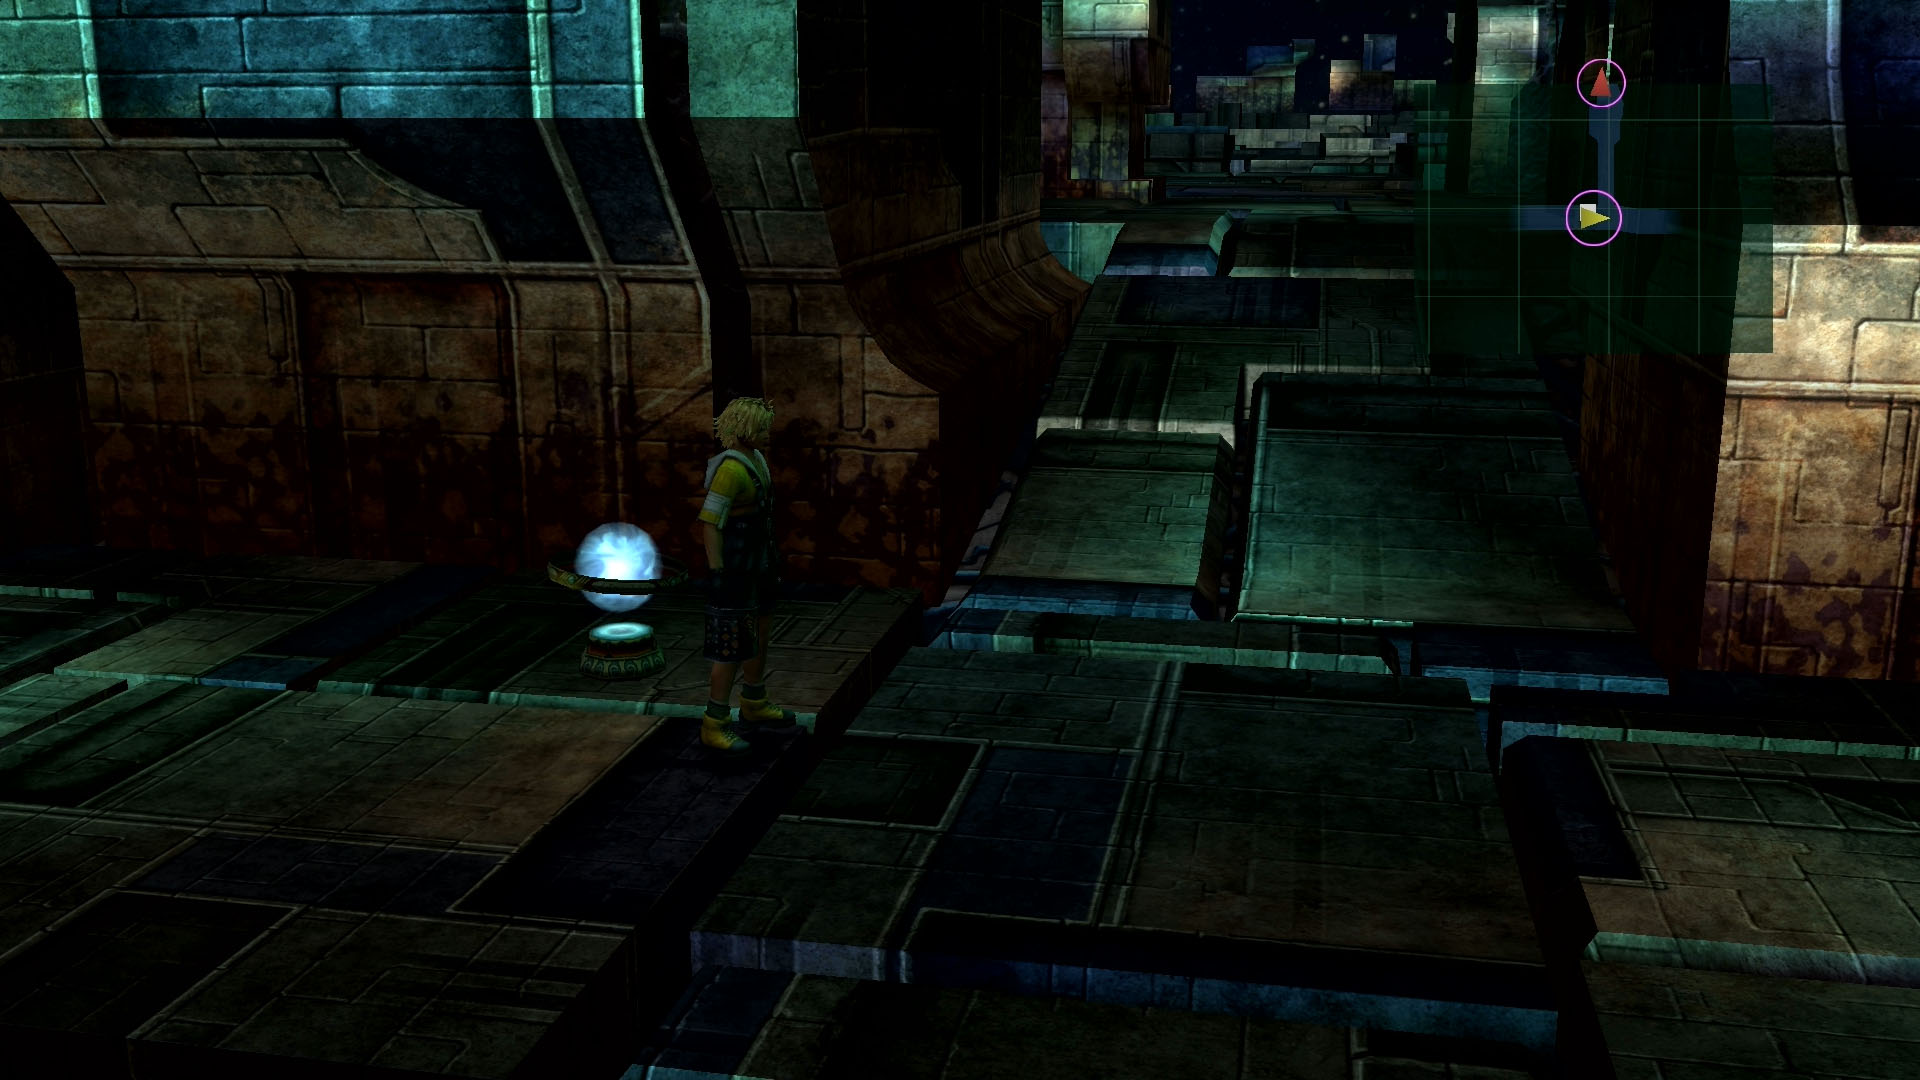
You’ll return to the airship after the scenes. Speak with Cid and select “Sin” from the NavMap to begin the final mission. Don’t worry, you’ll have another chance to return to the Airship if you’re not fully ready to end the game. Head up to the deck of the Airship to fight Sin. You can speak with Rin in the first hall to buy and sell some items. If you’ve obtained all 26 Al Bhed Primers, he will give you x99 Underdog’s Secret! 30 of these can be used to add the Double Overdrive ability to weapons.
Boss Battle: Sin
Left Fin
| HP | AP | Fire | Thunder | Water | Ice |
|---|---|---|---|---|---|
| 65000 (10000) | 17000 (25000) | — | — | — | — |
The first parts of Sin you must defeat are the left and right fins. Use Wakka, Lulu, and Yuna to hit far range. Rikku and Tidus can use the Trigger Command “Move In” to get closer to Sin. If you do this, use Auron’s Armor Break and Mental Break skills to weaken it. Don’t forget to use buffs like Haste, Protect, Cheer, and Focus to make the fight easier.
Right Fin
| HP | AP | Fire | Thunder | Water | Ice |
|---|---|---|---|---|---|
| 65000 (10000) | 16000 (24000) | — | — | — | — |
After defeating one fin, the group will focus on the other. Do the same song and dance to take it off!
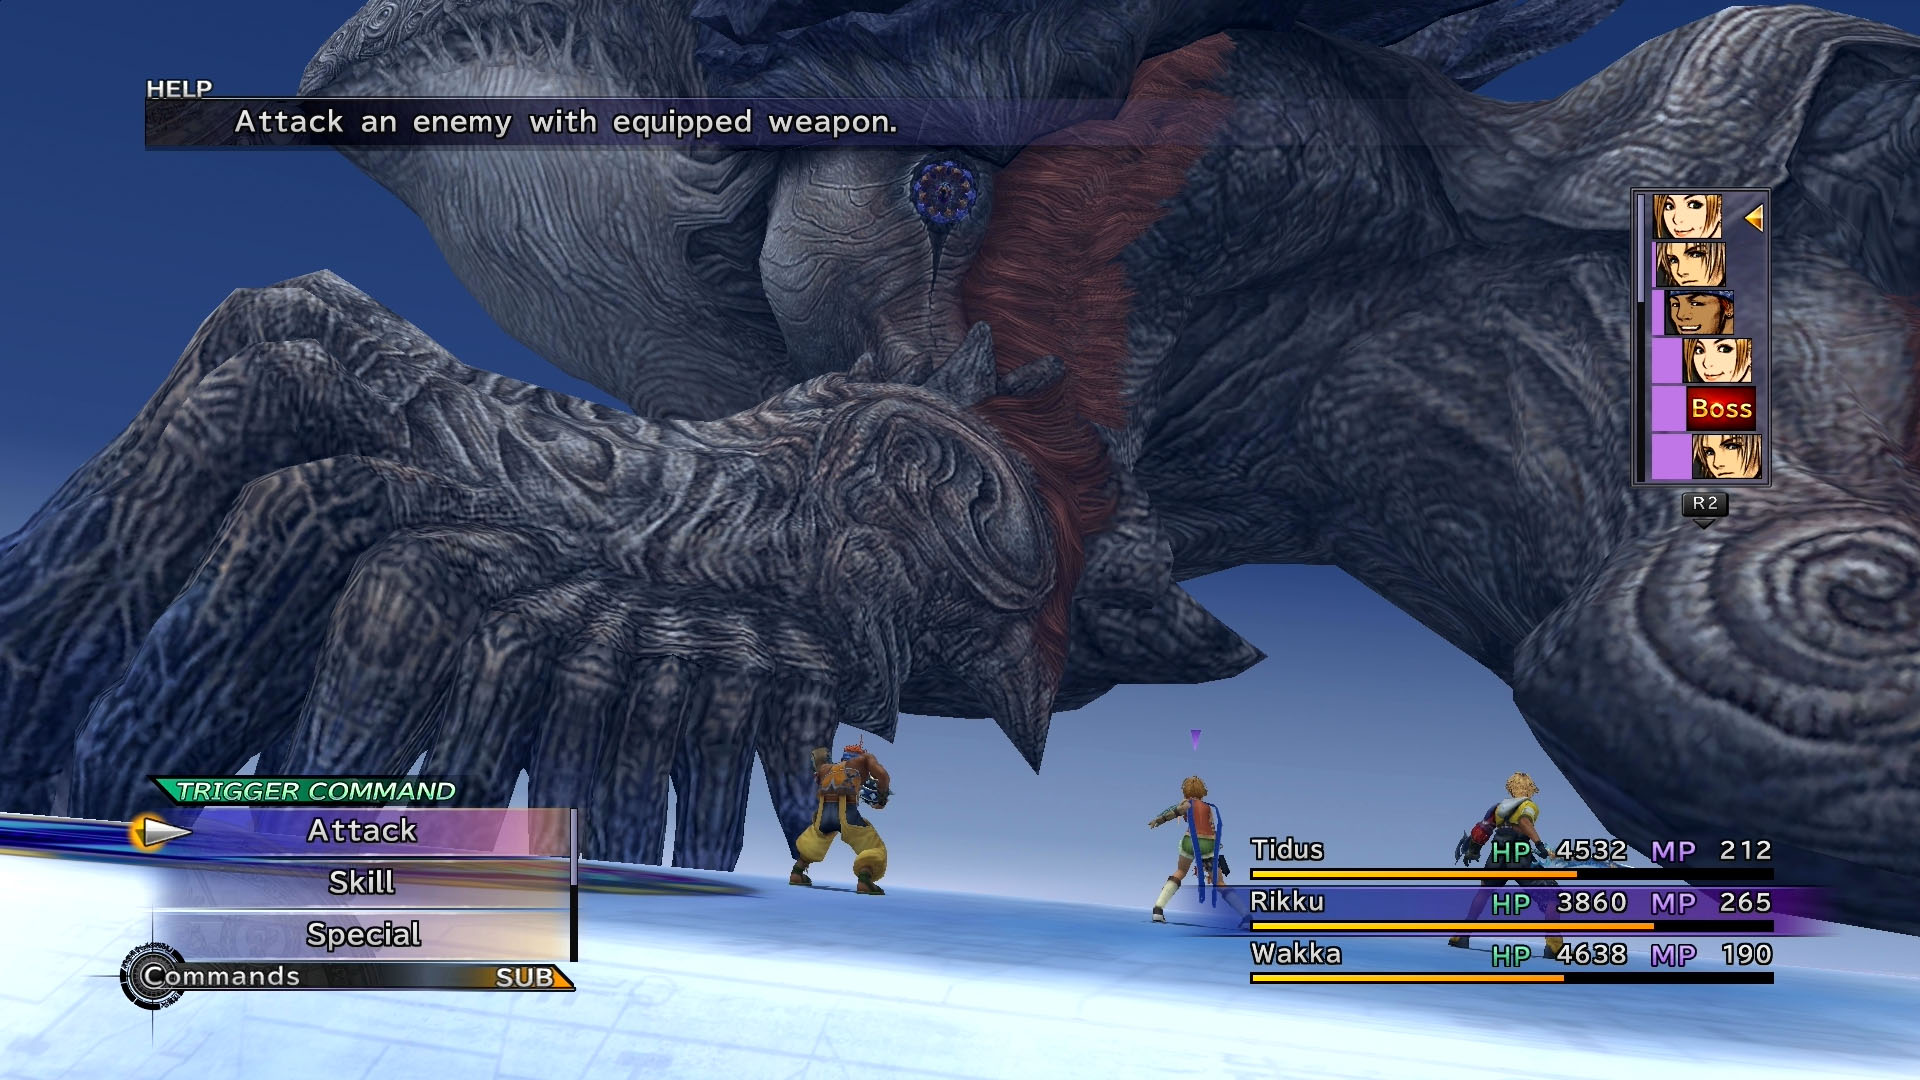
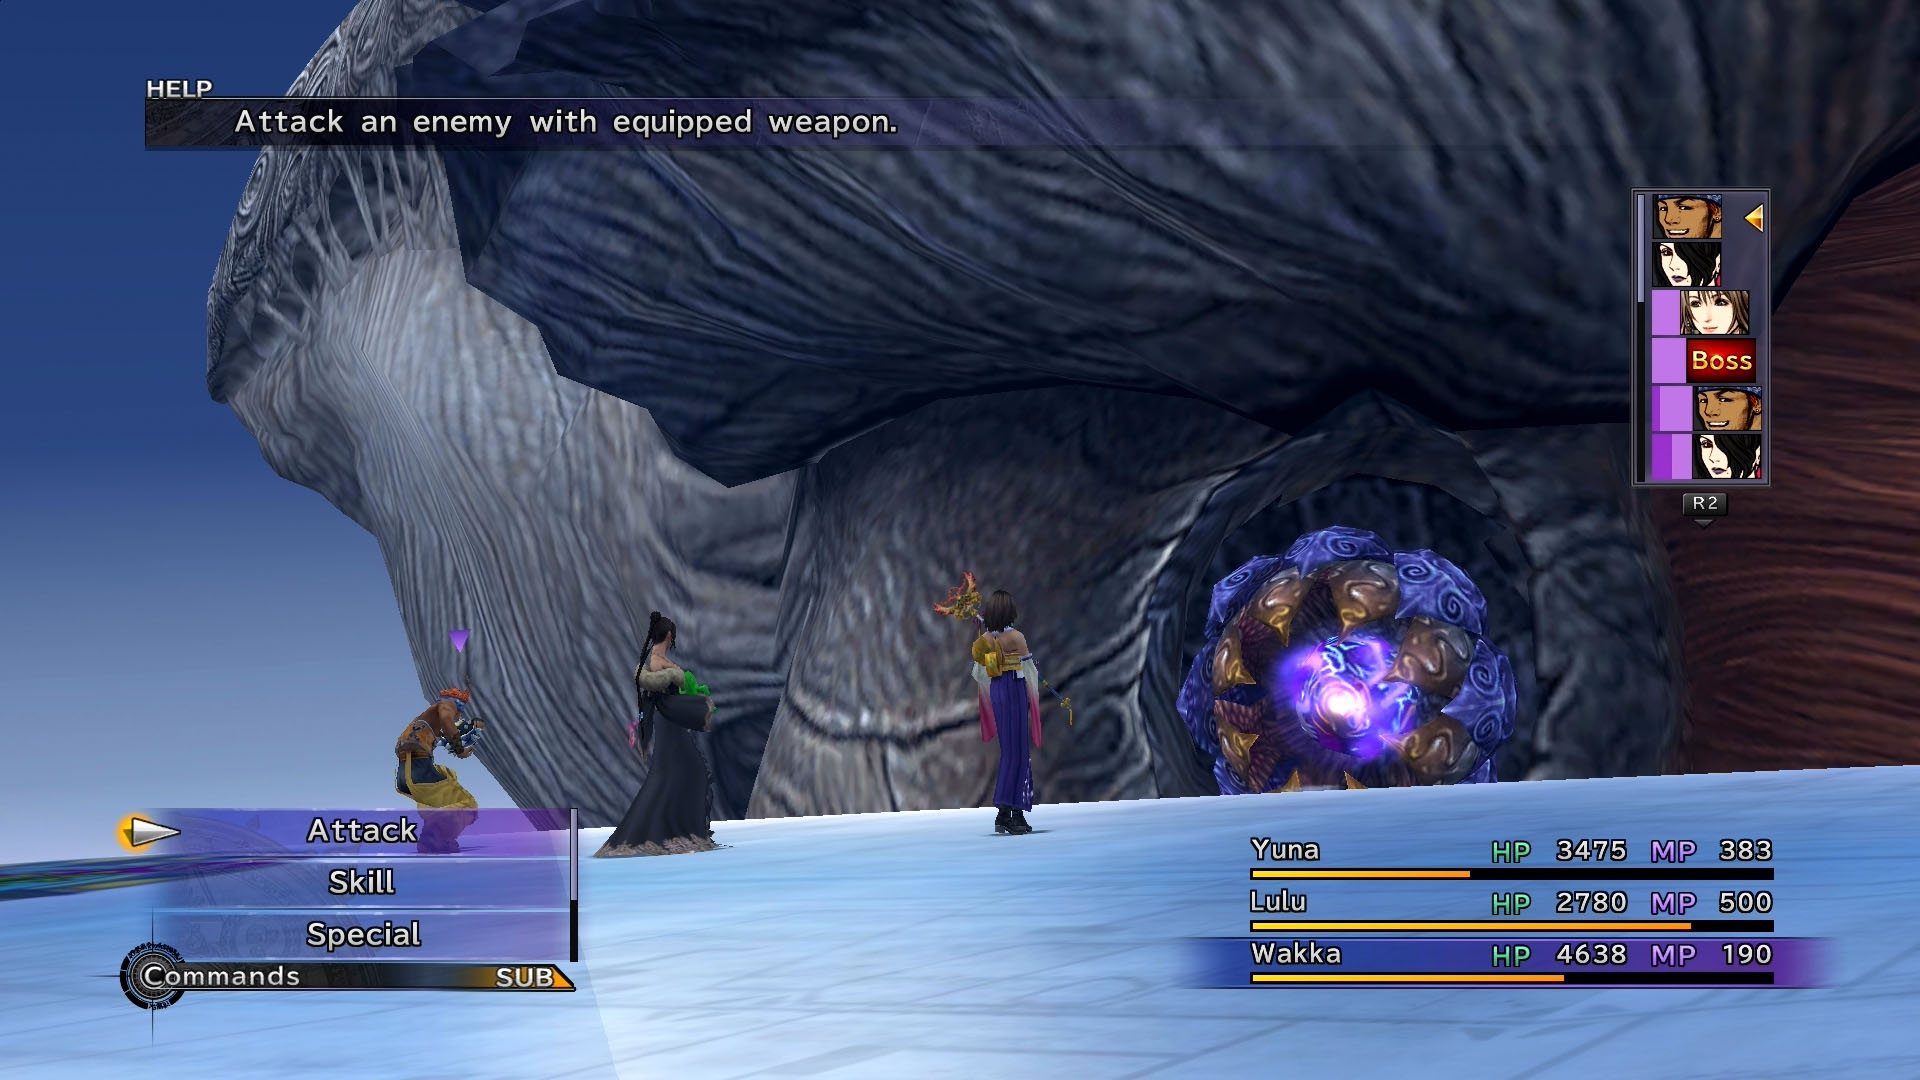
Sinspawn and Sin
| Enemy | HP | AP | Fire | Thunder | Water | Ice |
|---|---|---|---|---|---|---|
| Sinspawn Genais | 20000 (2000) | 1800 (2700) | Weak | — | Absorb | — |
| Sin | 36000 (3000) | 18000 (27000) | — | — | — | — |
Next, you’ll have to fight and defeat Sinspawn Genais. This boss will damage and try to poison your team with its Venom attack. Make sure Yuna is nearby to heal those affected. Sinspawn will also attack with the Waterga black magic.
Attack with all you’ve got to take out this Sinspawn. It’s weak to the fire element and will absorb water. Defeat Genais to reach a weak spot on Sin.
Unlike Genais, Sin will not absorb water damage. It will attack with various elemental magic attacks. It will also use the black magic spell Gravija, a powerful gravity spell that reduces HP by 3/4. Use Rikku’s Al Bhed Potions or Yuna’s cure spells to keep the team up. Throw everything you have at it to take Sin down.
Once the battle is over, you’ll return to the cockpit of the Airship. Heal up and prepare for the next part of the battle. Head back up to the bridge and speak with Yuna to begin the fourth match.
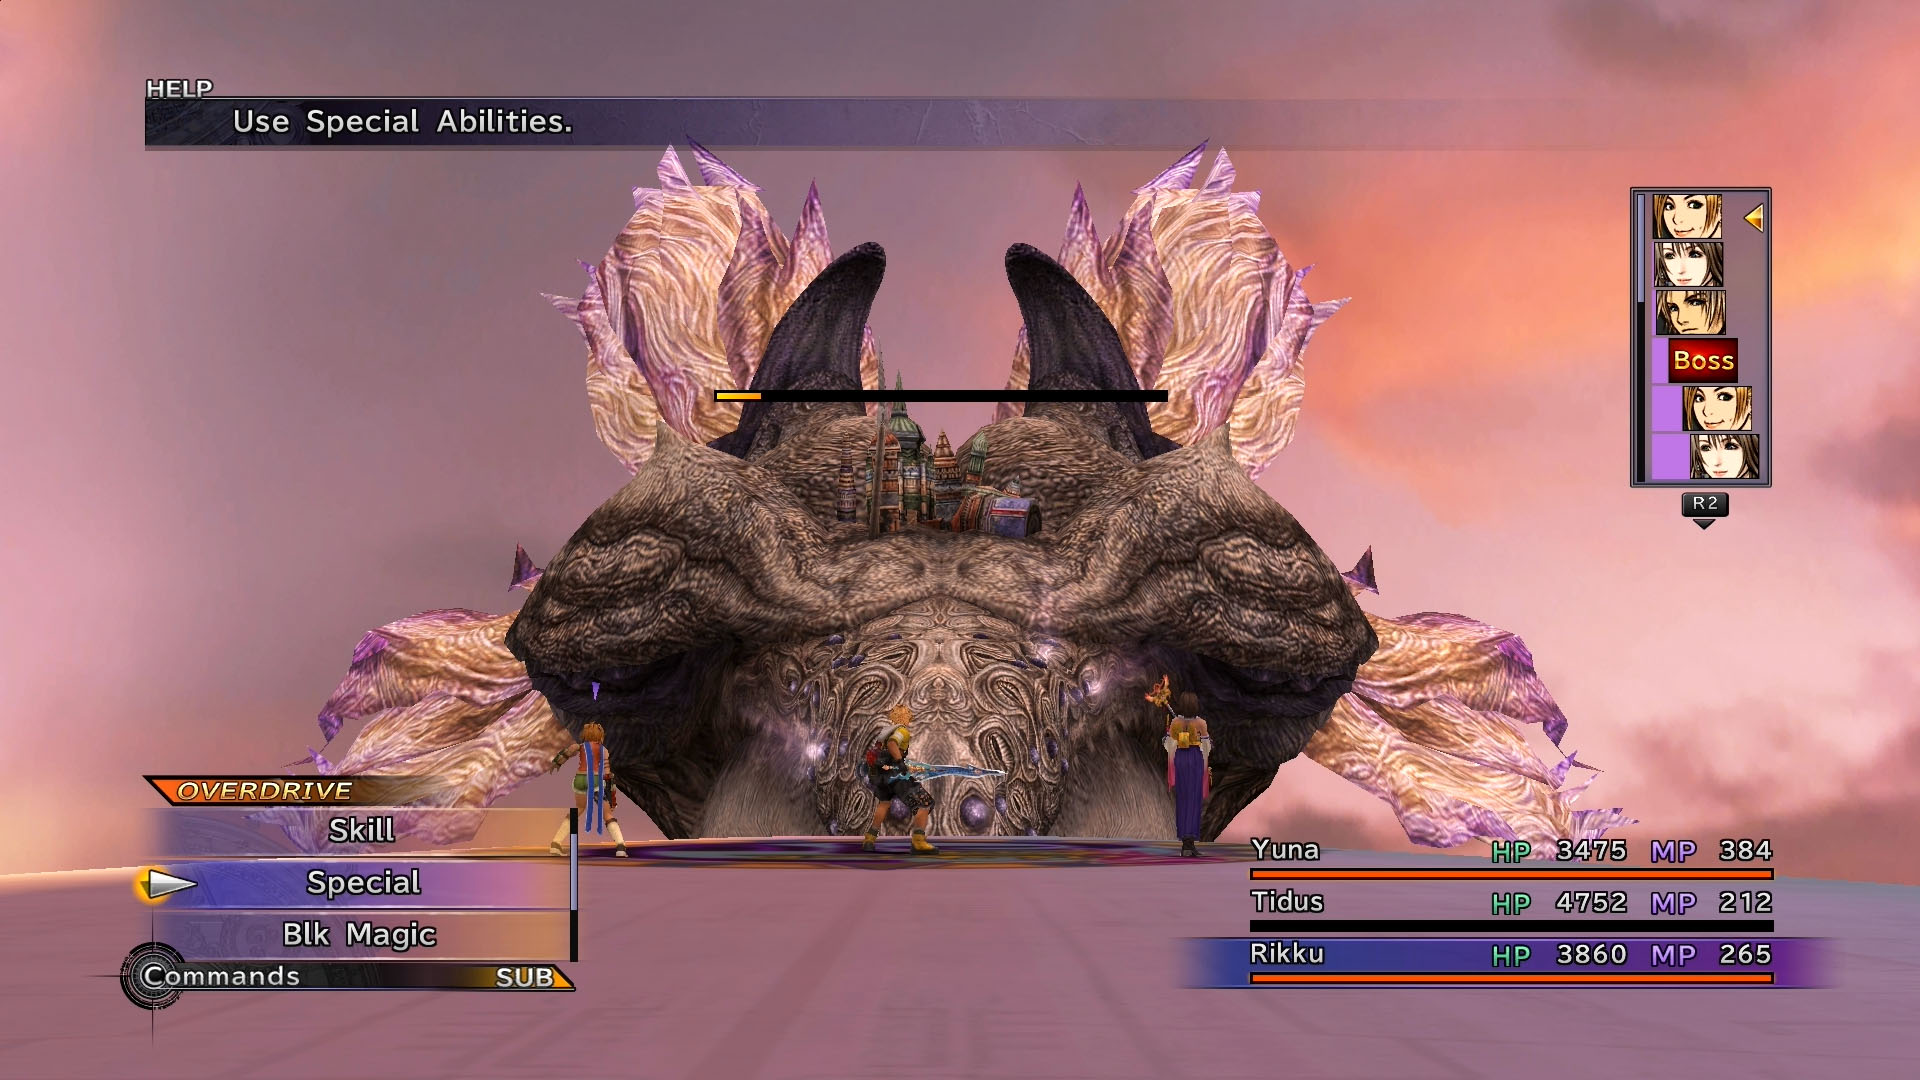
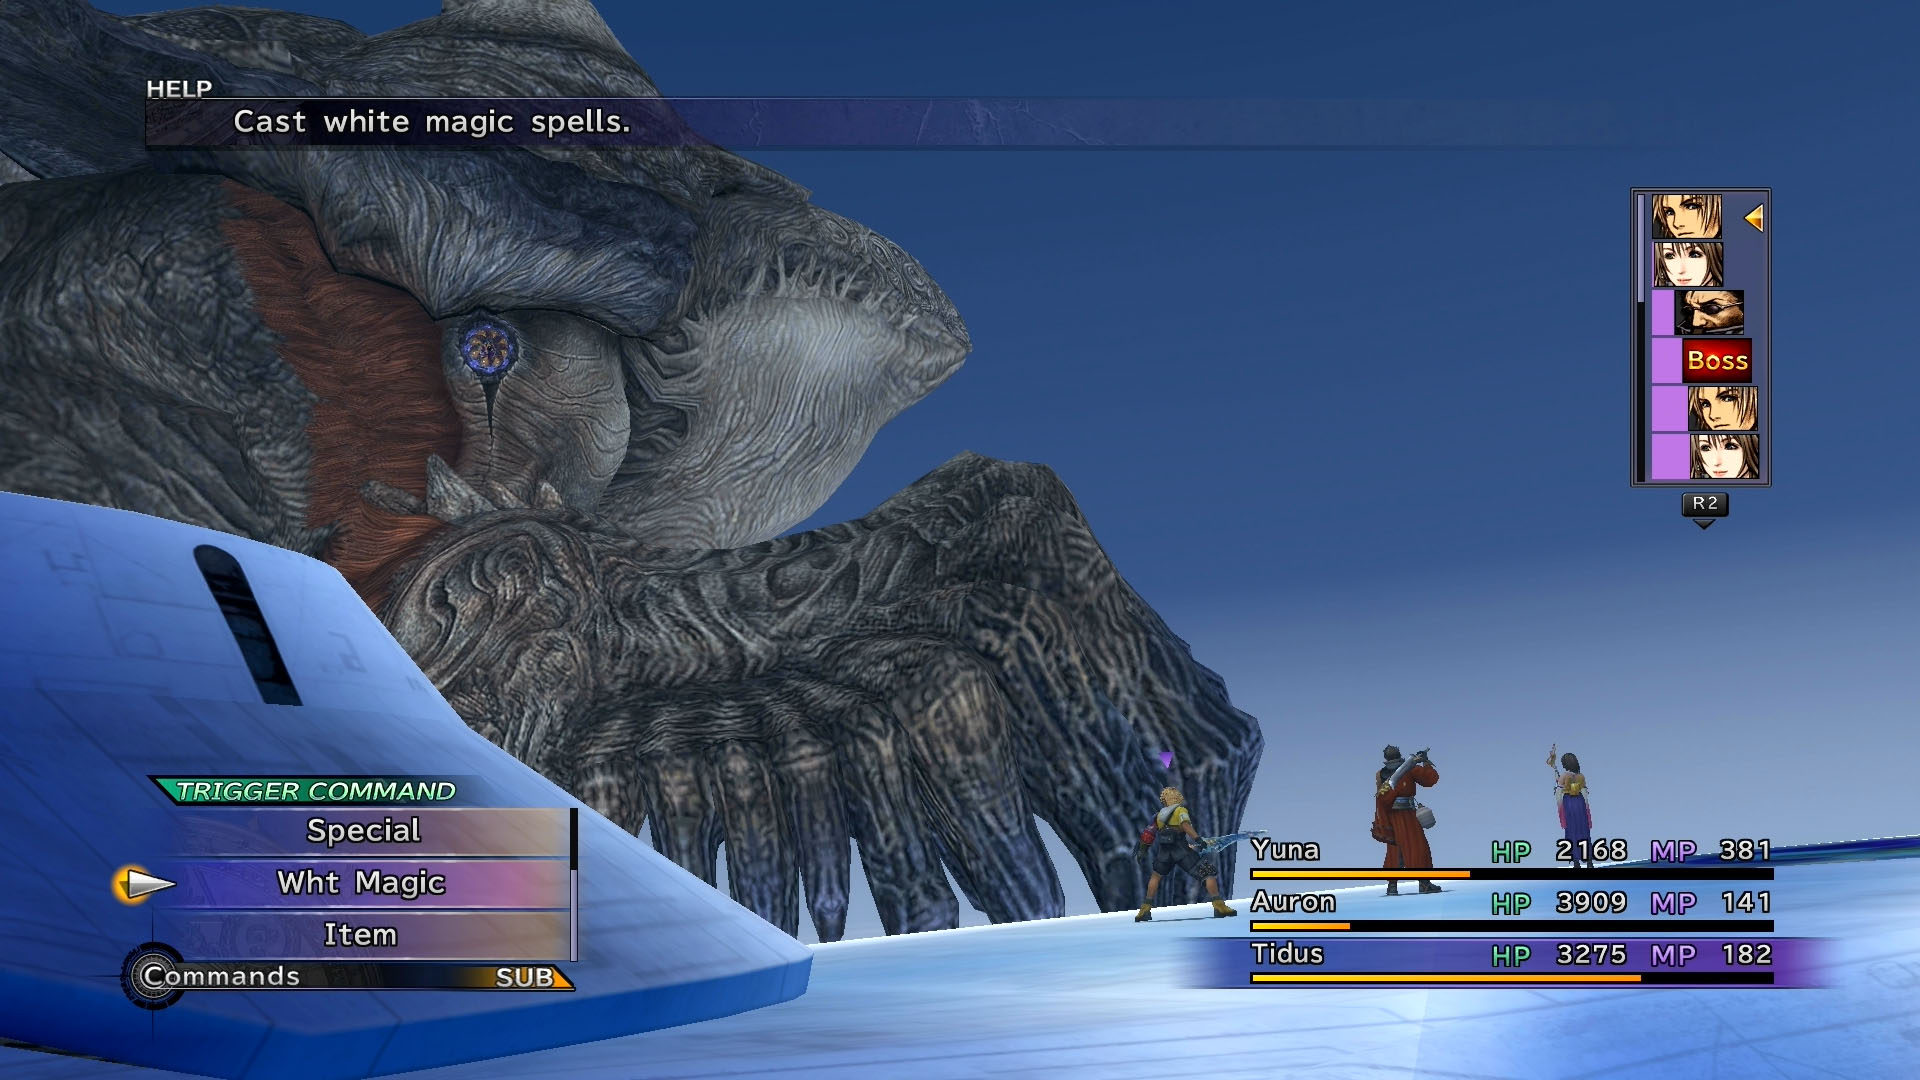
Sin

| HP | AP | Fire | Thunder | Water | Ice |
|---|---|---|---|---|---|
| 140000 (10000) | 20000 (30000) | — | — | — | — |
Sin has an Overdrive gauge in this battle. Try to defeat him before he uses his Overdrive attack. If you can’t, summon an Aeon to take all the damage. Like usual, cast some buffs such as Haste, Focus, and Cheer. Use debuffs on Sin such as Auron’s Armor and Mental Break attacks. Of course, close range attacks won’t work until Sin gets closer. It will take Sin two turns to get close enough for physical attacks.
Sea of Sorrow
| Fiends | HP | Fire | Thunder | Water | Ice |
|---|---|---|---|---|---|
| Adamantoise | 54400 | Absorb | — | — | — |
| Barbatos | 95000 | — | — | — | — |
| Behemoth King | 67500 | — | — | — | — |
| Demonolith | 45000 | Strong | Strong | Strong | Strong |
| Exoray | 7400 | Weak | Absorb | Absorb | Absorb |
| Great Malboro | 64000 | Weak | — | Nul | Nul |
| Gemini | 36000 | Absorb | Absorb | — | — |
| Gemini | 36000 | — | — | Absorb | Absorb |
| Wraith | 22222 | Strong | Weak | Weak | Nul |
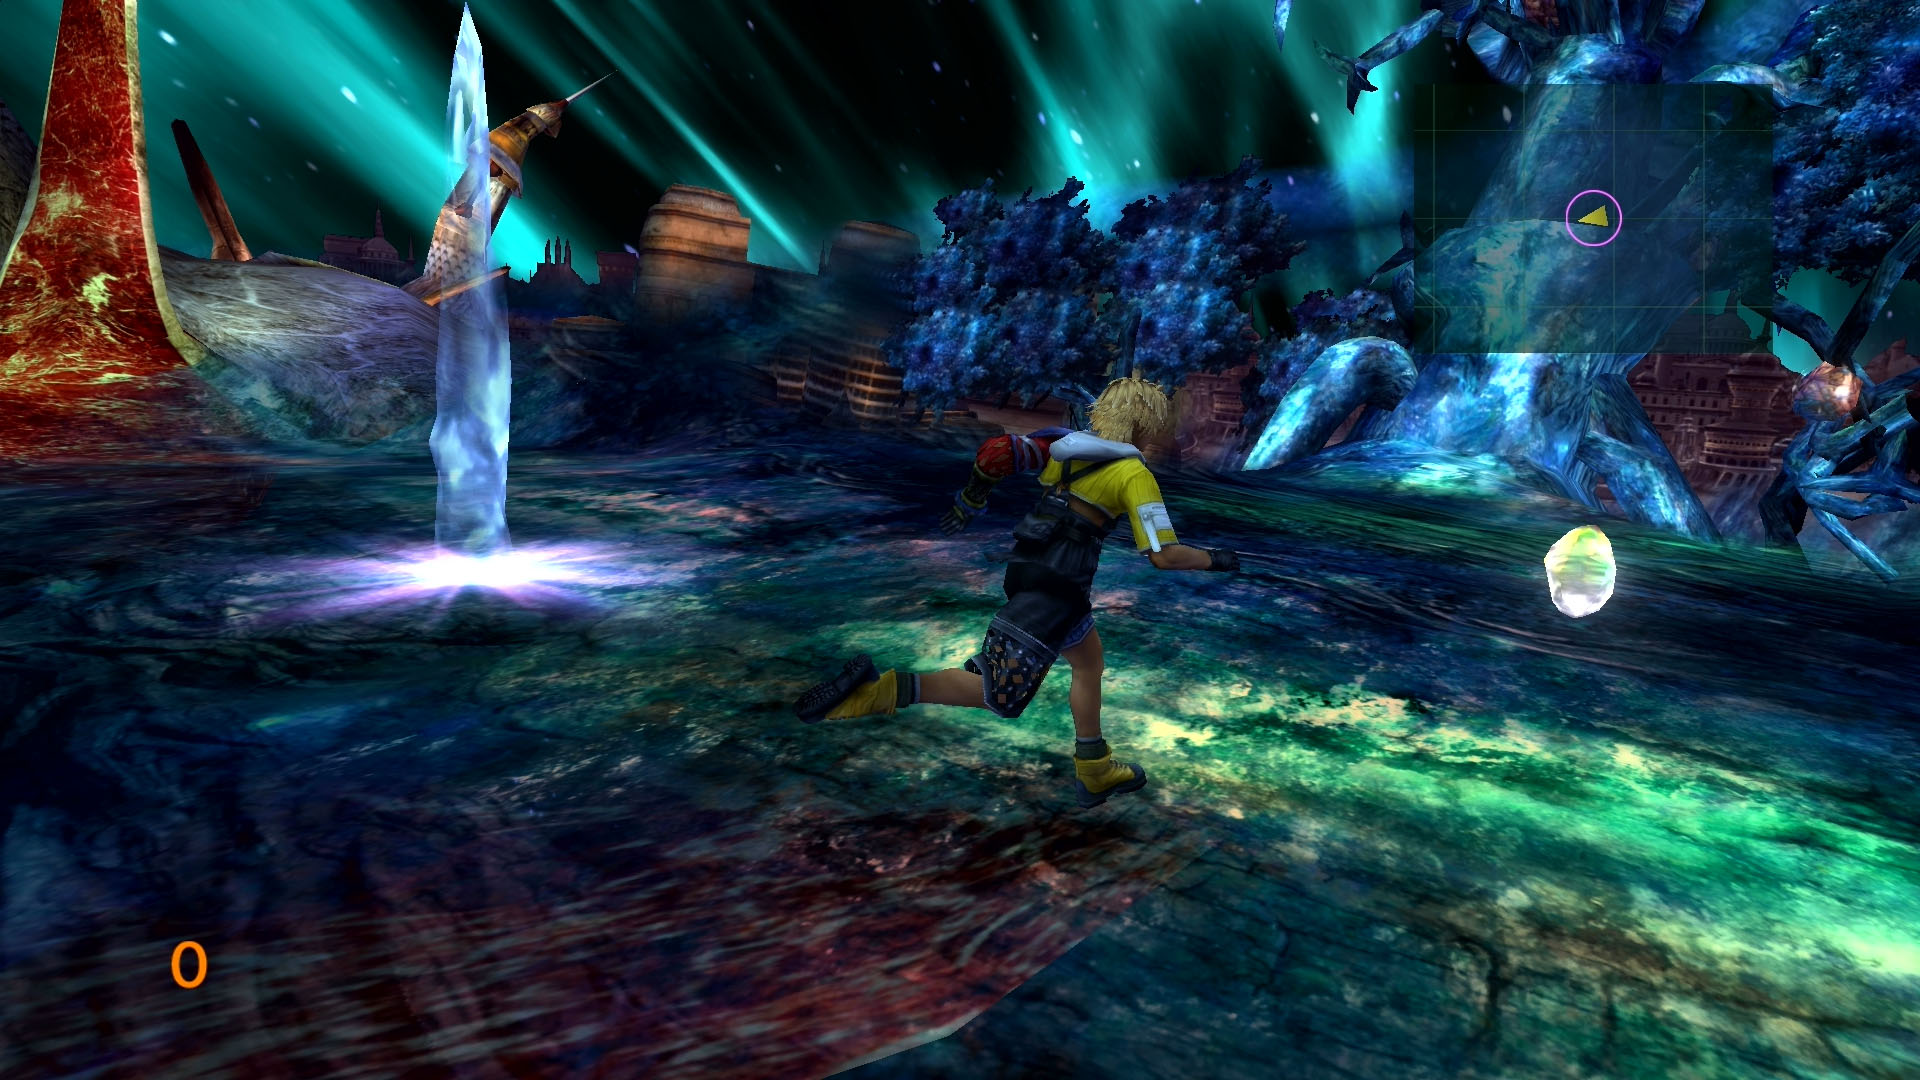
You’re now inside Sin. Like the Omega Ruins, this area will not be mapped until you go out and explore. Five treasure chests are laid throughout this area, some at the top of small waterfalls. You cannot climb up the waterfalls, so you’ll need to find paths around to the tops.
Most of the Fiends in this area aren’t too tough if you’ve gone through the Omega Ruins. The toughest is the Behemoth King. After defeating him, he’ll use Meteor, which does massive damage to the entire team. You can survive this by casting Auto-Life if you have it, or use an Aeon.
The exit is to the north. Make sure you save at the save sphere before ascending the stairs. A boss battle will be waiting in the next room.
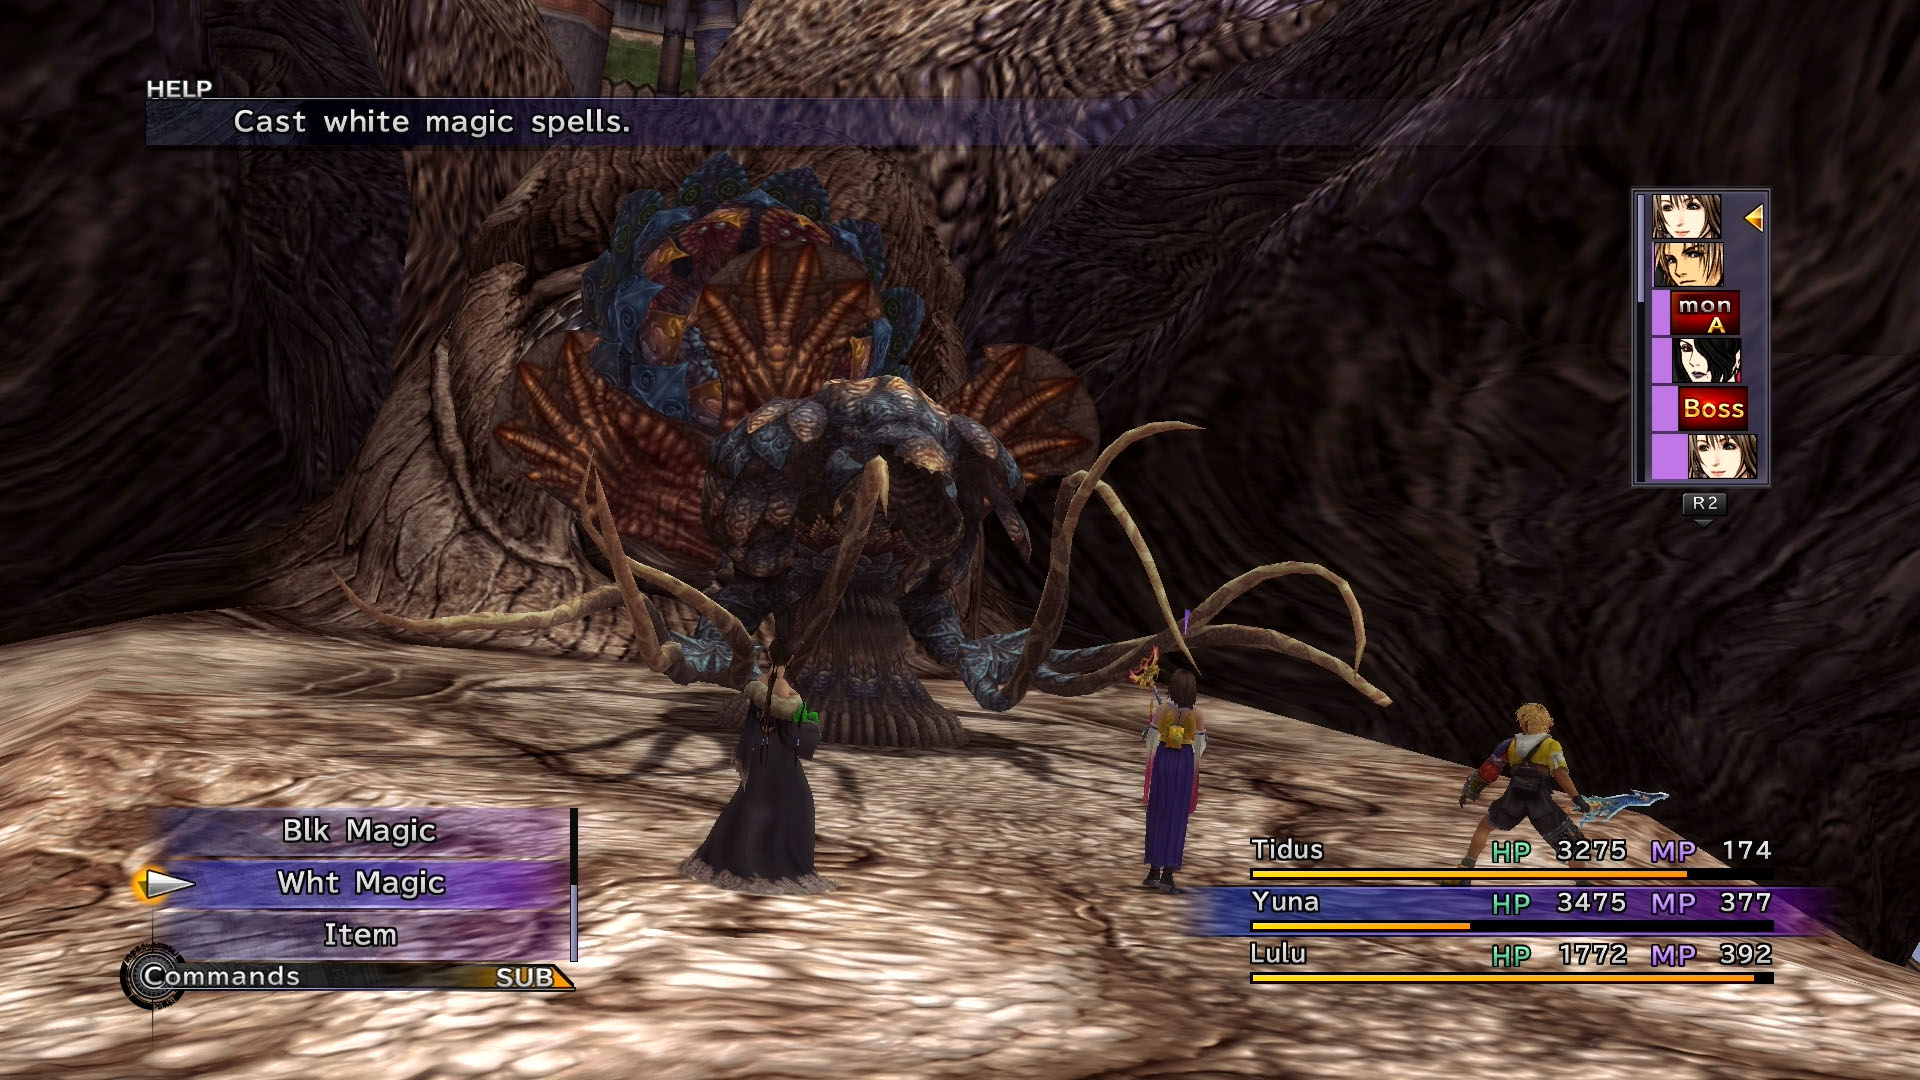
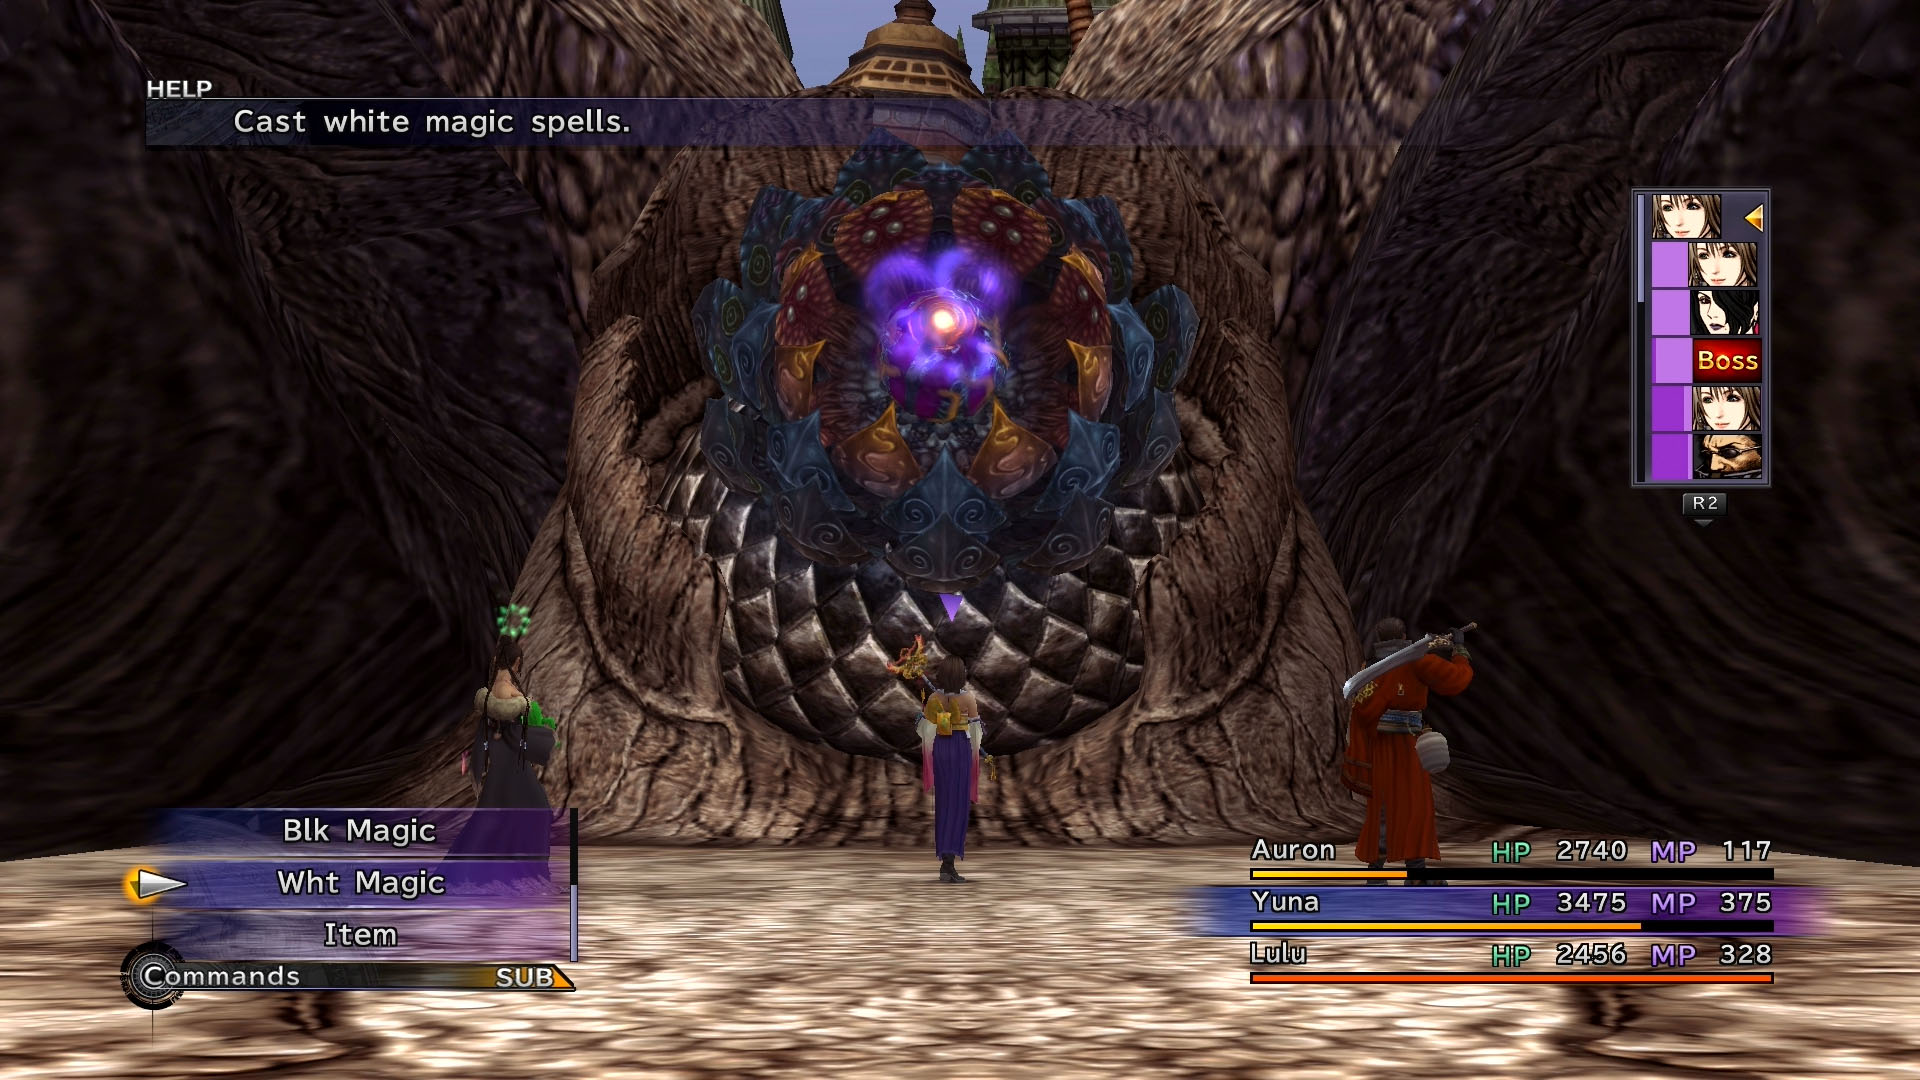
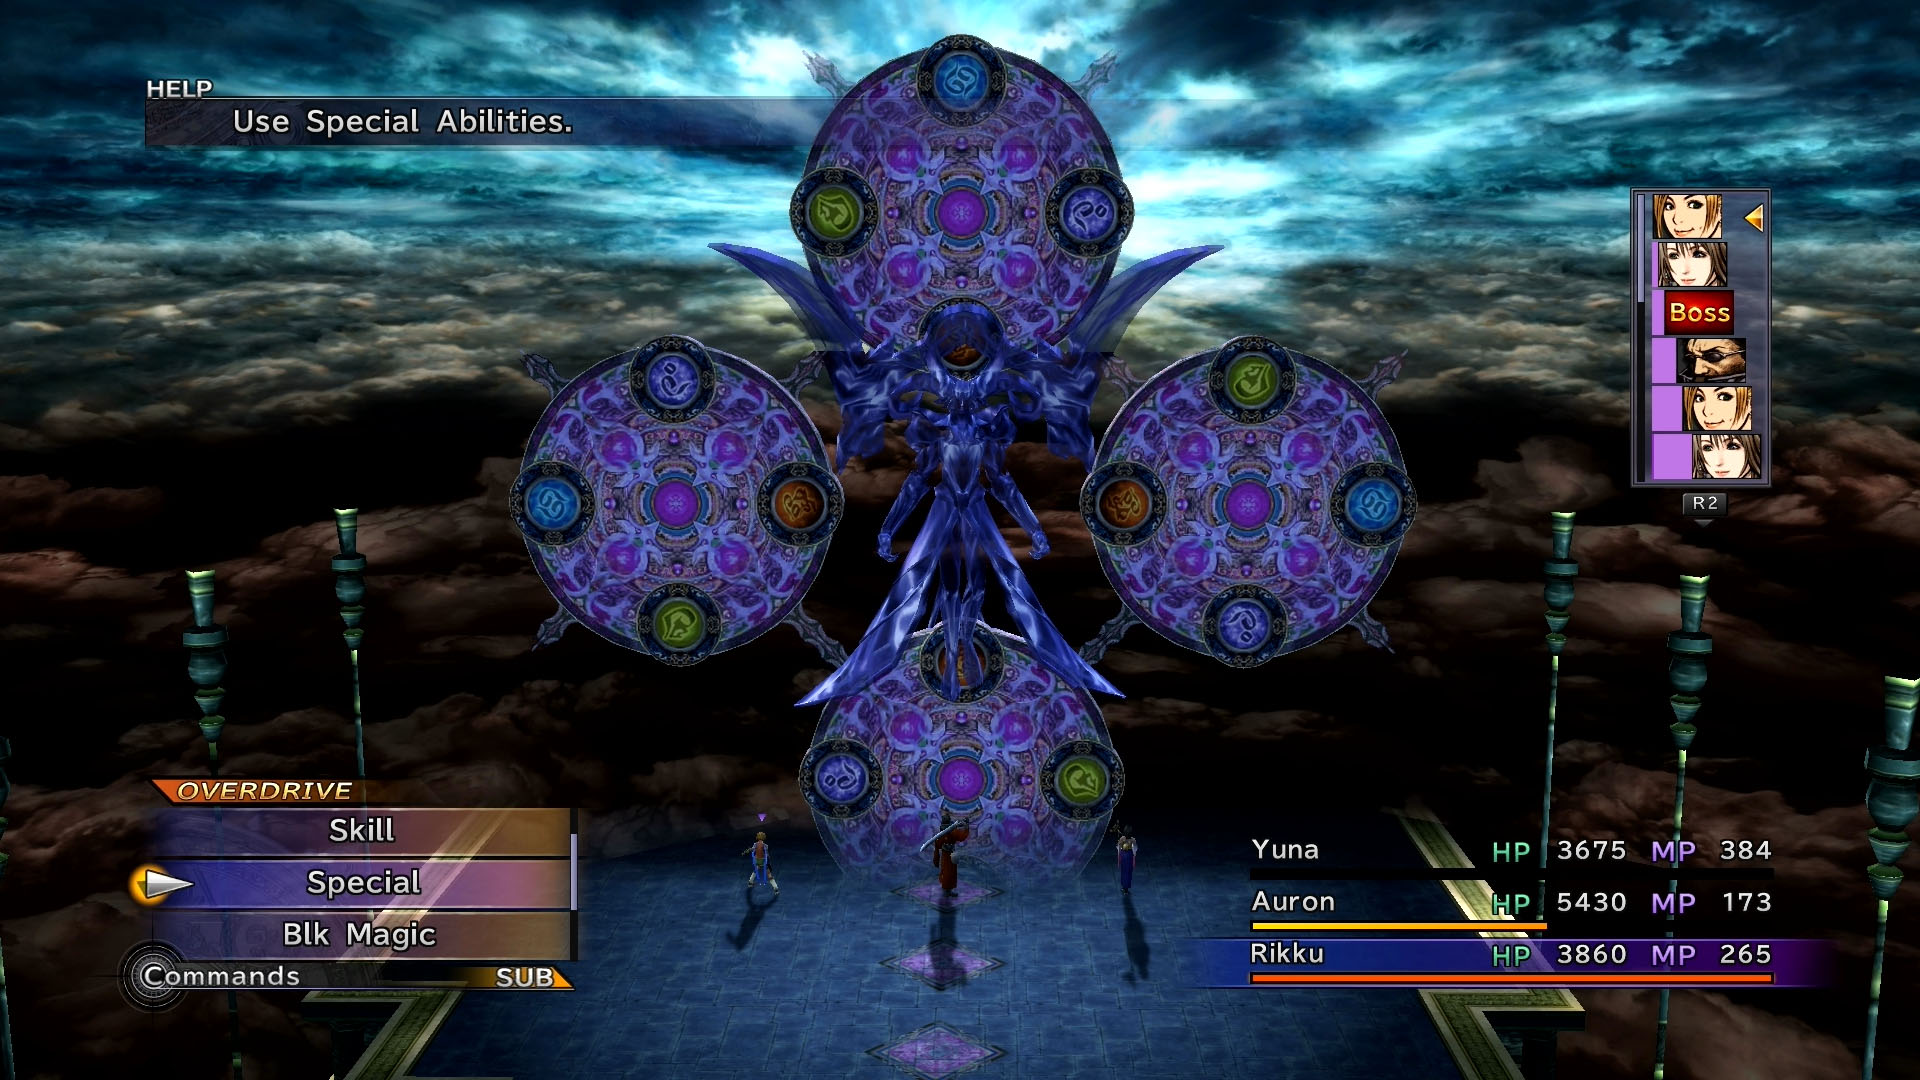
Boss Battle: Seymour Omnis
| HP | AP | Fire | Thunder | Water | Ice |
|---|---|---|---|---|---|
| 80000 (15000) | 24000 (36000) | — | — | — | — |
Seymour is back once more. This time he will change his elemental properties using the large circles behind him. Red is fire, blue is water, purple is ice, and yellow is thunder. Whichever color is pointing towards Seymour is the type of black magic spells he will (Firaga, Waterga, Thundaga, Blizzaga) on the entire party, and it will be the same properties that make up his defenses. Use Lulu’s black magic spells to deal massive damage. Remember, Fire and Ice are opposed, as are Water and Thunder. You can also attack these circular panels to alter his elemental resistances.
As mentioned earlier, Seymour will attack with a number of powerful elemental spells on the entire party. It’s best to use Nul white magic spells or armor that nullifies or absorbs elemental damage. Don’t forget to buff up your party with Shell, Haste, Focus, and Cheer. Debuff Seymour with attacks like Armor and Mental Break. Once Seymour loses a lot of HP, he will use the powerful non-elemental black magic spell, Ultima.
Defeat Seymour using these tactics to continue on into Sin. You may want to go back to the previous save sphere and save your game just in case!
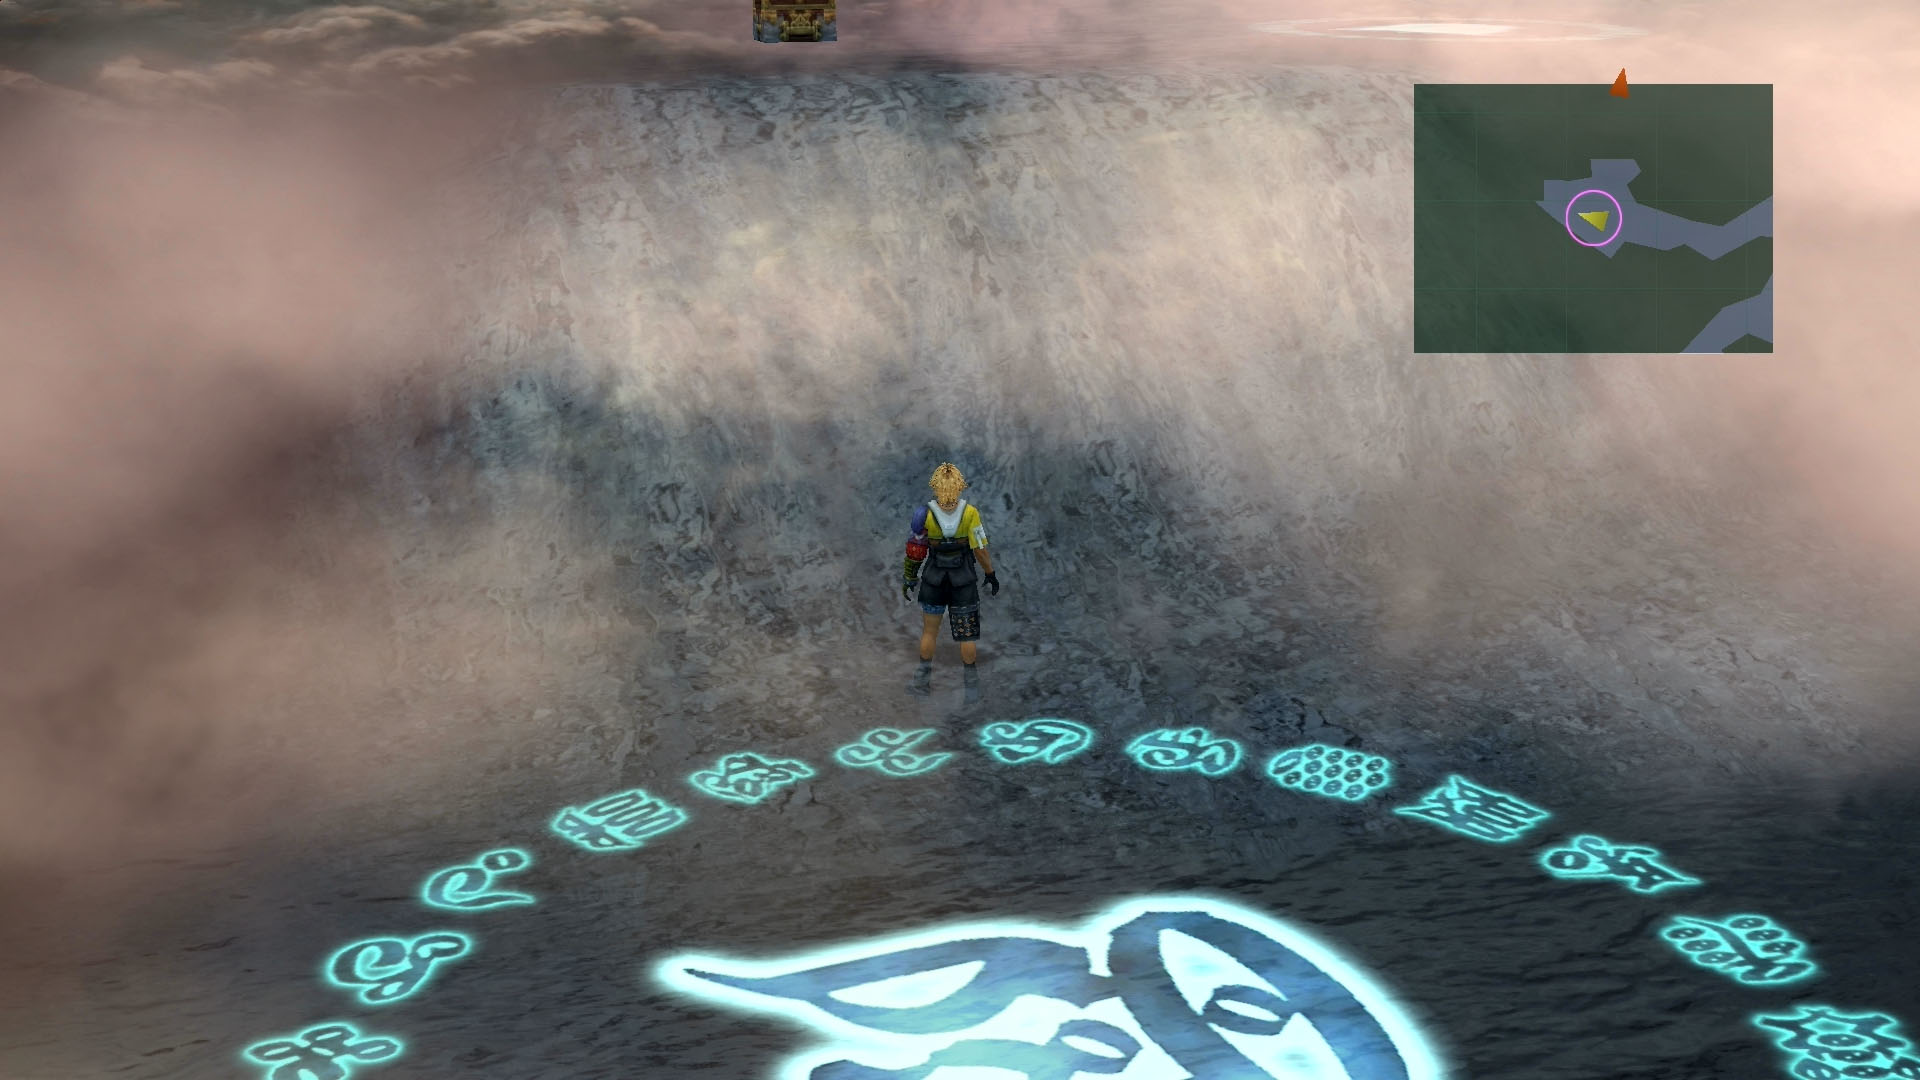
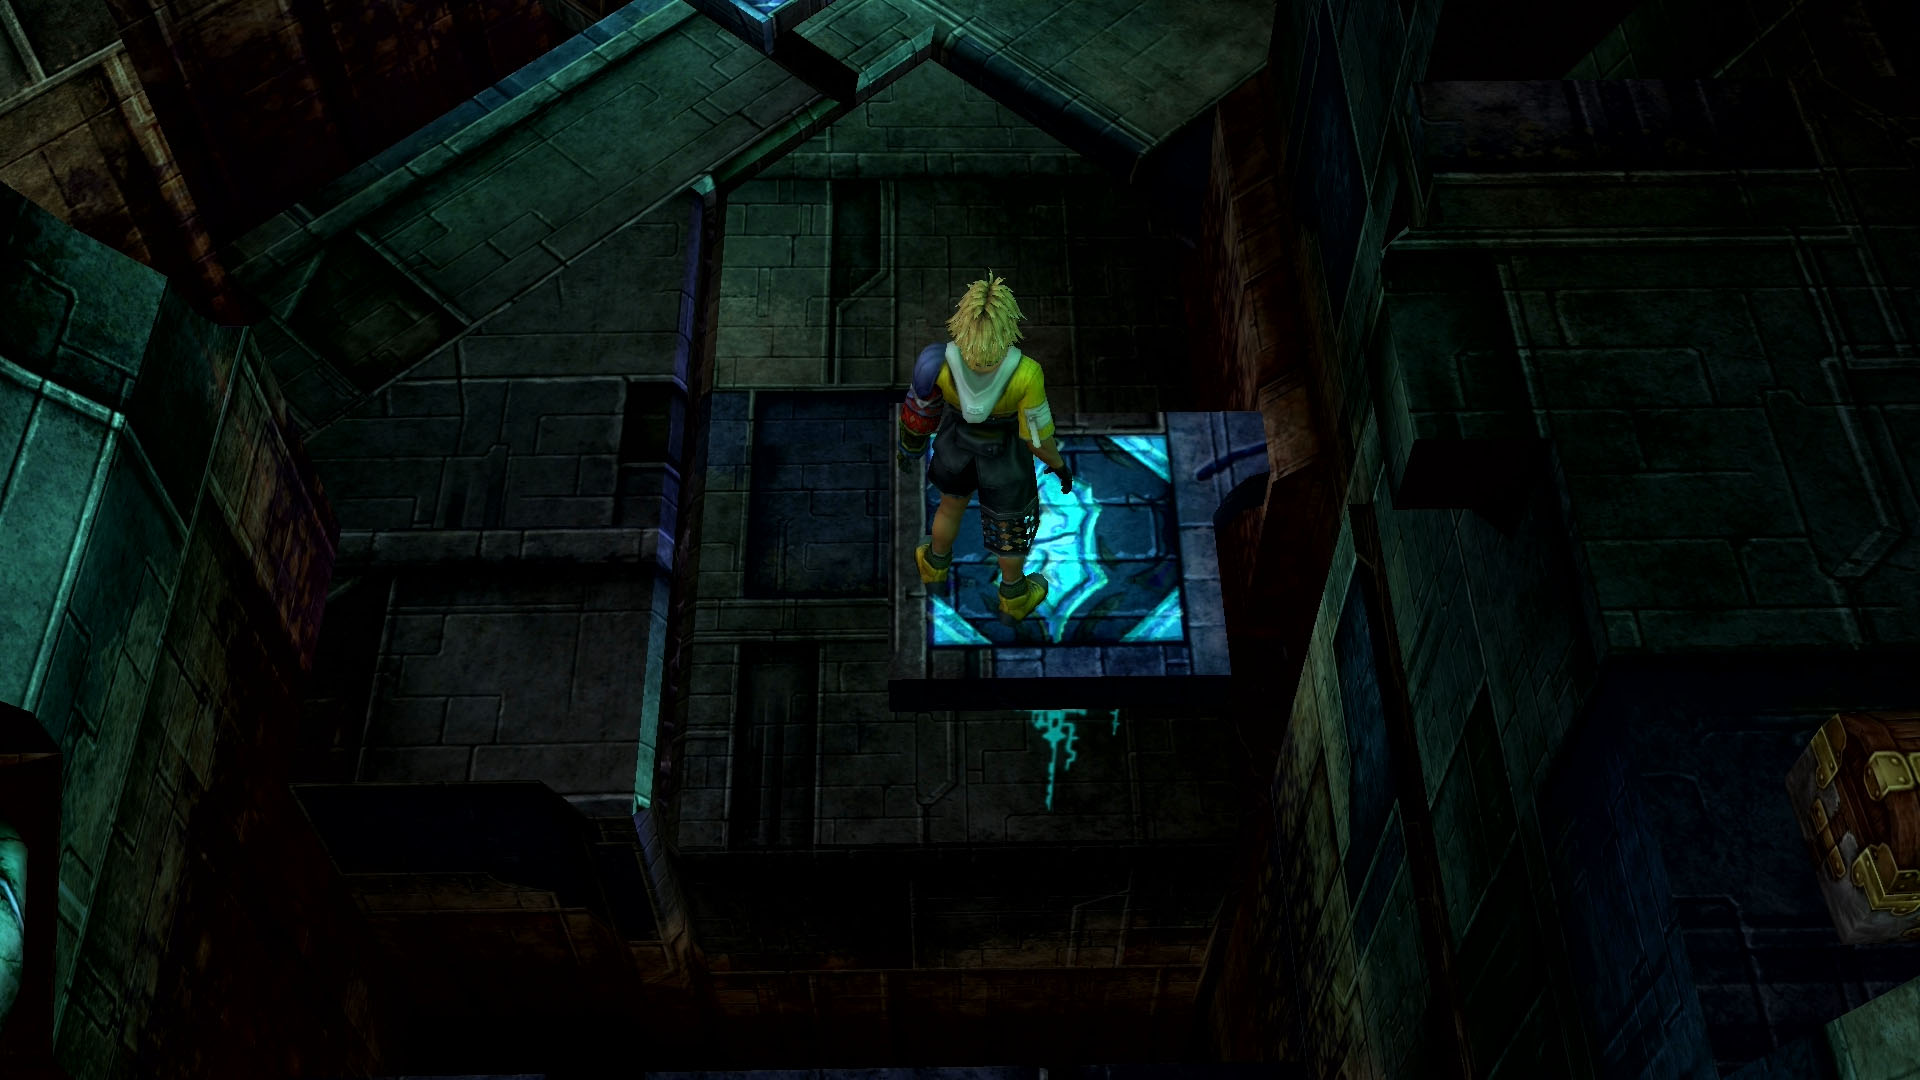
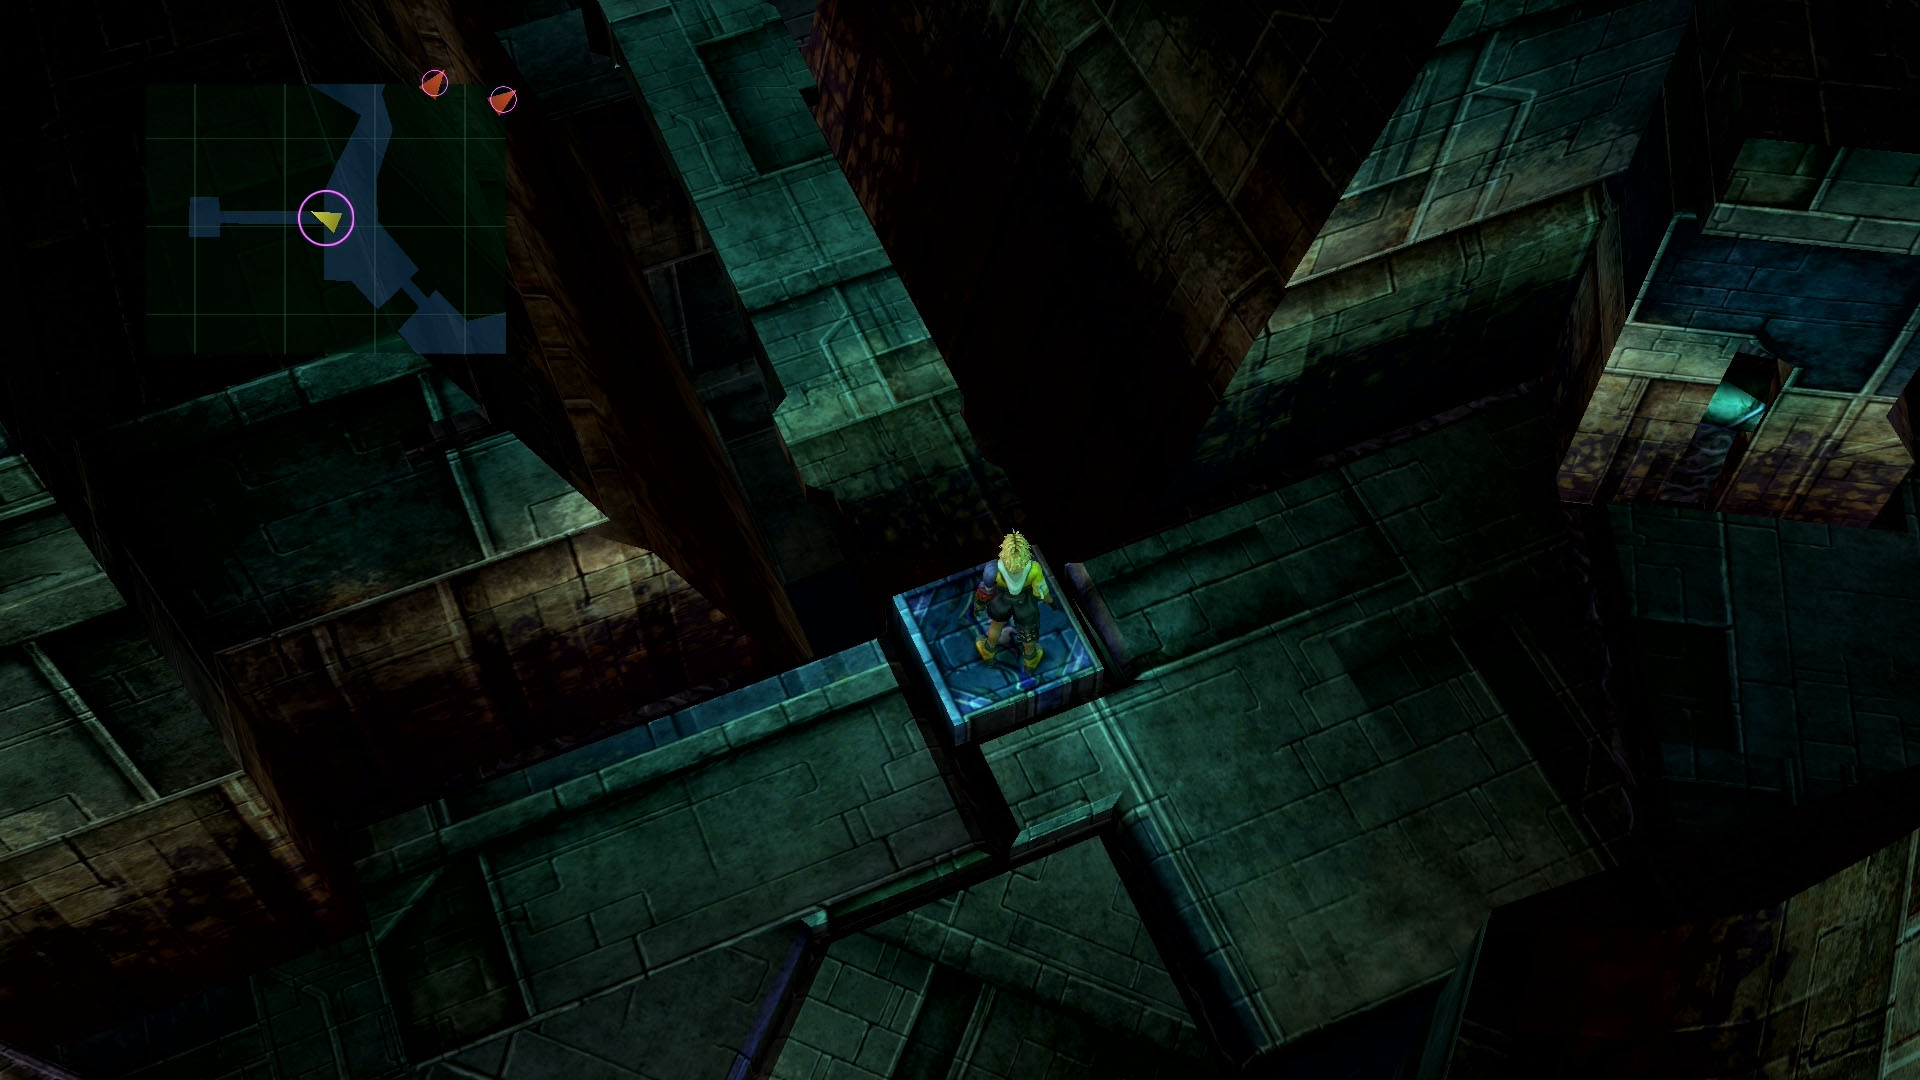
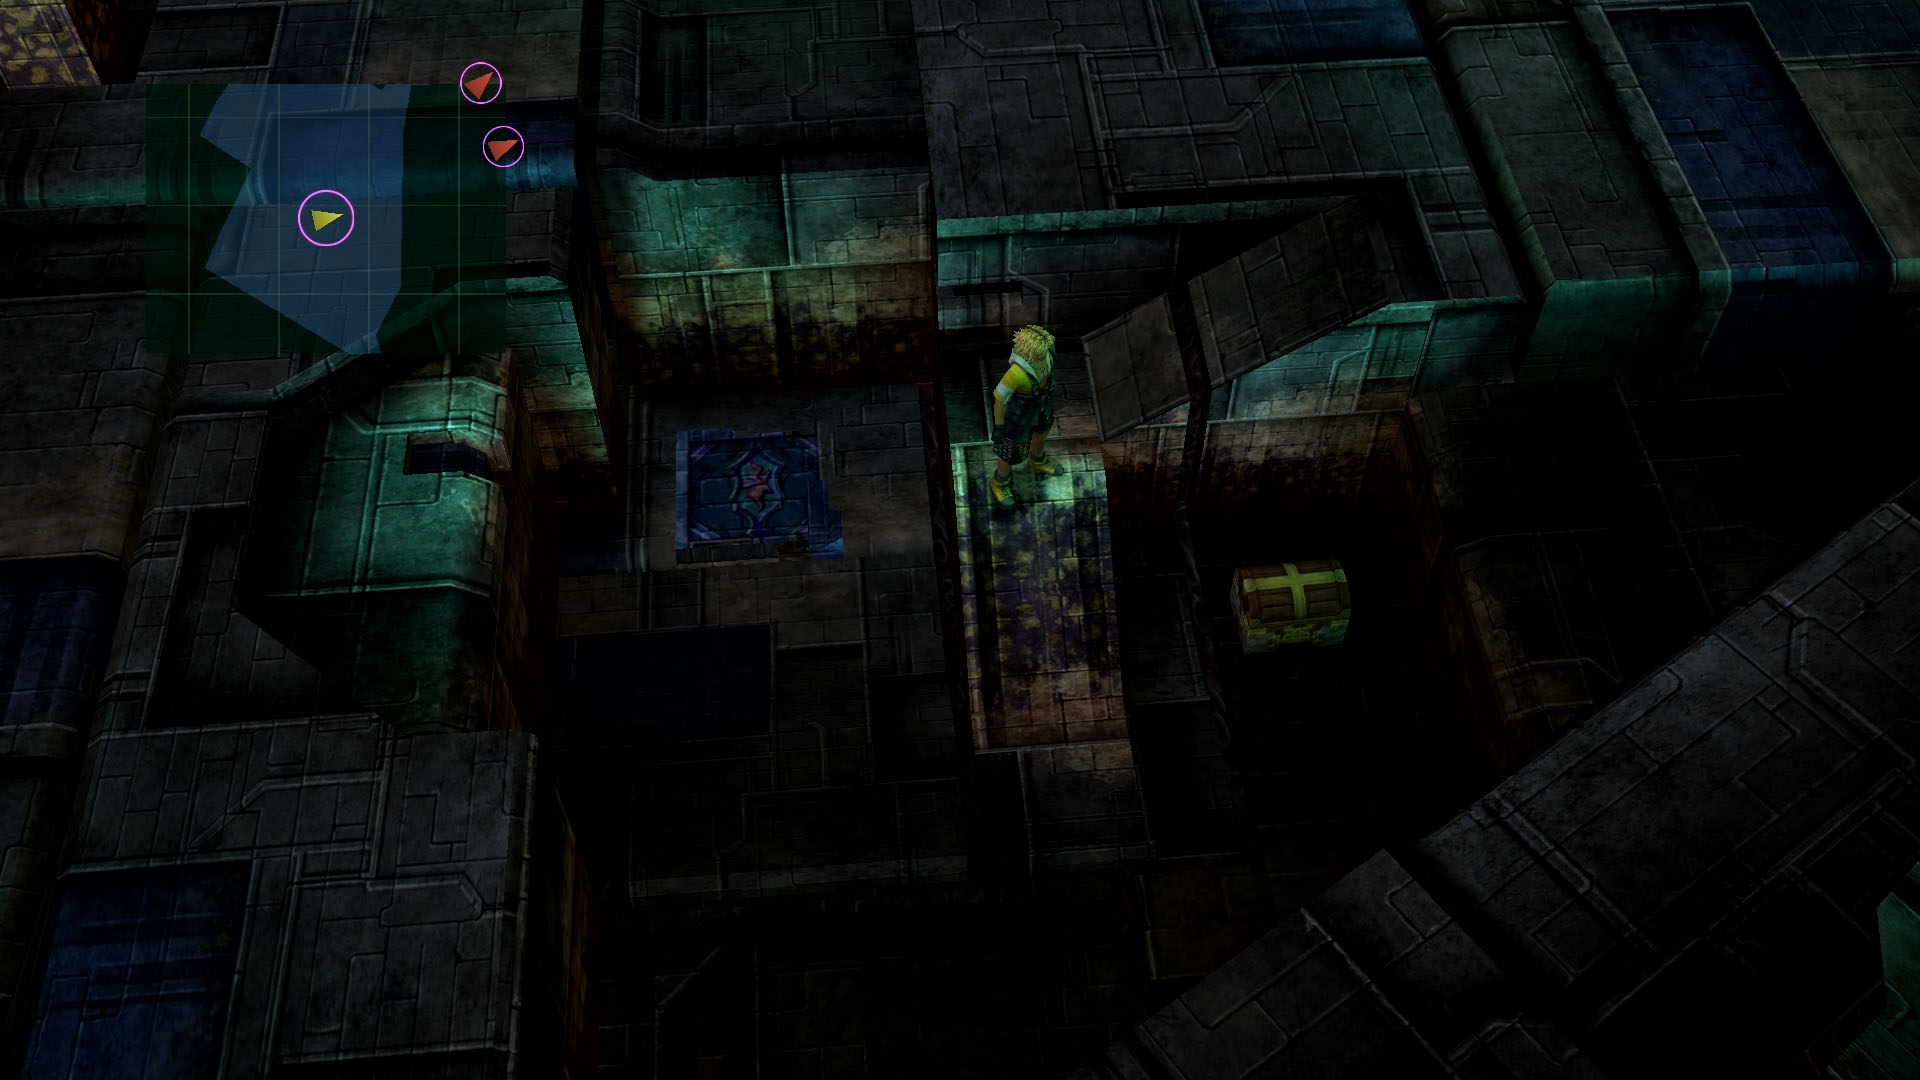
City of Dying Dreams
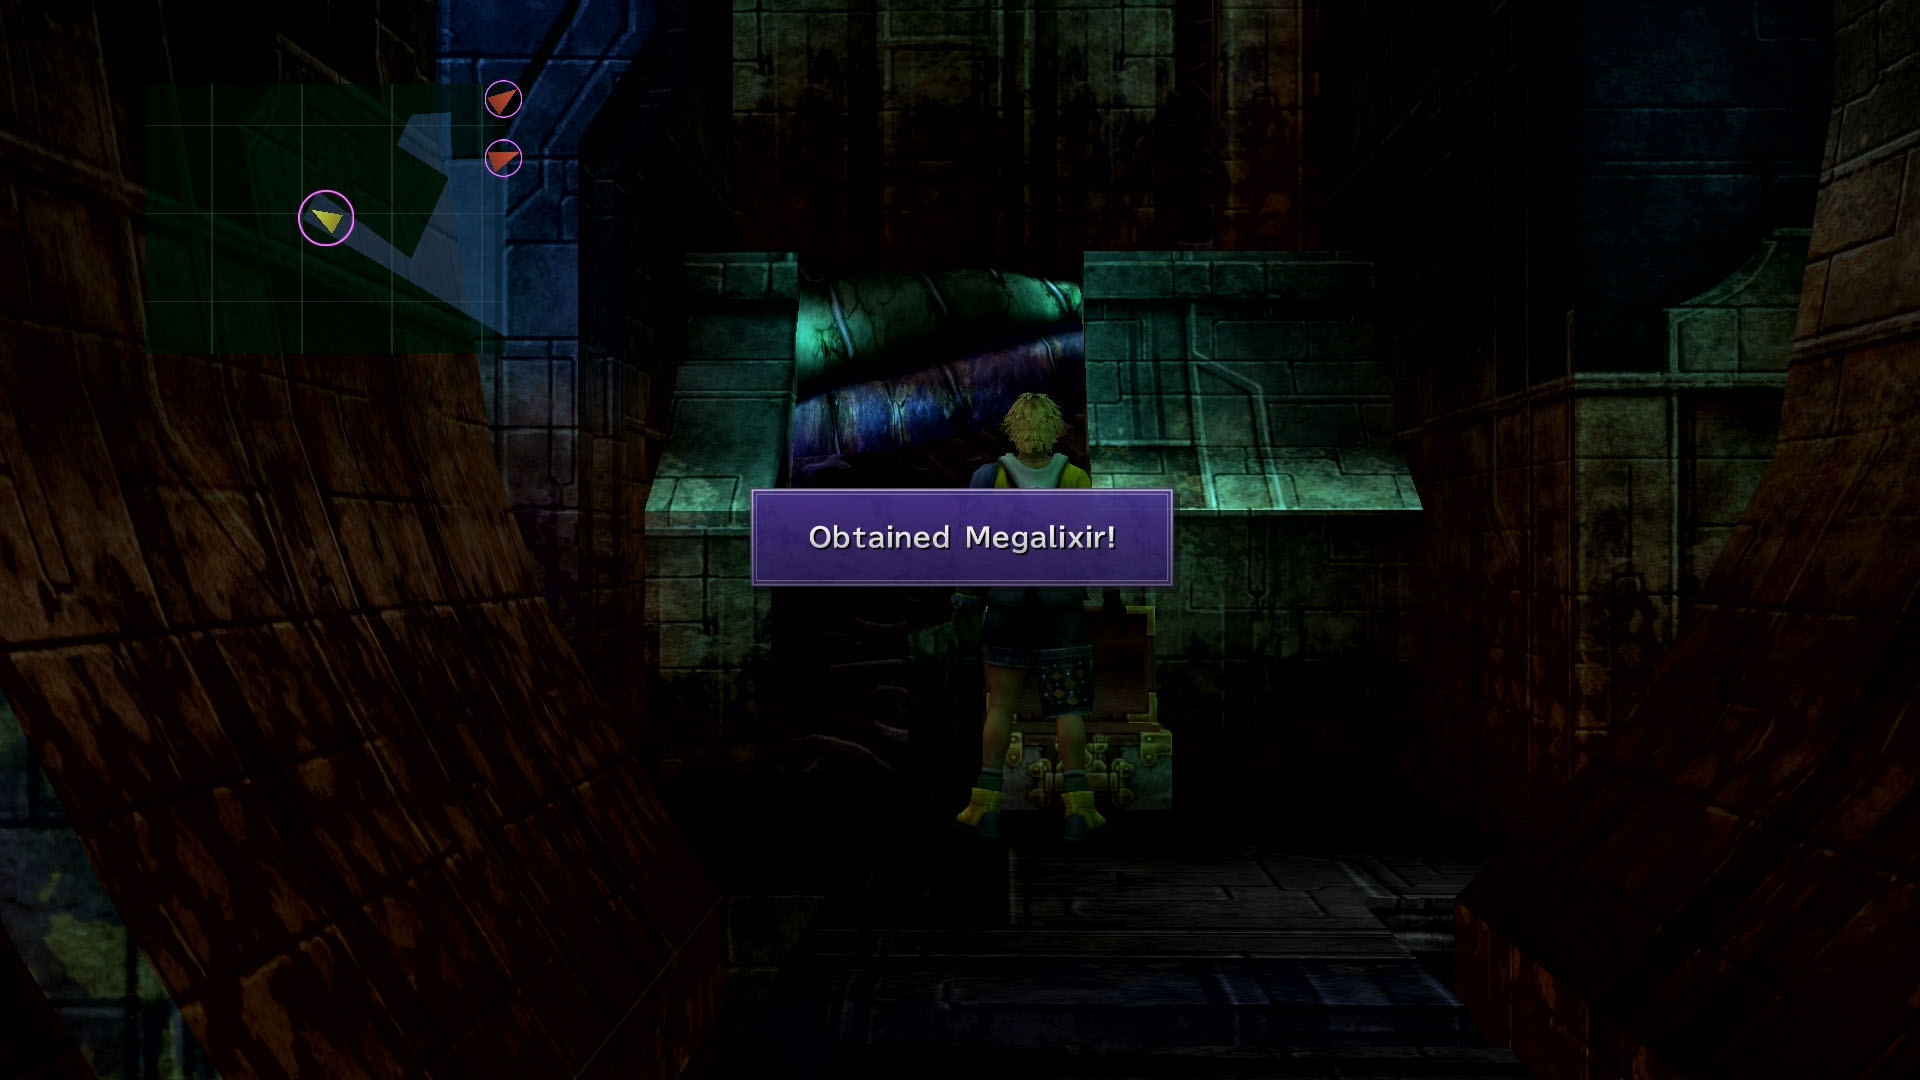
A number of side paths can be found in this area that contain various treasure chests. However, the doors with glyphs will not open unless you have killed enough Fiends in this area. A Lv 4 Key Sphere is behind the first glyph door, and there are multiple doors that will lock it in. A Megalixir is behind the second glyph door further north.
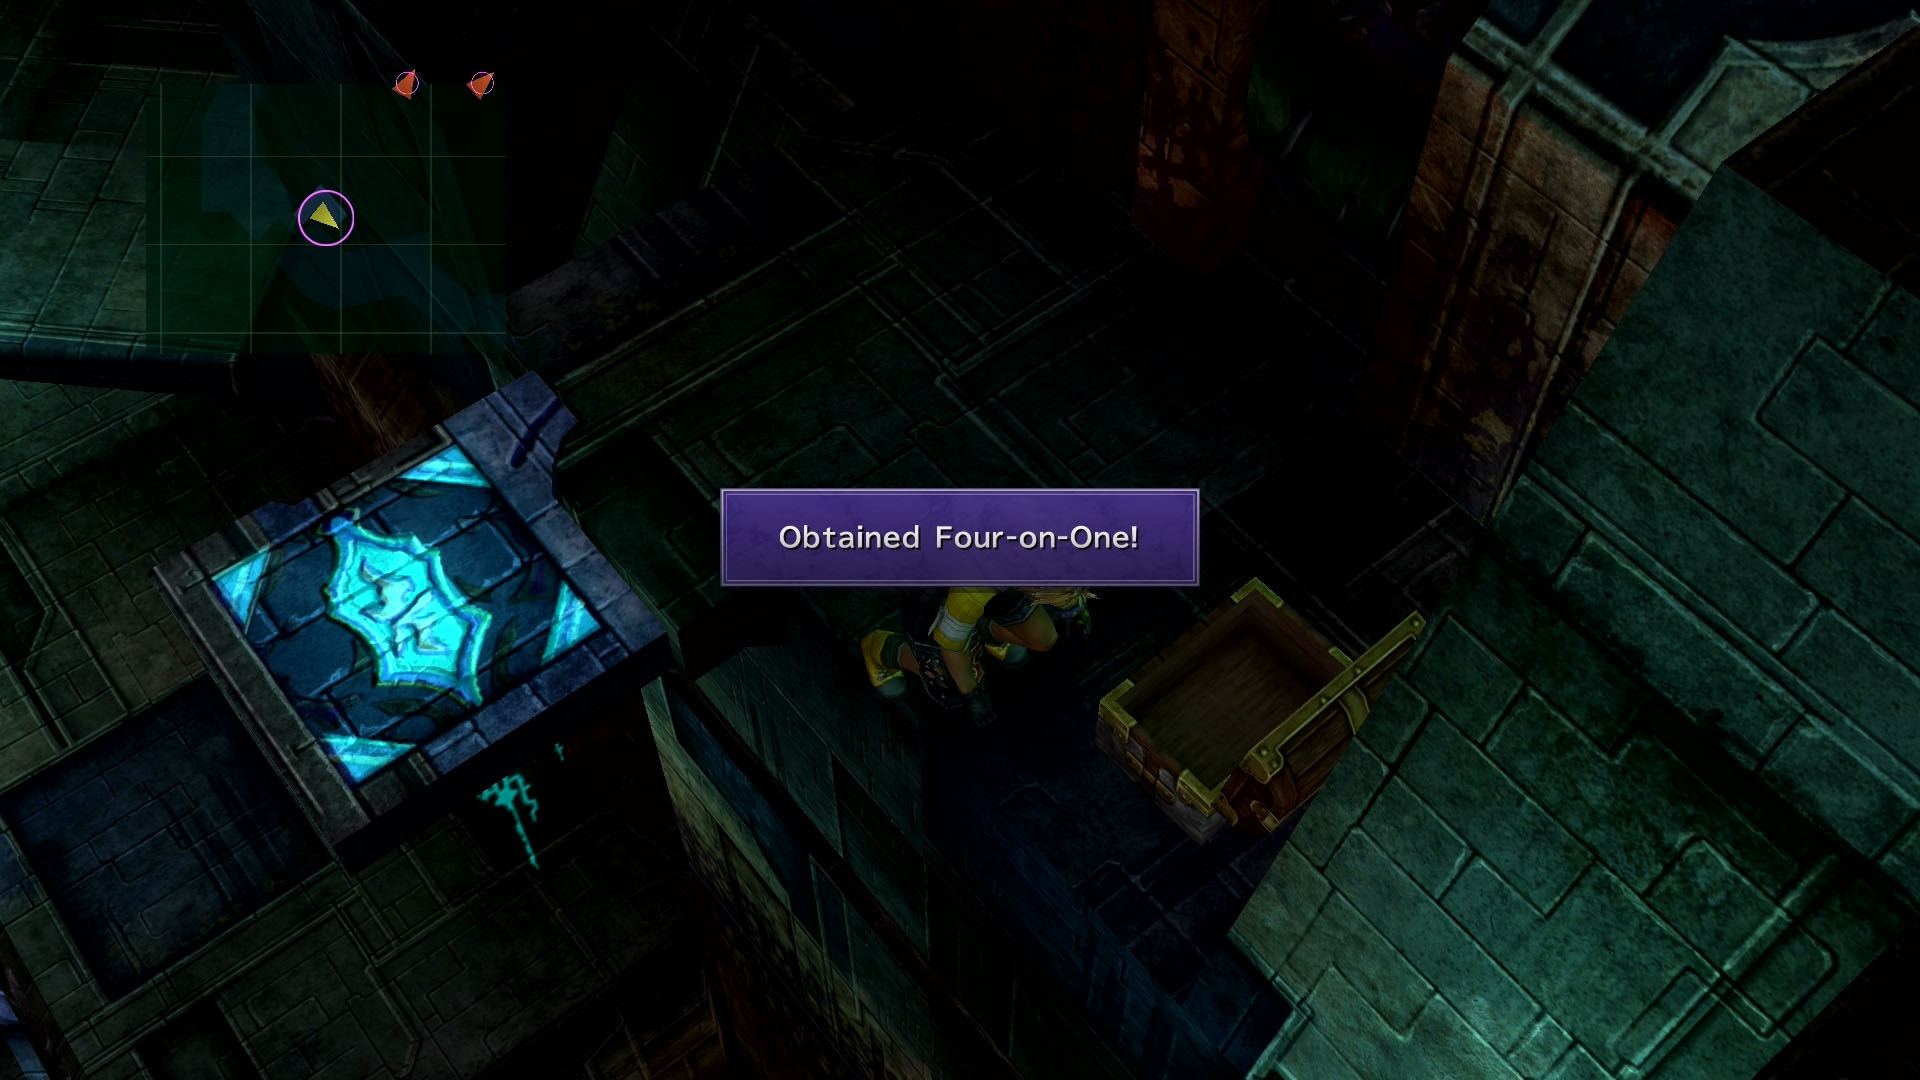
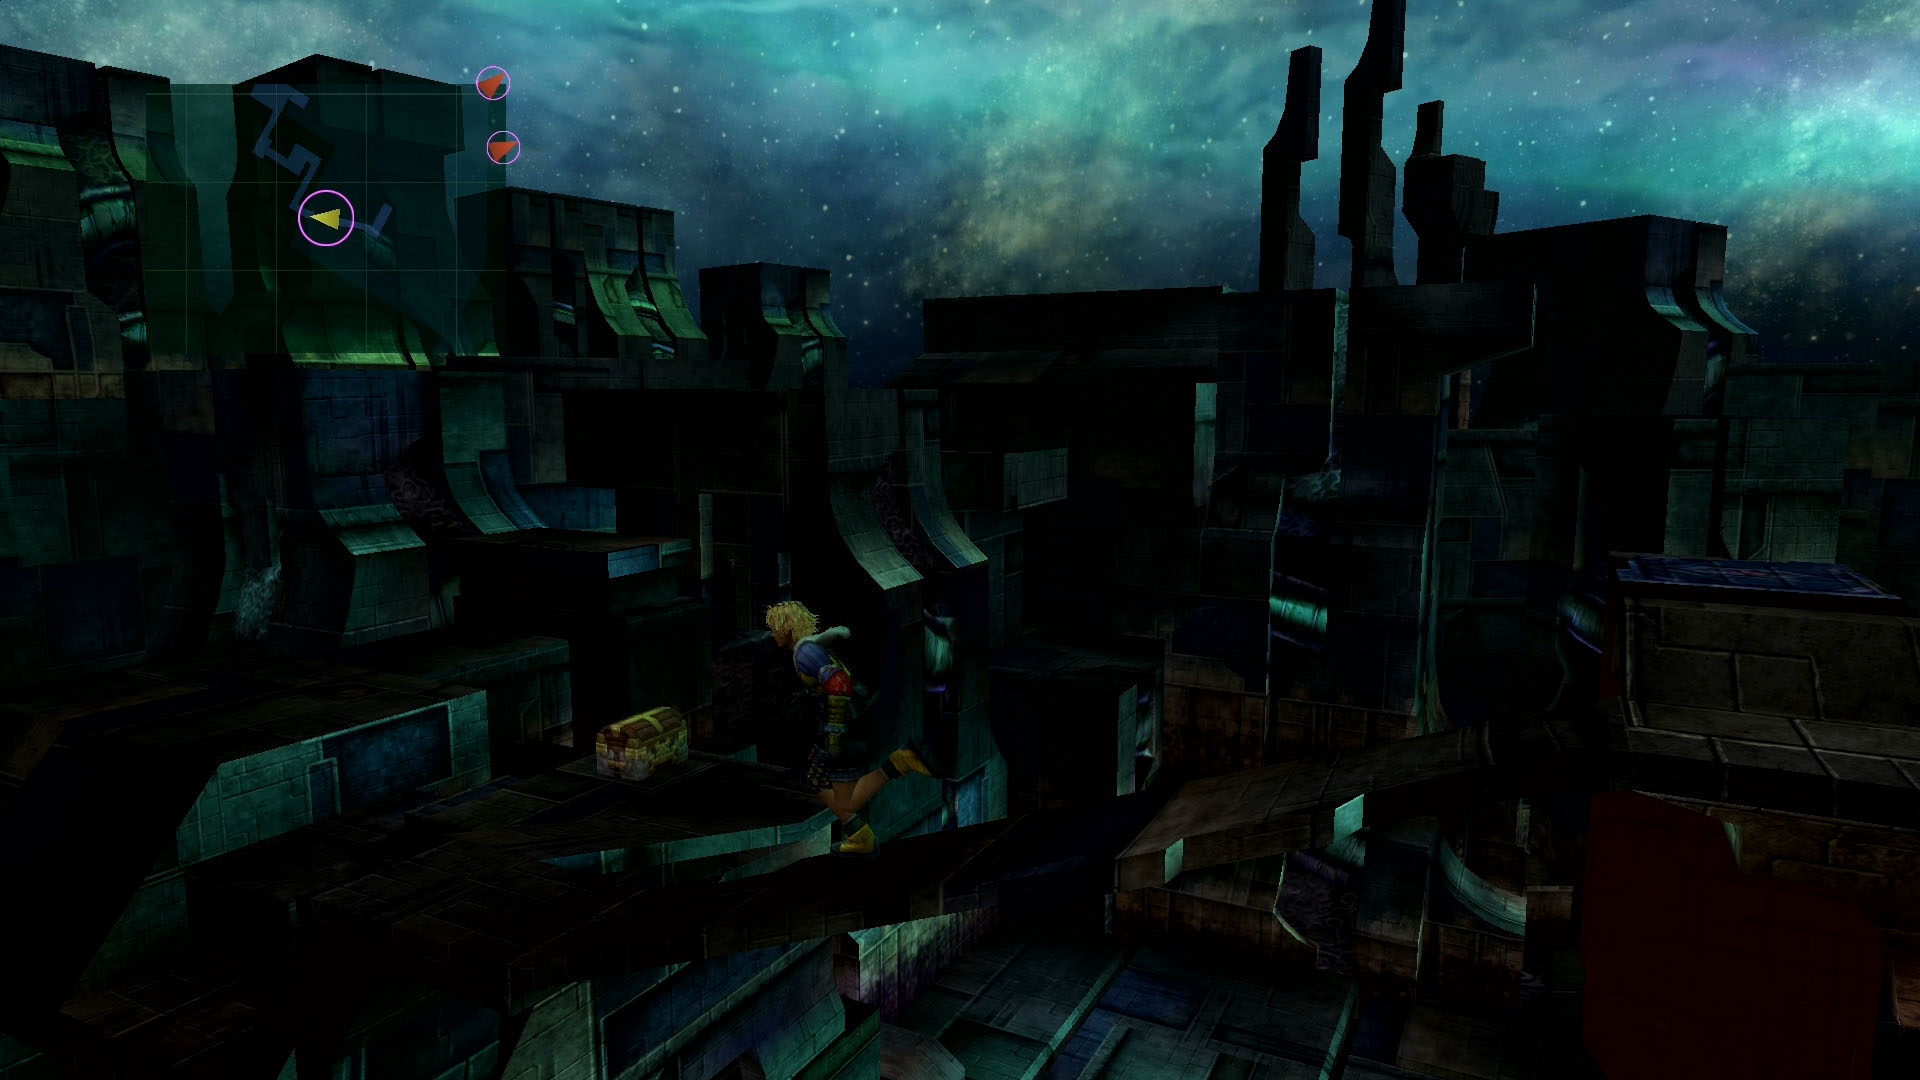
You can also find slightly hidden side paths by looking for unusually marked tiles on the ground. Press X on the first square to go up to a treasure chest containing a the Four-on-One weapon.
Interact with the wall to the left of the second tile to open up a path to a Defending Bracer.
Follow the path north and look for a small ramp down a hole. A treasure chest containing 20000 Gil is at the bottom next to another strange tile. Step on this tile to reach a treasure chest containing an HP Sphere.
Before going back down, follow a tiny path to the north to find a treasure chest containing a Defense Sphere.
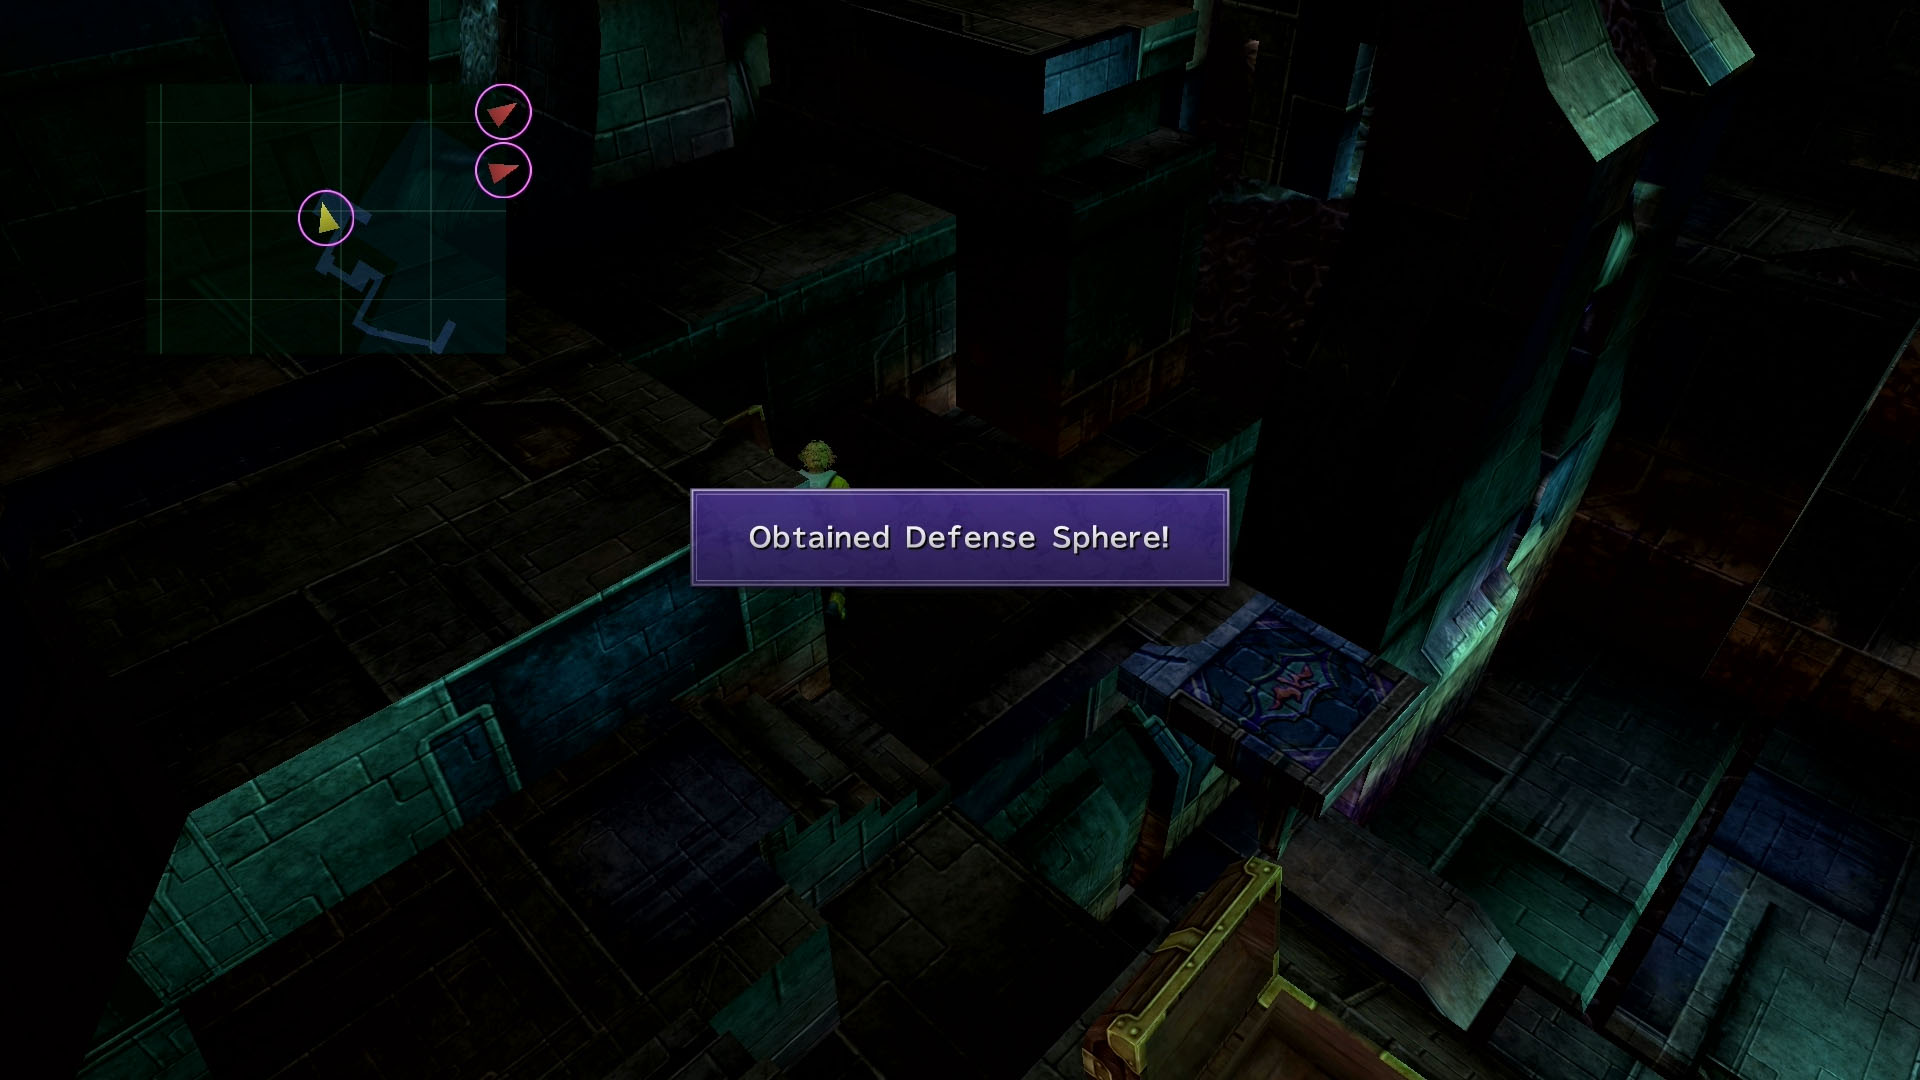
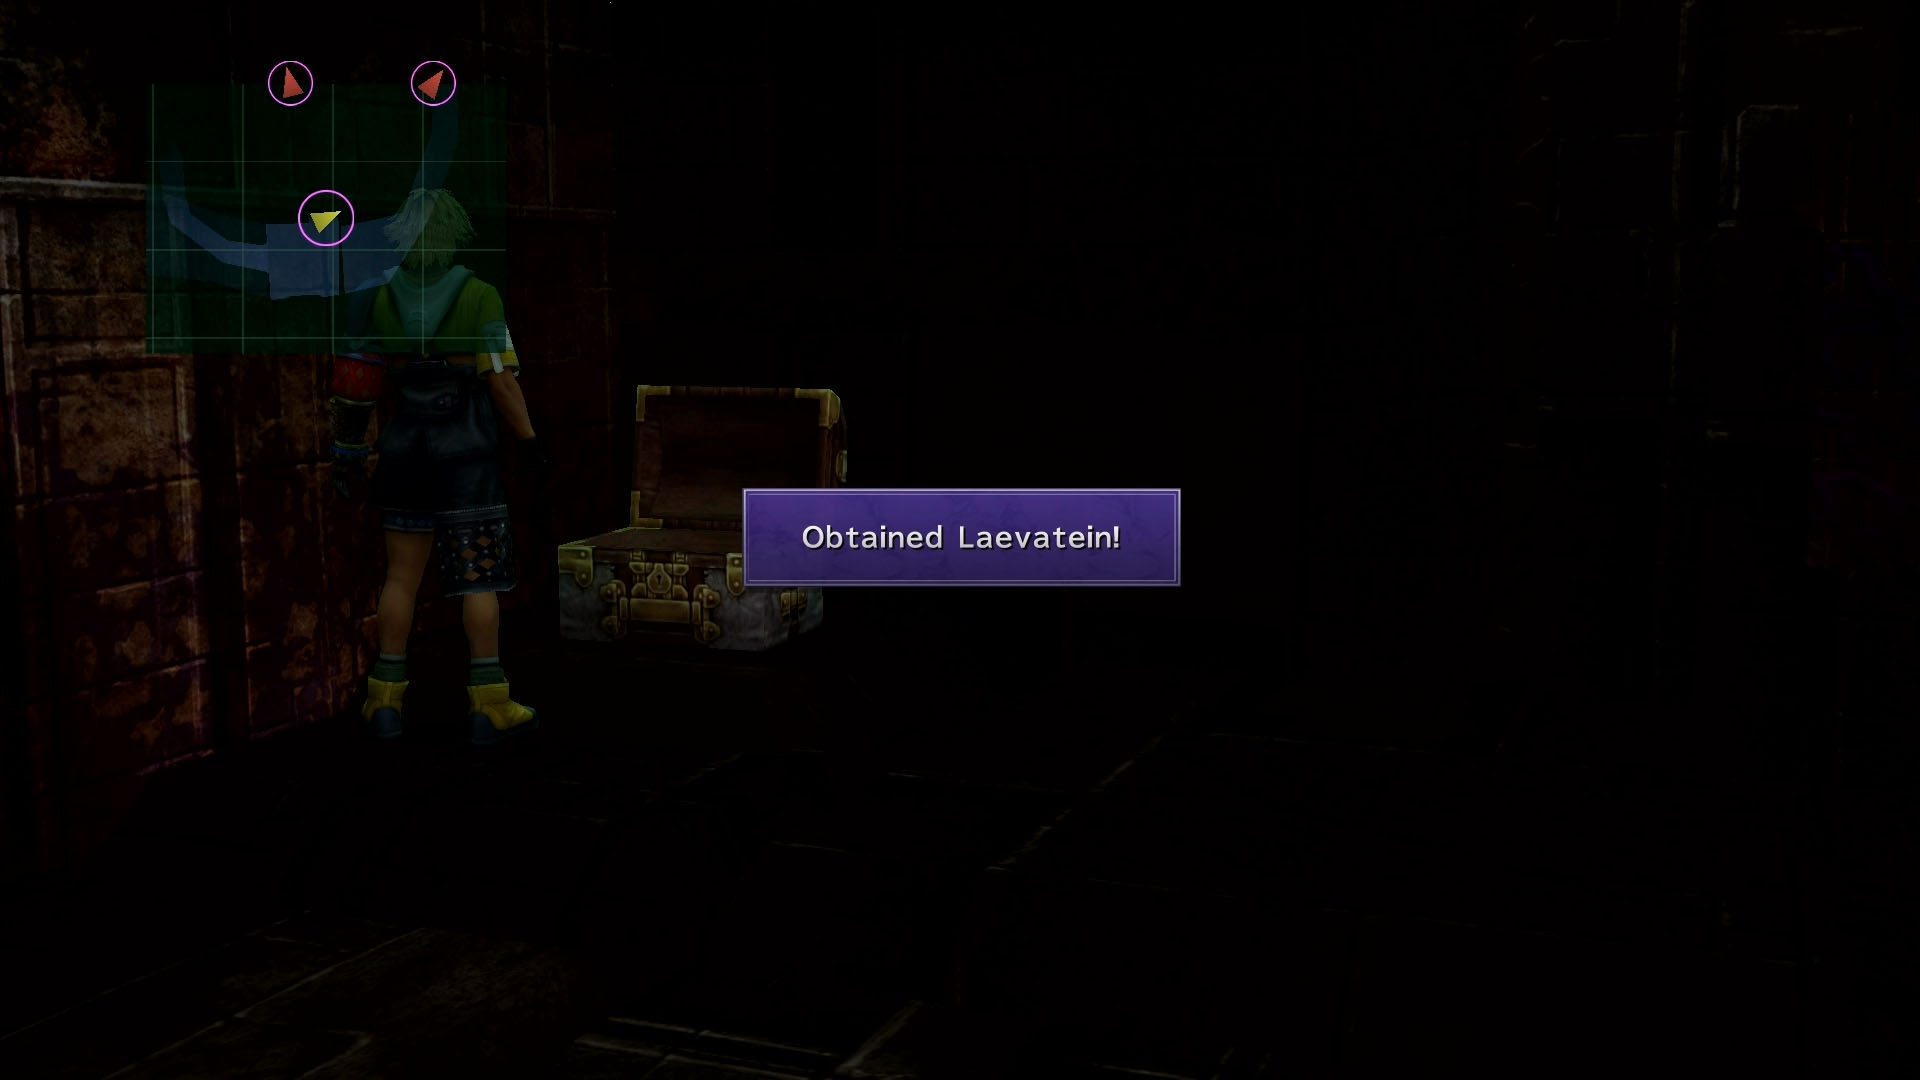
Continue along the path to the north until you reach a Save Sphere. Go east at the intersection to reach a treasure chest containing the Laevatein weapon.
Return to the save sphere and save your game. The final boss is to the north. Go back to the Airship using the Save Sphere if you’re not ready to end the game!
The Nucleus
Crystal spikes will randomly poke out of the ground here. If you touch them, you will start a battle with a Fiend. Grab the crystal balls that form around the spikes to obtain an item. Once you get ten items, you will start the final battle.

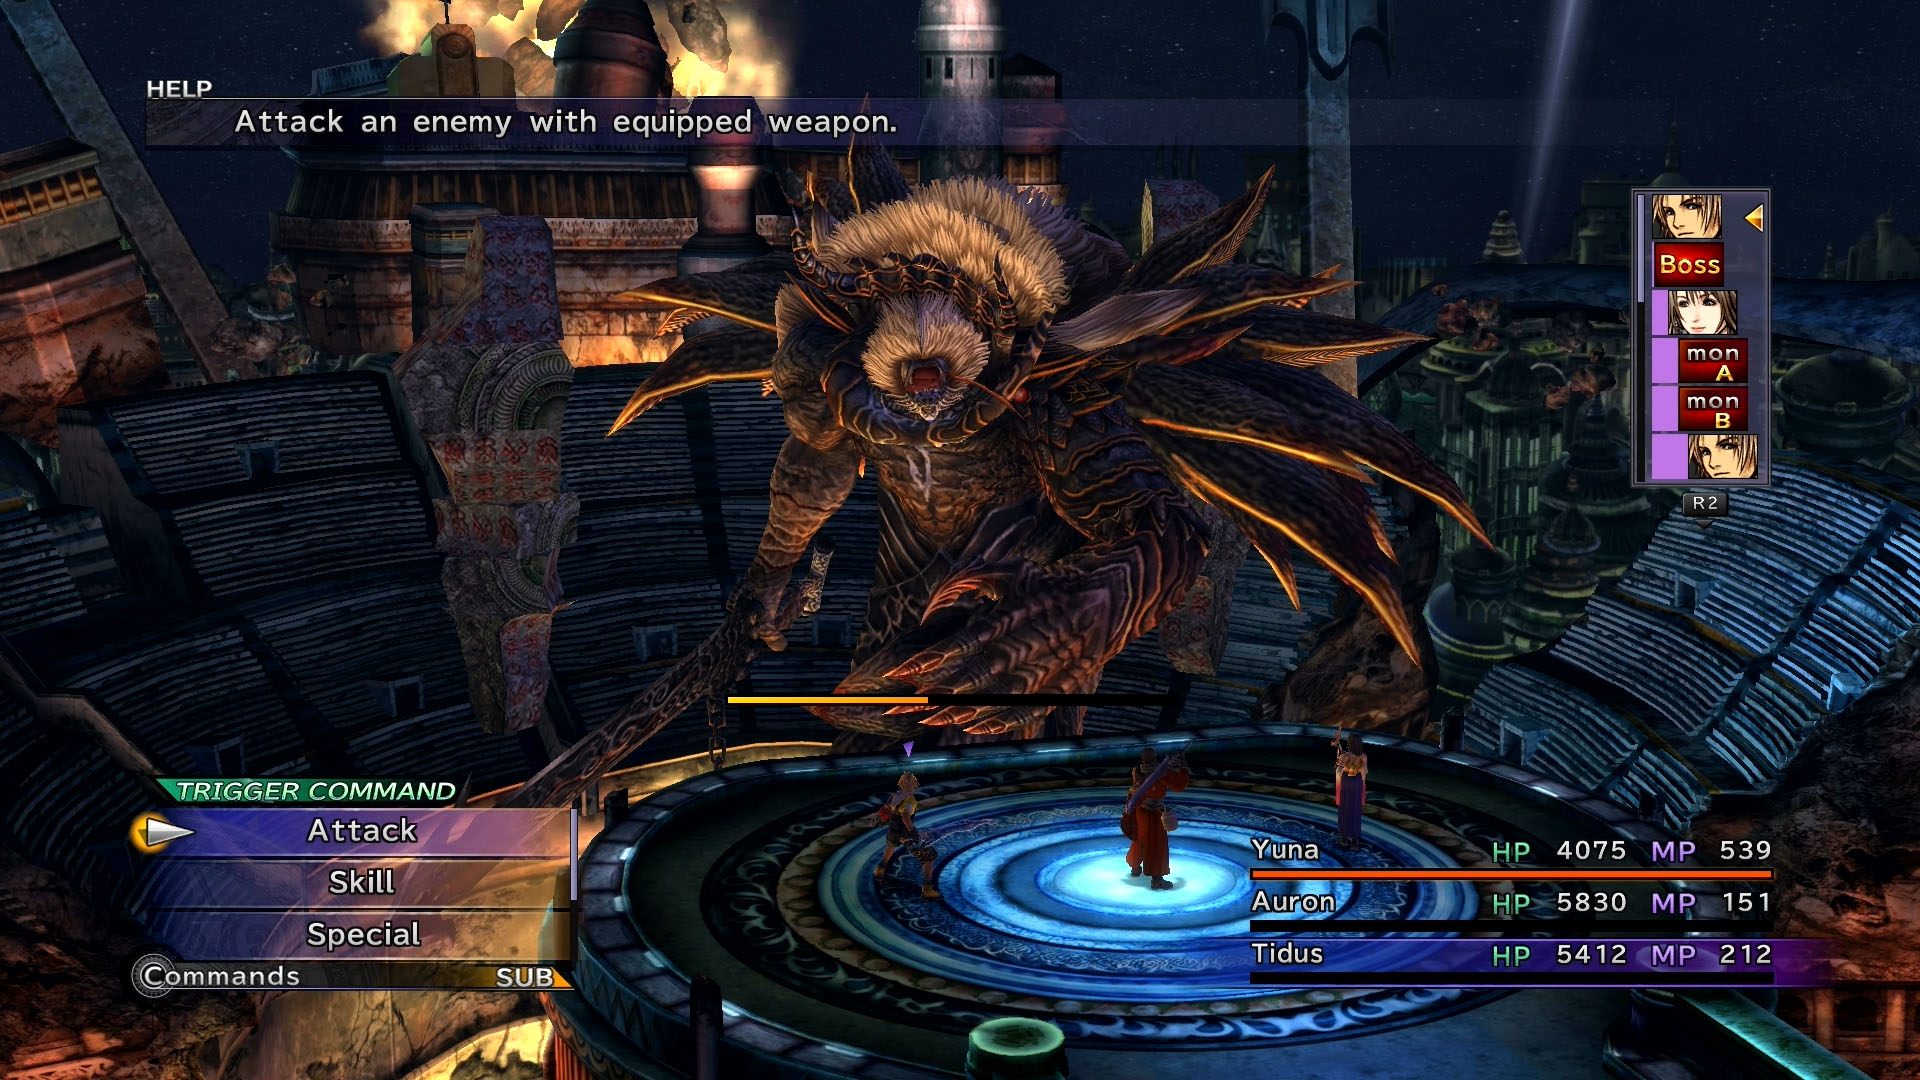
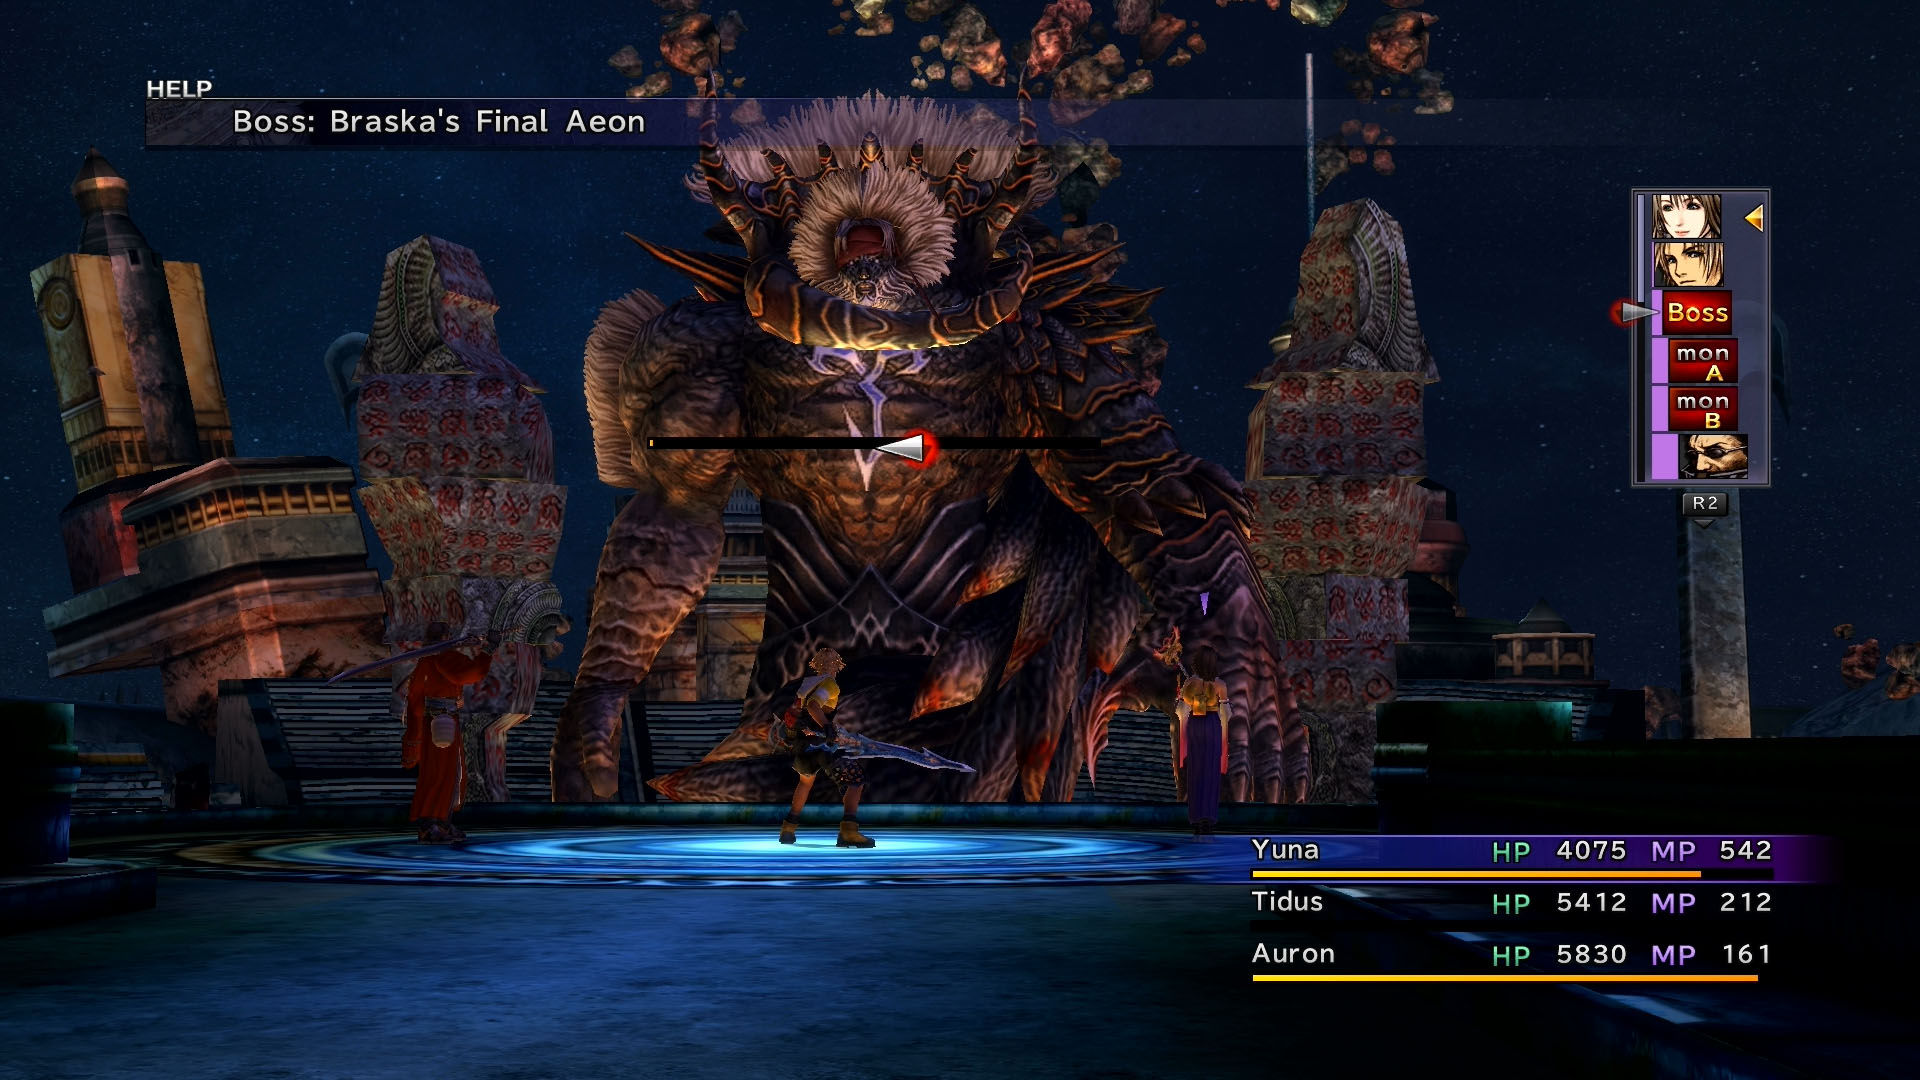
Boss Battle: Braska’s Final Aeon
| Enemy | HP | AP | Fire | Thunder | Water | Ice |
|---|---|---|---|---|---|---|
| First Form | 60000 | 0 | — | — | — | — |
| Second Form | 120000 | 0 | — | — | — | — |
Jecht will have two large structures on his side called “Yu Pagoda.” They will heal Jecht throughout the battle and increase his Overdrive gauge. If you have Auron’s Zombie Attack, use it on Jecht so he will take damage from curative spells. After awhile, the Zombie status will be removed, so you’ll have to use it again. Alternatively, you can attack the Yu Pagoda to stop them from moving and healing for a short time.
Tidus will always have a trigger command to speak with Jecht. This will decrease Jecht’s Overdrive gauge. It’s best to use the talk command whenever Jecht’s Overdrive gauge gets too full.
If possible, try to defeat the first form of Braska’s Final Aeon without using your Overdrives. When he switches to his second form, use all of your Overdrives to end the battle as fast as possible. The sword Jecht uses can greatly damage the entire party with a single swing. Hit Jecht with whatever your team specializes in, and don’t be afraid to use all the items you have. You won’t be able to continue after the battle!
Defeat Jecht to play another cut scene.
Boss Battle: Yu Yevon
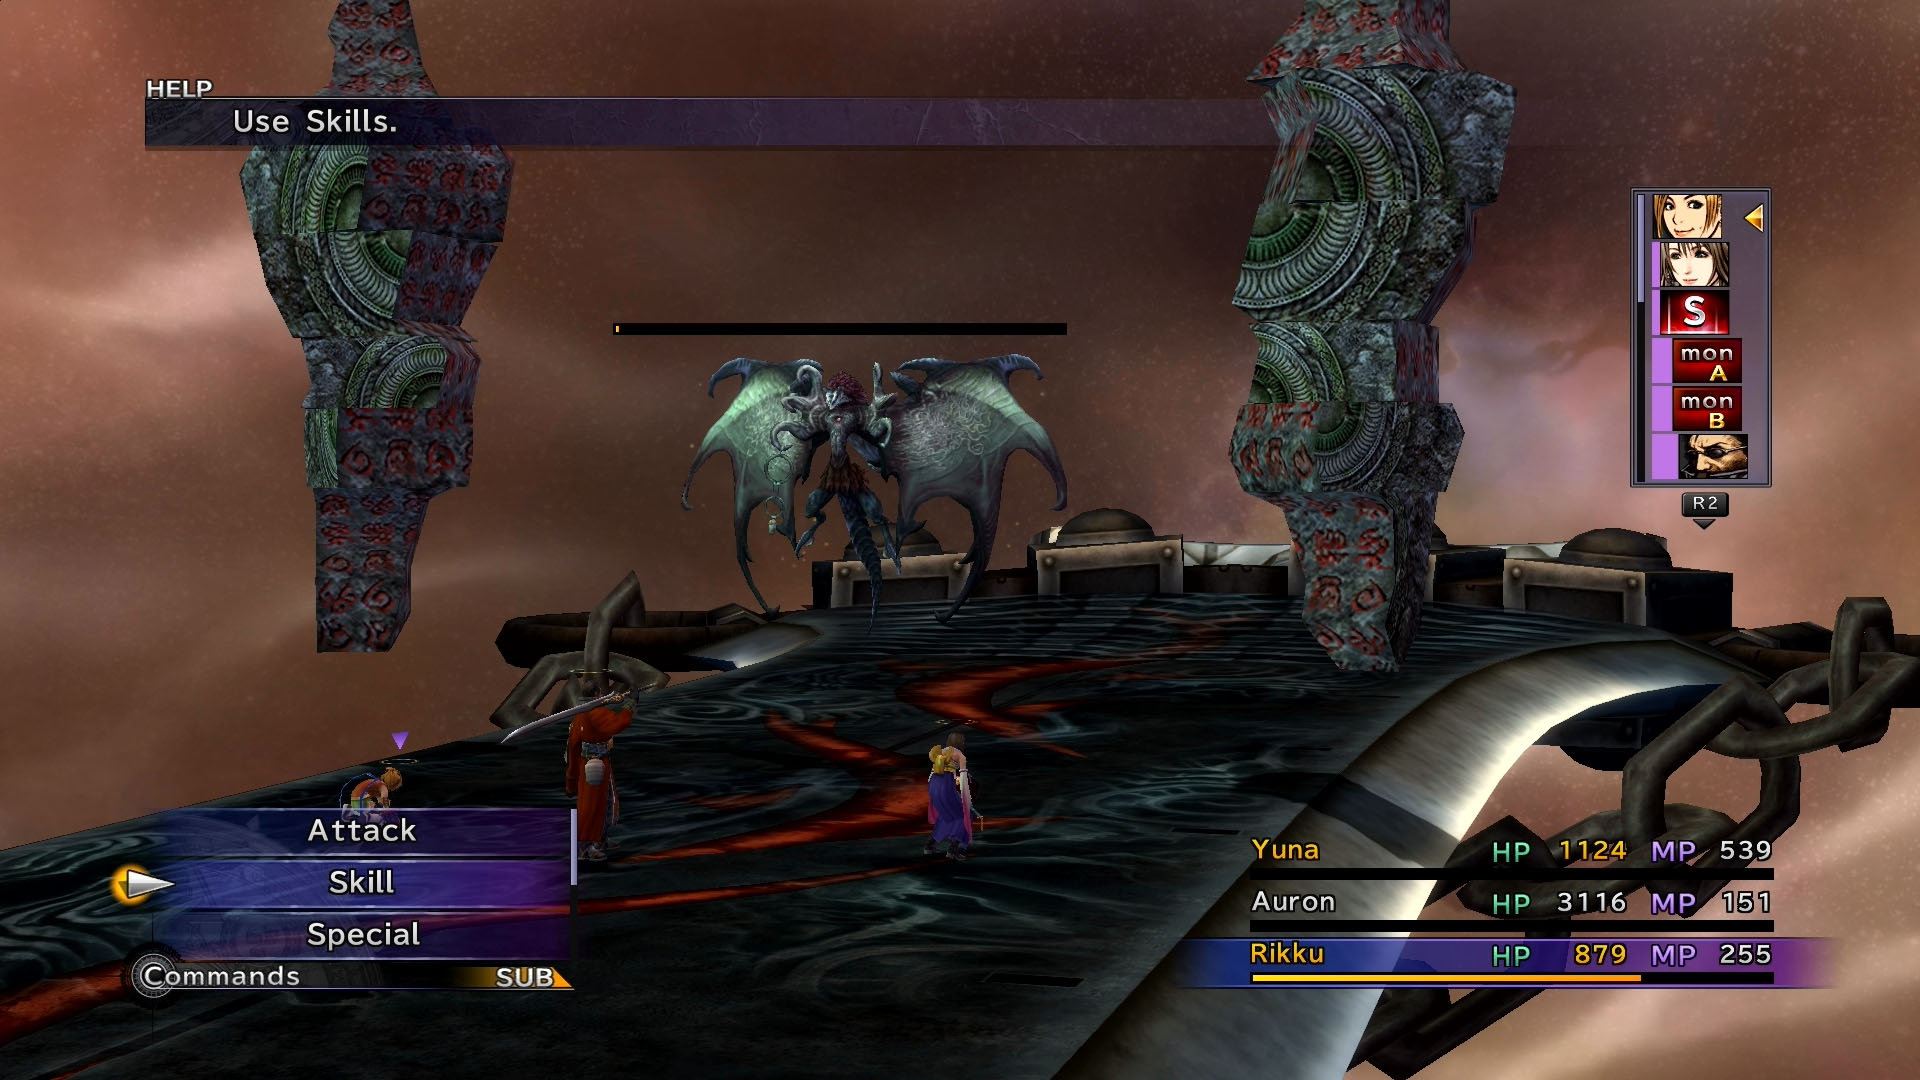
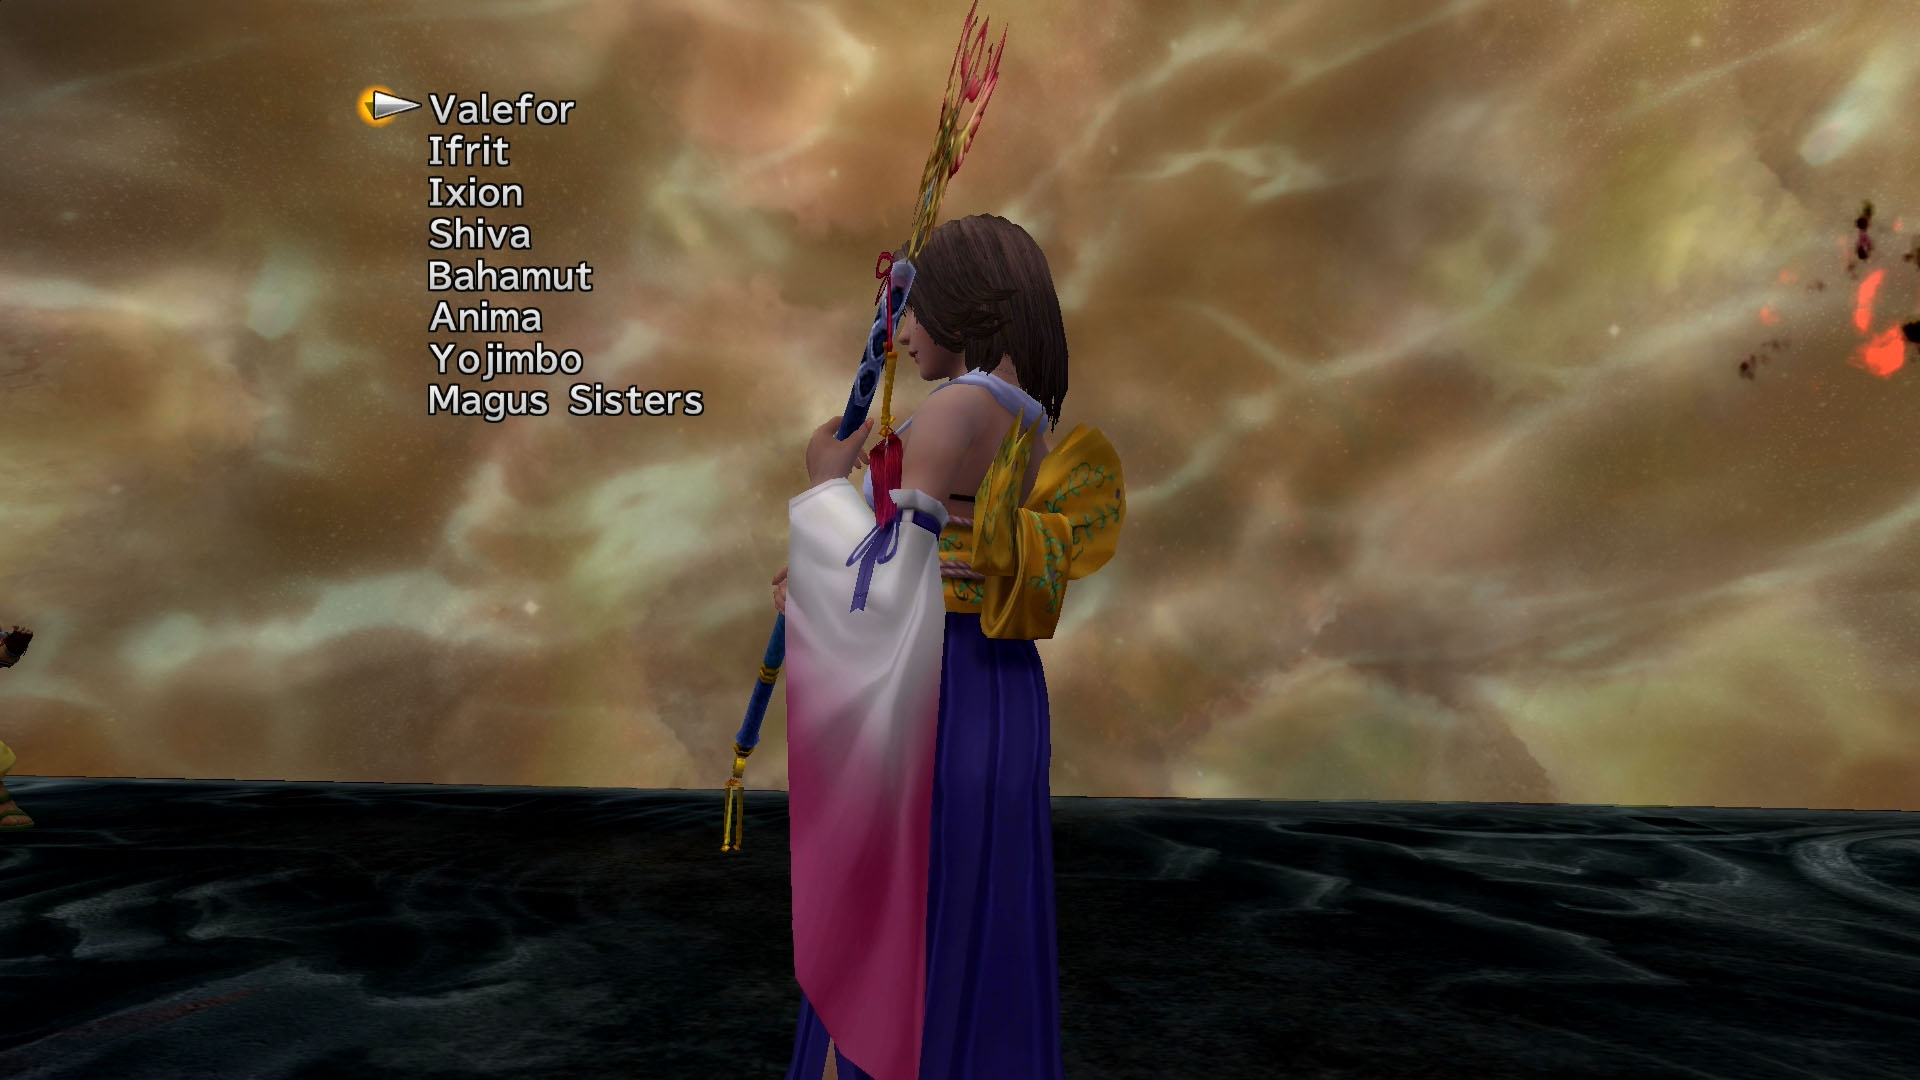
Yuna will summon all her Aeons, which will then be taken over by Yu Yevon. Defeat them all by playing to their weaknesses. Valefor, Bahamu, Anima, Yojimbo, and the Magus Sisters don’t have any elemental weaknesses, Ifrit is weak to Ice, Ixion is weak to Water, and Shiva is weak to Fire.
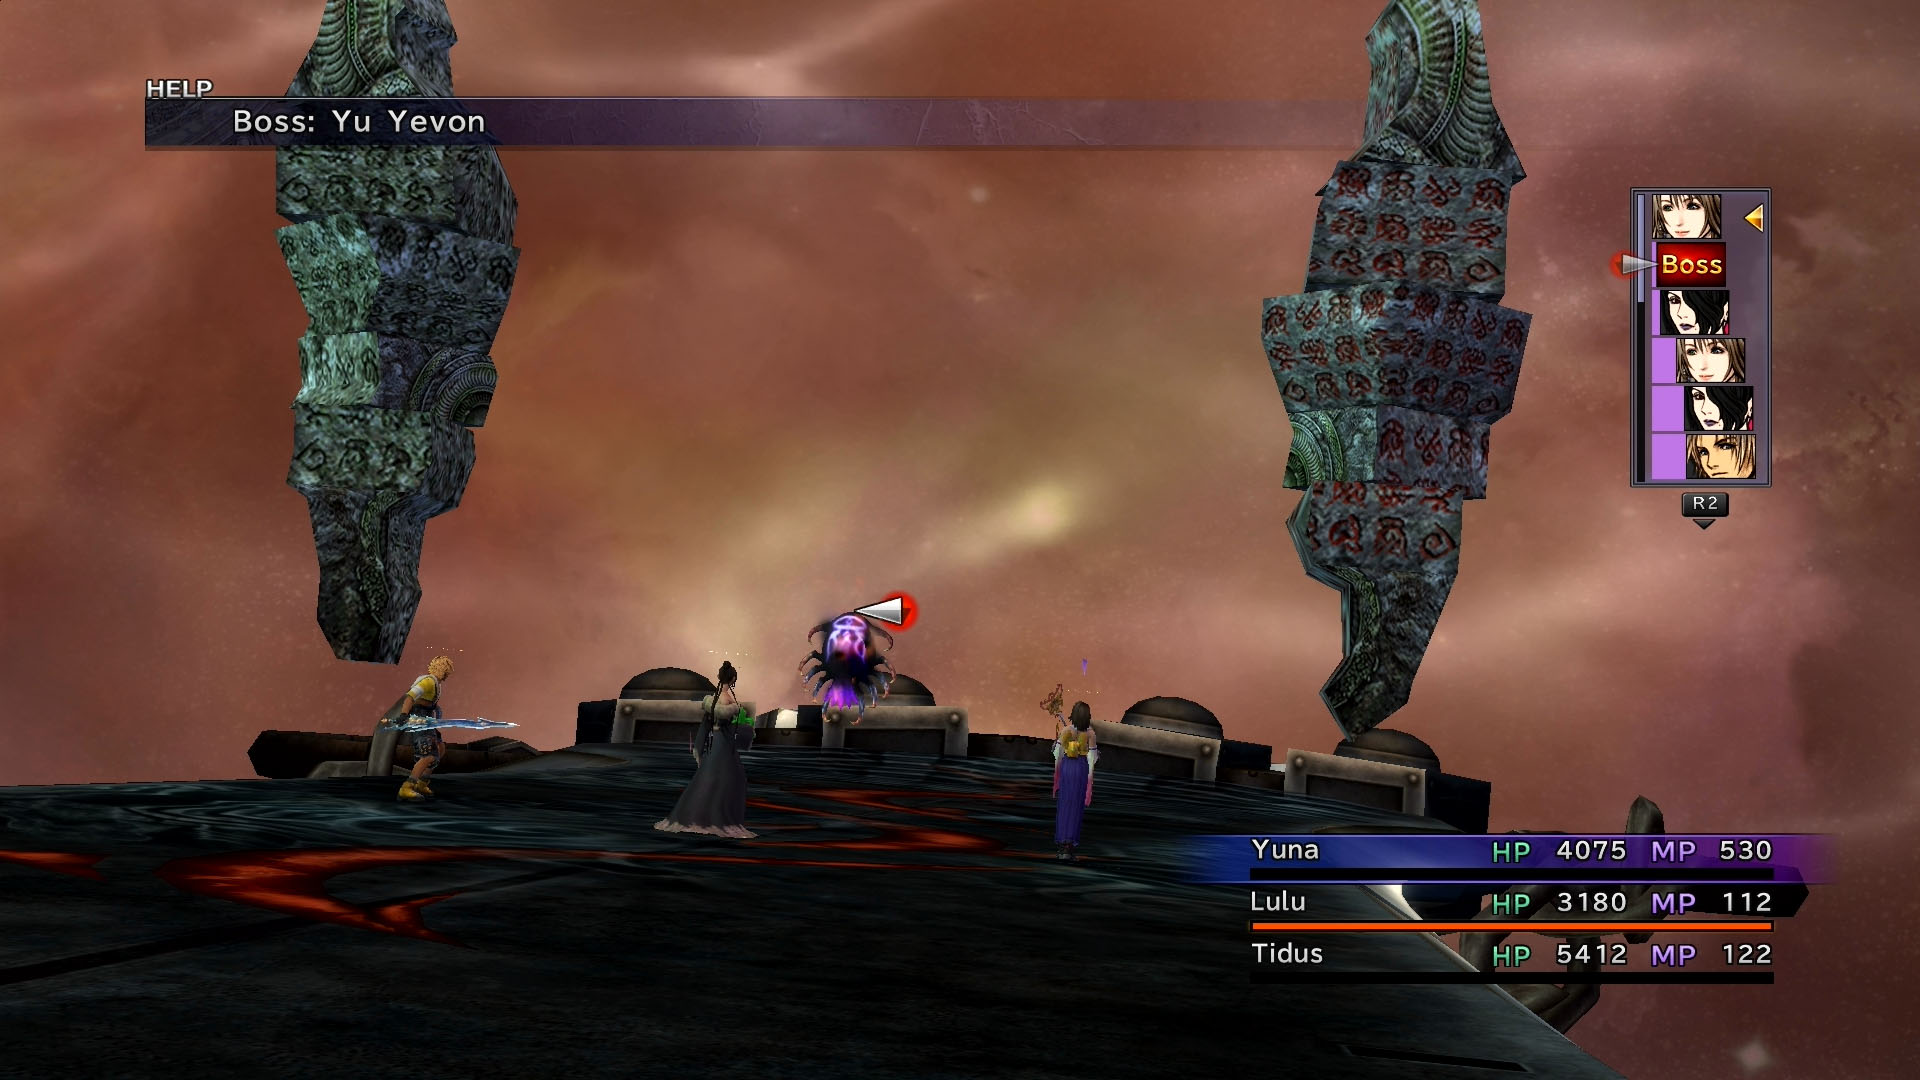
Luckily, your entire team will have Auto-Life in this battle, which means you cannot die or lose. Defeat all of your Aeons and Yu Yevon will be left with no where to run. He will continue curing himself with Curaga. Hit him with everything you’ve got to clear the game and play the final cut scenes. MAKE SURE YOU STAY UNTIL AFTER THE CREDITS!