[toc]
| Fiends | HP | Fire | Thunder | Water | Ice |
|---|---|---|---|---|---|
| Blue Element | 1500 | Strong | Weak | Absorb | Strong |
| Chimera | 5250 | Strong | — | Strong | — |
| Iguion | 370 | Strong | — | Strong | Weak |
| Murussu | 580 | Weak | Weak | — | — |
| Wasp | 360 | — | — | — | Weak |
| Xiphos | 2700 | — | — | — | — |
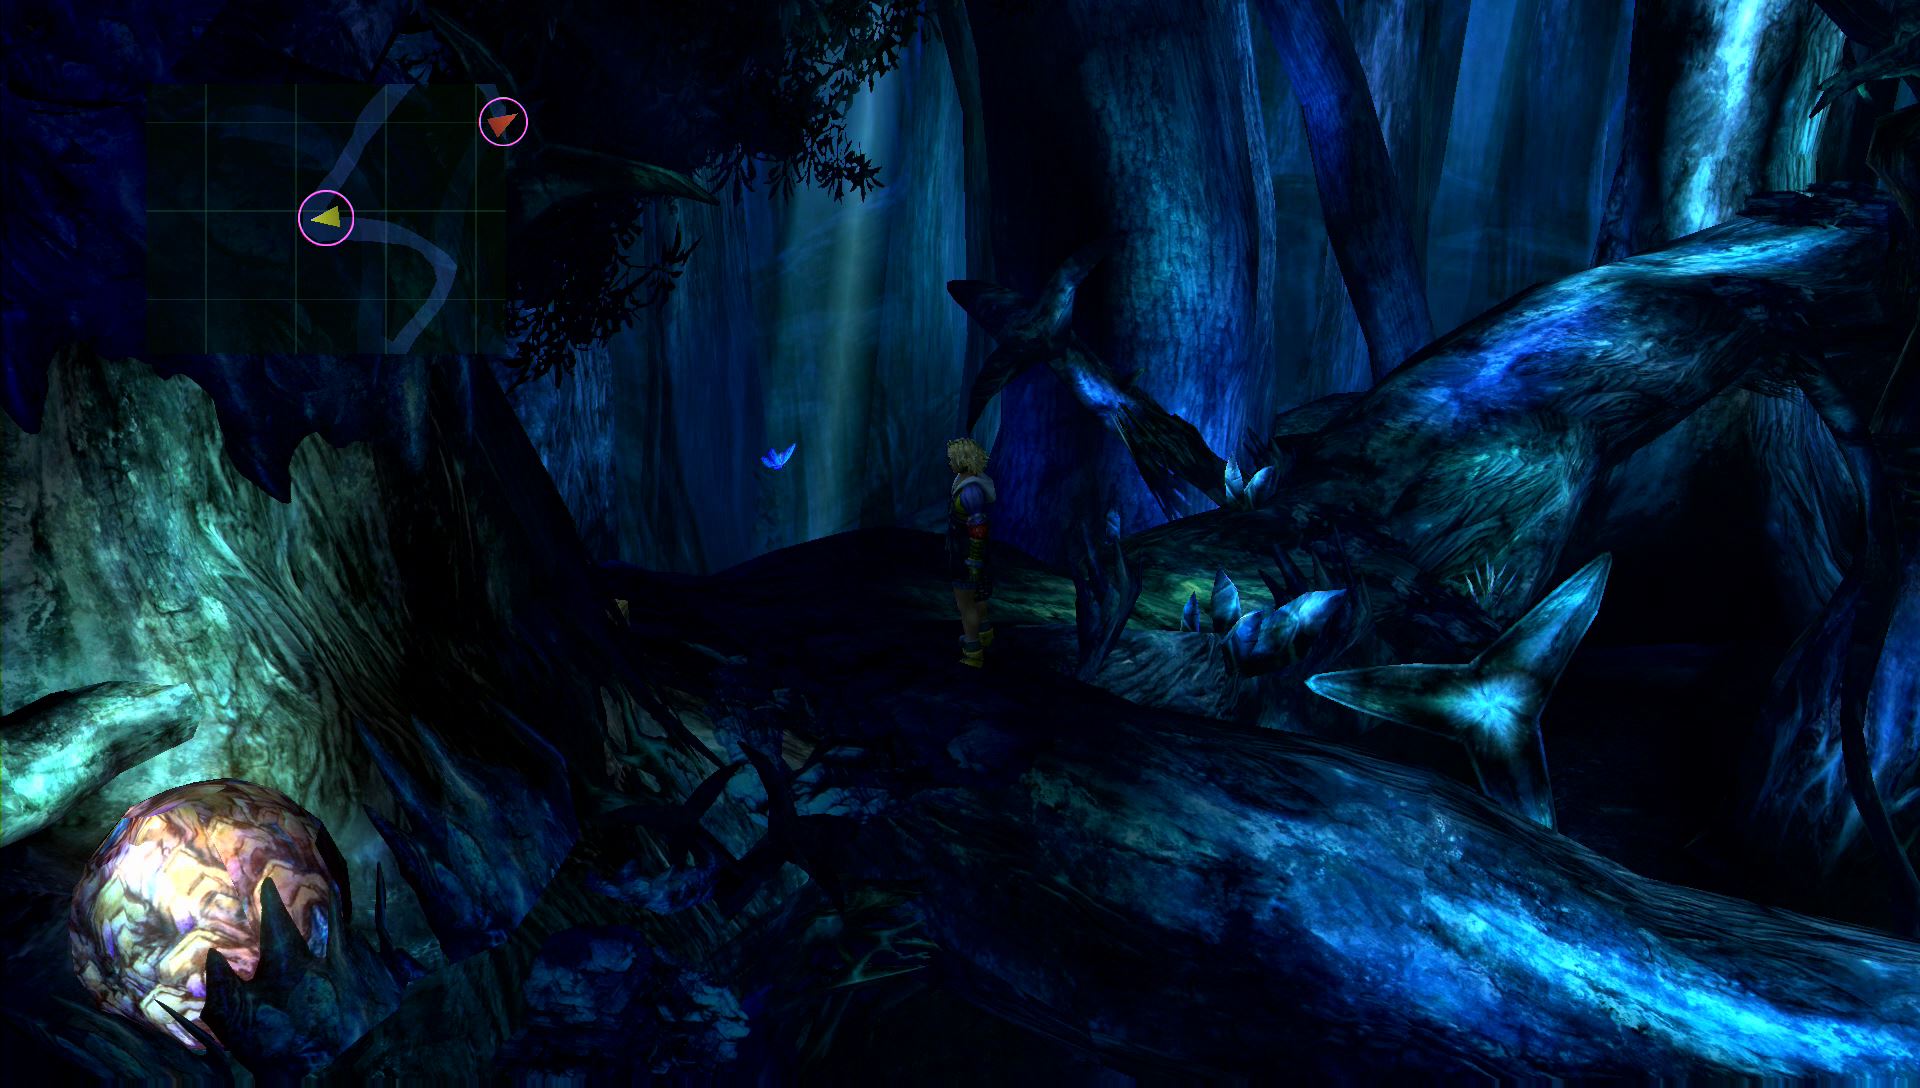
Macalania is a very long, multi-area road to the next Temple. While traveling through Macalania Woods, you may run into a fiend called a Chimera. If you see this guy, use Kimahri’s Lancet ability to learn Aqua Breath, a new Overdrive attack.
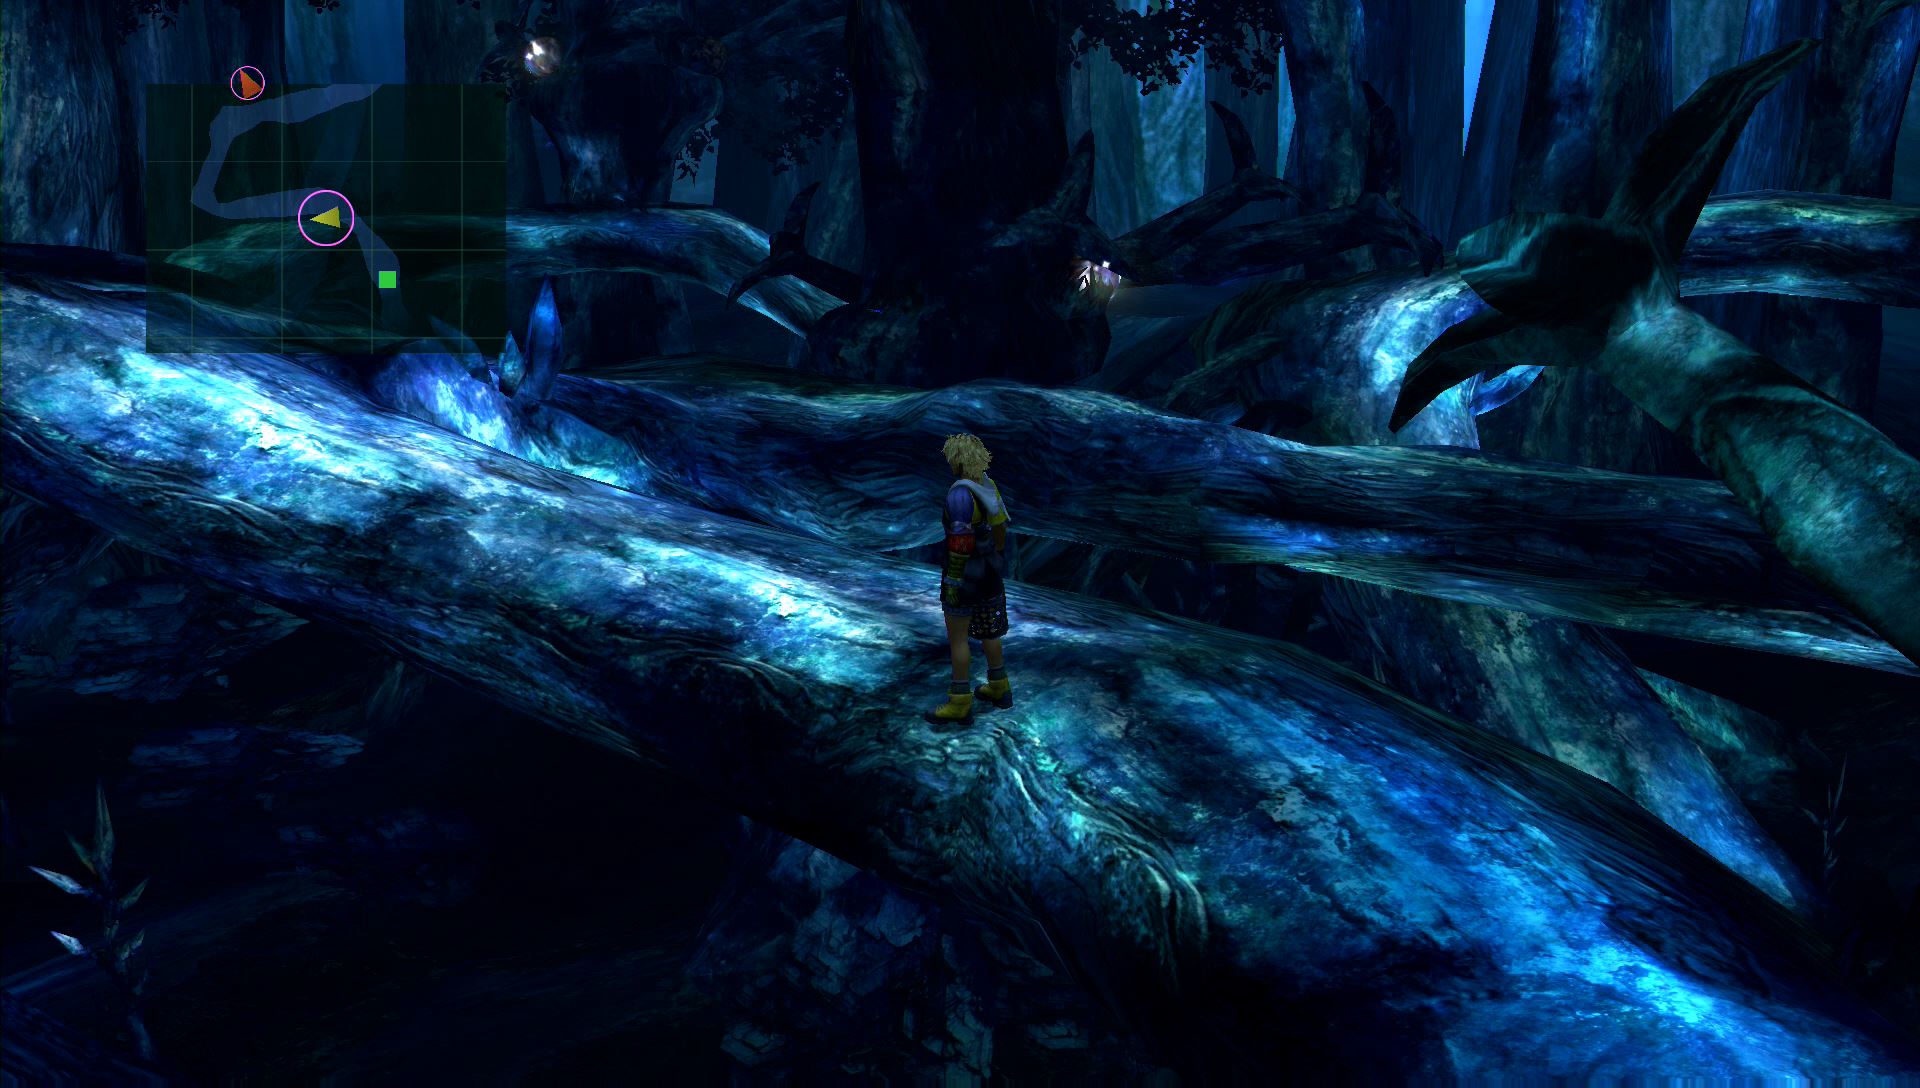
Macalania Woods – South
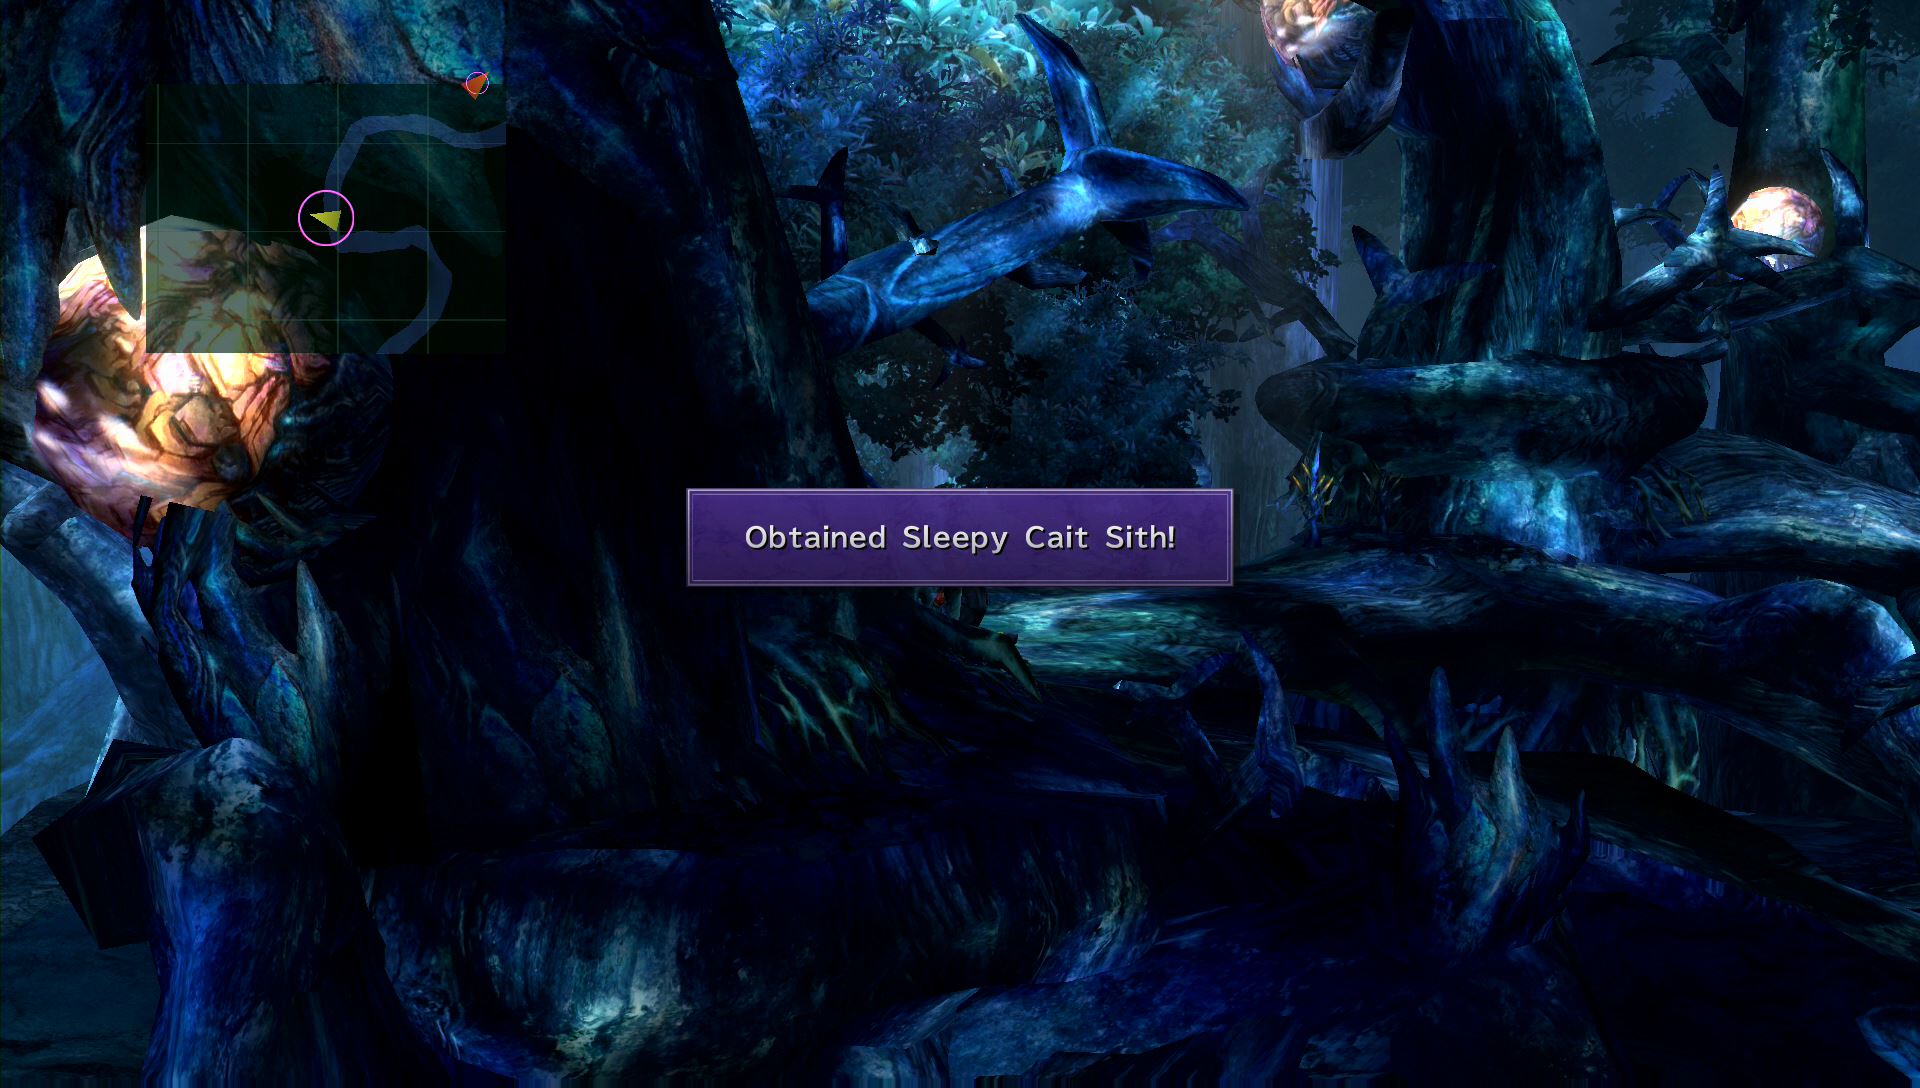
Once you enter Macalania, head up the path to the left. A hidden treasure chest is located around the first corner. This chest contains a Sleepy Cait Sith, which is a weapon for Lulu.
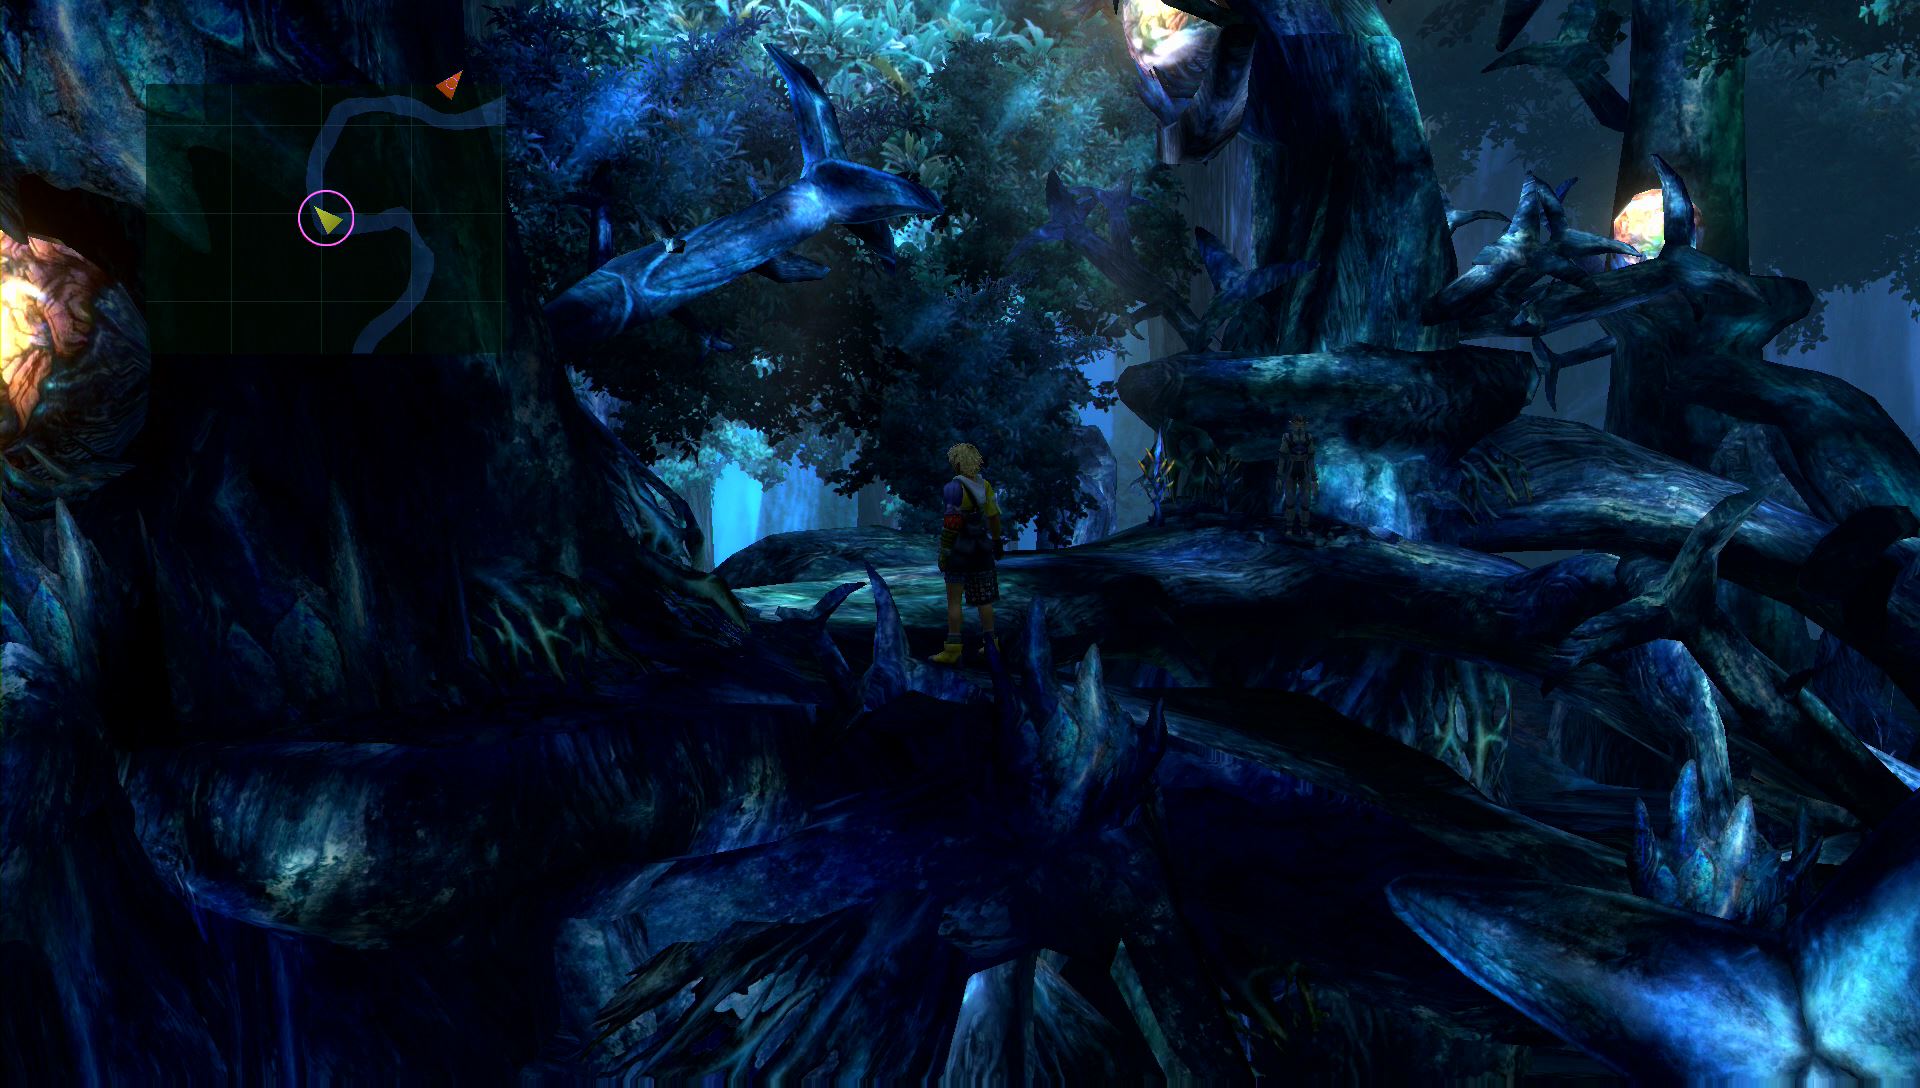
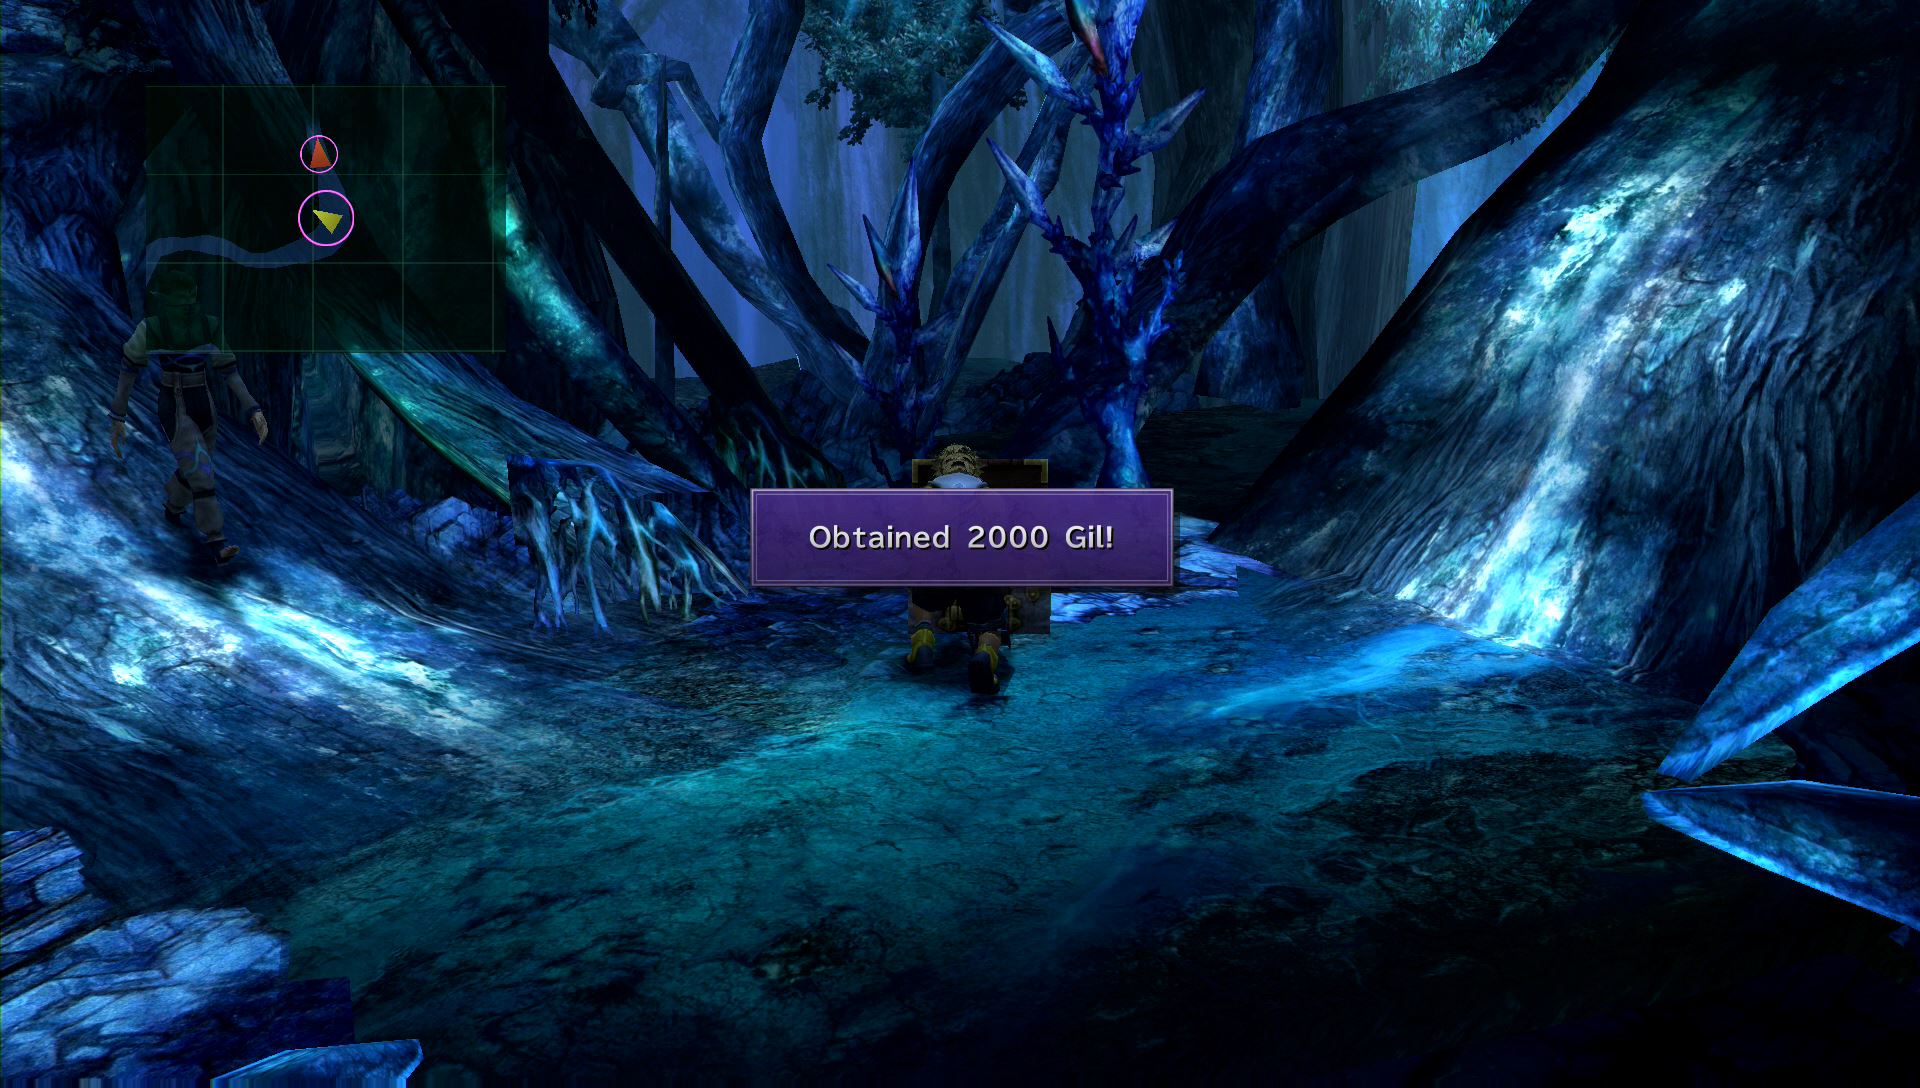
Follow the tree branches a short distance to reach a treasure chest with 2000 Gil. The path to the east will take you to the next area.
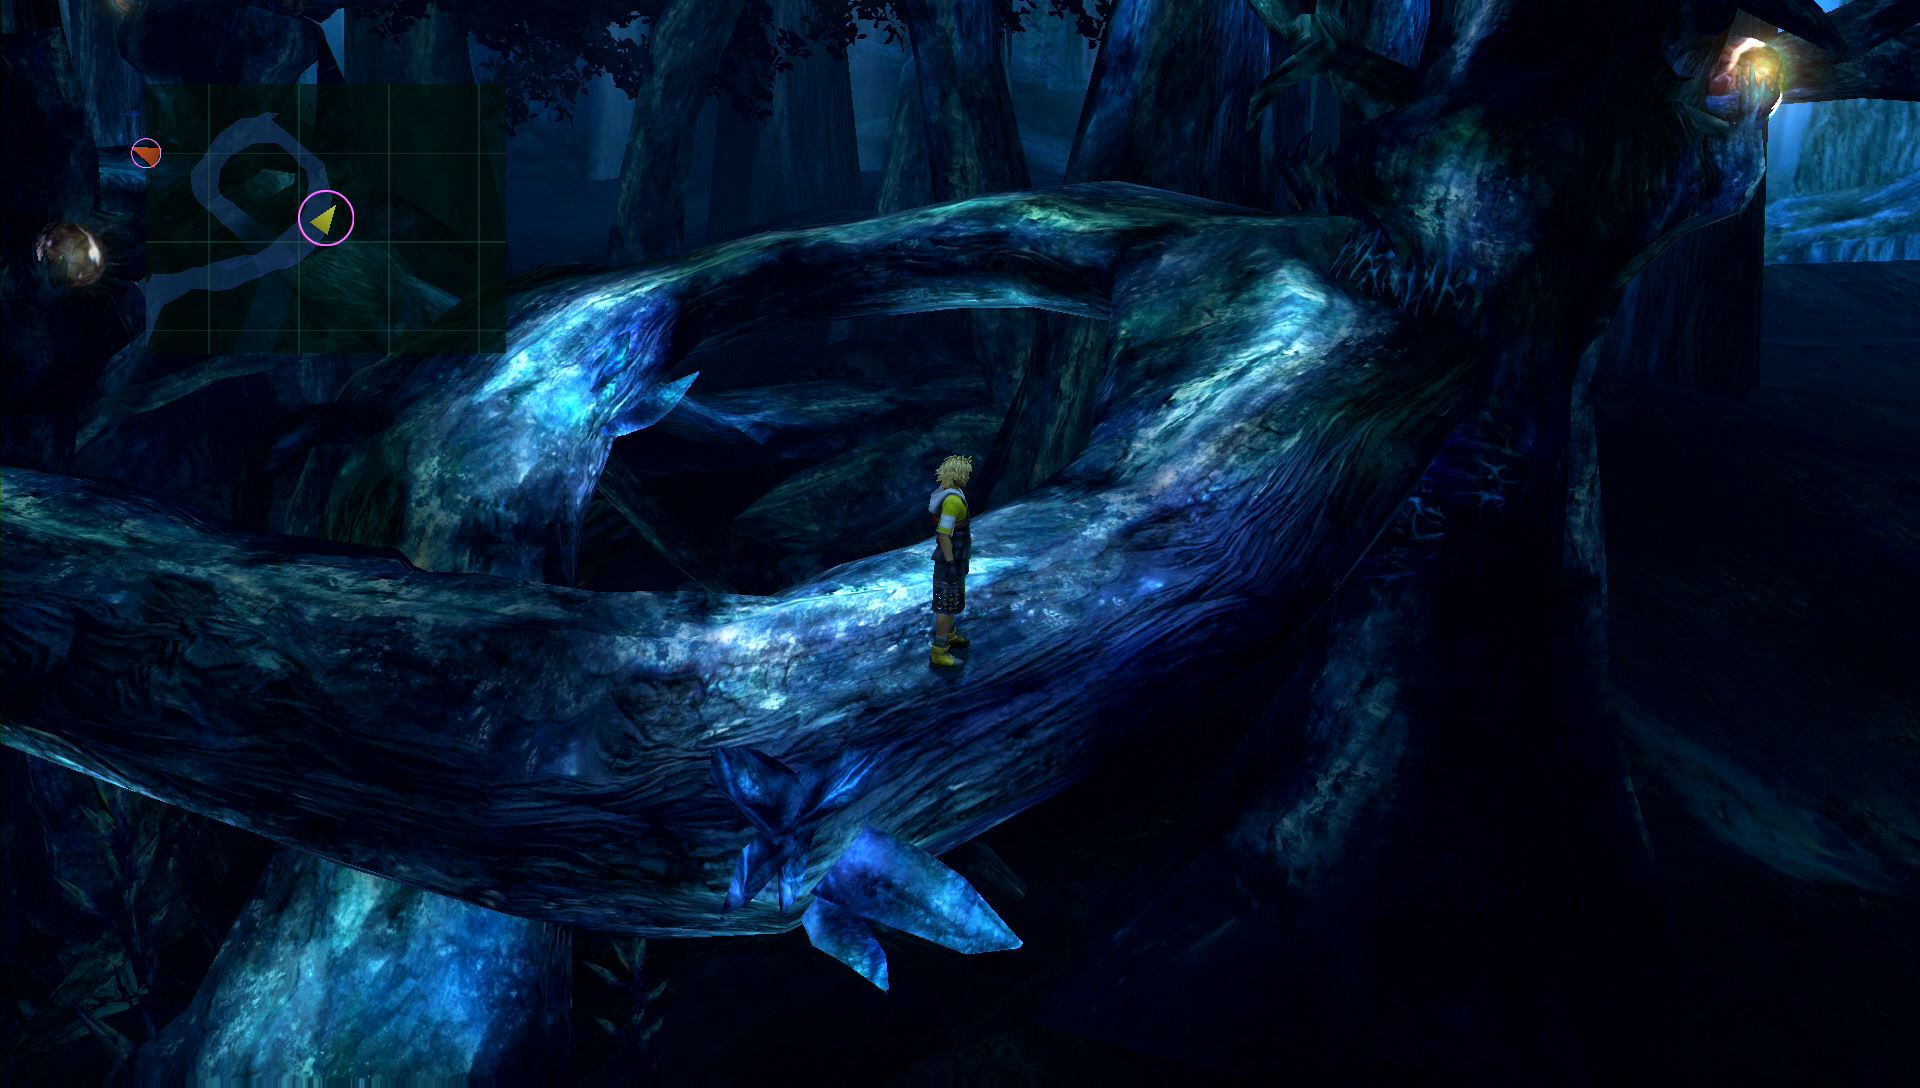
Macalania Woods – Central
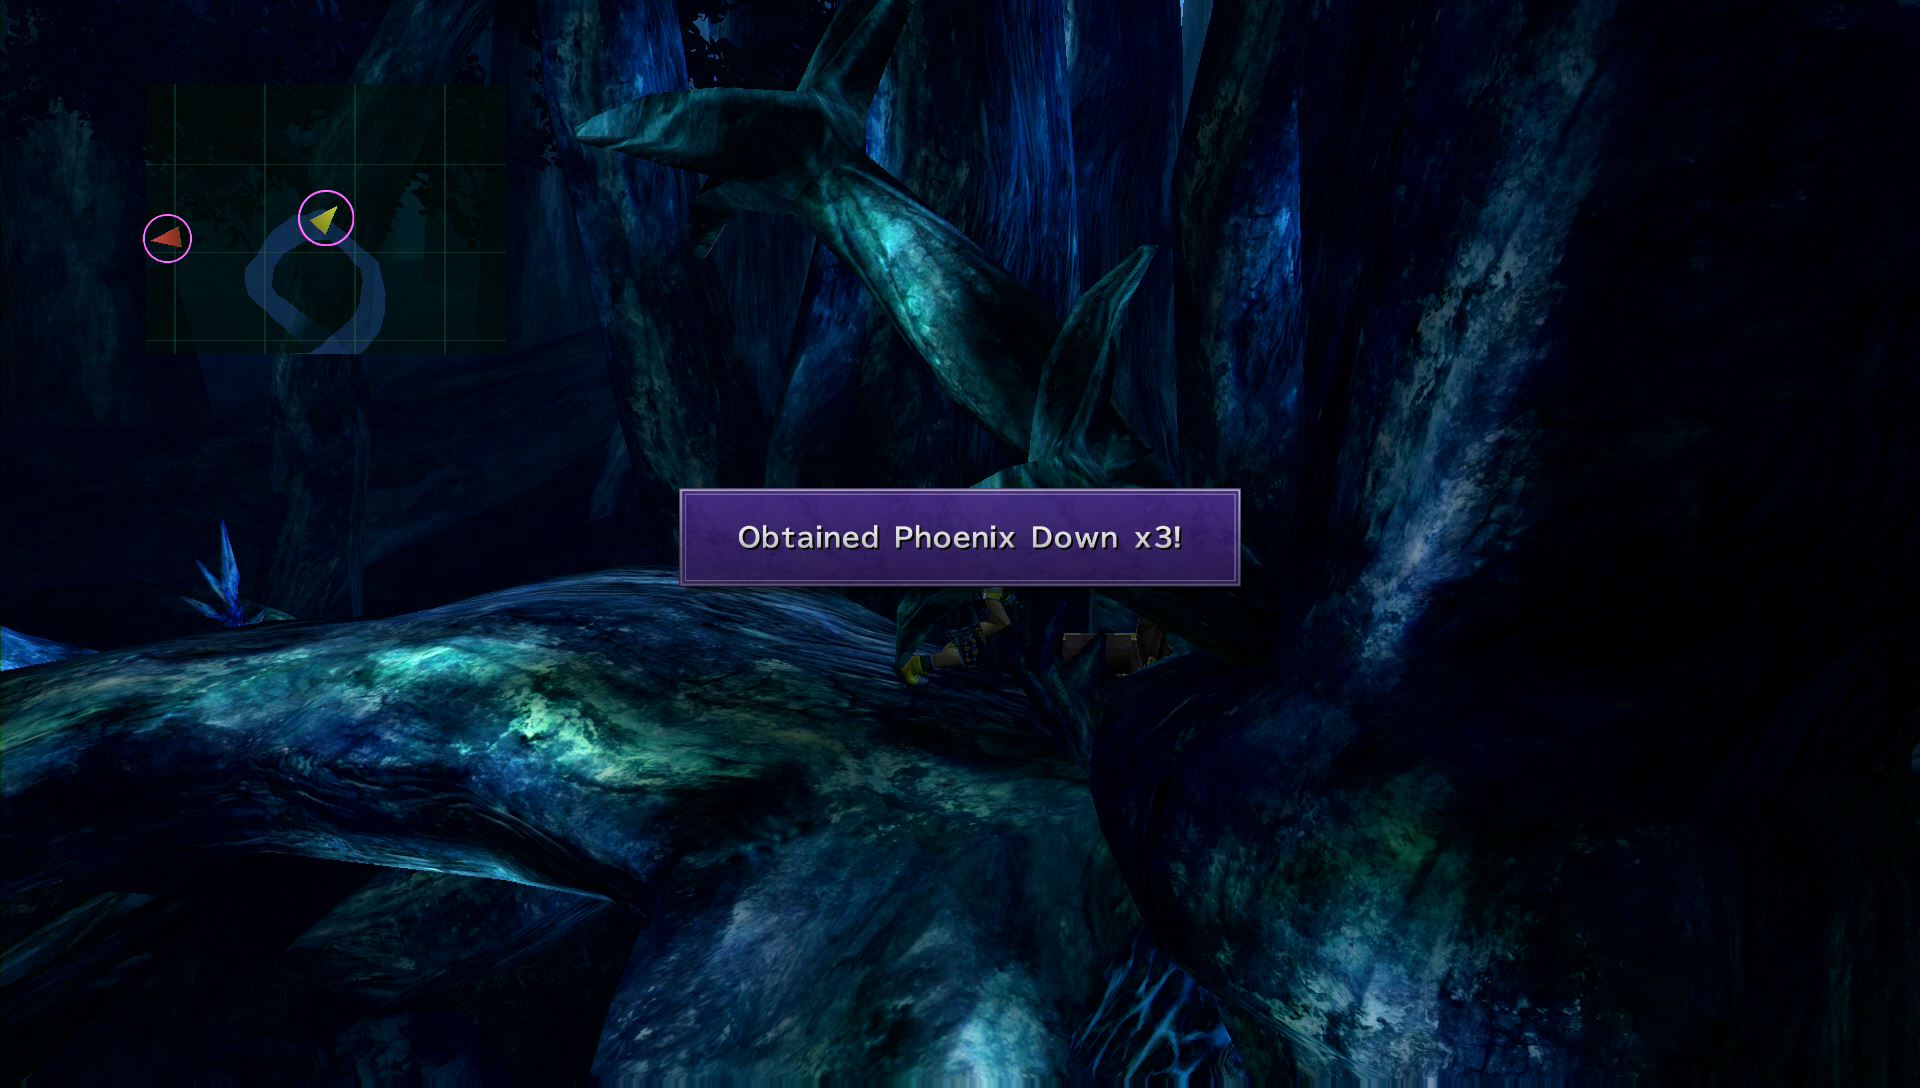
Continue onward until the path forms a downward spiral. A hidden treasure chest is located on the right side of the path, and contains three Phoenix Downs.
As you reach the end of this area you’ll run into Barthello, Dona’s guardian. A short scene will play out.
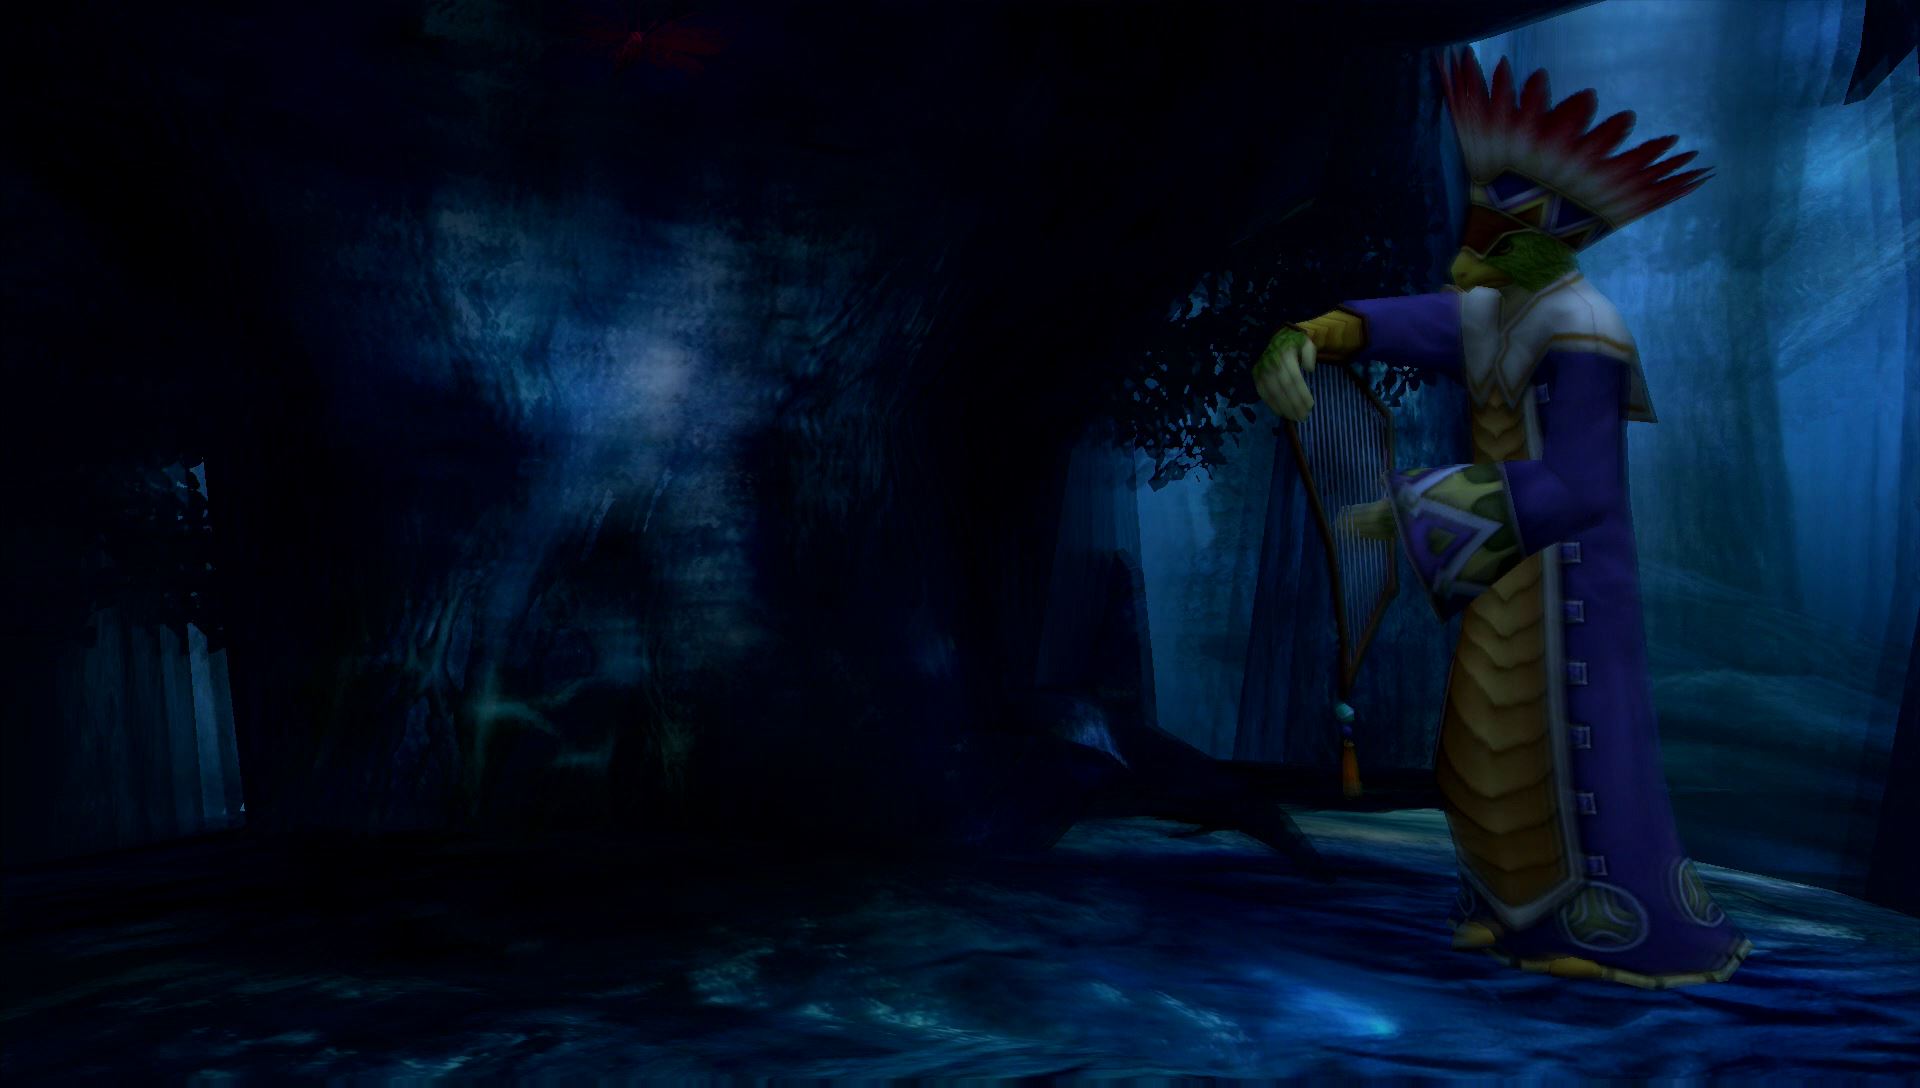
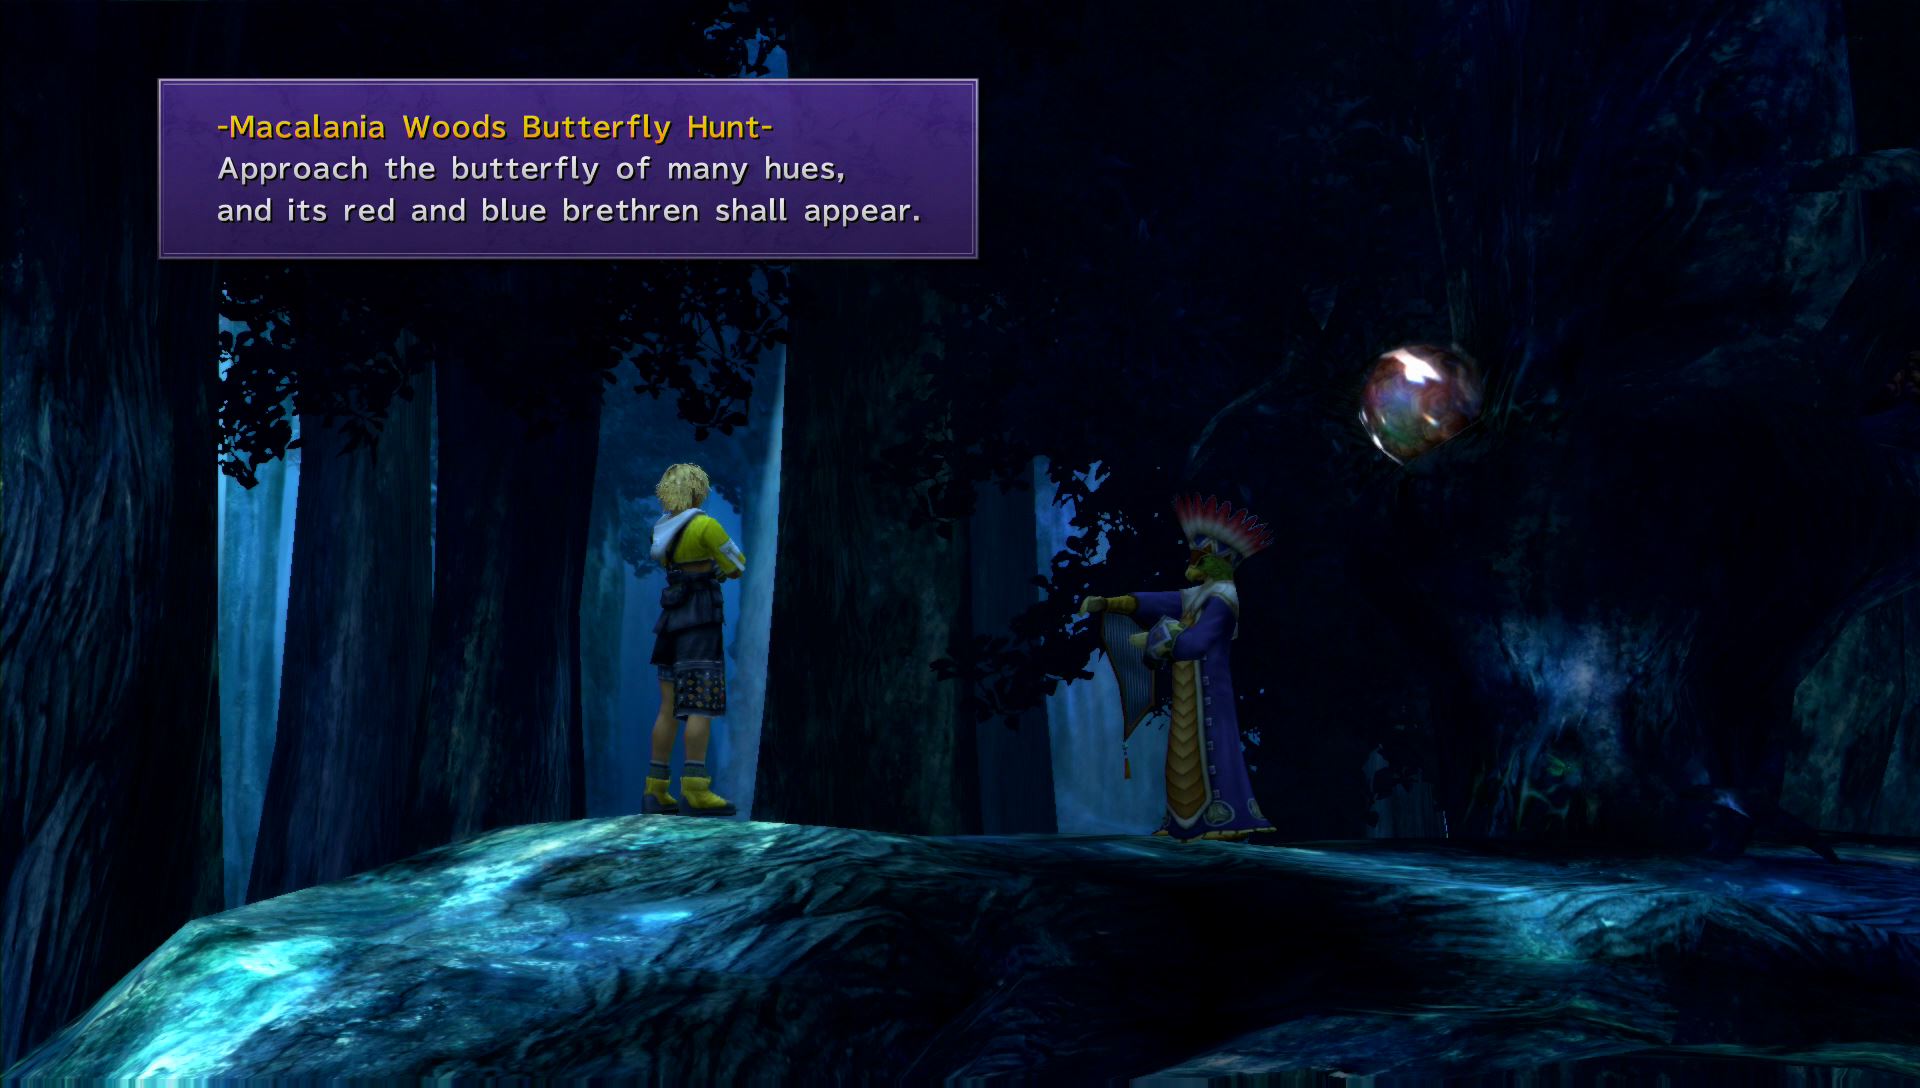
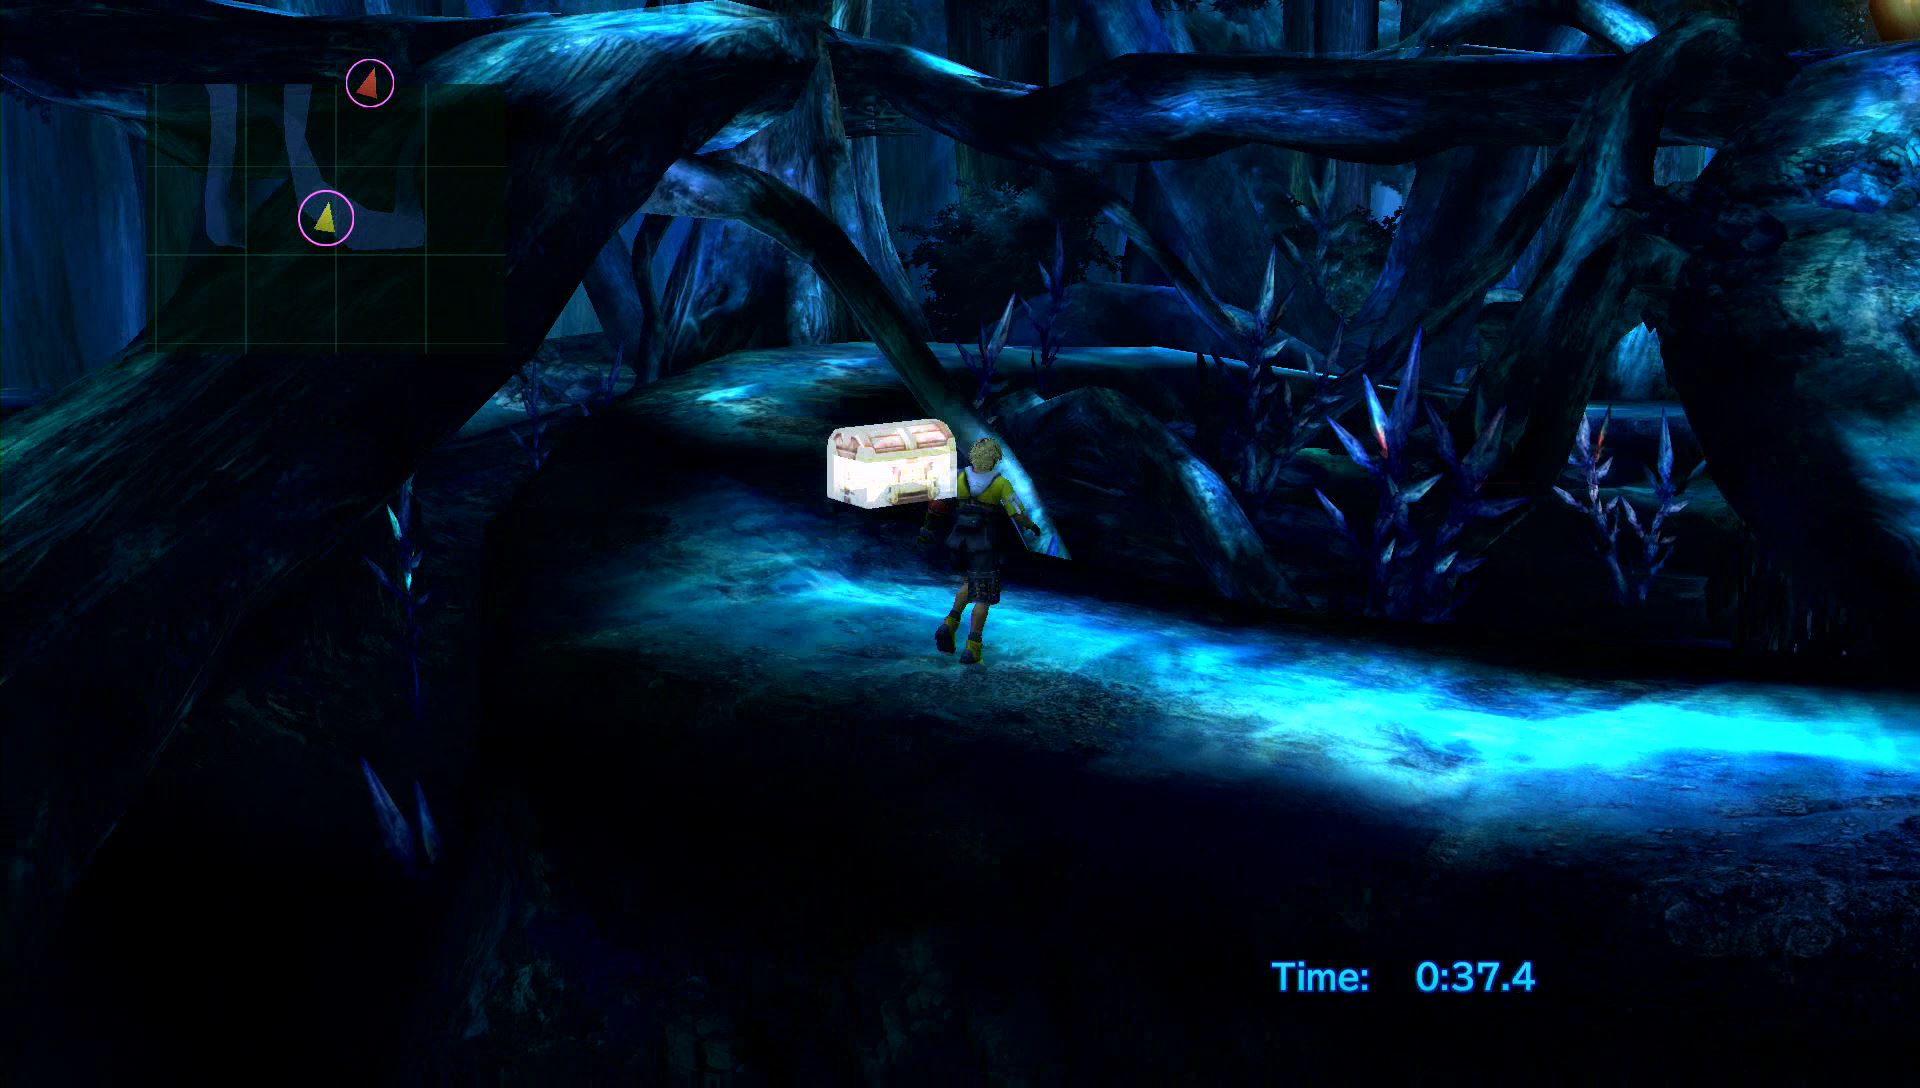
After the scene, head northwest to find the Macalania Woods Butterfly Hunt mini-game. Touch the butterfly that changes colors to start this game. A number of red and blue butterflies will appear down the path to the beginning of this area (Macalania Woods – Central). Touch seven blue butterflies within a short time frame to earn a treasure chest with an MP Sphere. If you touch a red one, you’ll face powerful versions of the Macalania fiends.
Macalania Woods – North
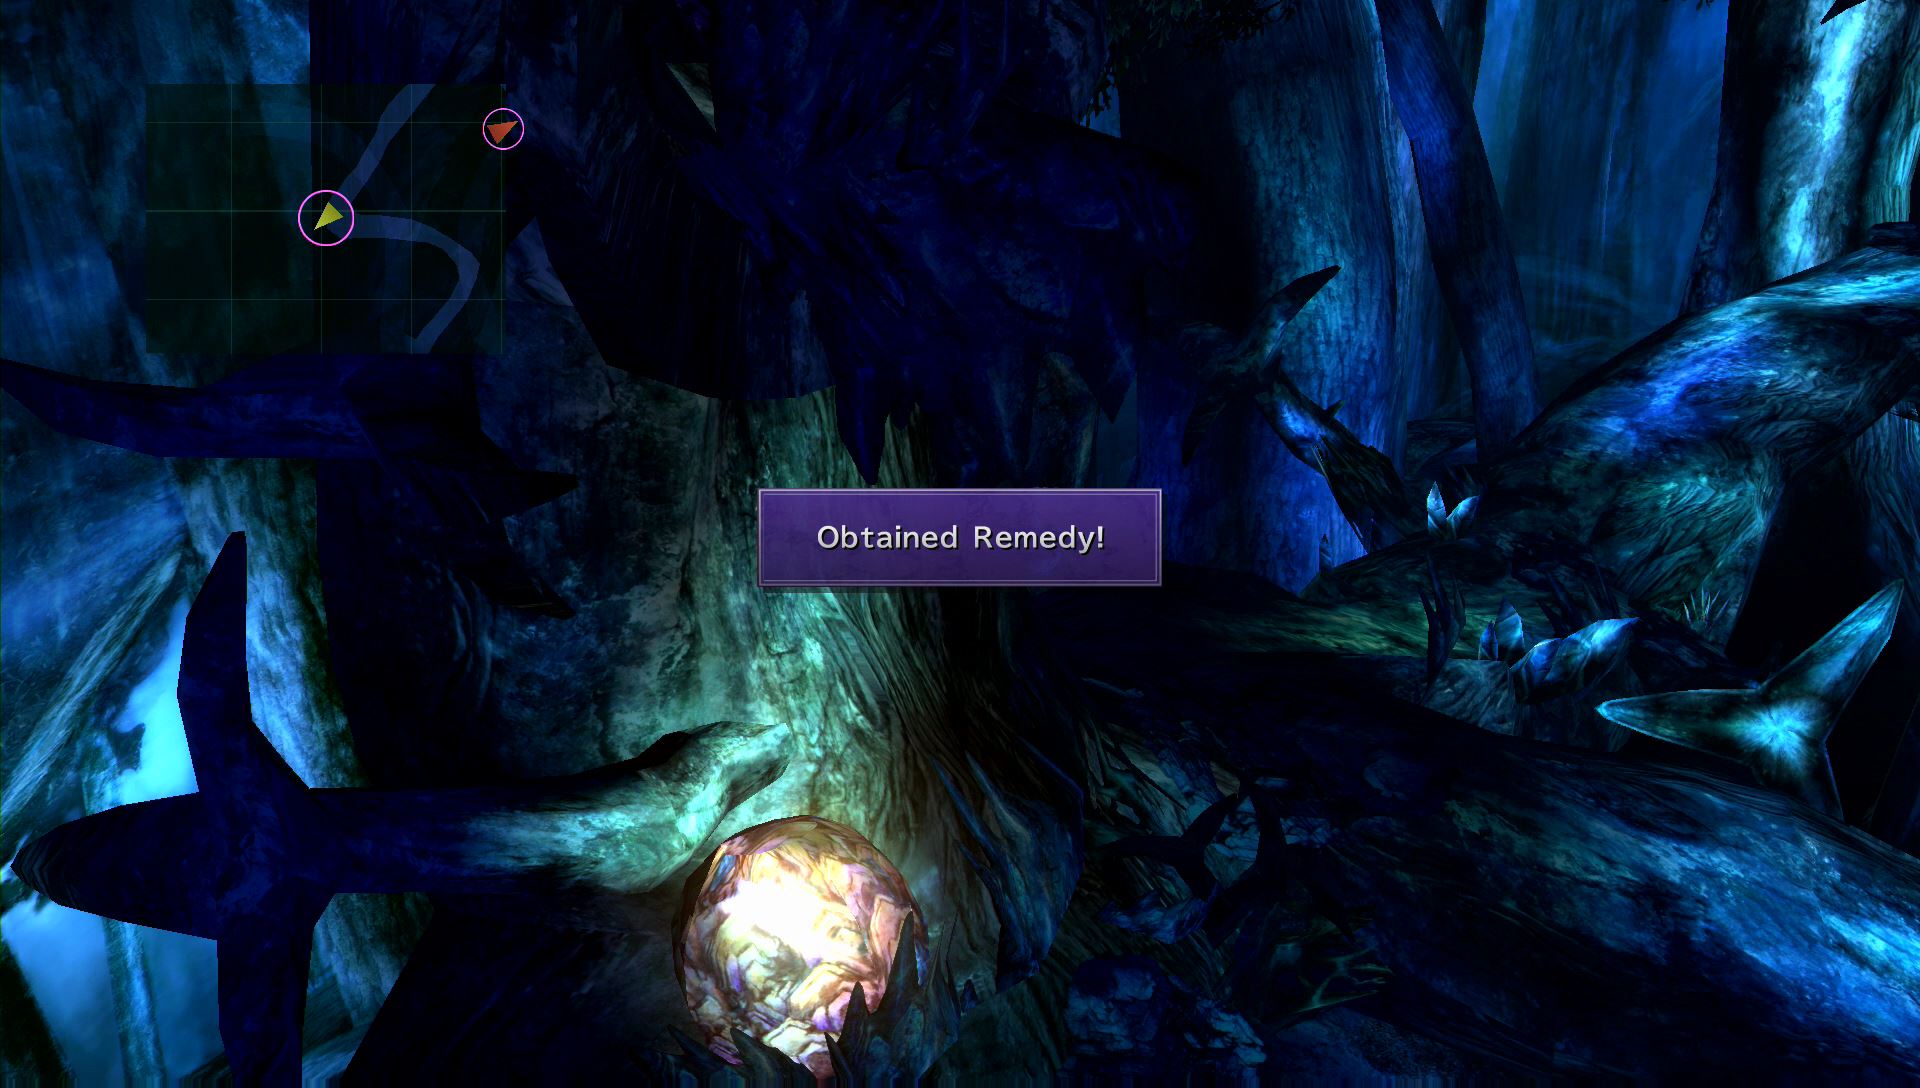
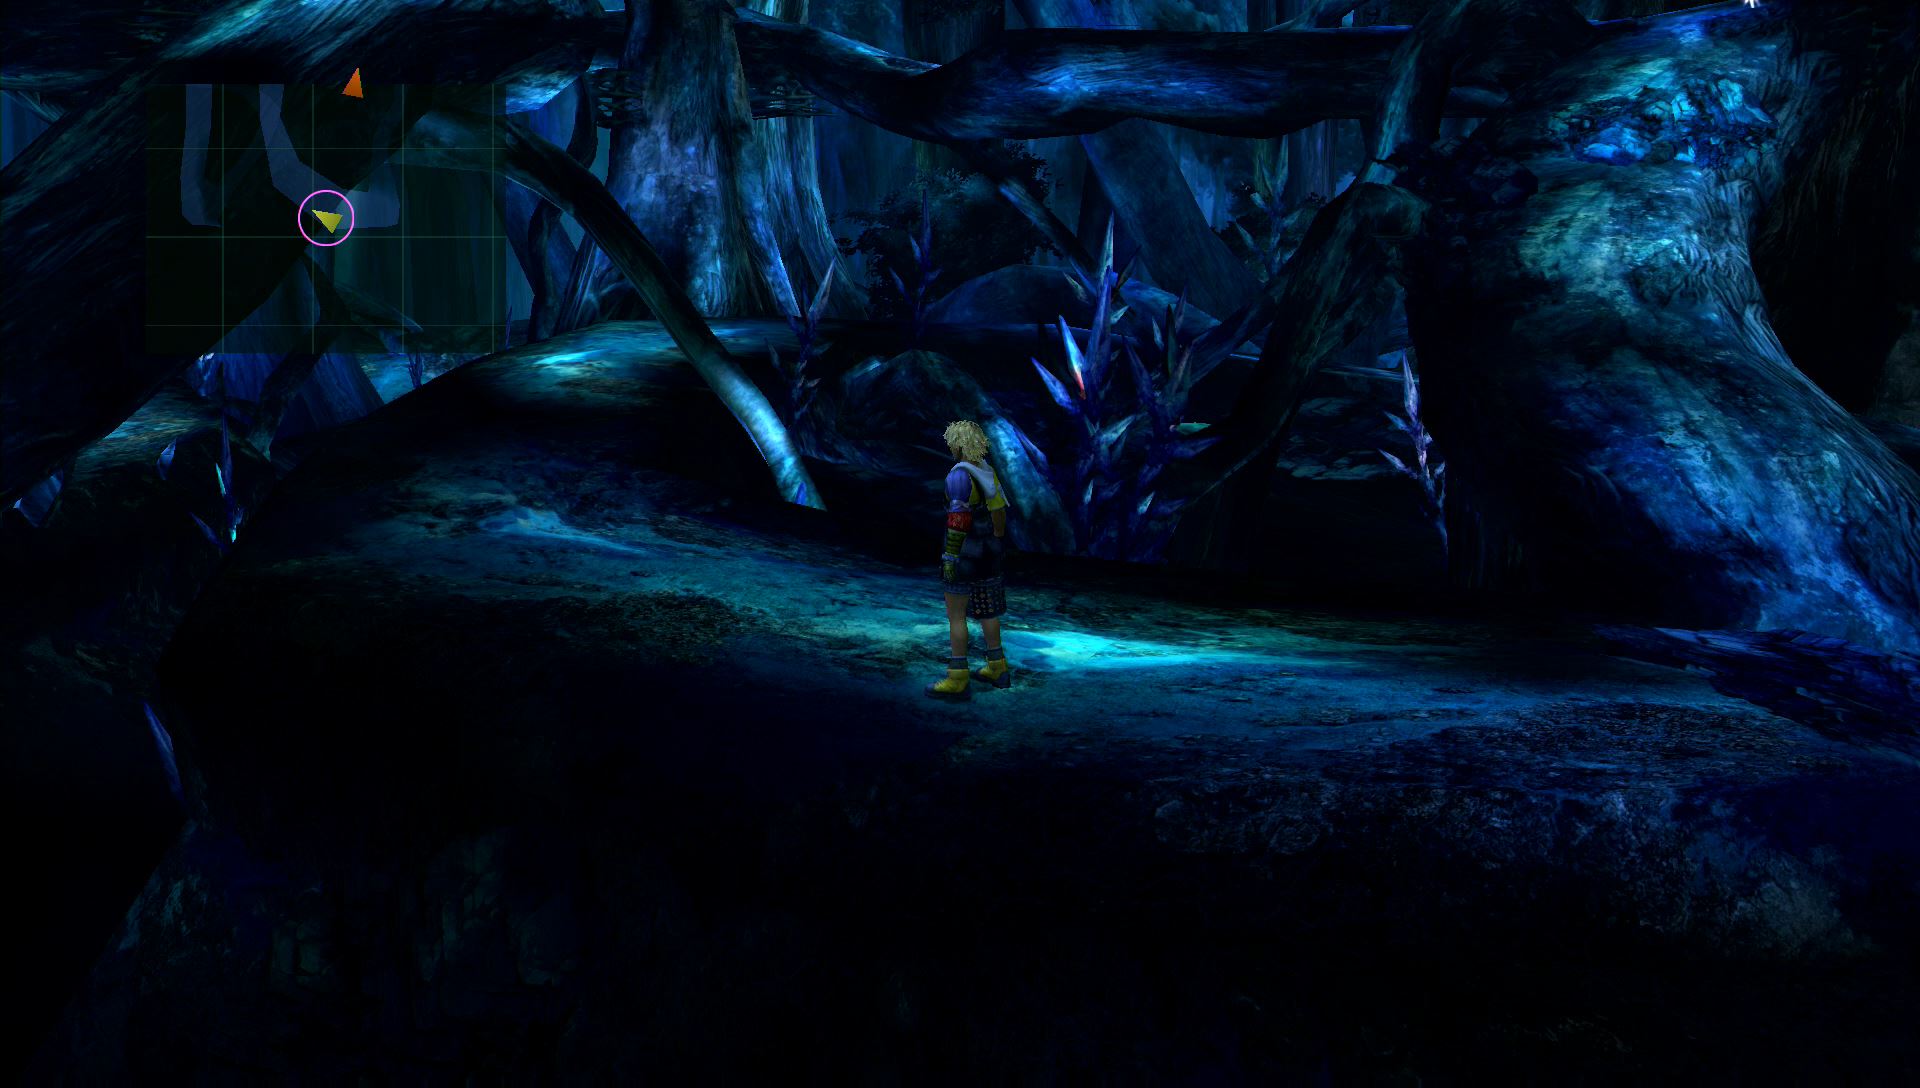
This area only has one treasure chest. It’s hidden behind a tree on the west side of the area, near the third turn.
At the end of the path is another Butterfly Hunt mini-game. Collect the seven blue butterflies to find a treasure chest containing an Ether. When you’re ready, move on to the next area.
Macalania Woods – Lake Road
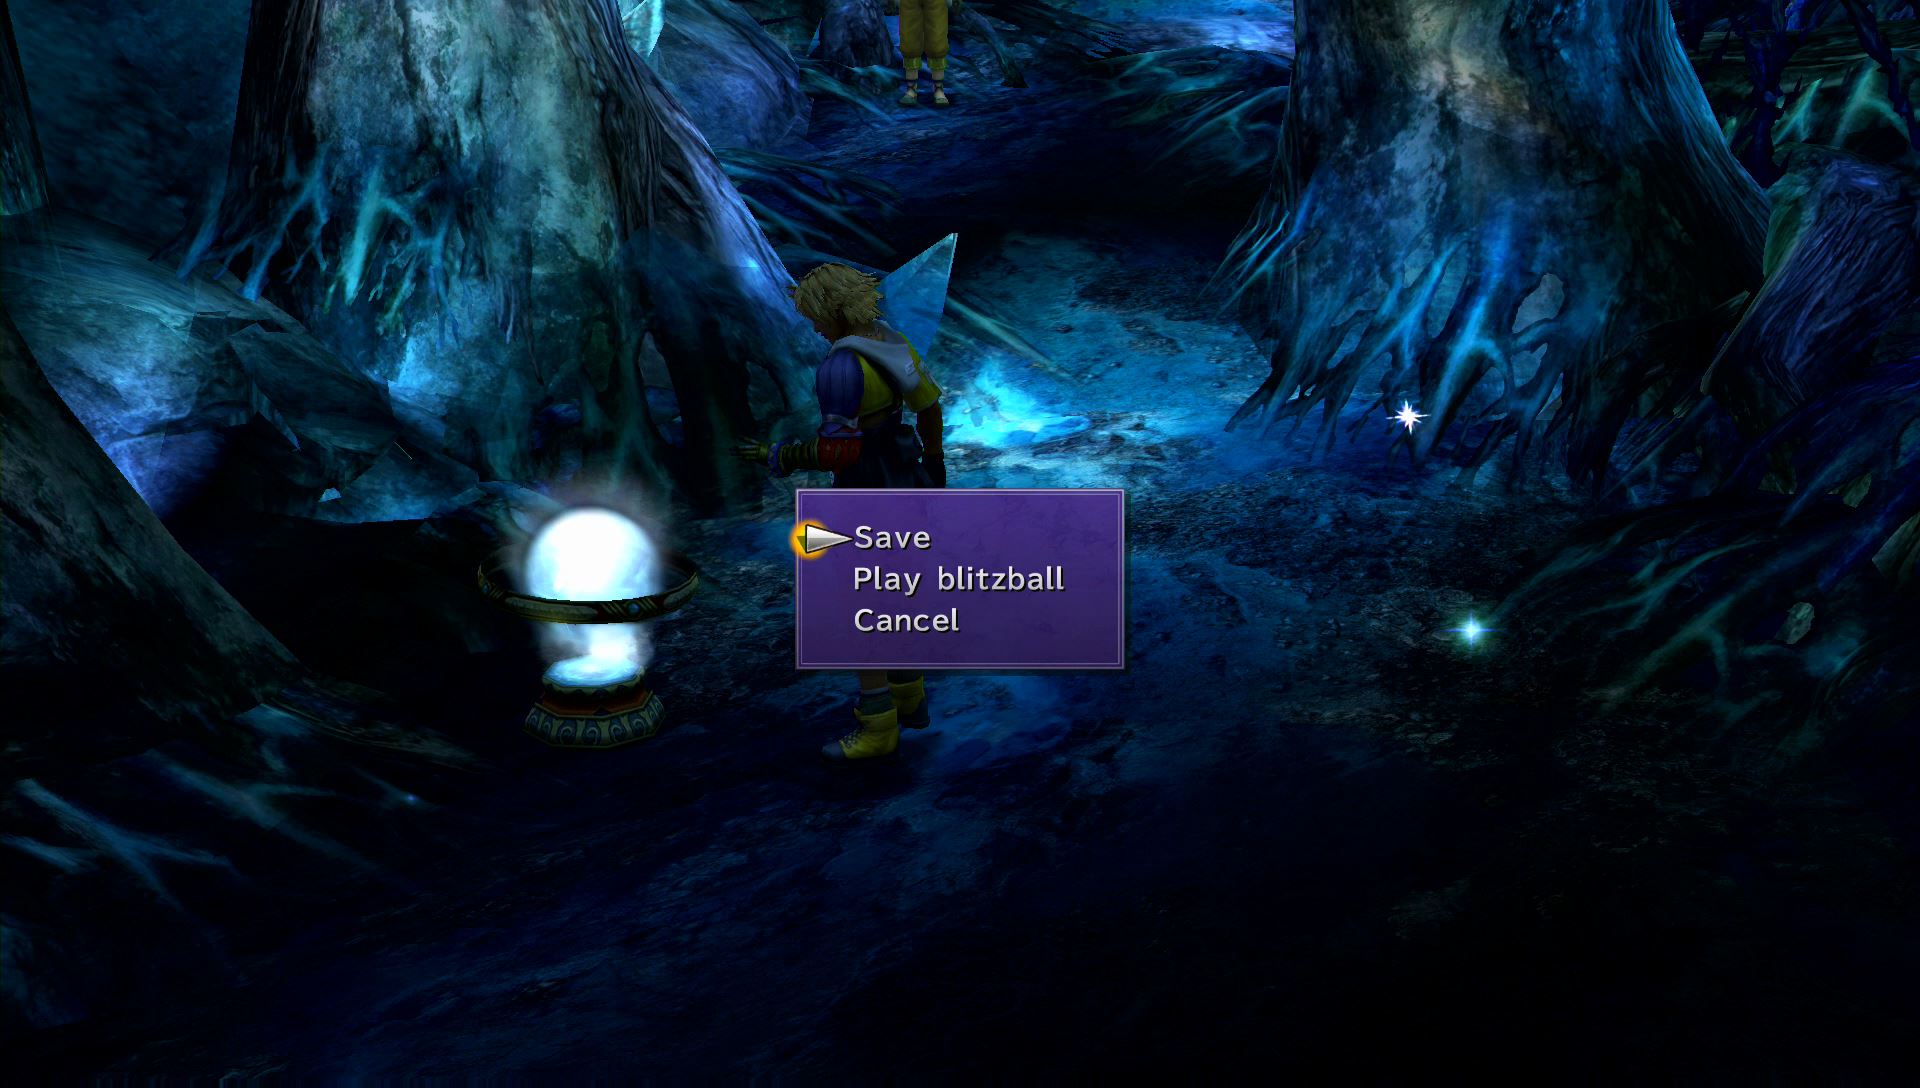
This area has both a Save Sphere and O’aka. Look at O’aka’s items, but don’t buy anything. He’ll ask if his prices are too high. Say they’re too pricey, and he’ll give you a discount!
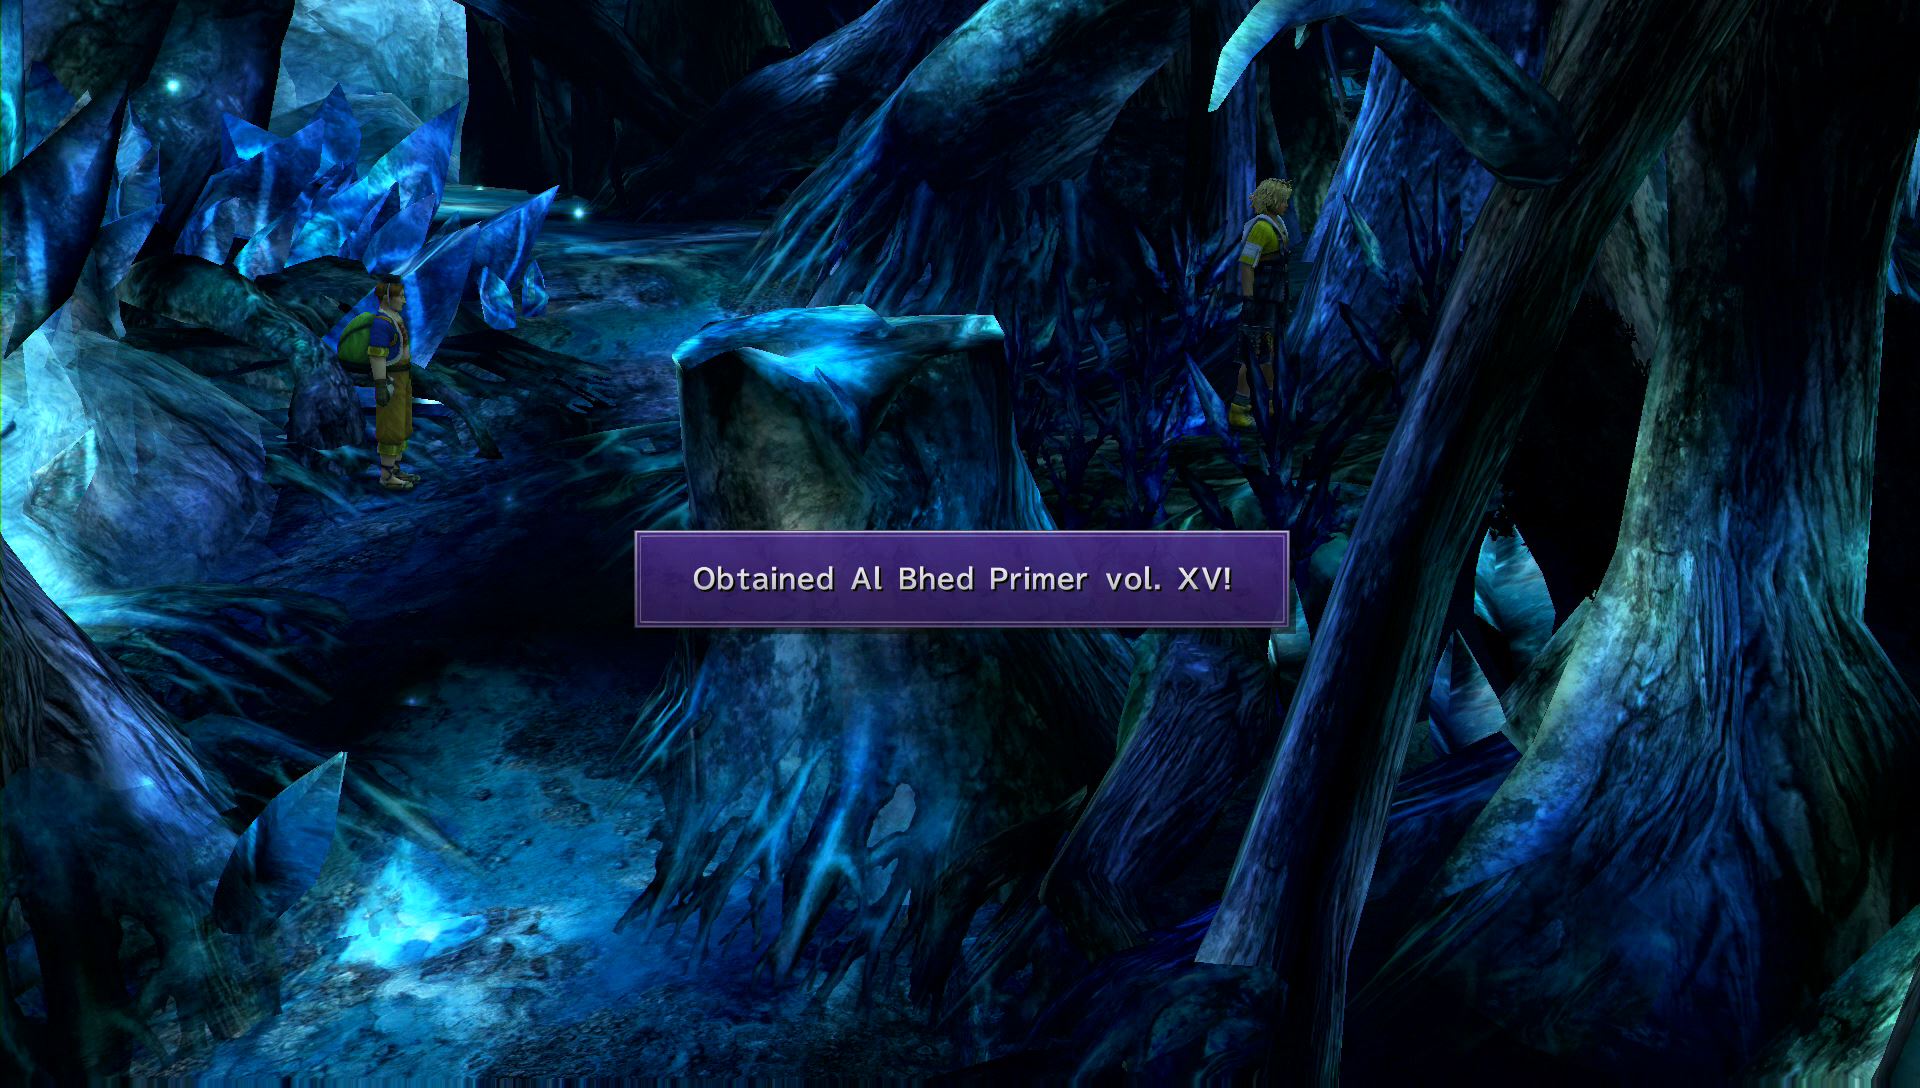
Down the path to the southeast is the Al Behd Primer vol. XV.
Walk a short distance north and Auron will cut a path to a secret area. Regroup with the team to start a boss battle in the spring.
Macalania Woods – Spring
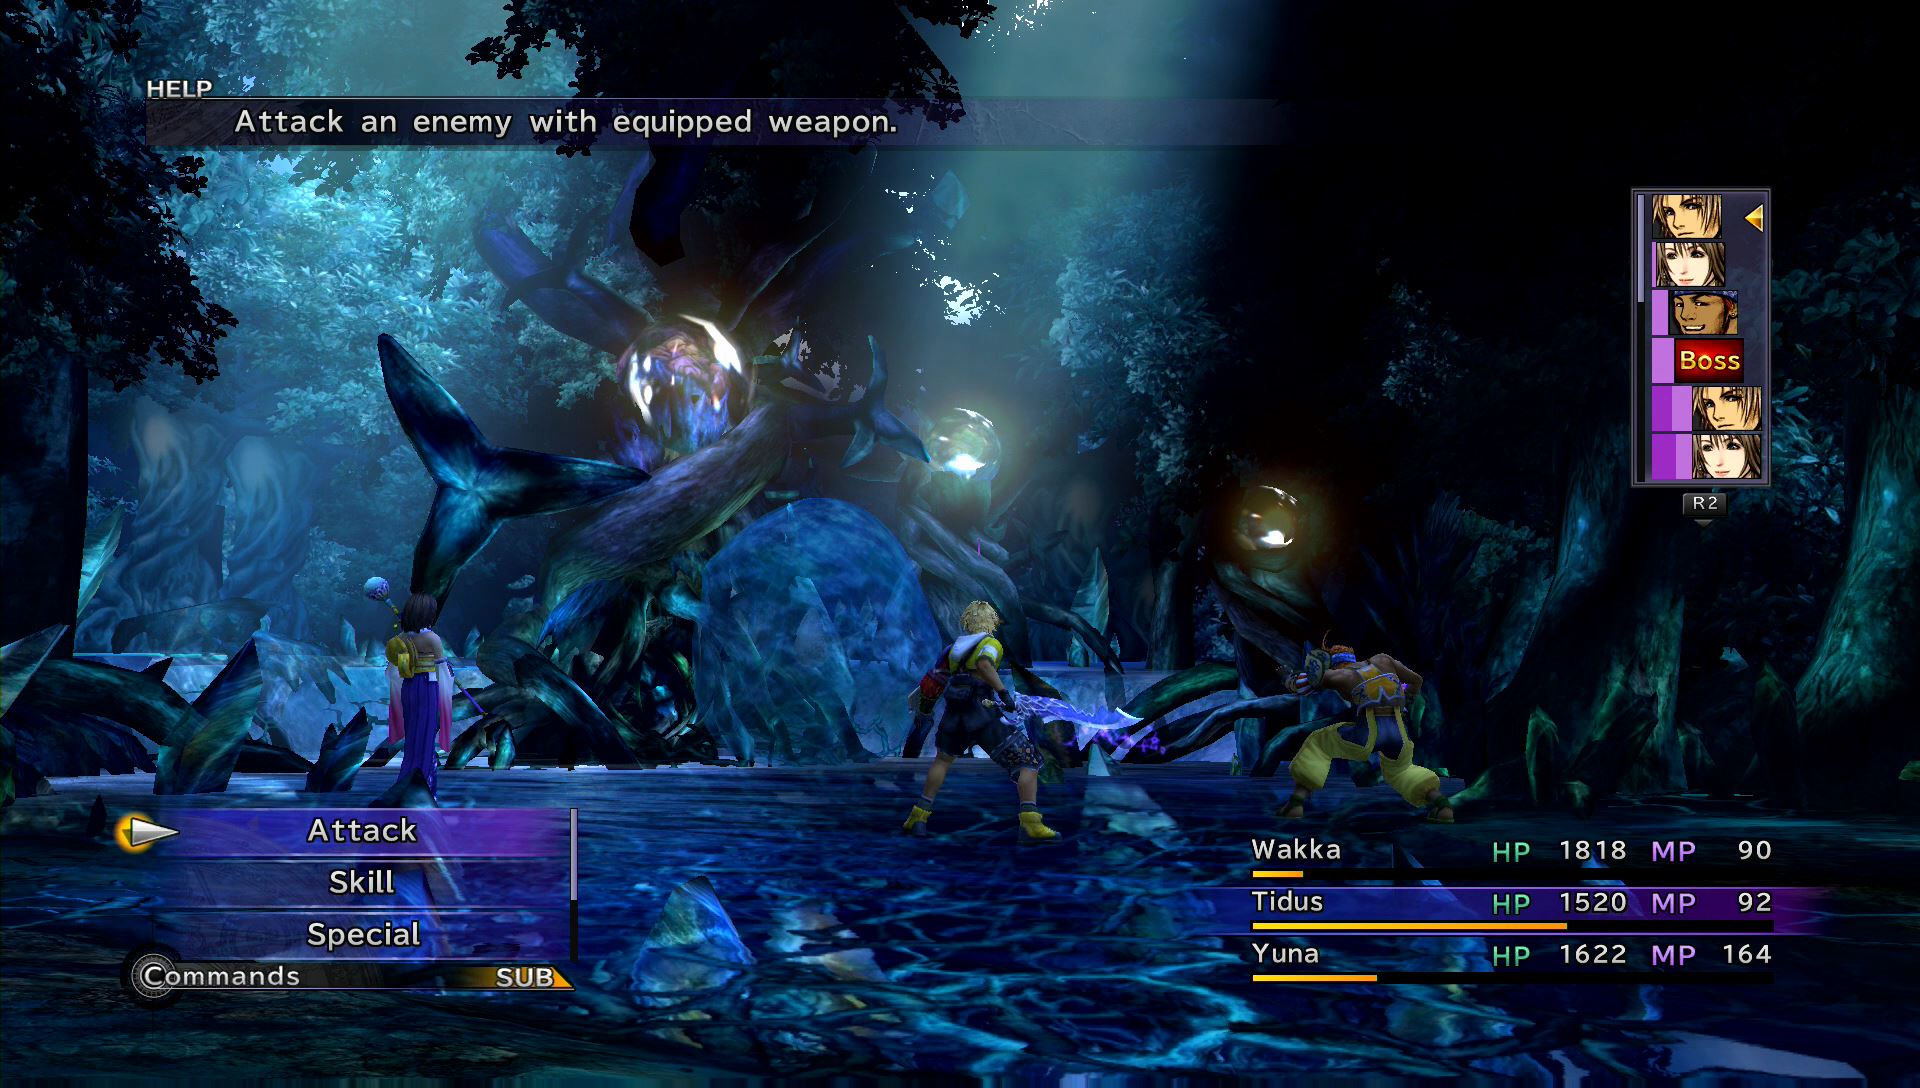
Boss Battle: Spherimorph
| HP | AP | Fire | Thunder | Water | Ice |
|---|---|---|---|---|---|
| 12000 (2000) | 3240 (4860) | Varies | Varies | Varies | Varies |
The Spherimorph is a very interesting fiend. It can change its elemental resistances in an instant with its Elemental Shift ability. The best way to guess its weakness is to wait for it to attack:
- If it uses Fire spells, use Ice attacks against Spherimorph
- If it uses Ice spells, use Fire attacks against Spherimorph
- If it uses Thunder spells, use Water attacks against Spherimorph
- If it uses Water spells, use Thunder attacks against Spherimorph
Regardless of its elemental weakness, it will remain strong to physical attacks. Use only magical attacks, and make sure each character gets a turn in battle to earn a ton of AP.
In addition to its elemental attacks, it will use basic physical attacks to one target or the entire group.
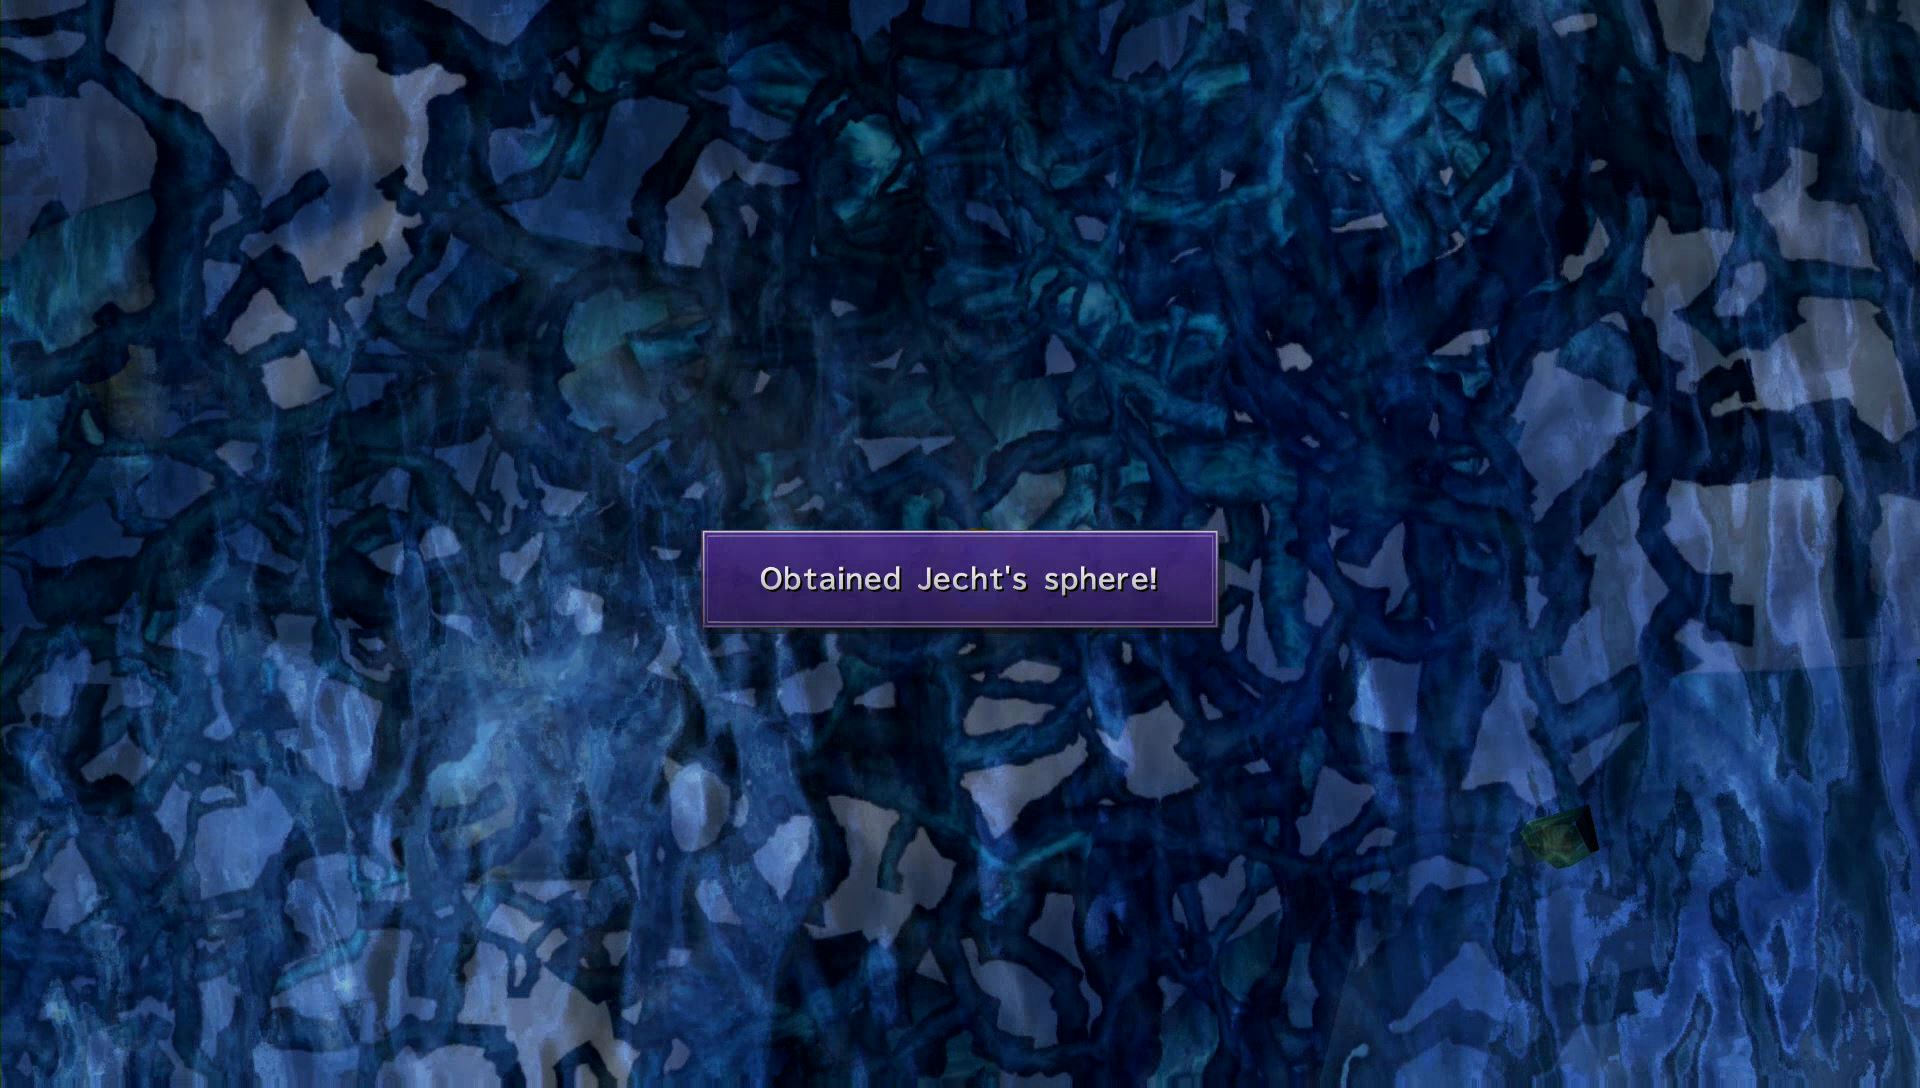
After the battle, you will get the very first Jecht Sphere of the game. If you can find all of these spheres through Spira, you will earn a PlayStation trophy and unlock all of Auron’s Overdrives. See the Jecht Sphere page for the locations of all Jecht Spheres.
When ready, return to the last area and continue northwest to Lake Macalania. The fiends in Lake Macalania are different than those found in Macalania Woods.
Lake Macalania – Agency Front
| Fiends | HP | Fire | Thunder | Water | Ice |
|---|---|---|---|---|---|
| Evil Eye | 310 | Weak | — | — | — |
| Ice Flan | 1350 | Weak | Strong | Strong | Absorb |
| Mafdet | 710 | — | Weak | — | Weak |
| Snow Wolf | 400 | Weak | — | — | — |
Up ahead is an Al Bhed Agency and O’aka. If you look to the left of the door, you can find the Al Bhed Primer vol. XVI.

To the right is Clasko. Speak with him to influence his future career with Chocobos. You won’t be able to get the treasure chest behind him immediately, but in case you’re curious it contains 4000 Gil.
You can buy more items and save your game inside the Agency. When ready, head southwest and be prepared for another boss battle.
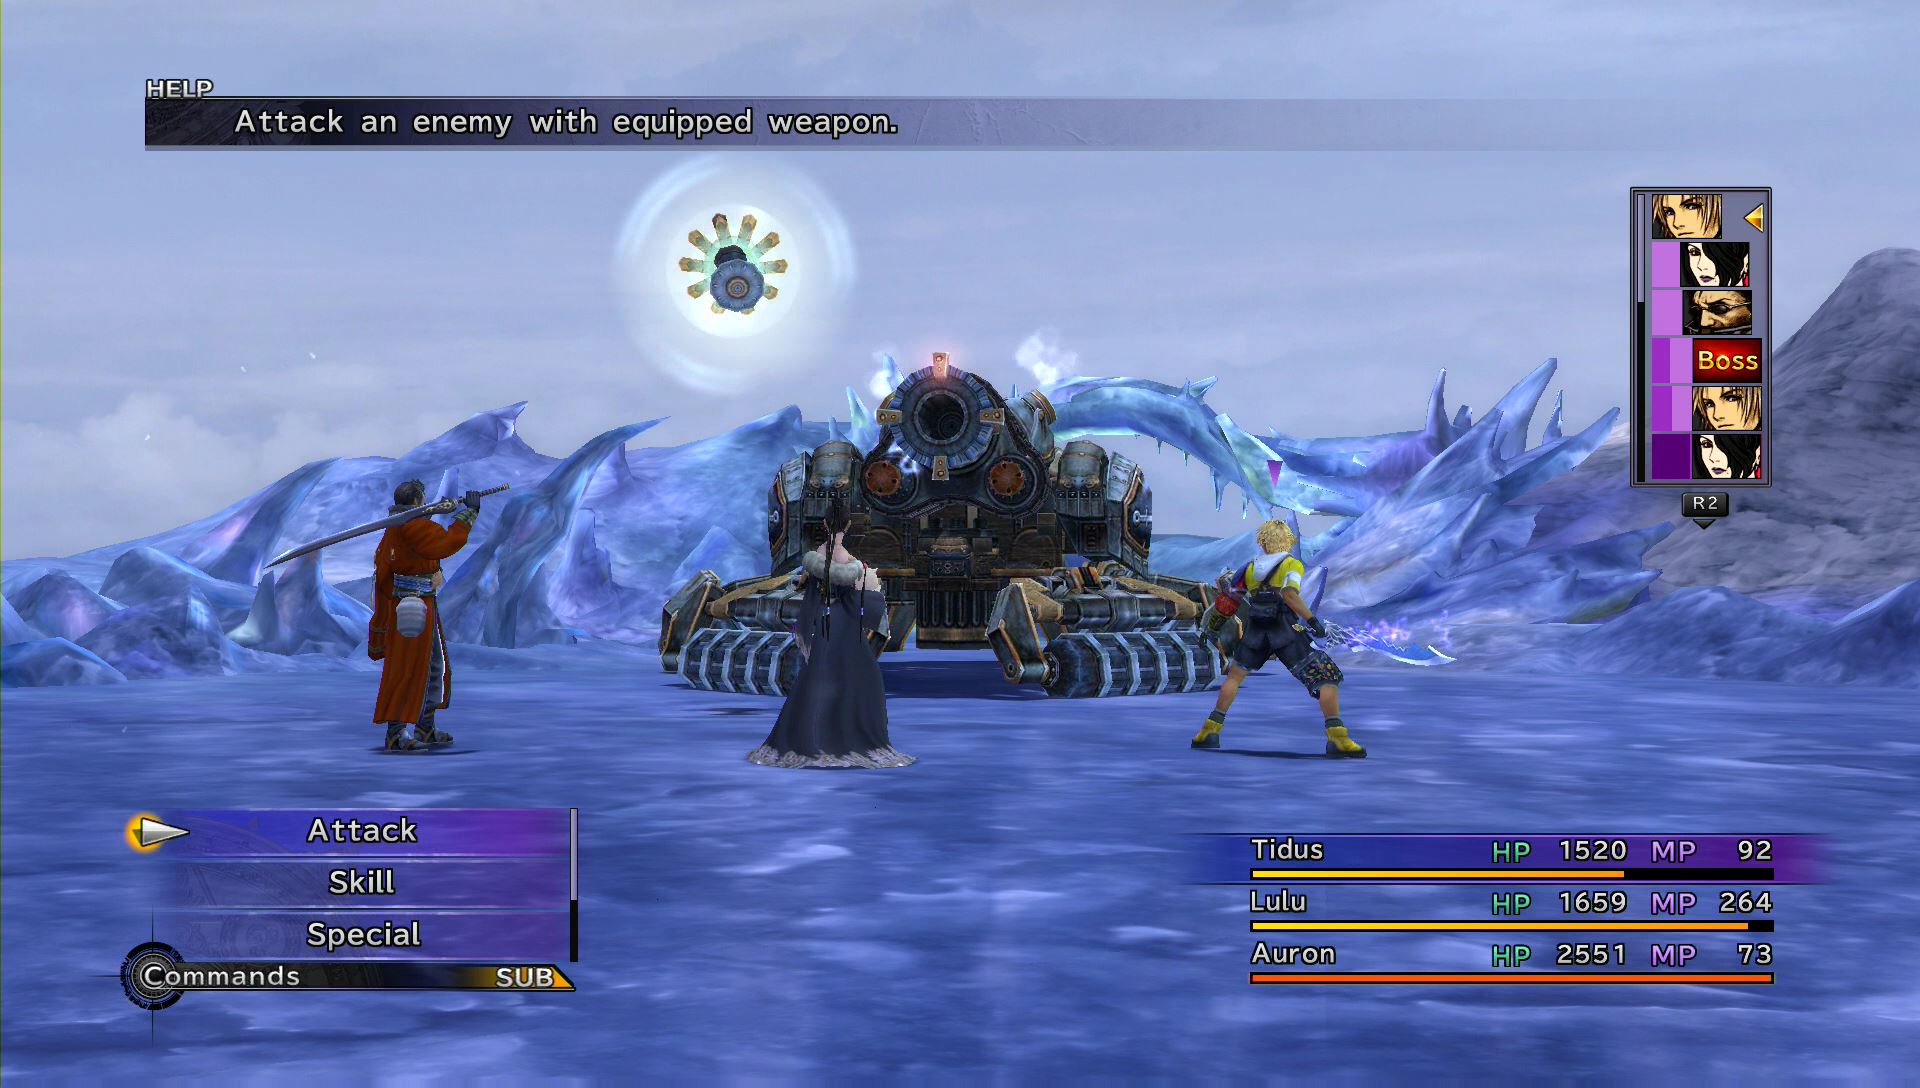
Boss Battle: Crawler
| Enemy | HP | AP | Fire | Thunder | Water | Ice |
|---|---|---|---|---|---|---|
| Crawler | 16000 (4000) | 4400 (6600) | Strong | Weak | Strong | Strong |
| Negator | 1000 (1000) | 220 (330) | Strong | — | Strong | Strong |
- Gatling Gun: Damages all targets a random amount of times
- Assault: Attacks one target
- Mana Beam: Charges for three turns, then deals massive damage to all targets.
This boss battle involves more Al Bhed Machina, which means it will be weak to Thunder attacks. However, the Negator, the small floating device, will disable all magic and summoning. Use Wakka’s attacks to take it out of the sky.
After awhile, the Crawler will charge its Mana Beam. After three turns, the Mana Beam will hit the entire team and may even knock out the entire party. Before it fires, either take out the Crawler, protect the entire team, or switch to an Aeon.
The Negator will return to the battle once a set amount of damage is done to the Crawler. If an Aeon is already on the battlefield when the Negator returns, it will not be dismissed, but it won’t be able to use Magic spells.
After defeating the machina, a lengthy cut scene will play out. You will arrive at the Macalania Temple. Pick up the Mega Potion from the treasure chest nearby.
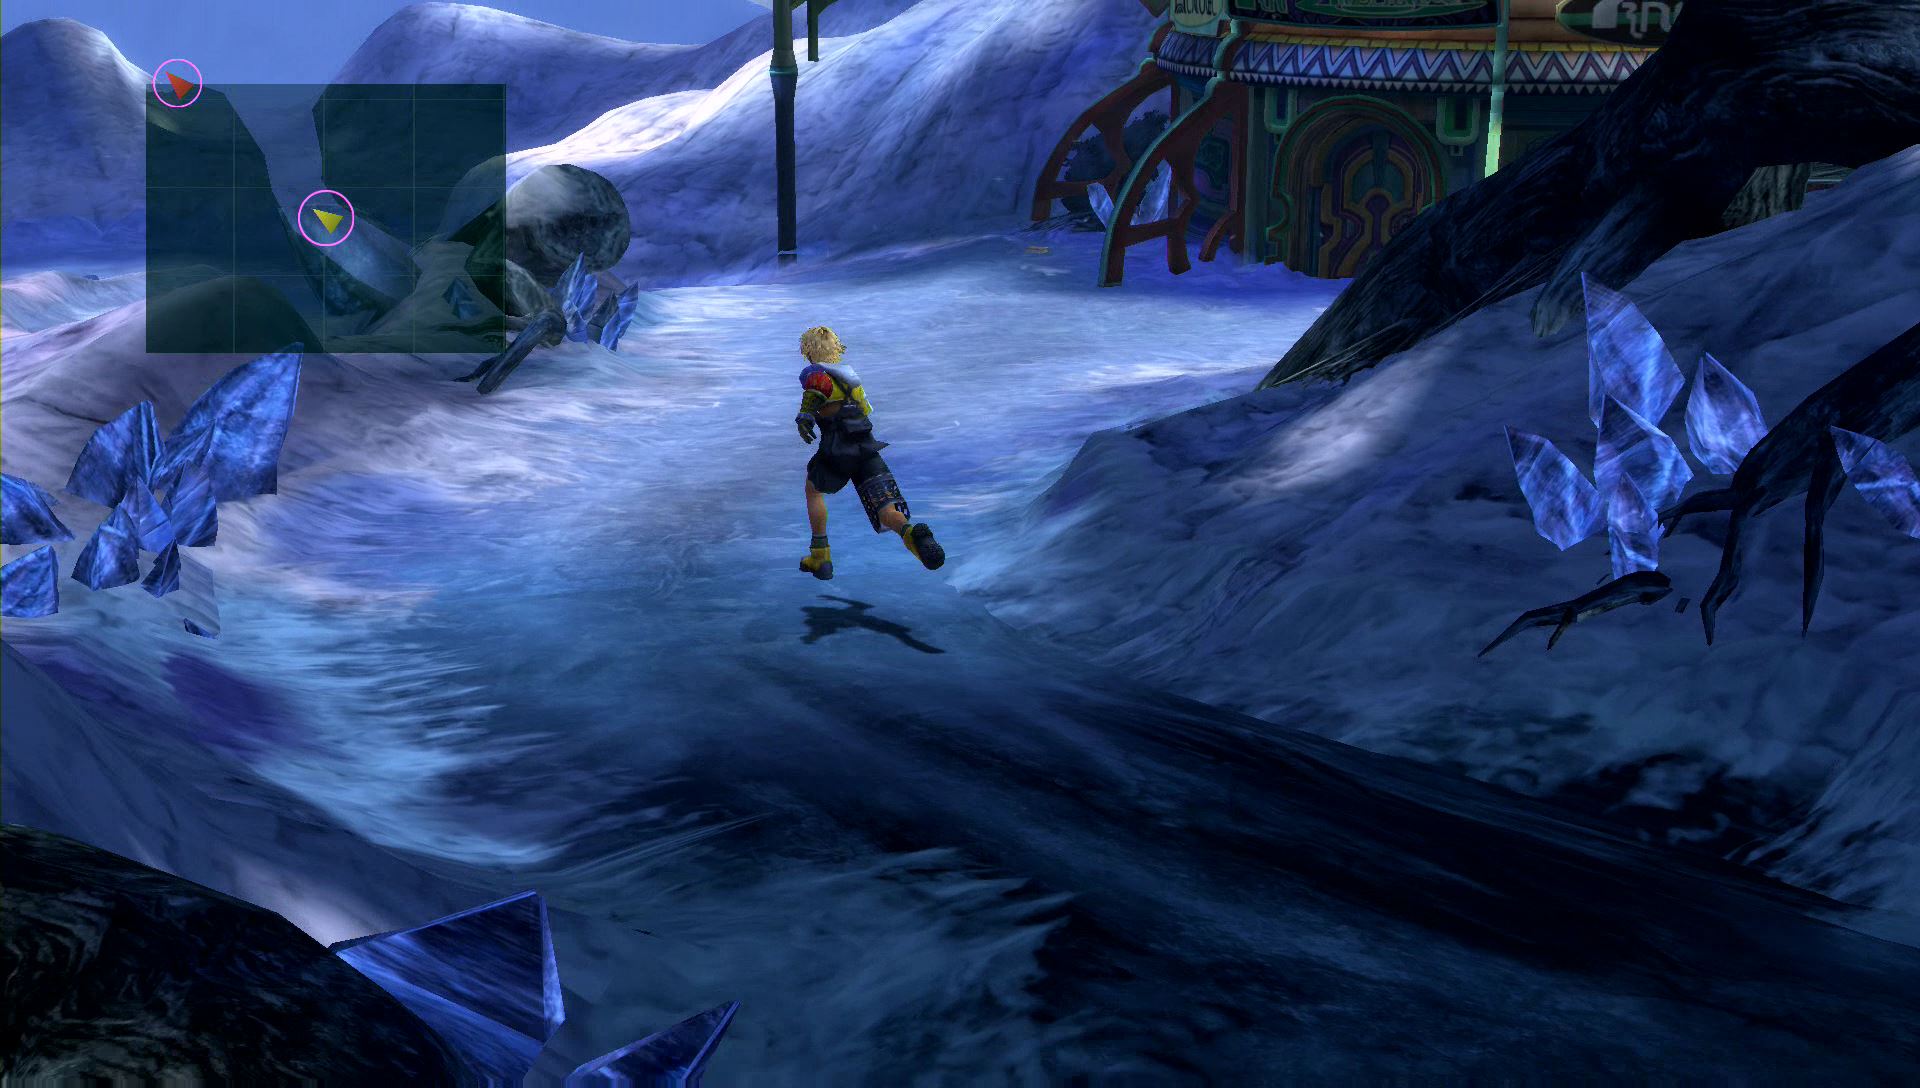
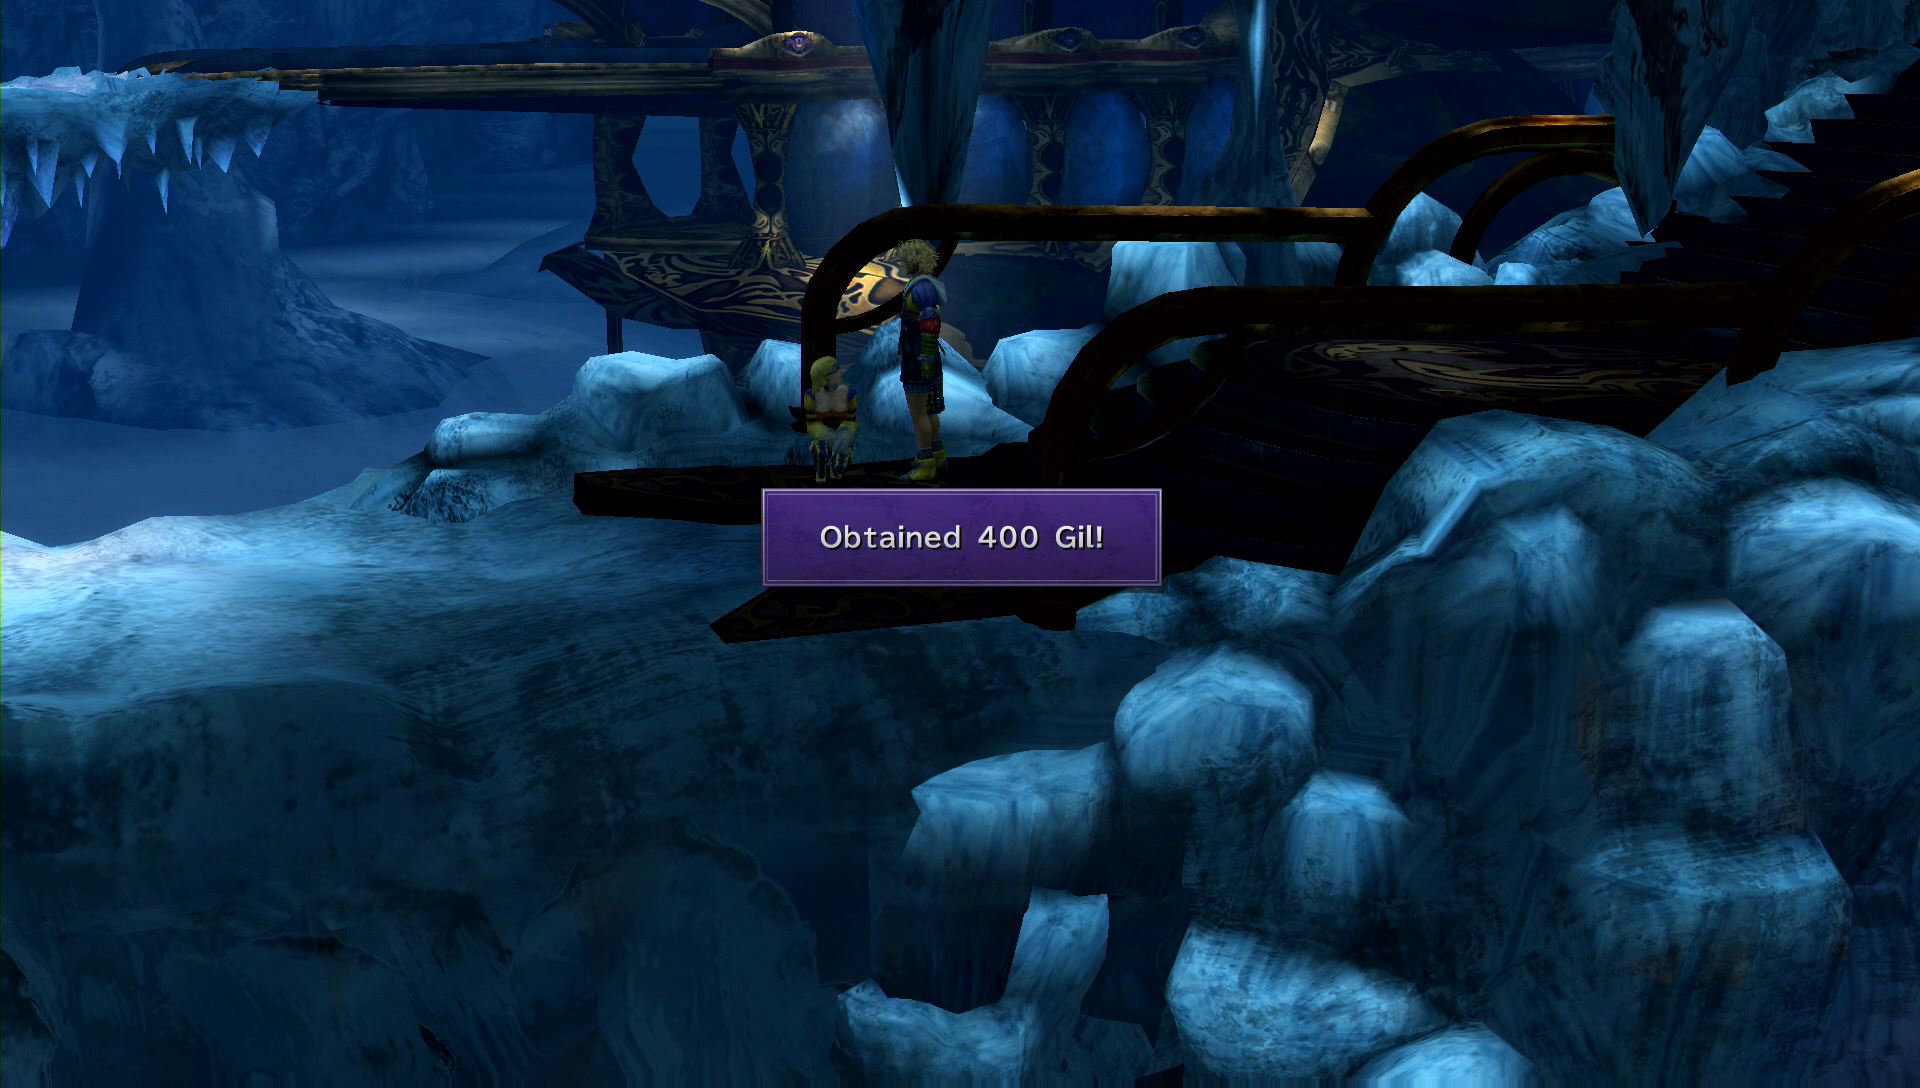
Macalania – Road
Head through the door to find a long ice path to the temple. Speak with the lone Al Bhed near the entrance to obtain 400 Gil.
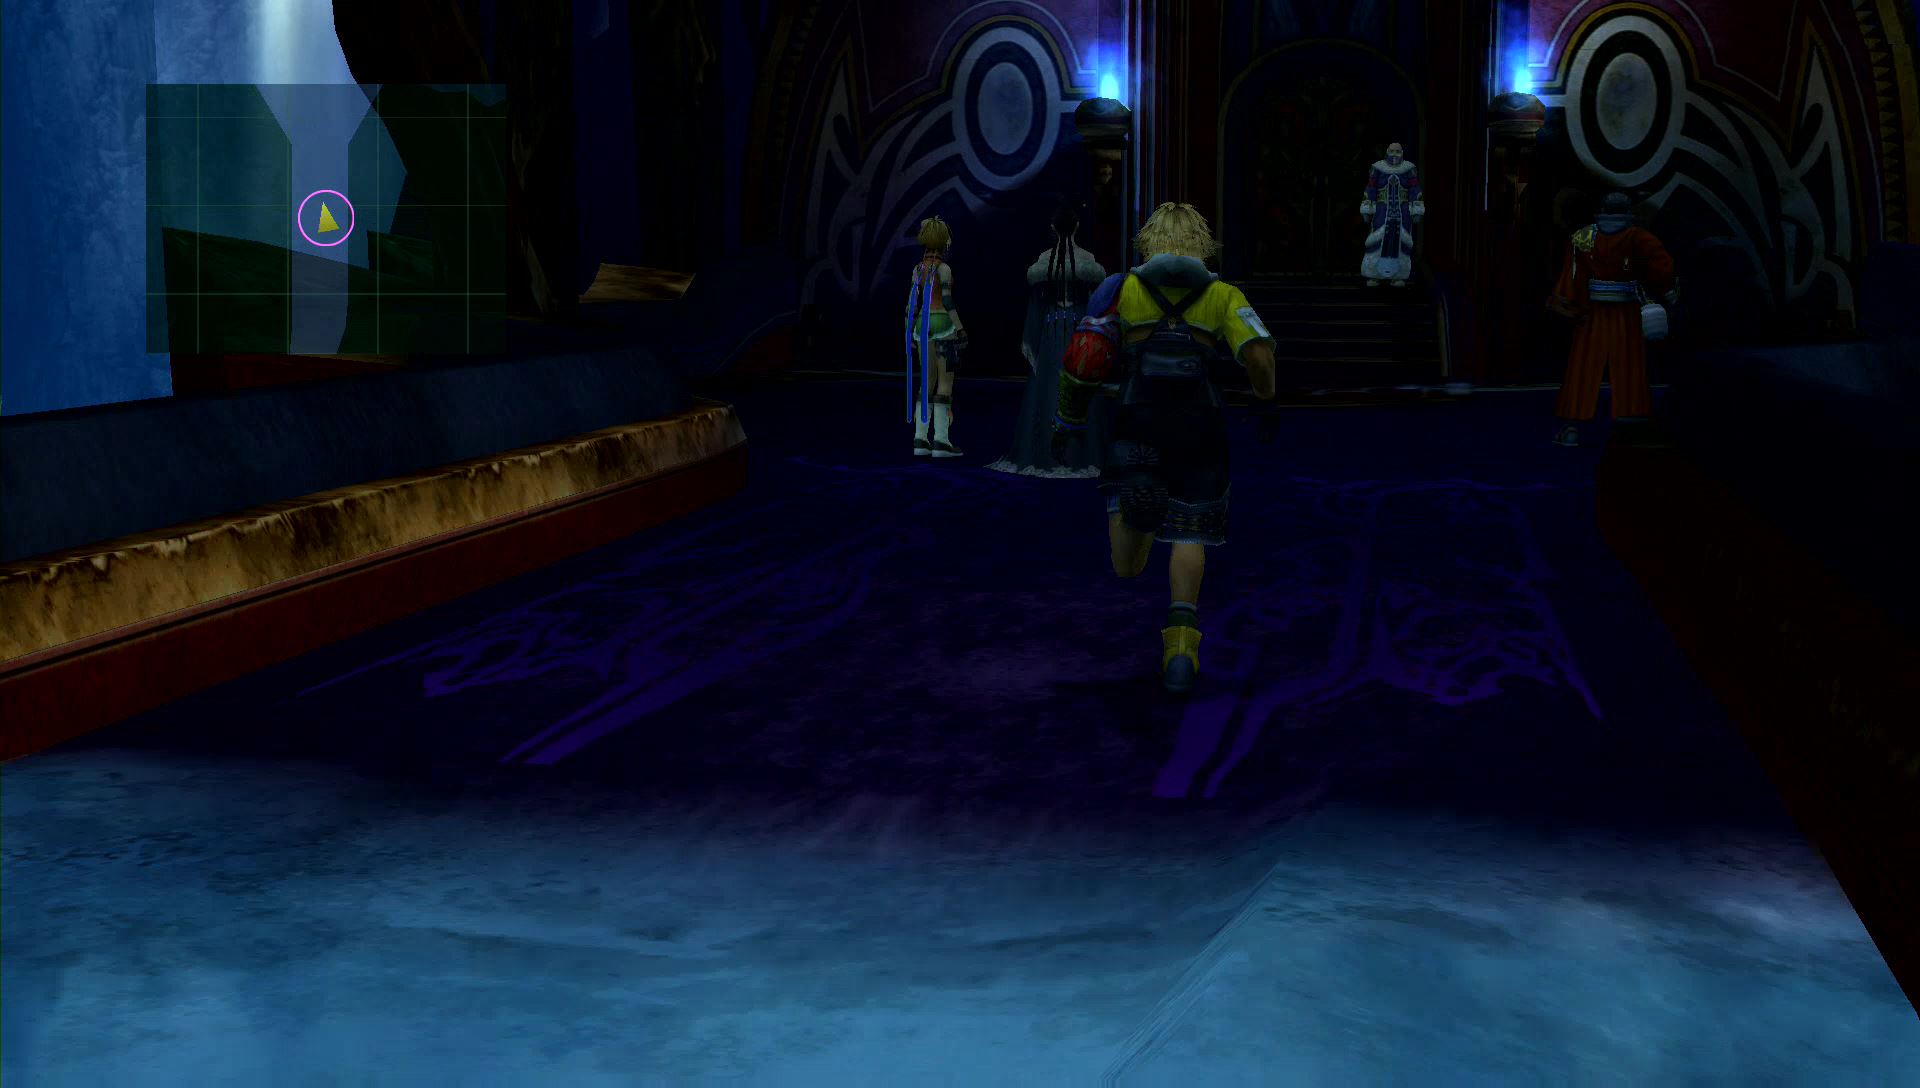
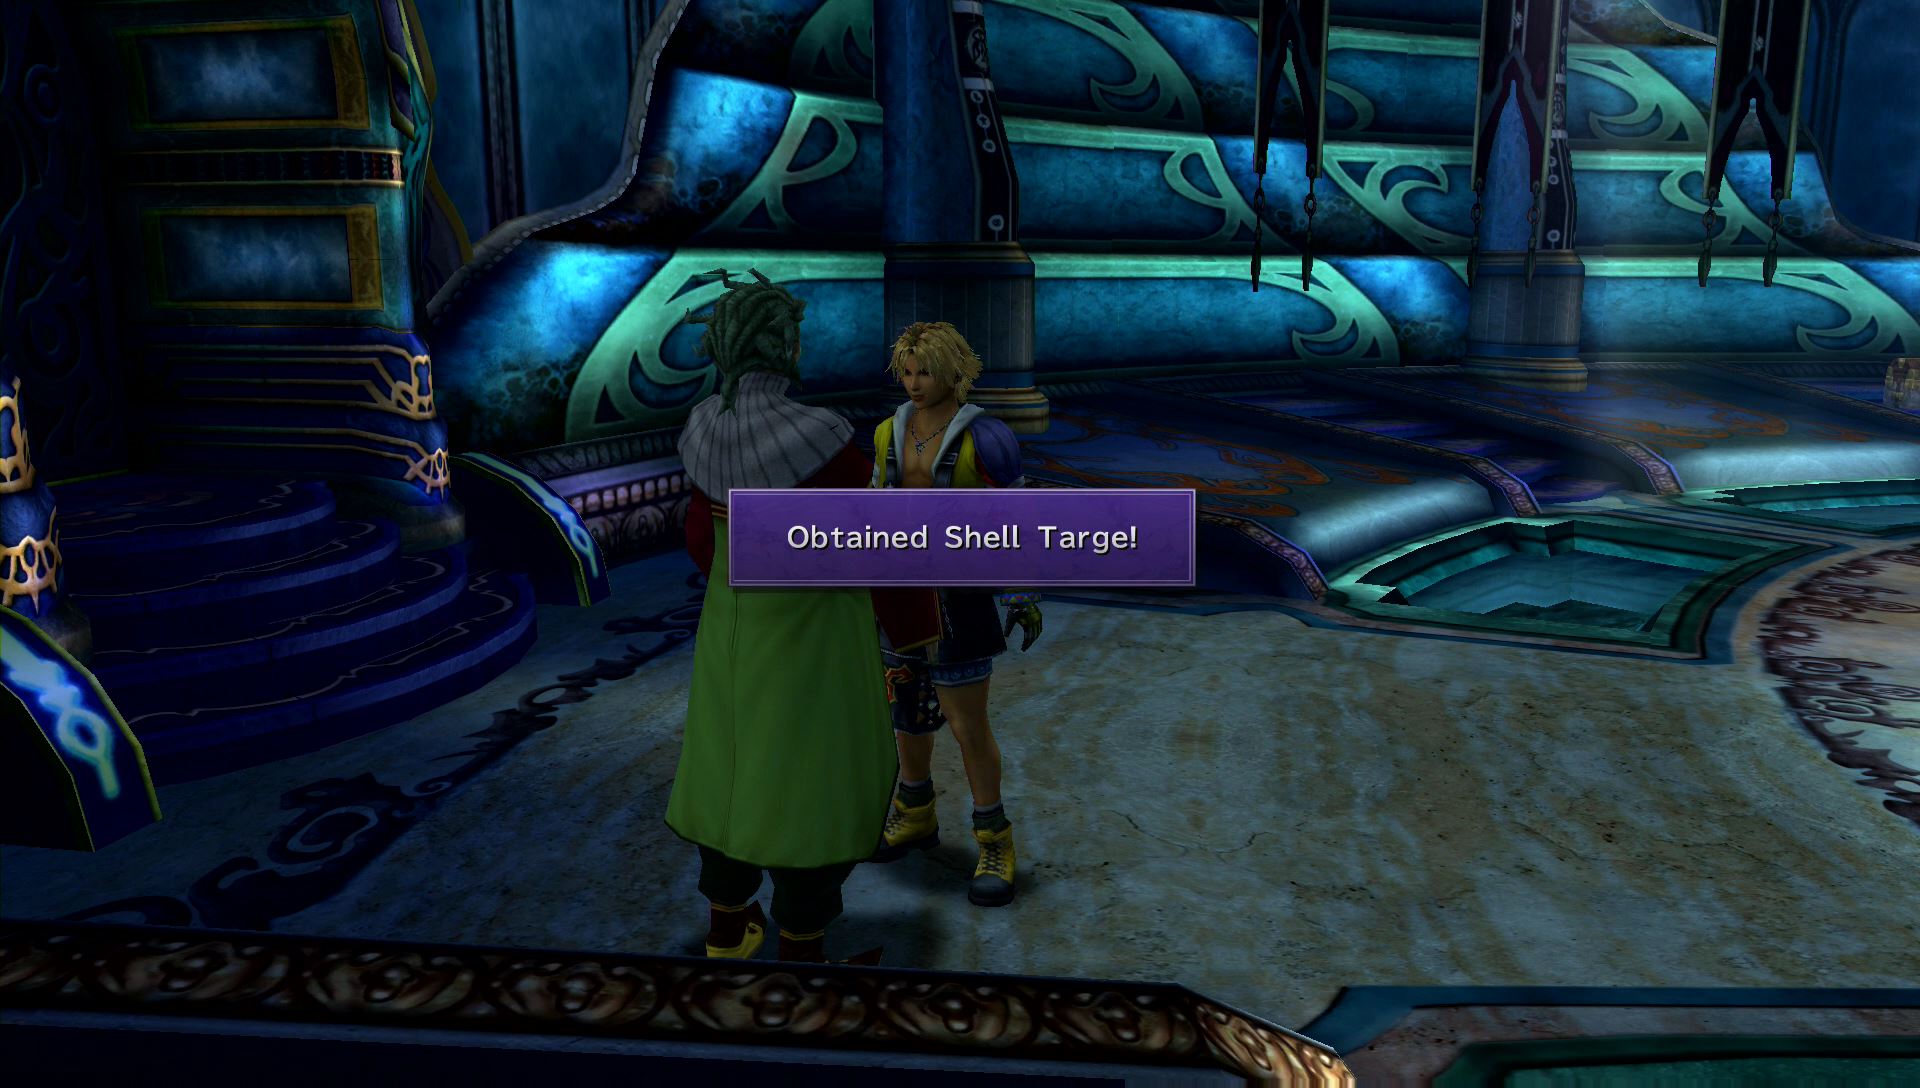
Maclania – Hall
Speak with Tromell inside the Temple’s hall to obtain a Shell Targe. Also in this hall are two treasure chests containing two X-Potions and 5000 Gil. If you like, speak with O’aka to buy weapons and items.
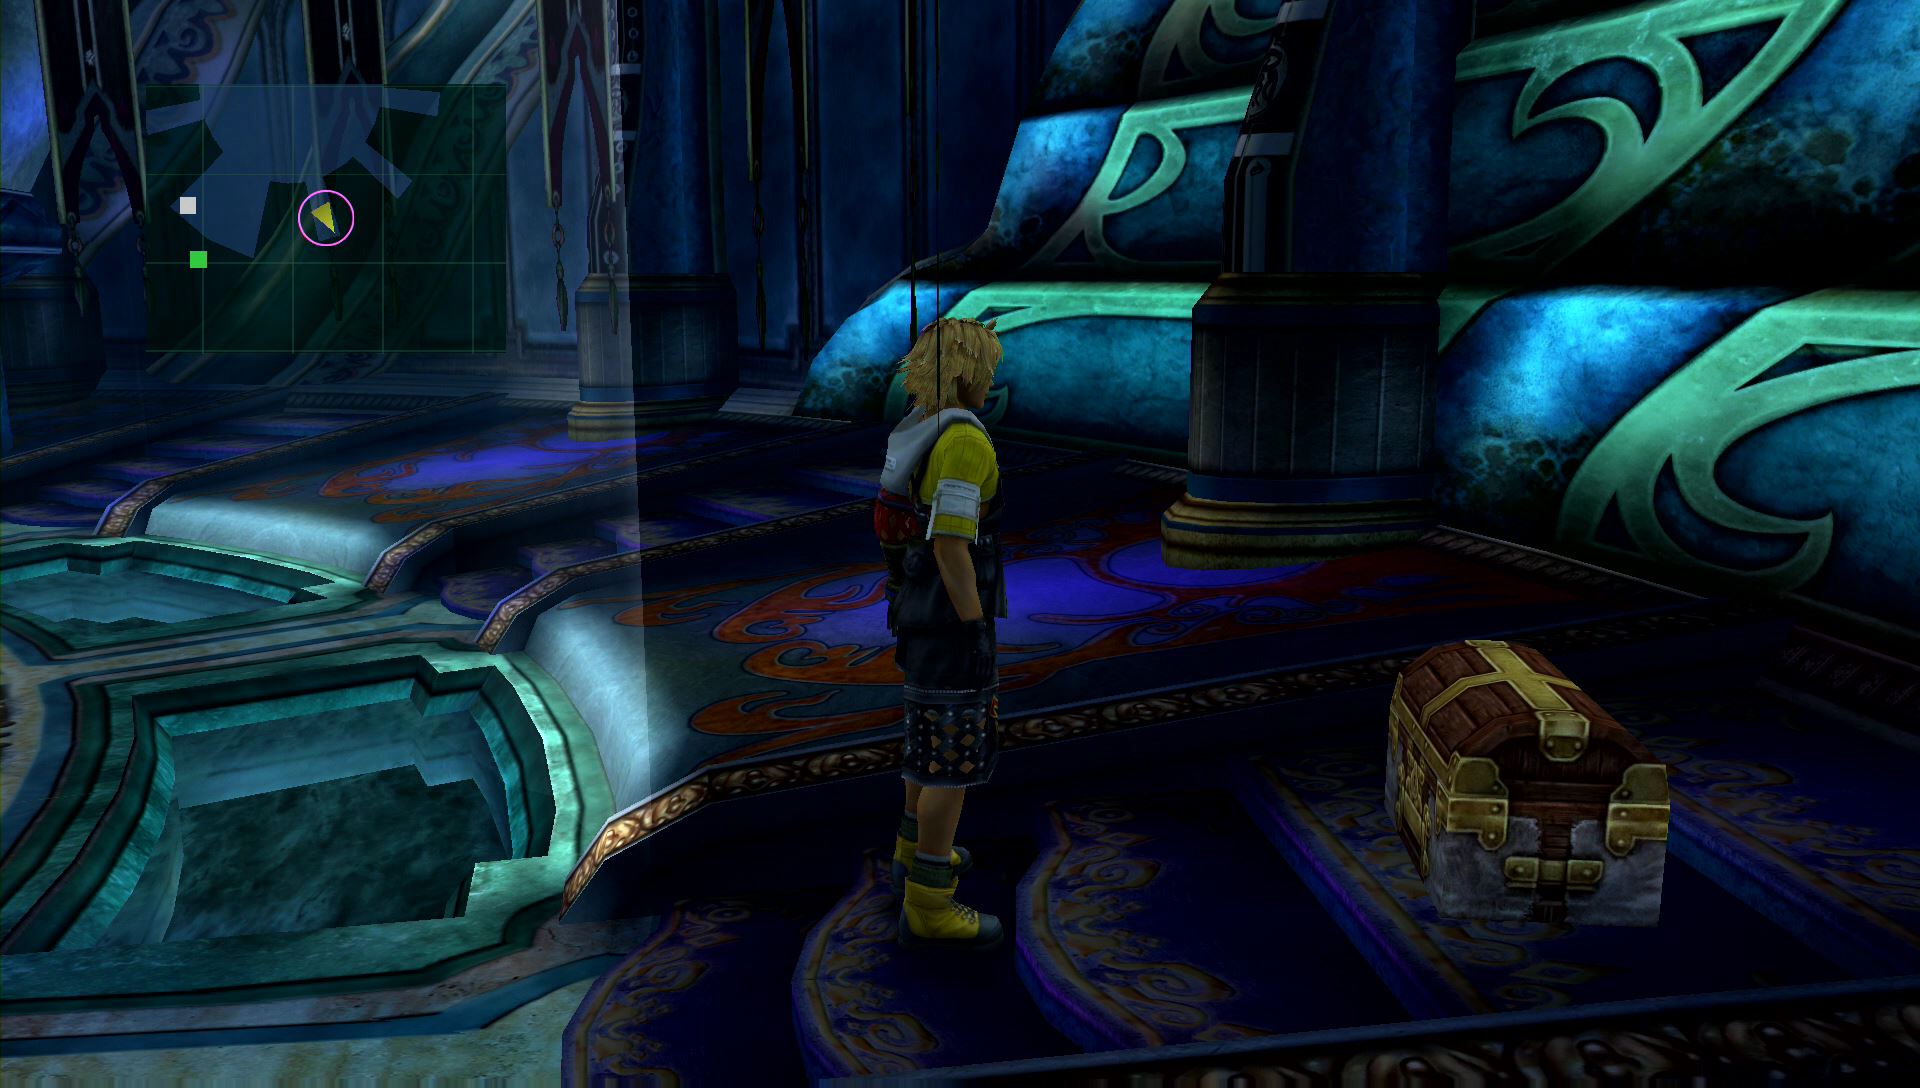
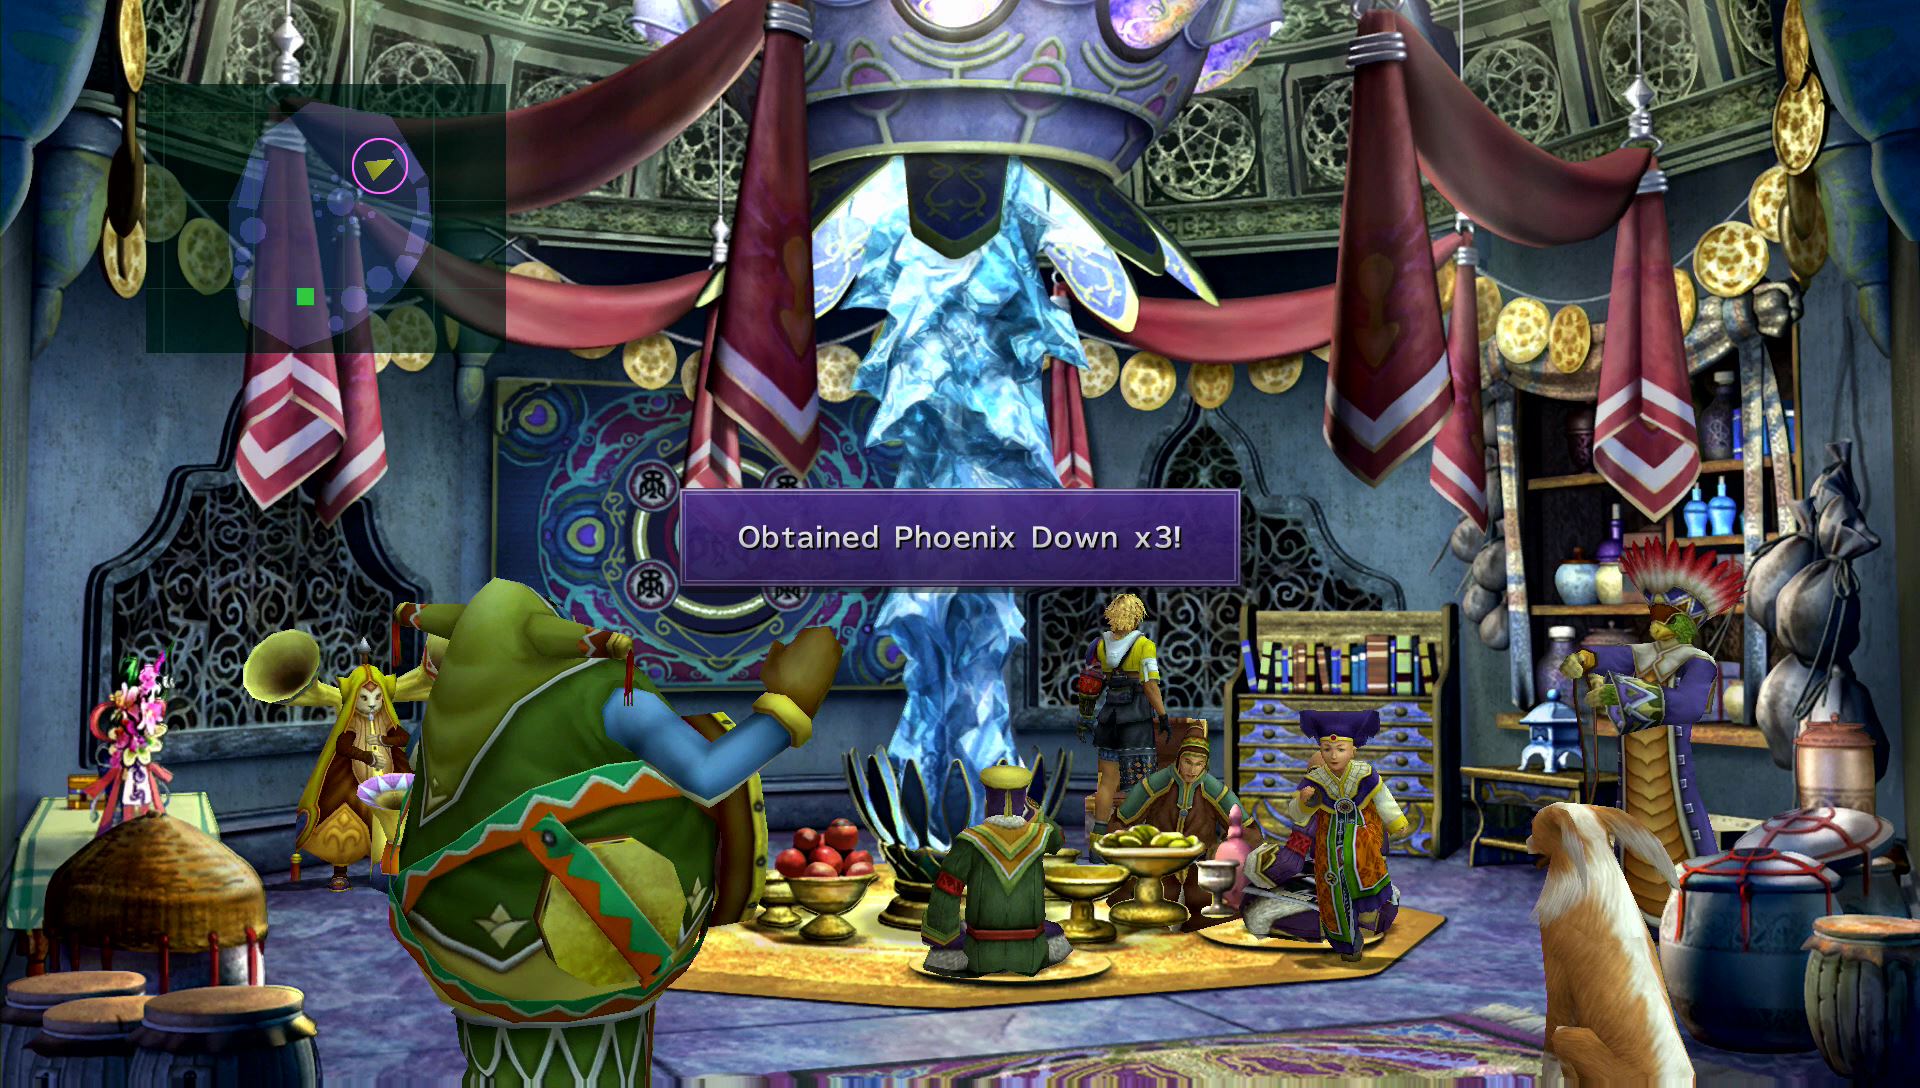
Walk forward to hear about a sphere in Yuna’s belongings. Before going into the chamber to the right, enter the chamber to the left. In the back of the room is a treasure chest containing three Phoenix Downs. Speak with the others in the room to obtain an Ether and Elixir.

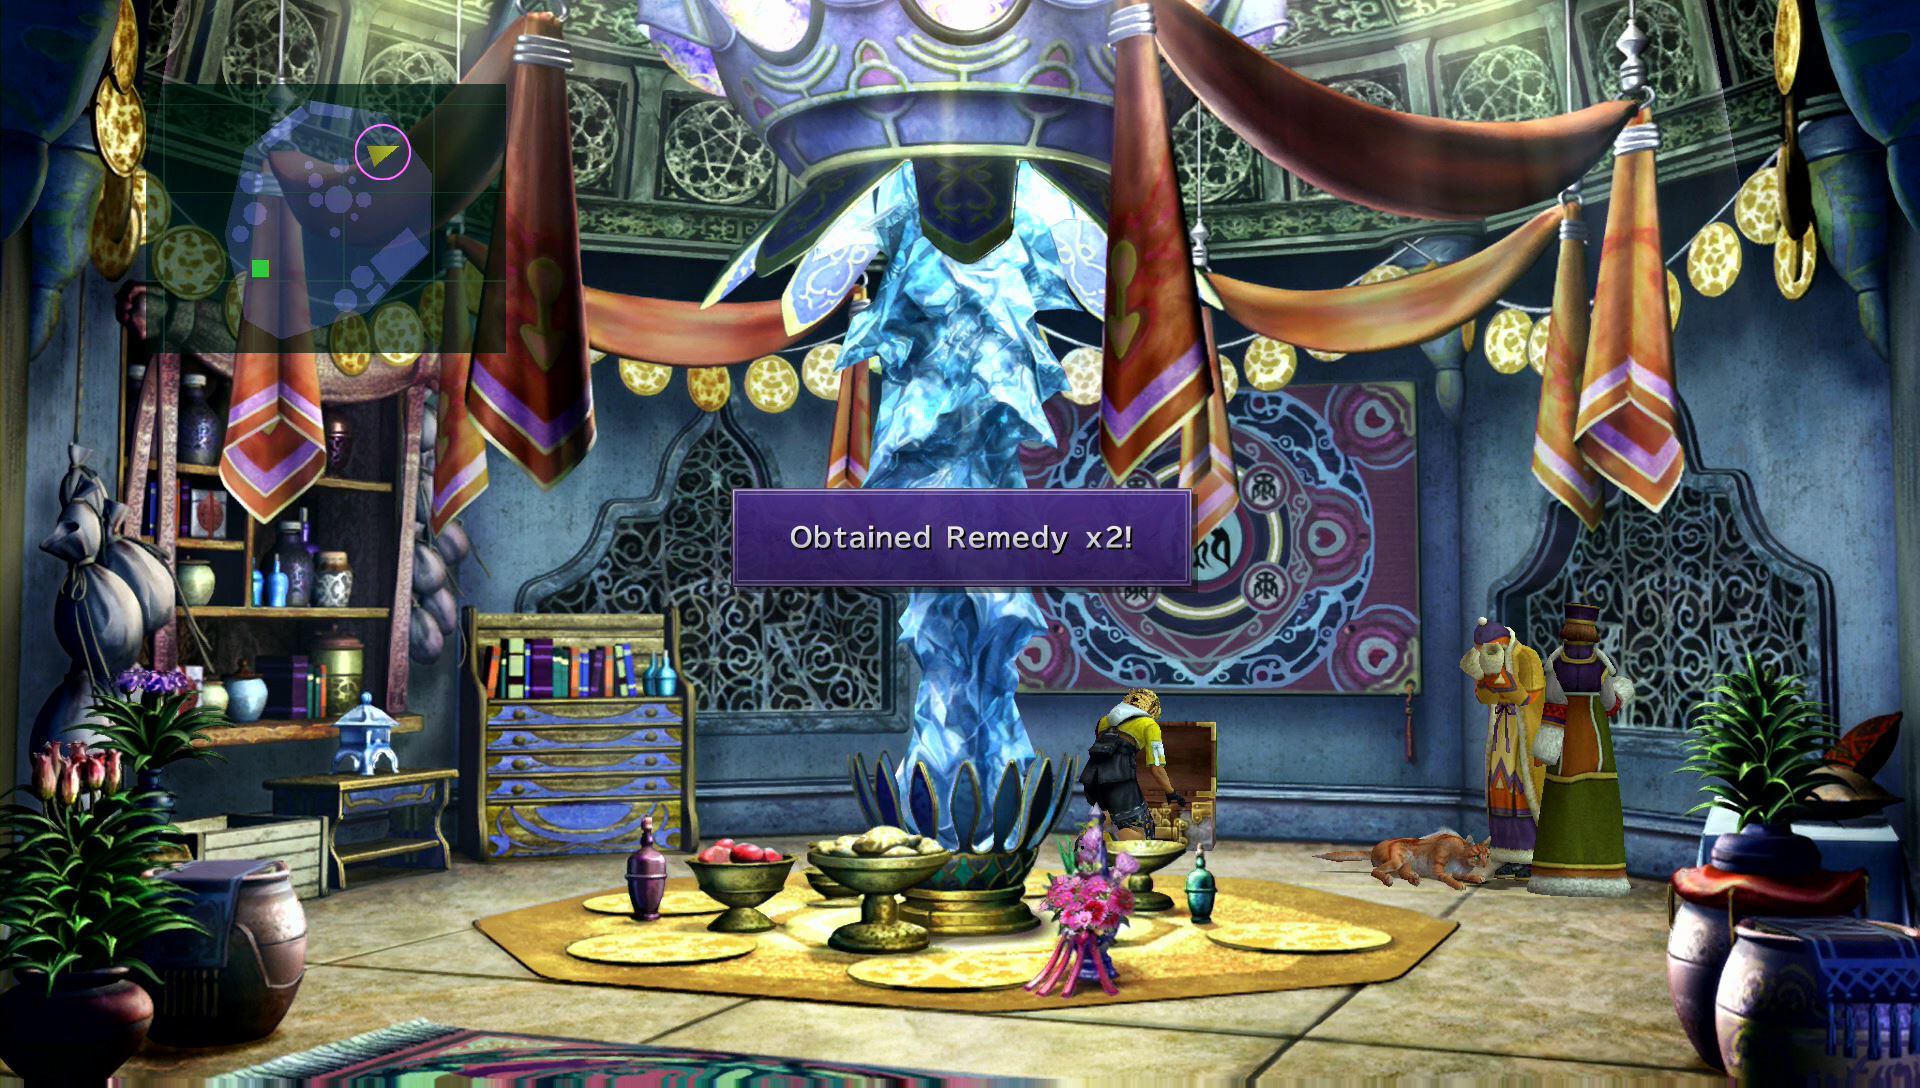
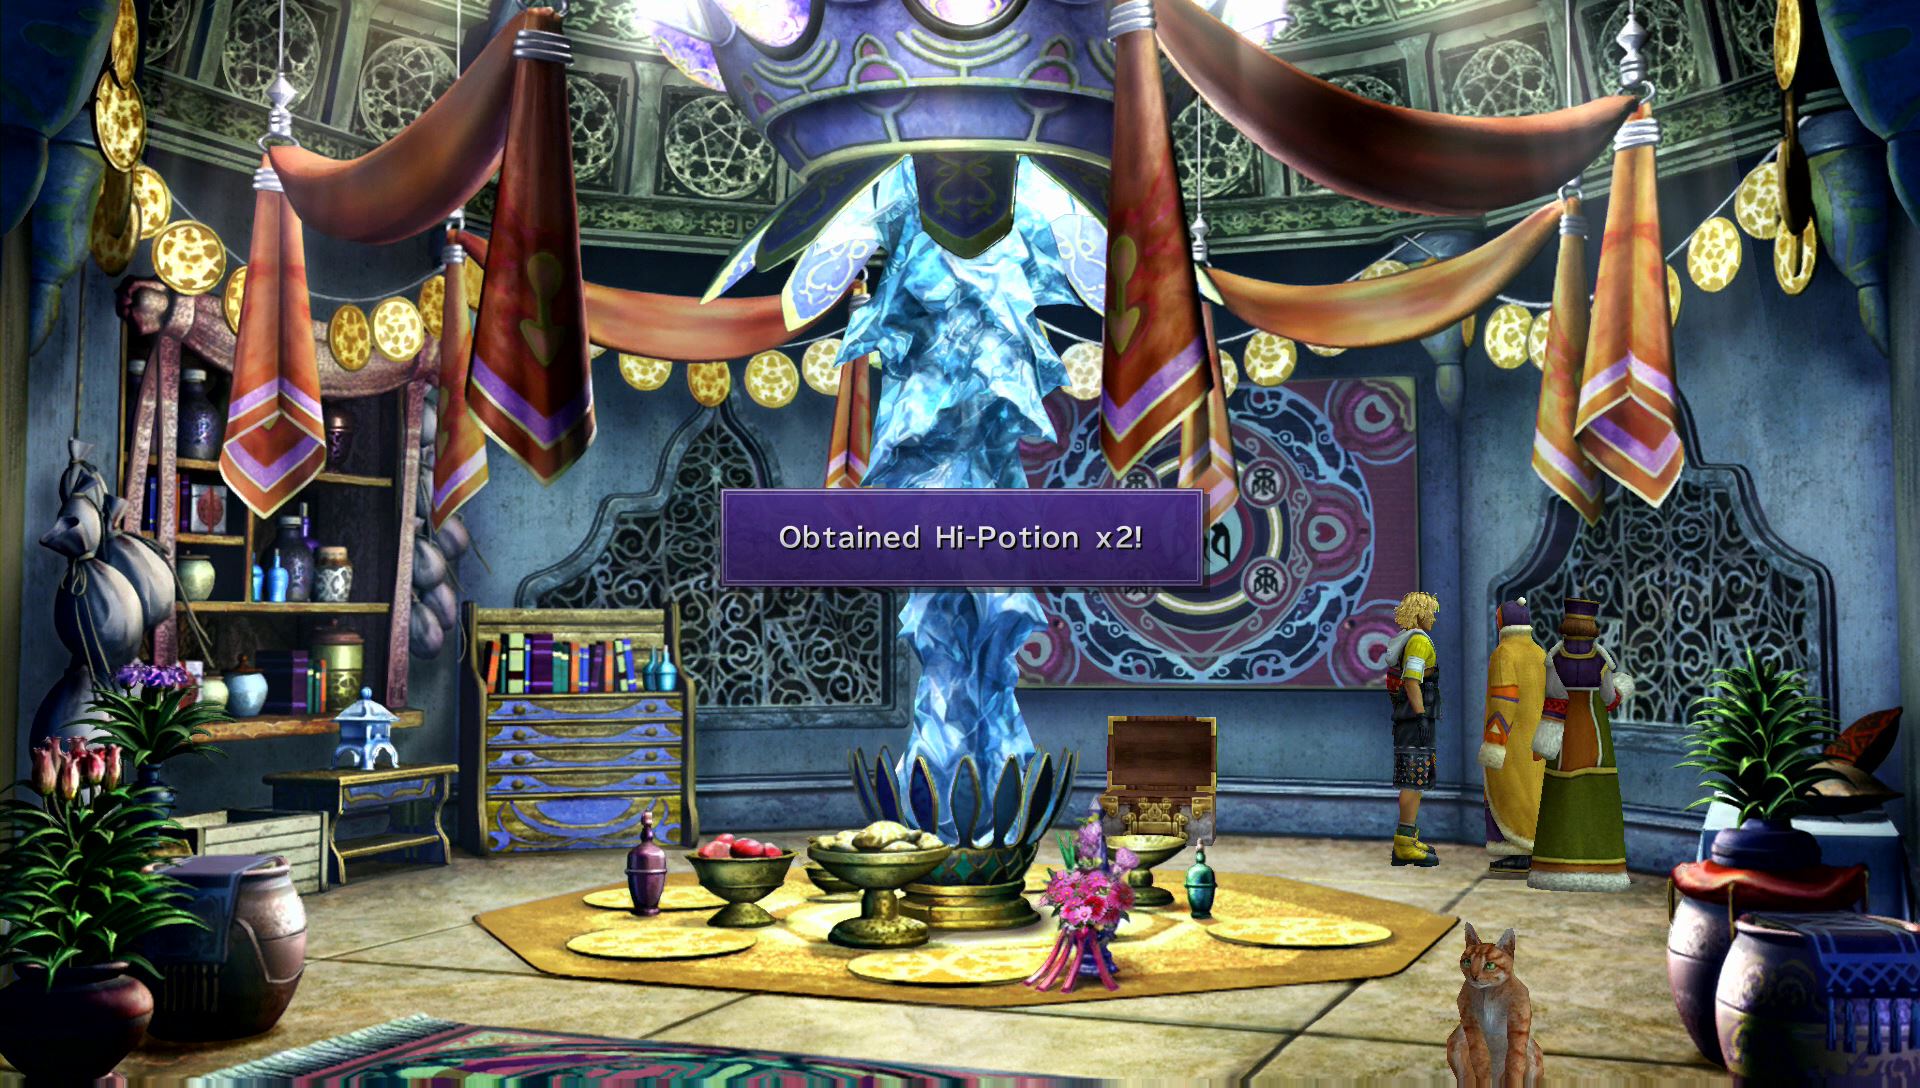
Return to the hall and enter the right chamber. You’ll see a sphere with Lord Jyscal. Afterwords, open the treasure chest in the back to obtain two Remedies. Before leaving the room, speak with the woman near the treasure chest to obtain two Hi-Potions.
After picking up all the items, enter the Macalania Cloister of Trials. A boss battle will begin.
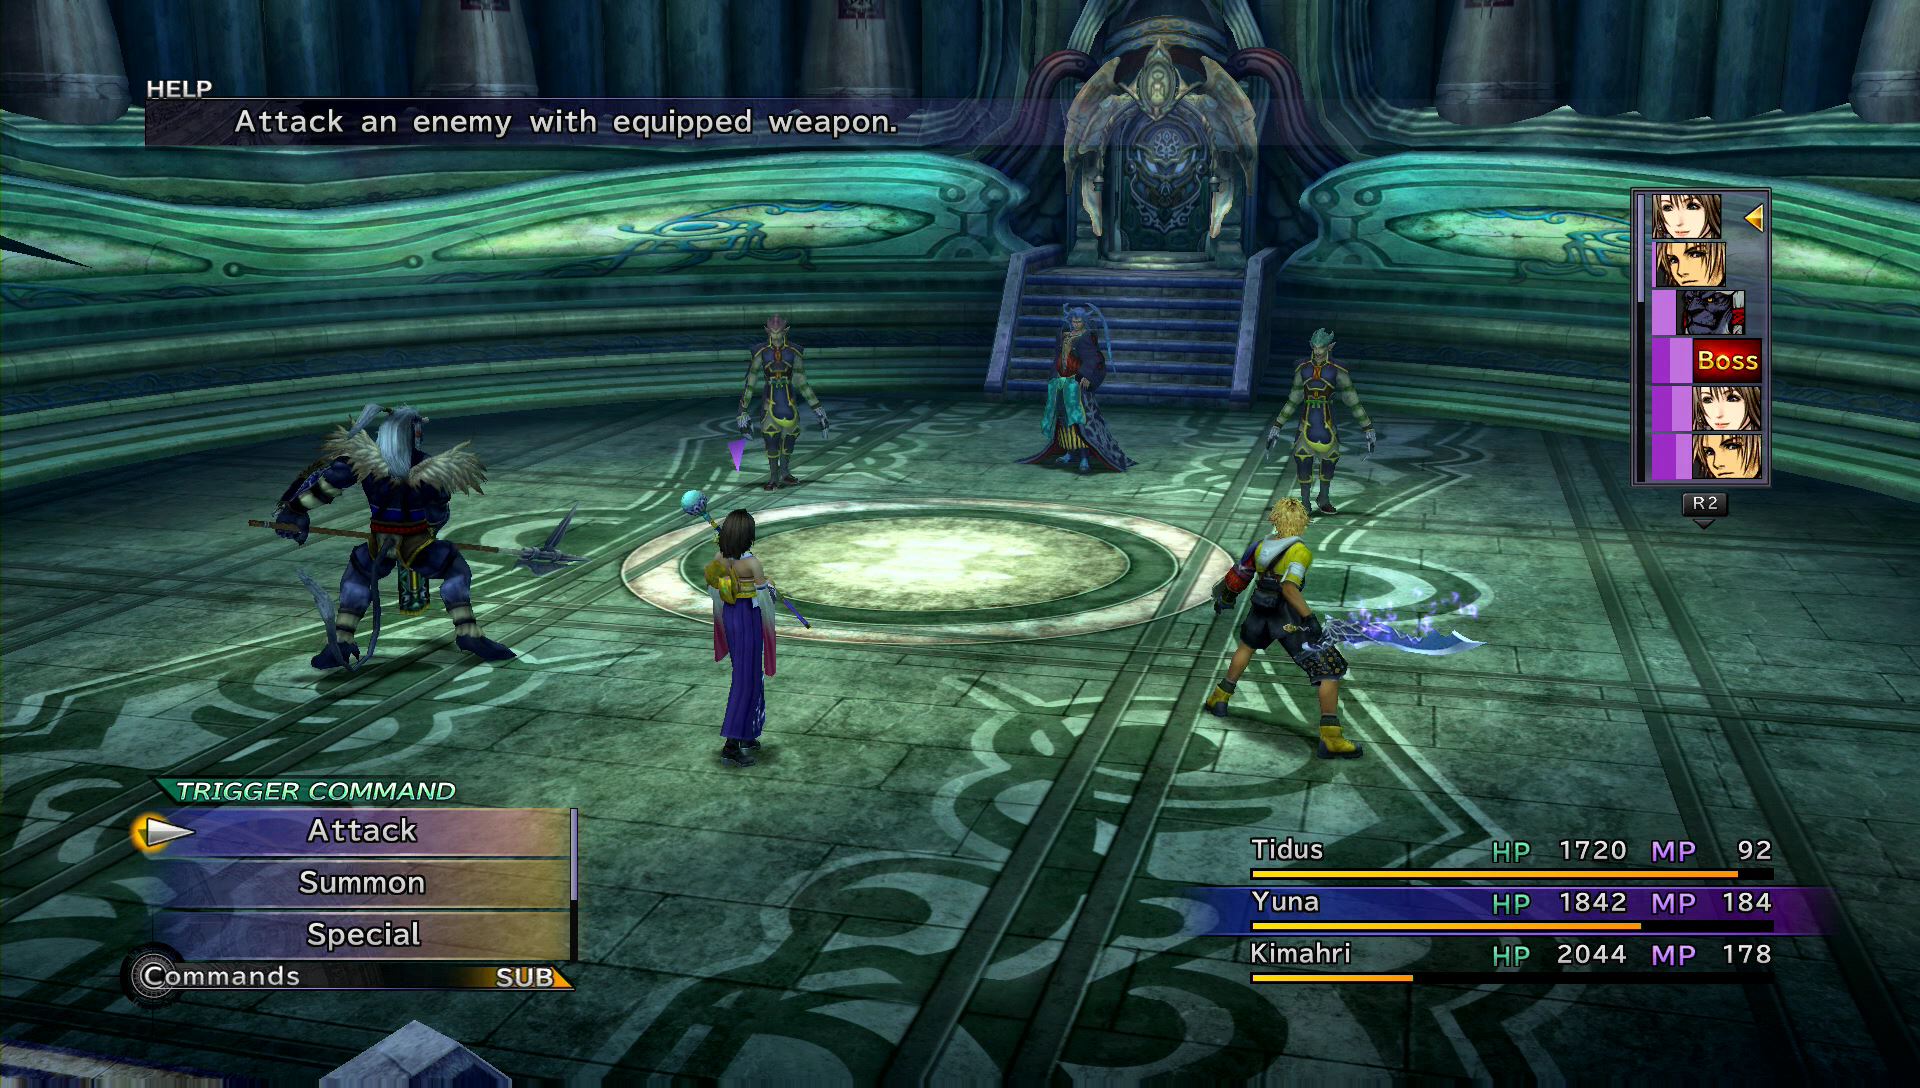
Boss Battle: Seymour
| Enemy | HP | AP | Fire | Thunder | Water | Ice |
|---|---|---|---|---|---|---|
| Seymour | 6000 (1400) | 2000 (3000) | — | — | — | — |
| Guado Guardian | 2000 (2000) | 290 (435) | — | — | — | — |
| Anima | 18000 (1400) | 2500 (3750) | — | — | — | — |
Use the Trigger Command to allow three characters to speak with Seymour. This will boost select stats for Yuna, Tidus, and Wakka.
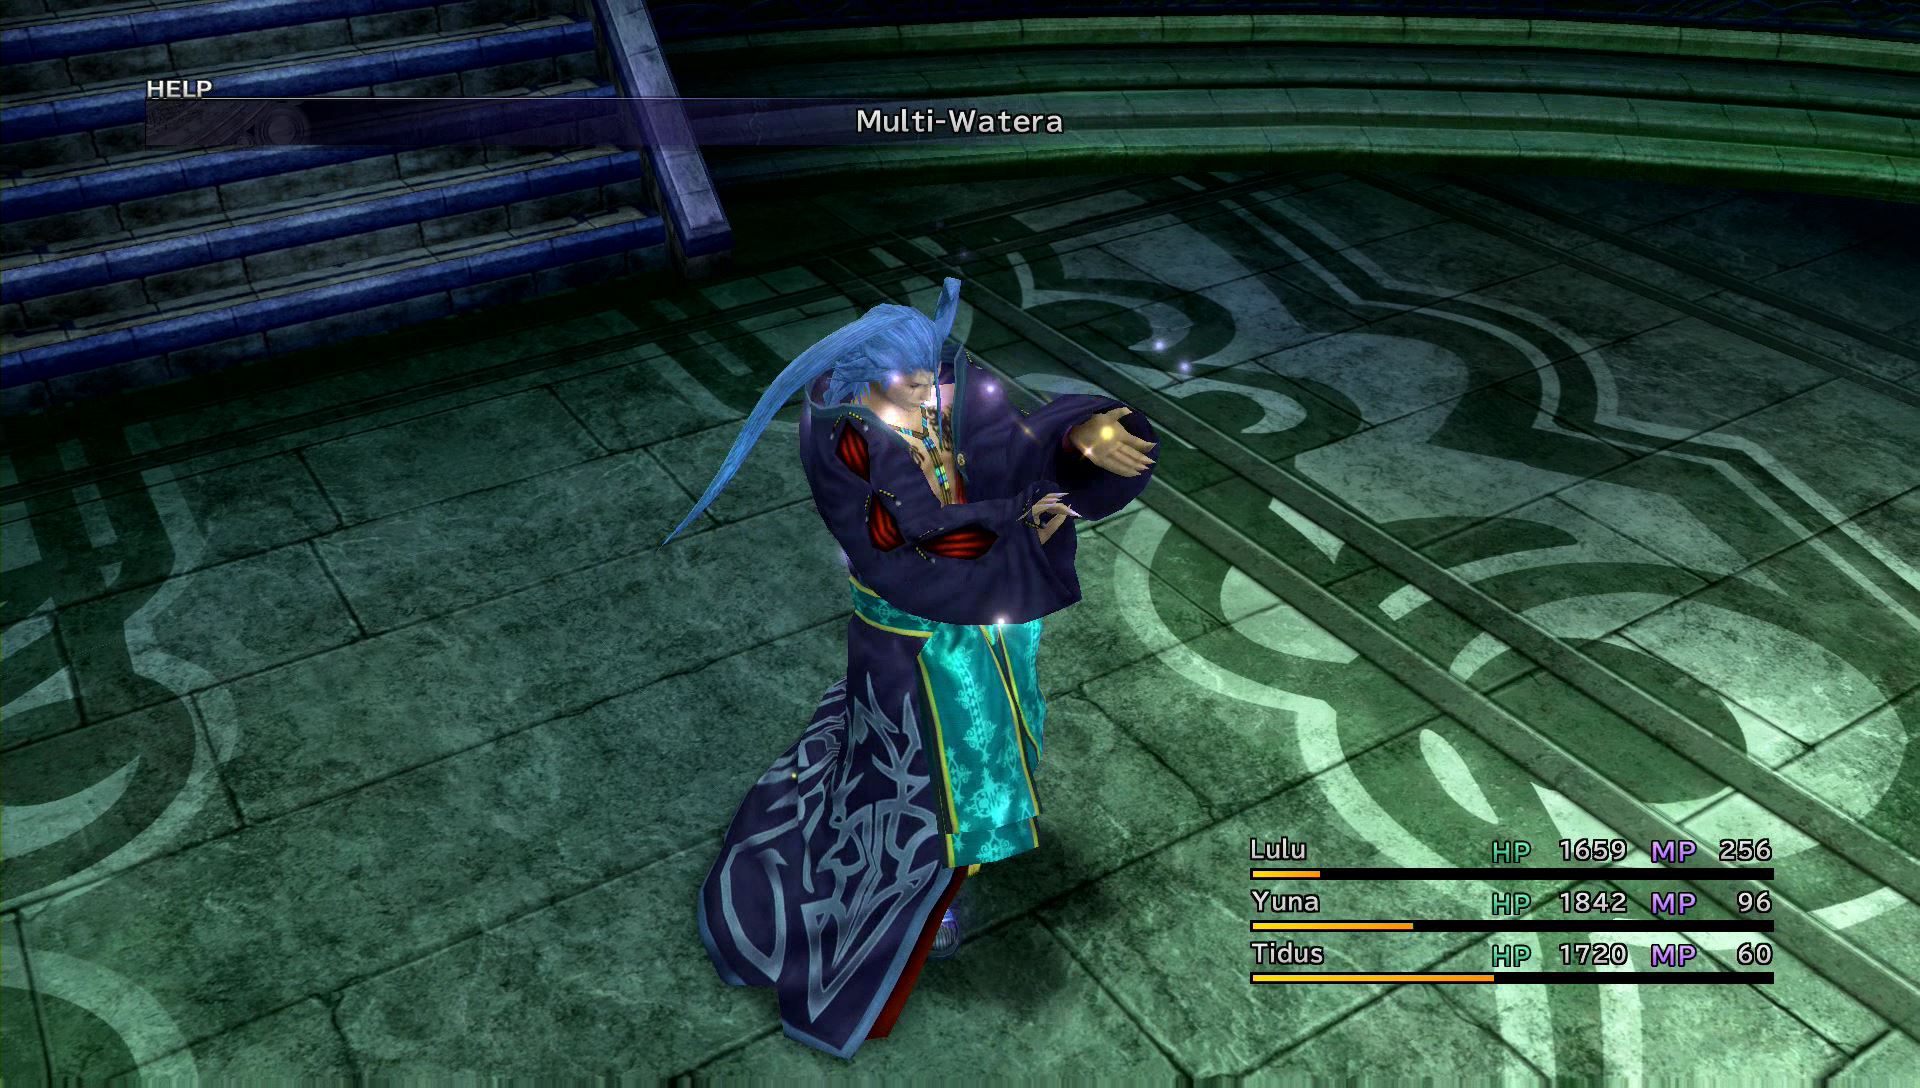
Seymour will use Protect at the beginning of battle to reduce damage from physical attack. He will attack with Black Magic spells, starting with ice, then lightning, water, and fire.
Seymour’s Guado Guardians will start the battle with Shell and automatically use a Hi-Potion when hit by an attack. If you use Rikku to steal their Potions, they won’t be able to Auto-Heal. Instead, they’ll begin using Black Magic spells or a skill called Shremedy, which confuses a single target. Make sure you attack them with physical attacks to circumvent their magical defense boost from Shell.
After dealing enough damage to Seymour, he will summon his Aeon, Anima. Use Yuna’s new Aeon, Shiva, to take it out. Shiva specializes in magical ice attacks. You can also command her to use ice attacks on herself to restore her own HP.
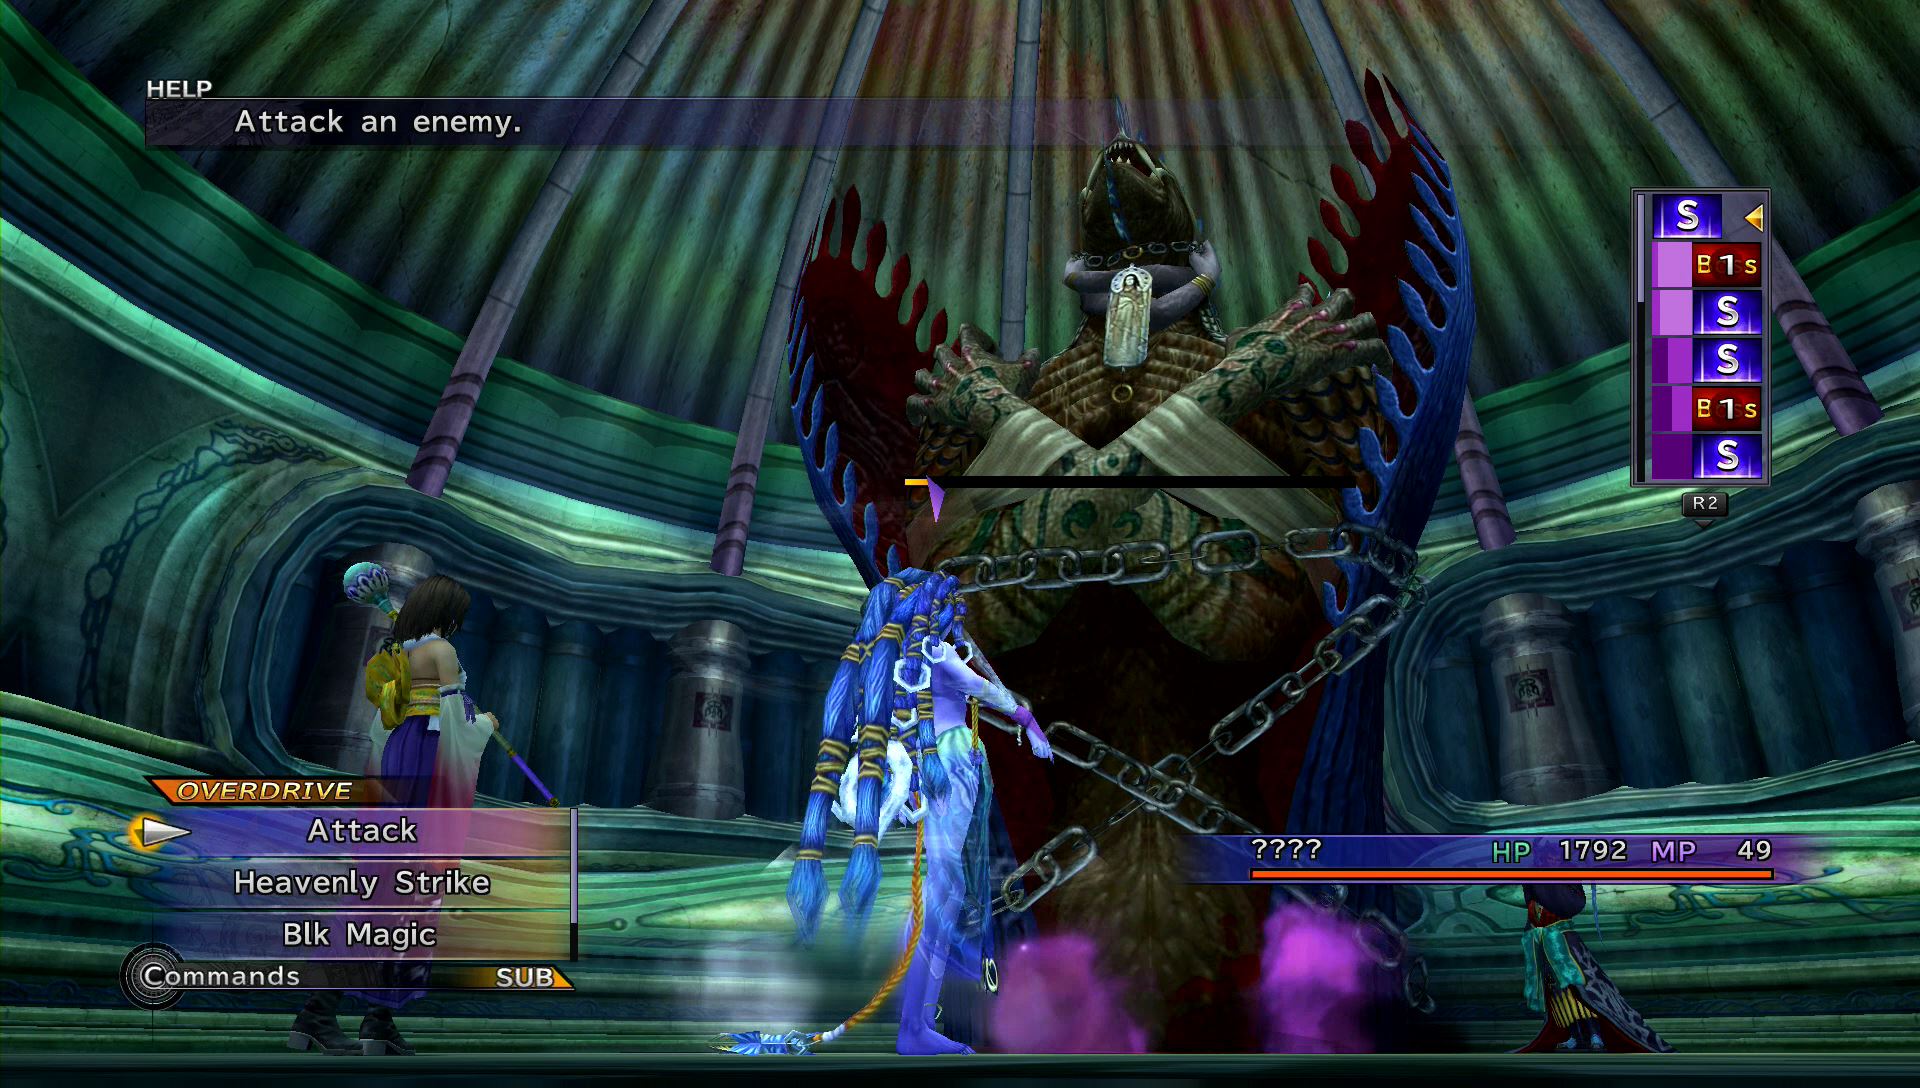
With Anima defeated, Seymour will come back for more. His HP will be fully restored, and he will begin using multiple black magic spells per turn. Use Tidus’s Haste white magic spell to get Yuna to heal quickly and any other party member to attack quickly. Auron’s Magic Break skill will be useful in reducing Seymour’s magic damage, and Lulu’s Bio spell (if you have it) will poison Seymour, causing him to lose HP each turn. Don’t bother with Aeons, as Seymour will just knock them out in a single turn.
Defeat Seymour to activate another cut scene. When that’s over with, save your game and go through the door on the left.
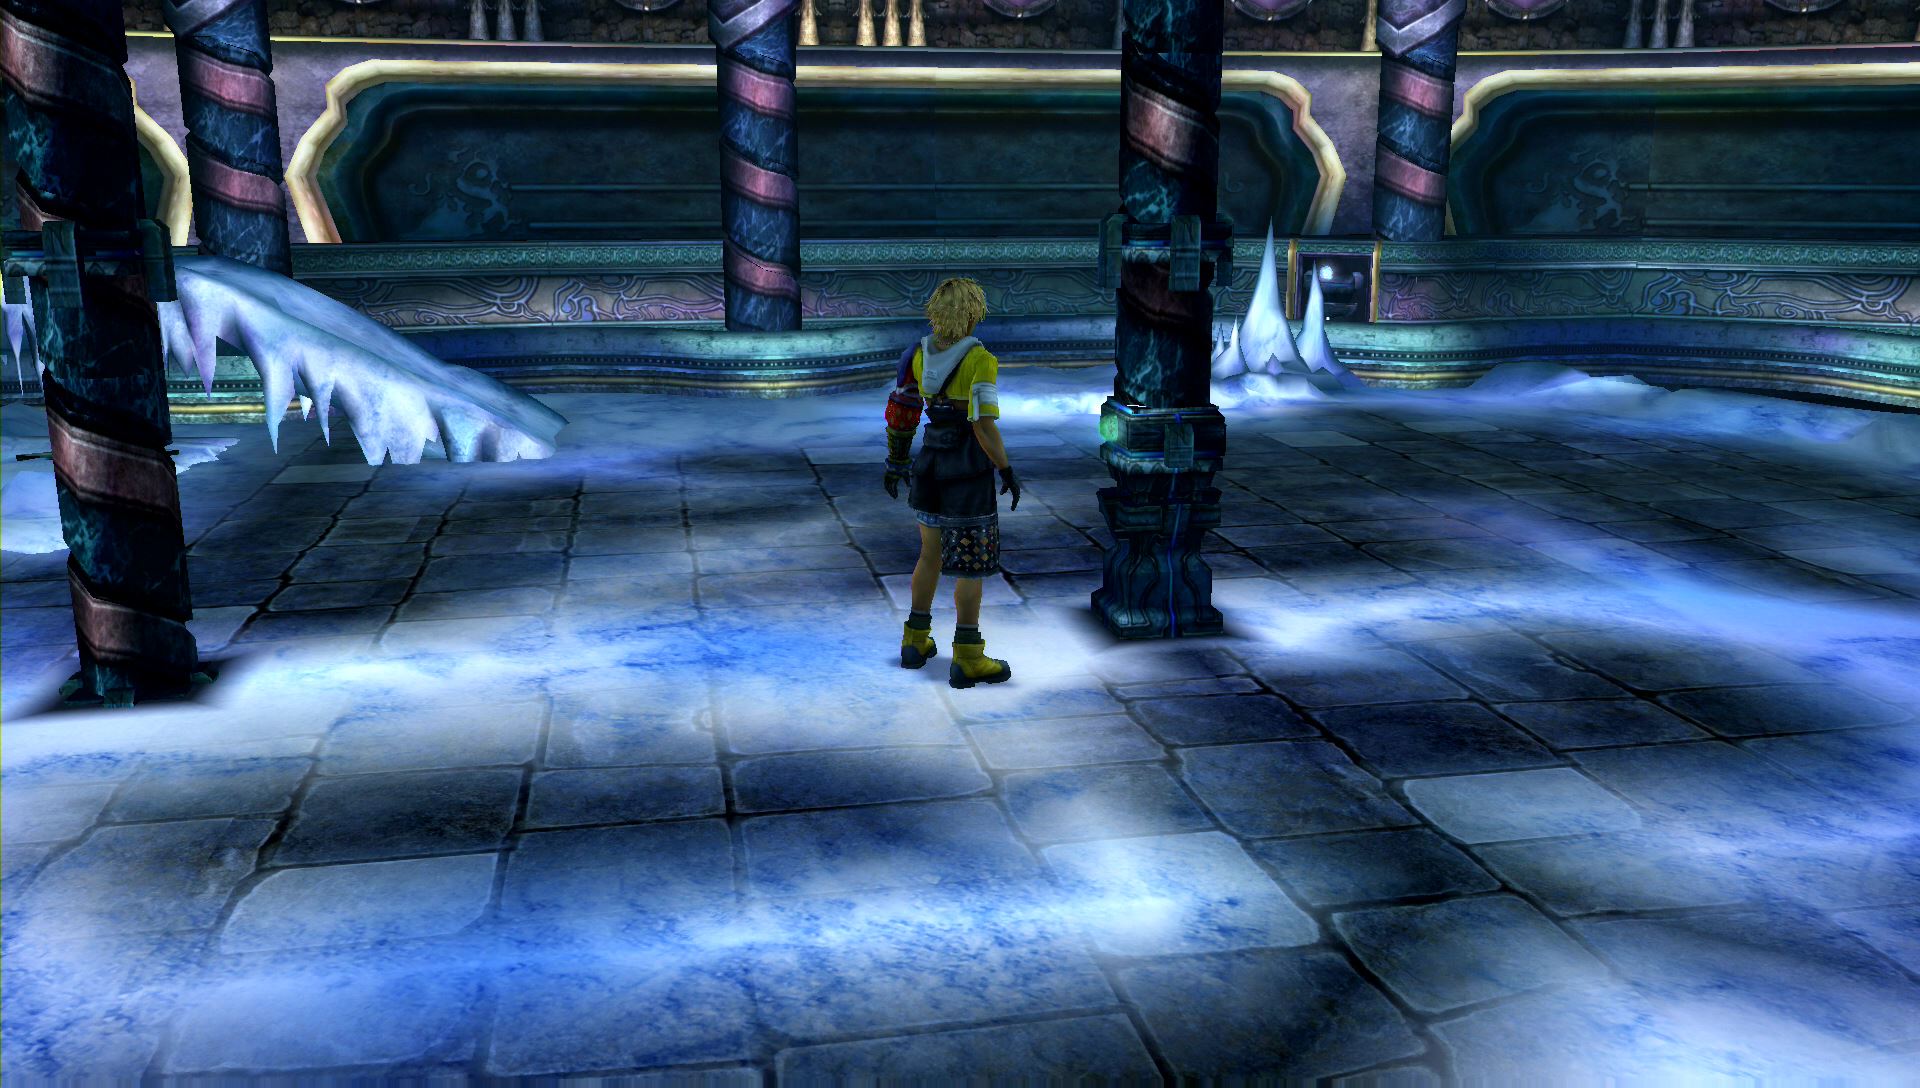
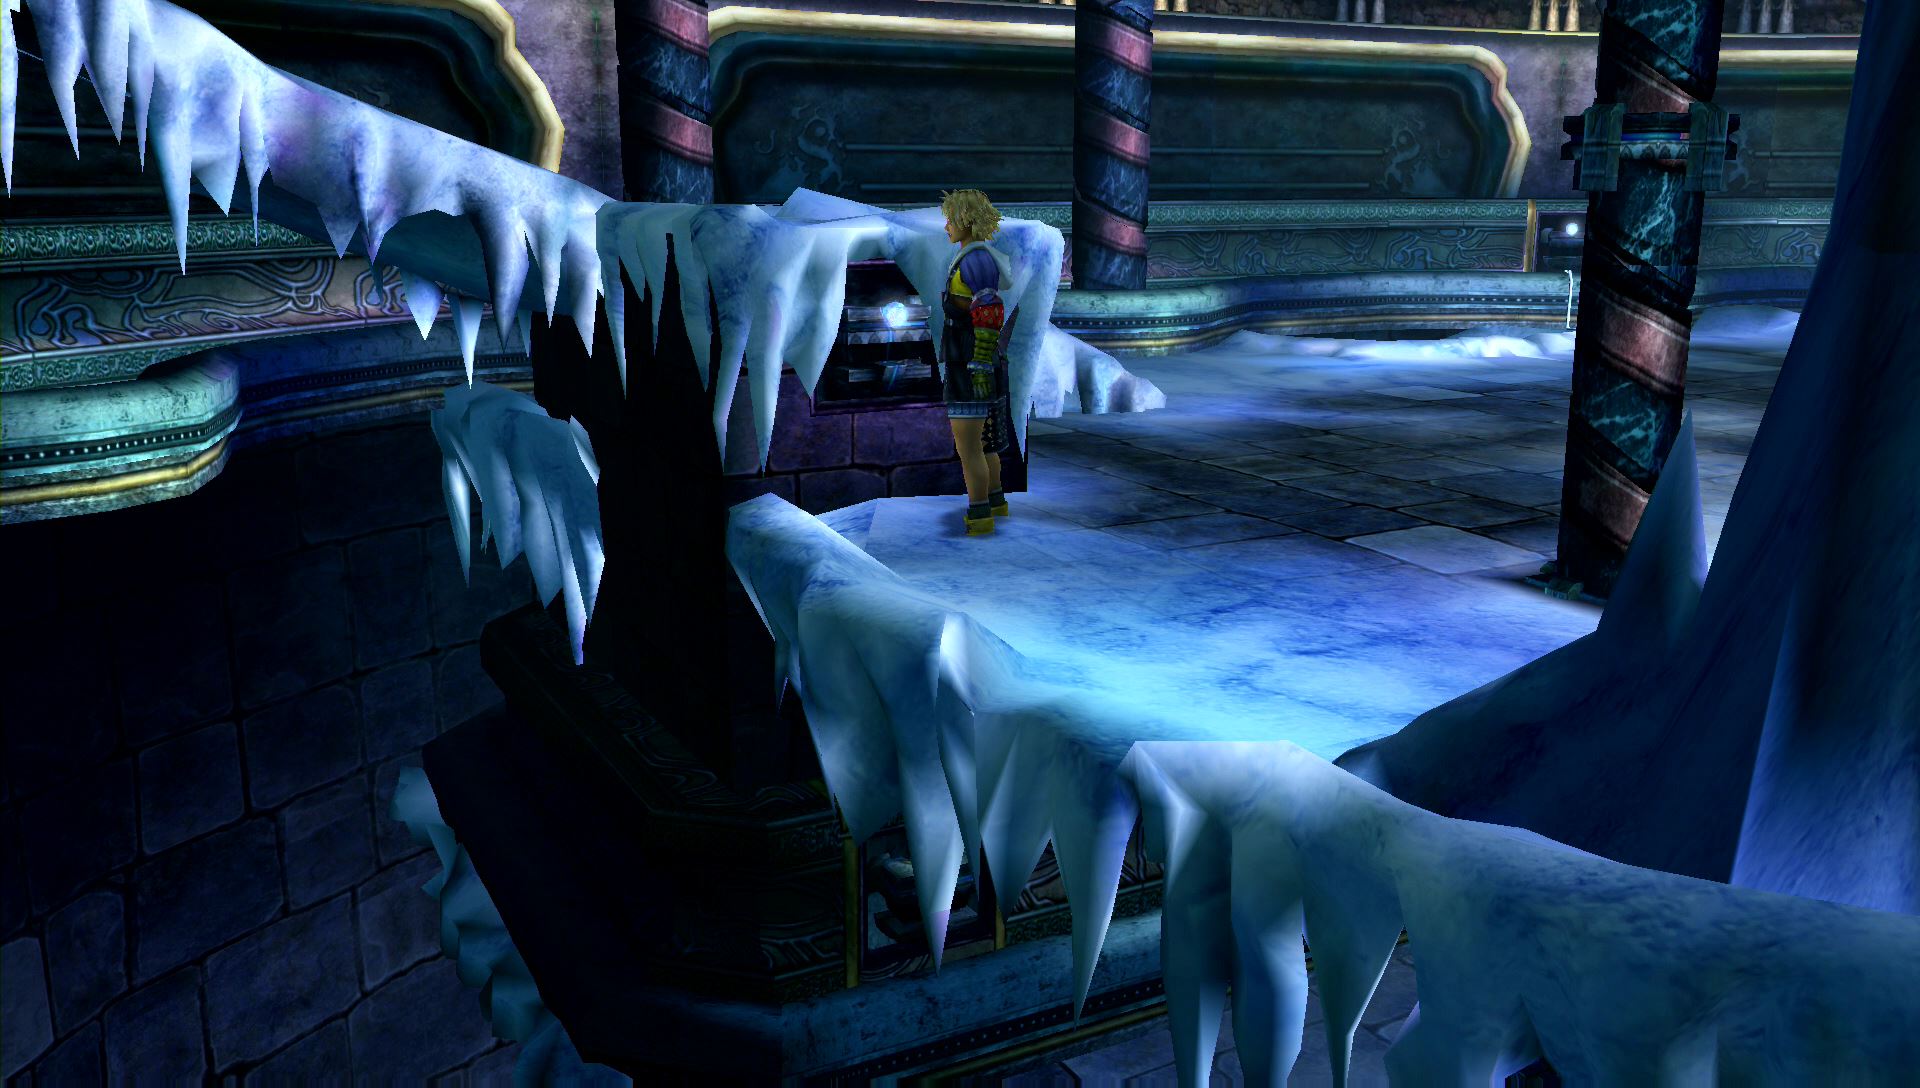
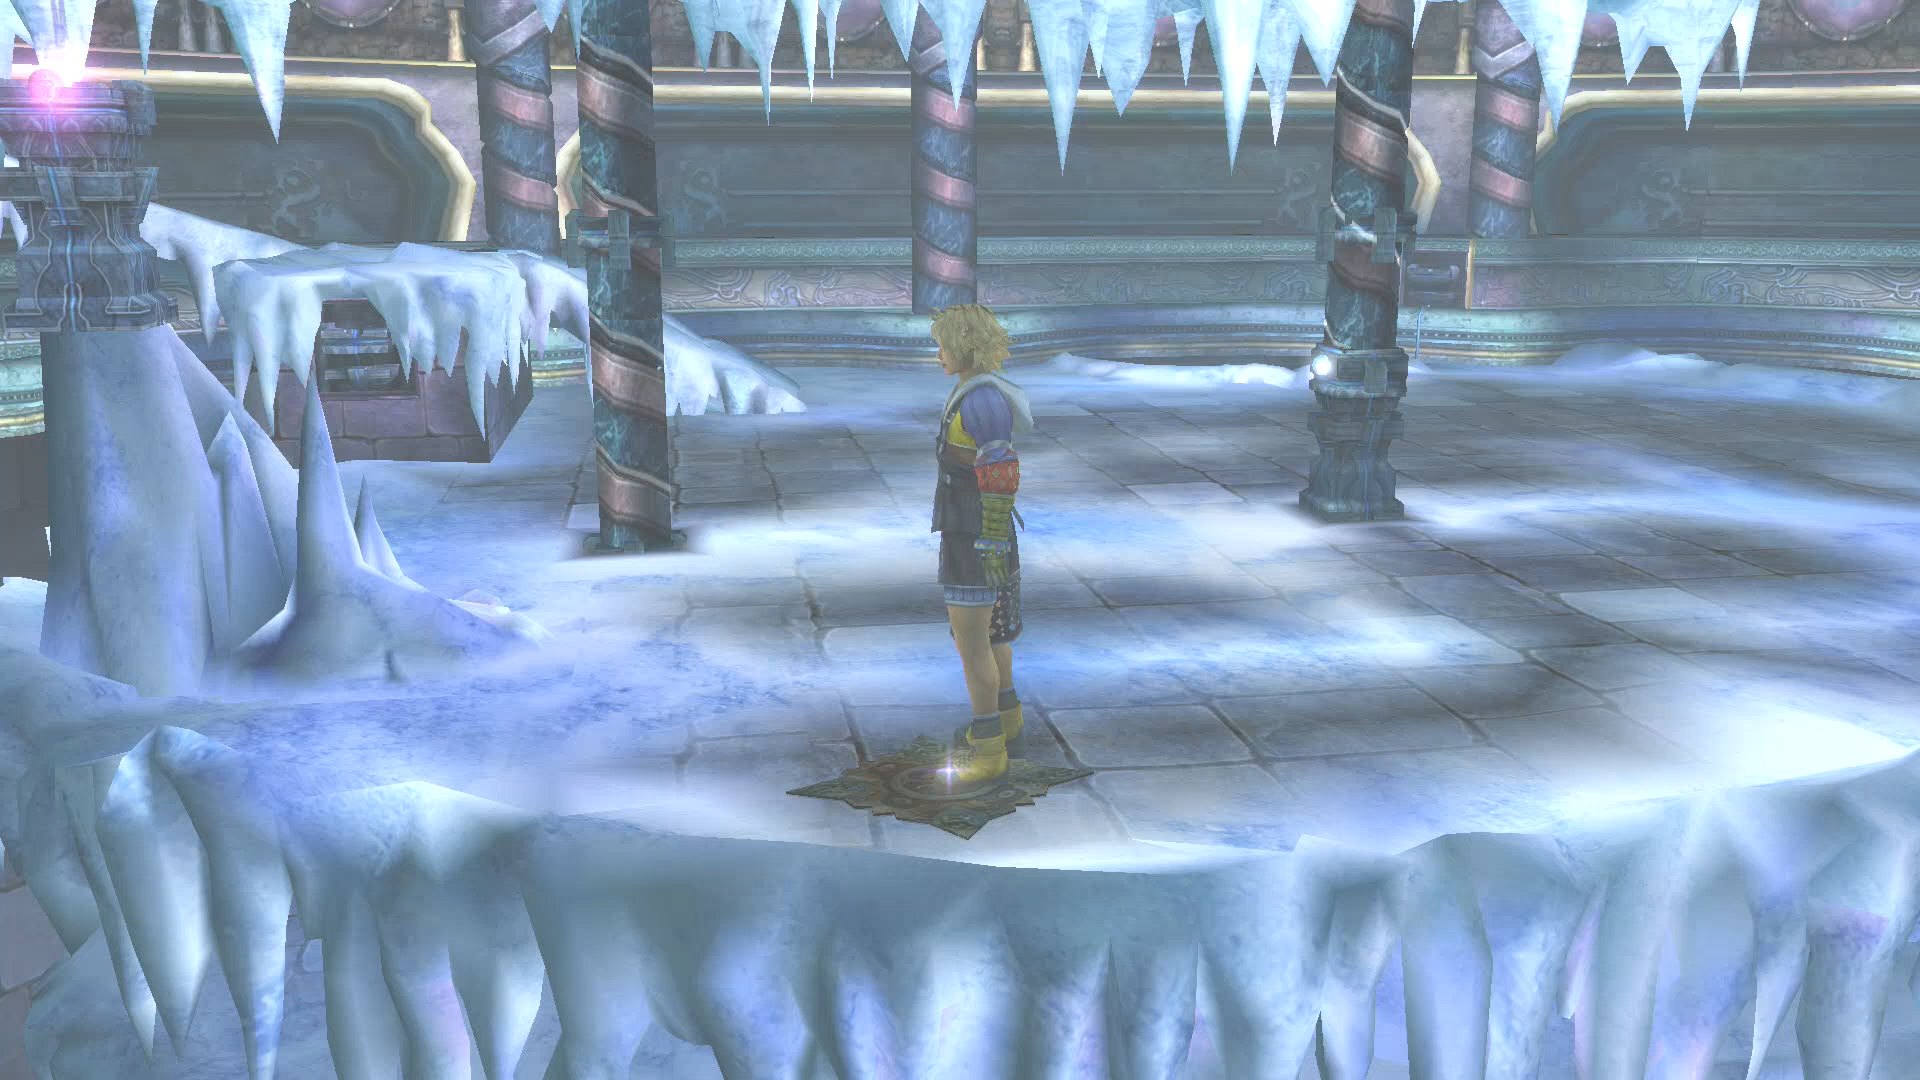
Cloister of Trials
The Cloister of Trials returns! You must solve another large puzzle before moving on.
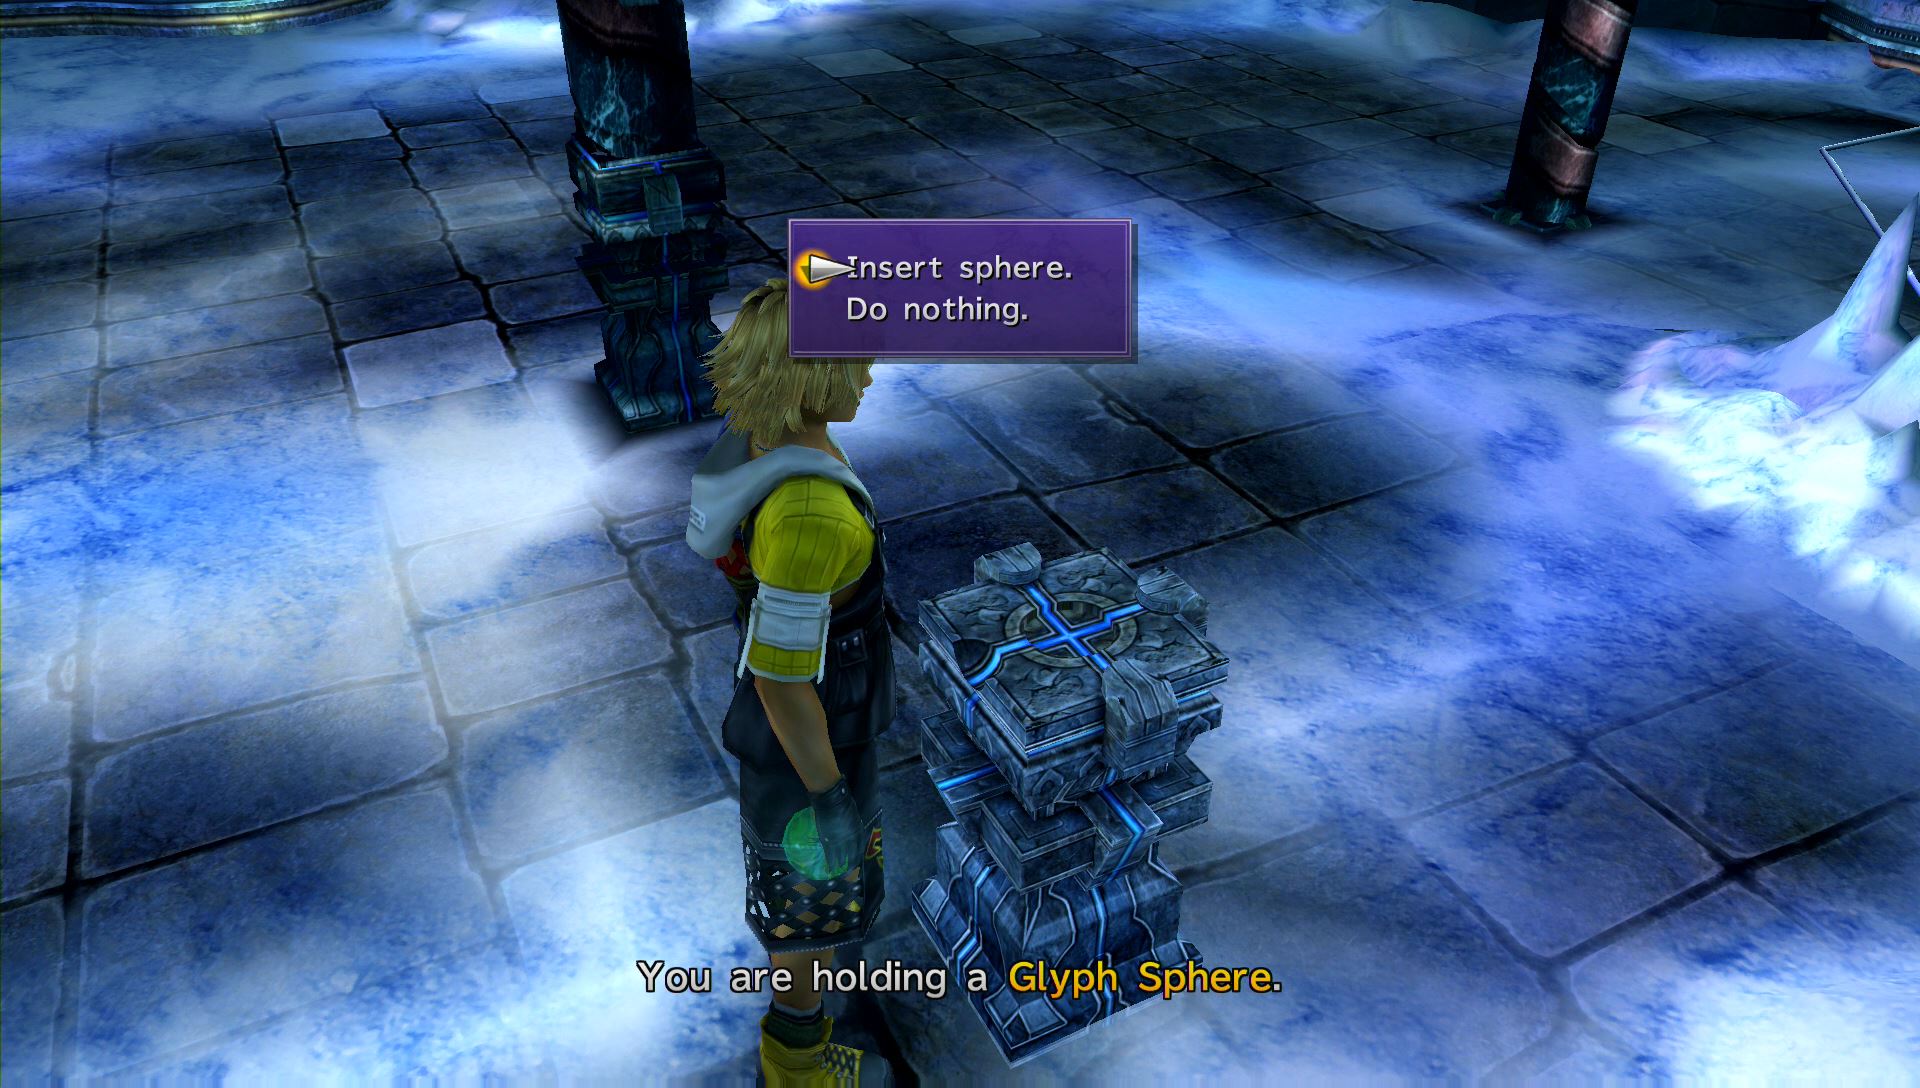
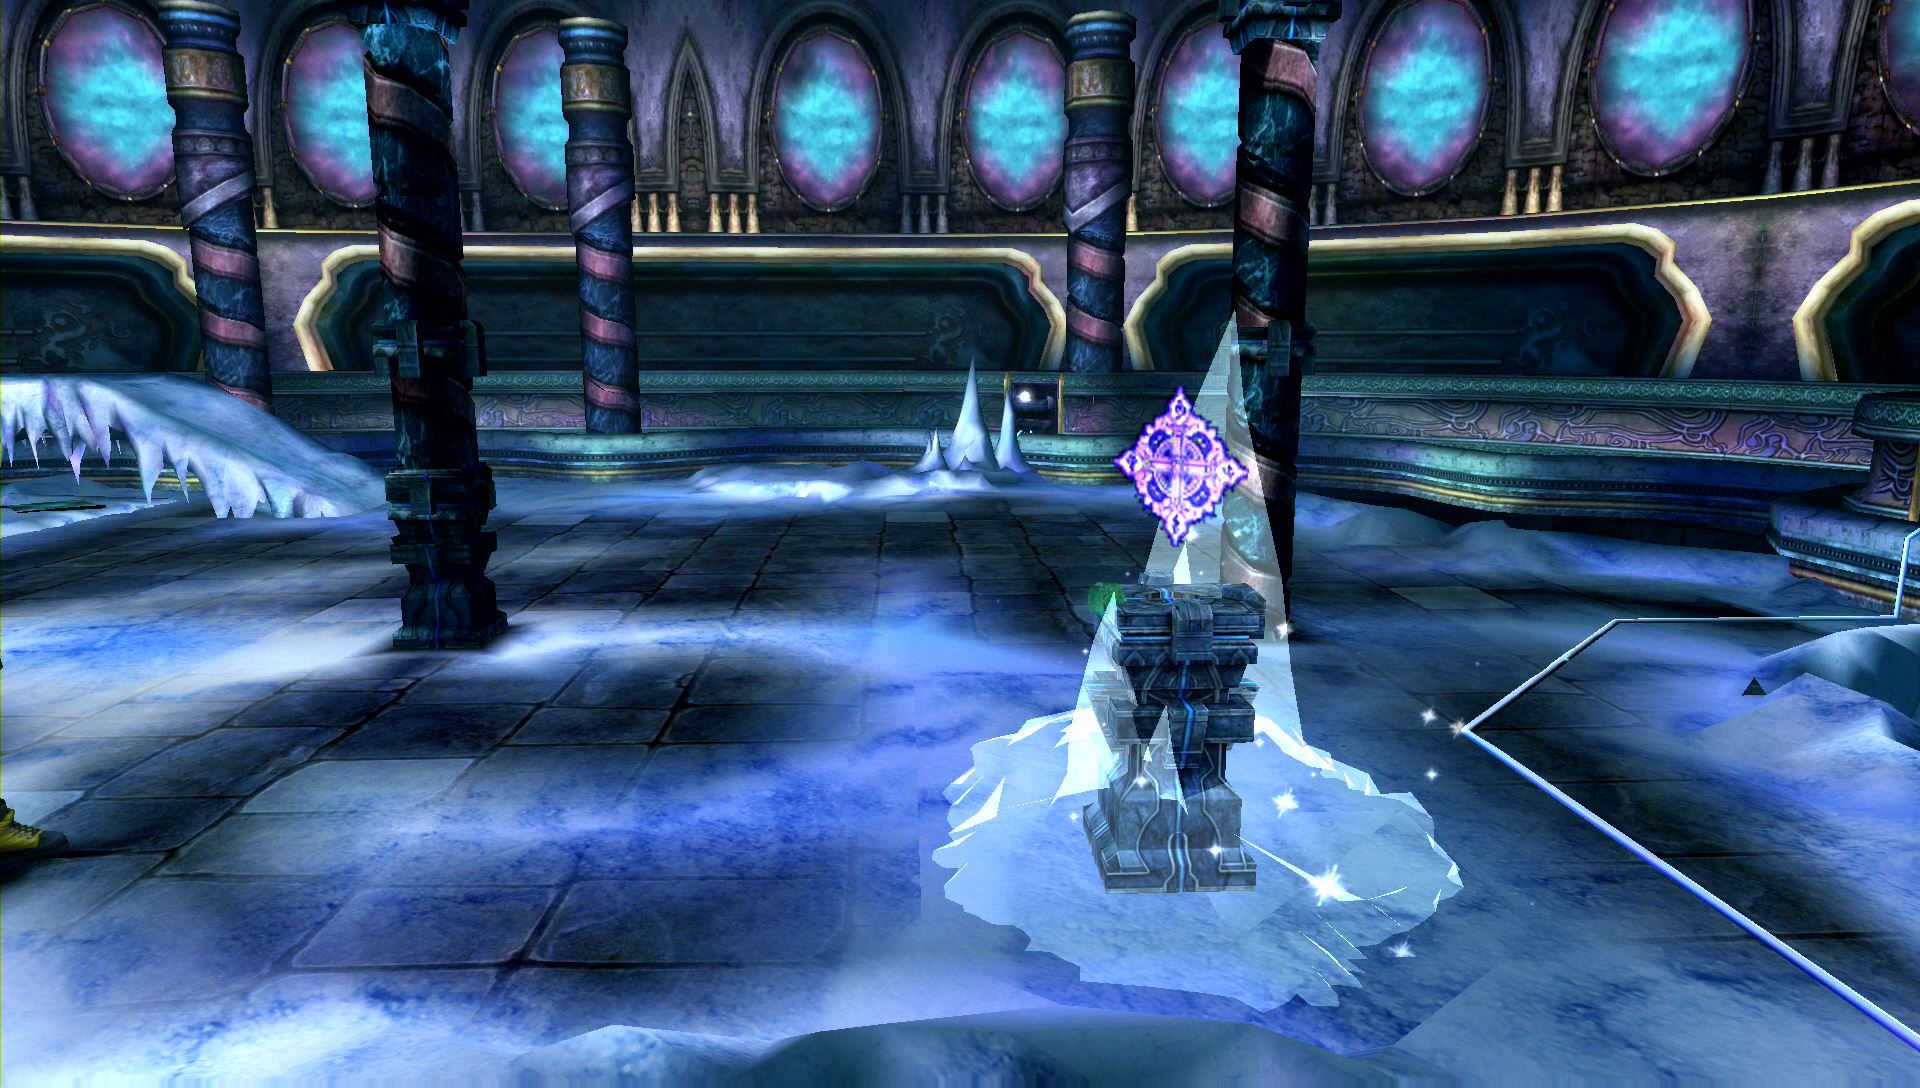
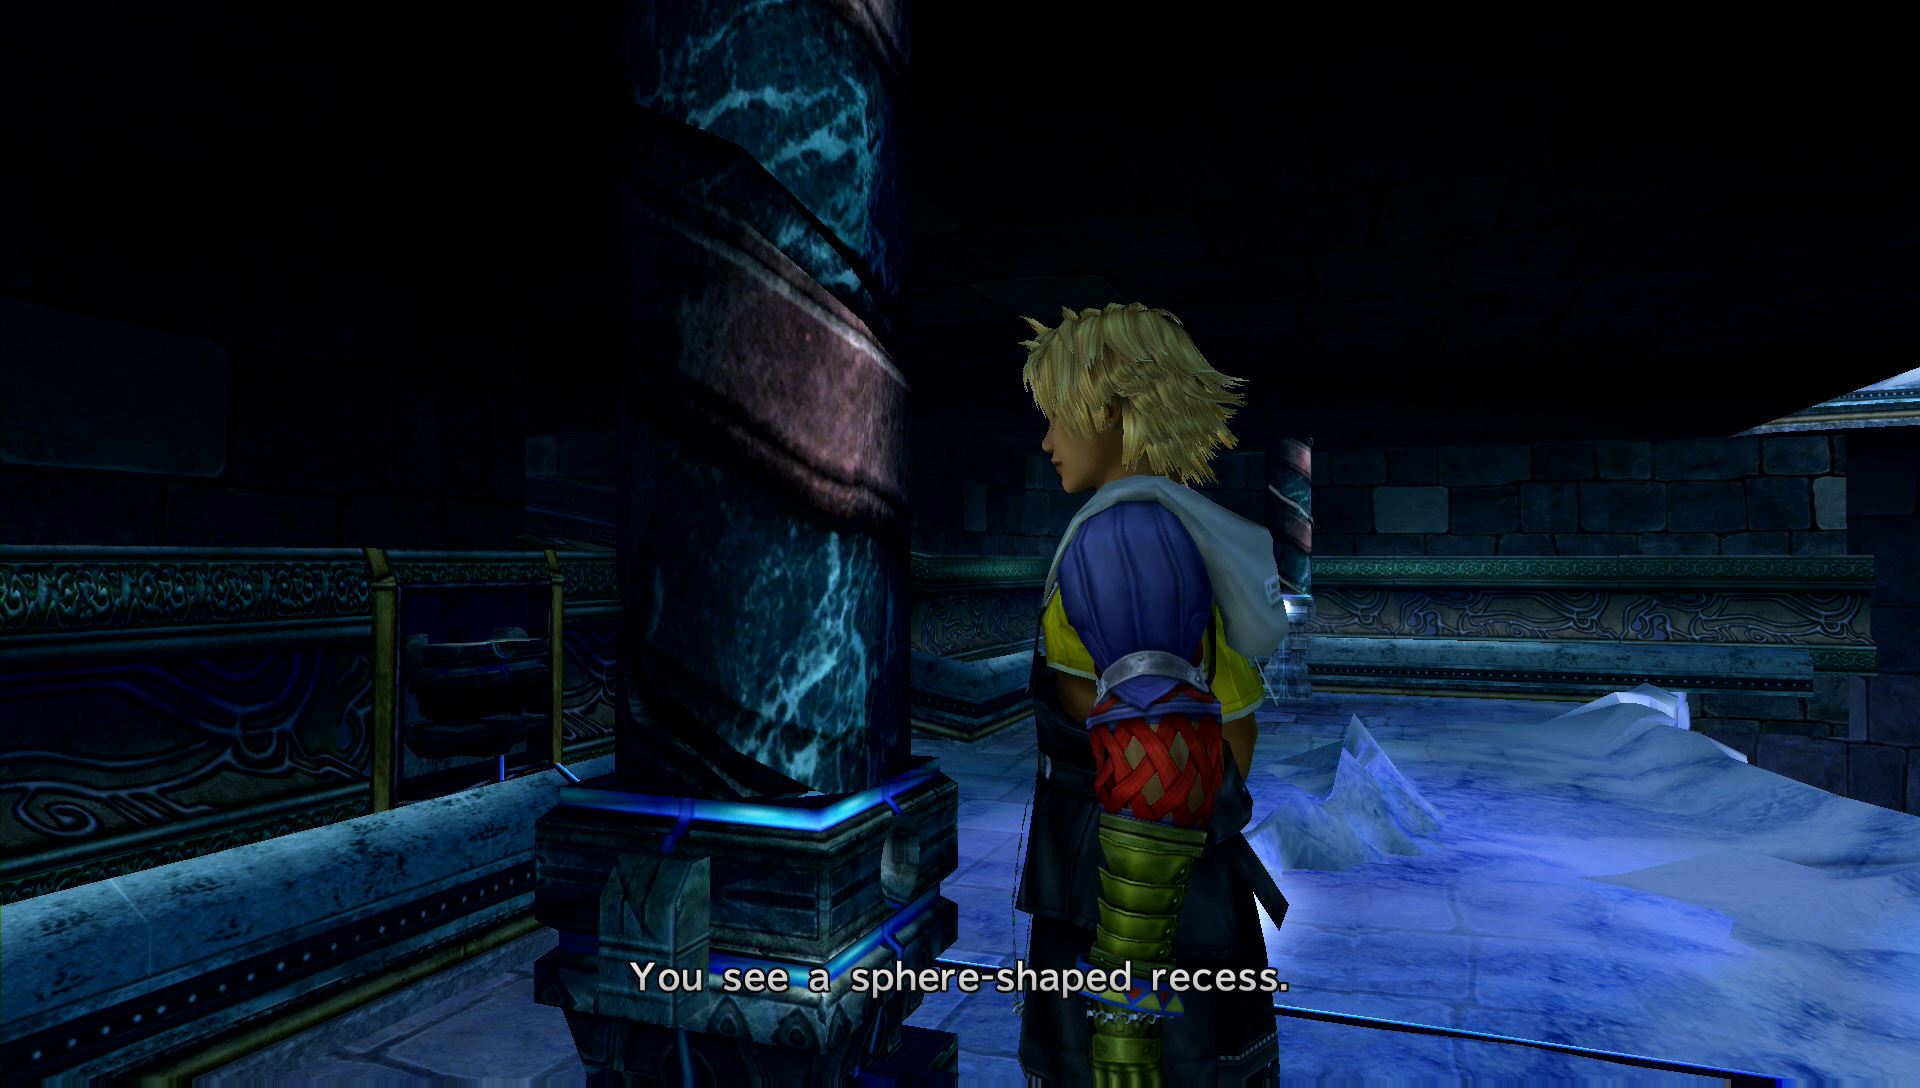
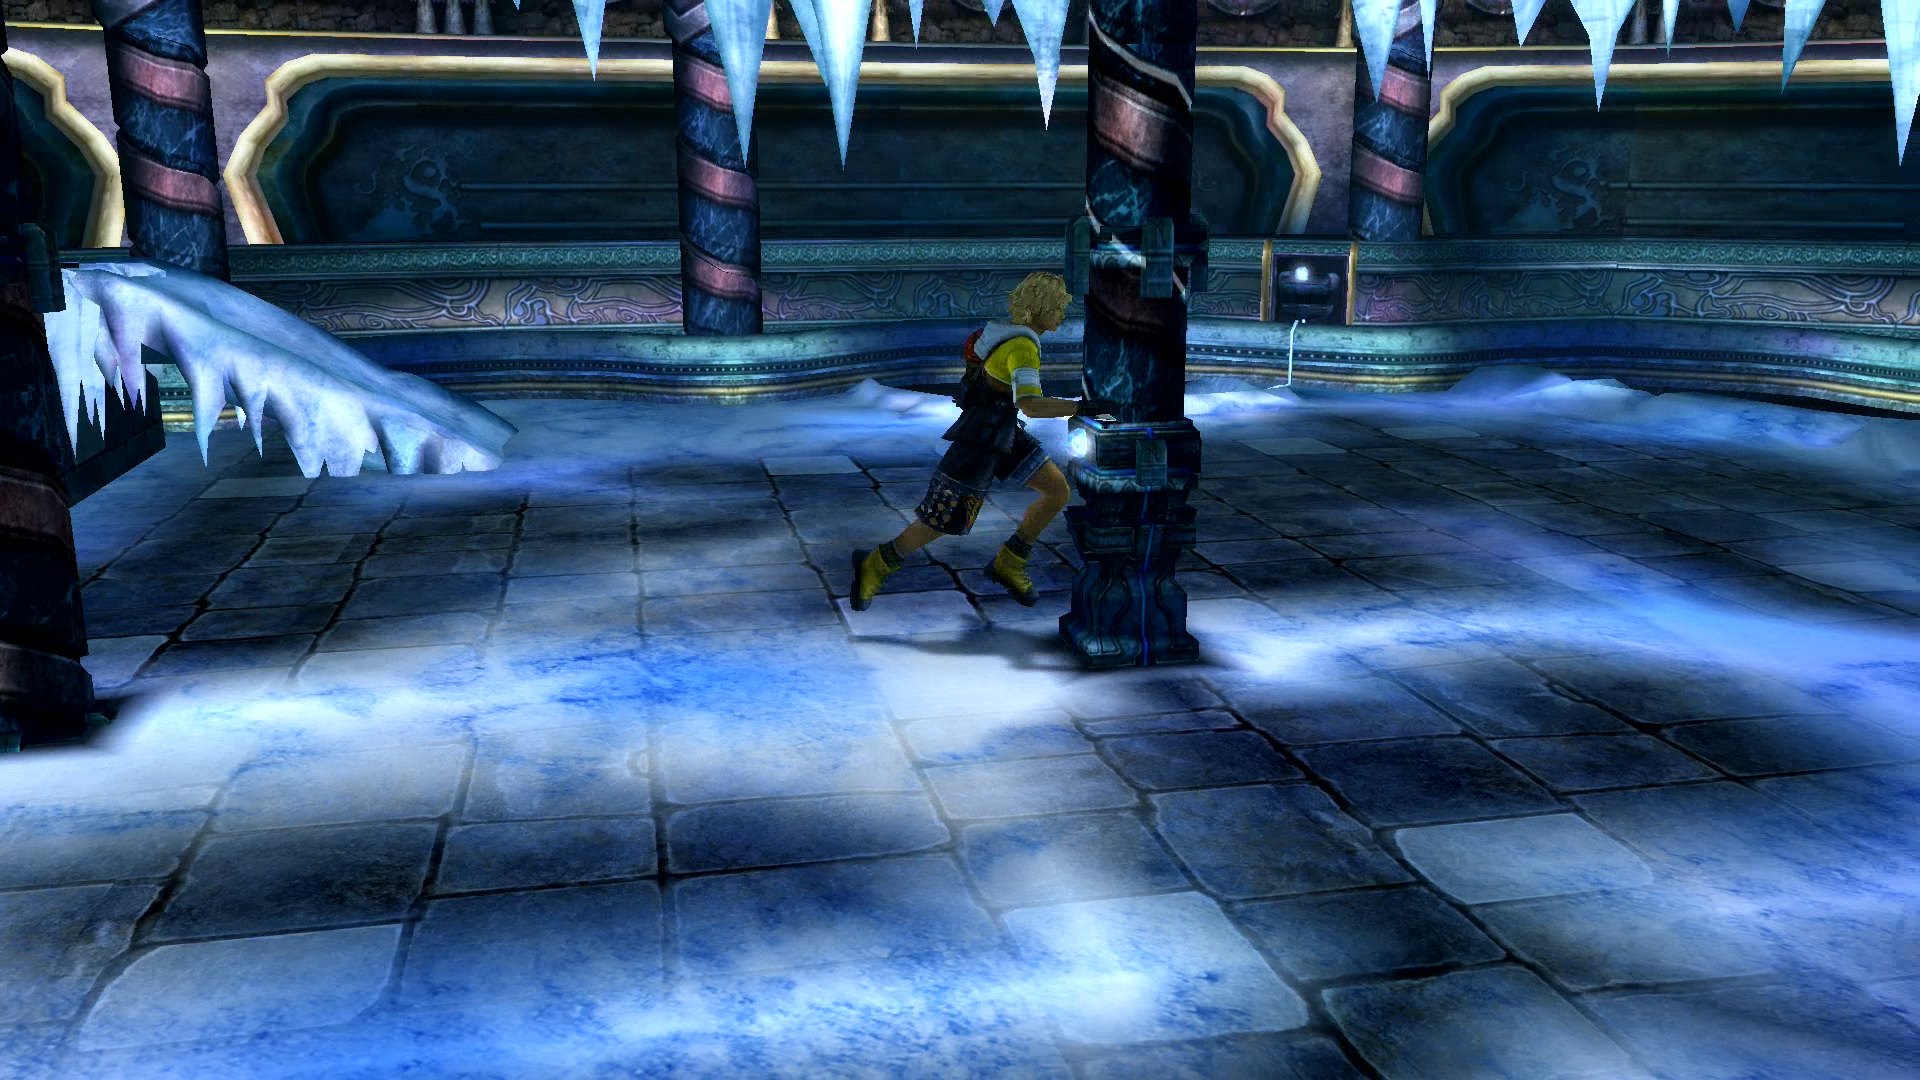
Head down the icy ramp and take the Glyph Sphere from the pillar in the middle of the area.

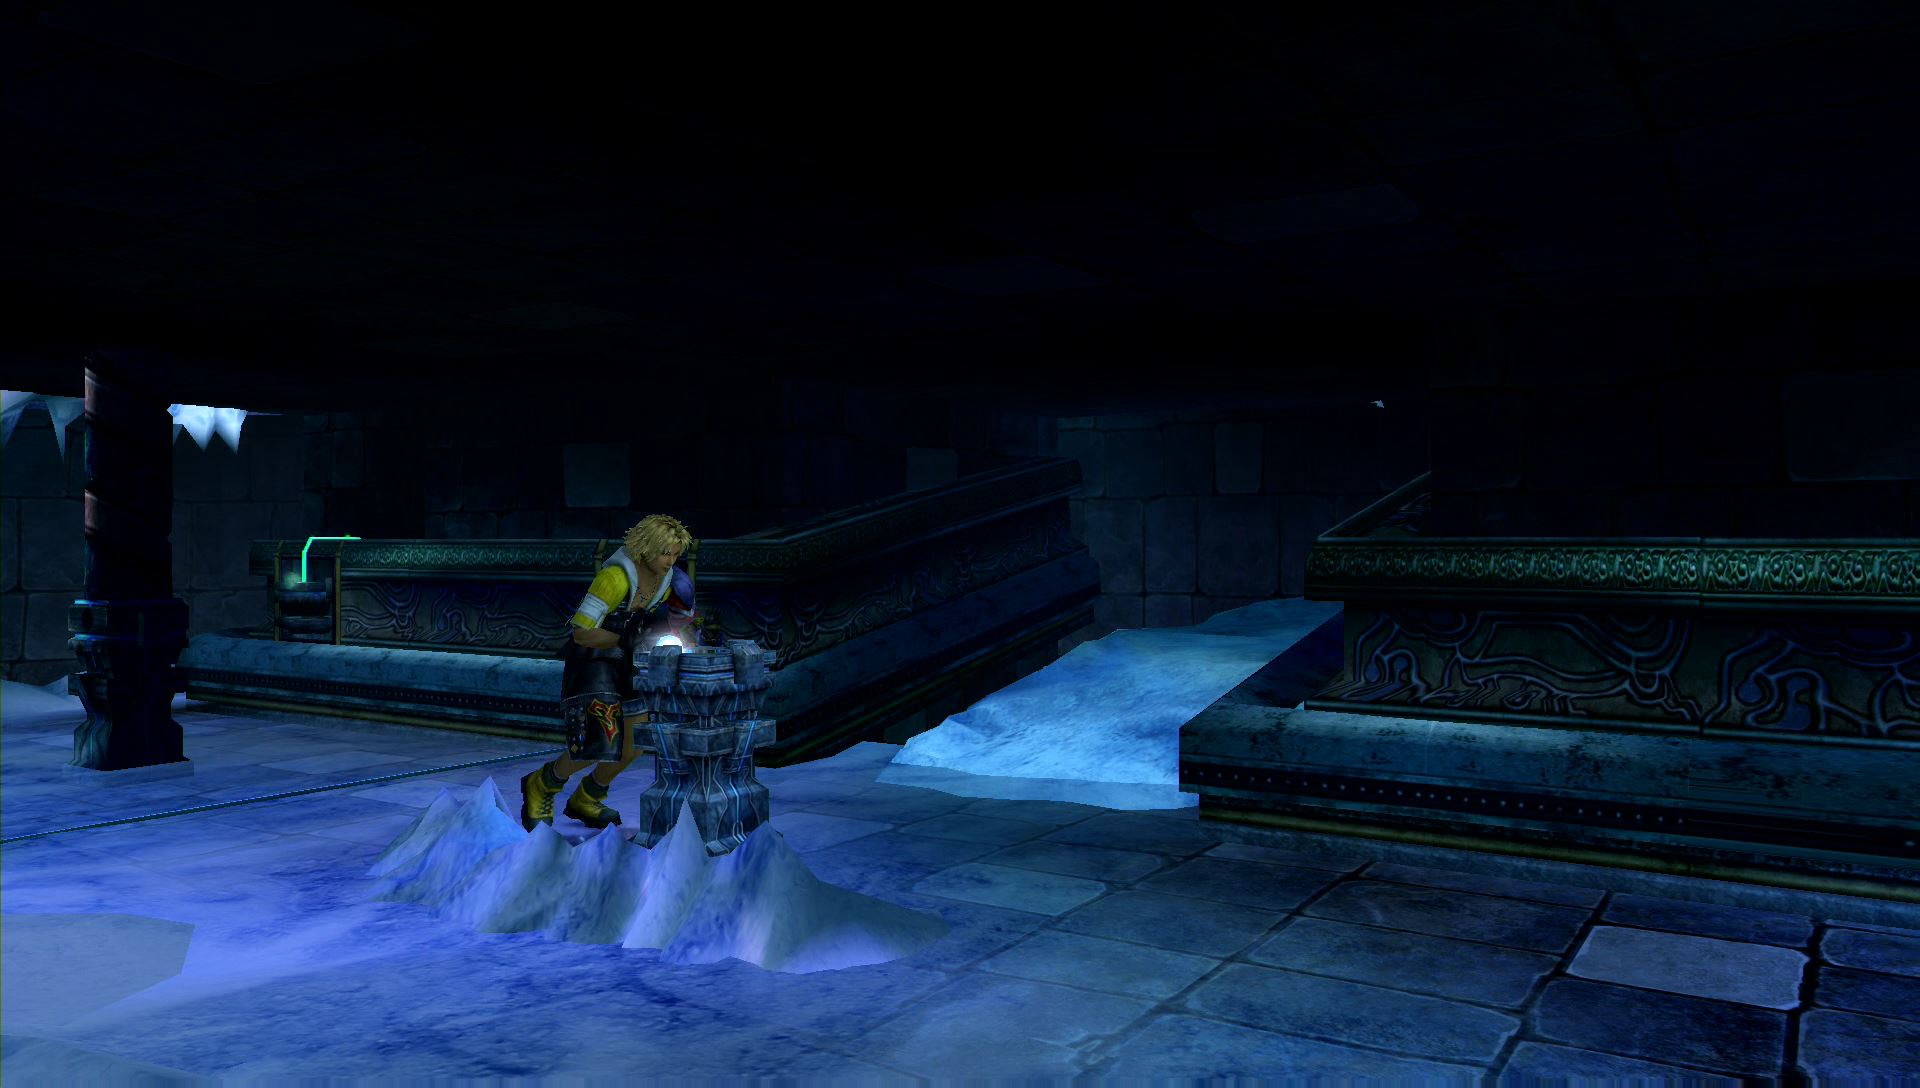
Insert the Glyph Sphere in the nearby pedestal, then push it into a icy stalagmite on the right. This will cause the stalagmite to disappear.
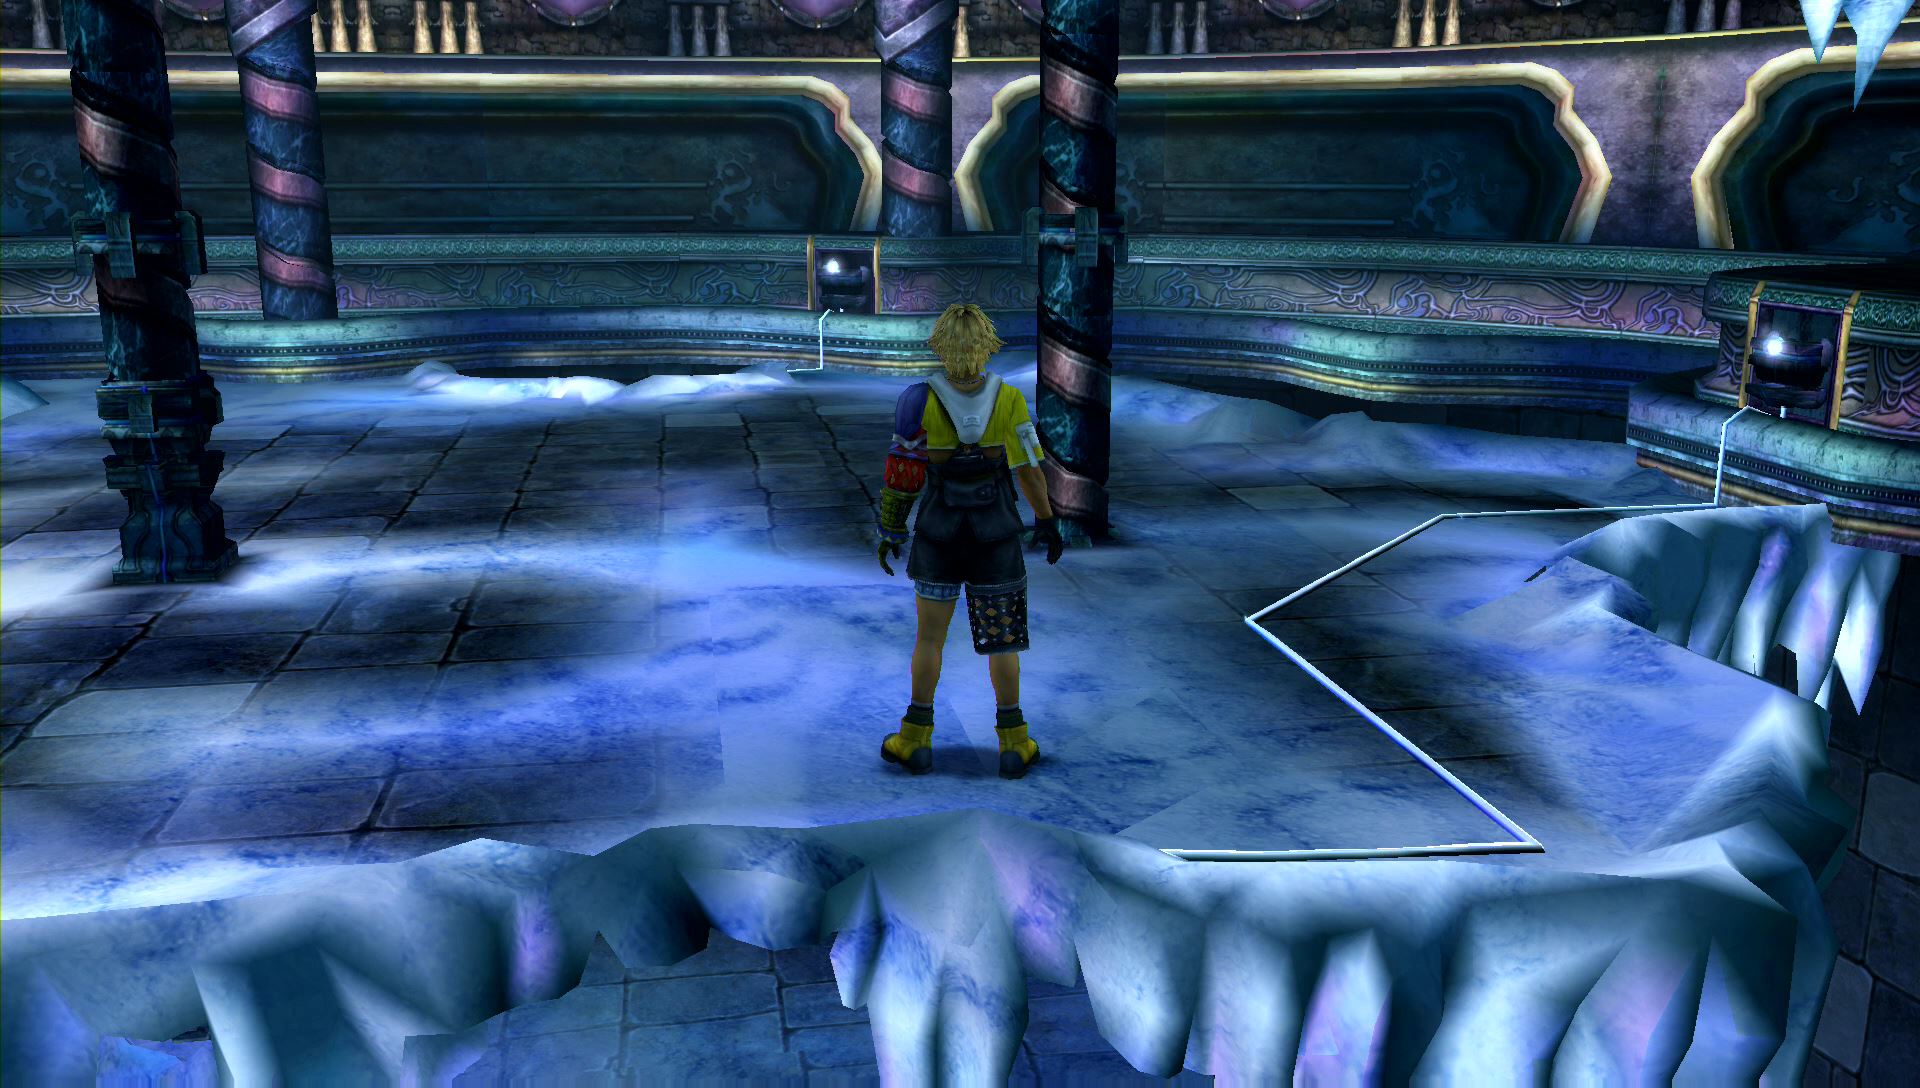
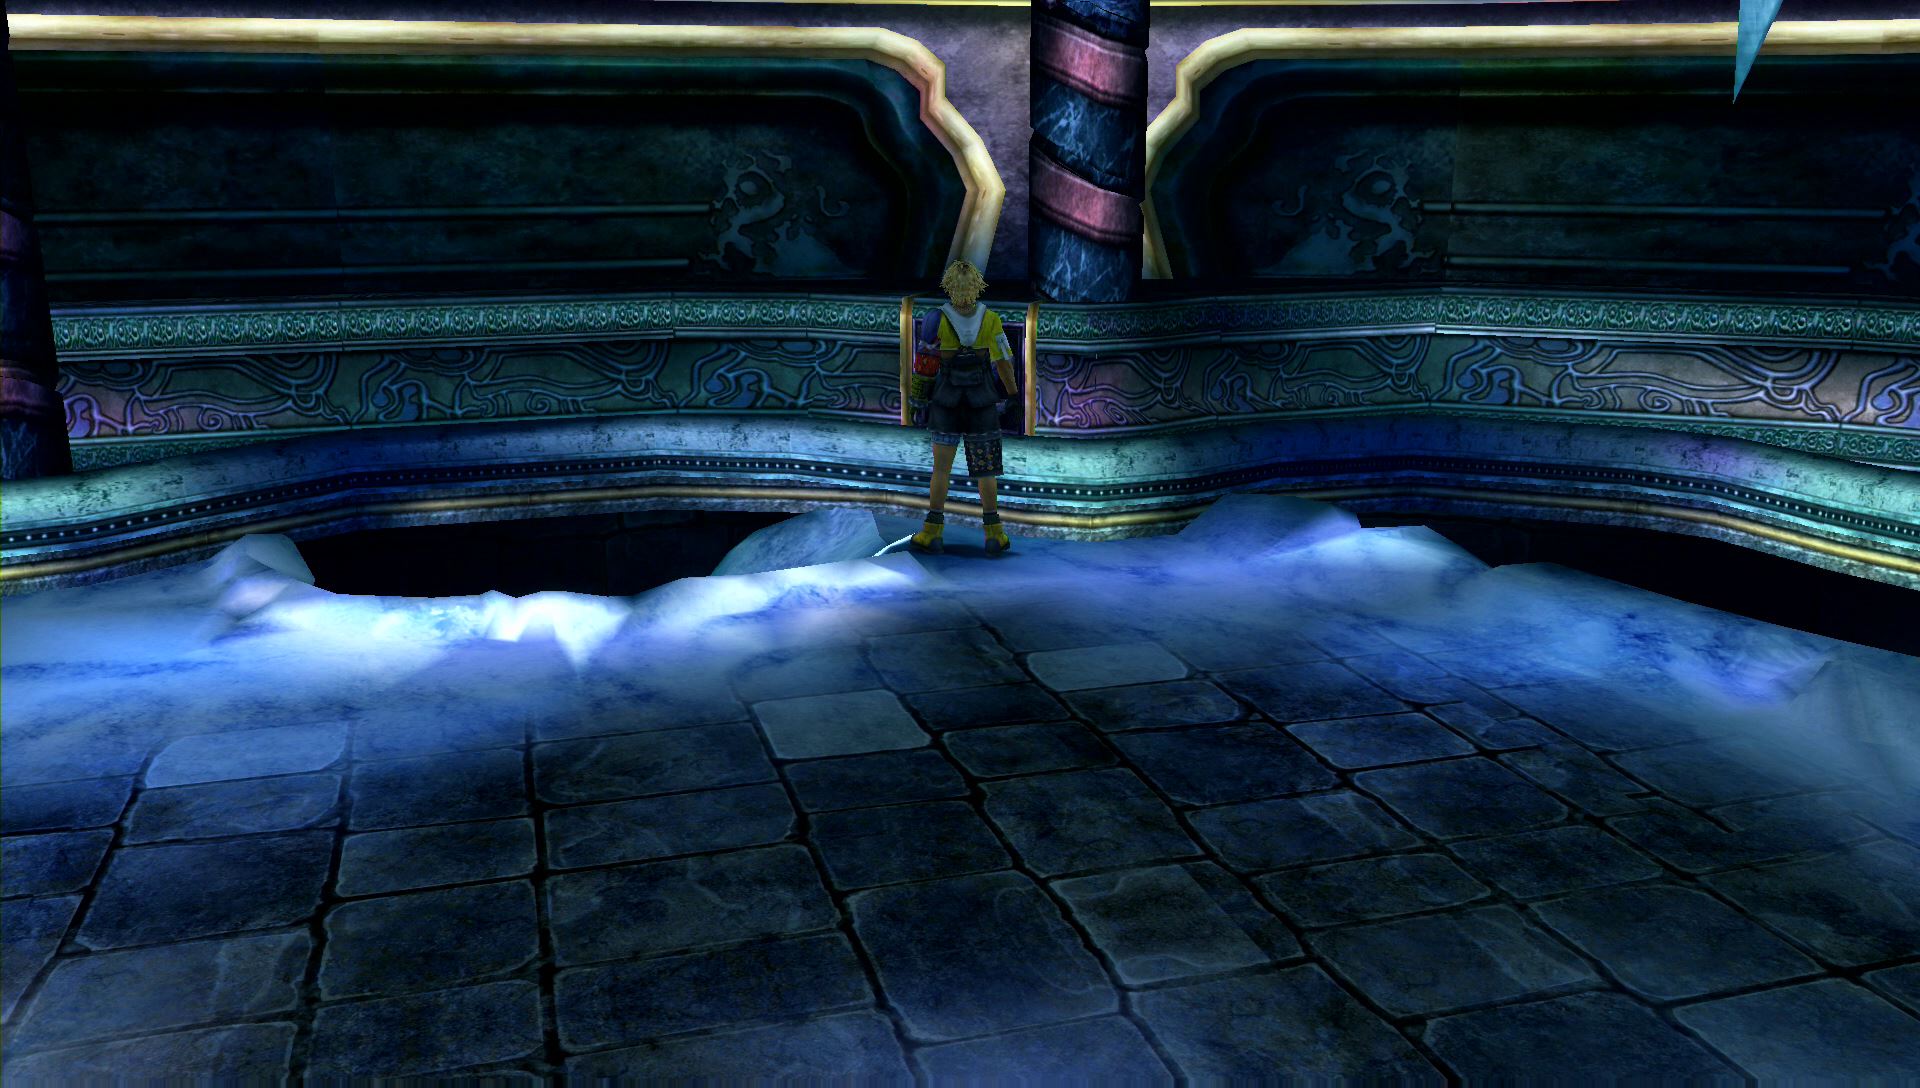
Push the pedestal to the north to remove some more icy stalagmites and open a path to the area below. Follow the pedestal to this newly opened area.
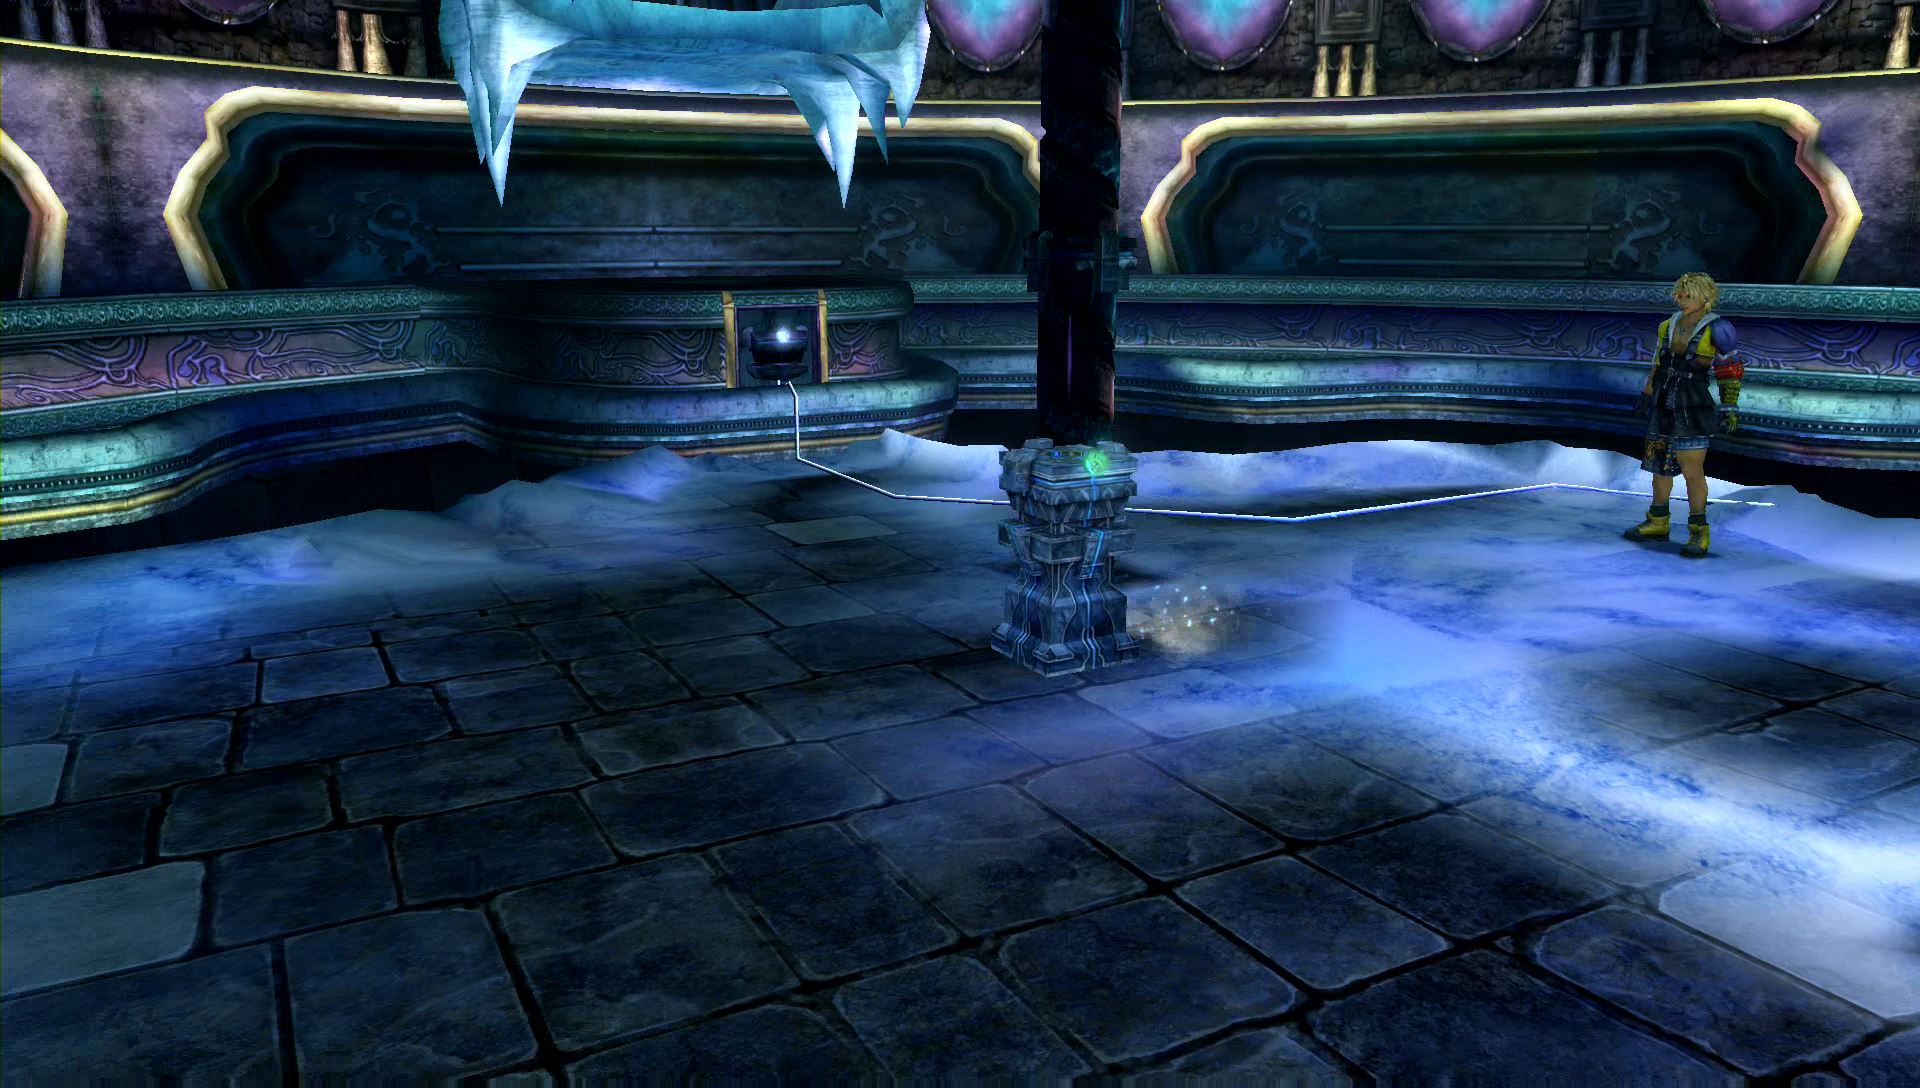
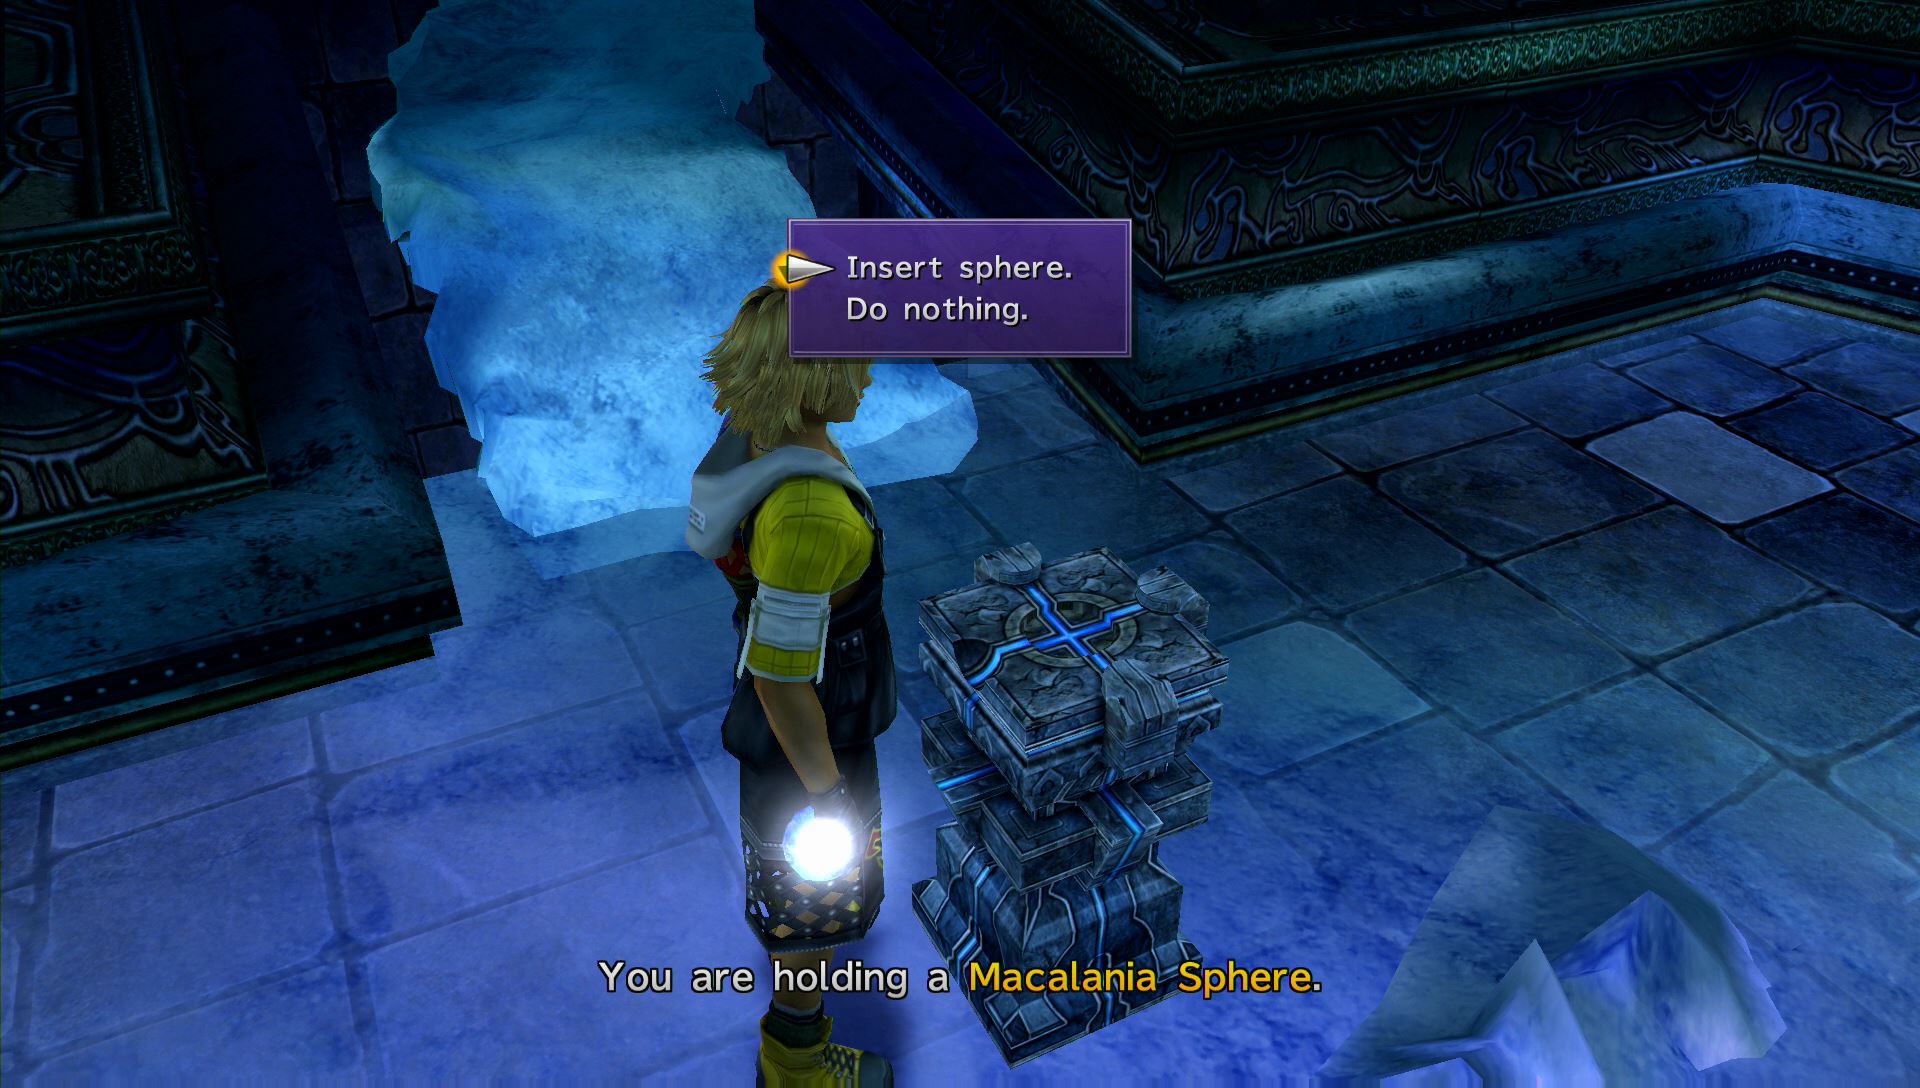
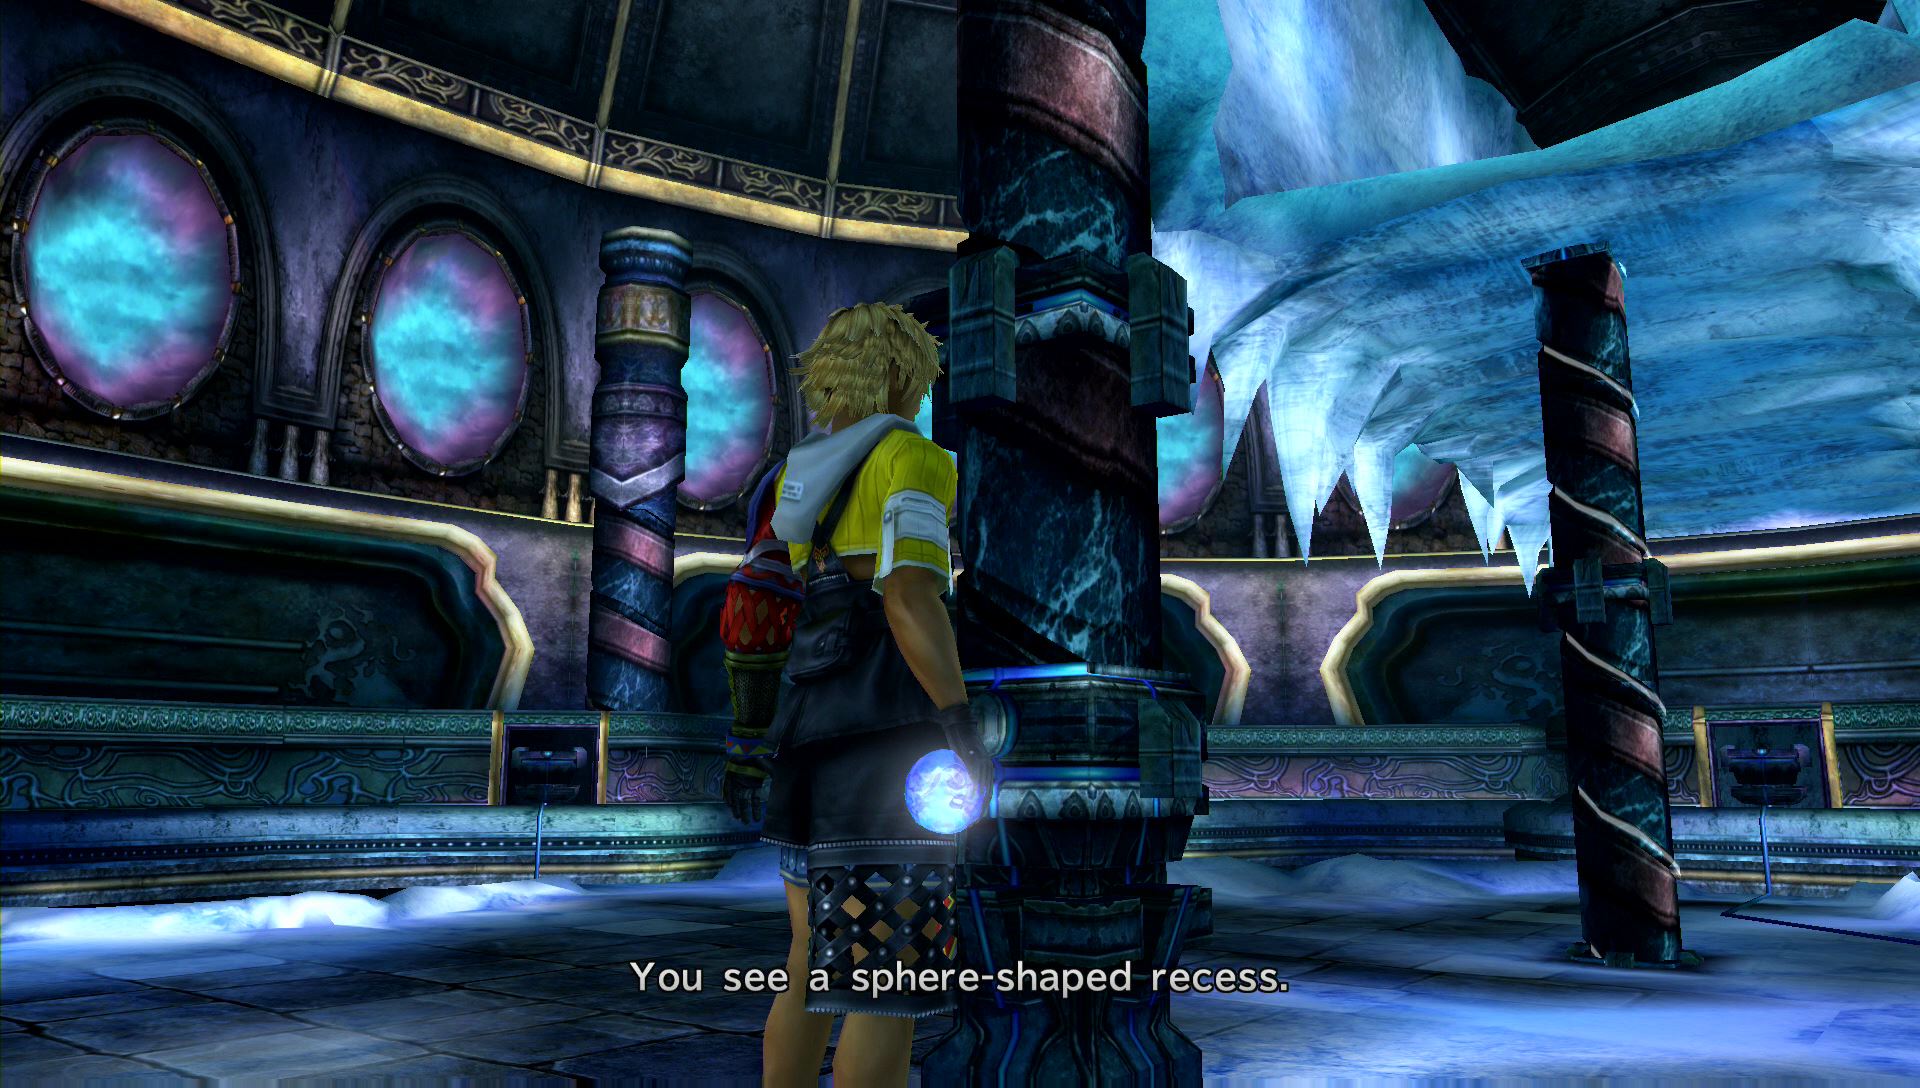
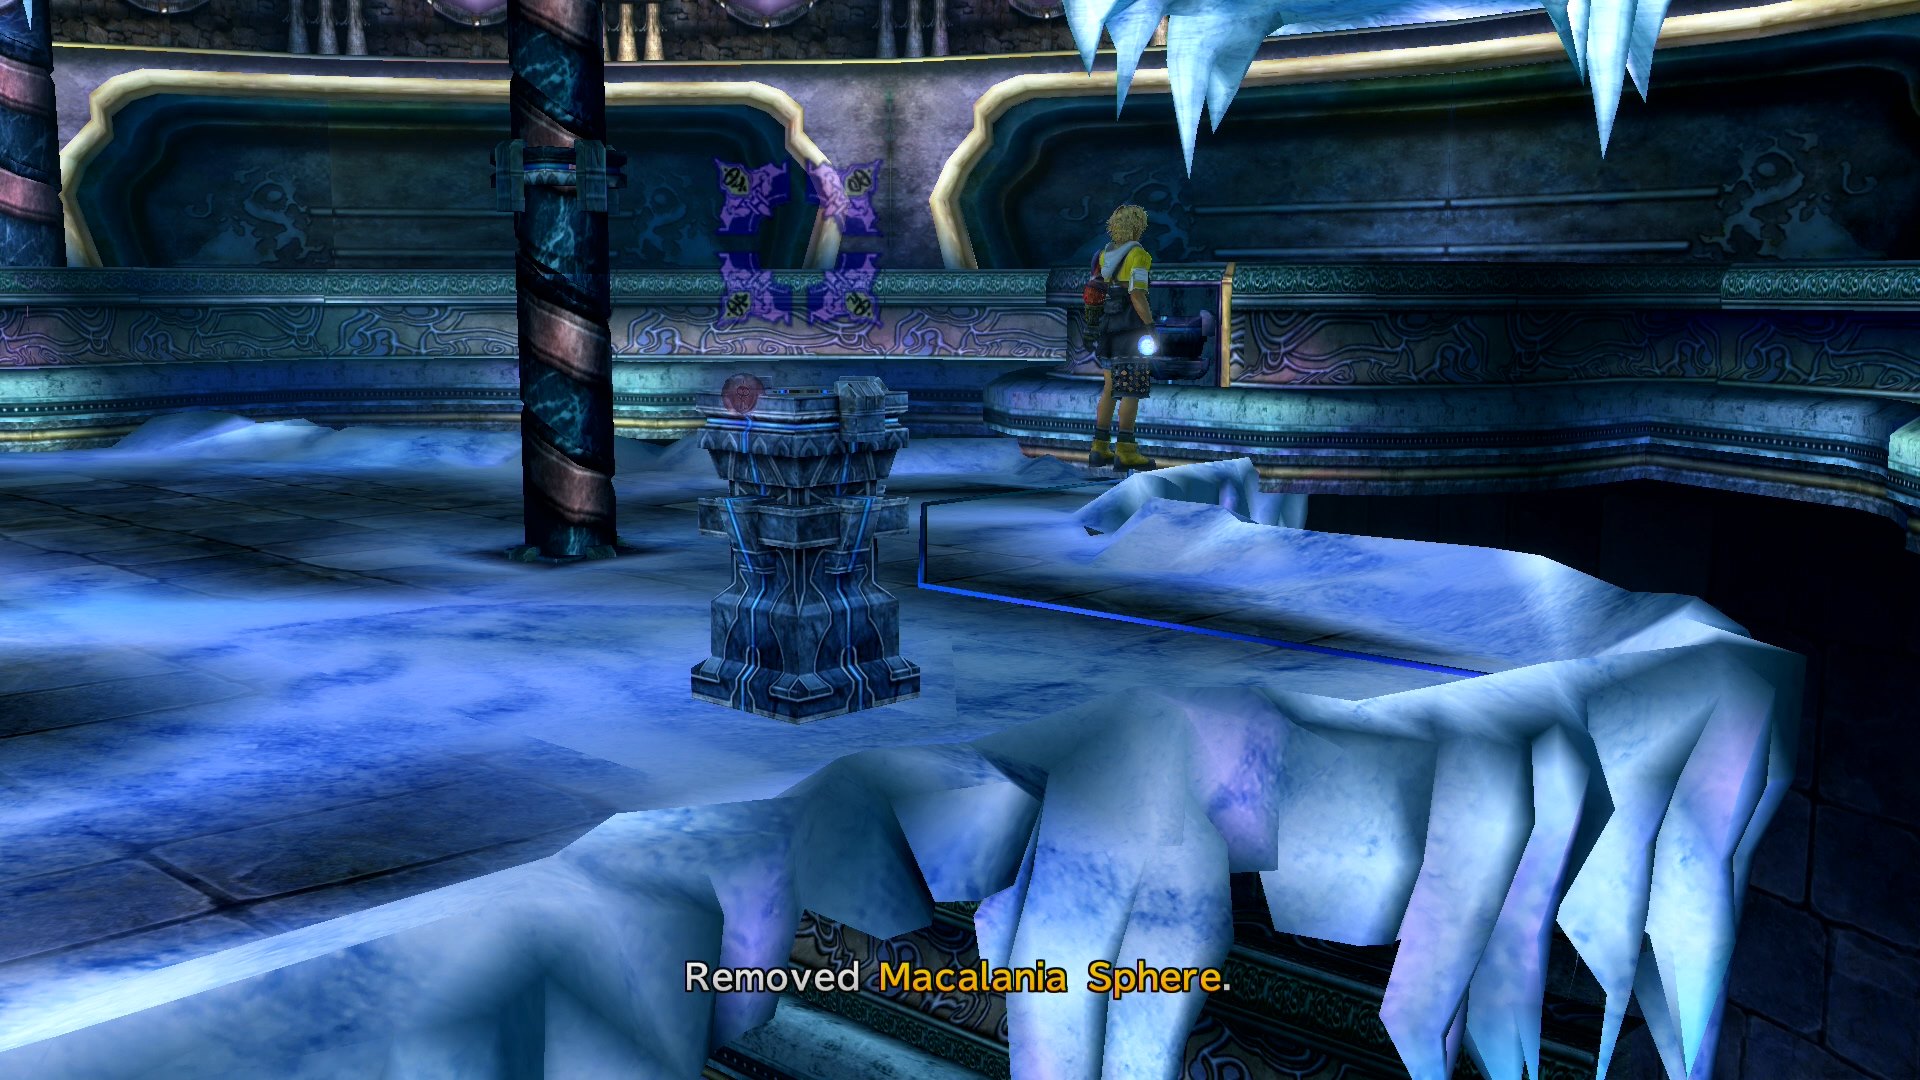
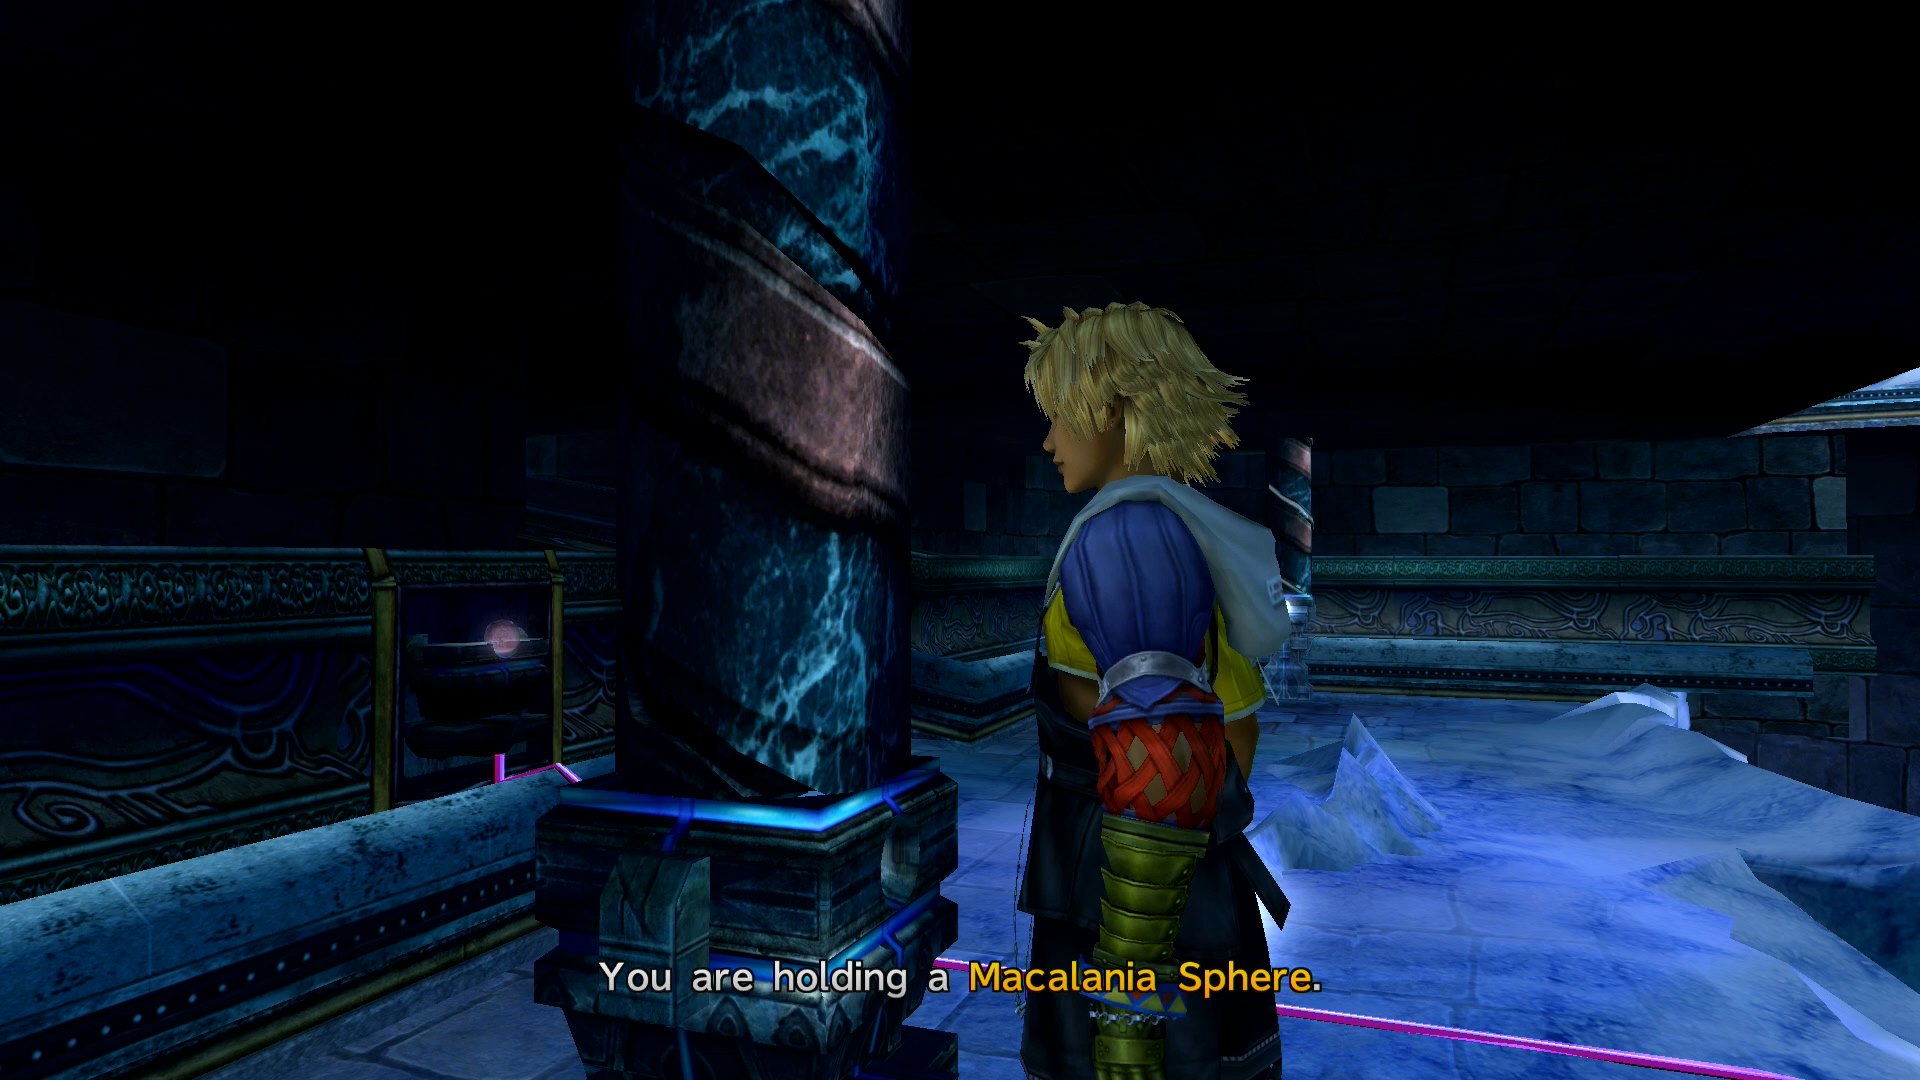
Grab the Glyph Sphere from the pedestal and insert it into the recess to the far left. This will raise a platform with a Macalania Sphere in its recess.

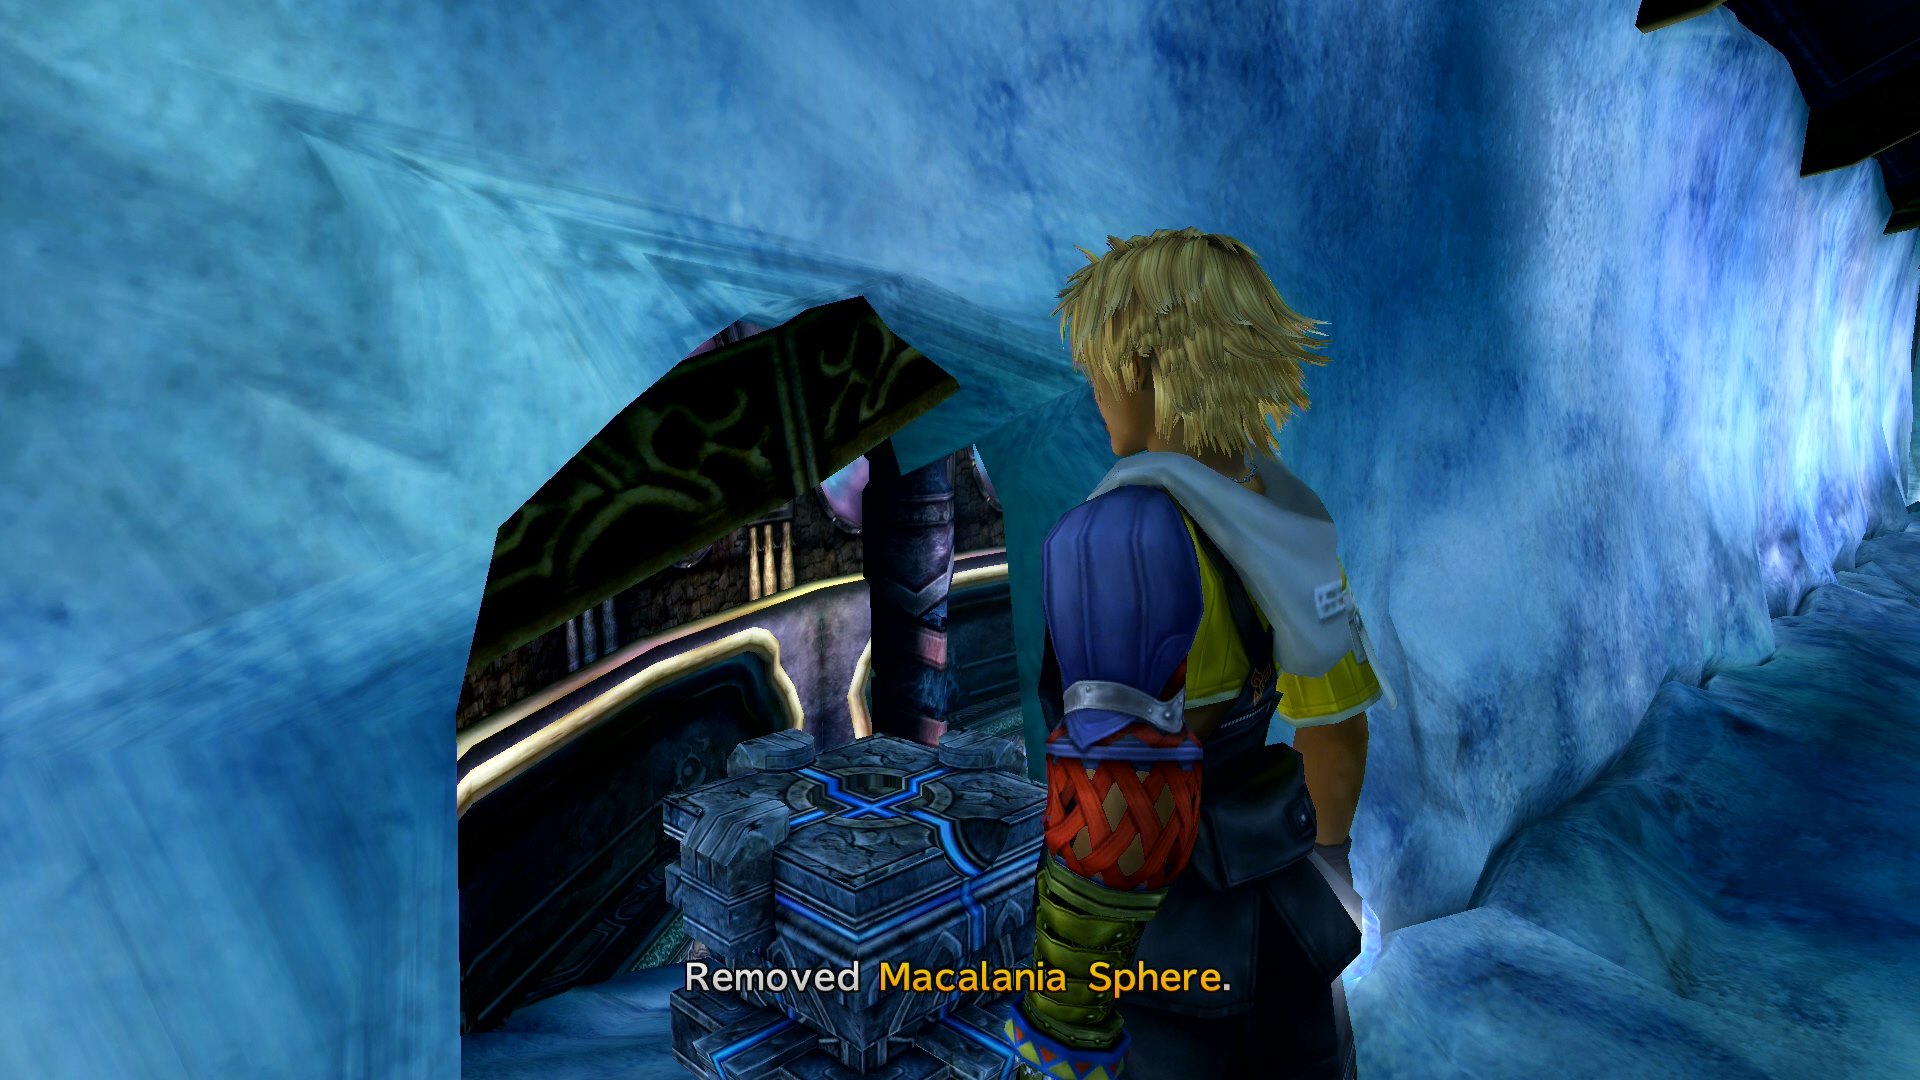
Head back up a level and grab the Macalania Sphere from the recess that just raised. Return to the pedestal down a level and insert the Macalania Sphere there.
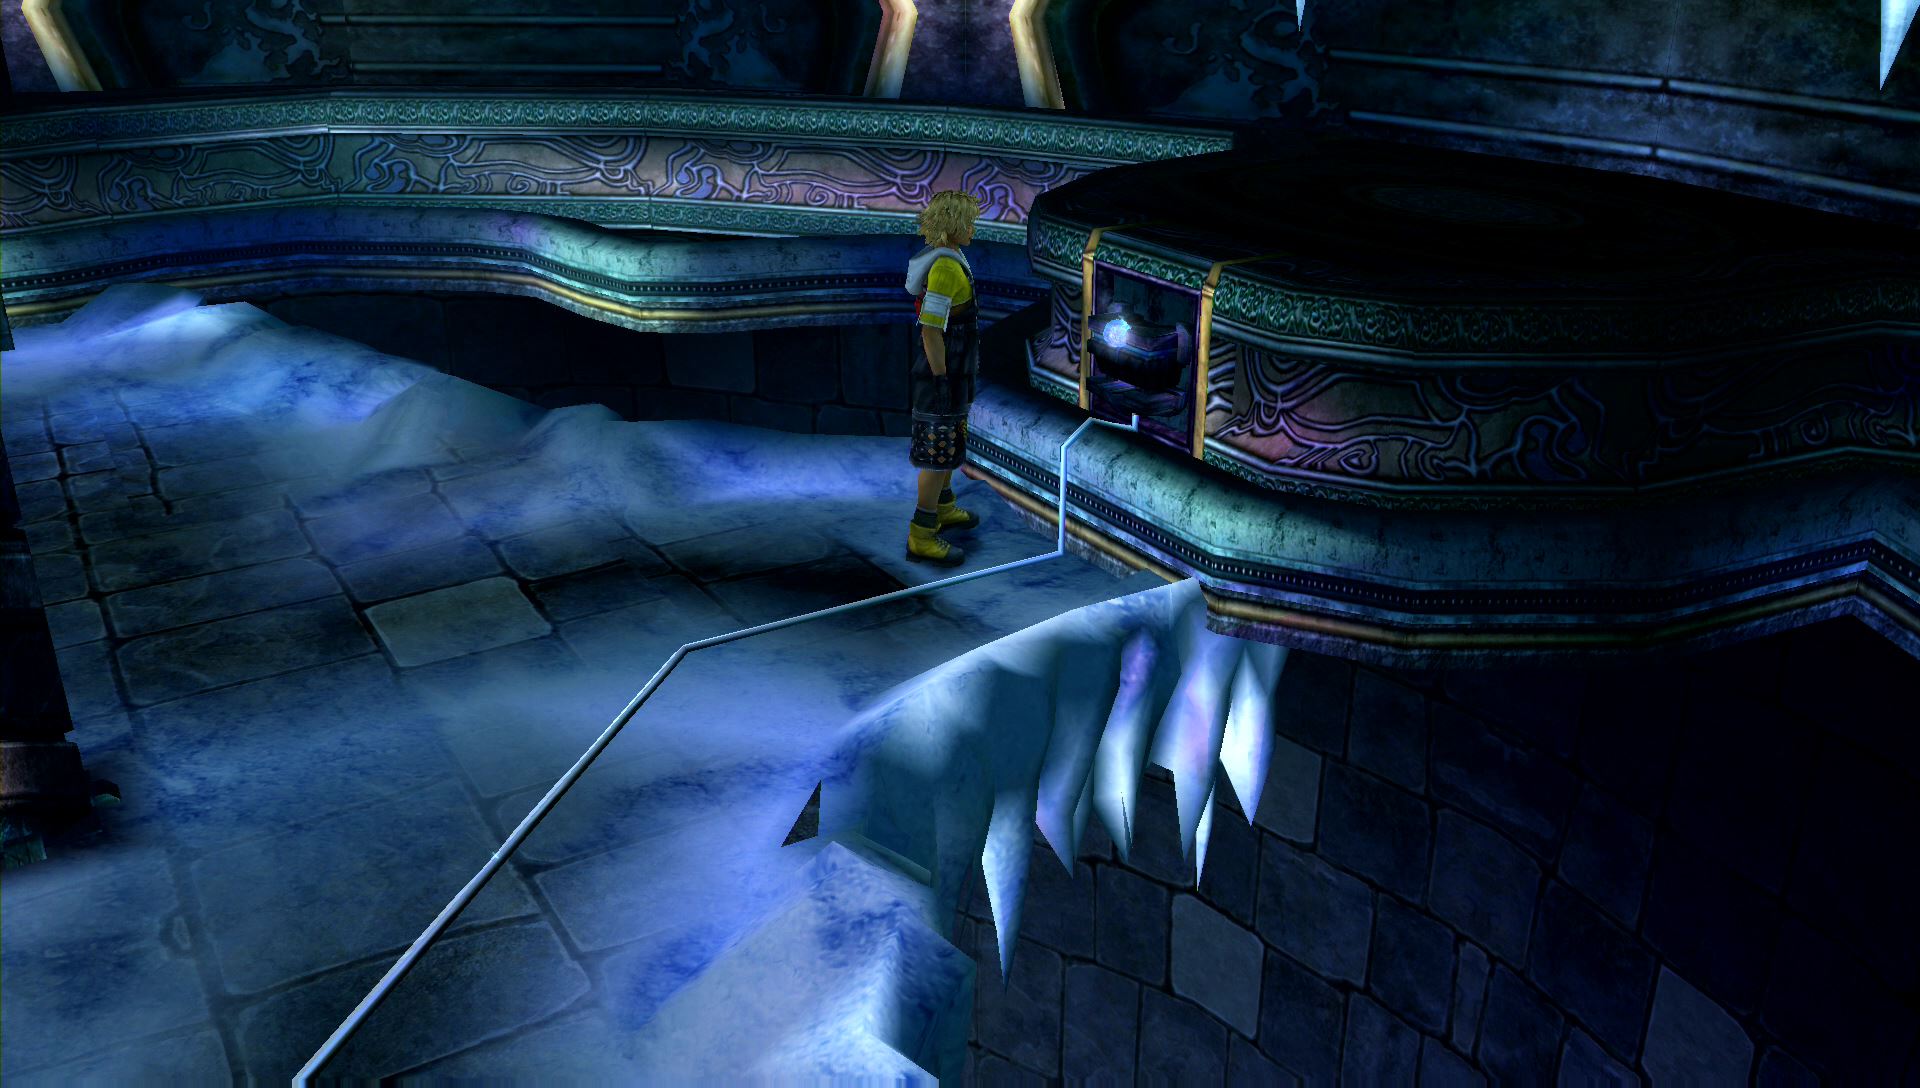
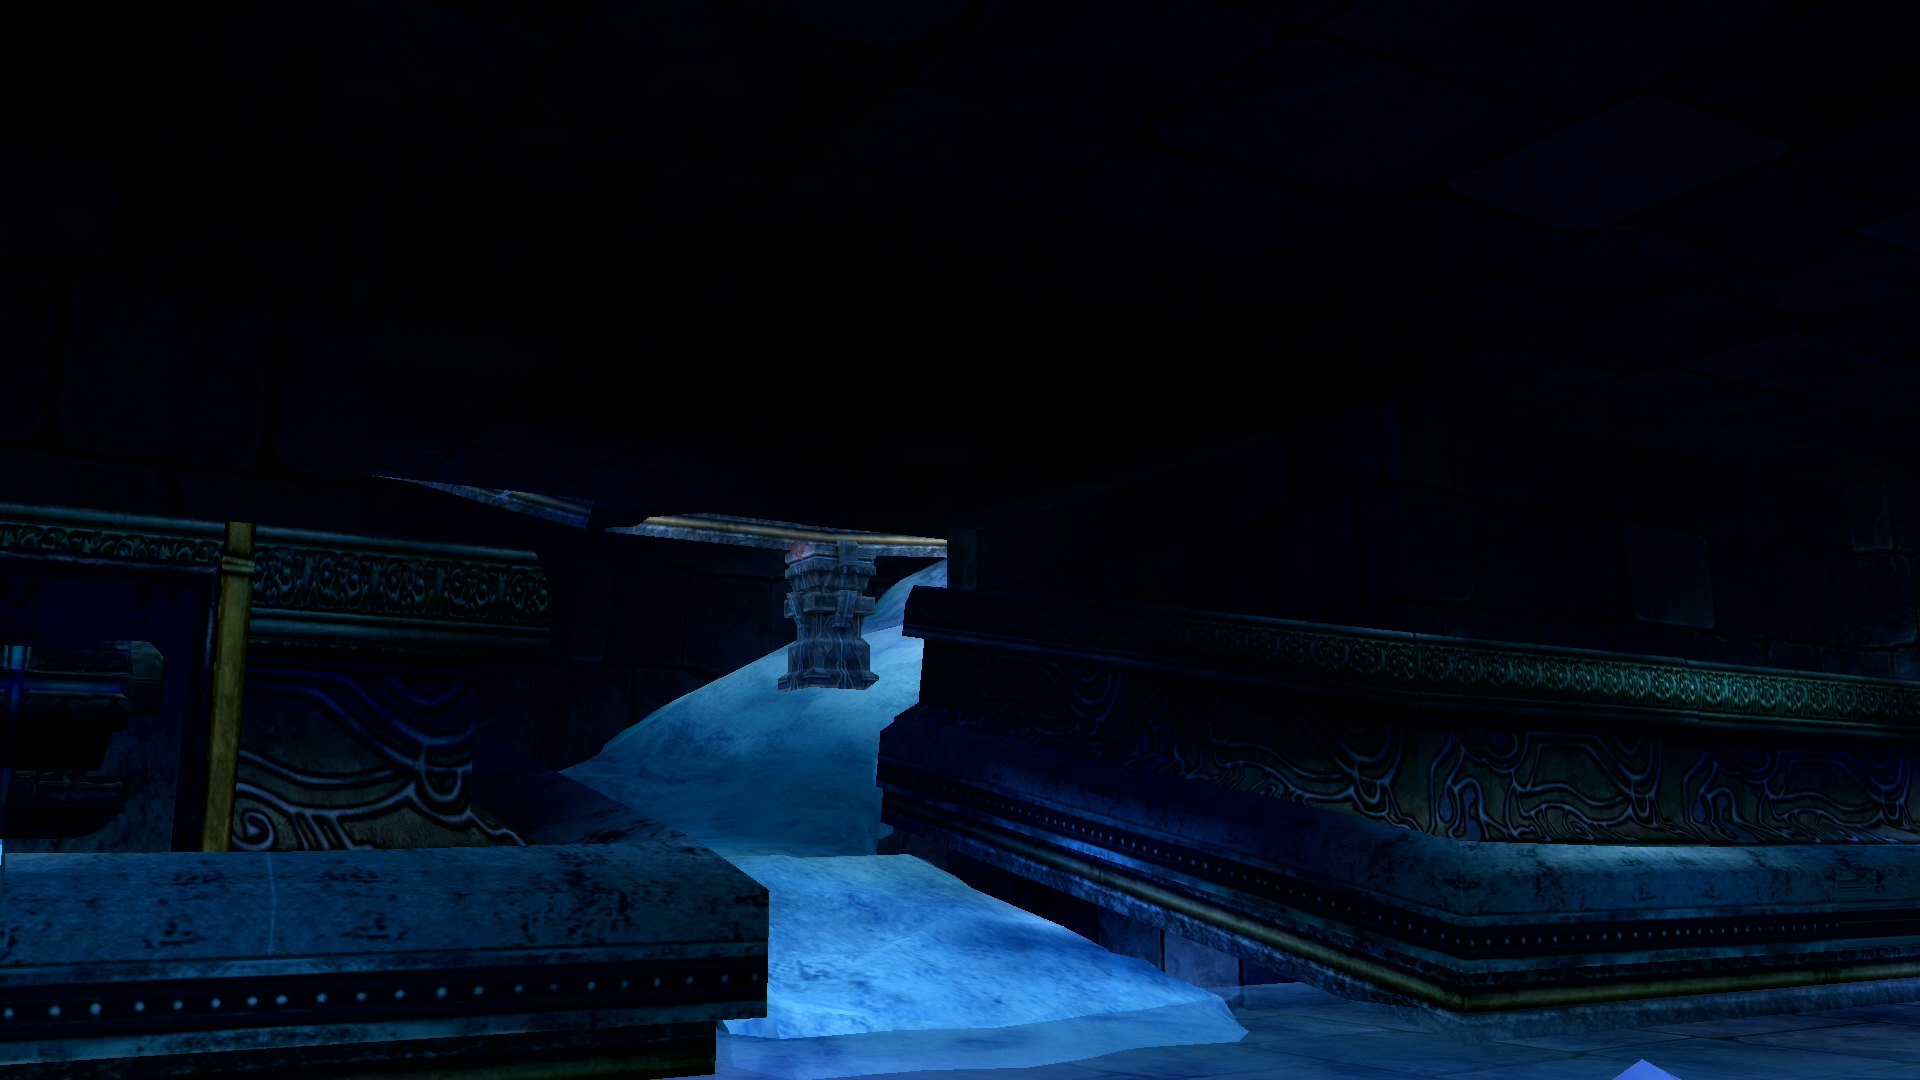
Push the pedestal to the right to connect it with a pillar. This will create part of the icy bridge above.

Return to the level above and take the Macalania Sphere on the right. Bring this sphere back down a level and insert it into the pillar on the left. This will create another part of the icy bridge above.
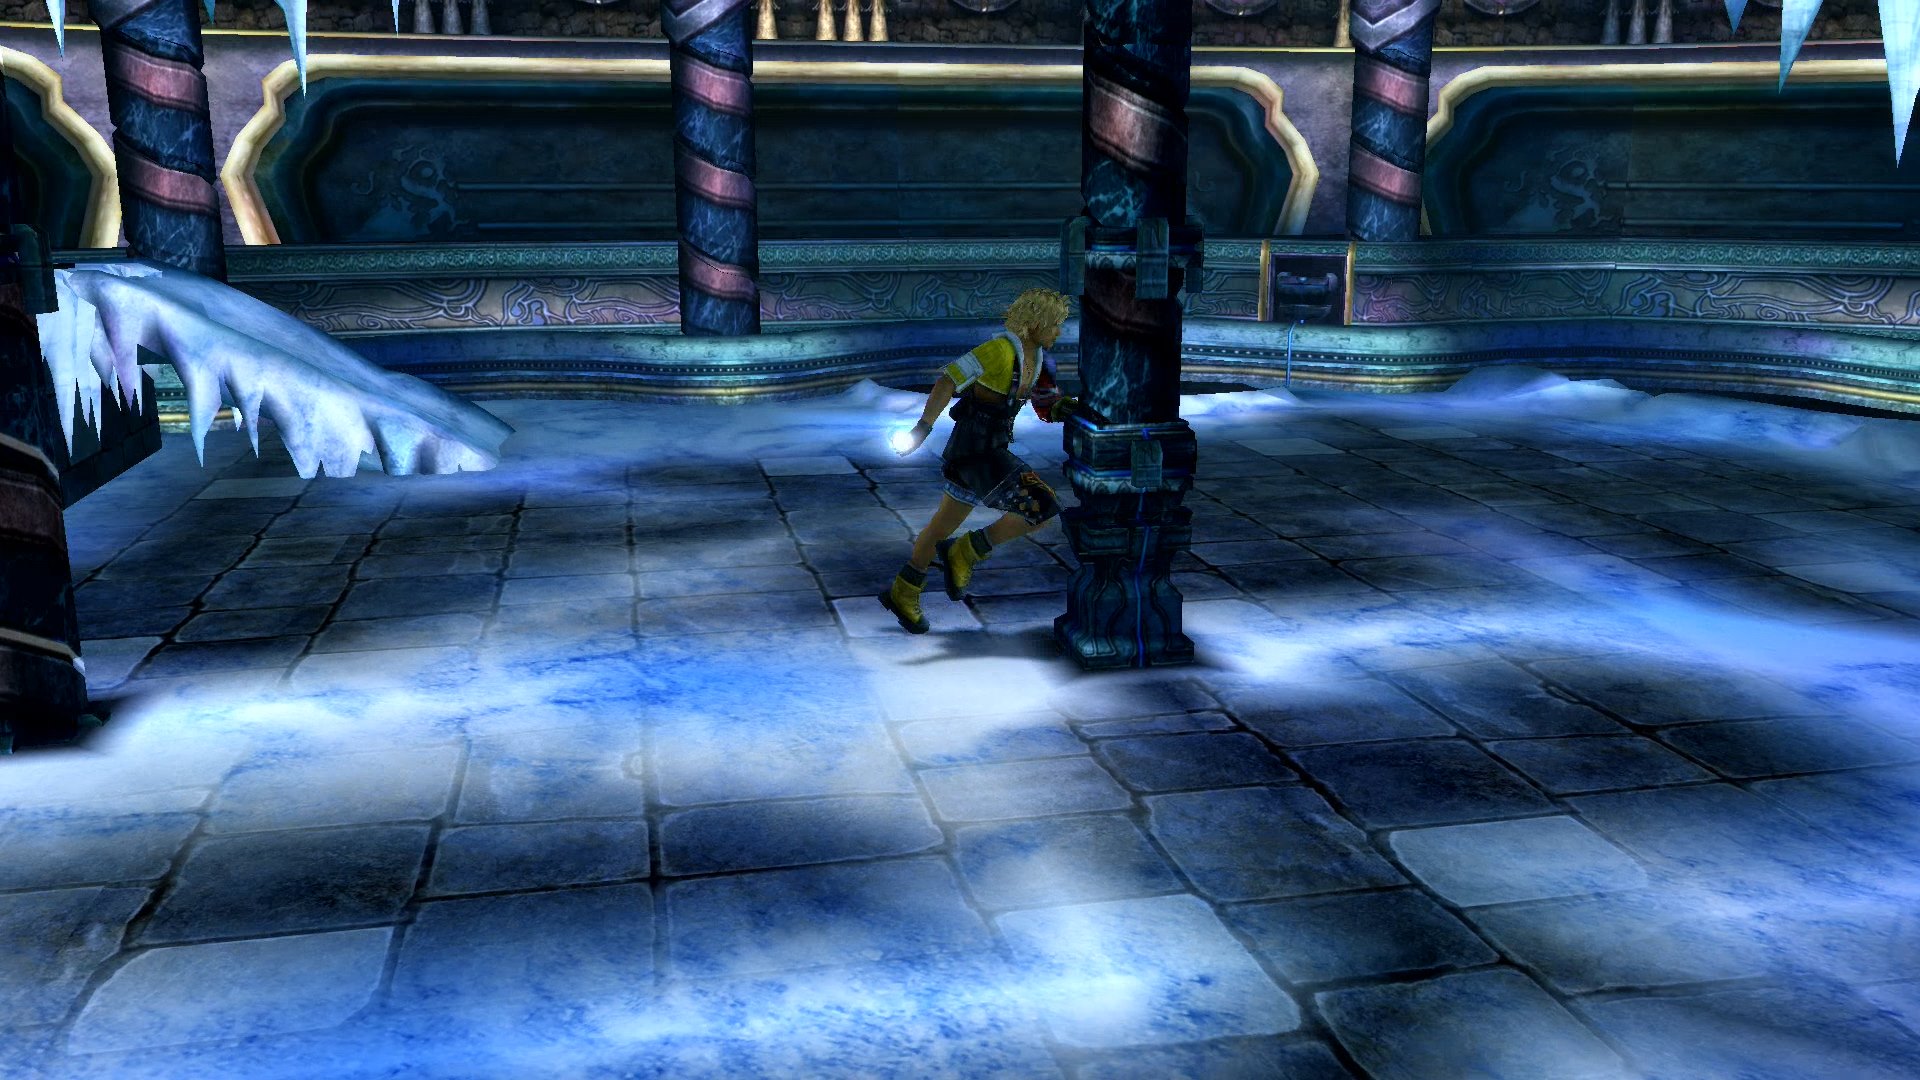
Walk back up a level and take the Macalania Sphere at the top of the ramp. Insert this sphere in the pillar in the middle of the area. This will create the final part of the icy bridge.
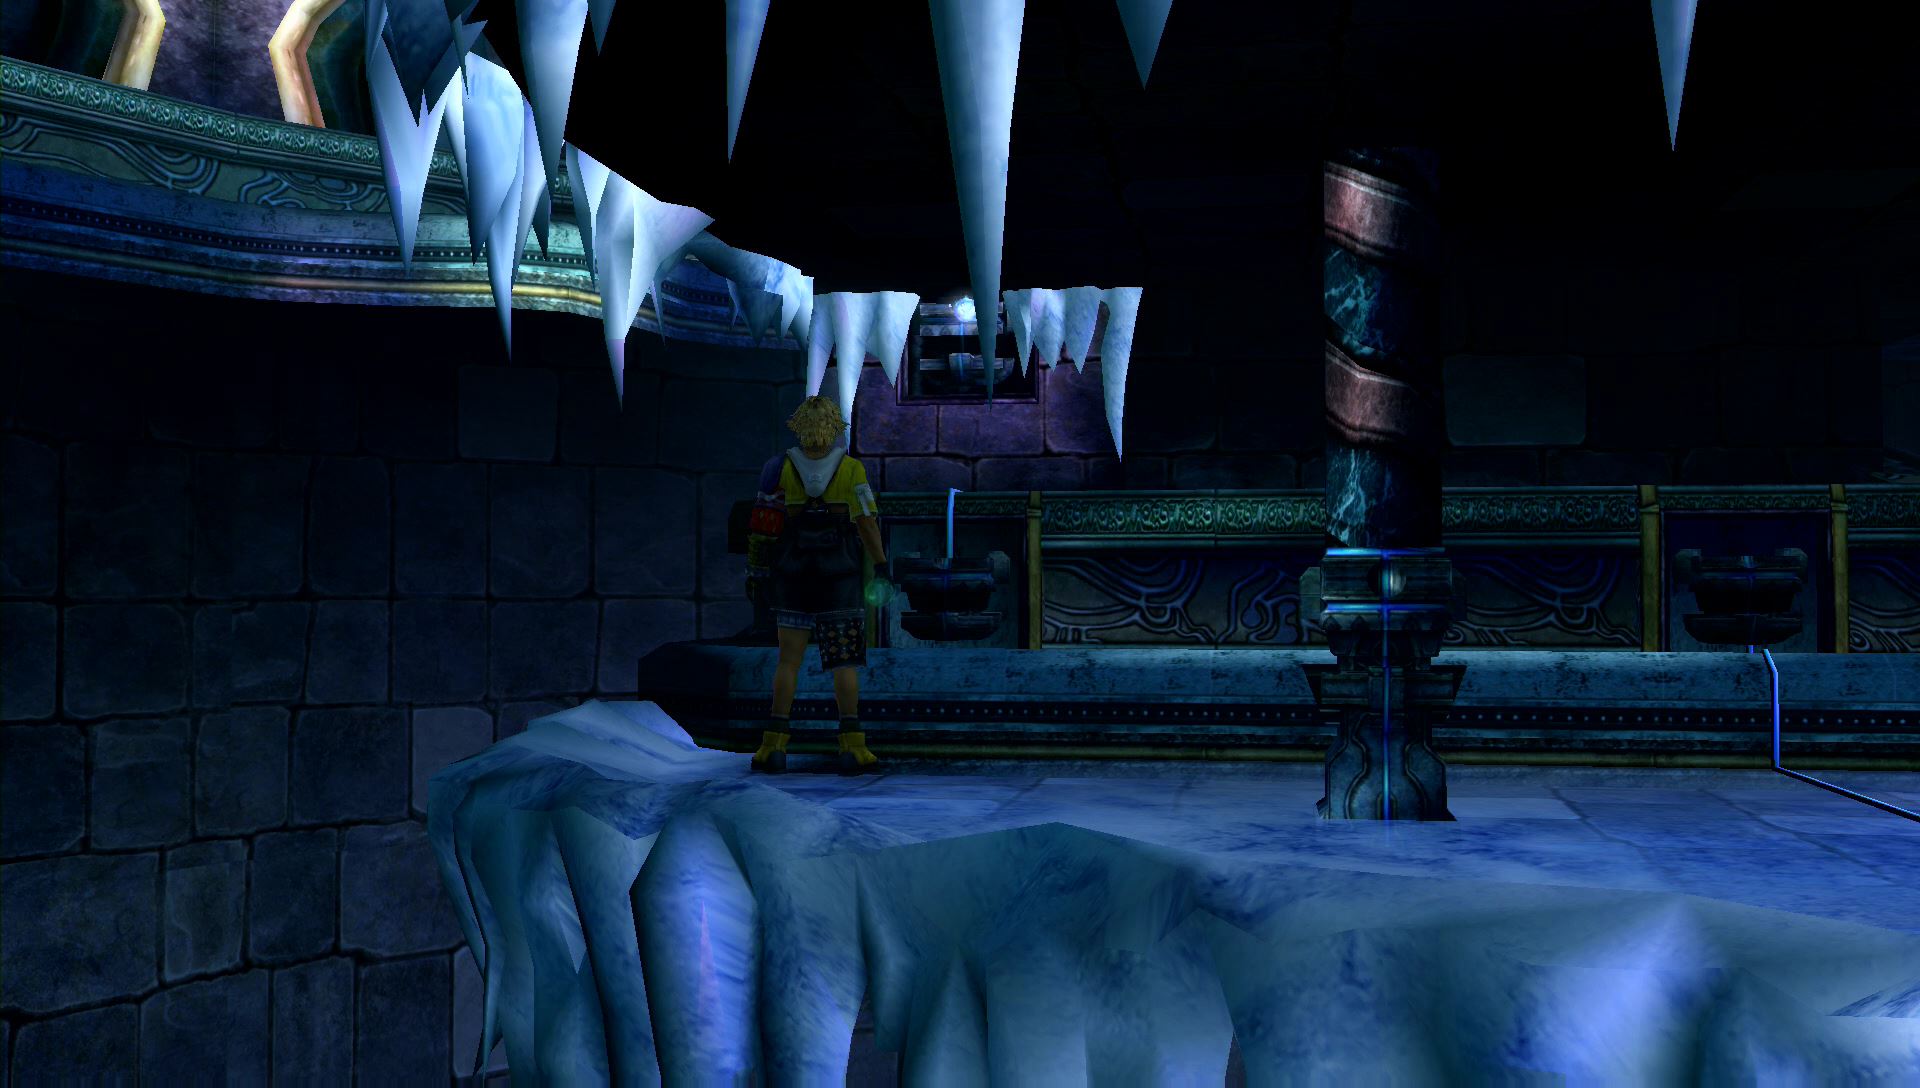
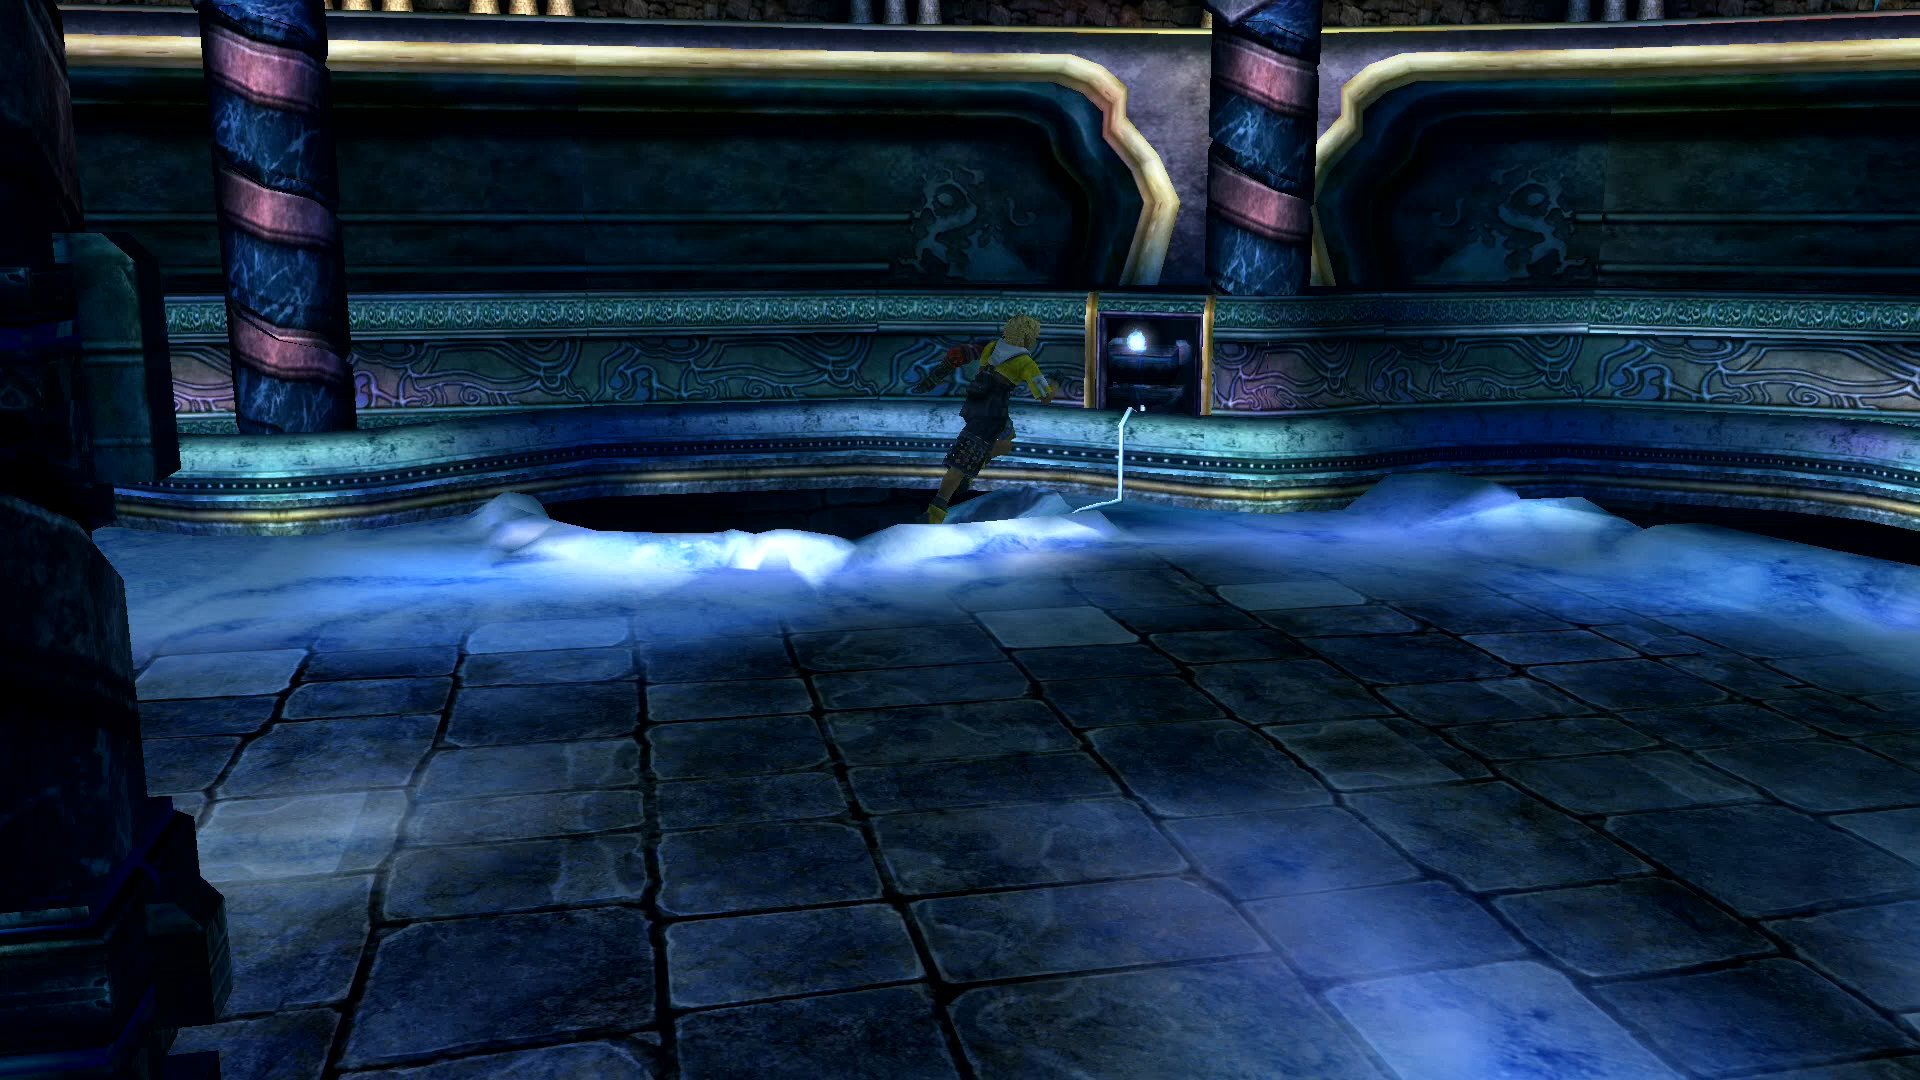
Ascend the ramp to the icy bridge which leads out of the Cloister of Trials. Before going onward, step on the flashing white light on the right to retrieve the pedestal from below. Grab the Maclania Sphere from the pedestal, then push it down the ramp to the left. This will cause the pedestal to grab a Destruction Sphere from a stalagmite.

Walk down the ramp and step on the blinking white light to the right of the pedestal to bring it down from the stalagmite. Before touching the pedestal, insert the Macalania Sphere in the recess to the right. This will cause another stalagmite to appear.

Push the pedestal to the right so that it gets stopped by the newly formed stalagmite. Remove the Macalania Sphere you just inserted a short while ago, and insert it into the recess to the north, creating an ice ramp down to the level below.

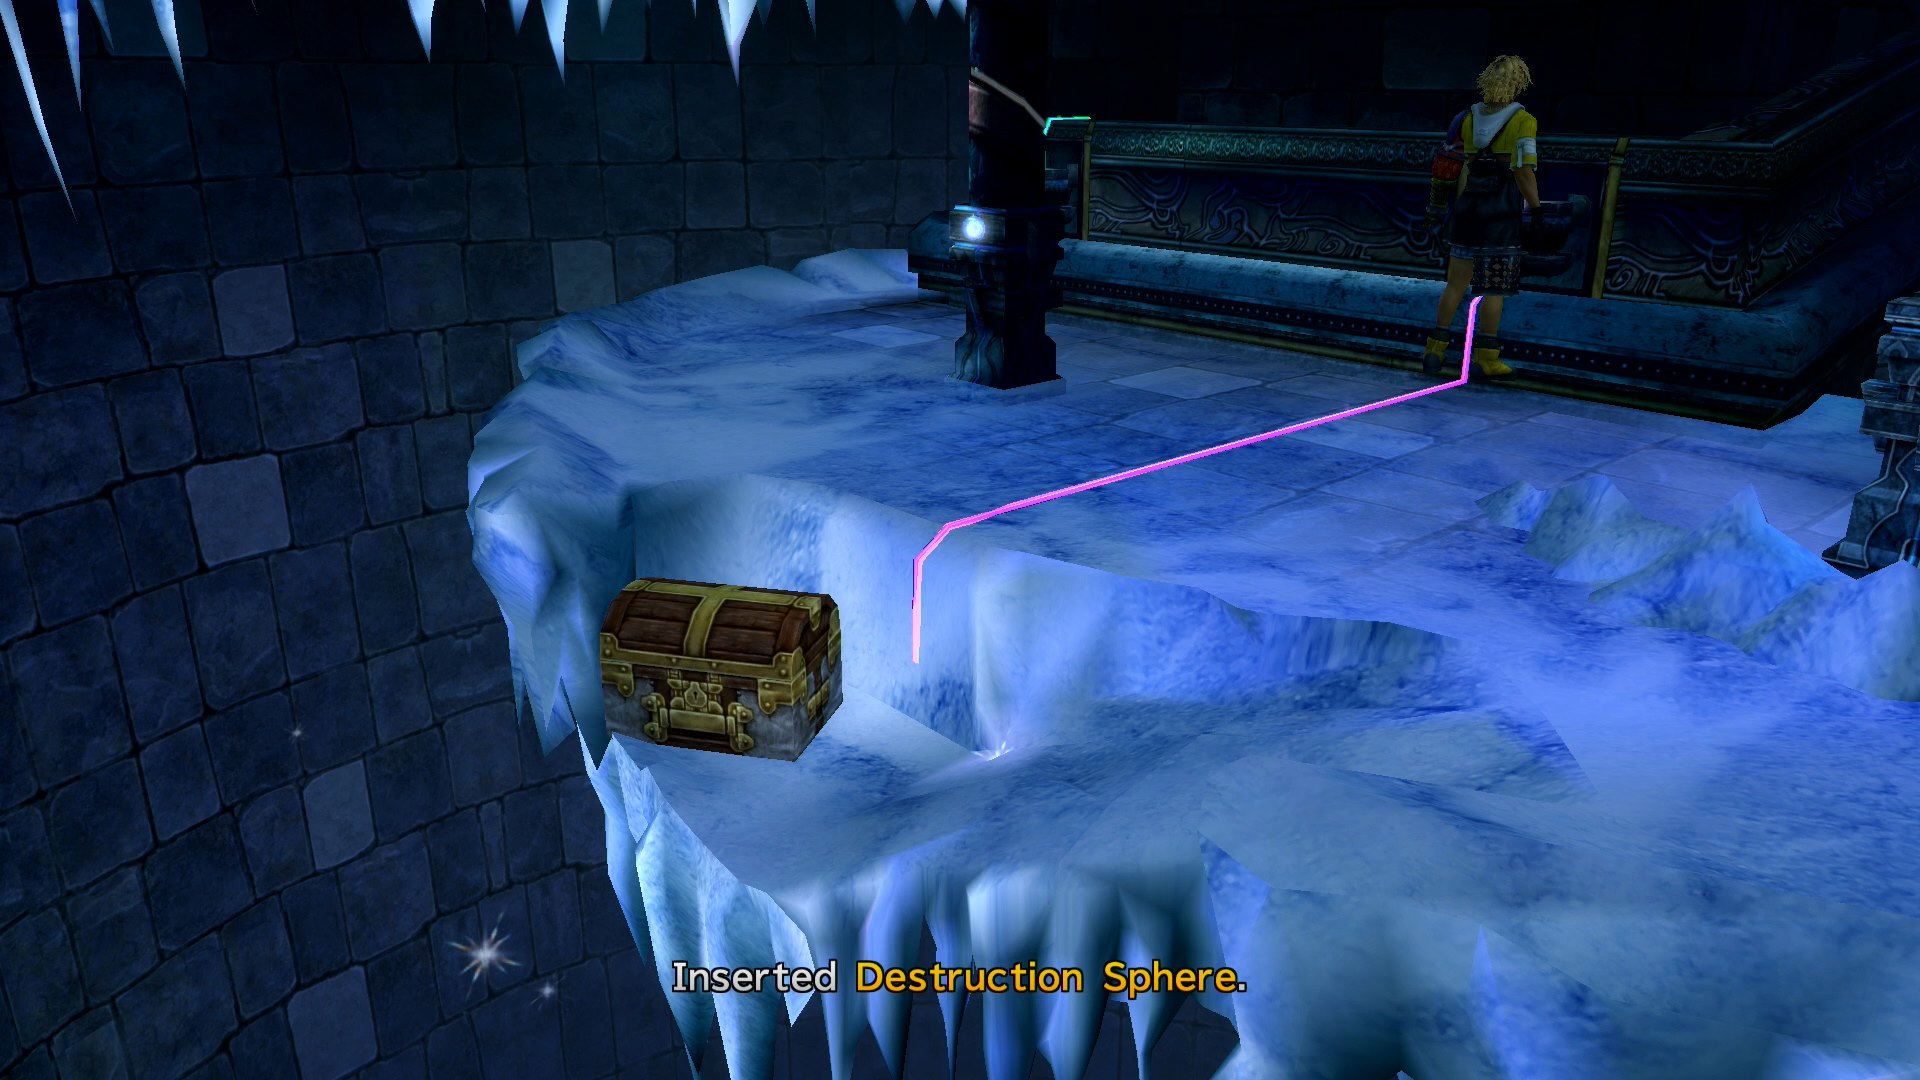
Push the pedestal to the north to send it down to the area below. Remove the Destruction Sphere from the pedestal and insert it into the recess on the left. This will cause a section of snow to break apart, revealing a treasure chest with a Luck Sphere inside.
With that out of the way, all you need to do is repair the ice bridge above. Remove the Macalania Sphere from the nearby column and place it in the pedestal. Push this pedestal to the right to create one part of the bridge.


Walk up a level and remove the Macalania Sphere from the column in the middle of the area. Return below and insert this sphere in the column to the left.
Head up the ramp one last time and remove the Macalania Sphere from the recess near the top of the ramp. Insert this sphere in the column in the middle of the area to complete the bridge.
Escape
With all that out of the way, you’ll meet up with the Guado, who aren’t too happy you killed Maester Seymour. Escape! You can buy some items from O’aka outside if you need to. Don’t forget to save your game. You may notice you can’t play Blitzball anymore. It will be like this for awhile.
Lake Macalania – Crevasee
| Fiends | HP | Fire | Thunder | Water | Ice |
|---|---|---|---|---|---|
| Evil Eye | 310 | Weak | — | — | — |
| Ice Flan | 1350 | Weak | Strong | Strong | Absorb |
| Mafdet | 710 | — | Weak | — | Weak |
| Snow Wolf | 400 | Weak | — | — | — |
This road was the road you traveled across earlier using Al Bhed machina (snow mobiles). It has the same fiends as before. Travel south until you reach a small bridge connecting the left and right sides together. Not the first bridge near the north end, but the second bridge near the south end. A treasure chest is across the bridge containing a Lv. 1 Key Sphere.


Continue on to the next area in the south. Make sure you save before leaving, a boss battle is up ahead.
Boss Battle: Wendigo

| Enemy | HP | AP | Fire | Thunder | Water | Ice |
|---|---|---|---|---|---|---|
| Wendigo | 18000 (1432) | 2000 (3000) | — | — | — | — |
| Guado Guardian | 1200 (1432) | 290 (580) | — | — | — | — |
Two Guado Guardians will accompany Wendigo. They will auto-heal themselves with Hi-Potions each time they’re attacked, so use Rikku to steal their potions and prevent this. They will also attack with various elemental black magic spells. As for their role with Wendigo, they will cast Berserk, Shell, and Protect on him – or it – and heal any status ailments.
Wendigo is a very strong beast. It will use basic physical attacks that do massive damage when he is in a Berserk state. You can use Auron’s Threaten to disable Berserk, and use Wakka’s dark attacks to slow Wendigo down. Of course, the Guado will continue to heal Wendigo and cast Berserk, so they must be eliminated first. Auron’s Power Break will also reduce the damage Wendigo causes, which cannot be healed by the Guado.
After the battle, Wendigo will crush the ground, causing the team to fall beneath the lake’s ice. Speak to every character until Yuna wakes up.
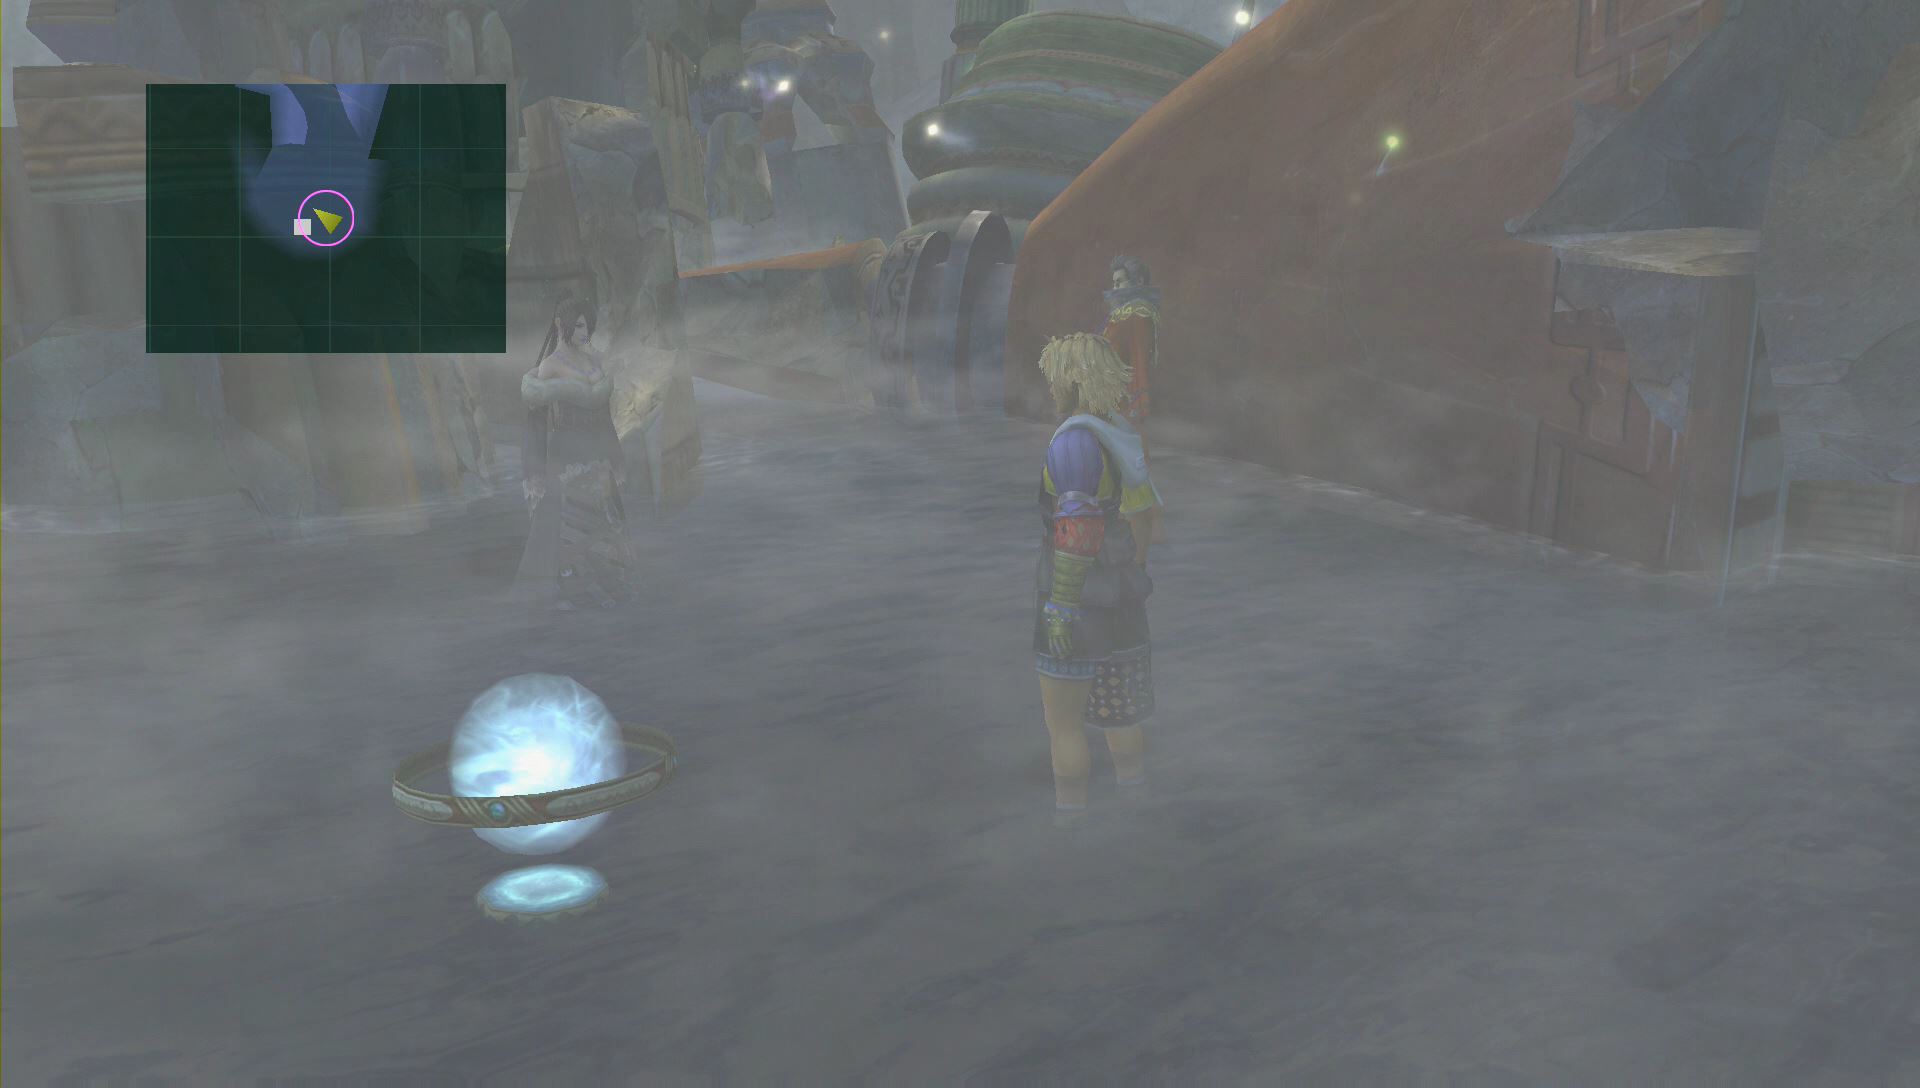
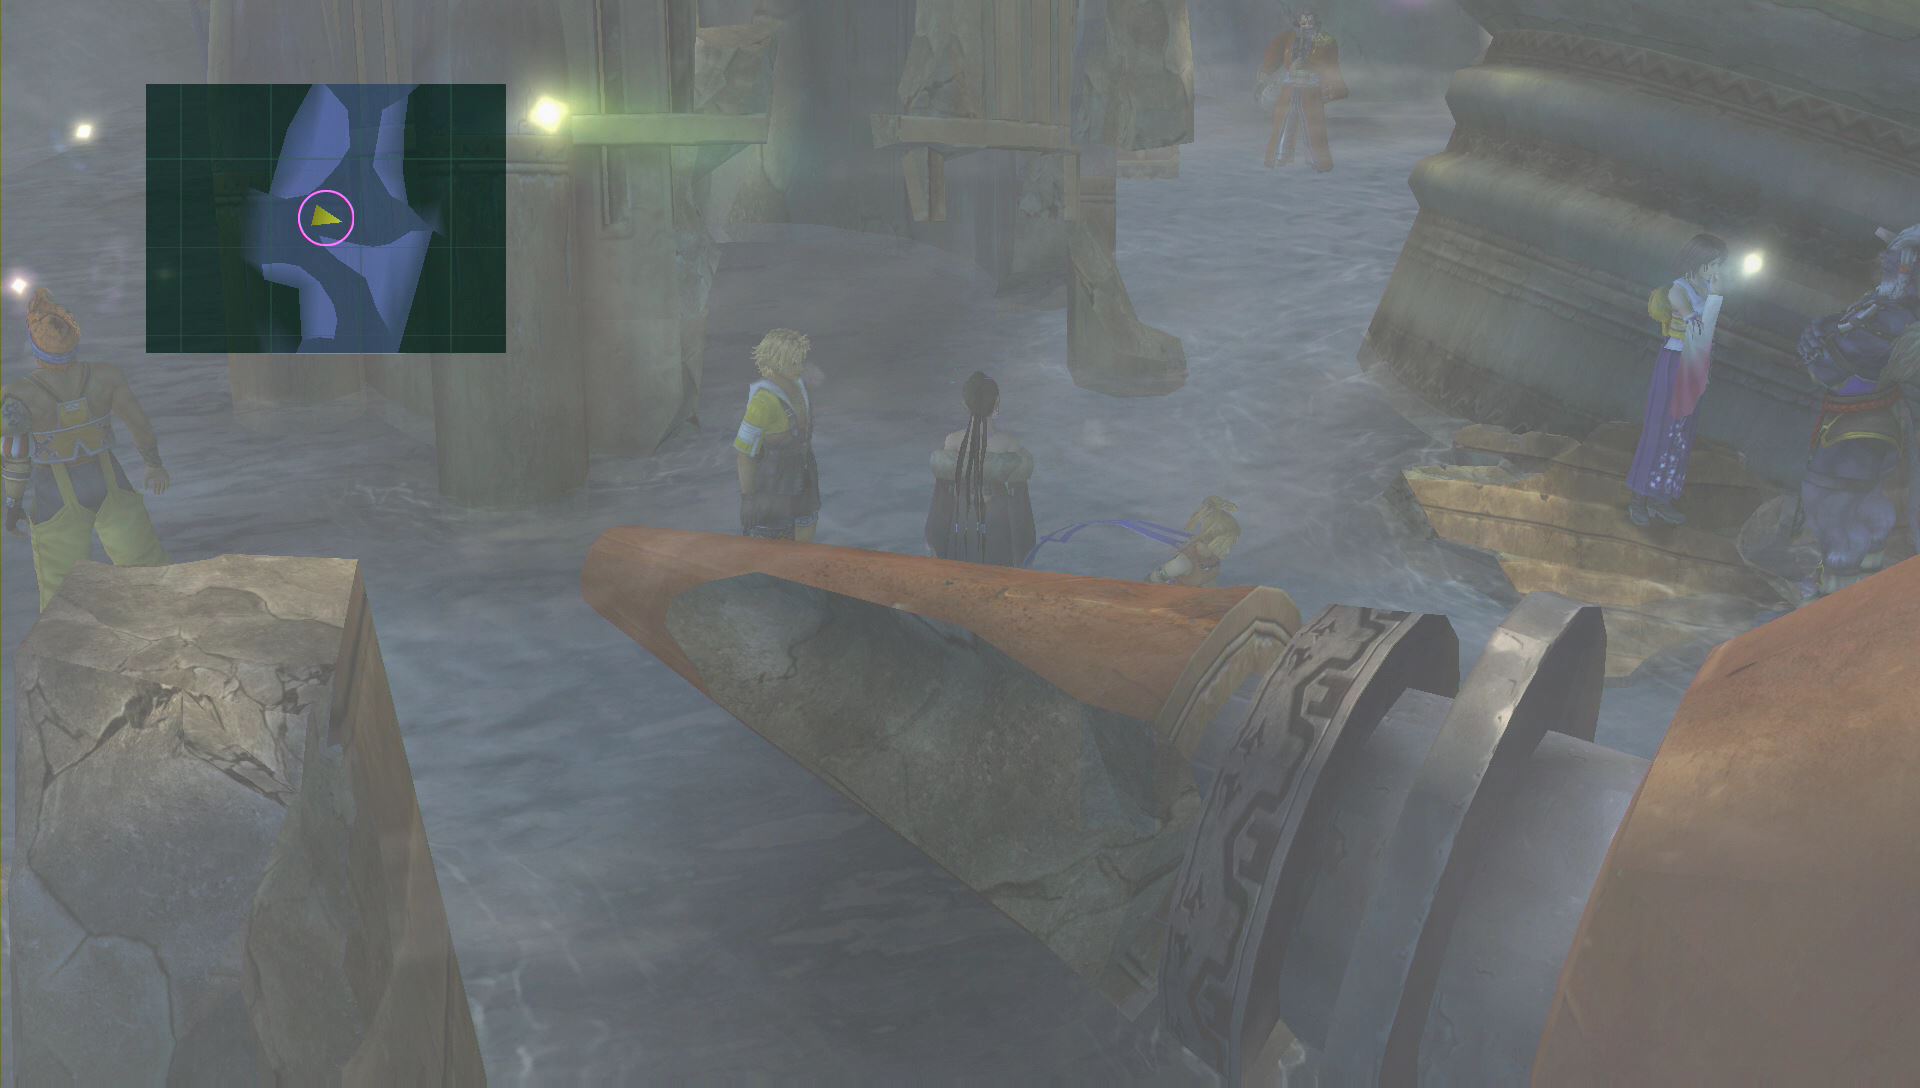
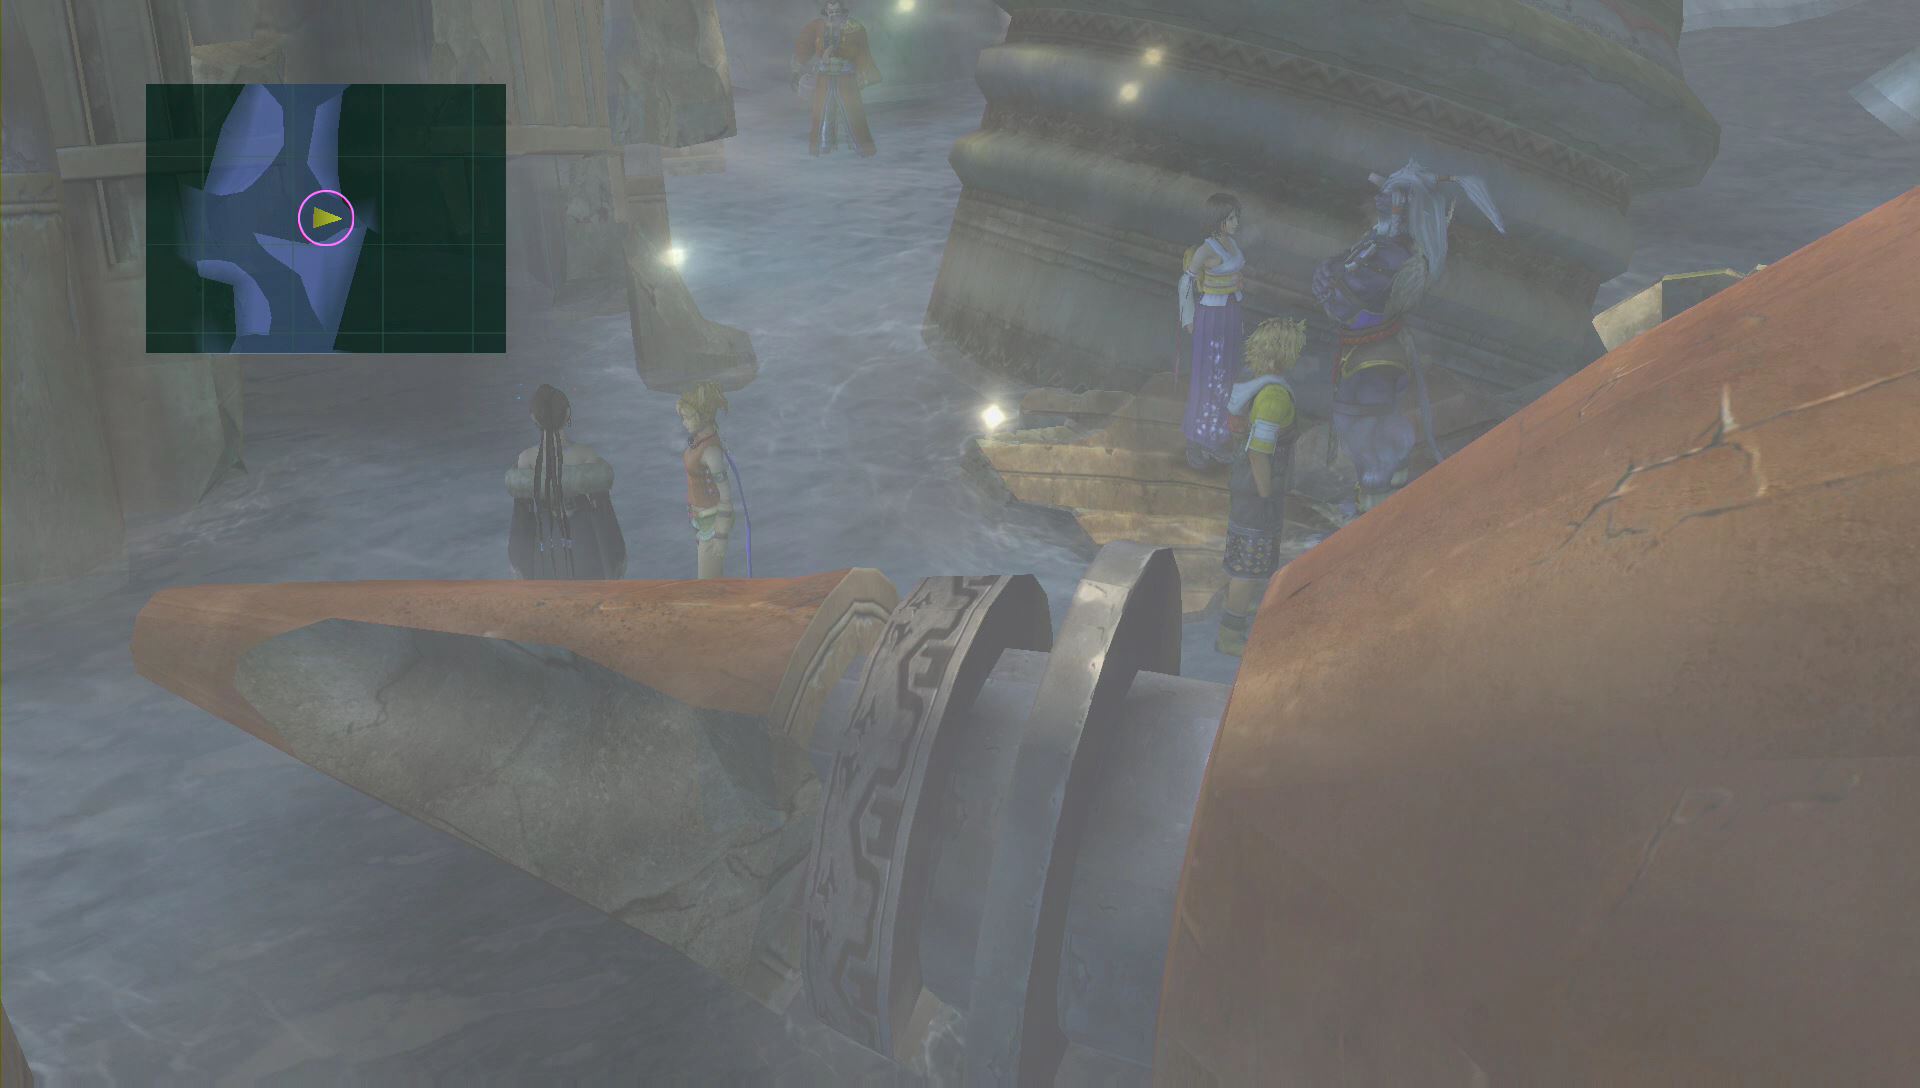
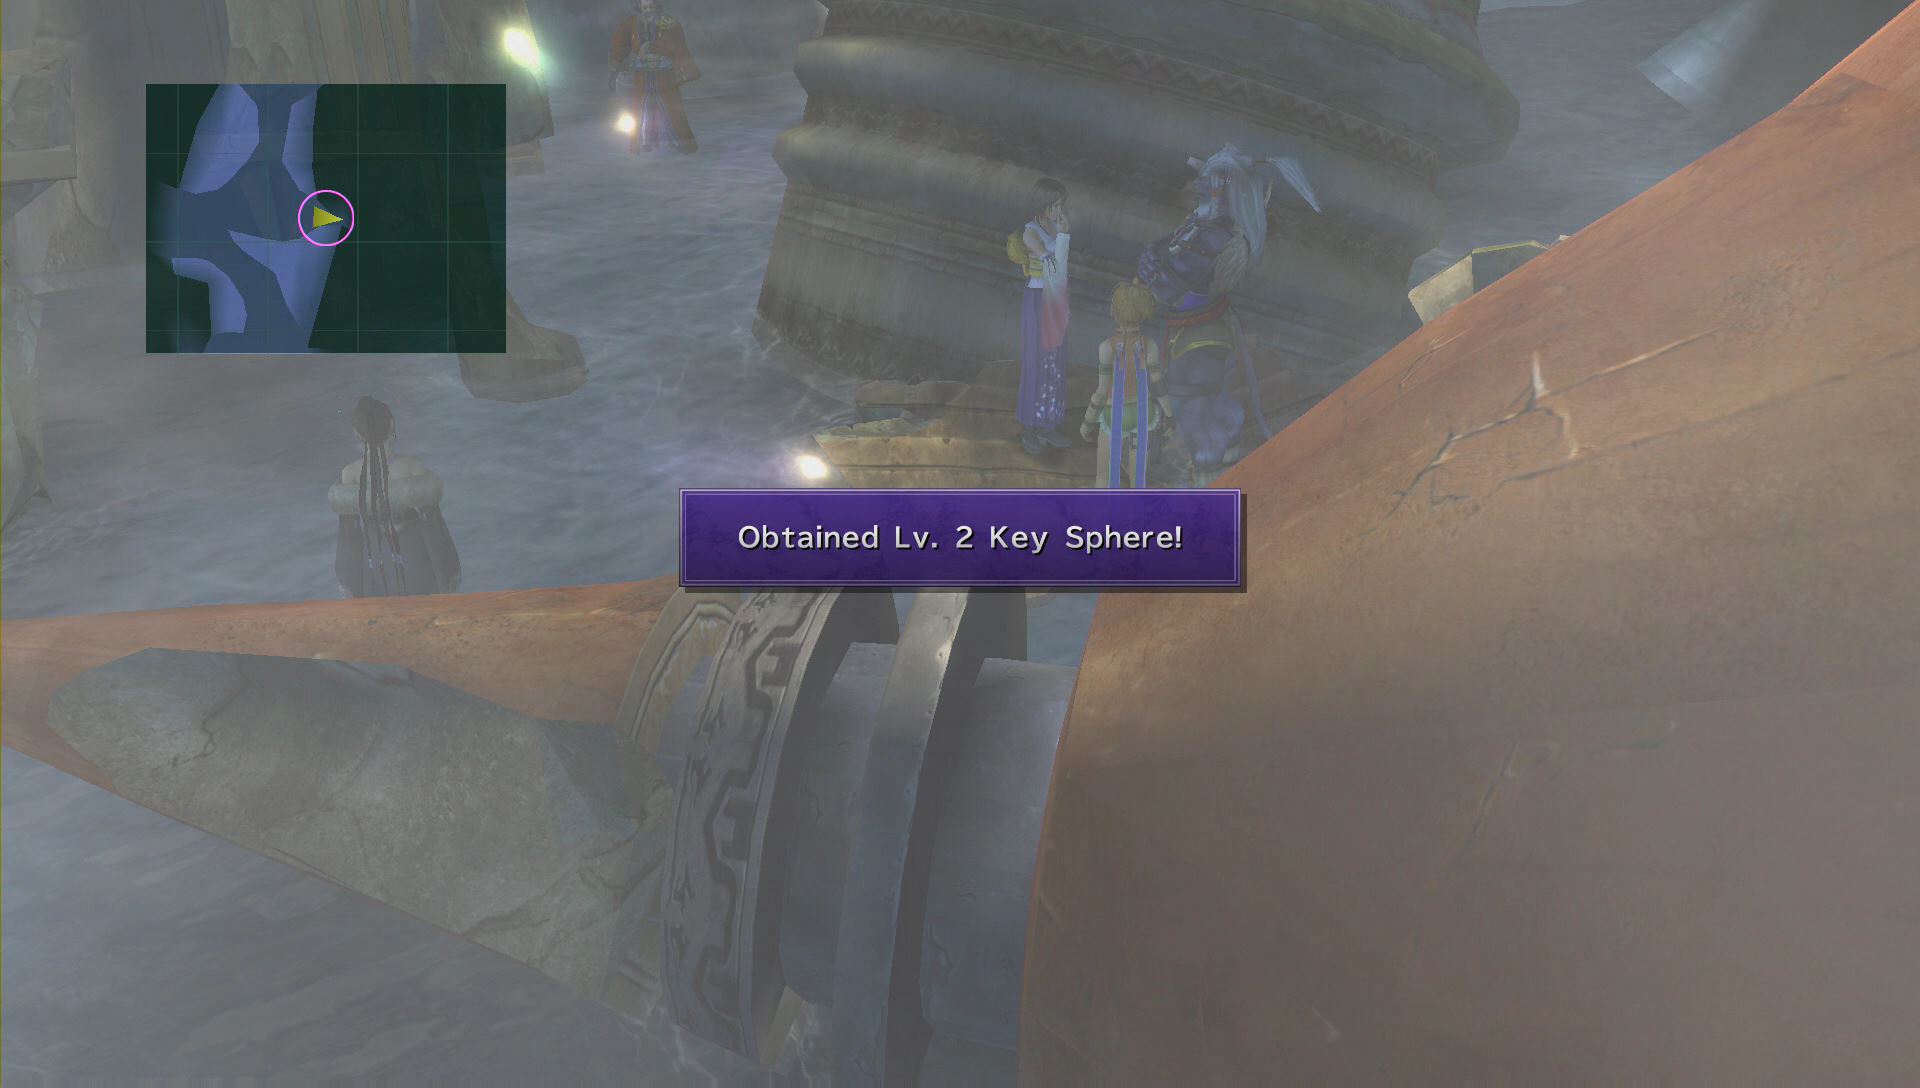
When you’re able to continue onward, look for a hidden treasure chest containing a Lv. 2 Key Sphere behind Kimahri.
Another treasure chest is slightly hidden to the north. It contains the Avenger, one of Tidus’s weapons.

Speak to everyone again until a cut scene plays out. You’ll wake up in the Sanubia Desert at the end of the scene.