[toc]
| Fiends | HP | Fire | Thunder | Water | Ice |
|---|---|---|---|---|---|
| YAT-99 | 2700 | Weak | — | Weak | — |
| YKT-63 | 4200 | Weak | — | Weak | — |
| Warrior Monk | 1400 | — | — | — | — |
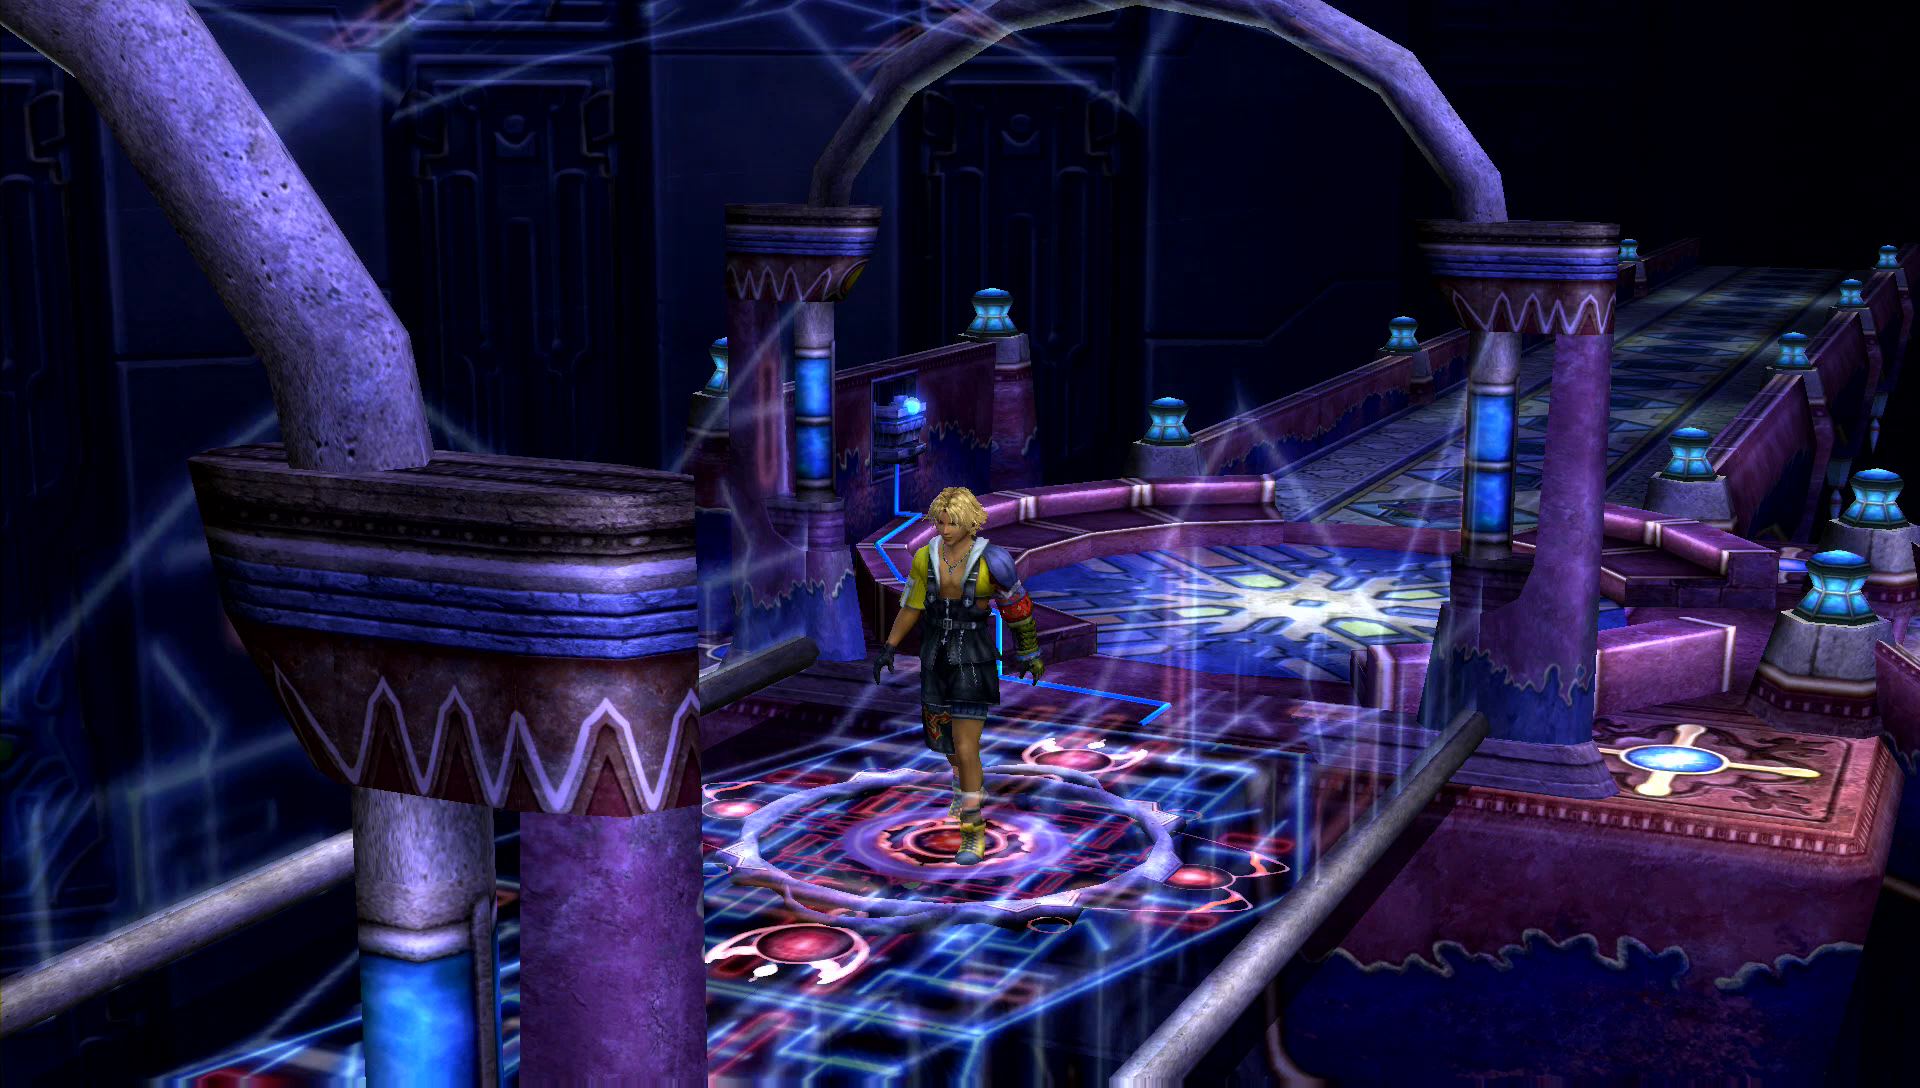
Tower of Light
It’s time to crash the wedding, but of course you’ll have to fight a few Warrior Monks on the way up to Yuna. The Warrior Monks with the flamethrowers will pose the biggest threats among the men, but they will also use machina enemies that can cause some serious damage. Focus on the Warrior Monks first since they’re the weakest.
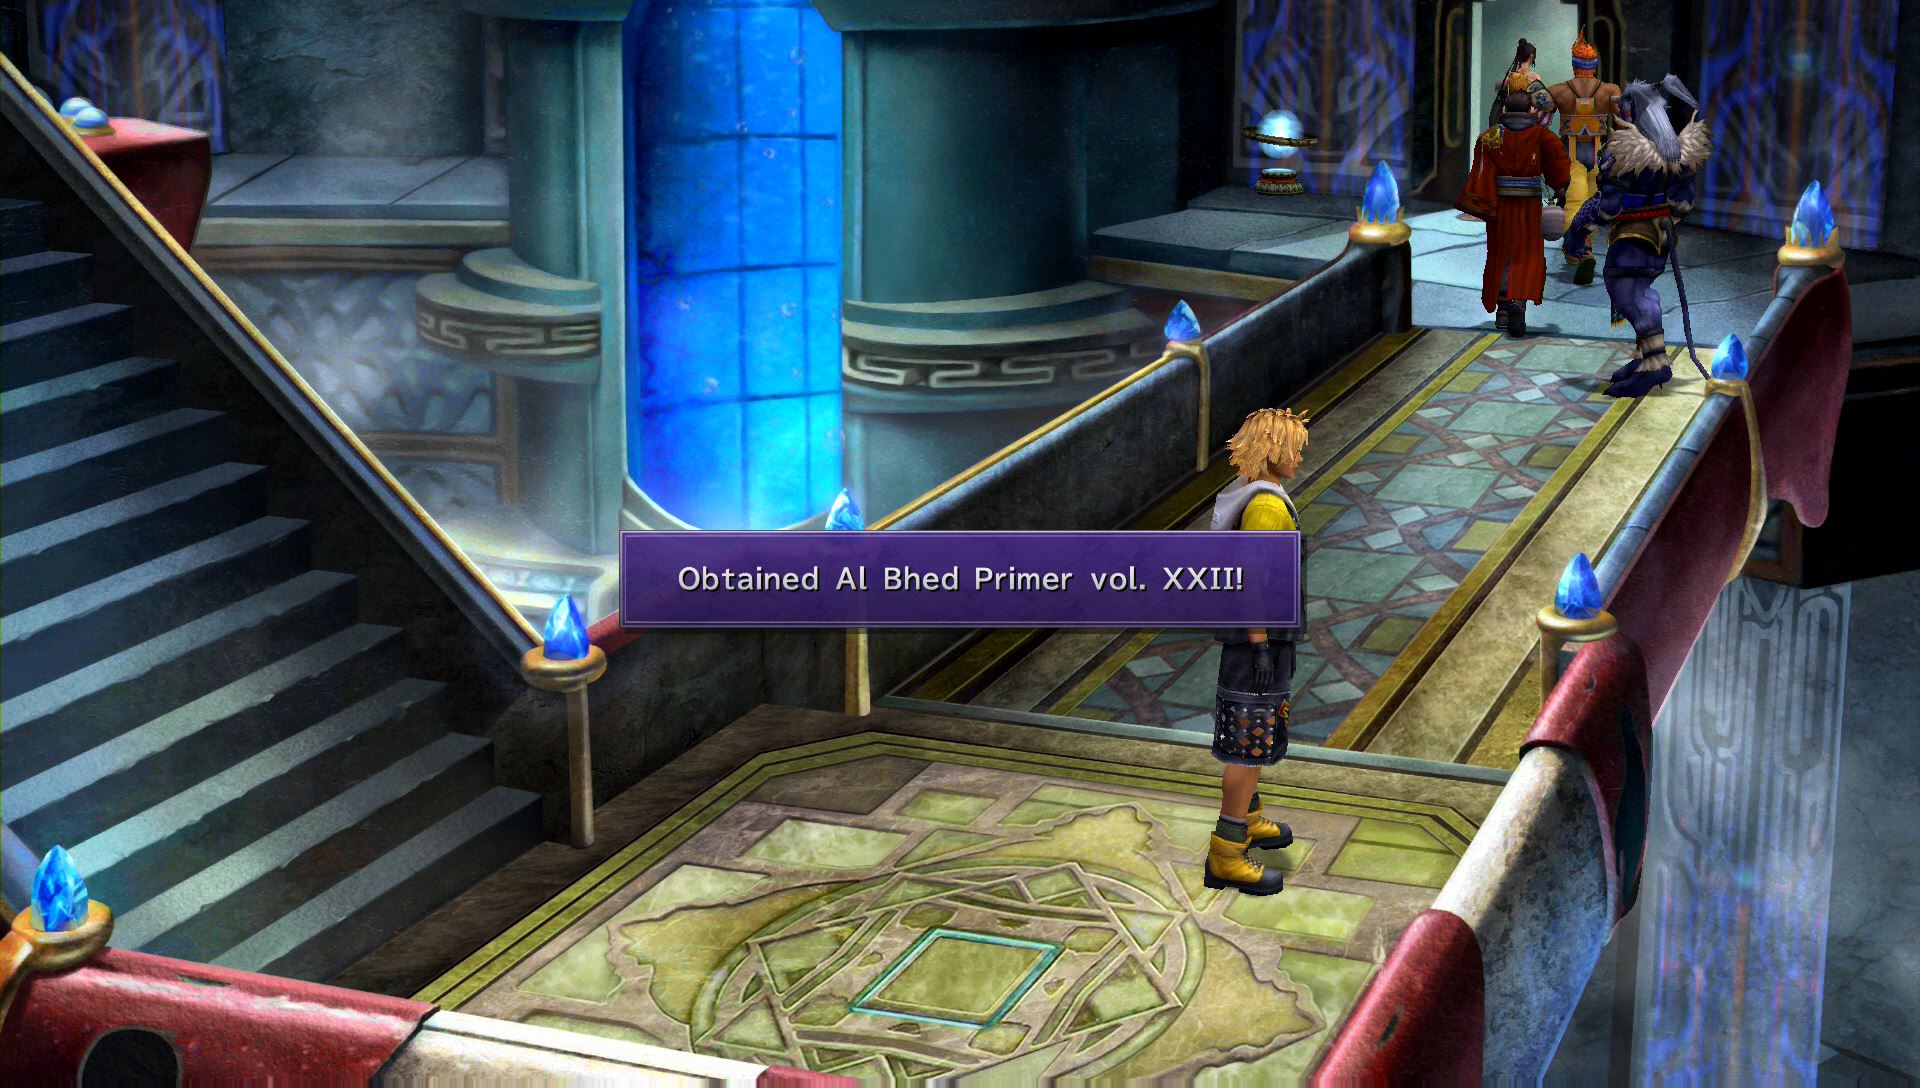
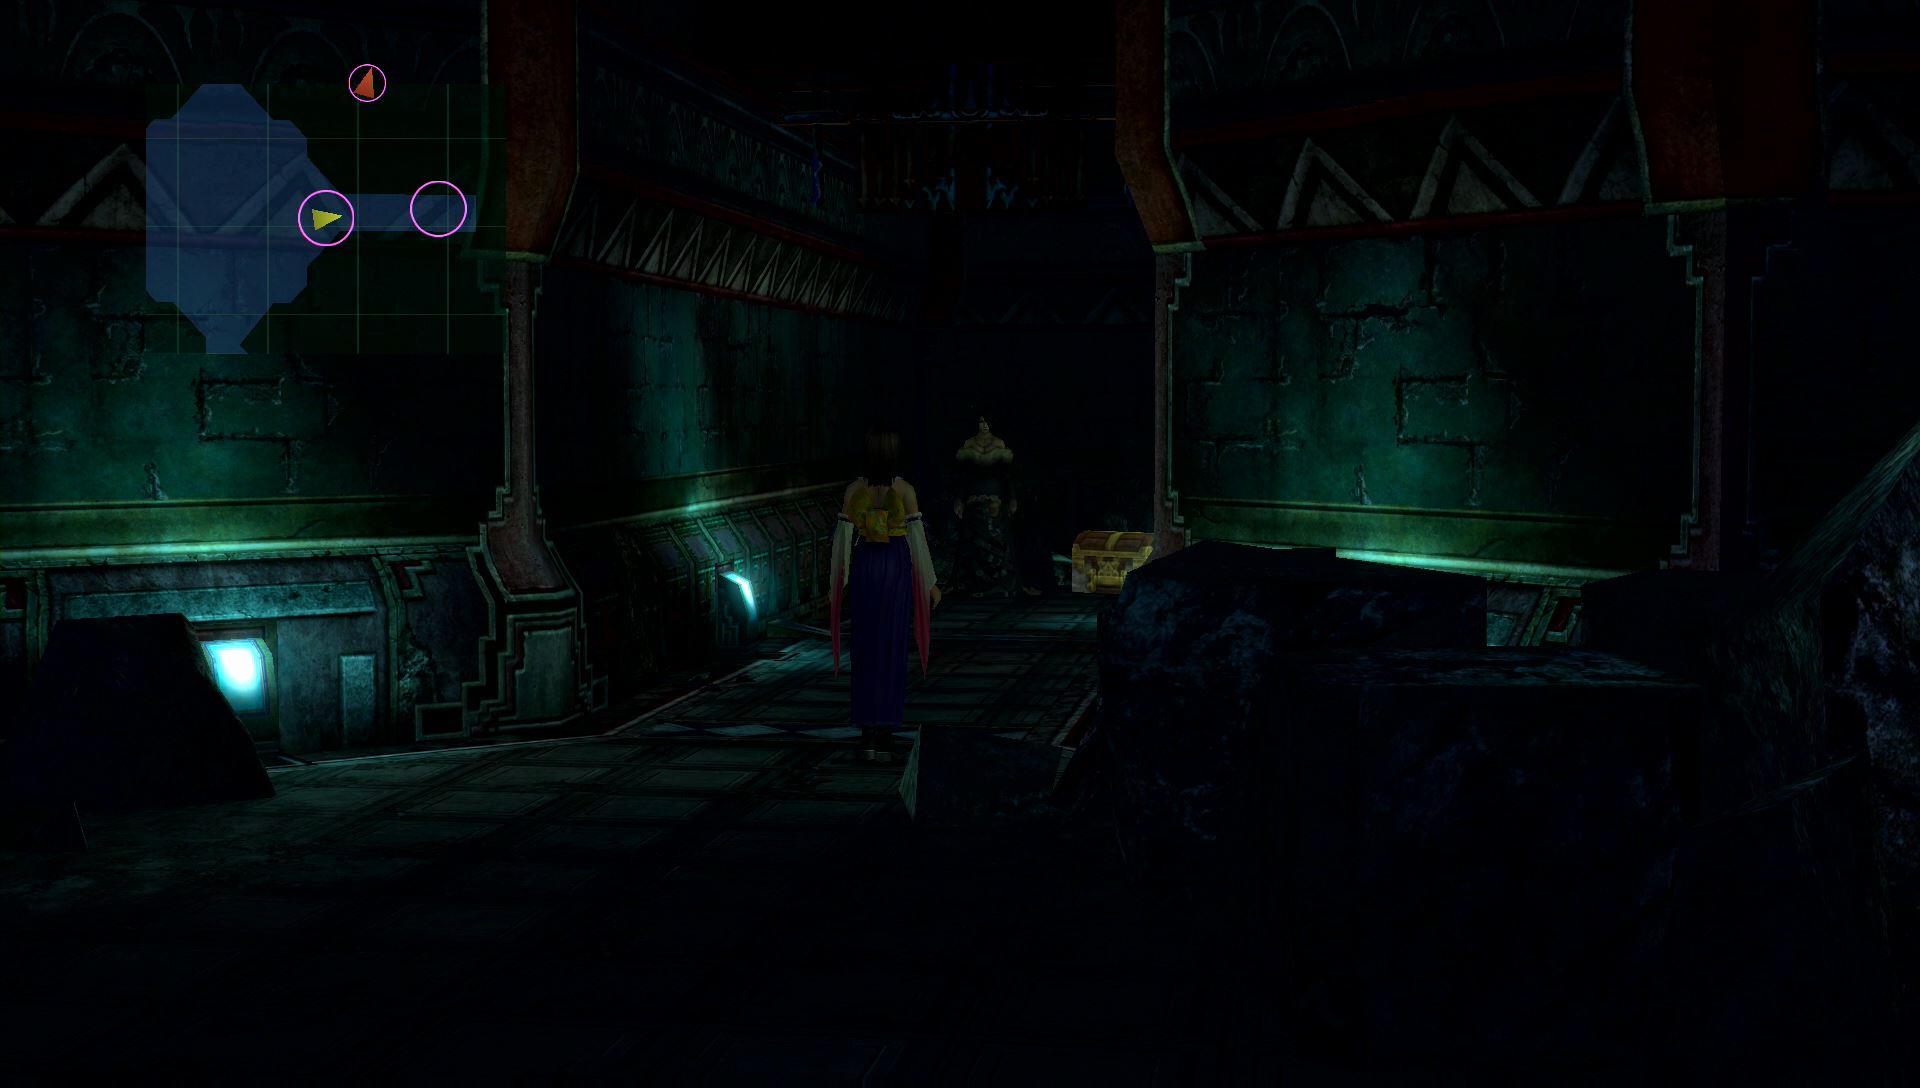
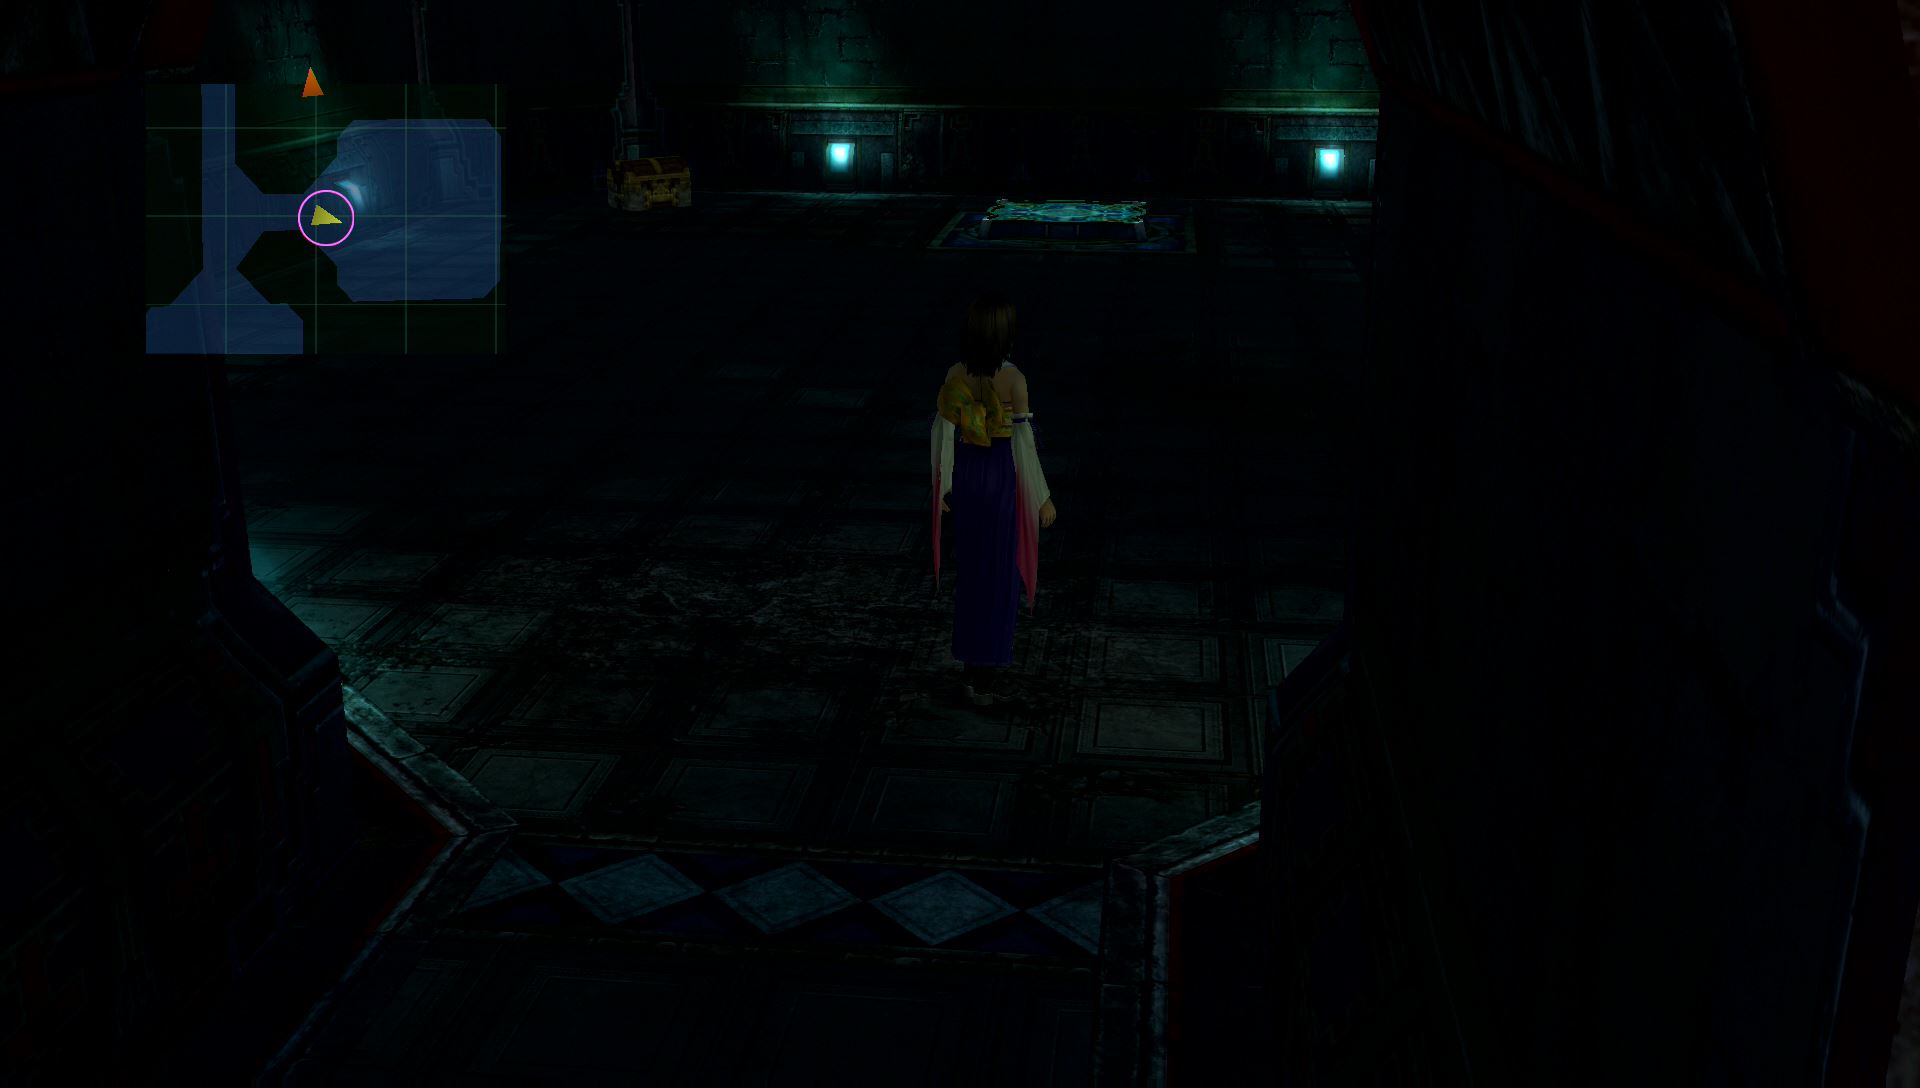
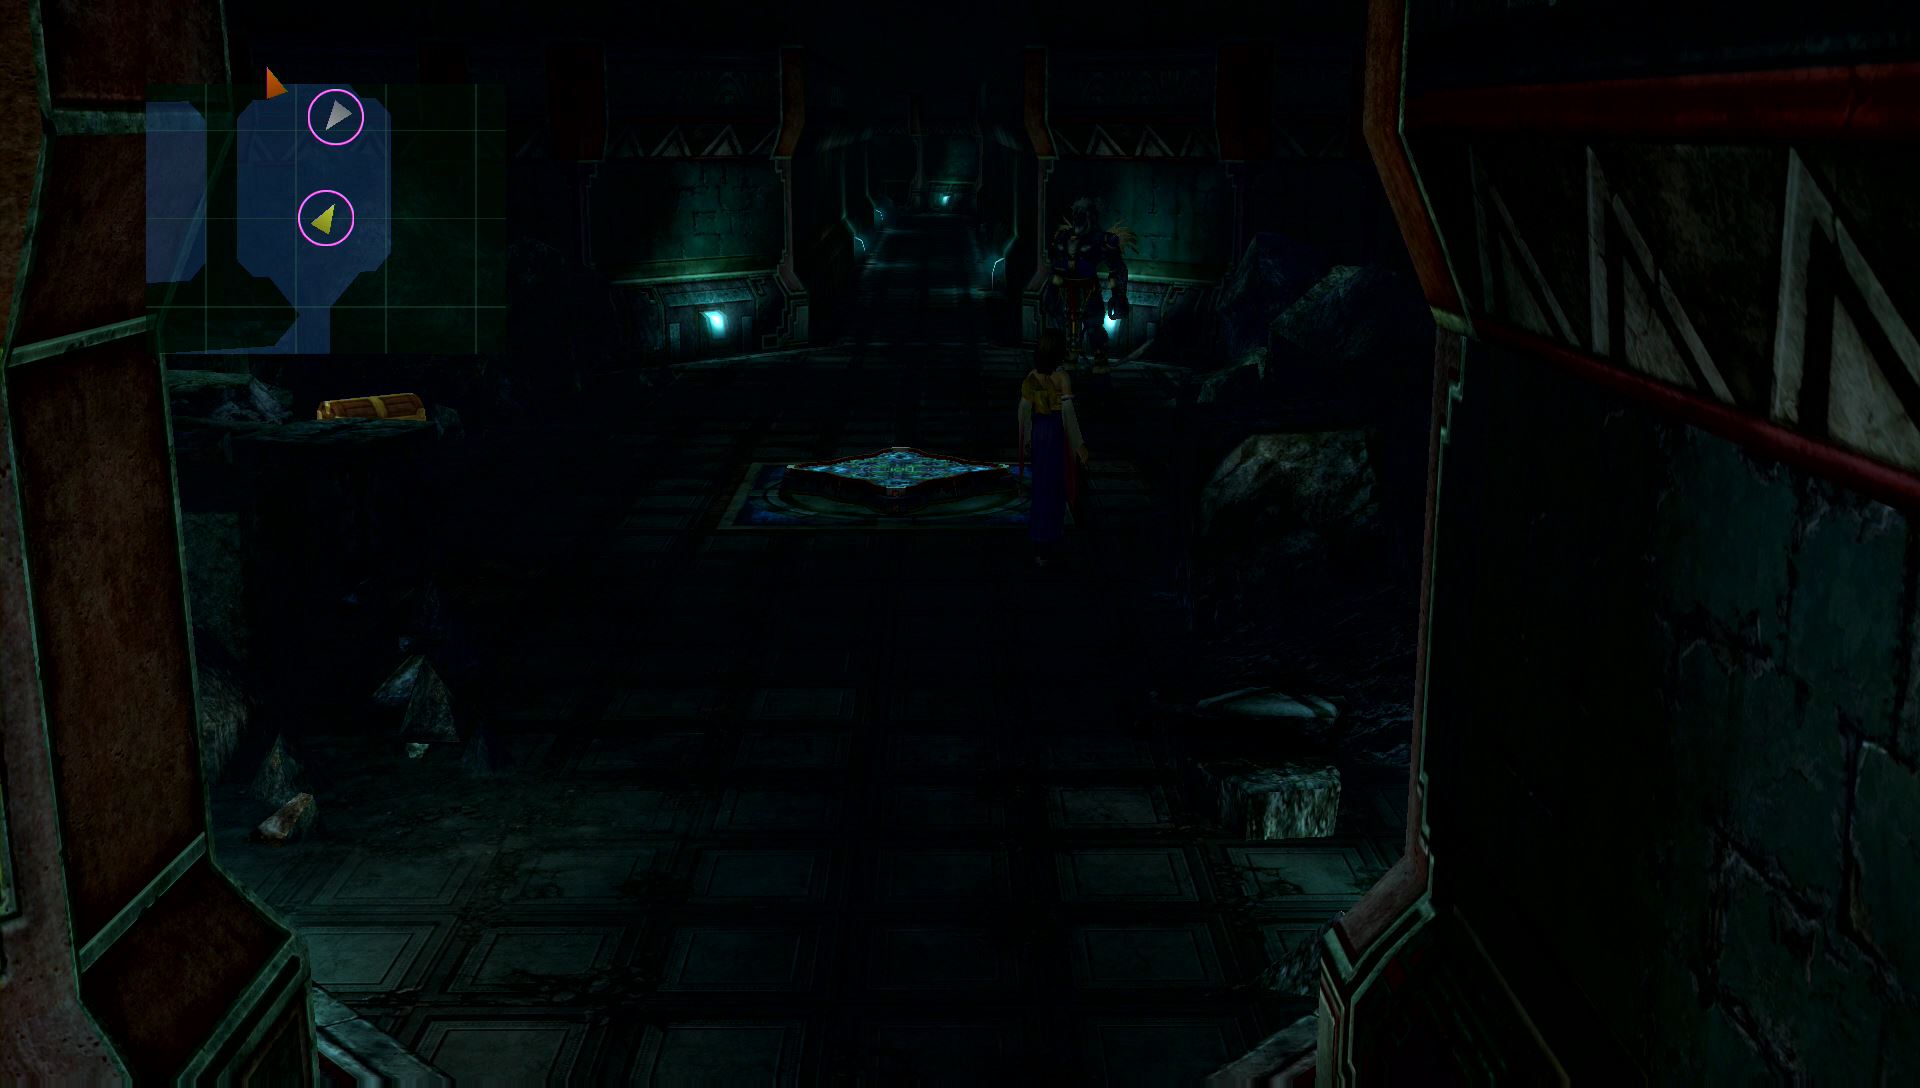
Priests’ Passage
After the events at the wedding, the party will go deep into the Bevelle Temple. When you reach the Priests’ Passage after discovering the two machina, you can find the Al Bhed Primer vol. XXII on the floor. Save at the sphere and enter the cloister of trials.
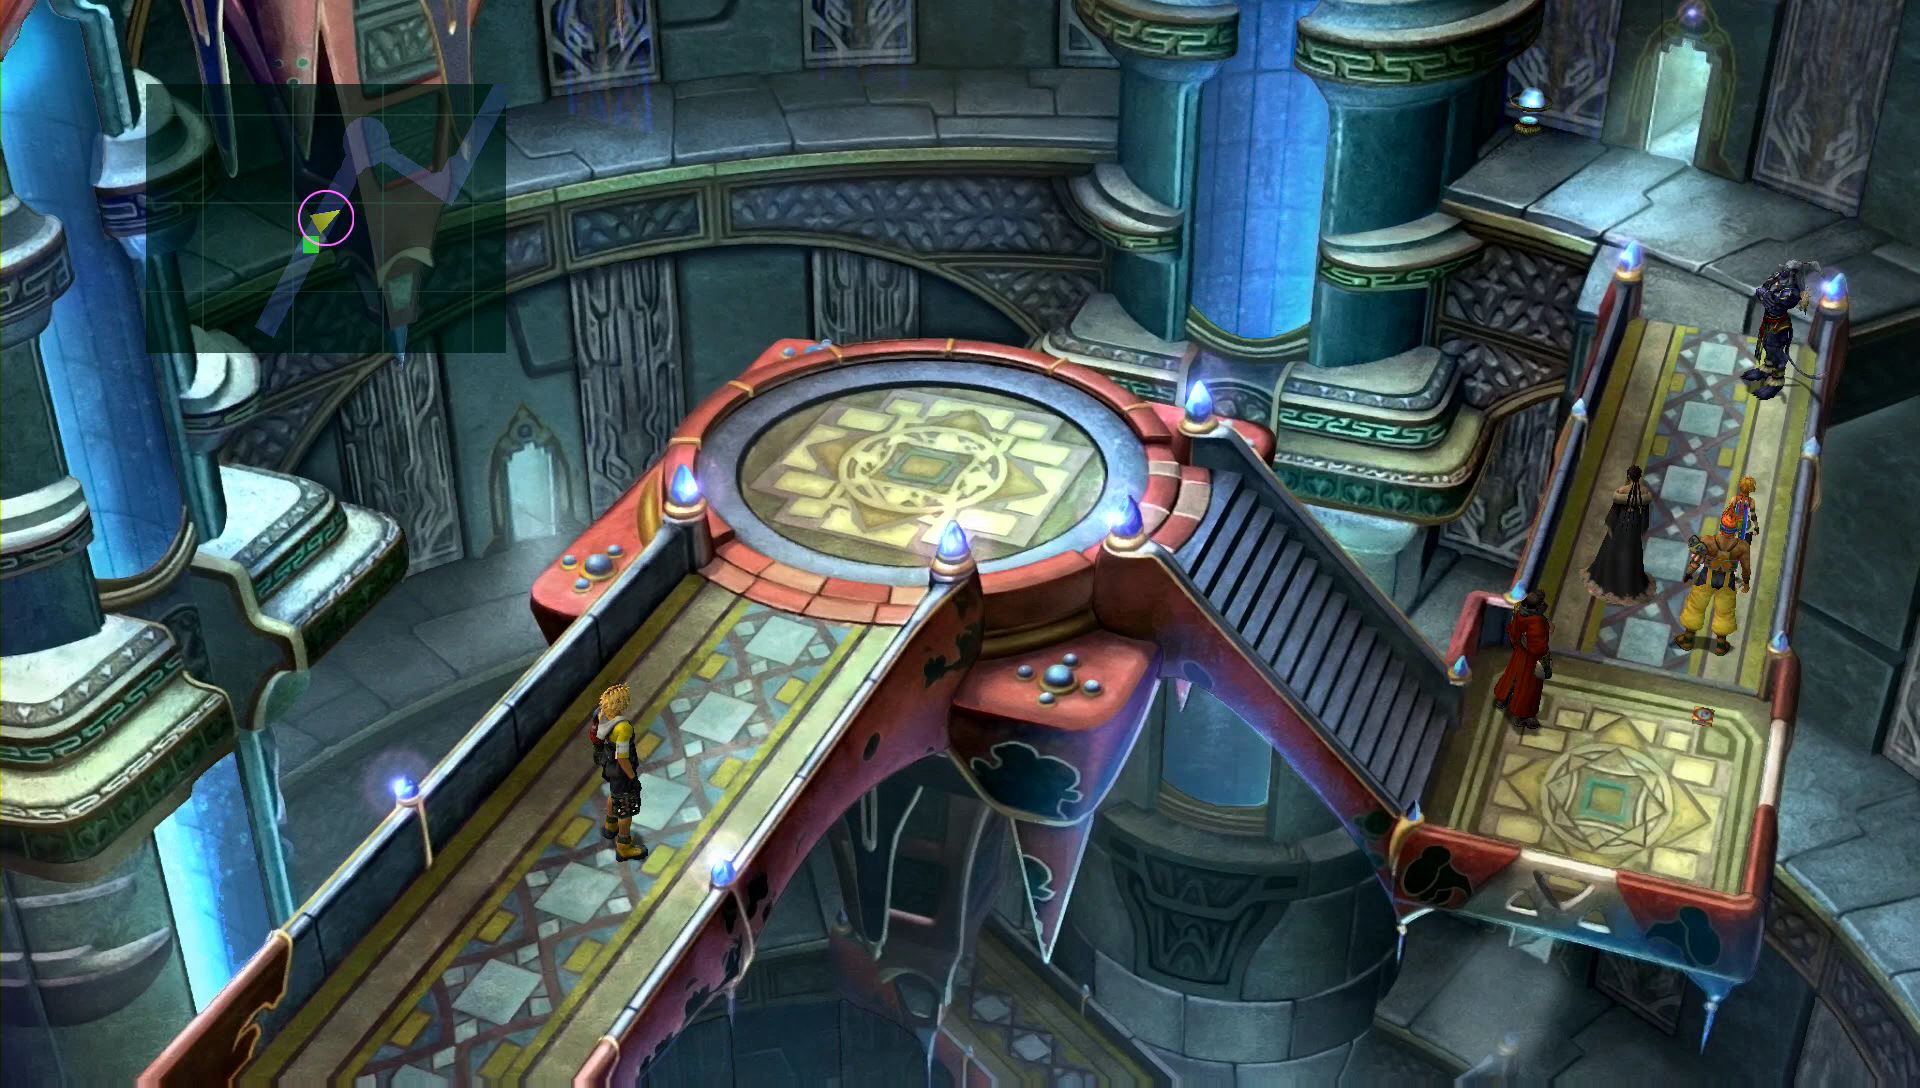
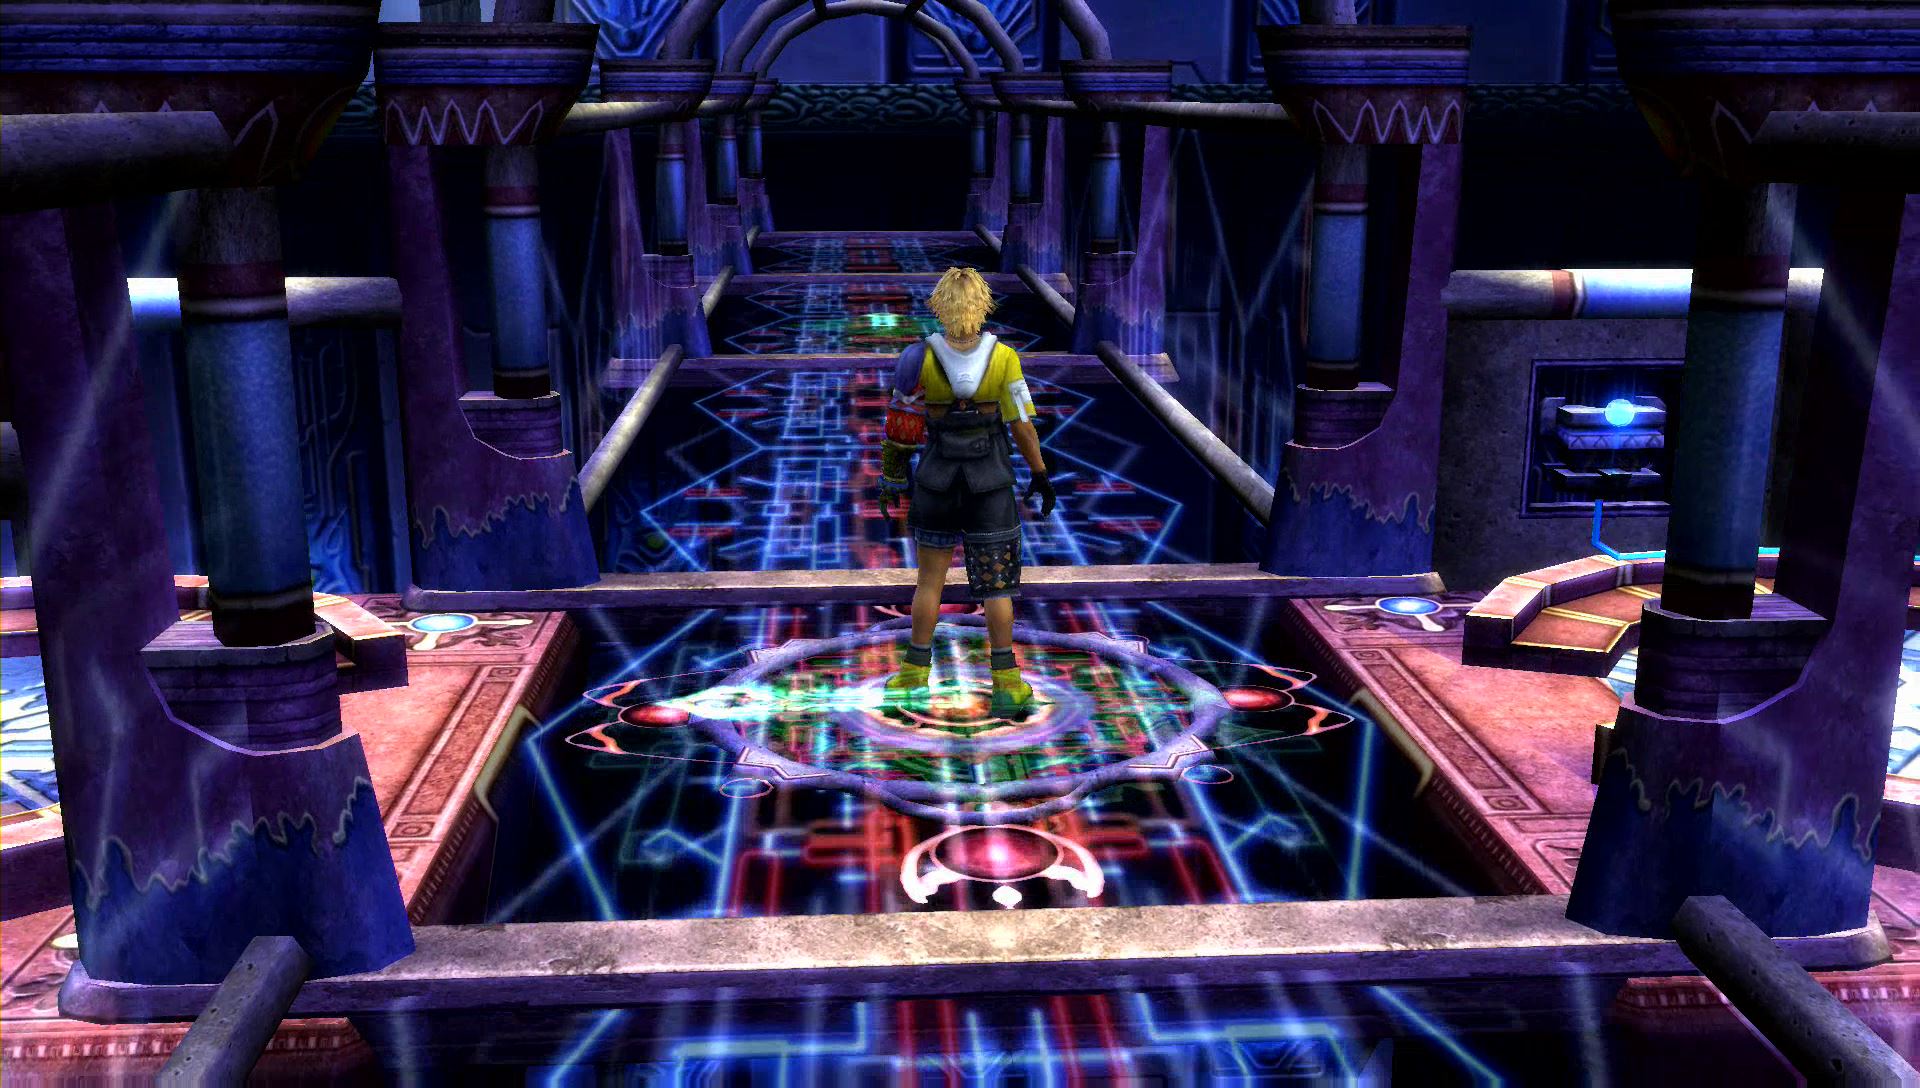
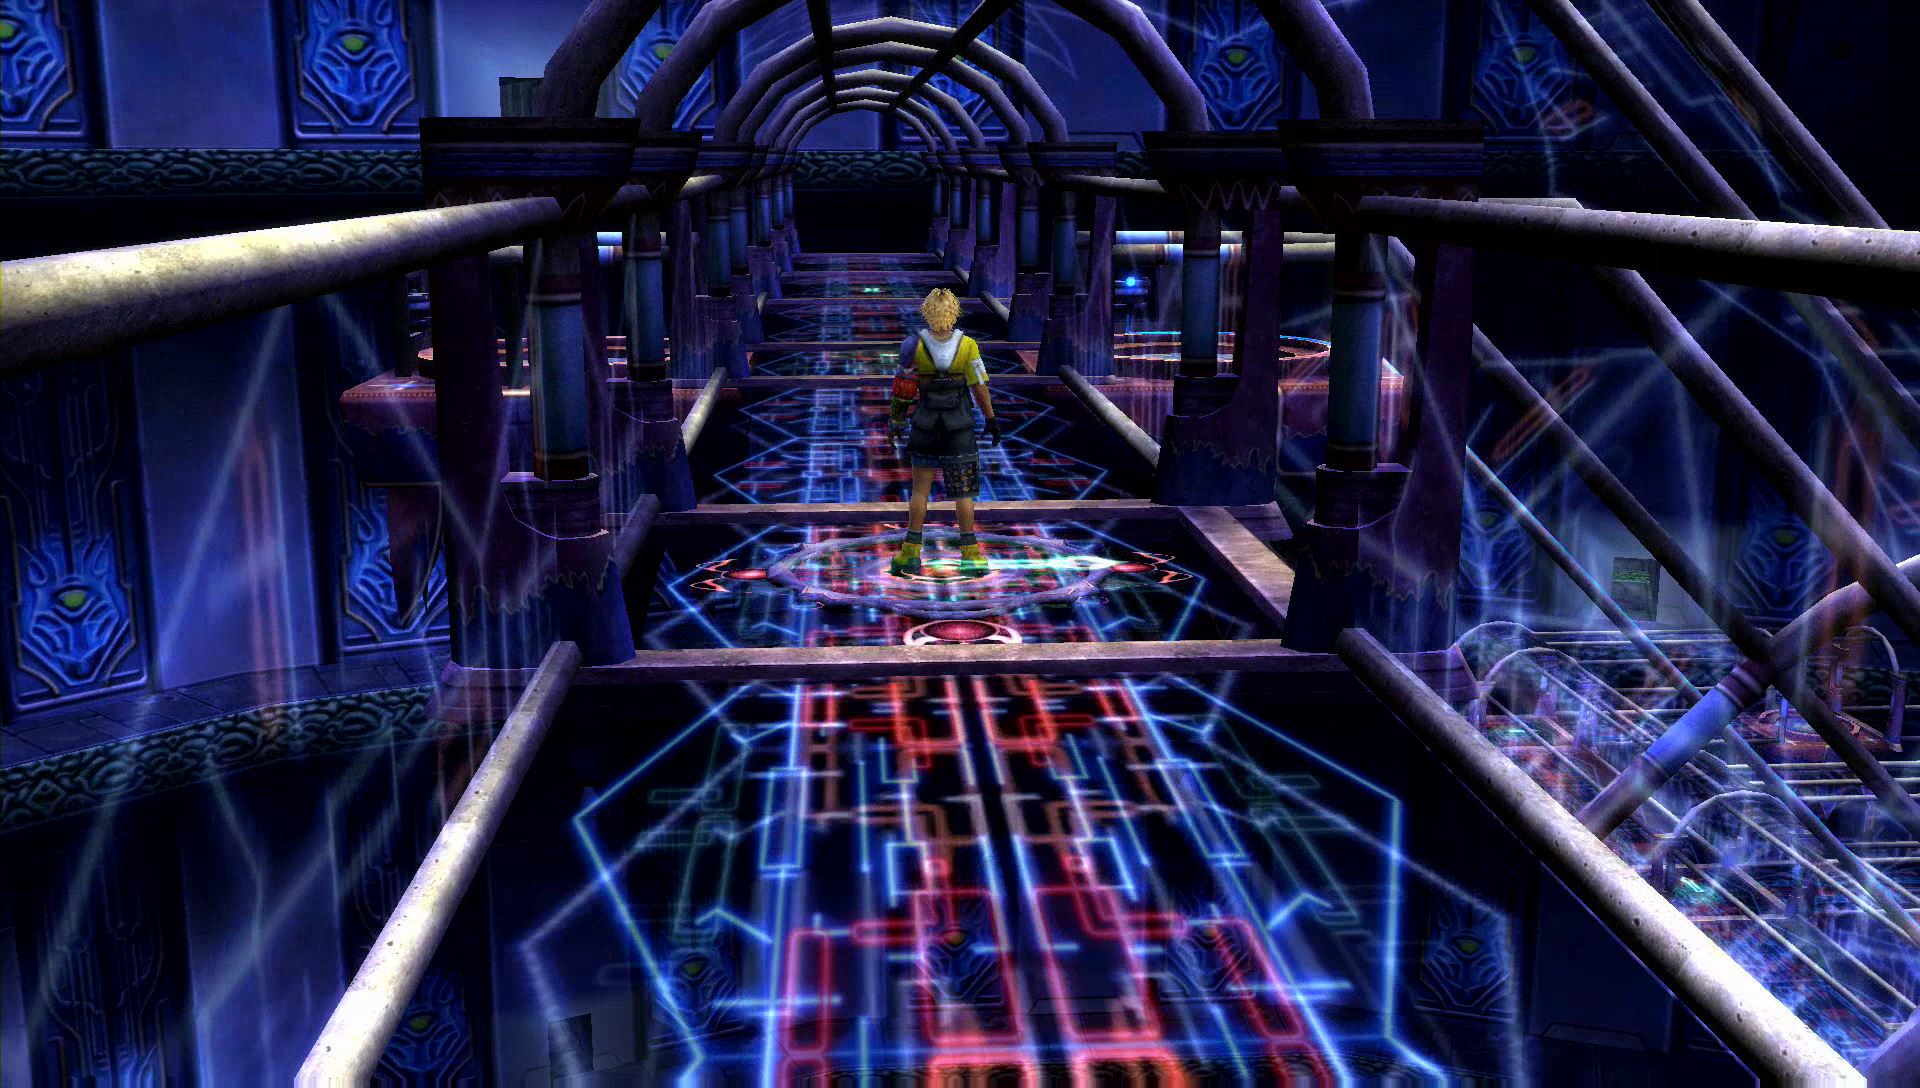
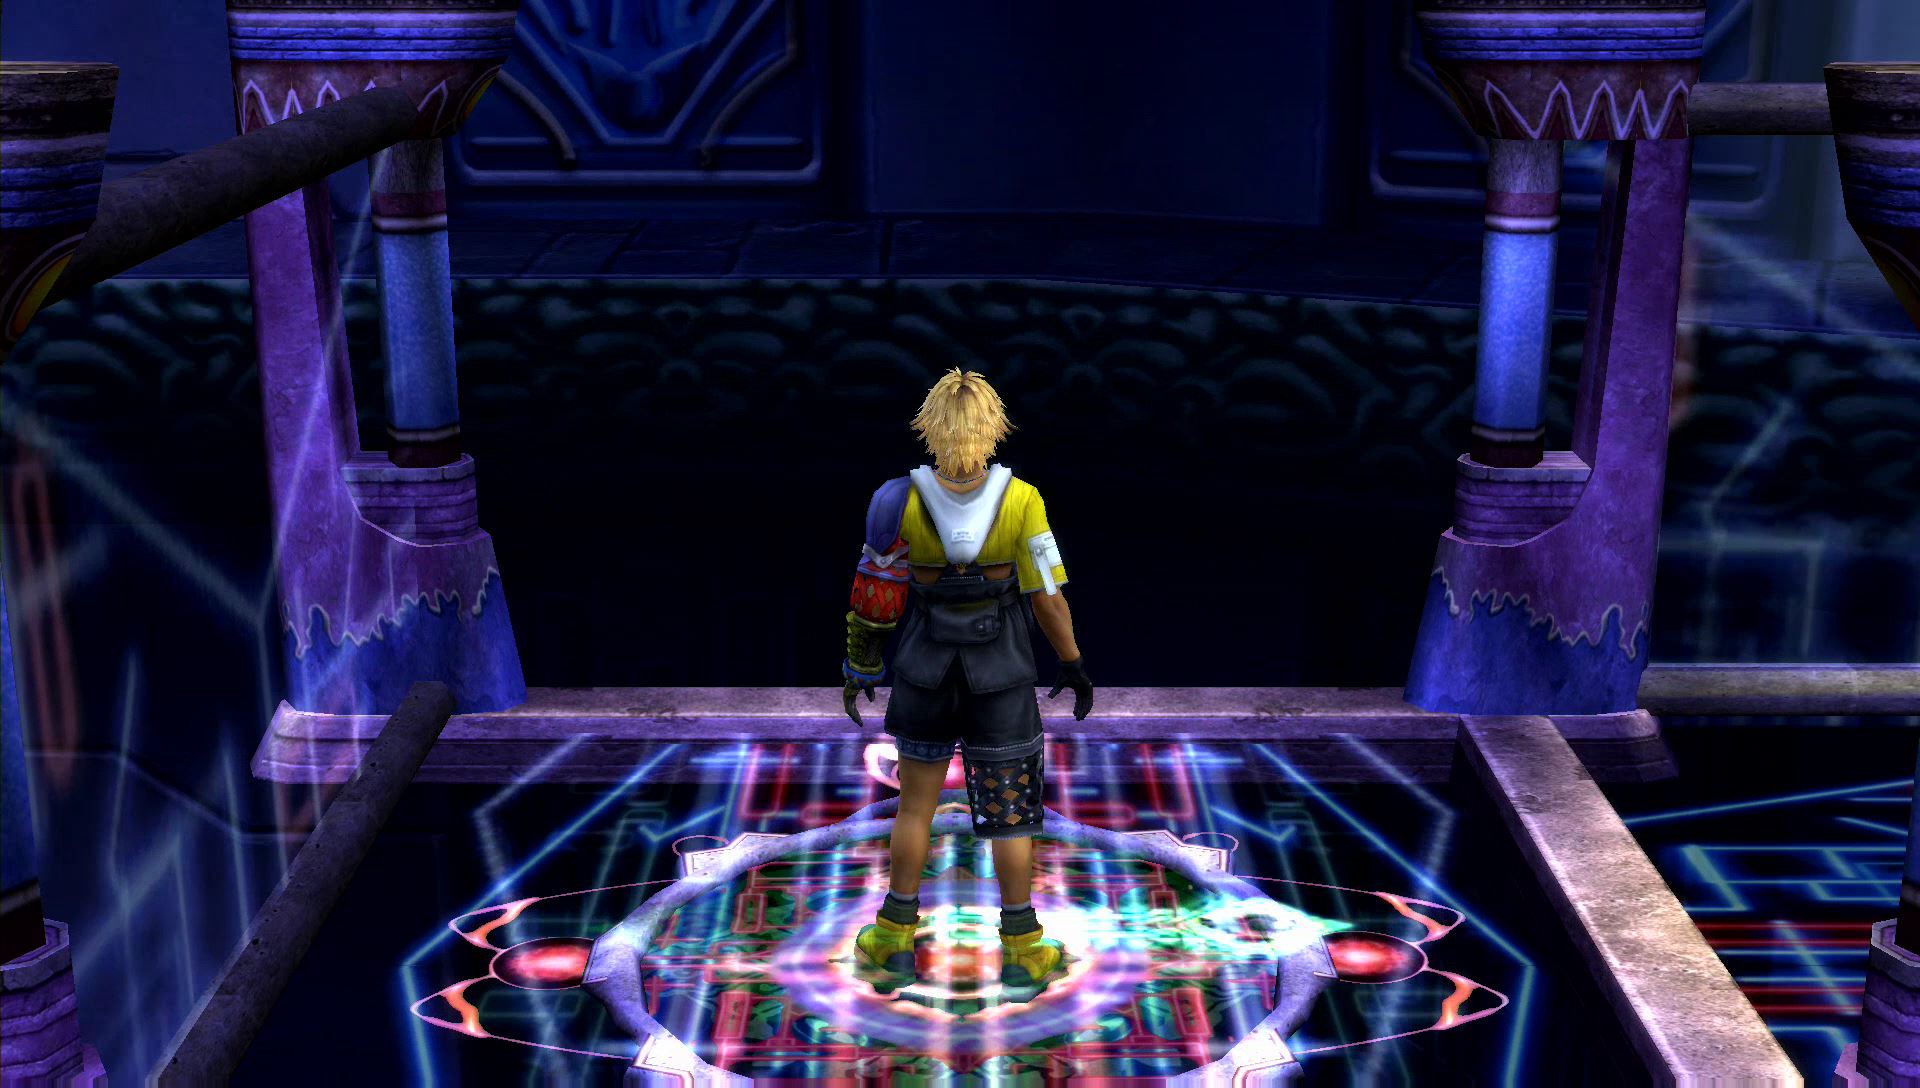
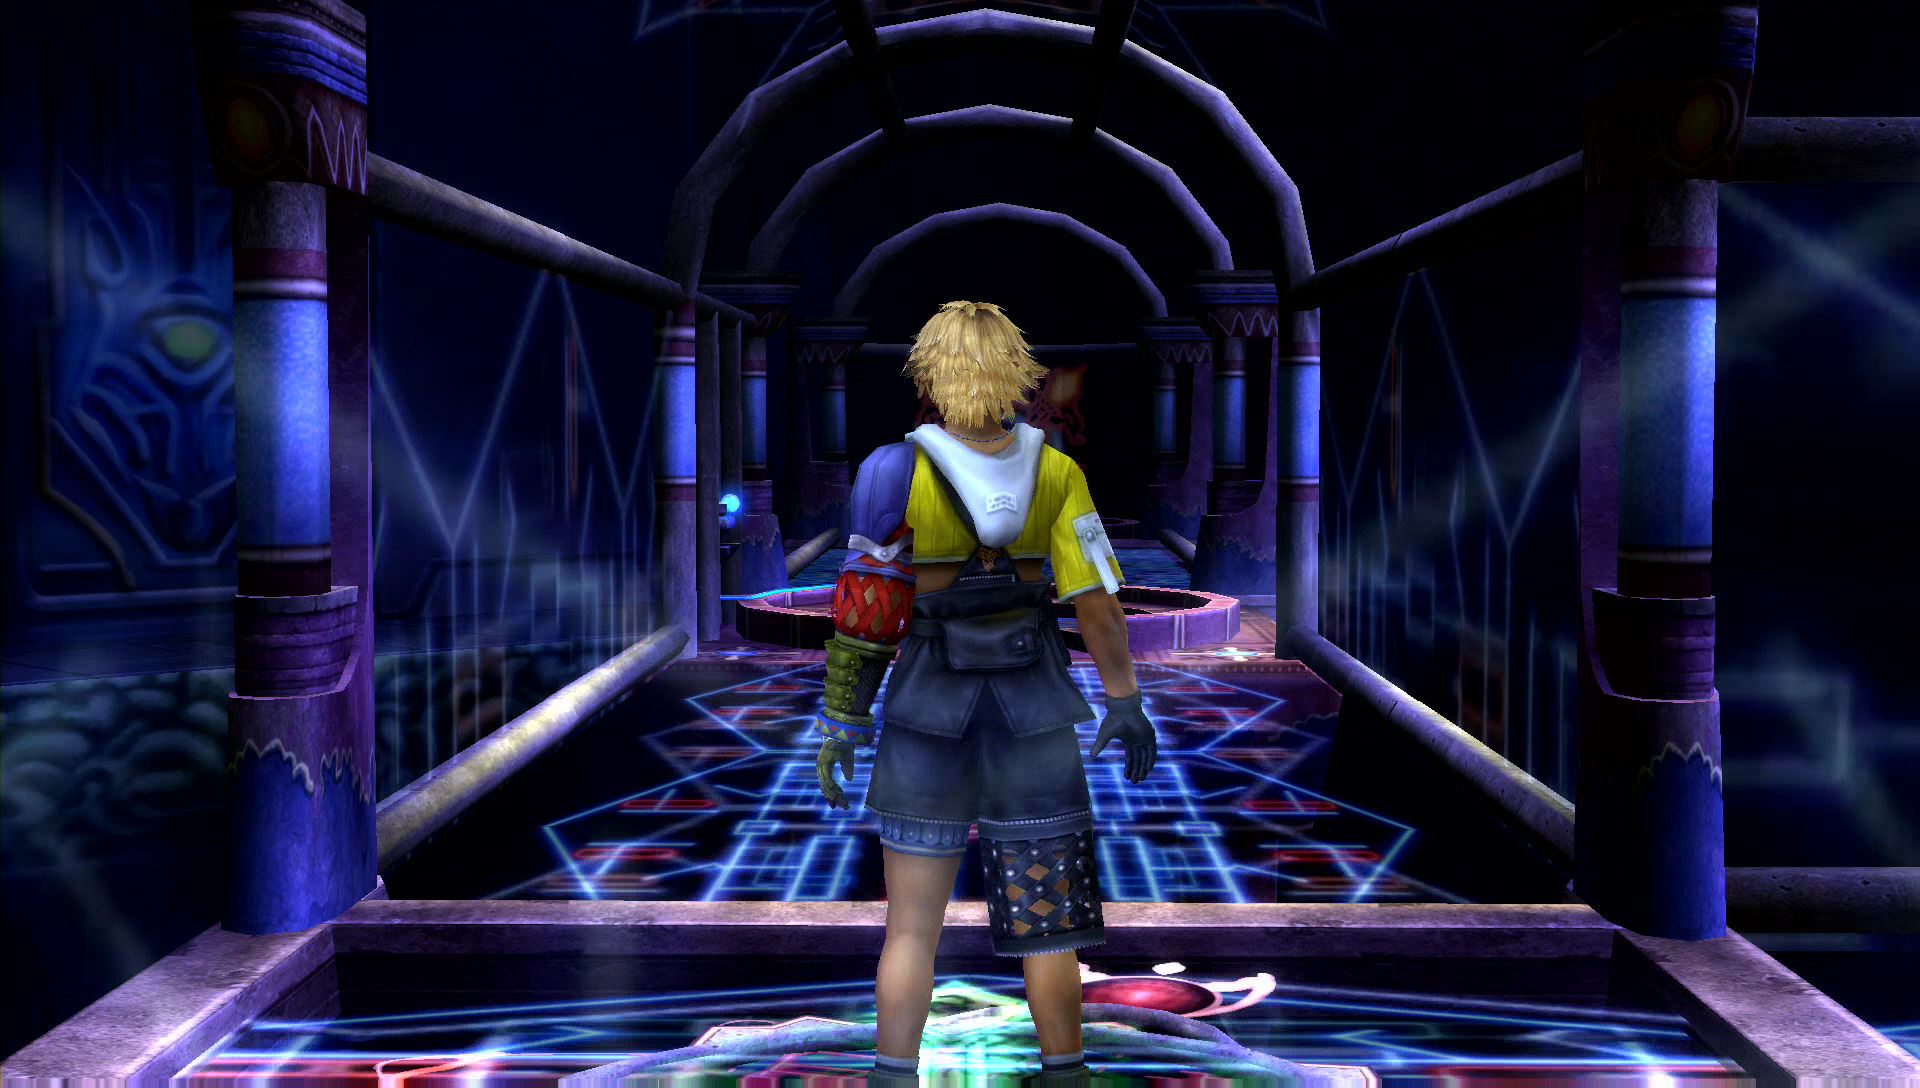
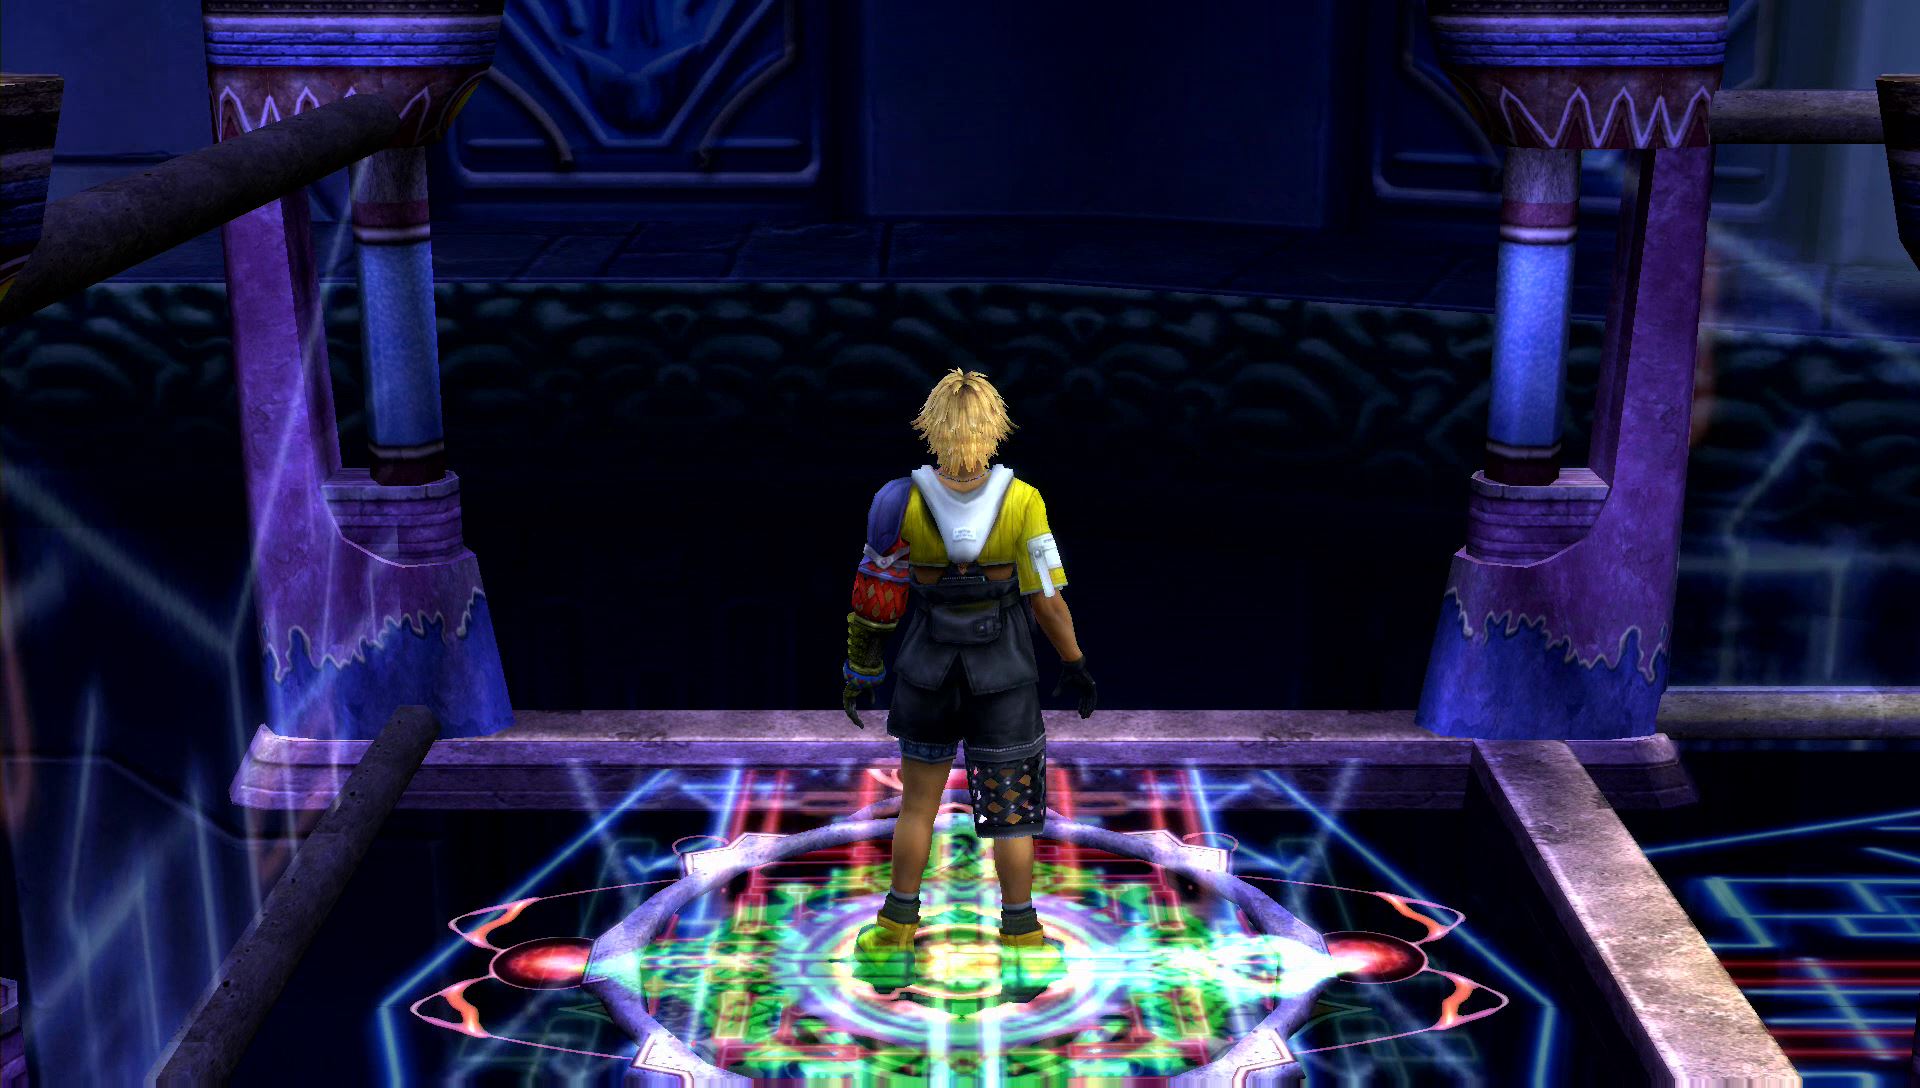
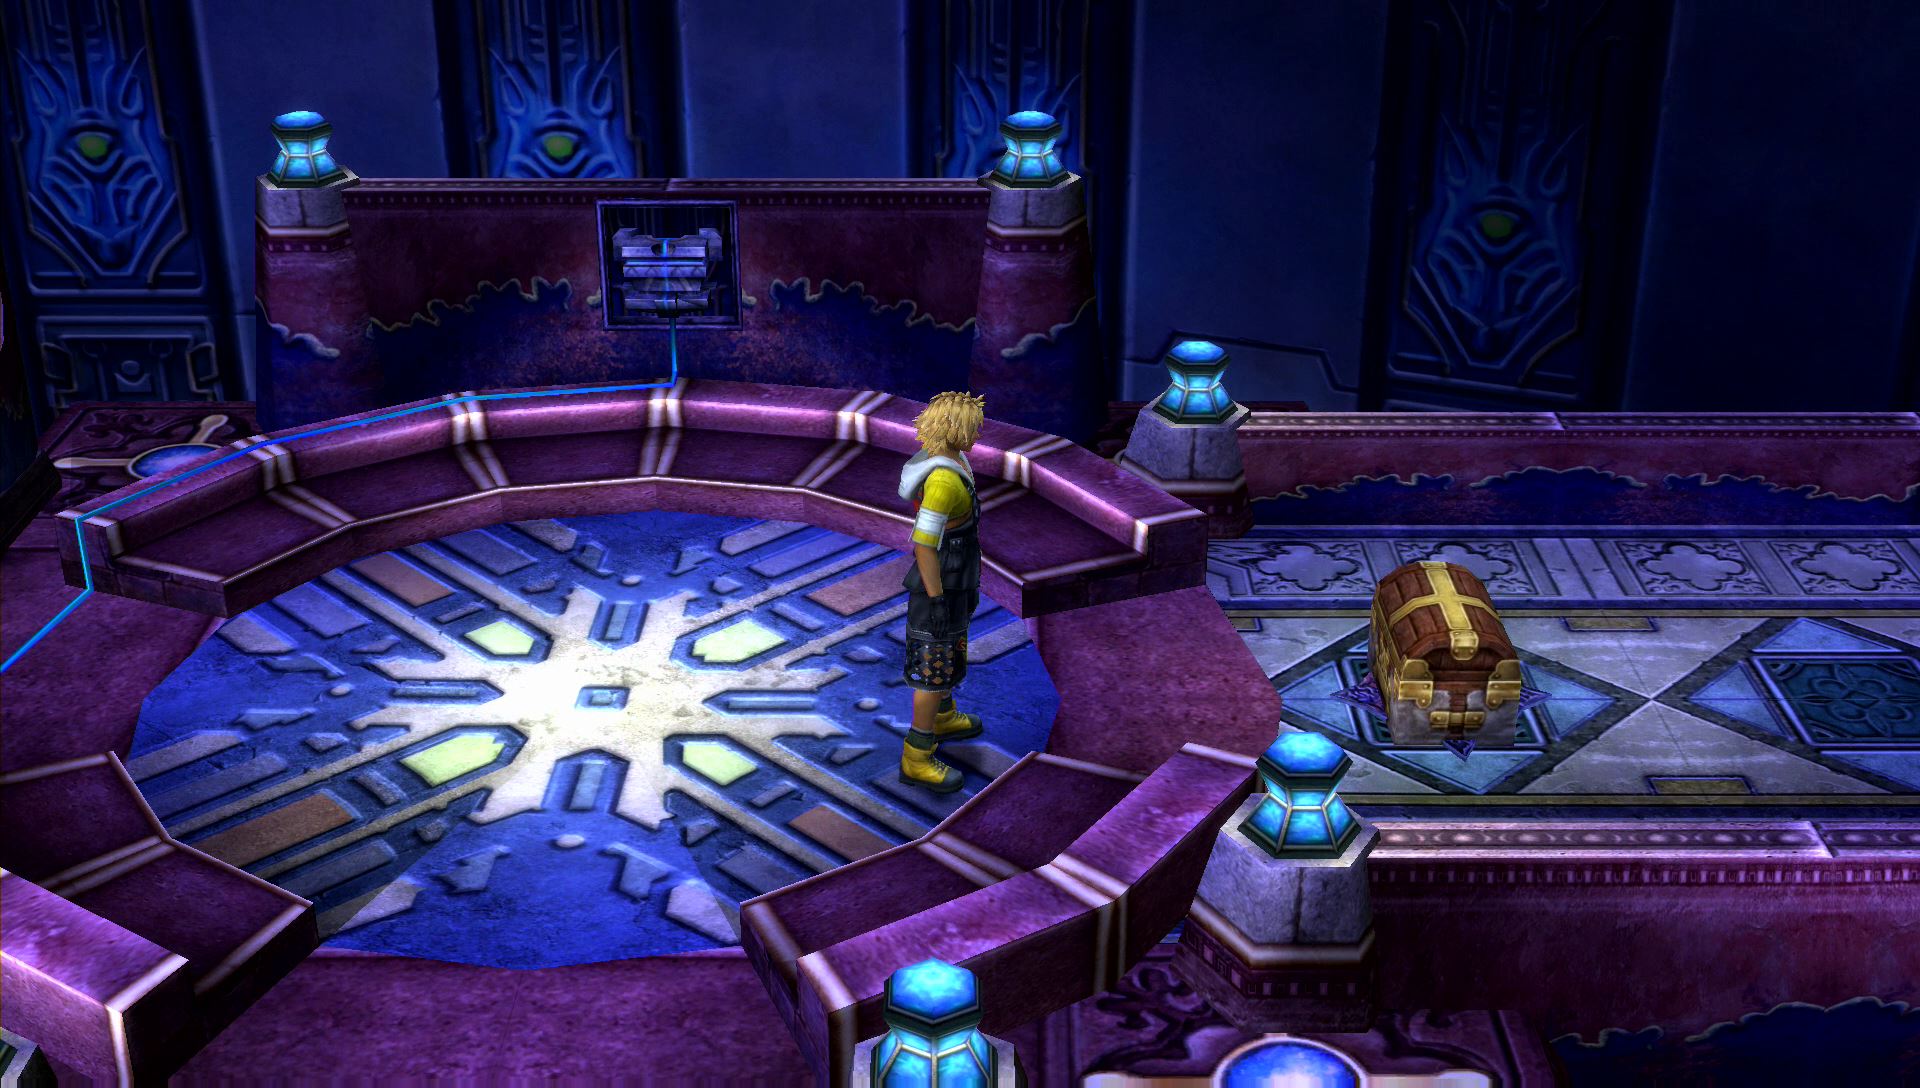
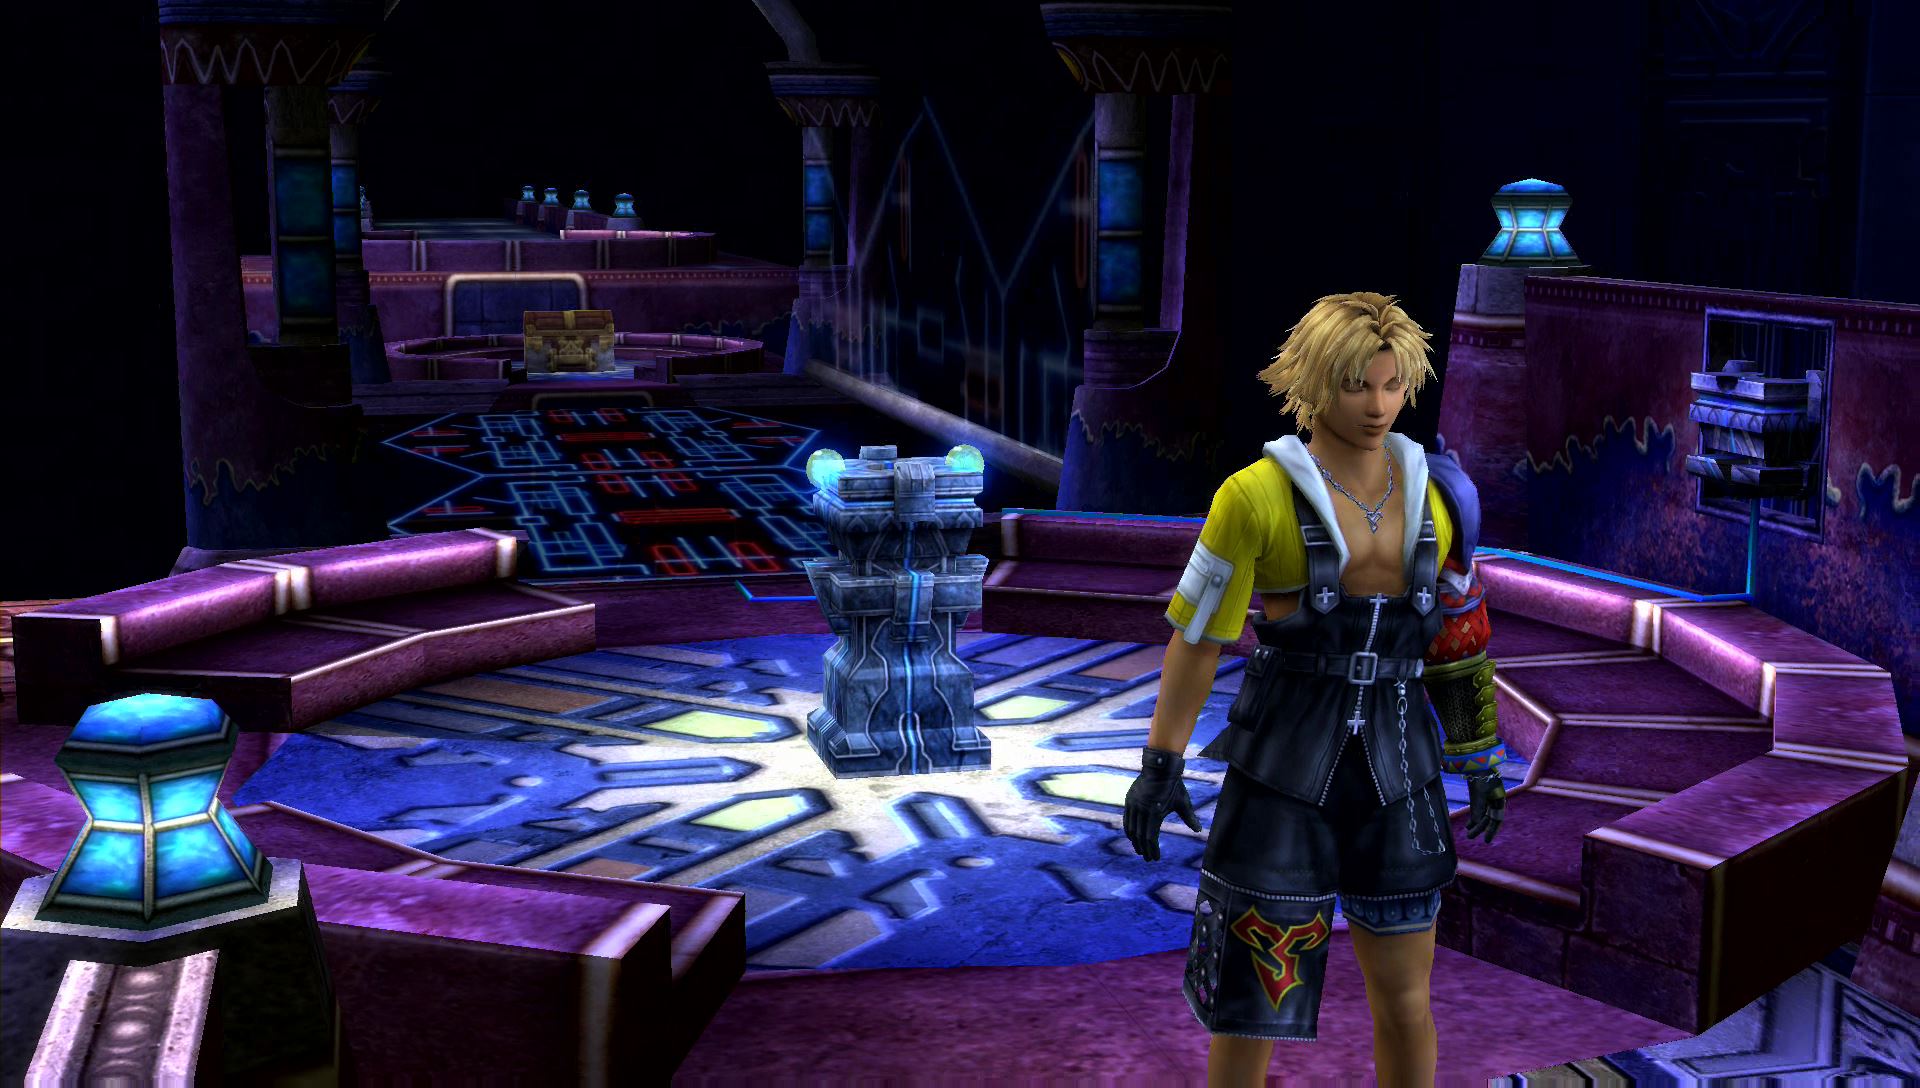
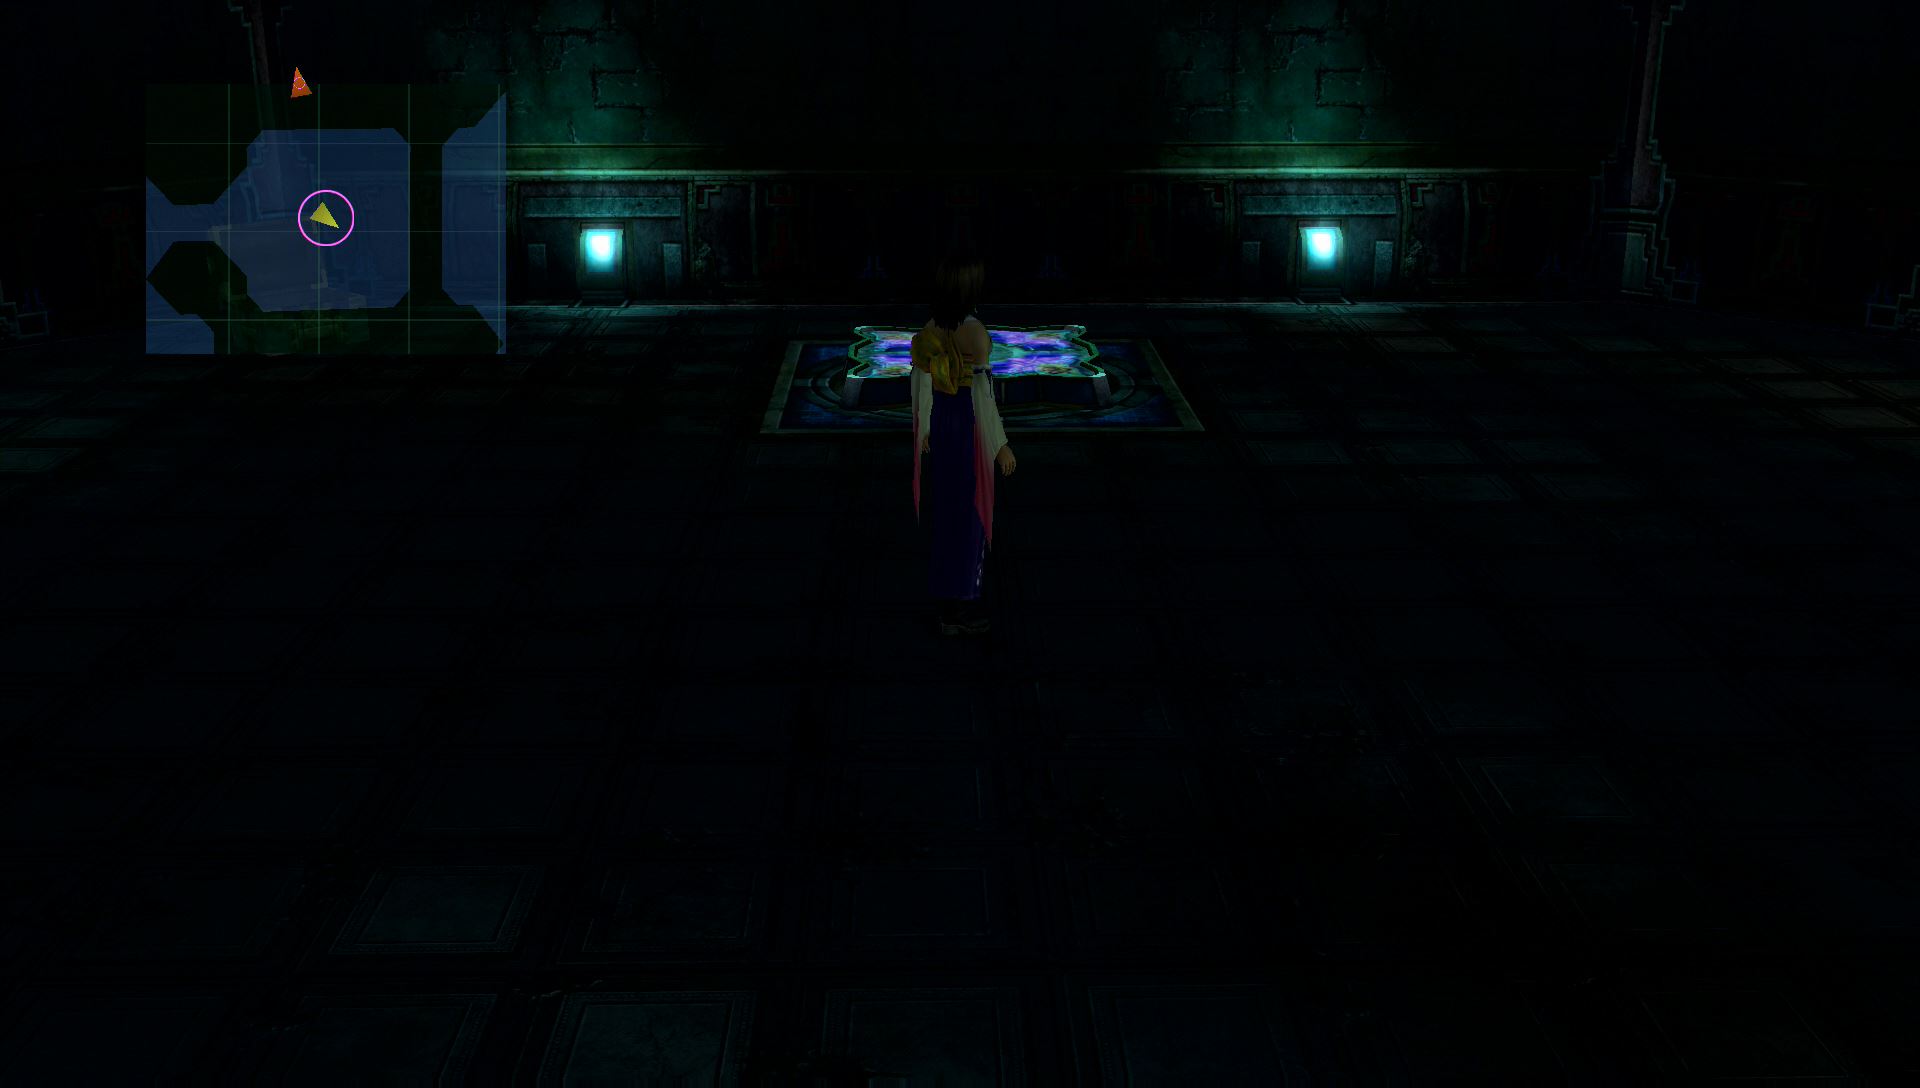
Cloister of Trials
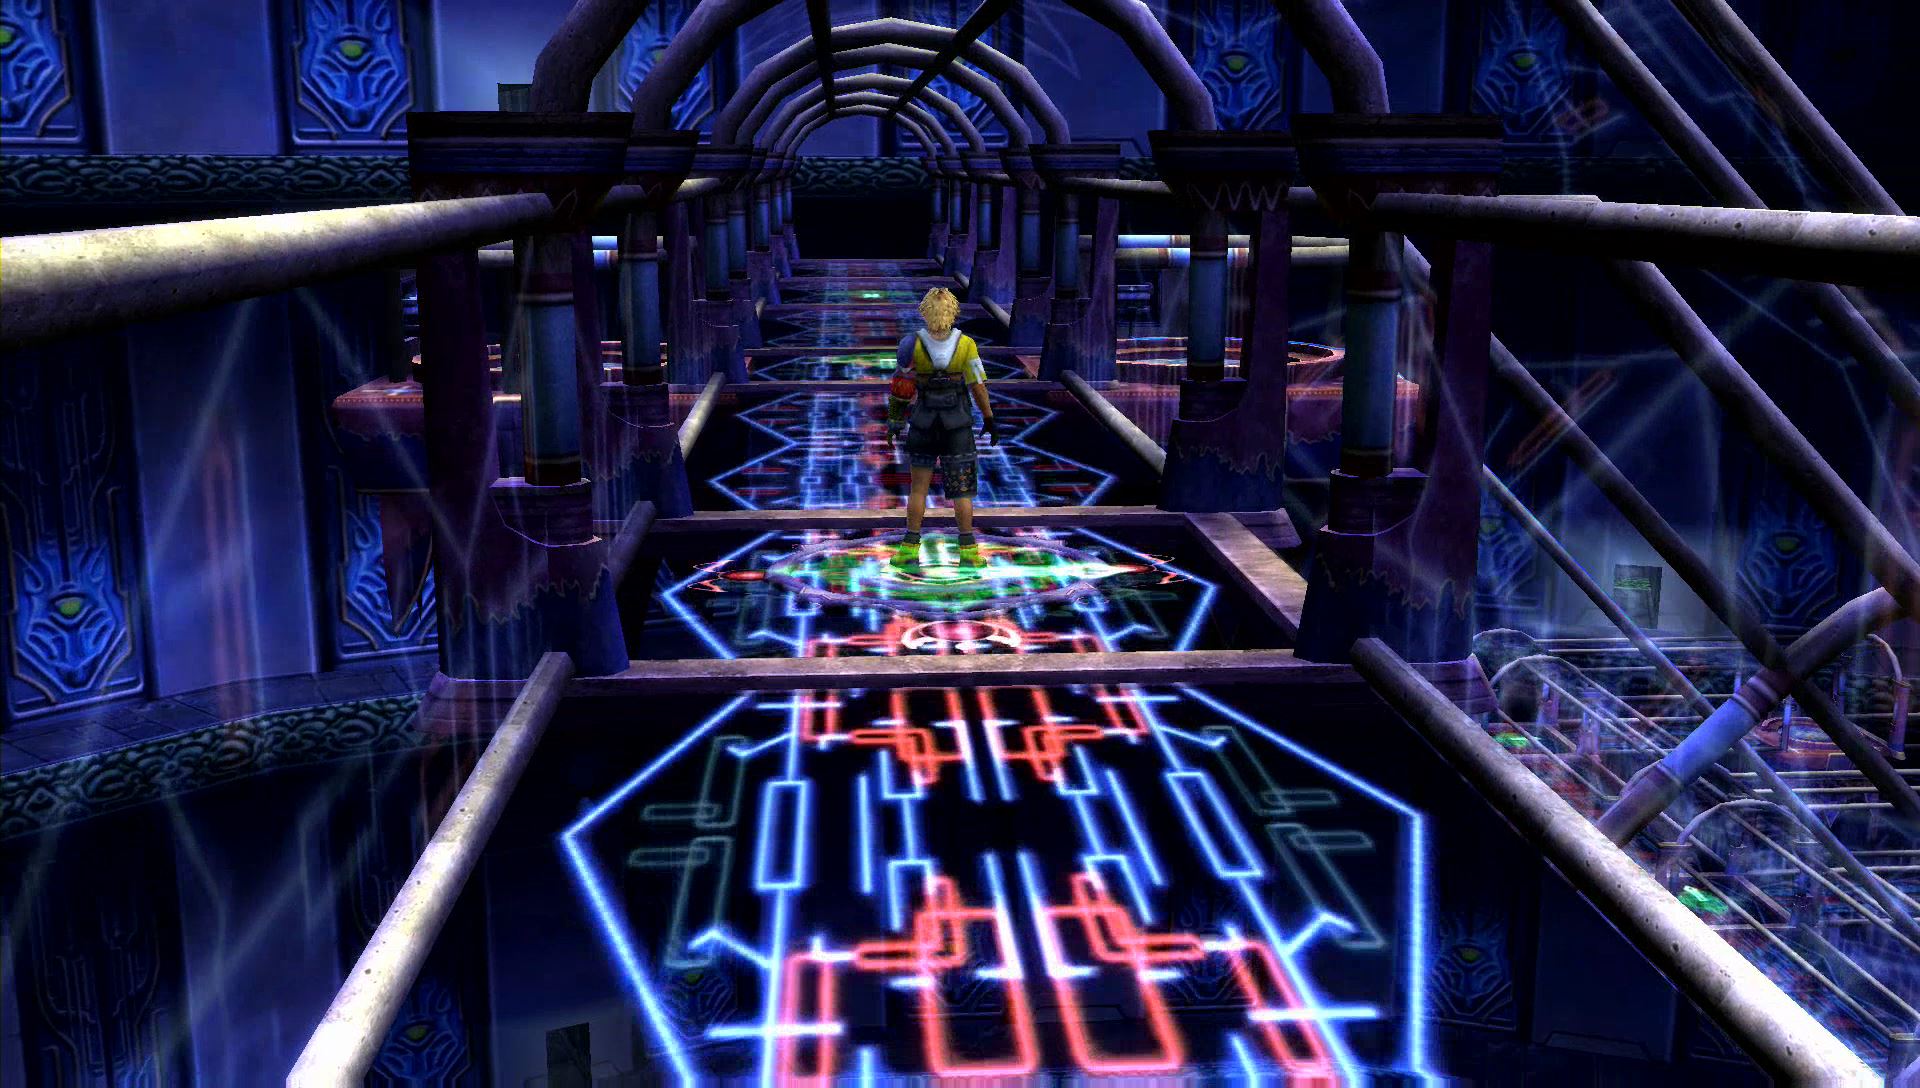
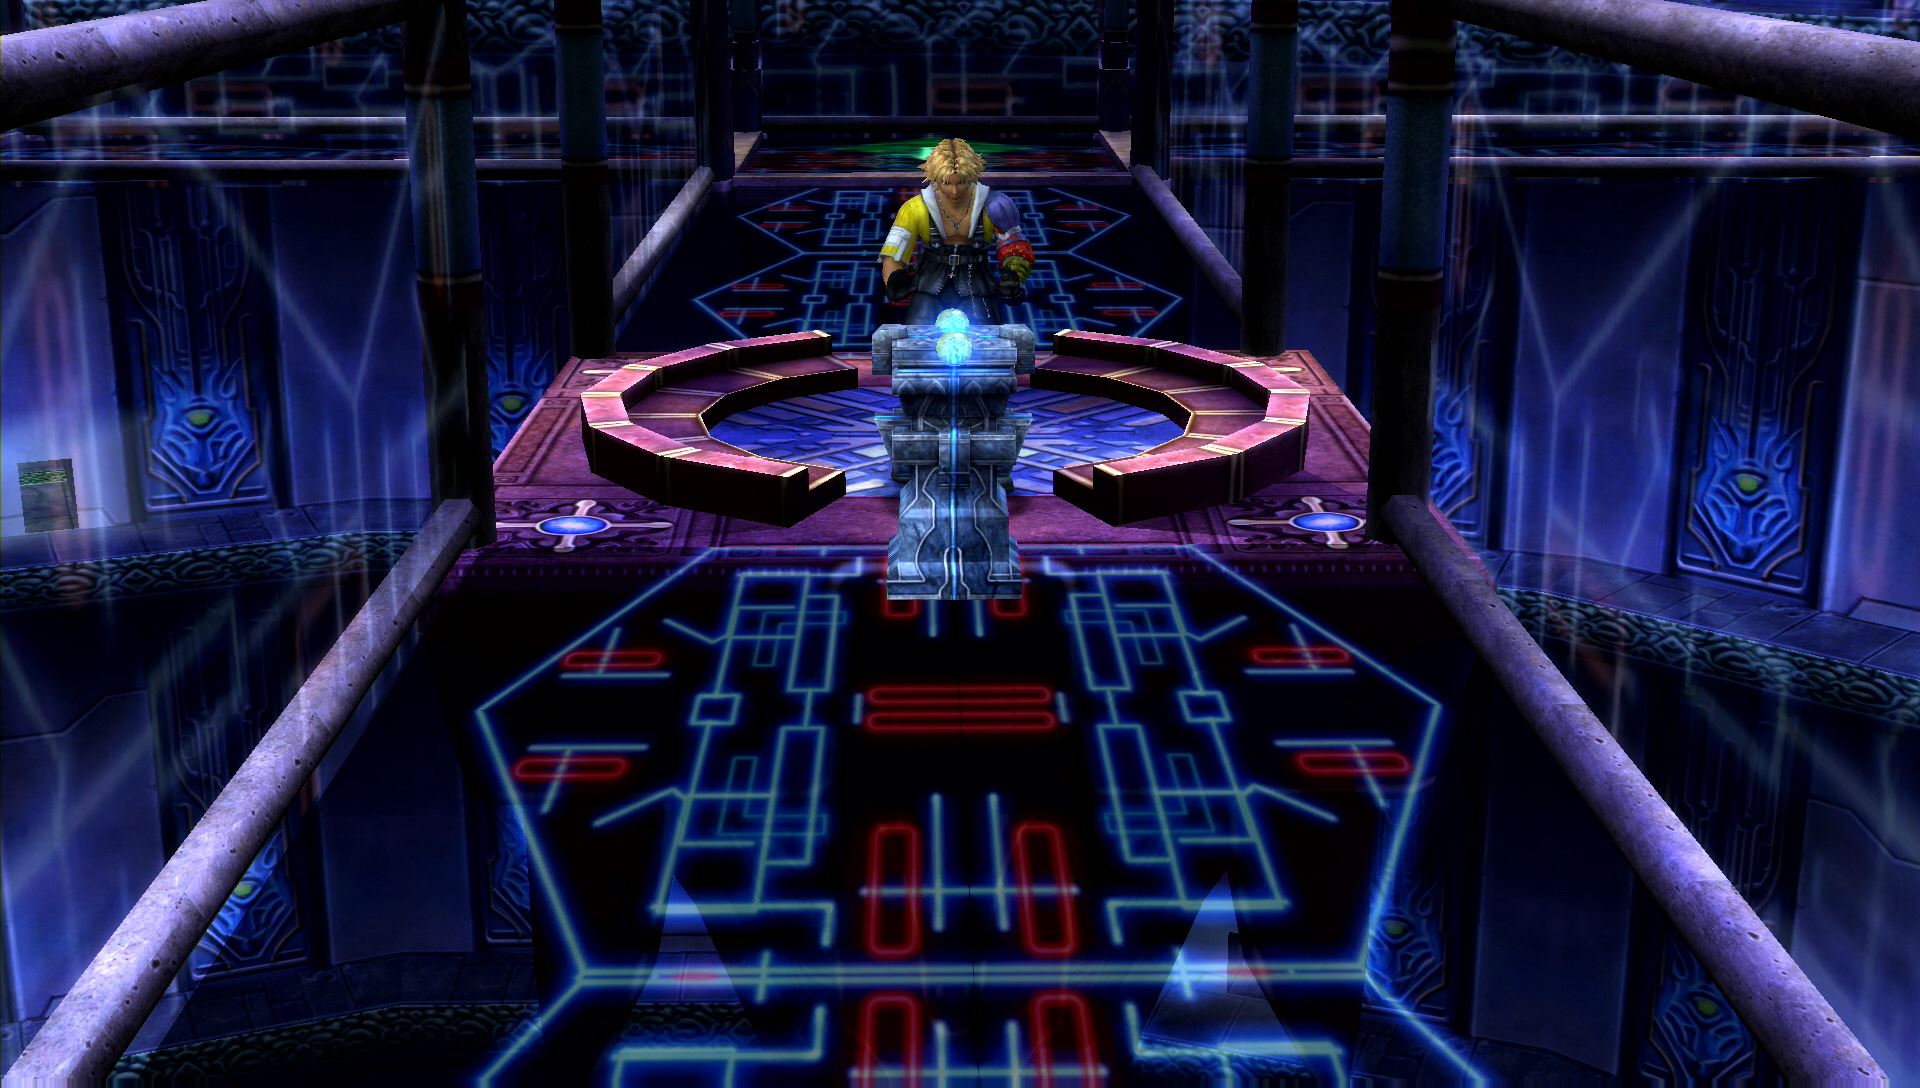
To start the trials, push the pedestal with the sphere forward. This will allow you to go deeper into the trials.

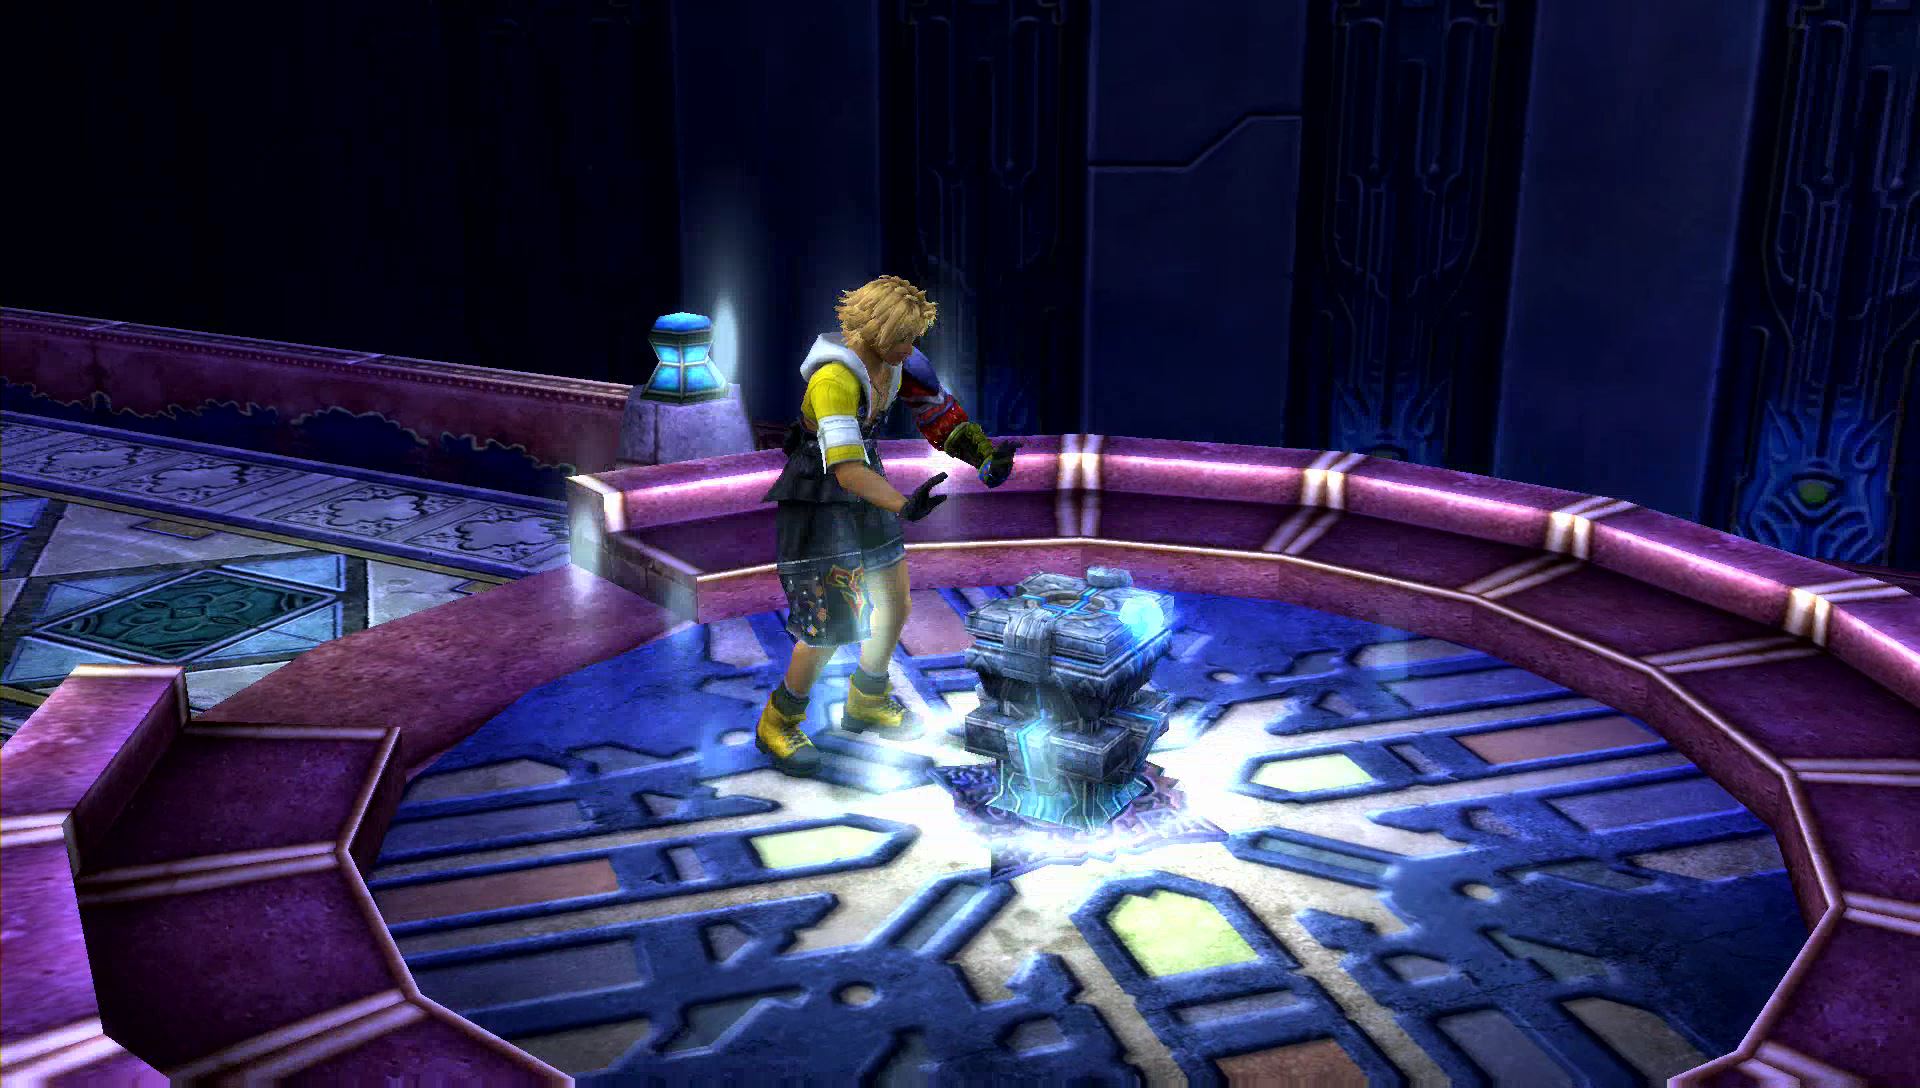
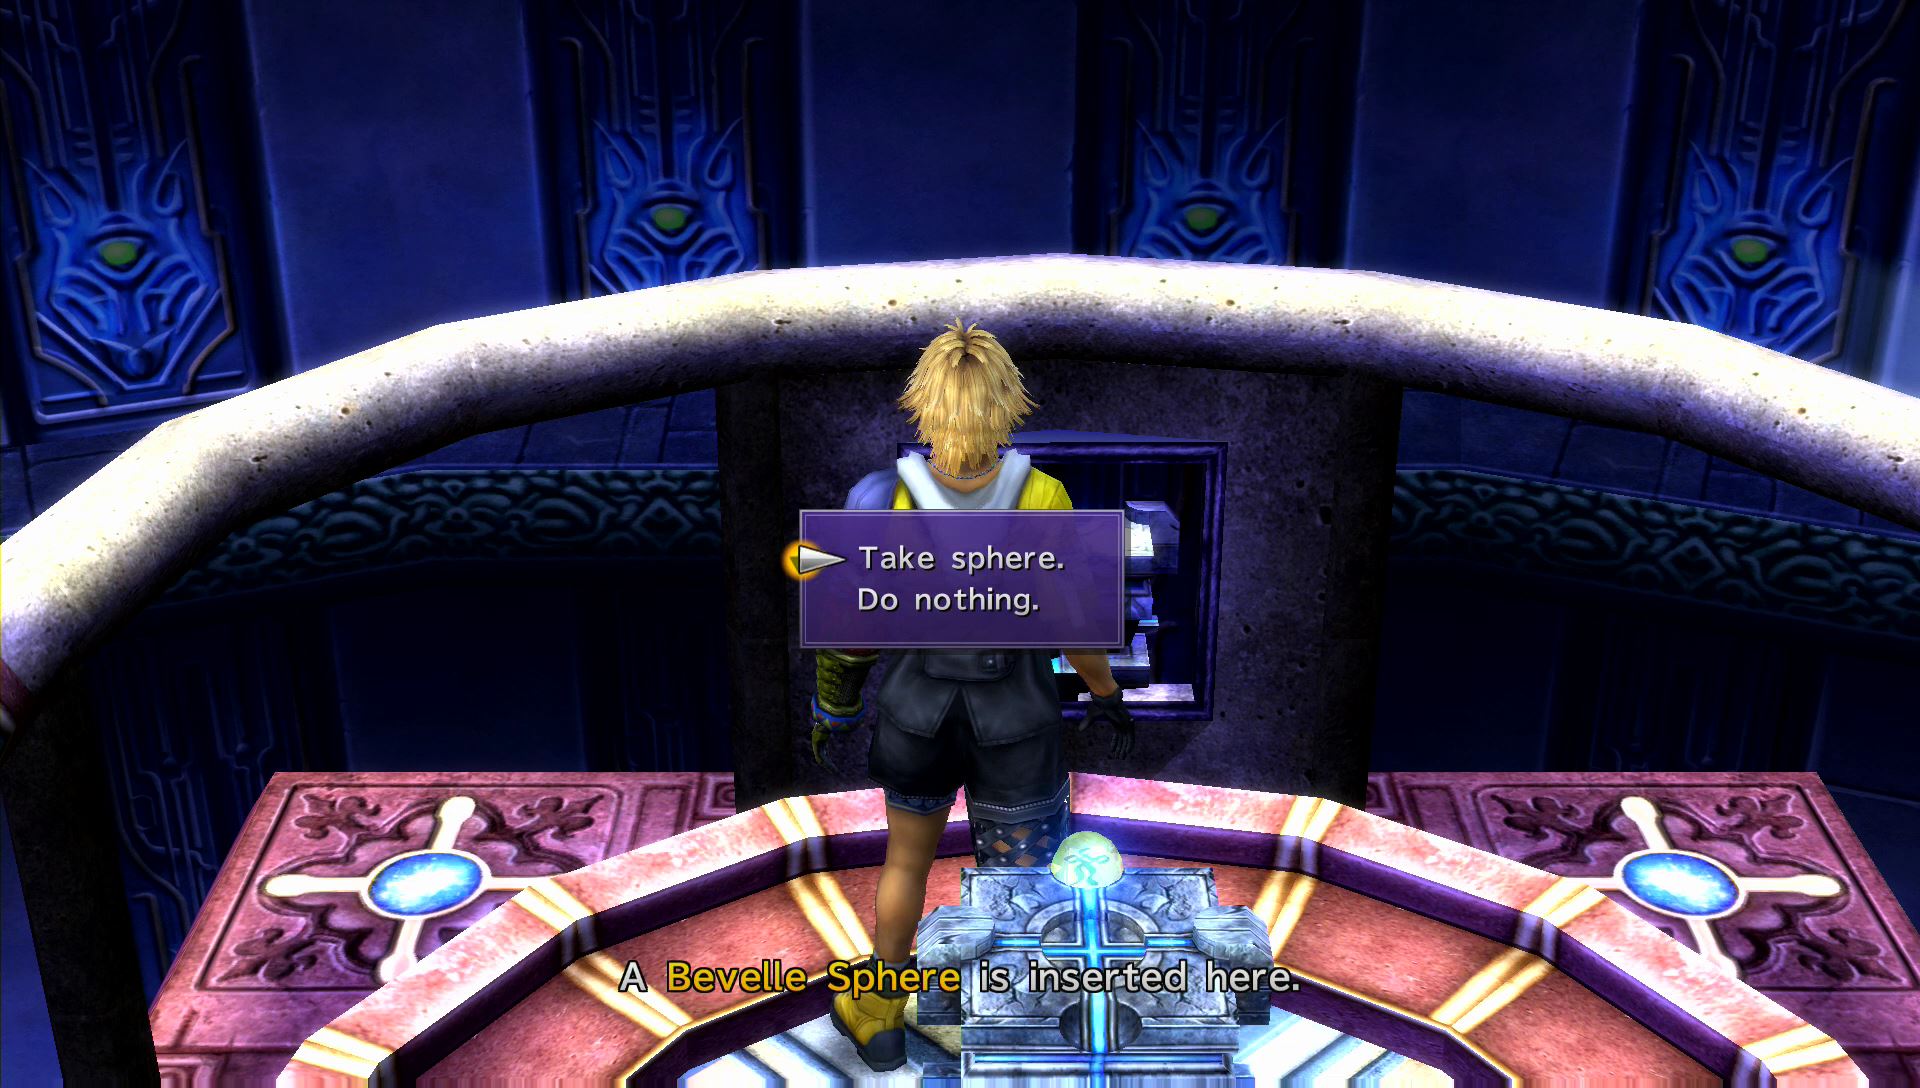
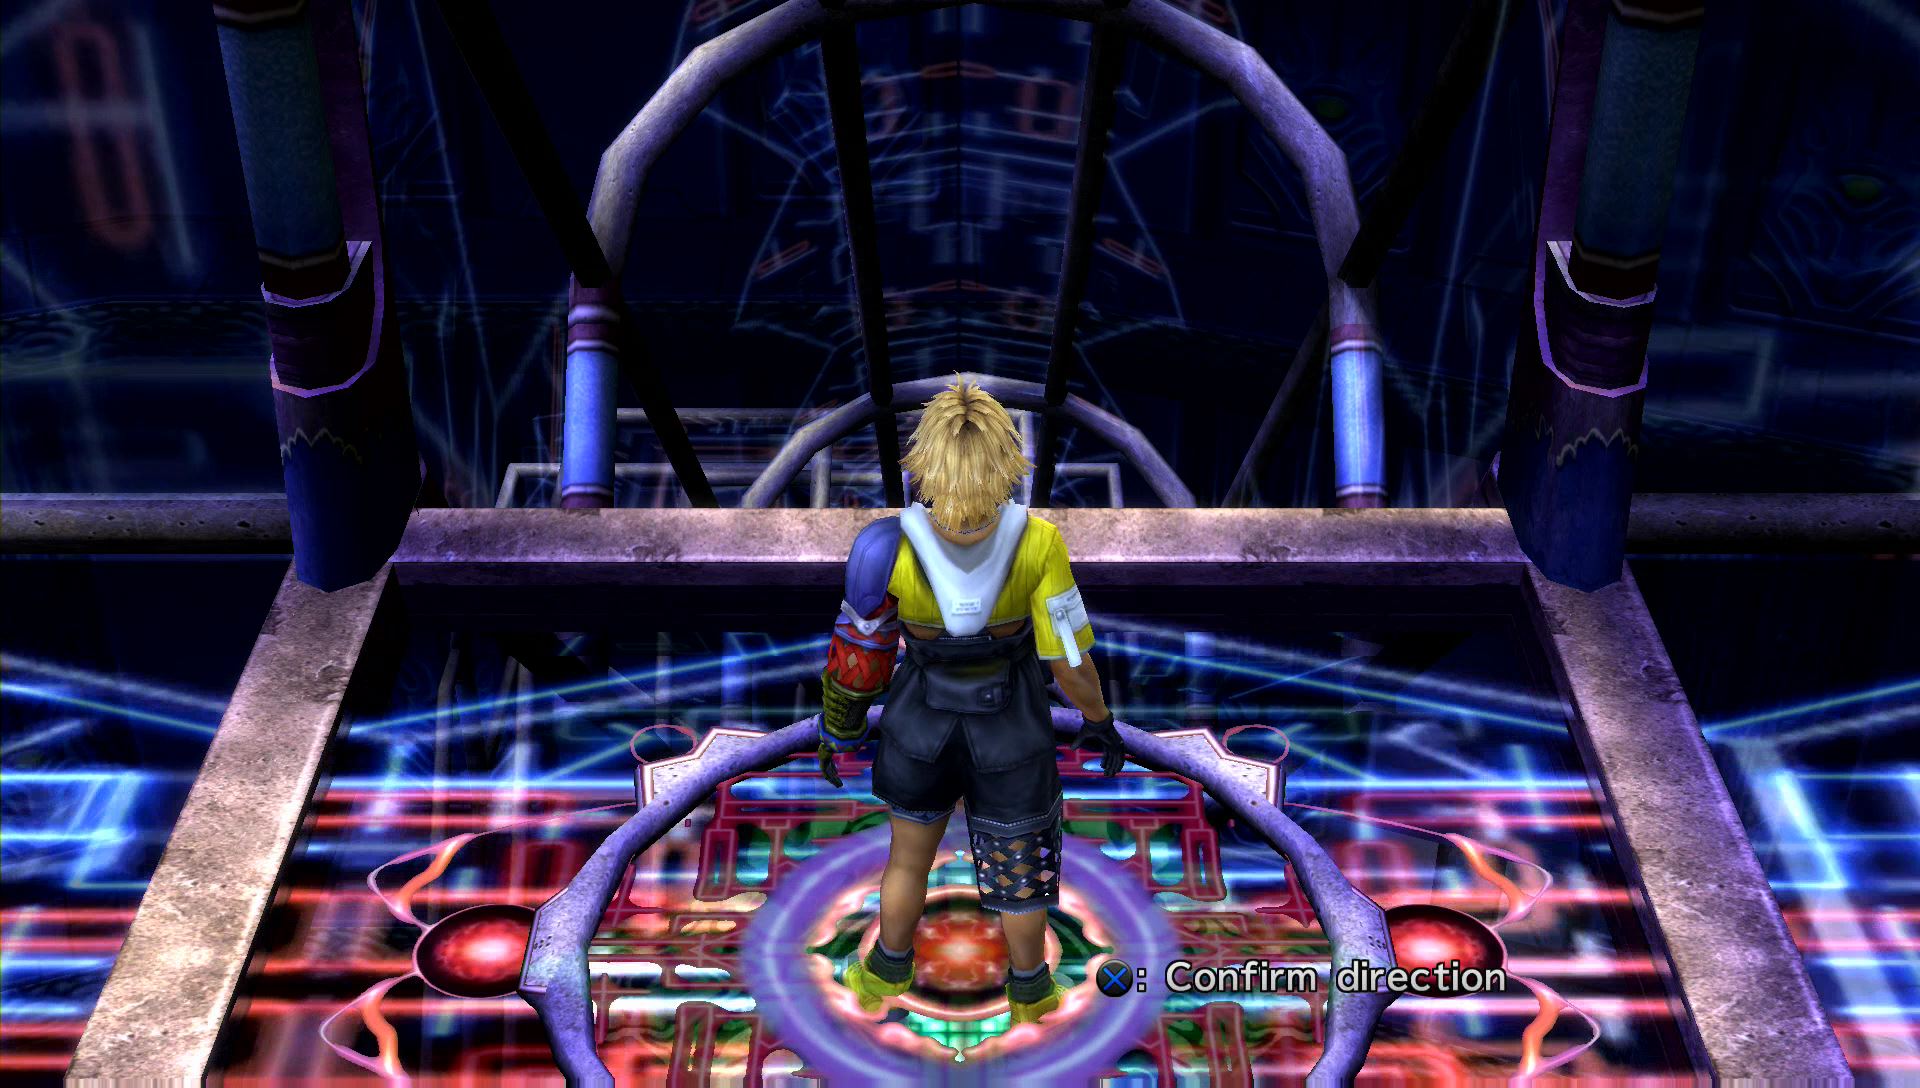
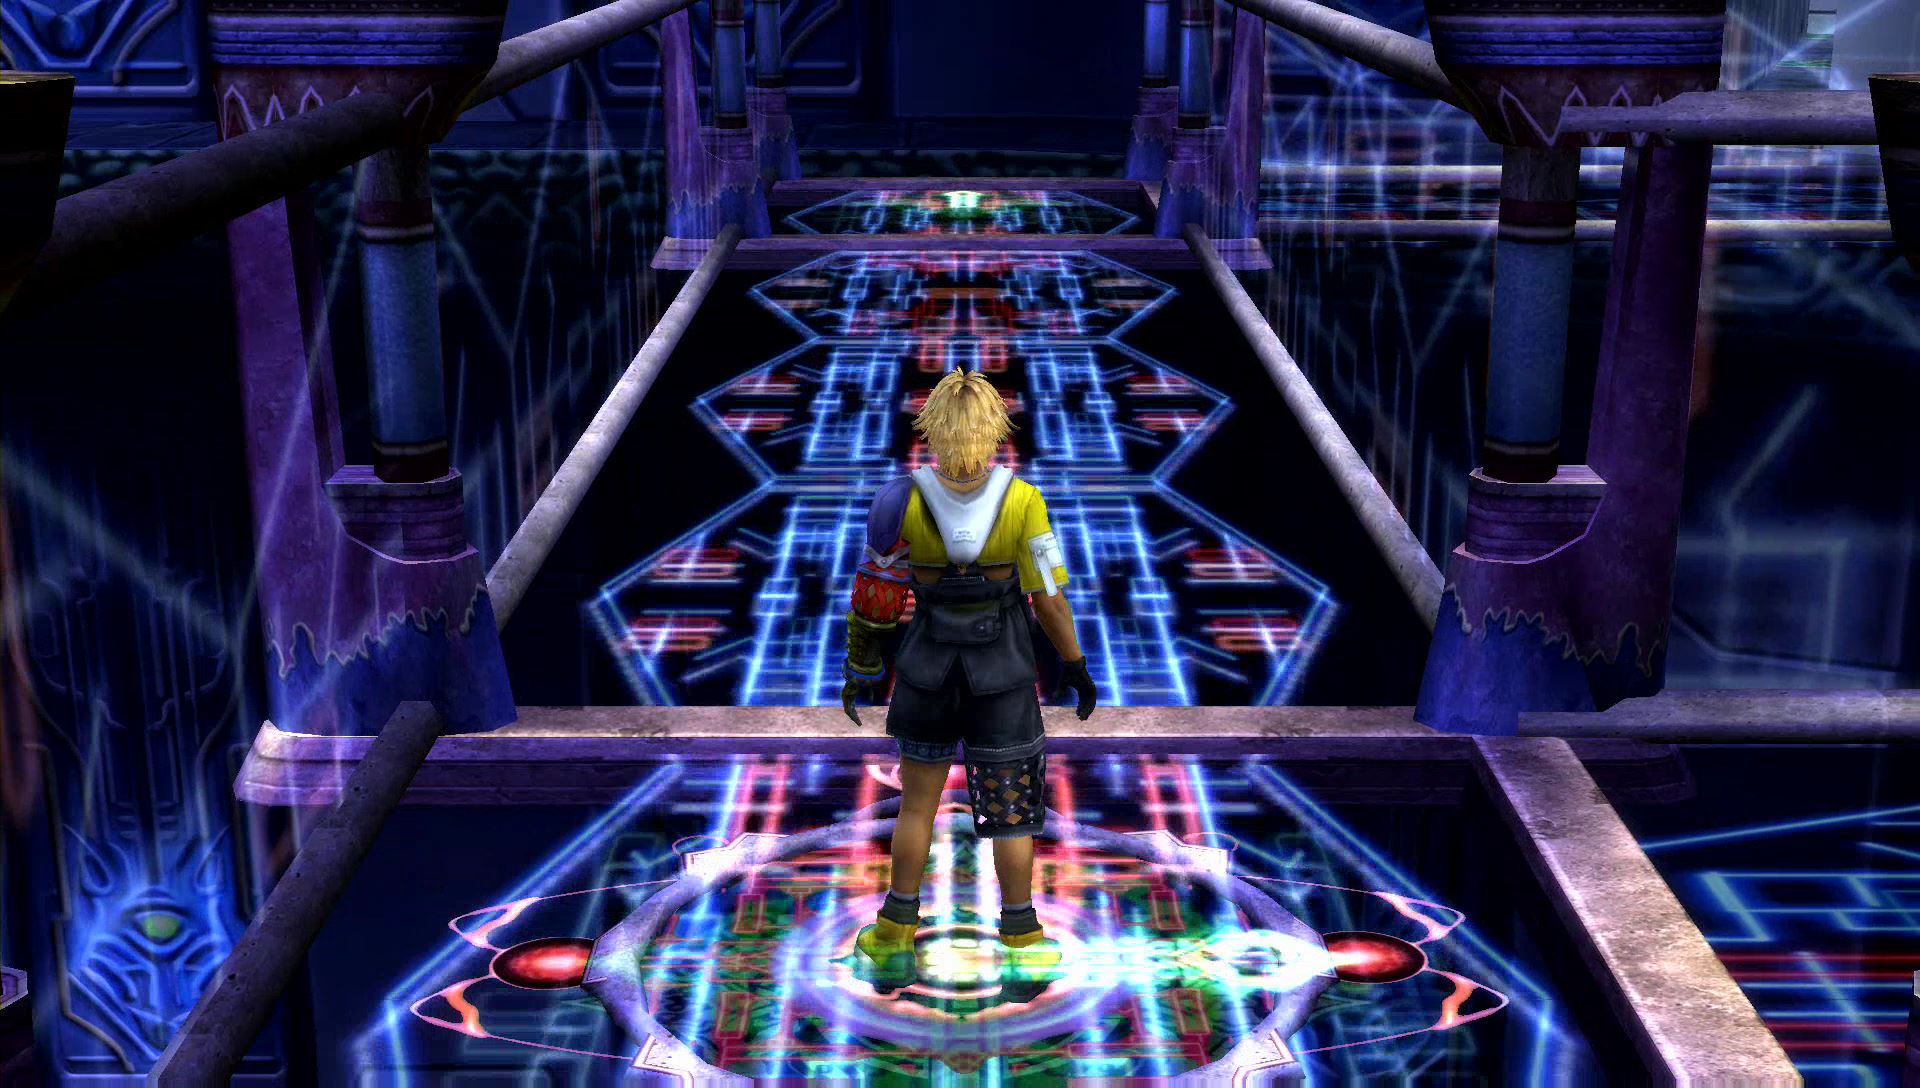
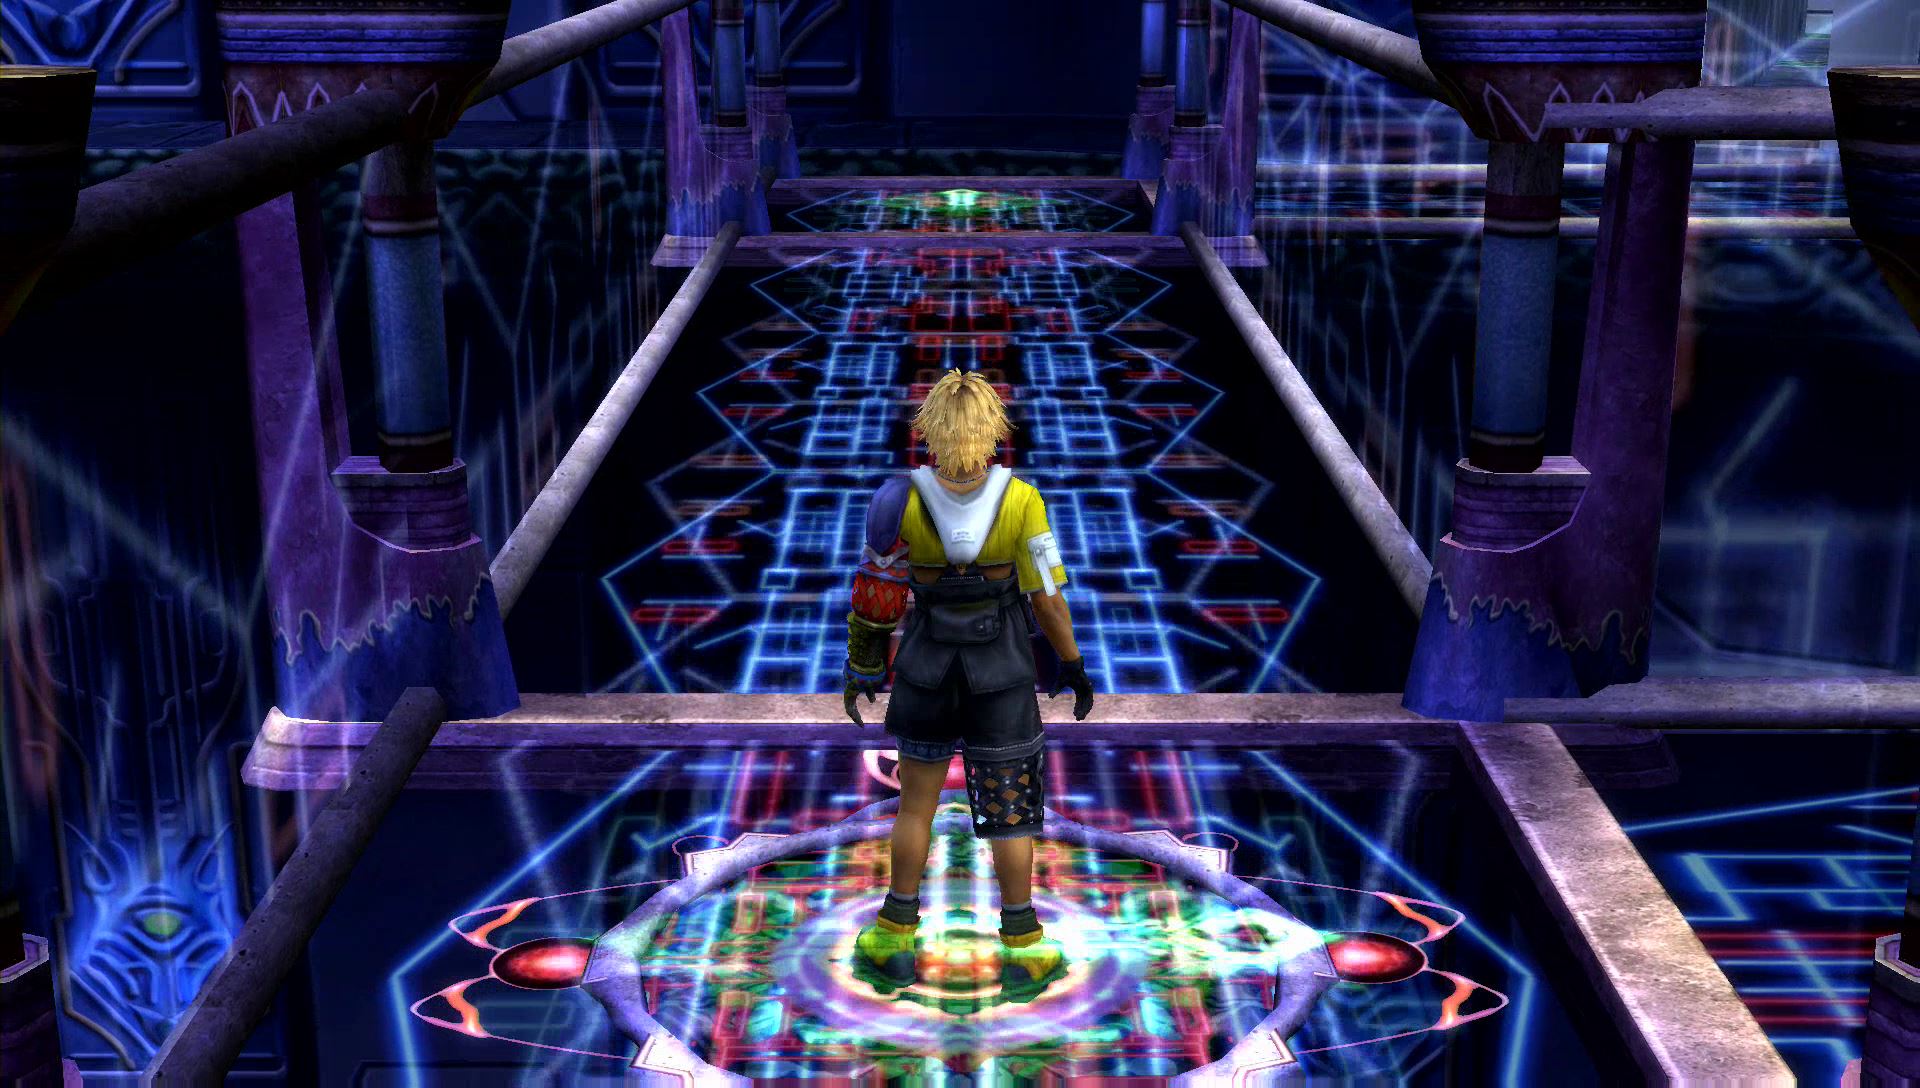
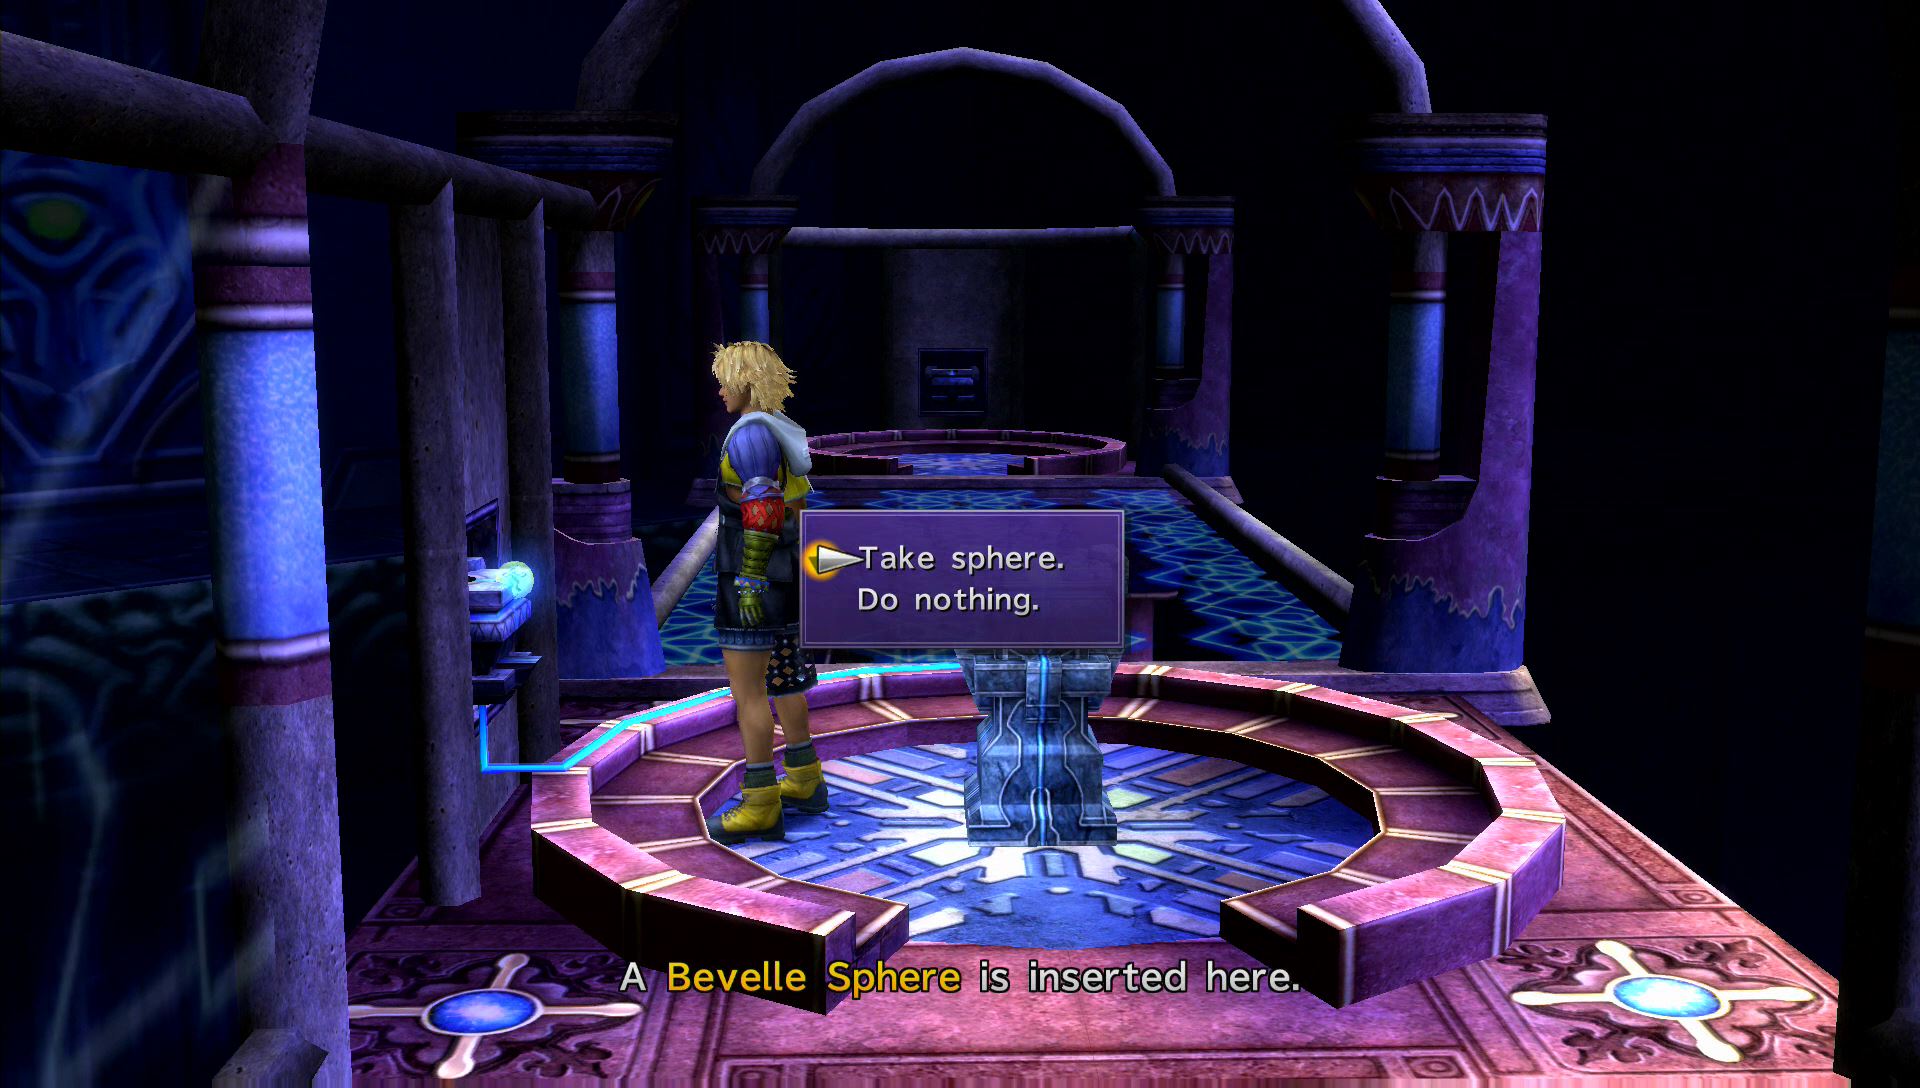
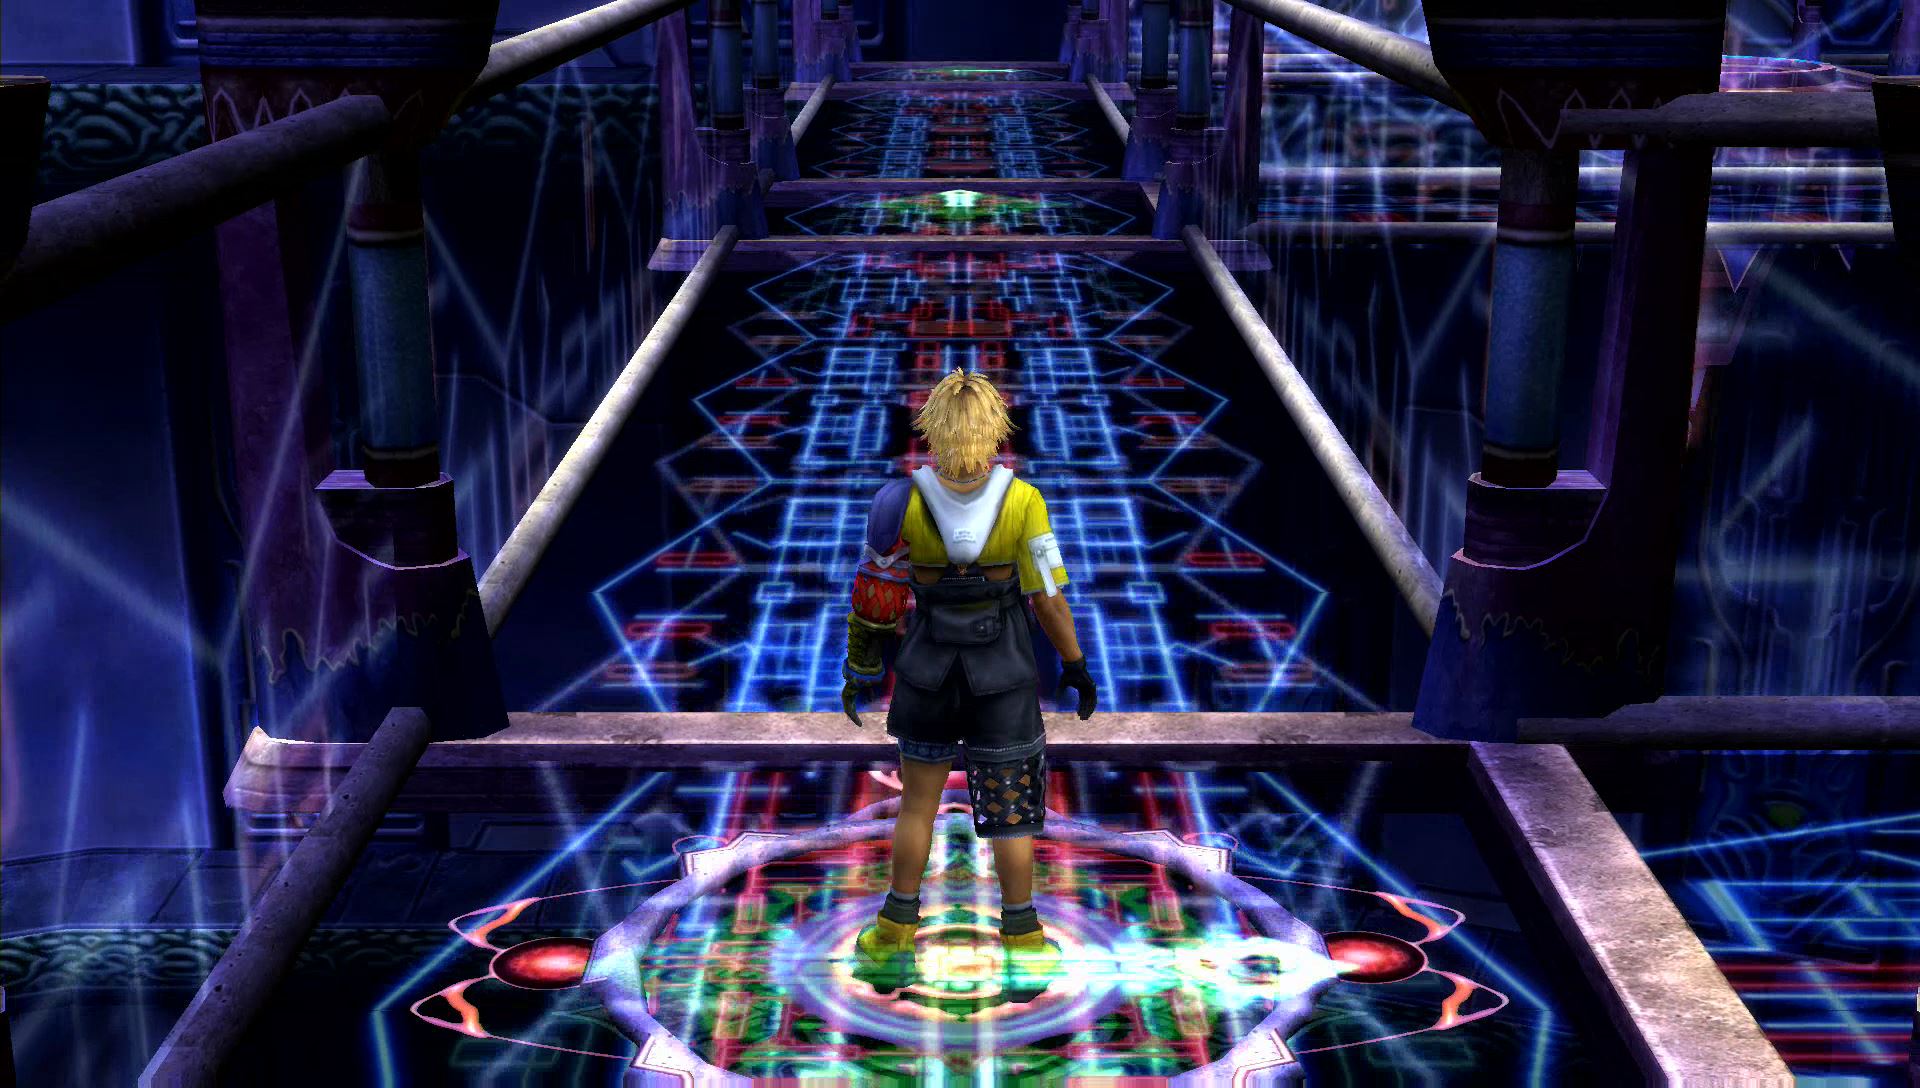
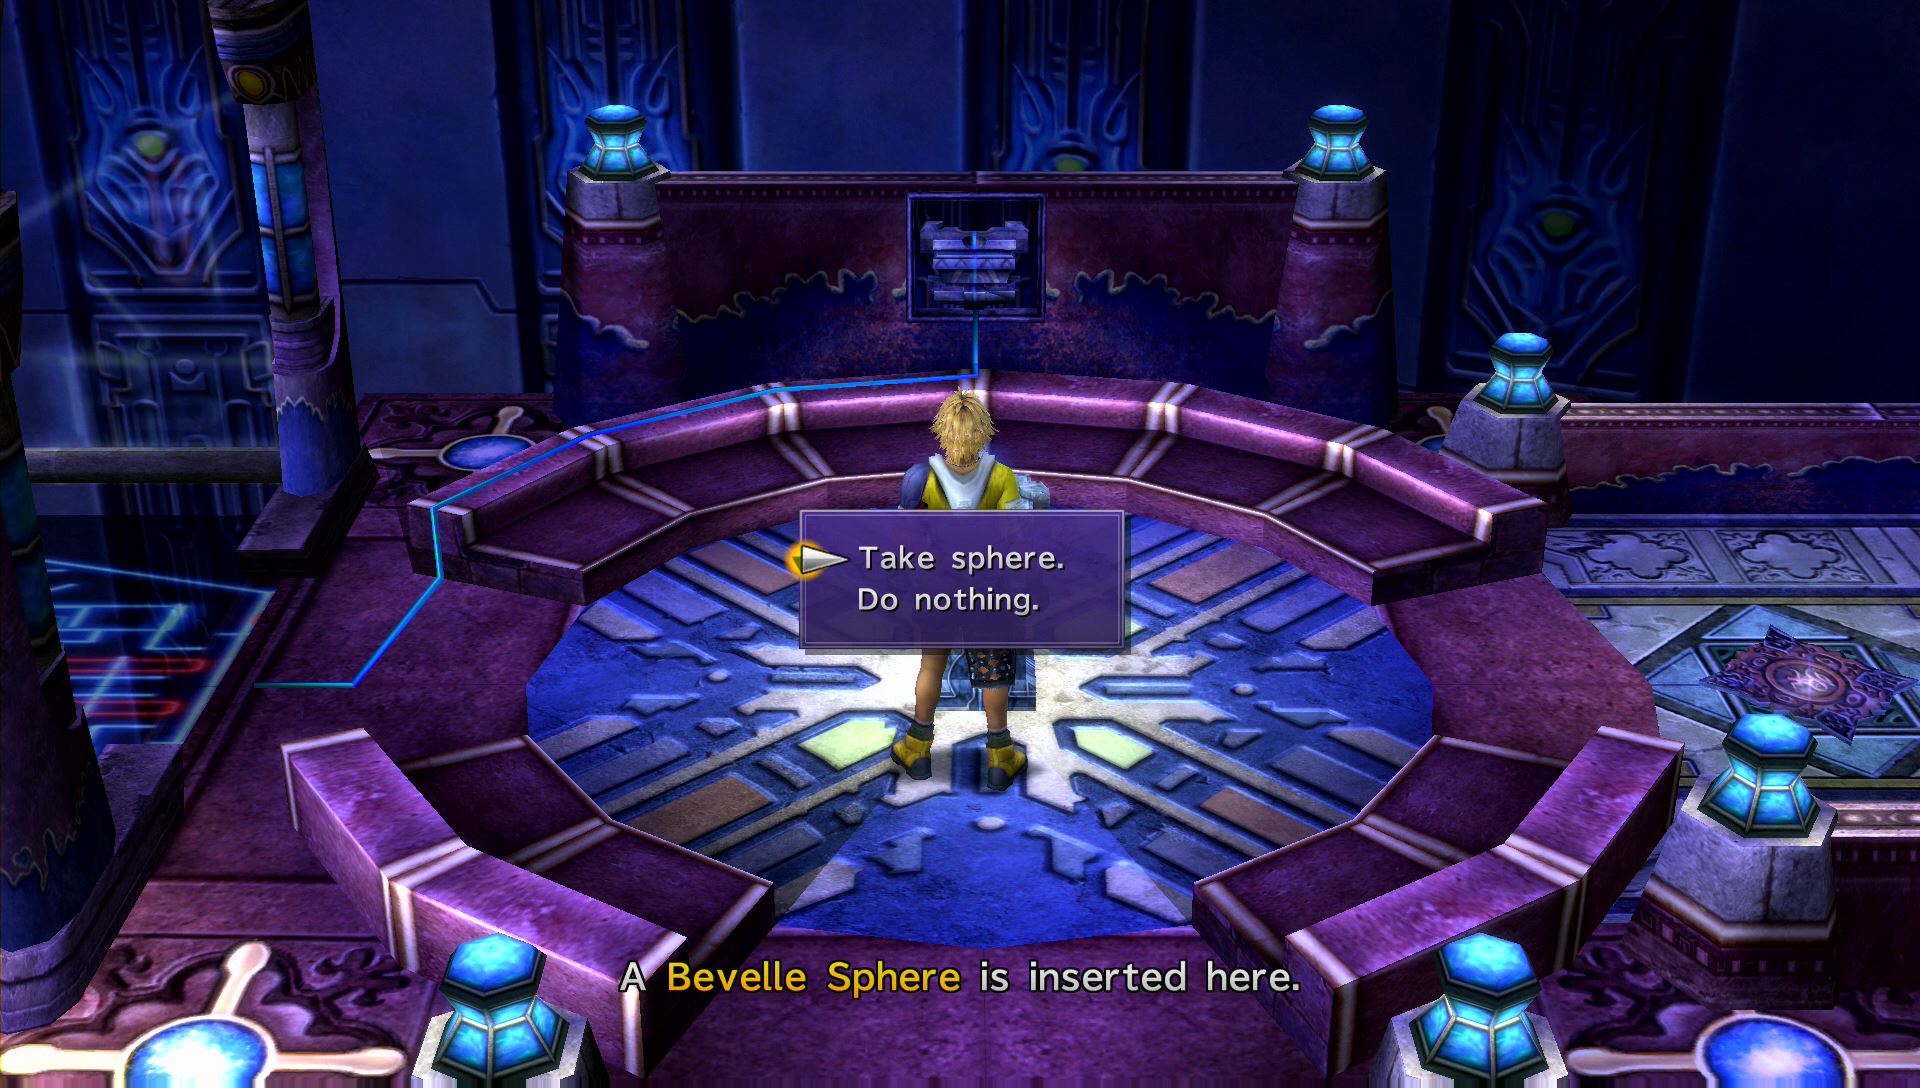
Press X to move the glyph platform forward. When you reach the first alternating glyph (it will point forward and to the right), press X when it points to the right. Press X another time when the screen tells you to confirm and you will reach a small area with a Bevelle Sphere. Take this sphere and place it in your pedestal, then push the pedestal back into the moving path.
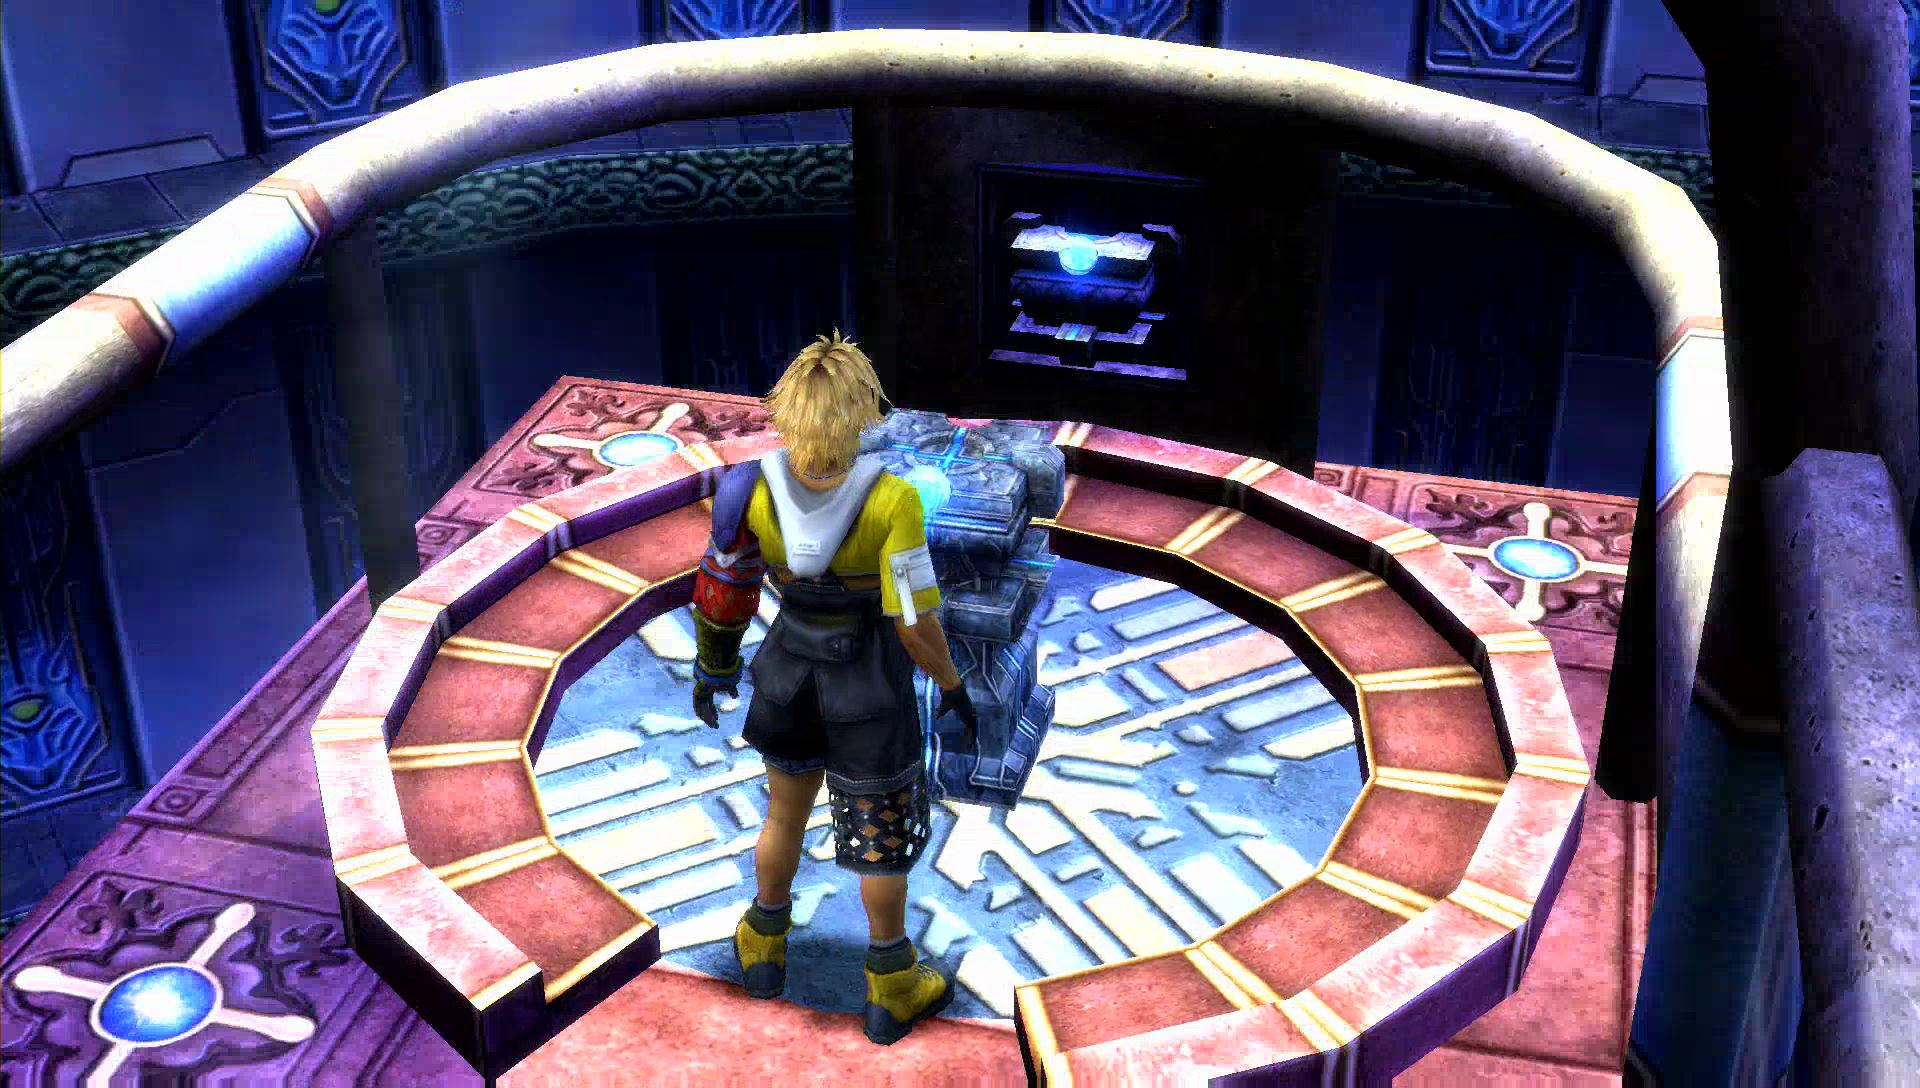
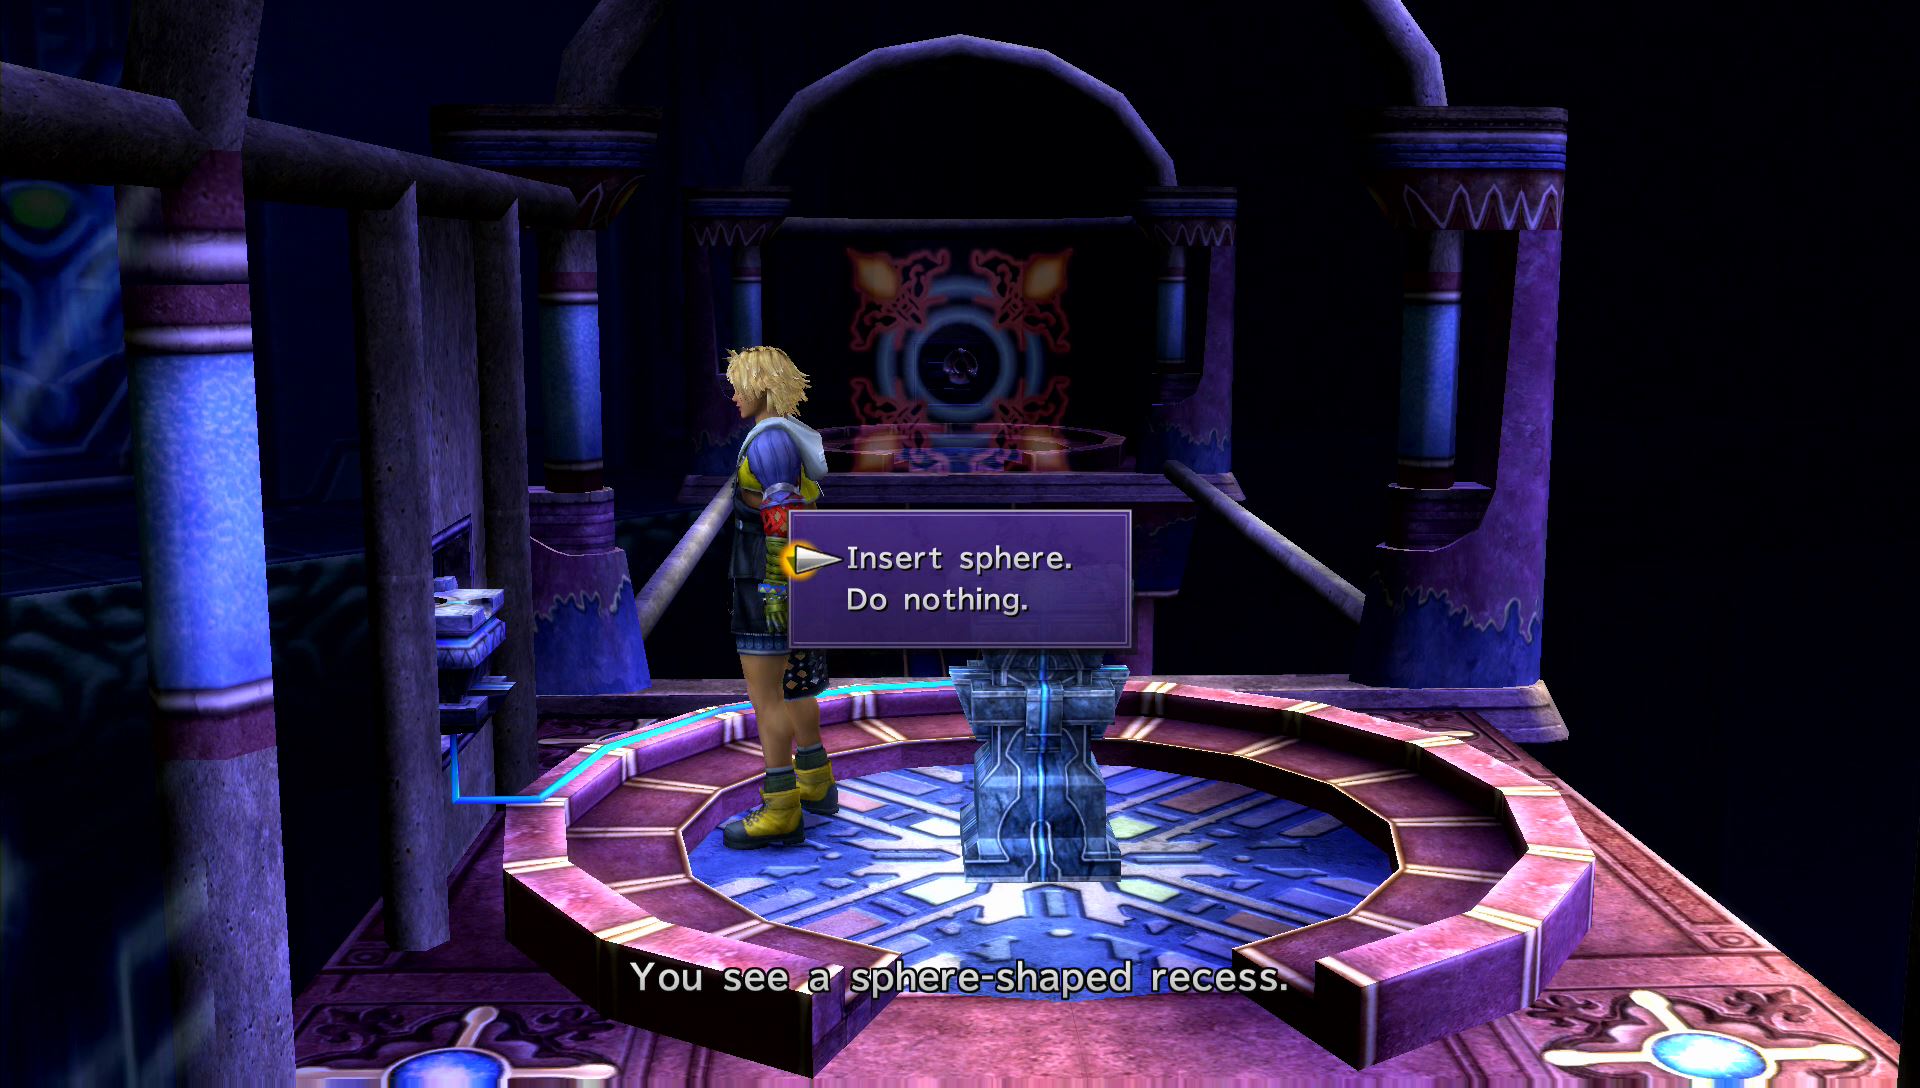
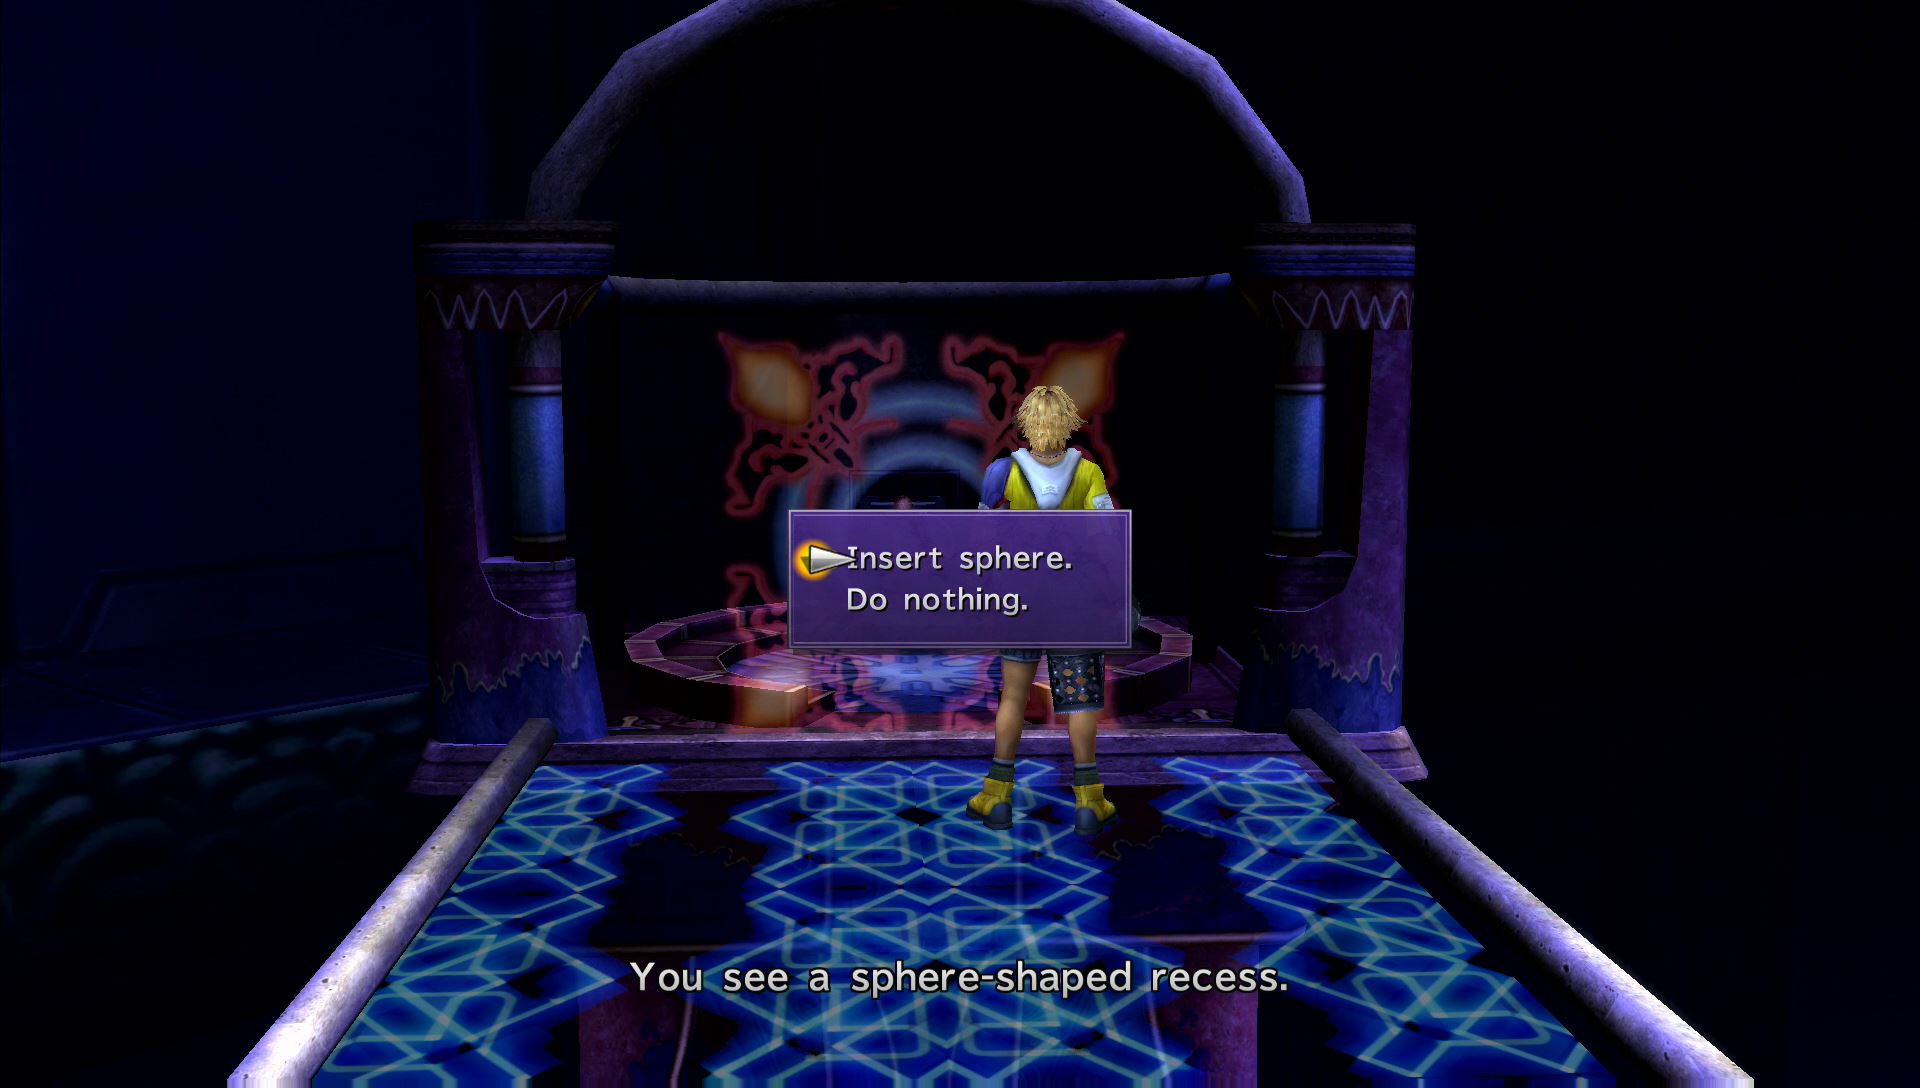
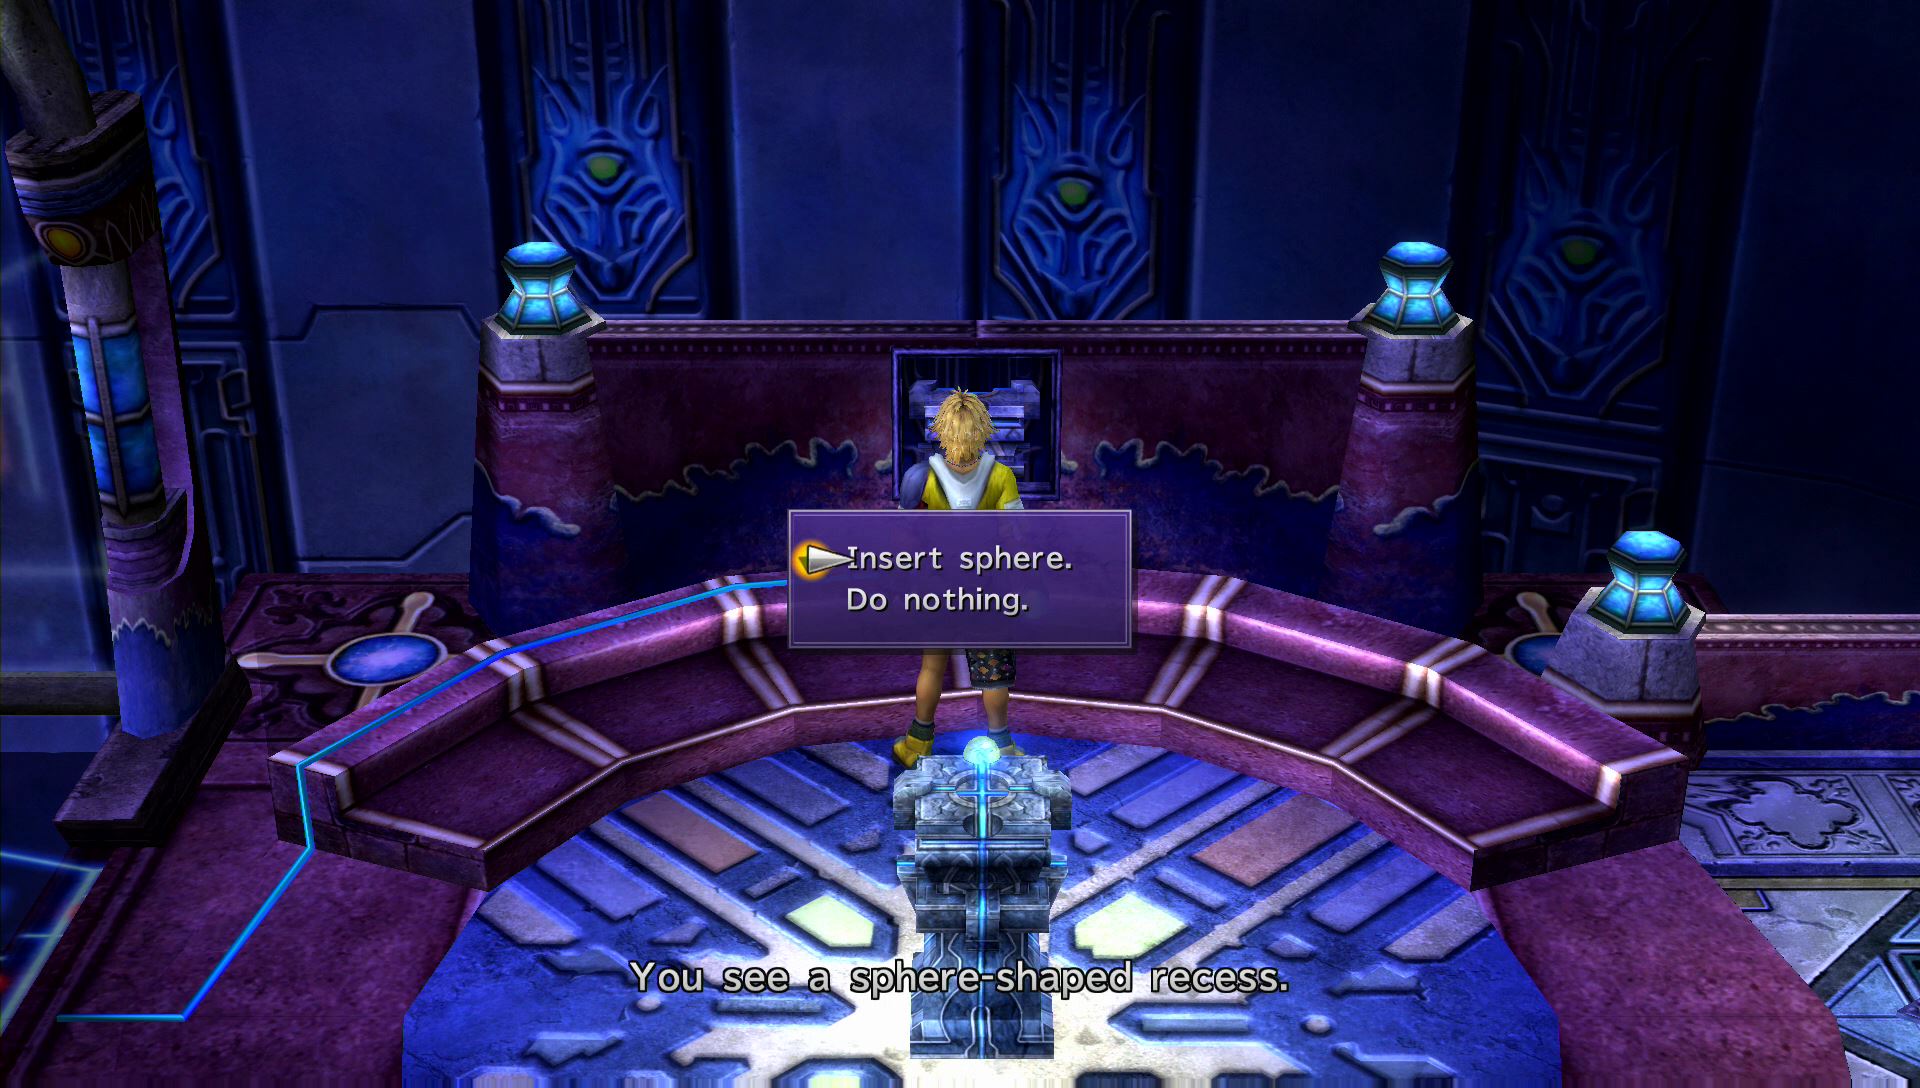
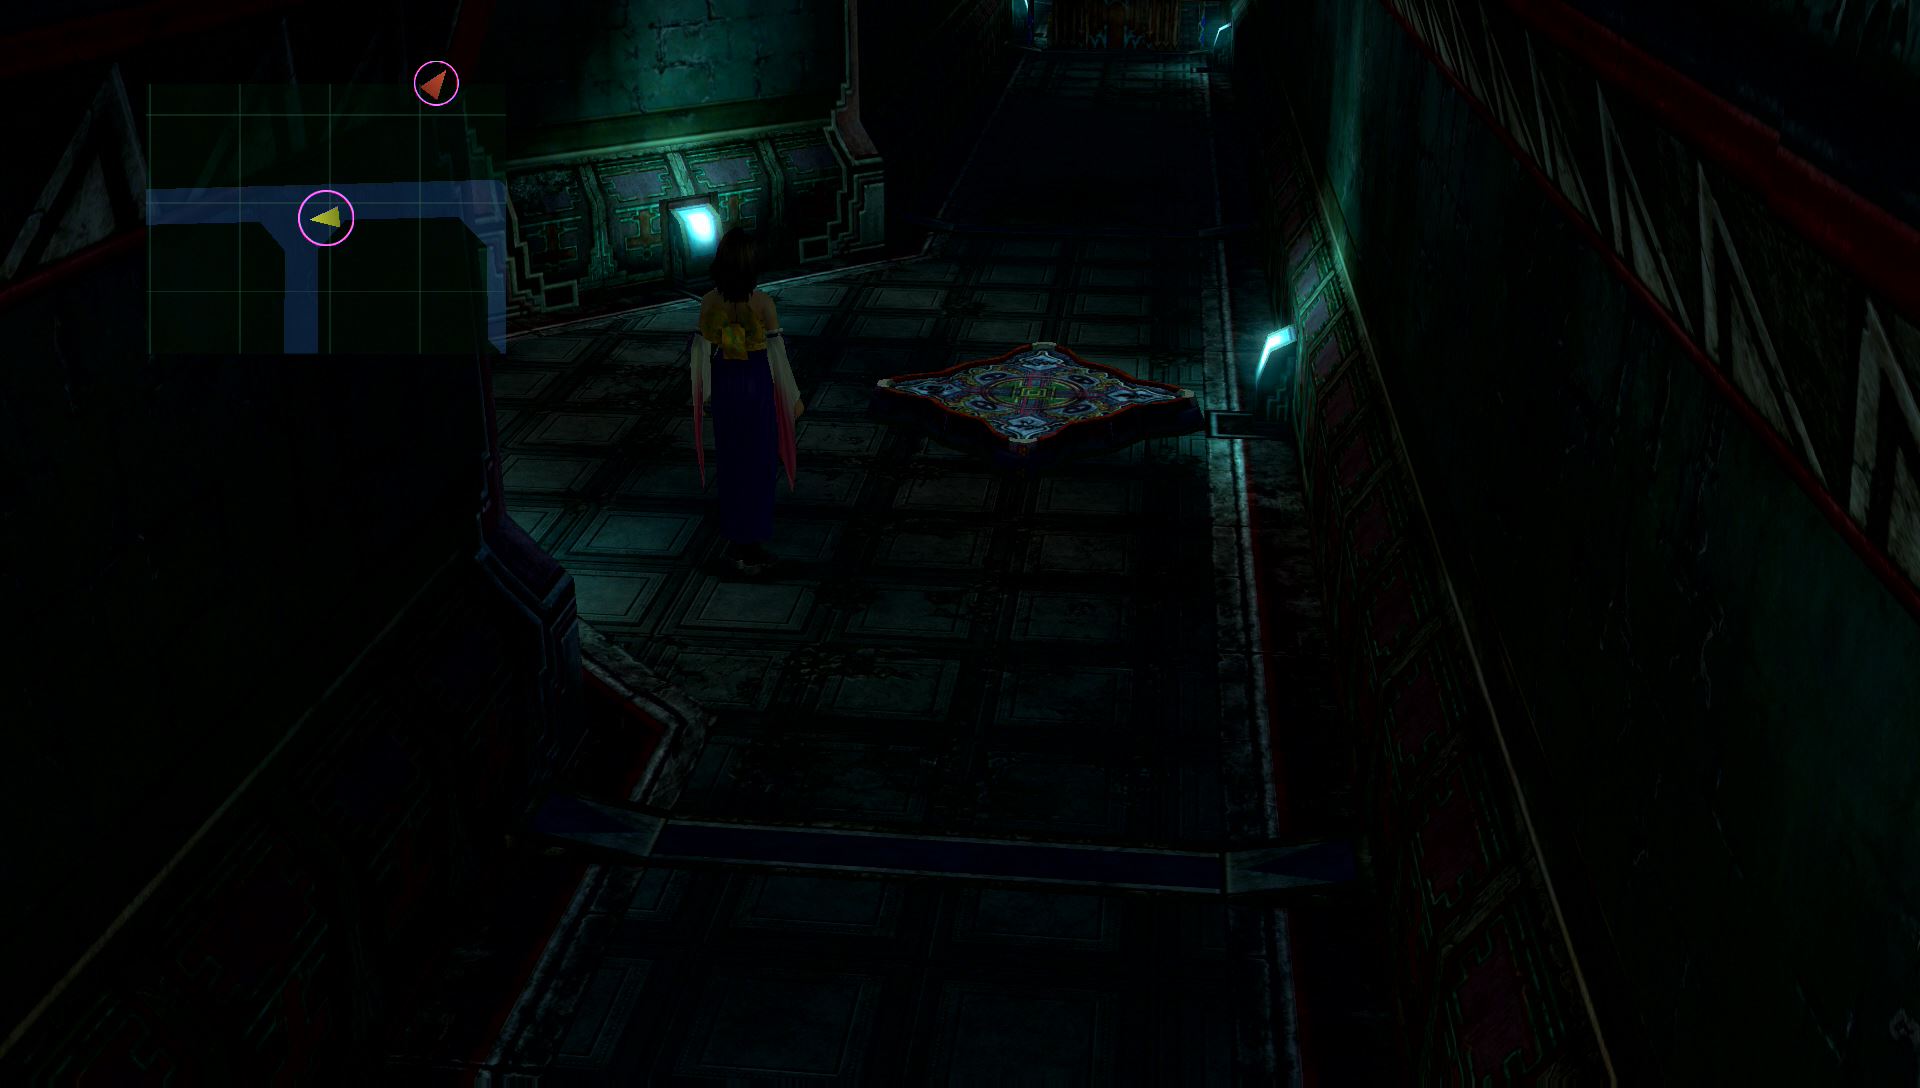
Return to the very top of the maze and take a right. When you reach another alternating glyph, which is the second of three on the top floor, press X again while it’s pointing to the right. This will take you to another platform. Take one of the Bevelle Spheres from the pedestal and place it in the recess.

Push the pedestal back onto the main path again and ride it until you reach the same glyph as last time. This time, press X while it’s pointing left to reach the left platform. Take the Bevelle Sphere from the recess and place it on the pedestal.
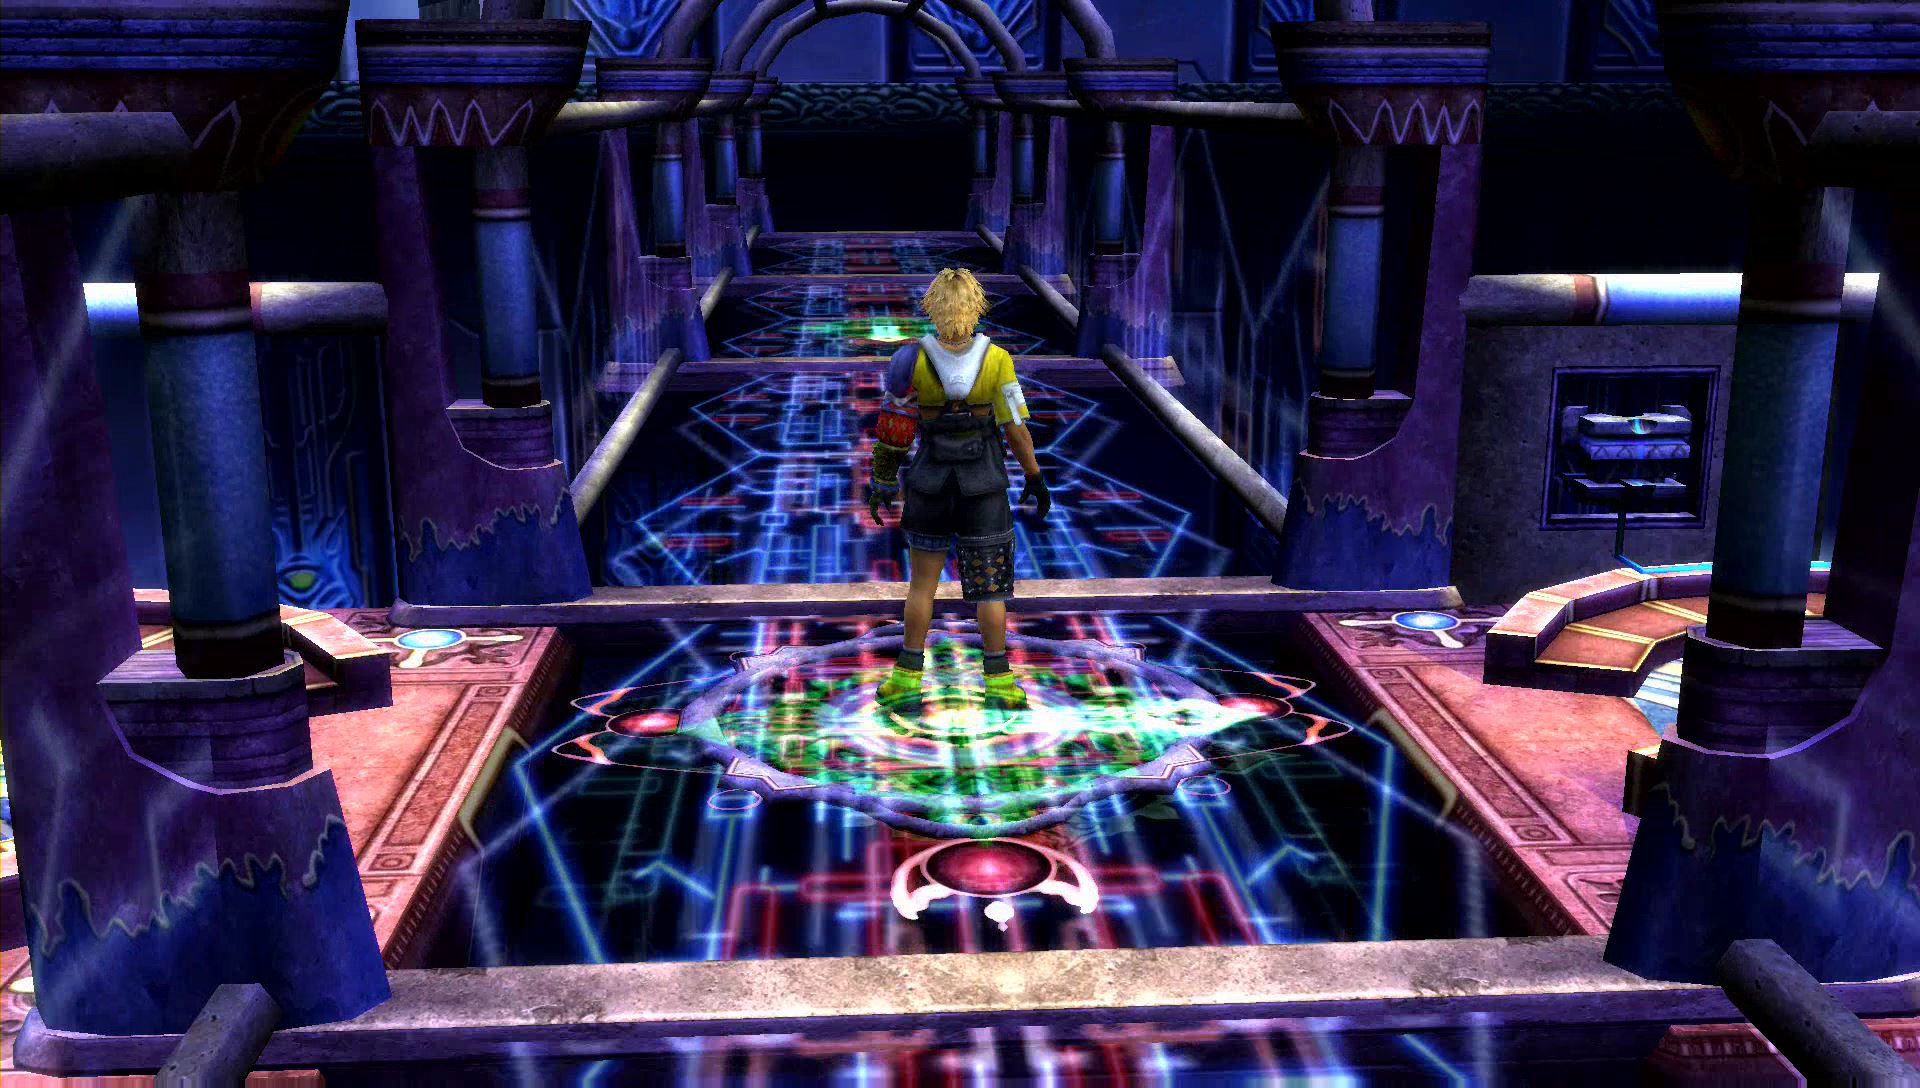
Ride the platform back to the very first glyph on this path. Press X when the glyph is pointing to the right to head down a level. When you reach the intersection, press X when the glyph is pointing to the left.
Follow the path until you reach the last alternating glyph. Press X when the glyph is pointing to the right to reach another platform. Remove one of the Bevelle Spheres from your pedestal and place it in the recess to the left. This will create a bridge further ahead.
Push the pedestal back onto the path and ride it off the edge. This will take you back to the beginning of this same path. Follow the road until you reach the second to last alternating glyph (3 of 4). Press X when the glyph is pointing to the right to reach a long platform with a glyph sphere. Place this sphere on the pedestal and push it back onto the path.
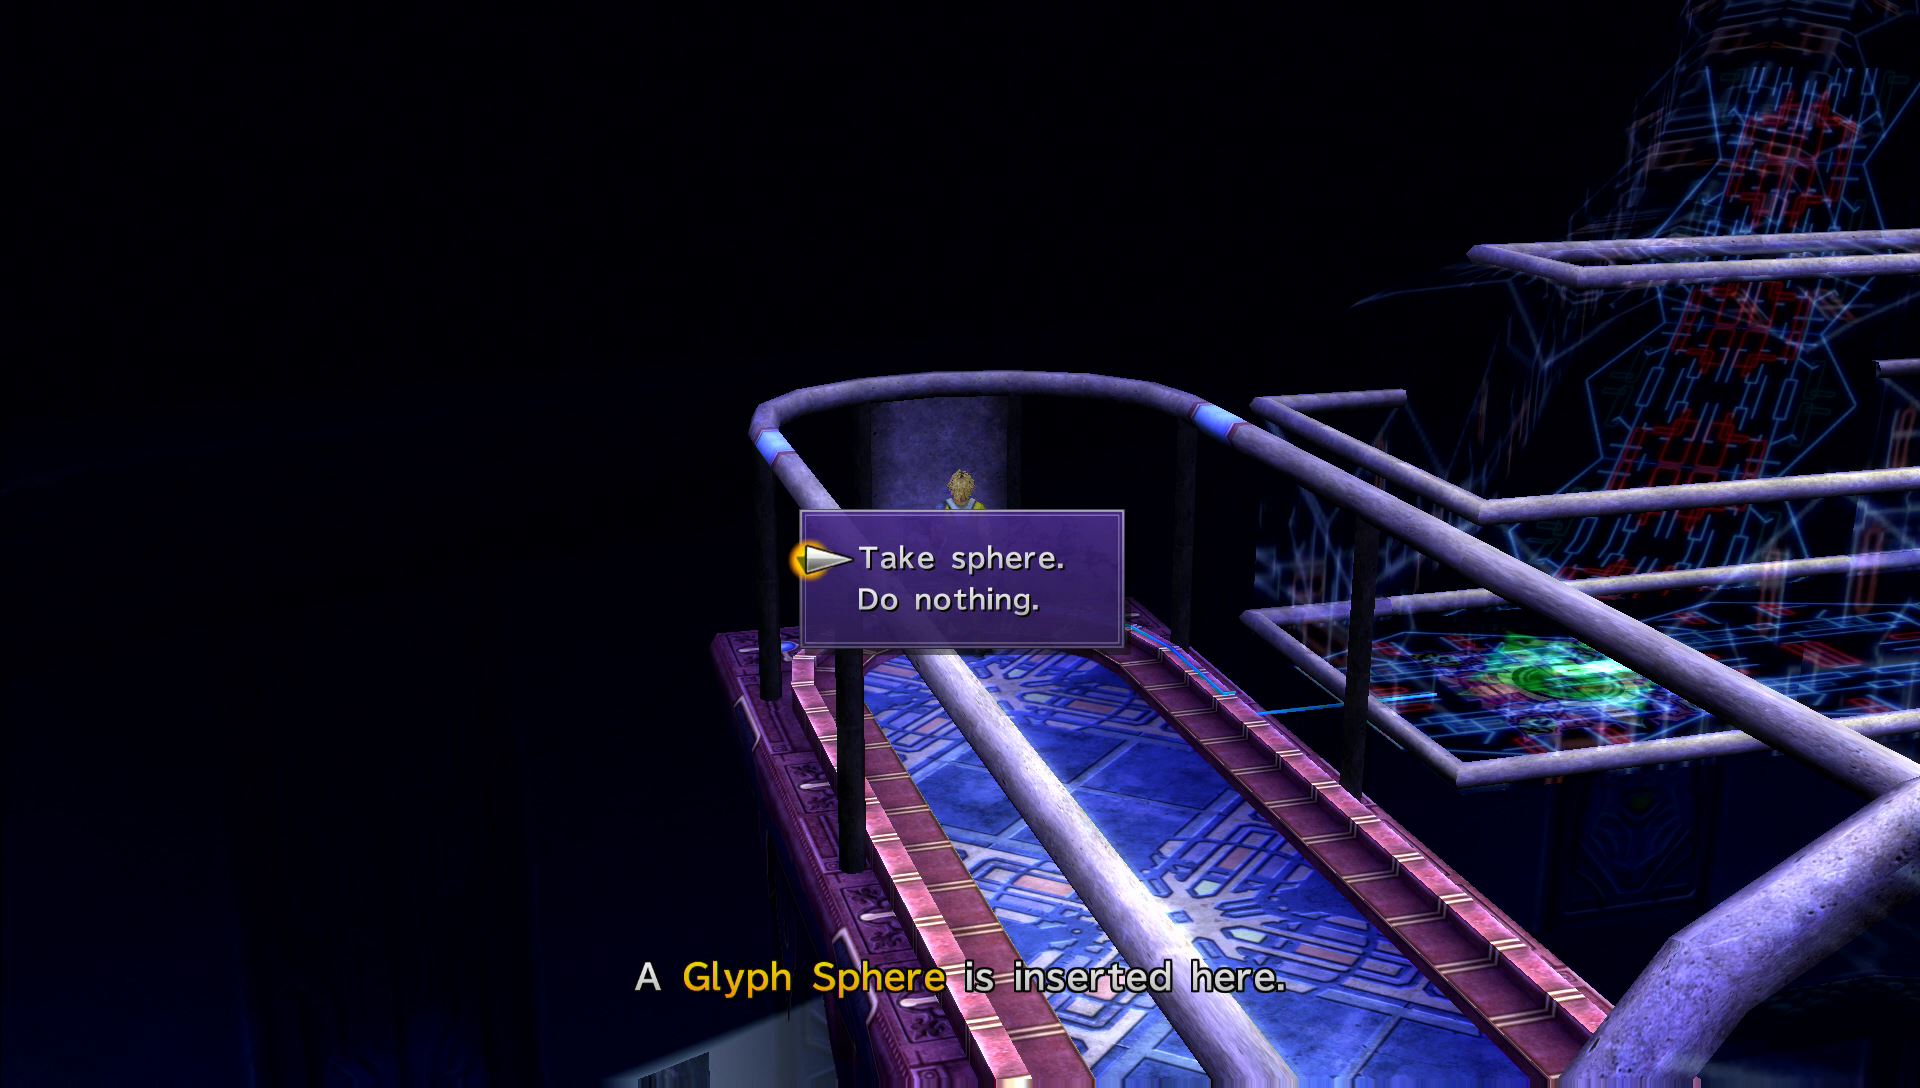
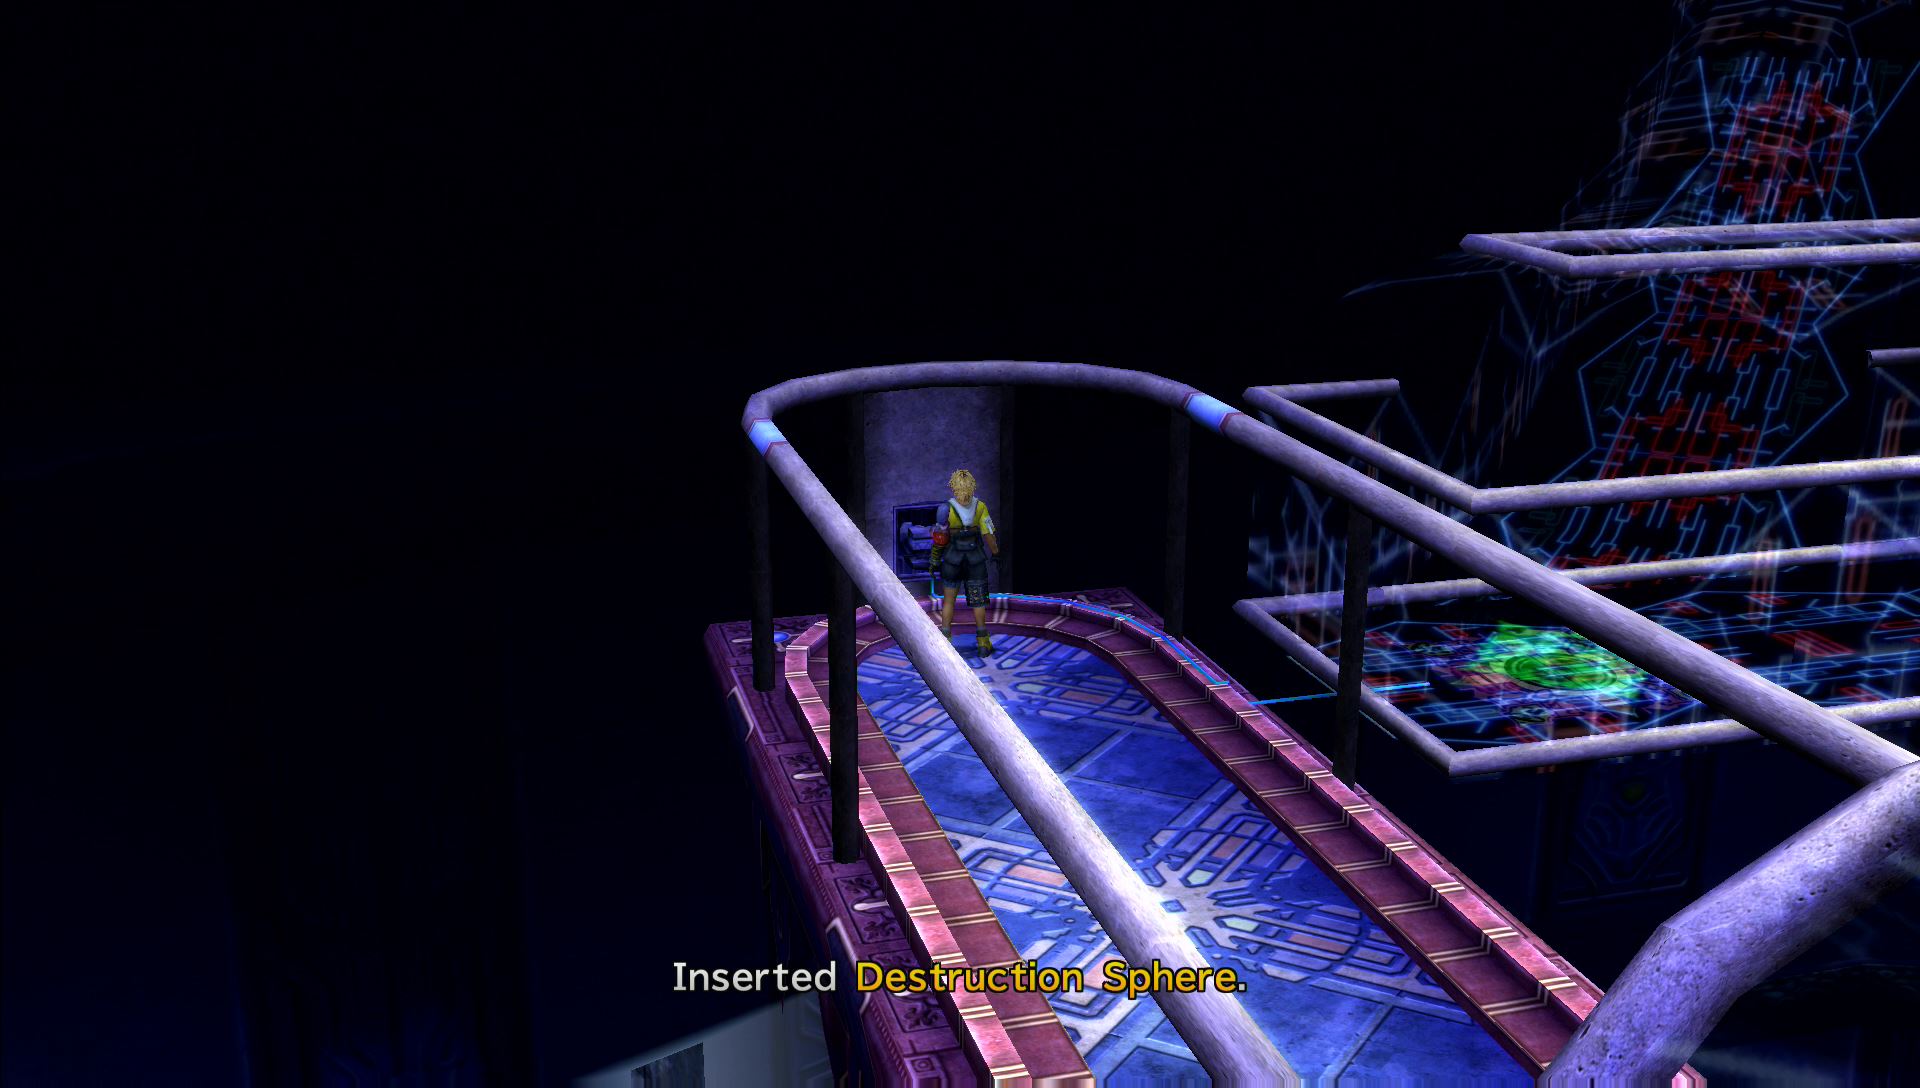
Ride the railway until you reach the last alternating glyph again. Press X while it’s pointing right to reach the platform from earlier. Remove the glyph sphere from the pedestal and place it in the purple recess in the back. This will open the path to a Destruction Sphere. Take the sphere and place it on the pedestal, then push the pedestal back onto the path.
Follow the railway until you reach the second to last (3 of 4) alternating glyph again. Press X while it’s pointing to the right to reach the platform. Take the Destruction Sphere from the pedestal and place it in the recess in the back. This will open a path further ahead.
Push the pedestal back onto the path and ride it to the last alternating glyph. Take the Bevelle Sphere from the recess and place it on the pedestal again. You should have two Bevelle Spheres on the pedestal now.
Once again, push the pedestal back onto the railway and ride it until you start at the beginning again. Follow the path until you reach the second alternating glyph. Press X when it’s pointing to the right to reach a platform, then push the pedestal forward onto the next railway. This will take you to the secret path that was unlocked with the Destruction Sphere.
Ascend the stairs and open the treasure chest on the right to obtain an HP Sphere. Step on the flashing glyph under the treasure chest to bring the pedestal up the stairs.
Take one of the Bevelle Spheres from the pedestal and place it in the recess to the north. This will create a path to the west. Push the pedestal onto the path and ride it to a treasure chest with the Knight Lance inside. This is a weapon for Kimahri that increases Strength by +18.
With the weapon in hand, continue east to the next area. A short scene will play out where the party reunites with Yuna. She can now summon the powerful Aeon Bahamut.
Via Purifico
| Fiends | HP | Fire | Thunder | Water | Ice |
|---|---|---|---|---|---|
| Aqua Flan | 2025 | — | Weak | Absorb | — |
| Bat Eye | 380 | Weak | — | — | — |
| Cave Iguion | 550 | Strong | — | Strong | Weak |
| Maze Larva | 2222 | — | Weak | Absorb | — |
| Sahagin | 1380 | — | Weak | — | — |
| Swamp Mafdet | 850 | — | Weak | — | Weak |
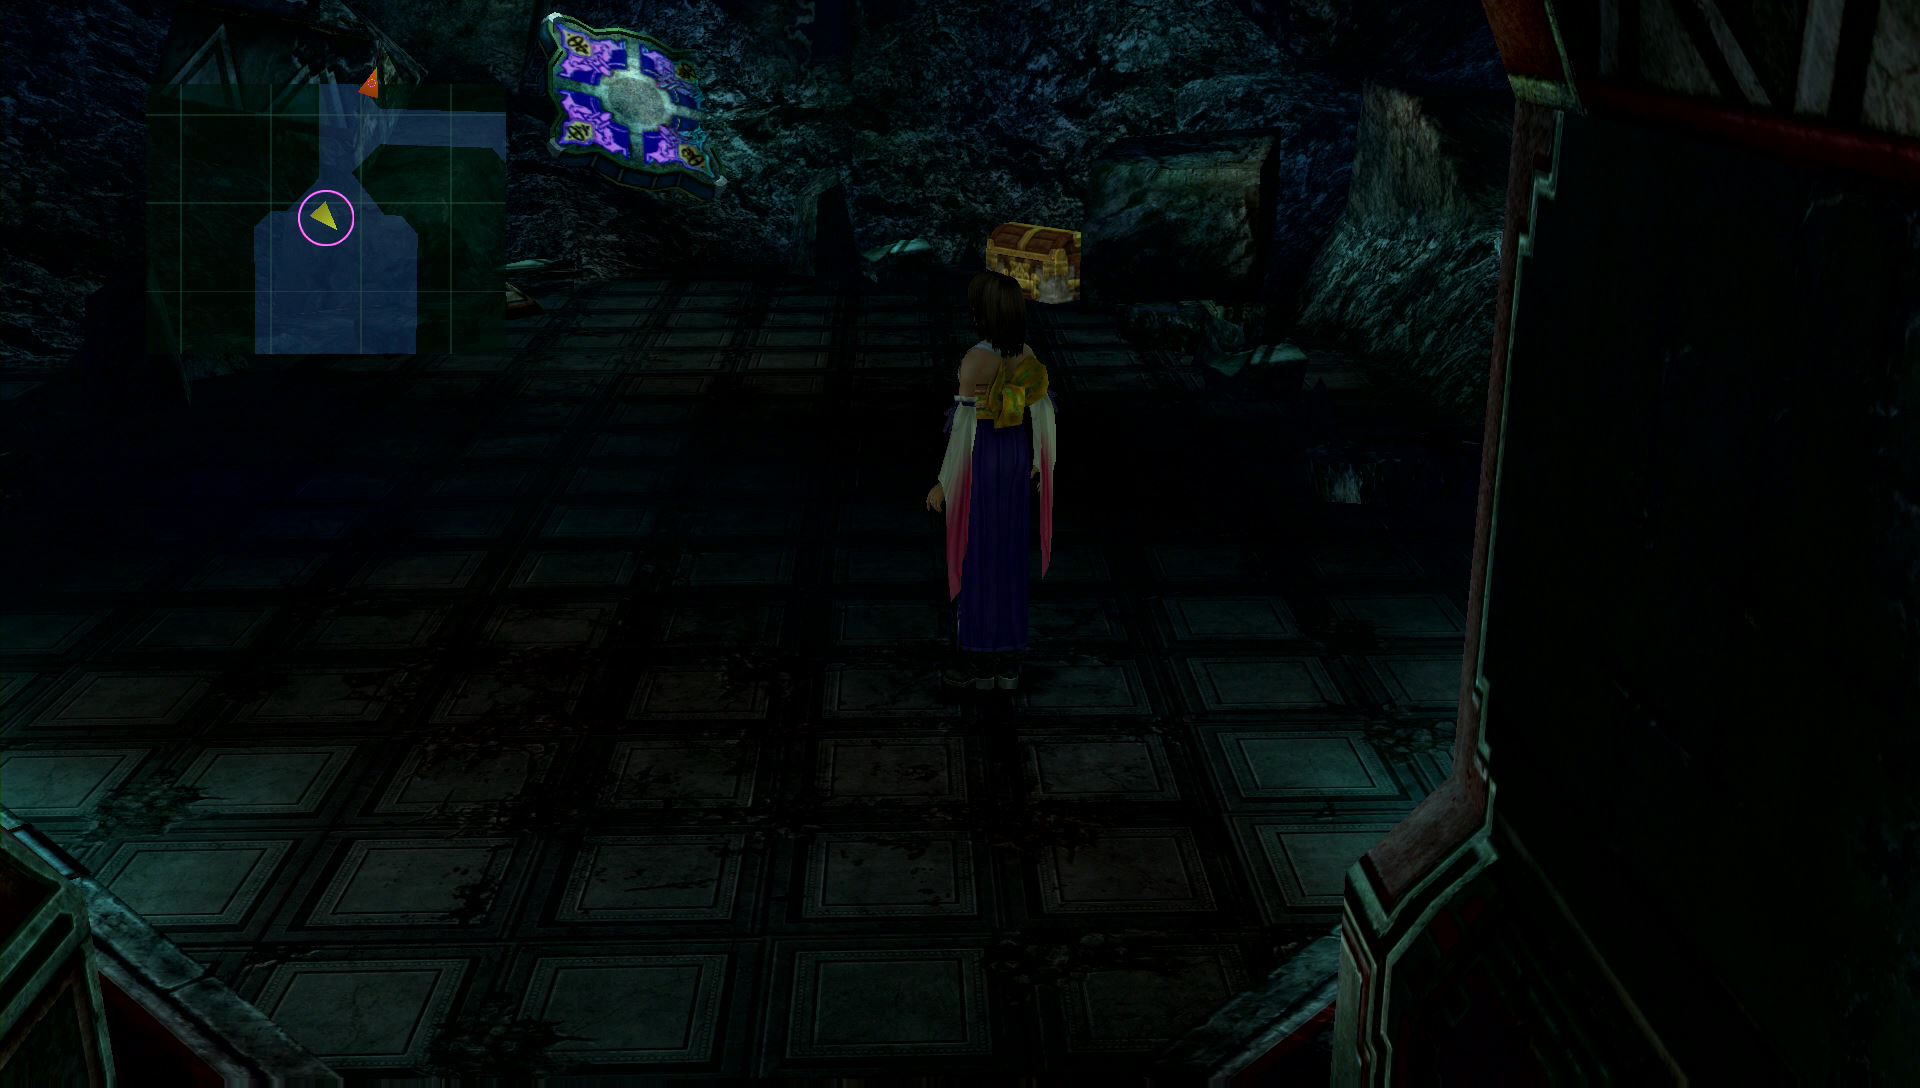
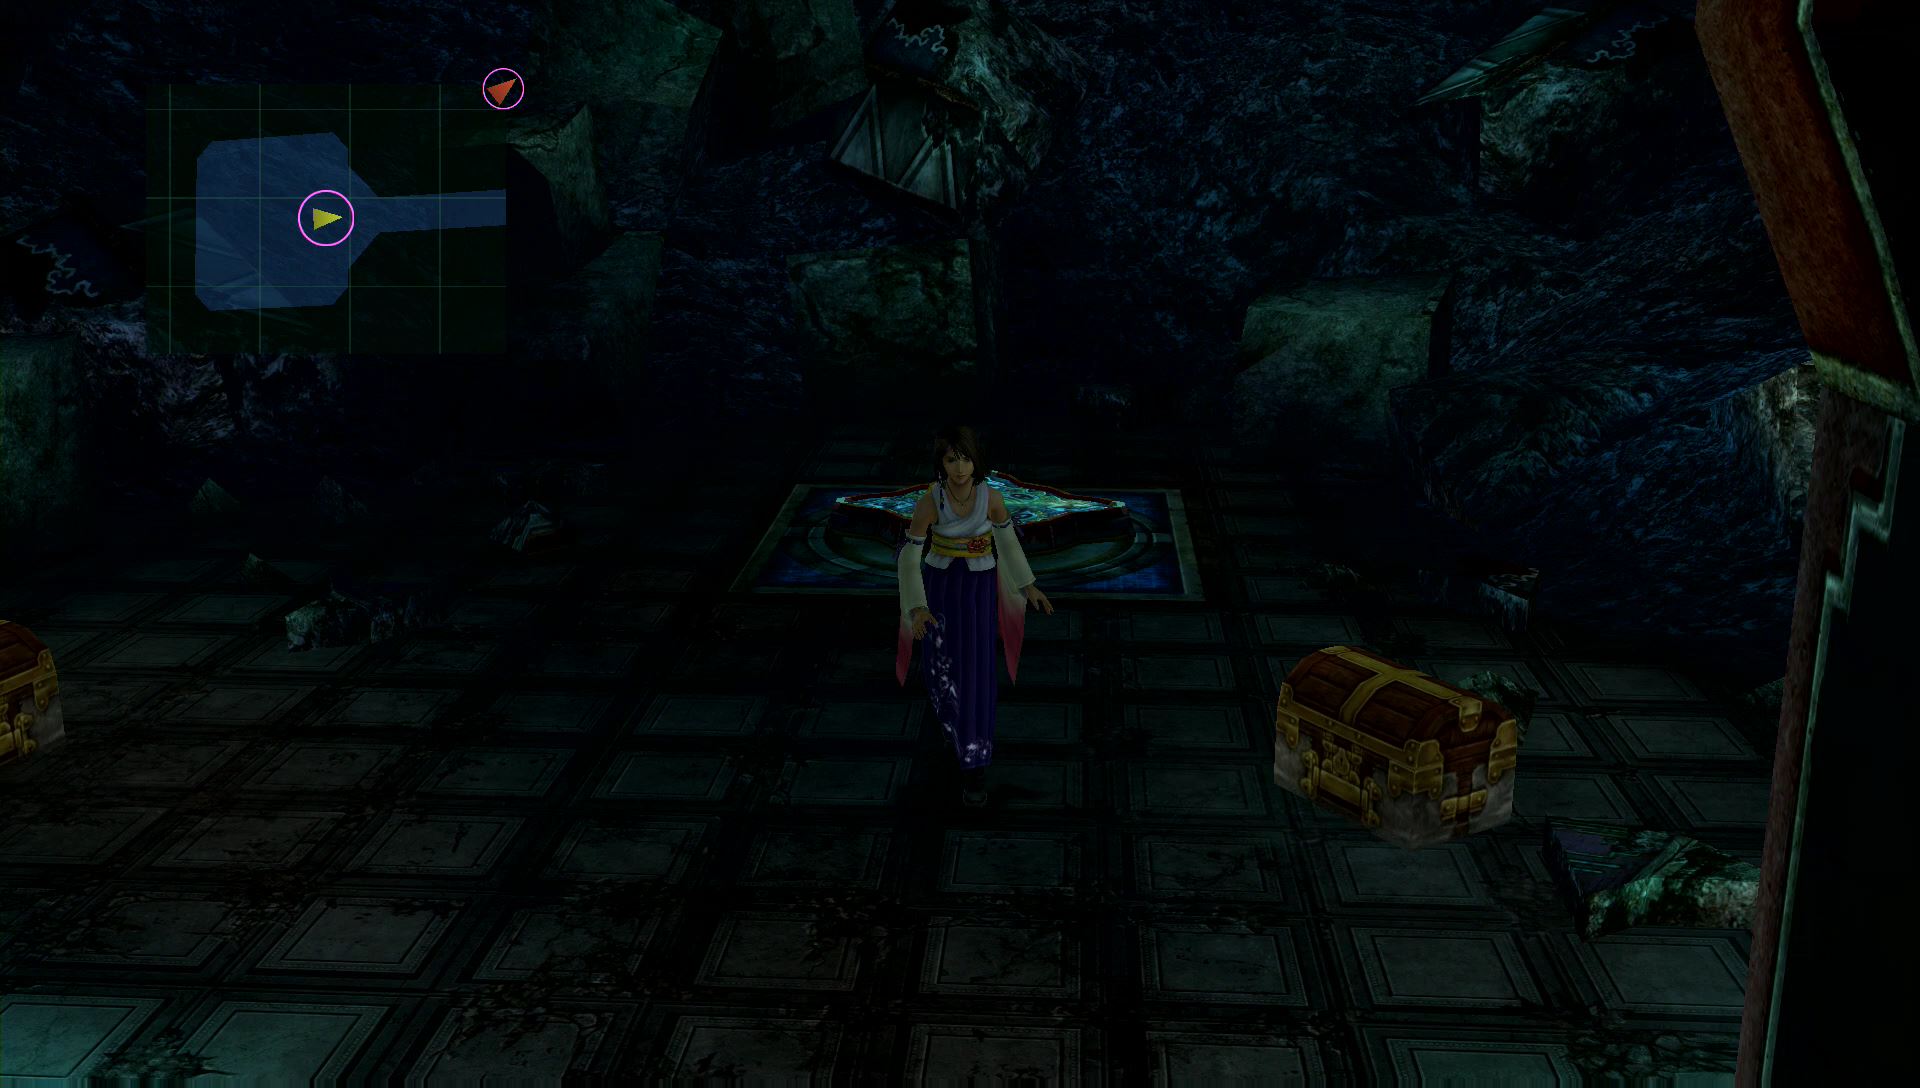
After a lengthy cut scene, the team will end up in the Maze of Sorrow. Yuna will be the only one in the party, which means you’ll have to keep an eye on her HP and use Aeons to survive. Walk north until you find a small room to the east. Inside this room is a treasure chest containing a Blk Magic Sphere.

Return to the starting point and take the left or right path next. Lulu can be found to the left and Kimahri can be found to the right. I went to the right first and found a treasure chest with a Mega-Potion next to Kimahri.
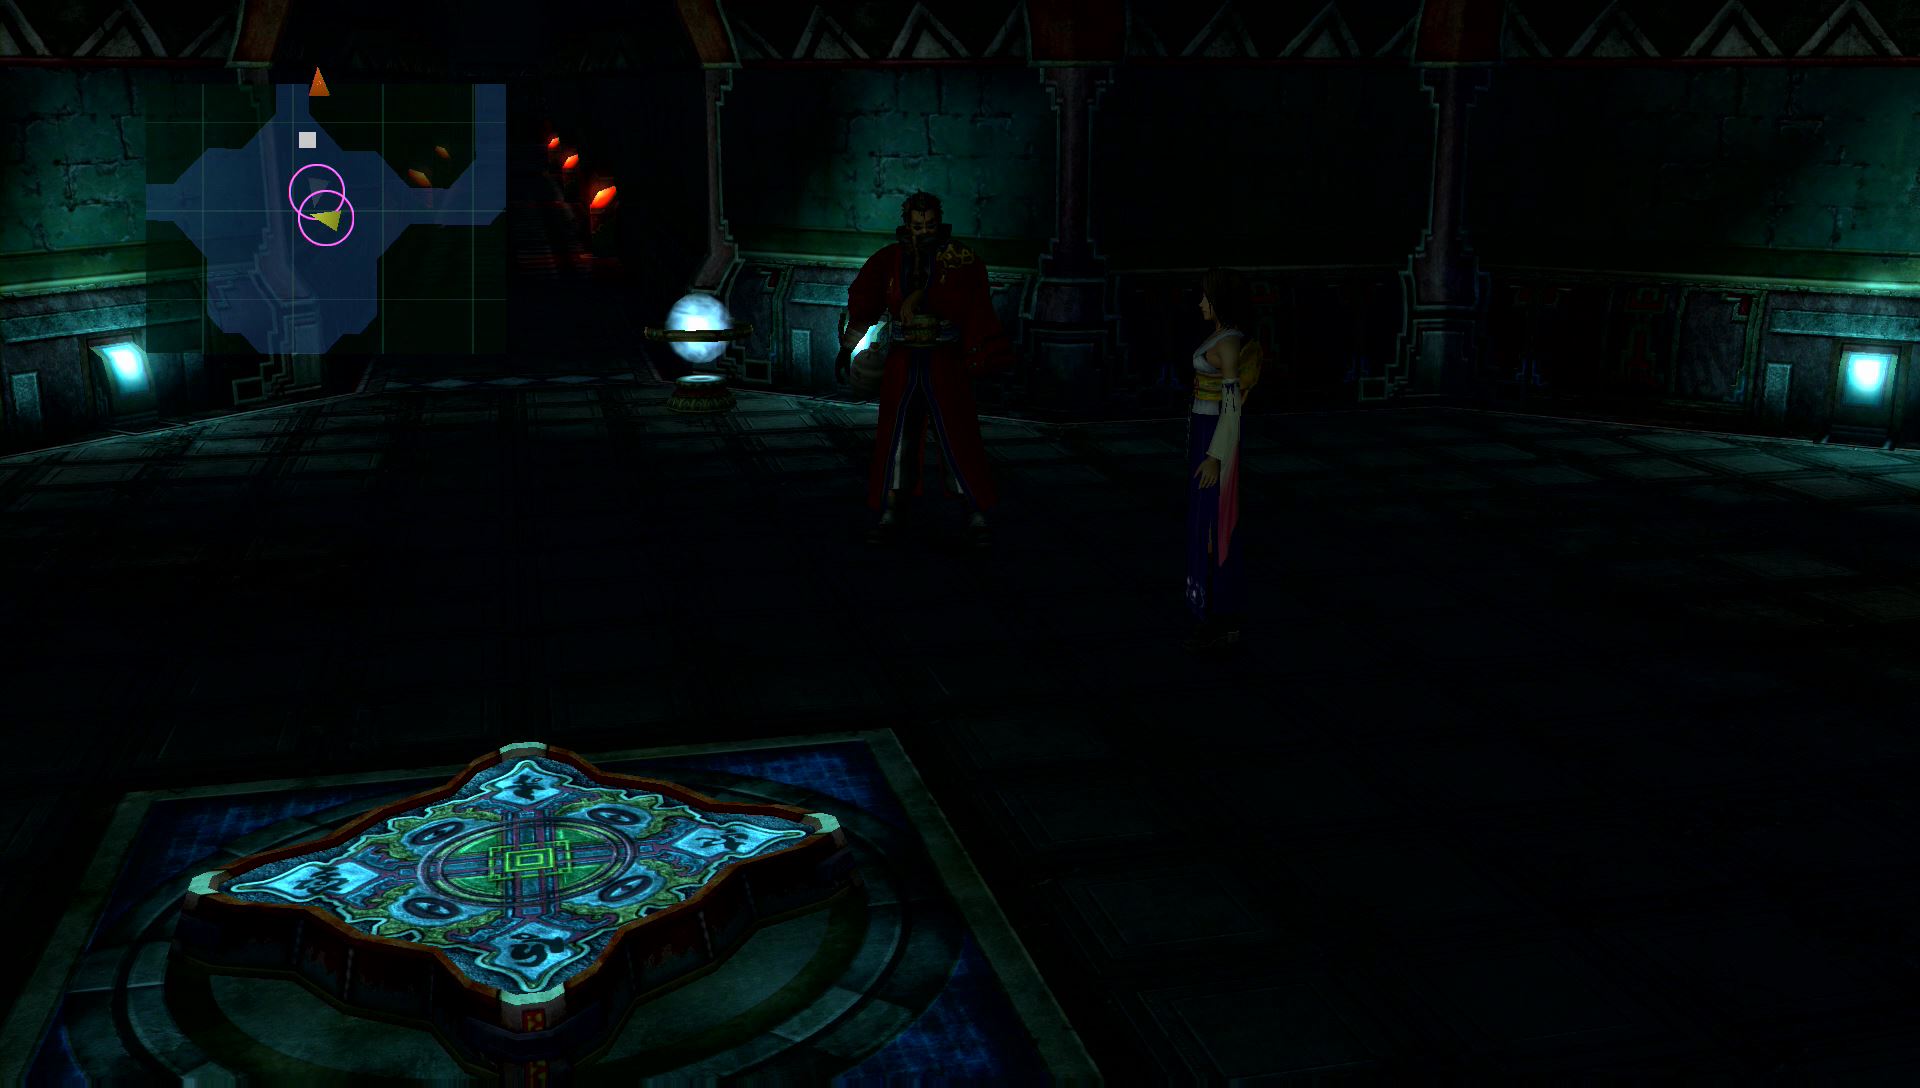
Continue north until you reach another save sphere. You’ll also find Auron here waiting for you. Before going further north, head down the path to the west.
Lulu will be standing in a small alcove to the east of a teleportation pad. To her right is a treasure chest containing a Wht Magic Sphere.
South of Lulu’s position is a dead end with another treasure chest. This treasure chest contains an Elixir. If you touch the teleportation pad next to this treasure chest, it will activate the teleportation pad to the east.
Head north and then east when you reach the fork in the road. This will bring you back to the starting point with the save sphere. Go north past the teleportation pad to the small room with the treasure chest you should have already opened. Step on the pad nearby to transport a teleportation pad to the northwest.

Travel to the new teleporation pad by following the path to the west and then to the north. Step on this pad when the arrow is pointing west. It will teleport you to a hidden room with a Skill Sphere, Lucid Ring, and 10,000 Gil.
With all of that out of the way, follow the path east and north of the second save sphere to begin a boss battle.
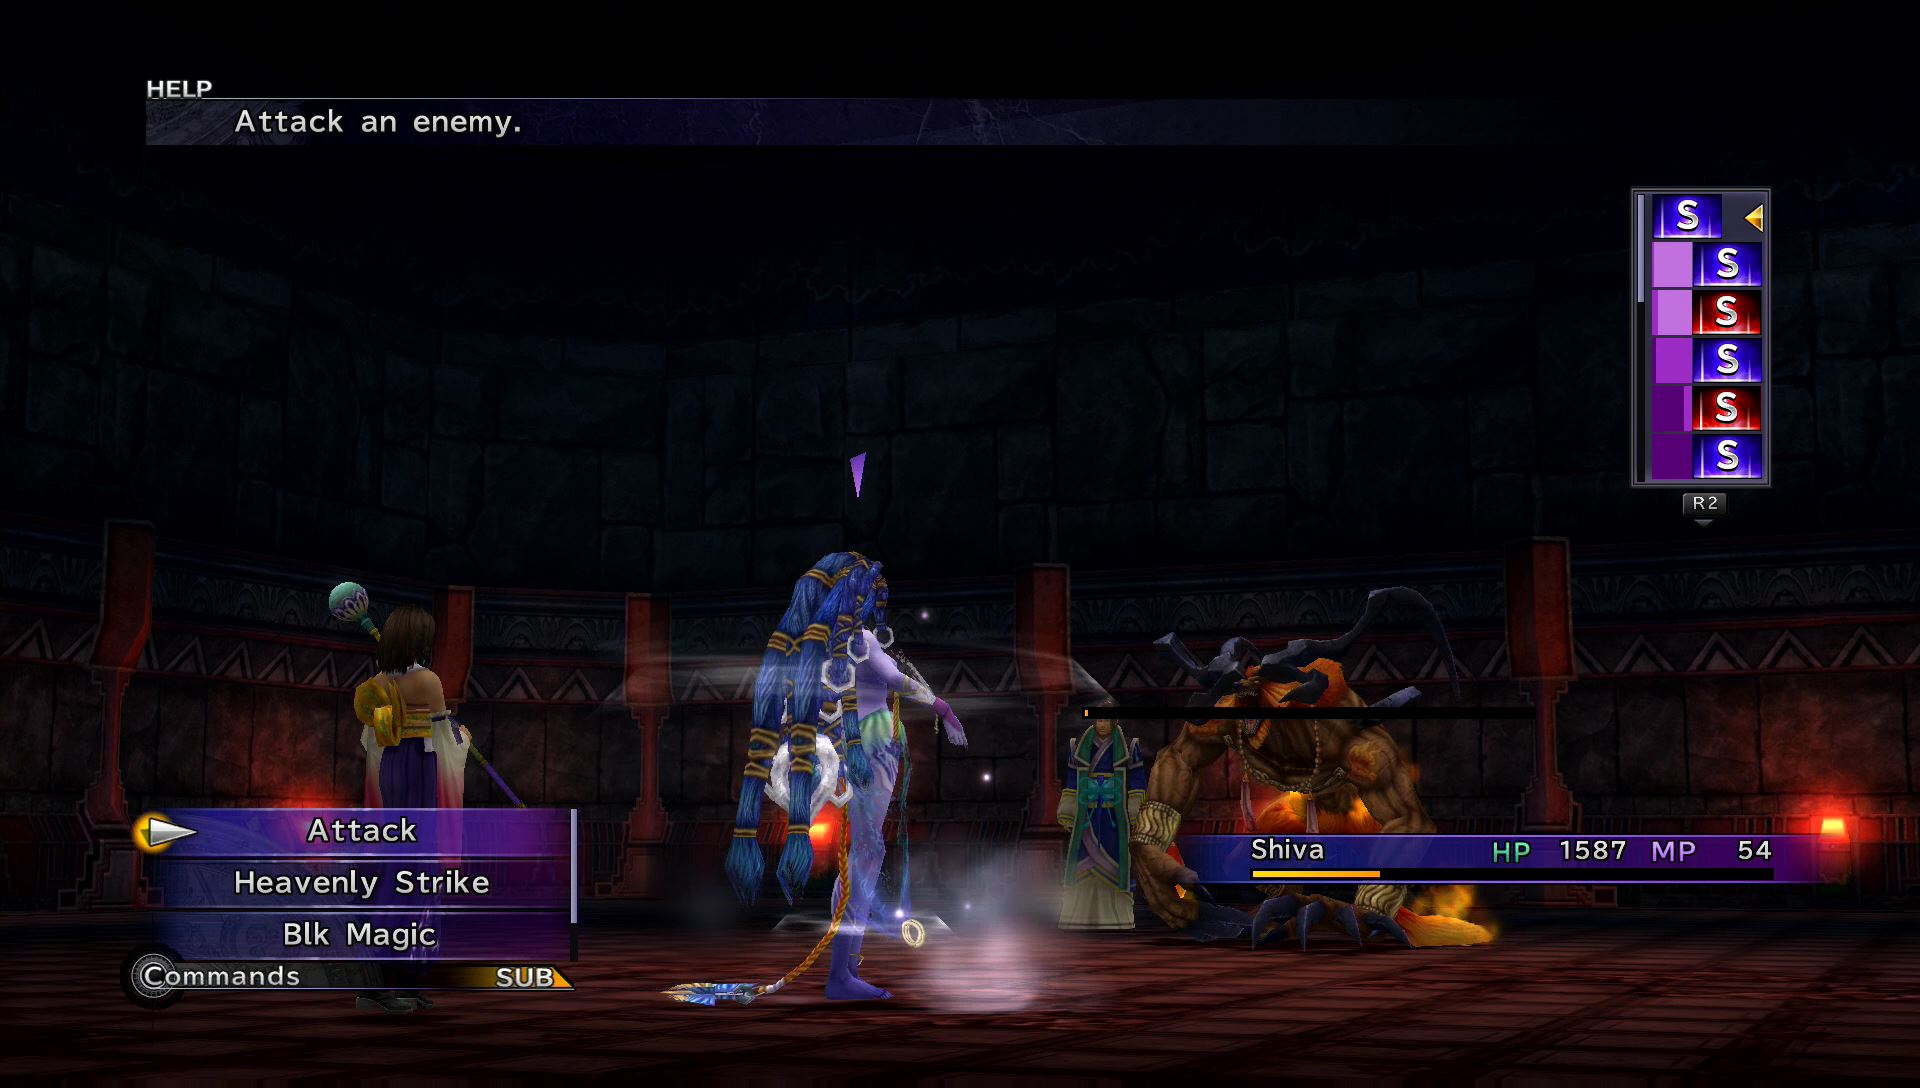
Boss Battle: Isaaru
The summoner Isaaru will attack you with three of his Aeons before you can leave. Fight him one on one with Yuna’s Aeons, but choose wisely.
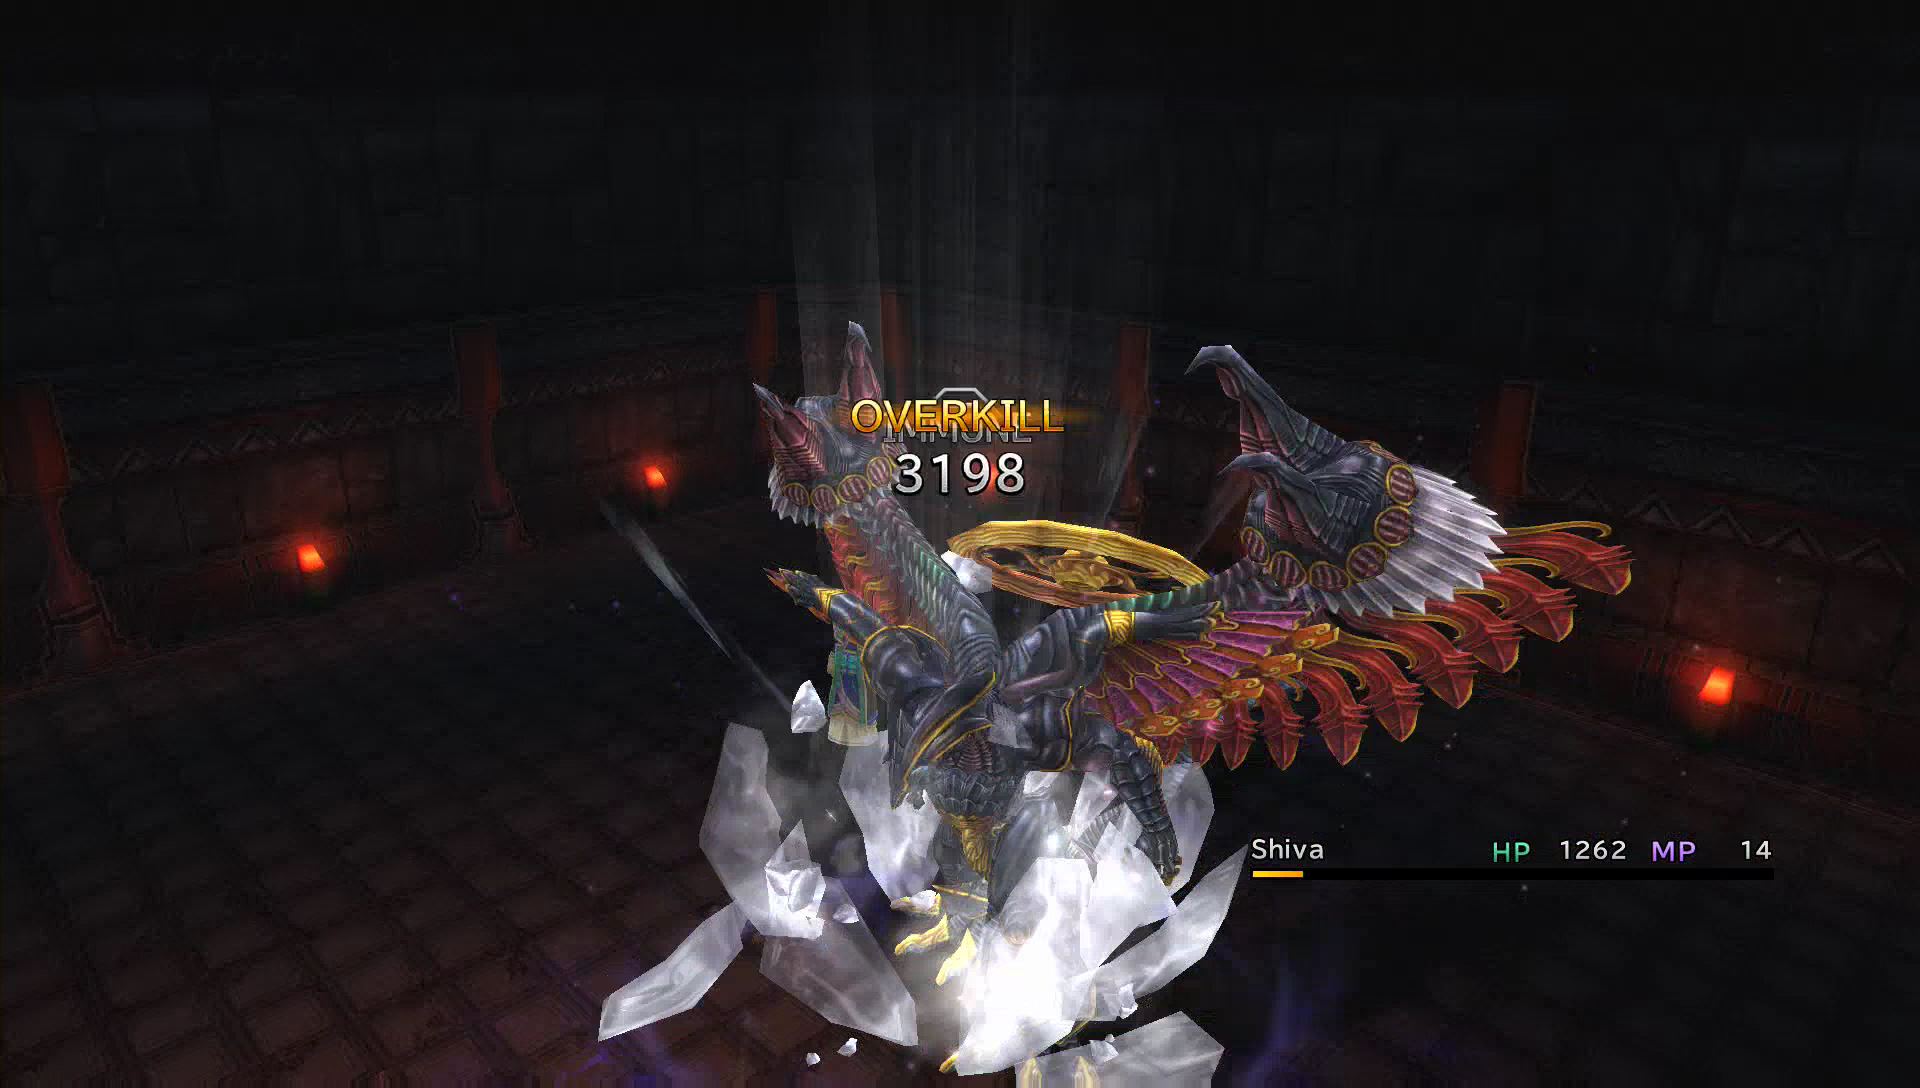
The first Aeon Isaaru summons is Ifrit with a maxed out Overdrive gauge. Which ever Aeon you use, make sure you use the Shield ability to withstand the attack. Shiva may be a good choice since her ice attacks can deal massive damage.
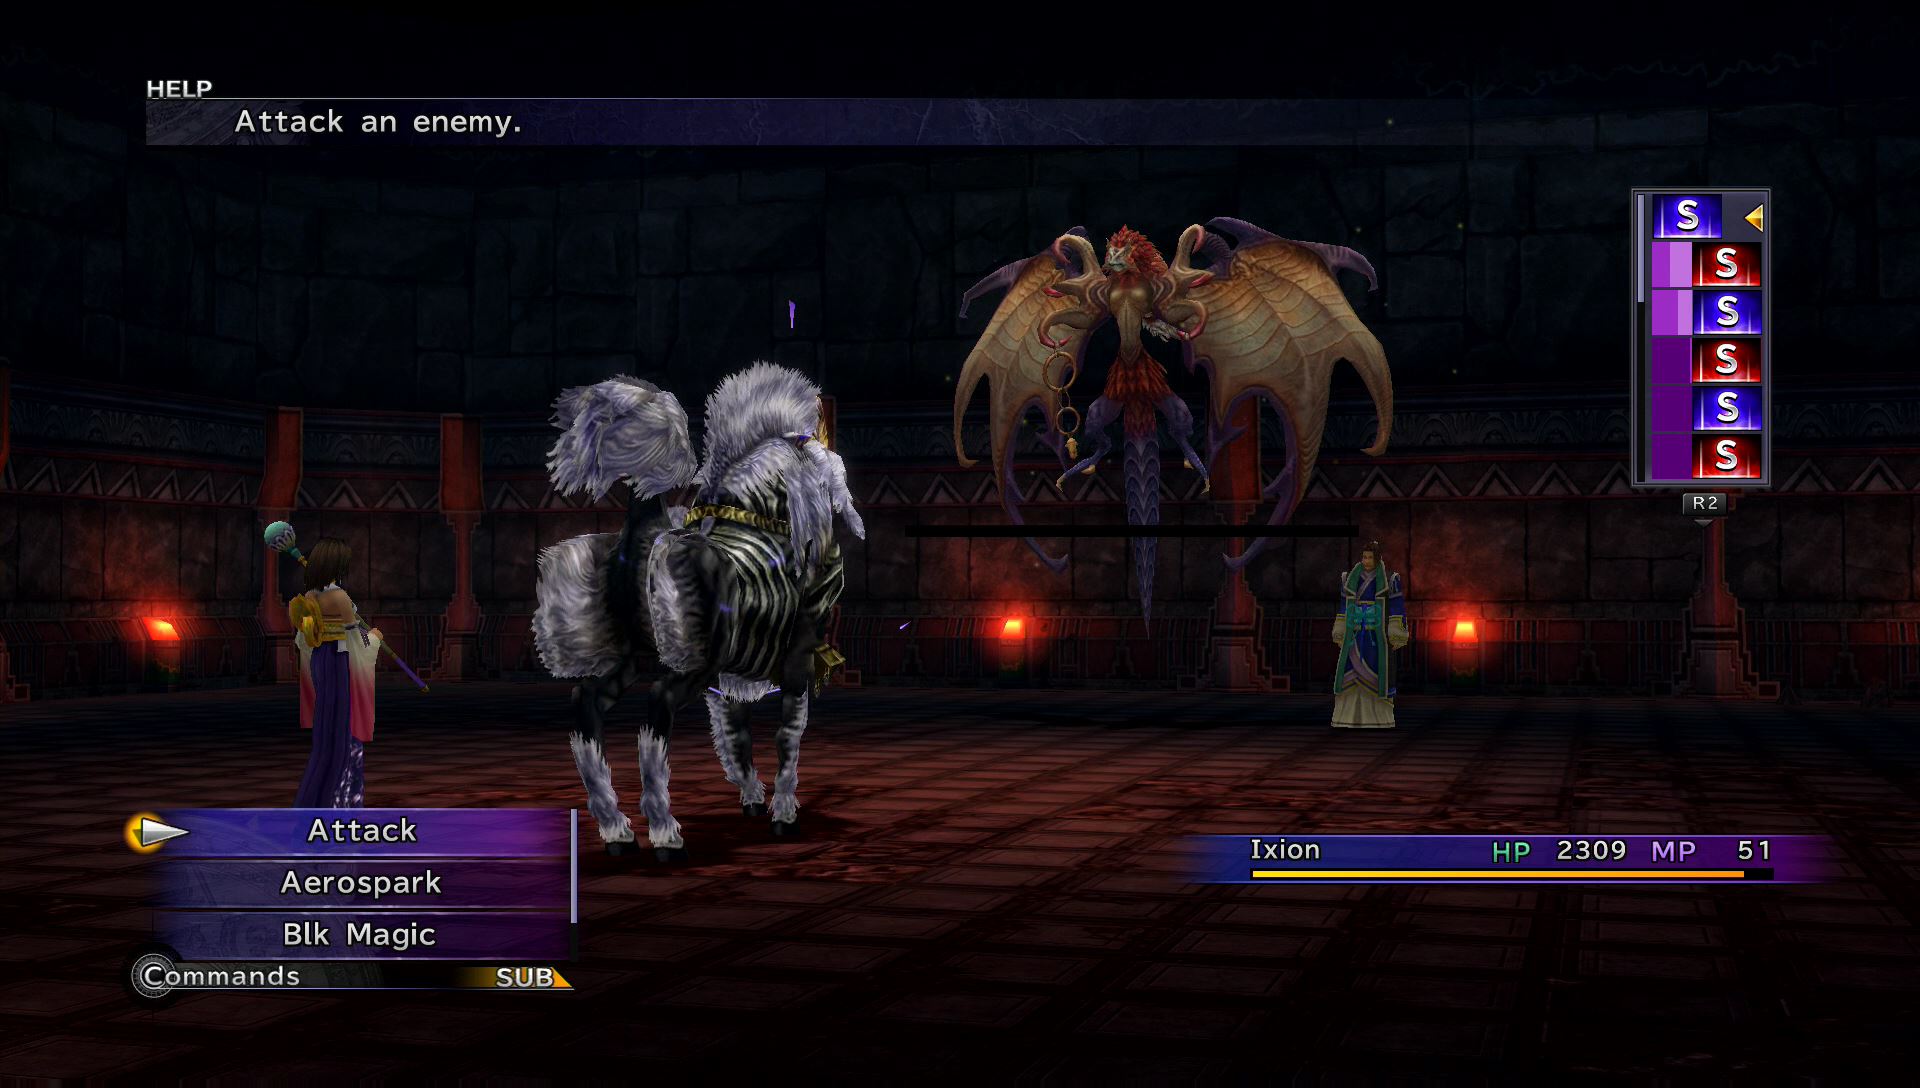
The second Aeon Isaaru summons is Valefor. Valefor doesn’t have any elemental weaknesses, so use any Aeon you like. Ixion may be a good choice due to its speed and strong physical attacks. Remember, if Valefor gets its Overdrive gauge to the max, use the Shield ability to withstand the attack. Also, Ixion can heal itself by using Lighting attacks on itself.
The third, and final, Aeon Isaaru summons is Bahamut. Like Valefor, Bahamut doesn’t have any elemental weaknesses. Furthermore, this Aeon has strong attacks and defenses. Ixion or Shiva may be good choices to use against Bahamut. Remember, both can heal themselves by using black magic of the same element on themselves. During the battle, Bahamut will count down to zero. If you cant defeat him before zero, make sure you use the Shield ability at zero to protect yourself from Bahamut’s Overdrive: Mega Flare.
Via Purifico – Part 2
| Fiends | HP | Fire | Thunder | Water | Ice |
|---|---|---|---|---|---|
| Phlegyas | 1313 | Strong | Weak | Strong | — |
| Remora | 3000 | — | Weak | Strong | — |
| Sahagin | 1380 | — | Weak | — | — |
After the Aeon battle, you will take control of Tidus, Wakka, and Rikku. Swim down the small path until you reach a large opening. A boss will be waiting inside.
Boss Battle – Evrae Altana
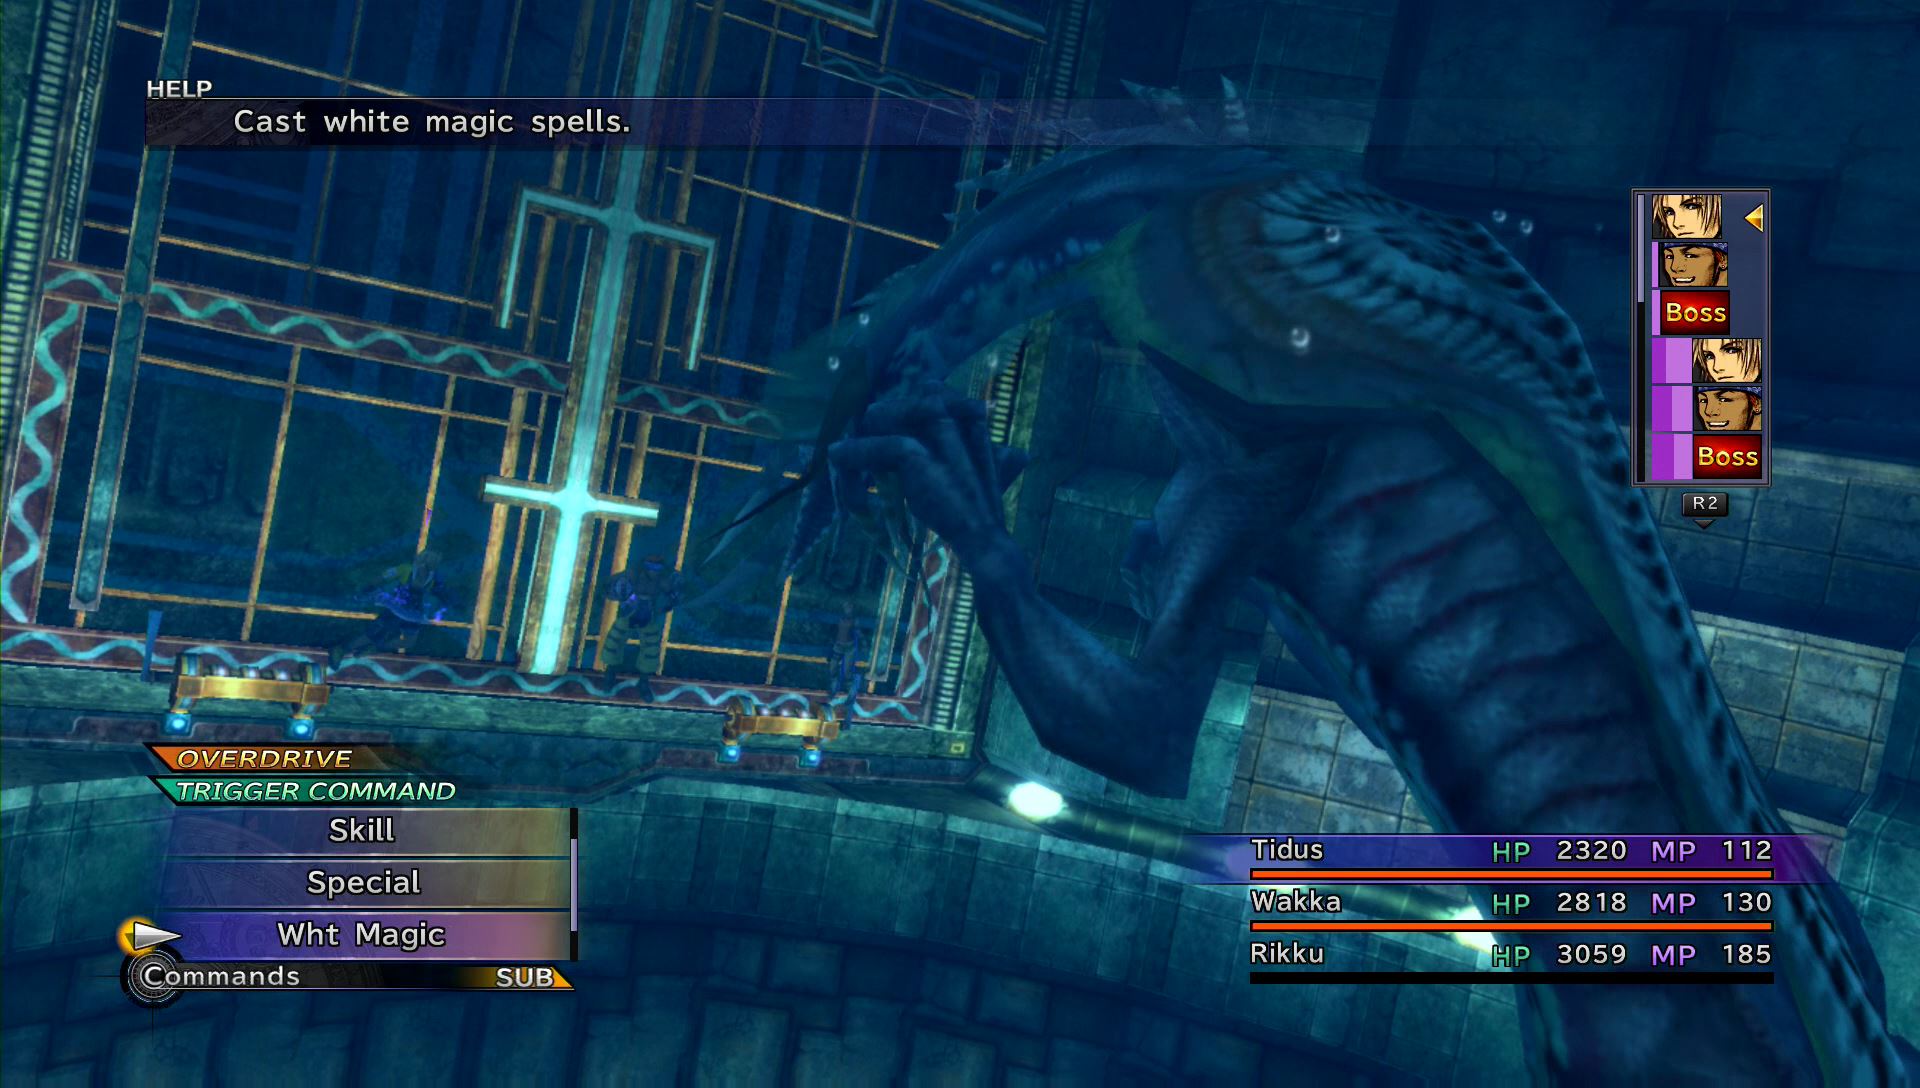
The ghost, or zombie, of Evrae has returned. You can easily defeat him by using a few Phoenix Downs. Simple, right? You will also gain access to the Avenger and Rematch weapons for Tidus and Wakka in two treasure chests down the path. The Avenger gives Tidus the Counterattack ability. The Rematch gives Wakka the Evade & Counter ability.
The other option is to use the trigger commands to open locks around the area. This will send you and Evrae to an enclosed area where the boss takes more damage. Unfortunately, this will also mean you do not get the Avenger and Rematch items. It’s also more dangerous since Evrae can cast Petrify on your team! It’s best to go with the Phoenix Downs.
After the battle, follow the path to the exit. The party will reunite, and a long cut scene will play out. When that’s over with, you can buy some items from O’aka and save your game. Make sure you have enough Softs to cure petrification.
Highbridge
| Fiends | HP | Fire | Thunder | Water | Ice |
|---|---|---|---|---|---|
| Warrior Monk | 1400 | — | — | — | — |
| YAT-99 | 2700 | Weak | — | Weak | — |
| YKT-63 | 4200 | Weak | — | Weak | — |
This entire area is simply a long bridge with three types of enemies, but it’s a great place to level up. Spend some time here at least until you can knock out all enemies with one attack from a few characters, then save at the second save sphere before starting the boss battle in the back.
Boss Battle: Seymour Natus
| Enemy | HP | AP | Fire | Thunder | Water | Ice |
|---|---|---|---|---|---|---|
| Seymour | 36000 (3500) | 6300 (9450) | — | — | — | — |
| Mortibody | 4000 | ? | — | — | — | — |
- Break – Petrifies One Target
- Shattering Claw – A physical attack to one target. Instantly kills a petrified target.
- Double Cast – Uses two black magic spells back to back.
- Flare – A non-elemental black magic spell to one target.
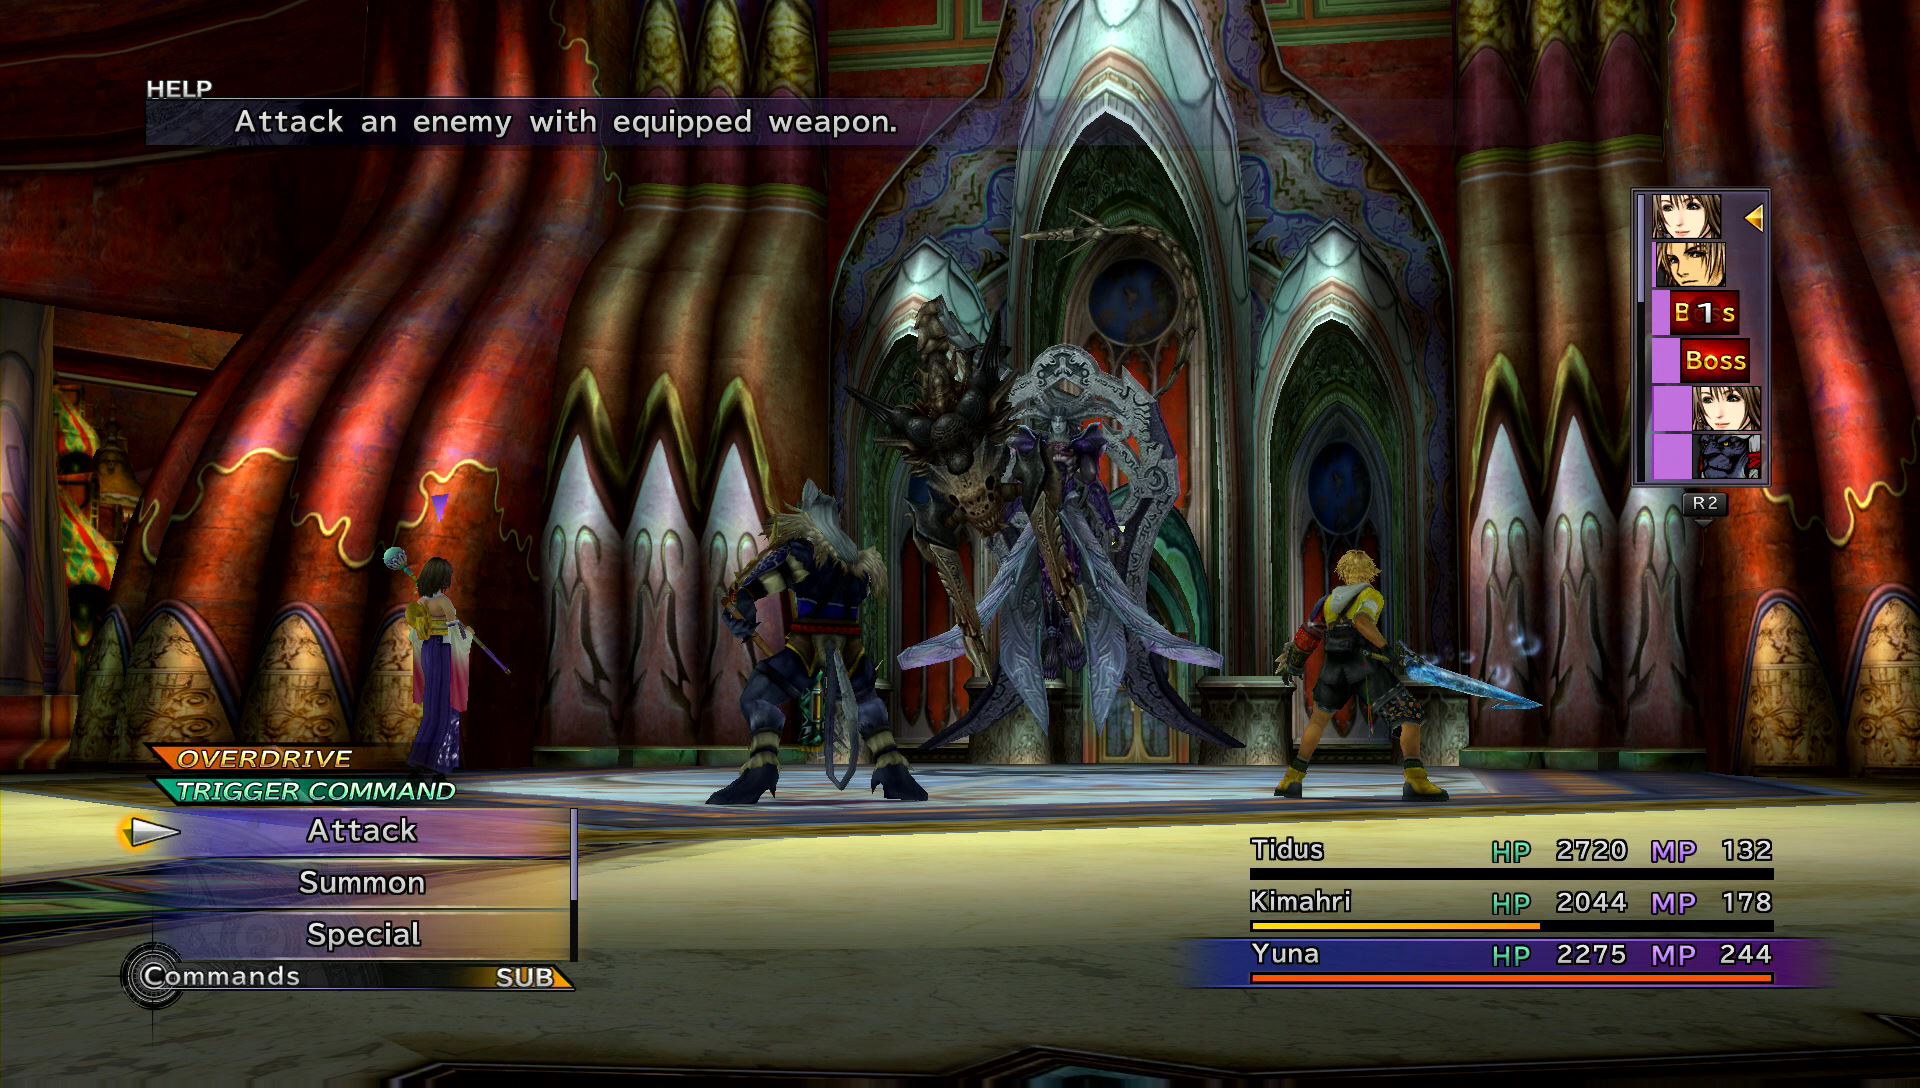
It’s time to battle Seymour again. He will be accompanied by a weapon of sorts called the Mortibody. You should target this before Seymour because it will heal Seymour with cure spells while it’s healthy. Once its HP is reduced, it will sap Seymour’s HP instead to keep itself alive.
Before attacking, use Rikku’s Steal ability on Seymour to get the Tetra Element item. Also, remember to allow all party members to use one command in order to earn experience points.
For this battle, Auron, Yuna, and Tidus have special Trigger Commands to talk with Seymour. Doing this will give Auron and Tidus a Strength boost, and Yuna will get a Magic Defense boost.
Seymour does three basic attacks. If Seymour is attacked directly, he will either counter attack with two elemental black magic spells back to back or a single flare, which is a non-elemental black magic spell.
Seymour also uses Break to petrify a party member. On the next turn, he will use Mortibody’s shattering claw to kill the petrified teammate, which will instantly kill them and prevent you from using another party member. Make sure you use a soft immediately after an ally is petrified!
If the battle goes on for awhile, Seymour may use Protect to Shell to boost his defenses. Keep attacking Mortibody to drain his health without receiving counter attack spells, and if needed, use Yuna’s Bahamut to deal massive damage.
Campsite
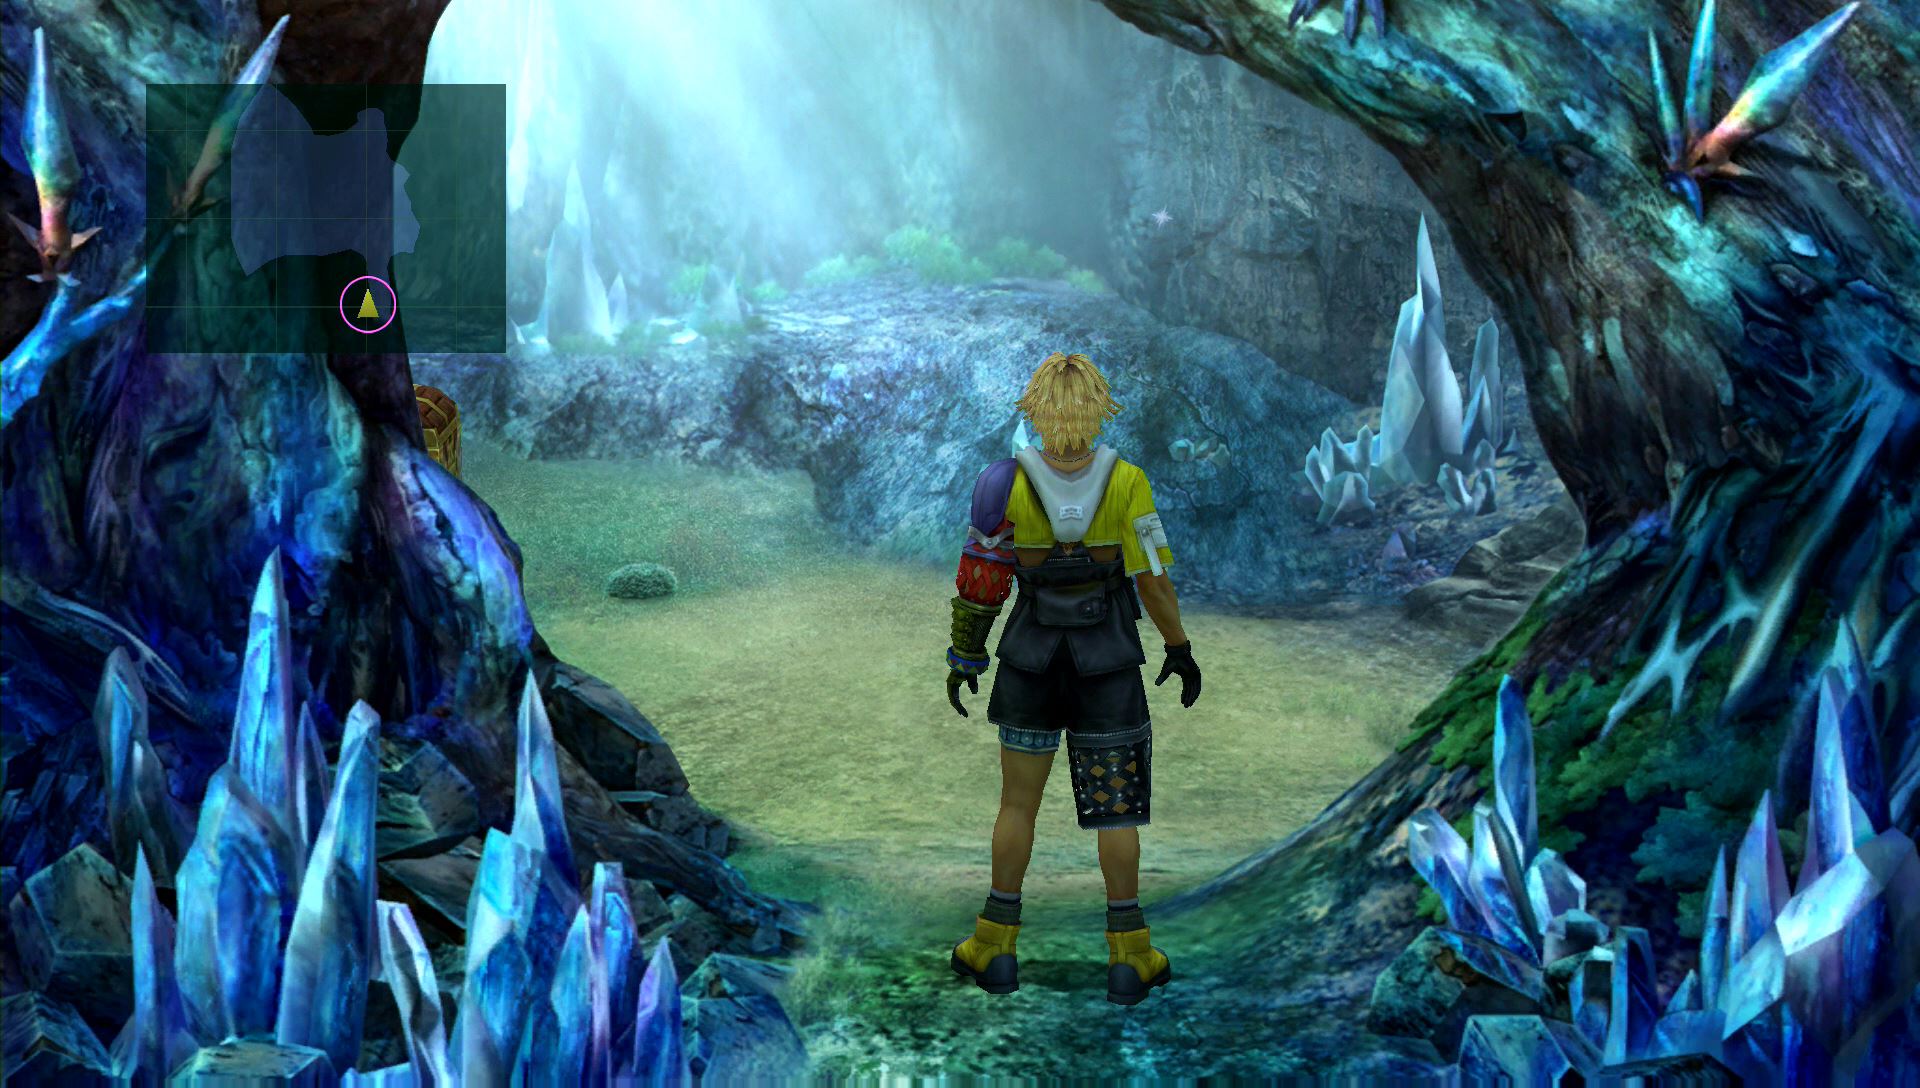
After the battle, you will wind up in Macalania Woods. Save your game and head south to find Yuna. A lengthy cut scene will play out. The Heartstrings trophy will unlock somewhere in the middle.
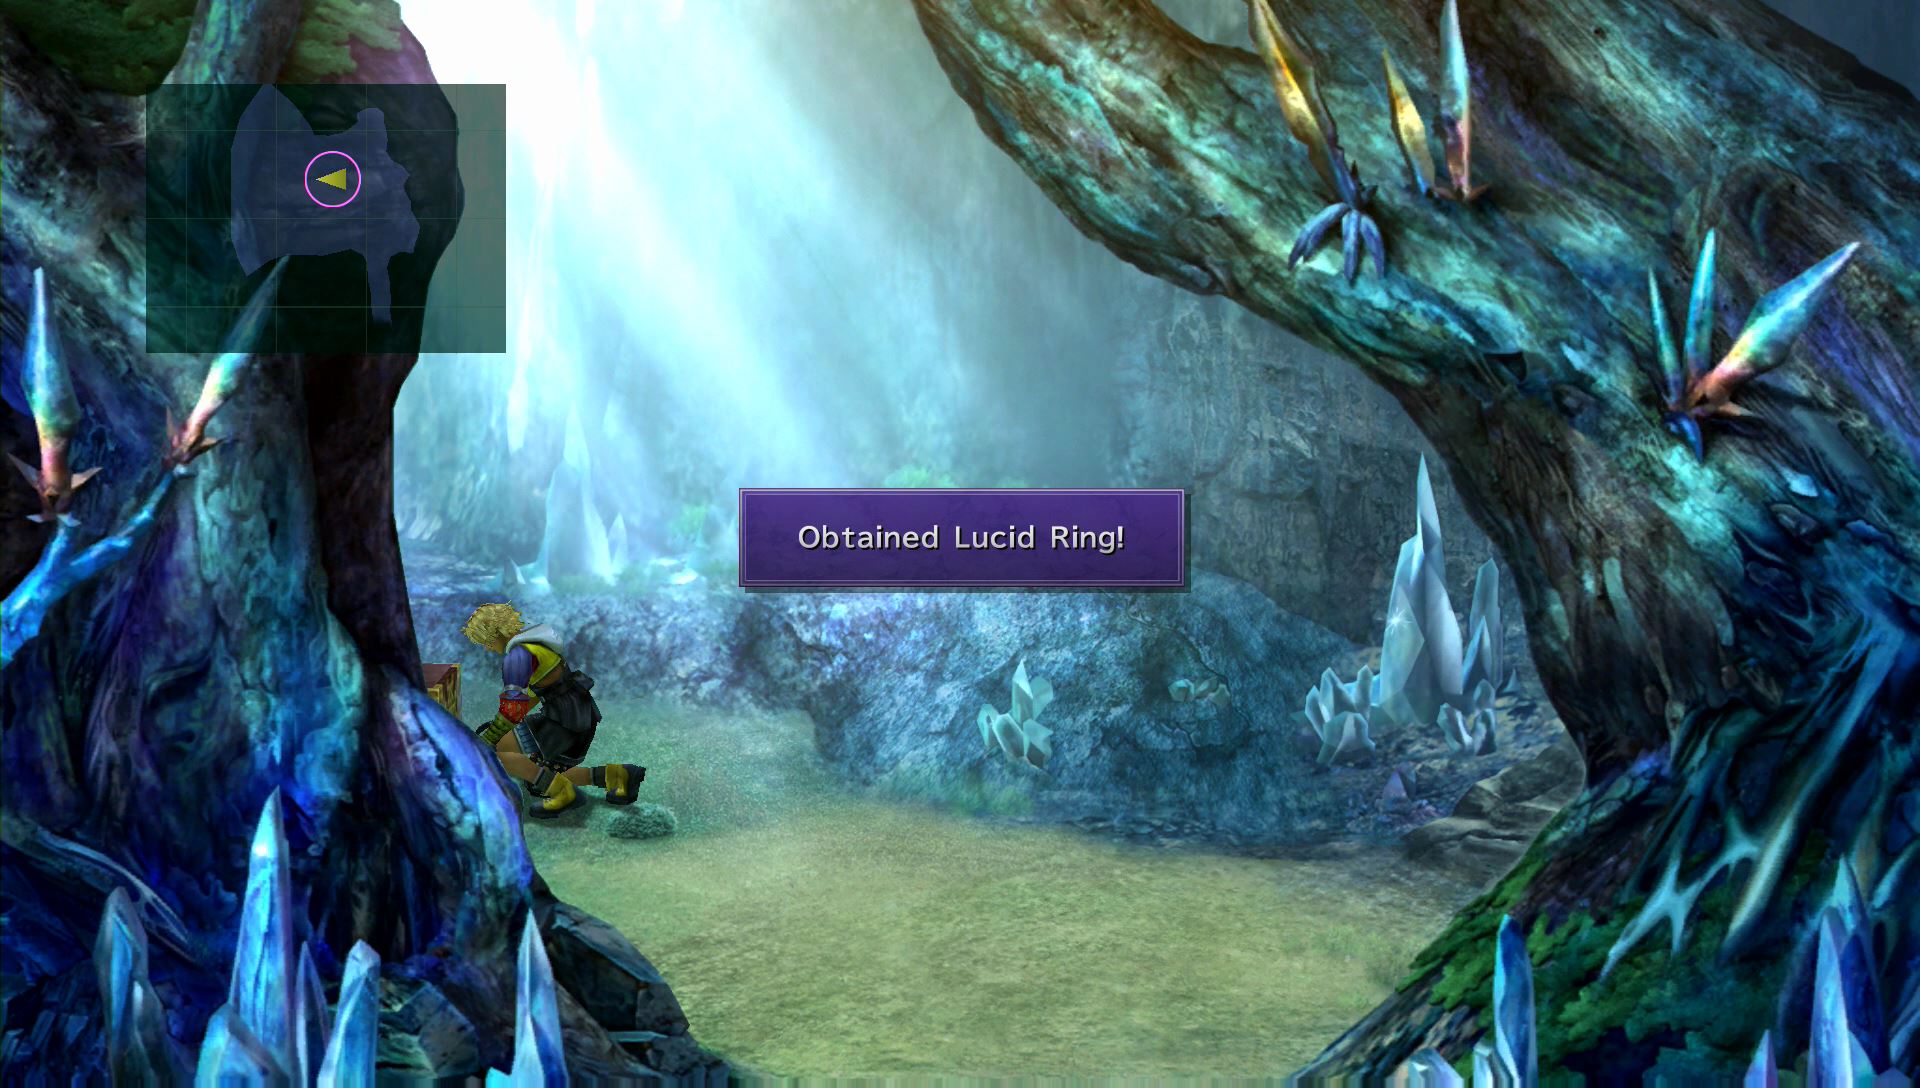
In the morning, return to the campsite and grab the Lucid Ring from the treasure chest on the back-left side.
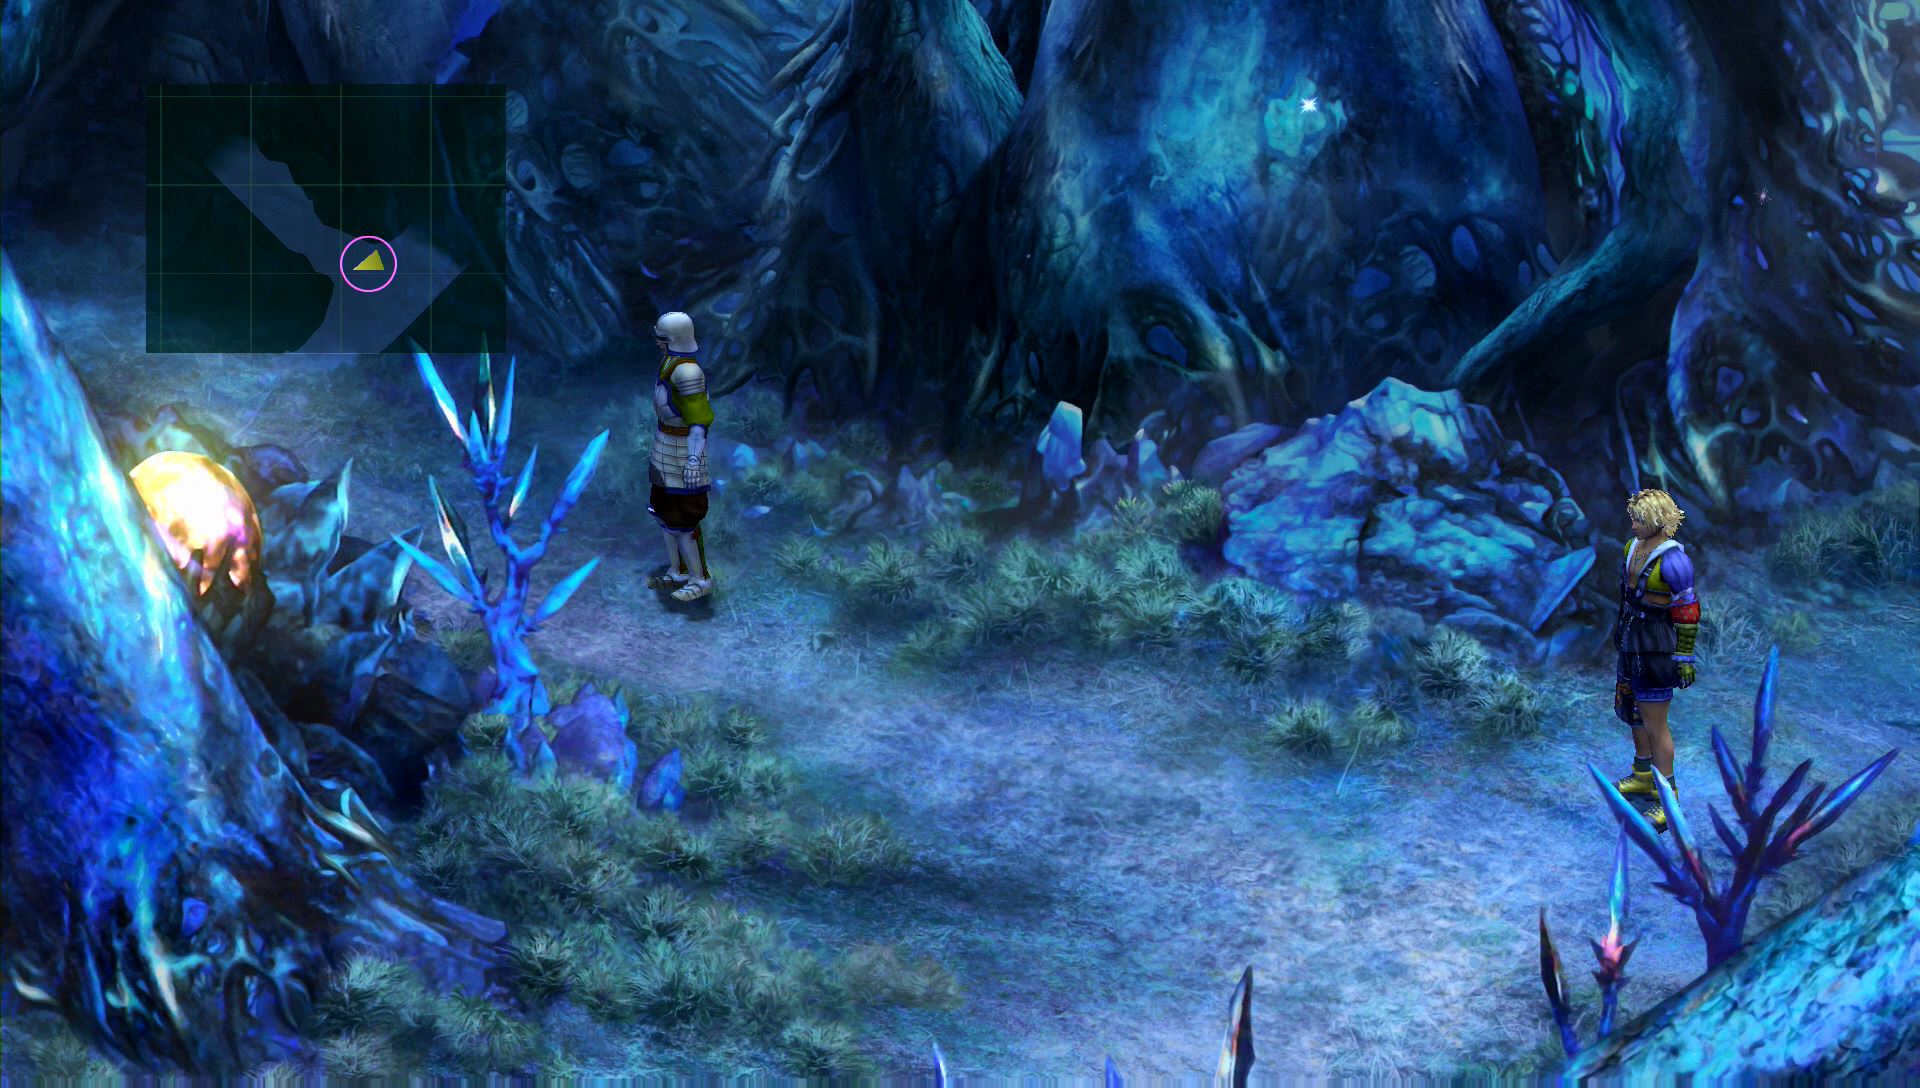
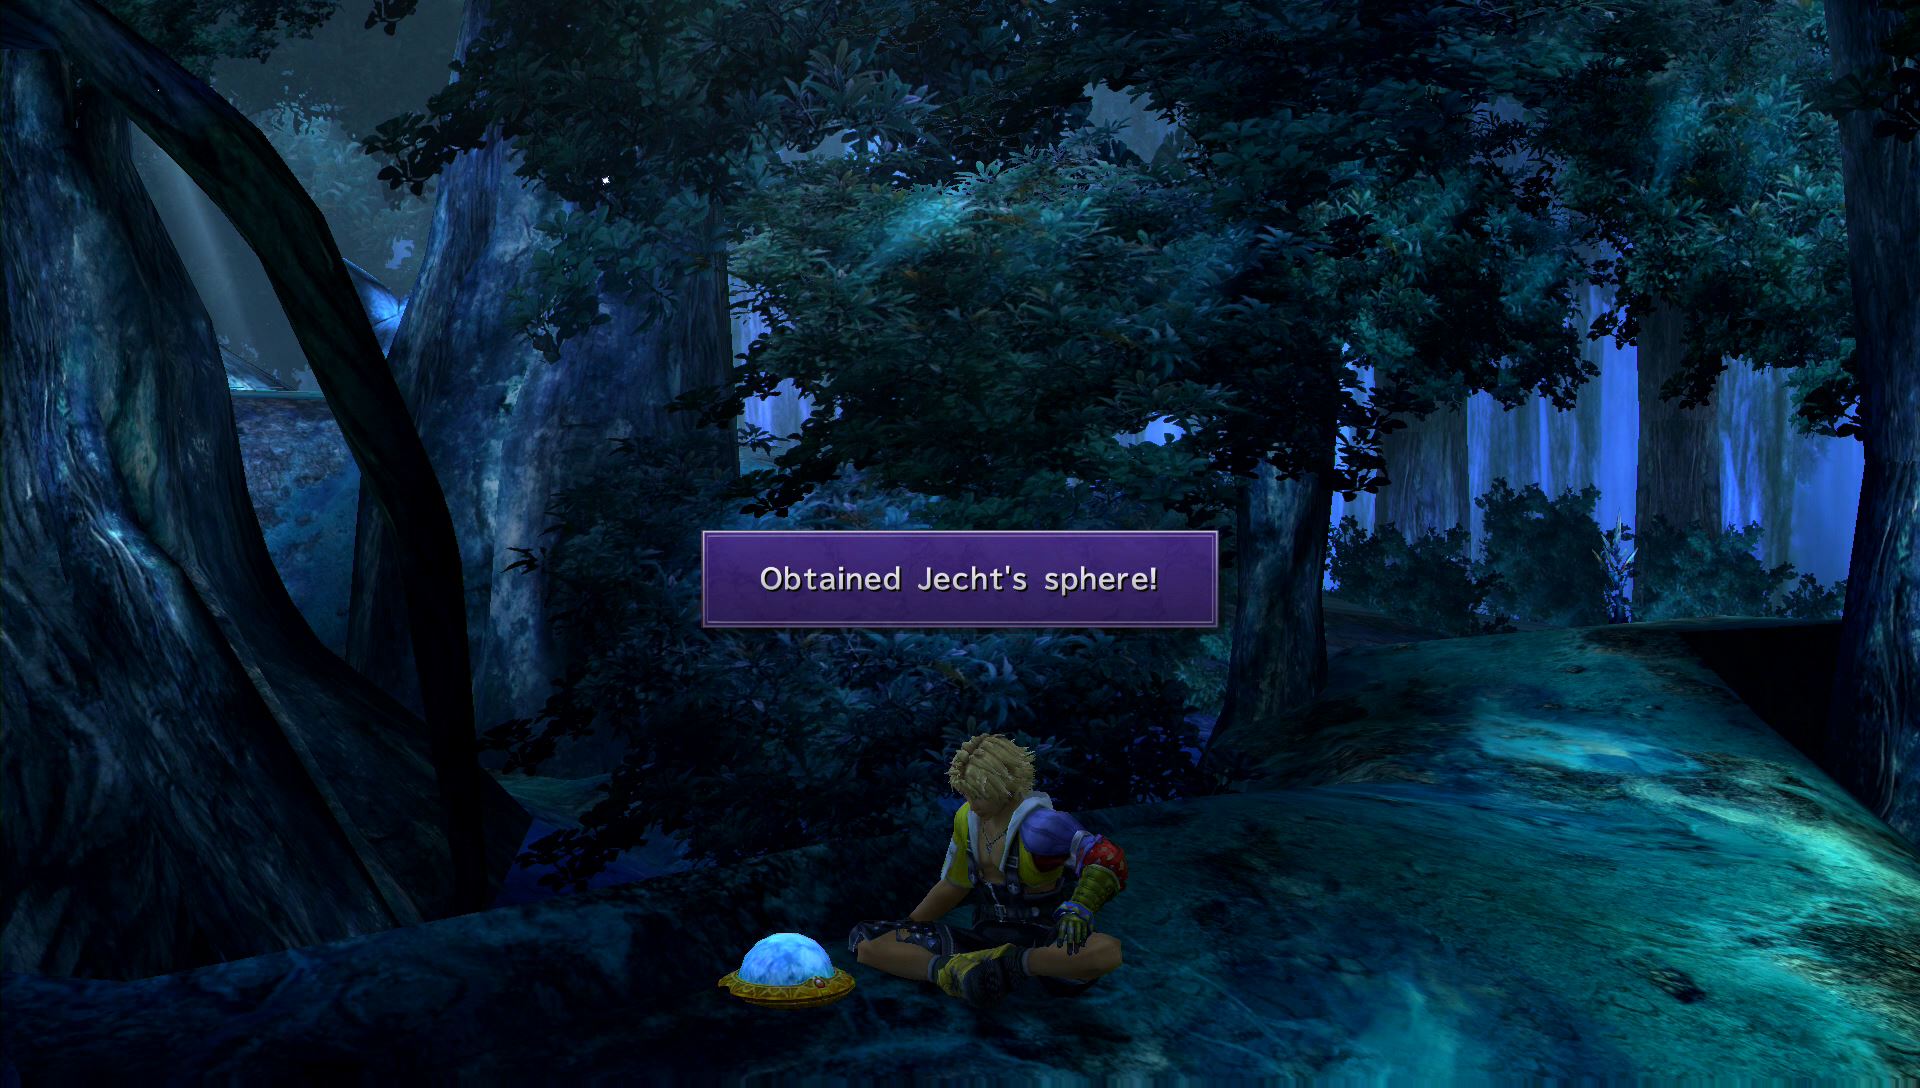
Return to the fork in the road and go west past a few soldiers. You should find a Jecht Sphere a few steps into the woods. After watching it, head east to the Calm Lands.