| Fiends | HP | Fire | Thunder | Water | Ice | |
|---|---|---|---|---|---|---|
| Water Flan | 315 | — | Weak | — | — | |
| Dingo | 125 | Weak | — | — | — | |
| Condor | 95 | Weak | — | — | — | |
| Garuda | 1400 | — | — | — | — | |
| Piranha | 50 | Strong | Weak | — | — | — |
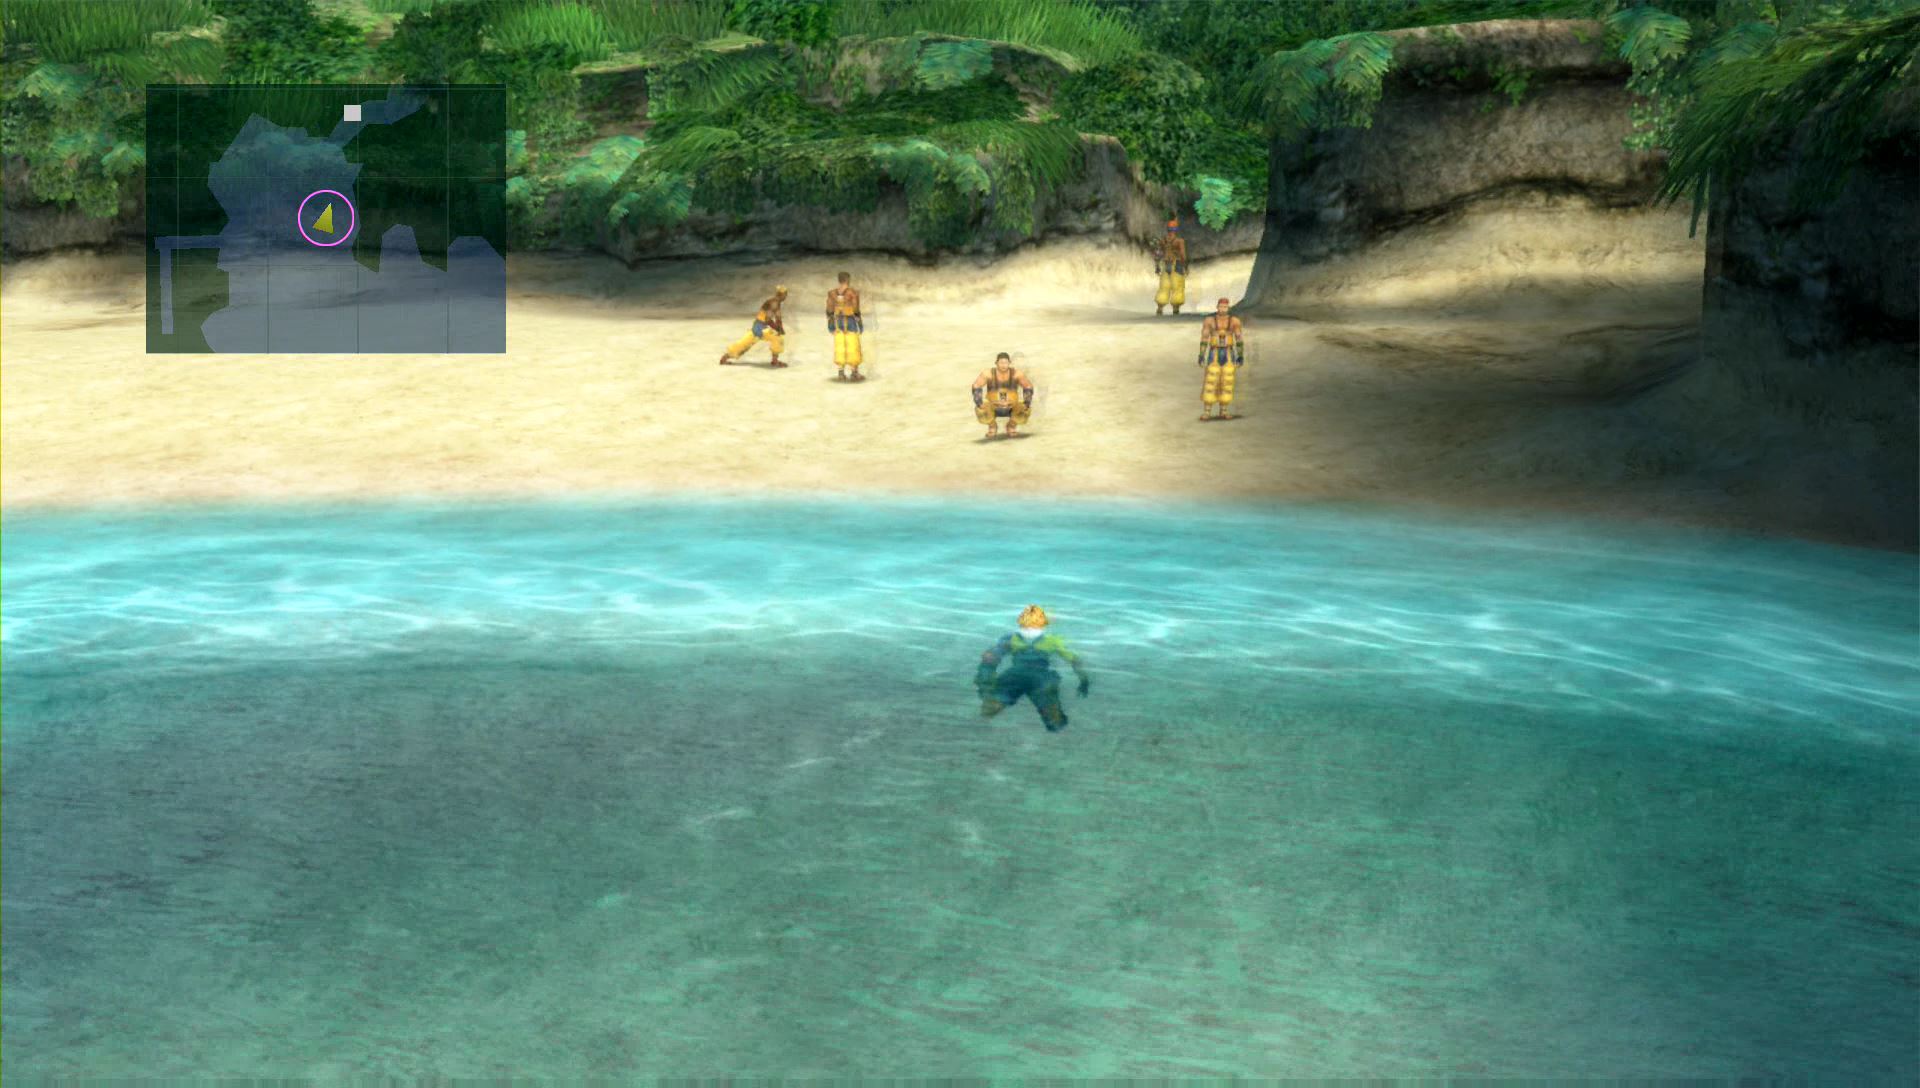
Beach
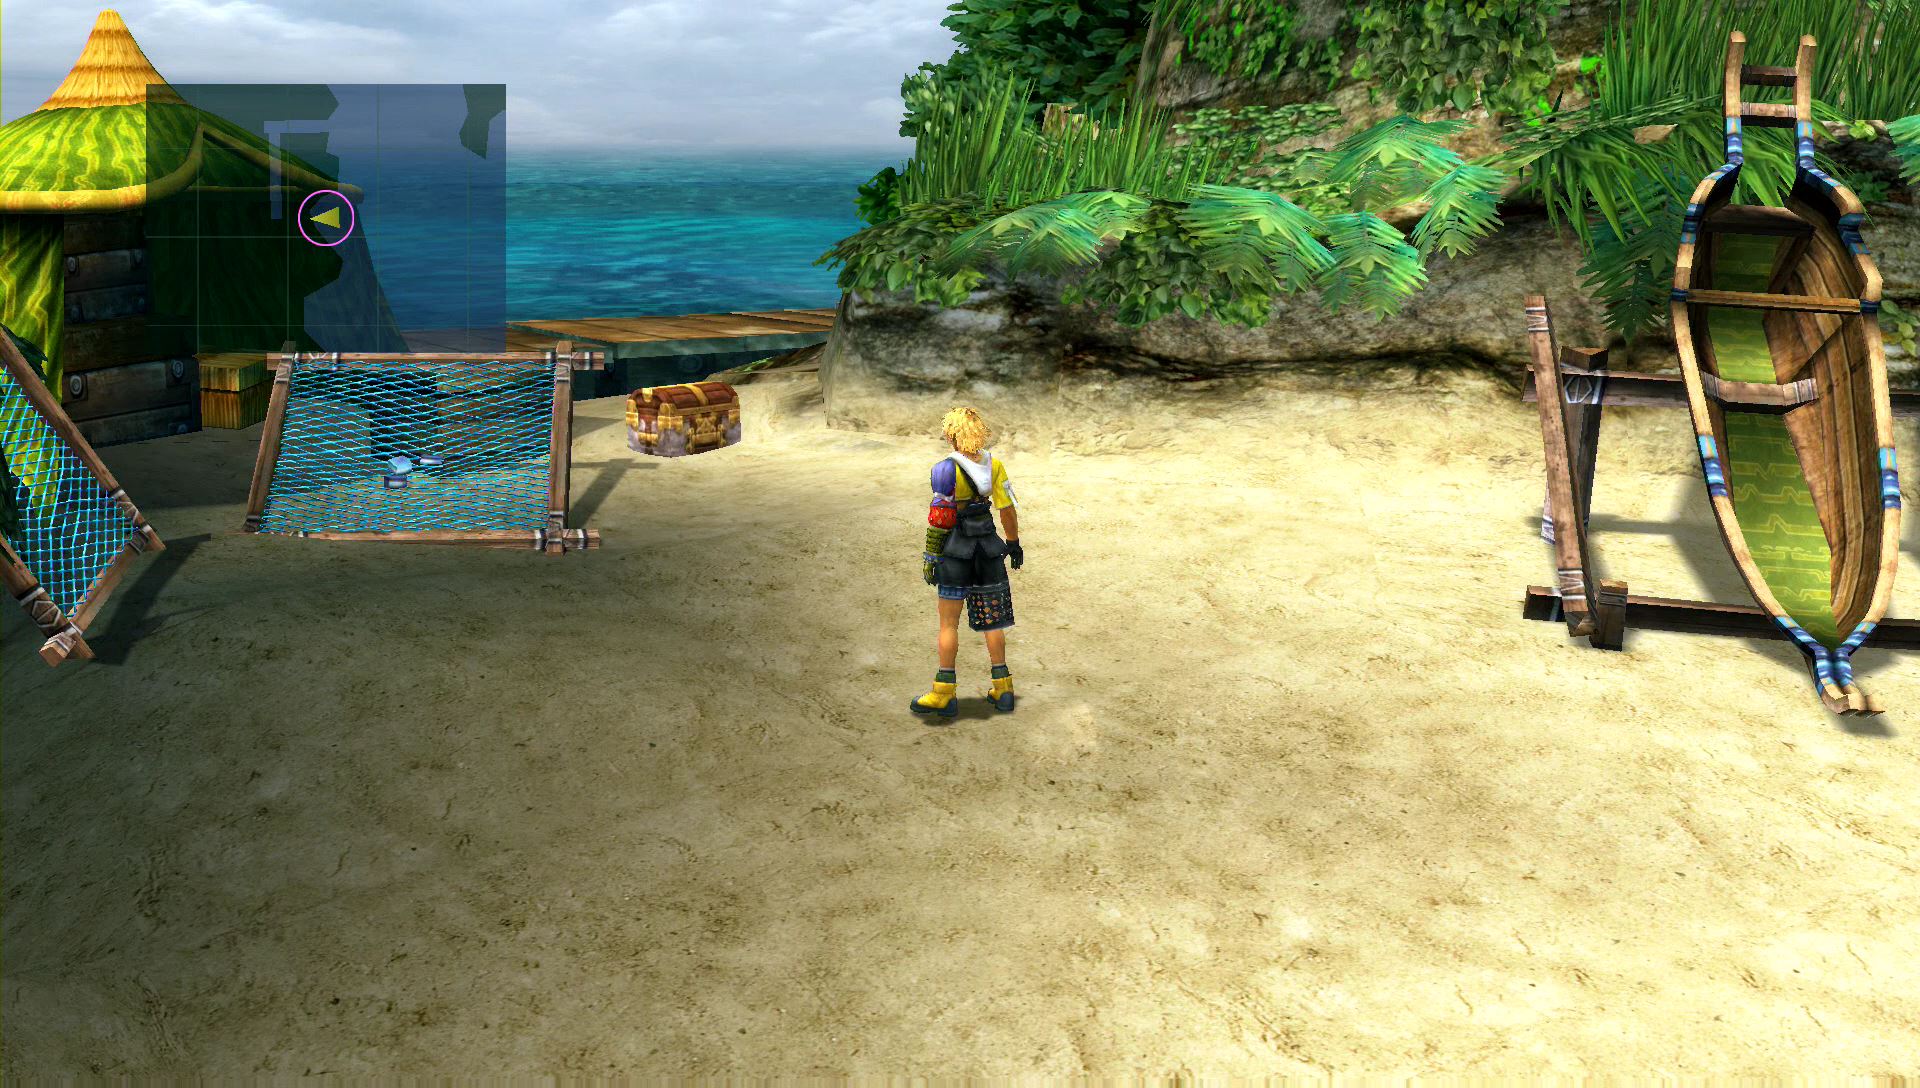
When you regain control of Tidus, walk up to the men on the beach to introduce yourself.
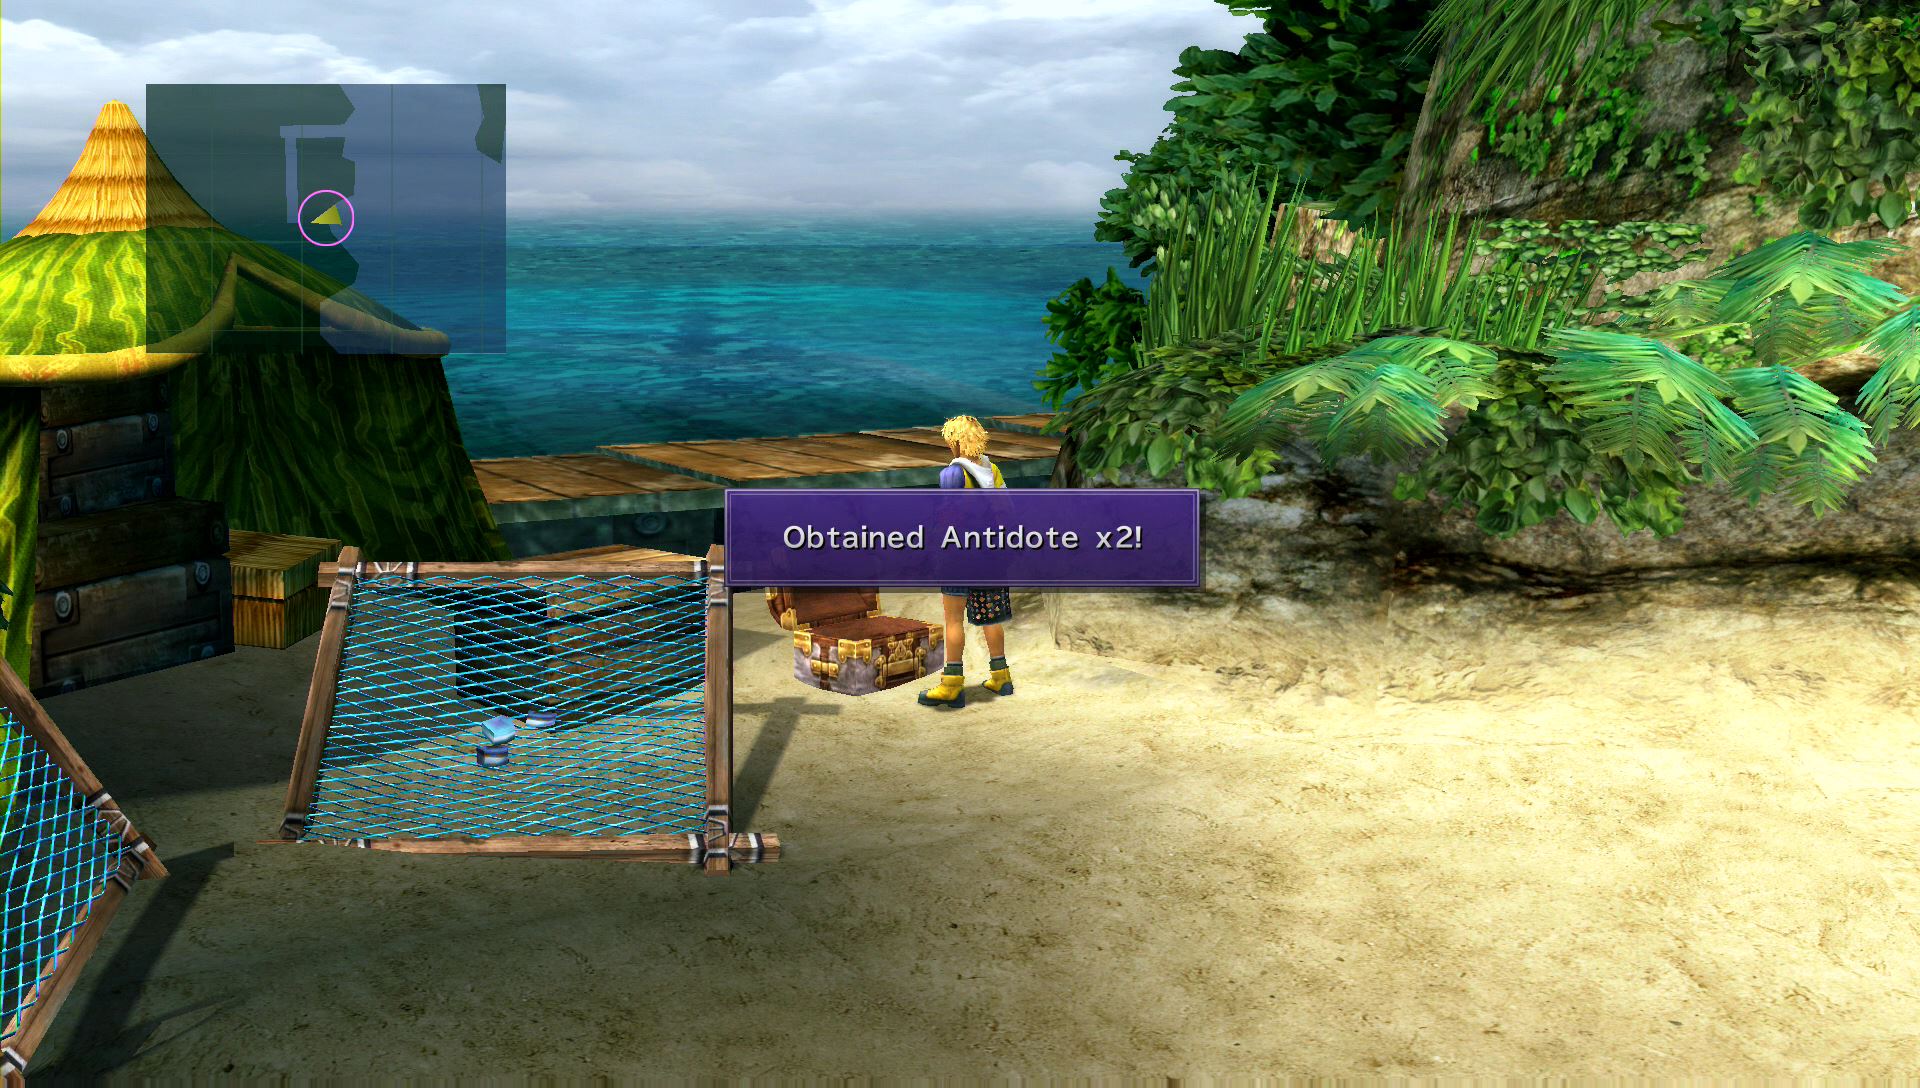
After the cut scene, walk to the west side of the beach. Interact with the Treasure Chest to obtain 2 Antidotes.
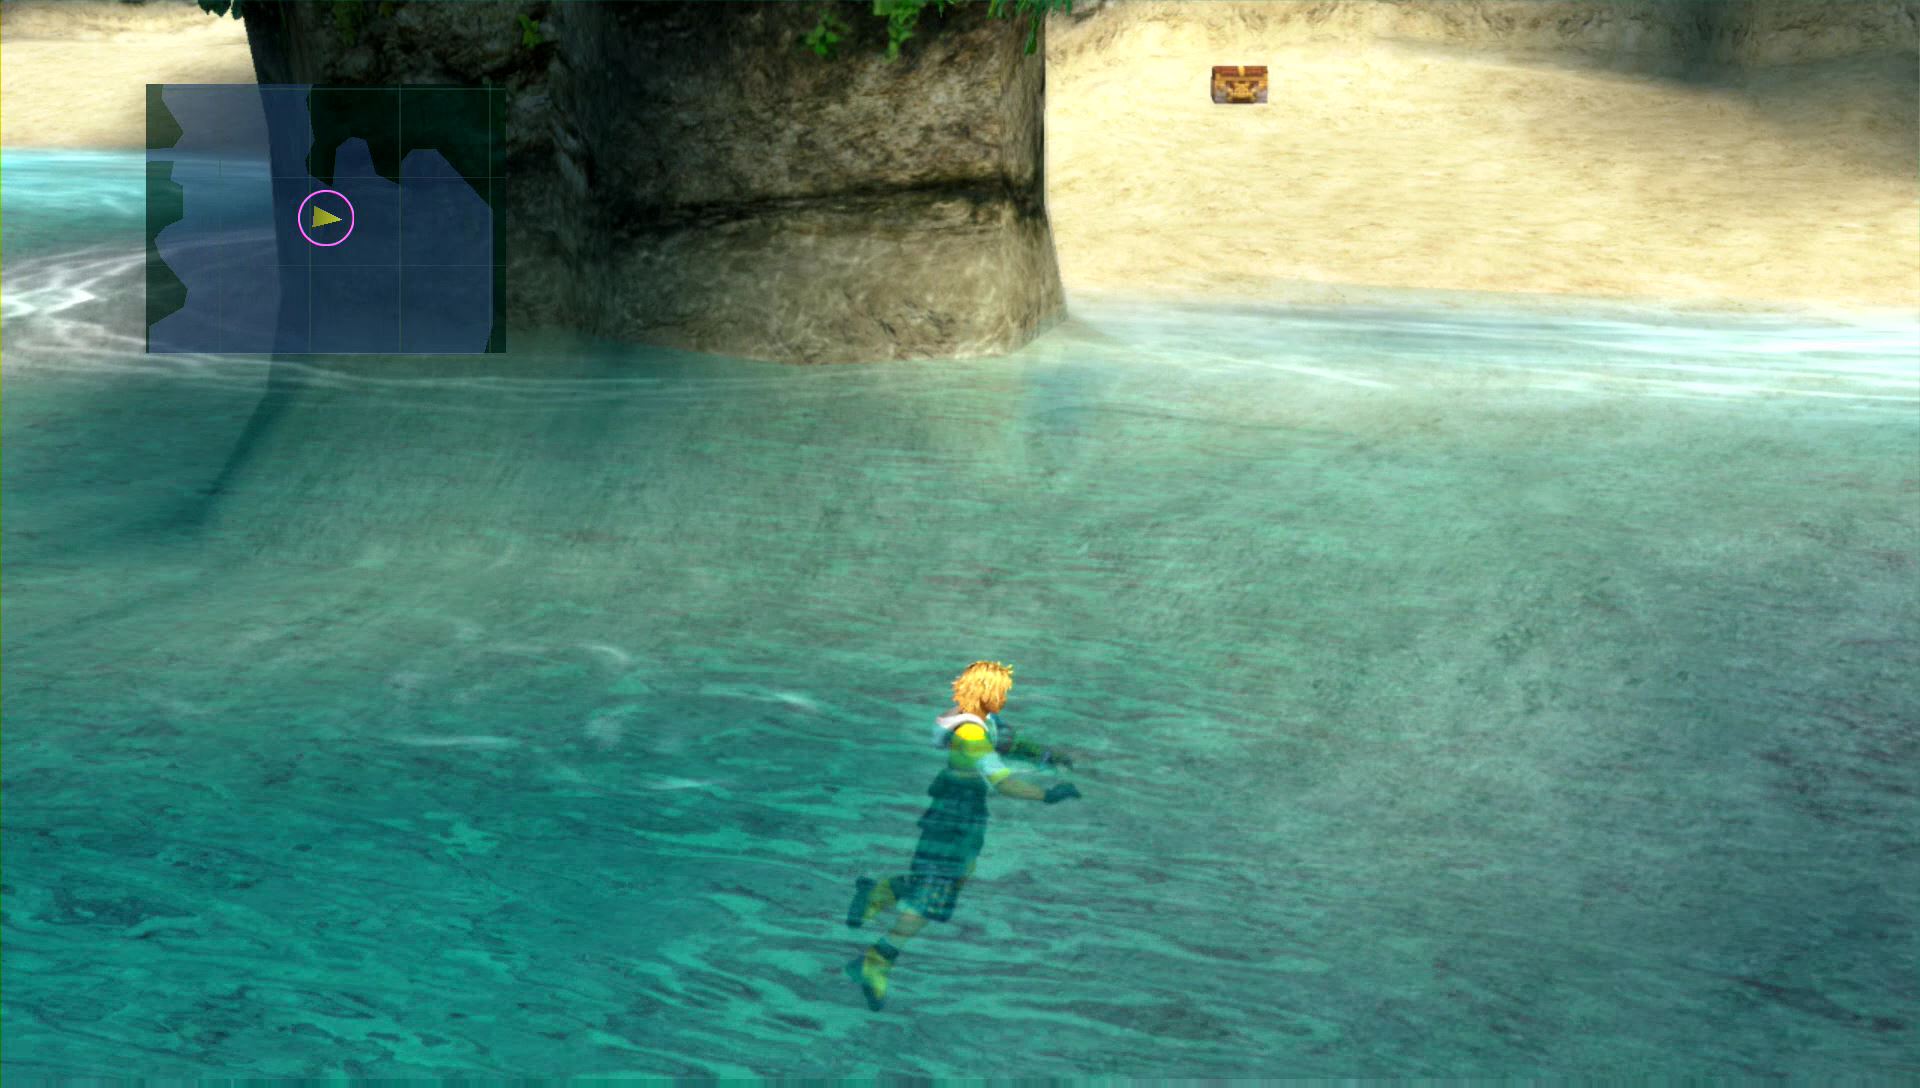
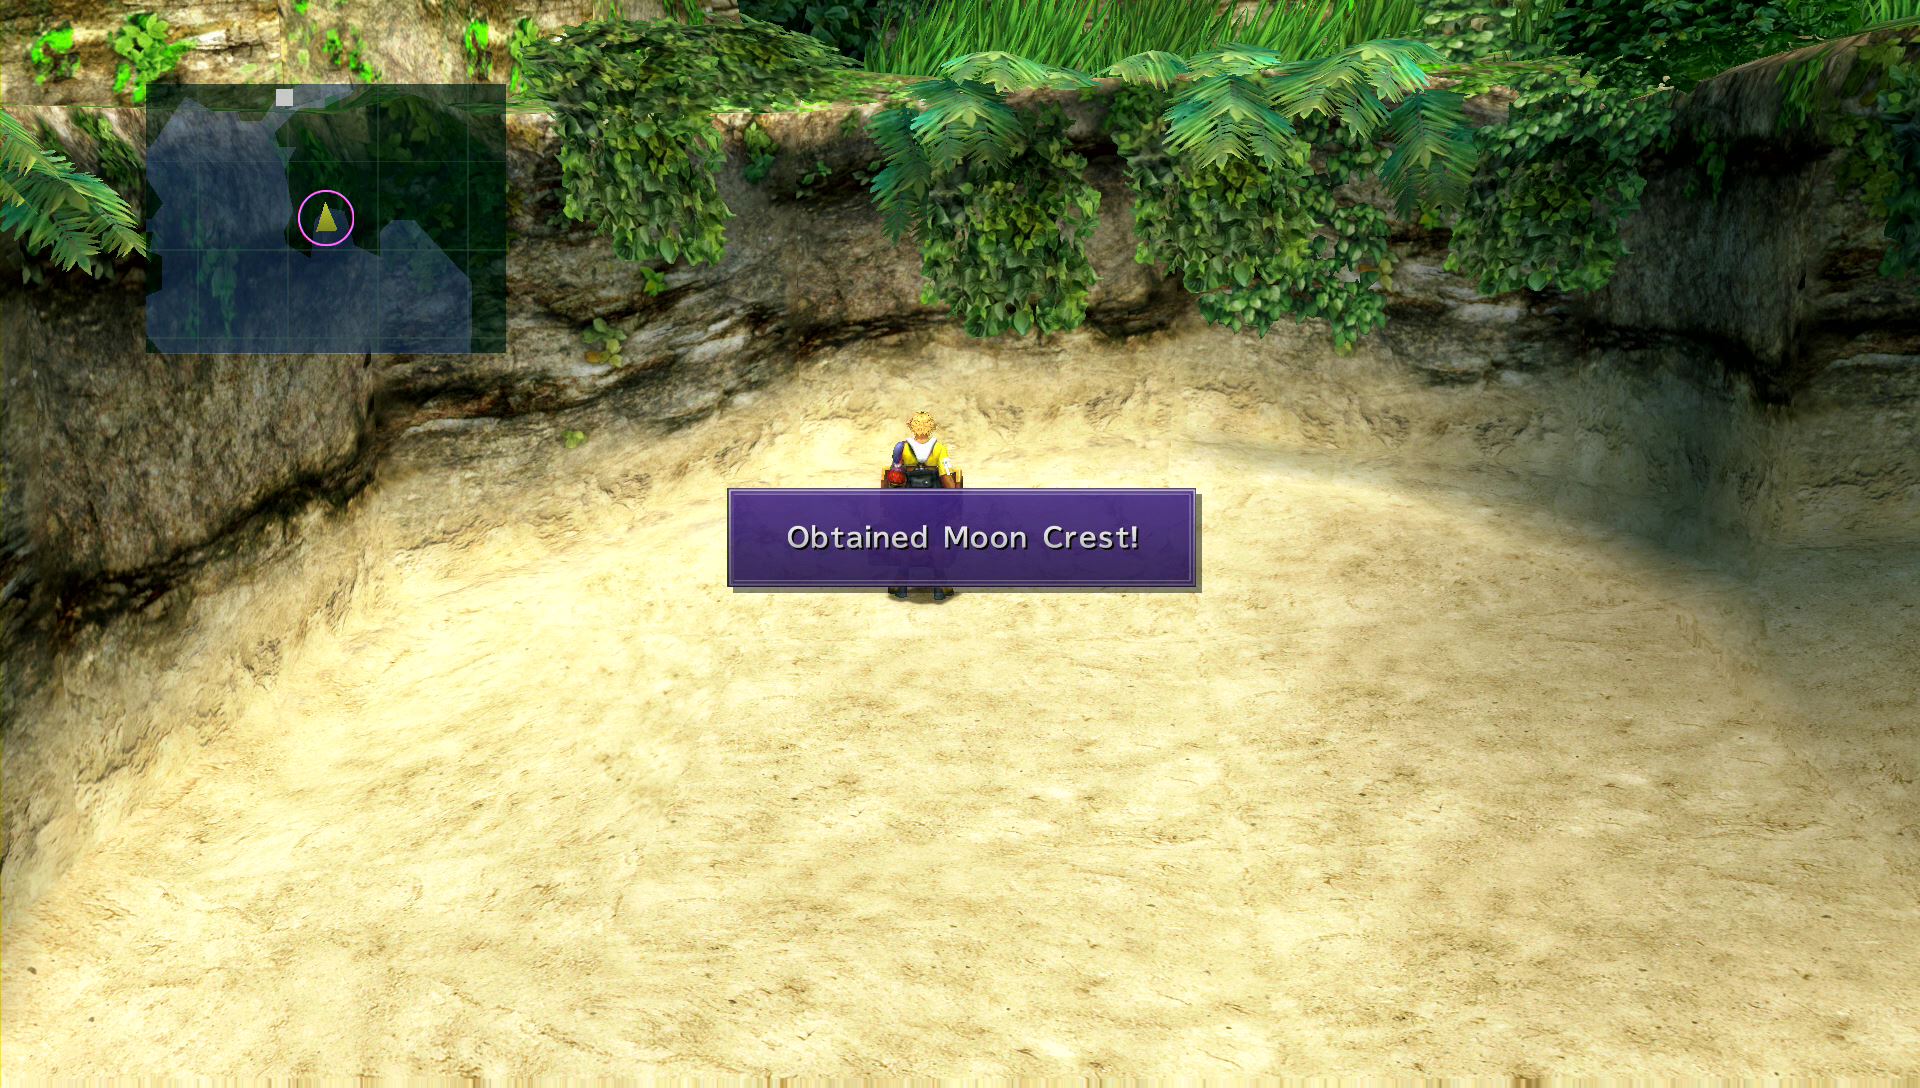
Before following Wakka further inland, swim to the east side of the beach around the rocks. You’ll find a hidden Treasure Chest with the Moon Crest key item.
Walk back to Wakka and speak with him to learn about Sin. Follow him along the path up ahead to reach the river.
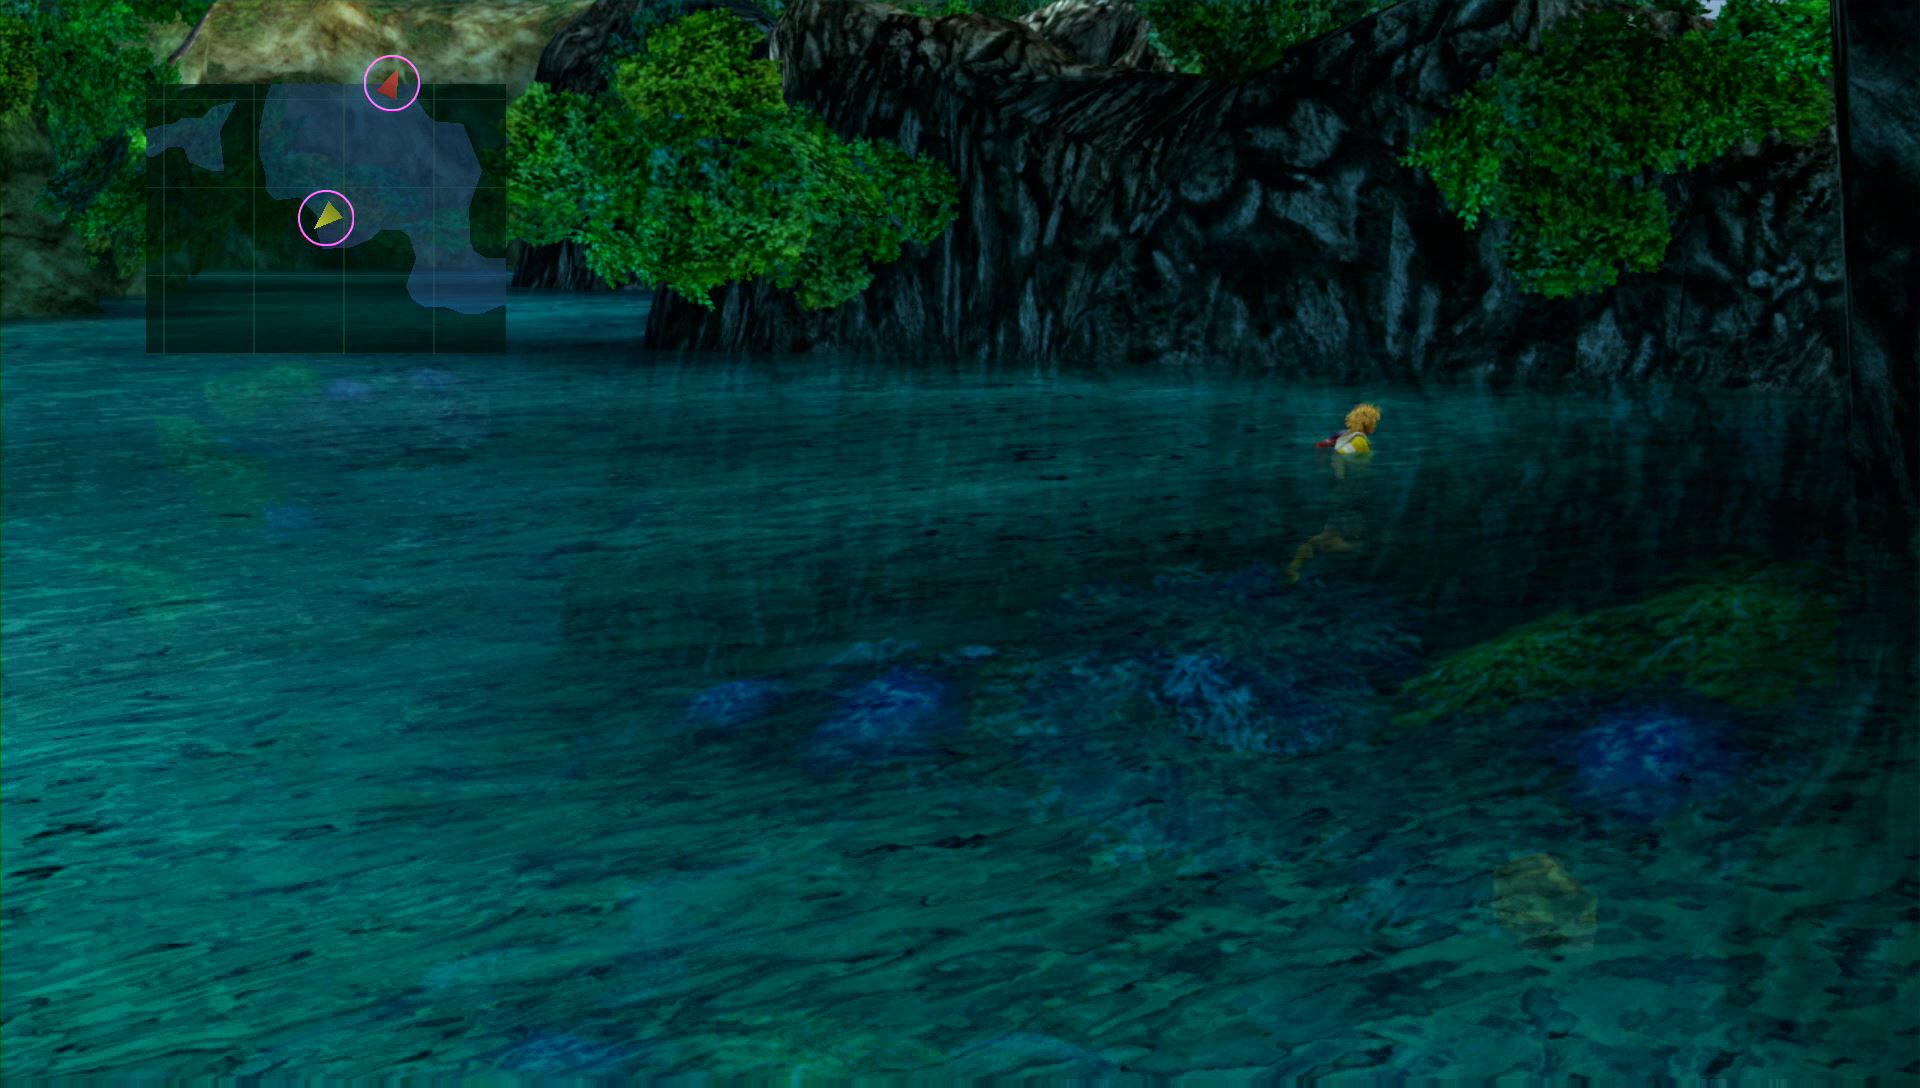
Valley
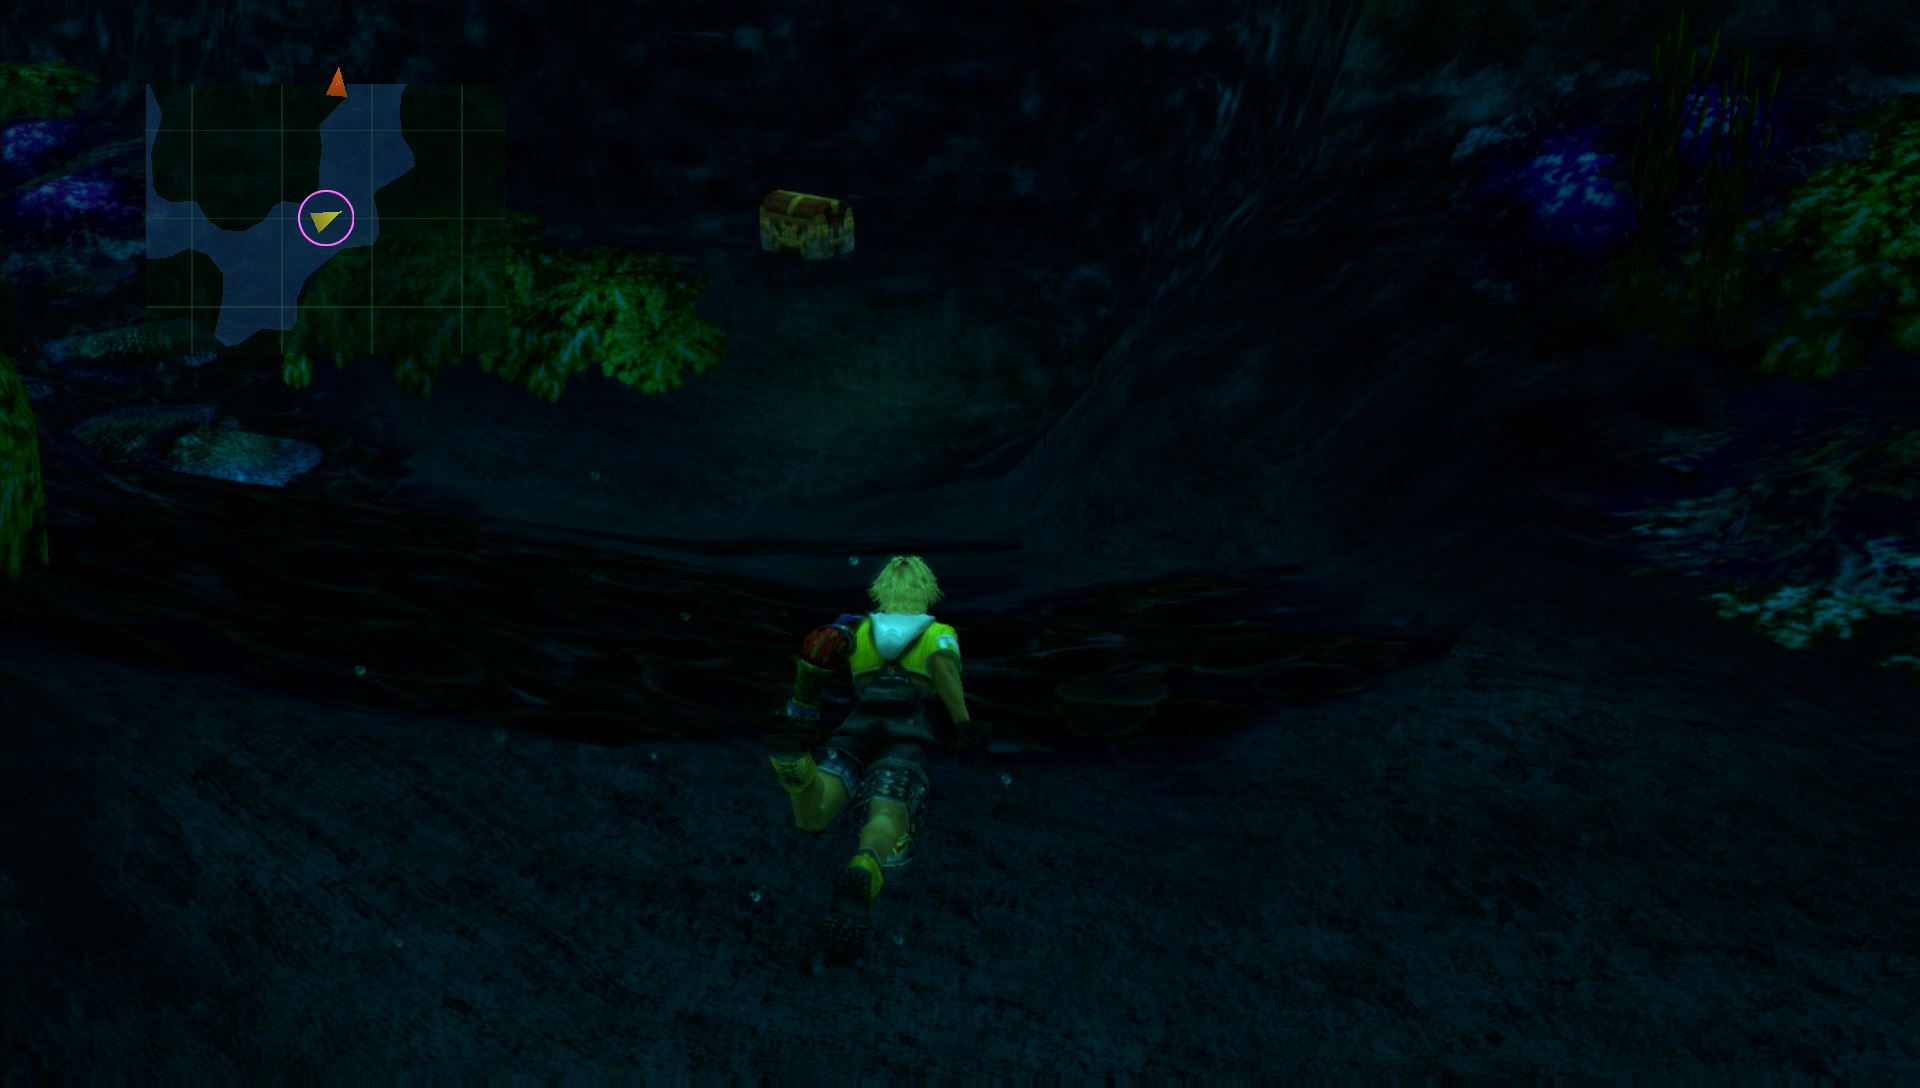
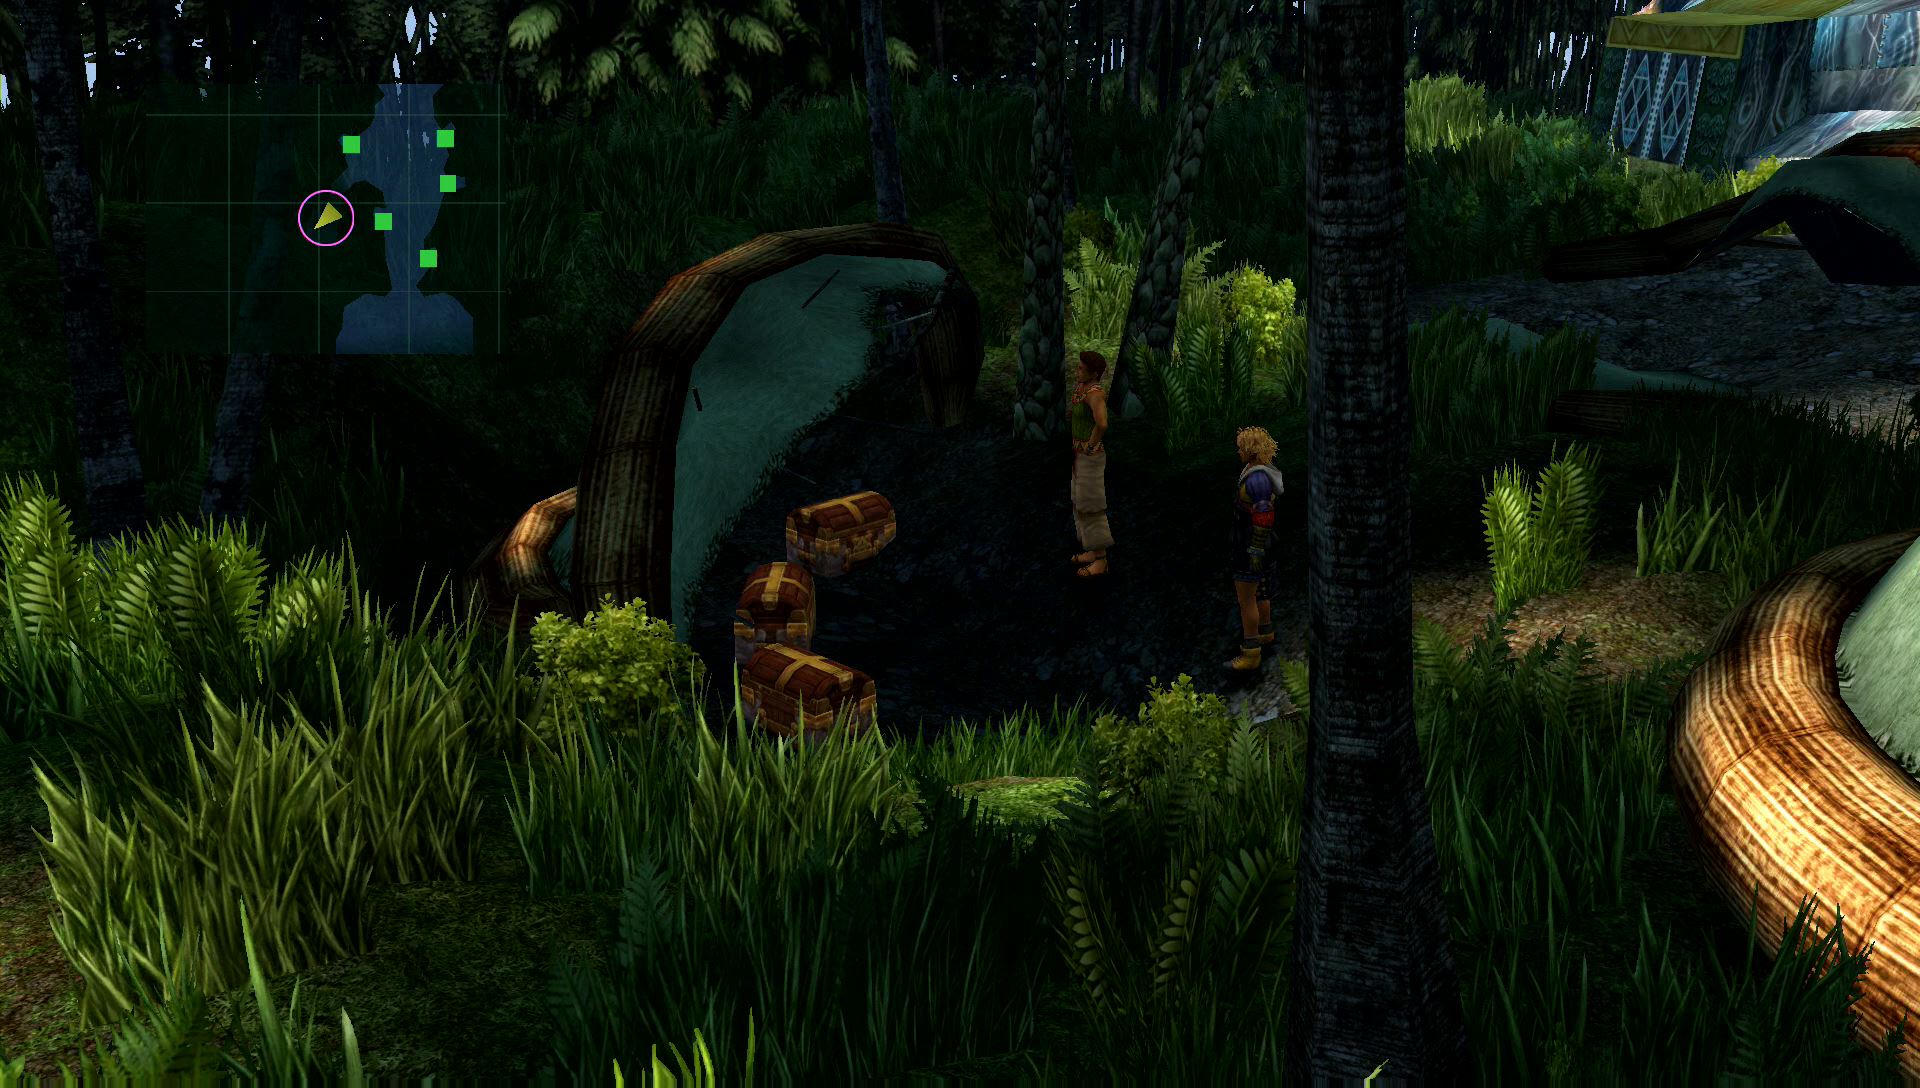
You’ll run into a number of Piranha in this river, but they’re incredibly weak. Just take them out with an attack or two. The position of this river is different than the mini-map at the top left corner of the screen. Swim a short distance south (based on the mini-map) and dive underwater to find a Treasure Chest with a Phoenix Down.
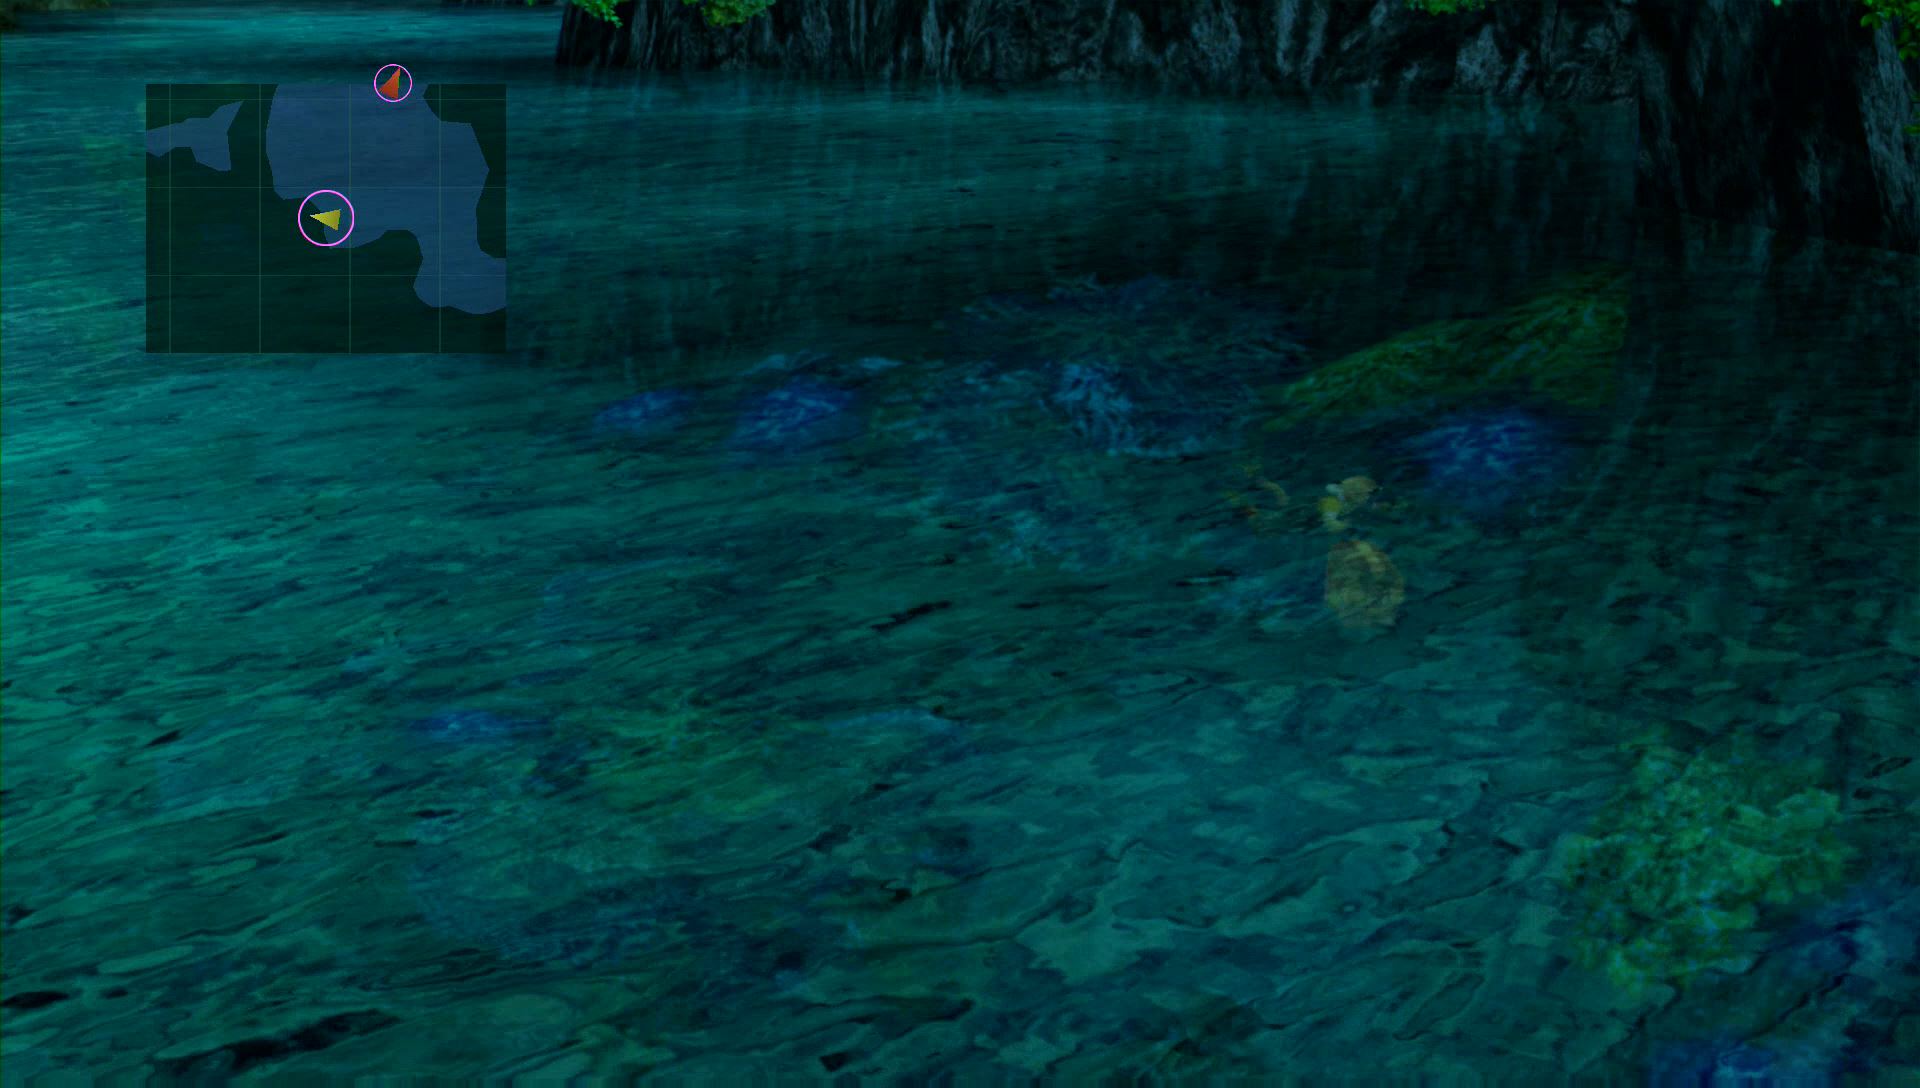
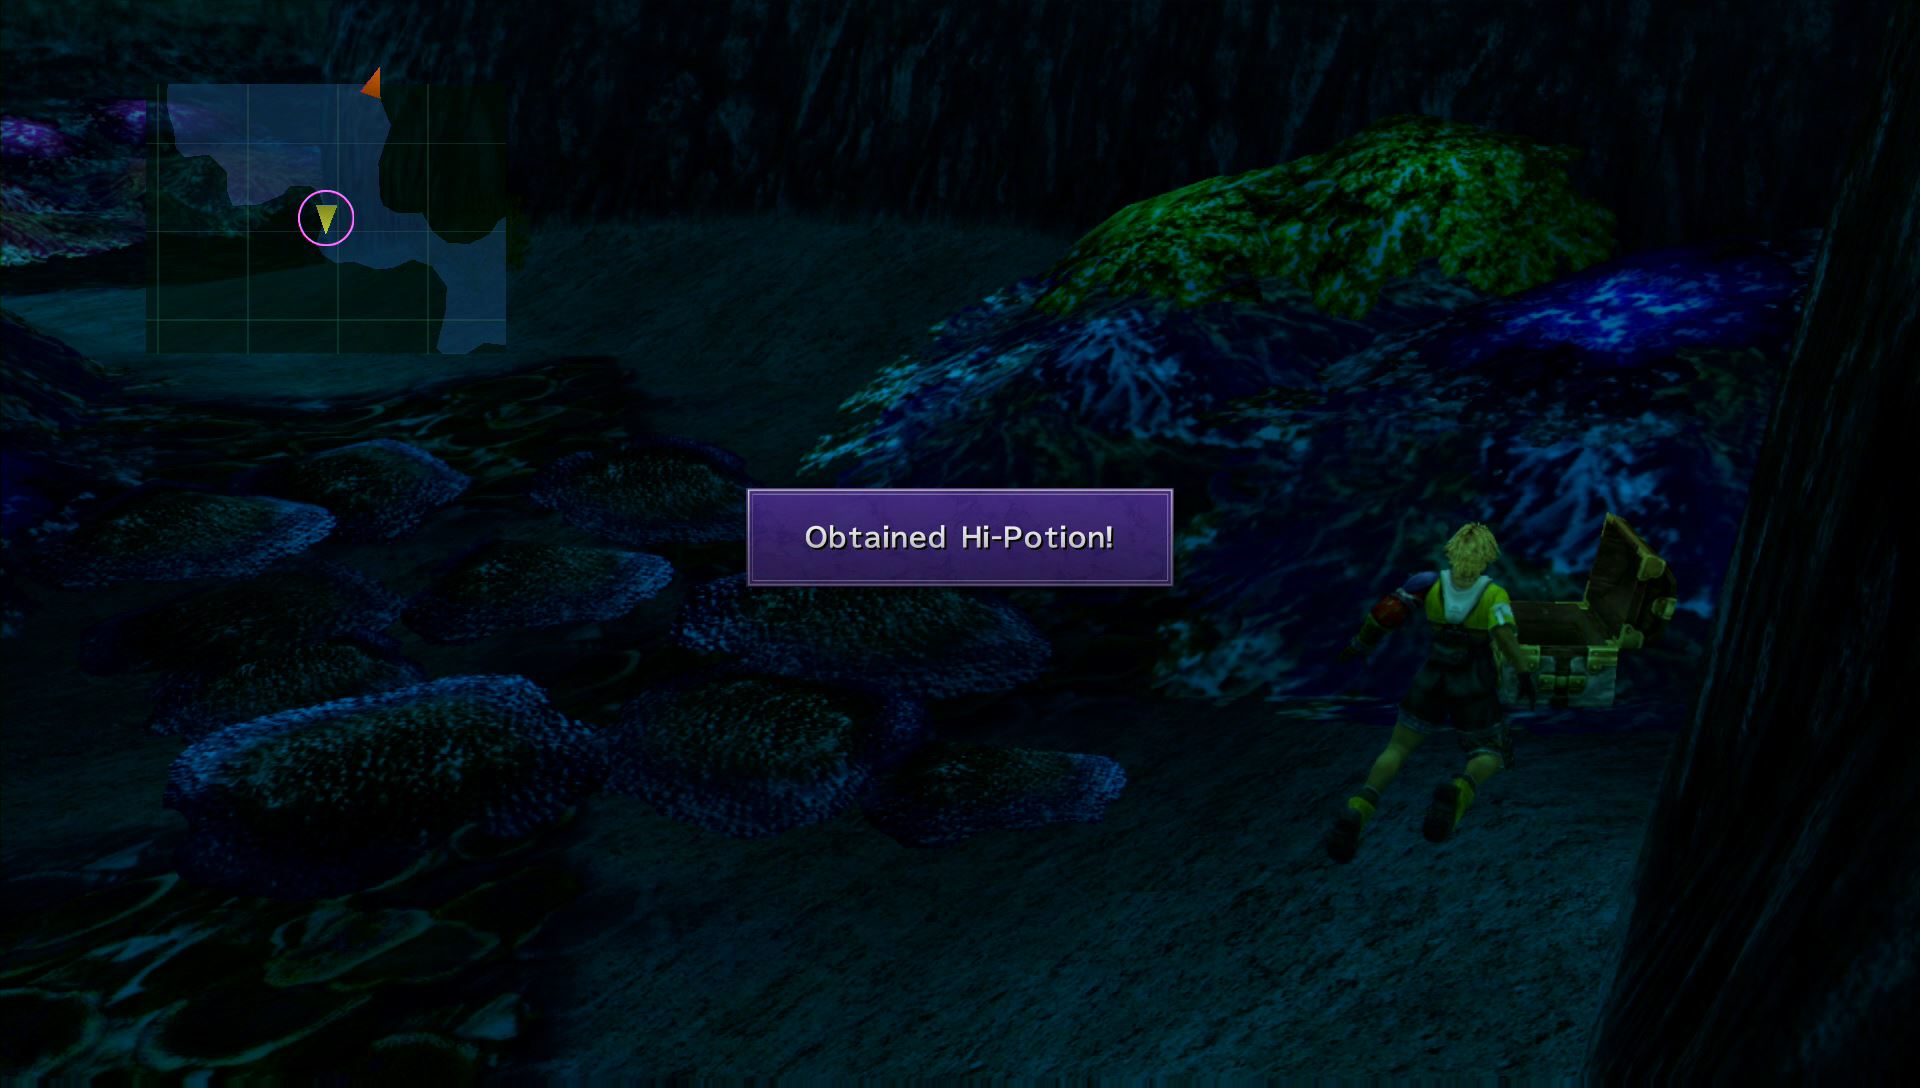
Swim a little further east (again, based on the mini-map) and dive underwater to find a Treasure Chest with a Hi-Potion inside.
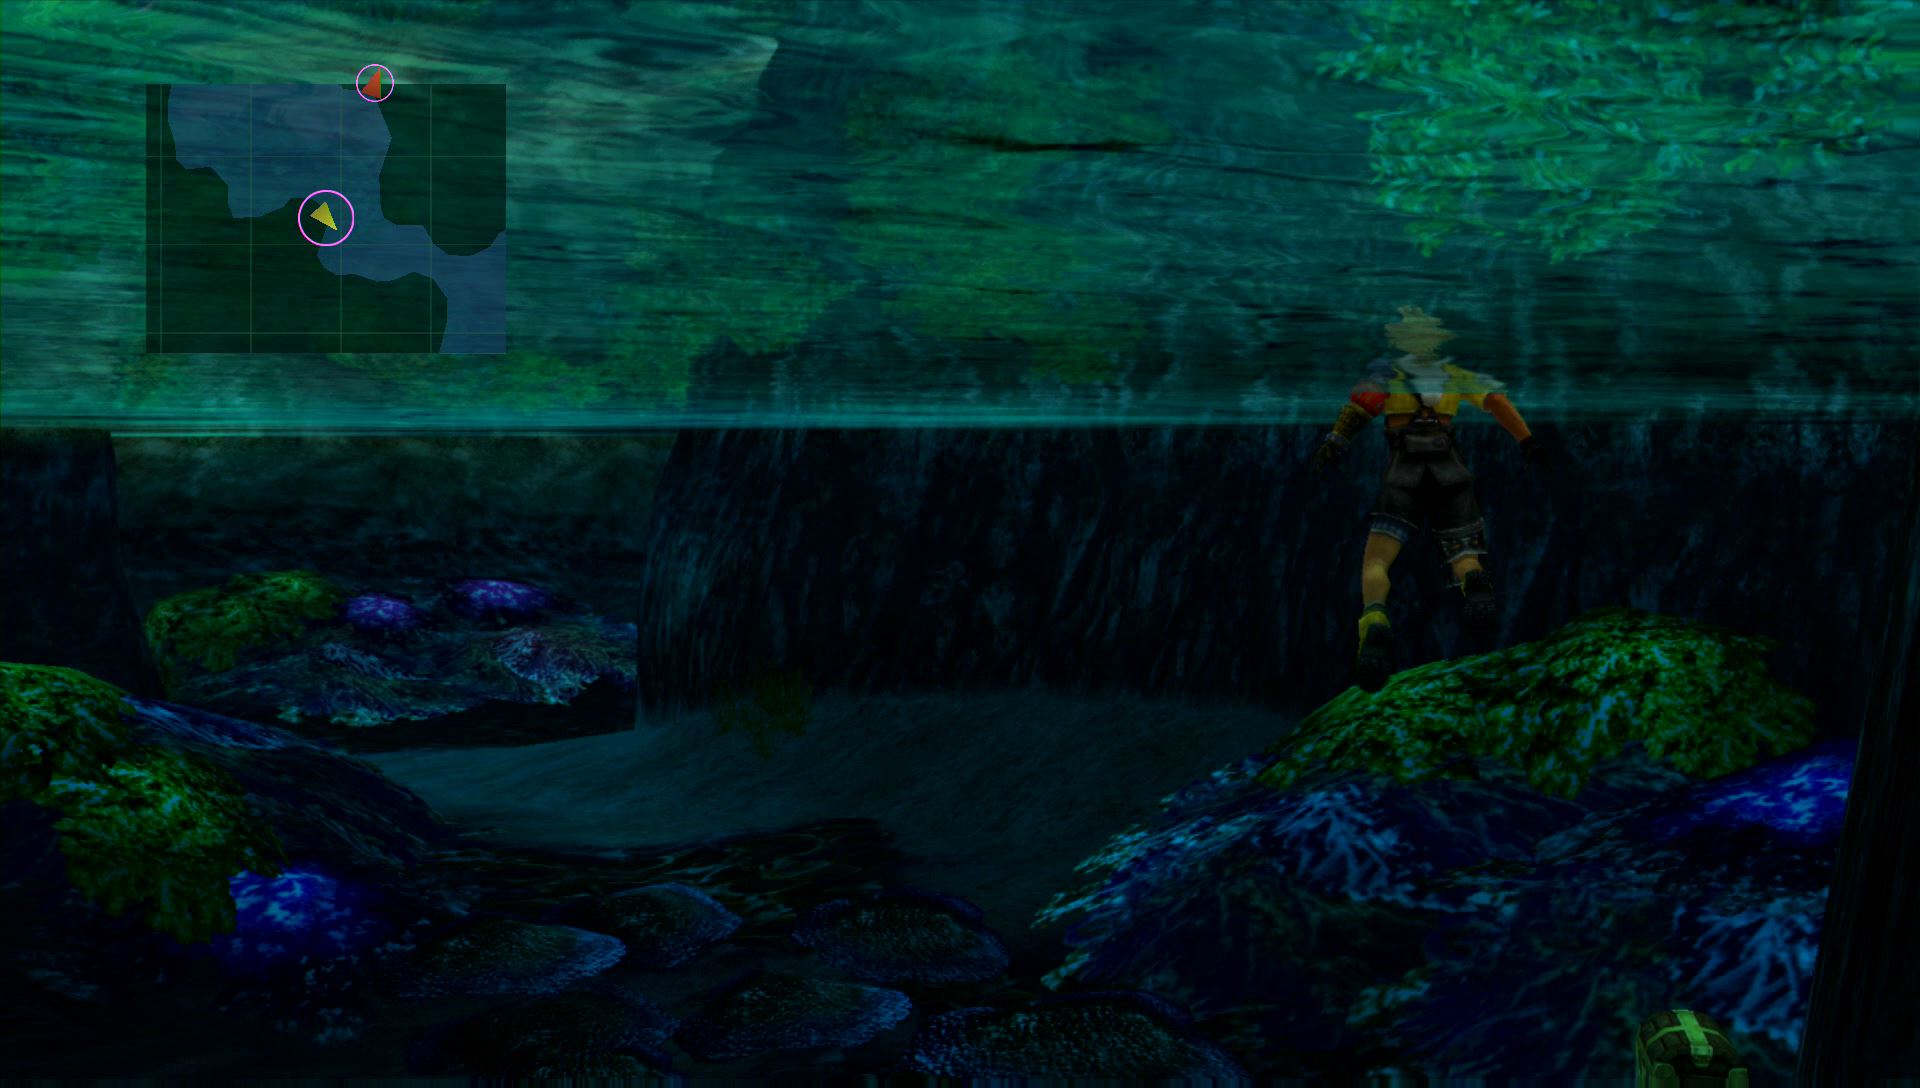
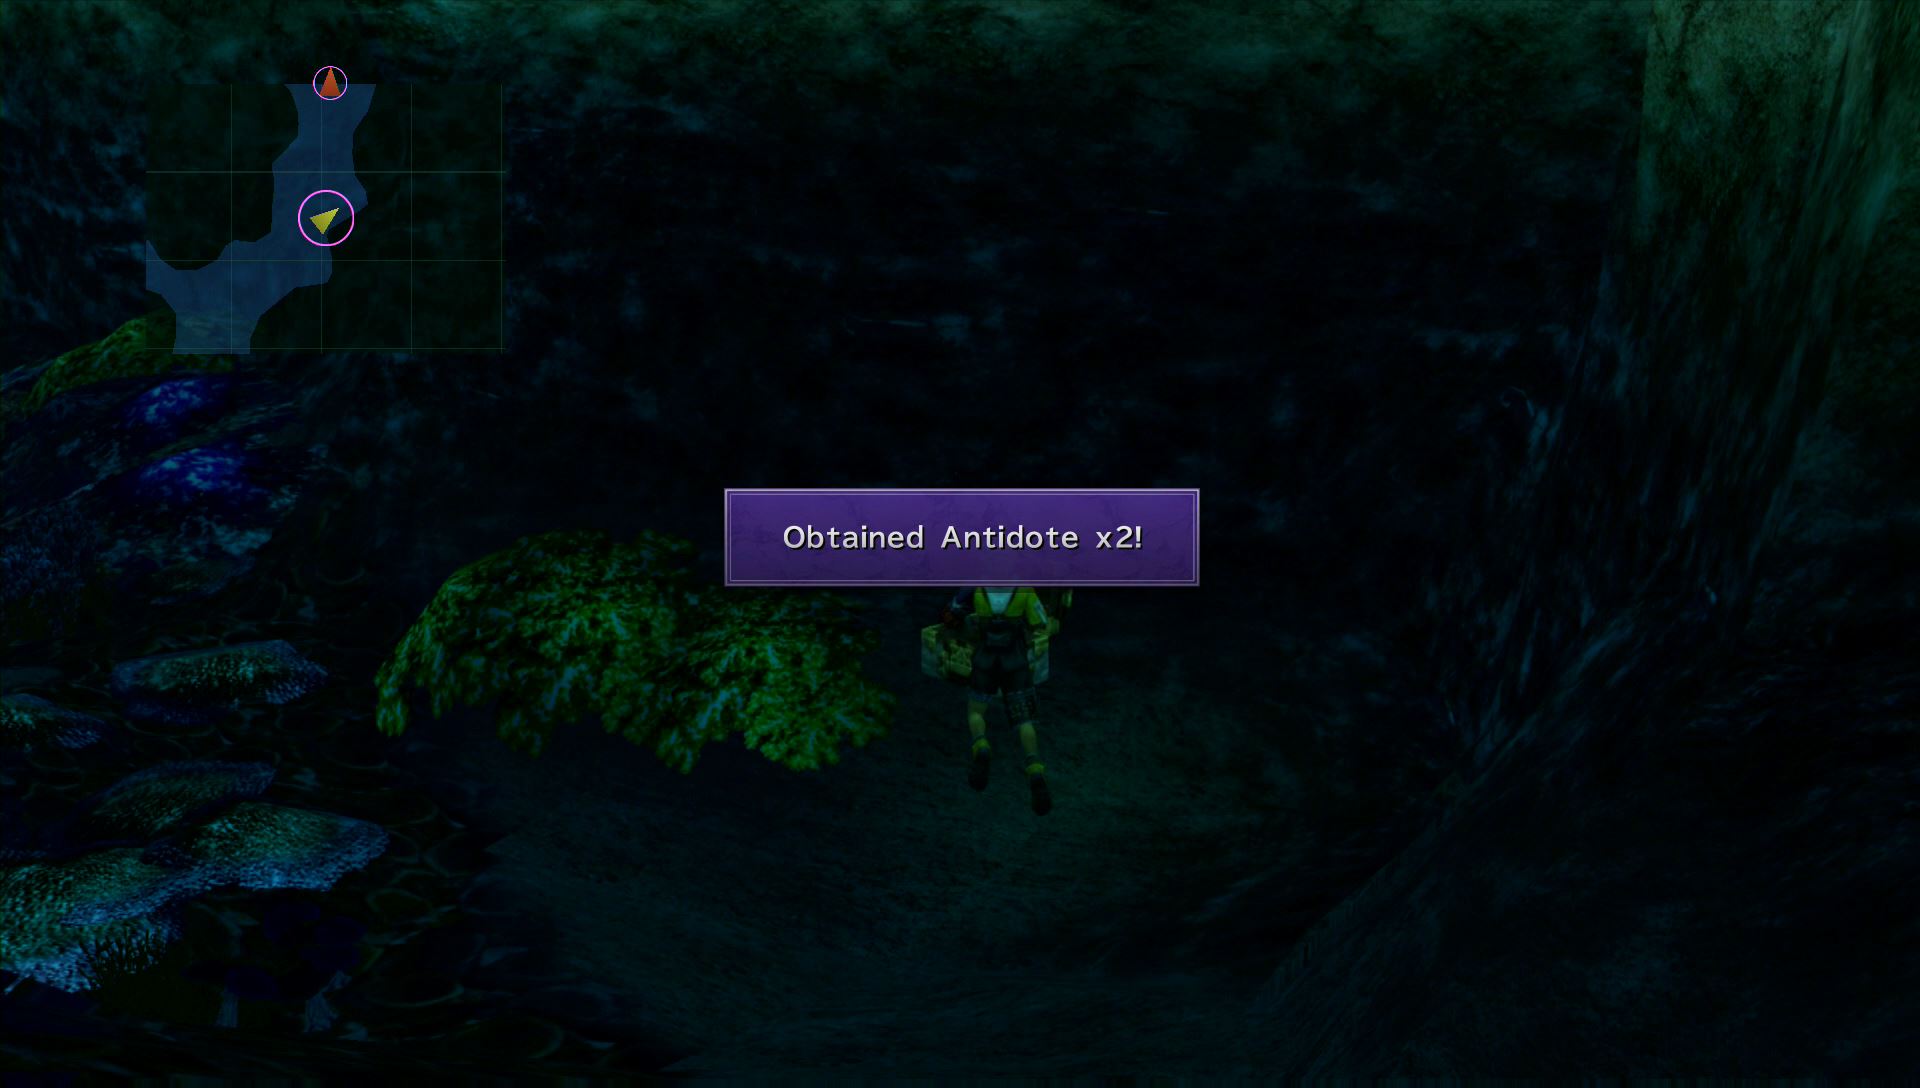
Continue along the river to the east, then follow it north. A short distance north is a Treasure Chest under the surface containing two Antidotes. Follow the red arrow on the mini-map to reach land.
Village Slope
Up ahead is another Save Sphere. Even if you don’t want to save, remember to interact with it to restore the party’s HP and MP. Follow the red arrow on the mini-map to continue on towards Besaid village. You’ll run into a few new characters along the way.
Besaid Village
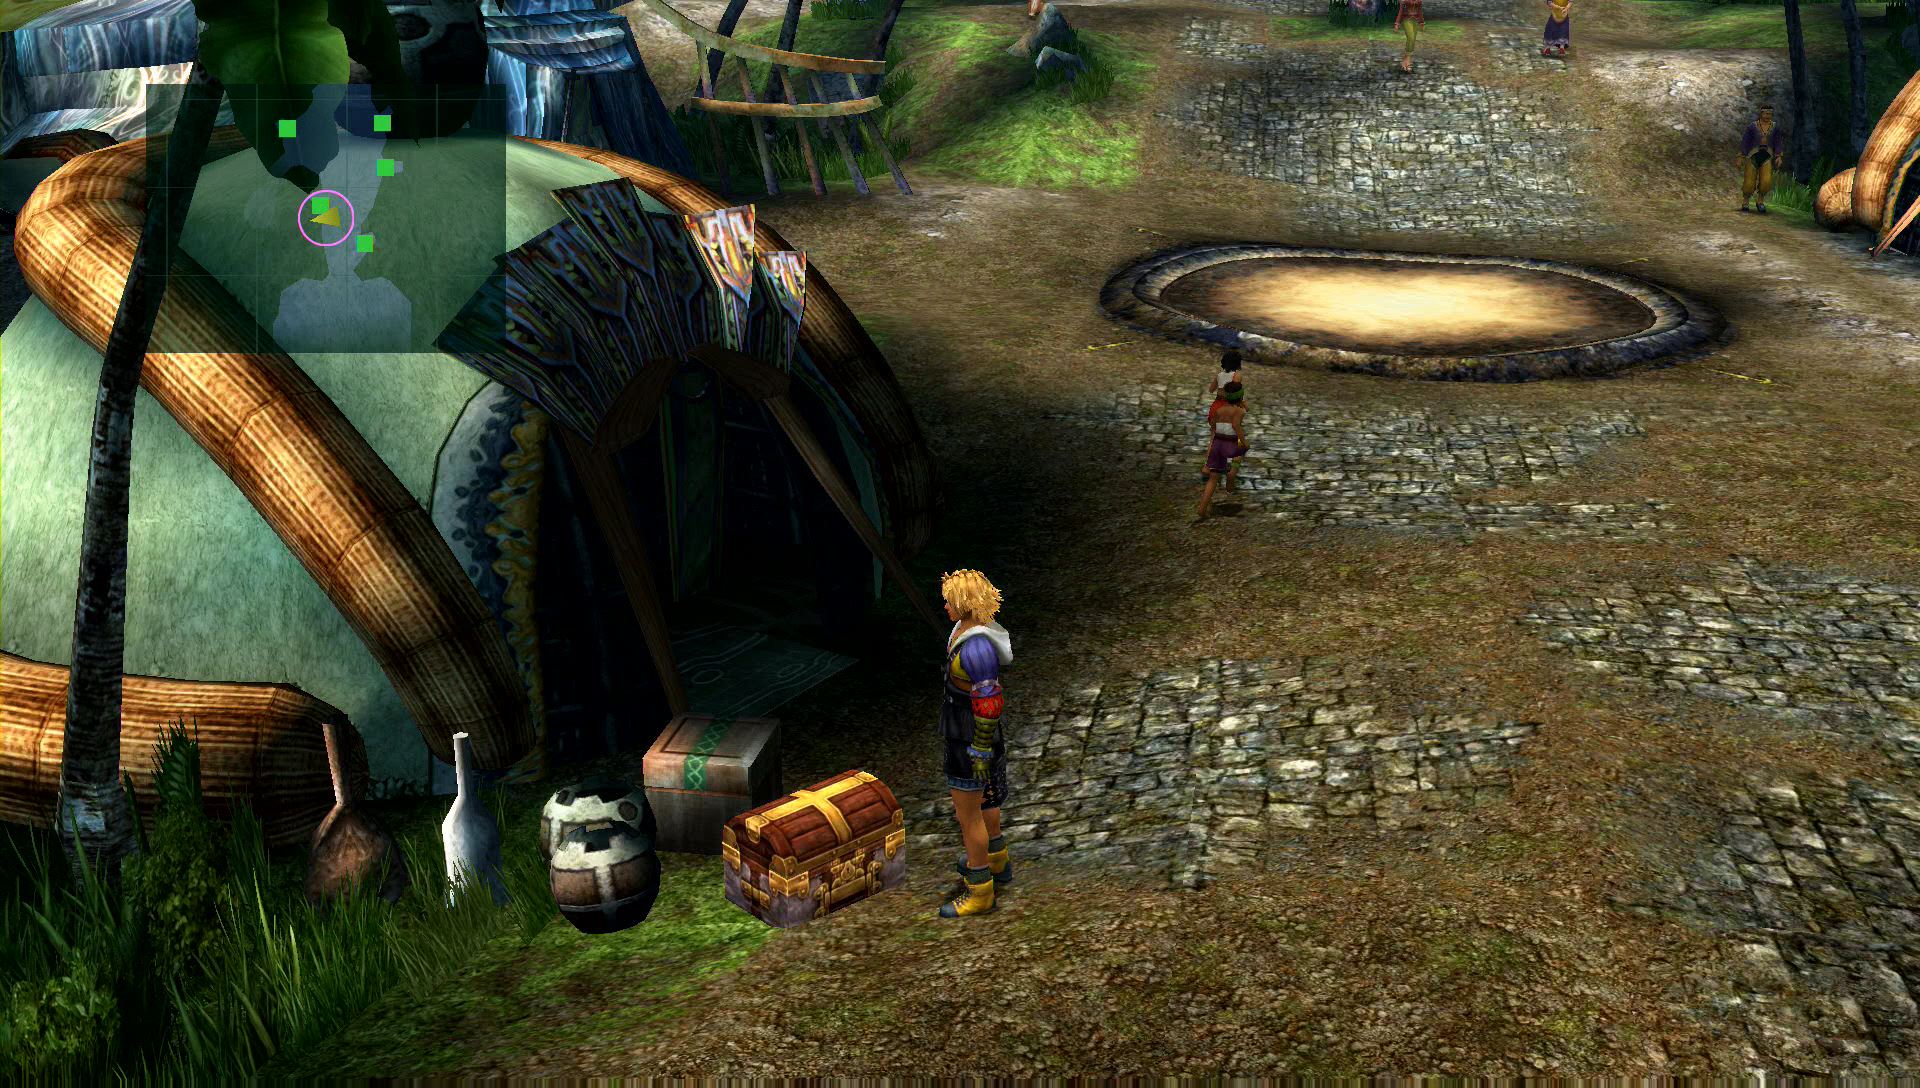
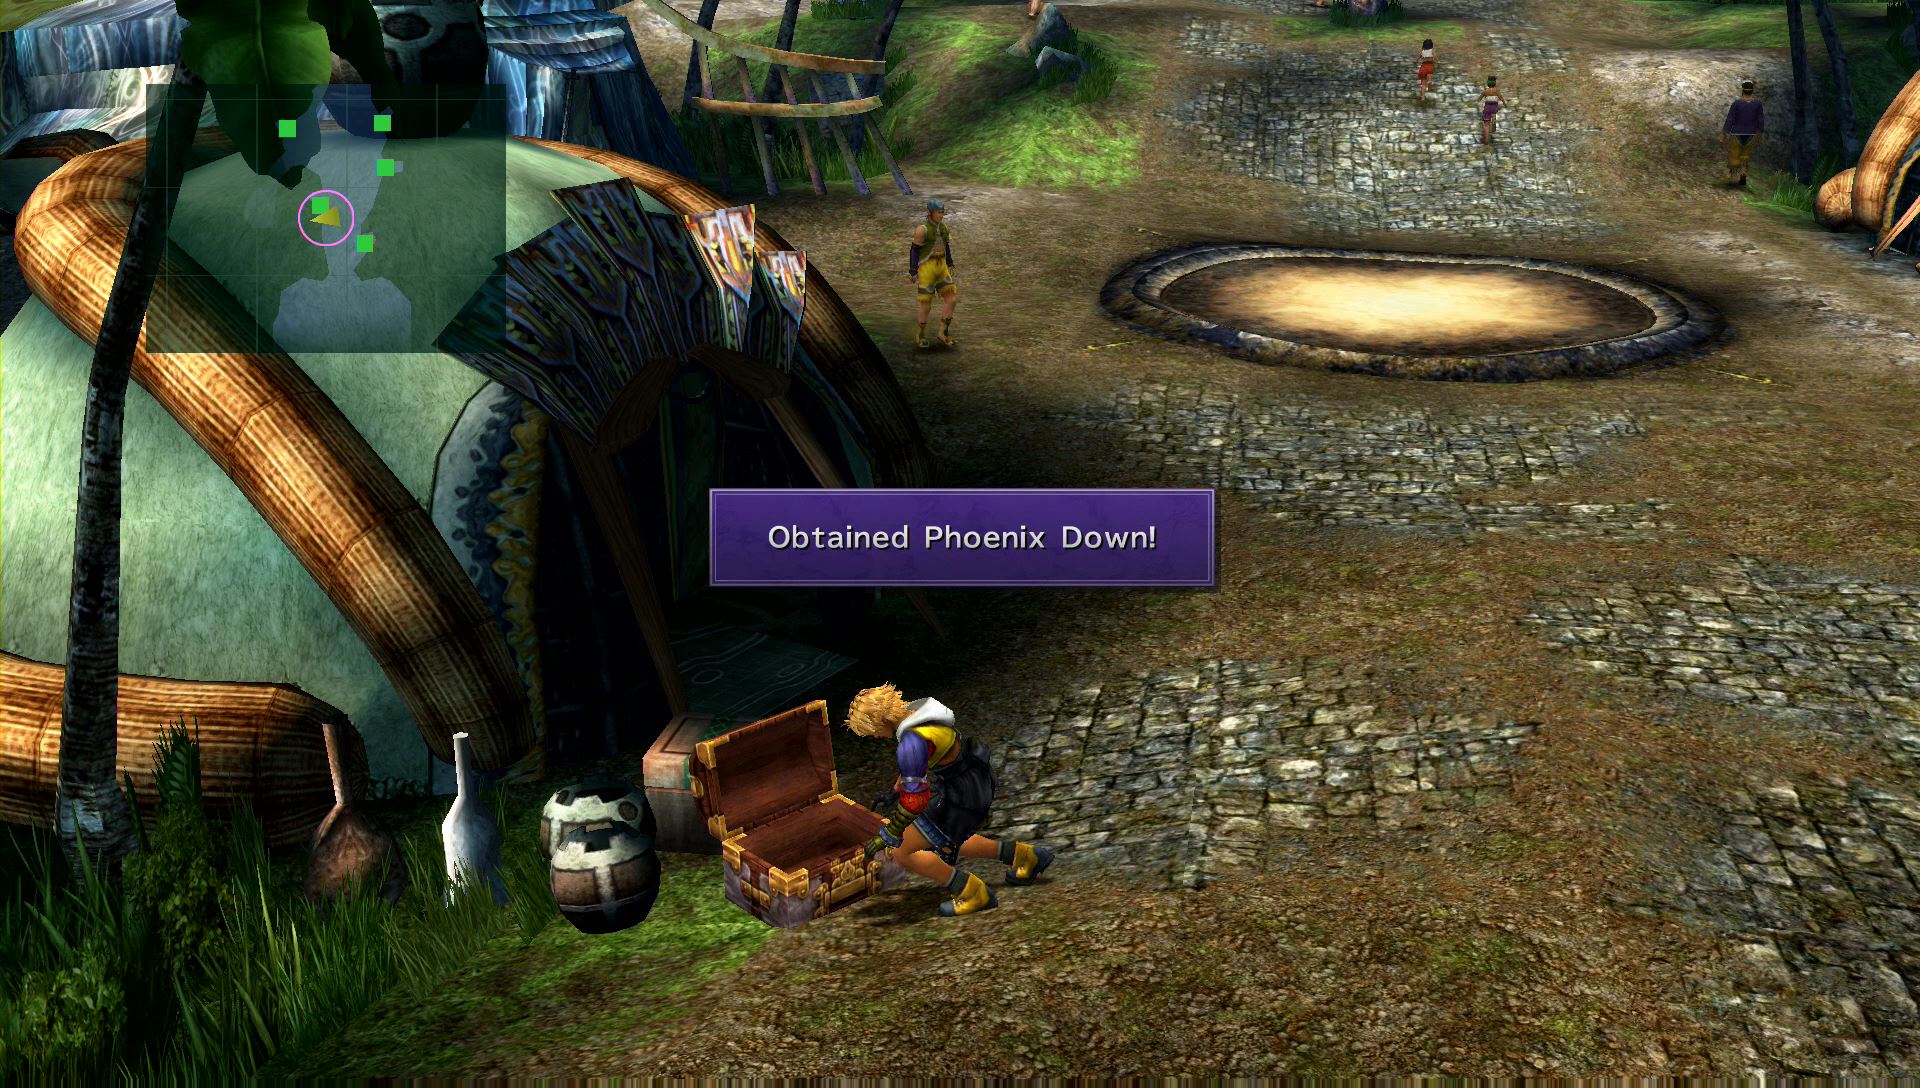
Before going in any of the huts, open the treasure chest on the left side of the road. Inside is a Phoenix Down.
The hut located next to the previously mentioned chest is a shop. It will only sell a few things that aren’t really needed at this time:
- Potion – 50 Gil
- Phoenix Down – 100 Gil
- Antidote – 50 Gil
Behind the shop are three more treasure chests with two Potions, 400 Gil, and a Hi-Potion. This area is slightly hidden from the camera’s view, but it will still show up on the mini-map.

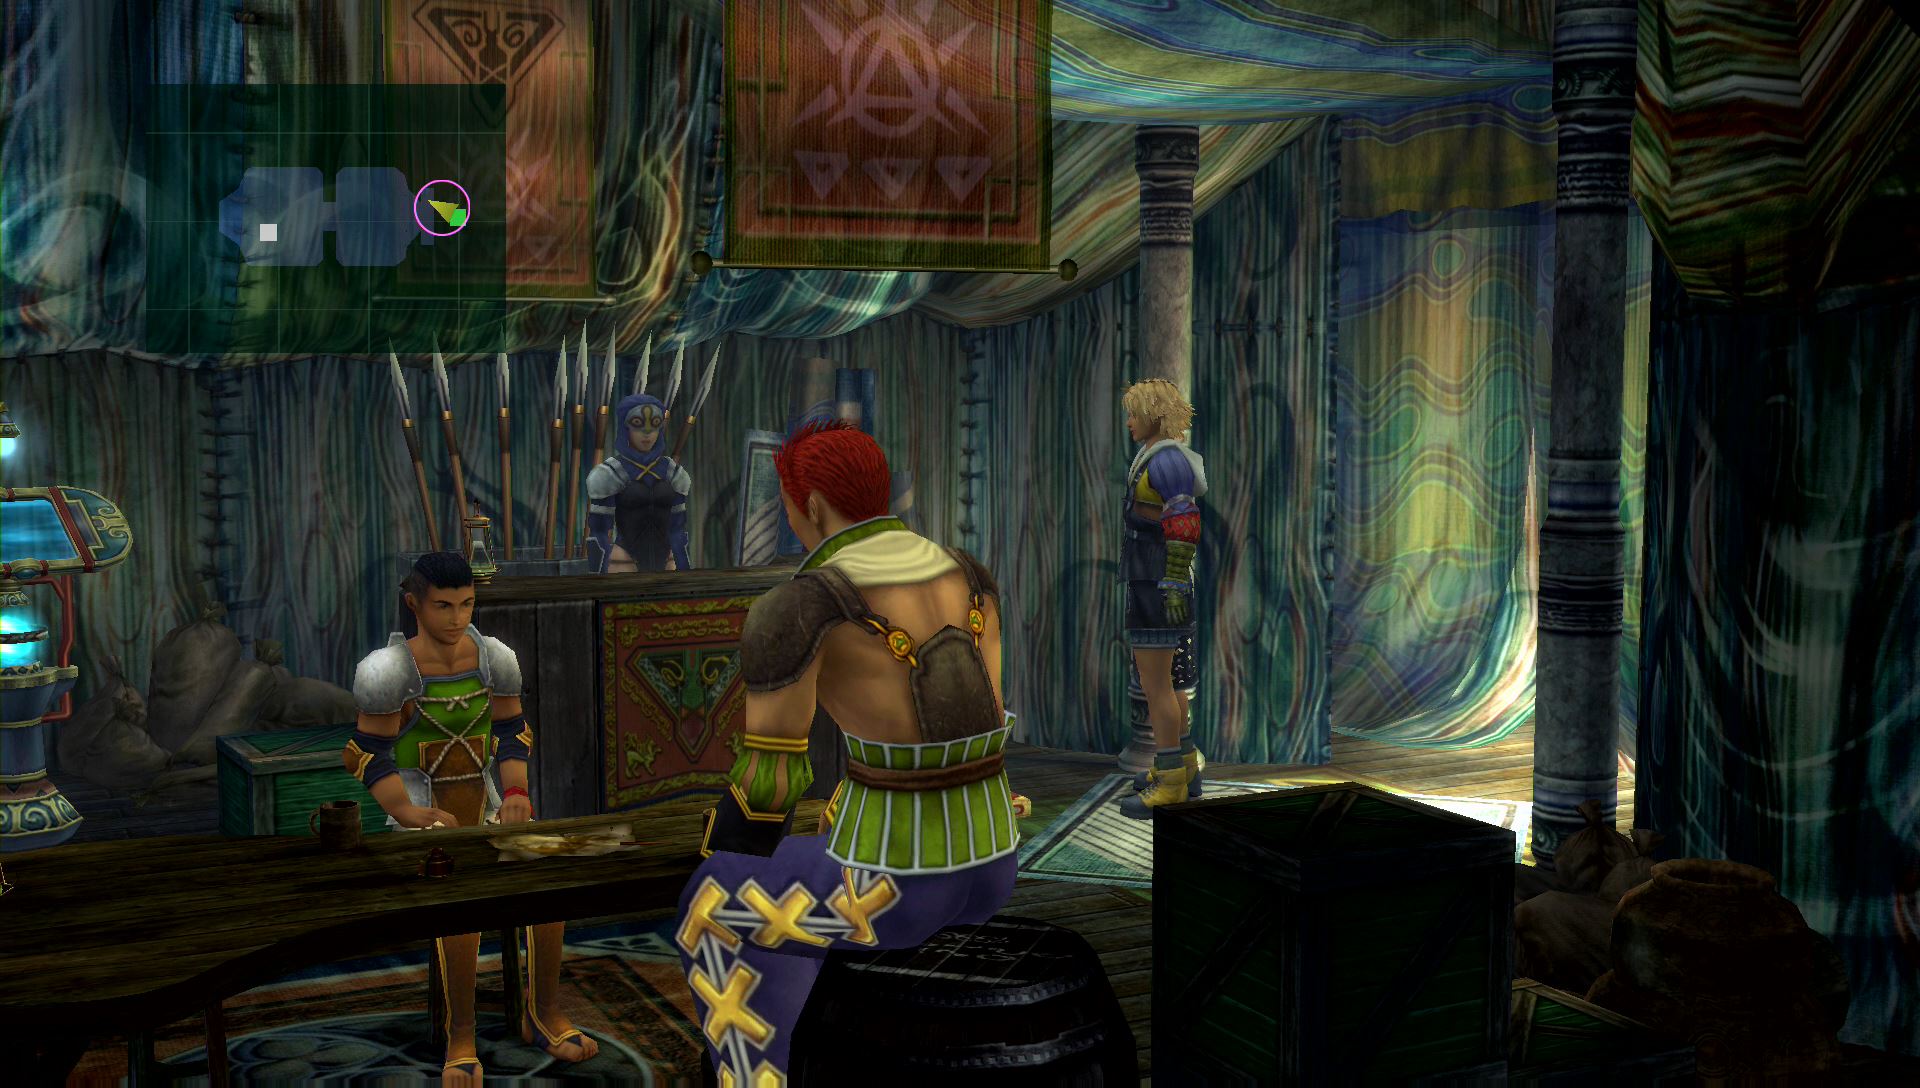
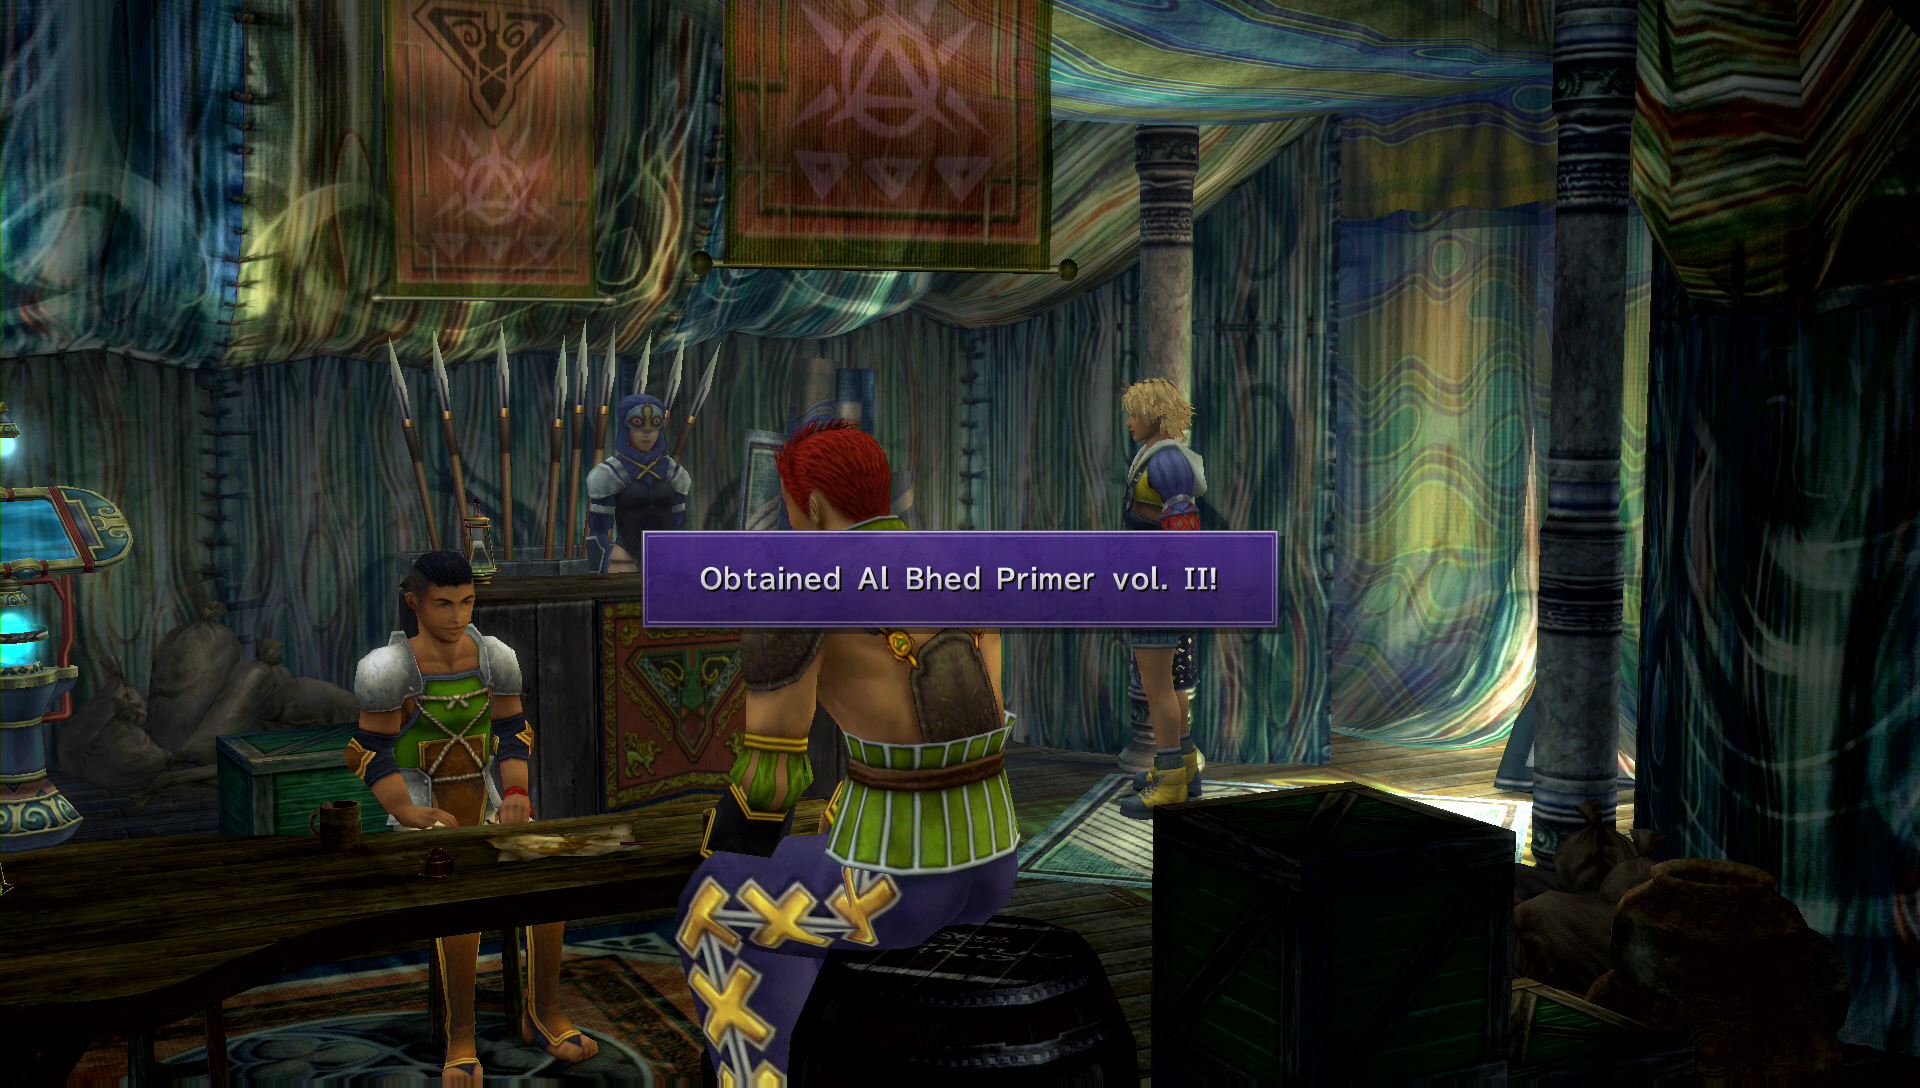
The second hut on the left is the Crusader’s Lodge. You can speak with the men you met earlier in this lodge. They will tell you all about the Crusaders. You can also pick up the Al Bhed Primer vol. II on the floor near the front door. It’s tough to see at this angle, but it can still be acquired.
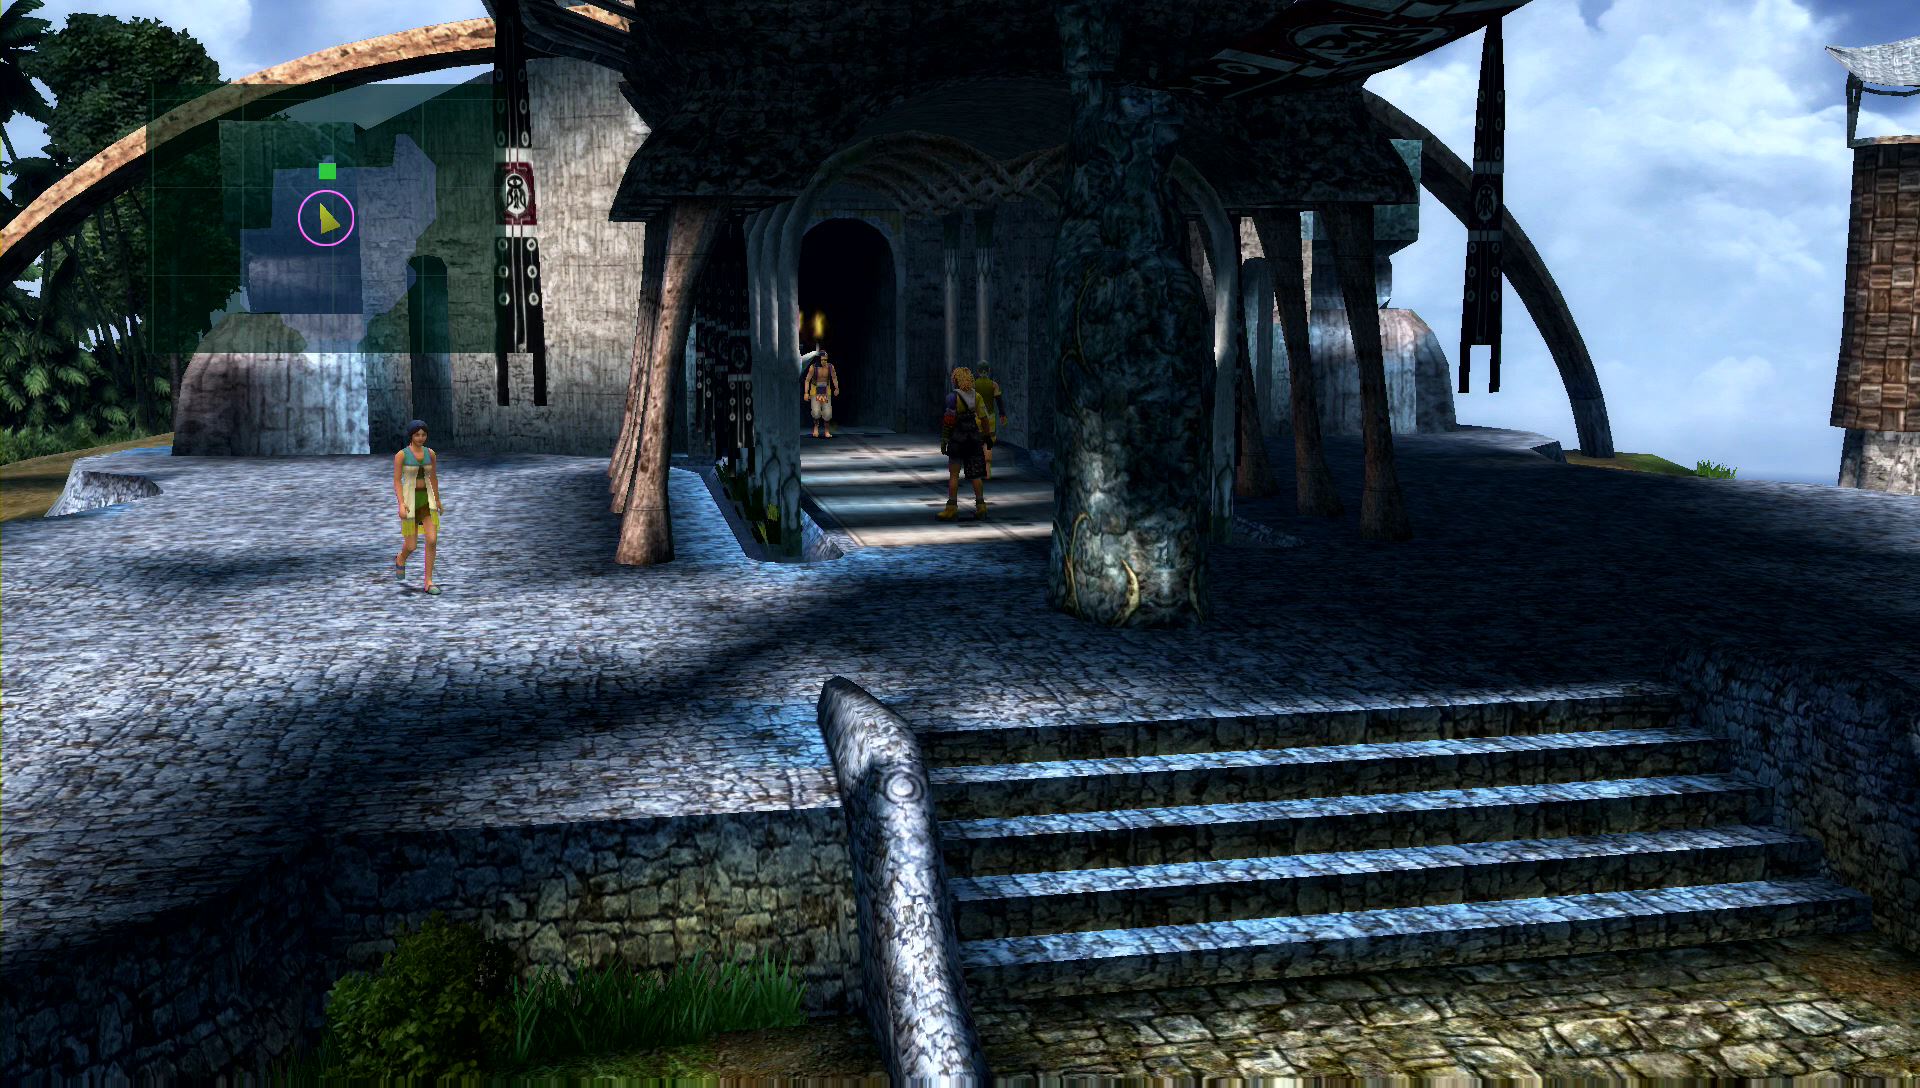
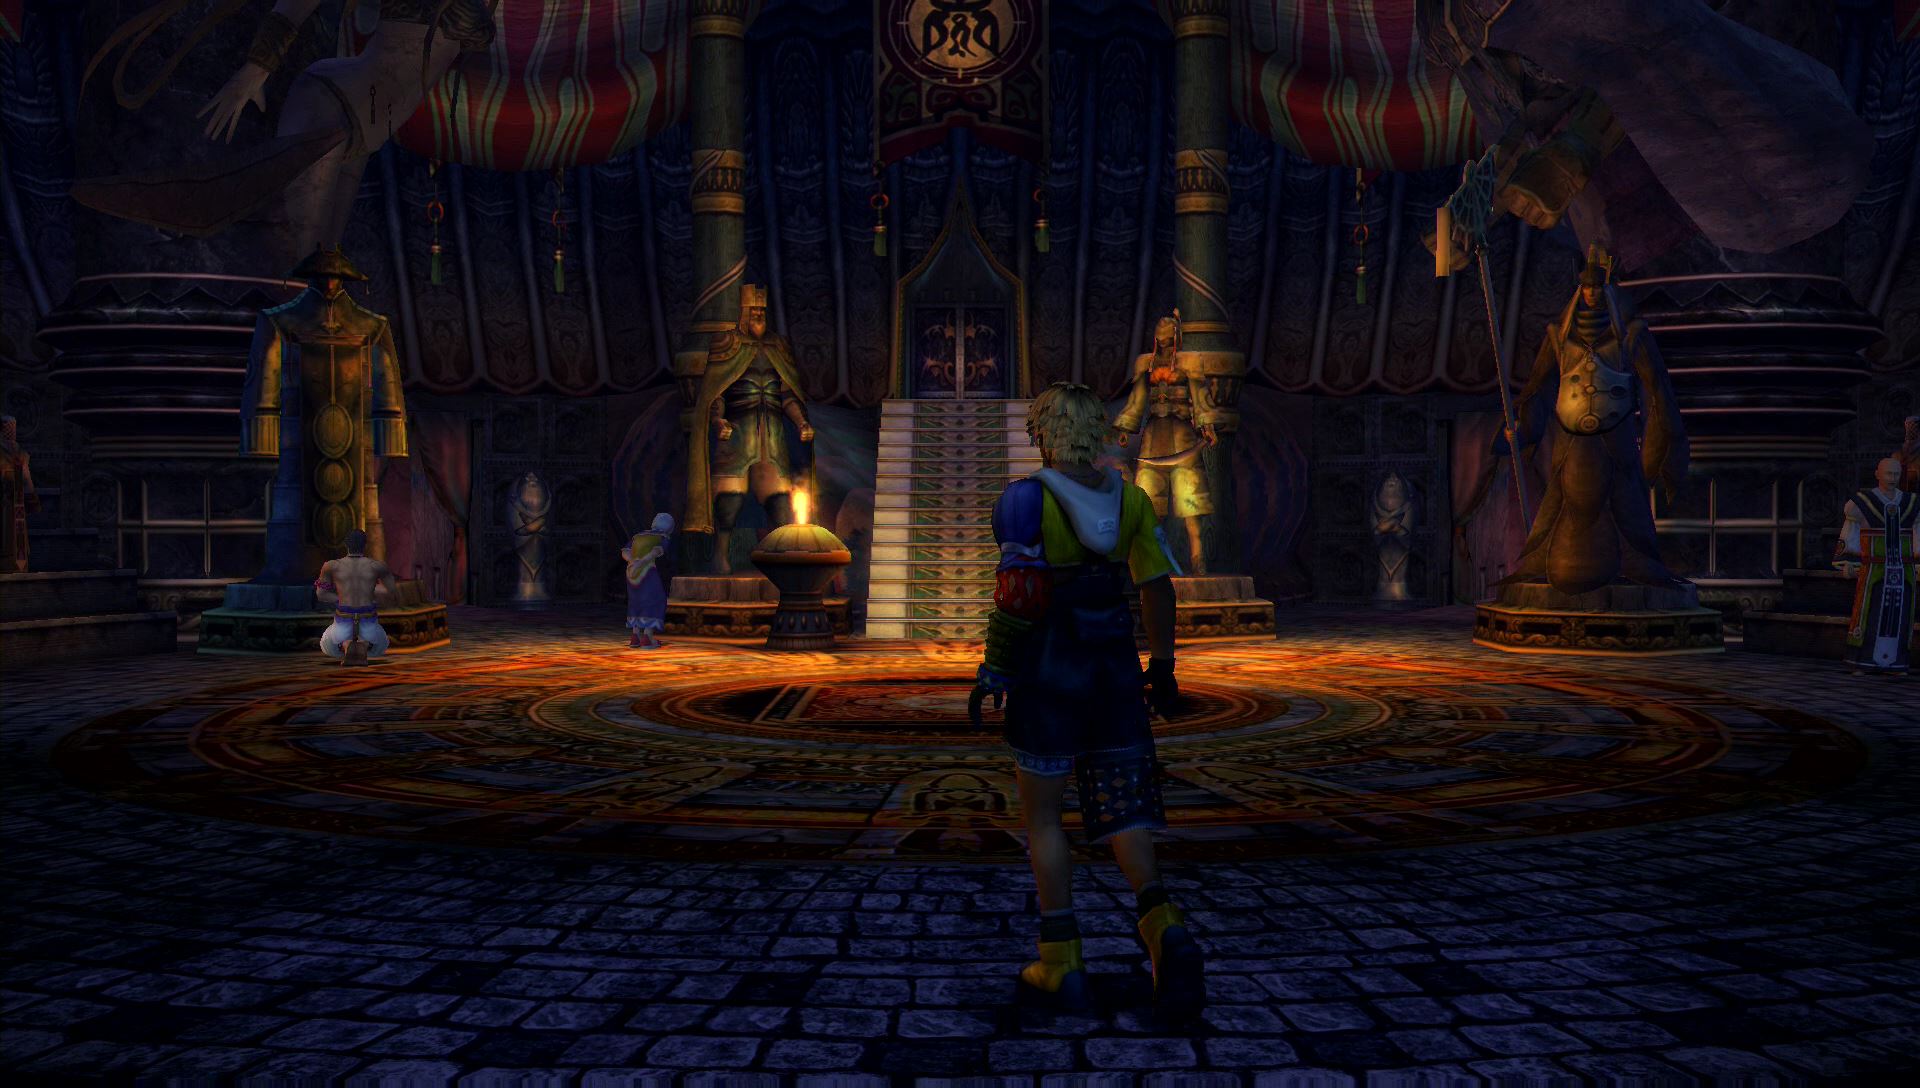
Head to the temple next. It’s the large building at the north end of the village. Walk up to the big statue to activate another cut scene. When that’s over, head back to the village and enter the second hut on the right to speak with Wakka. Choose to take a nap to continue the story. When you wake up, head back to the temple.
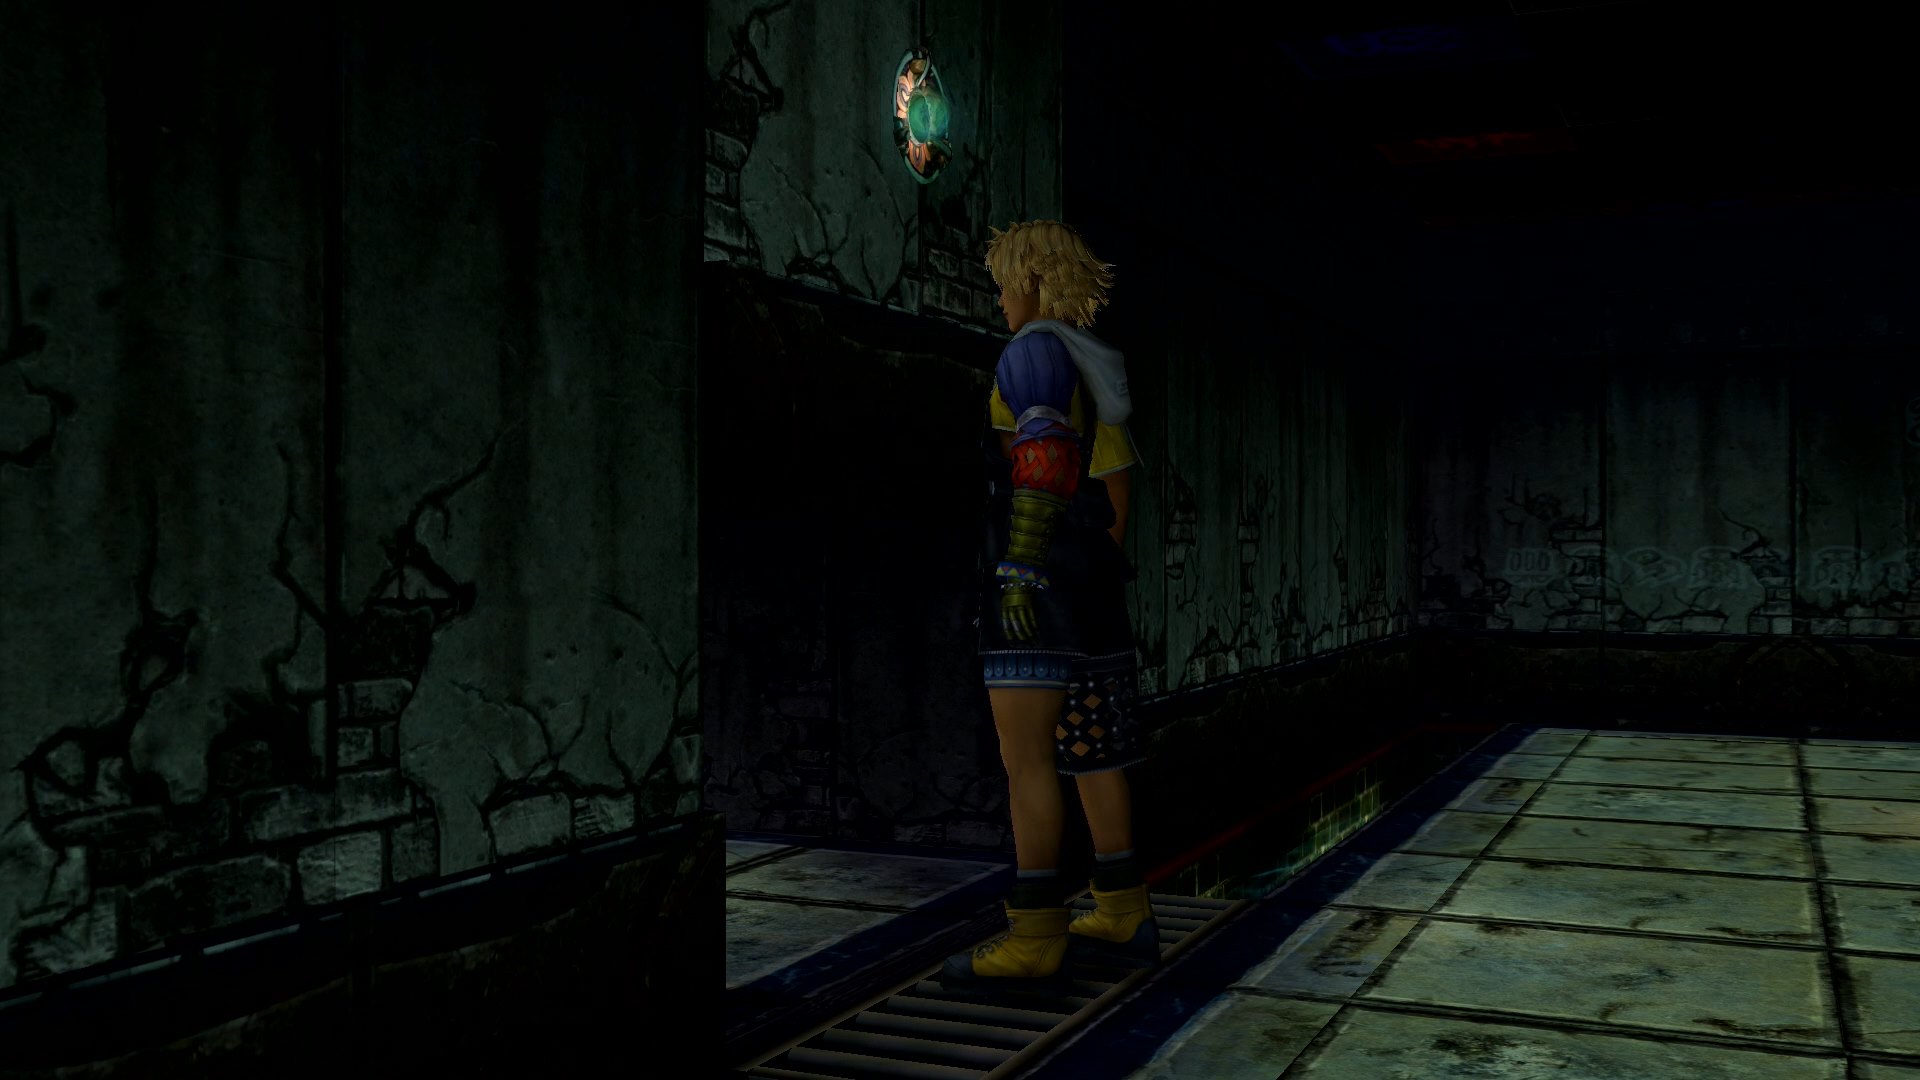
Besaid Temple – Cloister of Trials
After a brief talk with Wakka, you will enter the Cloister of Trials. This is basically a large puzzle you must solve before continuing on. If you solve it just right, you can find a special item as well! You must grab certain spheres and place them in certain circular recesses to solve the puzzle, but you can only grab one sphere at a time.
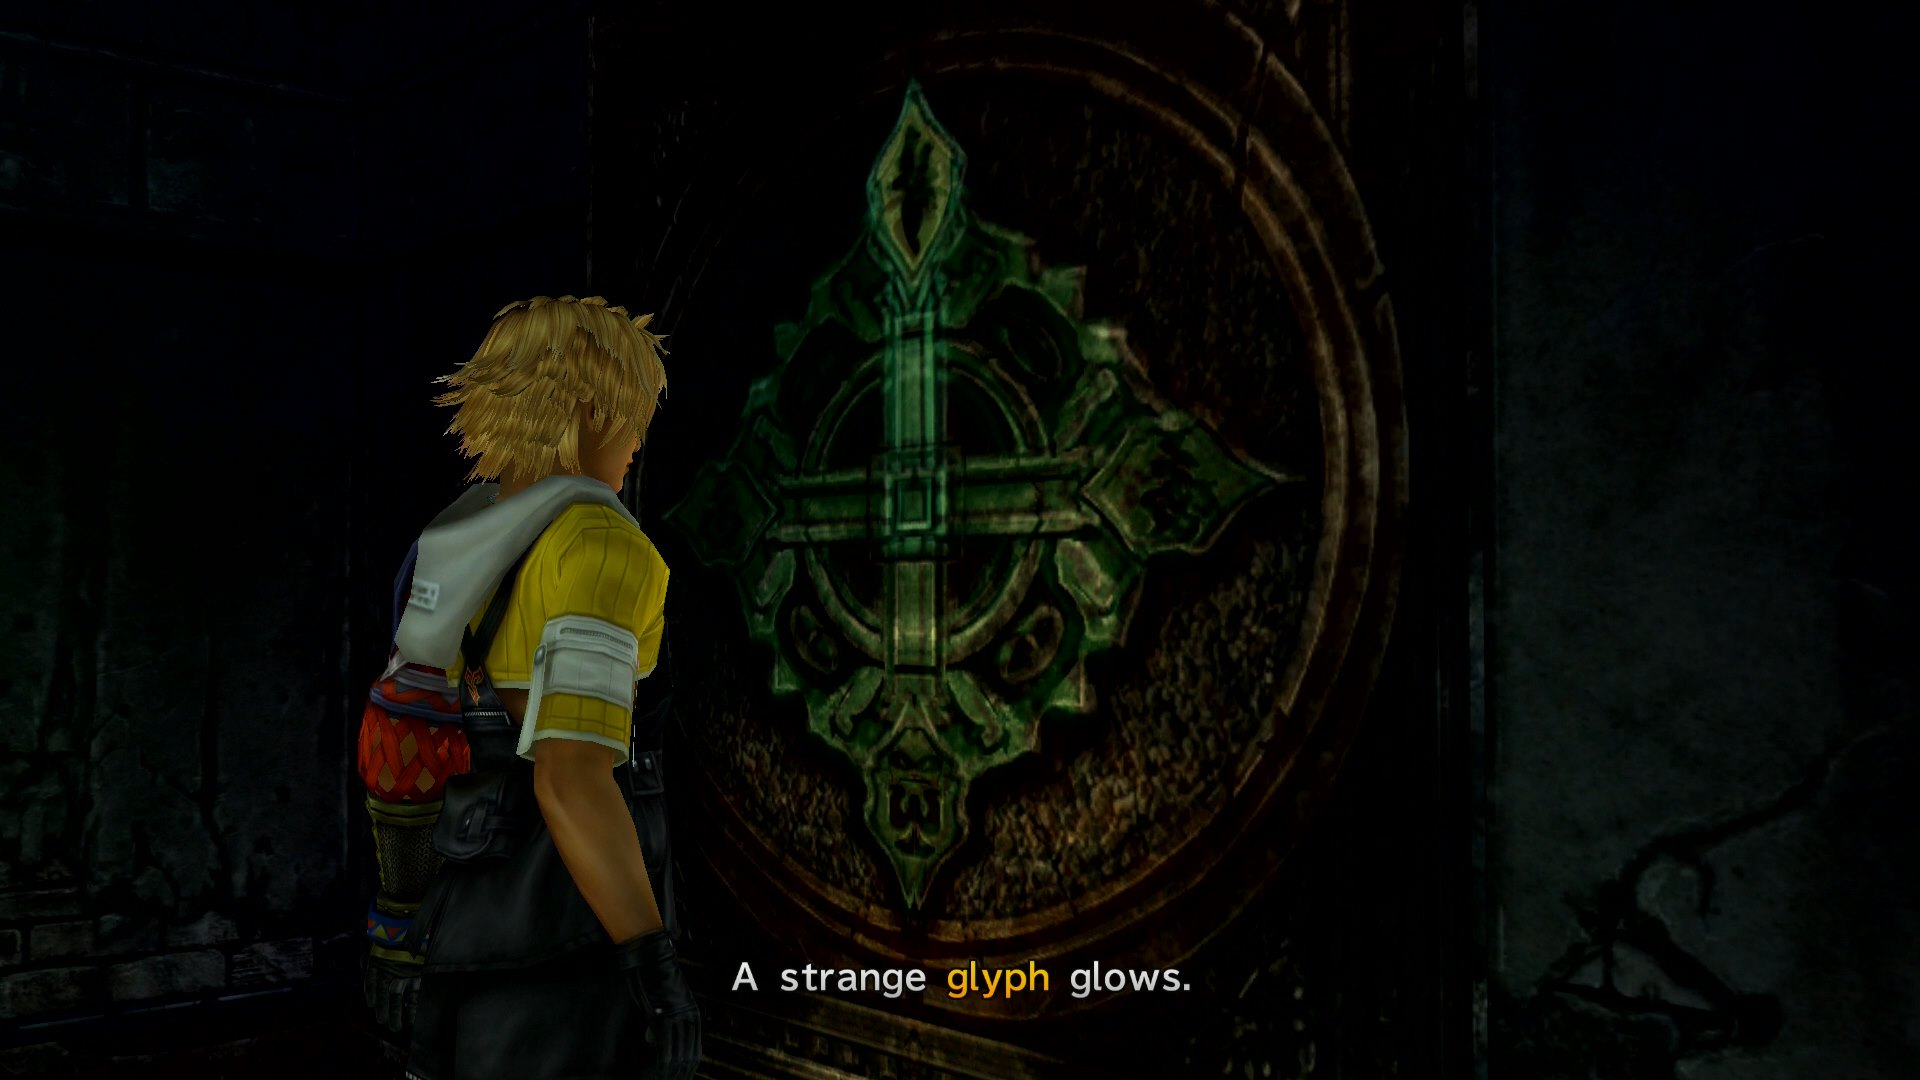
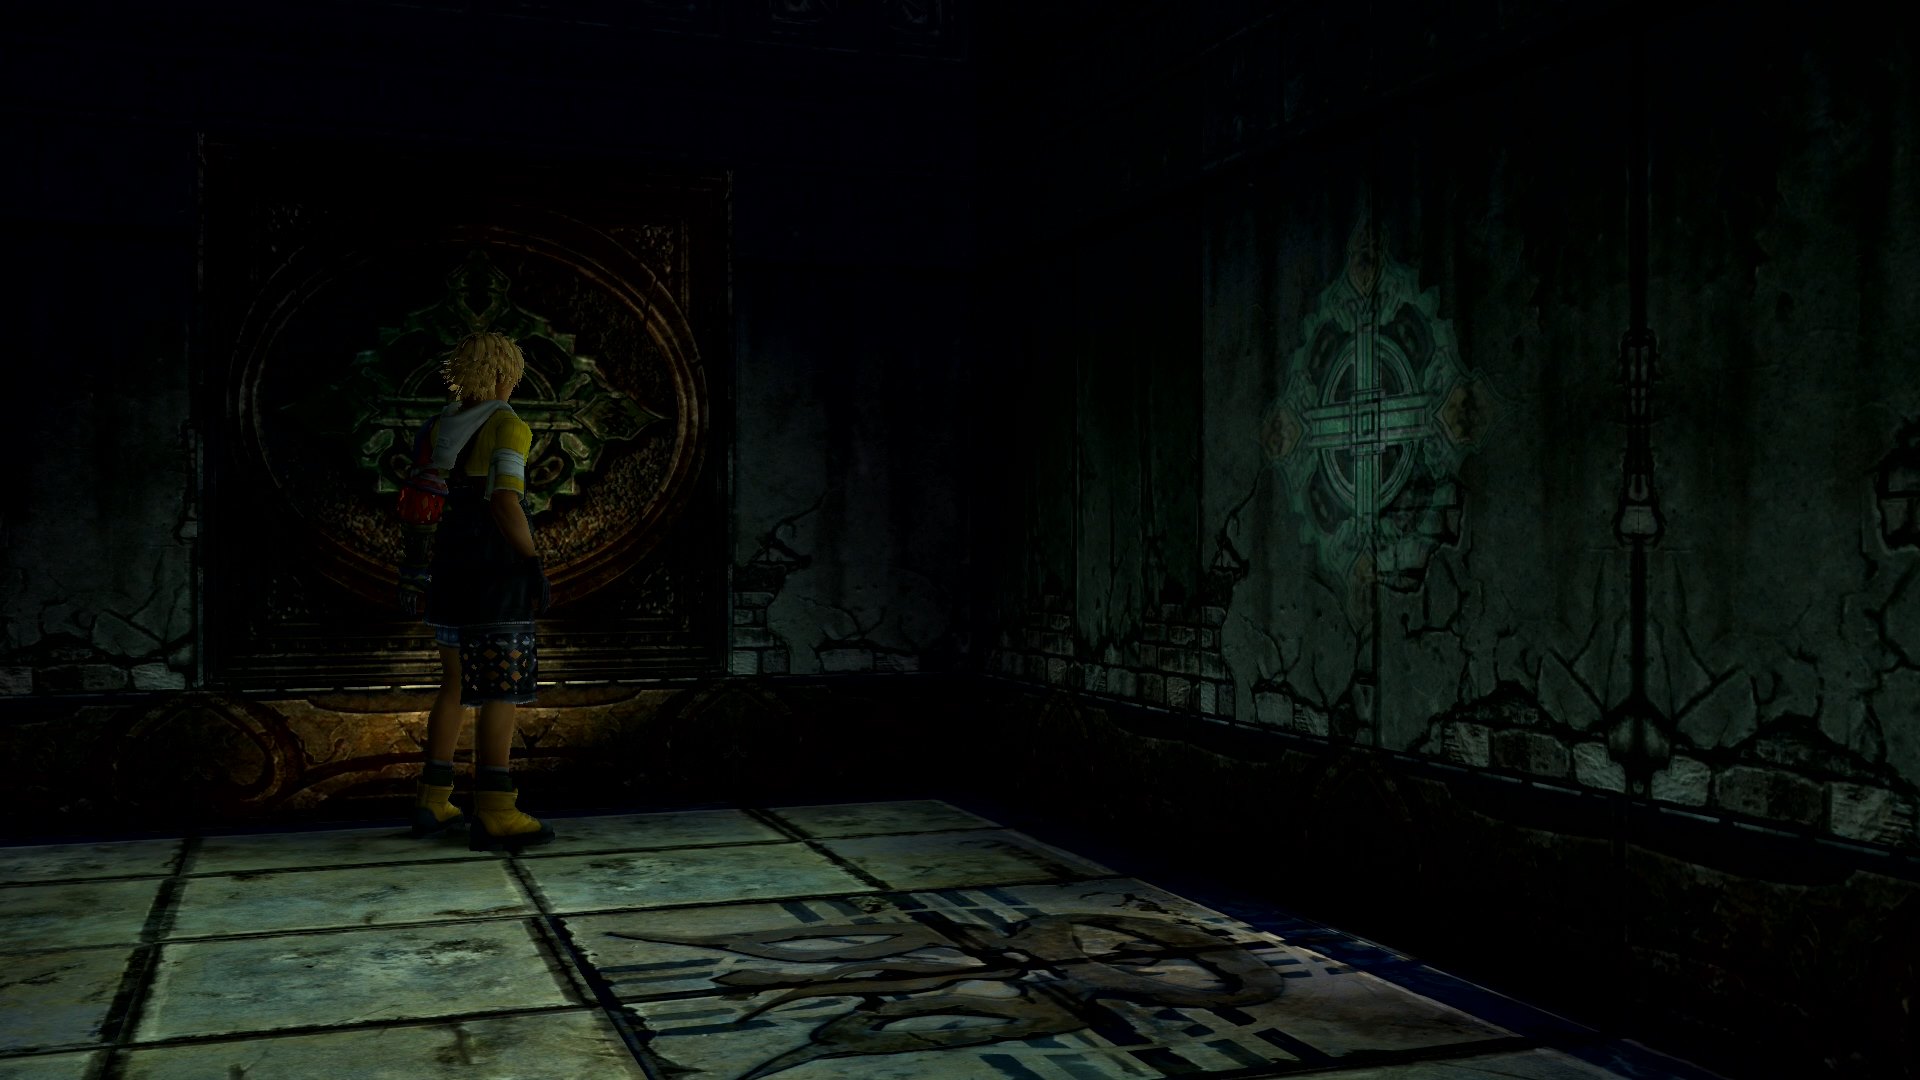
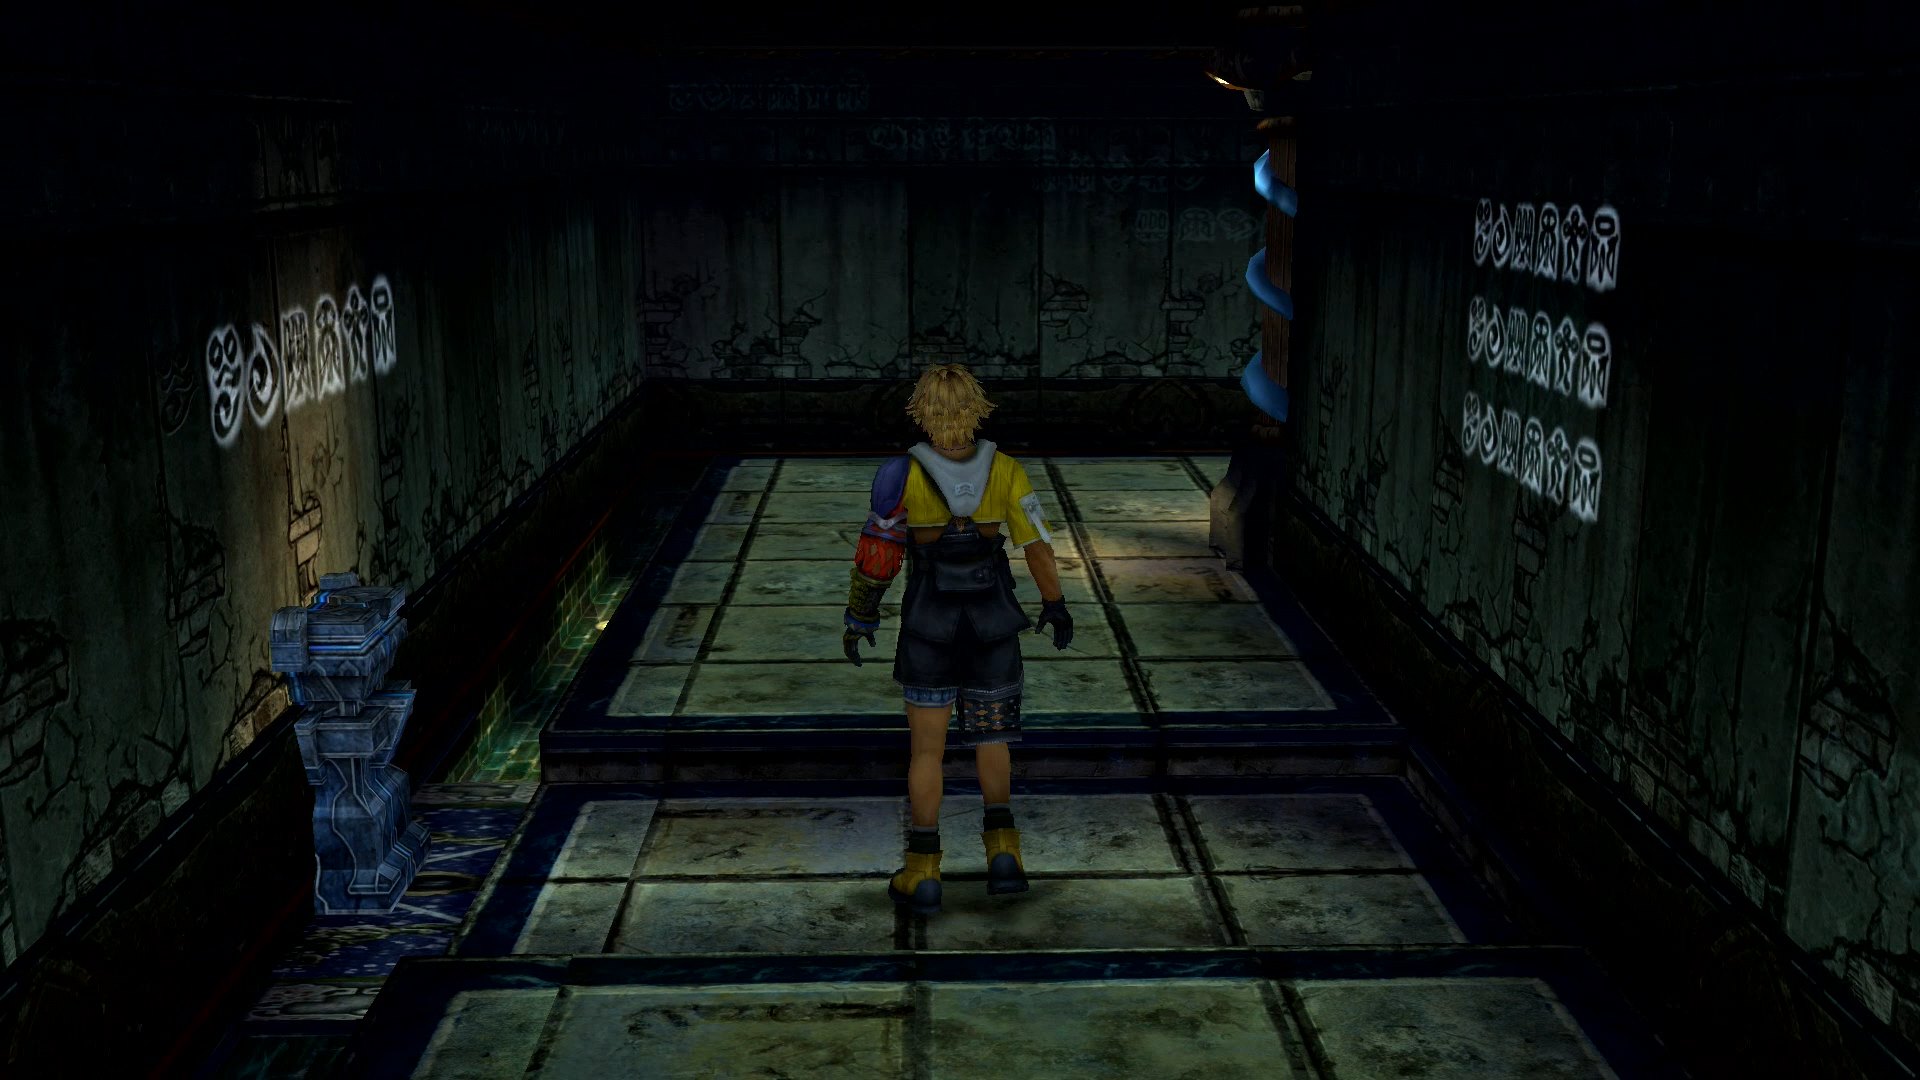
First, examine the glyph on the wall up ahead. This will make a glyph appear on the wall to the right. Touch the new glyph on the right wall to open a path further down.
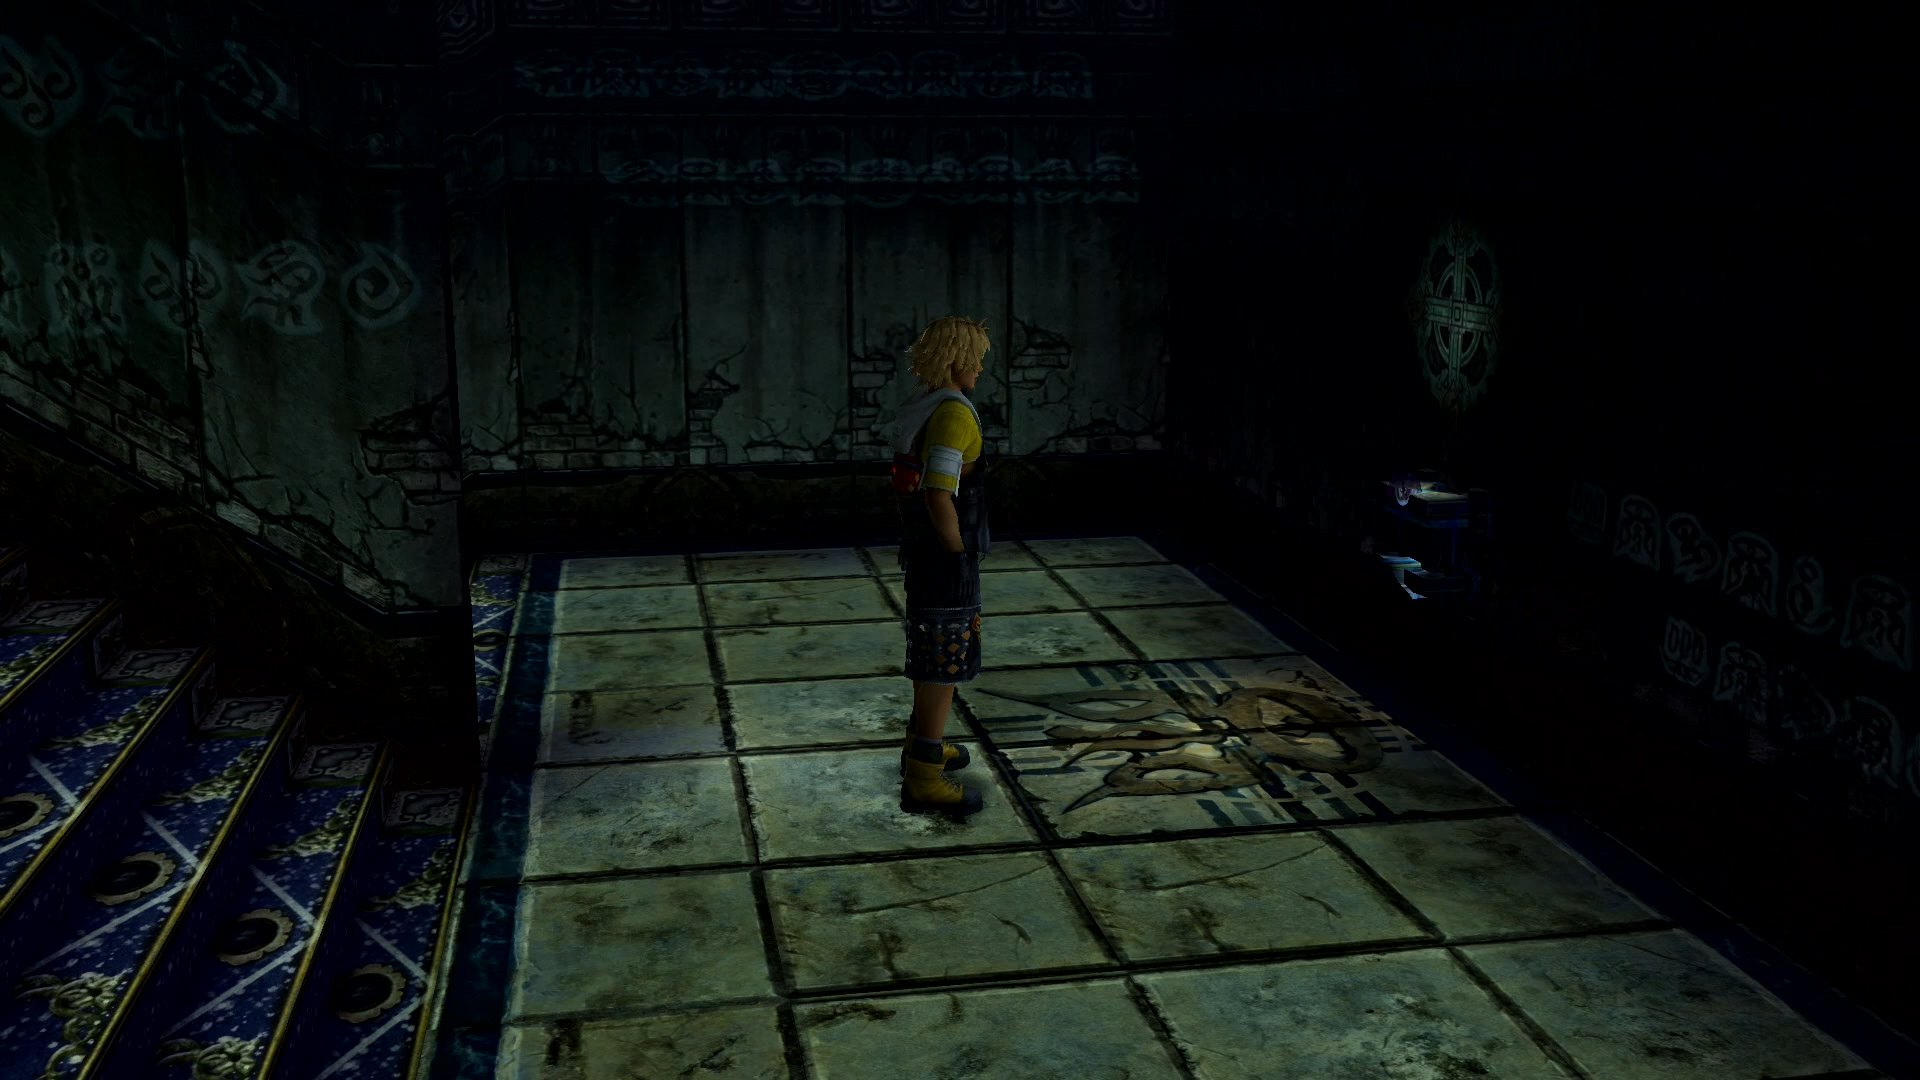
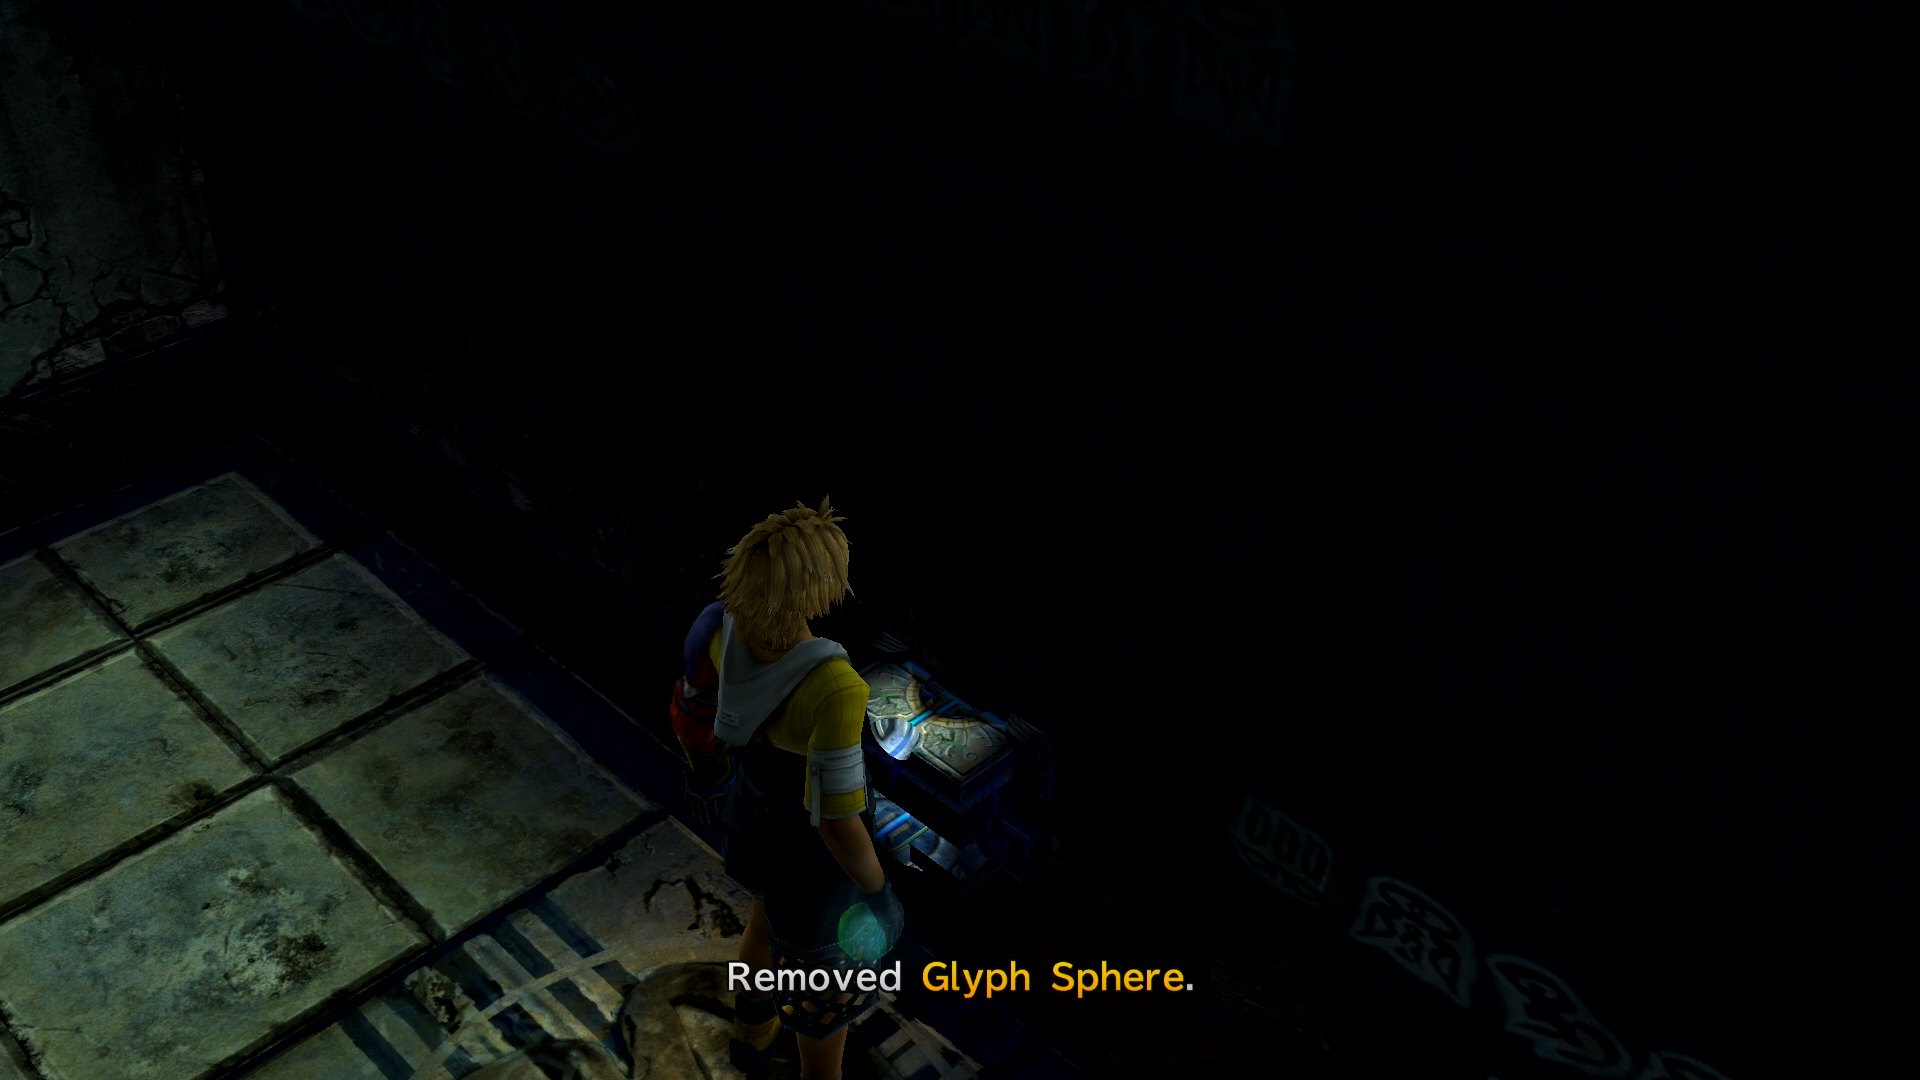
Walk down the stairs and interact with the small structure on the wall. After some information about spheres, you will remove the Glyph Sphere.
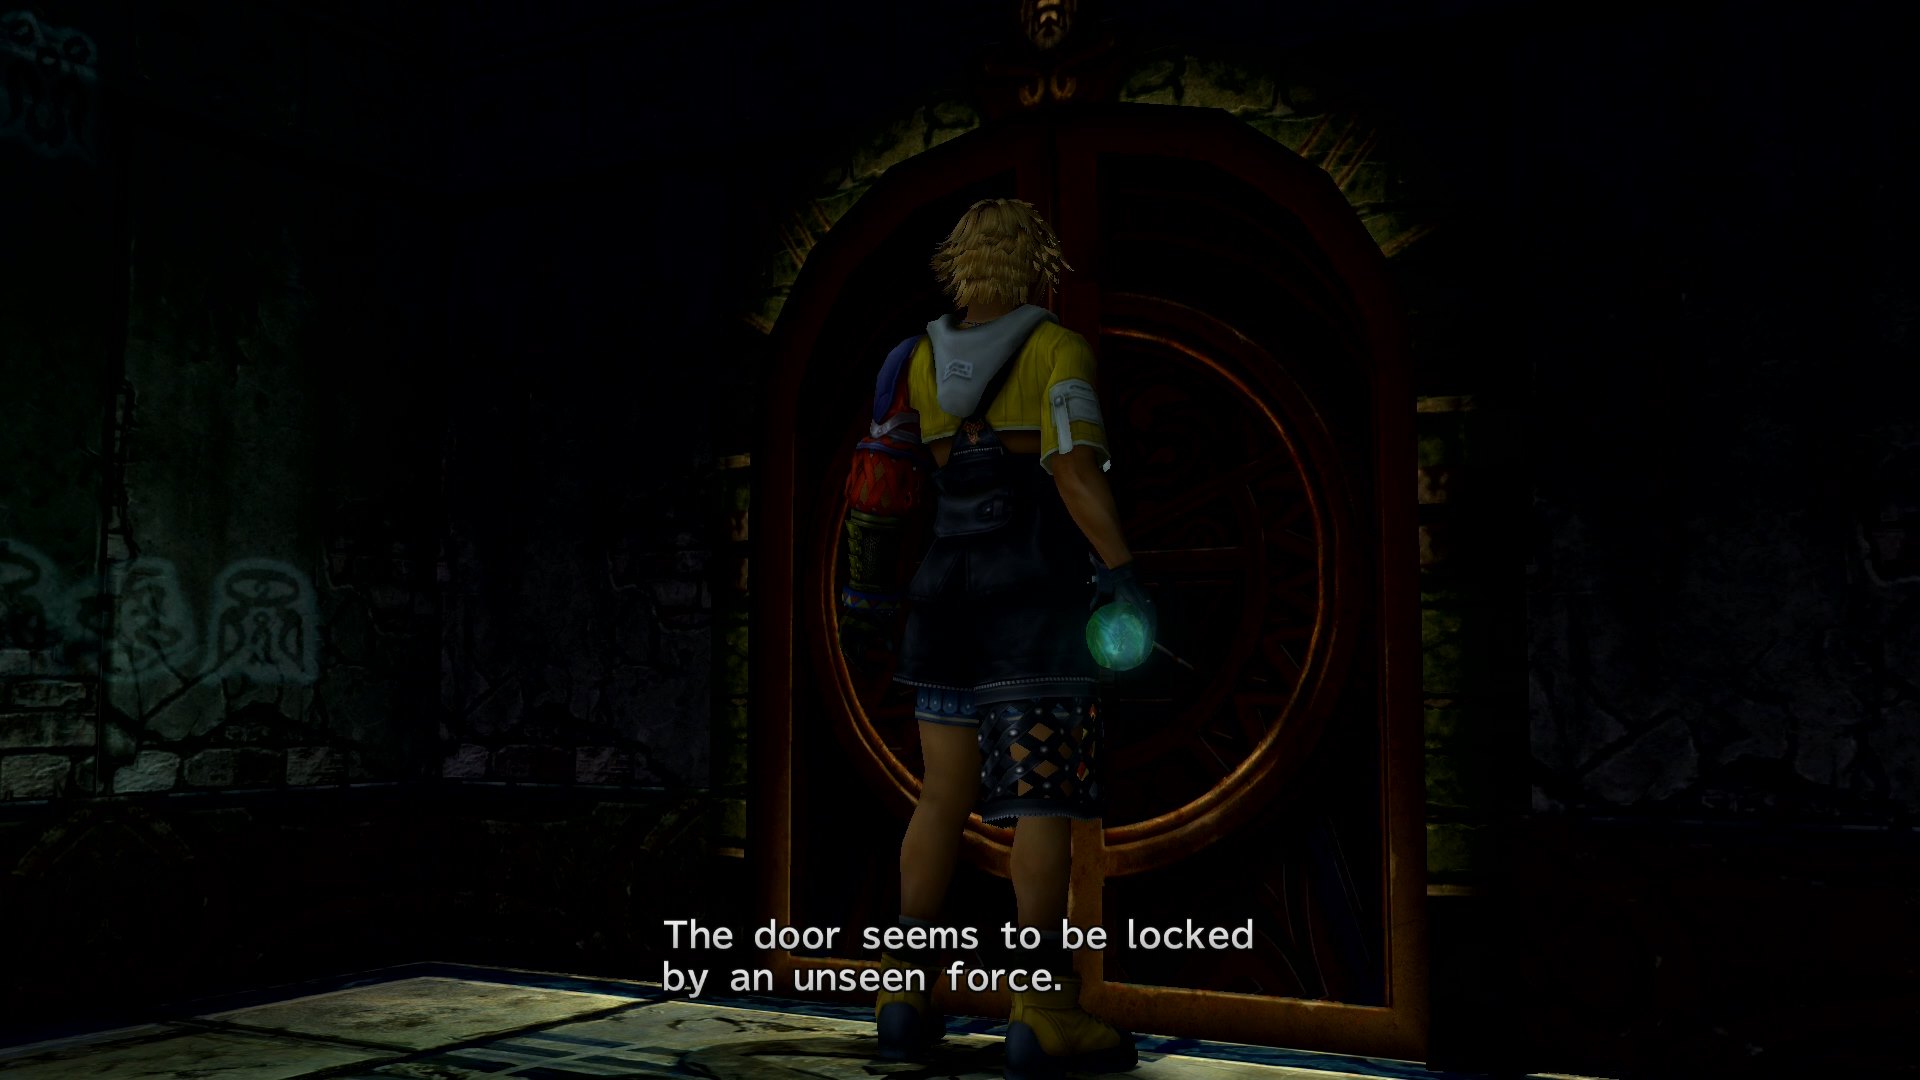
Descend the next set of stairs and use the Glyph Sphere to open the double doors. Before going on, remove the Glyph Sphere from the door.
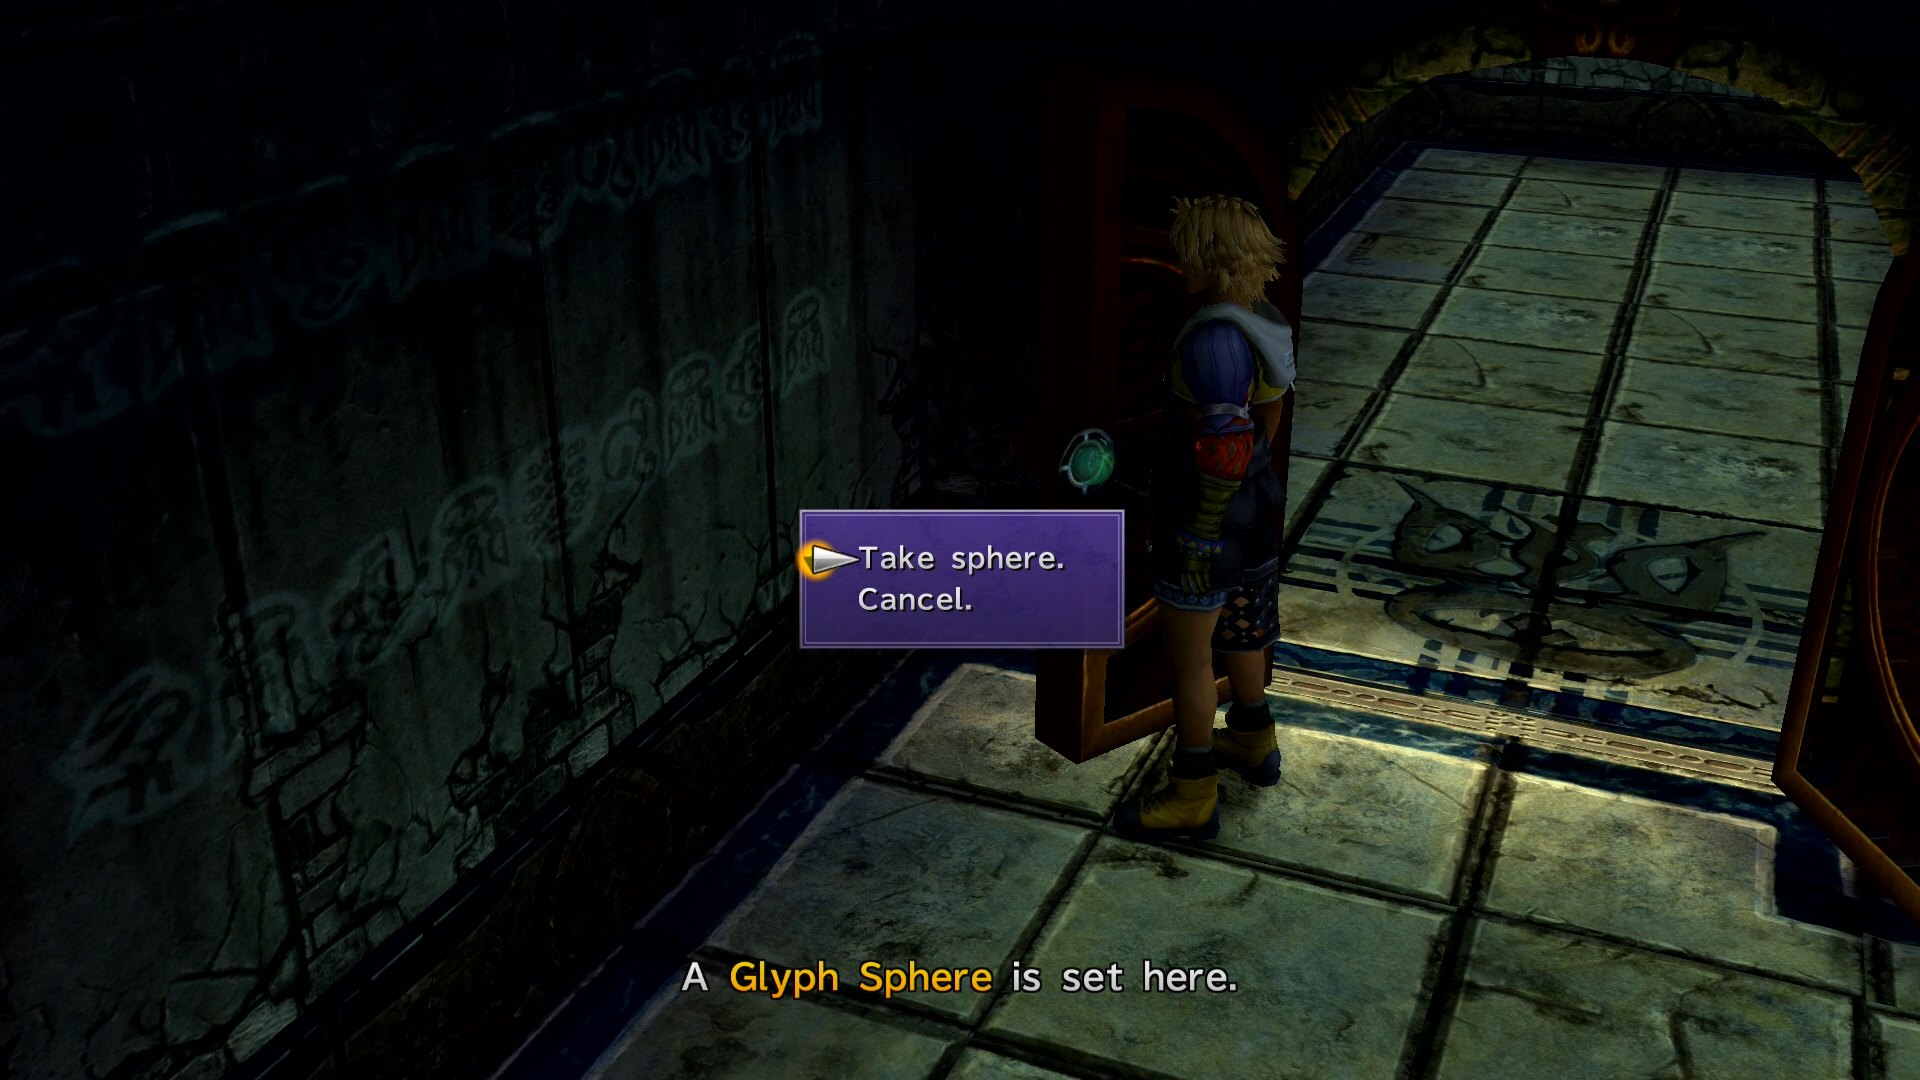
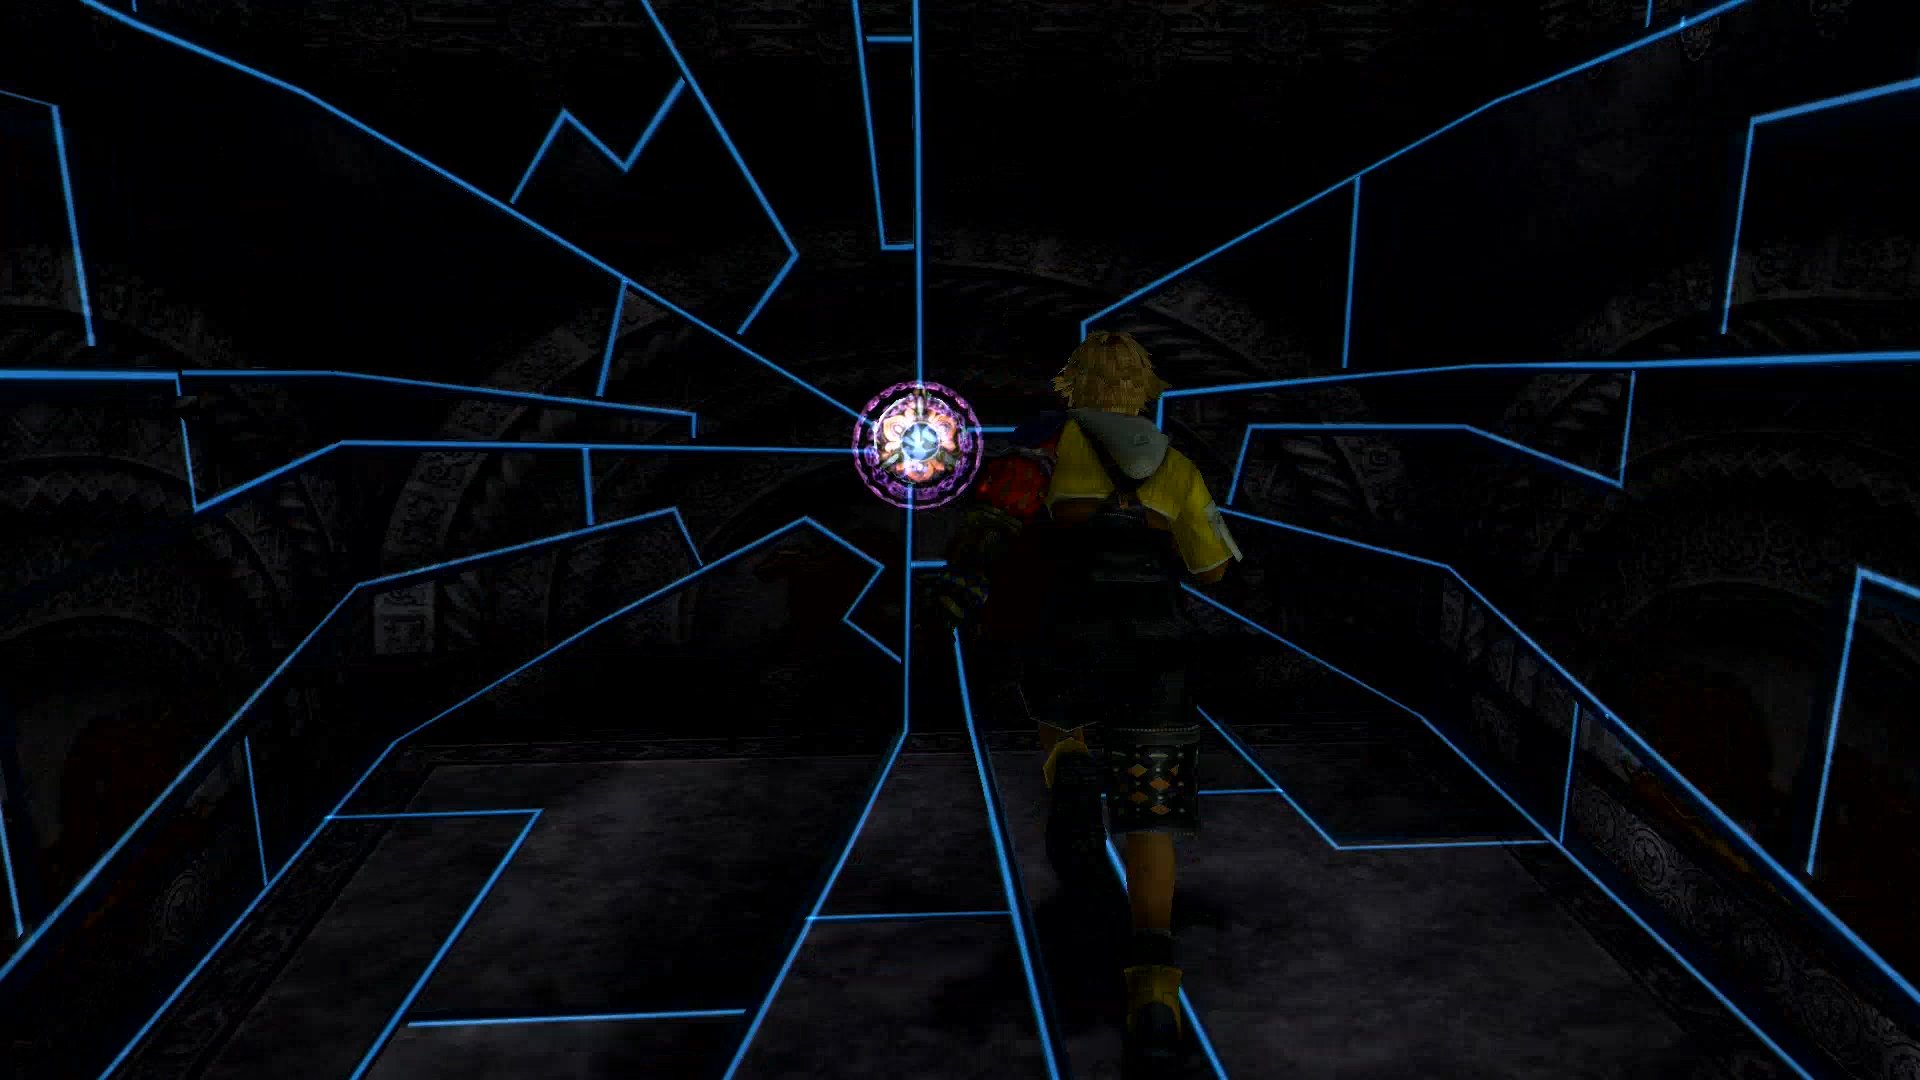
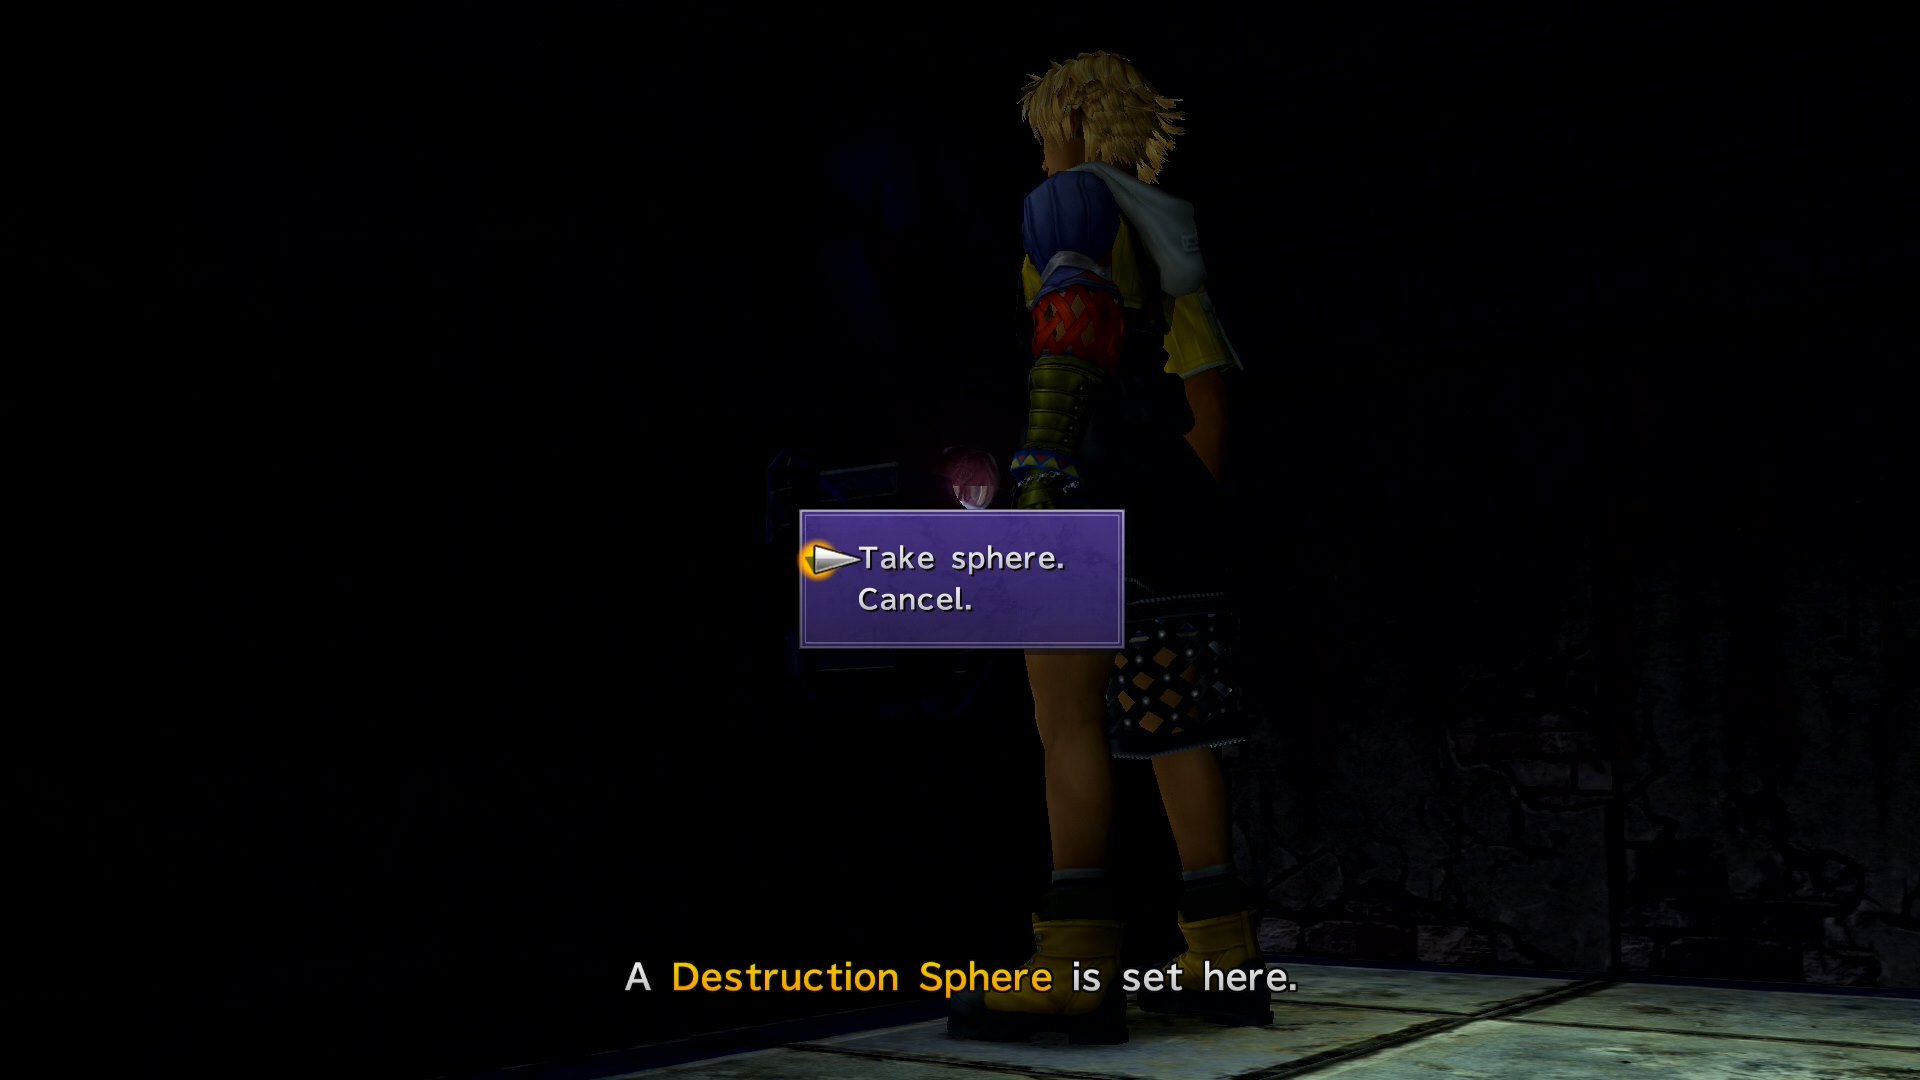
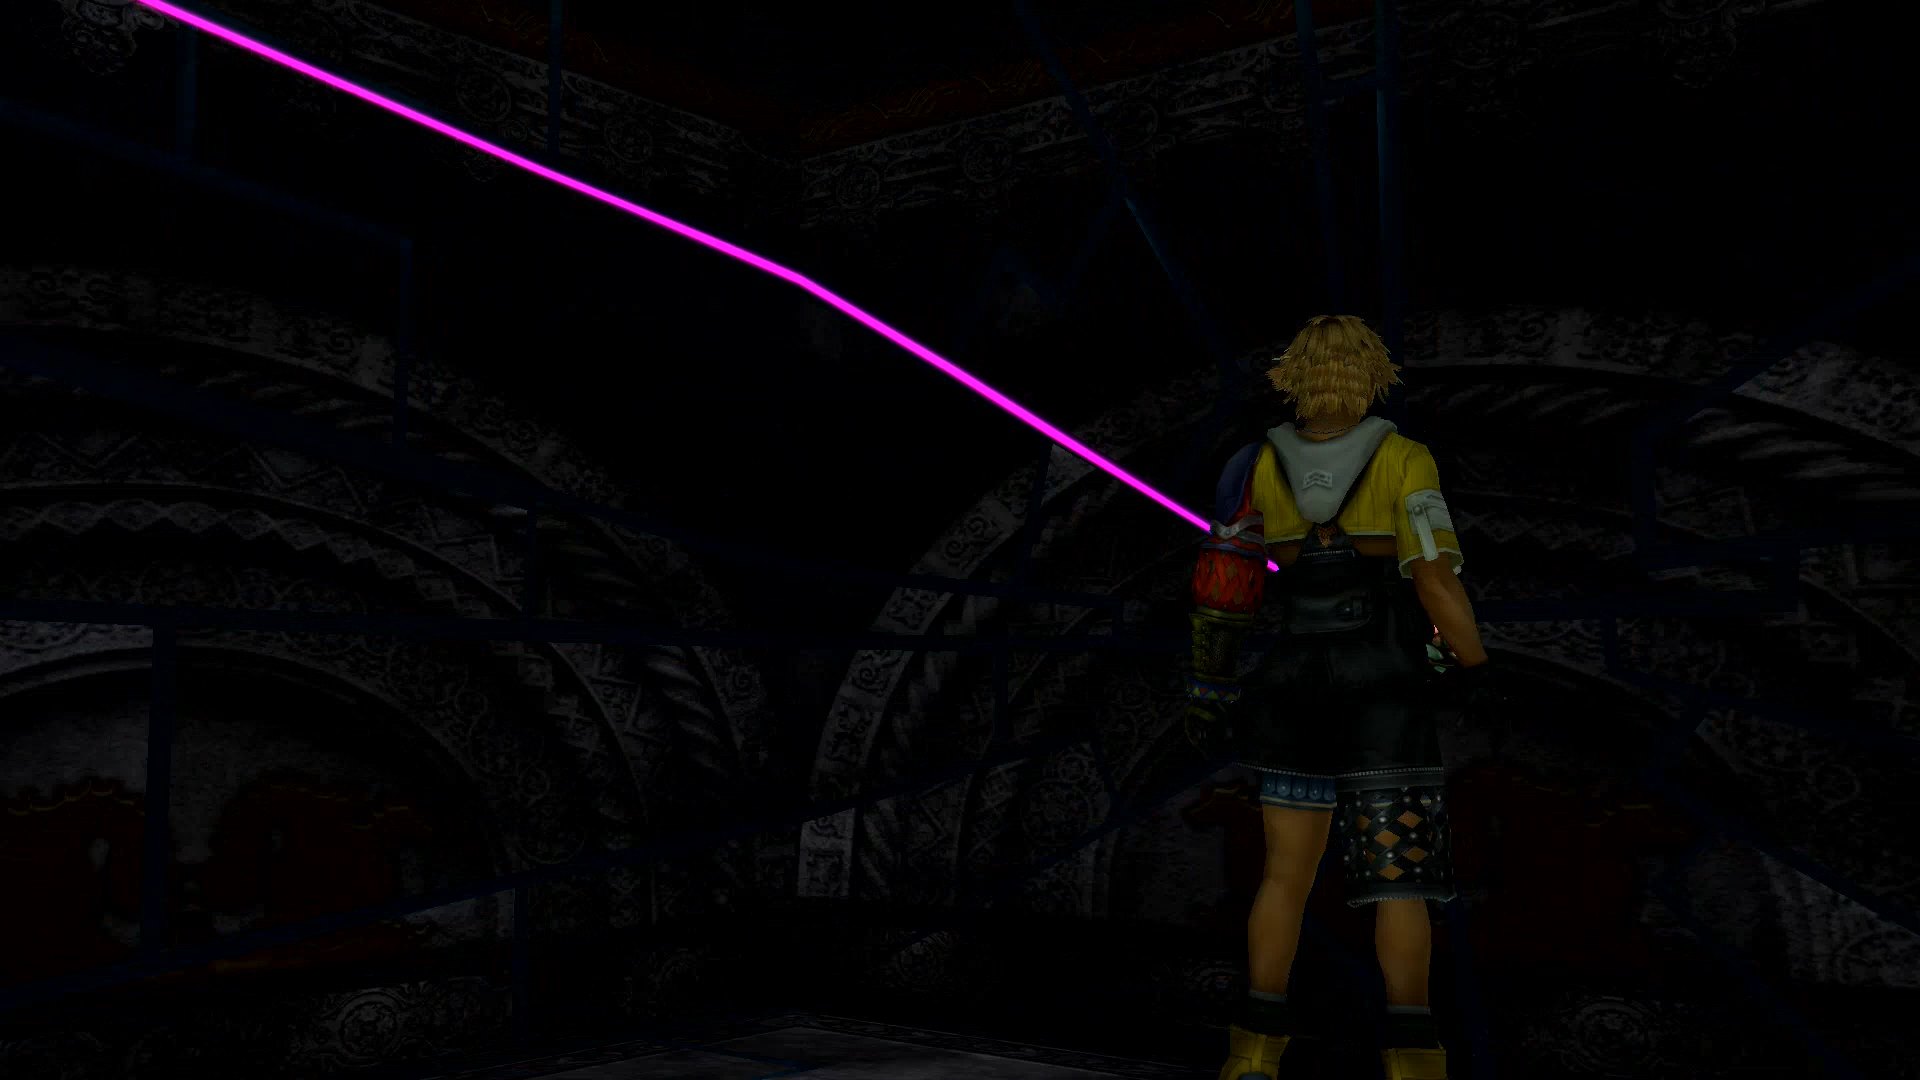
Head further into the area and insert the Glyph Sphere in the recess on the left wall. This will reveal a secret room with a Destruction Sphere. Do not pick up this new sphere just yet.
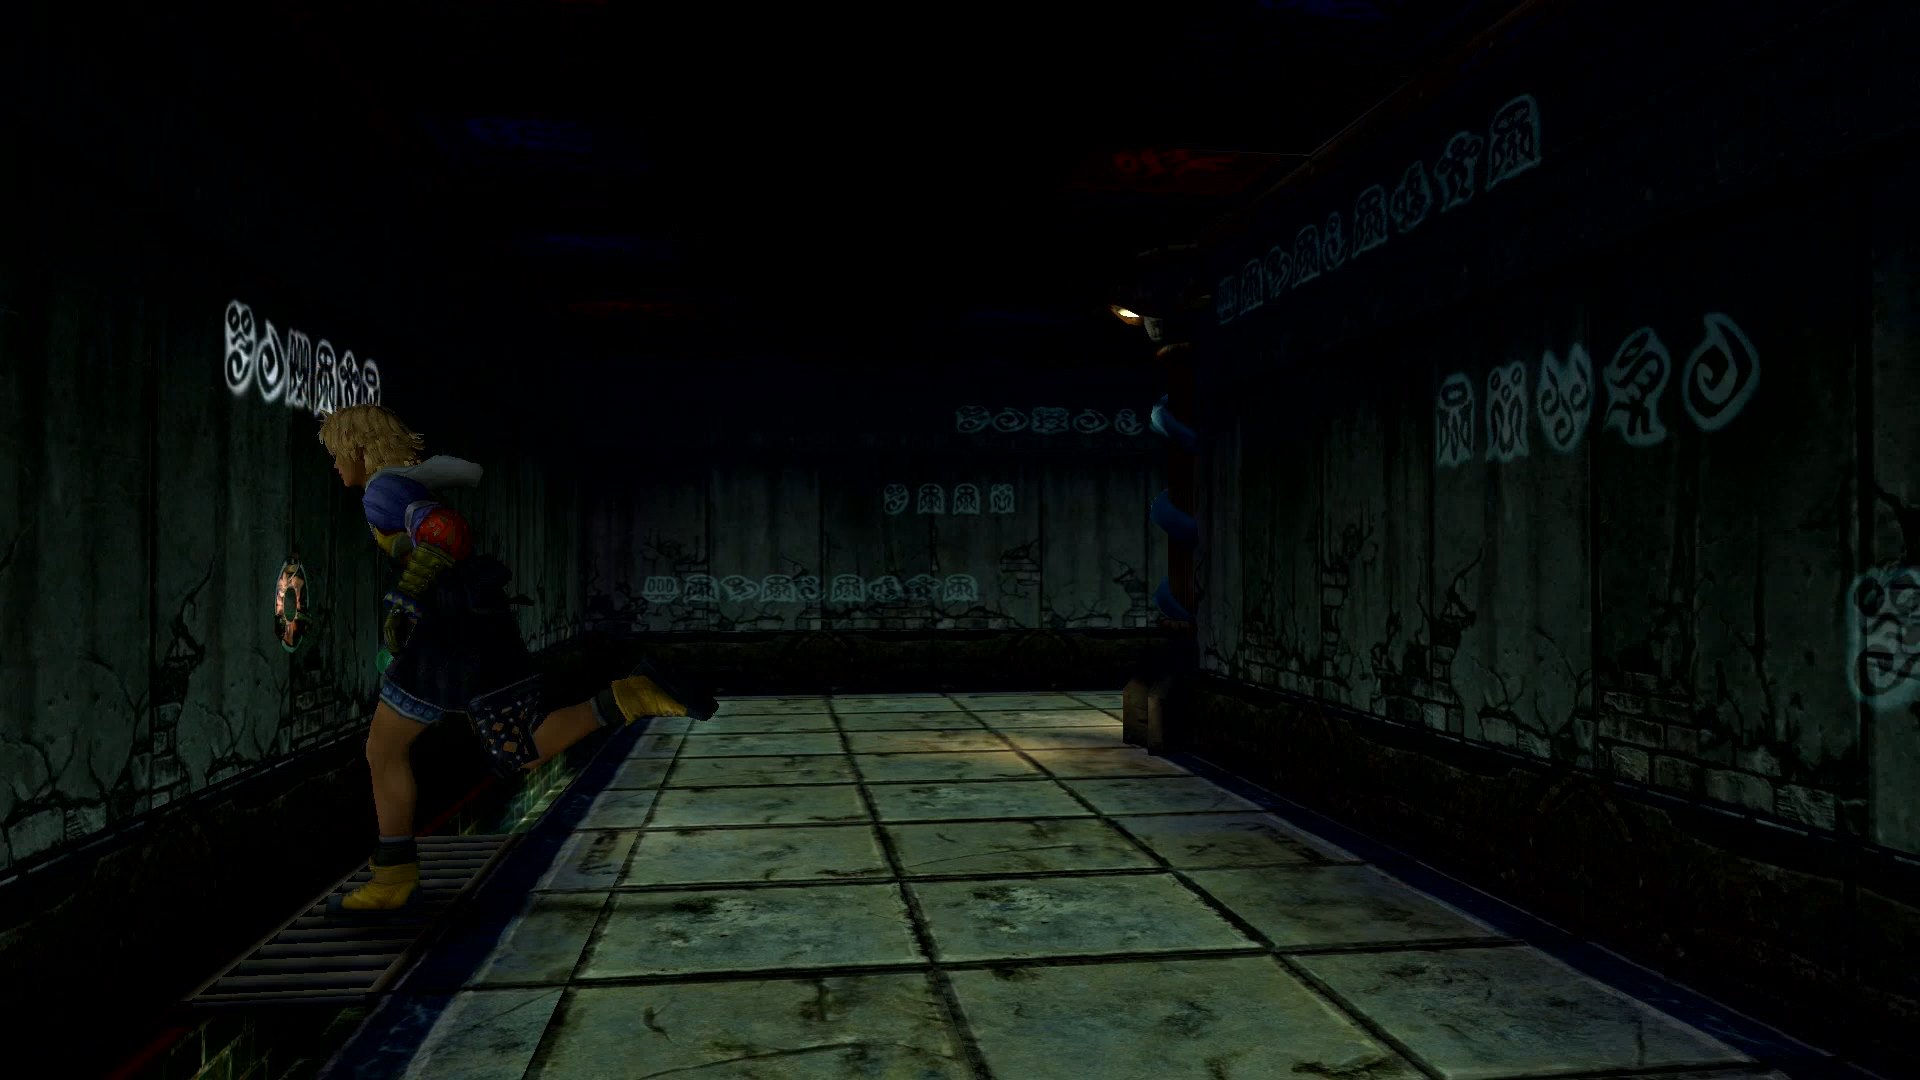
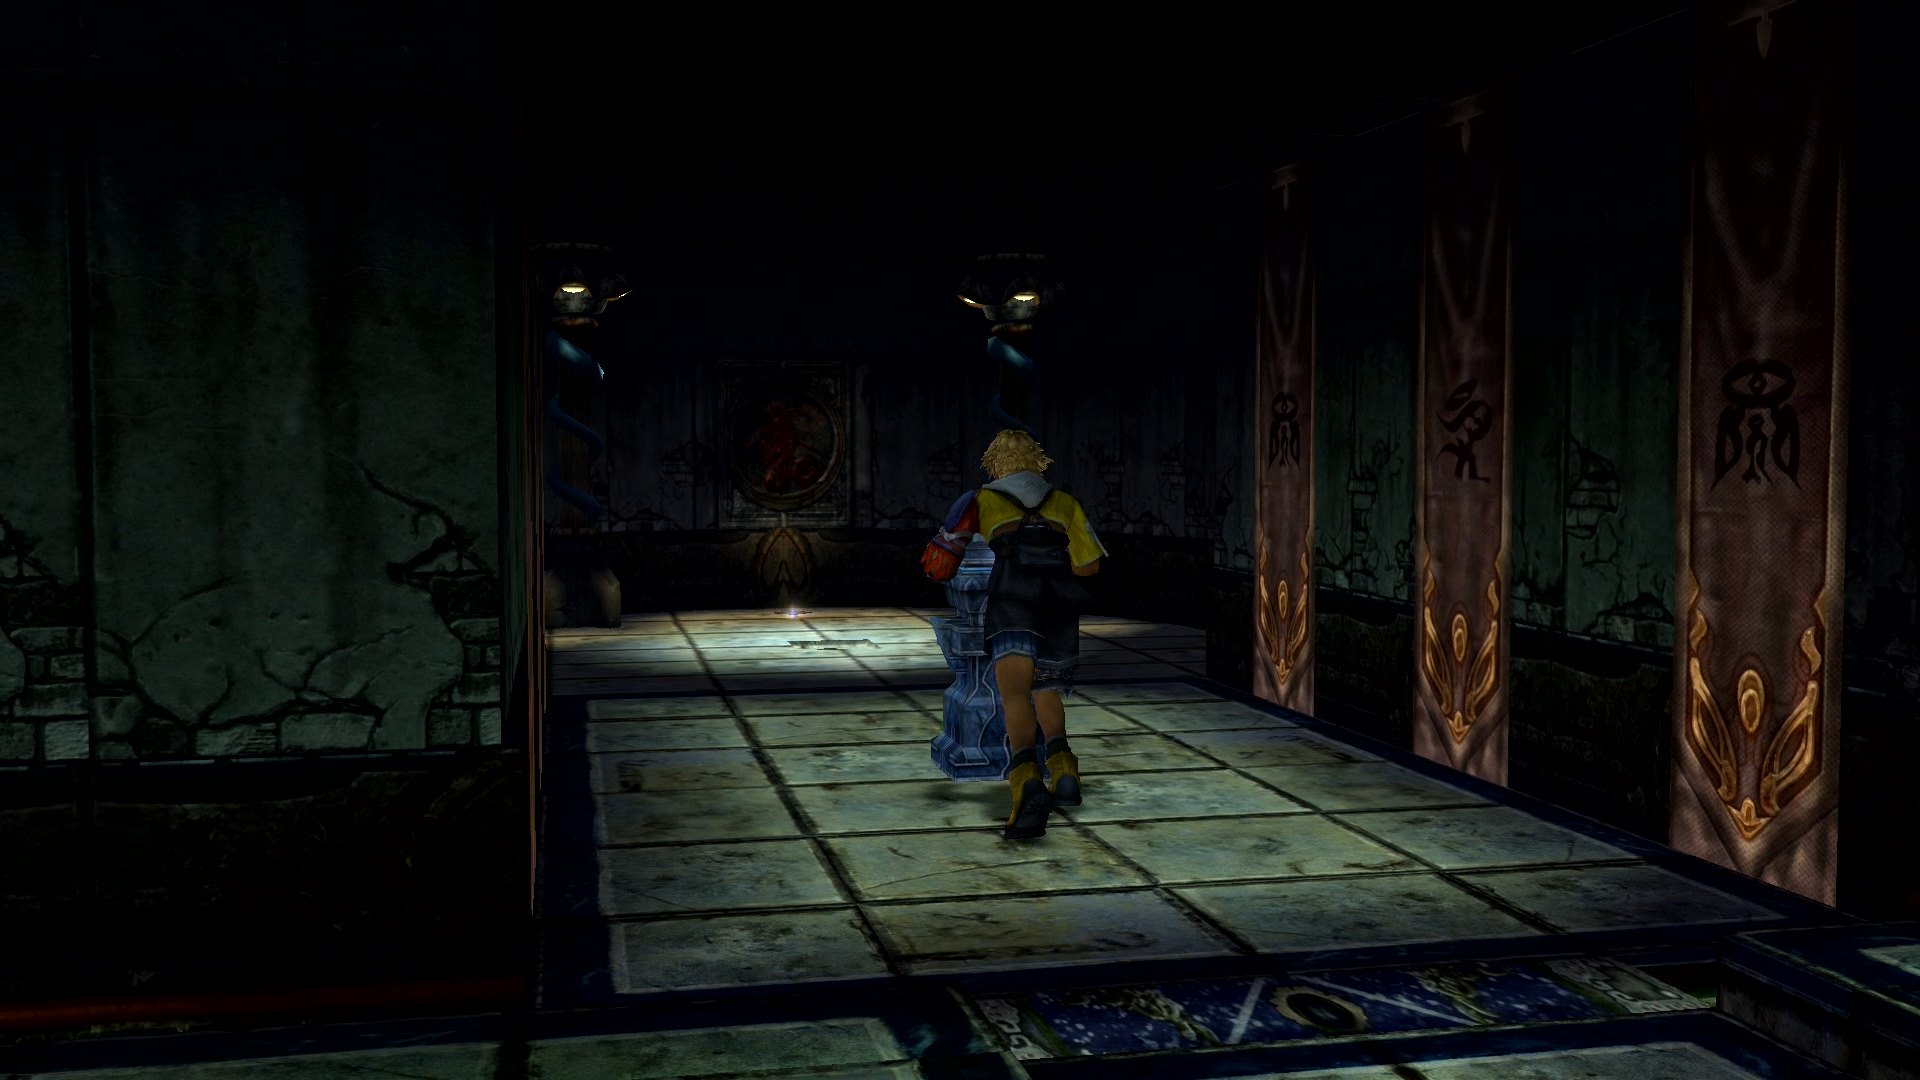
Continue down the hall until you see a pedestal on the left wall and some symbols on the right. Examine and touch the symbols on the right wall to reveal a hidden room.

Inside the newly revealed room is a Besasid Sphere. Take this sphere and place it in the pedestal across the hall.

Return to the secret room from earlier and take the Destruction Sphere. Place it in the same recess the Besaid Sphere was originally in. This will reveal a hidden Treasure Chest with the Rod of Wisdom inside!
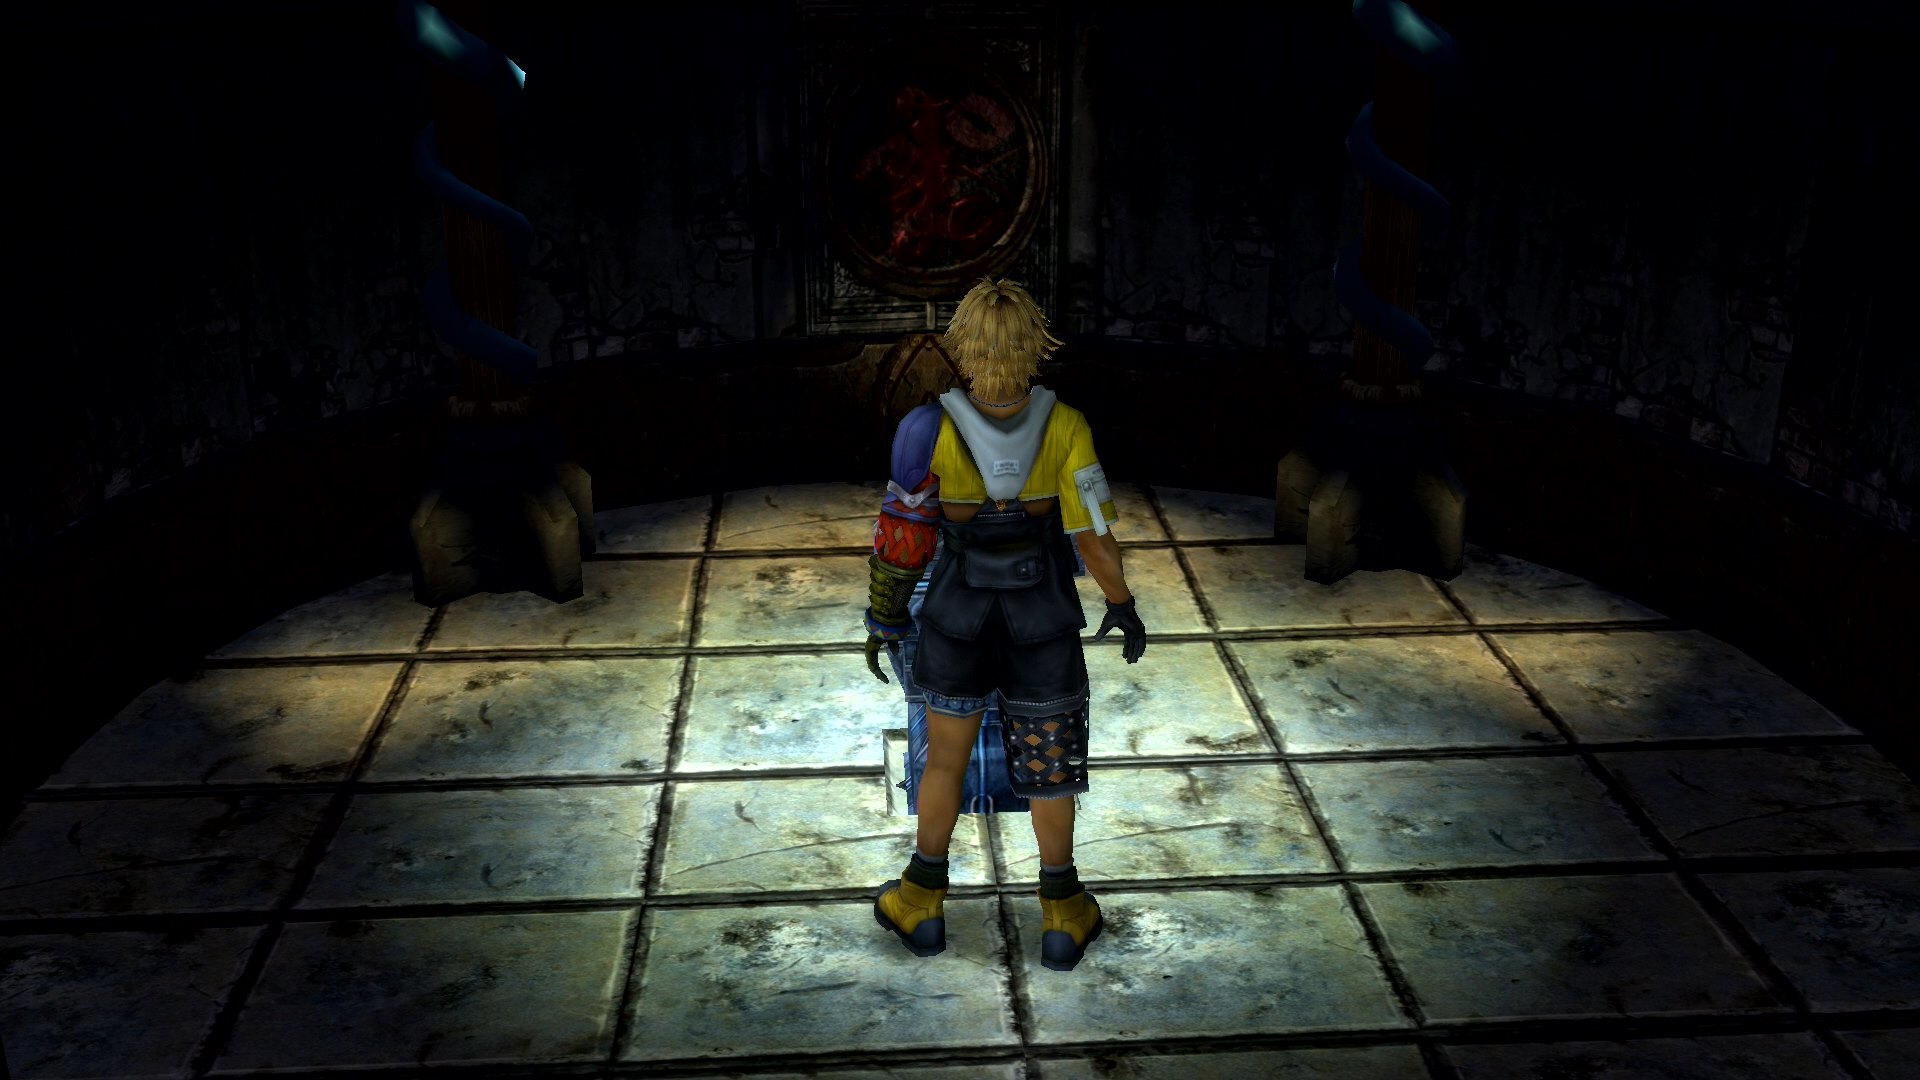
The final thing to do is to return to the pedestal from earlier and push it forward. The pedestal will descend into the floor, and a short scene will play out. After the scene, exit out of the temple to see your first Aeon! You can name it whatever you like, but the default name is Valefor.
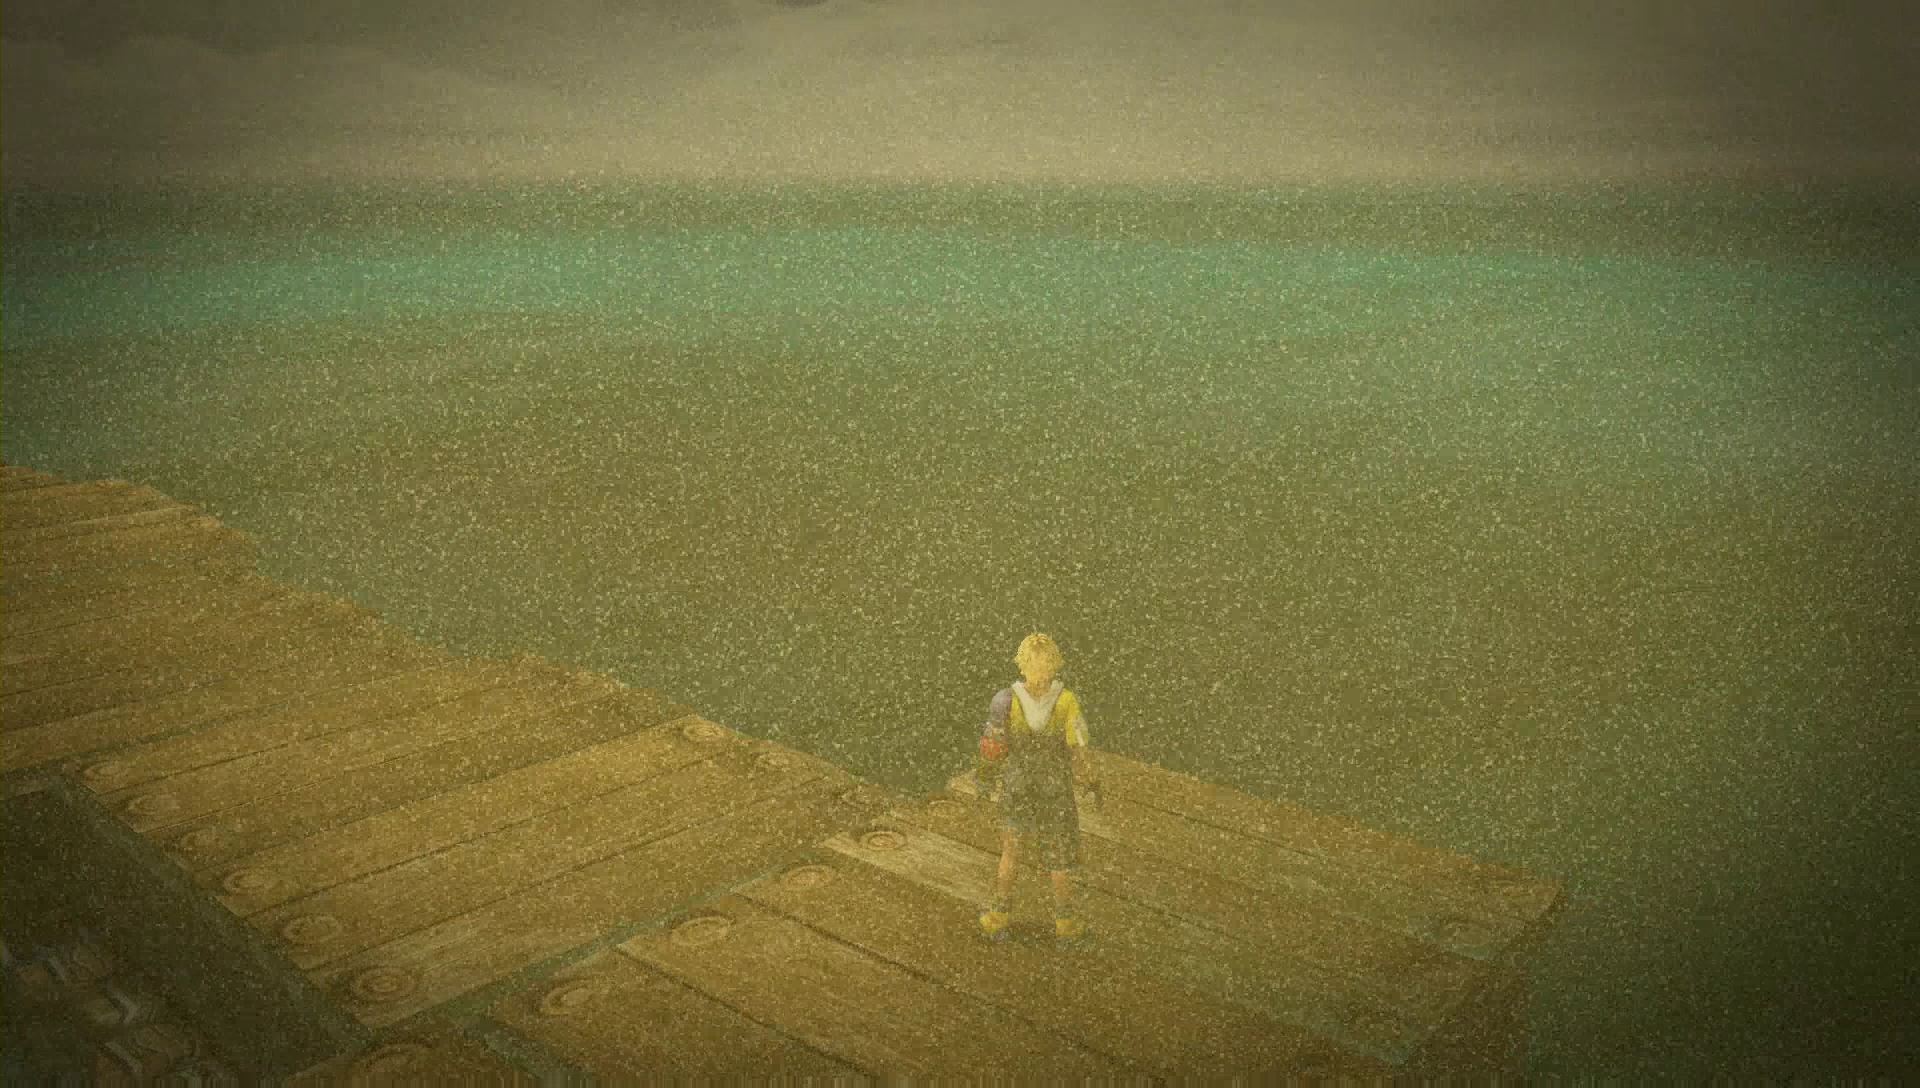
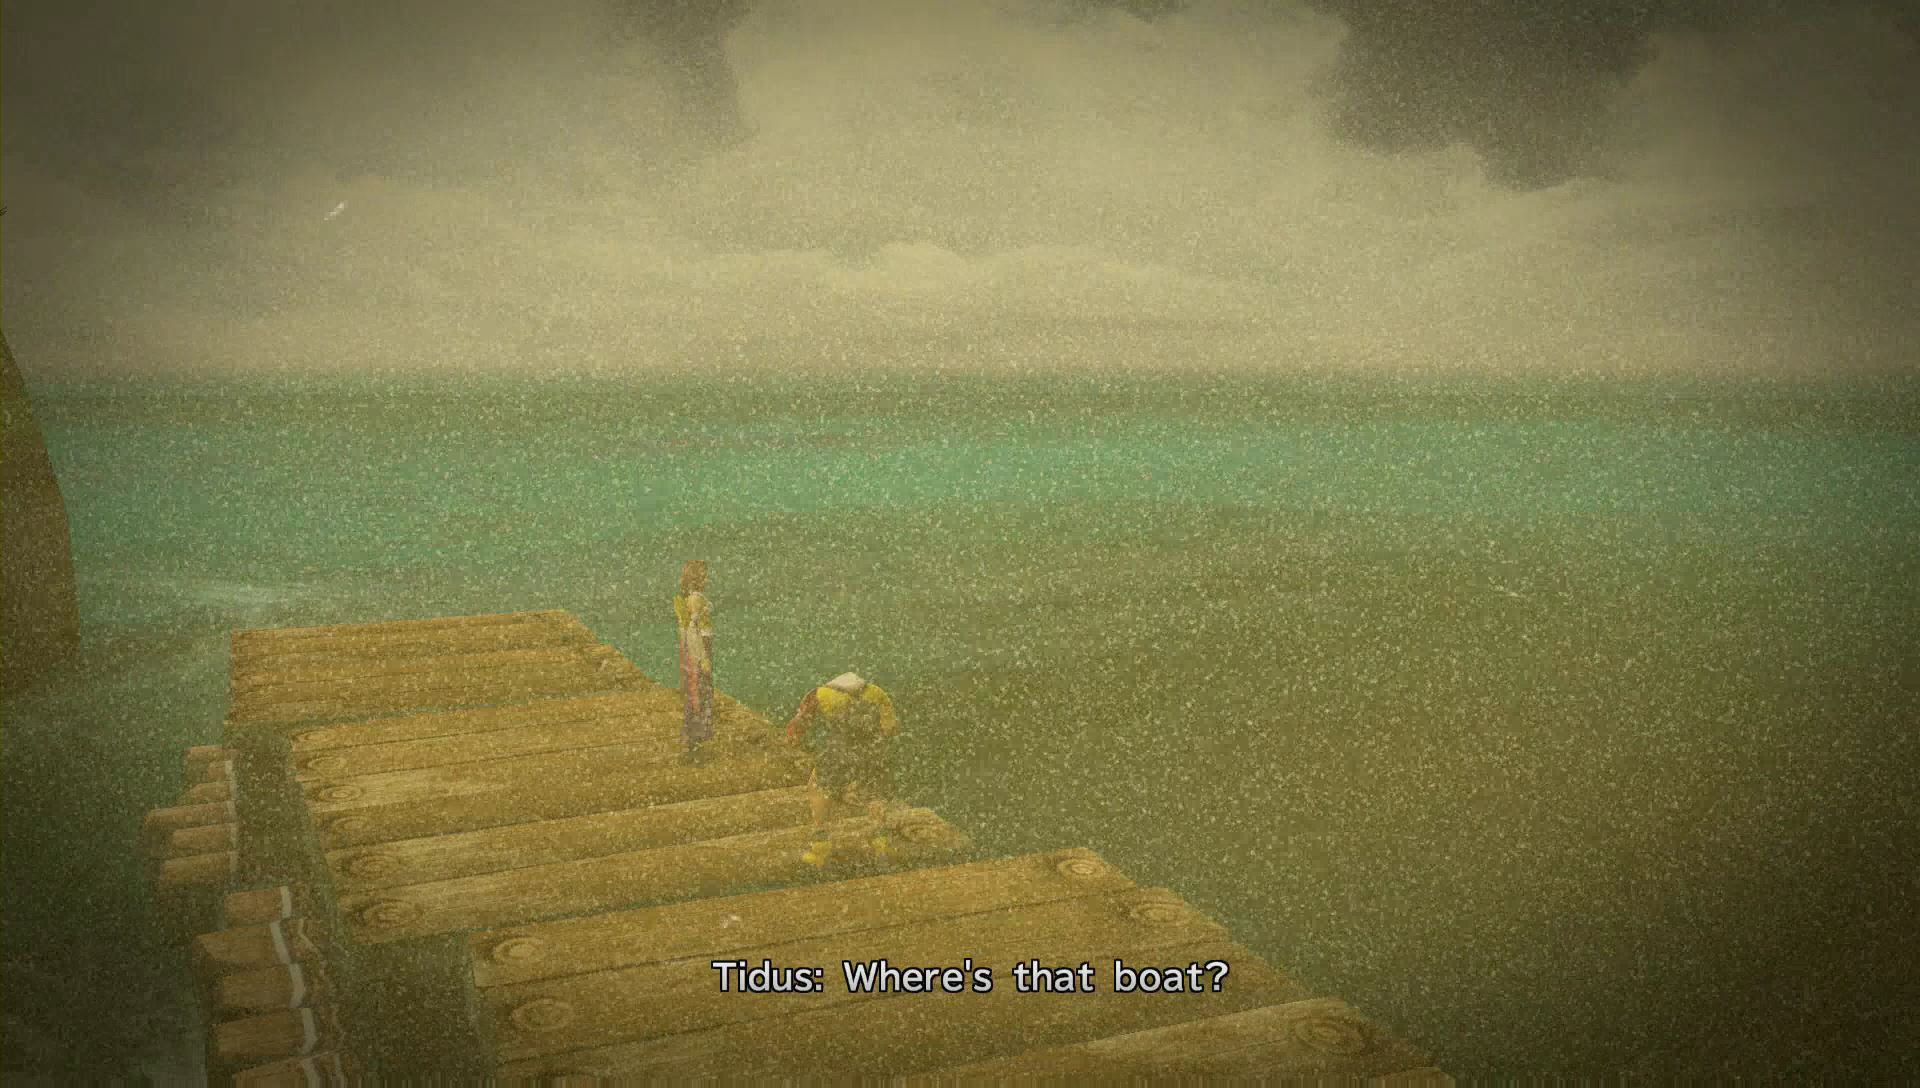
Another cut scene will play. Speak with Yuna, the summoner, when you gain control of Tidus. When that’s done with, speak with Wakka to go to bed. Yet another cut scene will play, but you will have control in this one. Walk to the end of the docks to complete it.
Village – Return
You’ll awaken in the Crusader’s Lodge. If you didn’t grab the Al Bhed Primer vol. II yet, do so now! Exit out of the lodge to meet up with Wakka and Lulu. Wakka will give you a brand new sword.
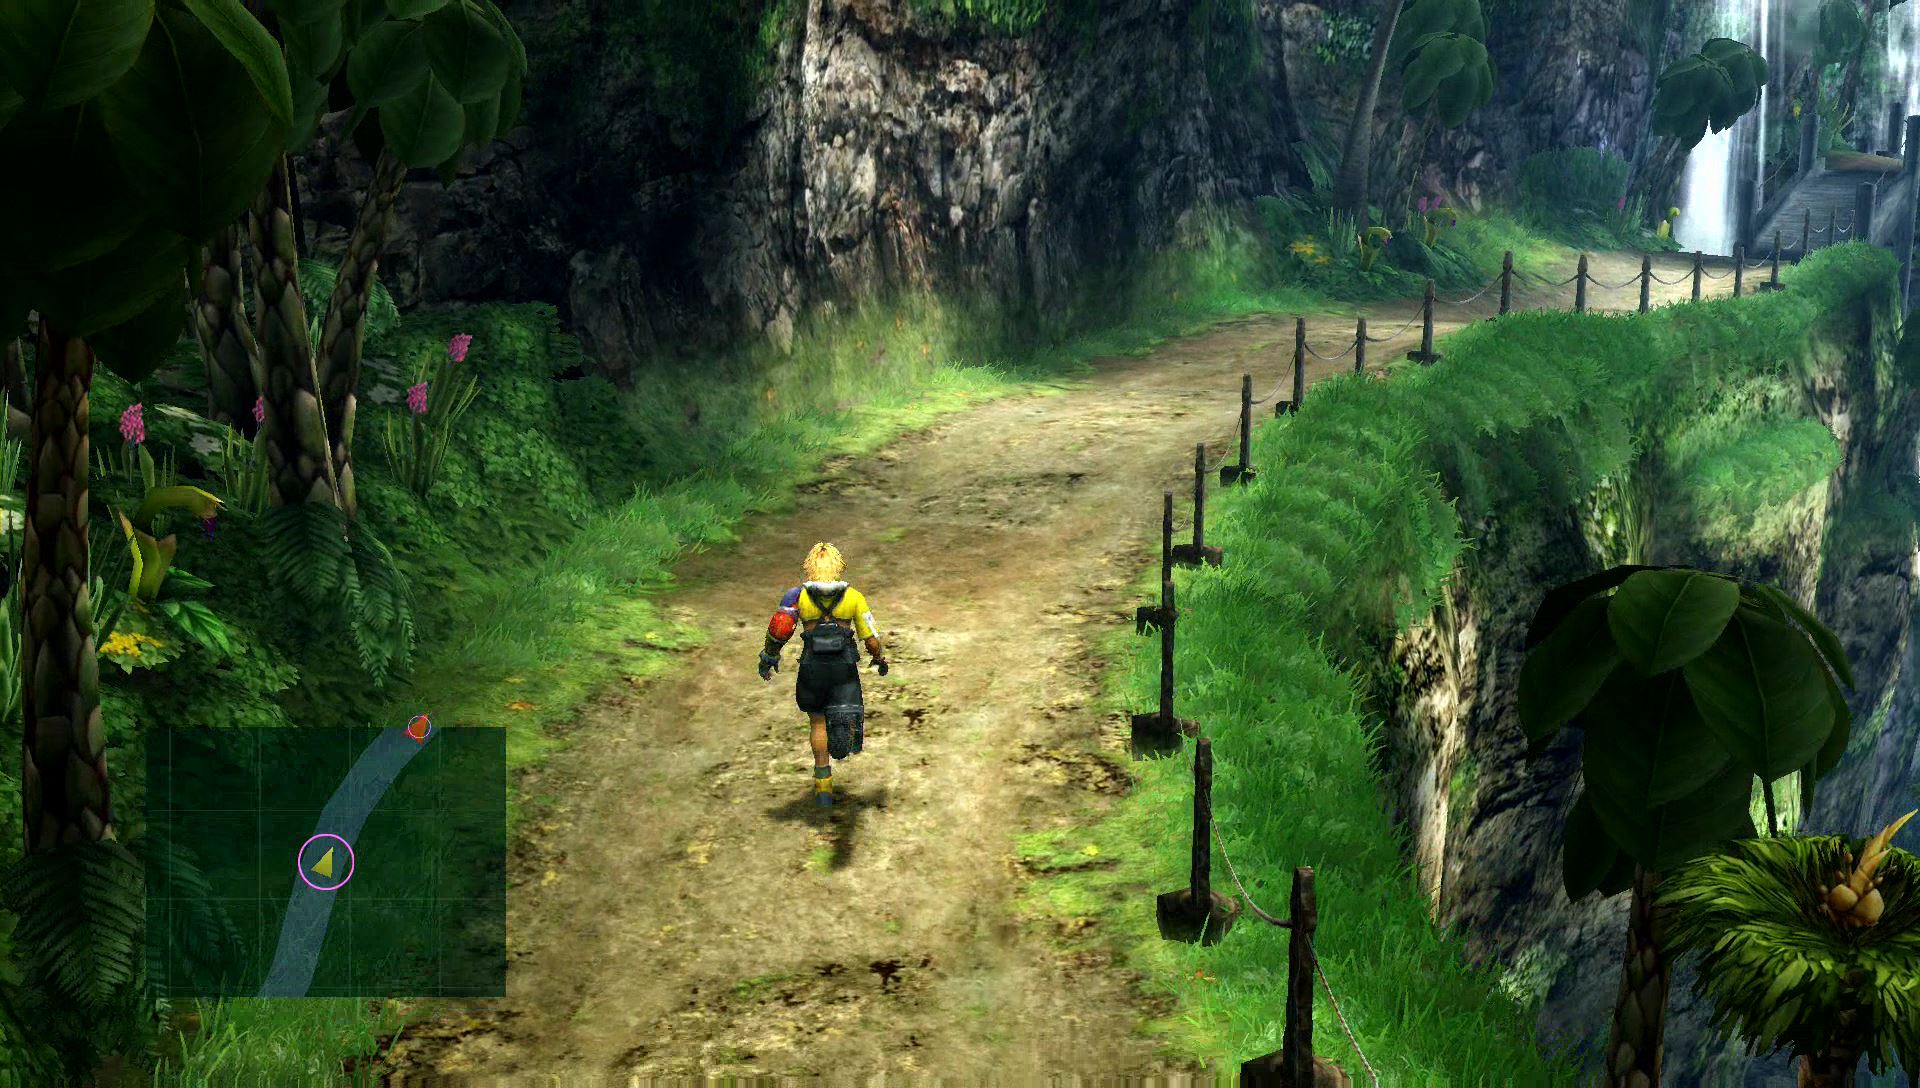
Path to the Beach
As you make your way through the area, you’ll be given a few new tutorials on battling new beasts. When you reach the shrine at the top of the hill, you can choose to pray or not. It doesn’t really make a difference. Follow the red arrow to the next destination. Up ahead is a small boss battle.
Boss Battle – Kimahri
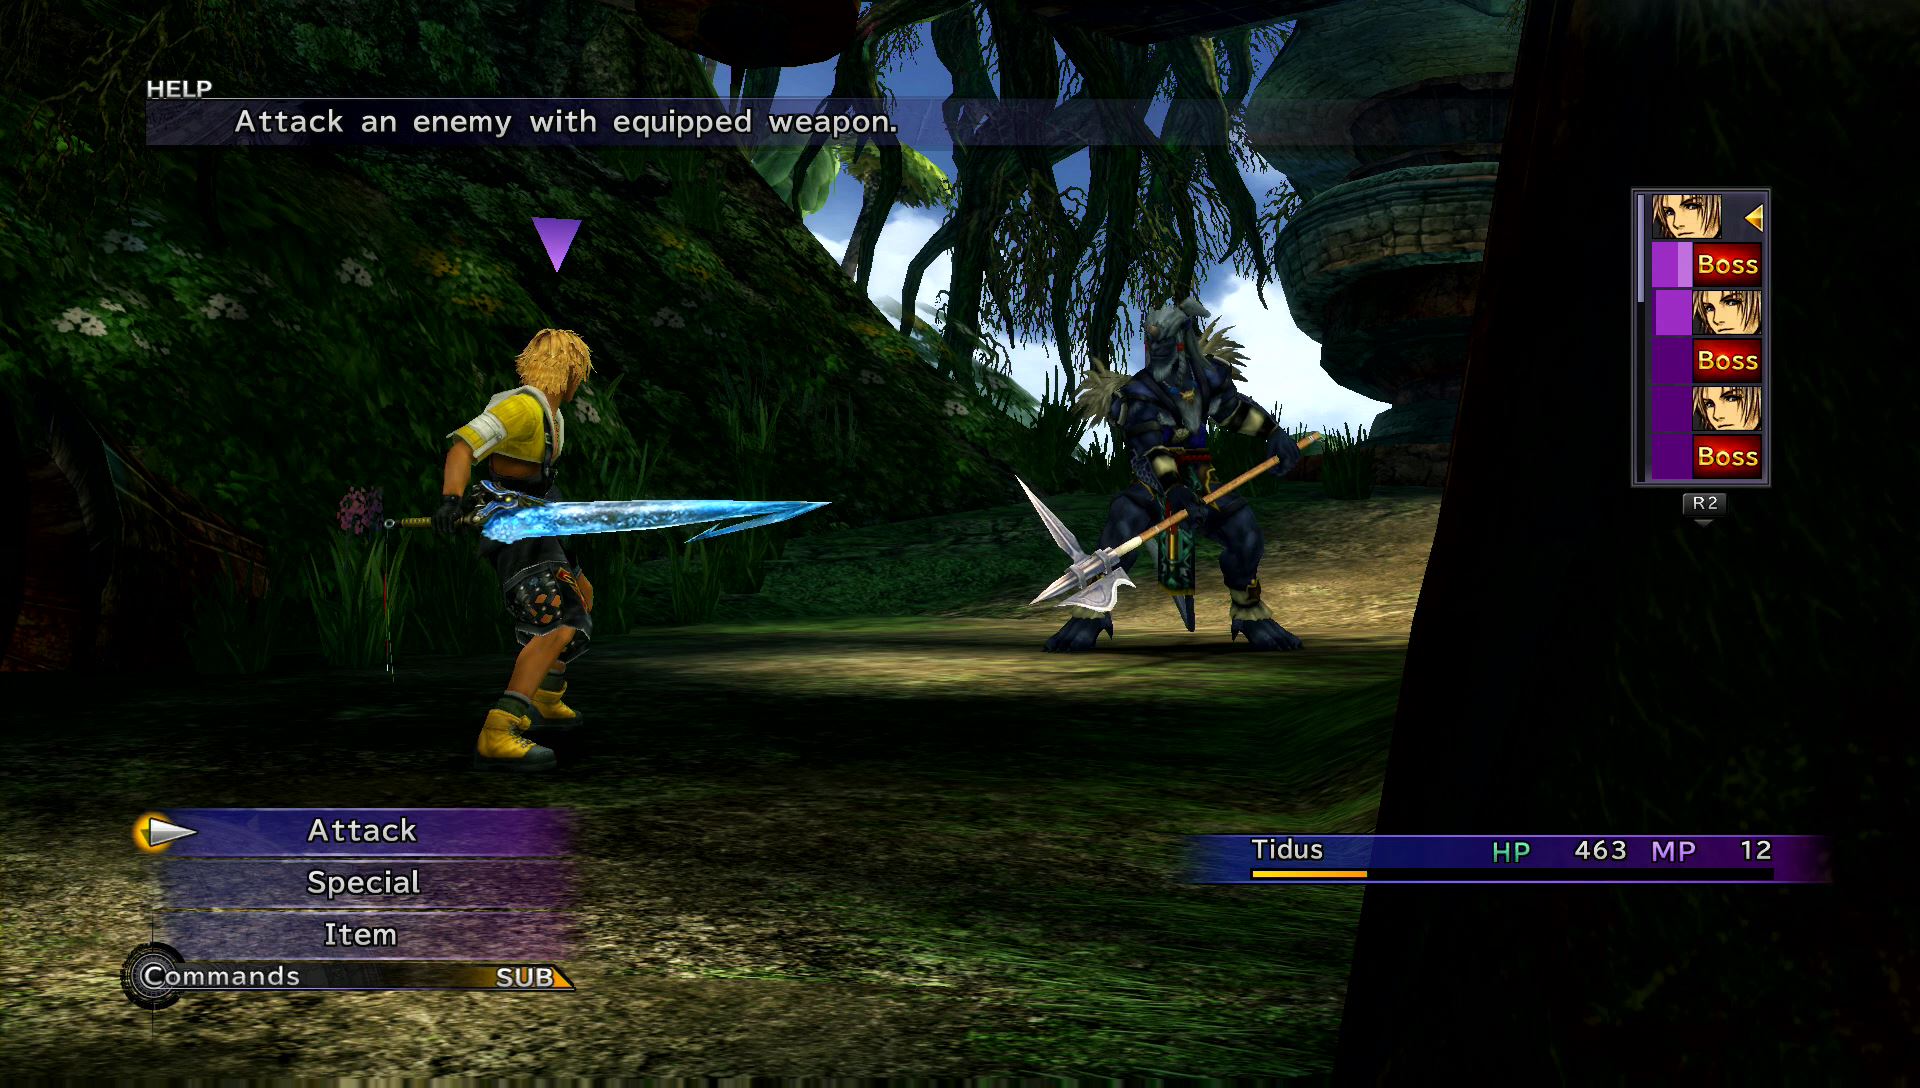
| HP | AP | Fire | Thunder | Water | Ice |
|---|---|---|---|---|---|
| 750 (300) | 3 (4) | — | — | — | — |
You will be alone in this battle. Use Tidus’s Cheer to boost his Attack and Defense. Just keep attacking and healing with potions if needed. Eventually, the battle will come to a stop by your companions.
Follow the linear path around the waterfall. You’ll get yet another battle tutorial. This time you’ll learn how to switch characters and summon Aeons.
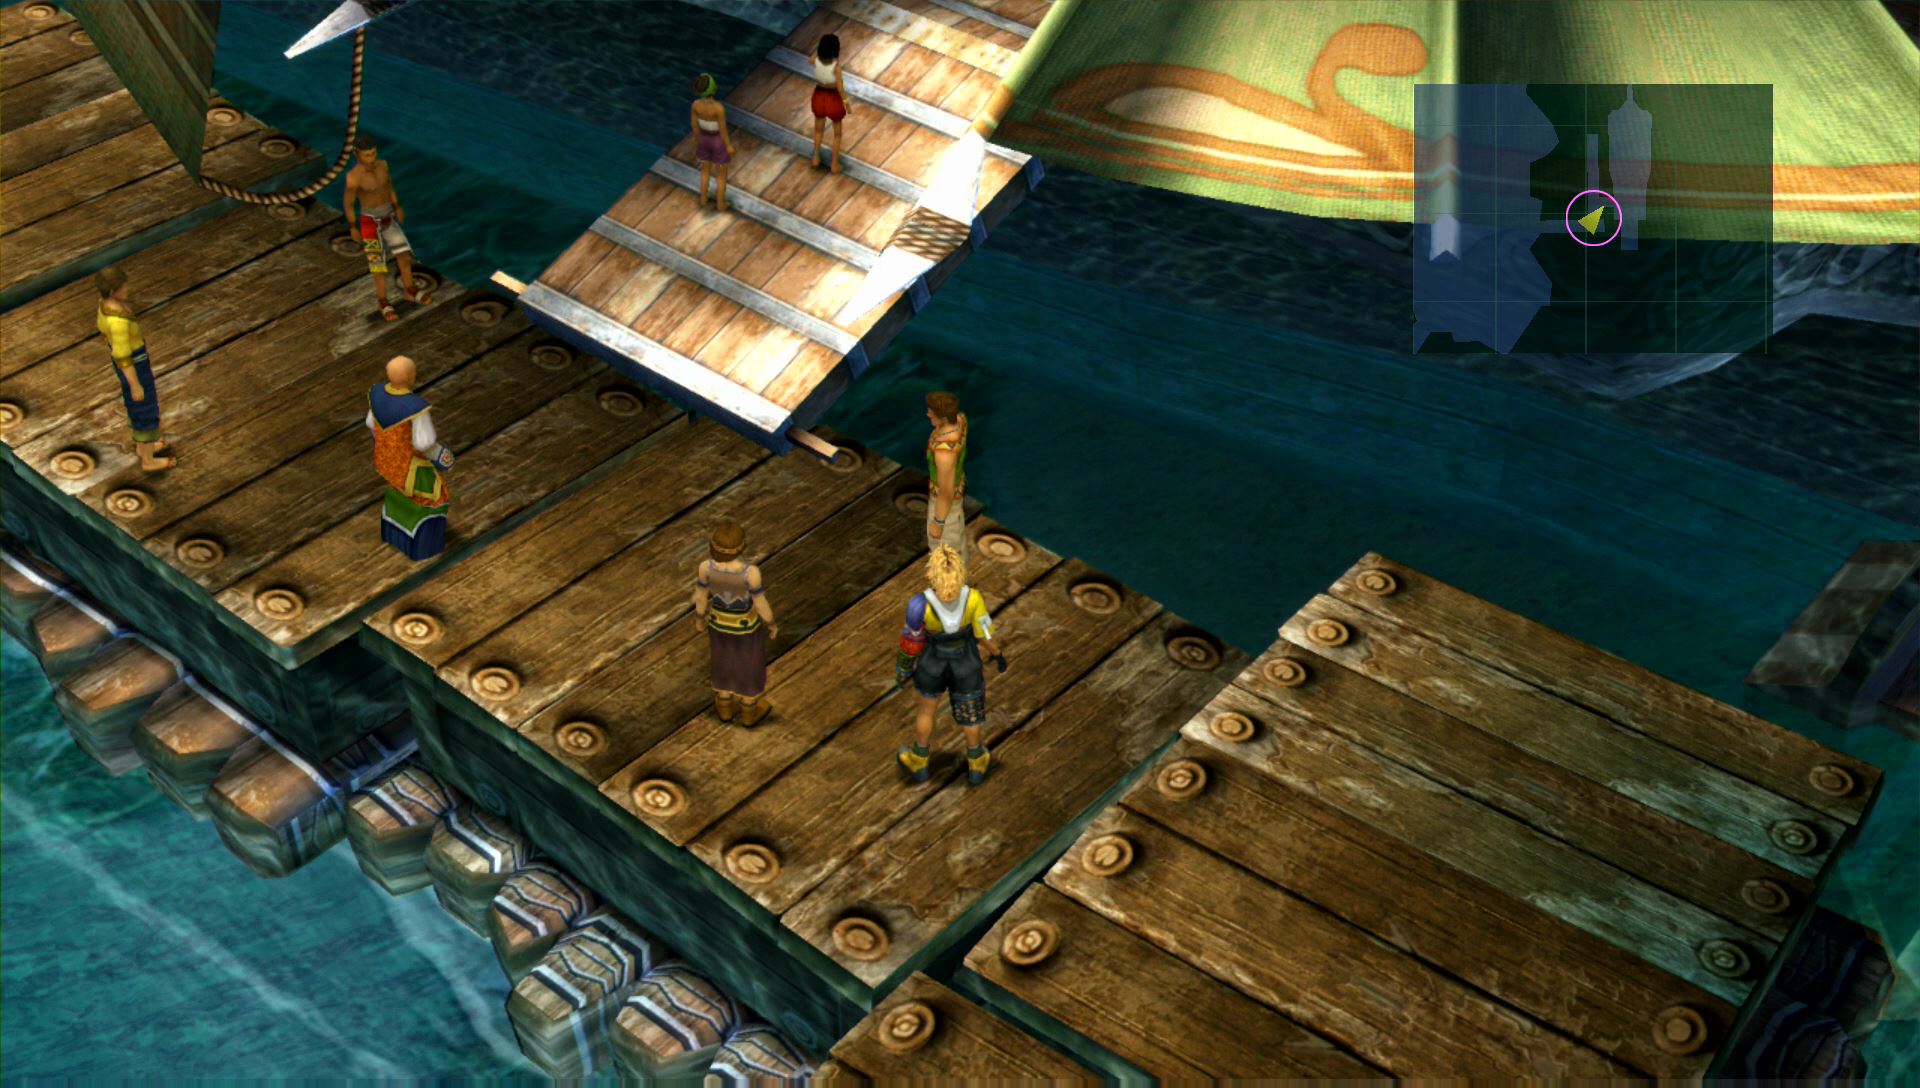
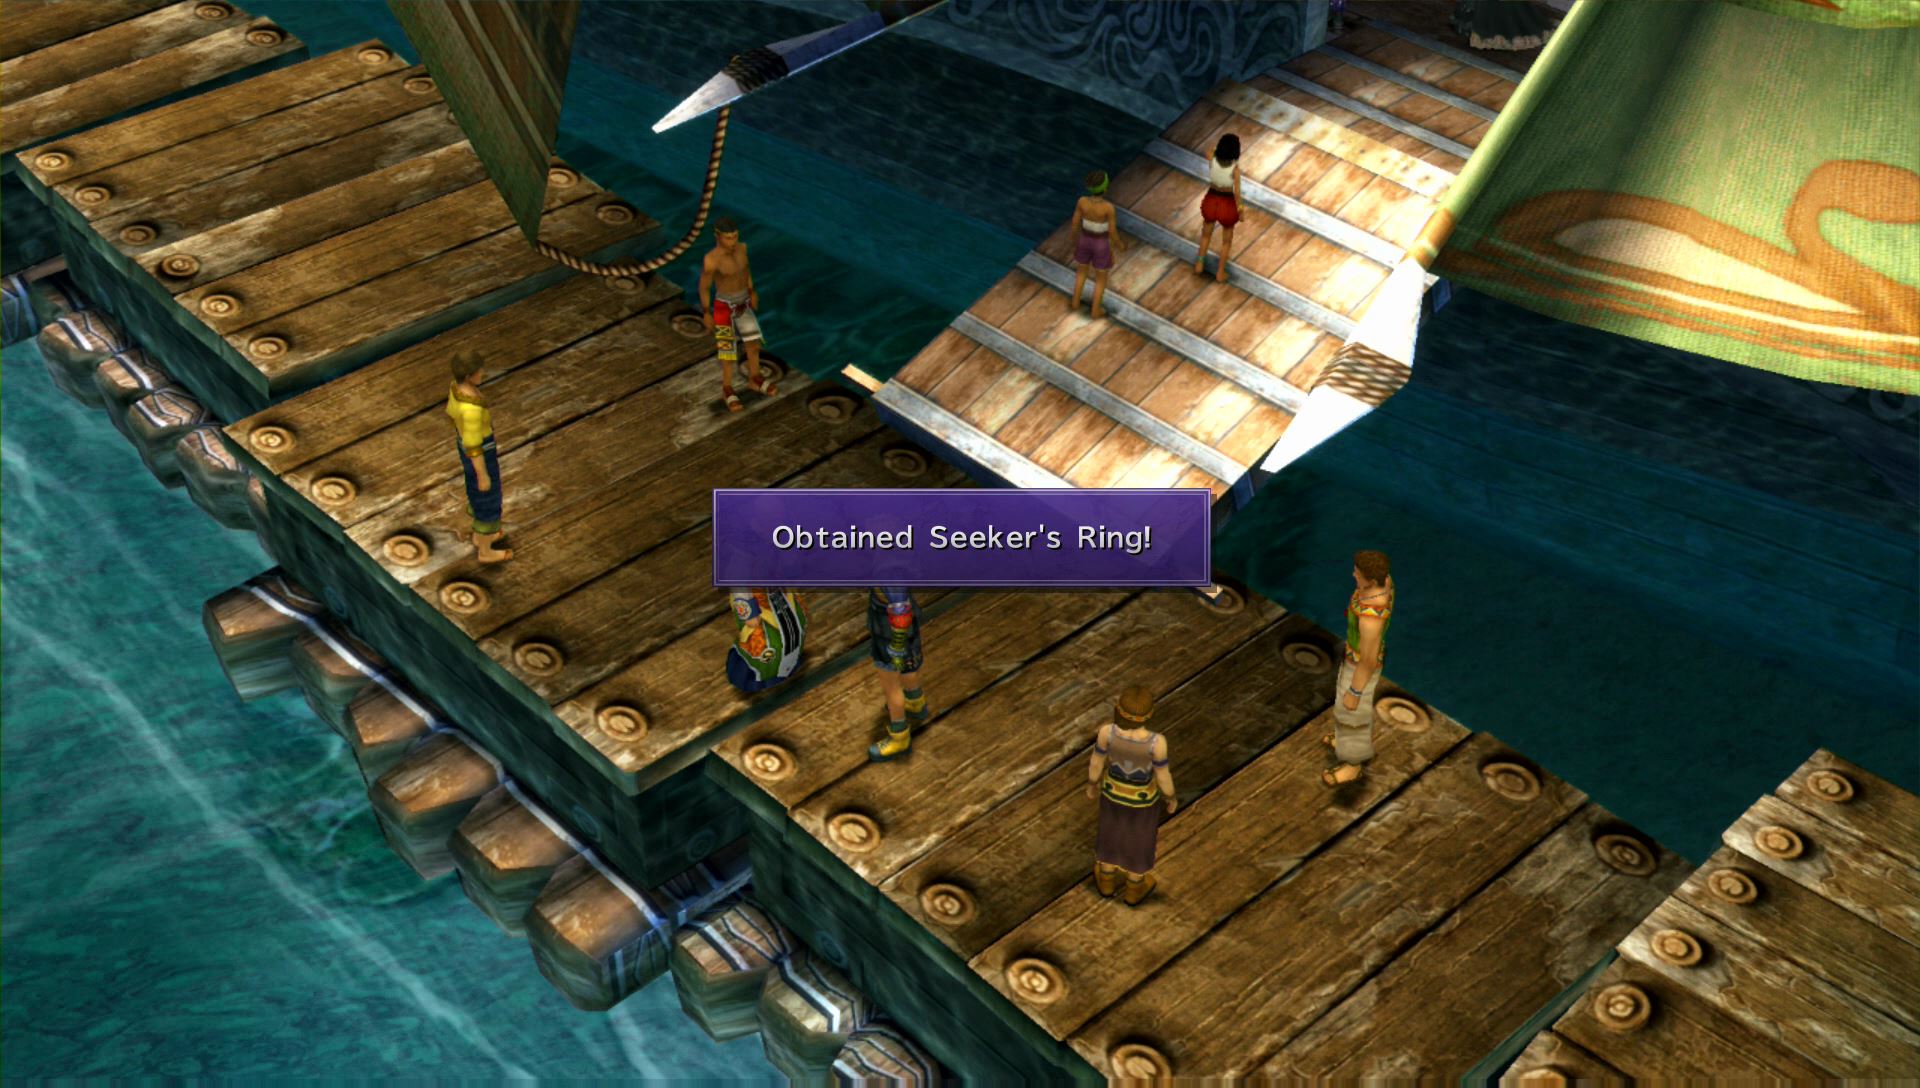
Head all the way to the docks on the beach. Before boarding the ship, speak to the people on the docks. Many of them will give you presents including an Ether, Seeker’s Ring, and 400 Gil. When you’re ready, walk aboard the S.S. Liki.