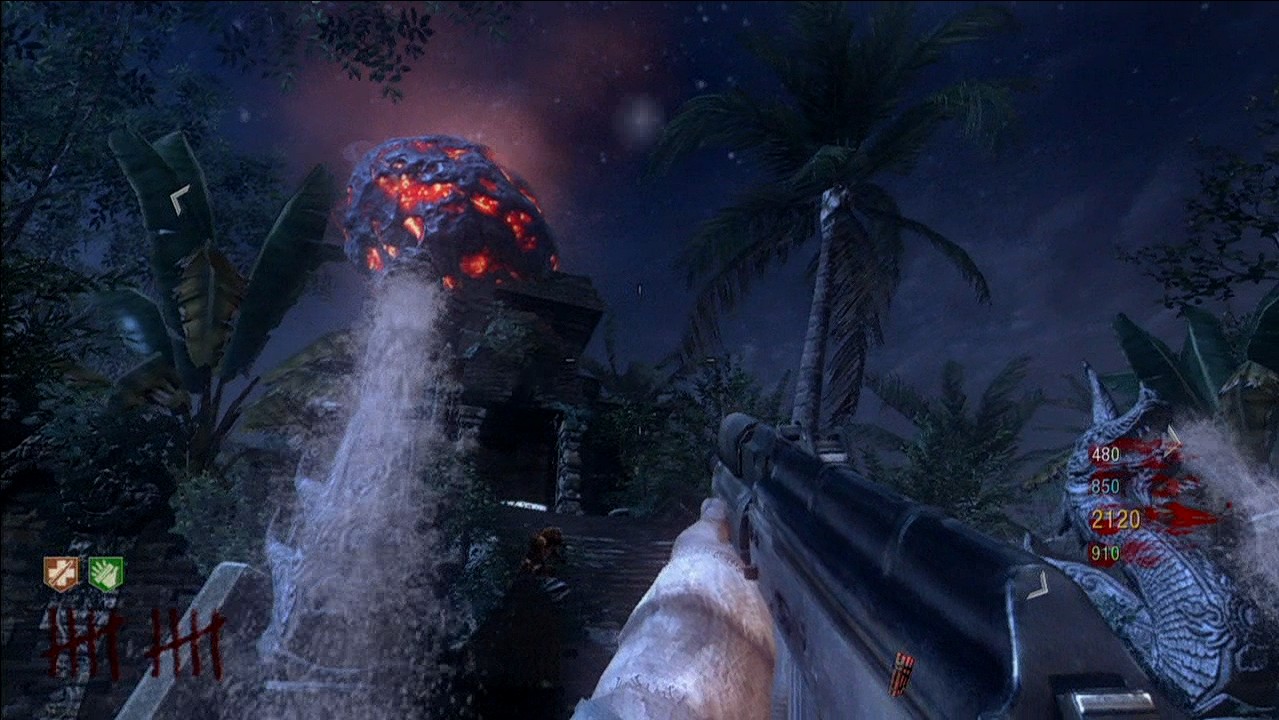
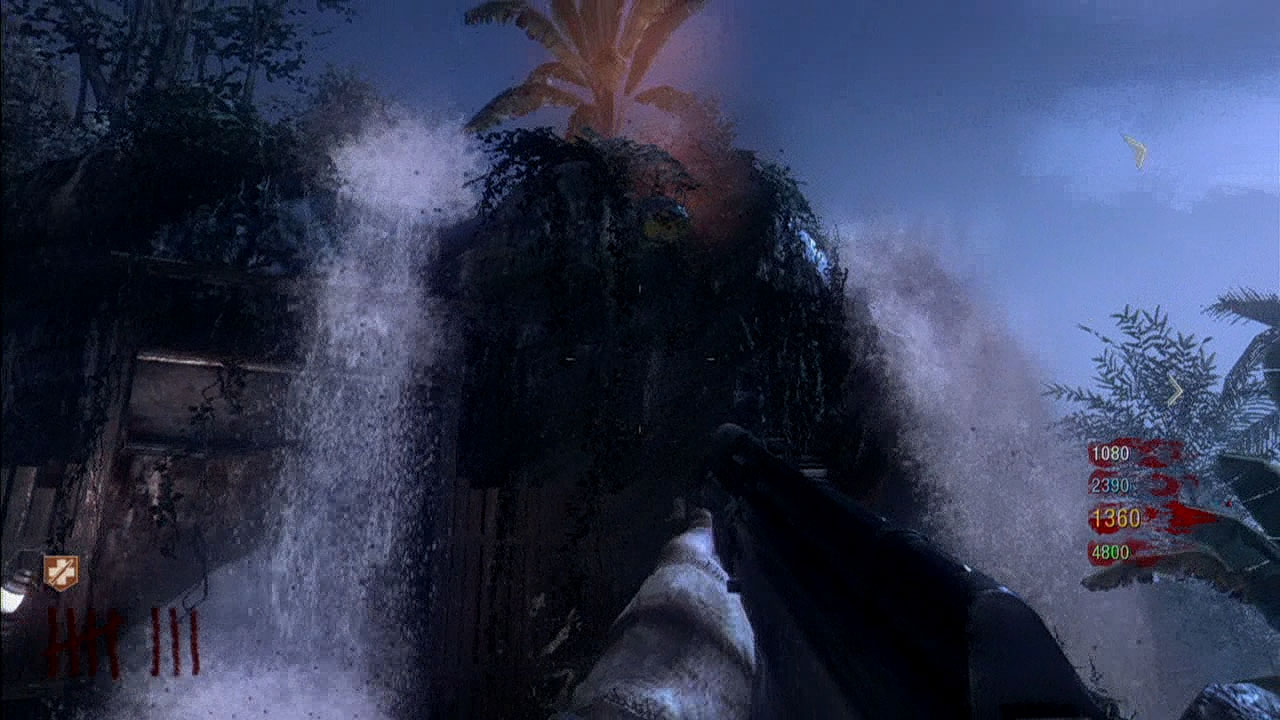
Shangri-La is the third DLC Zombies Map for Call of Duty: Black Ops. It takes place in an ancient temple in the middle of an amazon jungle. Even though it’s an ancient temple, the power must be turned on to use the Perk-A-Cola and Pack-A-Punch Machines. The power switch is located in a cave near the waterfall. Turn on the power to activate the Perk-A-Cola machines and four pressure plates to reach the Pack-A-Punch machine.
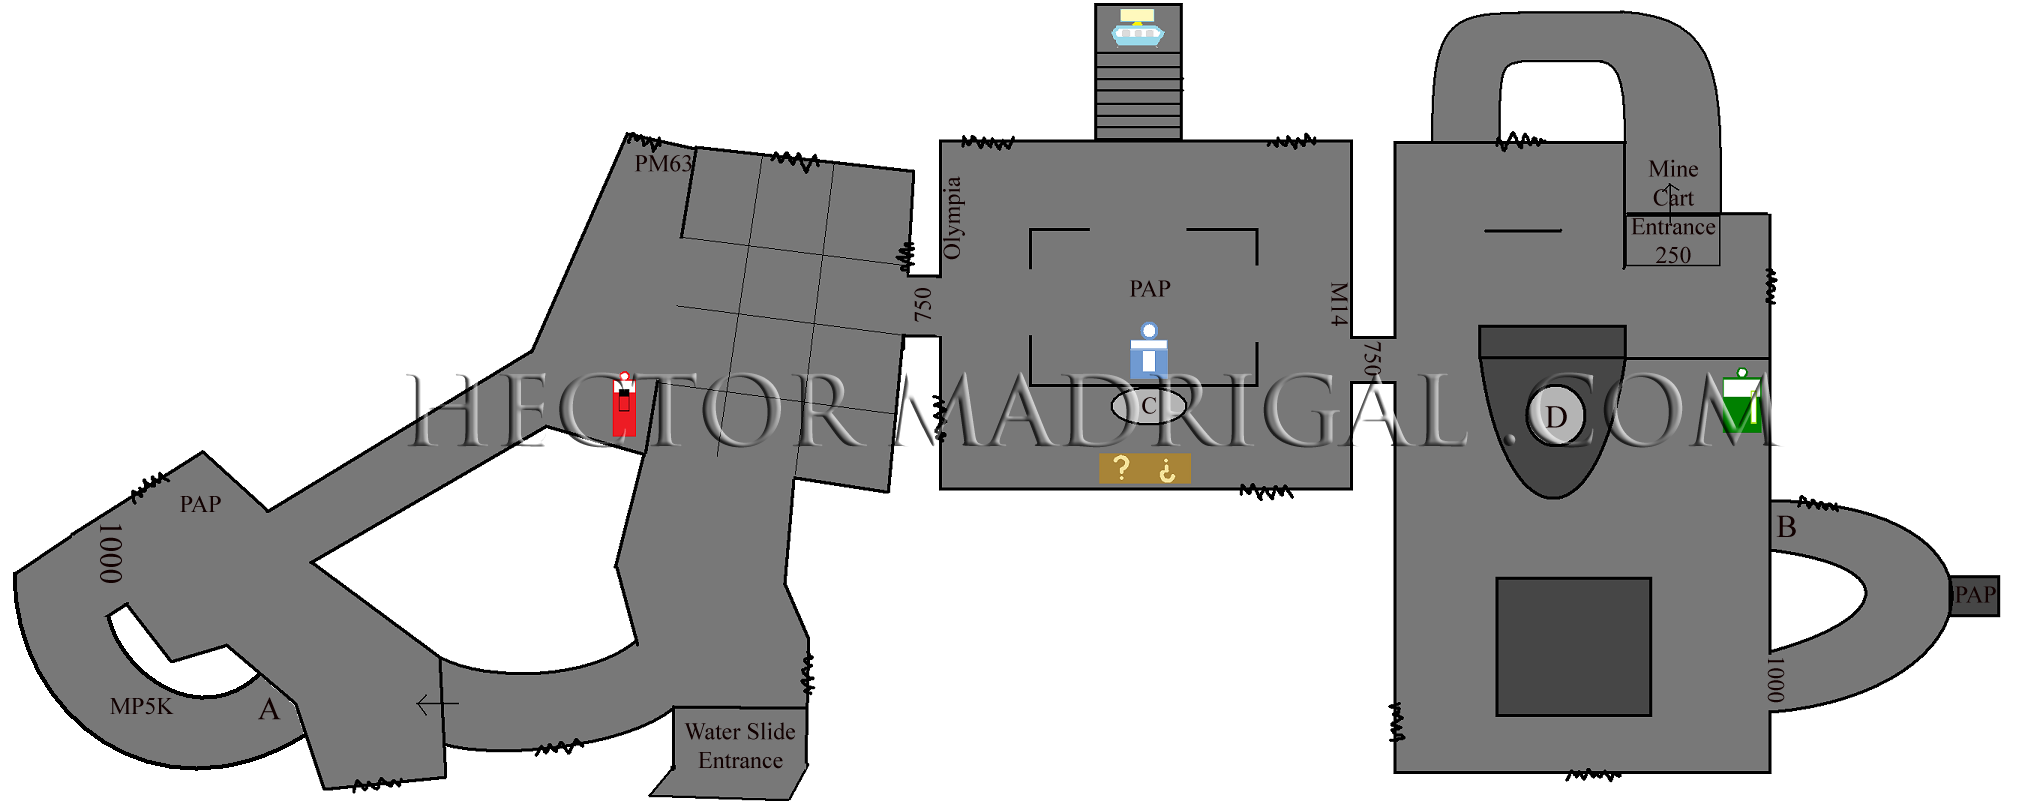
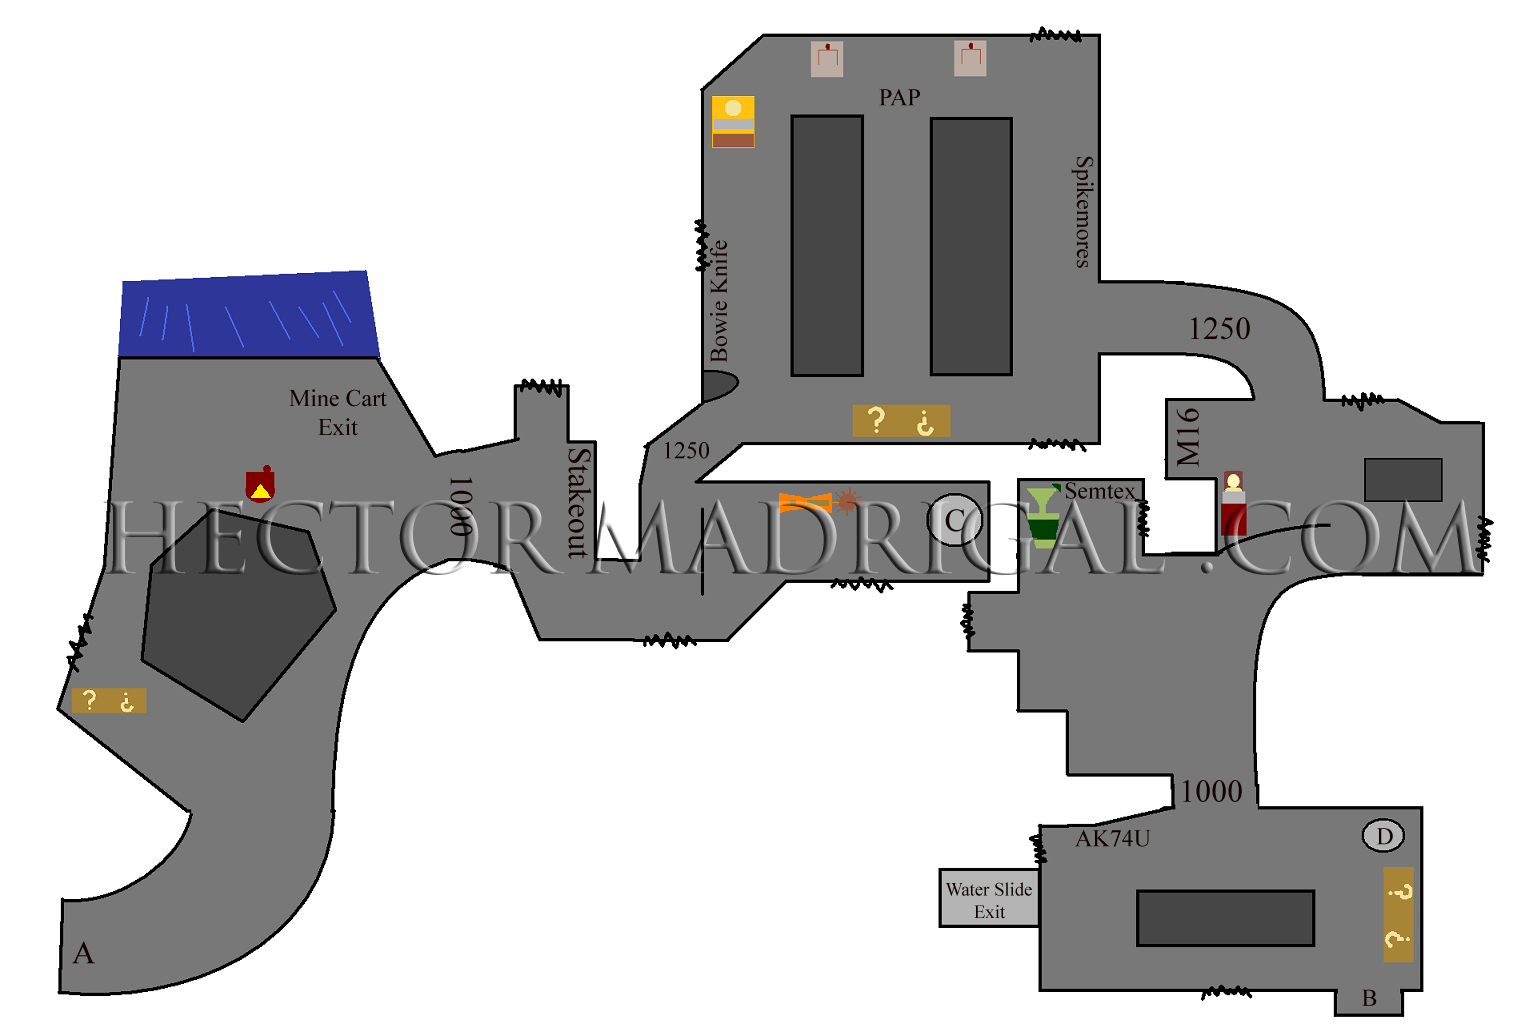
The Pack-A-Punch machine is at the top of a set of stairs near the starting area. One to four pressure plates will raise up around the map. The number of pressure plates active depends on the number of players in the game. Players must stand on the pressure plates until they completely reach the floor. This will bring up the missing stairs near the starting area to the Pack-A-Punch machine. The machine will be available for about 45 seconds. After the 45 seconds, water will push you back down the stairs and remove the stairs needed to reach the machine. You can press the pressure plates around the map again when . I marked the locations of the stone pressure plates on my hand drawn maps with the letters “PAP.”
A few new transportation devices can be found around the map. The first obvious one will be the sharpened sticks that come up when walking out of the starting area. They will always come up after a player or Zombie walks through the door. The sticks do minor damage to players – less than a zombie’s punch. The sticks won’t kill zombies, but they will trap them for a second or two. You can also find a mine cart and water slide that will take you through the map. You can only use these devices after you opened the rooms they lead to. Each ride costs 250 Points for the mine cart. The water slide is free. The water slide takes you to the AK74u room. The mine cart takes you to the waterfall area. Along with these new devices, you can find two geysers on the bottom levels of the map. Stand on the geyser for about three seconds to push you up to the top level.
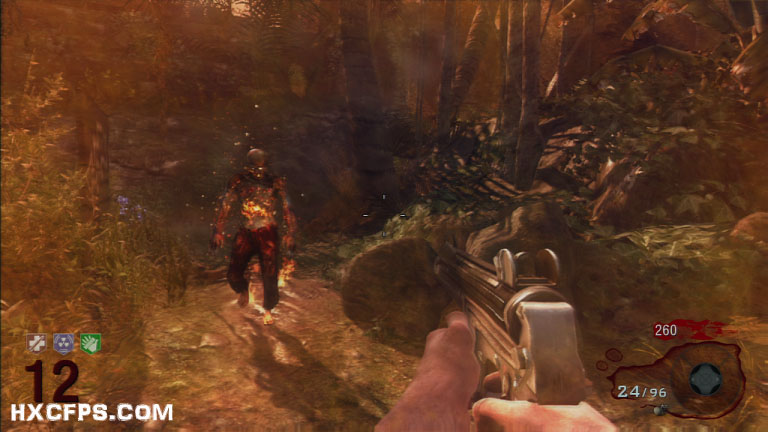
Two new Zombies are added to Shangri-La. They appear every few rounds, take more damage to kill than other Zombies, and cannot be killed by the Nuke Power Up. The two zombies are commonly called the “Napalm Zombie” and the “Shrieker Zombie.” The Napalm Zombie will set fire to anything around it, which damages players even after running away. The Napalm Zombie movies slowly, so use that to your advantage. Defeat the Napalm Zombie to cause a large explosion, killing anything nearby and scorching the ground for several seconds. The Shrieker Zombie will make loud noises (shriek) which blurs the vision of nearby players, similar to the Nova 6 Gas or Creepy Crawler zombies. Kill the Shrieker to instantly kill any nearby zombies.
Along with the two new Zombies, Monkeys return as an enemy, but in a much different way than the Space Monkeys from Ascension. Monkeys will be around from the start of the game. This time they will try to steal any dropped Power-Ups. Once they steal the Power-Up, it will change to another Power-Up every second until you kill the monkey. Monkeys will steal the Power-Up and run up the stairs to the Pack-A-Punch machine until a player collects the dropped Power-Up. Monkeys will also attack players and cause minor damage.
Two new weapons have been added to Shangri-La. The first is a modified version of the Claymore called the Spikemore. The Spikemore uses spikes instead of metal balls with its explosion. They can be bought off the wall and work exactly the same as regular claymores. The second new weapon is the 31-79 JGb215. This weapon is a semi-automatic wonder weapon that shrinks all zombies to a smaller form. While they are miniaturized, they will do minor damage and die in one shot. Walk into a mini zombie to kick them like a football. The effect only lasts a few seconds, so make sure to kill them quickly.
Power-Ups
Double Points
This award gives you double the points you would normally earn for 30 seconds.
Insta-Kill
Insta-Kill allows you to kill anything with one bullet or one melee attack. Lasts for 30 seconds.
Max Ammo
Max ammo gives you the maximum ammunition your gun can hold. If you are down you will only receive max ammo on the M1911.
Carpenter
Carpenter rebuilds all barriers on the map. You are also awarded 200 XP after all barriers are rebuilt.
Nuke / Tactical Bomb
The tactical bomb kills all zombies around you. The blast wave may take longer to reach the zombies further away from the bomb. No matter how many zombies there are, you are awarded 400 points.
Fire Sale
Fire Sale brings the mystery box to every mystery box location on the map. The mystery box will only cost 10 points instead of 950 for 30 seconds.
Perk-A-Colas
Perk-A-Colas will move around the map in Shangri-La from game to game. The areas will be the same, so you can use the map I’ve created, but the Speed Cola and Jugger-Nog locations switch from game to game.
Quick Revive
500 Points(Solo) / 1500 Points(Co-op)
Revive teammates quicker / revive yourself
Starting Area.
Jugger-Nog
2500 Points
4x Health
Left or Right of the Starting Area.
Double Tap Rootbeer
2000 Points
2x Rate of Fire
Caves near Power Switch
Speed Cola
3000 Points
2x Reload and Barrier Repair Speed
Left or Right of the Starting Area.
PhD Flopper
2000 Points
No explosive damage or fall damage, and cause explosions when diving from up high.
Inside House near Lighthouse.
Caves
Stamin Up
2000 Points
Run faster and longer.
Caves
Deadshot Daquiri
1500 Points
Tighter hip fire, no sway with sniper rifles, and campaign-like auto aim.
Caves
Wall Weapons
M14
Semi-Automatic Assault Rifle
8/96 Ammo
500 Points to Buy
250 Points for Ammo
Starting Area
Olympia
Double Barreled Shotgun
2/38 Ammo
500 Points to Buy
250 Points for Ammo
Starting Area
PM63
Fully-Automatic Submachine Gun
20/100 Ammo
1000 Points to Buy
500 Points for Ammo
Near quicksand pit
MPL
Fully-Automatic Submachine Gun
24/120 Ammo
1000 Points to Buy
500 Points for Ammo
Down the hill from the Mine Cart start
Stakeout
Pump-Action Shotgun
6/54 Ammo
1500 Points to Buy
750 Points for Ammo
Caves near Mine Cart exit
MP5K
Fully Automatic Submachine Gun
30/120 Ammo
1000 Points to Buy
500 Points for Ammo
Near cave entrance from quicksand pit
M16
3 Round Burst Fire Assault Rifle
30/120 Ammo
1200 Points to Buy
600 Points for Ammo
Caves near Stamin Up
AK74u
Fully Automatic Submachine Gun
20/160 Ammo
1200 Points to Buy
600 Points for Ammo
Caves near Water Slide exit
Bowie Knife
1 Hit Kill up to round 10. Replaces knife melee.
3000 Point to Buy
Power Room
Spikemores
2 Spikemores that refill after each round. Similar to Claymore, but they shoot spikes.
1000 Points to Buy – One time only.
Power Room
Semtex Grenades
Sticky Semtex Grenades
4 Given for 250 Points
Caves near Deadshot Daiquiri
Mystery Box Weapons
Commando
Fully-Automatic Assault Rifle
30/270 Ammo
FN FAL
Semi-Automatic Assault Rifle
20/180 Ammo
Galil
Fully-Automatic Assault Rifle.
35/315 Ammo
Famas
Fully-Automatic Assault Rifle
30/150 Ammo
AUG
Fully-Automatic Assault Rifle
30/270 Ammo
Comes with Special ACOG Scope.
G11
3 Round Burst Assault Rifle
48/144 Ammo
Comes with Low Power Scope
Spectre
Fully-Automatic Submachine Gun
30/120 Ammo
HK21
Fully-Automatic Light Machine Gun
125/500 Ammo
RPK
Fully-Automatic Light Machine Gun
100/400 Ammo
SPAS-12
Semi-Automatic Shotgun.
8/32 Ammo
HS10
Semi-Automatic Shotgun
6/36 Ammo
Dragunov
Semi-Automatic Sniper Rifle
10/40 Ammo
L96A1
Bolt-Action Sniper Rifle
5/45 Ammo
Python
Semi-Automatic Revolver
6/84 Ammo
CZ75
Semi-Automatic Handgun
15/135 Ammo
CZ75 Dual Wield
Two Semi-Automatic Handguns
12 Rounds for each Gun, 228 Rounds extra.
China Lake
Pump-action Grenade Launcher.
2/20 Ammo
Explodes on Impact instead of requiring distance.
M72 LAW
Single Shot Rocket Launcher
1/20 Ammo
Crossbow
A crossbow with explosive tip ammo.
1/12 Ammo
Ballistic Knife
A special single shot weapon that fires knifes.
1/4 Ammo
Ray Gun
Full Auto Wonder Weapon (Pistol)
Replaces M1911 if you are downed, but only gives you one magazine of ammo.
20/160 Ammo
Cymbal Monkey (Monkey Bomb)
Explosives that distract zombies
3 Given
31-79 JGb215
5/25 Ammo
Turns Zombies into miniture Zombies
The Fractalizer (PACK-A-PUNCHED 31-79 JGb215)
8/40 Ammo
Zombie Mini effect now lasts longer
Musical Easter Egg
This is another Musical Easter Egg for Zombies. It can be found on the map “Shangri-La” by activating three meteorites. Press X (Xbox 360), Square (PS3), or F (PC) to activate each one. The song’s name is Pareidolia by Kevin Sherwood and Elena Siegman. The meteorites can be found at the following locations:
- In the starting area near the Mystery Box Spawn
- Near the Jugger-Nog / Speed Cola spawn by the Mud Room and Bridge
- In the caves in the Semtex Room
Storyline Easter Egg Time Travel Will Tell
This Easter Egg is extremely long and REQUIRES four players for the time travel. Once completed, you will earn an achievement / trophy. It’s best to have all the doors open before you start. The power must be activated! You will eventually need Spikemores (two players will make it quicker) and the upgraded 31-79 JGb215. Remember to make a crawler before you do each step.
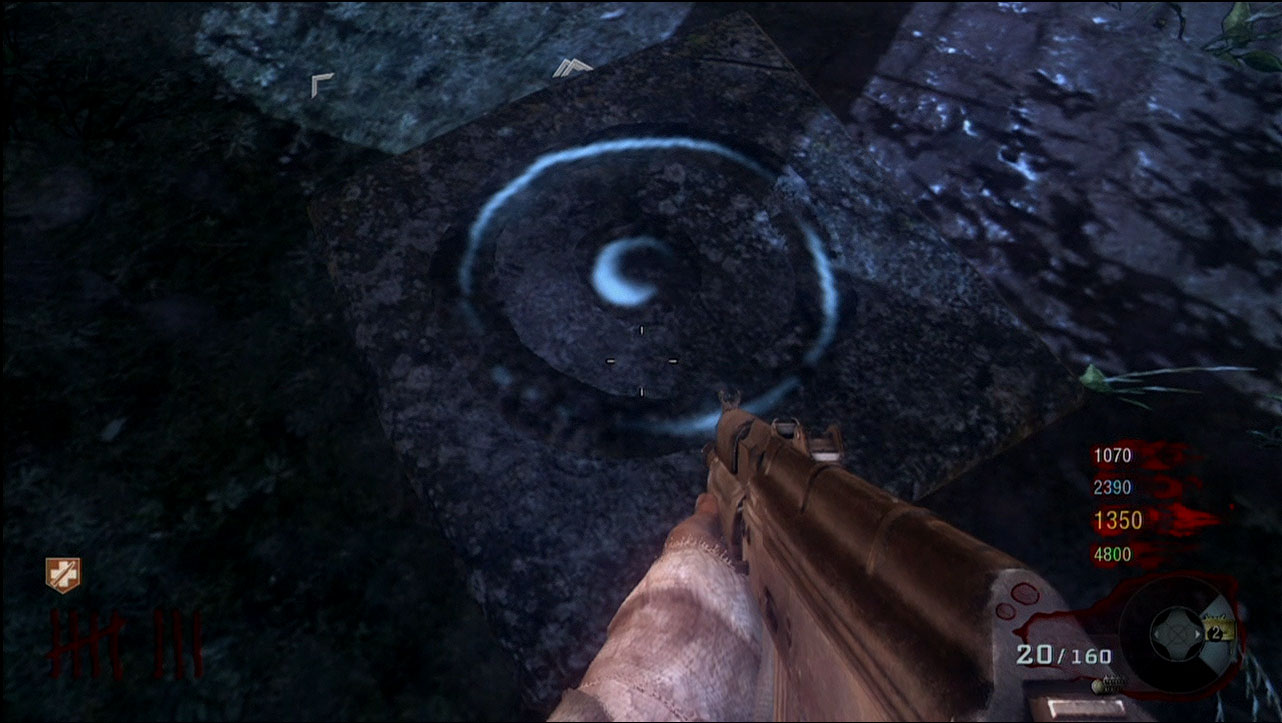
Just about all steps must be done in the past. To travel through time, each player must press a stone circle found around the Quick Revive machine at the same time. Press the activate button to press the stones in. Remember, the activate button is X (Xbox 360), Square (PS3), or F (PC). The time travel will only last for a few minutes, or until you complete a step. If you’re not sure if you ran out of time or if you completed the step, look for yellow radios around the map. A new one will pop up each time you complete a step. Each radio gives hints towards the next step.
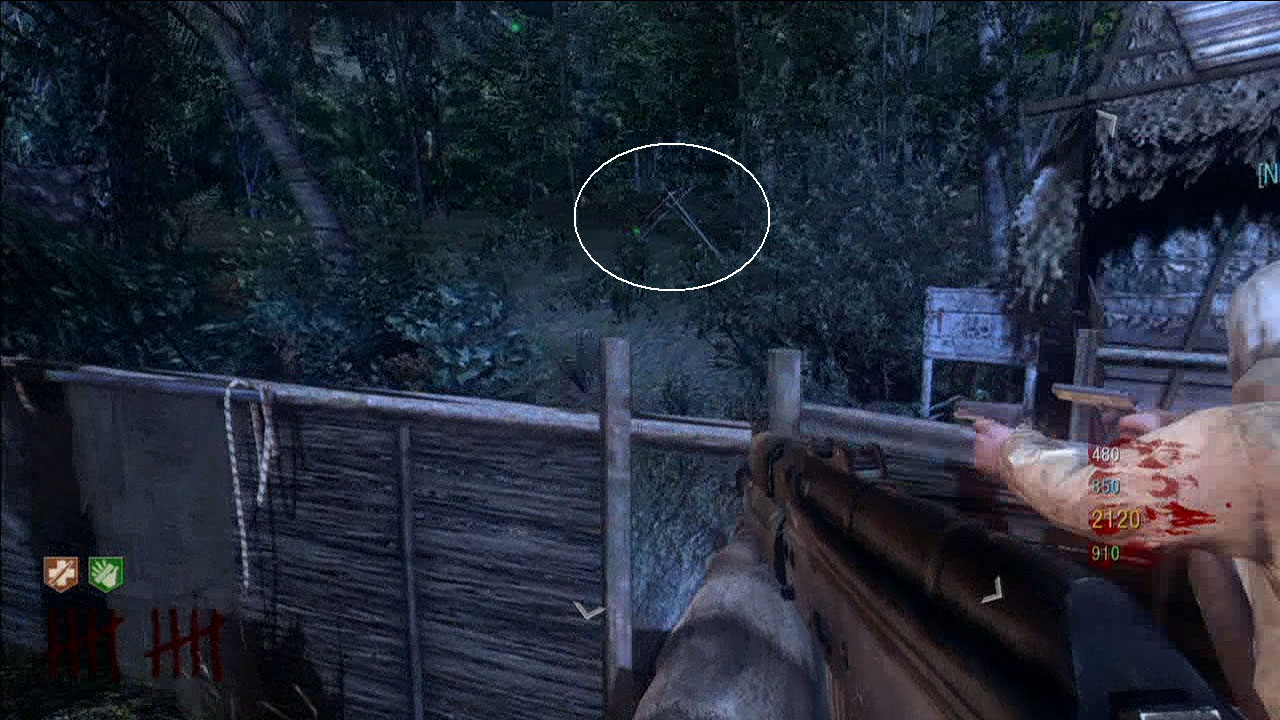
This step must be done in the past. Run over towards the MPL and look for a stone circle button, exactly like the ones to go back in time, on the side of the wall. Press it to bring up several stone tiles/plates on the floor near the MPL and near the PM63. One player must be near the MPL and one player must be near the PM63. When you stand near the plates, a symbol will glow on top of it. You must stand on the same plate as the other player to send them into the ground. Have on player find the symbol, tell the other player what symbol it is, and have both players stand on the plate.
This step must be done in the past. Send three players to the room with the AK74u. Have them stand on a steel grate in the middle of the room. The fourth player must slide down the water slide near the waterfall to activate a lever on the right wall. It seems you don’t need to actually press anything, but you may need to stay up against the right wall.
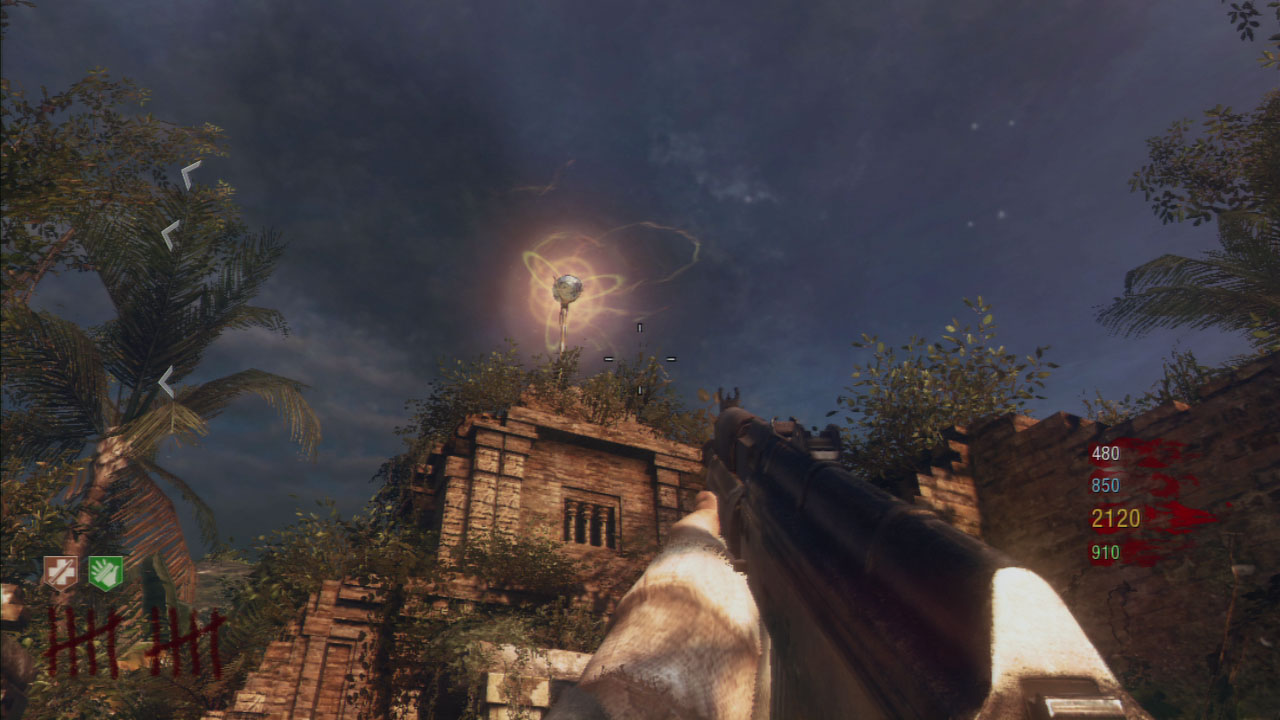
This step must be done in the past. Head over to the waterslide near the waterfall. Look for a crystal ball at the top of the wall where the waterslide entrance is. Blow it down with a frag grenade or some other explosive. Once it’s down, have one of the players shrink it with the 31-79 JGb215. Push it into the water slide by knifing it, and follow it down into the AK74u room. Push the crystal into the geyser and activate it by stepping on top of the geyser. The Geyser will shoot the ball up into the crystal’s rightful spot.
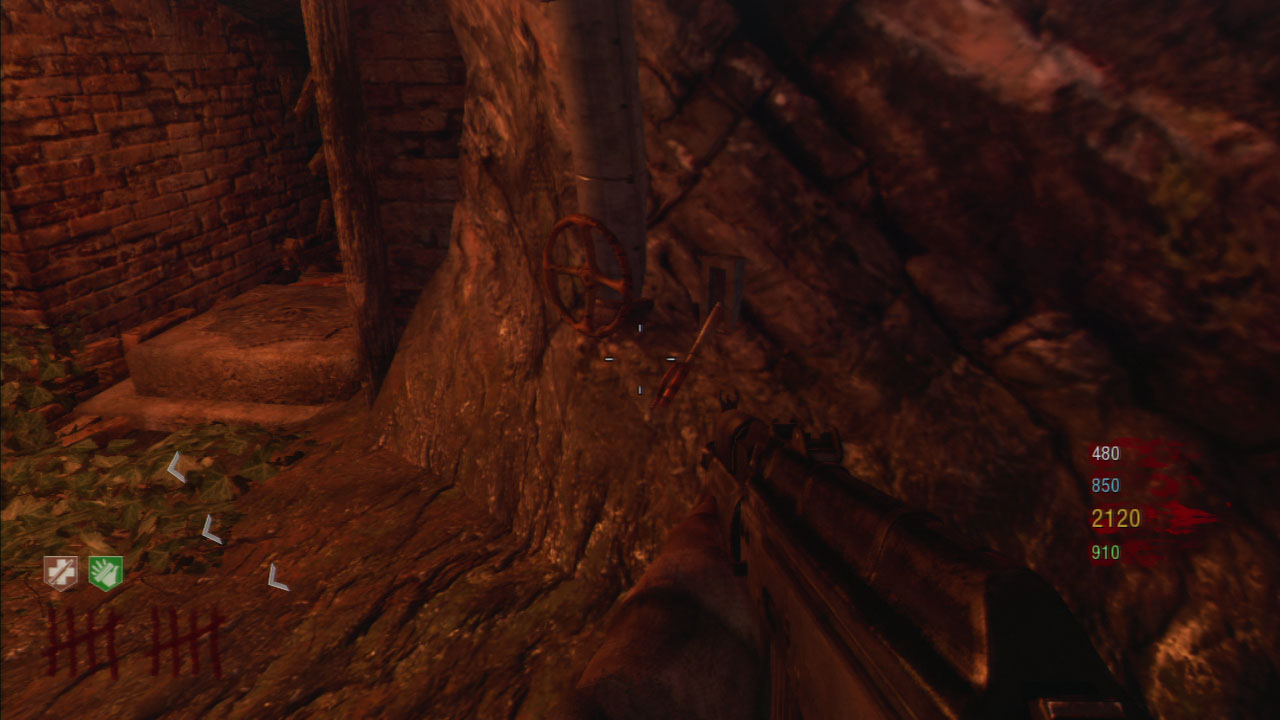
This step must be done in the past, and requires a live Napalm Zombie. Head over towards the MPL area and into the tunnels. Turn a valve on the wall – near the Pack-A-Punch stone pressure plate – four times by pressing the activate button. Have the Napalm Zombie follow you throughout the caves until he reaches the Power Switch Room. Once he reaches the room, you can kill him. Run back to the valve and pull a lever to the right of it.
This step must be done in the past, and requires four Spikemores. Head over to the tunnel where the MP5K is located. Inside you will find four holes on the wall. Set up four spikemores to fire directly at the holes. You must get zombies to run past the Spikemores to activate them, shooting them will not work! Once all four holes are plugged, head towards the waterfall and press the button for the Reservoir Trap. The button is on the brick wall on a rock in the middle of the water.
This step must be done in the past. Twelve stone plates will be spread throughout the map. You must find all twelve plates and knife them to activate a glowing symbol.
- Five plates are around the Quick Revive / Starting Area.
- Two plates are around the mud room.
- Two plates are around the Mine Cart.
- Two plates are in the room with the Stakeout.
- One plate is to the left of the left Power Switch.
Once all plates are activated, run over to the Mine Cart and look for a wooden trap-like thing in the jungle. You will not be able to stand next to it since it’s out of bounds. Throw an explosive – like a monkey bomb or frag – towards it until it blows up.
This step must be done in the past. Head over to the Mud Room and look for the four giant stone dials. Thing of the layout like this:
PM63
1-2
3-4
Quick Revive
The dials must be set with the correct symbol at the top. They will be in this order, similar to the layout above:
- Three Dots
- A C-like symbol, a vertical line/l, and a dot. C|-
- Four Dots
- One Dot
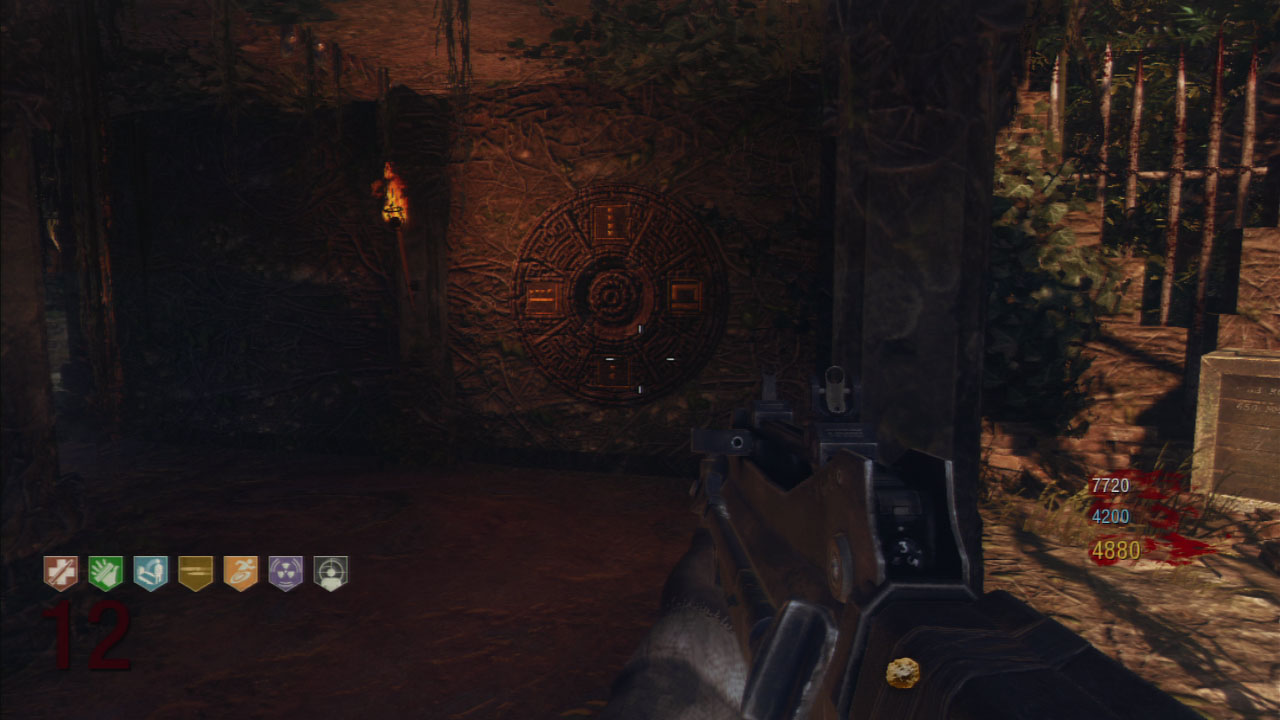
This step must be done in the past, and requires an upgraded 31-79 JGb215. First, you must hit four specific gongs. Some say the gongs are randomly selected. To figure out which is the right gong, have one player knife it and have the others look at the crystals above the Mine Cart/MPL area. If the crystals turn red, they’re the WRONG gongs. Knife the four gongs until the crystals glow with a Treyarch Symbol. Dynamite will fall down onto the player next to the glowing Crystal. Next, you must shoot the crystal above the mudroom with your upgraded 31-79 JGb215. If you hit it, the shot will hit the meteor above the Pack-A-Punch machine. Activate the Pack-A-Punch machine by stepping on all four pressure plates around the map. Walk up the stairs and give the dynamite to the people behind the wall.
The final step is easy and must be done in the present. Activate the Pack-A-Punch by stepping on all four pressure plates, again. Walk up the stairs and grab the Focusing Stone. When the water pushes you back down, a radio will appear at the base. Listen to the radio to activate the time travel buttons for use, again. Now you can replay the entire Easter Egg so everyone can grab the Focusing Stone. Along with the Focusing Stone, the player who grabs it will get ALL Perks. The perks will not disappear, even if you are downed or die.
Shangri-La Achievements
Time Travel Will Tell (75G)
In Shangri-La, acquire the focusing stone.
This is the newest giant Easter Egg. You need four players to perform it.
Blinded By the Fright (30G)
In Shangri-La, kill a Shrieker zombie while blinded by it.
The Shrieker Zombie is a new zombie in Shangri-La. It will slightly blur your vision like the Creepy Crawler Zombies or Nova 6 gas. Kill one of these zombies while blinded to earn this achievement.
Zomb Disposal (30G)
In Shangri-La, dispose of a Napalm zombie without it harming any players.
The Napalm Zombie is a new Zombie in Shangri-La. It will shoot flames at players and zombies around it. Once you kill it, it will blow up and shoot fire around itself. Kill it without harming you or your teammates to earn this achievement.
Monkey See, Monkey Don’t (5G)
In Shangri-La, get something from the monkeys.
In Shangri-La, Monkeys return to the Zombie scene. This time they steal Power-Ups instead of perks. If you earn a Power-Up from a zombie, the monkeys will come and steal it. Kill the monkey and take the power-up to earn this achievement.
Small Consolation (10G)
In Shangri-La, use the 31-79 JGb215 on each type of zombie.
The 31-79 JGb215 is a new gun in Shangri-La. Obtain it from the mystery box and use it on a normal Zombie, Shrieker Zombie, and Napalm Zombie to earn this achievement.