[toc]
| Fiends | HP | Fire | Thunder | Water | Ice |
|---|---|---|---|---|---|
| Bandersnatch | 1800 | Weak | — | — | — |
| Bashura | 17000 | Weak | — | — | — |
| Grat | 4000 | Weak | — | Nul | — |
| Grenade | 7500 | Absorb | — | — | Weak |
| Imp | 880 | — | — | Weak | — |
| Mech Defender | 8700 | — | Weak | — | — |
| Mech Leader | 3700 | — | Weak | — | — |
| Nidhogg | 2000 | Strong | — | — | Weak |
As you enter Mt. Gagazet you will be met with the Ronso tribe. After the dialogue, speak to the Ronso on the right to buy and sell items and weapons before going around the mountain.
Head to the next area to the north, and you will be approached by Biran and Yenke Ronso. They will challenge Kimahri to a battle.
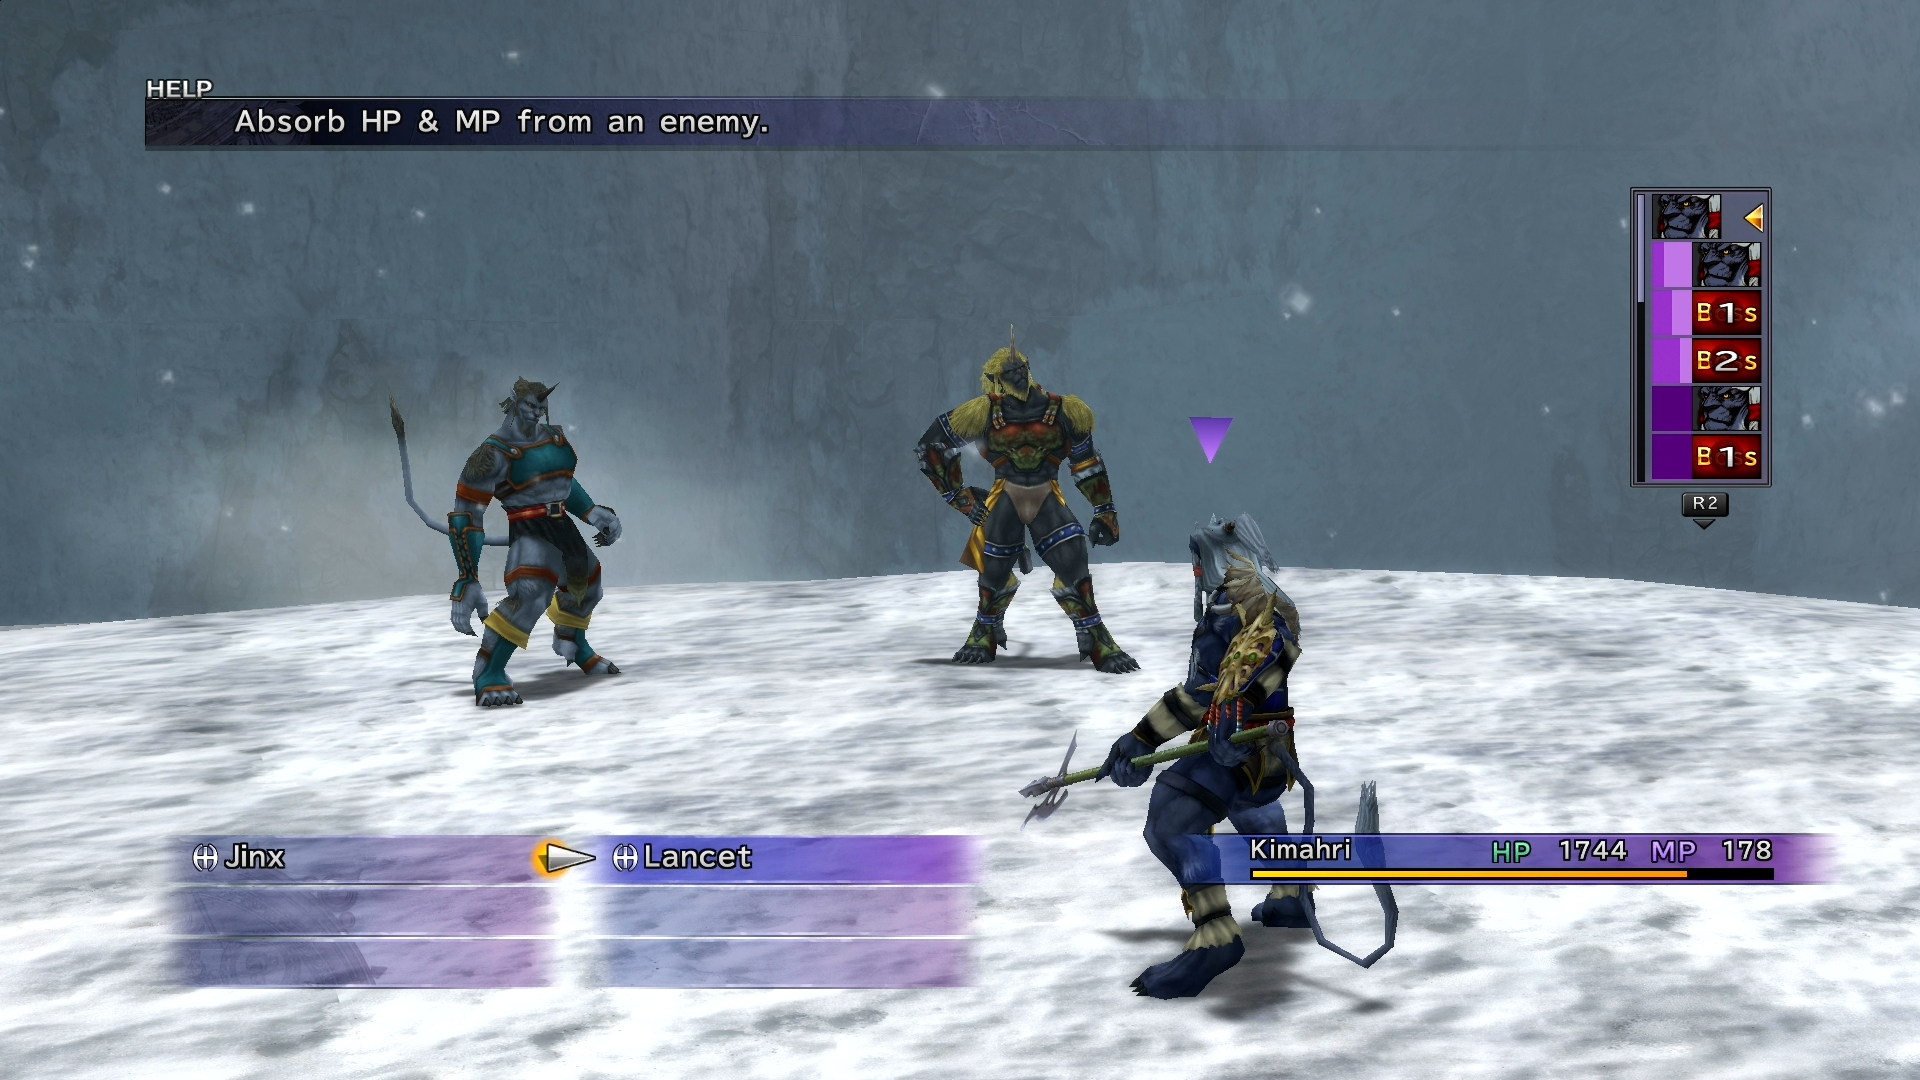
Boss Battle: Biran and Yenke

| Enemy | HP | AP | Fire | Thunder | Water | Ice |
|---|---|---|---|---|---|---|
| Biran | Varies | Varies | — | — | — | — |
| Yenke | Varies | Varies | — | — | — | — |
Kimahri must fight both Biran and Yenke by himself. If you haven’t learned Fire Breath, Aqua Breath, Thrust Kick, Mighty Guard, Doom, Stone Breath, Self-Destruct, or White Wind, use Kimahri’s Special ability Lancet to learn them from the two now. You may have to wait for one of the two to use the move before using Lancet to learn it. Yenke will use White Wind once after losing HP; Biran will use Mighty Guard once after losing HP.
When Yenke and Biran are together, they will cover each other when Kimahri uses an attack. The damage will be reduced when covering each other. These two will also use an attack called Bulldoze that deals damage to Kimahri while moving to the other side of the battlefield. If this happens, you’ll be able to deal a ton of damage with an attack since they cannot cover each other.
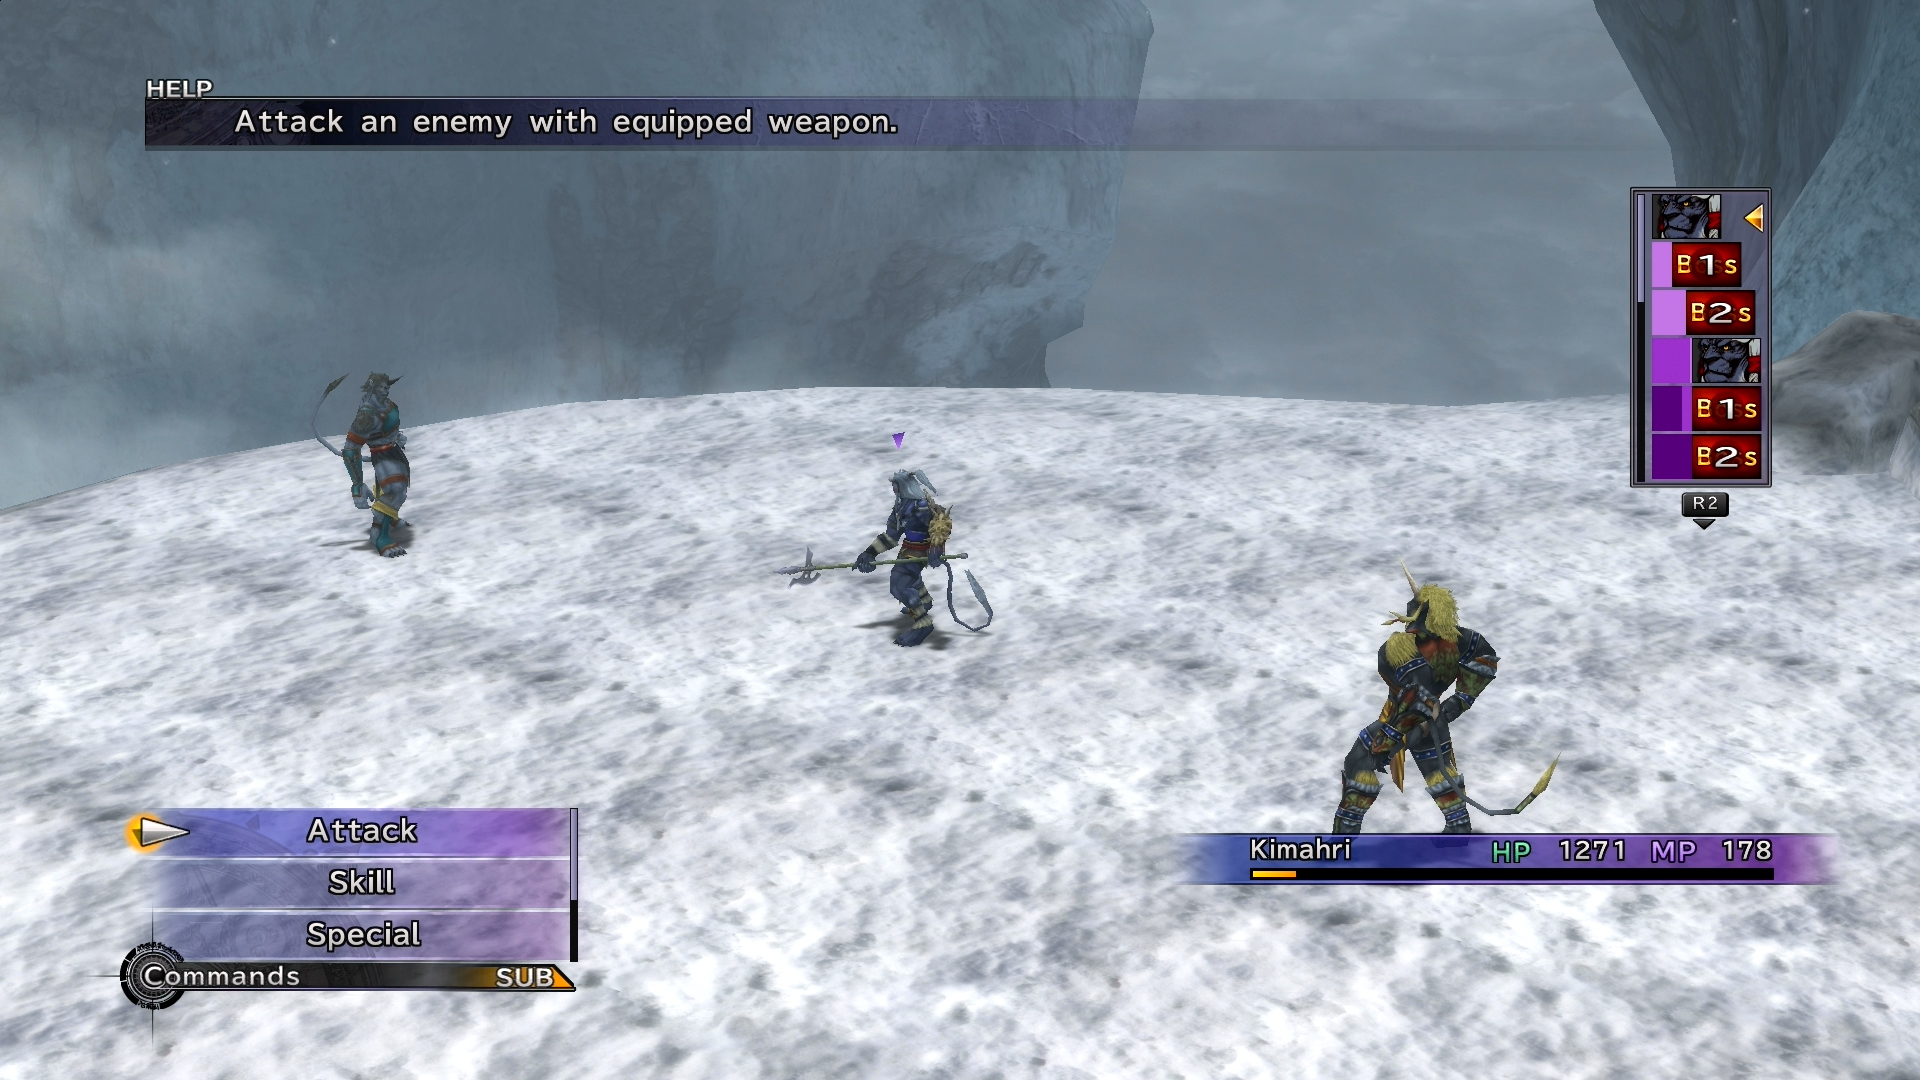
Once Biran or Yenke falls, the other will use Berserk to increase his strength and only use direct attacks. It’s best to gradually take off HP from both Ronso instead of leaving one alone with full HP and Berserk.
Try using the Mighty Guard Overdrive to withstand their attacks, and don’t be afraid to use some Hi-Potions. After the battle, heal and save at the save sphere. Move into the next area to hear the Ronso sing.
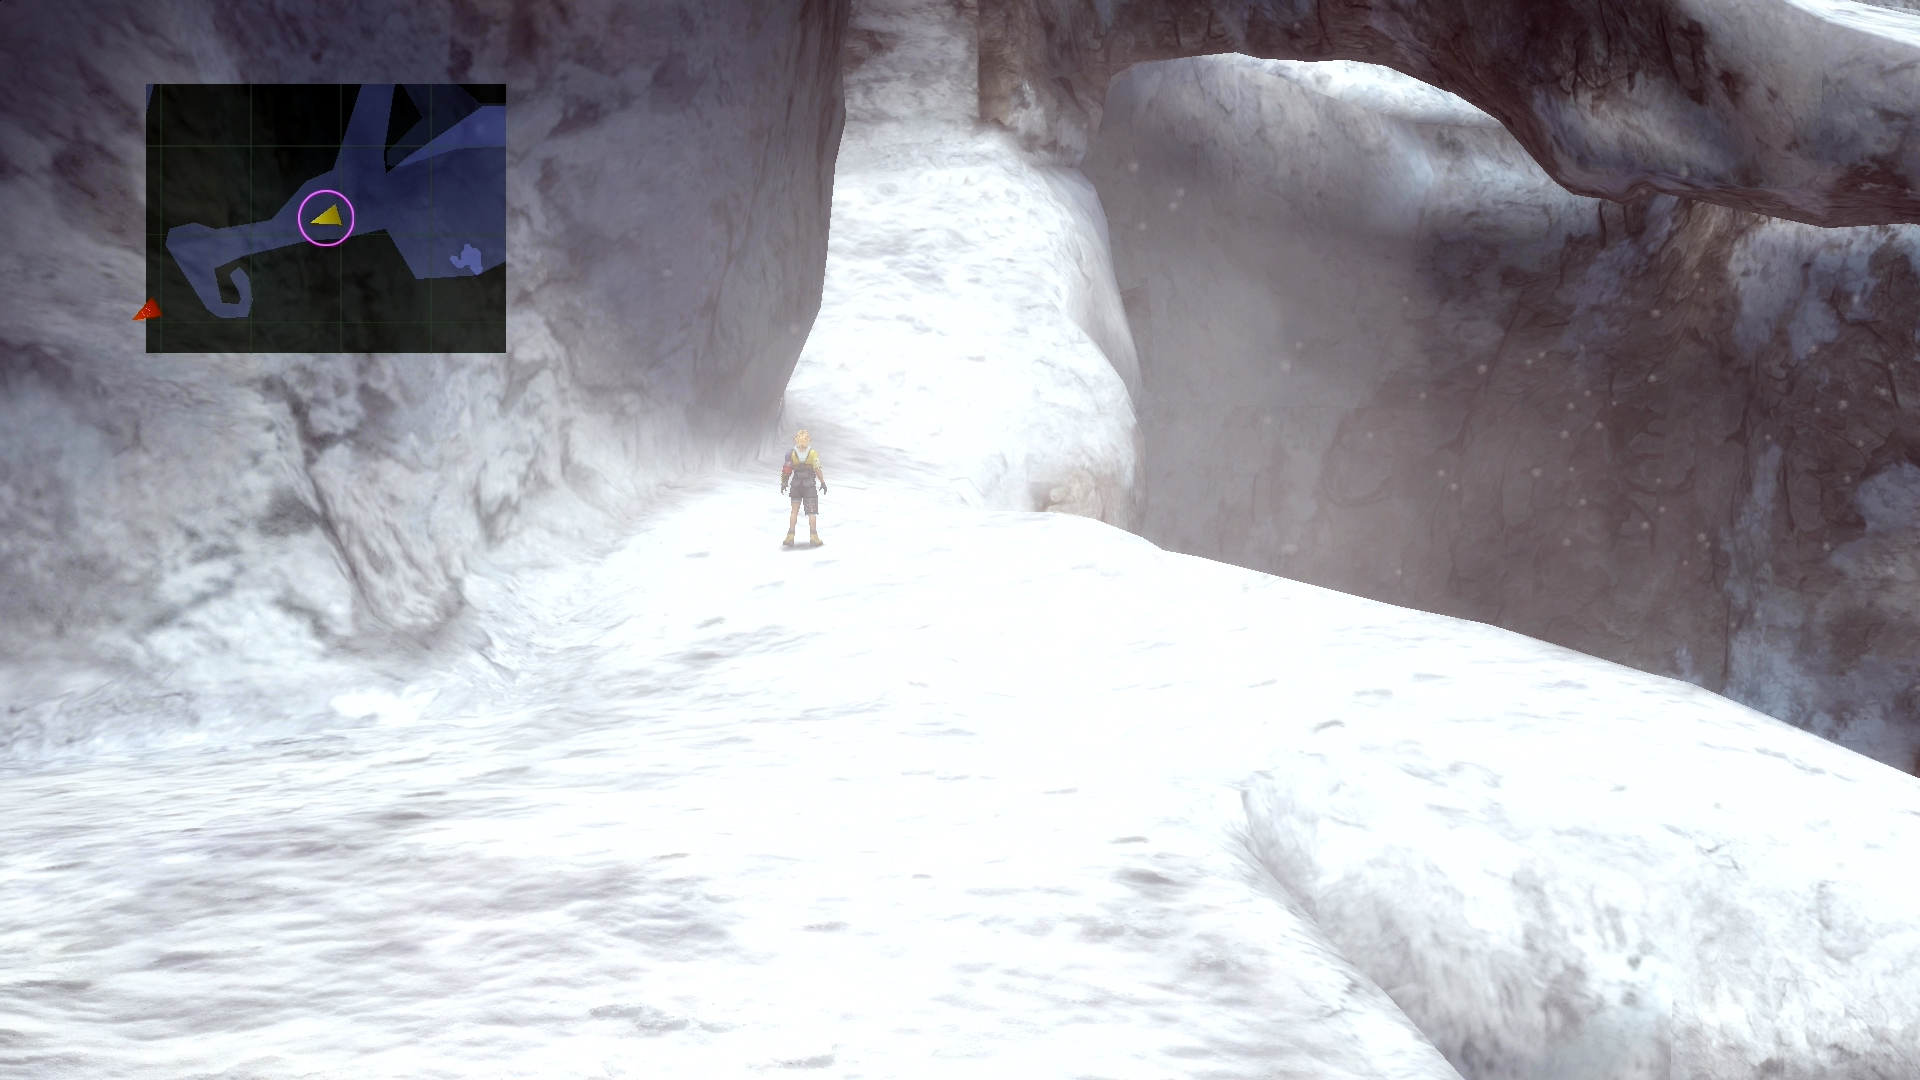
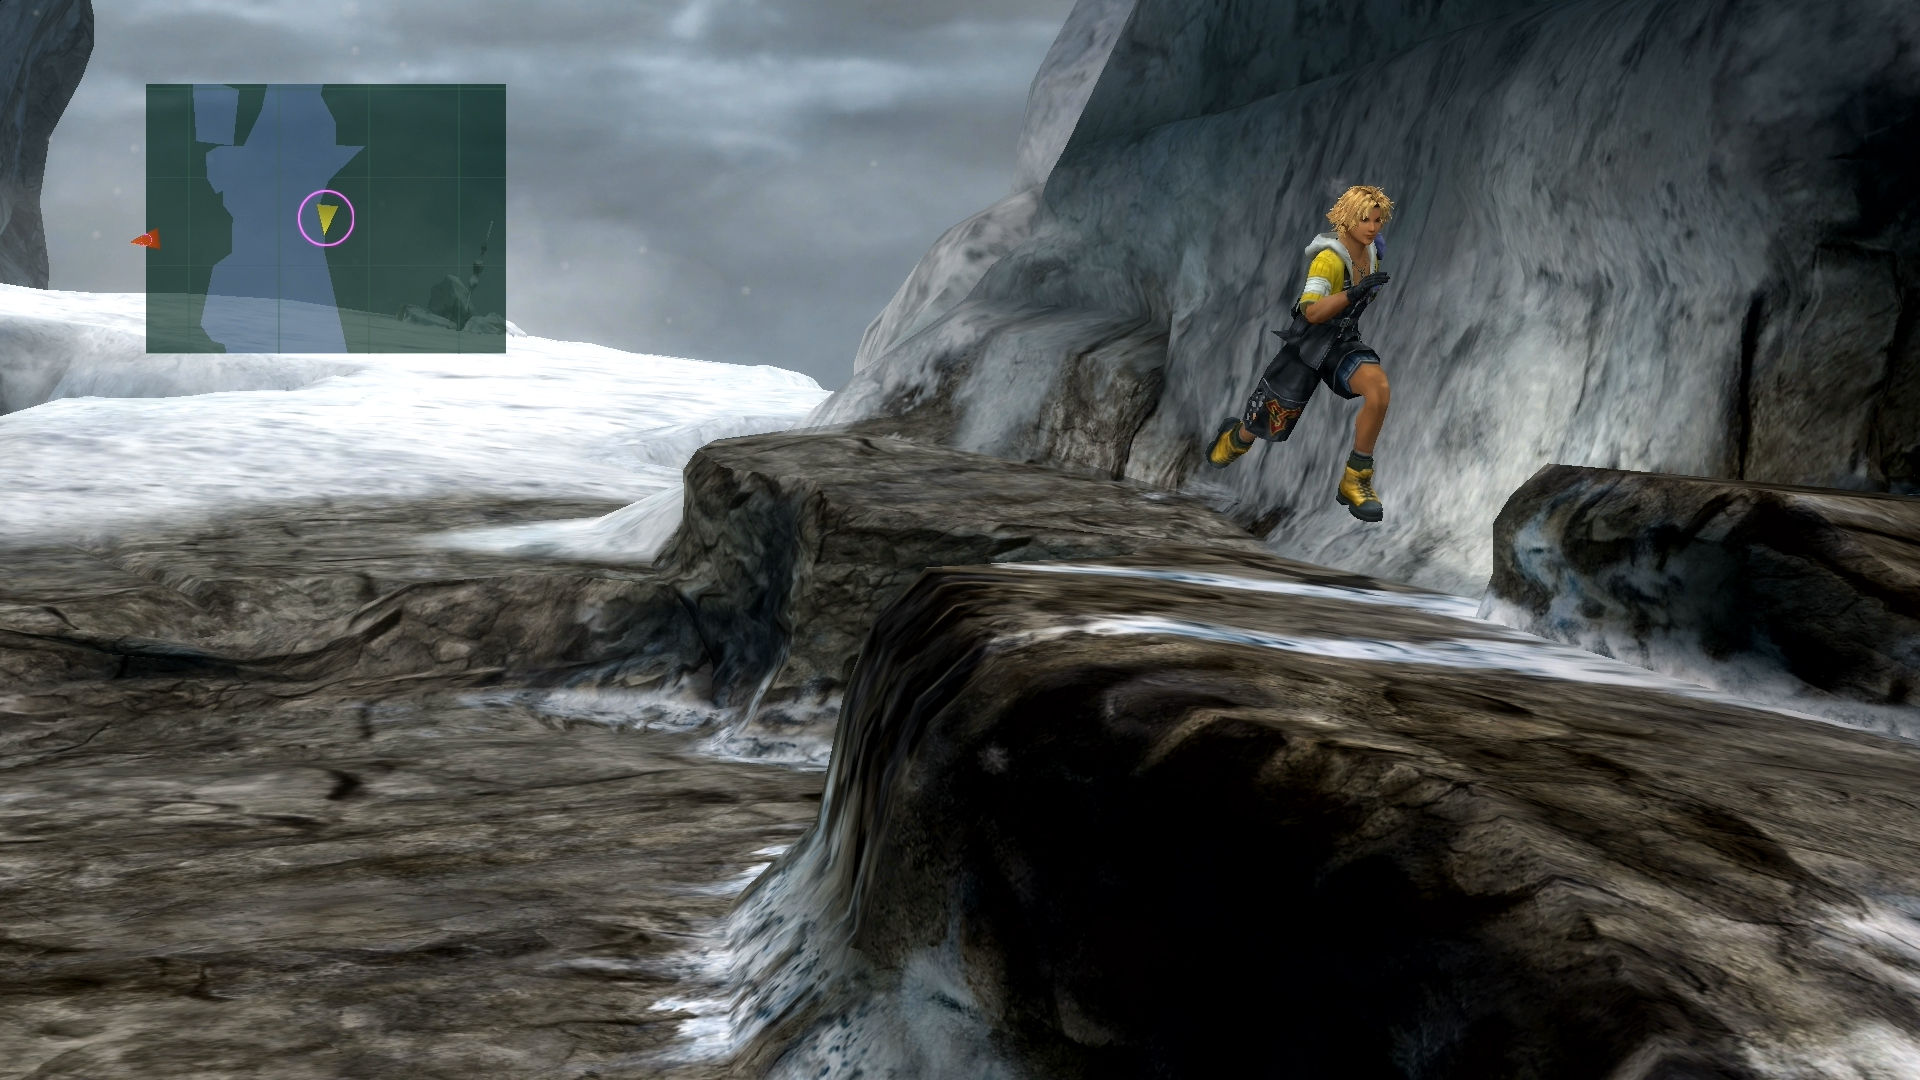
Mountain Trail
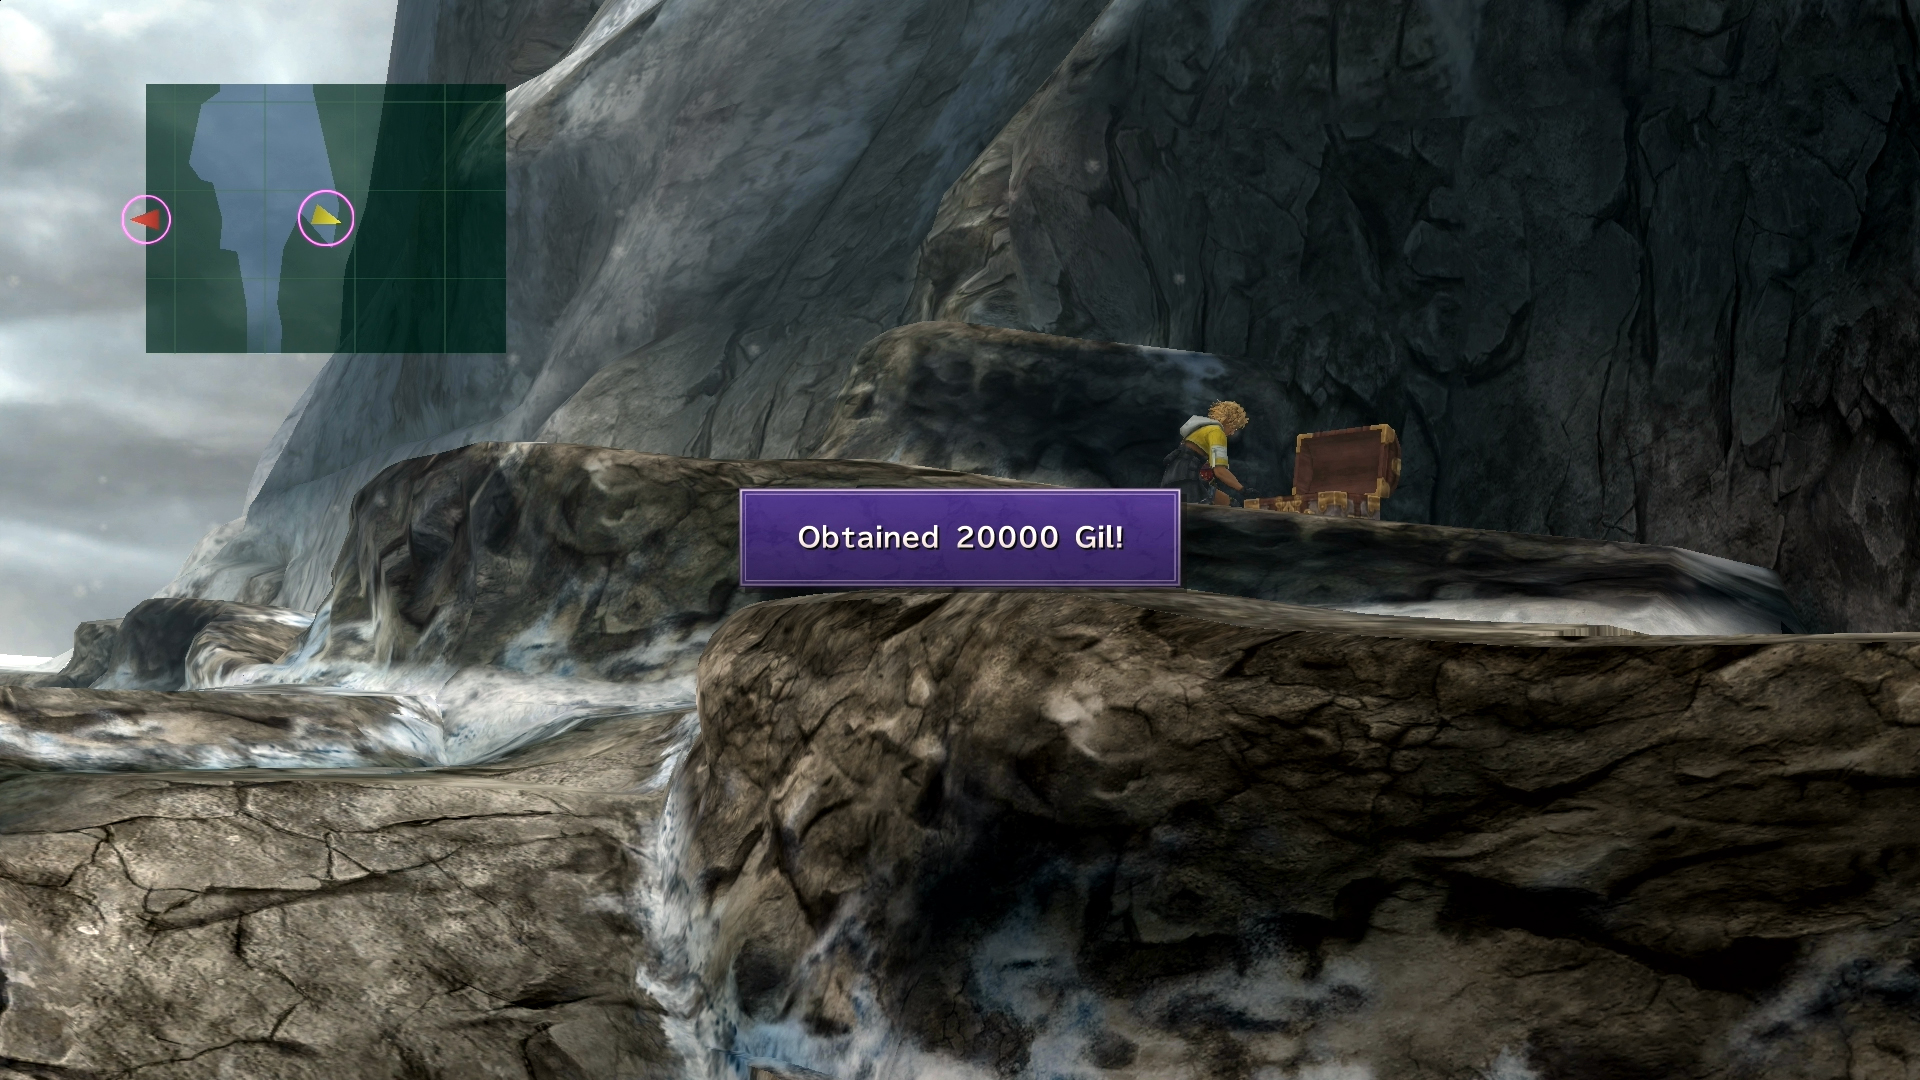
When you regain control, climb up along the right side and follow the path back to a treasure chest containing 20,000 Gil.
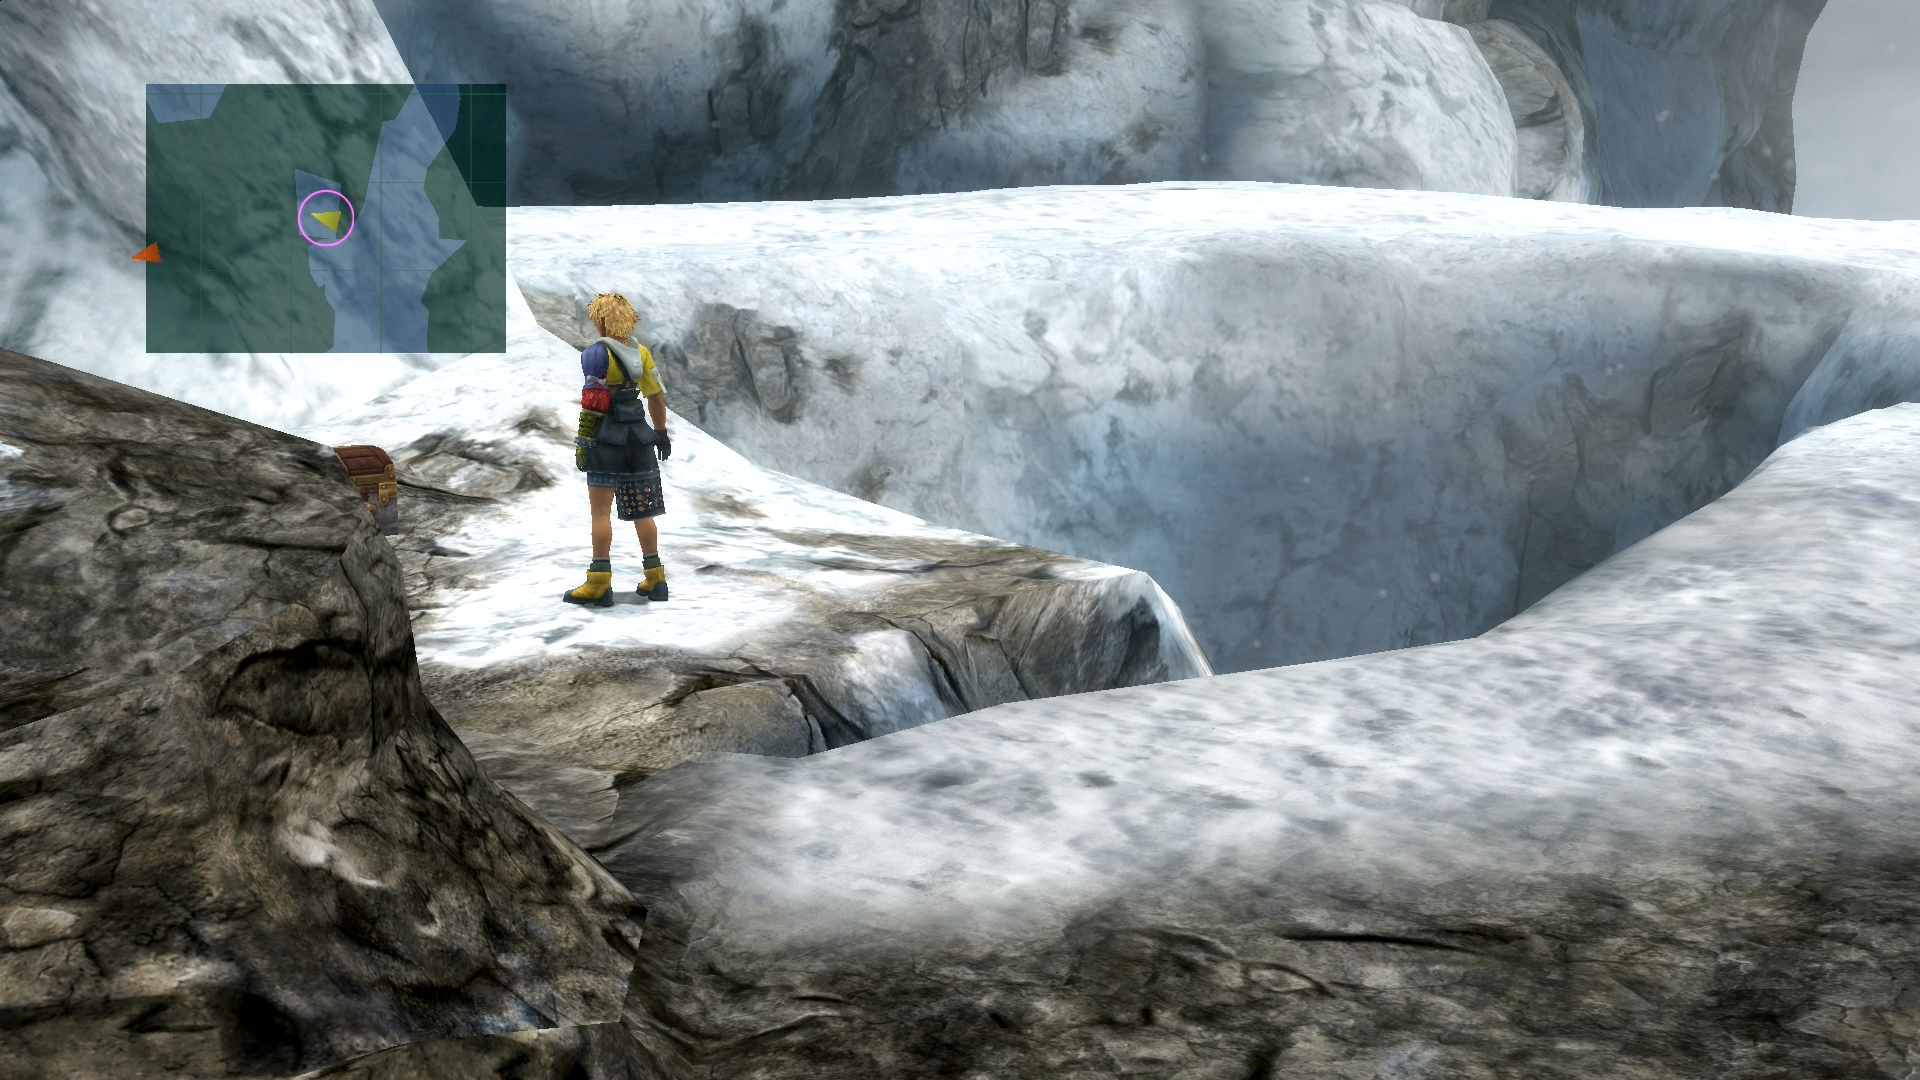
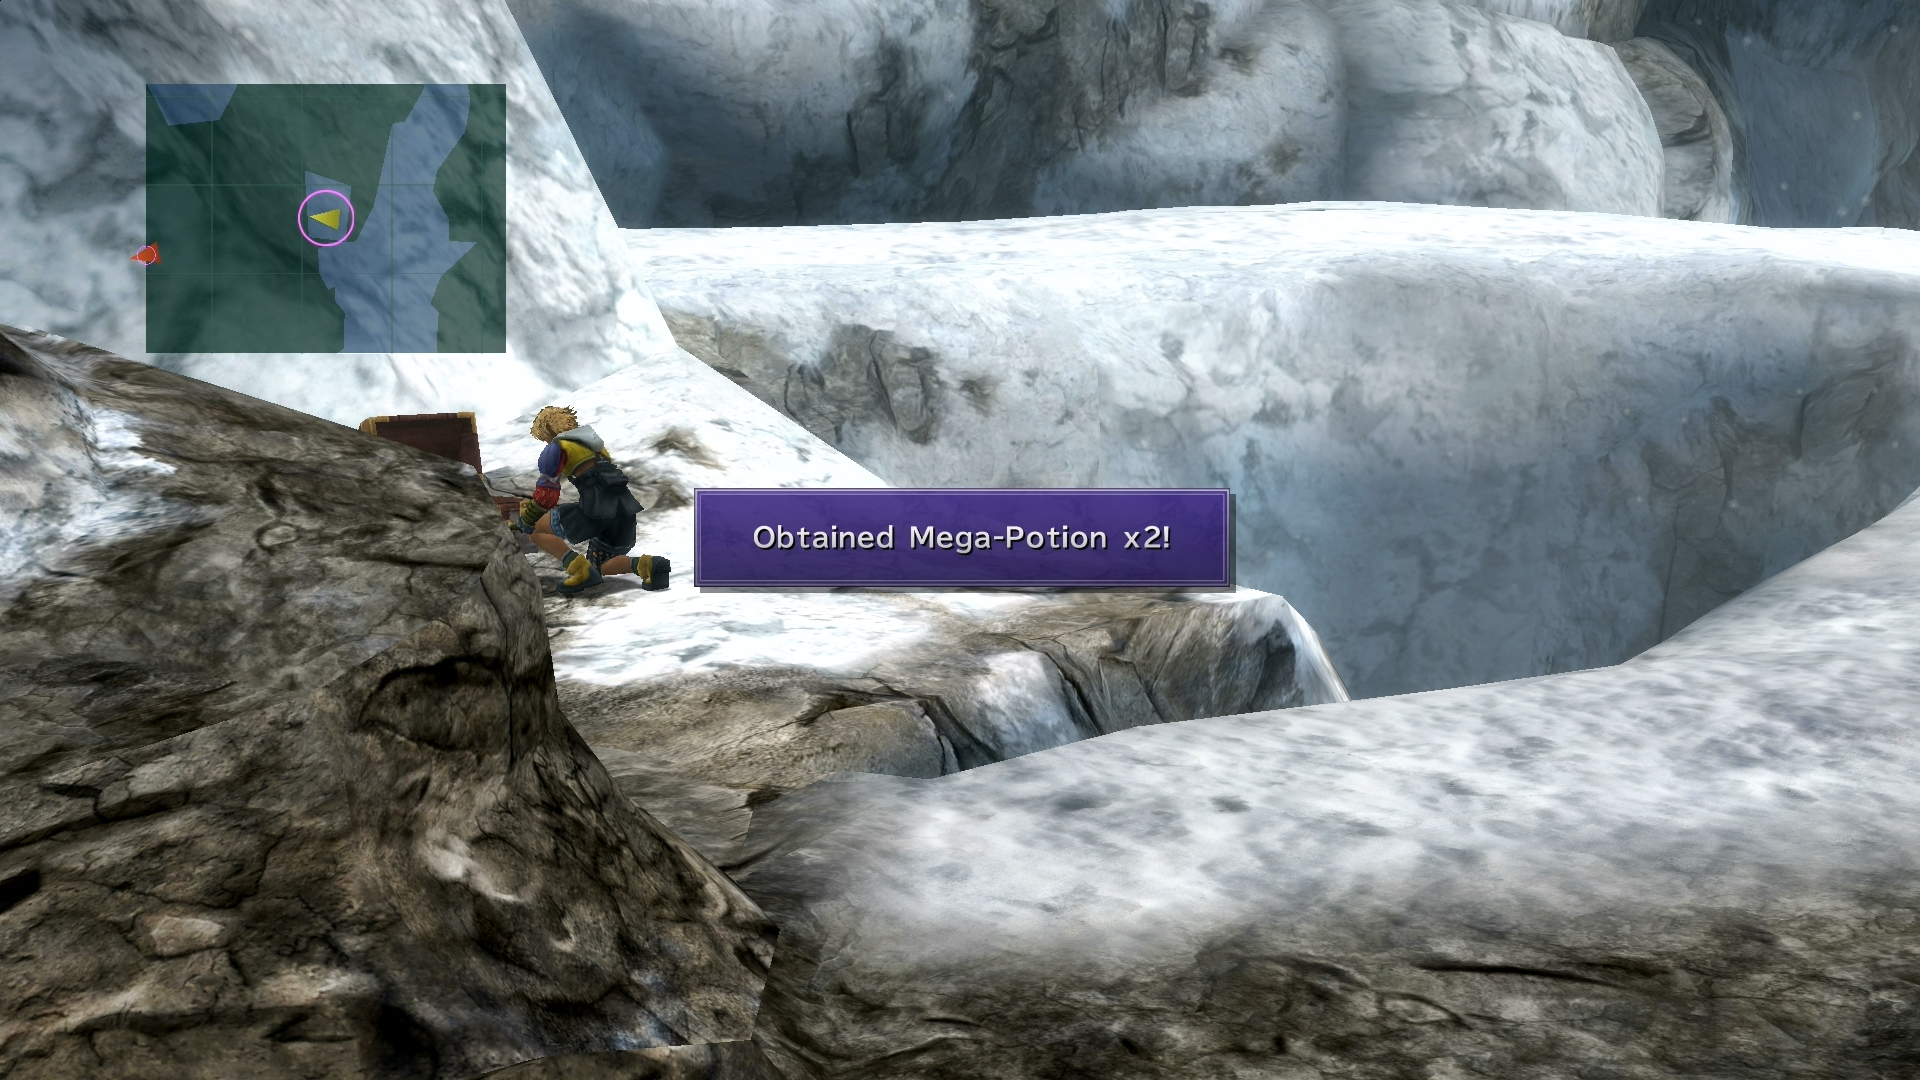
Return to the main path and walk to the small alcove to the left. A treasure chest containing two Mega-Potions is hidden here.
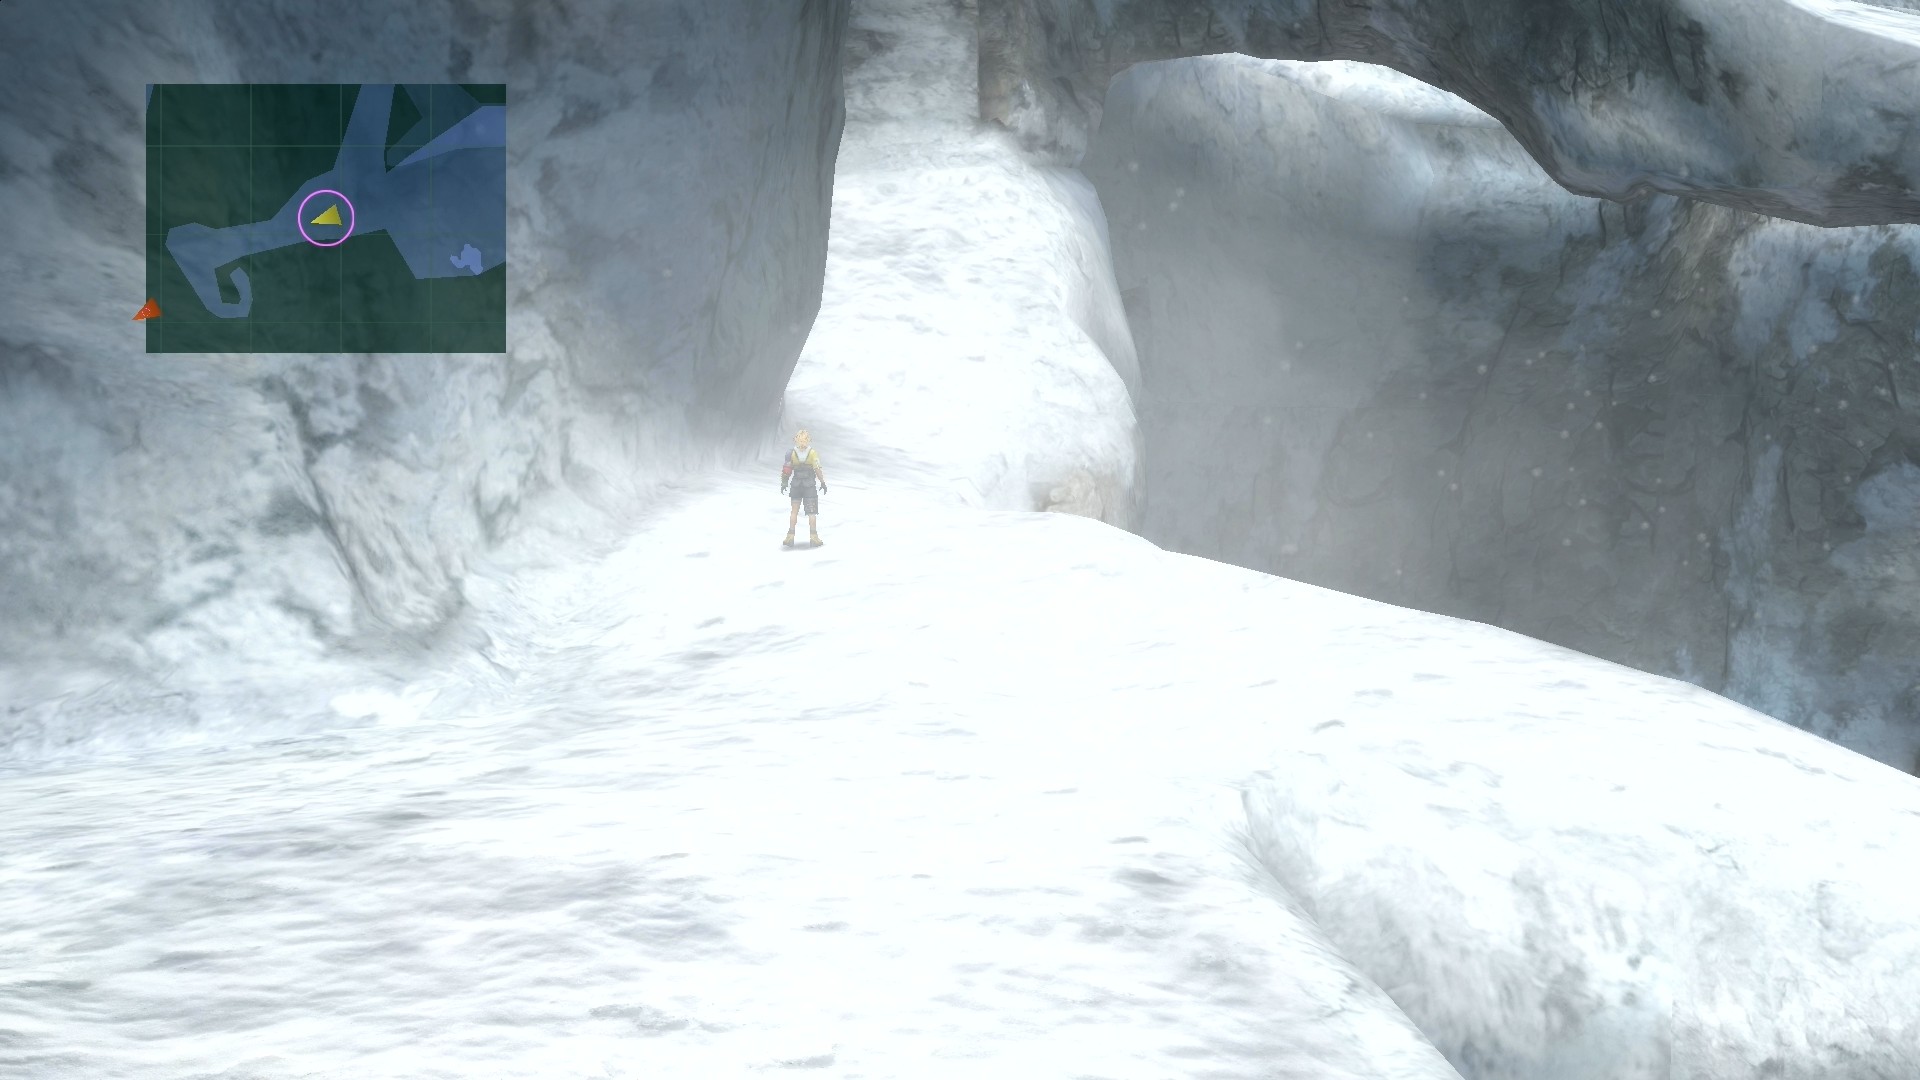
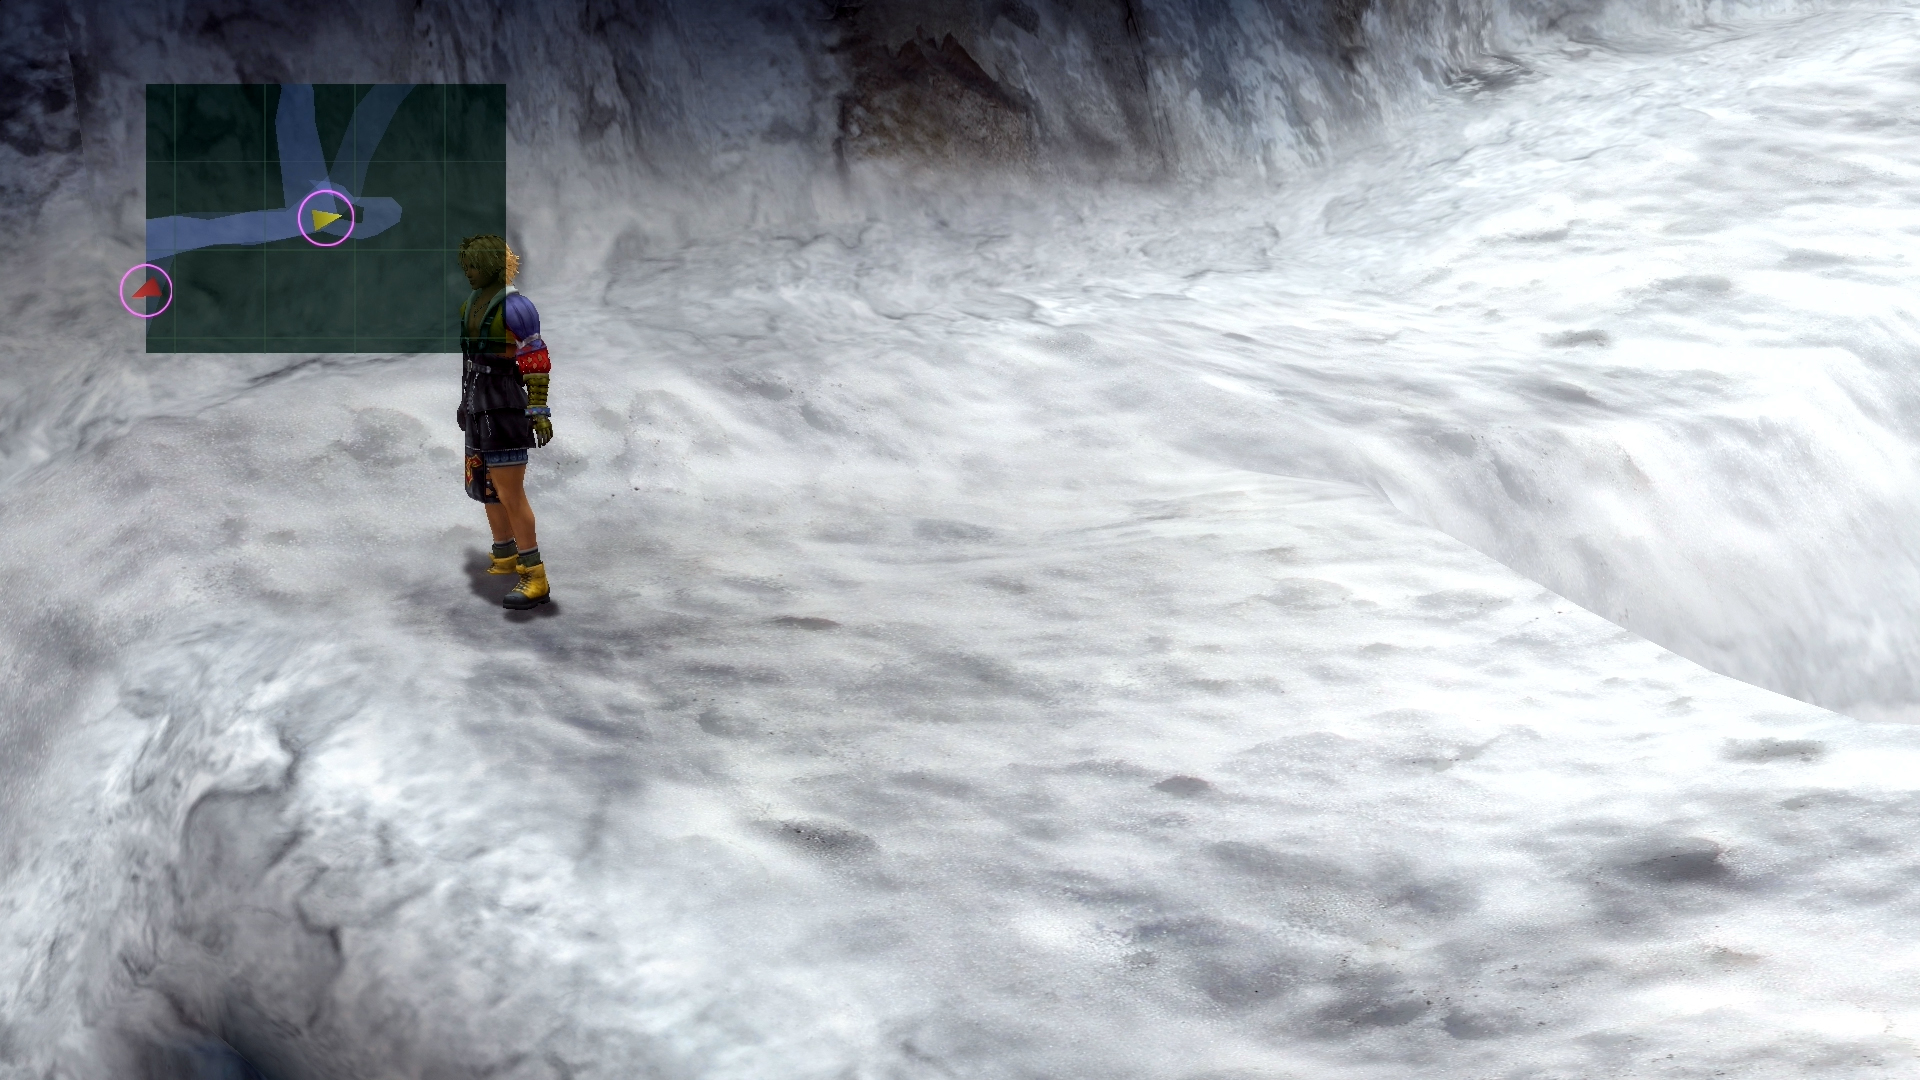
Follow the path until you see a small curve to the north. Walk along this curve to find Braska’s Sphere.

Continue along the mountain trail to the southwest (keep an eye on the mini map to know which was is southwest) until you reach a sharp turn north. A treasure chest containing a Defending Bracer can be found at this spiraled corner.
O’aka’s brother will be waiting across the bridge to the north. Speak with him to buy and sell items and weapons.
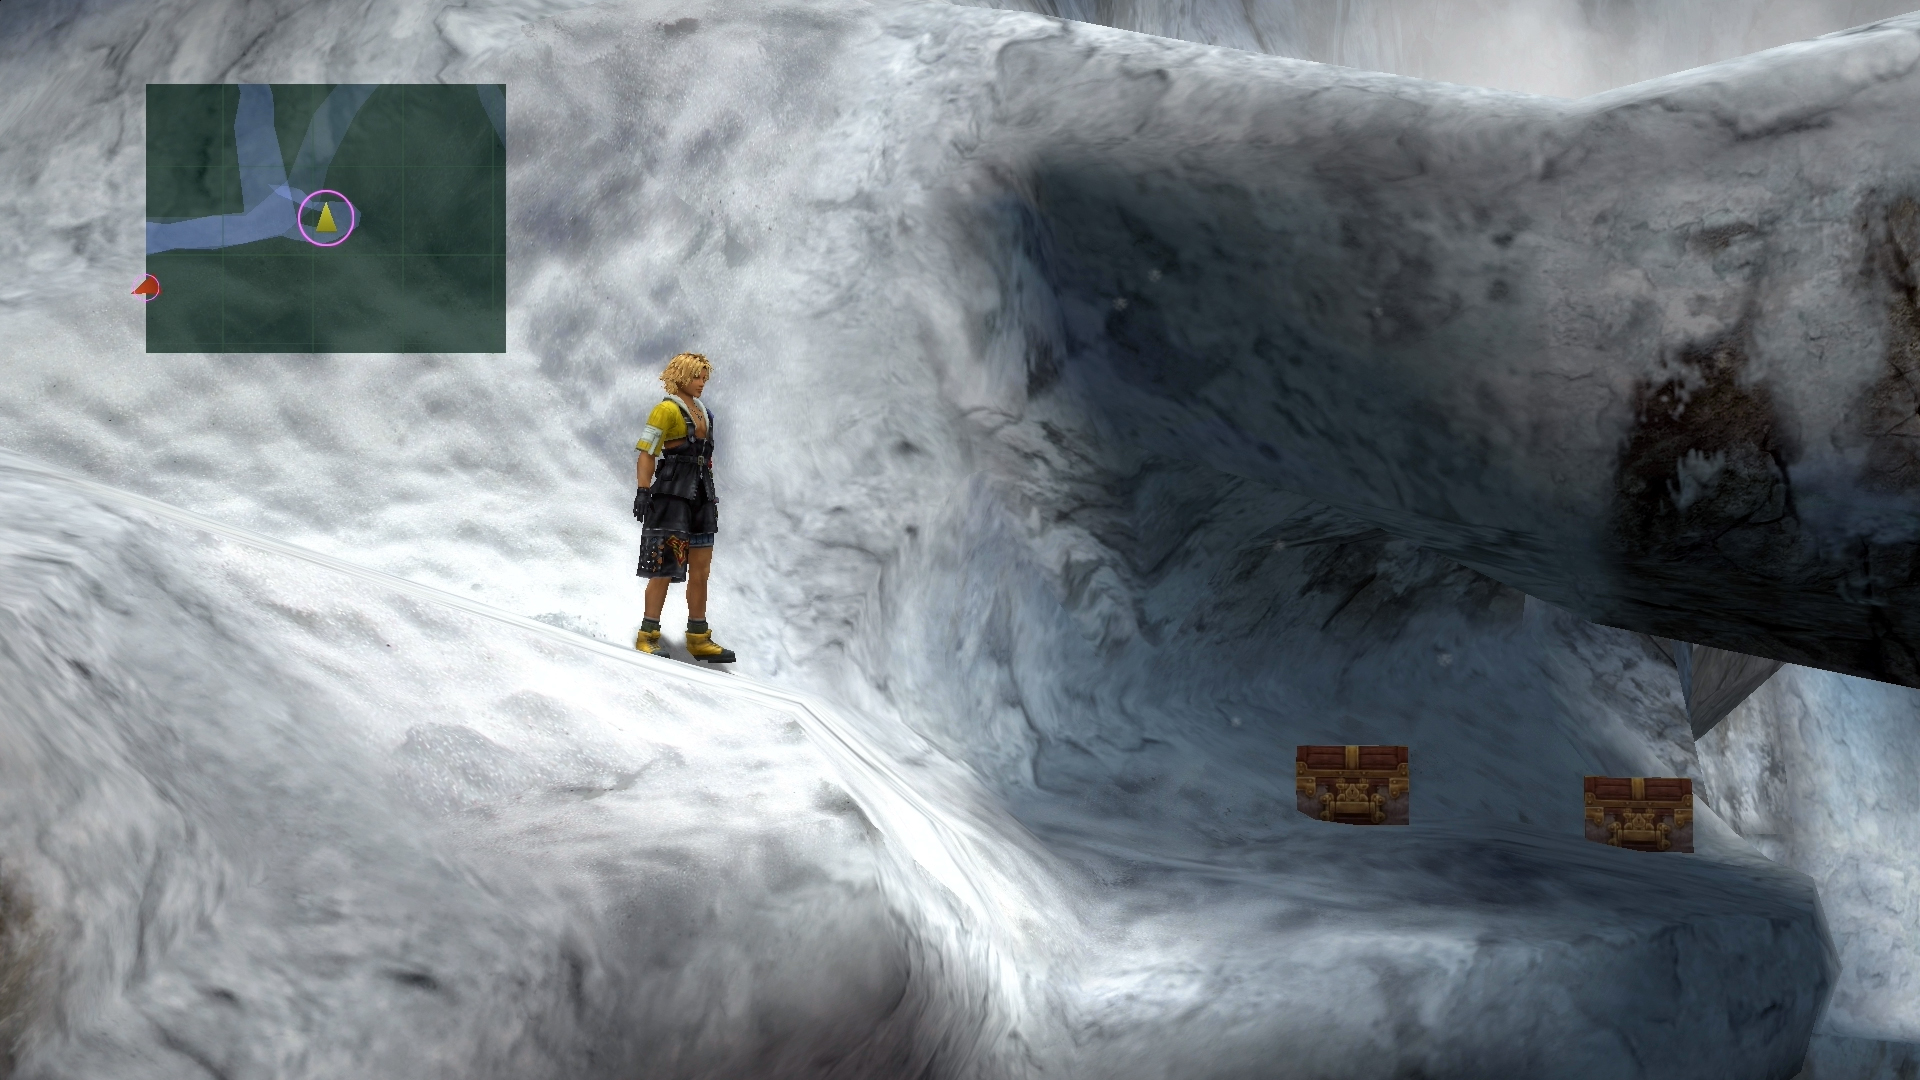
Cross the next bridge and take the small spiral path below to find two treasure chests. Inside is a Lv. 4 Key Sphere and an HP Sphere.
Return to the main path and continue west. Eventually, you’ll reach a save sphere where you can heal and save before going to Mt. Gagazet – Prominence, where a boss battle is waiting.
Boss Battle: Seymour Flux
| Enemy | HP | AP | Fire | Thunder | Water | Ice |
|---|---|---|---|---|---|---|
| Seymour Flux | 70000 (3500) | 10000 (15000) | — | — | — | — |
| Mortiorchis | 4000 | N/A | — | — | — | — |
Seymour is incredibly tough this time around. Make sure you use all of the characters so they earn AP at the end of the battle. Use Yuna’s and Kimahri’s trigger commands to increase their Magic Defense and Strength respectively.
Seymour will use attacks like Cross Cleave to deal massive damage (around 2000 HP) to each party member. He also uses the Lance of Atrophy which deals damage to one character and inflicts the Zombie status effect. This can be healed with the Esuna spell or the Holy Water item. Zombie will cause all healing items or spells to reduce HP instead of increase it, so be wary!
The Protect spell will help reduce damage from Seymour’s attacks, and Tidus’s Haste spell should help you get more turns, but Seymour will eventually cast Dispel on the entire party to remove all stat increases.
You may notice a secondary target on Seymour Flux called Mortiochis. Try having one teammate focus on Mortiochis for a short while. Killing it will cause it to absorb HP from Seymour Flux instead of attacking you. It will sap 4000 HP the first time, 3000 HP the next two times, 2000 HP the next two times, and 1000 HP after that. It may not be worth targeting Mortiochis after 3000 HP unless your attacks are still weak.
You can try silencing Seymour and casting Bio to prevent him from using magic attacks while slowly reducing his HP. Additionally, do not summon an Aeon unless it has a full Overdrive gauge. Seymour will use the “Banish” move which will instantly cause them to die.
Once Seymour’s HP is low enough, it will begin casting Flare. You can reduce the damage of this attack by casting Shell. Try to defeat Seymour as fast as possible at this time to continue on to the next part of Mt. Gagazet – Fayth Cluster.
When you reach the save sphere, investigate the columns on the left to find a hidden treasure chest. Inside is the Saturn Crest celestial item.
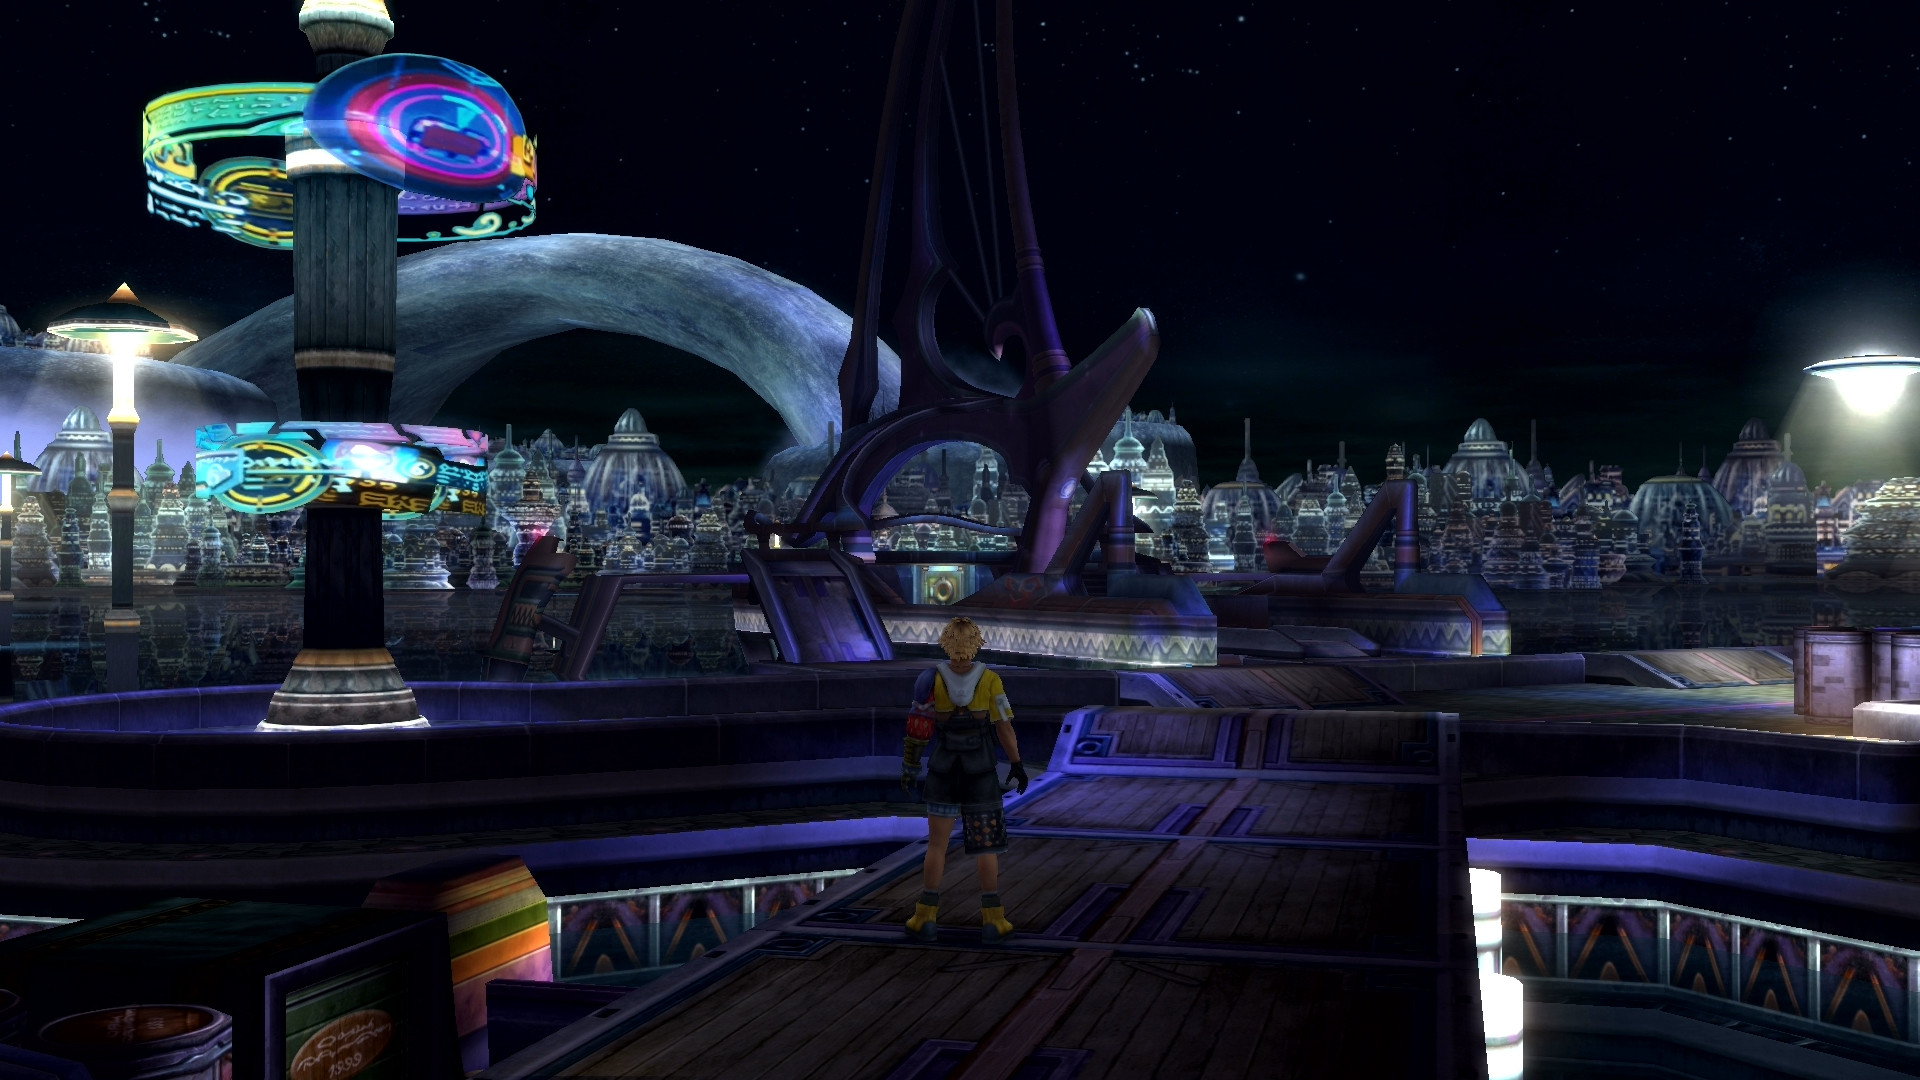
Dream
After a short cut scene, you will return to Zanarkand in a dream. Enter the door to your home to play another cut scene. Follow the little boy outside to learn more about the past.
Mountain Cave
| Fiends | HP | Fire | Thunder | Water | Ice |
|---|---|---|---|---|---|
| Achelous | 5100 | Strong | Weak | Nul | — |
| Ahriman | 2800 | — | — | — | — |
| Bandersnatch | 1800 | Weak | — | — | — |
| Behemoth | 23000 | — | — | — | — |
| Bashura | 17000 | Weak | — | — | — |
| Dark Flan | 12800 | Strong | Strong | Strong | Strong |
| Grendel | 9500 | Strong | — | — | — |
| Maelspike | 10000 | — | Weak | Nul | — |
| Mandragora | 31000 | Weak | — | Absorb | — |
| Mech Defender | 8700 | — | Weak | — | — |
| Mech Leader | 3700 | — | Weak | — | — |
| Nidhogg | 2000 | Strong | — | — | Weak |
| Splasher | 750 | Strong | Weak | Nul | — |
Make your way into the mountain cave. Another save sphere is a short distance forward where you can heal up and save. A quick note of advice: When you come across the Dark Flan, use Auron’s Armor Break to lower its defenses. Regular attacks will do 1000s of HP of damage after that.
Most of the paths are blocked off in this area. You will need to create bridges by completing certain trials. Take the only path to the northwest until you reach the submerged area.
Trial 1
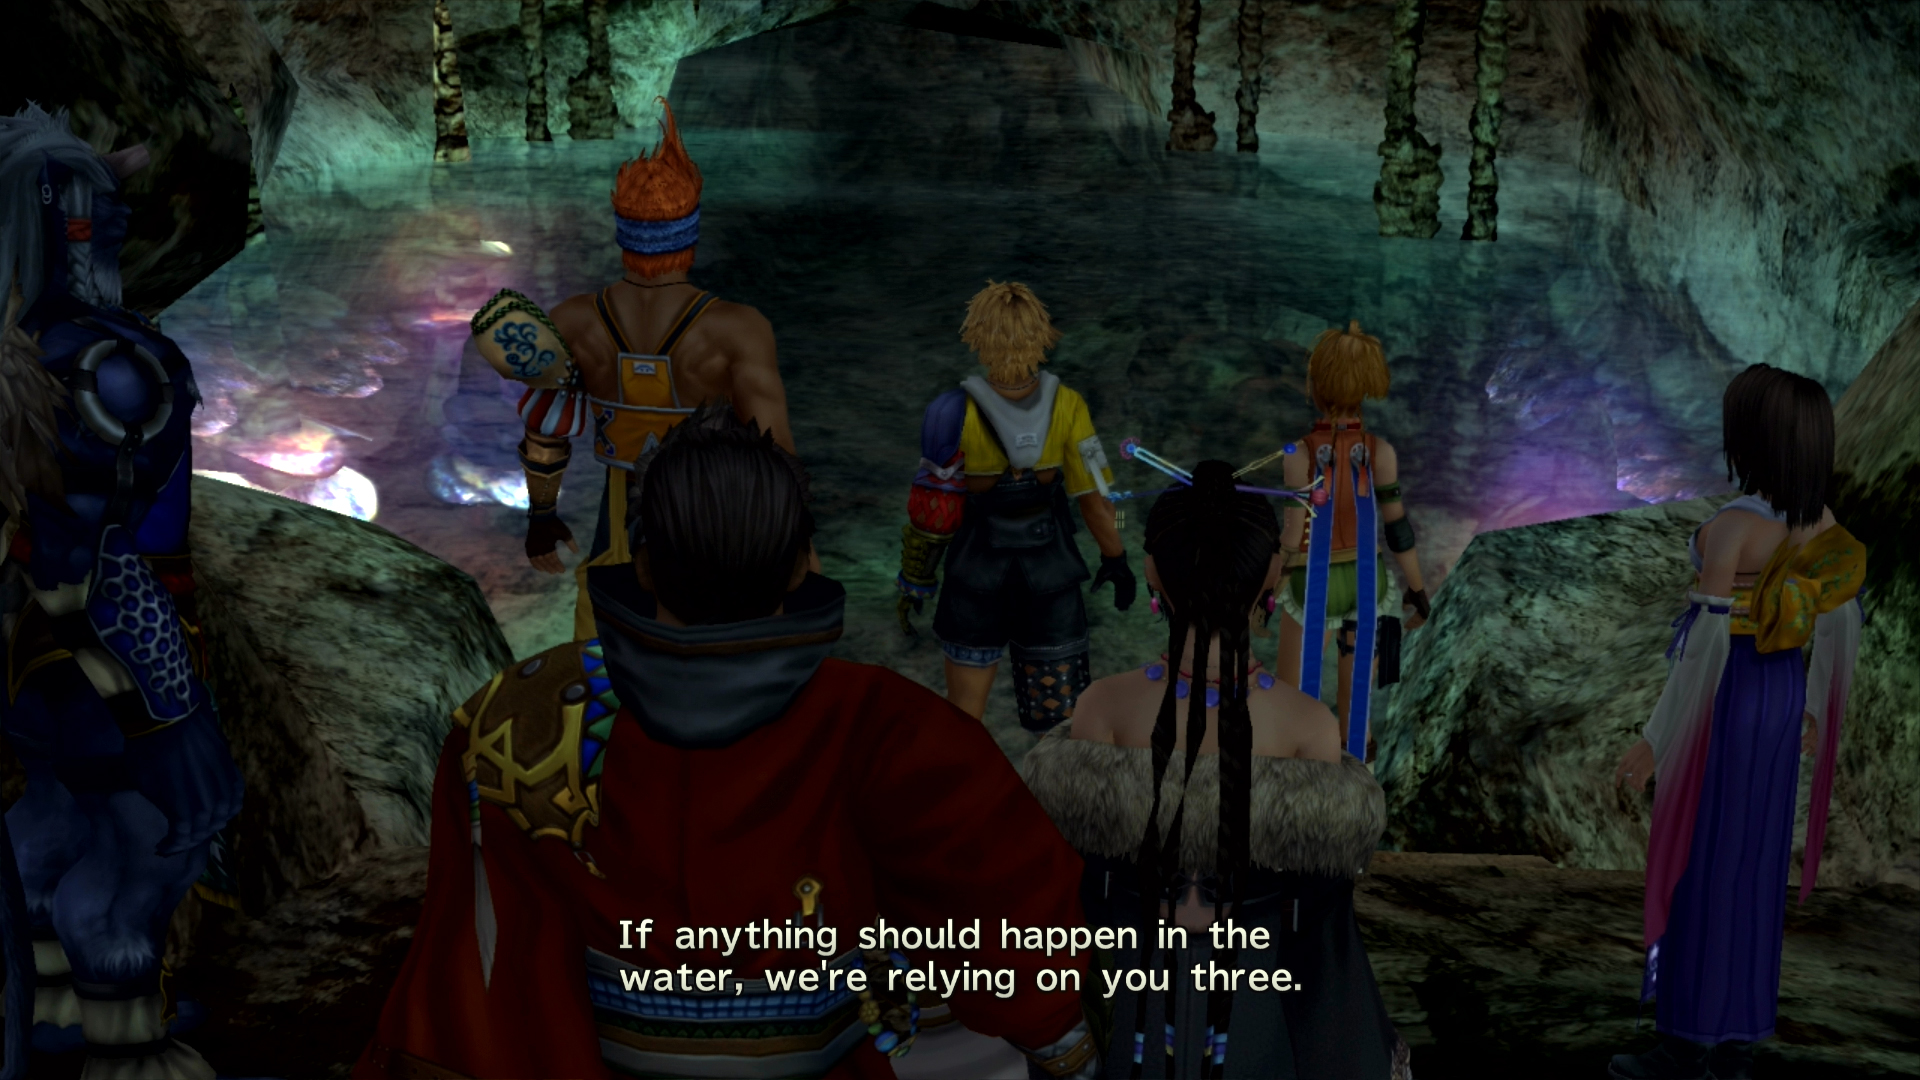
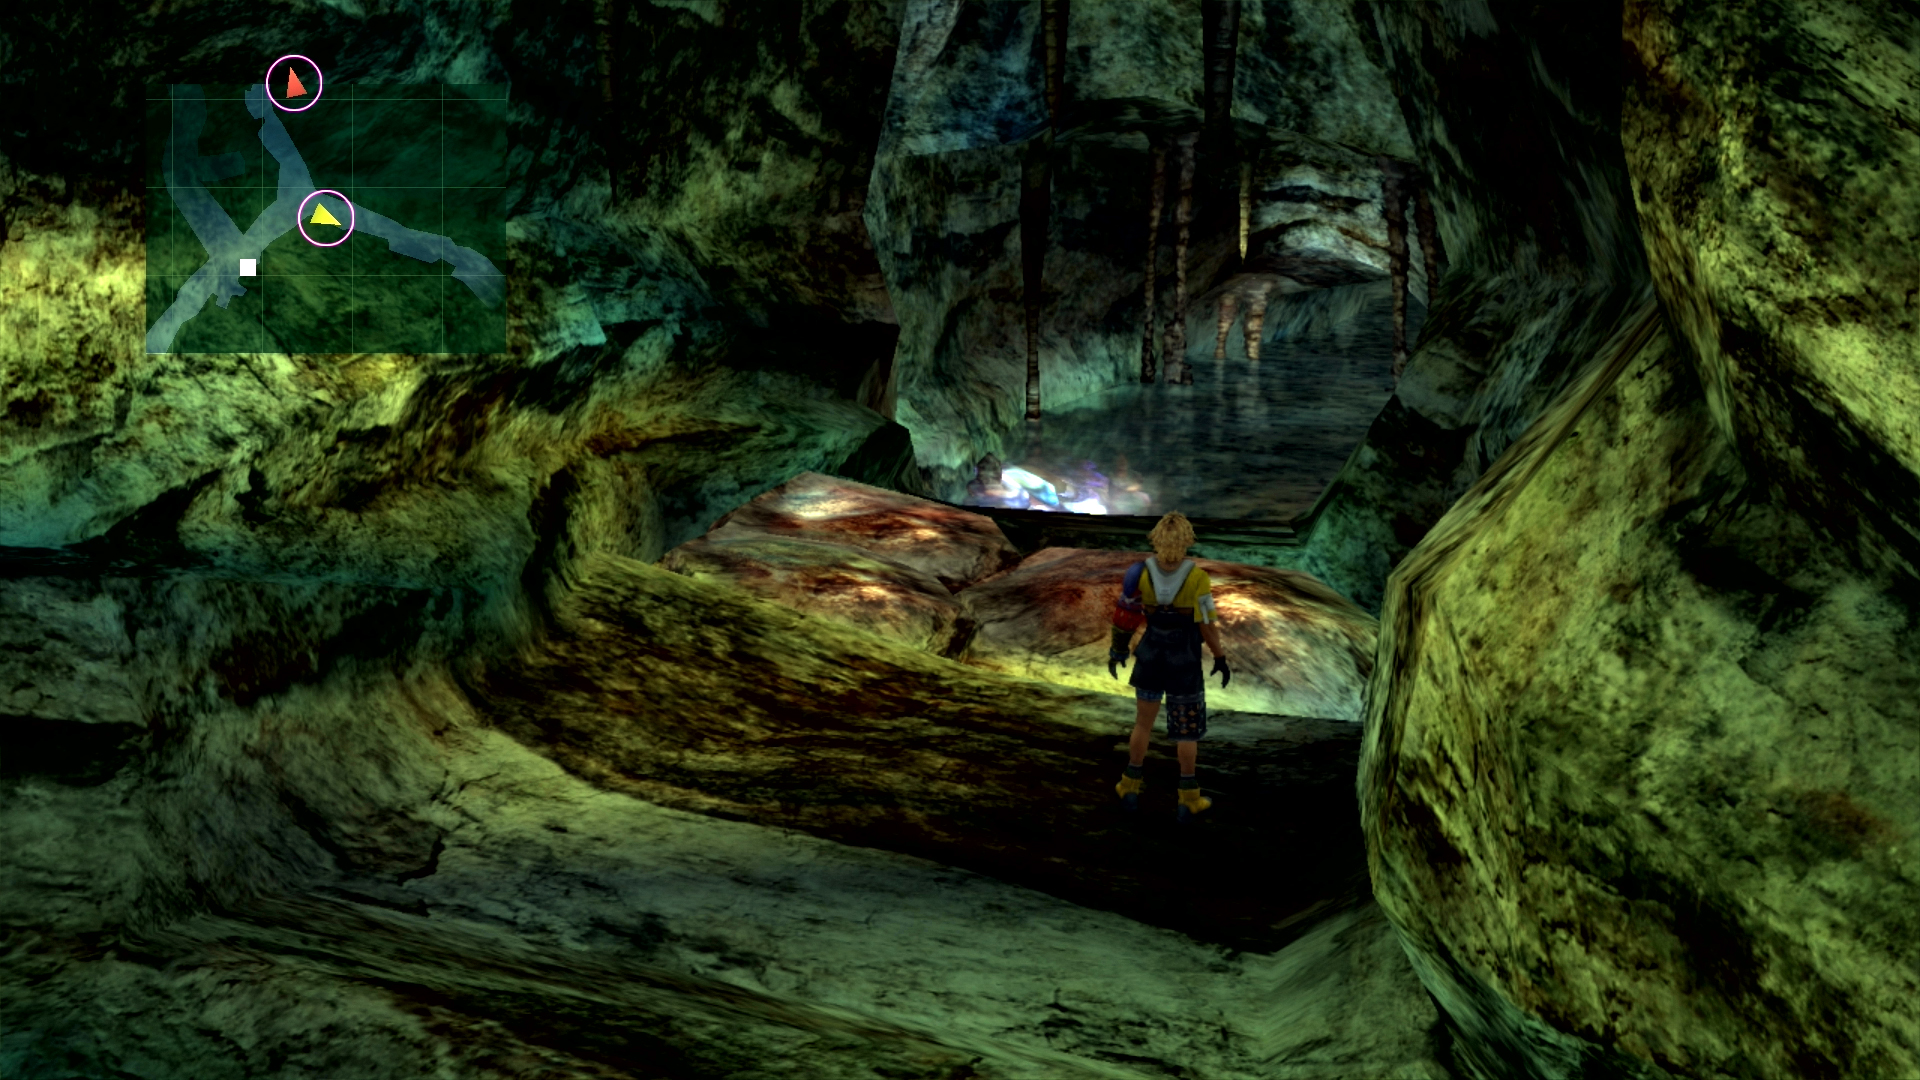
Your team will consist of Tidus, Wakka, and Rikku each time you’re underwater. Rikku’s “Use” special ability will allow you to use Al Bhed Potions on the entire party when needed. Follow the path to the north until you reach the first trial of Gagazet. You must hit the glowing orb with Wakka’s ball. You have to press X a short time before the gap appears. You can try as many times as you need.
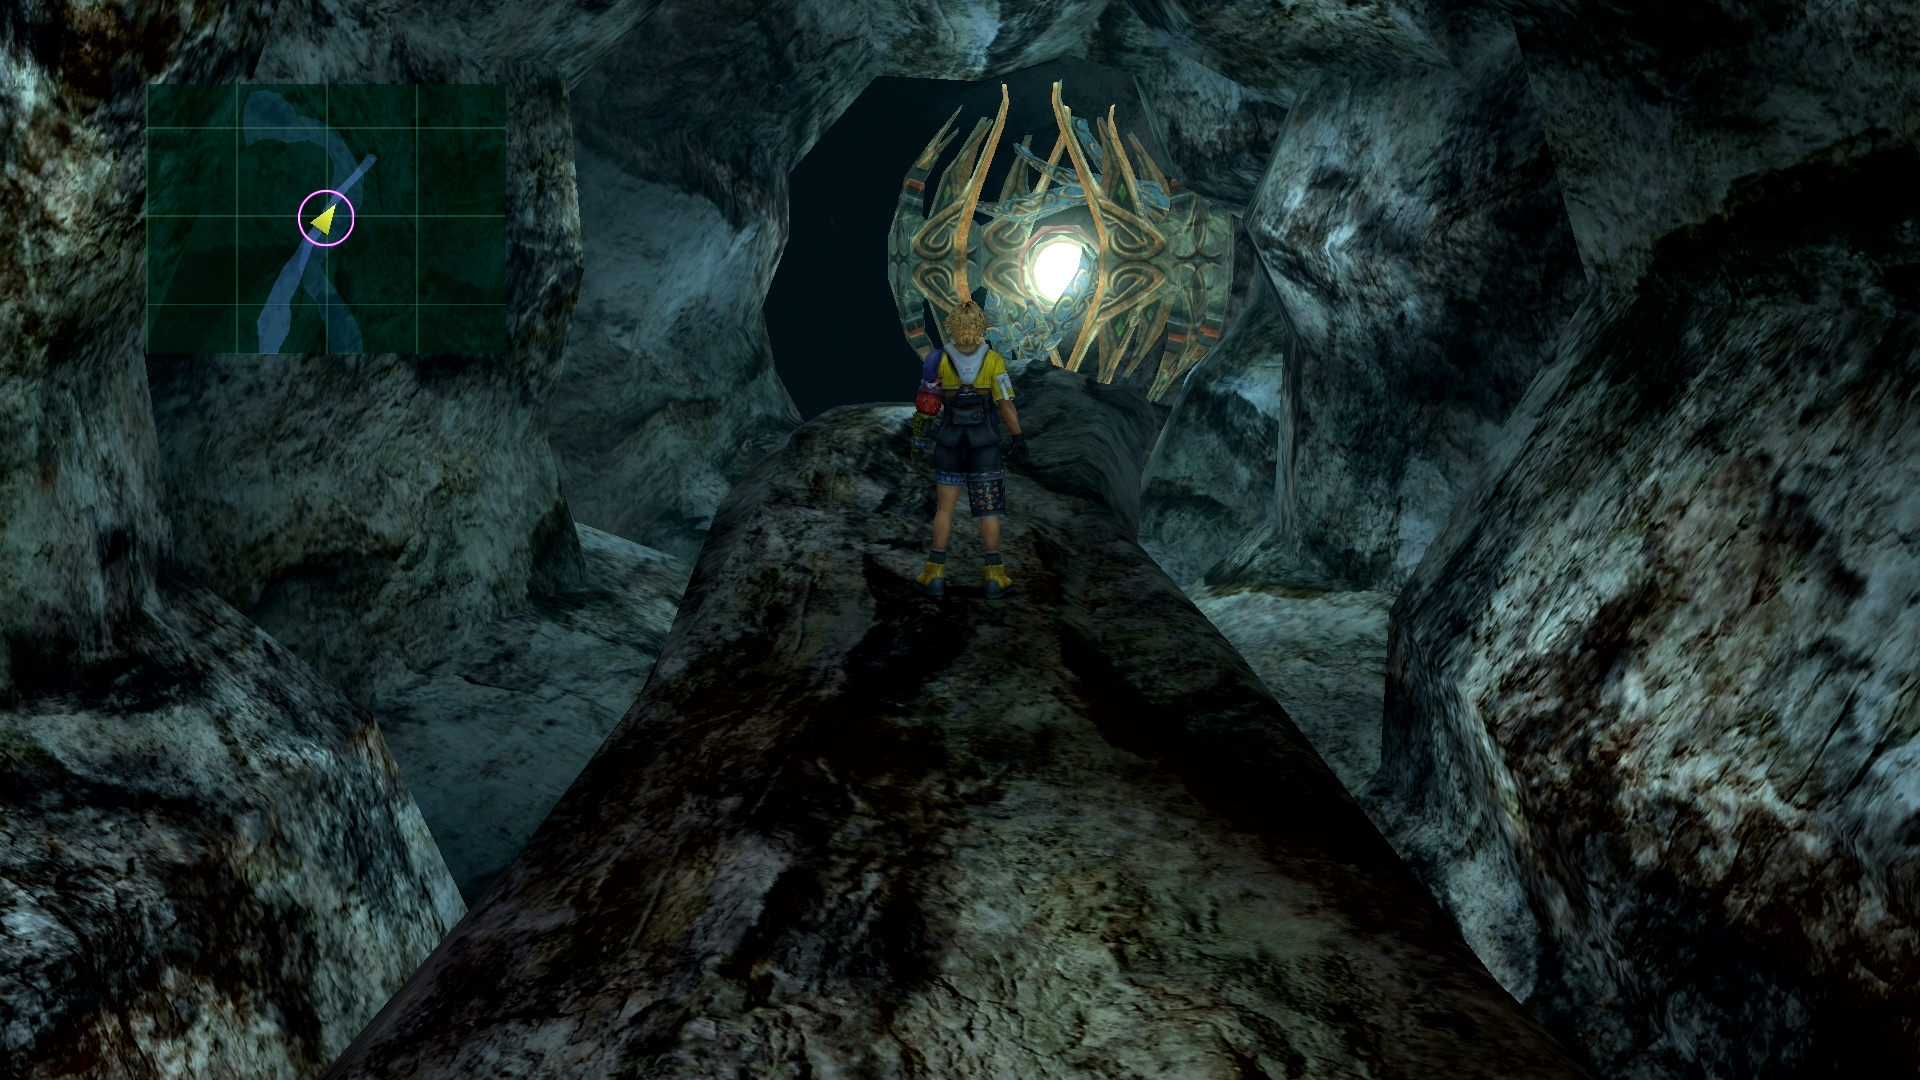
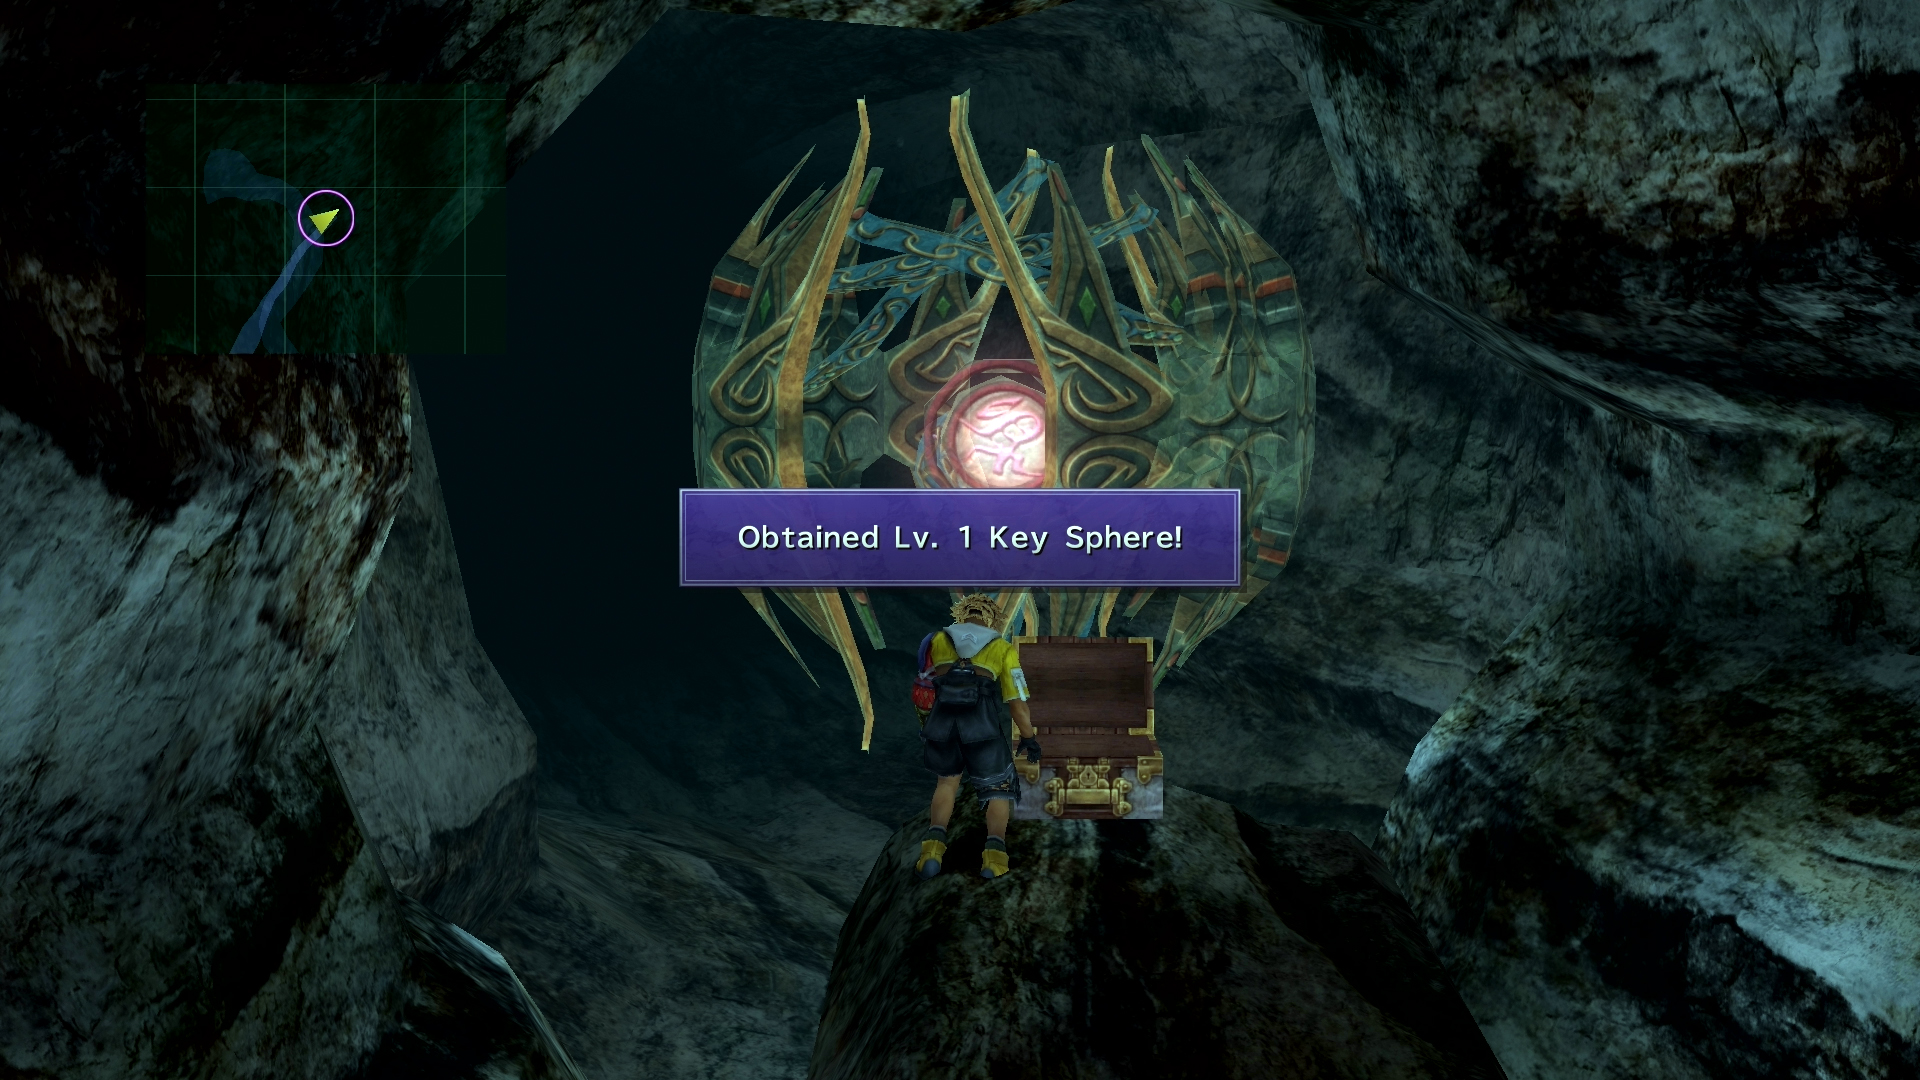
Before returning to the water, walk forward to a treasure chest to find a Lv. 1 Key Sphere.

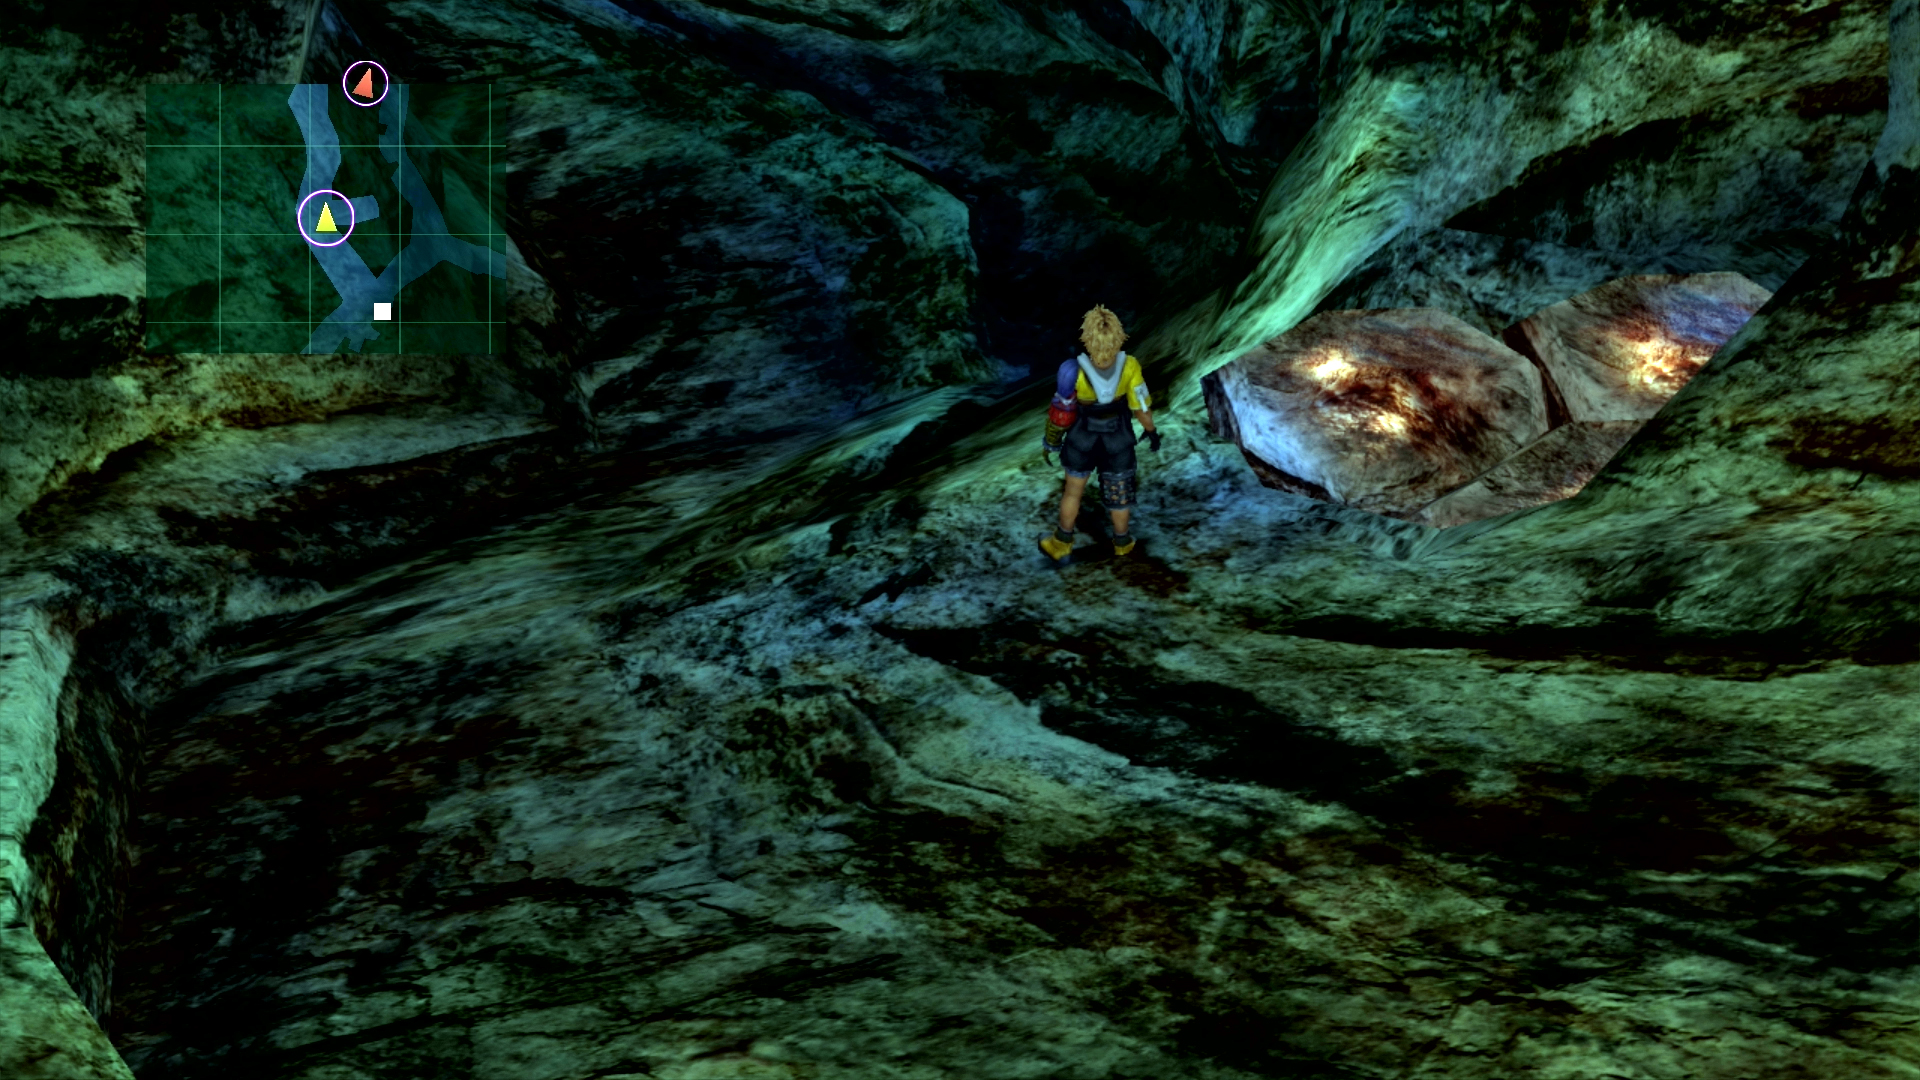
Return to the save sphere in the previous area to find a new set of stairs leading north. The path to the right will be unavailable, so take the path to the left / further north.
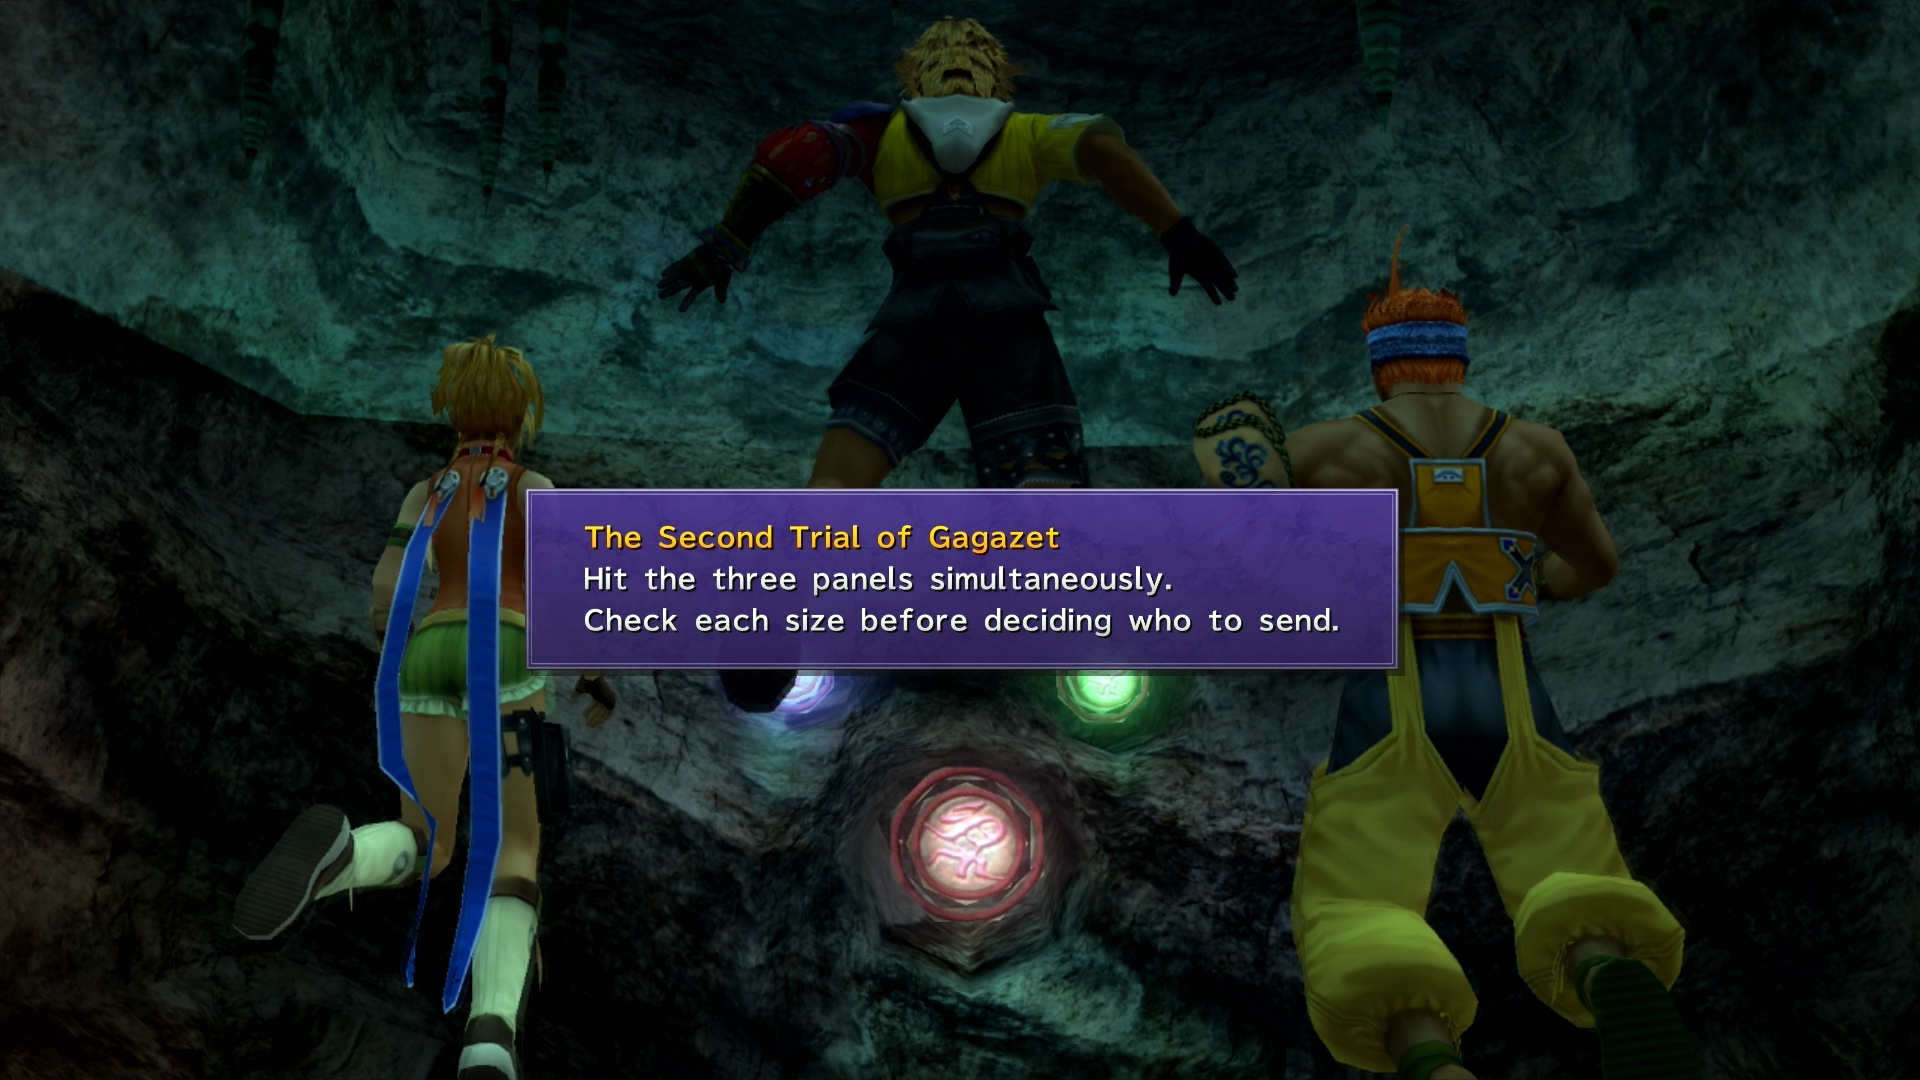
Trial 2
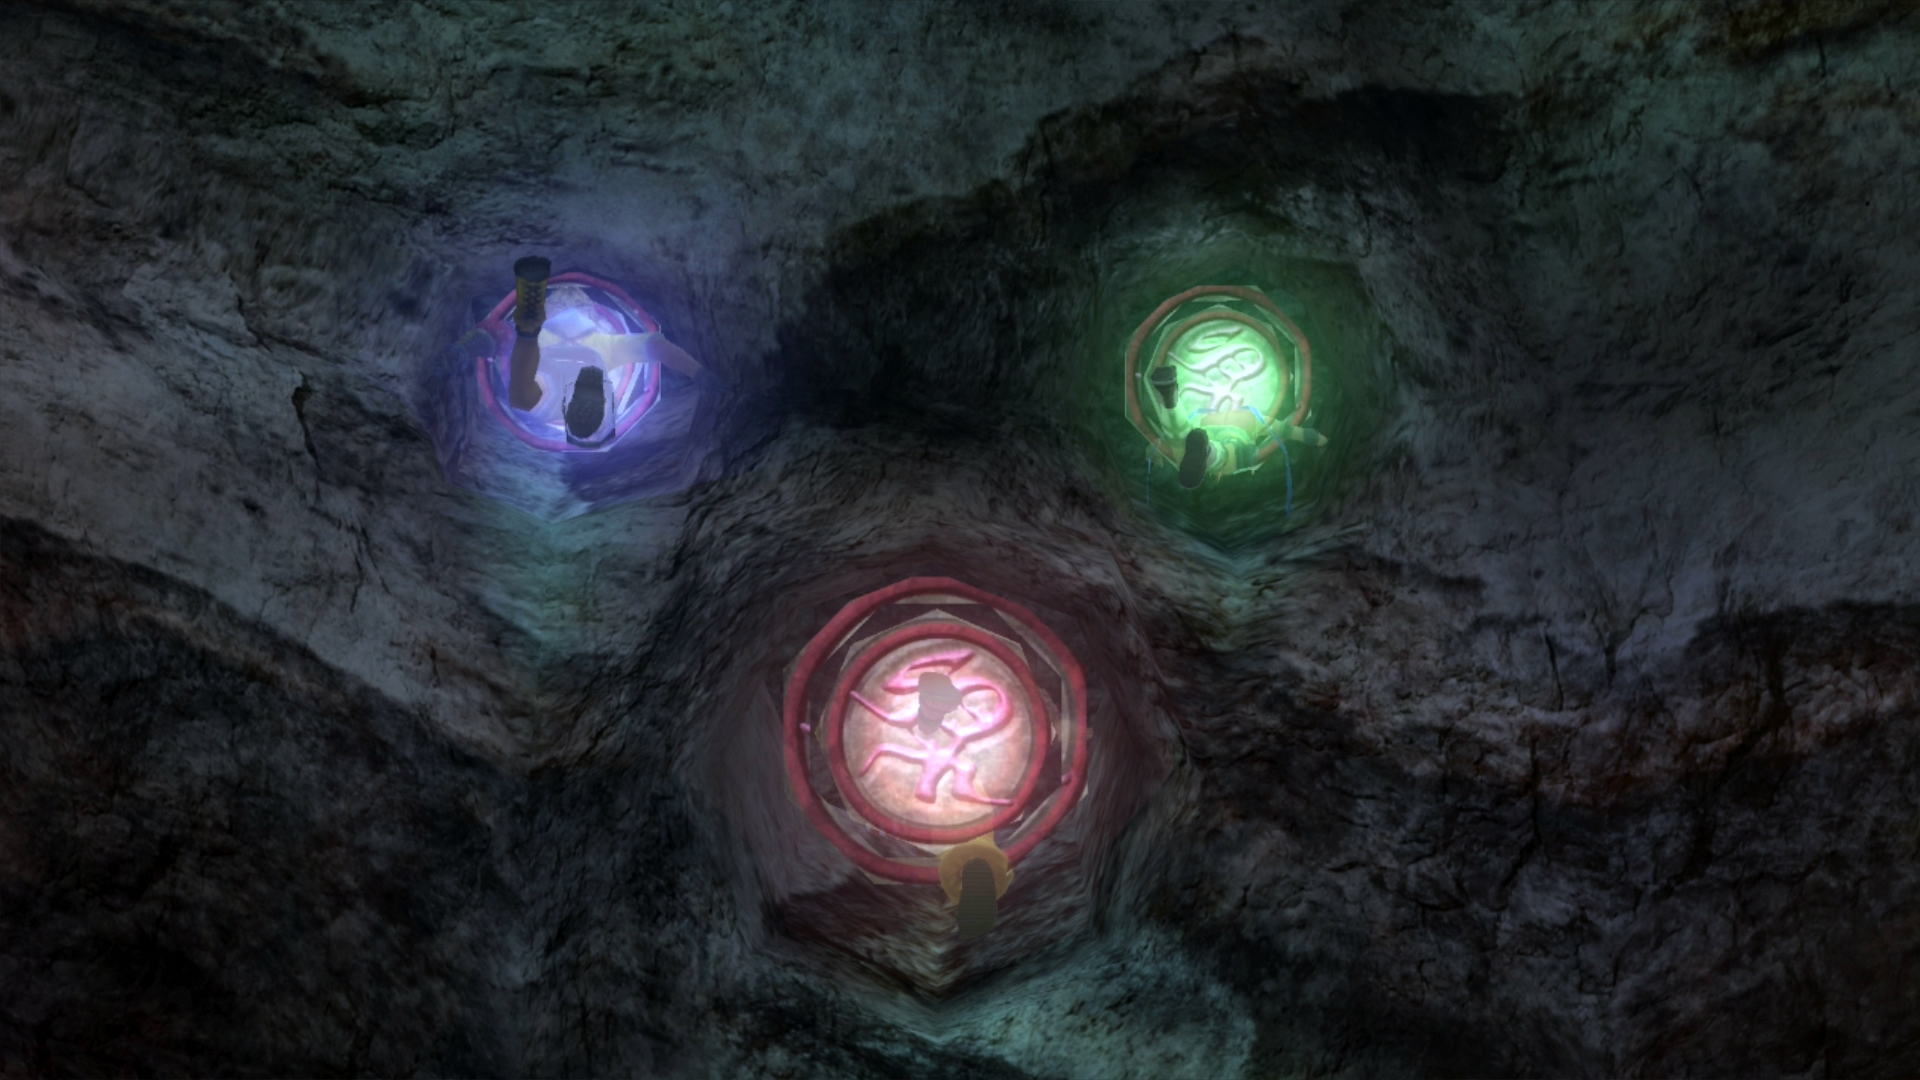
Follow the submerged passage to the second trial of Gagazet. You must send three characters to three colored circles. Send Tidus to blue, Rikku to green, and Wakka to red. If you’re colorblind, send Tidus to the top left, Rikku to the top right, and Waka to the bottom. This will activate another platform back in the previous room.
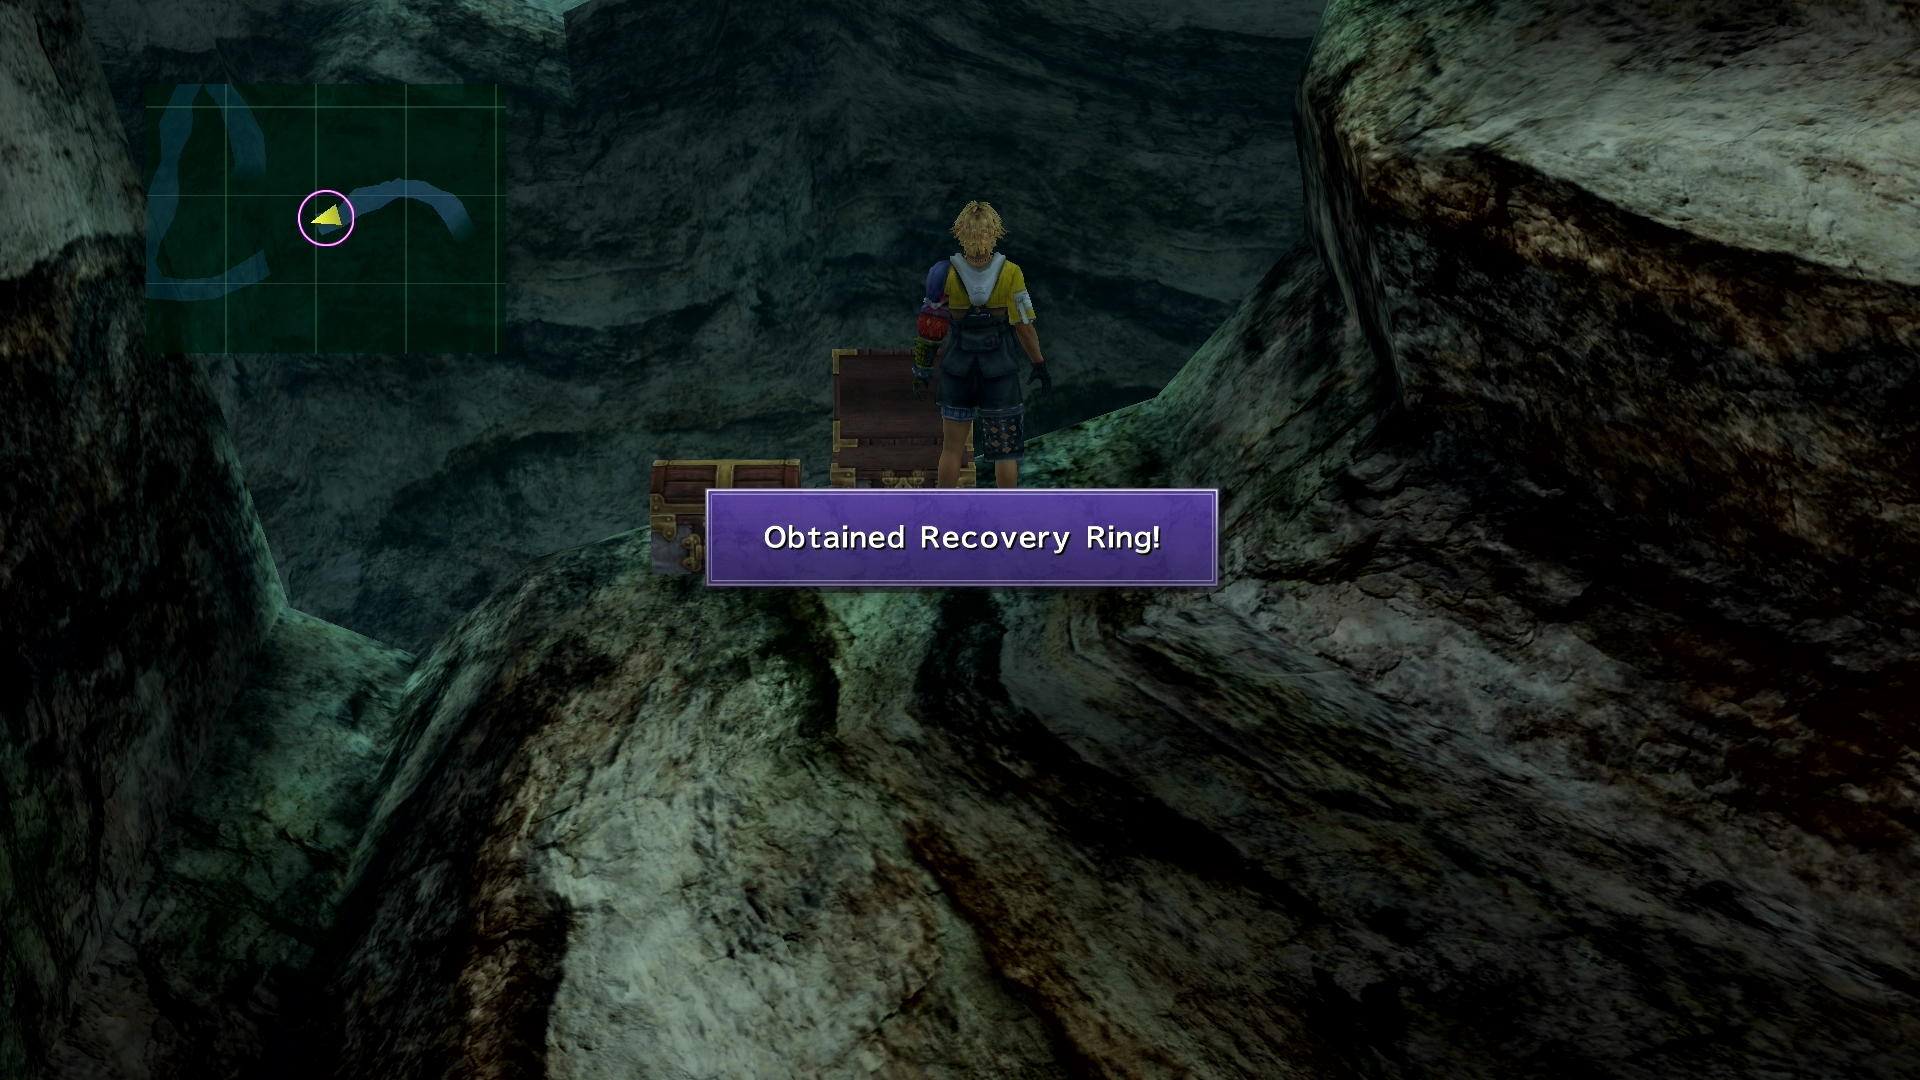
Return to the fork in the road in the mountain cave area near the stairs. Take the path to the east to reach two treasure chests containing a Return Sphere and Recovery Ring.
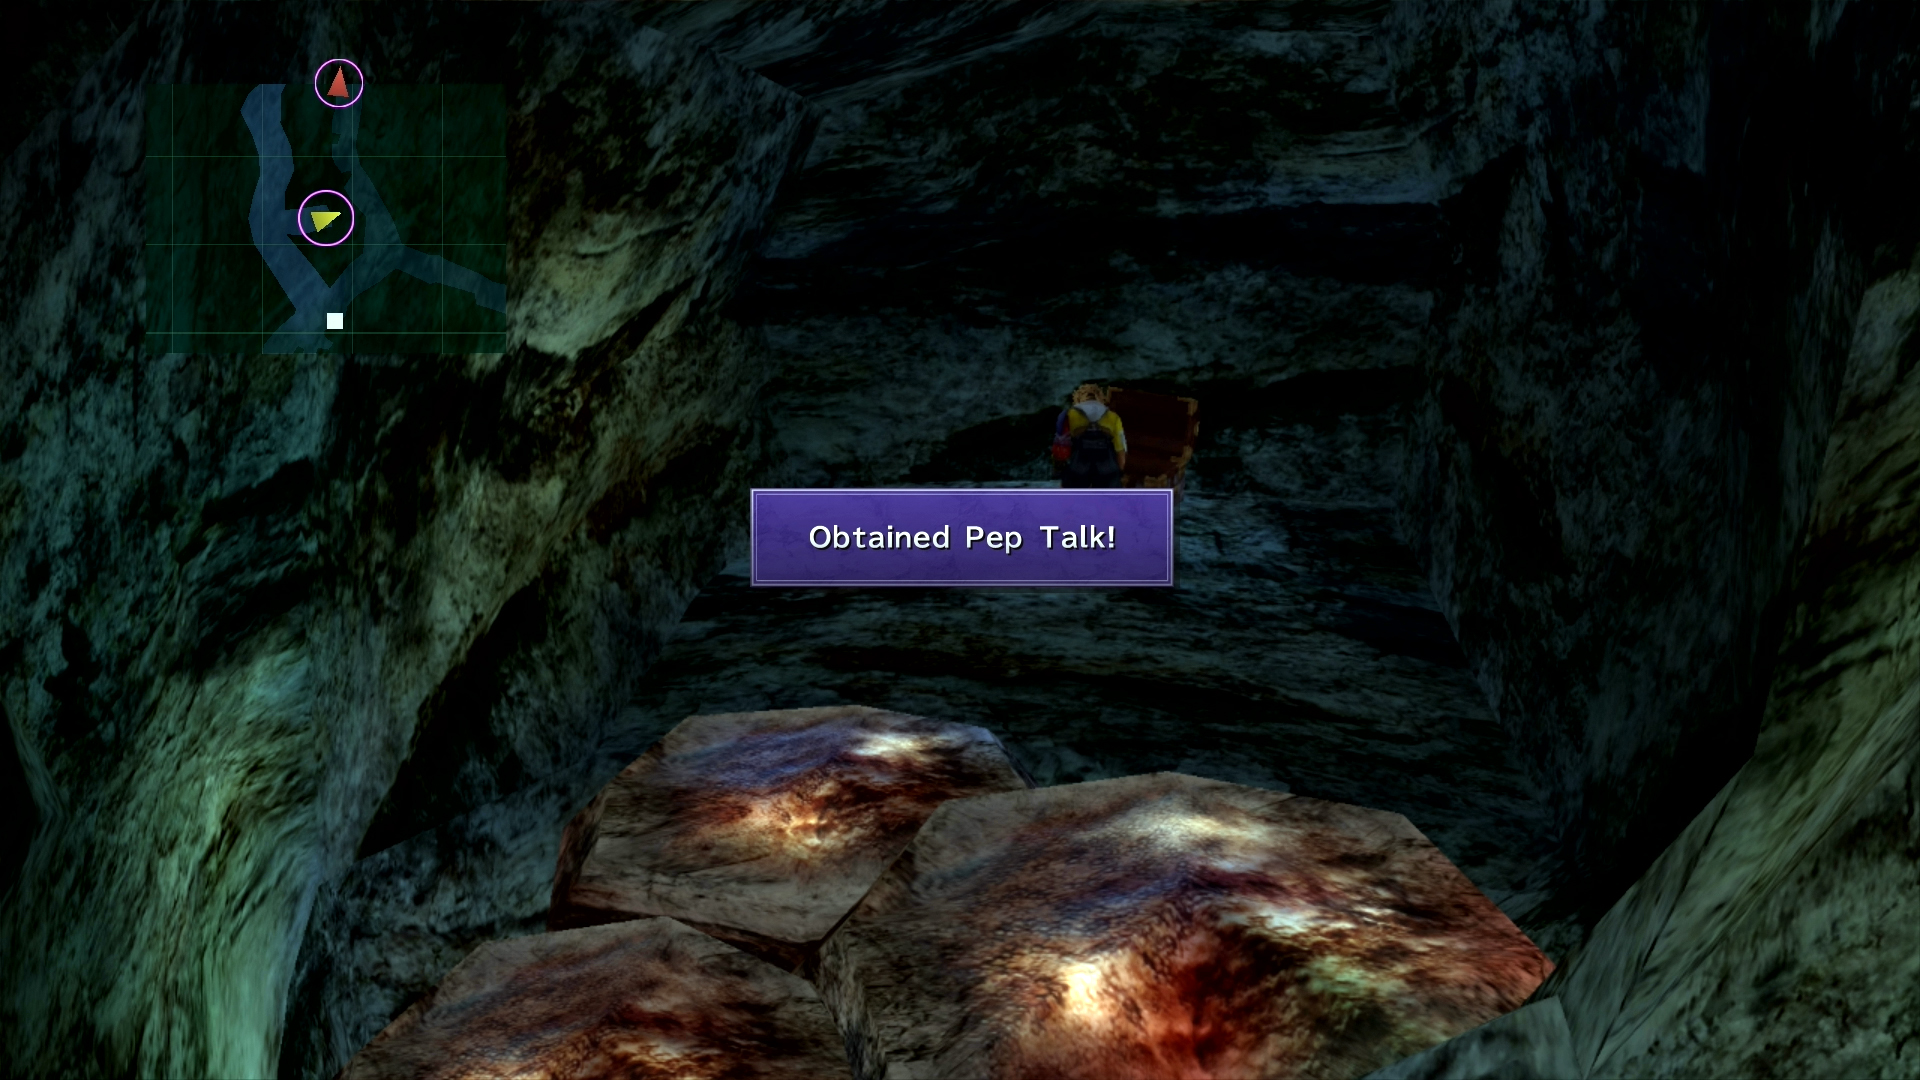
Go back to the save sphere and walk northwest to the tunnel that leads to the first trial. A path will now available to a treasure chest containing the Pep Talk armor for Wakka.
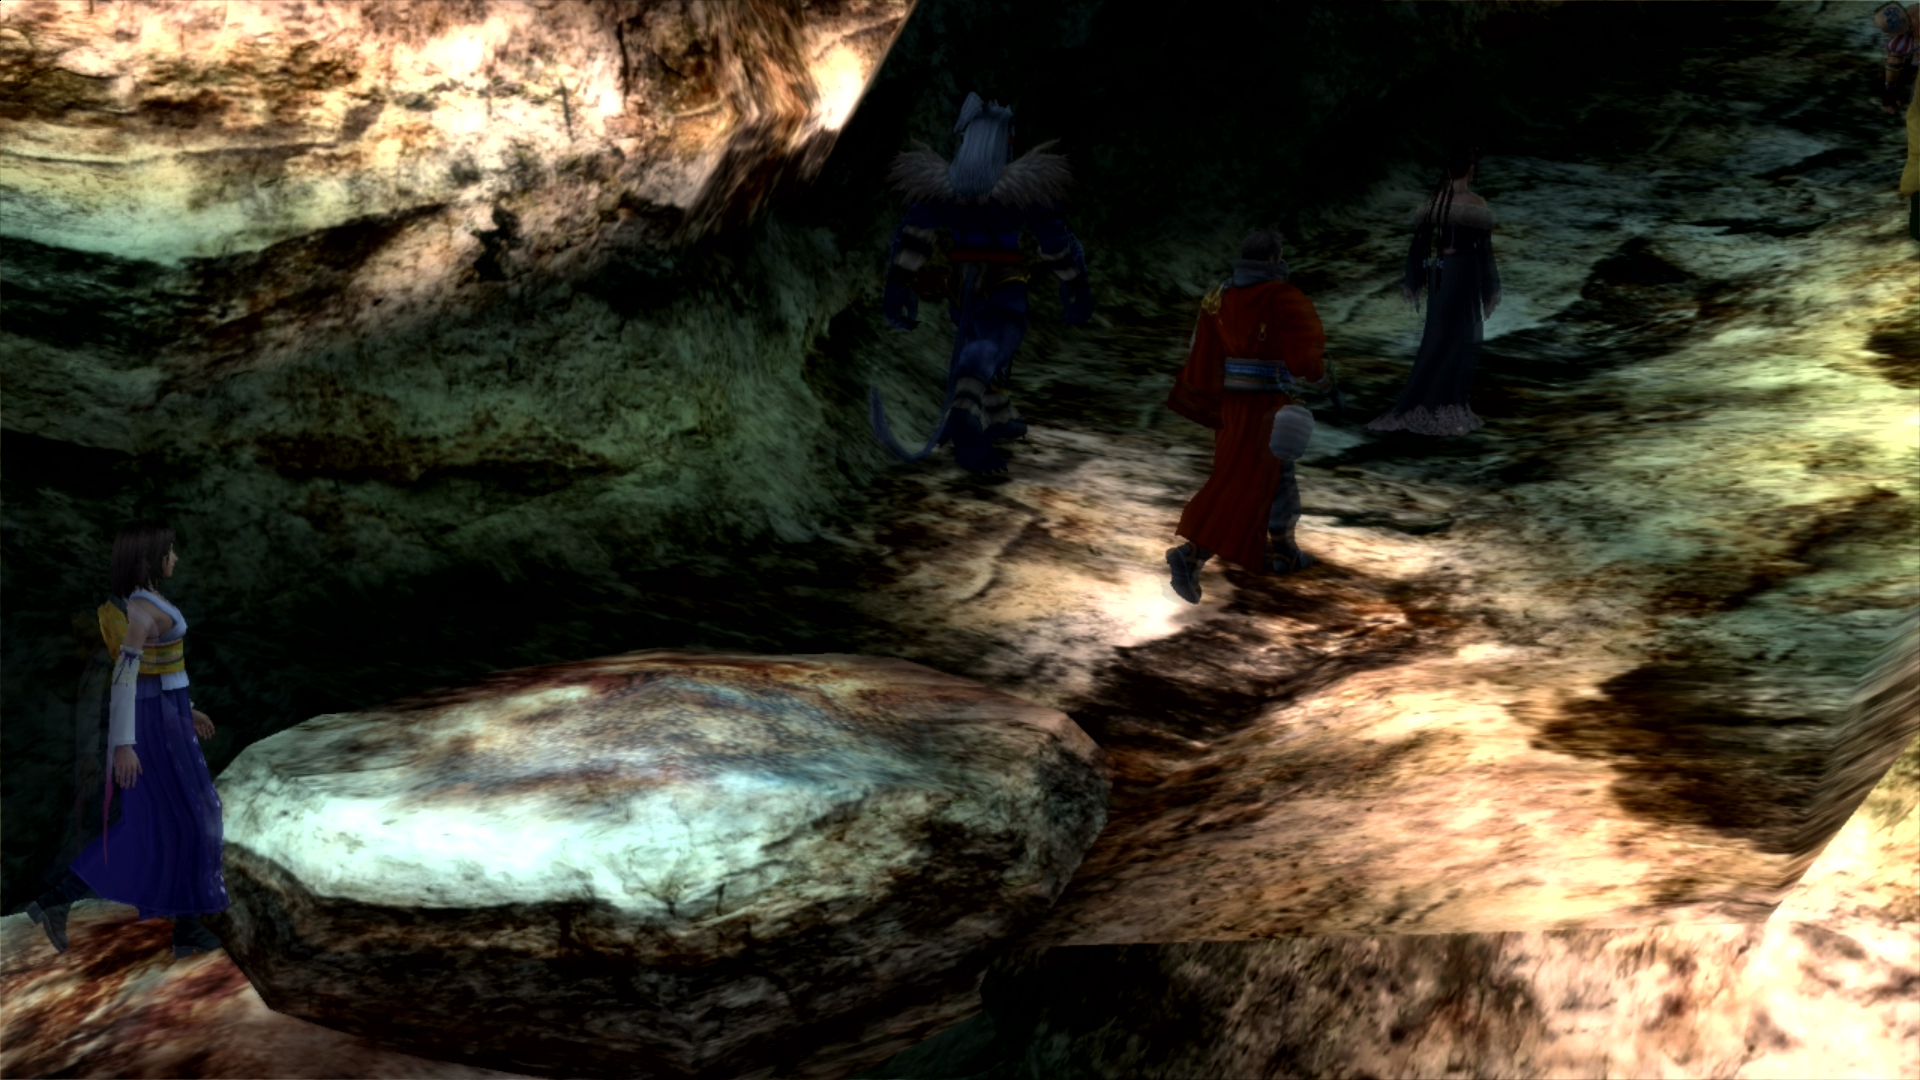
With all the items accounted for, return to the tunnel that leads to the second trial. A staircase is now built that will take you out of the cavern. Be prepared for another boss battle directly outside!

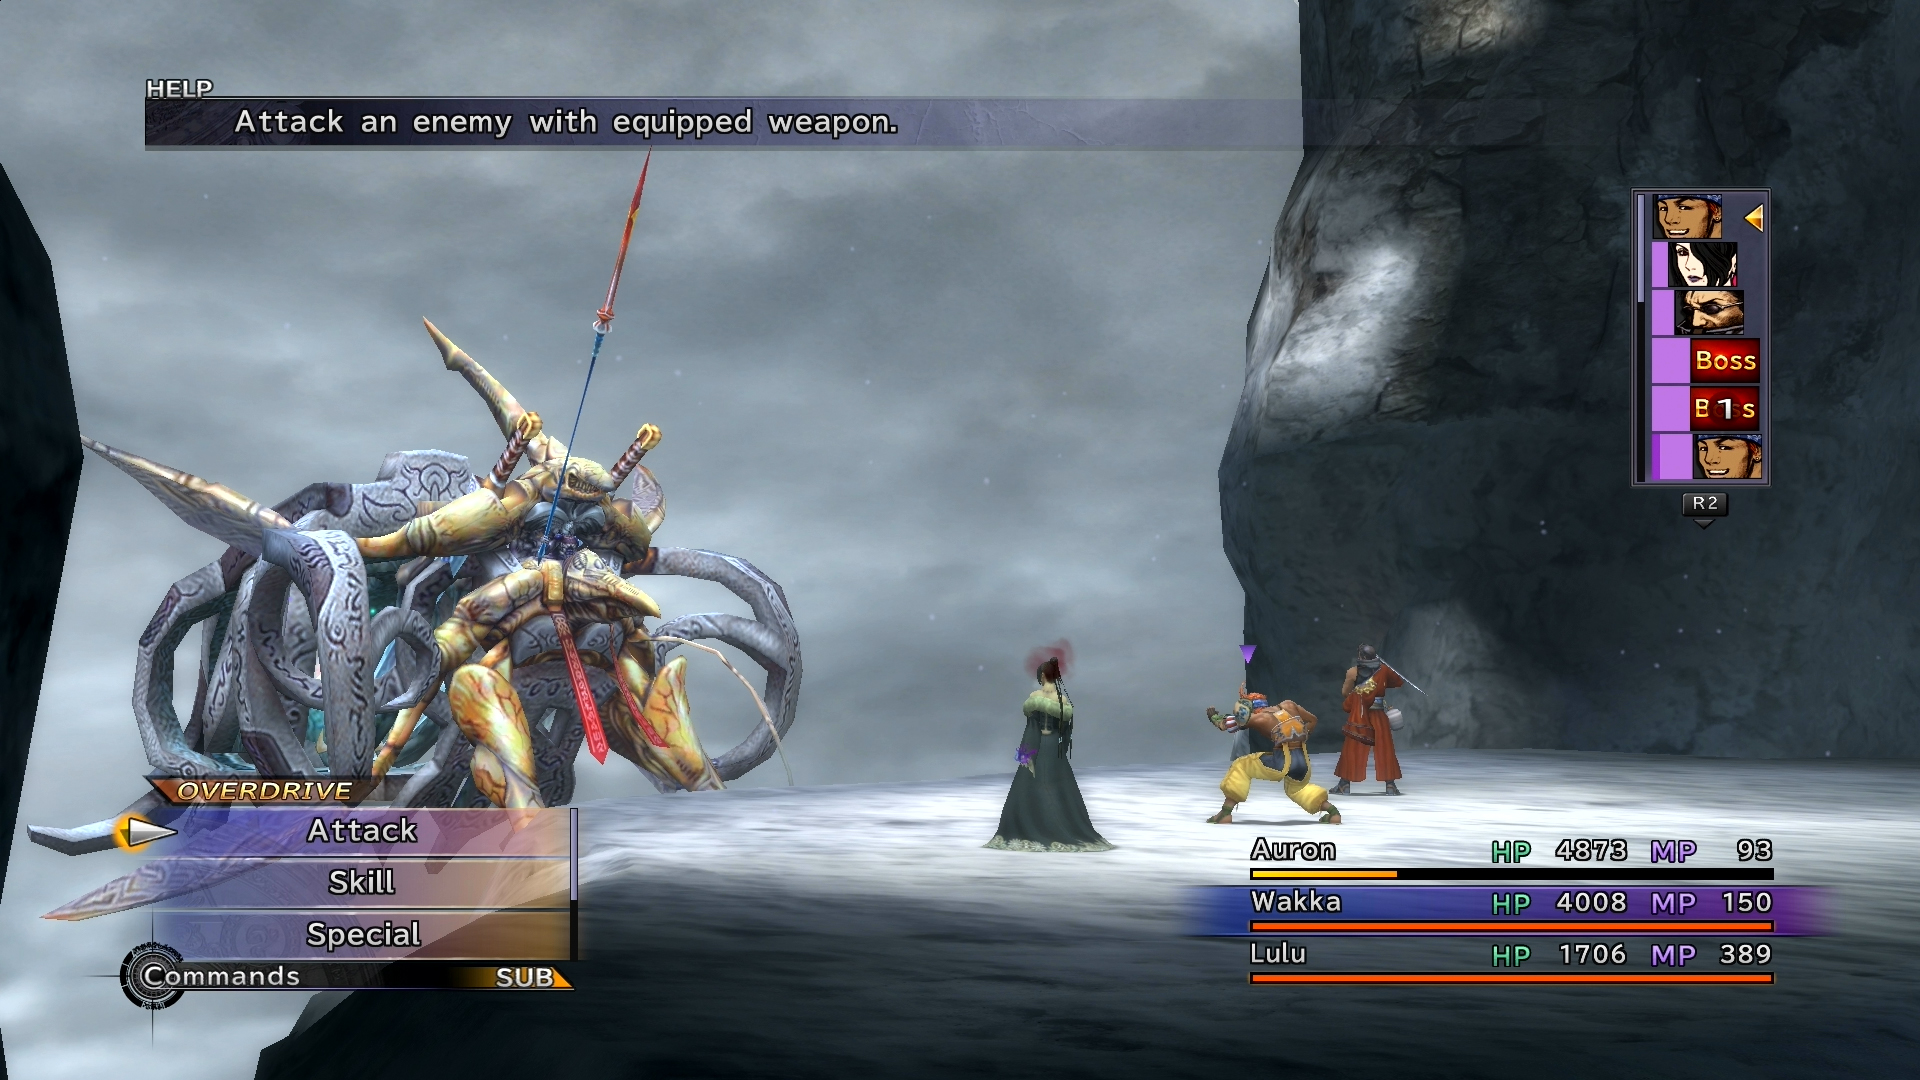
Boss Battle: Sanctuary Keeper
| HP | AP | Fire | Thunder | Water | Ice |
|---|---|---|---|---|---|
| 40000 (6400) | 11000 (16500) | — | — | — | — |
The Sanctuary Keeper has high physical and magical defenses. You can lower these defenses with Auron’s Armor and Mind Break attacks. Don’t even try using Bio because the Sanctuary Keeper will just heal himself with Esuna.
This boss has some very tough attacks that will hit all three party members. The most devastating is Photon Wings. Not only does this damage all three party members, but it may cause various status effects including curse, silence, sleep, and confusion. Curse will prevent a teammate from using his or her Overdrive. Use Holy Water or Dispel to remove this condition.
The Mana Breath attack is a simple attack to each party member. However, if he uses Mana Breath on an Aeon, it will kill them in one shot.
After battling long enough, the Sanctuary Keeper will begin using the Tail Sweep attack to hit all three party members as a counter attack for being hit by a teammate.
When the Sanctuary Keeper’s HP gets too low, he will begin casting Curaga to heal 9999 HP and Regen to slowly heal HP over time. You can prevent this by casting Reflect on the Sanctuary Keeper, but you won’t be able to use damaging magic attacks on him anymore. Also, use Dispel to remove the Sanctuary Keeper’s Regen spell.
Defeat the Sanctuary Keeper as fast as possible using these tips. After the battle, you will see a series of very lengthy cut scenes as you travel to Zanarkand.