Brookhaven Hospital – Otherworld
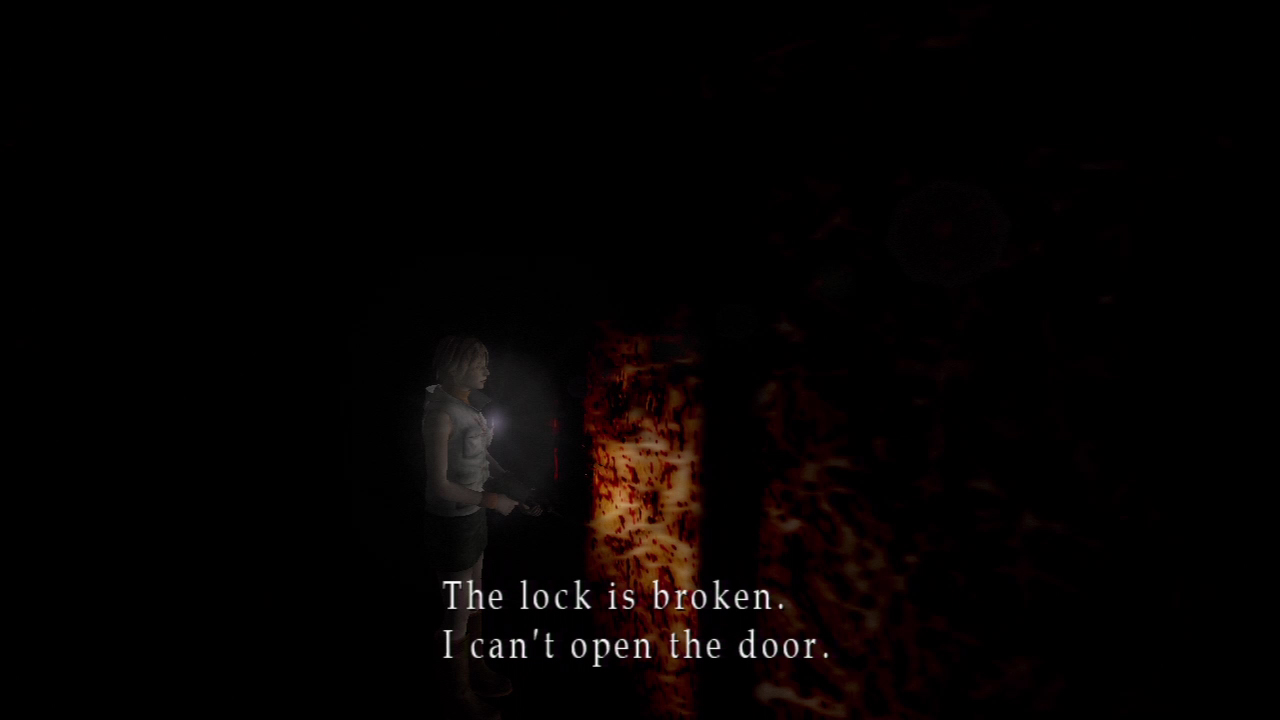
After the maze, you’ll be back in Brookhaven Hospital. Needless to say, it’s the Otherworld version.
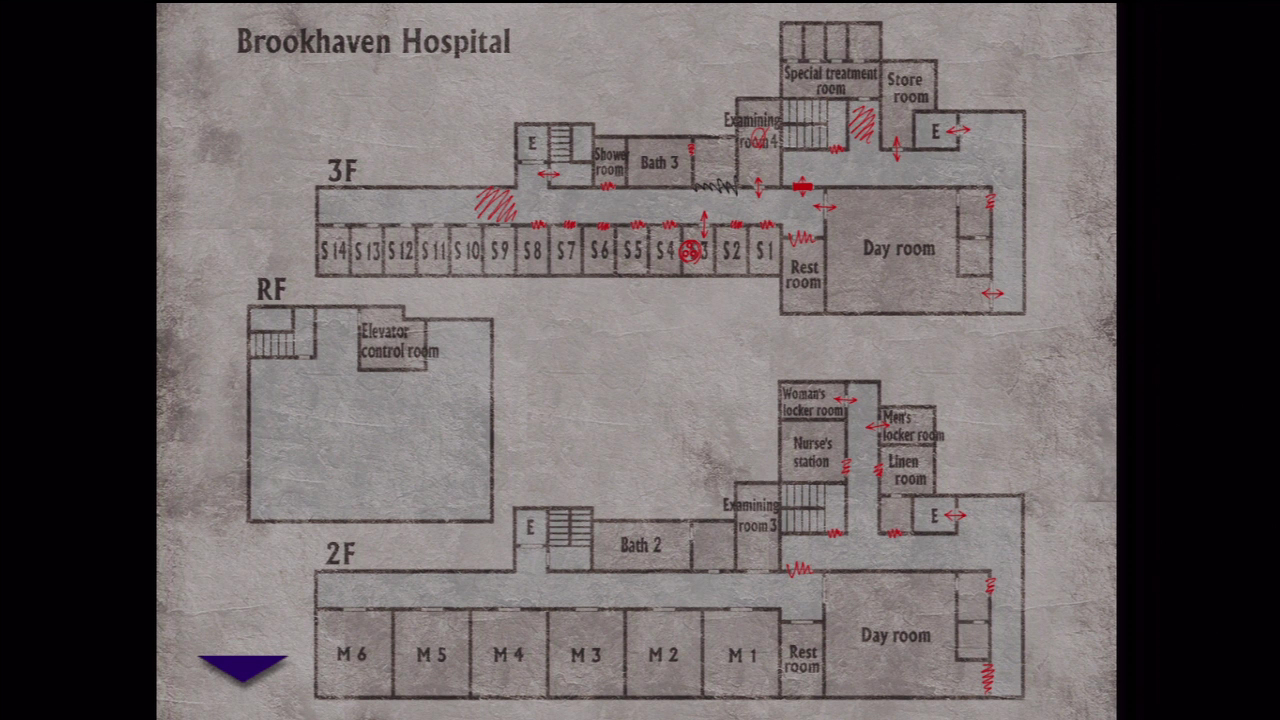
Third Floor
You will start out on the third floor. Watch your step and head to the East. Don’t forget to check your map! It may be a bit difficult to navigate without the map.
S3
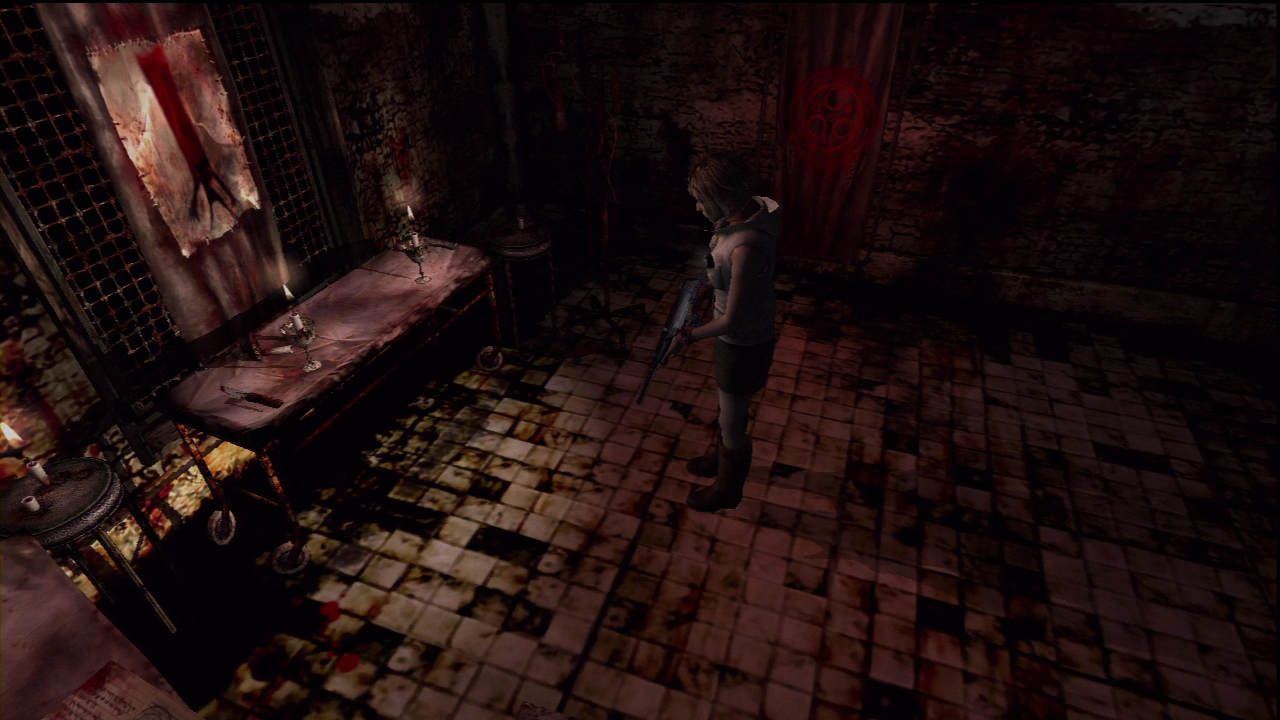
S3 is the first available room on this floor. You can find a Save Symbol on the bed and two boxes of Handgun Bullets on the window.
Examining Room 4
Examining Room 3 has a dead body hanging upside. All the blood dripped out into a bucket underneath him. There’s nothing you can do for now, but we will return later.
Day Room
With all other doors locked, the Day Room is the only way out to of this area.
Store Room
Visit the Store Room will quick, but don’t freak out too much. Look at the mirror and you’ll notice something happening. The door will lock if you check too soon. After looking at the mirror long enough, it will unlock.
Check the elevator now and you can use it.
Basement Floor Three
The lowest floor of the Hospital is BF3. This floor contains the Crematorium Puzzle. If you get stuck, view the Riddle and Puzzle Solutions page for answers on all difficulties. complete it to receive the Cremated Key.
Now lets head to the second floor.
Second Floor
The second floor only has two available room. Look around the stairwell to see someone through a wall.
Men’s Locker Room
Go inside the Men’s Locker Room and you’ll hear a phone ring. Investigate the lockers to find the correct locker and activate a cutscene.
When you return to the hall there will be Slurper.
Woman’s Locker Room
Check out the Woman’s Locker Room next. Inside is some type of monster in a locker, leave it alone and investigate the trash can near the door. Inside the trash can is a Plastic Bag and a Health Drink.
Floor two is clear, now back to floor three.
Third Floor
Examining Room 4
Remember the dead body that bled out into a bucket? We’ll need its blood a bit later. Use the Plastic Bag to carry it, turning it into the Plastic Bag (With Blood).
With all other areas cleared, it’s time to visit the last floor.
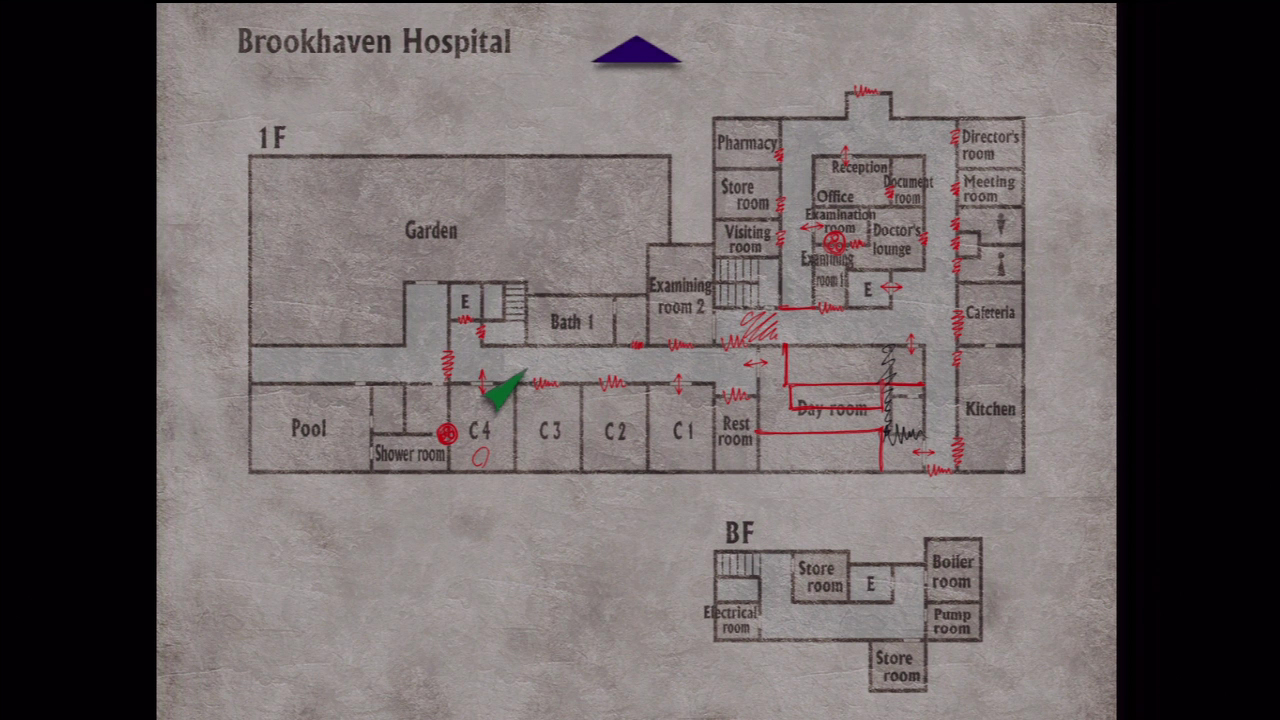
First Floor
Reception Office
For some reason, this door is unlock. There is nothing inside though, so you can leave this room alone if you like.
Examination Room
Inside the Examination Room is a Save Symbol on the wall. Check the table on the opposite side of the room to find an Ampule and a memo on the second table.
Day Room
The door south of the elevator goes into the Day Room. This room is split into two parts, one with a door on the North side and one with a door on the East Side.
The Northern part of the Day Room has a book with a short memo.
The Eastern part of the Day Room can only be opened with the Cremated Key. Inside is a Nurse, so be prepared. Exit out through the West side into the Patient Wing.
Patient’s Wing
There will be Slurpers skulking about the patient’s wing hallway. There is also a note on the Southern wall that says “Happy First Birthday.” It’s a bit hard to see right away.
Time to check the doors.
C1
C1 contains three Nurses and a few items. Take out the Nurses and head to the back of the room to find two Health Drinks and a First-Aid Kit. Before leaving, check near the bed to find a birthday card. If you’ve been paying attention to the story, or if you’ve played Silent Hill 1, you should be able to understand it.
C4
The last room you’ll need to visit is C4. Inside is a Memo called “Lost Memories”, a Save Symbol and an Altar. Use the Plastic Bag (With Blood) on the Altar to open up a hole in the floor with a ladder leading down. Climb down to start a cutscene and a boss battle.
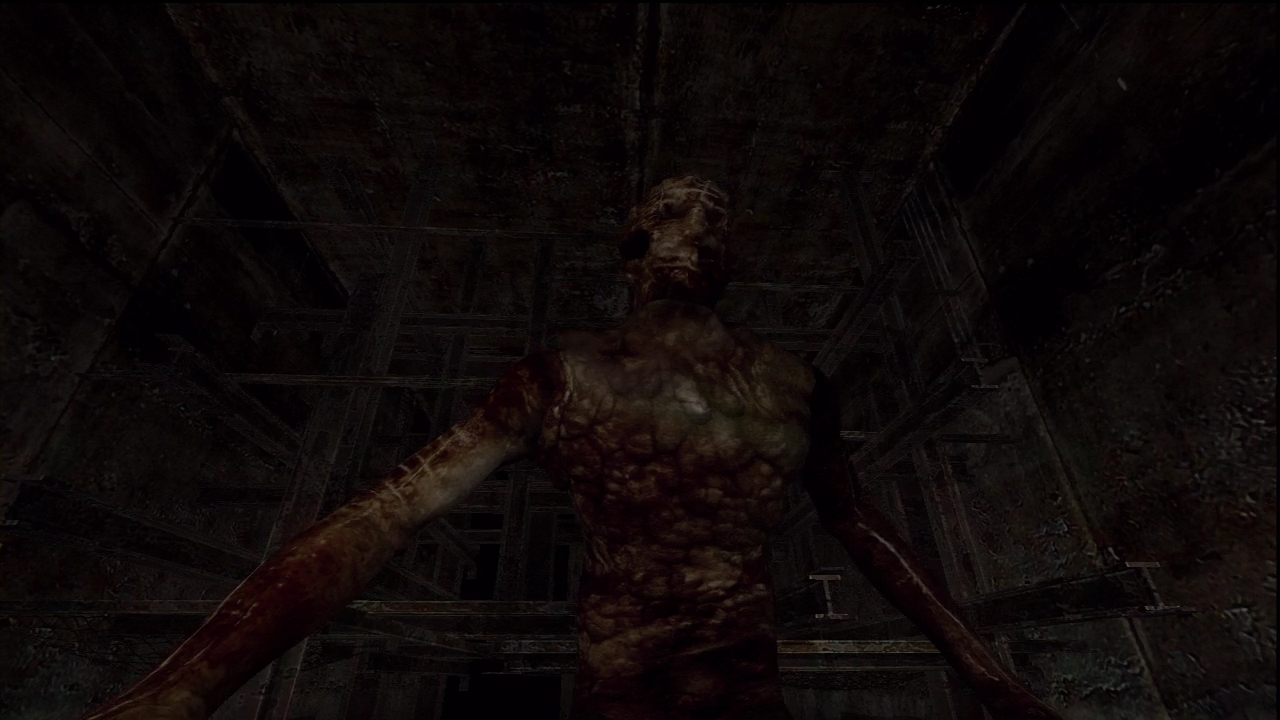
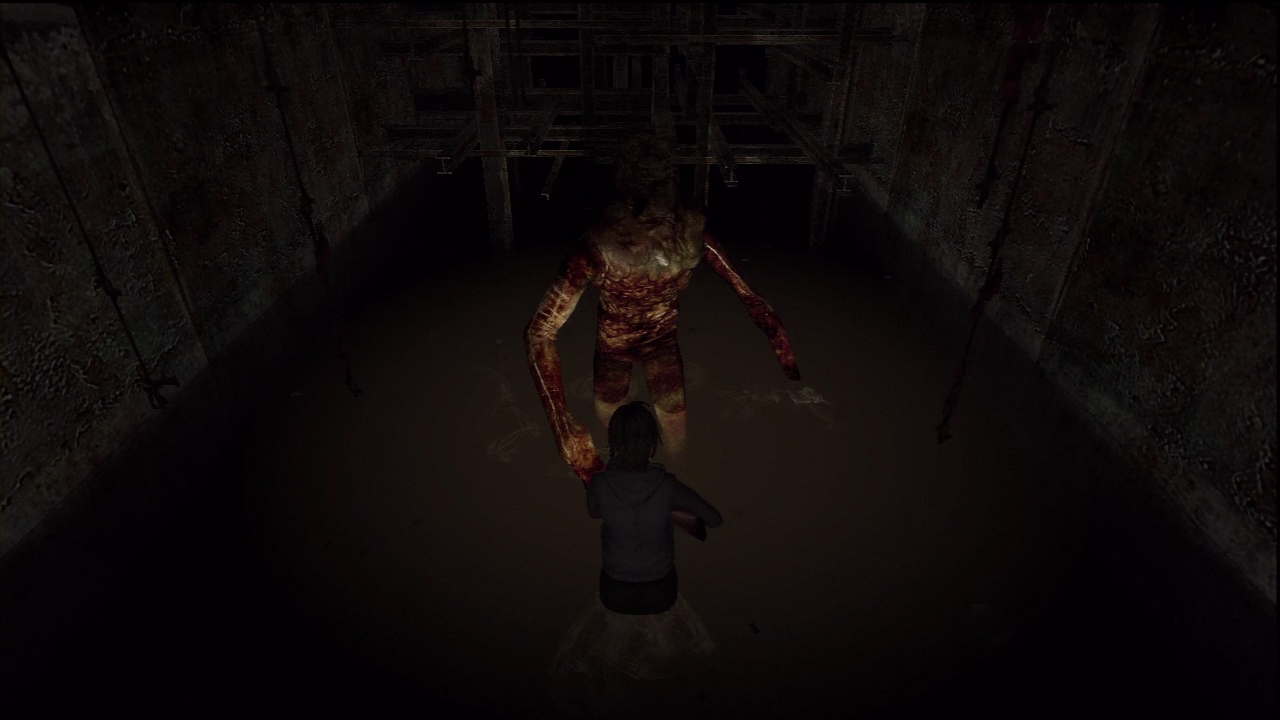
Boss Battle – Leonard Wolf
Leonard’s only attack is a melee swing of his arms. Deal enough damage and he’ll fall under the water and swim around the area. When he’s under the water, you can start kicking him. Don’t kick for too long because he’ll get back up and start swinging. The weaker he is, the more kicks he can take. Keep on him as he gets up, swims, and gets back up until he dies. Kill him in under three minutes to unlock the A Time to Kill achievement / trophy.
When you awaken, everything will be back to normal. Heather will find the Talisman on the floor and you can easily make your way out of the hospital now and back into Silent Hill.
A cut scene will play when you exit.